


jaycee
-
Posts
650 -
Joined
-
Last visited
-
Days Won
1
Content Type
Profiles
News and Information
Tutorials
Product Reviews
Supplier Listings
Articles
Guitar Of The Month
Links and Resources
Forums
Gallery
Downloads
Posts posted by jaycee
-
-
I have just finished building my workbench. I will start a thread on it with pics, have you got any pics of yours?
-
Thanks @mistermikev I shall compare with the other measurement I have and the Fender info that @Bizman62 posted
Cheers guys
-
 1
1
-
-
4 hours ago, Prostheta said:
How does she play, and what's next on the bench?
4 hours ago, ScottR said:Wow! Good to see that again.
Really nice too!
SR
Thanks guys. I have another Bass, with the same body but Spalted Maple top 32" scale length. And a walnut Six string with Black LImber top.
Plays really well, nice action on it
-
This has been finished for some time so some pics......


-
2
-
-
Here is a pic of a 34" scale that I built a few years ago. I am looking to do the same.
@mistermikev If you could measure it that would be great.

-
@Bizman62 Thanks for the link the intonation paragraph is interesting.
What I failed to mention and is another reason for wanting the measurement, I intend to route out a small section under the saddles and place in there a copper strip 2mm thick. Then glue on the top. When I then attach the saddles the screws will go through the copper strip which will be grounded .
-
@Bizman62 Thanks for the reply I have built a cople of 34" one with a fixed bridge and the other with individual, I like the look of angled individual saddles, so rather than the saddle adjustment take up the difference angling the bridge/saddle will take up a little.
I am just looking for an easy way to get in the ball park.
-
I have one answer to this question, but would like a few more if possible before I go ahead and install the single saddles on a Bass build.
The scale lenght is 32", I would like to know the actual strring length from nut to the saddle break point on an intonated Bass. In mm or imperial
thanks
-
On 10/9/2018 at 10:10 PM, curtisa said:
Here's how I do it. Like all good methods demonstrated here, I stole the idea from someone else.
I have used that method with a traditional bridge, but I couldn't cope with seeing the grounding strip inbetween the individual saddles

-
Novel use for old guitar strings.......very easy to push through the channel to the control cavity

-
Thanks for the reply's guys. I have just de-soldered every thing and checked as I re-assembled and it is still there. It is more noticeable when the volume pots are turned up full.
It has a MM humbucker at the neck and a Jazz at the bridge, Two volume pots, one 3 way switch..
The only thing which was constant in the re assemble were the jack socket and lead, and I am 100% certain that it isn't the lead.
-
I have this finished, ......but there is a problem with the sound. There is a slight hum and a ticking noise when any metal part is touched. It's not too obtrusive but nonetheless it is annoying. I have changed the pots, de-soldered the pups one at a time and re-soldered every joint several times. The only thing I haven't done is change the pickups as I have no replacements. When I took it to my local music shop they tested everything and no fault could be found. Ant ideas?
-
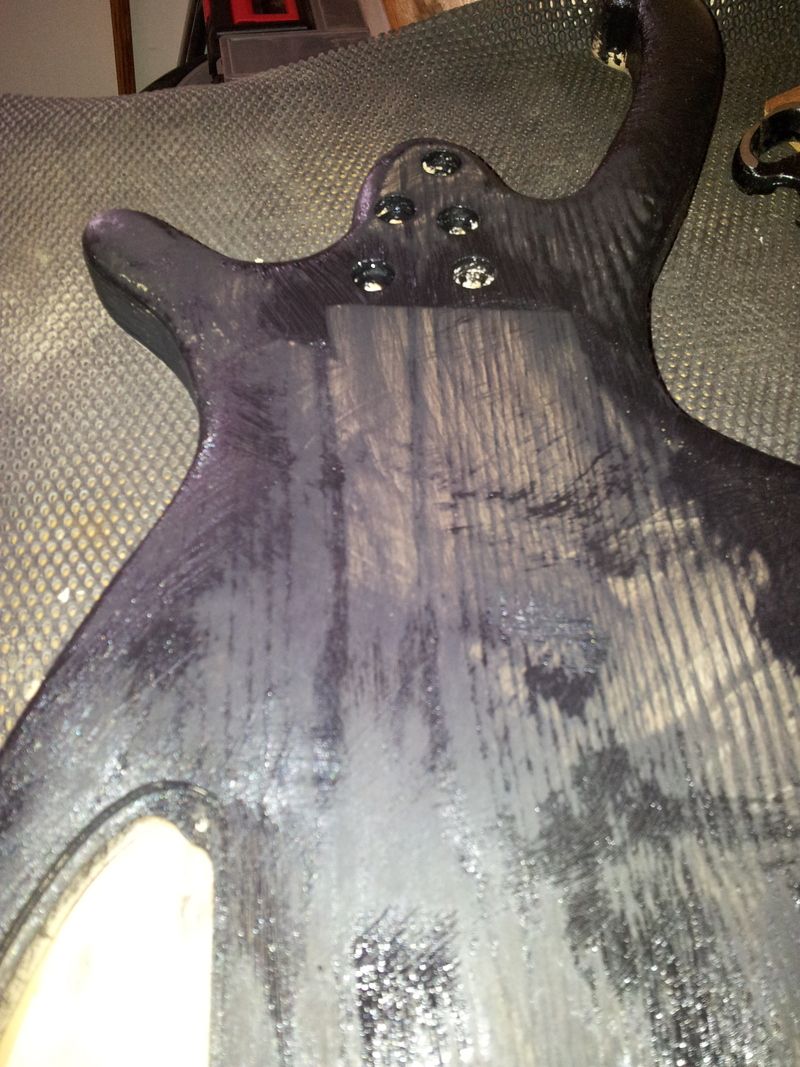
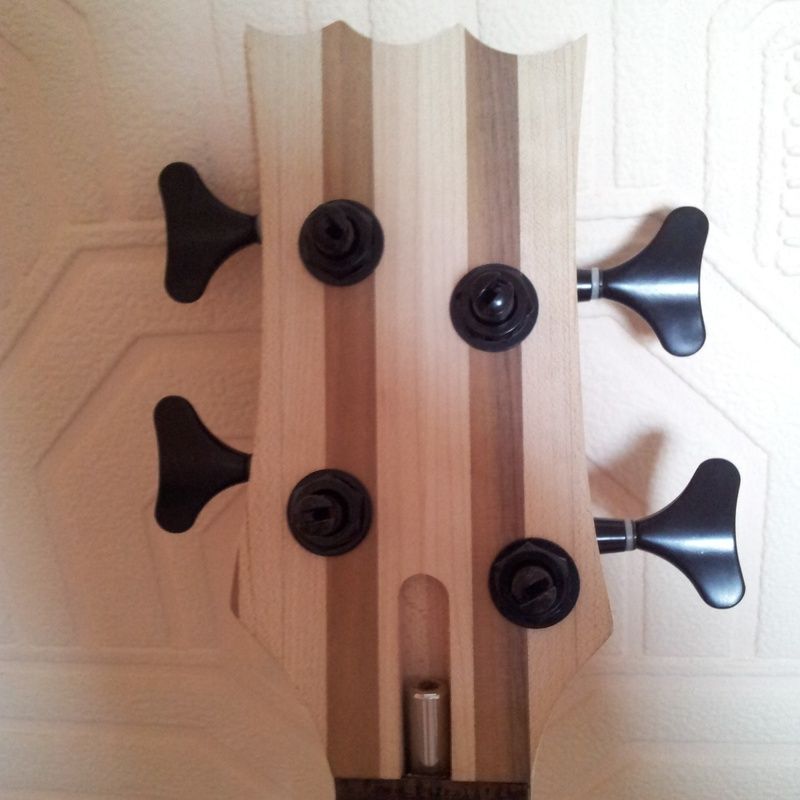
Grain filled with Black acrylic paint, and test fit of the tuners.
-
1
-
-
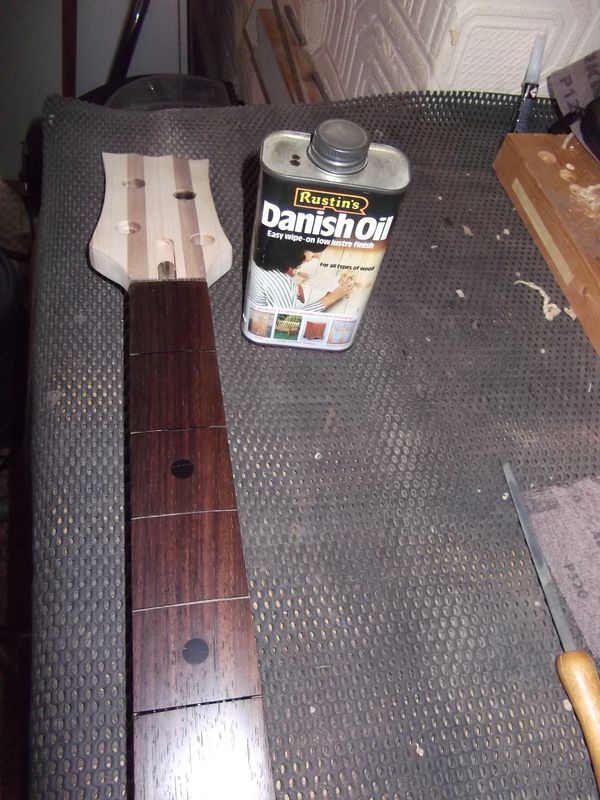
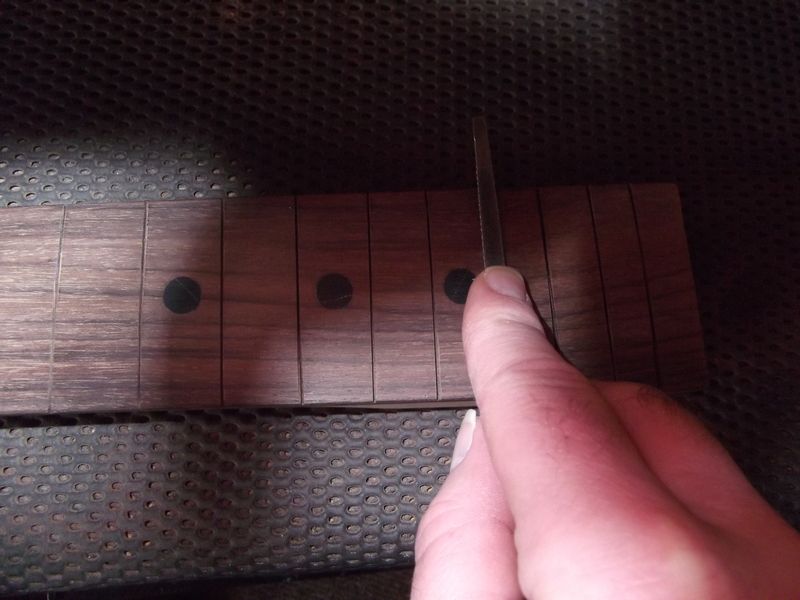
Fret slots are cut, slots received a slight bit of relief to facilitate better sitting and removal just in case. Also a few coats of Danish oil.
-
Cool builds. I like the look of the headstock logo and the way it's done. Did you freehand the engraving and fill with black epoxy?
-
Thanks for the wb guys. Must be eighteen months - two years since I worked on this bass, hopefully I will fret it in the next week.
Just glad to be back building, I have been up and down health wise and couldn't get my head around building.
-
Neck and Body 90% completed,
-
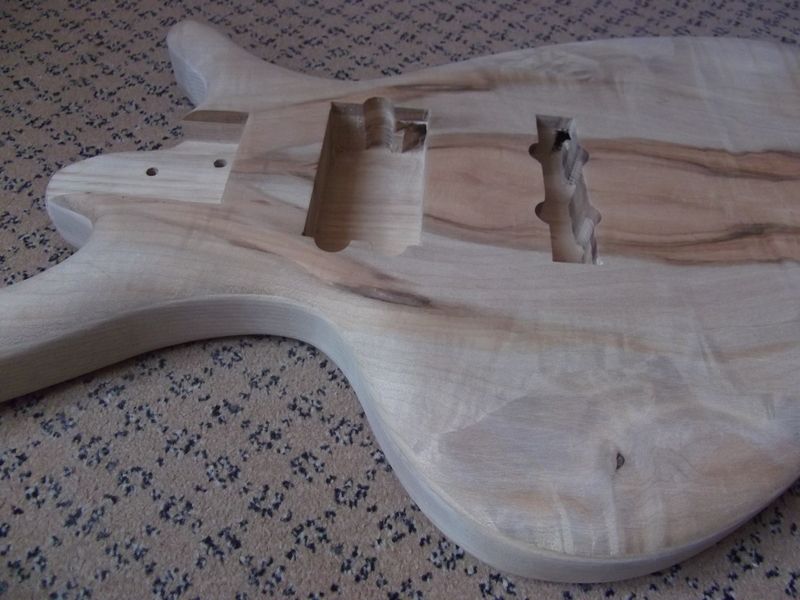
Remembered to route the wiring channels before the top goes on. And some chambering to reduce the weight.
-
This is great. I've been thinking of a violin build but I have been banned from starting any more projects.
I will have to 'build' vicariously though this thread!
Really neat work. Where did you find the plans?
Google this "ISBN139781565234352" It's a violin making book by Bruse Ossman with full size templates in, which can be scaned and used. I bought it last year great little book.
The build is looking great, I will have to start my violin build soon.
-
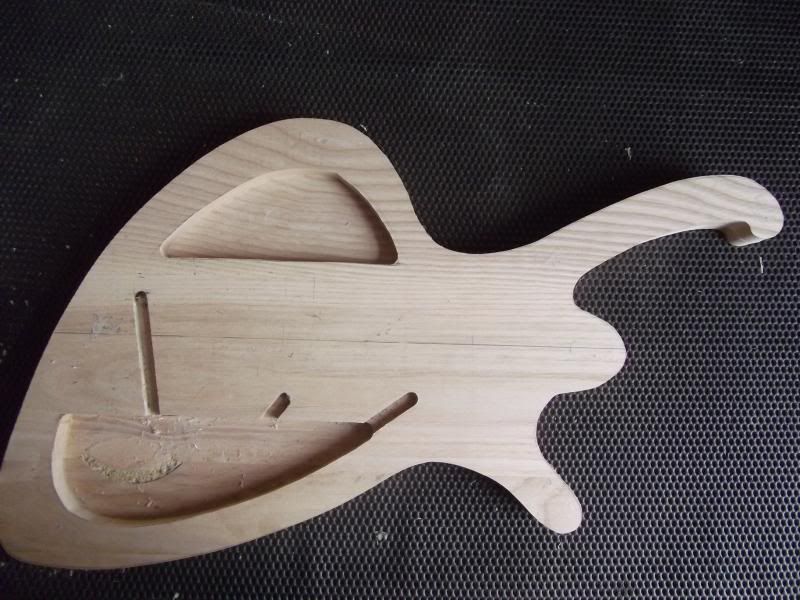
My router bit is 12.7mm, after reading one of GSP' post I bought a 20mm and 15mm bearing, so I could trim the body down in stages.
I used the shaped waste parts of the body and template to act as a support for the router, which is particularly useful when doing the horns. The mdf was stuck to the Ash with double sided tape, and after I had routed 3/4 of the sides I flipped everything over then used a bottom bearing guided bit to finish off.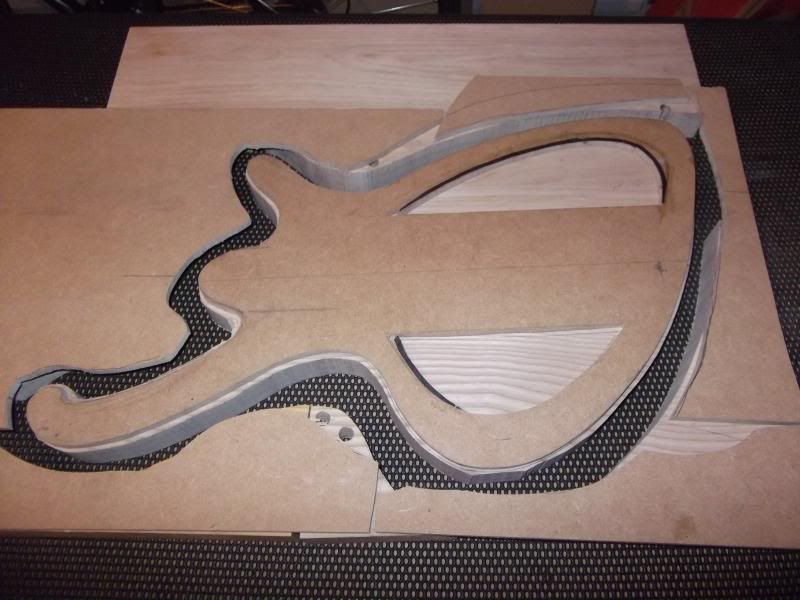
Some relief holes drilled out before hollowing out the 2 sections, and I have also drawn in and written on the body where to route for the pup wires, as I forgot to do this on my previous build and had to drill the holes through the pickup cavity using a 20" bit because of the angle.
-
that outline technique is an awesome idea.
Thanks, it's such a simple idea not sure where I remembered it from, and it beats freehand.
I want to contour the edges quite heavily, so much so that the upper horn will be oval shaped very much like the Ritter Bass', what options do I have other than router or a rasp?
-
The body shape is heavily influenced by the Ritter Raptor Bass.
Scale length 34"
Top Sycamore ? slightly rippled
Body Ash
I think the top is sycamore. It was bought nearly 3 years ago and I can't find any receipts for it.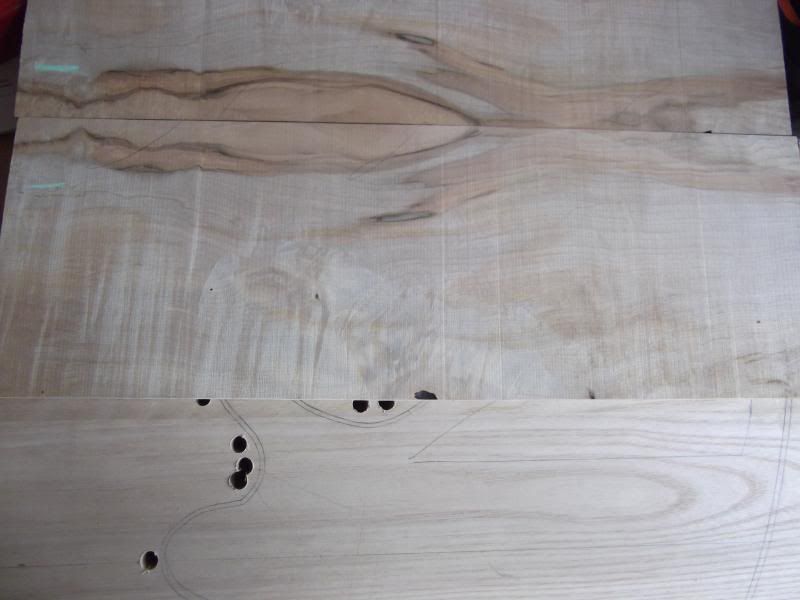
I draw another outline about 4mm away from the body shape by using a nut or washer as a guide with the pencil inside. This will be the
line I cut to with the band saw.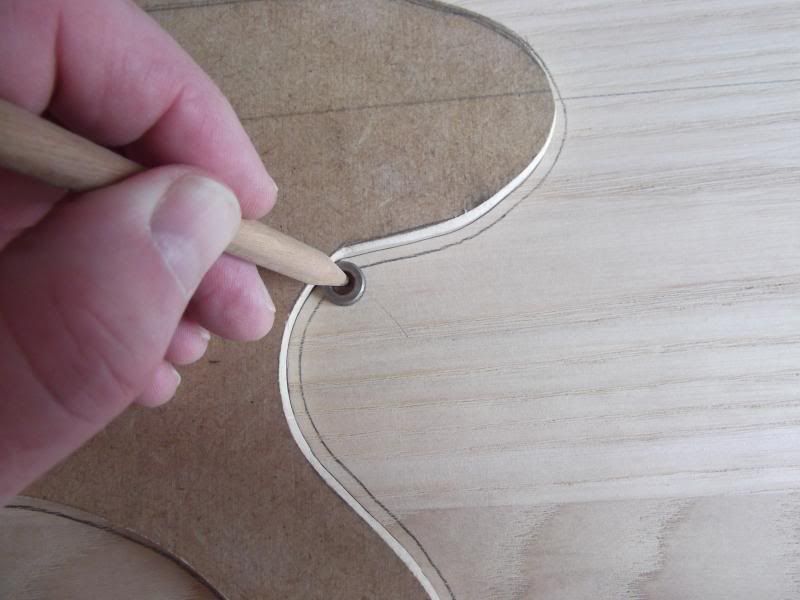
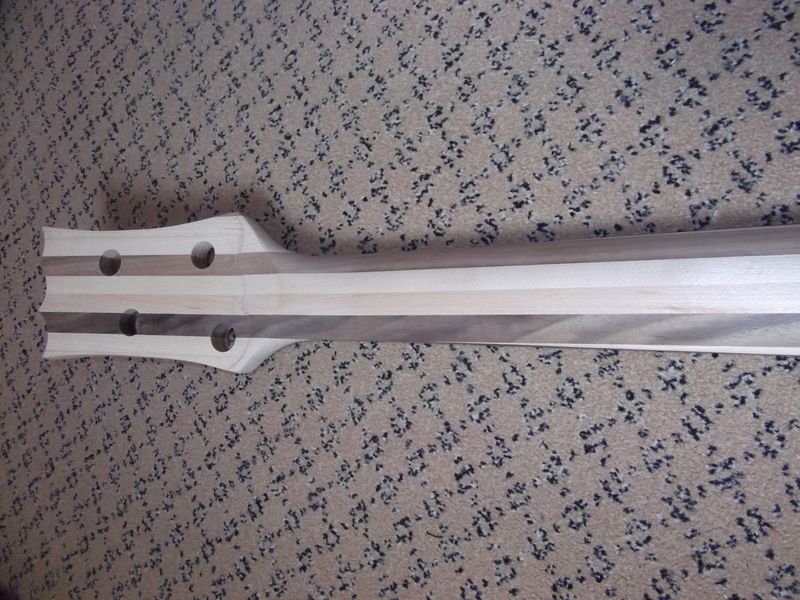
Pilot holes were drilled then using a 16mm bit drilled 2mm or so into the back of the body so when the relief holes are drilled using an
11mm bit, there would be no tear out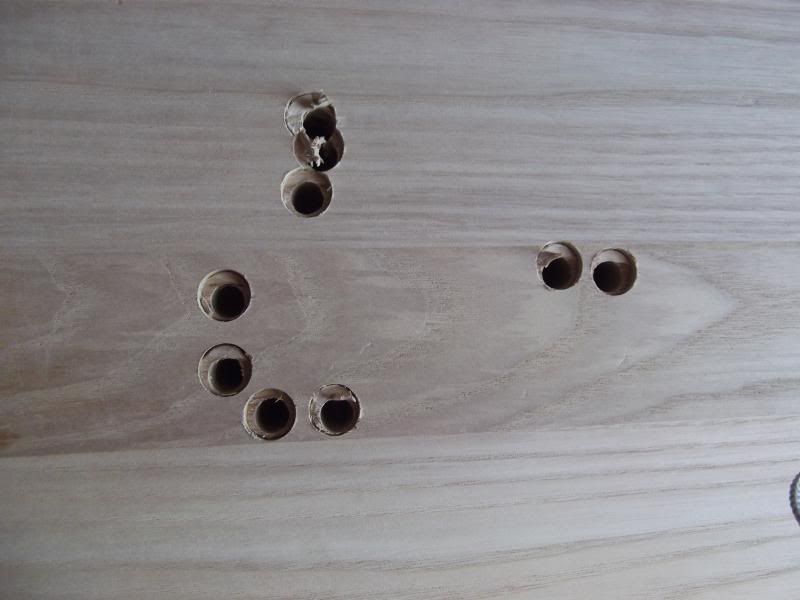
-
using the same manufactuerer is recommended as it should mean that everything is compatible and you shouldn't get any issues.
-
Hummingbird.
Scale length........34 " 6 piece laminated Maple and Walnut neck
Fretboard and the headstock veneer...... Cocobolo, Black buffalo horn dots at the 12th fret
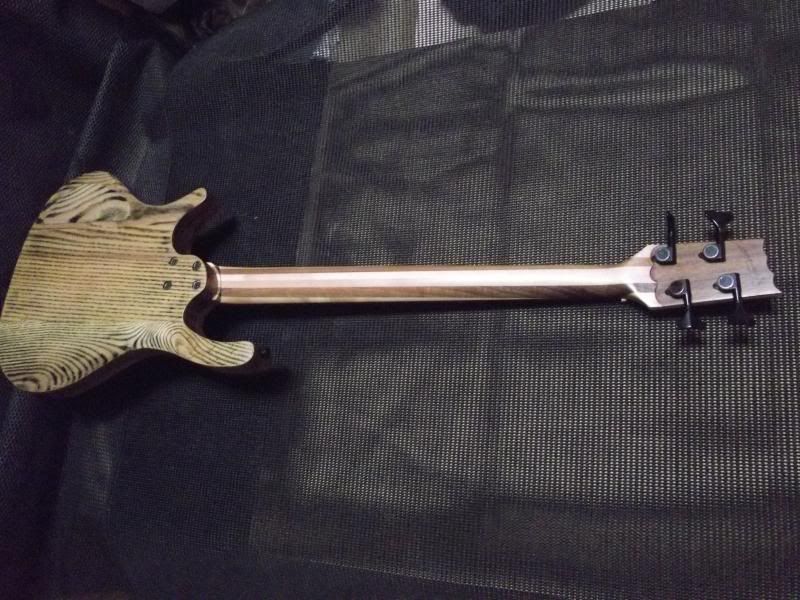
Walnut veneer on the back of the headstock
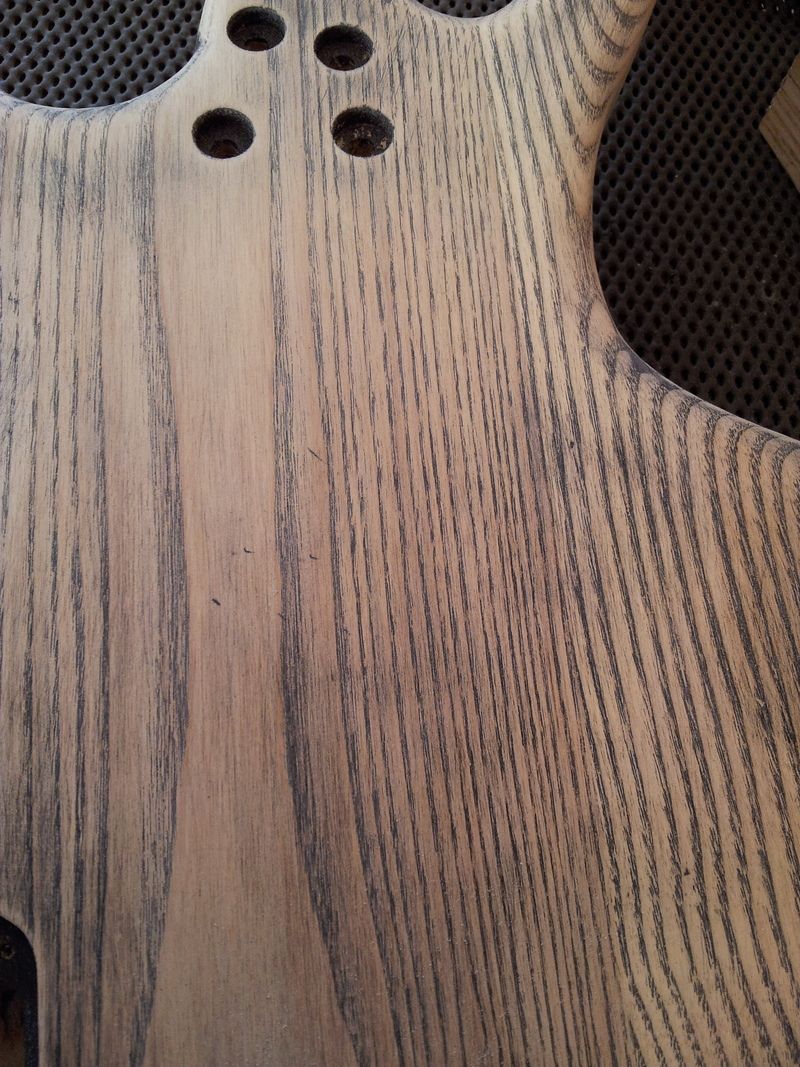
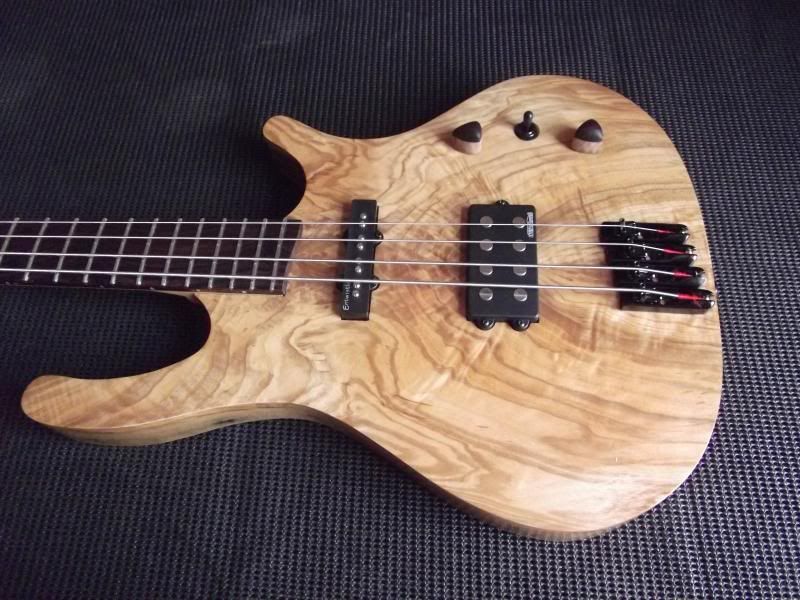
Body ..... Olive Ash top and Black grain-filled Ash back
Pickups...... Entwistle at the neck Wilkinson MM at the bridge
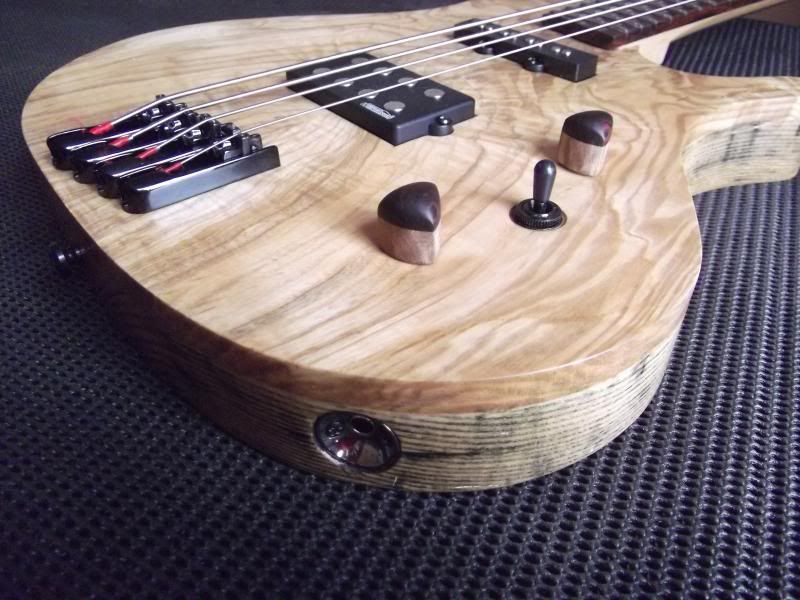
Custom Knobs Olive Ash and Cocobolo, 3mm gold mop side dots, 3 way switch, both pots are volume, and the cavity cover is held on with magnets.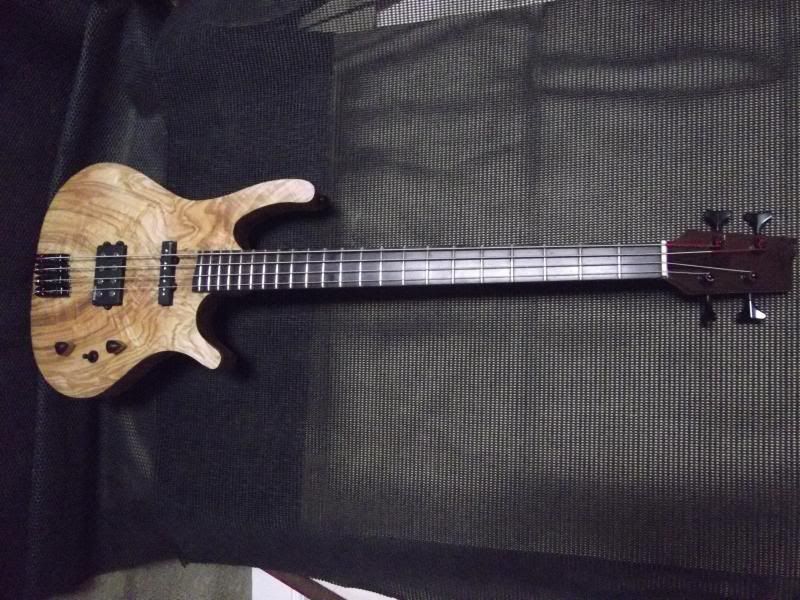


New Workbench
in Tools and Shop Chat
Posted
Through various circumstance changes we had to re-allocate rooms in the house which gave me the oppotunity to build a work bench in what will become a workshop come storage area.
The bench is made from 3x2 with 25mm mdf top (flippin' heavy) and is 2400mm x 800mm (8 foot x 31") with a shelf underneath made from the remaining mdf ( originally 8x4 sheet.)
The corner support pieces will be glued to the top and then screwed into the frame, And the front 120mm Apron was glued to the frame which really stiffened up the whole thing. Everything else is screwed.
In the 3rd pic you will see three dog holes in the vice face piece which accept the dowels from the Ash strip in the 4th pic, this enables pieces to be secured whilst planing.
I installed the vice 25mm below my original plan due to brain fog but it works fine.
There is a lot of room to add other components as and when I think or see something I like.
And it was finished with three coats of Patina.