


Narcissism
-
Posts
672 -
Joined
-
Last visited
Content Type
Profiles
News and Information
Tutorials
Product Reviews
Supplier Listings
Articles
Guitar Of The Month
Links and Resources
Forums
Gallery
Downloads
Posts posted by Narcissism
-
-
Hi teal,
I work for home depot, and I'm a little offended.
While I haven't built the most amazing instruments, I have built a rhoads copy. You can check it out in my signature if you want. I built it to fit my old ibanez neck.
While I did build that guitar, I will put it under a category of sub-par, as I attempted to use hand tools on all the routing cavities. The end result is a pretty nice looking instrument with a lot of hidden mistakes.
My point is the final picture I have in the thread. I have it hanging next to a bunch of other Jackson Vs that I was copying.
-
You have no idea how much I want a shop! I have money saved up for it and everything. I'm seeing a ton of deals at work, too and I can't act on any of them because I don't have the room in this apartment!
-
So yeah, remember that beautiful maple burl that I bought online, and was so happy about, but so reluctant to work on?
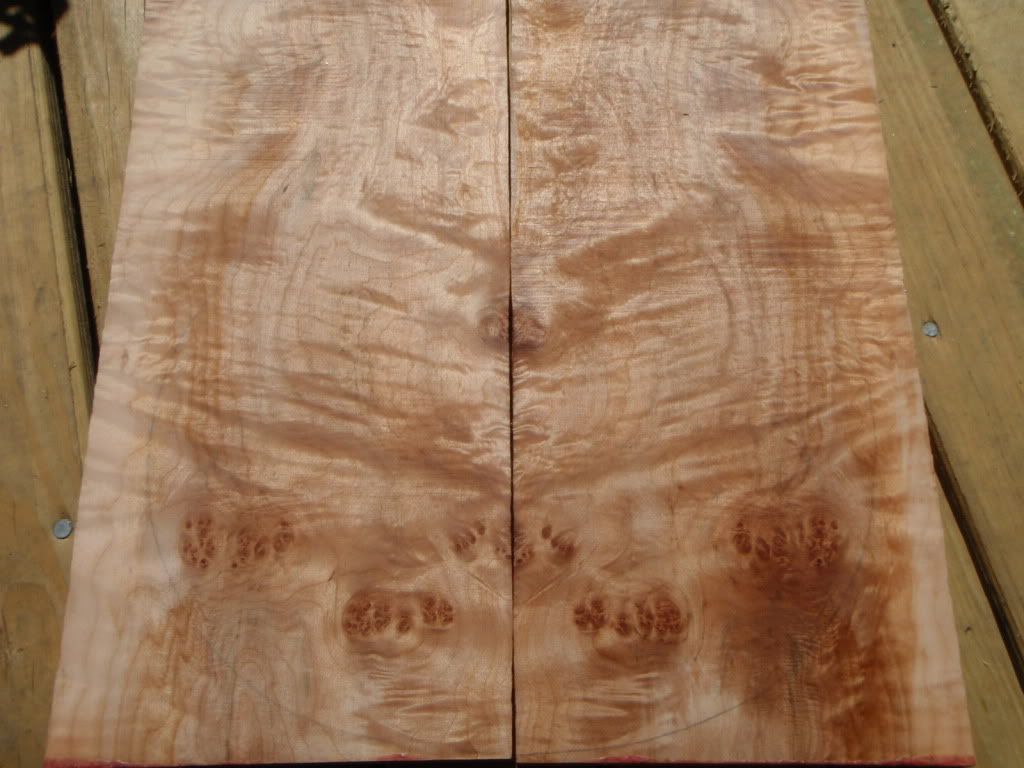
Well, that's the picture you look at when you view the product you want to buy online. However, what isn't explained (and i'm assuming this is true for any website that sells burl or figured woods) is that there is a "show" side," which is the side you see online, and there is a "raw side" which is the side they don't show you:

Basically, that's the side that they sliced with the saw, and the other side was sent through a planer I'm assuming... and somehow they planed it without tearout... Anyway, I don't trust a planer with my expensive awesome looking burl, so I went at it with a hand plane for a bit, and threw the plane aside because it seemed pointless if I wasn't going to get a true flat surface, but a bunch of different flat surfaces in the end. So I marked it up and threw it on the leveling tile.
As a reference, this is how much it warped over the course of a year:
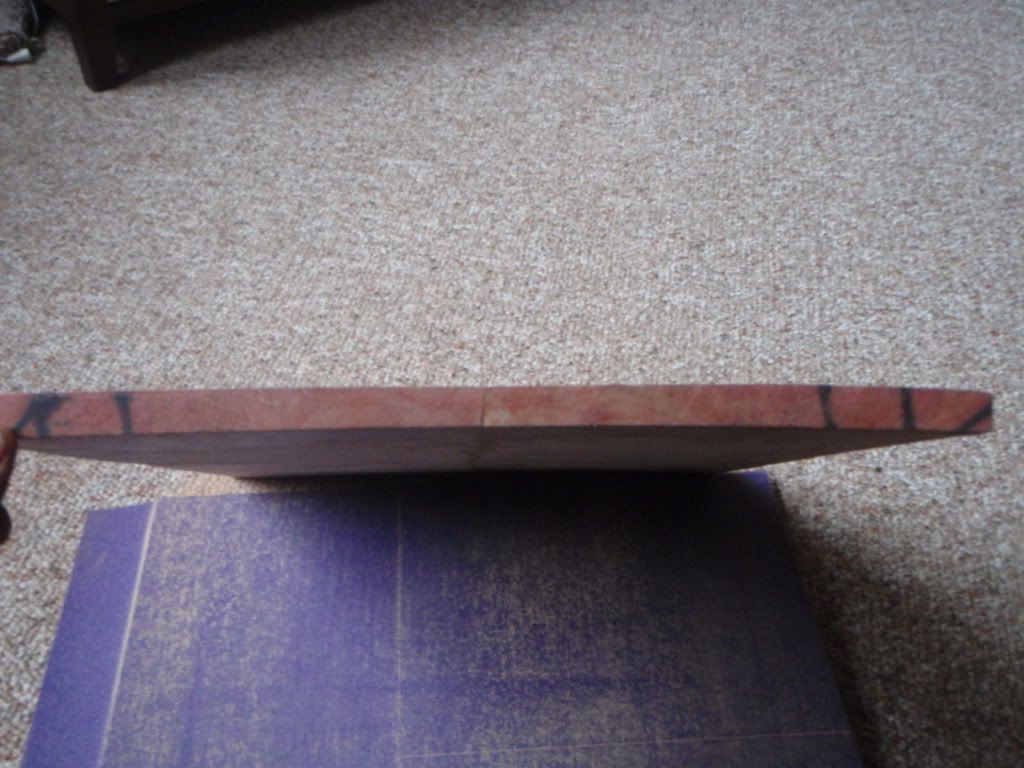
Its not bad, but its certainly curved enough to where if I level it, I won't be able to do as dramatic of a top carve as I want.
After a few hours of leveling, I discovered that burls warp differently than normal quartersawn lumber, over the course of a year:
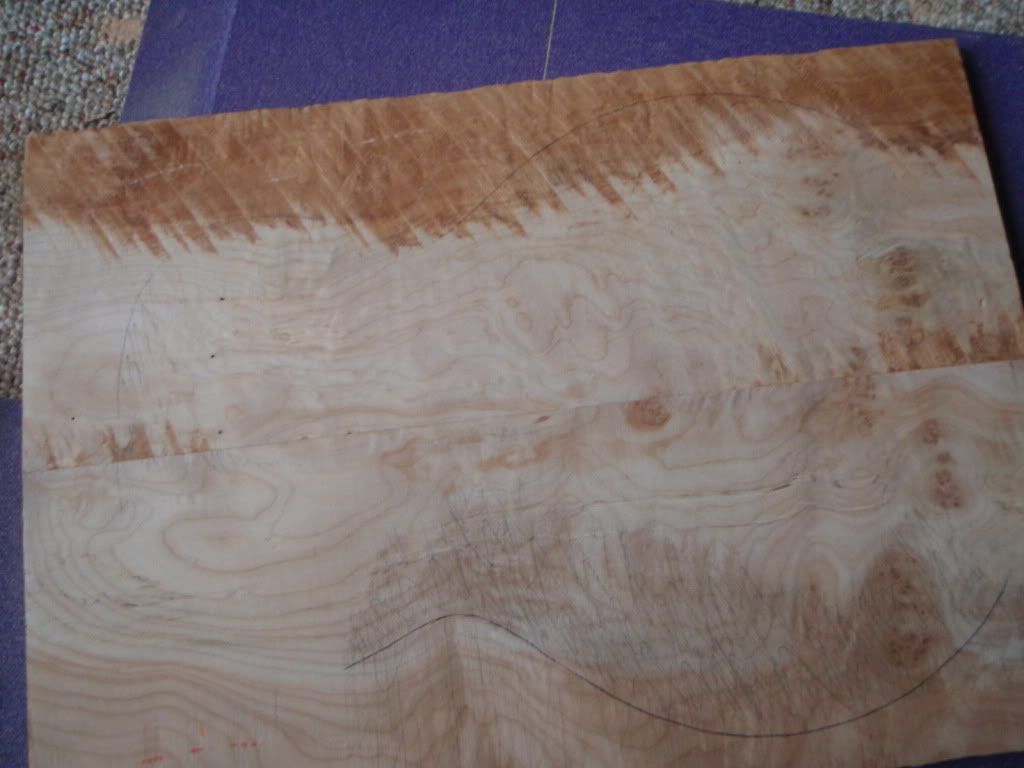
You can see in the pic that the lower left is flat, as is most of the center, and part of the upper right. The rest is marked and not level. Also, let it be known that maple is a bitch to sand to shape. Hopefully I'll be done leveling this by the end of the week, and my wife won't be too pissed at the amount of time I'm spending hunched over a tile scraping a loud piece of wood back and forth during commercials.
-
Its a good way of doing things, Scott!
Joining side marked up:
Leveling it out on the sandpaper covered granite tile results:

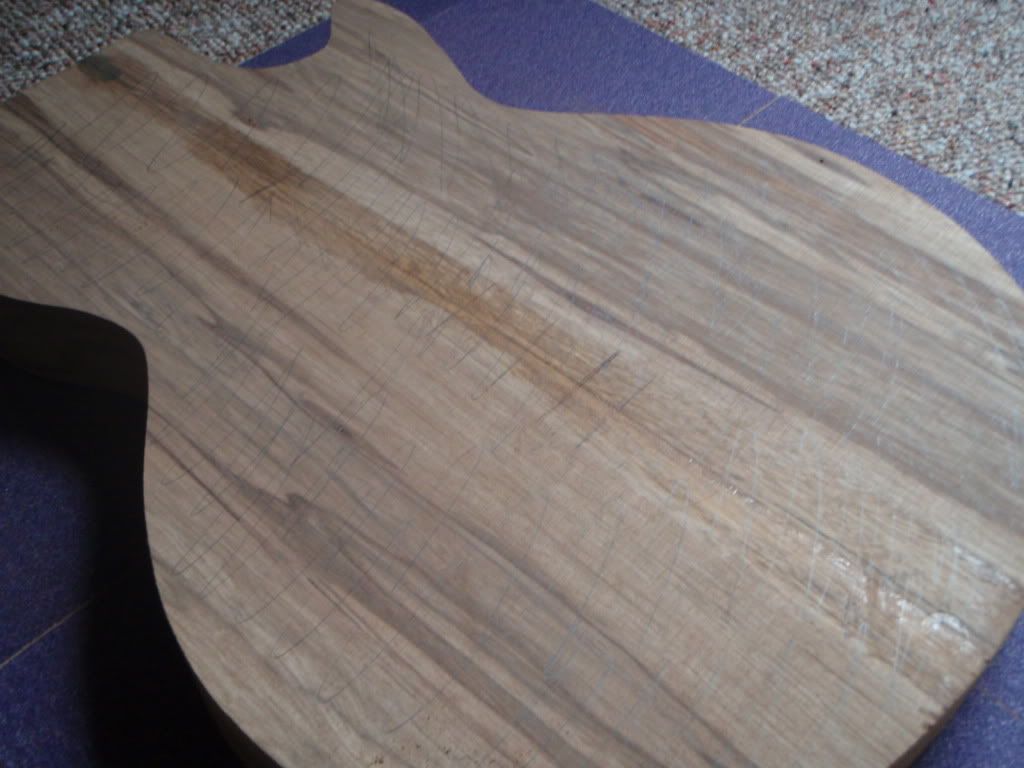
Final result:

After seeing the LP body blank sitting in the front of my body blank pile for a year, it looks really strange to me being completely flat with a slightly different grain pattern due to the layers of color in black limba. But it is completely flat, and it has a suction when I try to pick it up off of my kitchen table, which is what I was looking for!
I sanded up the back a little bit too, but I kept it a little convex for my comfort. Lots of wormholes to fill in! I'll be using clear epoxy, instead of mixing it with sawdust, as sawdust mixed in just looks like an ugly black dot of plastic in the middle of my beautiful wood.
-
So it's been almost a year since I last touched on this build. Lots of stuff has been going on in life with finding a house, getting a reliable vehicle, bands, deciding which branch of public service I would like to choose a career in, etc. Lots of stuff!
I don't have any pictures right now, but I am starting back up on the project.
The original glue joint on the body blank was a perfect glue joint. However, due to a natural curve in the original plank, I have to level it down flat. Unfortunately, I do not have any access to a planer, but I did get ahold of a 20x20" granite tile, which is pretty flat. Reflections on it aren't warped, so to me it's flat enough. It might not be true flat, but whatever. I will be able to join my top using it.
-
It looks like he's using the speedloader thingers from EMG
-
Hey John,
You won! Congratulations! Very nice work on this!

-
seems like its just one thing after another with this. Thanks for keeping us updated!
-
That's some beautiful work!
-
He's almost as awesome as the "jet frets" guy.
-
Fail.
-
That's cool! I'm pretty sure everyone is reiterating for reference to anyone else who may be reading. That's what i do anyway.
The only problem i can see with routing first (and this is a problem that I've had) is if you need to make any corrections to your neck pocket rout because the pocket is too small or too big or whatever, then all of your other routs and mounts will be off. I think it's a safe bet to route for the neck pocket and make sure the neck fits first.
I know proper measurements are key and everything to making sure mistakes like that dont happen, but sometimes they do, and preparing for that kind of thing by routing for the easiest thing to fix first will save you a lot of trouble in the future and give you more room for error if the unfortunate should happen.
-
-
Oh man... my LP build could use ALL of that... stupid bills
-
Looks great! For future reference, you can screw something into the neck pocket via the mounting holes, and then you can clamp that to something so you don't have to make it into a 2 person job.
I'm jealous though! I wish my bass turned out like that!
-
Not much lol. Inlaying is a PITA.
Also, weddings prevent progress lol
I thought you were already married. You've mentioned "the wife" a few times.....I just assumed it was "your" wife you were referring to.
SR
Oh, I'm totally married!
2 friends I set up in college are getting married, and my wife's cousin is getting married.
Thanks for bringing the thread back up though! I have time to work on it today
-
Not much lol. Inlaying is a PITA.
Also, weddings prevent progress lol
-
i love using the auto pinstriping vinyl tapes. they stretch and curve very well for what i do! you can see some examples of my work with the rg-rr and the corvus in my signature
-
I like my bio more. Its honest.
In my experience, grain orientation, body shape, mass, density, finish, pickup placement, and just about every other part of building a guitar makes some kind of difference in how your guitar will sound. I never really understood the whole "voodoo" argument.
-
It"s actually quite easy, the FB is sprayed with 3 coats of finish, and radius sanded to 600, the board is fretted, and then the frets are trimmed, beveled, leveled. re-crowned, taped off and then 2-3 coats of finish are applied. The FB is wetsanded with 600, 800, and 1000, then buffed with the frets still taped. The final product looks as if the finish was completely done before fretting, but it is really a combination.
If I understand this correctly, they radius after they spray... then they fret and crown... then they apply more finish... then they wetsand (with or against the grain, i don't know), and manage to get in between all the little nooks and crannies of the fret positions, and then untape them...
Unless I'm mistaken, that seems like way more work than there needs to be.
I think it should be:
Slot
Radius
Finish
Buff
Fret
Crown
Finish the ends of the frets
-
wow... i could make one of those. thanks for posting!
-
hahaha, that's some sweet photography, K
-
You painted inside the cavity. Does that interfere with the snugness that the neck fits with?
-
My Cherry blank was $10

Les Paul Style Build
in In Progress and Finished Work
Posted
Hey all!
Just a little life update:
Failed at being a cop. I have a big mouth, and I found myself unable to hold my tongue when it comes to dumbasses. So I discontinued my efforts and went and got my EMT! I stick tubes in people's orafaces now. Then I get them to a nurse before they puke or crap, that way I don't have to clean it up. Good times! Seriously though, the job is the most rewarding job I've ever had, and I plan on doing it for a very long time. I plan on getting certification for firefighter 1 in the 2nd half of this year
That said, where am I with this build? Well, I work 100+ hours a week now (it's not all work... Half of it is waiting for someone to call 911). So I don't get too much time to sit down and sand. The top is almost flat enough to join to the body now. I don't know how long it'll be before progress happens, but I wanted to let you know that this project is still in progress, and pics will be up... Sometime lol
P.S.
Amiee is a crazy person.