


MzI
-
Posts
1,065 -
Joined
-
Last visited
-
Days Won
2
Content Type
Profiles
News and Information
Tutorials
Product Reviews
Supplier Listings
Articles
Guitar Of The Month
Links and Resources
Forums
Gallery
Downloads
Posts posted by MzI
-
-
Couple dents and dings here and there plus some tear out from the planner. Also easier than sanding out all the 40 grit sanding marks from the thickness sander. I've also found, on my solid color finishes, any joints that I glue up always show no matter how much base coat and clear I put over the top. Putting down a coat of epoxy helps hide it, and it doesn't shrink like bondo does.
-
Finished up grain filling the body with epoxy and sanding back to level. Probably be a while before more updates as the neck joint is usually a step I don't really care for and busy with work/drag racing right now.
-
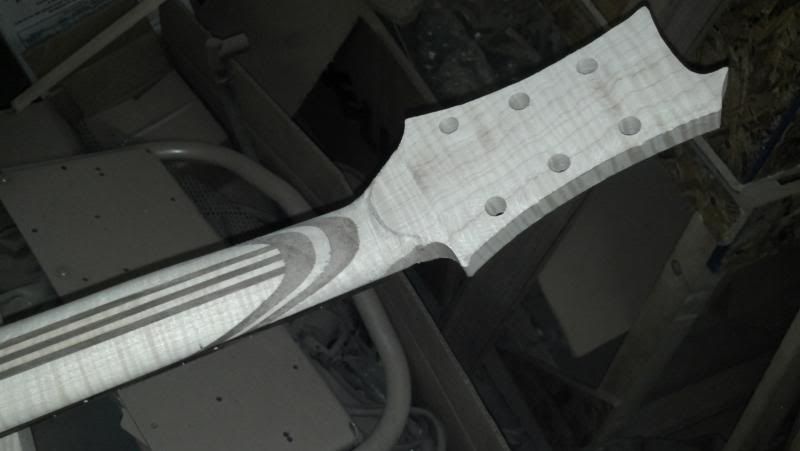
Making a little progress when I can find time here and there between work and racing. Body is pretty much set, just doing a little grain/dent filling with epoxy. Fret board is glued on along with the block for the heel. Headstock inlay is started still have to do the filling around it once the fret board clamps are off. Also picked up some Wimbledon White paint, 1964-1967 Ford color, nice vintage/off white but not too creme color and not stark white like snow white. Also had some tear out on the headstock when I was routing that so once I get it thinned down to around 15mm I'll have to see how much tear out is left.
-
Generally dyed/stain wood and oil finishes don't work too well in my experience. Teak/Tung Oil penetrate into the wood as do stain/dye and it tends to displace the color. Do some testing before hand. My last guitar I used gel stain on the mahogany but let the guitar sit over 6 months before I applied teak oil. I did get a small amount of color displacement as seen on a rag when first applying the oil but overall wasn't too bad.
-
Generally, 2x4s are white pine or doug fir, usually 2x8 and up are SYP from good lumber yards. If your concerned about the brightness of maple, turn the tone down on the guitar or use a different pickup imo. The neck is the last place I'd scarifice structural integrity to gain warmth of tone.
From my experience, walnut is not even close to the brightness of maple, more in the range of mahogany.
I have a few guitars that are solid maple and a combination of maple and northern hard ash, bright as can be, and even with a SD JB in the bridge position they are great for cutting through the distortion and maintaining clarity on the lower tunnings. If I have them tuned to standard E I role the tone knob back a bit and they aren't overly harsh.
Just make sure any SYP you use is dry. Most that I find from lumber yards is construction grade, more in the 15% to 20 % range and not 5% to 8%
-
 1
1
-
-
Yellow pine and standard white pine are two completely different woods. I am building a timber frame house right now, the frame is out of southern yellow pine. It is a very hard dense wood, to the level of traditional hardwoods such as hard maple, not quite, more comparable to mahogany. If you find a nice tight grain piece I don't think you would have too much problem with it as a neck. On the other hand Hard maple is so cheap, why use anything else.
-
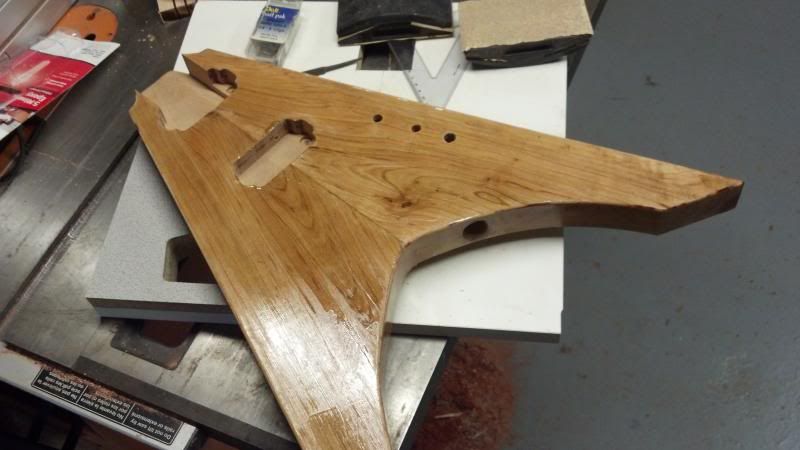
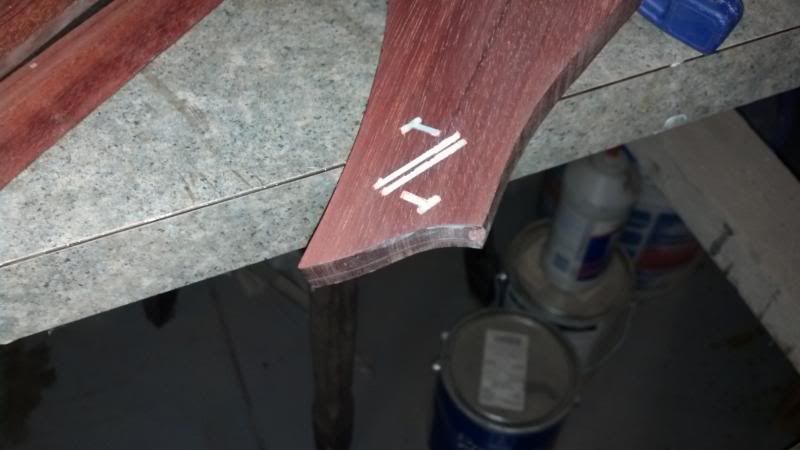
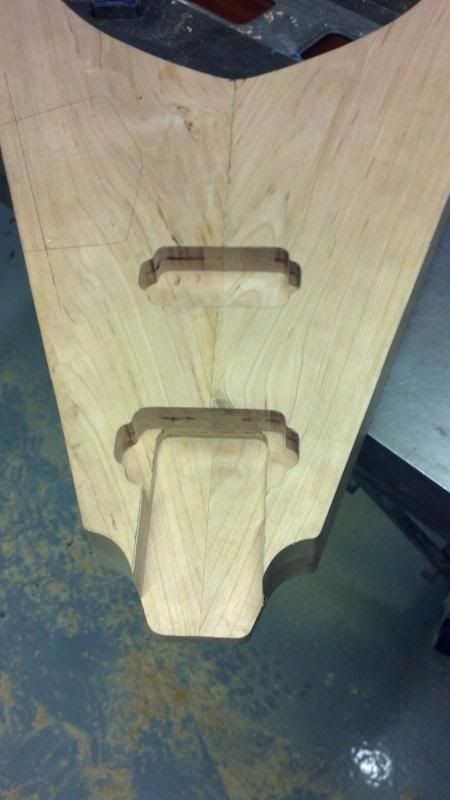
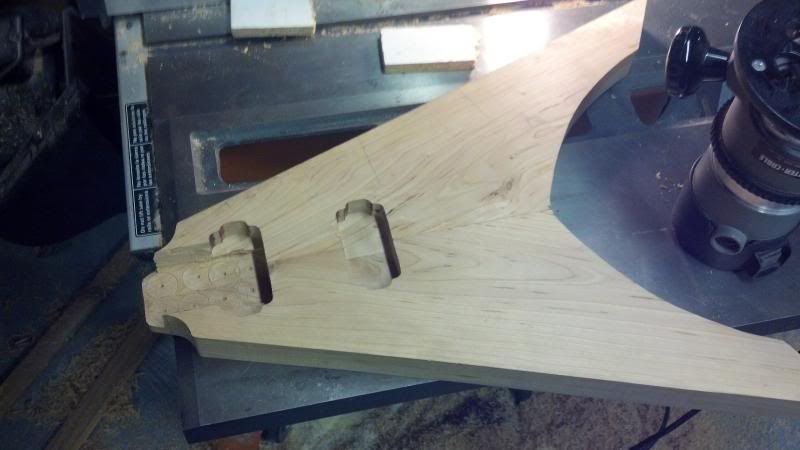
Got a little more done. 7 day work weeks don't leave much time for guitar building so I am sneaking in a hour here and there. Still need to adjust my neck pocket, not quite as wide as I would like it.
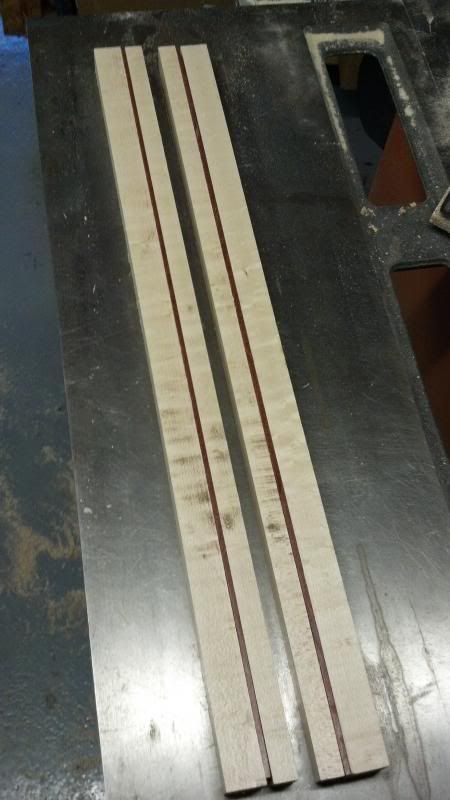
Going with a 7 piece neck on this. I am doing some testing with the center piece. I had an off cut of Birdseye a hair under 1/8" thick. Trying to dye it straight black but enough so that when I carve the neck it will still be black all the way through. Anyone have any idea if that will work? I have one test piece that I dyed both sides with straight dye undiluted. I will cut it in half to see if the dye went all the way through or not.
-
This V that I am building right now, the body weighs in around 4 pounds. I still have to finish the neck pocket and electronics cavity as well as input jack so it should be under 4 by the time its ready for a neck. I'll weigh it on my digital kitchen scale when its all routed.
-
1
-
-
If the heel is located at a certain point to serve as a stop for the hand from sliding too far down the neck that is one thing but to have it so far away from the body inhibits playing the upper frets unless you have monster hands.
-
Real Les Paul's are in that range as well. For playing half hour at a time at home its not really a big deal, I don't play out anyways.
-
11 lbs for that one. It usually hangs on the wall. I usually play it sitting down due to the weight. Also why I have three Korina's in progress right now. They are far lighter.
-
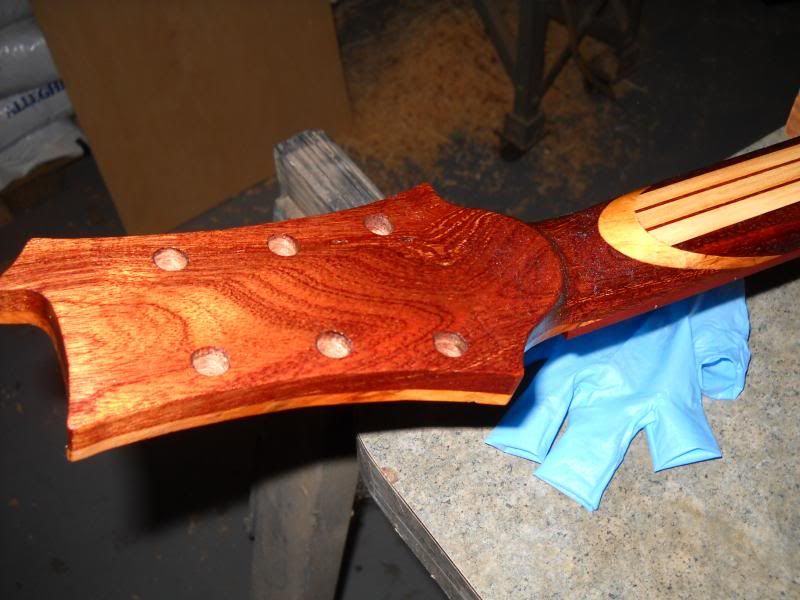
The Lahio cutaway looks like an after though more so than anything. Yea it probably functions very well but the form its pretty bad. The ultimate cut away/planning is in the Gibson 59 Flying V, maximum cutaway while still mainting a neck pickup. Its all in having enough shoulder width to install the neck pickup right against the fretboard. I plan all my guitars out in Autocad before hand to make sure I have the necessary clearances.
Here's one of my Purple Heart 59, the fretboard meets the body at the end of the board after the 22nd fret. This particular one is a neck through, but my 3 Korina's are set neck with a tenon that extends approximately an inch past the neck pickup for plenty of glue surface.

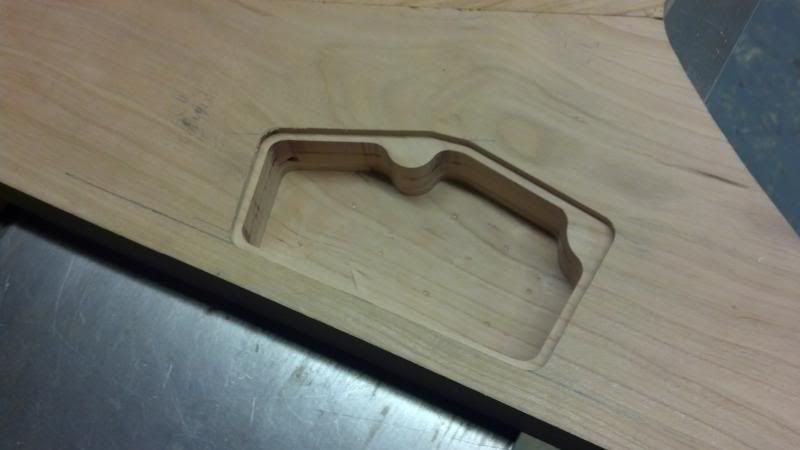
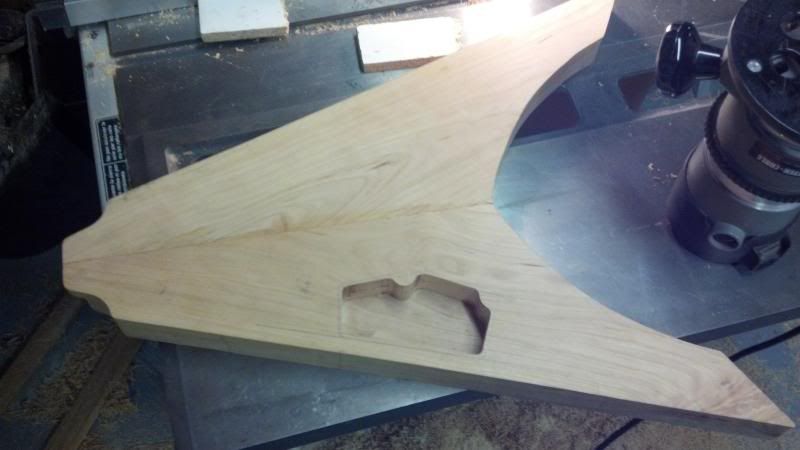
Started routing pickup cavities, neck cavity, and electronics cavity. Work got in the way though so unfinished at the moment and still need to create a neck pocket template.
-
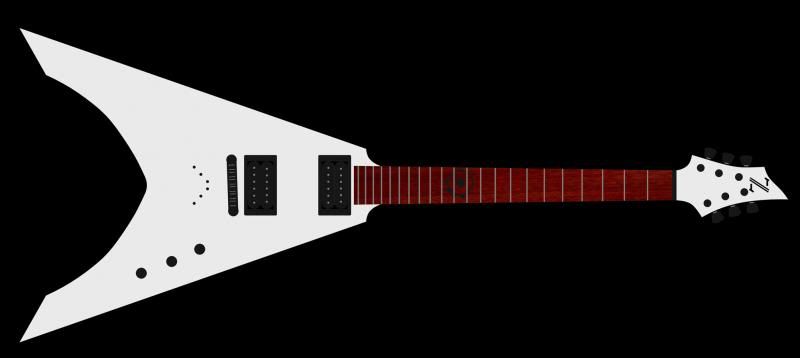
I like the ESP version as its not quite as over the top with the lower horns (little more classy than screaming Death metal right from the start) and I also don't care for the Dean Headstock design. I am going without a pickguard, my control layout, and I am also pushing the body farther away from the neck to gain upper fret access, which is one of my biggest gripes with these production guitars, Jackson King V being the worst.
-
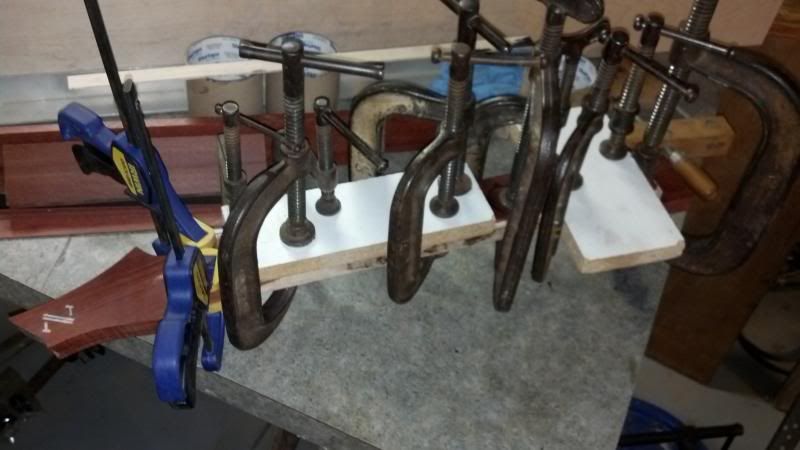
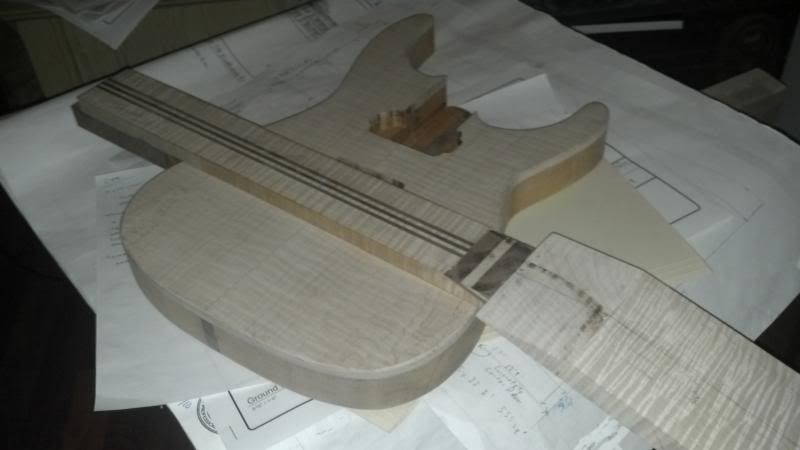
Got the body all planned down and glued up today. Didn't get around to glueing the neck laminates so that will be tomorrow along with routing the pickups, neck pocket, and control cavity. Always interesting to see what comes out of rough sawn wood when its planned down. This piece was actually pretty smooth considering it was cut with a traditional saw mill (giant saw blade). There ended up being nothing exciting in the wood which I was expecting anyways.
Planned


Fretboard slotted and inlaid

Glue shot

-
I haven't listened to much of Carcass outside of Heartwork. Great record.
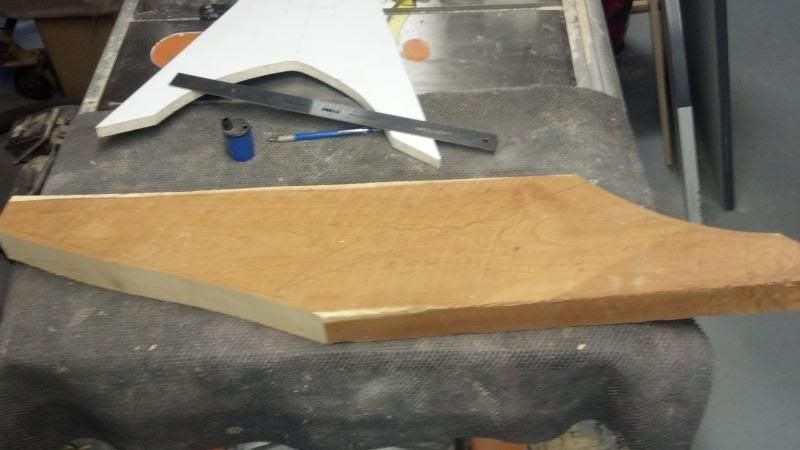
Finished the template tonight. Seeing as no work tomorrow should be able to get the cherry planned and glued up and the neck glued up as well.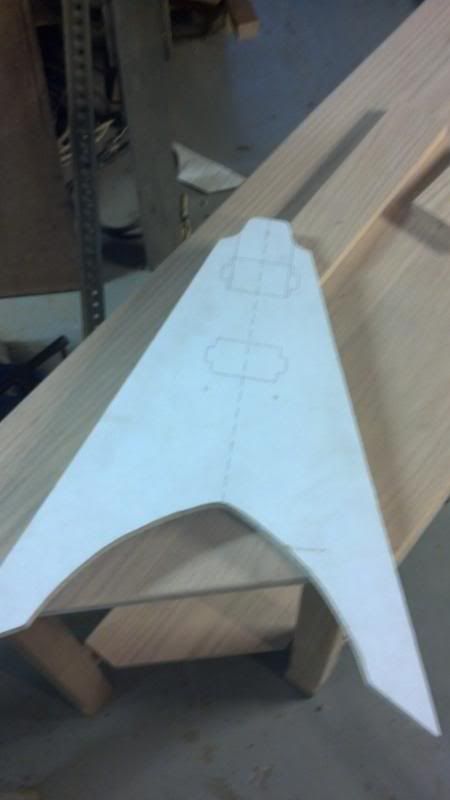
-
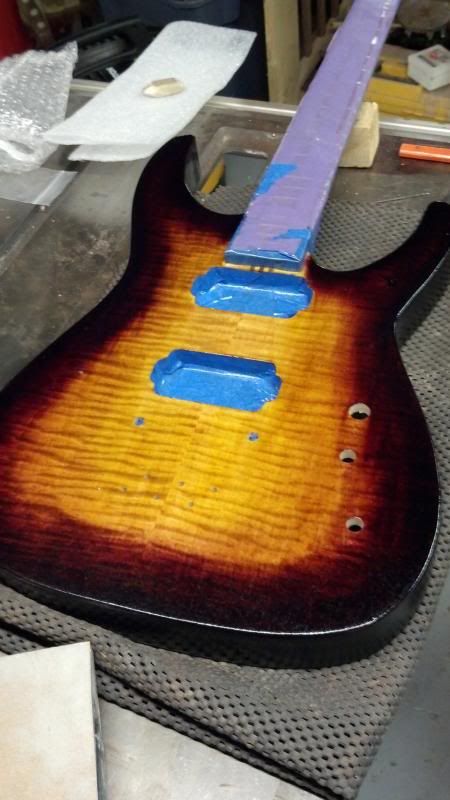
Another one currently sitting in the spray booth. Had some spray gun issues so I am avoiding having to sand the top back to level before I spray more clear.
Flamed Maple top
Mahogany Back
7 piece Flame Maple and Black walnut neck
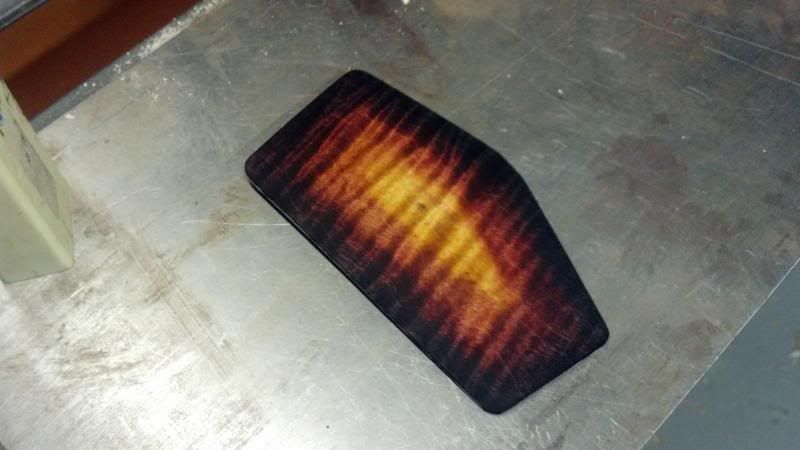
Color testing, Gibson Fireburst was what I am going for, pretty close

Cavity Cover
-
I used a bloodwood fretboard on my last guitar, has a nice feel and its something different so using it here again.
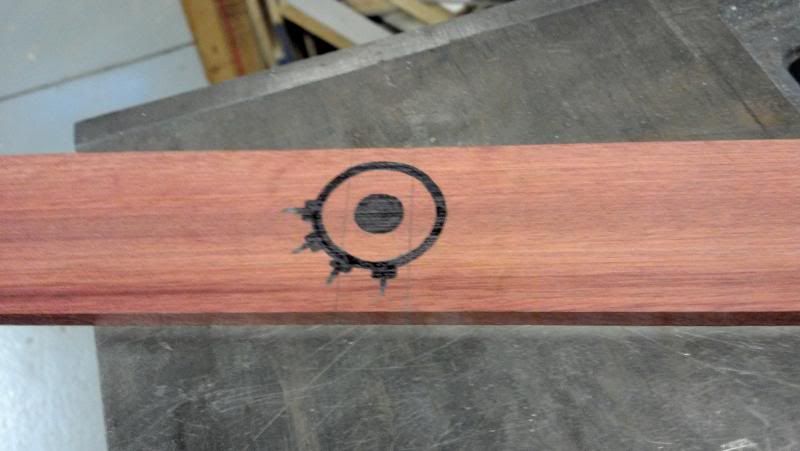
I am not big on inlay, usually go for more over the top wood but as this is more of a tribute guitar versus my usual one offs, I thought I'd throw something small in.
Arch Enemy logo
All routed

-
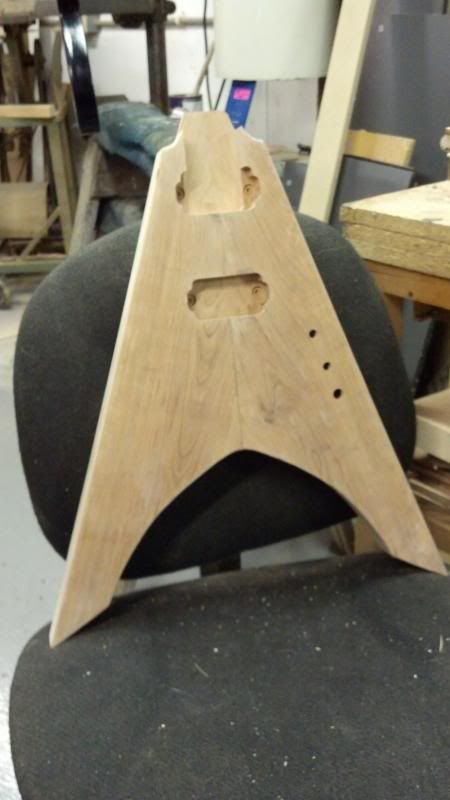
Starting to get back into building so I thought I'd throw a couple pictures up of what I have going on.
I just started a new V, based on the Amott Ninja V by ESP. Couple tweaks here and there to my liking.
Specs:
Cherry body
Birdseye Maple and Bloodwood Neck
Bloodwood Fretboard
22 fret
2 hum TOM and strings through
Wimbeldon White Body with oiled neck and fretboard
Mock Up
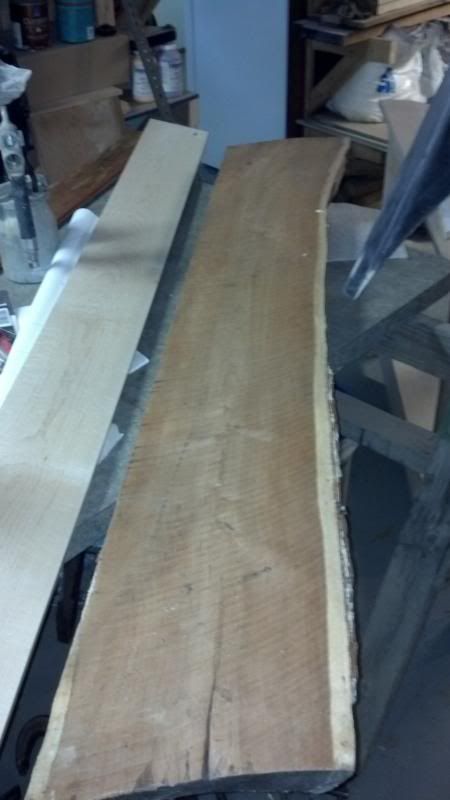
Cherry
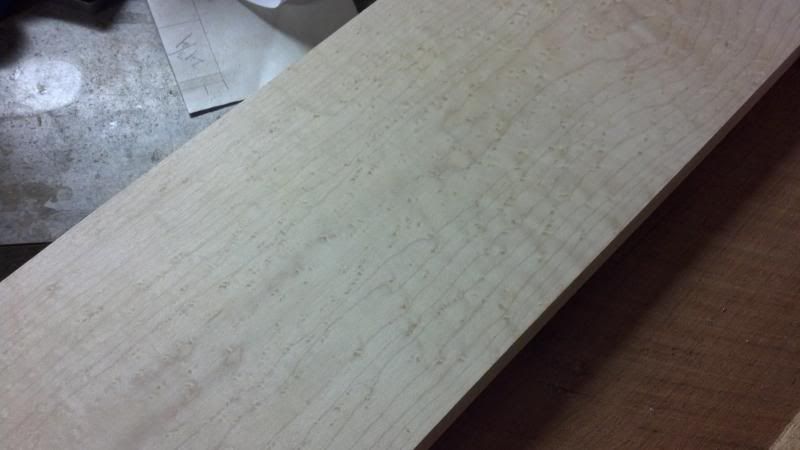
Birdseye ($20 at Home Depot, I don't usually buy lumber there but this piece jumped out at me)
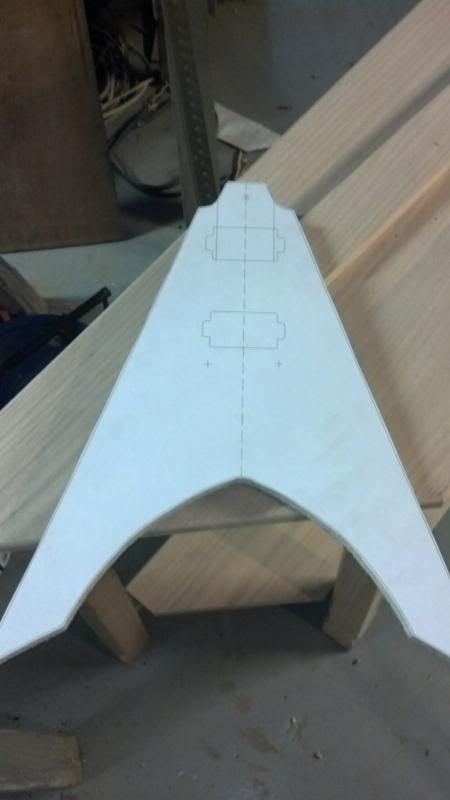
Template almost done.
-
Haven't had any time lately. That's why no build thread or any decent pictures. The one of the front was actually from a wood working show a couple weeks ago.
-
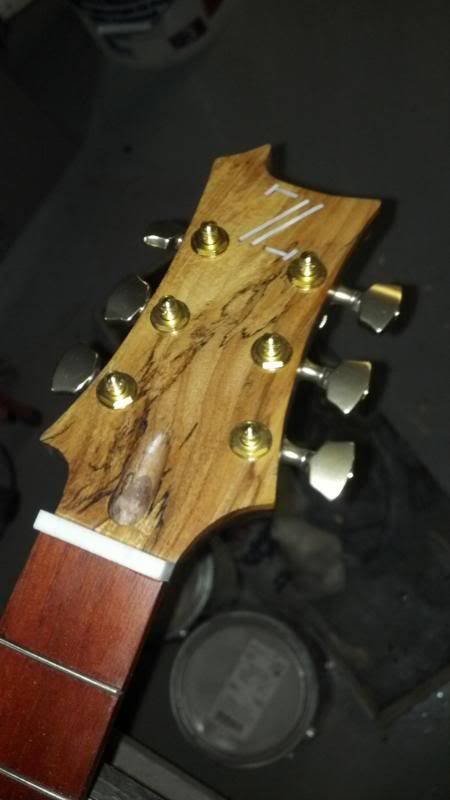
Evil
Spalted Maple Top w/ Honduran Mahogany Back
7 Piece African Mahogany and spalted maple neck w/ scarf joint
24 3/4" scale 22 Fret w/ Bloodwood Fretboard
SD Jazz pickup, Abr-1 w/ strings thru


-
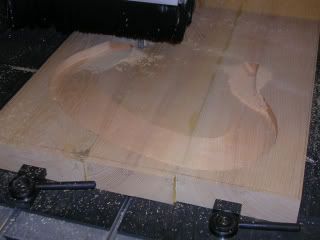
Going back to the 3d carve on the CNC, its really not that hard. All the work is in the 3d modeling. When I had access to a CNC in college I used Rhino 3d for the design of the carved top and then exported that into MasterCam to create the tool path. The one pictured below wasn't a crazy carve but I pulled it off the mill and didn't need to sand the top at all. I set the tool passes fairly close together and traded that for the time it took to carve the guitar top which was around 3 hours.
-
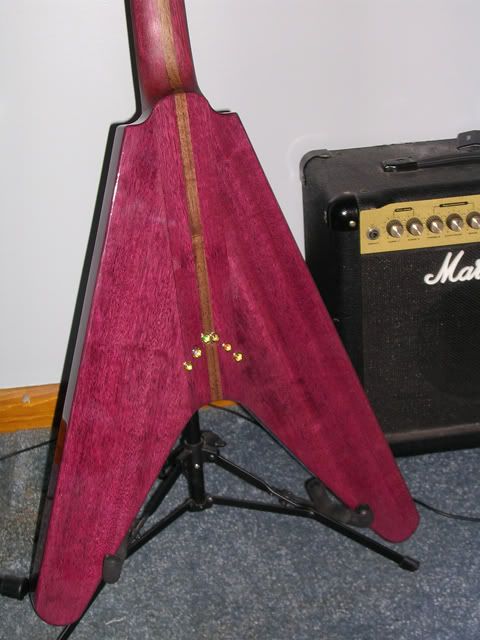
Here's two pictures of mine. The color has not changed and these pictures are from a few years after the guitar was completed. Not that it gets any sunlight on it anyways. I used Martin Senour 2 pack Automotive Poly. The neck is finished in Minwax PAste finishing wax and has held up quite well without any recoats of the wax
-
I made a 59 Flying V out of all purple heart, neck included, it weighs in around 11 or 12 pounds. I don't play it standing up much though it does balance well, usually sit down on the couch with it.
-
Autocad is by far the best for drawing plans, there is a reason why its the industry standard for architects. Another more cost effective option is progeCad or Intellicad


Mzi Build Thread
in In Progress and Finished Work
Posted
Its either 40 or 60 or maybe 80 on the thickness sander, don't recall. I have a stack of cherry that was cut down from a friend's house and I had it rough cut. Not the greatest but free and perfect for paint grade/ test models. There was one or two small knots in the top, not loose but the epoxy helps keep them solid as well.