


Stewey
-
Posts
141 -
Joined
-
Last visited
Content Type
Profiles
News and Information
Tutorials
Product Reviews
Supplier Listings
Articles
Guitar Of The Month
Links and Resources
Forums
Gallery
Downloads
Posts posted by Stewey
-
-
Geez, which ancient burial site did you excavate that router bit from?
-
What type of body shape are you going with?
-
Glue is cool.

-
I can still see timber in that shot, bad Muzz.
-
Nice work, I like how the heel has clean lines yet still looks comfortable.
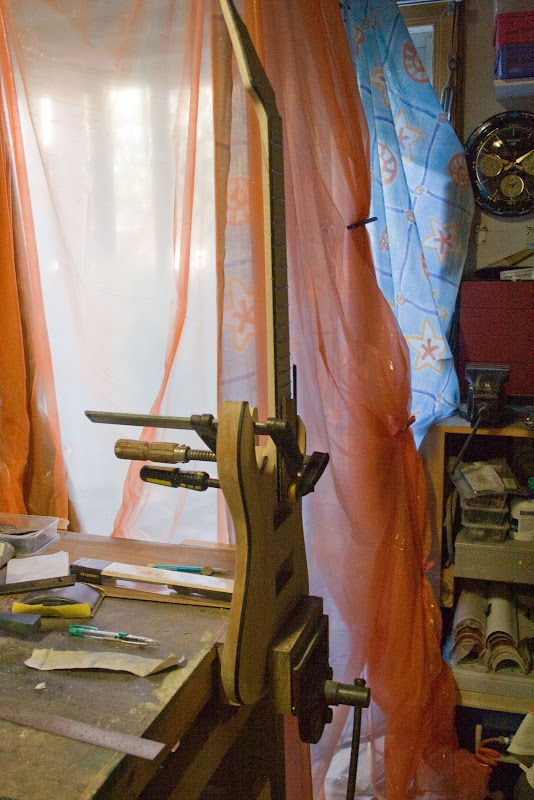
I just noticed that you have the same orange sheets that I use for a spray booth.
They are quite cost effective. -
Well that does suck mate. I don't use the SM truss rods any longer either since there are much better alternatives out there.
So what's the plan with the neck now? Can you salvage the fret board at least?
-
Thanks guys.
The idea behind sealing it first was to avoid the filler staining the timber. QLD maple can be very thirsty when a bit too dry and it likes to drink the colour of the filler. The pores are also not small and only a large amount of sealer would fill them.
-
So after may months of delays due to unhelpful suppliers and a couple of stuff ups in my spraying routine I finished her up this morning.
I probably shouldn't have taken the pictures at midday but the rain looks like coming back.
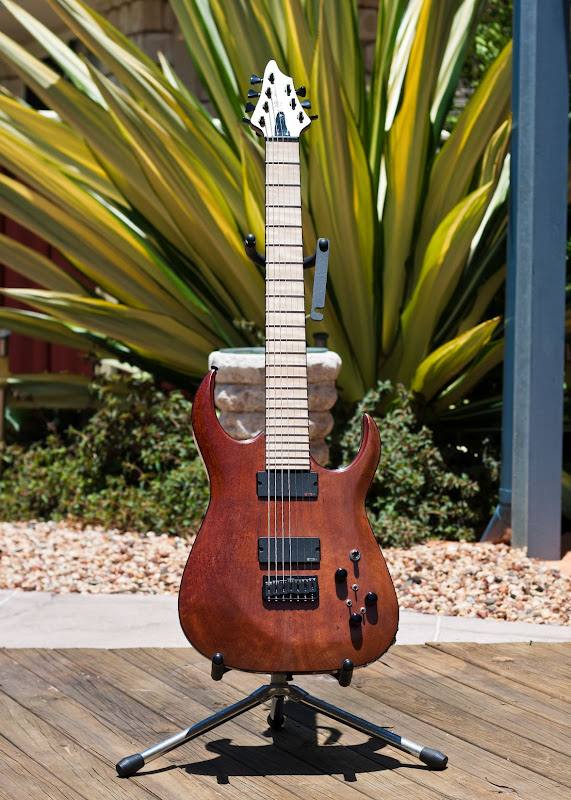
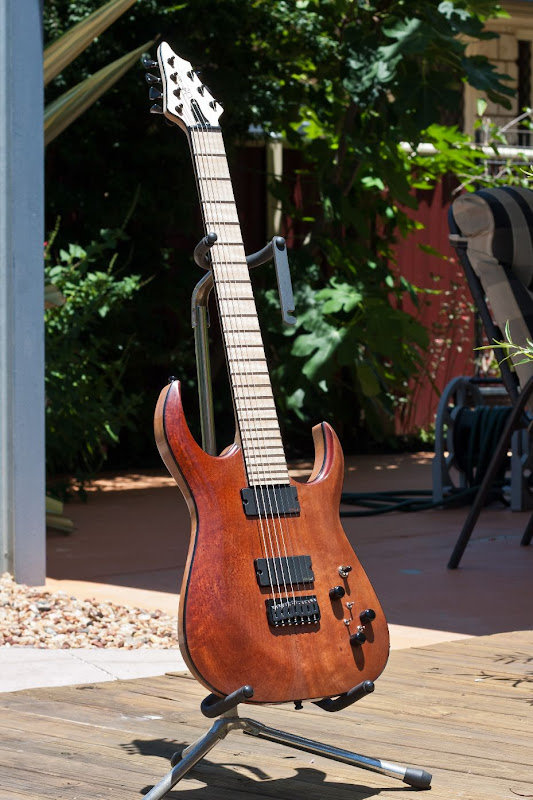

The finish came out well enough but I think I will need to move onto something better in the future. This paint never seems to get past the milky look rather than going all the way to a wet look.
Oh and the electronics all worked straight off the bat which I was very pleased about. It has dual EMG's with the neck coil split and also the Graphtech Acousti-Phonic and Hexpander kits.
-
I sealed the body all over by spraying on sanding sealer. Once this was sanded back to smooth I used ebony grain filler on the front and mahogany grain filler on the back.
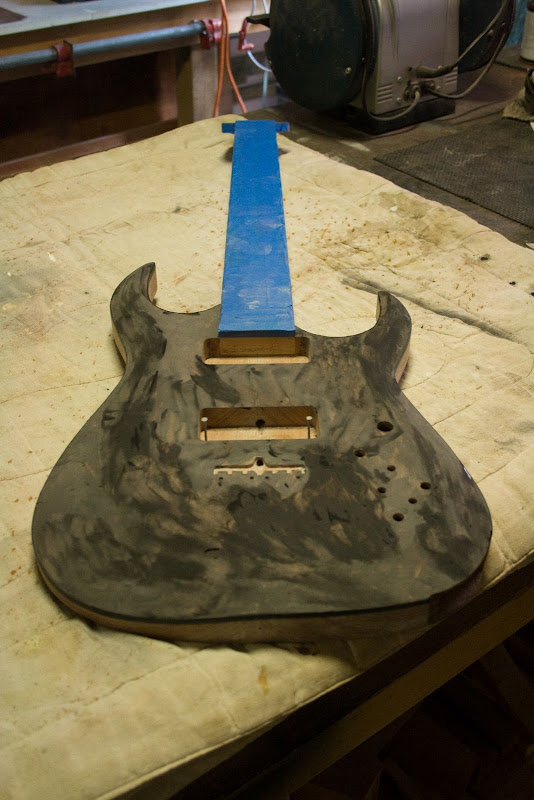
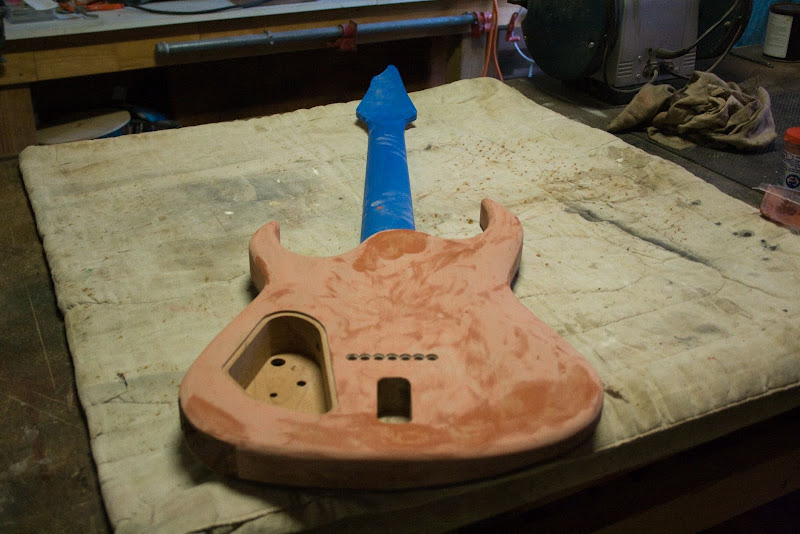
After the filler was sanded back I applied another coat of sealer and made sure that the body was perfectly flat all over.
I mixed up some alcohol based stains with some metho and sprayed this colour onto the top. I was aiming for the same colour as my last 8 string but just a little bit lighter.
And this is where I am up to now. The body has been clear coated and left to dry for two weeks. I scuffed it up at the one week mark as this helps this type of paint to cure quicker.

-
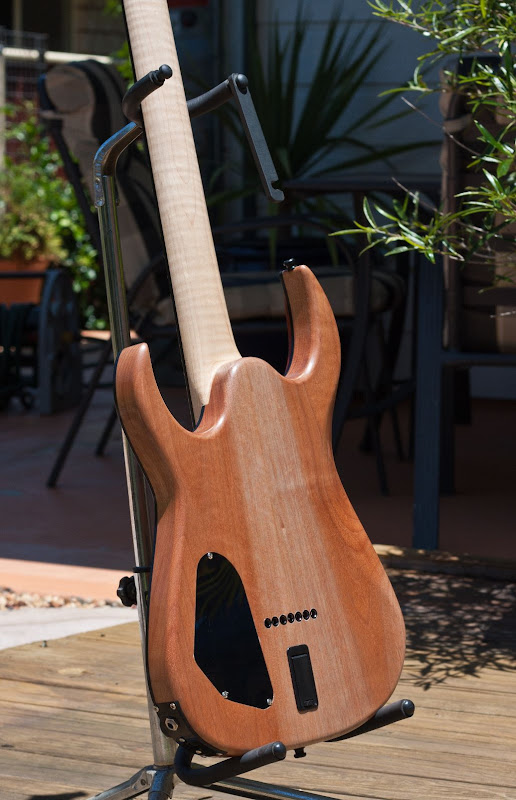
Moving on now that I have all the electronics.
Holes drilled for pots and switches. 3 way switch for the EMG's, EMG vol with coil split push/pull, piezo vol, midi vol, midi program switch and two switches for piezo/midi/EMG selection.
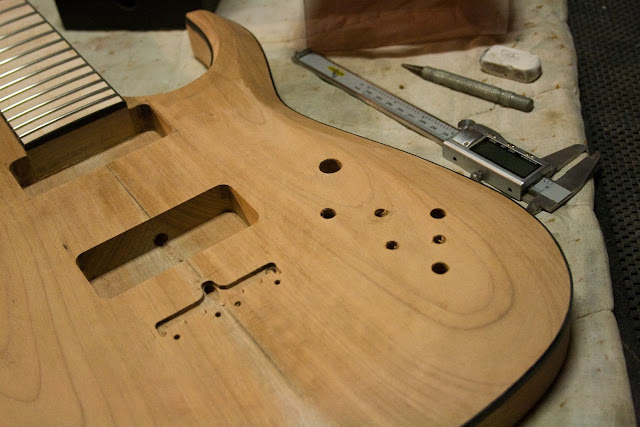
Control cavity routed. This is bigger than I normally use because of the electronic boards.
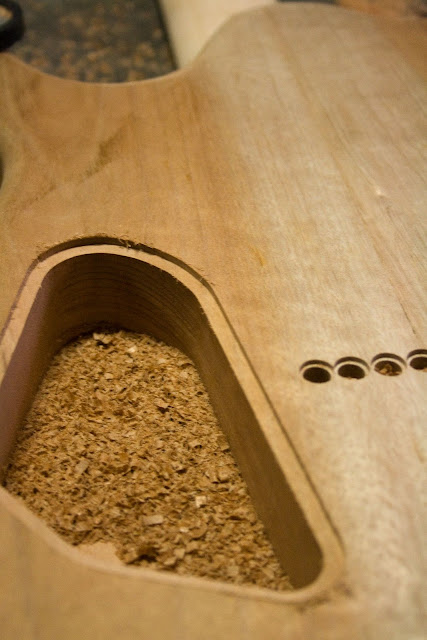
Rout for the battery box. I use the Gotoh flip out ones.
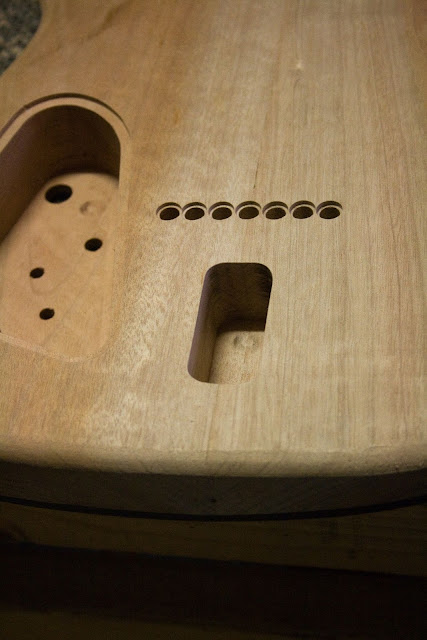
Now to take care of the problem of the output jacks.
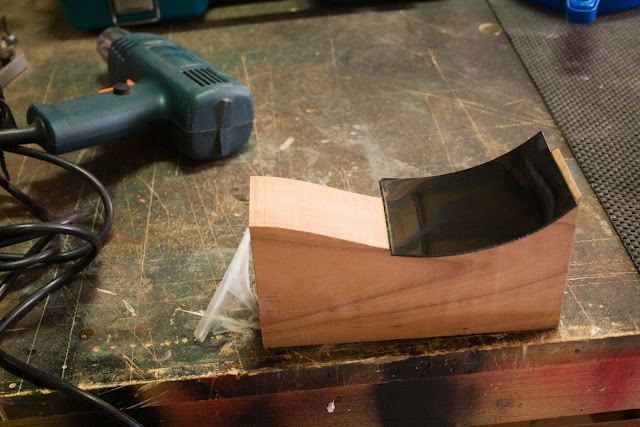
First I made a mould and bent the material for the jack plate using a heat gun.
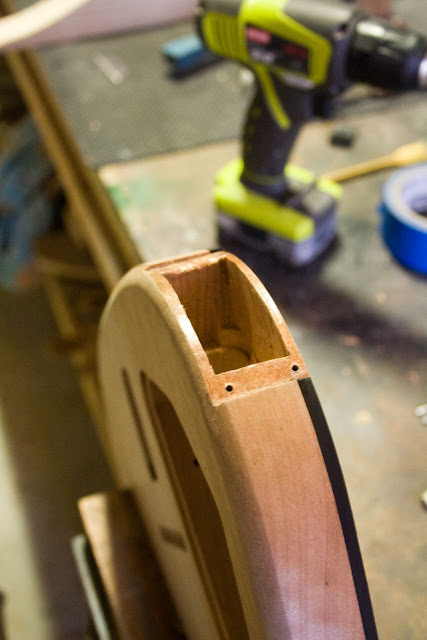
I decided to put both the stereo 1/4" jack and the midi jack in one large cavity. I tried setting up a jig but just found it easier to chisel it out in the end.
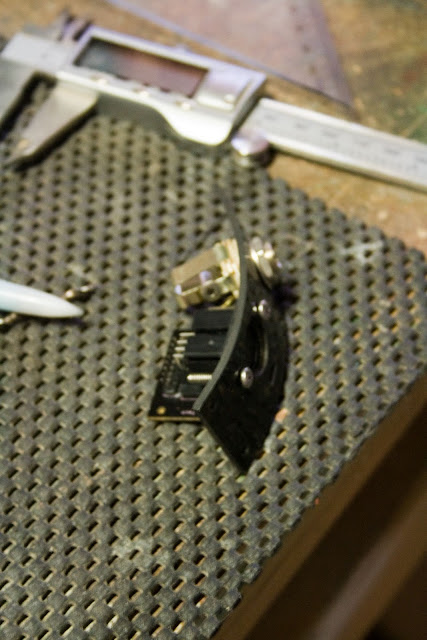
Here is a very poor picture of the plate once I cut it to size and added the holes for the jacks.
I then used a scraper on the edges of the plate as if it were part of the binding. I will finish its shape once the body is finished so that I get it exact.
I will try and get the final sanding done during the week so that I can start the finishing routine next weekend.
-
Very nicely done. How much does it weigh?
-
Thanks guys. I've finally got all the parts together so there will definitely be a ton of progress this weekend.
-
Thanks mate, I try to make them comfortable. It is 43mm thick.
-
Wow, what an awesome idea. I would spray them with a very thinned down lacquer if I still wanted the wood feel. You would have to experiment what the thinners did to the web though.
-
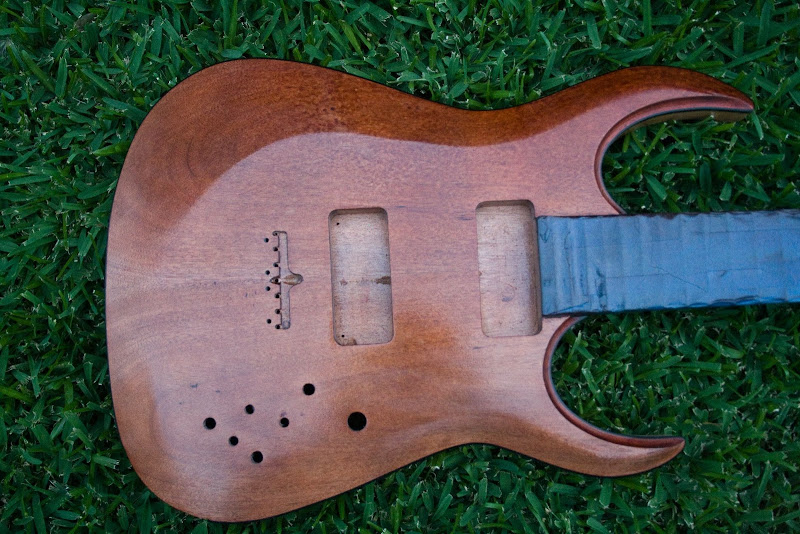
Finally got the pickups in. A set of EMG's.

I hadn't routed for 7 string EMG's before so I knocked out a new template. 12mm MDF works perfectly for me.
A short time later we have both cavities routed.


I drilled through to the bridge pickup for the wire from the neck pickup and then glued the neck in.
Just waiting for the rest of the Graphtech ghost bits to turn up before doing the cavities. Hopefully not too long now, they have only been on order for 4 months.
-
Thanks Doug.
I did the bulk work of the body carve this weekend. I'm still using the angle grinder with a sanding disk and finishing off with the spoke shave and scrapers.
I also hand cut the binding channel around the forearm contour. It was fairly easy to do, I just sharpened the point on my marking gauge and scored the channel edges deeply. Then I sharpened my chisels and chiselled the rest away.
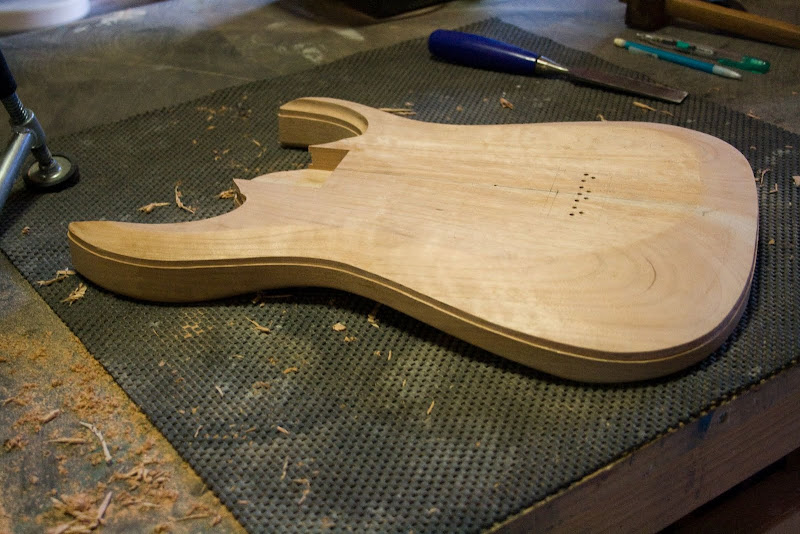
I also got the binding installed and roughly scraped back. I will probably be stalled on this project now until the electronics turn up.

-
I do like the look of that maple heel.
-
Made a little bit more progress while waiting for the electronics to show up.
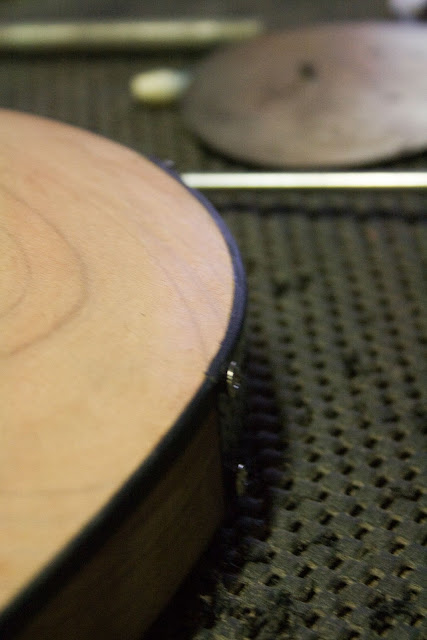
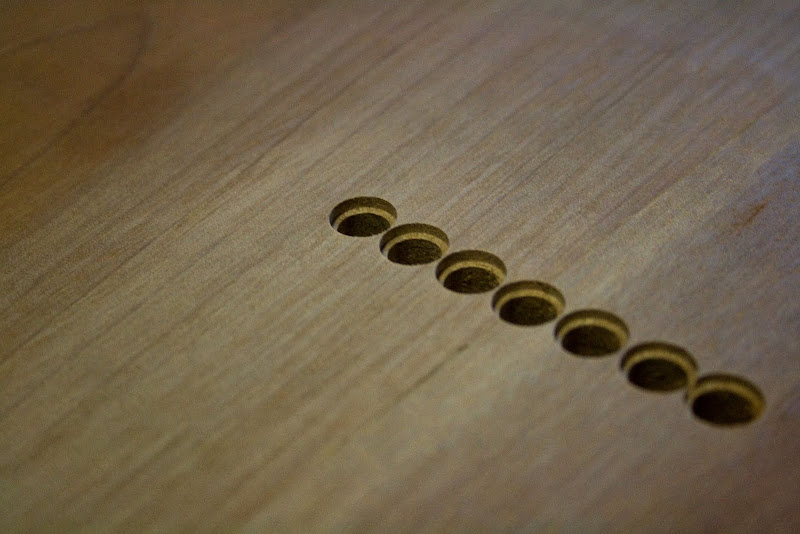
Got the bridge drilled for and recessed the string ferrules using the Stew Mac bit I used for the headstock. Thanks to RAD for pointing out the uses for this bit as it certainly makes life easier.
And also got the frets in, still need to clean them up. These things are massive and are an absolute pain to remove the tang for the binding. They are so solid though that once I got them exactly to the radius of the board I could just hammer them in and they didn't change shape one bit.
-
That is a beautiful instrument. I love QLD Maple for acoustics, how does she sound?
-
Definitely vintage. It's not like those guitars sounded bad and these builds are already pretty vintage.
-
A little more progress this weekend.
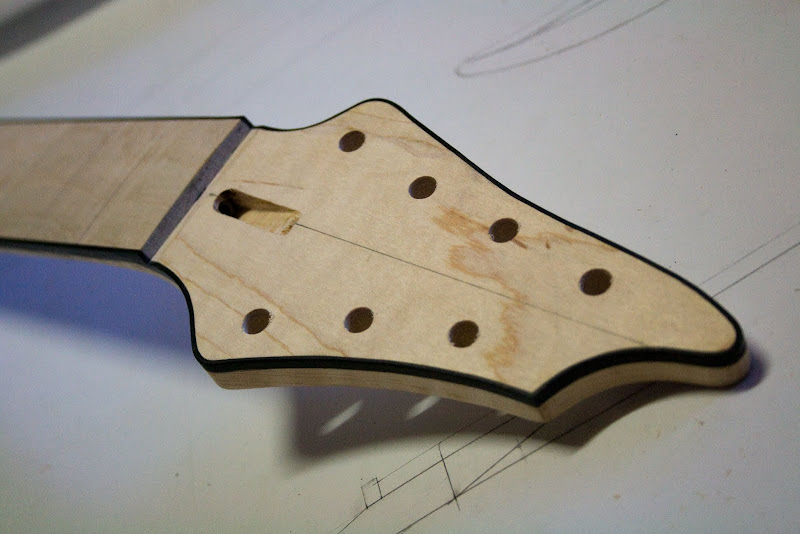
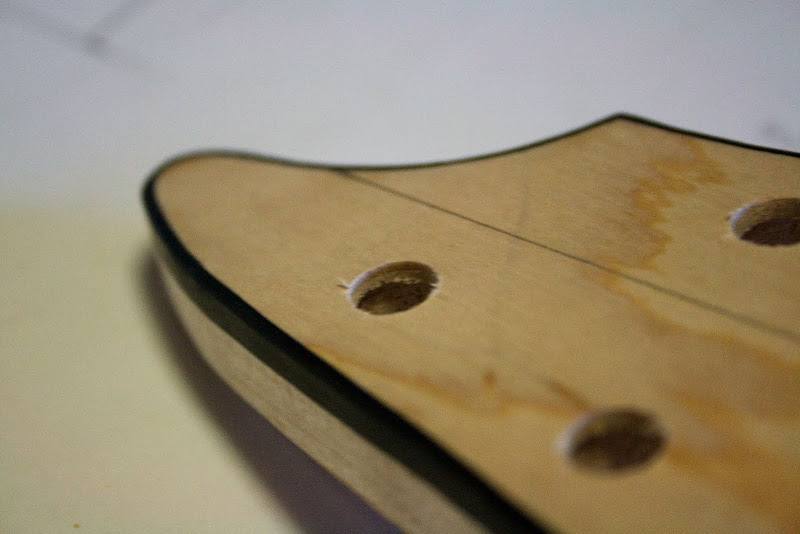
Got the tuner holes drilled. I bought the recessing bit from Stew Mac in my last order so I recessed these tuners. They feel a lot more solid drilled this way.
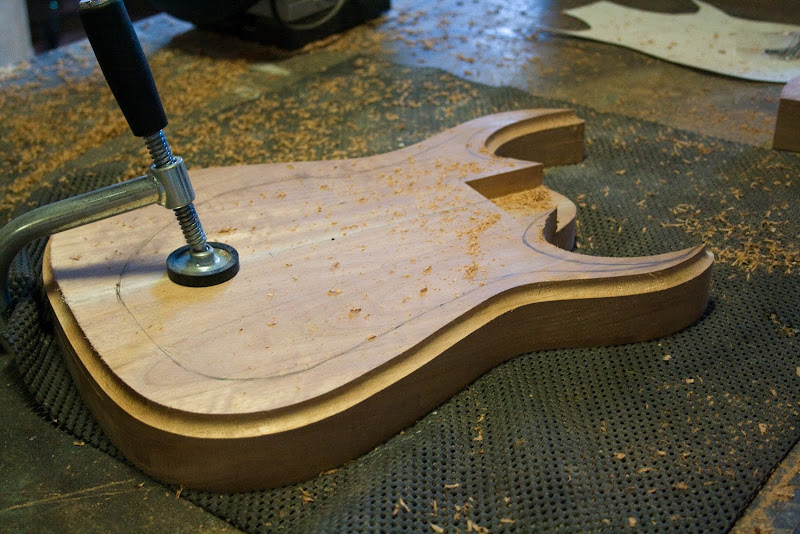
I also got some routing done.
This is to set the height of the carve.
The rout for the binding.
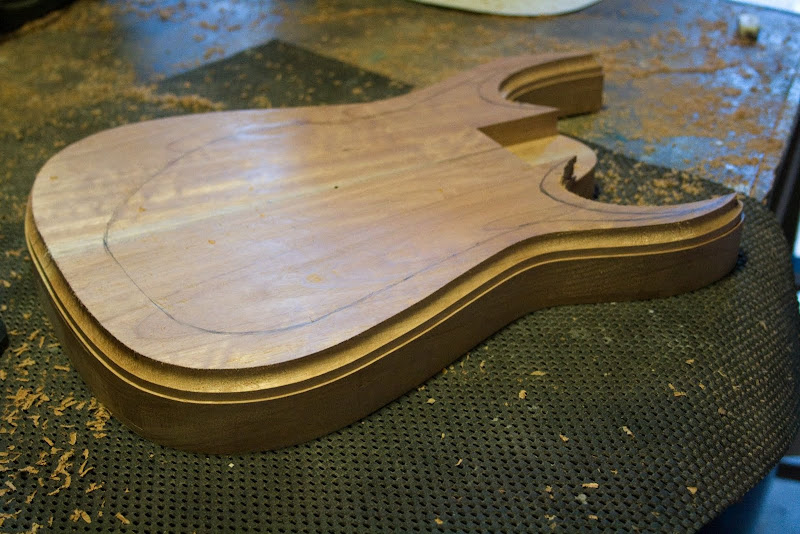
And lastly I got the back rounded over.

-
Thanks Davie. No maple top on this one, I will be carving the body as it is.
-
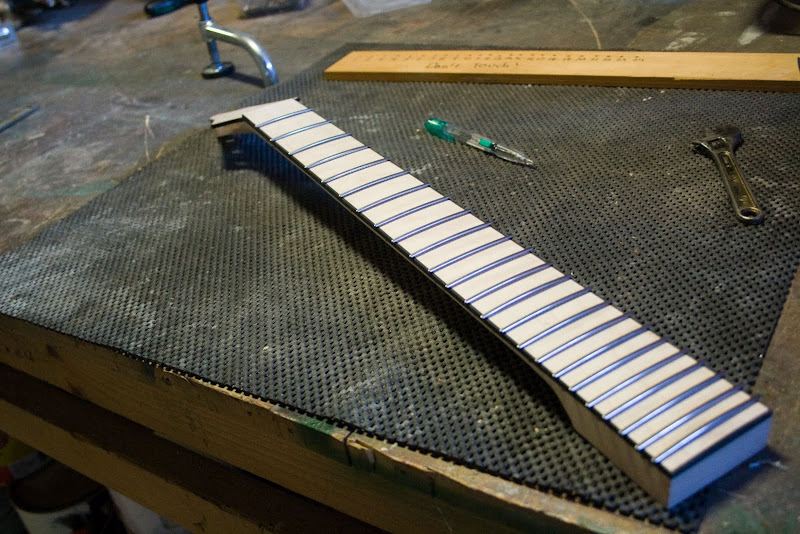
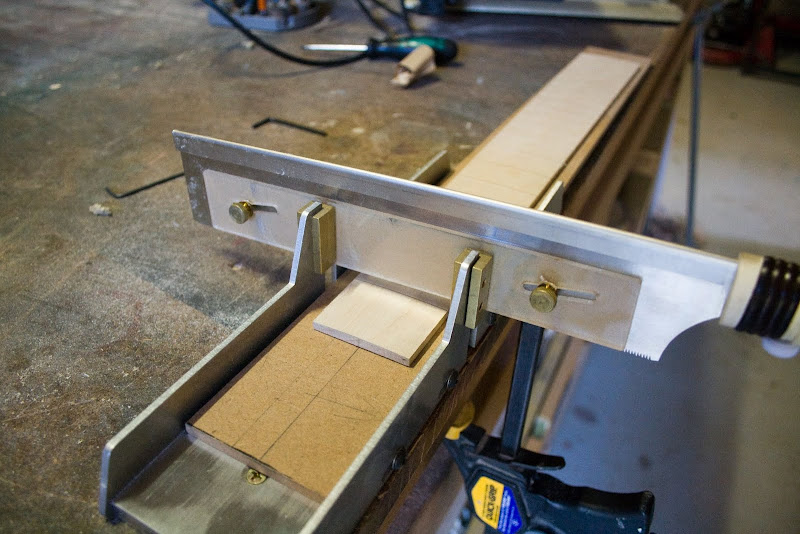
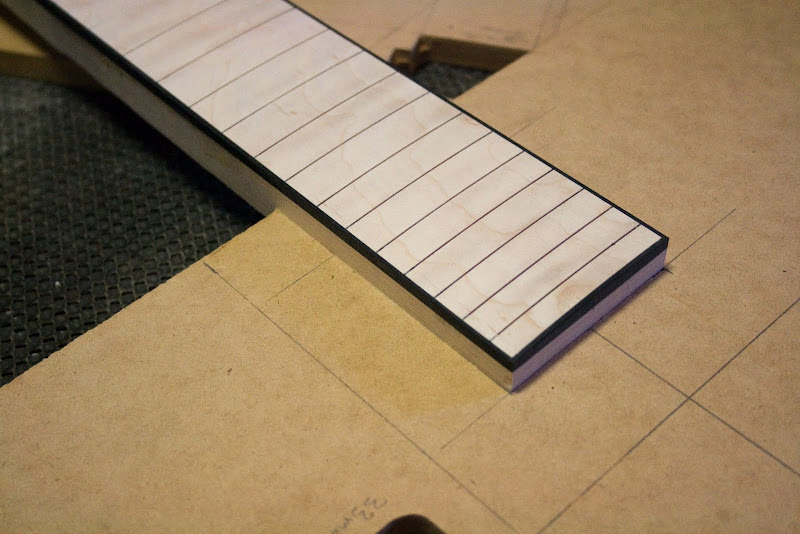
Finished slotting the board to the correct depth this weekend. I saw this setup over on TDPRI for attaching your depth guide while also using the mitre box. Works a treat for getting a consistent curved slot.
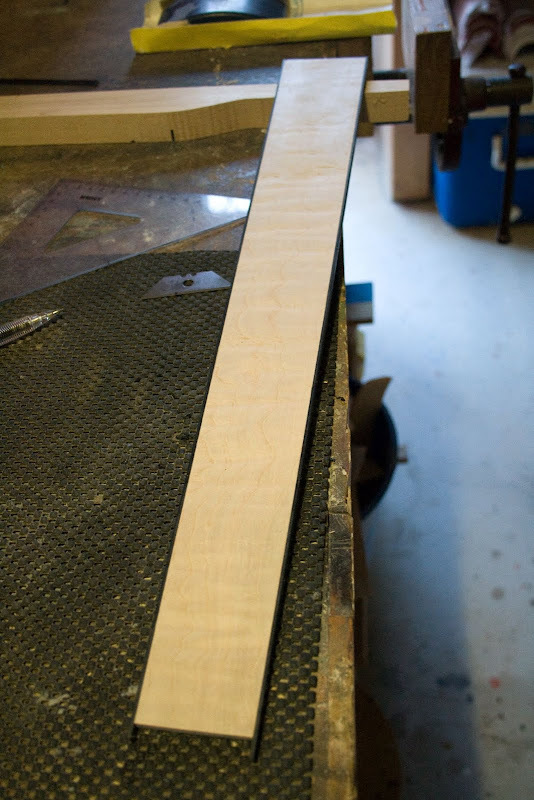
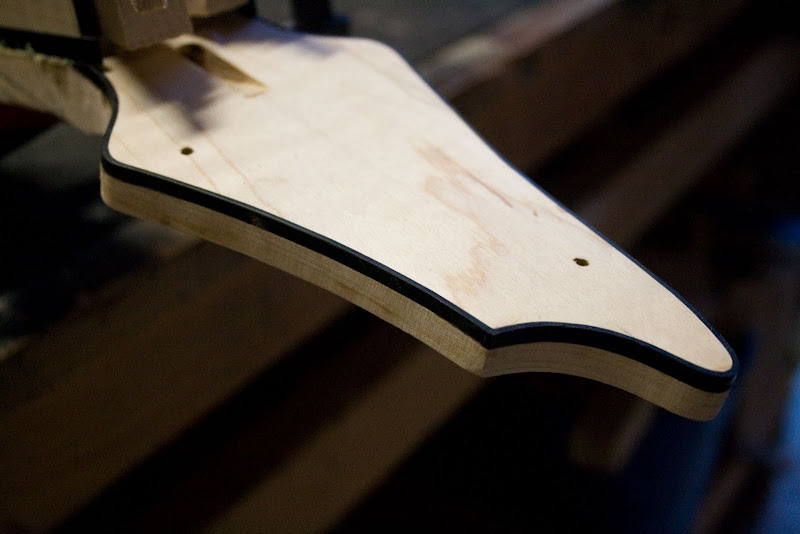
Now that the slots were the correct depth I could attach the binding. It is black plastic.
I also bound the headstock before attaching the fret board.

And then scraped it down using a razor blade.
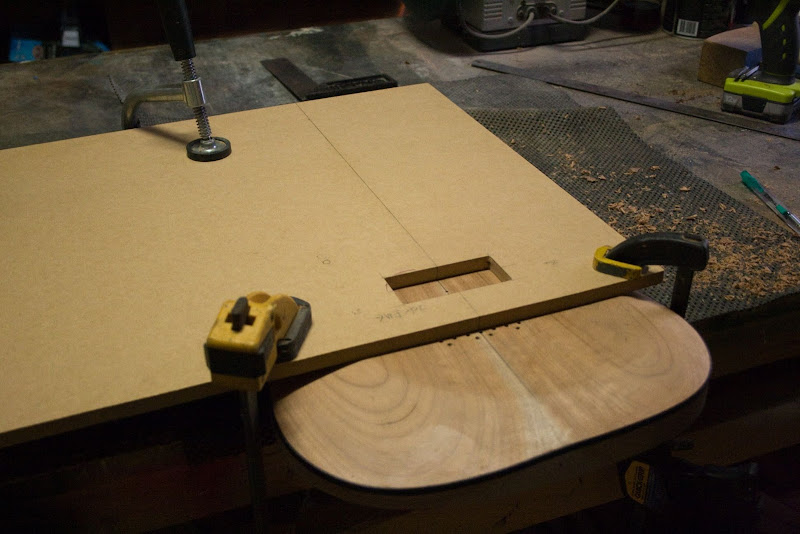
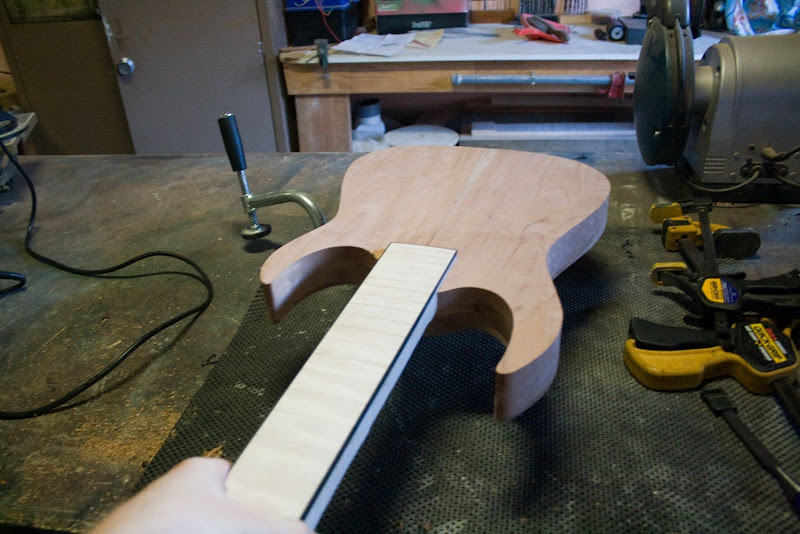
Then I glued the fret board overnight. This morning I routed the neck flush with the fret board and started by making the neck pocket template.
Pocket routed and the corners cleaned up with a freshly sharpened chisel. Passes the no glue test so I am happy.
To finish off the weekend I decided to start the neck carve.
Rough in both ends with a course rasp.

And connect the ends with a sharp spoke shave.
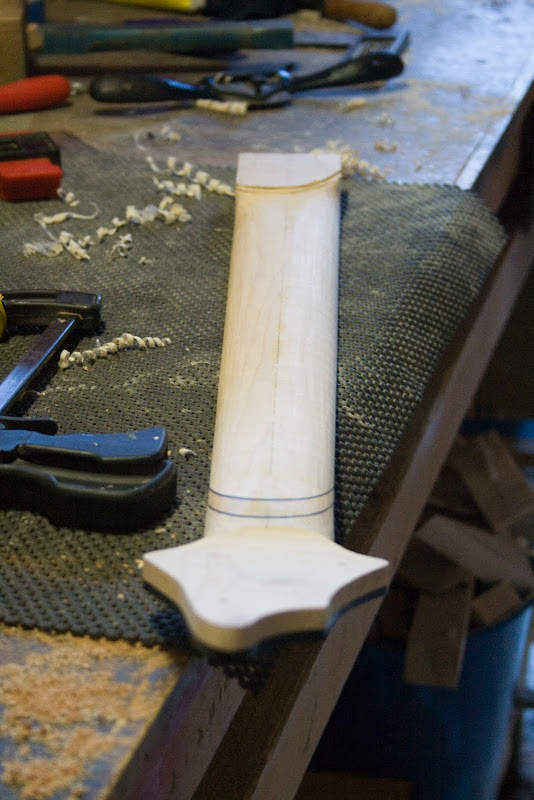
Starting to look like a guitar now.
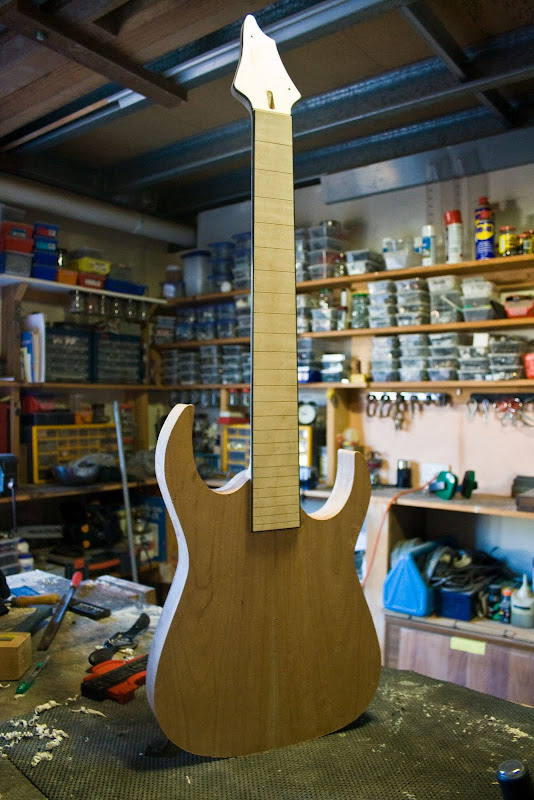
Now I am just waiting for tuners and the electronics to turn up so that I can finalise the routing and then get on with the body carve.
-
Yes, yes, very much yes!

Big Red
in In Progress and Finished Work
Posted
I think you'll find the answer is very nice indeed.
I wasn't too sold on your body shape to start with but that colour really does bring it home.