


Blackdog
-
Posts
717 -
Joined
-
Last visited
-
Days Won
6
Content Type
Profiles
News and Information
Tutorials
Product Reviews
Supplier Listings
Articles
Guitar Of The Month
Links and Resources
Forums
Gallery
Downloads
Posts posted by Blackdog
-
-
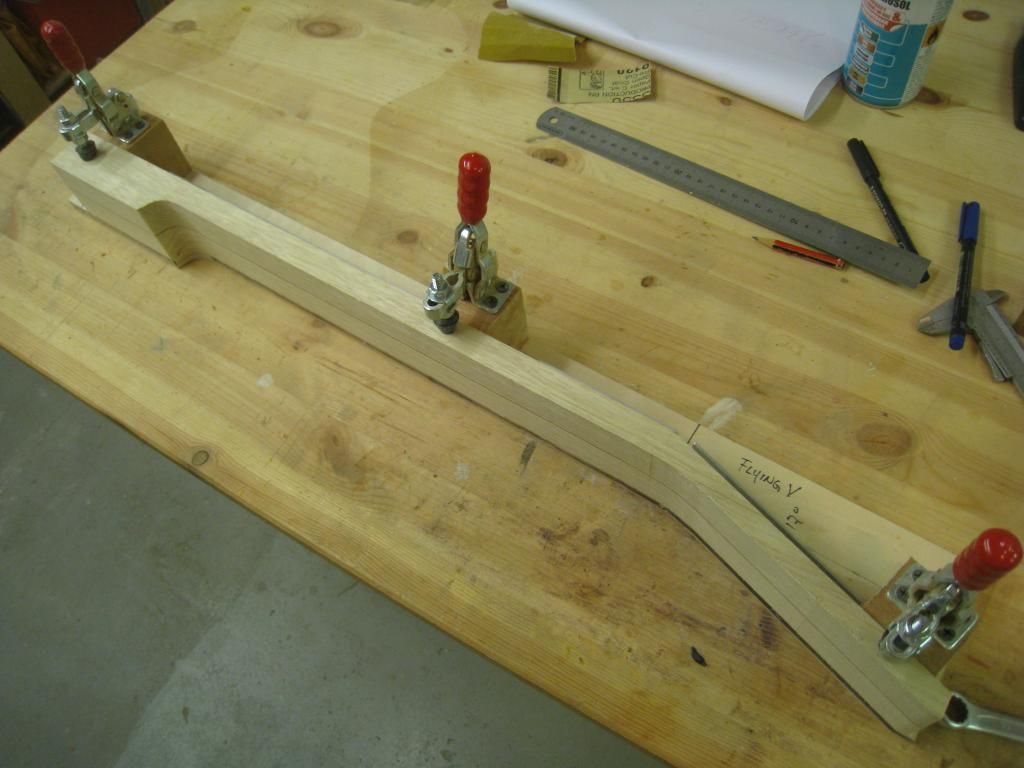
Even though this is likely to be a one-off build, I had to make a neck profile template of some kind. So I opted for a template that can be used for this robo-sander profiler jig.
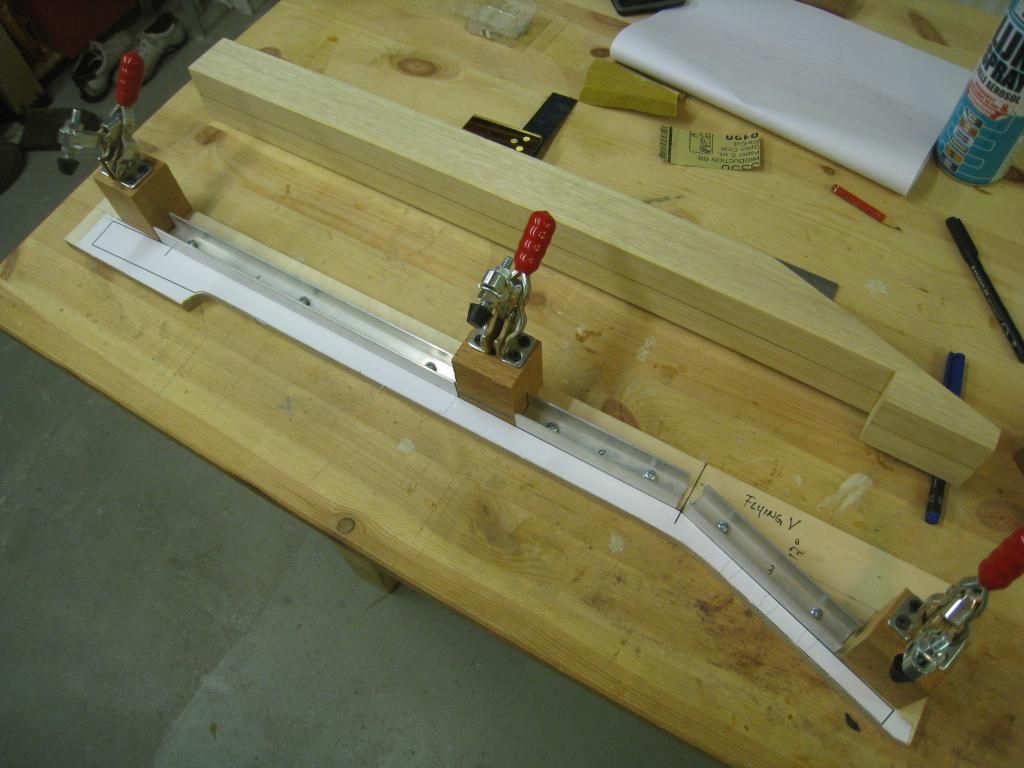
I had a similar jig for the Les Paul builds, but the turrets were glued on (mistake). In this new version the fences and the turrets are removable and can be re-used for a pretty much any neck just by changing the template below. I also opted for a deeper and generic heel as I was uncertain at the time of how I was going to resolve it. More on this later.
With the blank in place, the jig/template was used for marking the lines for the rough cut.
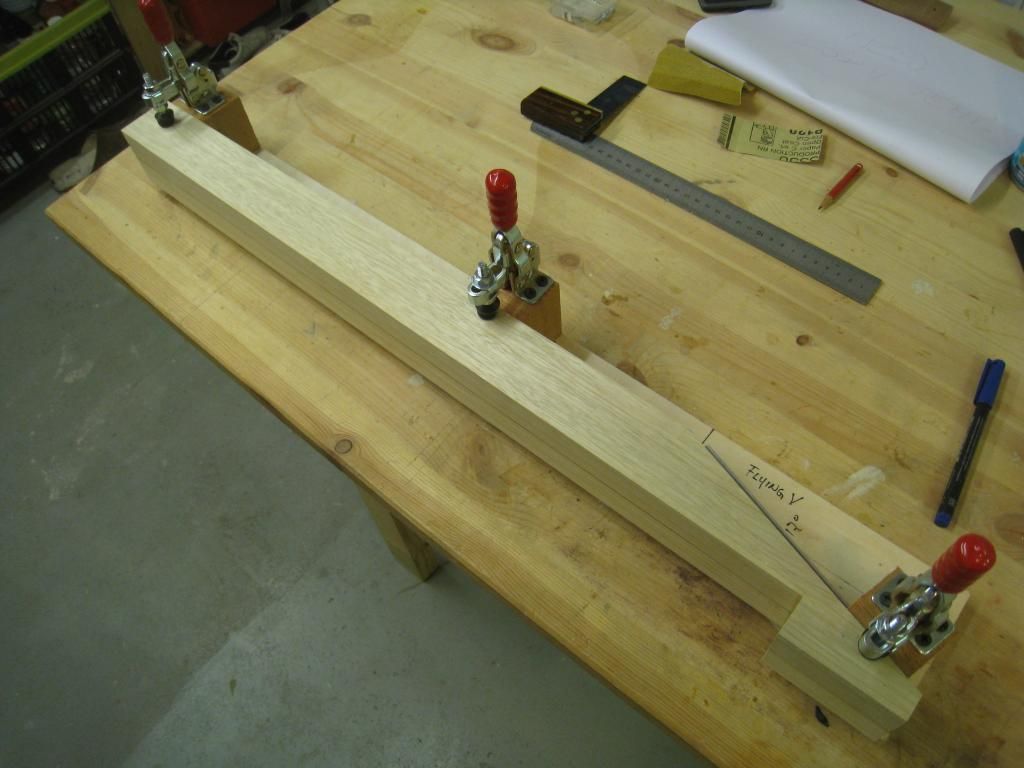
This is what I meant when I said I didn’t have much extra wood to waste on this blank (of course there's margin in there, but still).
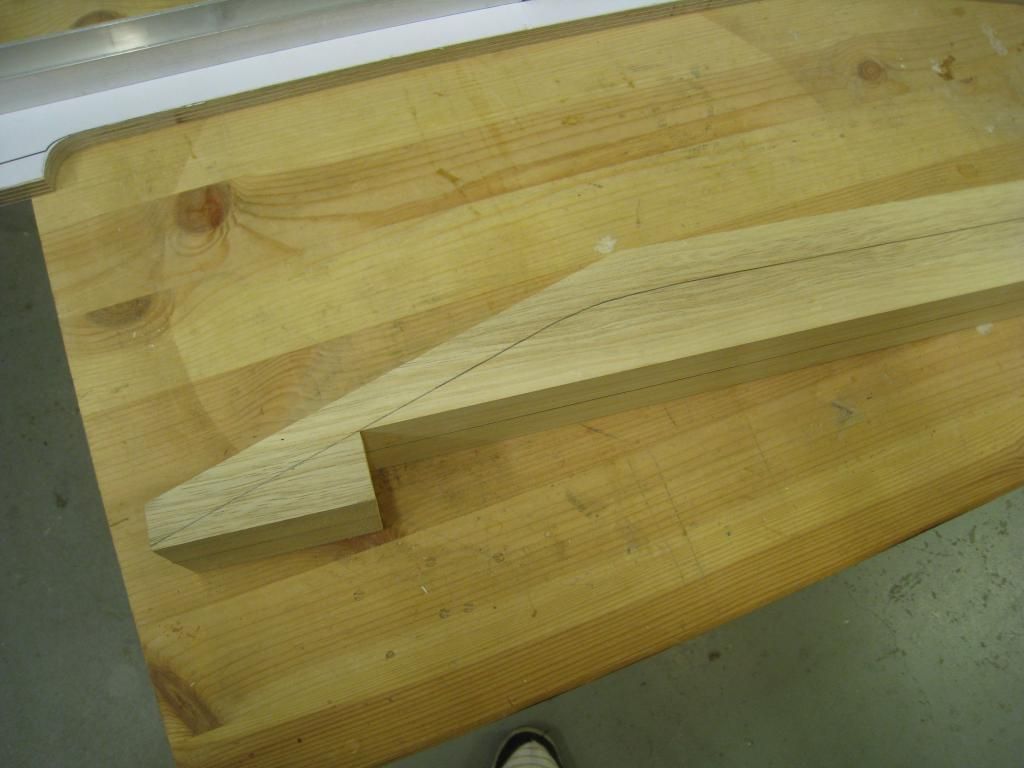
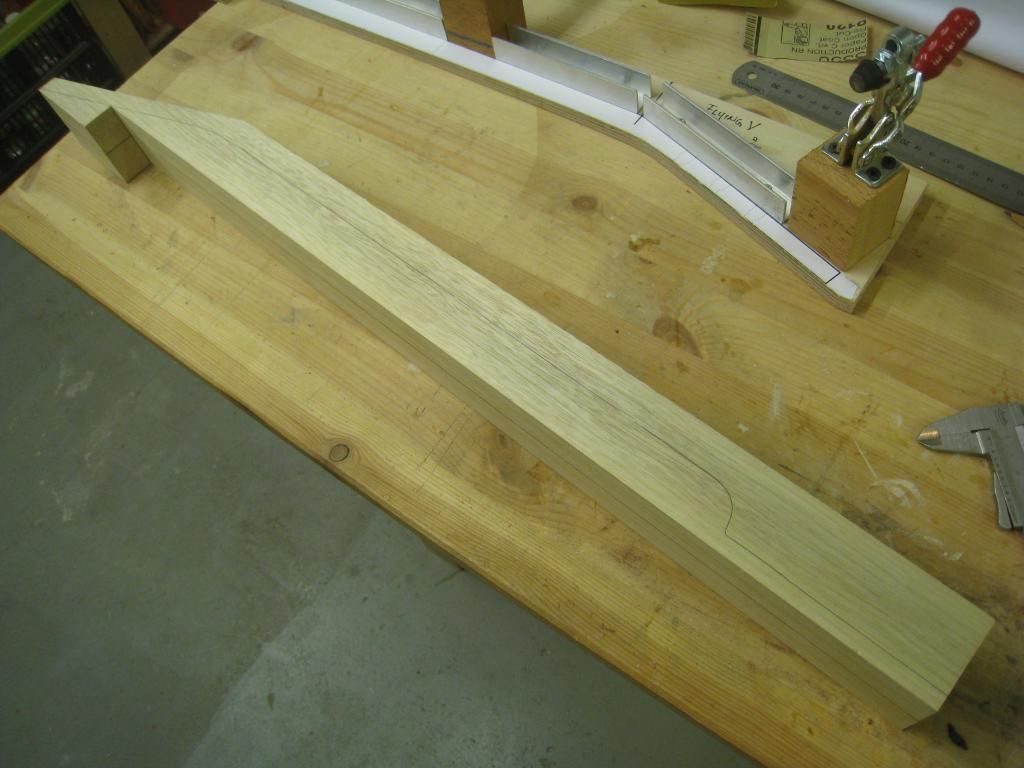
After rough cut with the band saw and back in the jig.

After the robo-sanding.
Now the blank is ready for the russ rod installation.
-
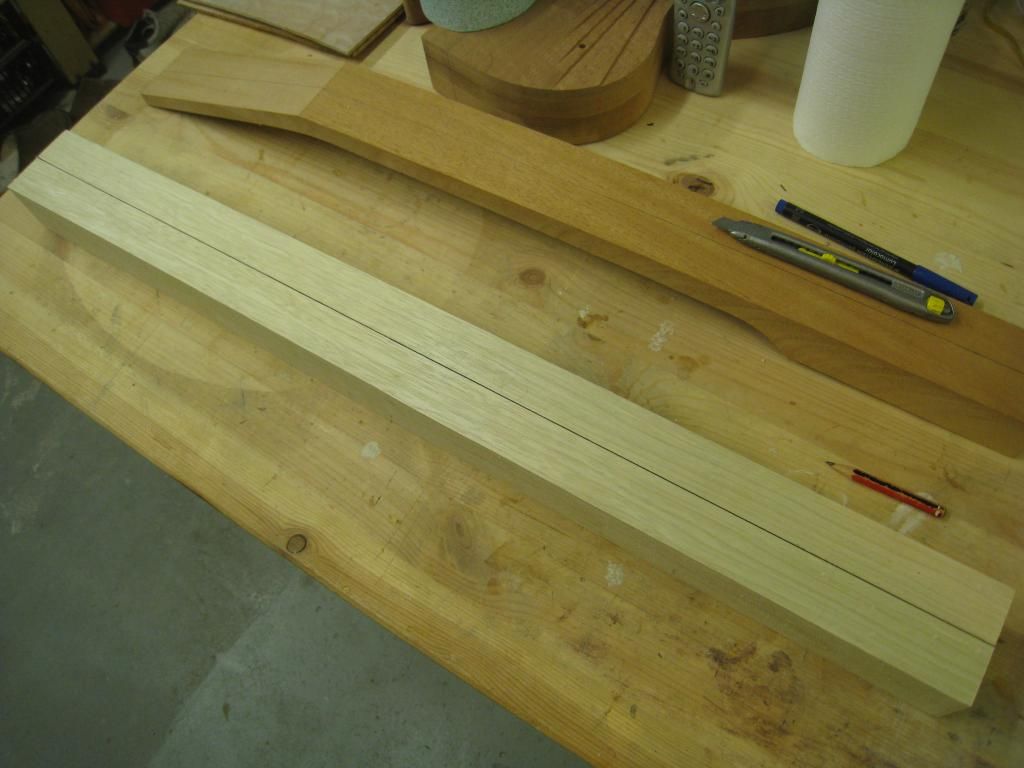
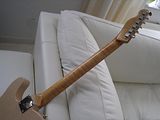
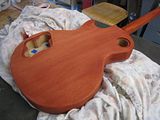
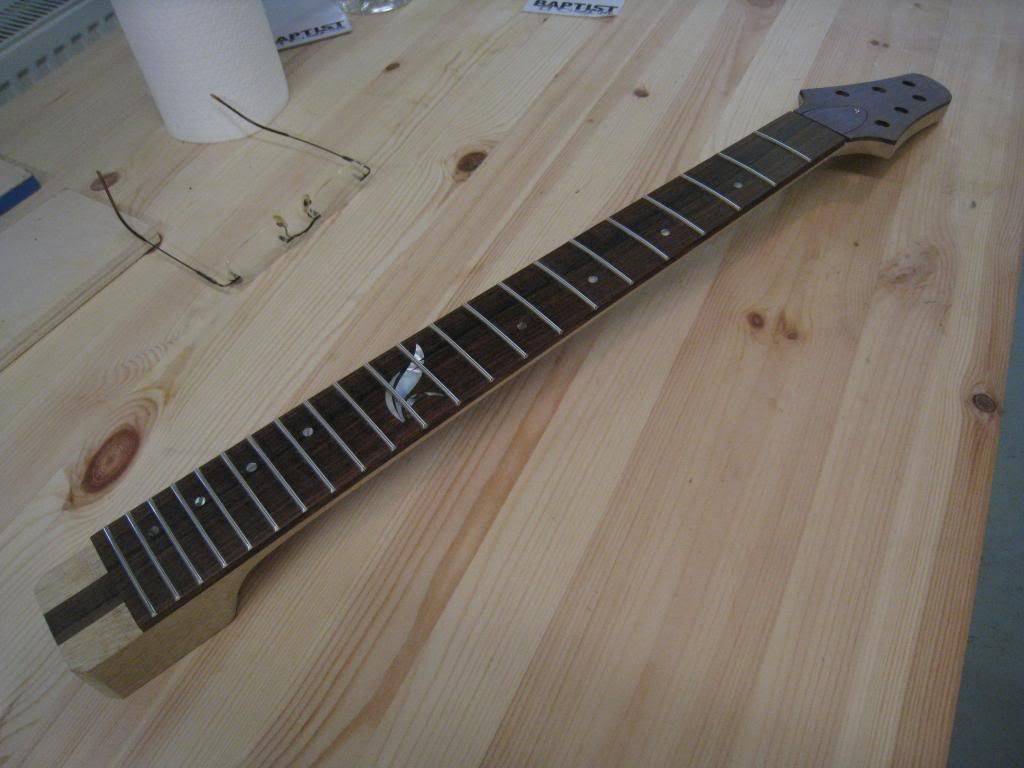
Like I said, there were a number of issues with the Limba blank I had for the neck. To begin with it was a bit short, so I re-worked the design for a 1cm shorter tenon, not a big deal.
Then the grain was pretty much consistently at 45* from perfectly quartered. I decided to split it in half and laminate it back with one of the sides flipped.
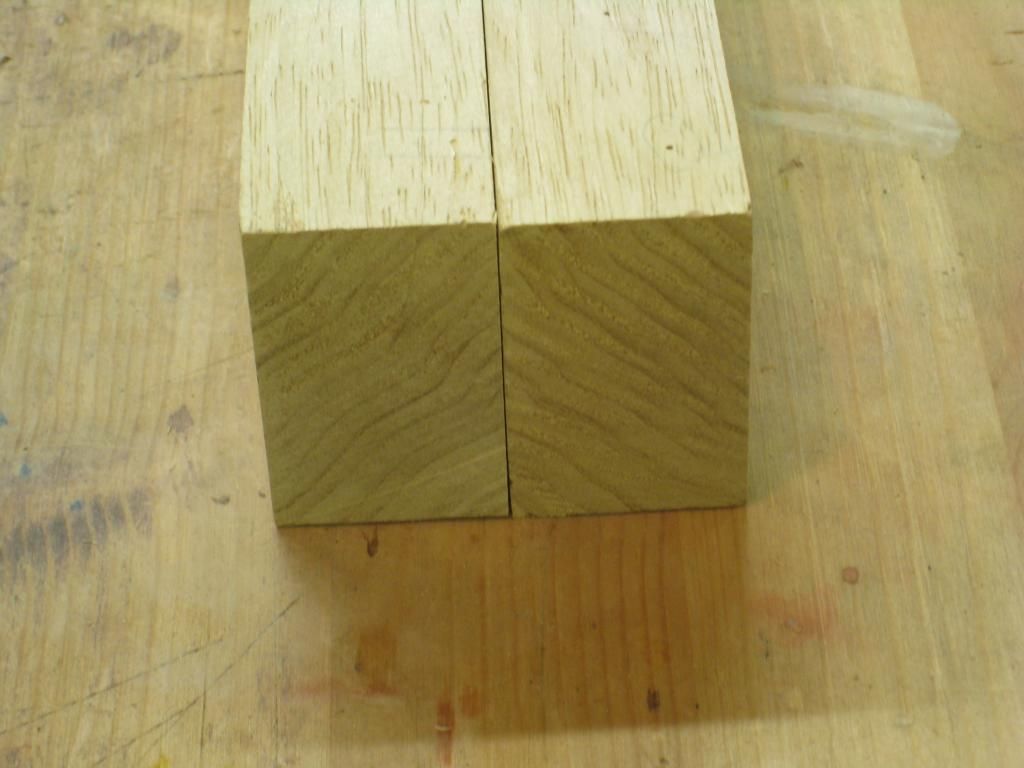
While I was at it I put a thin rosewood accent between the halves.
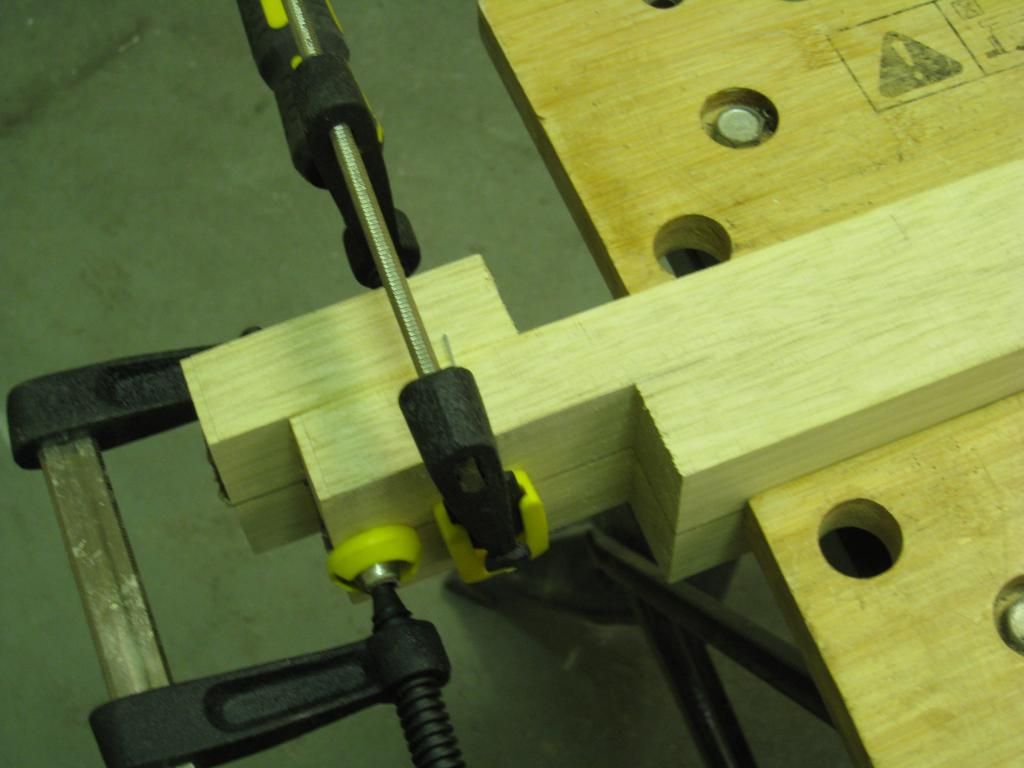
Used some dowels to avoid slippage while gluing (lamination had to be pretty accurate, didn’t have much extra wood to waste)
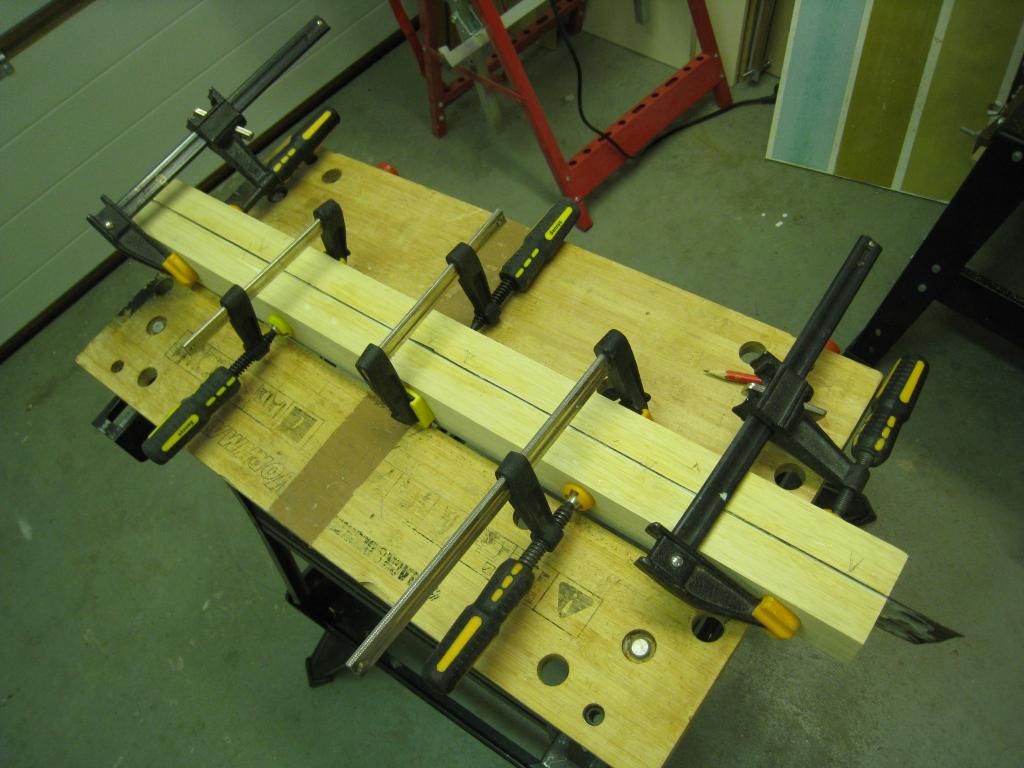
All planed and squared again.
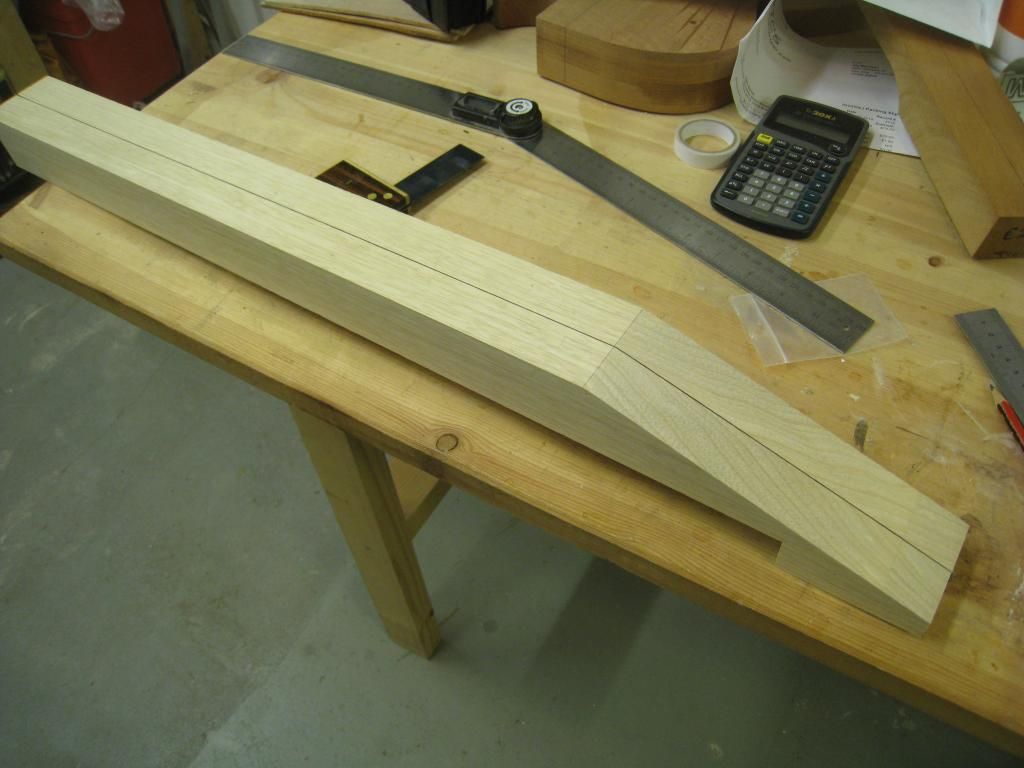
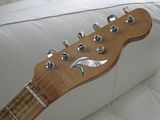
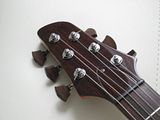
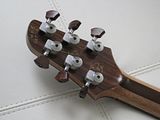
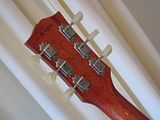
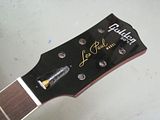
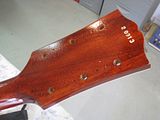
Second problem with this blank: It was not deep enough for such a long headstock tilted at 17*. I didn't want to go full scarf, or change the headstock size or angle, so I just added a bit of the same blank to supplement the tip of the headstock. The splice will be almost invisible, only exposed on the back. If it looks too obvious I'll make a stinger, but I don't think that will be necessary.
Then cut and planed the headstock face at 17*.
-
I'm always game for a guitar from you sir!
Thanks Peter !
-
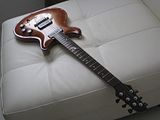
So, let's get started with the pictures.
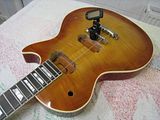
This project is quite advanced by now, but it started with the research of the model. There have been so many incarnations of V shaped six-strings…
I knew for sure that I didn't want to make the '67 version. I like the idea of the extreme fretboard access of the 58, and like the smaller pickguard with standard pickup rings better (I feel the same about SGs, BTW).
There is a lot of, very often conflicting, info floating around about the oldies. The historical fact is that Gibson made in 1958 three batches of 40 bodies of these. By the end of '59 they had only shipped 97 finished guitars, certainly not a smashing success ! Some of the rest eventually trickled out by as late as '64 apparently. These latter ones with different appointments (knobs, plastics colors, nickel/gold hardware, etc.), according to the era when they were finished. This all means that there is not a clear set of specs for the V, as they never really passed the prototype stage.
These days I don't cut any wood (not even templates) until I have a solid plan for the whole guitar. I strongly prefer to work all the details out "on paper" first, so this I did.
From pictures and collating all the info I found around I made my own plan for the '58 V to make sure I have a self consistent set of features. So that all parts actually work together. Wonder what a Blackdog plan looks like ? Well, they can get pretty detailed…


All in all, the plan is to make a V as respectful as possible to the late '50s ones, with just a few small concessions in order to use a white limba neck blank I already had.
Let's make something that would not look out of place in this picture:
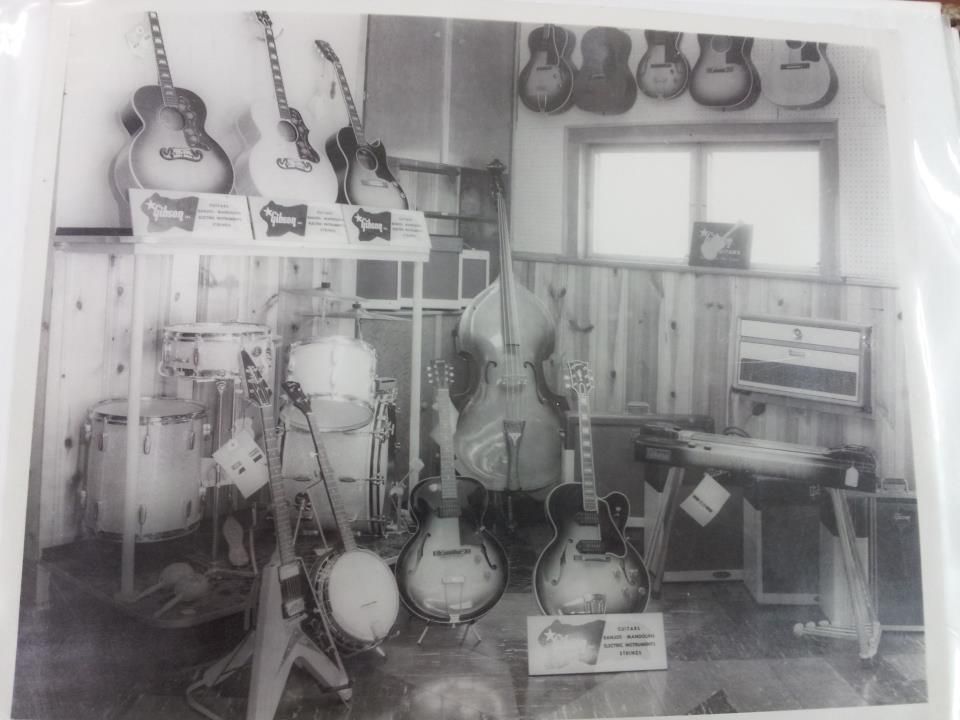
(Right ! Like the original DOESN'T look out of place in that picture…
 )
) -
Thanks Scott and Prostheta, good to be back among old friends !
-
Hi guys, have not been around in a while…. (Wow ! I'm a "Veteran Member" now.. Sadly, that's so true at so many levels….
 )
)The looks of the site have certainly changed a lot, but I see most of the regulars are still around building amazing guitars as usual.
I decided to post because I've been having one of those "what's the story with this guitar model" kind of feelings again. Last time it happened was with the Tele a couple of years ago, and building and playing one really helped me understand the coolness of the model.
This time it was mostly fuelled by this video, while I was working on my own band's version of this song/medley:
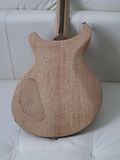
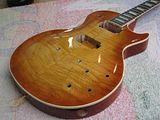
Then I was buying some wood at one of my local yards and came across this blank of center-joined White Limba sitting in a corner that was just begging to "Be a V" !

That's when the feeling became more like an itching… One that I couldn't ignore any longer and I had to scratch.
So, what say you ?
Wanna watch while I scratch ?
-
Wow man ! I can't believe the bad luck you've been having ! I was catching up with this thread until I found about the unfortunate events...

Must feel horrible. The only thing similar that happened to me was one of the LPs I built last year falling to the concrete floor. Fortunately it way before finishing, no neck attached so I could safely steam the bruise out.
Be patient, you'll solve it and it will be beautiful, and everything will be forgotten once you start enjoying it.
And about that additional quart of Behlen you bought, just try not to drink in in one sitting, mmmmkay ?

-
Looking great !
I see you're in Finland, if you're still looking for longer router bits have a look here.
-

Very nice !!!!!

I love those "f?" holes into the upper chamber. Good work !
And you just did it free hand with the Dremel without a template ?
-
Thank you guys, really appreciated !
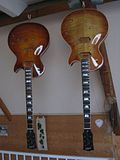
I'm pretty happy with the way the original carve translated into the templates (and into the new carve). It's just what I wanted to achieve, slightly softer belly and a wider recurve. Some pictures with an older sister from 2009 to illustrate.
As for the future plans, I do have some. I think I learned enough from the replicas already, and "commercially" (as in other than just for friends) it's a territory I'd rather avoid. I prefer to make guitars that are judged by how well they play and sound rather than how well they could pass for something else… So I want to focus on the Blackdog models for now.
I still have to work on the plans for the singlecut version, and I'm already working on the design of the carving templates for a hollow doublecut:
Same shape and size as this one, but hollow with a carved top and back (ouside and inside), and possibly a single f-hole. This one could well be next.
I have also plans for a slightly bigger-bodied hollow double cut, but that's a bit on hold now. One thing that holds me is that I have not been able to find a suitable hard case for something CS-336 sized.
I also intend to start winding my own pickups pretty soon.
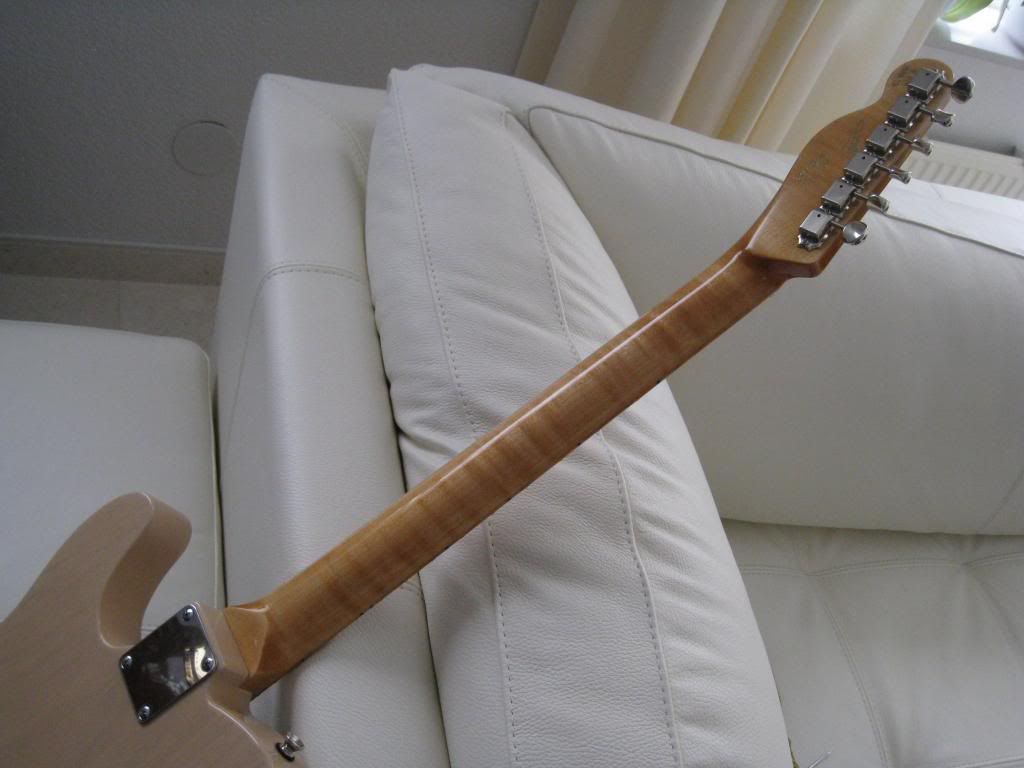
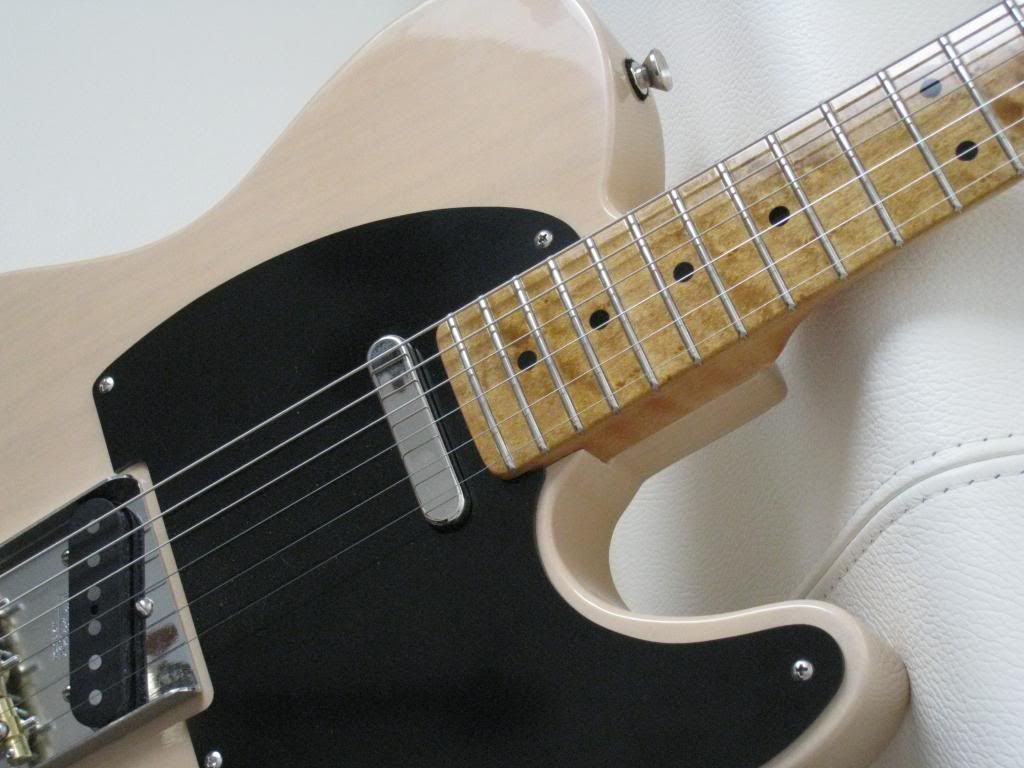
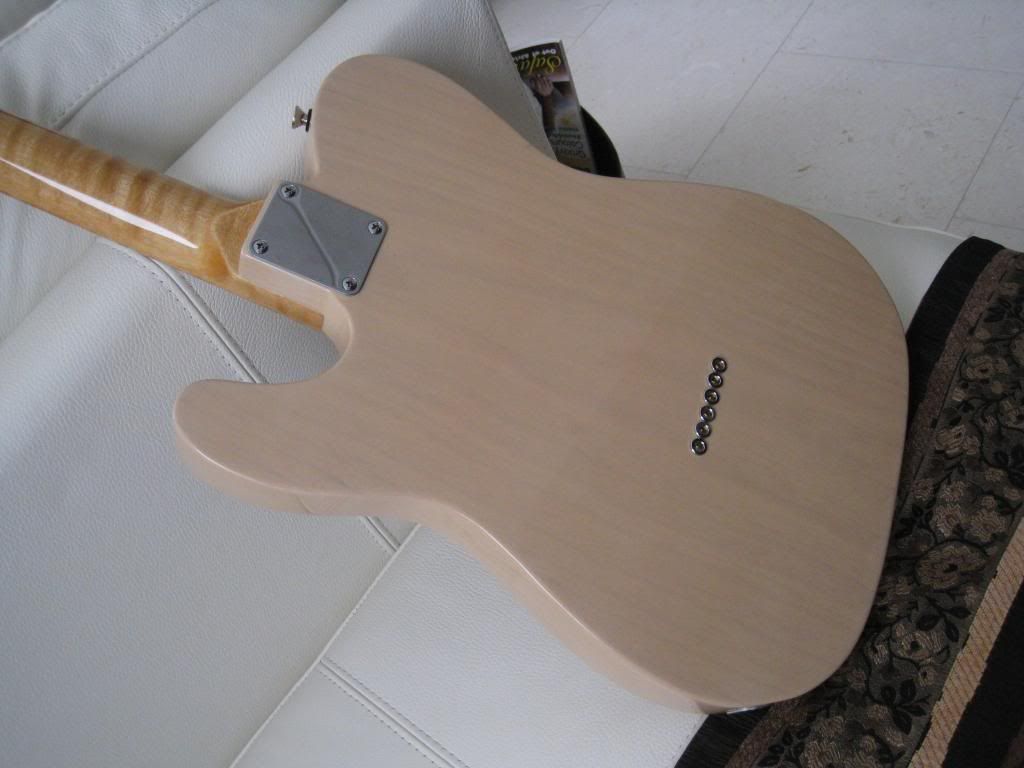
Of course there can always be cases of "what's the story with this or that model", purely from a player's point of view. Last time it happened, earlier this year, it was with the Tele. I couldn't bring myself to "buy" one, so I just had to build this:
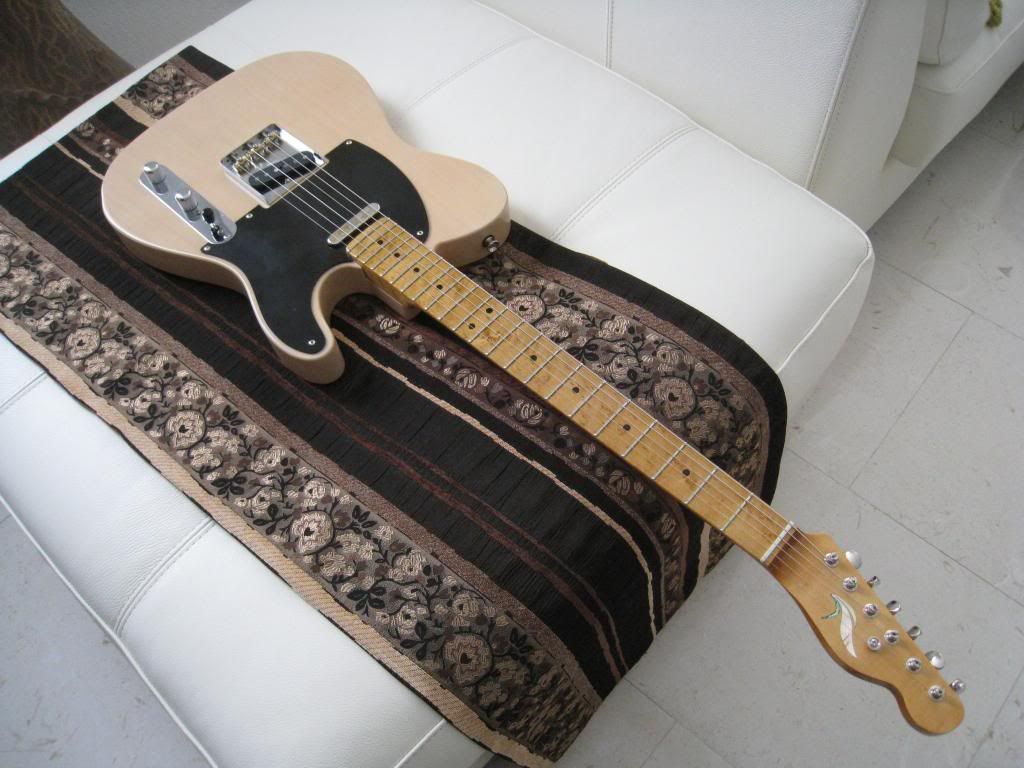
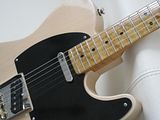
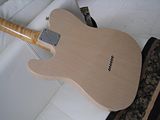
Not quite a replica, but only a few nods to modernity: a two way rod, 22 frets and a 10" radius board. Other than that, as much a Blackguard as possible: one pice ash body, maple-on-maple fat "V" neck and classic hardware and electronics.
But like I said, only intended to school myself.
-
 1
1
-
-
Sorry, double post !
-
Hi fellow wood torturers !
Long time no post ! But I believe this build thread deserves a formal closure…
You were warned, I said very clearly in the previous post that it would advance rather slowly…
I can't believe it's been five years !
For quite some time I thought I would never finish this one… The two pieces, as seen in the previous pictures, remained gathering dust with the rest of my wood stash.
I moved on and built other things, many of which were posted here.
The LP replicas I recently worked on were a great experience, and I wanted to apply back some of the lessons learned to my own designs. The most important thing I wanted to achieve was improved consistency.
That is why the first thing I did was to produce a well detailed plan of my design. Working out dimensions and angles for the plan almost felt like designing the guitar all over again.
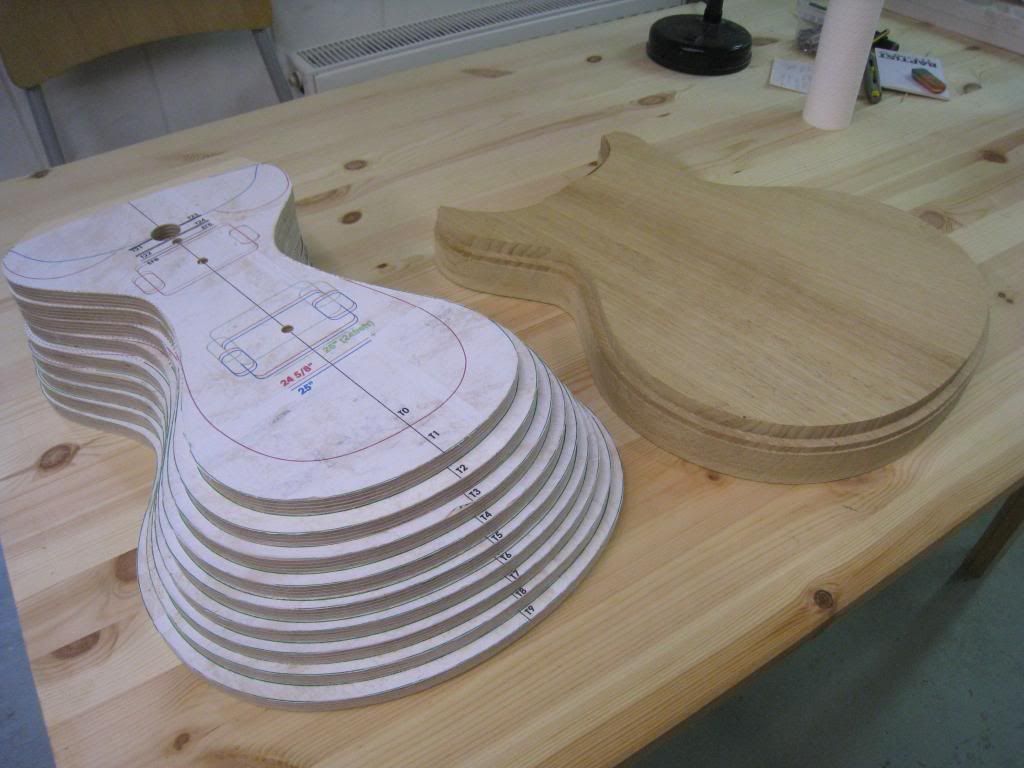
Another thing I found quite useful with the LP builds was the clever use of "topographic" routing templates for the top carve. Short of using a copy-carver, this is probably the best way to ensure a good consistency of the general carve shape.
It took some good hours on CorelDraw to come up with a set of 9 templates for the carving I was after. Softer than before, with a wider recurve, but still more dramatic than the usual LP carve.
From the improved plans, I also made several new templates.
Then I needed to try the new templates on something, and this long forgotten build was the perfect test bed.
Resurrection time !
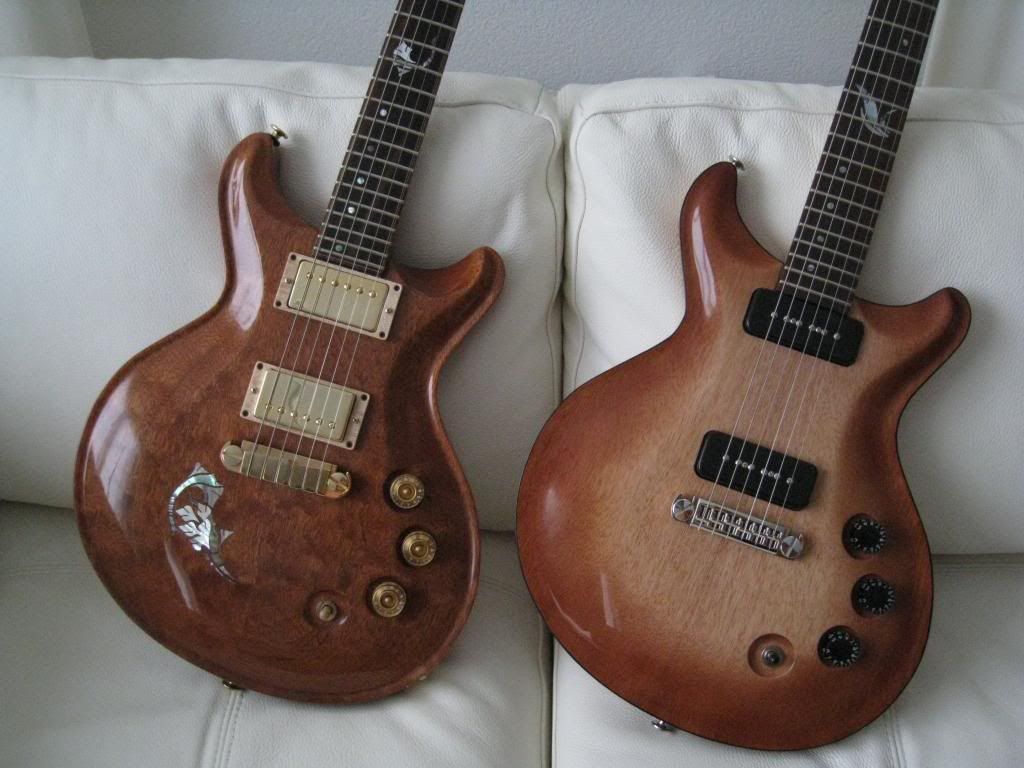
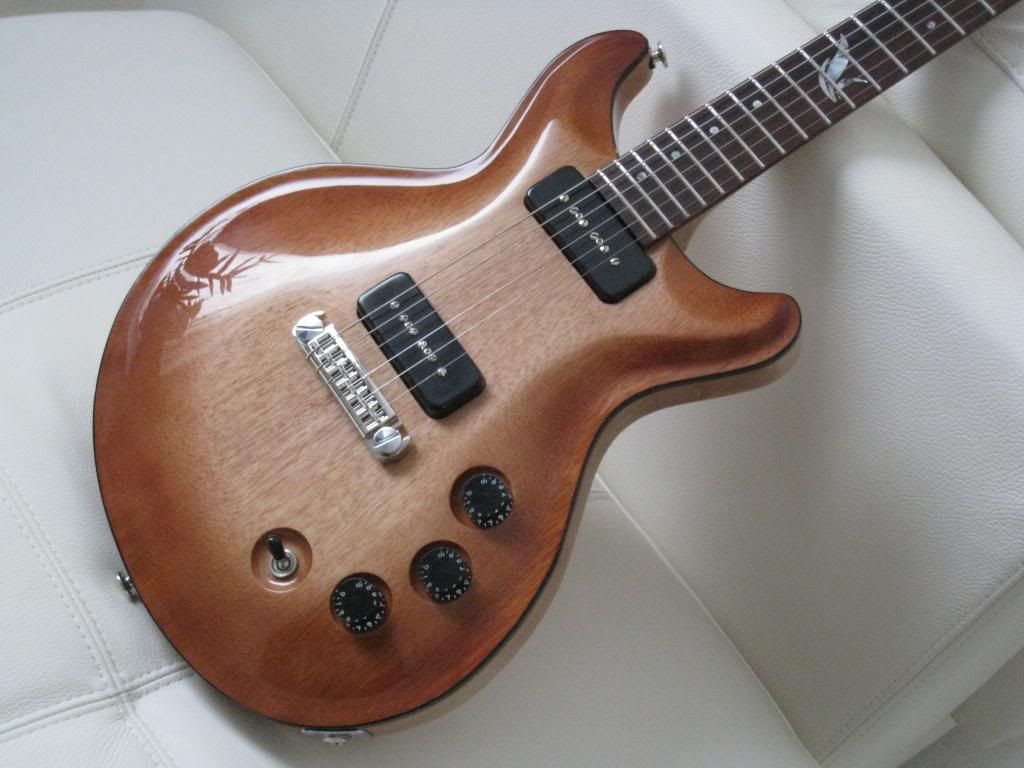
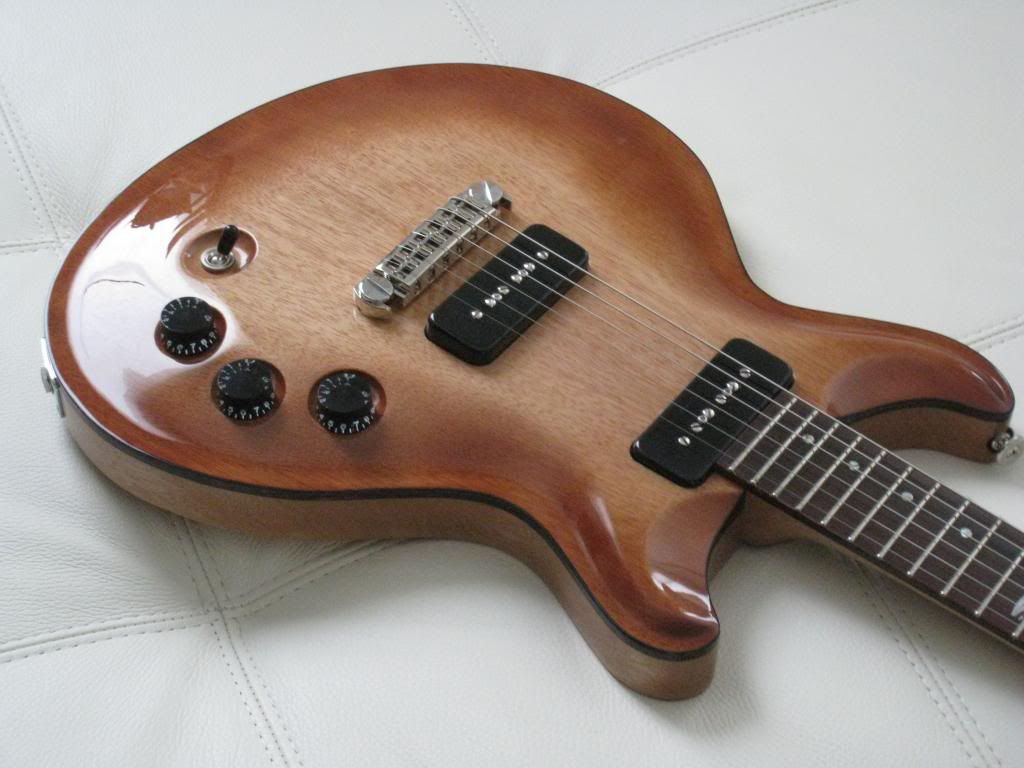
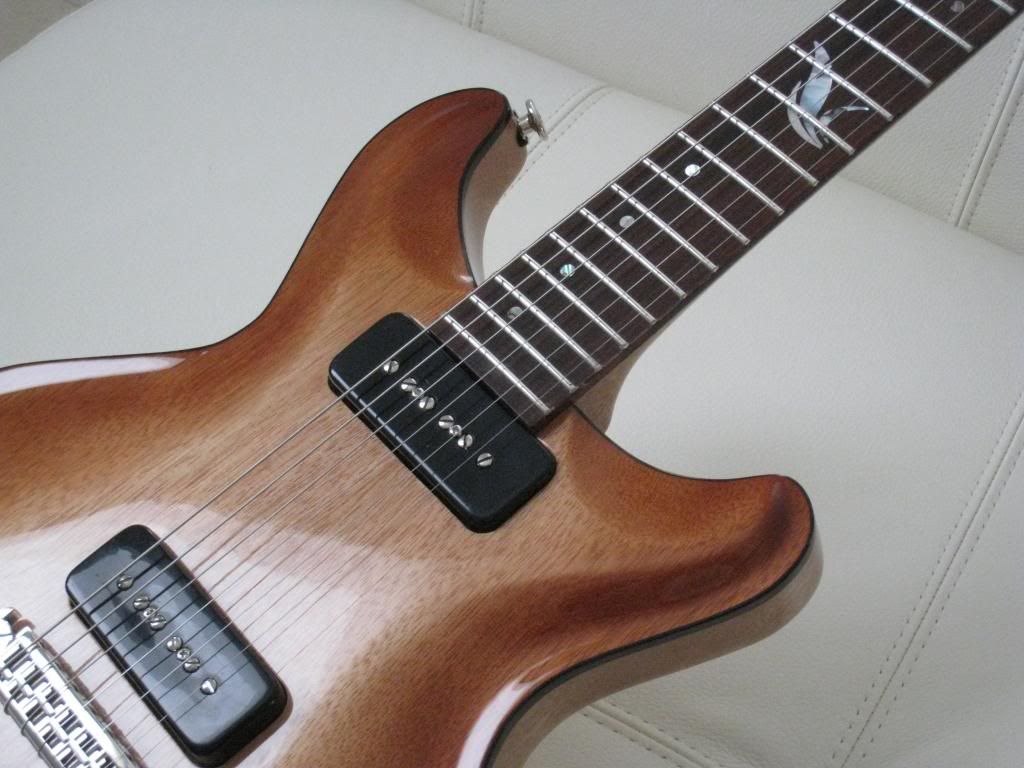
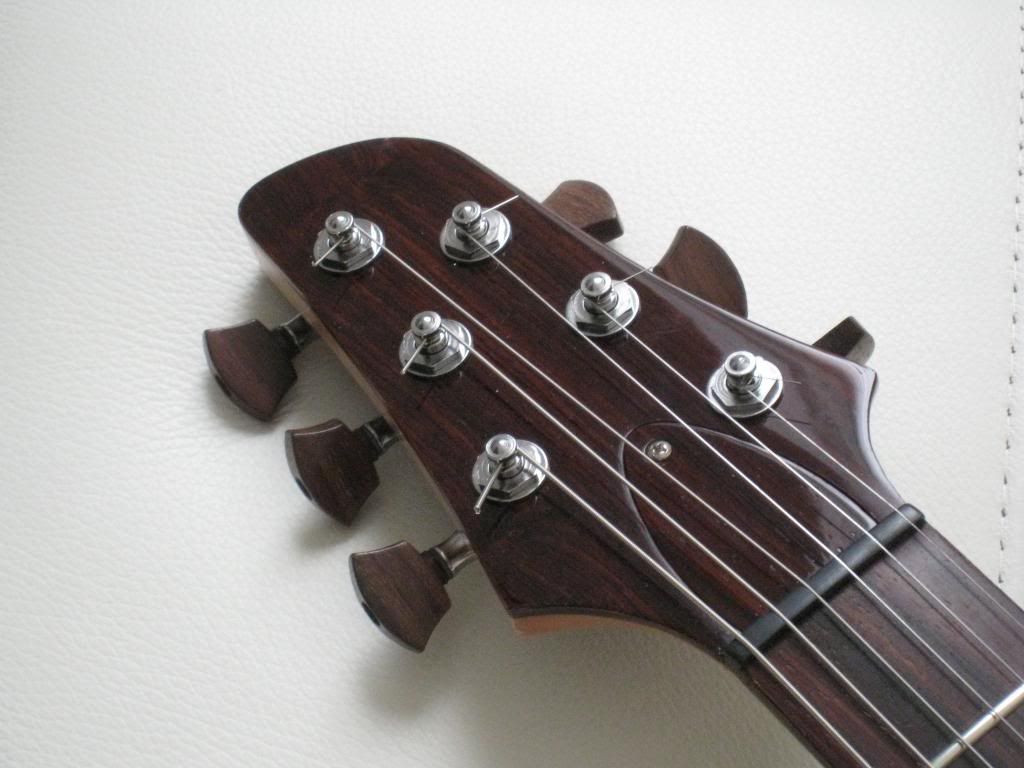
I kept it simple, true to the original spirit of the build. So no fancy figured maple tops or complex inlays. Just a honest workingman's Blackdog doublecut, with 22 frets, simple dot inlays, wraparound TP and dual P90s.
I used a simple top binding (tortoiseshell) for the first time in one of my designs and, to further steer away from the original PRS influence, I'm loosing the deep scoop of the treble horn/cutaway. I'm liking the results very much.
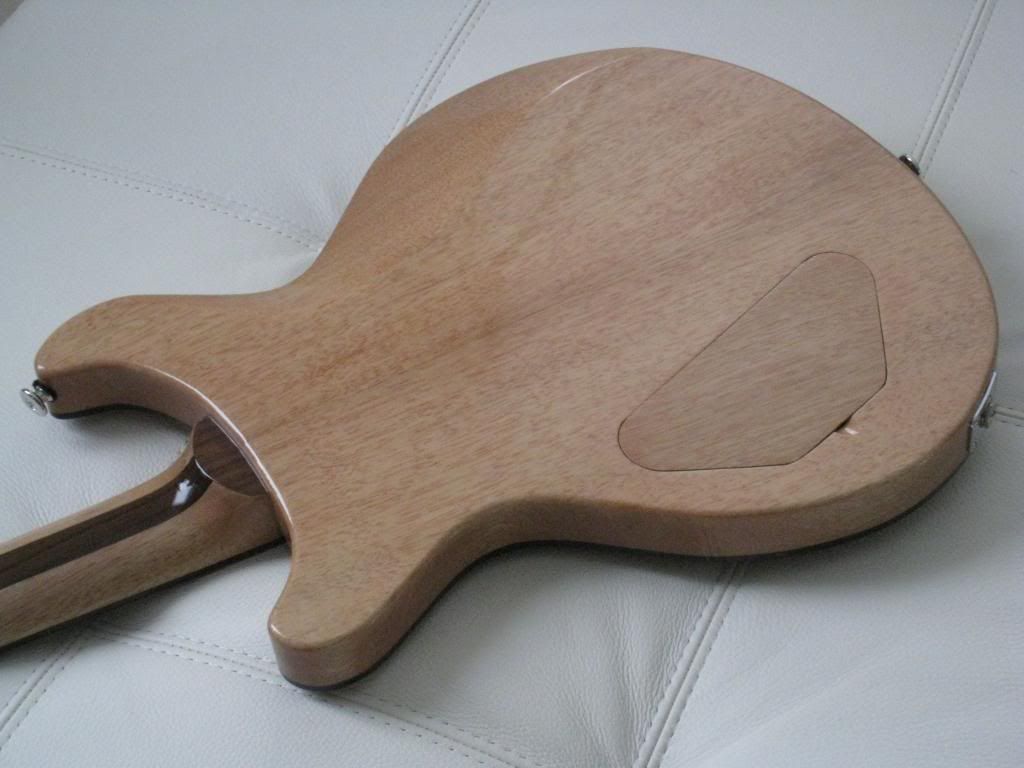
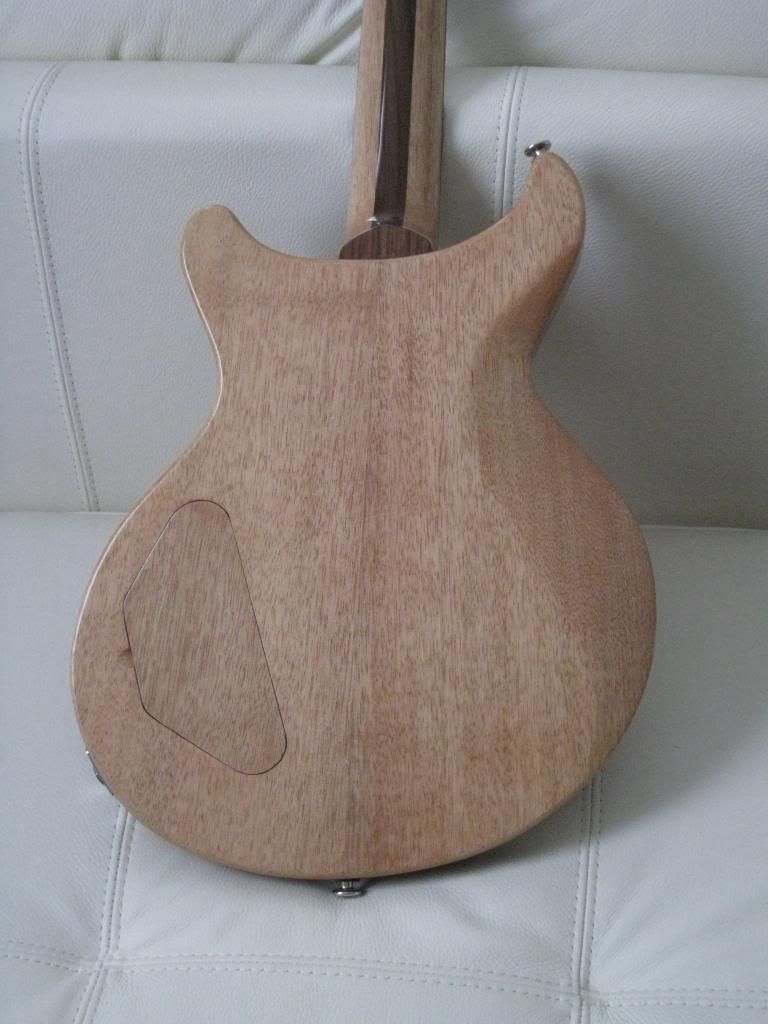
Several other things were reworked, mostly on the neck as it was more advanced: the profile, volute and heel, the recessed TRC. The body was far less advanced, so the only rework needed was a new magnet held control cover.
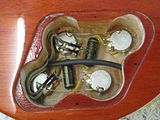
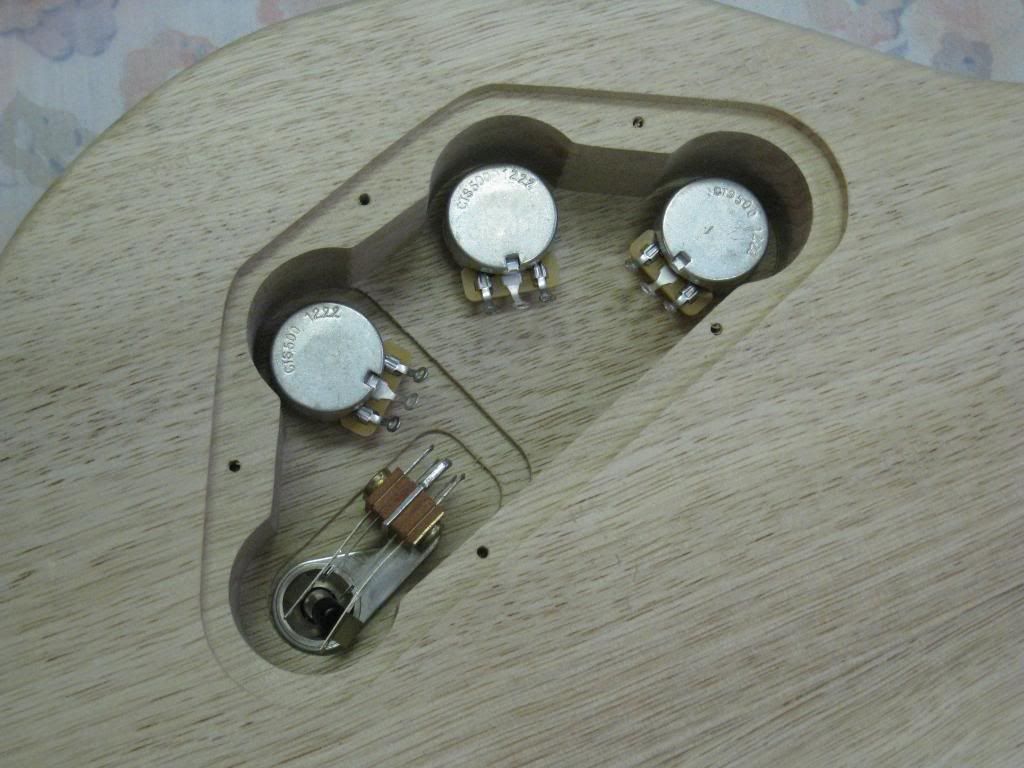
Apart of the template driven top carve, the control dishes were also done using a different approach, and the inside of the control cavity is the product of a new set of templates. All in the spirit of improved consistency.
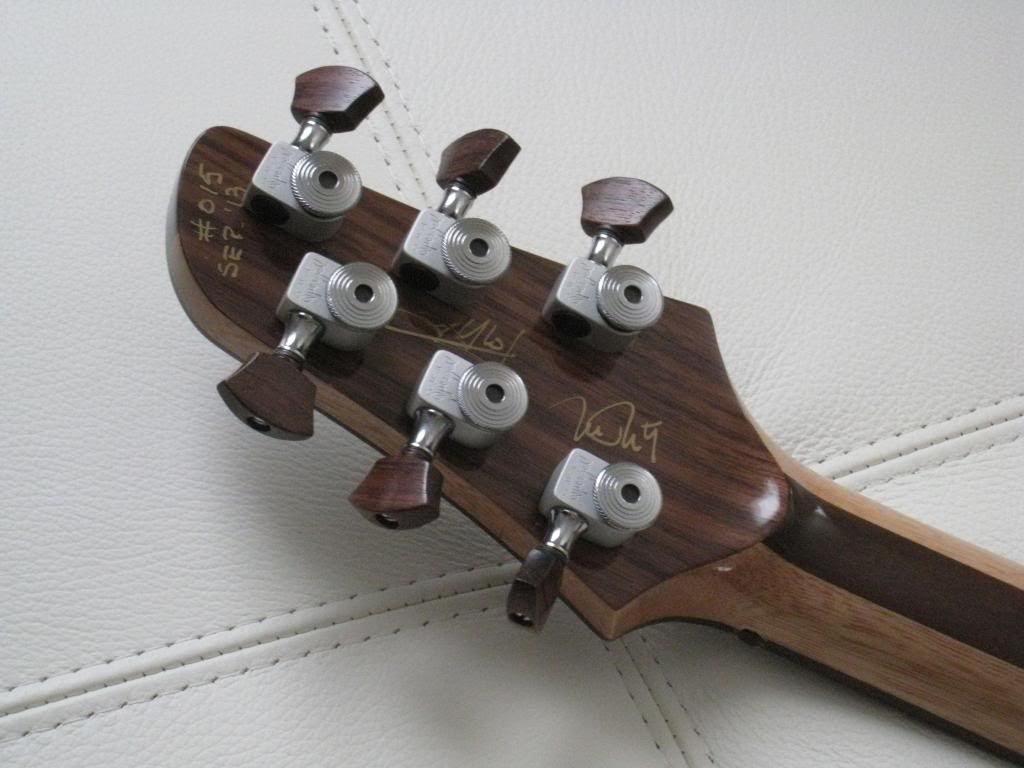
The guitar was just assembled this past weekend.
She ended up a cute little guitar, and I'm really happy I finished her.
After 5 years, I can close this thread with the very first pictures of sweet Corinne.
-
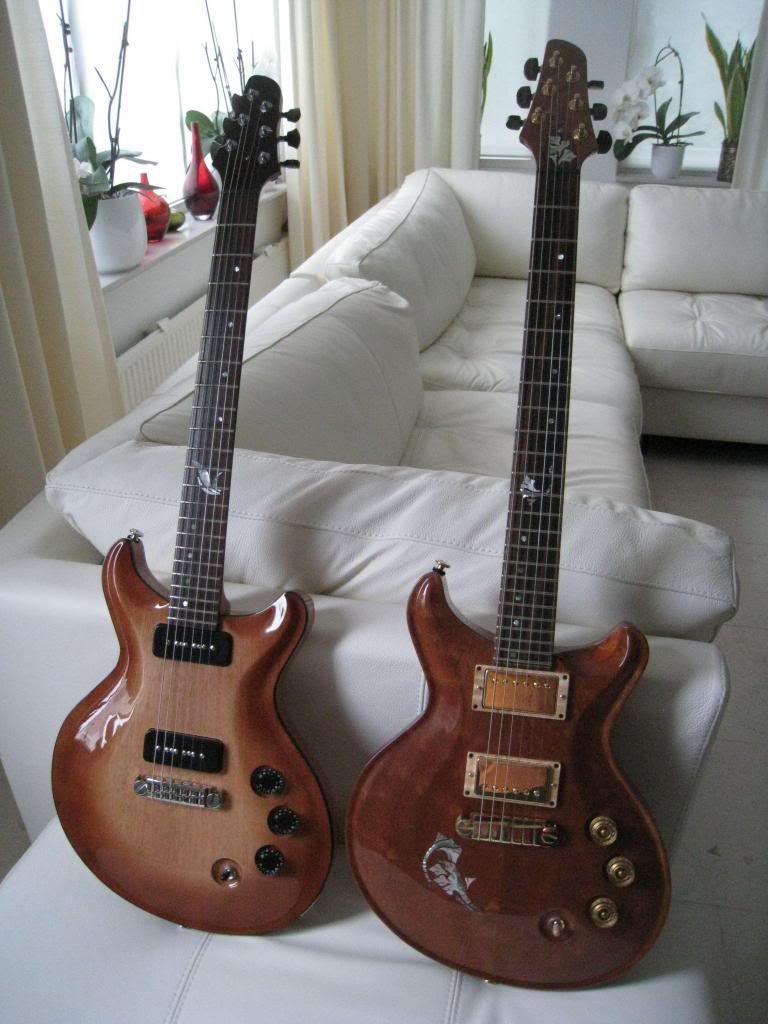
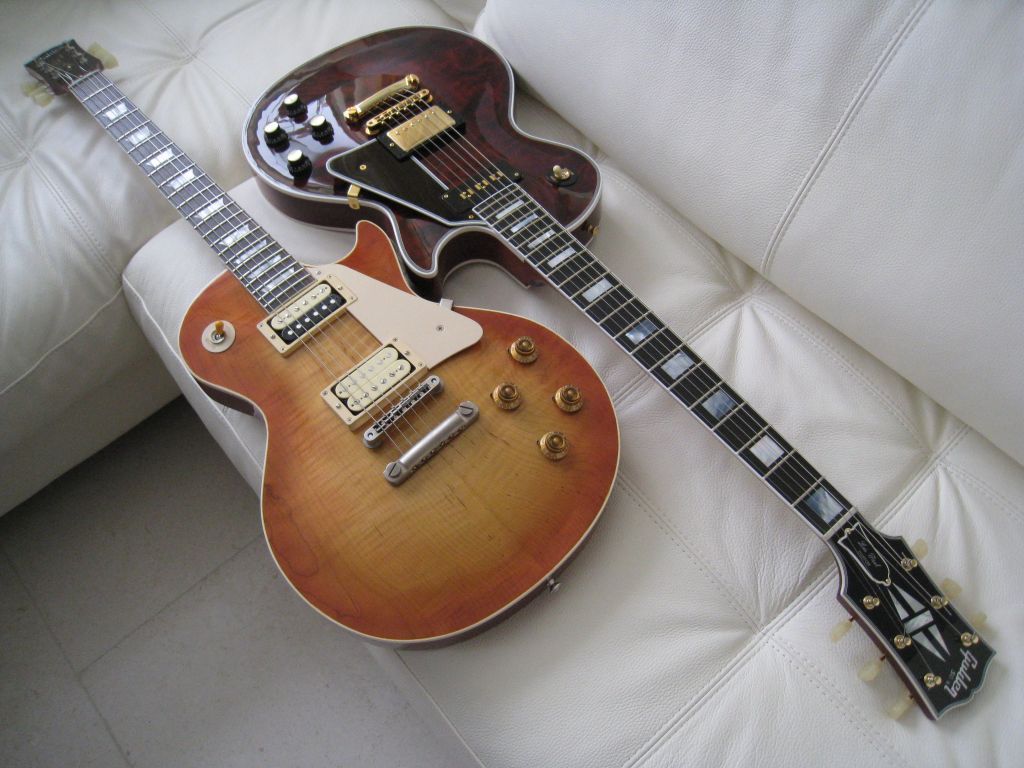
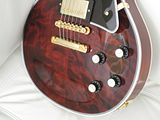
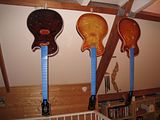
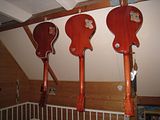
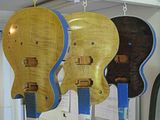
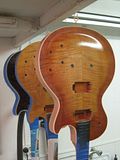
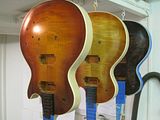
And the last of the batch of three got finished. The second Standard:
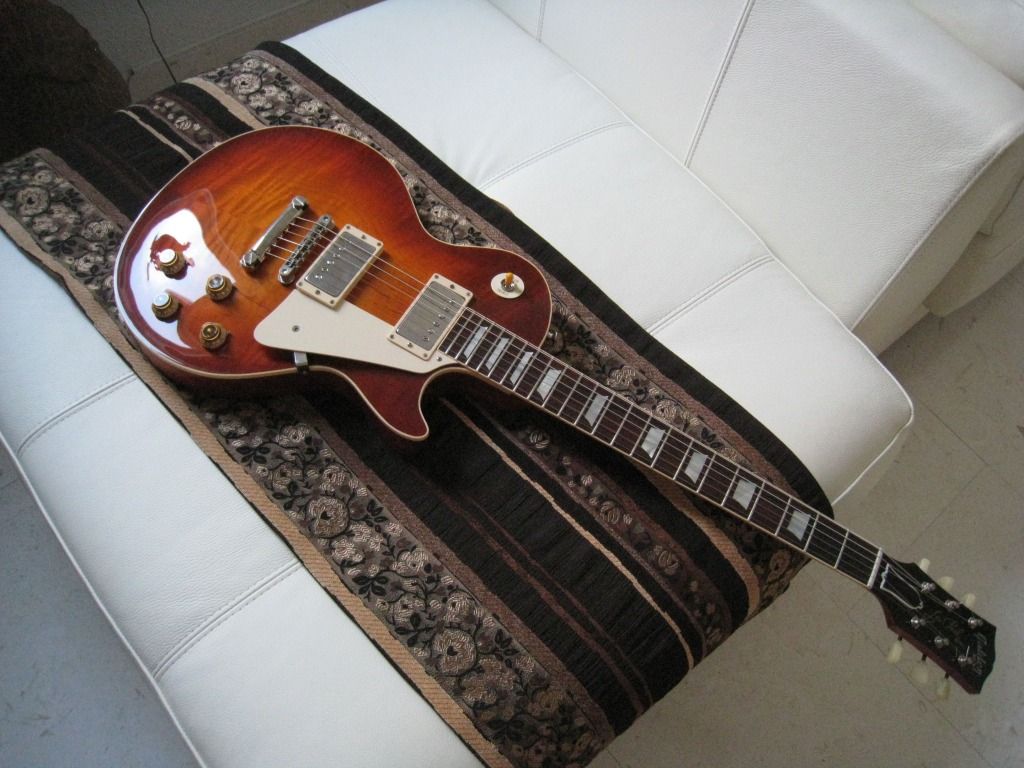
The two Standards together:
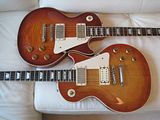
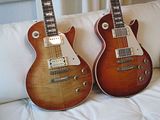
And the three ladies together:
-
Thanks a lot for the advice! So basically, high E all the way towards the nut, and the low E sort of a to the middle or a bit more?
I have found that what works for me is to set the low E all the way to the back and then back the screw off about 3 turns and then set the intonation with 10-46. If you plan to use something thicker than, say, 52 for the low E, you should set the intonation with thicker strings to begin with.
-
Just great! BTW an excellent method for locating the bridge, will have to try it!
Thanks !
The method works great, just make sure you set your saddles correctly before you start.
The compensation required for proper intonation is a function of the string thickness.
The high E string hardly requires any compensation, the saddle usually sits at the exact scale length distance from the nut. You want to set this saddle essentially all the way to the front for maximum intonation range for all the other strings.
The low E will require the most compensation, but if you locate the bridge with the saddle all the way to the back you will run out of intonation range if you ever want to go for thicker strings.
This is far less critical for a Nashville bridge, since the saddle travel is significantly longer.
Alternatively to drilling through the bridge holes, if you feel less confident, you can punch-mark the post hole centres (lightly) on the top using a nail through the hole. Then drill without having the bridge in your way.
Drill slowly with a brad-point drill bit for a clean hole through the finish.
-
Than
did you put the same caps in the custom? (I must admit I was wondering if there would be some bees in there, but I can completely understand why you might not). They look fantastic by the way- again great work.
Thanks again !
No, I have a rather limited supply of these PIO caps. These are a different manufacturer's version of the Sprague Black Beauties, real NOS 60s, and have drifted to something like .027uF. I have another pair for the second Standard. I bought them for very little money some years ago from an old-school radio shop in Buenos Aires that was going out of business.
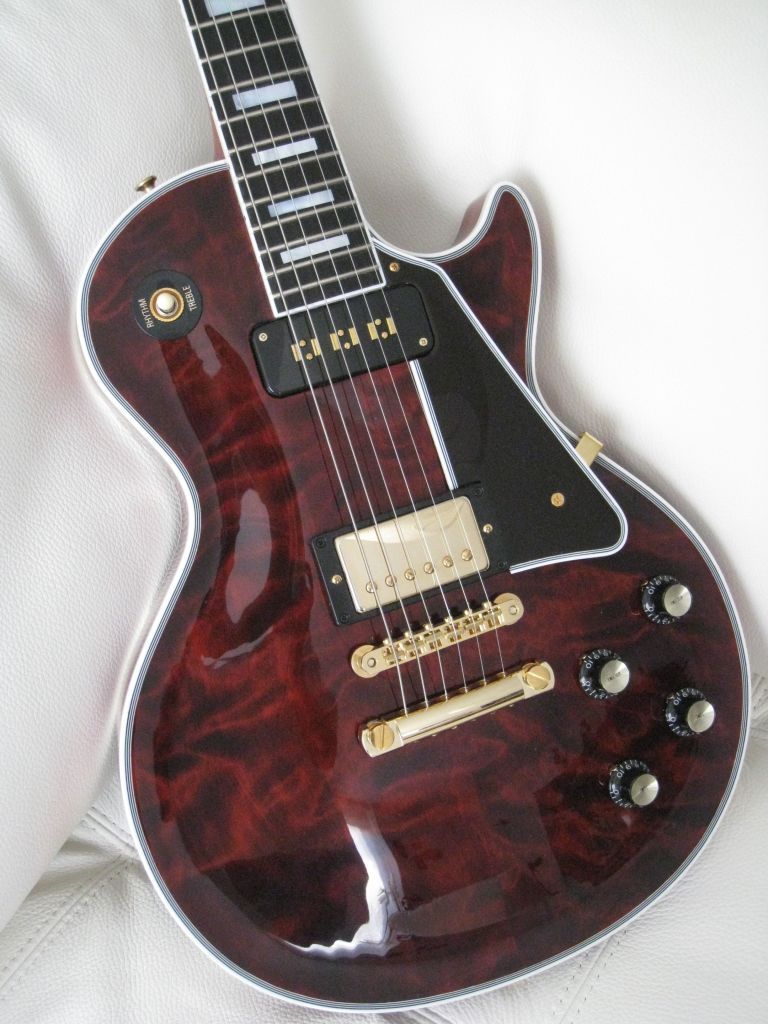
The Custom got some .022uF polypropylene caps, similar to Sprague Orange Drops. Just for the quality of them and not necessarily because they make any difference. I don't think there can be much of a difference in a treble-cut tone control anyway, but ceramics just look too cheap.
-
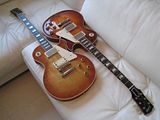
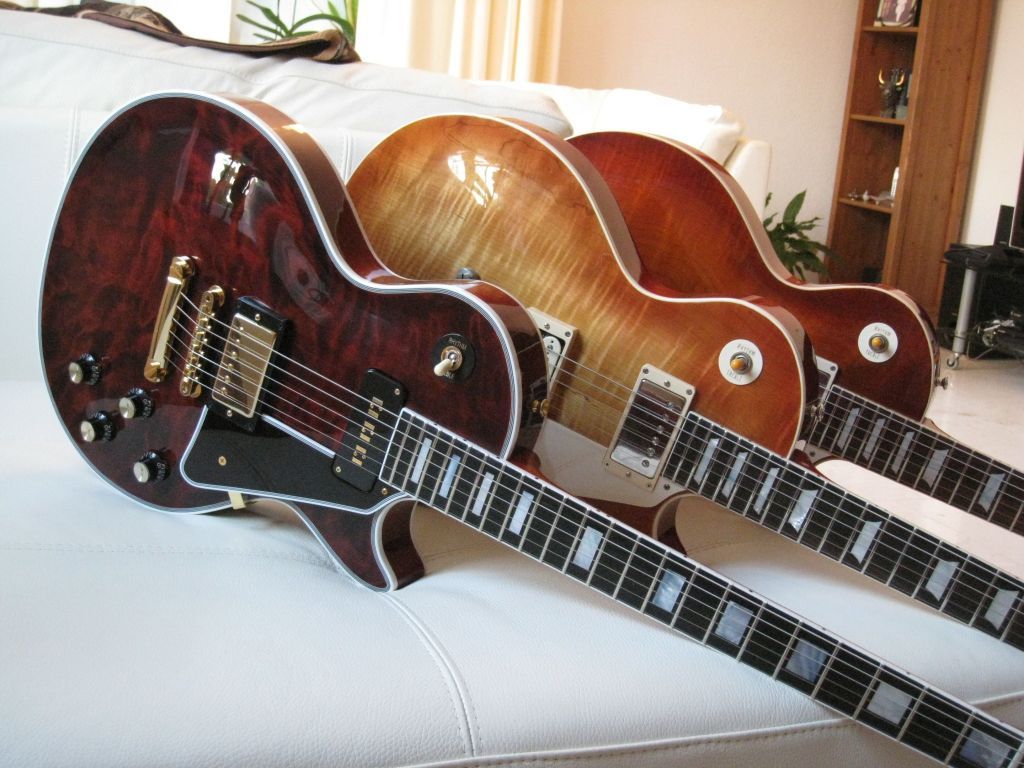
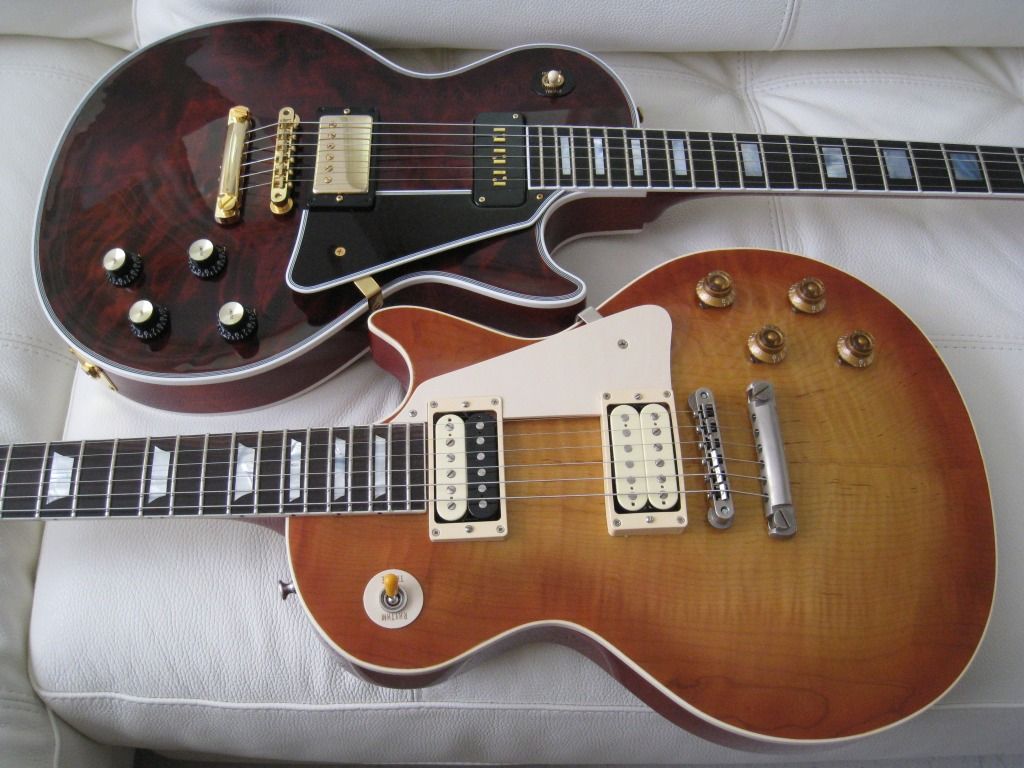
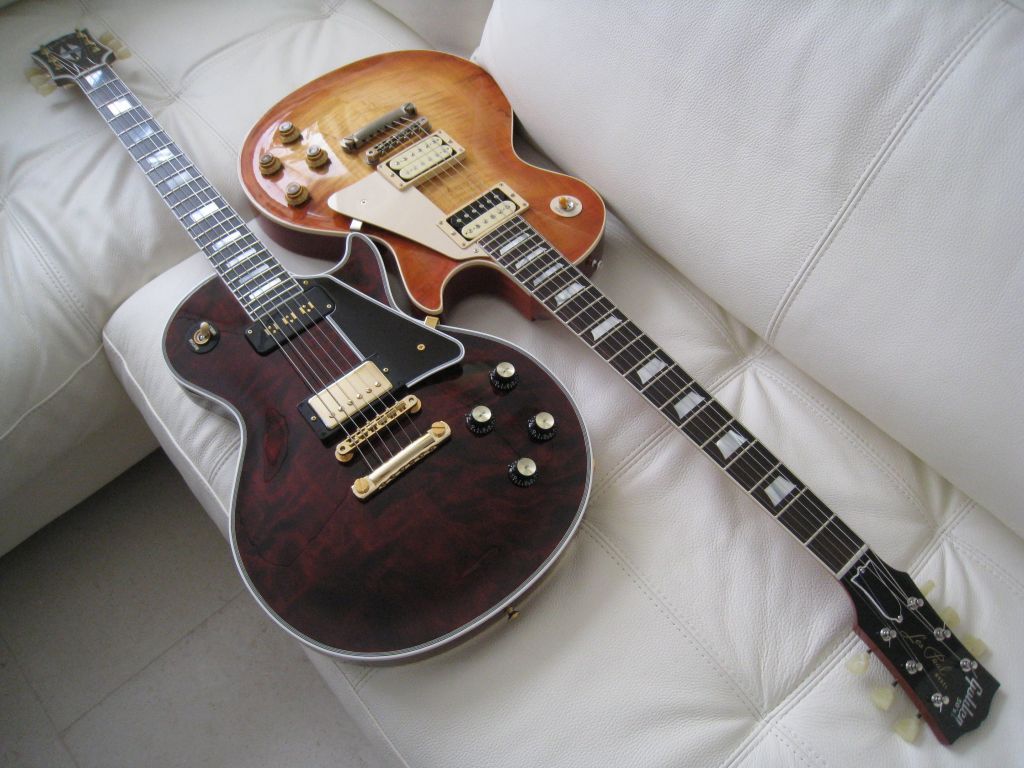
And just for fun, the two together:
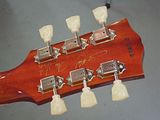
The second Standard will still take a bit longer. After closer inspection I am not happy with the polishing/buffing. There are some sanding scratches that bother me, specially apparent in the black finished headstock face. So I have to work a bit more on that, and re-apply the silkscreen. So, it's going to take at least one more week. Besides, now that I learned the trick, I will lightly age all the hardware before assembling it.
-
And the first Standard finished:
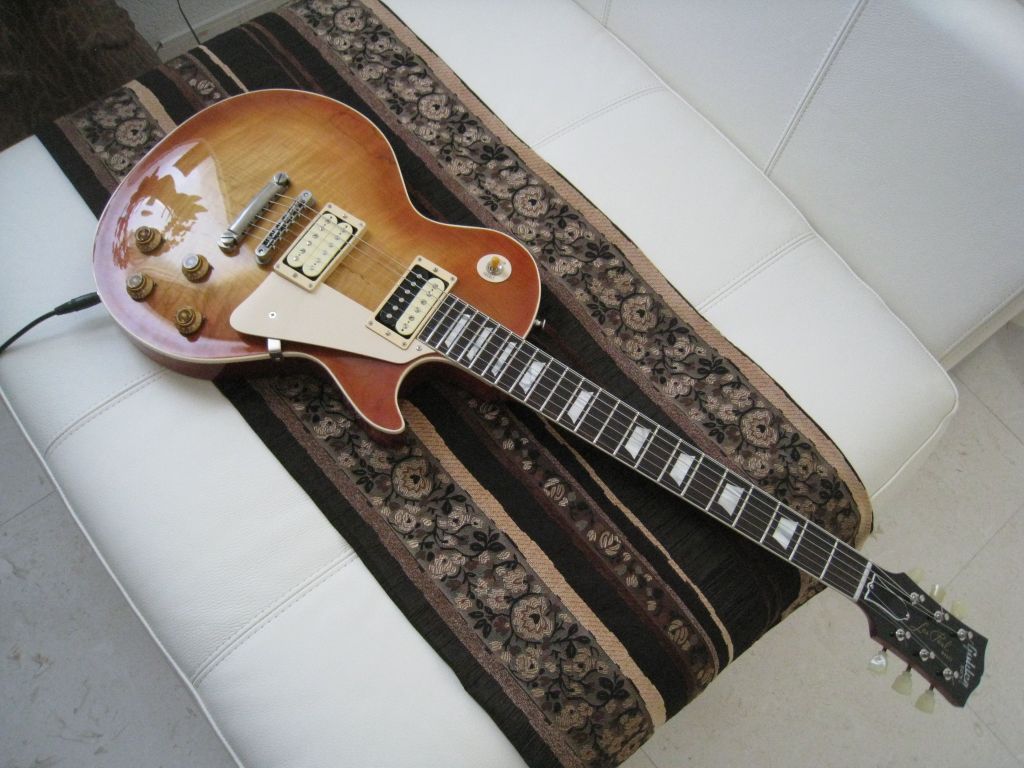
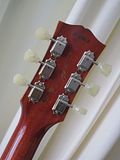
These are the "just assembled" pictures. I made a few modifications yesterday (no new pictures yet): added a slightly distressed cover to the neck pickup, and aged the tuners, bushings, screws, nuts and pickguard bracket to better match the bridge and tailpiece. I think it looks a bit better.
-
Thanks Scott !
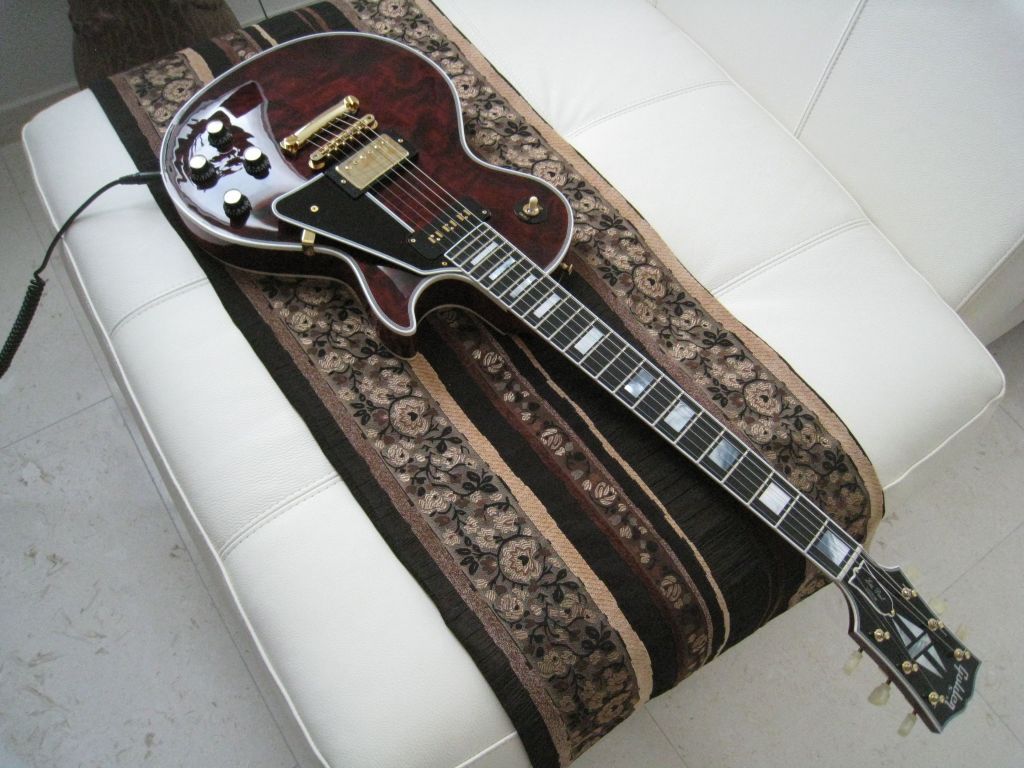
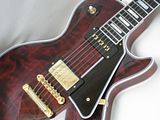
The Custom is the most interesting of the batch. The Standards are just more of the same...
But anyway, here it is the first one of the Standards.
The same drill for locating the bridge, and some assembly pics.
-
And the Custom was the first one to get finished.

-
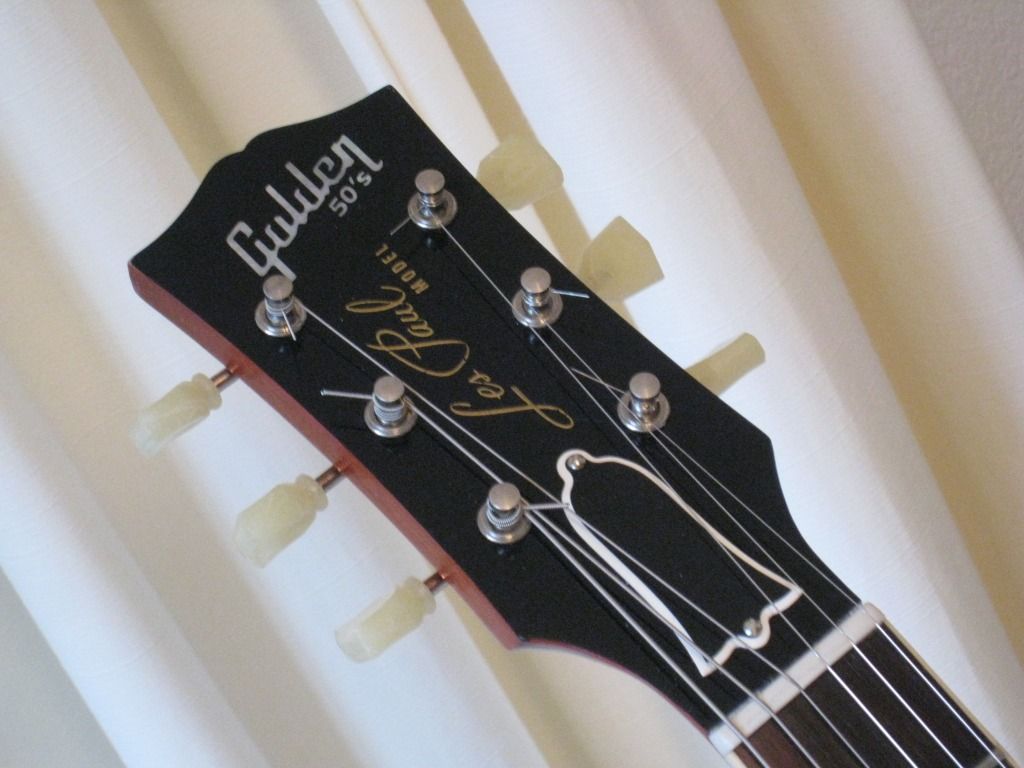
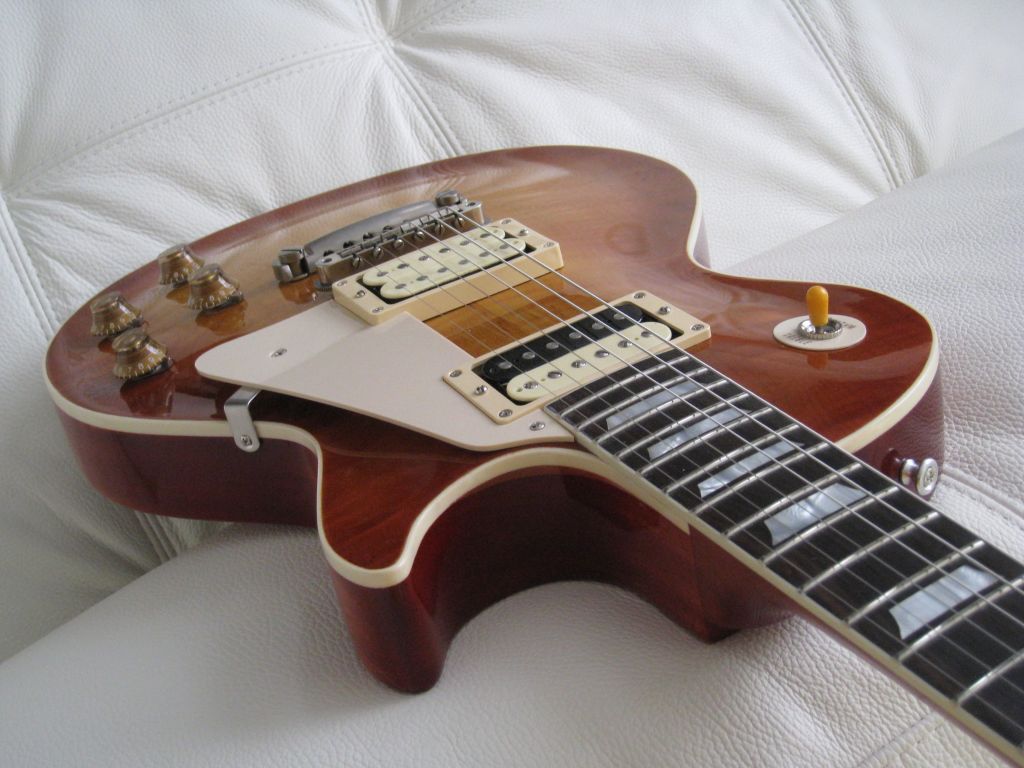
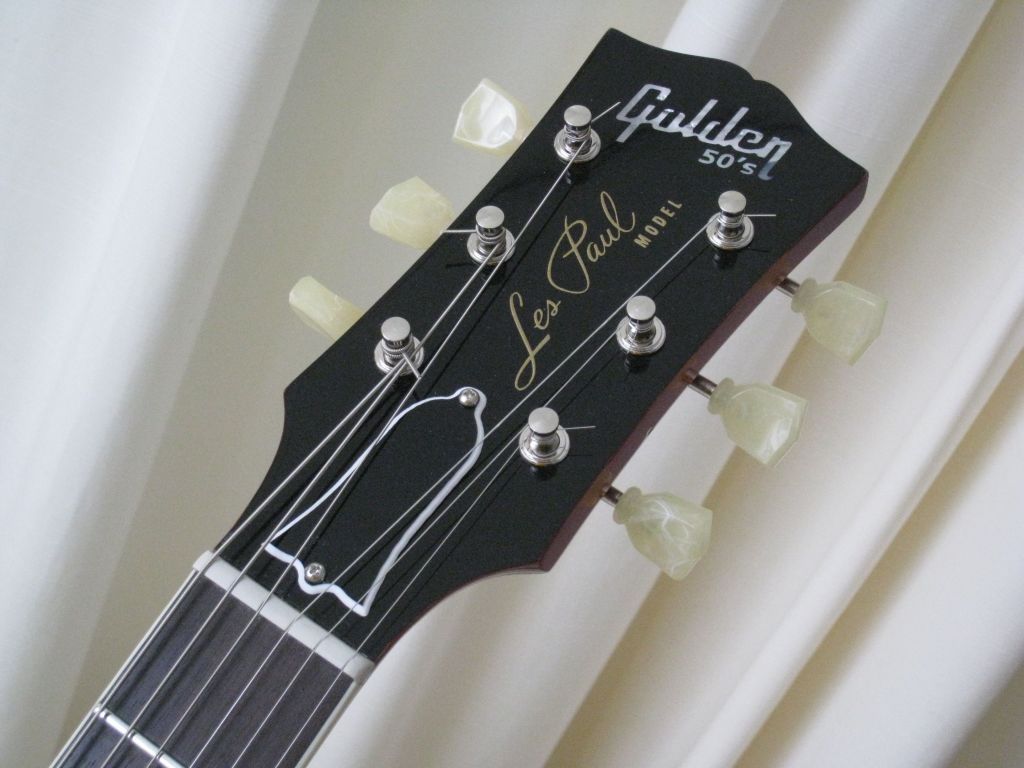
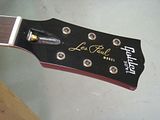
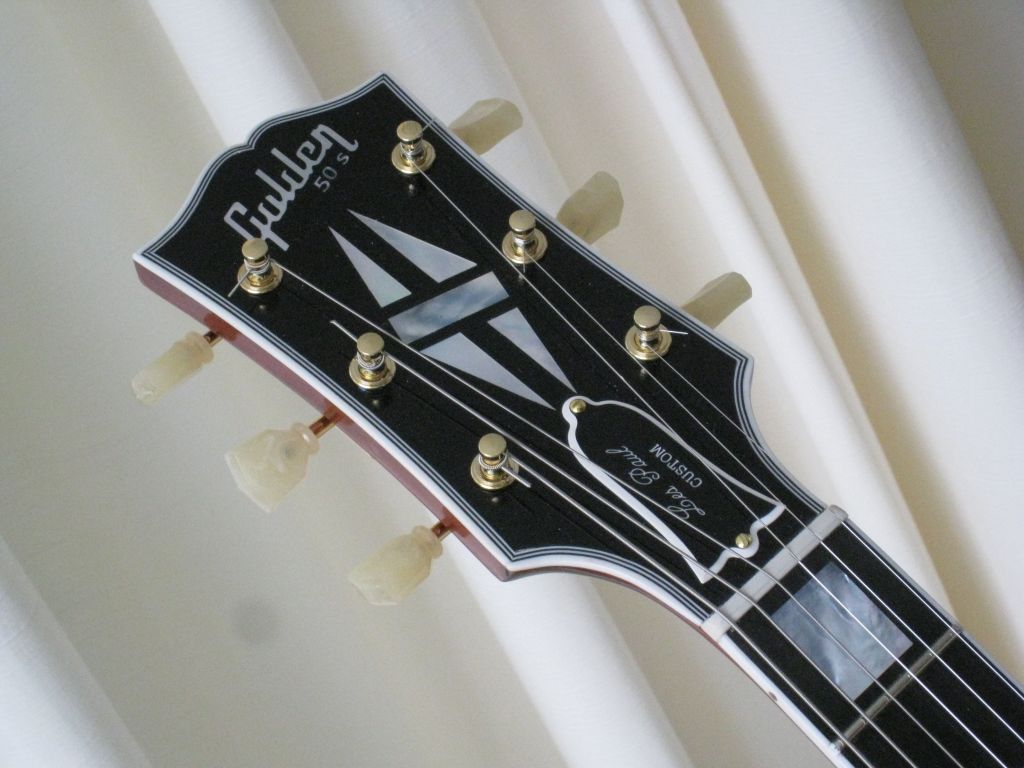
The Standards were wet-sanded and buffed and the "Les Paul model" silkscreen was applied on top of the clear, vintage style. An artist type gold oil-based paint is used for this. It is very thick and takes forever to dry (weeks), so a dissecant agent was added to the mixture before applying. With this dissecant the drying time is reduced to some days, say a week. So the guitars were put aside until the silkscreen was dry.
In the meantime, the Custom got wet-sanded, buffed and entered the assembly process.
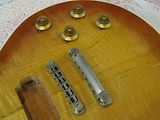
First step was to locate and mount the bridge posts.
For this I installed the tuners and cut the two E strings slots on the nut and the correct distances from the fretboard sides, and installed these two strings (used .10 and .46).
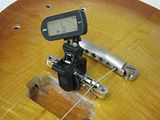
Then I set the bridge is set so that the high E saddle is pretty much at the front end (closest to the nut) and the low E saddle is about three screw turns before the end of the travel towards the tailpiece (this will allow intonation range for thicker strings). I put the bridge under the strings in its approximate position, seating on a couple of pieces of veneer to raise the action enough to allow the strings to vibrate freely.
Tuned up the strings to pitch or thereabouts and using a piezo tuner on the tailpiece, bridge, headstock, etc. I manually positioned the bridge for proper string alignment to the neck and proper intonation.
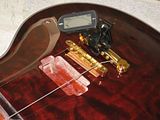
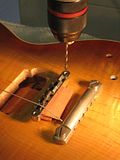
With the bridge held down by the string pressure in the proper position, using a drill press I very carefully drilled through the bridge holes the two pilot holes for the posts.
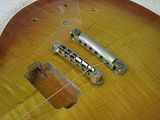
Removed the strings and bridge and drilled the posts holes to their final depth, past the redwood top and some 10mm into the mahogany.
For the posts I used long bronze screws, which I used to tap the holes first, then cut to lenght. And mounted the bridge.

Mounted the two outer strings again and marked the slots for the remaining strings with the StewMac spacing ruler. Then added the strings one by one and cut the nut slots with the proper gauged files. With all the strings in place I did the final adjustments to the nut slots depths and slotted the bridge saddles with the gauged files. Tuned to pitch and verified that there were no issues with string geometry, action and overall playability.
Then removed the strings, filed down and polished the nut a bit and did the final polishing of the frets. Now it was electronics assembly time !
-
Photo tour continues…
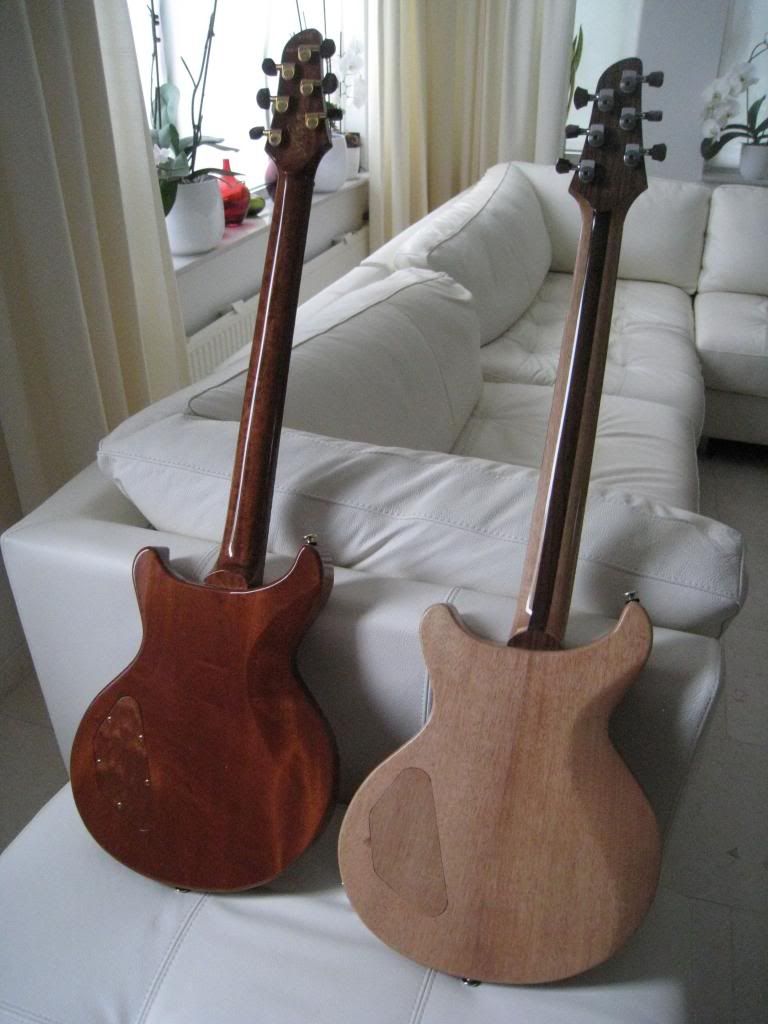
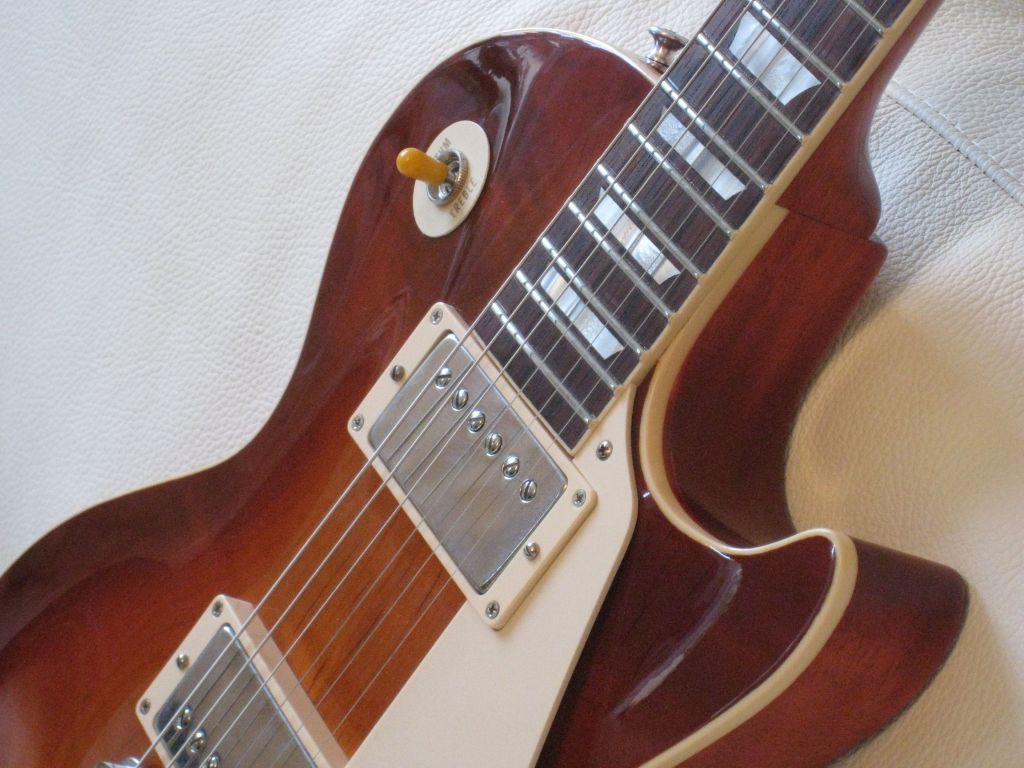
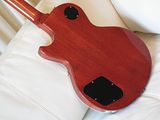
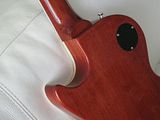
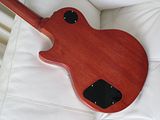
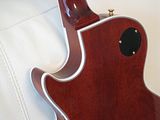
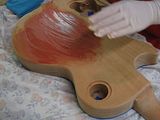
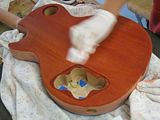
After masking the tops and the bindings the backs and necks go through a two steps process, the first to fill the pores using tinted filler (Timbermate, water based), and then a staining process to enhance the red. The Custom was stained using a deeper wine-red colour.
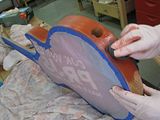
The masking of the tops and bindings was removed and the bindings scraped clean wherever needed and a few coats of clear were shot to seal the back and neck.
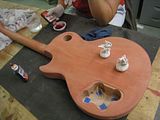
The serial numers were stamped and the process of clearcoating started.
Some days later, with the clear finally applied, the guitars were left to cure for a couple of weeks.
-
wow!! Incredible!! Can i send you my les paul body to you so you can apply it's multiple binding? hehe, it's a task i don't wanna do
Come on ! It's not that difficult ! Just gather the courage and do it ! You know you can !

-
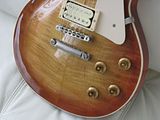
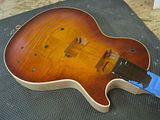
Then I did the the finish of the tops.
Masked the back, sides and necks and shot some clear on the Custom's top and some amber on the Standards'. Then sealed with clear.
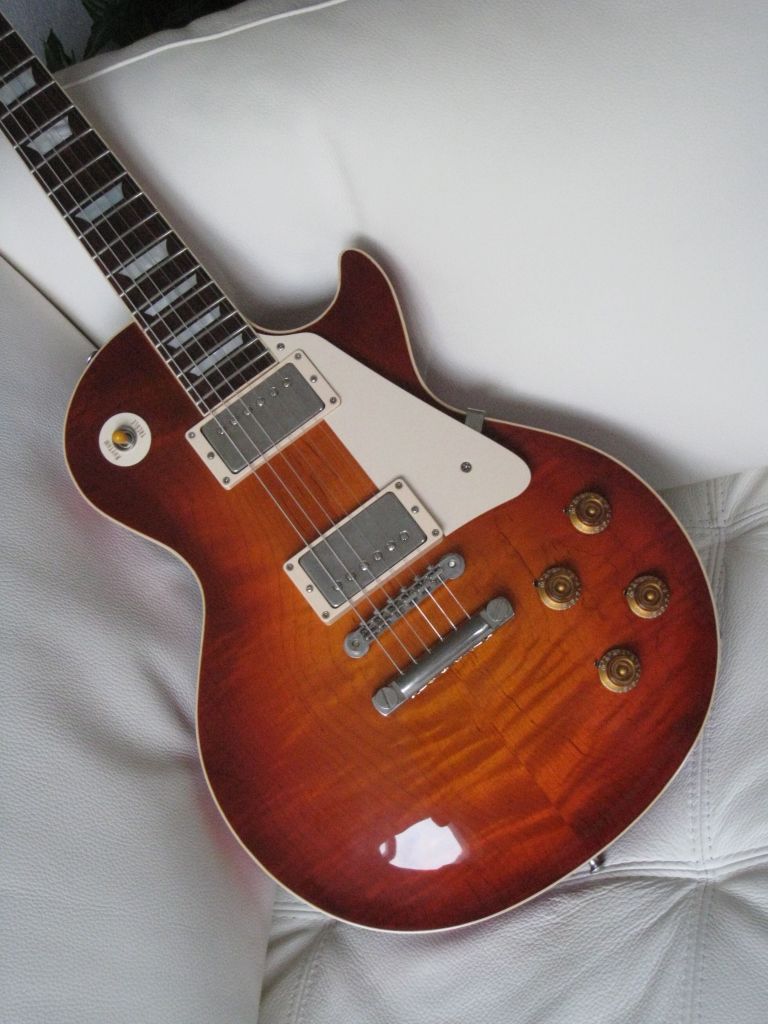
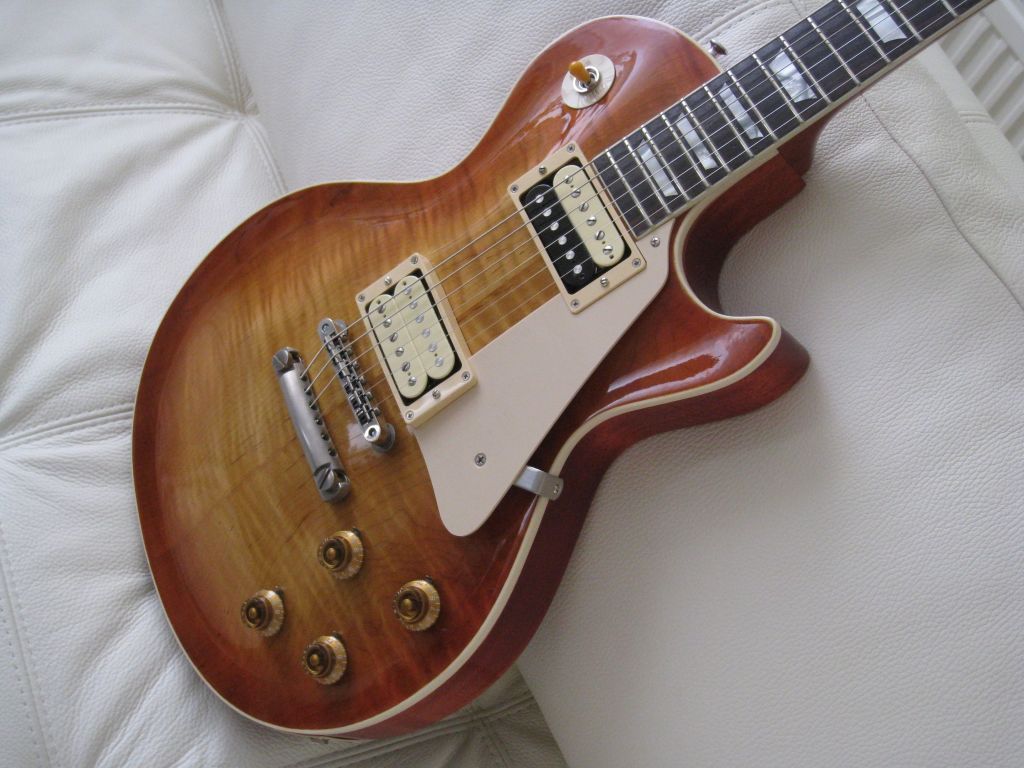
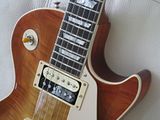
Then I sprayed the first sunburst (a faded tea-burst) on one of the Standards using an airbrush.
And the second sunburst (a darker burgundy burst) on the other one. I was originally thinking of finishing this one as a Goldtop, but the more I worked on the top the more I liked its subdued figure. In the end I couldn't bring myself to cover that figure with solid gold…

 )
)


How about a "modernistic" '58 V ?
in In Progress and Finished Work
Posted
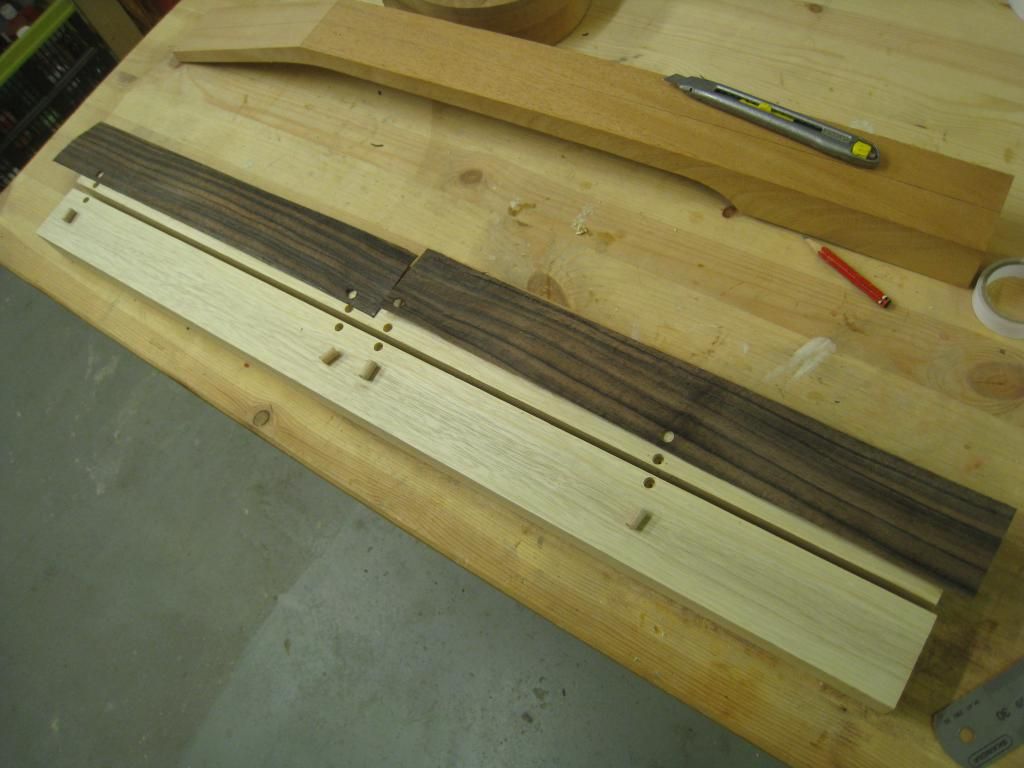
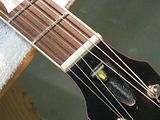
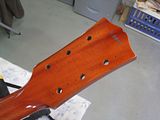
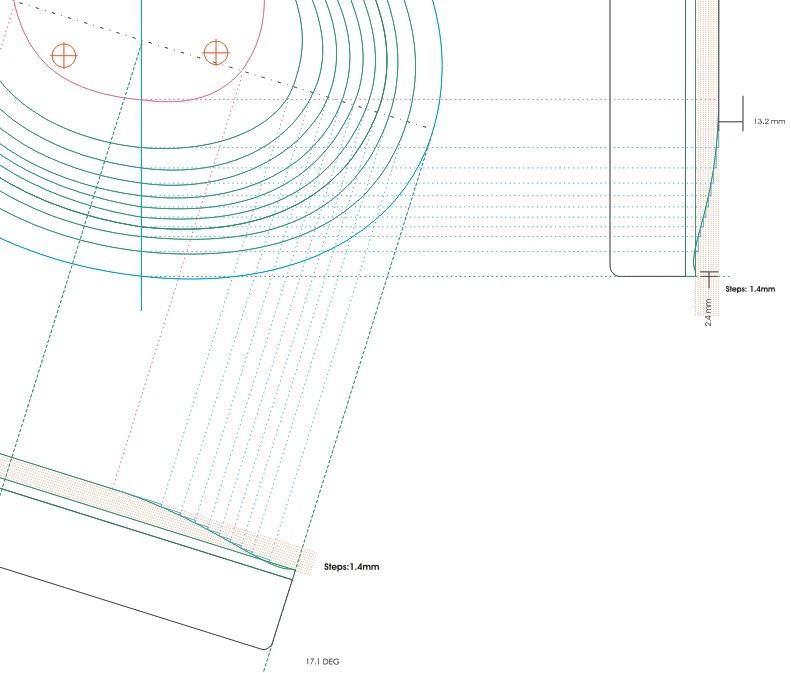
Now this were the late 50s, so the truss rod for these guitars was the basic one-way compression rod, like those used for the Les Pauls of the era. It is a straight rod that runs in an oblique channel rather close to the back of the neck. It’s crude, but it works, so no reason for doing it differently. Gibson didn’t start with the curved rod until 1960, and frankly, is more work for a rather marginal improvement.
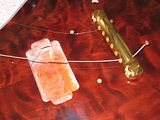
Not many pictures about this, but the idea is to run the blank through a 3/16 bit on a router table. Some maple spacers on the headstock end of the blank ensure that the slot ends up being about 1/8” shallower there than at the heel end.
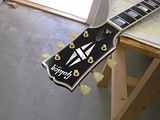
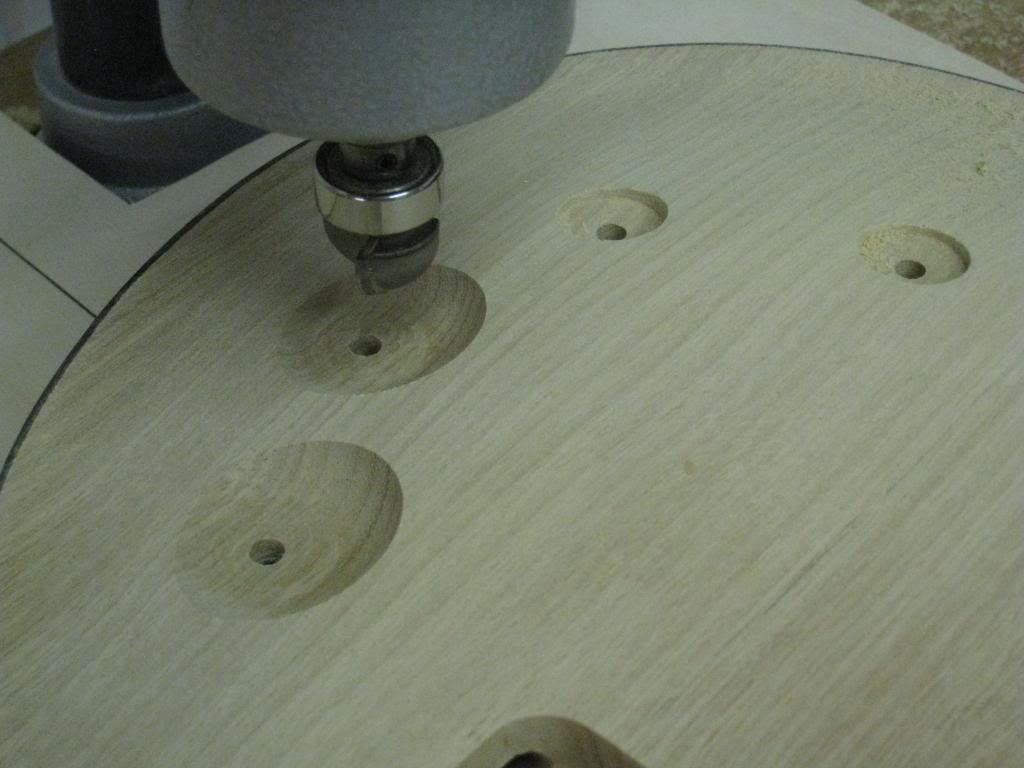
I do this in two steps for a very simple reason. I do the classic oval opening on the headstock with a 3/4” spotfacer with a 3/16” guiding rod. The centre of the cylindrical cut has to be around 1/8” above the bottom of the TR channel. You can also see the spacers still in place in this picture.
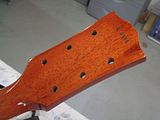
So I cut the TR slot 1/8” shallower than needed on a first pass, I run the spotfacer with the guiding rod bottomed on the channel.
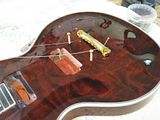
Once this is done I deepen the slot to the final depth on a second pass n the table router (the mahogany neck is for a Les Paul Custom I’m making for a friend). The final depths for the channel are 1/2"at the nut and 5/8" at the heel.
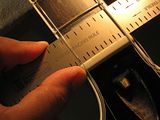
The truss rod itself is the “traditional” TR kit from StewMac. It has to be cut to length, the end has to be threaded and peened against the blind barrel nut.
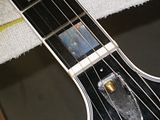
Maple strips thicnessed to 3/16” fill the channel with the TR in place. And the fretboard face of the blank gets planed again.