


RFR
-
Posts
99 -
Joined
-
Last visited
Content Type
Profiles
News and Information
Tutorials
Product Reviews
Supplier Listings
Articles
Guitar Of The Month
Links and Resources
Forums
Gallery
Downloads
Posts posted by RFR
-
-
I guess I came off a little hot n' bothered for mickguards tastes? I'll elaborate on the "crapping out" of the bridge: When I bought the guitar the B string was rattling. I couldn't hear the sound when played through an amp so I didn't care, the guitar played great and the sound coming from the burstbuckers was nice. But now the A, G and B strings sound like a sitar and I can hear it through my amp. Epiphones are known for having bad bridges and apparently it's one of the best upgrades you could do to it tonewise. So I figured why not replace it?
I have all summer here, I have a 50$ quality nashville bridge, I have a grandfather with a shop full of tools and a lifetime of woodworking experience(not on guitars though) and I want to do a little work on my guitar. I'll save money and resale value isn't important because I keep all of my guitars, still have my first 199$ hunk. How many times do you hear someone say "I wish I hadn't sold that guitar...". Besides this is something that can be approached without jepordizing my guitar. I'll pre-drill the dowels before I even glue them in so I can get it just right. My grandfather also suggested cutting 2 grooves lengthwise of the dowels to let pressure and excess glue escape.
You guys have been a great help, if you want I can post pics of the finished project?
That's all good stuff, but you can get a Gotoh tonepros bridge that will fit the spacing you have.
-
Years ago I had a shop within walking distance of the Hollywood Musicians Institute.
I was cranking out a warmouth strat every week for some one. I have built many warmouth guitars.
That being said, they are great! QC is high, and they use good materials.
The quality of a DIY build with warmouth parts is only going to be as good as the skill of the builder, but a well built Warmouth is on par with a Tom Anderson.
(I worked for Anderson for a while)
Roman
-
I agree with Mickgaurd.
It is never dumb to ask questions. Questions are good.
However if you have to ask, you probably do not have the experience nor skill (yet) to tackle the job.
Go the replacement bridge route.
Roman
-
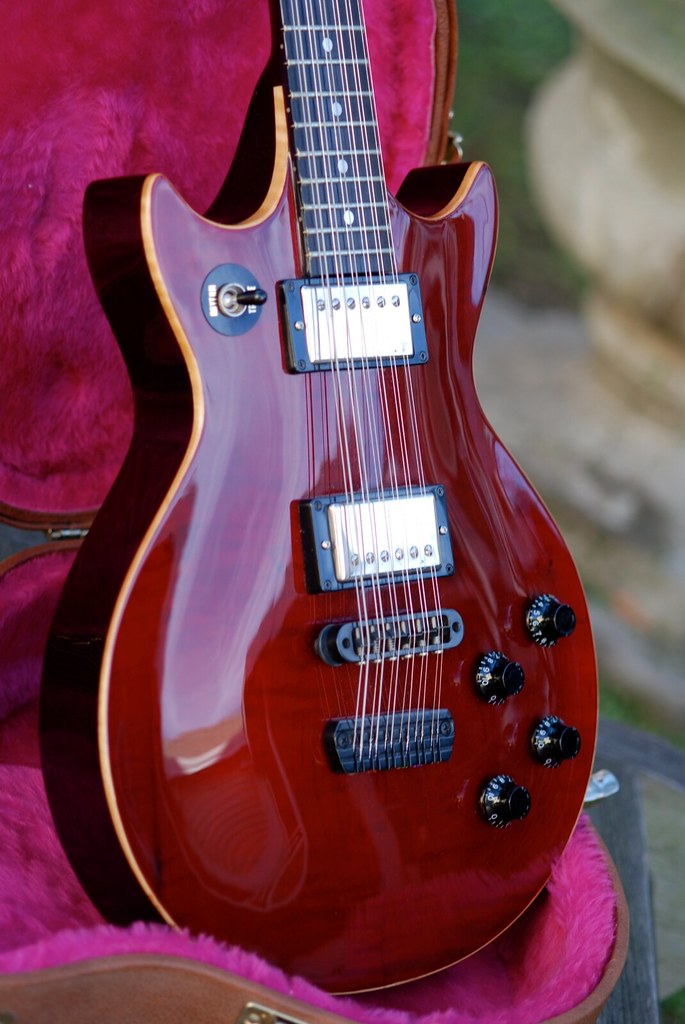
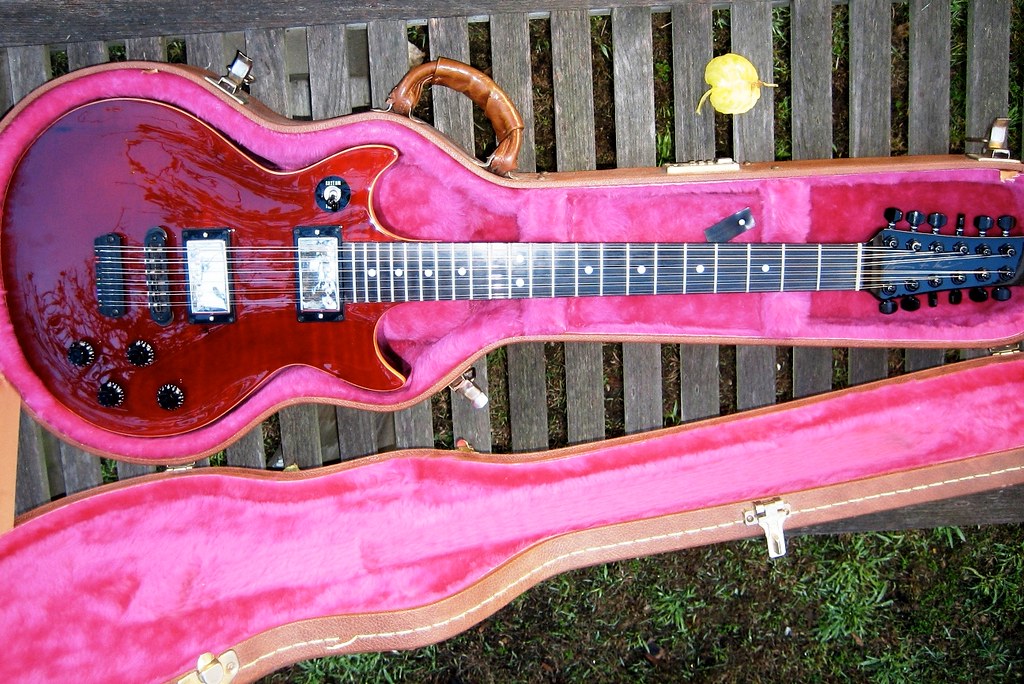
Damn nice!!
-
God I hate that!! I have drilled out the broken screw in a drill press before. you have to secure the body on the table so it WILL NOT move.
Go slow with a metal cutting drill bit with some lubricant.
You would want a drill bit larger than the screw. After it is drilled out plug the hole with a dowel and drill a pilot hole.
This time make sure the pilot hole is big enough for the screw and use wax on the threads. ( candle wax works fine)
On a side note; having done building and repairs for 30 years now, I have seen the screw quality go down the tubes.
good luck,
Roman
well, I for one wouldn't use any lubricant on wood. If you mess up and need to refinish that lubricant will create havoc with your paint. Also the make sure that the dowel you use is of solid wood, not those cheap ones sold at Lowes made out of balsa wood. Candle wax works great!
I should clarify. I typed in a hurry.

I use 2 drill sizes. One is the diameter of the broken screw, and the second one is the size of the dowel. Any cutting oil used in drilling out the screw is gone when the second hole is drilled.
Sometimes, nothing is needed because the screw is soft metal to begin with. Bottom line is this, you got to do what you have to do to get the screw out.
Also, you can use a plug cutter if one is available.
I guess the real trick is to not break off screws in the first place. Sure, it happens from time to time, but usually after the second or third time of it happening, it never happens again!
PS. A a cleaning with naptha will take care of any oil.
Roman
-
it's cool, do it
-
While i was installing the bridge on my bass, one of the screws that holds the peice on snapped off inside the body. Is there any way to get this out? The head of the screw is snapped off, and the rest of the screw is all the way in the body just below the surface of the wood.
Thanks
God I hate that!! I have drilled out the broken screw in a drill press before. you have to secure the body on the table so it WILL NOT move.
Go slow with a metal cutting drill bit with some lubricant.
You would want a drill bit larger than the screw. After it is drilled out plug the hole with a dowel and drill a pilot hole.
This time make sure the pilot hole is big enough for the screw and use wax on the threads. ( candle wax works fine)
On a side note; having done building and repairs for 30 years now, I have seen the screw quality go down the tubes.
good luck,
Roman
-
Roman,
I think what I like most about your guitars is that they seem to always look just right. I mean, you'd think a middle pickup would look weird on a Tele, but somehow it looks like it belongs on that guitar. Well done, as always.
-Dave
Dave, thanks so much!
more pics as we progress!
Roman
-
Hi Folks, nothing too earthshattering with the build but;
The body is all sanded and I applied some tobacco stain and sealed up the body.
I will put it aside while I work on the neck for now.

I know it is probably just another boring tele, but I love them!
Heck in the 80s I did enough wild body designs to last me a lifetime!
cheers
Roman
-
Welcome and wonderful guitar!
Roman
-
Dre,
All you need is the proper neck angle.
You do not need the neck sticking that high off the body.
Take the shim he installed OUT! Throw it away.
Keep your bridge on the body and at the end of the neck pocket start stacking Veneer, business cards, pickguard plastic, what ever works to elevate the heel of the neck.
Keep checking till you get the right angle and the action where you would want it.
Once this is done then make a tapered mahogany shim.
Roman
-
Every now and then I come back to the idea o using maple for fretboard inlays, but isn't it a problem to leave them unfinished ?? I mean, an unfinished RW fretboard looks great, wouldnt the maple get too dirty with normal use ??
I have a question about your top. I have some flamed redwood I will use for tops, but t quite brownish in color. Did you bleach that top of yours before staining red ?? How did you do it if so ??
BTW, I like your headstock shape very much !!
Thanks for the comments!
For the maple inlays they will be oiled up. I have done them many times, and have some experience with how they look over time.
Oiling them will darken them up and offer some protection. yes they will get dirty, but no more than a well played fingerboard. Alittle cleaning and they are back to normal.
The top has not been bleached, just freshly sanded. I would assume your redwood is darker from oxidation. once you sand it it will lighten up.
Roman
-
I think it's cool
-
I like the idea of using figured wood for the F/B inlays. With this top, though, I don't think it's working. I'm all for color contrast, but there's nothing to tie the inliays into the body. Is it too late to tape off the blocks and dye them to match the top?
I hear you.
However there is nothing to tie the the inlays of a LP standard into the body either, nor the inlays of an LP custom. The overall theme of this instrument is nice wood.
The top is not going to look like that. Right now it has that "pinkish" redwood look.
Anyway, everyone likes different things. I like it..........or I wouldn't have done it
I'll keep you posted.
Roman
-
Hi,
I'm currently working on my first refinishing project, and I hope I'm not the first to ask this question on here. Anyhow, when you are looking at the guitar from the side, you can clearly see areas where there is not a good tight joint between the wood (alder) and the plastic binding. These are due to an unevenly routed binding ledge. I tried to file down the "bumps" in the ledge before gluing the binding in, but obviously did not do a good enough job, as these gaps are still evident. They aren't very wide, but they are still very noticeable. Is there any way to fill these gaps? I just want a good looking joint between the binding and the wood. Some ideas I am pondering, are they legit, or just asking for trouble?
- slip small amount of Weld-On 16 into gap with razor blade, press binding down with c clamp until dry
- attempt to fill gap with small amount of binding "melted" with acetone
- pack with wood filler/putty (might be too thick)
The next step for me would be sealing the body and applying grain filler. Might the grain filler also be enough to fill/mask the gaps? Please help out a woodworking newbie who's in over his head. Thanks!
-A.B.
I would just use some natural wood filler, it should match the alder pretty well.
Roman
-
Thanks folks!
It seems there is some interest in this one. I'll keep you all posted.
If anyone has any interest in the earlier stages of this instrument, it is all documented at mylespaul.com
here is the thread;
http://www.mylespaul.com/forums/luthiers-c...hotgun-lew.html
enjoy!
cheers,
Roman
-
Here is one more, a closeup of the fingerboard.

That's it for now until there is further interest.
-
Here is another picture.

-
Here is another one of mine.
As the description says;
It is Honduras Mahogany, with a flamed Redwood carve top and Braz board.
The inlays and neck binding are Curly Maple.
It has gold fretwire and will be getting all gold hardware.

-
Here is another entry.
Take a LP shape, turn it into a double cutaway, and make it a 12 string and this is what you get.
Honduras mahogany body flame top, Maple and ebony neck.
Unlike Gibby this has a 25.5 inch scale.
Set neck with sculpted heel
Nitro finish with natural binding.
Duncan pickups
Thanks for looking,
Roman
-
Looks very nice. I gotta ask, why is it now just you workin' on it instead of you and your friend?
Ah, i dont think you should let freinds work on guitars anyway.
-
Sweet! I love leftovers!
Roman
-
Everyone did an awesome job yet again this month. The one I liked the best was bigdguitar's. It's simple but it just flows. I love double cuts lps a lot, that's why i started making one a year ago but never got back to finishing it. This was back when it seemed like the PRS's where the popular thing to build. Now I see tons of double cut lps now. Wierd huh? Anyways, this one stands out. Great job.
A double cut is a thing of beauty!
PRS originally just took a Gibson DC shape and carved the top. the early handmade ones were all mahogany. The Santana model is still basically a double cut.
Roman
-
This is not for everyone. ( disclaimer)
What I have been doing for years is this;
Every 3 coats of finish ( clear, color, it don't matter) I sand with 220 grit.
I build and sand. It may seem like a waste of time and finish, as I am sanding most of it off.
I do this to get a smooth,level, yet very thin coat. Very thin.
The last coat of color I sand as well. When I hit it with clear, it's all good.
I will build up a few extra coats of clear over the color to prevent sand thru to the color. ( 5 coats)
Then I sand with 220 again. and repeat ( build , sand)
The last coat I spray with a thinned out mixture to melt all the sanding scratches together.
Usually I can go straight to 2000 grit, then onto the buffer.
If you are using spray cans, you would have to go through different grits of sandpaper.
I hope this is of some use.
Roman

Bridge Stud Conversion
in Solidbody Guitar and Bass Chat
Posted
Riffraff,
I don't think Mickgaurd was singling you out or even jumping on you. I think he was addressing a broader issue.
There are some of us that are on these forums who do guitar work and building for a living. I have supported myself for 30 years now with this craft.
There are people with all different skill levels, ages, and backgrounds on this forum and others. Forums are a great way to exchange info, and are a great educational platform.
I learn new things every day, and I also teach others every day.
What will tend to happen though on any forum, is the blind leading the blind sometimes.
Also, it is very easy to give advice. Behind a keyboard, it is easy to be an expert, it is easy for a broke slob to be handsome and rich, it is easy for a female to be desirable even if in real life you would run if you saw her.
Over the years I have had some apprentices, and it takes time for them to build up the basics and skills to do guitars. It don't come overnight. It certainly does not come from reading a few posts on a subject. Hands on experience is what brings about skill
On a forum, the general rule of thumb is if someone asks how............they do not know. I have heard of many guitars being ruined from forum advice.
Not because the advice was bad, but because it was too steep of a learning curve for the person attempting the project.
I'd hate to see someone ruin their instrument because others were advising and cheering the newcomer on.
I think Mickgaurd was just trying to save you some possible agony.
Roman