


muggatu
-
Posts
39 -
Joined
-
Last visited
Content Type
Profiles
News and Information
Tutorials
Product Reviews
Supplier Listings
Articles
Guitar Of The Month
Links and Resources
Forums
Gallery
Downloads
Posts posted by muggatu
-
-
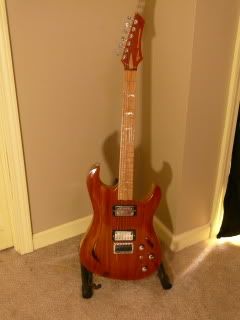
Specs:
BODY: Hollowed via router Ash with cedar top
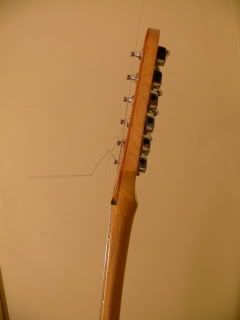
NECK: 100 years cured Rock Maple three piece laminate
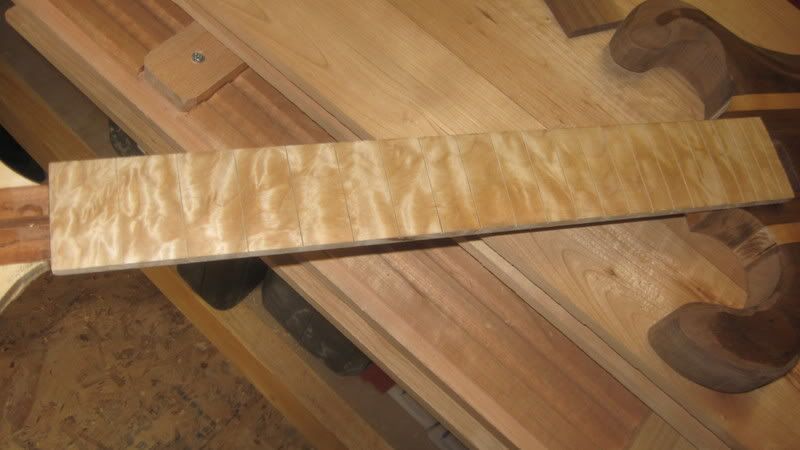
FRETBOARD: bookmatched maple from neck wood, Peace Dove inlays
SCALE LENGTH: 25.5"
NUT: Rosewood
TUNERS: Grover
BRIDGE: strat style with Piezo
NECK PICKUP: inset piezo in between the neck and body joint
NECK PICKUP: Seymour Duncan
BRIDGE PICKUP: Seymour Duncan
ELECTRONICS:2 volume - one for humbuckers one for piezo. 1 tone. 5 way coil tap and a 3 way selector for electric/blend/acoustic. Stereo output for two amps, one electric one acoustic.
FINISH: poly and tung


Please check out my photos of this guitar
My webpage with crapy vid using only electric amp, acoustic makes a big difference with the piezo.
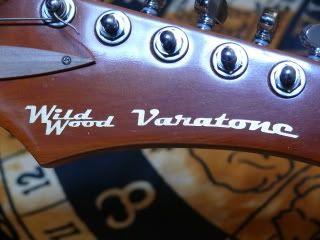
The Wild Wood Varatone feature's a hollow ash body with a aromatic cedar top. A five way switch controls it's two coil tapped vintage wound humbuckers. Acoustic piezo bridge saddles are installed for acustic sound.
The controls allow the player to switch between electric and acoustic modes, and even blend the two together. Mother of pearl inlays highlight the 100 year old maple neck. Stereo output allows for optimum sound control. Send the Acoustic signal to a different amp to perfect the sound.
-
I have a Bronco what would you like to know?
-
-
The horns look like that due to sanding off a very thin layer of lacquer was applied to the body
-
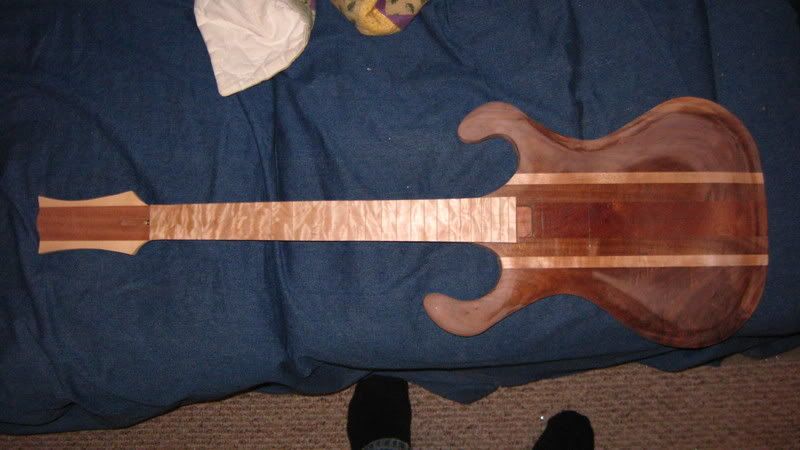
I've just got into full production again after not having access to tools for two years! I cant wait to get this one done and move on to many more....
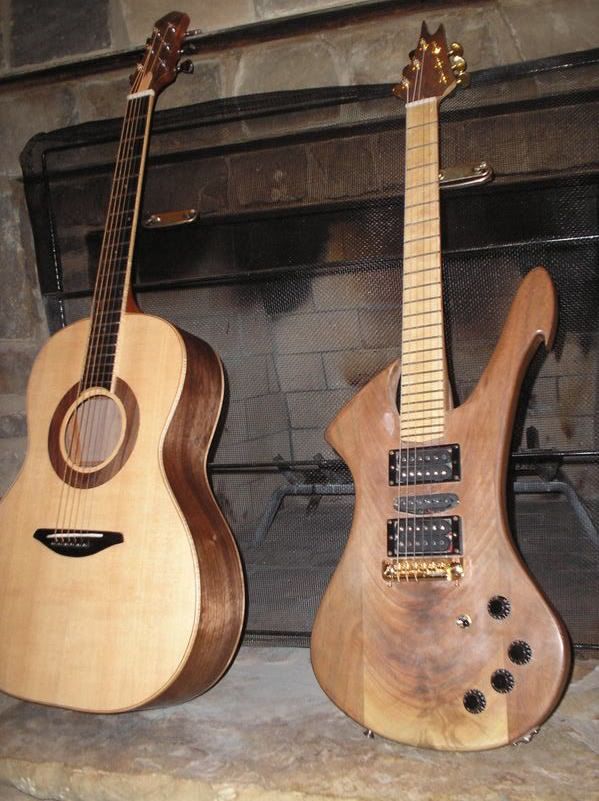
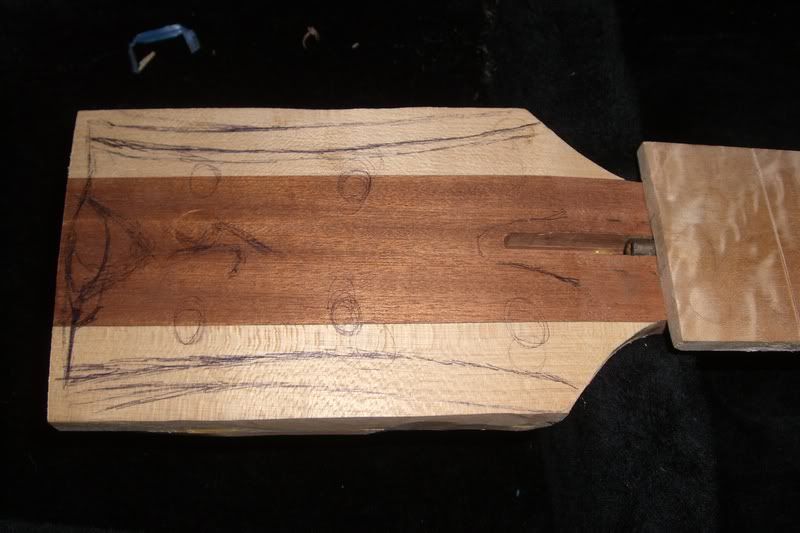
The body is laminated Black Walnut/Curly Maple/Black Walnut/Sapele Mahogany/Black Walnut/Curly Maple/Black Walnut
Neck is Sapele Mahogany with Curly Maple Fret Board.
Electronics will be either Les Paul or PRS style....
-
Hey I saw these guys about 5 years ago when they were more so underground at a church in town and I cant tell you how cool it is to see that they have made it this far. They definitely have my vote.
-
Hey man, I've done this only a few times and I know exactly what you are talking about. Um, I have always just got to that point and stoped, knowing that if I went any further than I would have to do a grain fill coat, so obviously I just wanted to cut some time out of the process. You'll have to be real carefull on the sides and horns though because it's real easy to sand through that clear coat. If you do than I think you might have trouble with the paint soaking into the wood and causing discoloration and uneveness.
I have been told that the absolute best way to do it would be to take it all the way to the wood and start the whole process over, but I just finnished a '68 tele bass without taking all the way down with no problem at all. You should check out Reranch.com they have everything you'll ever need for refinnishing you're guitar, they even have a gallery with a van halen style guitar done with their paints.
-
Yeah I never cared enough to really go that far so i just left it with the truss rod and skunk stripe. Has held up for the last month with no changes yet but I'm sure they'll show up in time. Then I'll just make a new neck.
-
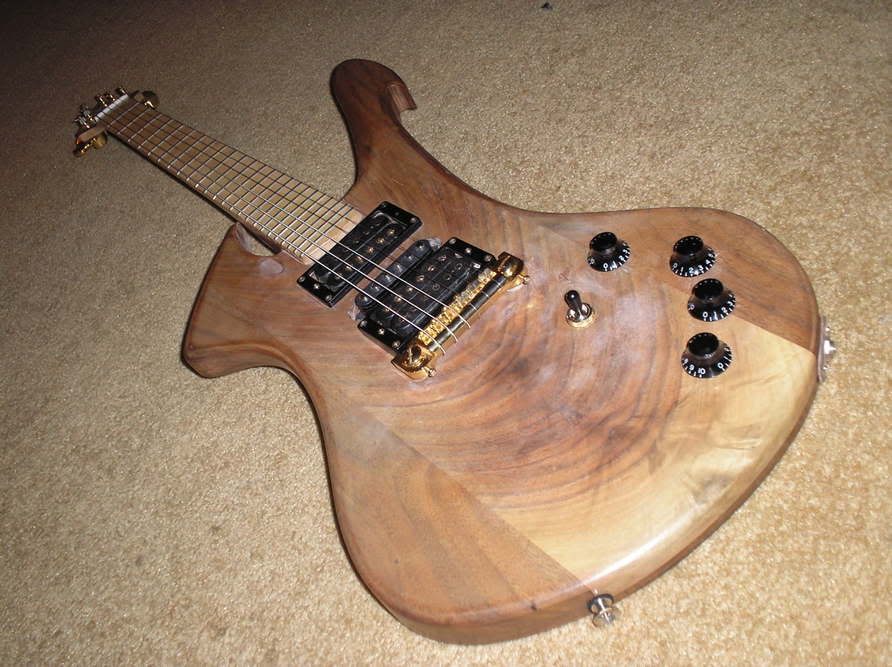
So it's been a long time since I've been on here and i just remembered that I never got back to you guys on this one. So here are some pics of the finnished product minus a finnal polish and minor neck changes. Sorry if these are too big.
-
Hey, what caps. should I use on those? Does it really make a huge difference? I have a whole load of 0.001's but no 0.020's.
-
Sweet man! That logo turned out really good. The body looks very nice as well. It's always feels great to get a deal that good and then not have to worry so much about seriously messing up a really expensive guitar ya know?
-
Looks great man. I am very familiar with that same paint as I refinnished a $5000 '68 tele bass with the same color from reranch, talk about nerve racking!. I know how hard that can be and I just wanted to congradulate you on the awsome job with it.

-
It's definitely metal man!
If you cover up one of the sides the it kinda has that chello/stand up bass look goin on to. Sounds awsome though man have fun. -
I might follow you on that one man, I guess the skunk stripe would look more like a laminate when I'm finnished in that case. Thanks
-
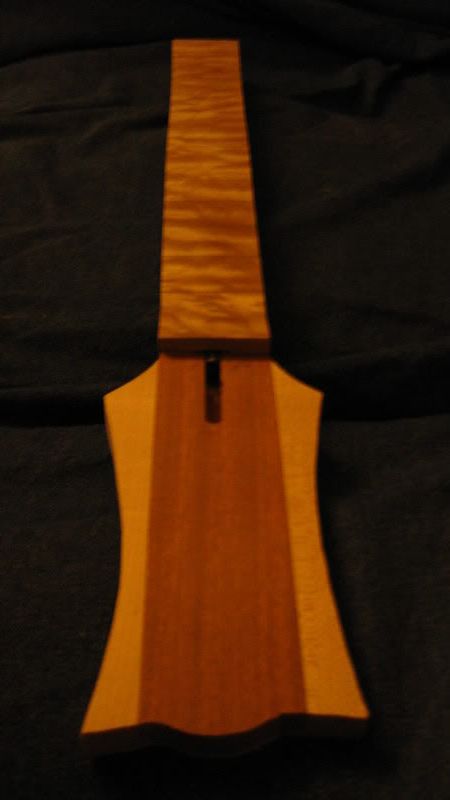
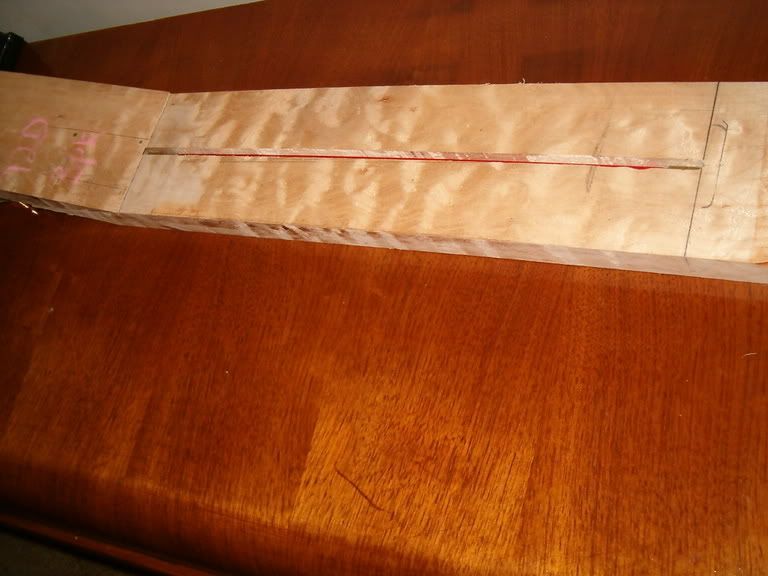
No wonder I coulden't find anything on how to do the truss rod. I guess I really thought it would be better to do it skunk stripe style rather than sawing off the fret board and reglueing it all. It was somewhat nervracking at points but it turned out great. So laquer is good for the fret board, I think I will do as you suggested on that one. The graphite bars sound good to, but can you install them from the back? I have a few peices of this maple and if this one doesn't turn out good I have another one lined up and ready to go. Thanks.
-
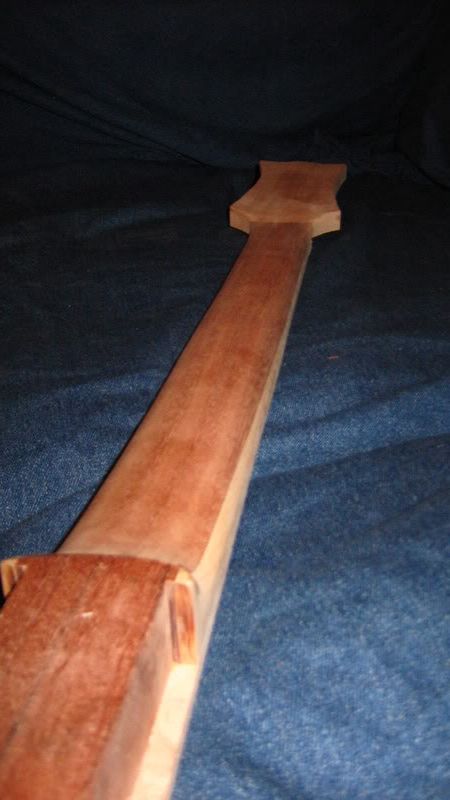
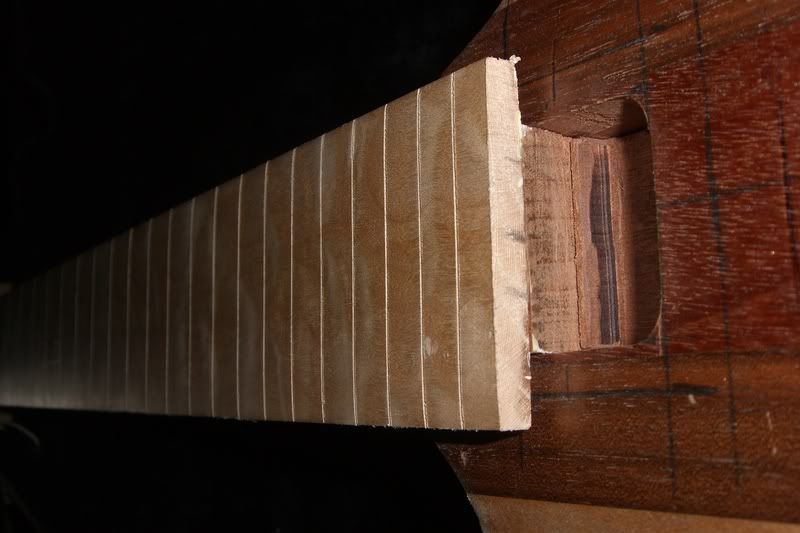
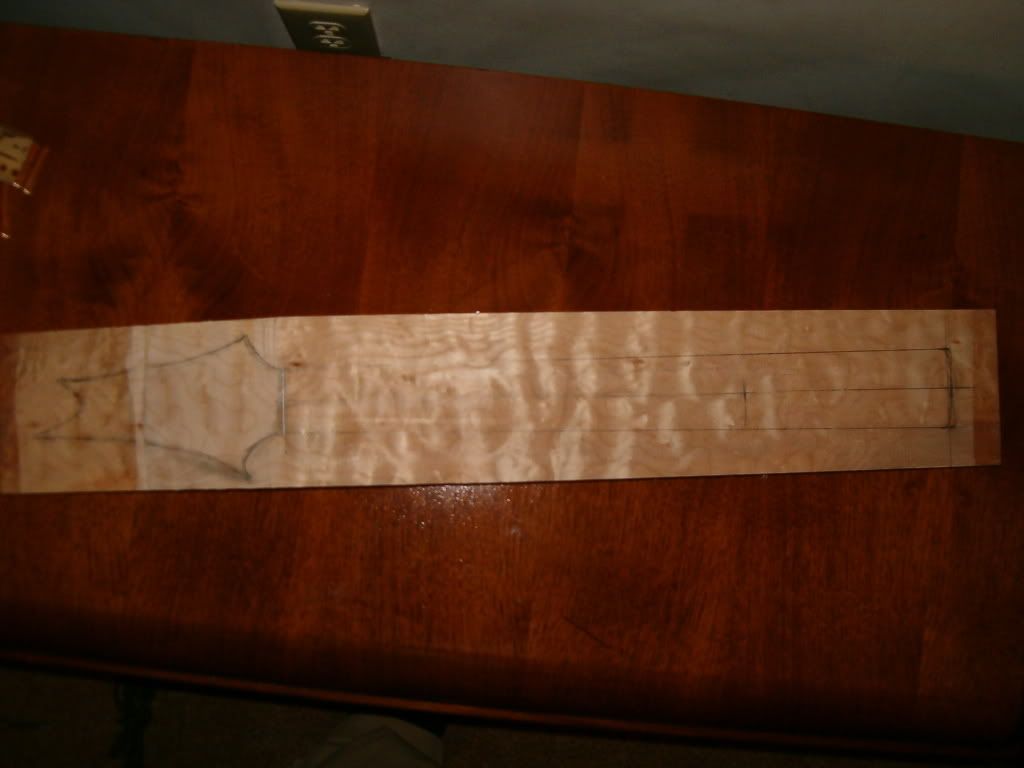
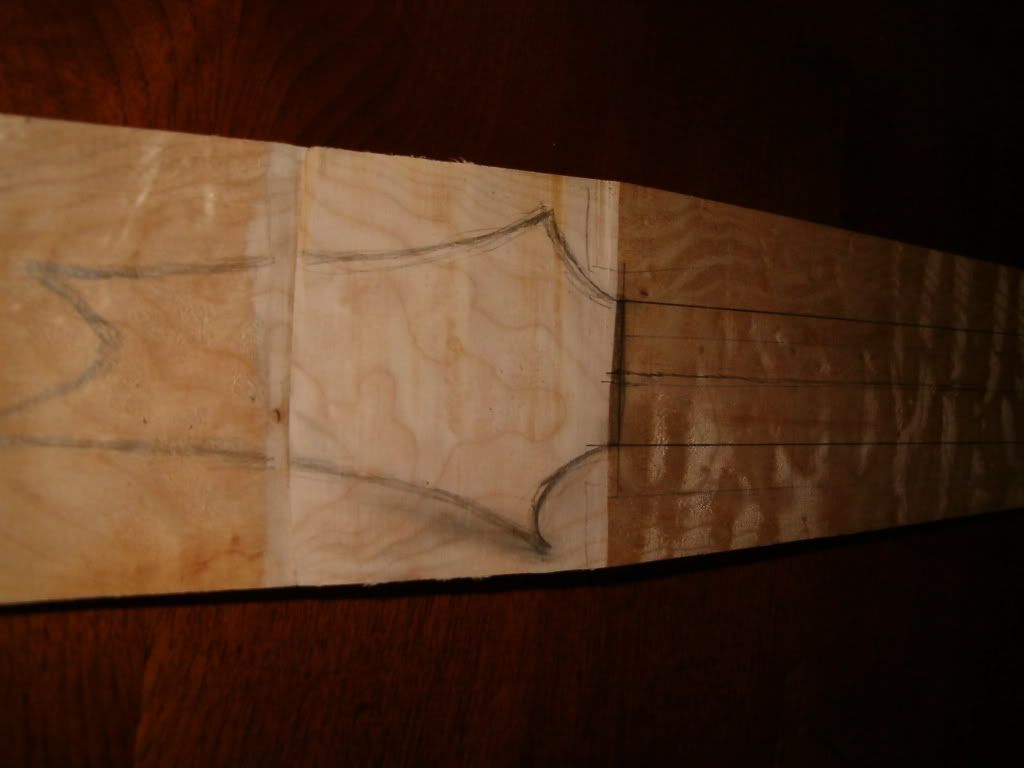
Awesome link man! Although I have to say that I had done some searching and already found that site recently, I guess searching really pays of eh? I did some more work today and made some progress on the neck which before today was just a peice of maple and a truss rod. Thanks for the info guys. I'm pretty sure I'll use shellac on the neck as well, the fretboard is a different story though, what would be durable enough for that, as it will be maple and will need a coating.
I thought about the neck angle to, I can just make the angle on the neck right, just at the heal kinda like adding a wedge under it but actually cutting the angle in the heal?
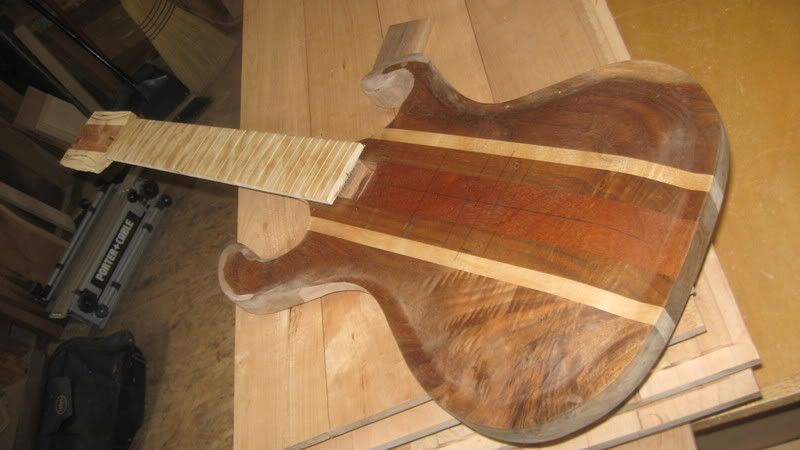
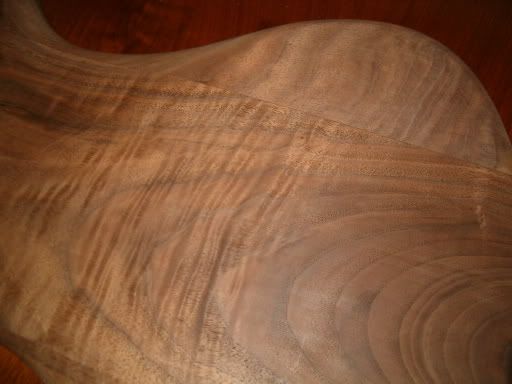
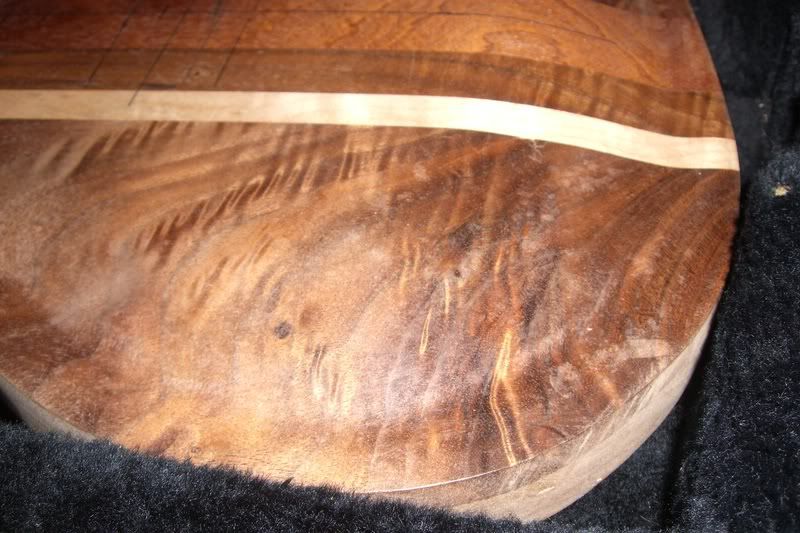
Here's a pick of the back of the body, the links are of the neck work I did.
-
Nice man, I did the same thing with an old Fender Bronco and just barely sanded it down and left the open spaces. I have been told by a guy who's been playin bass for 30 or so years that epoxy would be an ideal finnish for it, but I figured since it's an old fender guitar that I might want to put the frets back eventualy so I left it alone.
What's the absolute EASIEST way to fill large inlays holes without actually doing inlays? I don't have the tools.I say epoxy the thing man!
-
Wait, have you ever built a guitar before(EDIT: nevermind, just read your first post)? Until you've built a neck, you can't really guage how long it will take you(personally). And you realise that putting a finish on it can take weeks in and of itself, right. Even an oil finish *should* take more than a day to apply and cure. Don't rush this project; save yourself the hastle of going back and fixing things.
Oh, and get used to spending more than 3 hours in your garage at a time. A lot of guys here get pretty deep into their builds, spending many hours on them. I've woken up at 7am, started working on a project, stopped only for meals, and worked into the next day. It's the price you pay. It's not really something to proud of I suppose. What takes dedication is knowing when to stop working because you're too tired and could potentially injure yourself or mess up your work.
peace,
russ
PS
One more thing, are you working off ofany form of plans at all? Have you determined whether or not you need a neck angle or anything of the sort to compensate for bridge height? I'm really not trying to bash you or rain on your parade. I just wanted you to be aware of these things and make sure you've thought everything out thoroughly.
PPS
I meant to mention that I like the upper horn and I don't think it should cause you any problems as long as it doesn't hit the neck. It may be a pain to finish the inside of it if you're planning a set neck though.
Okay, sorry i really ment that I would have it playable by then. I plan to do a French polish for the body and I need some help with the neck finish, I'm not sure if it's wize to do it with the fp, any suggestions? It's going to be maple and it will have an angled head stock from either 10 to 13 degrees. The neck itself will have a slight angle from the body as well. I would definitely spend more time on it if I had the chance to. I really can only work on it for that much time because the shop i work in isn't mine and it is only available for that much time every night. Thanks man
-
Awsome man! It's good to see a finished walnut project. How does it sound compared to other teles? Did you use 6 pieces? Because I had to do the same with mine. Is it black walnut? Nice work man.
-
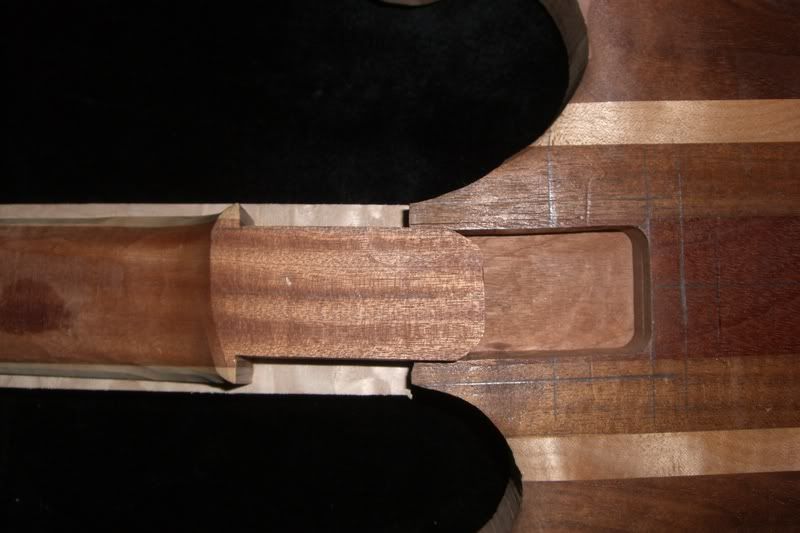
Yeah man, I've never been much for crazy designs either but this just really works for me. As for the neck pocket deal, I compared the room to what I have on my acustic and I have more room on the electric. It's really not that bad. Thanks for the info on reshaping it, originaly there wasn't a cutout so it looked similar to a Les Paul in that area. So I really never intended for it to be an available area.
-
Na, I'm making it, thats just how long it takes me, assuming I can use the shop every night. I usually spend about 3-5 hours a night when I really get into the flow of it.
-
Thanks guys. It definitely was a task to get it how it is today. It has been about a year since I started the process and like Gary said, building an electric is pretty dang expensive. As for as the comments about the looks go all I can say is that I really don't mind if you guys don't like it because I didn't make it for anyone but myself in the first place, ya know? I know you don't have much to appreciate at this point but I'd like to say that there's alot more involved with making a guitar than just what it looks like, I mean come on, you guys can surely find somthing to appreciate about someones project other than the looks of the body.
Anyways I Just got my last parts in so you guys might see the finnal product within the next week.
-
That centre piece actually looks like a really sweet piece of crotch walnut. Is it the full thickness of the body, or is it just a top laminate? If it's full thickness, you could have re-sawed it into a bookmatched top. Regardless, it should look pretty nice when it's finished.
I agree with some of the other comments about the flow and proportions of the design, and don't really have anything to add to that part of the discussion.
Thanks, thw wood is very nice and I wish the top was bookmatched but I just didn't have enough wood to do it that way and have an all wlanut body like I wanted. As for as the shape go's it's like I said before. I have had this cut out for almost a year now and I'm still very pleased with the way it looks and feels.
-
Given you know that the ground is obviously there too. Thanks though.

Guitar Of The Month For July
in Guitar Of The Month entry/poll archive
Posted
Thanks dude! This is my 3rd build and I spent a lot of time on the design, the electronics just came together well after I did some research on newish technology.