


chops1983
-
Posts
432 -
Joined
-
Last visited
Content Type
Profiles
News and Information
Tutorials
Product Reviews
Supplier Listings
Articles
Guitar Of The Month
Links and Resources
Forums
Gallery
Downloads
Posts posted by chops1983
-
-
please post up some pics so we can see what the problem is.

-
I don't think drilling the hole perfectly perpendicular is even all that important, honestly.
I use the little plastic rods, and I figure even if the hole isn't perfectly straight, by the time I've trimmed it off and brought the plastic down flush to the fingerboard you'd never be able to tell if it was 10° off.
Just an observation. Not trying to say that being sloppy is okay or anything.
im much the same. Mark them, punch them, drill them with a cordless and if i cant drill straight by now then i should not be a weekend luthier or a carpenter
-
#2 also but may try #1 on my current build.
-
Got some more work done on this one today. Glued the top to the body, routed it flush with the tassie blackwood and started the carve. The neck has also got the headstock veneer glued on and ready to rough cut it out. No photos of the neck but will take some tomorrow.
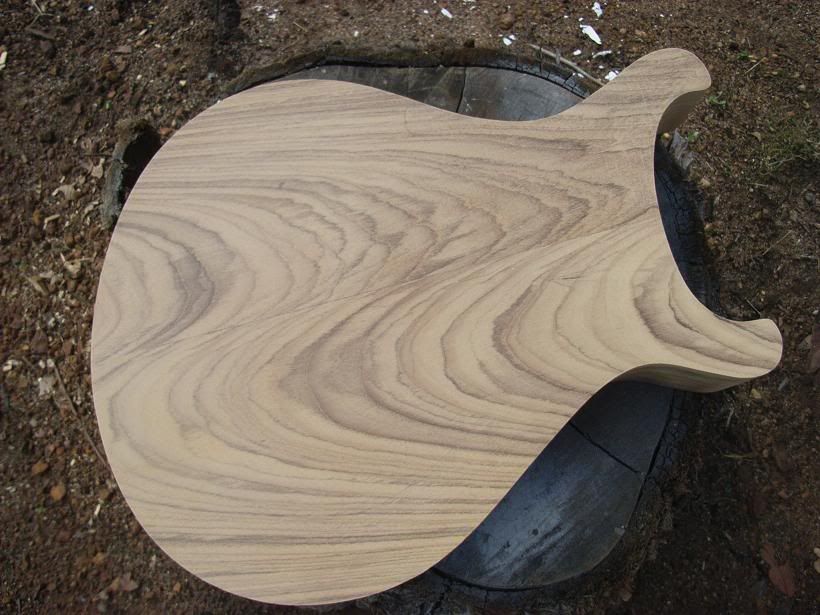
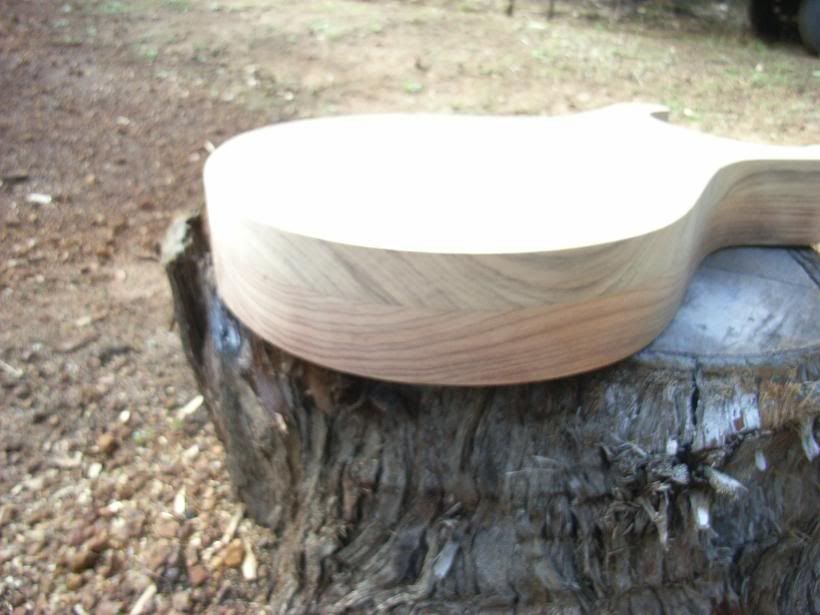
Yeah i know, not much imagination with the carve but i had alot of fun today. Had the tunes cranked,sand paper in hand and just enjoyed the process. Still really early on though.
Chad.
-
What about using a nozzle off of a new can of CRC that comes with the straw to penetrate small areas. Just a thought!
-
Found a JRC386D on an old PC modem board. The MPF102 might be the only thing for this project not in my junkyard of electronics parts, but I'll keep looking.
Anybody know how low I can go on the voltage rating of the C8 220uf cap ? (yes, I'm too stupid about electronics to answer this myself).
From what ive learnt so far with electronics you cant go below your input(9V) but you can use anything higher. But there is no real reason to use a really high voltage cap because they increase in size. The next step up is 16V and thats what i used. Im no whizz so maybe PSW or some of the lads in the electronics section will be better off to ask.
Chad.
-
Looks heaps better with the black rings John. Im wondering if you have a airbrush to blacken the inside of your dragon holes. It will really make them pop!
-
i some of my mates work at dicksmith and from thier group training thingo they had to do corpret have mentioned that they will be phasing all components
Kully, i really have no idea what you are saying. But i think you are saying that dick smith electronics is phasing out all their components
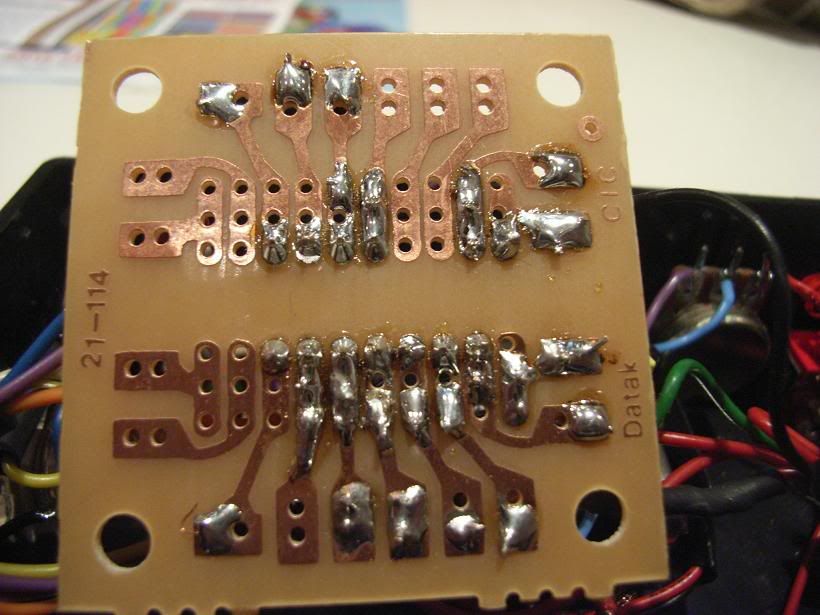
It doesn't surprise me. Its really just another electrical goods outlet Now for all you electronic buffs out there,please be kind. This is the first crack at an electronic circuit since i was 14, i had a brief intro to electronics in highschool science 12 years ago. But i think its not a bad effort.
Here ya go John, some pics of the inside.
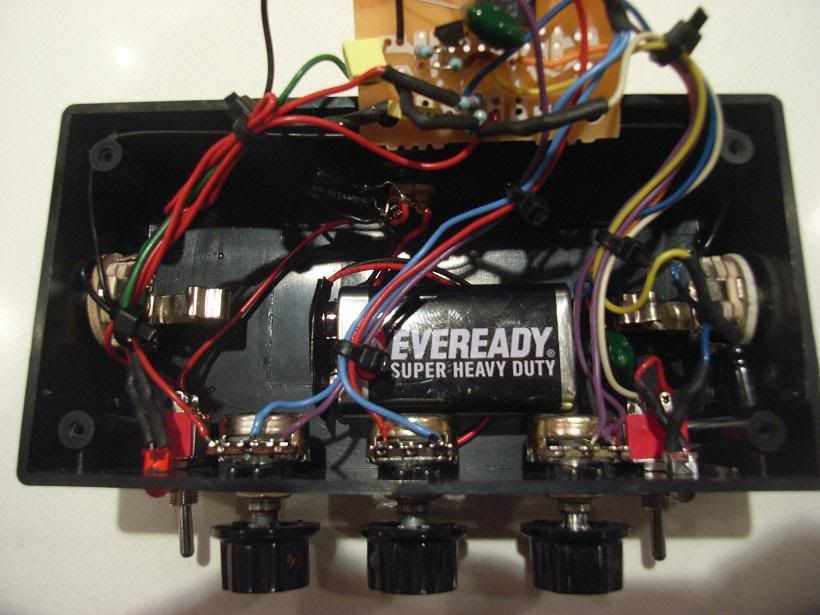
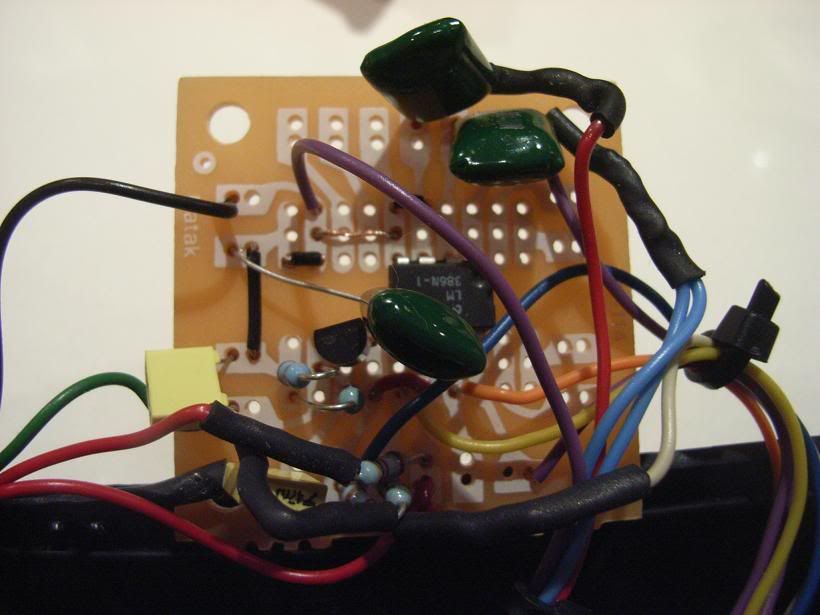
A few things to note. Ive left the circuit board floating at the moment so i can do any mods if i need to, i will fix it to the lid once im happy with the amp and make sure its working correctly. I also need to get a batt clip to hold it in place, but i will most likely be using power from a 9V transformer. I am going to shorten the pot shafts so the knobs are closer to the enclosures and im even thinking about buying a buggered guitar amp and pulling the speaker out to make my own cab and head
 Im really looking forward to his next schematic which is going to have a 3 band EQ and all tube pre-amp. I think i have caught an electronic bug or something!
Chad.
-
Hey guys,
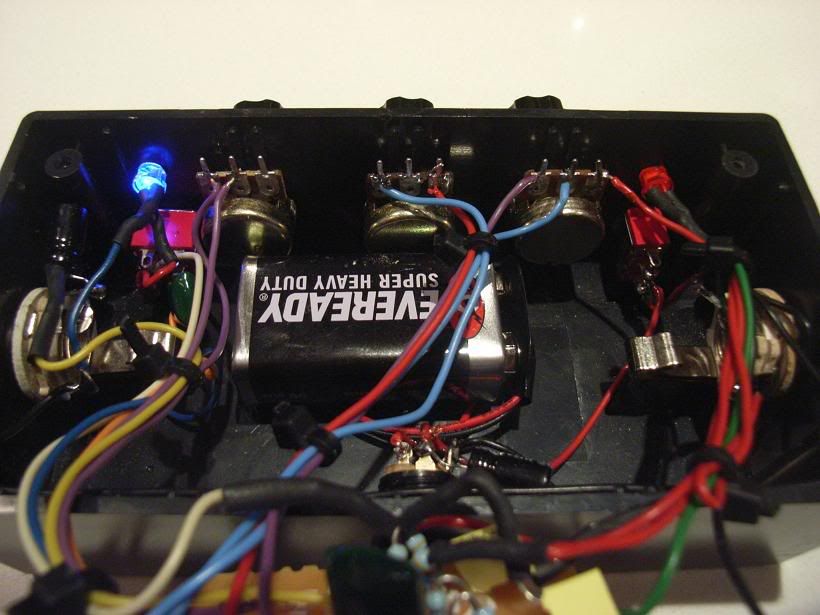
Had abit of time this week to have a play with this little amp. Bought enough parts for two which set me back 60 bucks. One is complete and works and the other just needs the LED connections soldered. Its really quite fun to do and they sound pretty bloody good! The one thing ive found is with the volume full and gain full it sounds great, but flick the grit(boost) switch on and things turn messy. Not sure if its a dodgy pot or shotty wiring, anyone else getting this? But it does sounds great with the vol at 2/3rds, tone 3/4 and gain full with the boost on. Quite a crunchy blues tone in the neck p/up position and abit more snappy 70's rock in the bridge, nice!
To finish these off im gonna make a template with writing for the controls and spraypaint onto the closures. If anyones interested i will take a photo of the insides.
Chad.
hey where in WA did you go for your parts?
jaycar or altronics?
Actually i went to dick smith. To find the MPF102 transistor you will need to ask someone at the counter to search for it and find their code. it was something like Z1232. You will know what i mean when you start looking for the gear.
John - I will open it up and take a pic later today after work.
Wezv - Yeah it still is kind of usable for strumming chords but single notes seem to fuzz out. Not sure if its because the whole circuit is lacking power for everything to be maxed or is clipping from too much. It could even be dodgy components. Ill finish the other one and see how it sounds.
-
Hey john nice work on the build. What about crome covers on your pickups, it would break up all the white and blend in with the other hardware. Just a thought
-
Hey guys,
Had abit of time this week to have a play with this little amp. Bought enough parts for two which set me back 60 bucks. One is complete and works and the other just needs the LED connections soldered. Its really quite fun to do and they sound pretty bloody good! The one thing ive found is with the volume full and gain full it sounds great, but flick the grit(boost) switch on and things turn messy. Not sure if its a dodgy pot or shotty wiring, anyone else getting this? But it does sounds great with the vol at 2/3rds, tone 3/4 and gain full with the boost on. Quite a crunchy blues tone in the neck p/up position and abit more snappy 70's rock in the bridge, nice!
Pics
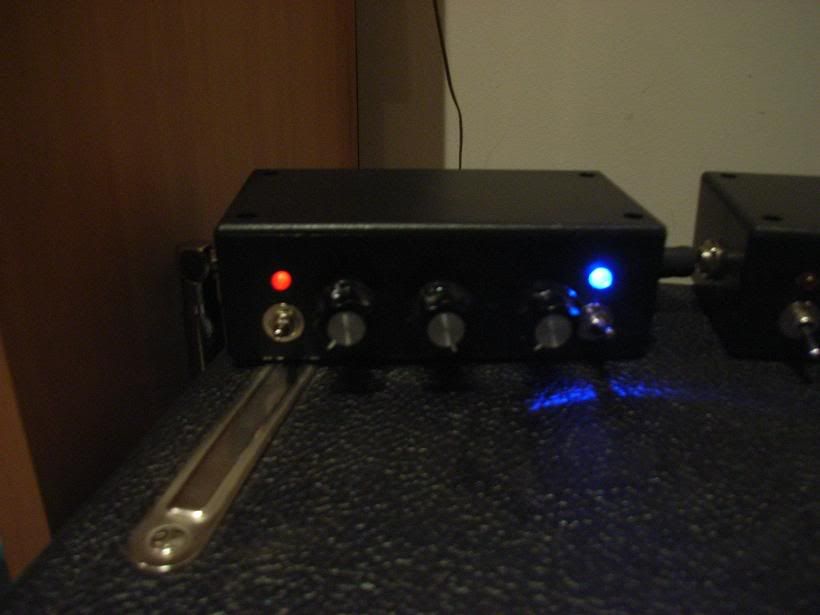
Controls from left to right: Power, Vol, Tone, Gain and Boost.
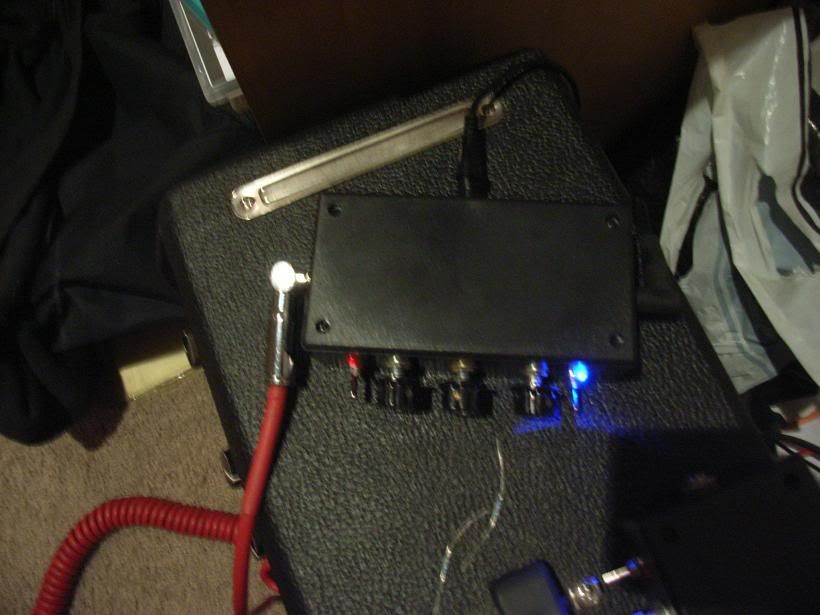
The second pic shows the set out of the guitar in(left), dc power adaptor(rear) and speaker out(right).
To finish these off im gonna make a template with writing for the controls and spraypaint onto the enclosures. If anyones interested i will take a photo of the insides.
Chad.
-
Great work pete! Looks amazing. I really like original builds and im loving that wenge neck.
-
I just want to know what the best size cove bit would be to get. I want to use it for routing a hollow around my knobs on a carved top, like a PRS and routing the perimeter for a carved top. The options would be 1/2, 5/8 or a 3/4. What size do you guys use?
Cheers Chad.
-
It will route the perimeter of your bodies and i think if you take the bearing off the end it should rout your neck pocket and p/up cavities. Good price too!
-
wow! What a cool little amp, i may even have a go at building one of these. They sound Great. Make sure you post a pic up of your complete mini stack John!
-
I might get a bit sentimental right now on you guys but how amazing is it that nature creates such beautiful pieces of timber to look at! Im in awe, i could look at it all day.
I often get into trouble from my wife cause i will stop to look at a nice piece of timber somewhere, joinery, or furniture... Haha
Allright enough soppy crap, back to being a man and drinking beer and stuff.
-
Sounds good! Make sure you post up some pics for us, now!
-
Cheers Prostheta. I may even give that a try just to see how it sounds. So im guessing with the tone to 10 it will sound more like a single coil and down like a humbucker? Thats why you would use a different cap to let more treble through.
-
Hey Prostheta do you have a schematic for a semi coil tap. I was also thinking maybe instead of a switch trying a blend pot, i think that would be an interesting control.
Cheers rentis Sheoak is a lovely timber from the south west of oz, its abit like lacewood i guess. It looks amazing when you use it for a kitchen or like Saracen winery have done down here and used it for their cellar door. The truss rod has got the nut on the bottom BTW.
-
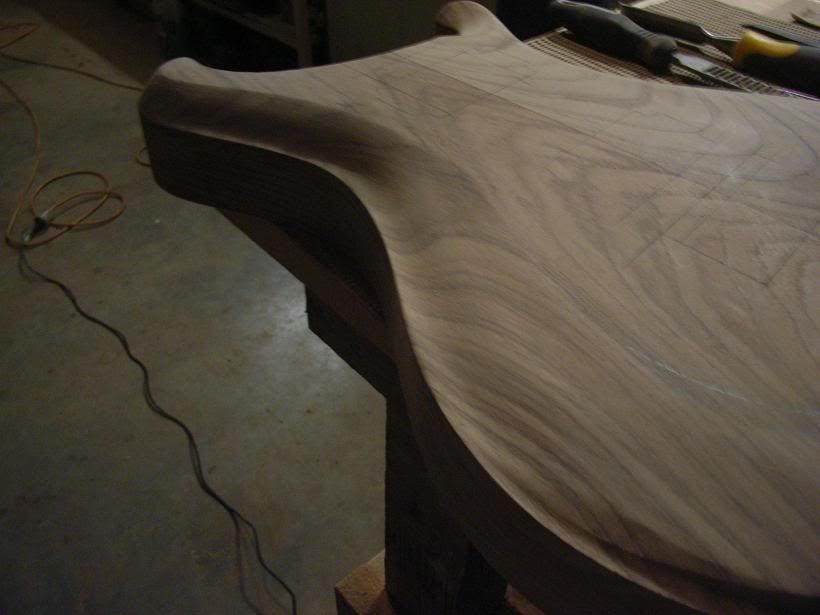
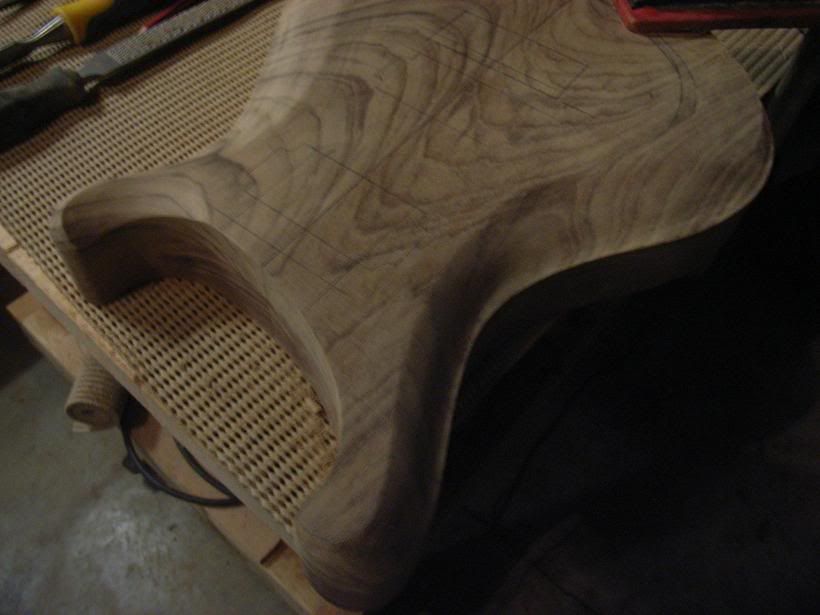
Got the truss rod slot routed today and the neck rough cut. Forgot to take pics of the rough cut neck. I also made a neck scarfing jig like this Jig Thanks Buter, It works great! And i had a play with some carving techniques on some scrap using a rasp,router with a small cove bit,regular 19mm sharp chiesel and an orbital sander. It was fun and the results were great so im looking forward to start the carving on this one.
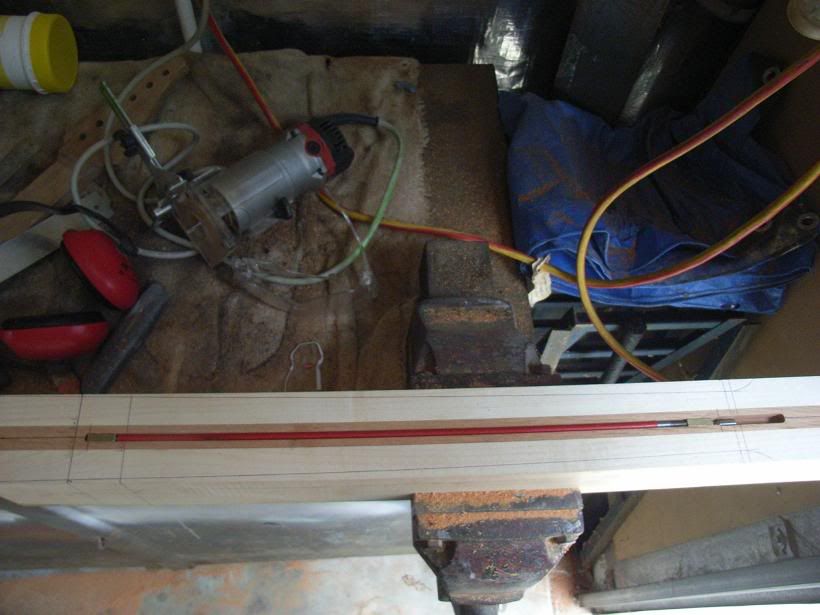
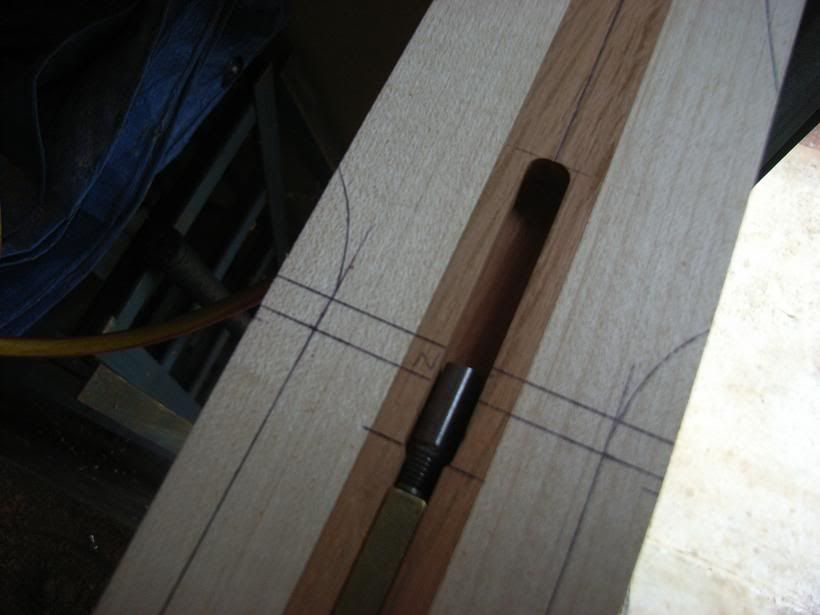
Chad.
P.S Sorry Spoke forgot to get my feet in the shot. Next time i will!
-
Looks good. Abit like a Dark fire. Any bursting or just a solid red?
-
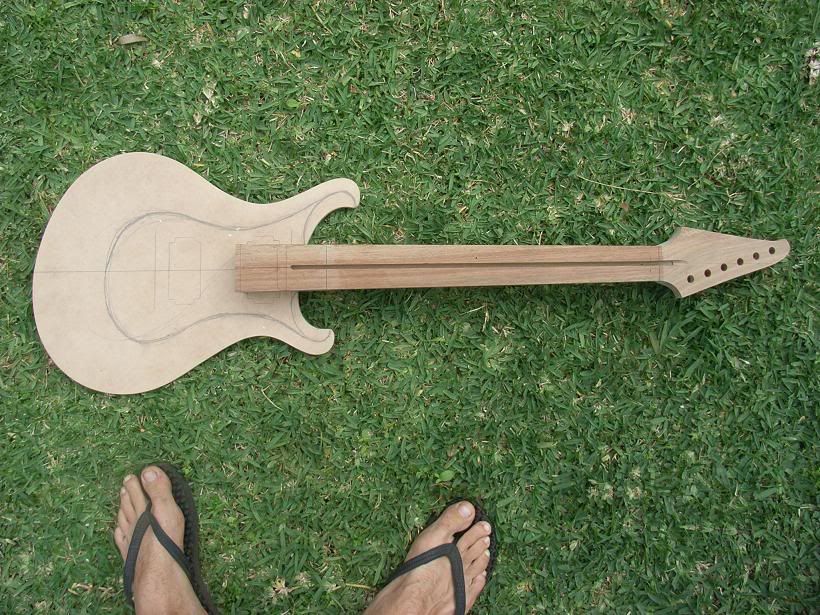
The shape is good. Sort of like the modern eagle but not.
What I especially love are the pictures of your feet, great touch. You should keep them in all your buid shots, LOL
Can do!
-
Hipshot hardtail or tremelo for this shape i think and i was even thinking about some EMG active p/ups! How do these sound for clean work? Im not a metal guitarist but maybe some EMG's will inspire me to dabble! Controls im not sure of yet either. It's gonna depend on what p/ups i suppose. But it will most likely be 1 vol and 1 tone and i was thinking if i use passive humbucks a 5 or 6 way rotary switch for series/ parallel options.
Hey Chad! EMGs are funny beasts, and everyone's opinions vary so much that I don't think there is a fair consensus on "how they sound". The most prevalent opinion is that they sound compressed, which is fair comment until you increase their supply voltages to 18v from 9v. The extra headroom opens up the dynamics a lot more and changes the character. I'm about to rewire my EXP build to supply 18v for the bridge and 9v to the neck on the basis that I like a bit of compression in my neck character, so it works to my advantage. I guess it's worth experimenting to see what works. FWIW, I usually use dual 81s or an 81 in the bridge and a 60 in the neck. Never been too into the 85s. The second most popular opinion on EMGs is that they sound "too hifi" which again can be a good or a bad thing. Either way, I like both actives and passives, but it does become a chore having to pop the pad button on my amp when I change between the two.
As for the rotary switch - as you've figured, you won't get as much use of one with EMGs as you would passives, as each coil is connected internally rather than being led out like most passives. The newer EMG TW pickups might be different in that respect, but i'm not 100%. Have you considered other viable control options, such as semi coil taps (where the connection between the coils of a humbucker is tapped to ground using a tone control) etc?
Hey prostheta cheers for the info. I don't think i have heard of those controls, is that like a blend pot sort of setup? Please explain?
Cheers.
-
I have a stanley and couldn't get it cutting good at all. What do you need to do to tune them rick?
I had the same problem with hardware stores not even knowing what a spokeshave is! Dopey Pri**s

 Im really looking forward to his next schematic which is going to have a 3 band EQ and all tube pre-amp. I think i have caught an electronic bug or something!
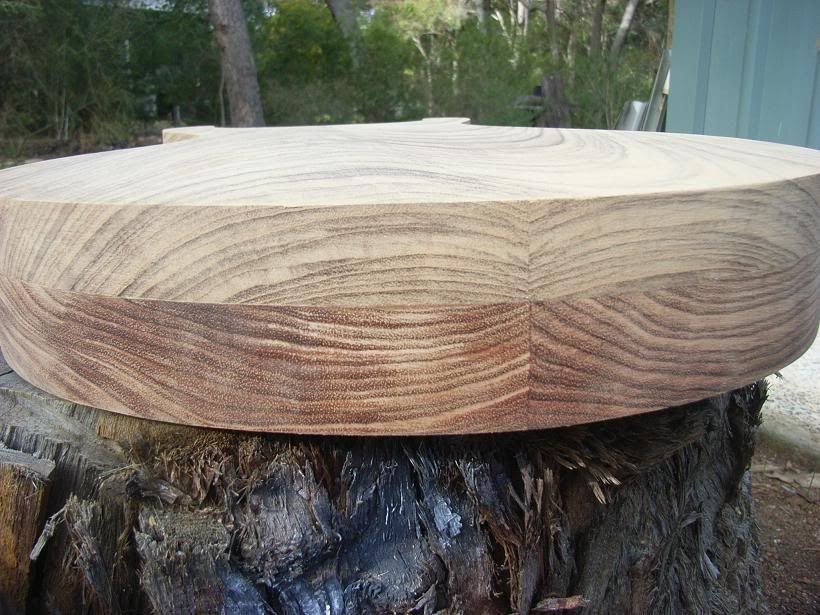
Body First Or Neck
in Solidbody Guitar and Bass Chat
Posted
Body and neck. But i wont route the neck pocket until i have the fingerboard radiused, fretted and glued to the neck so i can check my neck angle with the bridge in a mock position and then the final depth of the pocket. Otherwise there is too much downtime as hocky has said.