


Mitch
-
Posts
200 -
Joined
-
Last visited
Content Type
Profiles
News and Information
Tutorials
Product Reviews
Supplier Listings
Articles
Guitar Of The Month
Links and Resources
Forums
Gallery
Downloads
Posts posted by Mitch
-
-
Oh right, I get it now. Good luck and hope it all goes well for you.
-
Remember to cover your pickups with masking tape before using steel wool near them, or they'll pick up all those bits of steel wool that come off, and it's next to impossible to remove it all.
What about using blu-tac or modeling clay or does that not get it all?.
-
Is it acoustic or something? Or are you gonna rout the pickup holes into the top? Interesting build though, I'd like to see how it goes. Keep us updated.
-
Would it work? I know the shape of an acoustic guitar affects the sound quite a lot more than on an electric. Would it sound crappy? what kind of problems would I face?
Thanks in advance.
-
That is so simple its clever. Unfortunately I'm a bit to far in my build to do that but I will try it when i get a chance. Putting a neck angle on a through neck is a nightmare, especially when i have a bridge higher than a TOM and I need a 3-4 degrees neck angle.
Thanks for posting this.
-
Spotted gum? never heard of it before. Looking forward to how these turn out. Keep us updated
-
Sorry I havn't posted in a little while. I have been busy and I tryed glueing the rest of the binding but it didnt stick properly (because I forgot to key the plastic) so i had to peel it off and glue it again. The other side of the binding may be finished tommorow or the day after.
-
Can I dress frets with steel wool? I've seen it done on youtube but I dont know if he was polishing them or actually dressing them. I've been told by Roger (who owns fylde guitars, look it up on google for some inspirational acoustic guitars) that you can use sand paper if you do each fret exactly the same and be very careful.
Thanks in advance.
-
I think the left hand head would work better. But both look like they would be capable of impaling someone. If you don't want to buy a carbon fiber fixed truss rod then you could get a half inch square steel bar and use that instead. It should be easier to work and the dust wont be as bad for you. Just an opinion.
-
I did the binding on one side yesterday. This took quite a while (10 AM until half 3 PM with a half hour lunch stop) as I was shaping the binding over the fret ends. The binding i used was some strips of plastic from some pvc pipe. I was suprised how good it comes up when it's sanded.
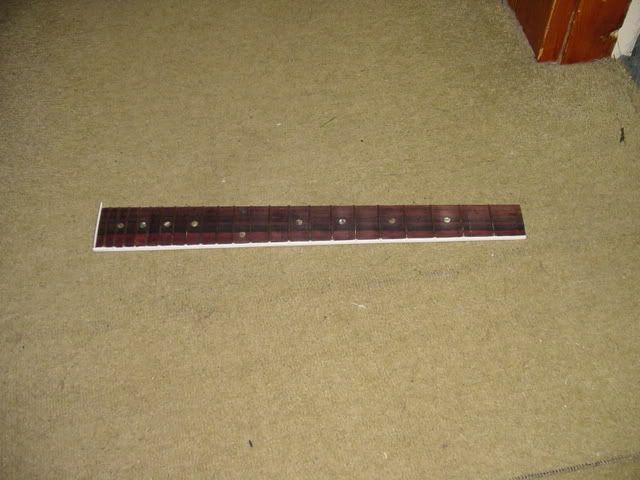
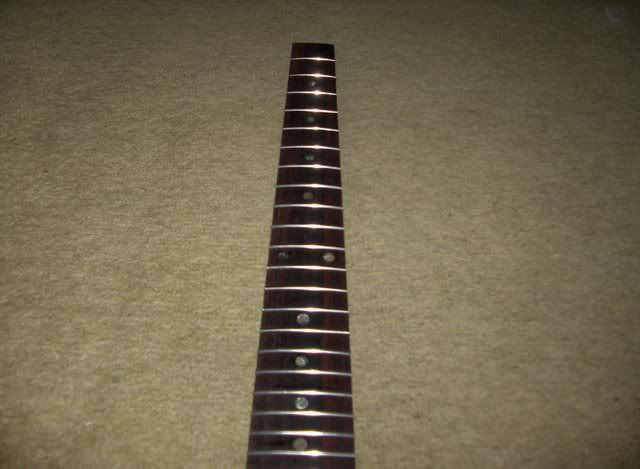
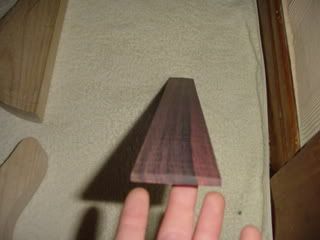
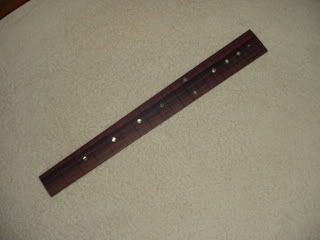
This it the fingerboard with the binding on one side and the end. The binding on the end has yet to be shaped to the board.
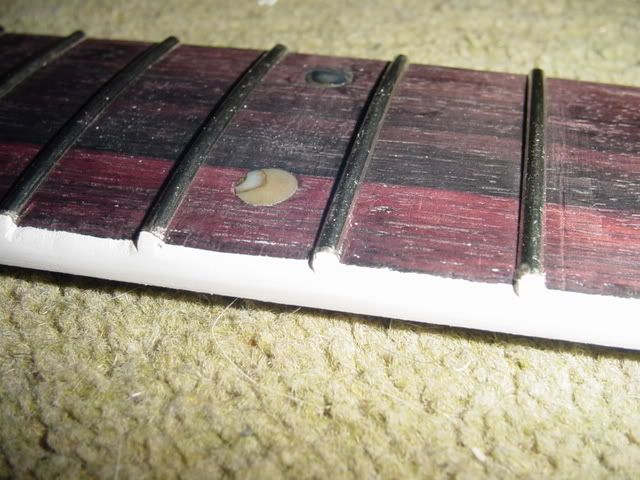
When I use the flash up close it looks like the fingerboard is all mouldy. It isn't though, honest.
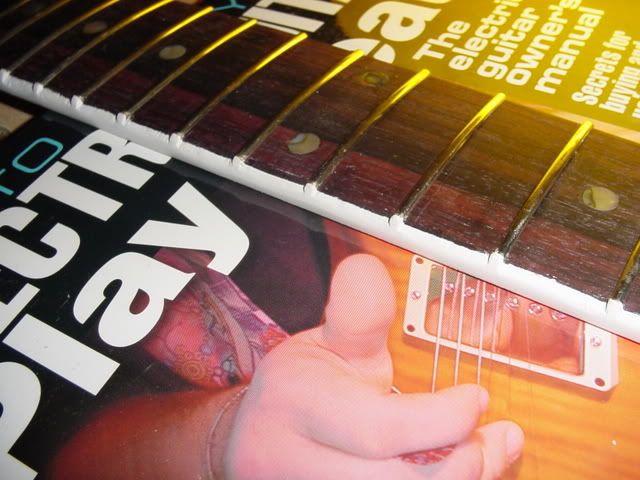
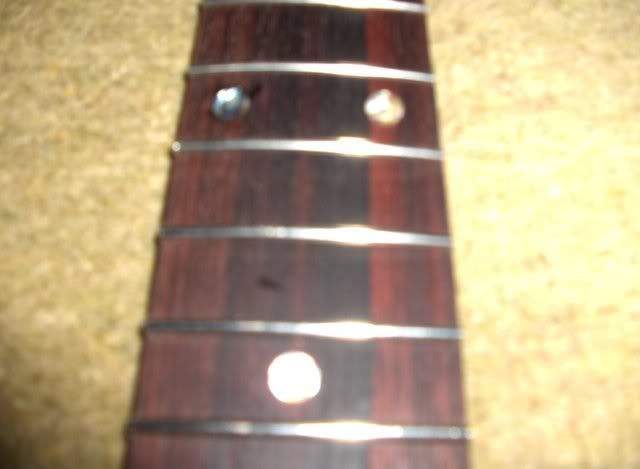
You can see the binding quite clearly on this one. If anyone is wondering what the book is, it's: How to make your electric guitar play great! by Dan Erlewine (great book, comes with free radius gauges
 )
)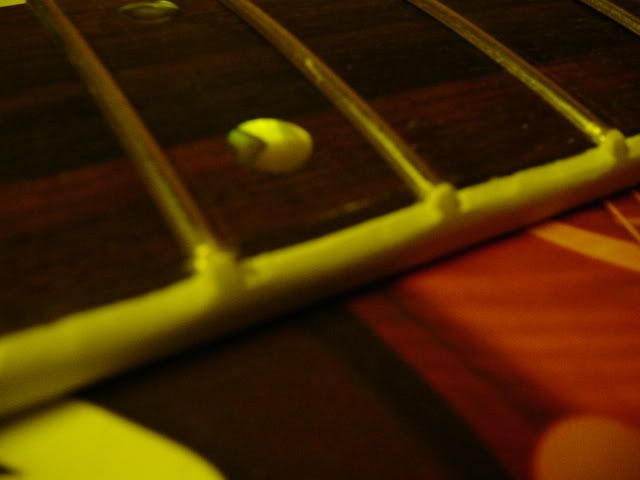
This pic is a bit dark but you can see the binding is still a little rough. That should be tidied up soon though.
-
I filed down the inlays succesfully by using the side of a file as a sanding block and putting masking tape on the frets next to where i was fileing. I'm now im the process of glueing on the binding which will come up and be shaped over the sides of the fret like on hamer guitars. Sorry, no pictures this time because the camera is out of battery.
Edit: I would also like to add that this guitar has been laying around for 6 months waiting to get some work done on it. I may stop again for a week or so at some point if I have forgotten to order a part(s) early enough.
-
Just did the fretting and inlay today. I think I was getting a bit stired up about the fretting (Heart speeding up, hands shaking etc.) and it really wasn't that bad. I think I did okay for a first fret job. The frets where not glued in at all but I used 2-part epoxy to glue the inlay in. I lost the tiny bag of inlays and spent 3 quarters of an hour looking for them before i finally found they had dropped of the edge of the work table. The inlays are not flush with the top so any idea for how to make them flush?
Sorry this ones a bit blurry
-
Why isn't anyone replying to this????
Bump.
-
The only ready made through neck i know of are from stewmac.com
http://www.stewmac.com/cgi-bin/hazel.cgi?a...ED_CURRENCY=USD
-
you guys are all correct , but i wonder if he isnt refering to wetting to raise the grain
if this is what your talking about mitch let us know , you dont wanna go slopping a wet
sanding block on the bare wood of your guitar
Yeah that was what I meant. Sorry everyone.
-
Thanks to all the helpful information here on this forum I was able to successfully defret my 5 string bass neck this weekend, and am quite pleased with the results. I used red dyed maple wood binding strips from Stewmac. Decided to have a different look that the traditional white or cream lines.

Those red lines look awesome.
-
I really want to see someone with plants growing out of their axe - like Chia-Pet for guitar.
Yeah like cress or something easy for the first one.
-
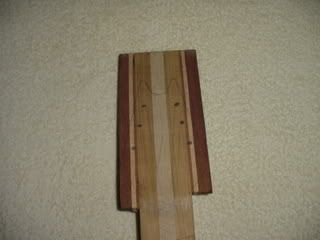
Looking down the length of the fingerboard. Note the pinkish colour on the right hand side(more clear in person).
Here are the inlays just placed on the fingerboard.
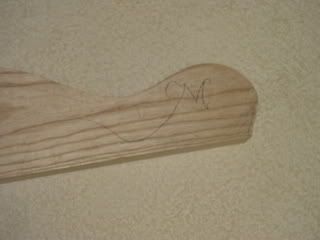
The top horn with the pencil lines to help me out with carving.
-
This guitar is my second build (in progress). It is going to have a 25.5" scale length, 2 humbuckers (probably going to be Kent Armstrongs) and a cheapish pre-intonated bridge which I quite like the look of. The neck is a straight through neck with cherrywood on both sides and sycamore in the middle(all neck laminates grown within 50 miles of my house). The wings are ash(also from a tree grown within 50 miles). The controls are: 2 pickups with a tone control each, a master volume control, a blend pot instead of a selector switch and a coil tap for both pickups (not on seperate switches) operated by a DPDT mounted on the bottom of the volume control making 4 knobs on the front of the guitar all together. The top will be carved with a letter "M" on the top horn and the control area will be uncarved (a bit like the ayers rock/table mountain in australia but made of wood.. and quite a bit smaller.. and with knobs on the top). The Fingerboard is rosewood with a 12" radius and it comes from stewmac.com (it is also quite pink which Is nice). the fretwire is Stewart MacDonalds medium-wide and the inlays are 7mm abalone. Anyway, I'll let the pictures do the rest of the talking and if you have any feedback, suggestions and/or question just post a message. And go easy I'm only 14.
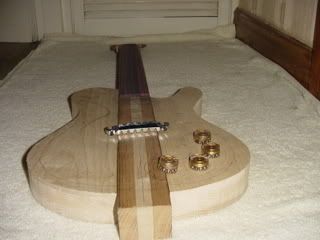
Here is the guitar with some of the parts just placed on.
Here is the headstock shape drawn on the wood. It is similar to the washburn falcon.
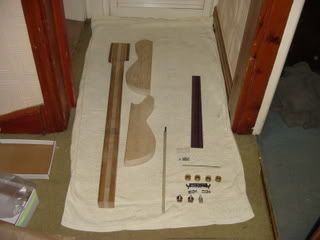
Here are most of the parts layed on the floor
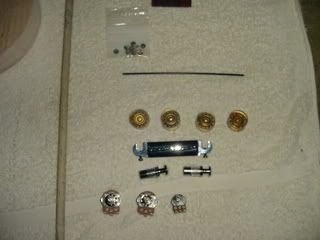
Here are some of the smaller parts
-
I have heard a lot about people getting their guitars really smooth by sanding them, wetting them then sanding them with really really fine wet and dry or something like that.
But what does this do?
And how do you do it?
-
Hey quick question for those with more electronics knowhow than myself, which will be most of you I'm guessing
I am wiring up a guitar with a single coil at the neck and humbucker at the bridge and I want to use a push-pull pot to switch between cap values to suit the pickups. I know that a heap of guitars don't bother to do this, but i want to give it a go so could someone out there let me know of a link to a schematic or whatever that can get a noob through, I can handle basic wiring but my previous attempts in nutting things like this out myself have been less than spectacular,
Thanks in advance for the help,
Nate
I don't know if there is a site with that on but i did a quick scribble on paint. Sorry its a bit rough.
The box with 6 dots in is the DPDT switch and the earth goes to the jack ring/casing or anything earthed and the live is from where ever the tone usually goes from.
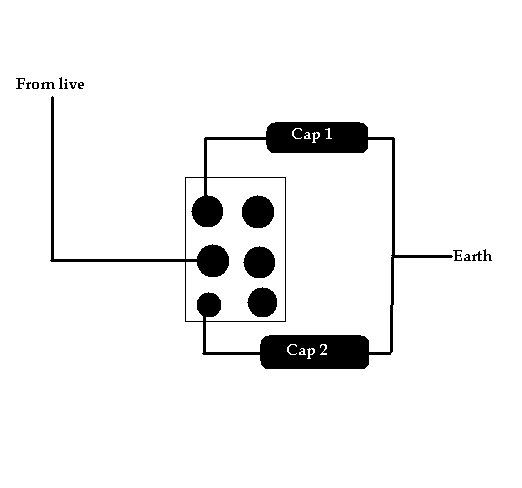
EDIT: sorry i forgot the pot! just run the earth wire to the middle pin on the pot and the earth on the right hand pin (assuming the pins are pointing towards you and you are looking at the back of the pot).
-
There is a recipe for homemade wood dye made from tree bark in Martin Koch's book. And there has also been guitars with no finish or dye whatsoever. But that's all I know about unconventional finishes, sorry.
-
Have any of you seen this guitar shape before? I designed this shape for a future build and I was wondering if it's been made before. I'm not gonna quit making it because there is another guitar like it (and there probably is). Anyway, any information would be great.
Thanks in advance.

-
That´s OK, Mitch, welcome to the forum. How about sharing your first build with us?
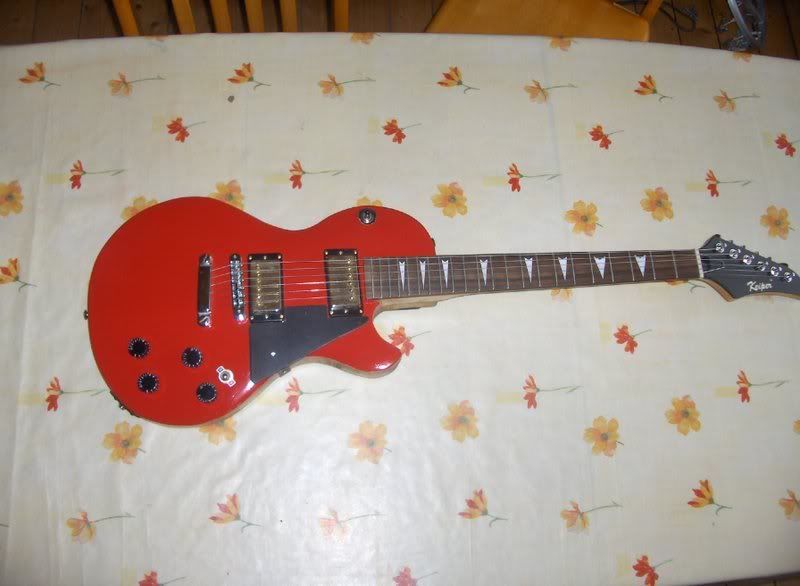
Ok, here goes. Go easy on me i'm only 14.
It's a les paul shape (roughly) with a 24 3/4" scale length. The body is a single peice of cherrywood and I bought that from a local woodyard for £5 (around $10). The neck is cheapish (bought off ebay) and made of maple (of some odd chinese sort) and it is bolt on. The finish on the front is plasti-cote spray paint and danish oil on the back and sides.
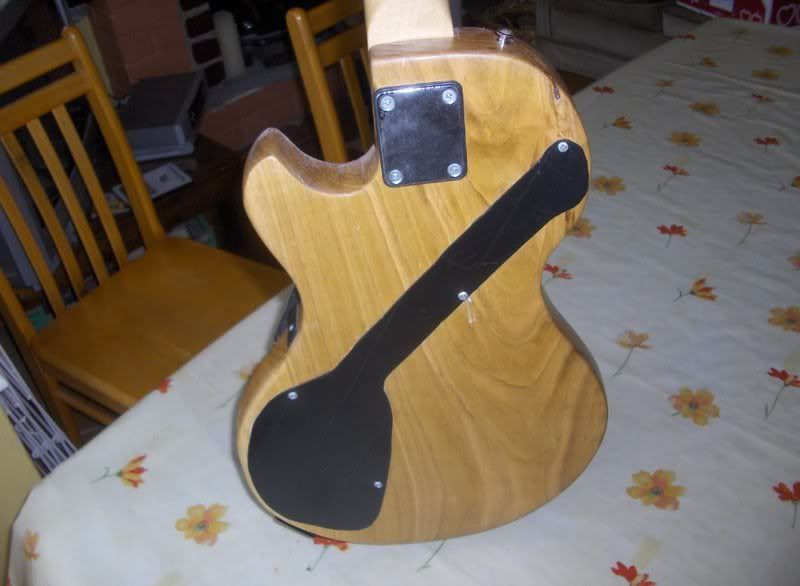
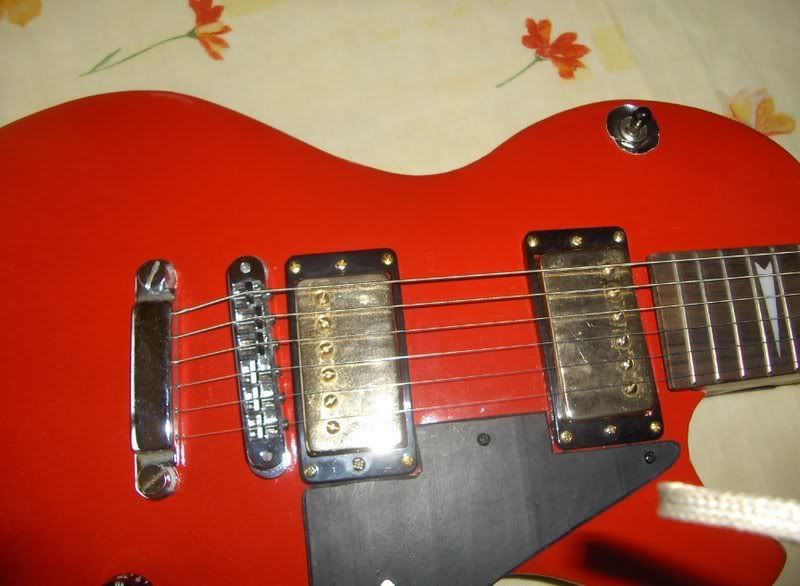
Overall I'm not 100% happy with this guitar and I think I could have done better and spent a bit more money on it. There are quite a few rough edges and the finish is a bit lumpy. The electronics are okay but its a bit buzzy and there are some feedback problems. Oh and I forgot to mention the back cover looks like male genitals
. I'm really gonna try and take my time on this next one and I'm gonna try not to go "oh that'll do" as much as possible.EDIT: I never noticed that white thing in the bottom right corner before on the last photo. I think its the camera wriststrap.
 )
)
Finishing Help And Ideas
in Inlays and Finishing Chat
Posted
Go with danish oil. You can get a bottle for quite cheap and it will last you ages (keep it in case you need to repair the finish at some stage). You just wipe a few coats on (it will say the drying time on the bottle but i would leave it a little longer) and it should only take a day or 2 (depending on how many coats you put on). It has a satin (semi-gloss) finish and it shows off the grain beautifully. It is also very thin so the wood shouldn't feel a huge amount diffrent.