


Juntunen Guitars
-
Posts
569 -
Joined
-
Last visited
-
Days Won
8
Content Type
Profiles
News and Information
Tutorials
Product Reviews
Supplier Listings
Articles
Guitar Of The Month
Links and Resources
Forums
Gallery
Downloads
Posts posted by Juntunen Guitars
-
-
really???????????i did not know it!
to be honest i will try to keep the wood..raw and not chemical treatment...
but if i oil it ...i must repeat the same procedure in how much time??
if i put tung oil and carnauba wax for example??
I don't know if I would keep the cocobolo raw, I would definitely put a finish on it. Raw wood feels nice but it will soak in our hands oils over time and soften. Cocobolo might take longer because of the oils but I really don't know because of how oily it is. I'd imagine you may run into adhesion problems with any finish you use because of the oils but you never know until you test it.
-
I'm using cardinal nitro lacquer.
I used this on my last one. It seemed to be more susceptible to humidity than others I'ved used. I fought blush more often and also tiny pinhole making bubbles. Granted all nitro hates humidity and a garage in Houston ain't exactly dry....but this seemed less forgiving than what I am used to. I did maybe cure a little faster and a little harder......
SR
I haven't had any issues yet thankfully. It laid down just fine and smooth for me at least. What are you using to spray it with?
-
What are you inlaying into? If it's ebony and you have the gears just route or drill the hole as accurate as possible and use plain old superglue, you will never know the difference. That will actually work on most darker woods too, even some walnut depending on how good your fit it.
-
If you're worried about oils just rub the neck with acetone first, it will get a good amount of the oils off the surface and a little into the wood so the finish will bond better. I saw a few acoustics done that way and it worked out great for them. Just remember to keep heat off the neck. One of those acoustics I mentioned had the sun shining on it through a window and it was enough to cause all the oils to bubble out and make the finish look like it had scales.
-
 1
1
-
-
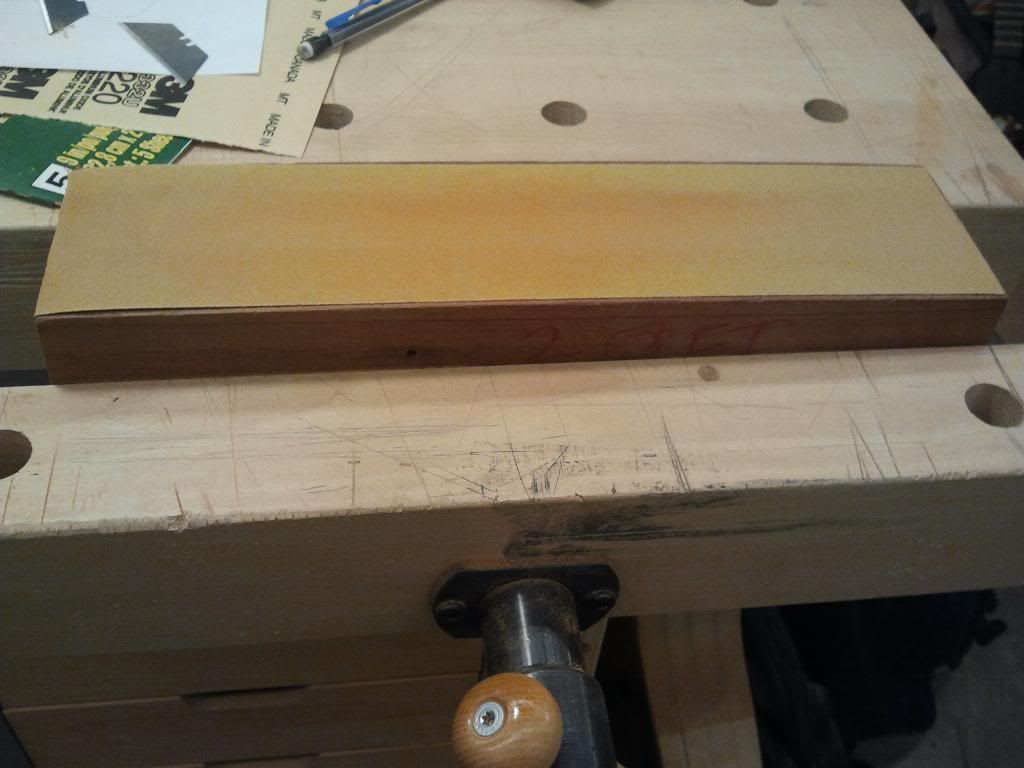
I've used chemcraft porefiller and I've used dry wall compound. I just mix up the color I want then go by a few of those cheap 50 cent paint brushes from the hardware store, it has to have bristles though. When I apply it I brush it on across the grain then go back over it and jab it down into the pores with the brush. If you use dry wall compound it dries fast so do small areas at a time. After it's been mashed in I will squeegee it off if it's the chemcraft stuff or leave it on and thick with the dry wall. The dry wall stuff sands so easy it's not a problem at all. The chemcraft clogs sandpaper like non other.
Also if you use chemcraft you have to wait a day before sanding and you can use burlap to pull off a good amount after squeegeeing off the excess just be careful not to pull it out of the pores.
Go on LMI's website, they have instructions on there written by the guy who taught me how to pore fill. It also helps to spray a coat of sealer on. I just spray a thin coat of sanding sealer then fill the pores.
Maybe you are pushing to hard with a squeegee and pulling out the filler. Which direction are you pulling the squeegee? If you pull it with the grain you are more likely to pull more of it out. I usually pull at a 45 degree angle to the grain and always burlap across it, never with the grain.
-
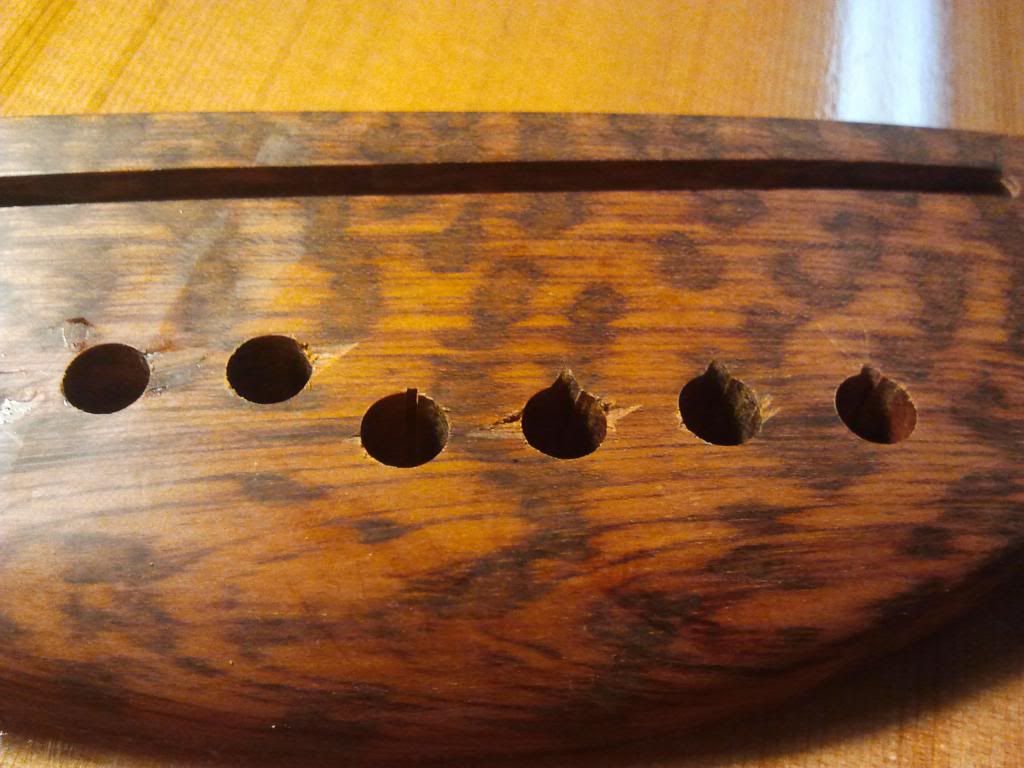
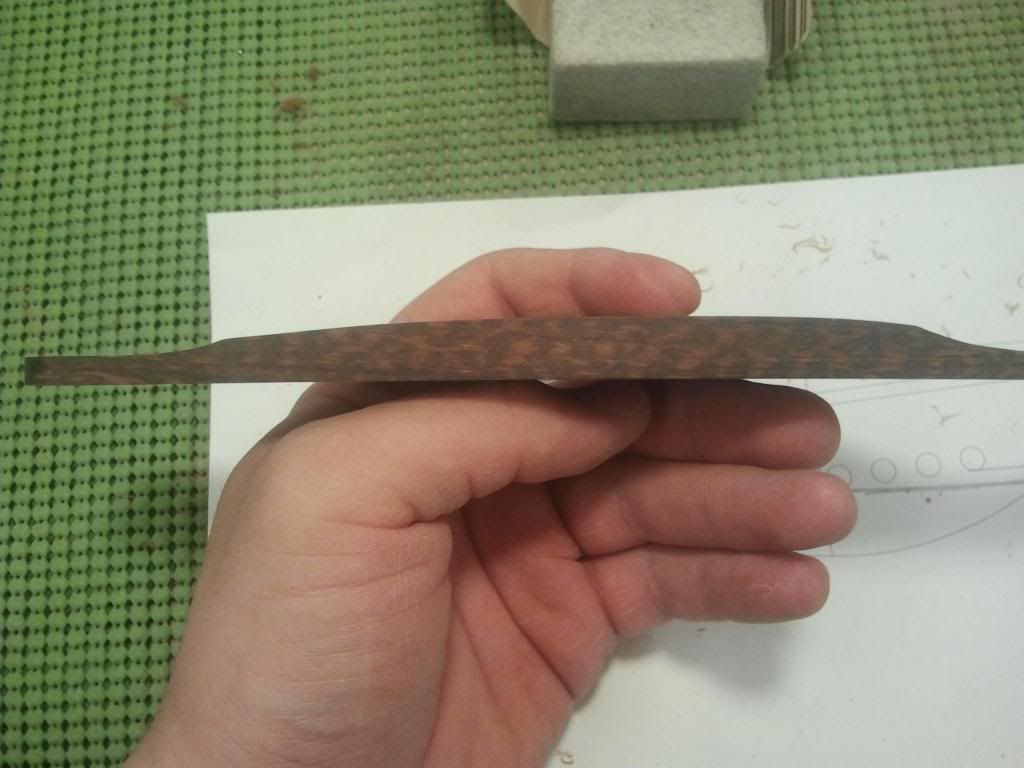
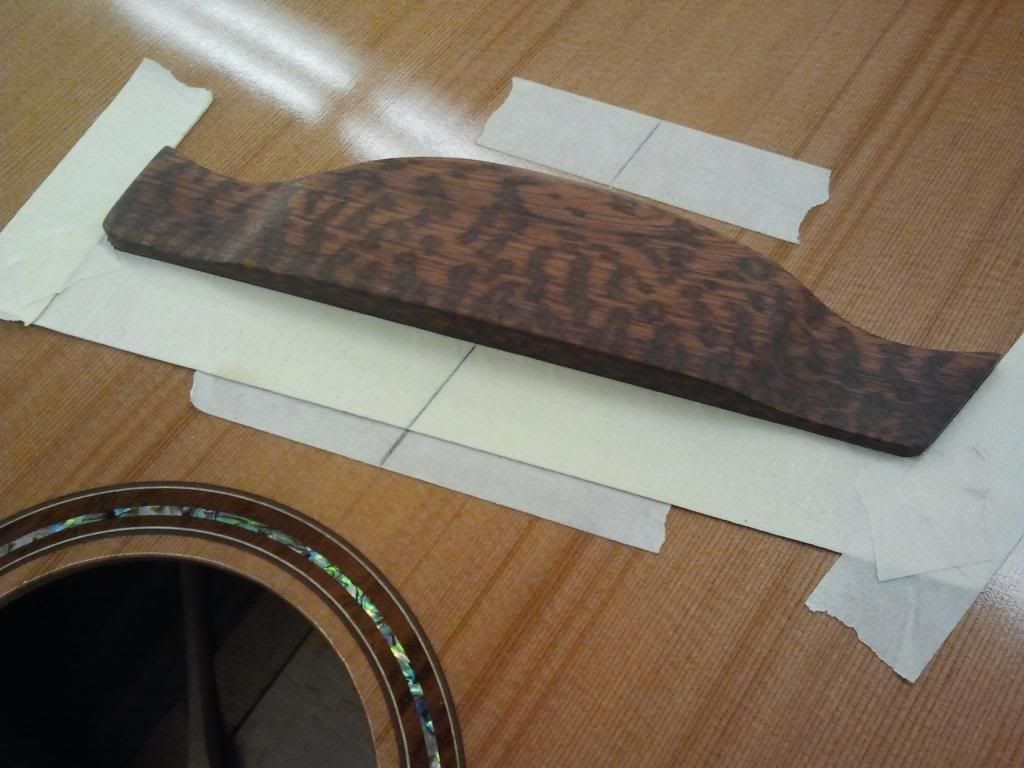
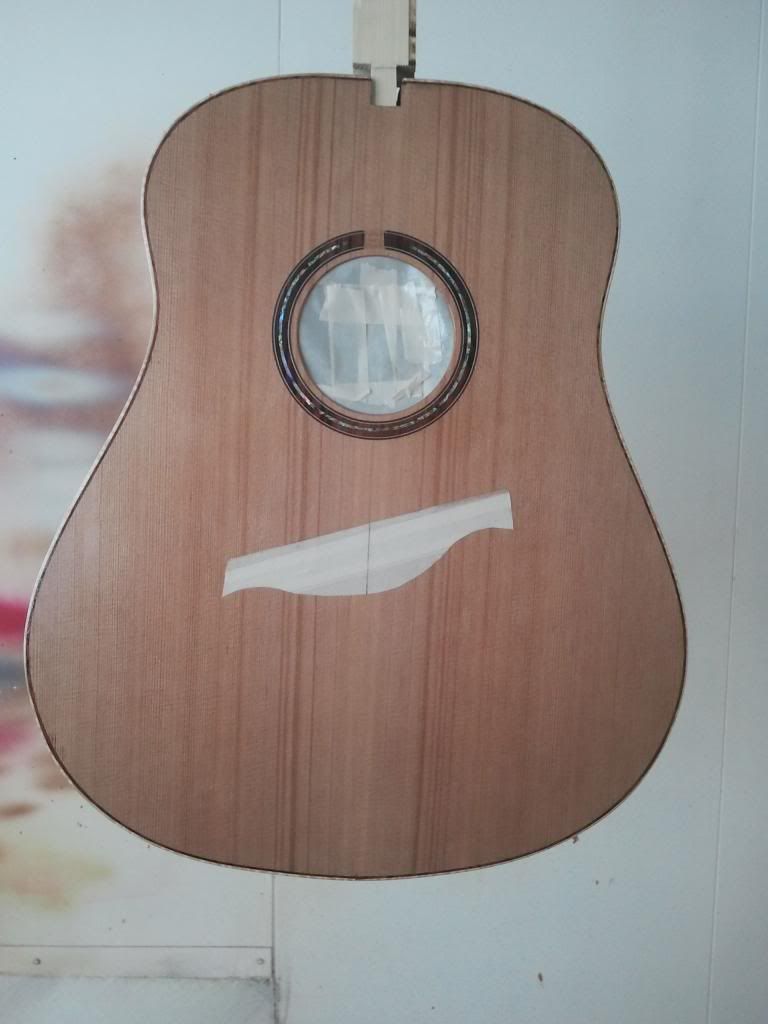
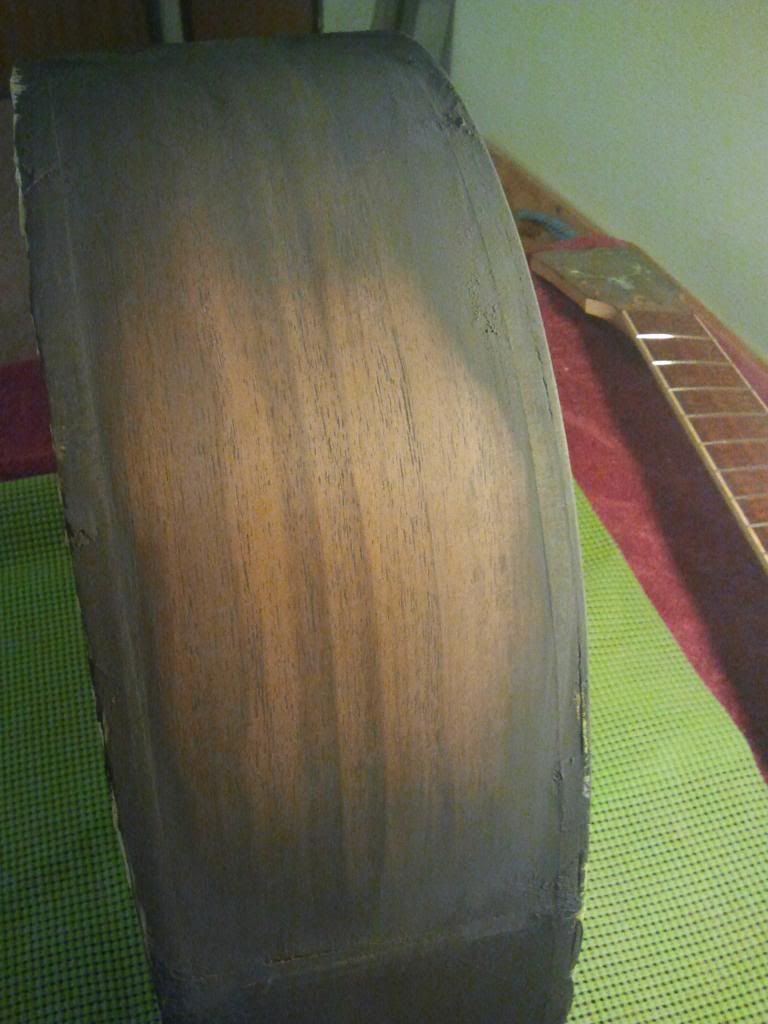
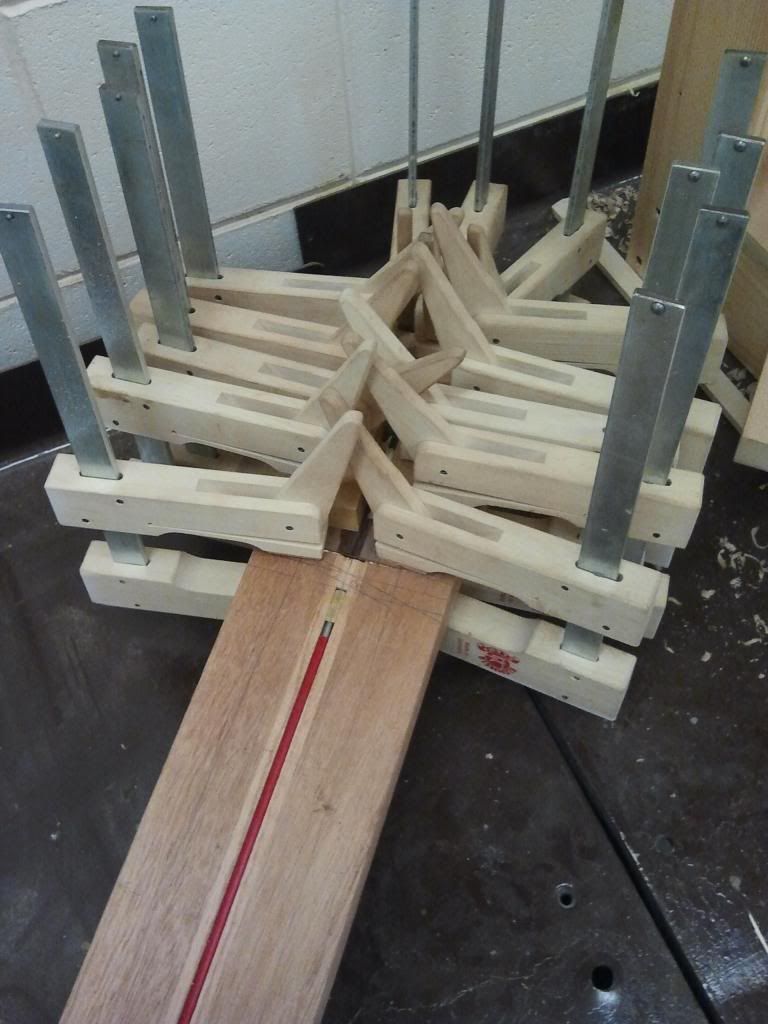
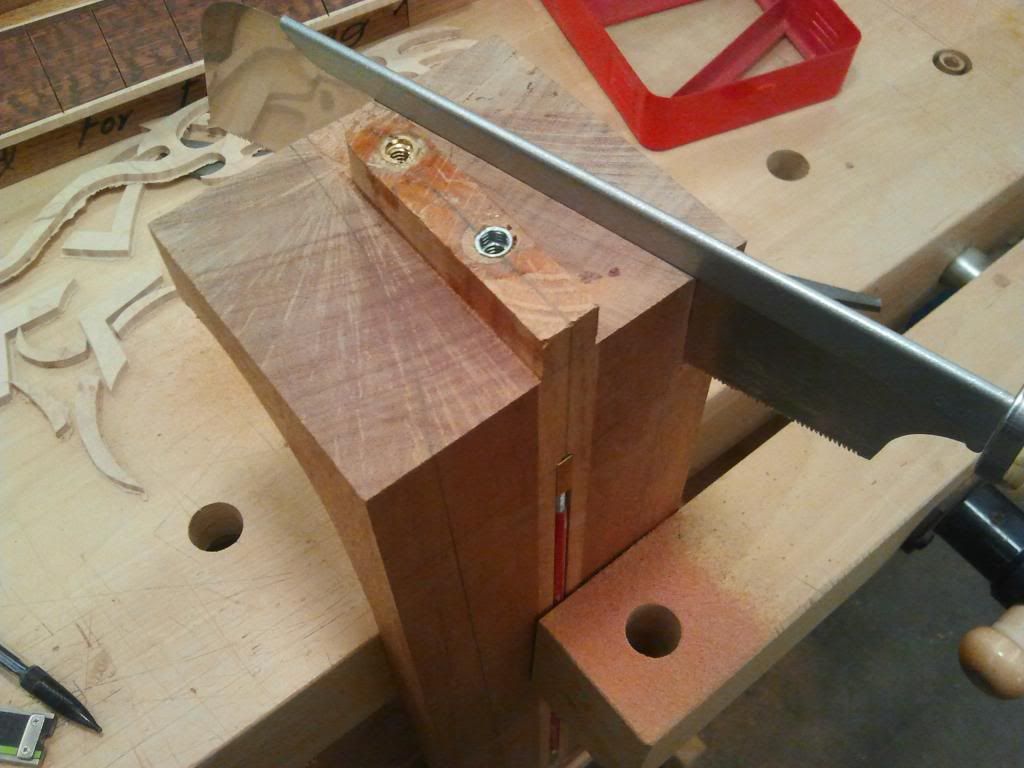
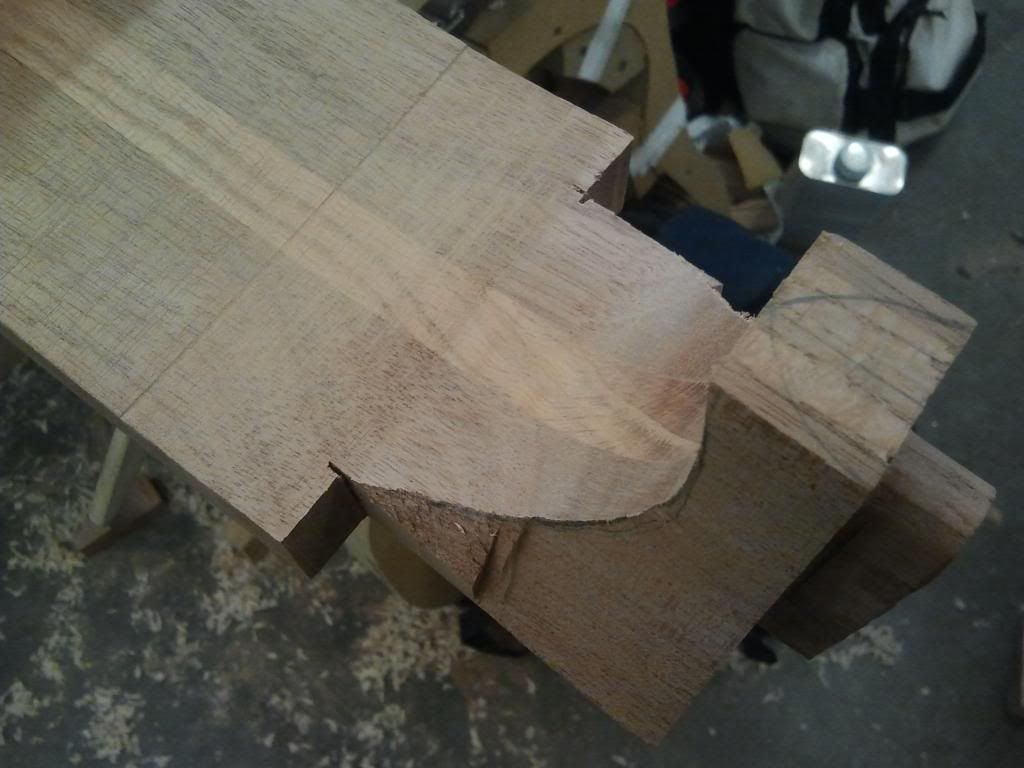
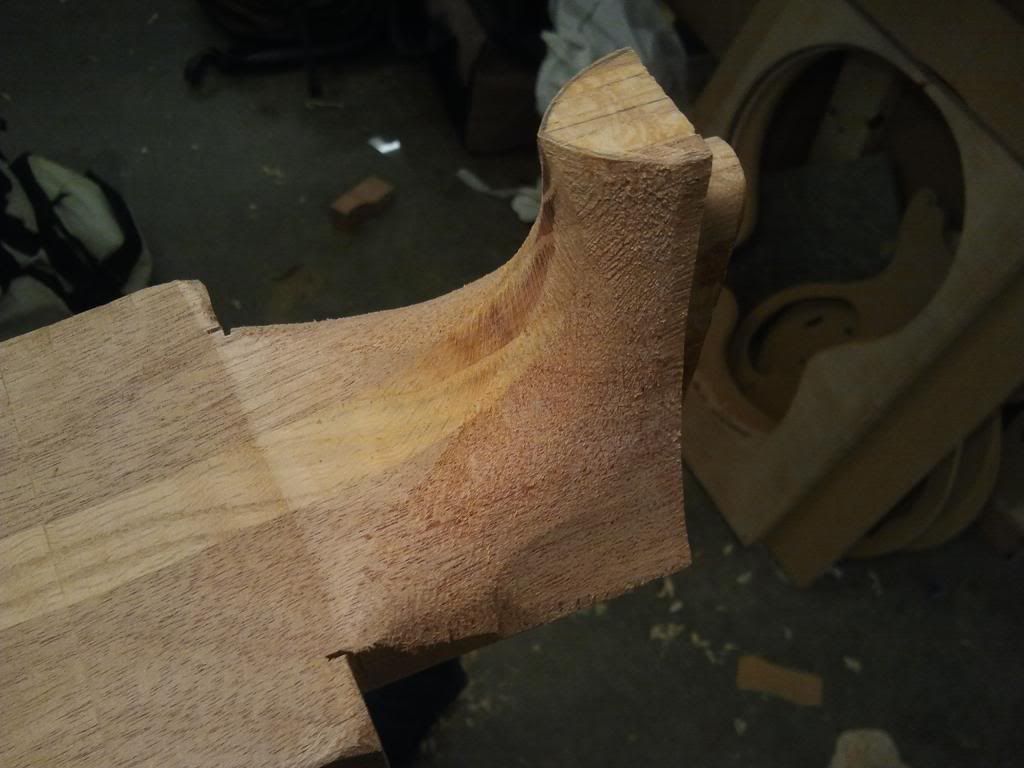
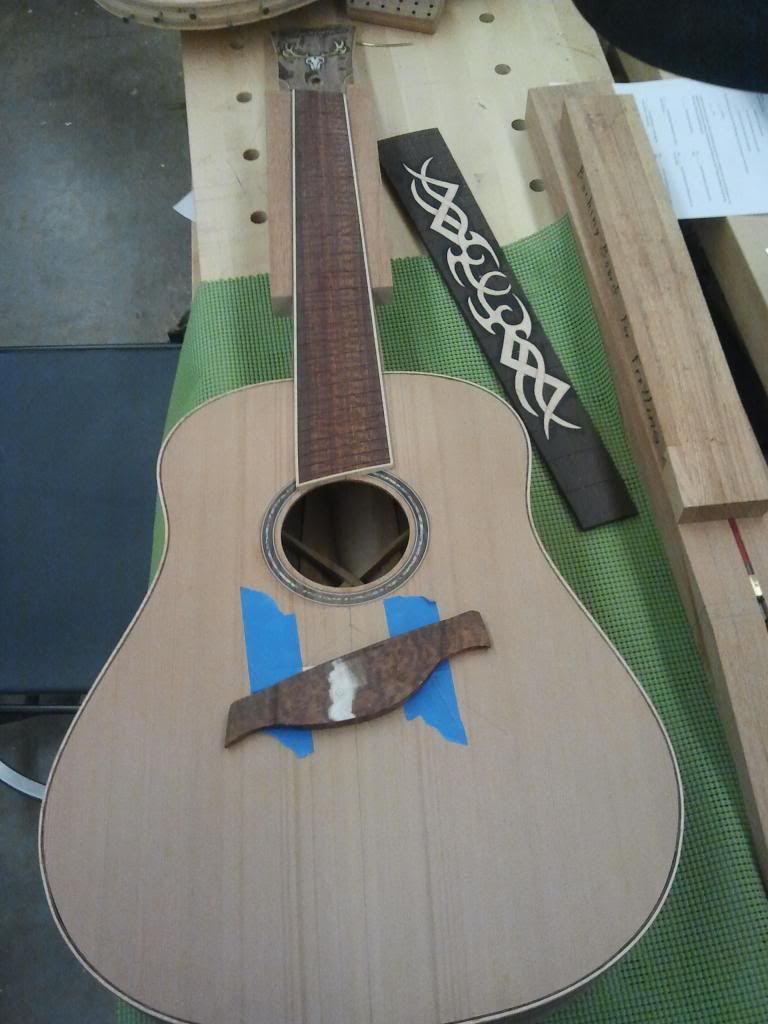
Making the tailpiece. It's basically a copy of the one on the plans. The top of it is radiused to 14"
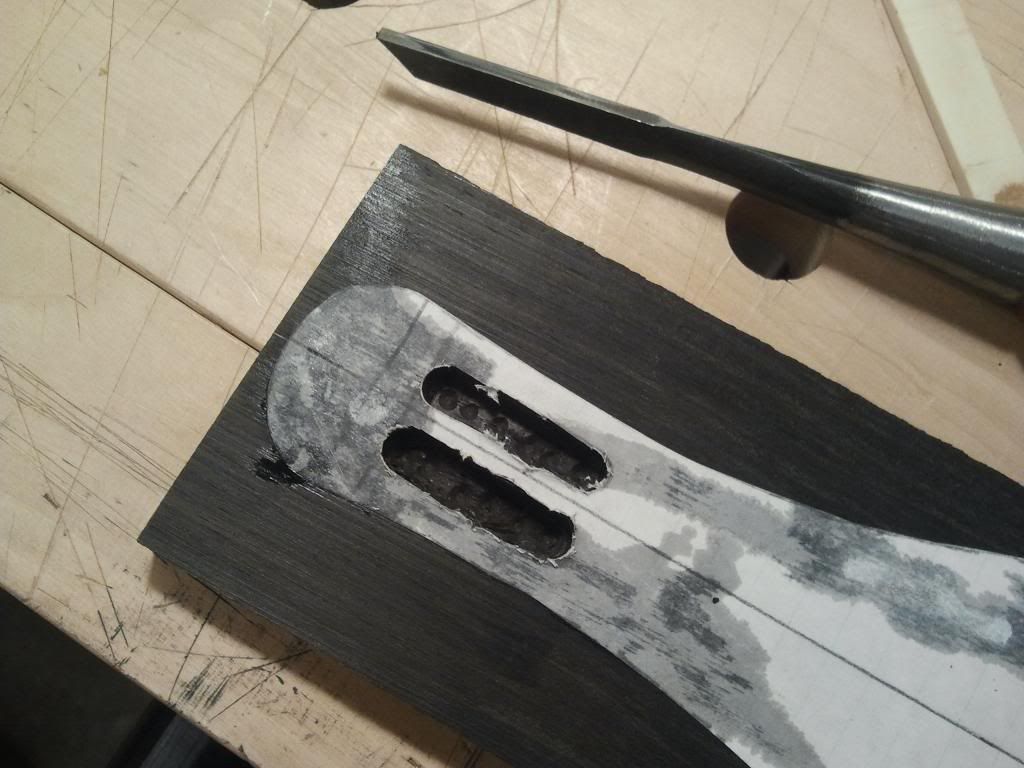

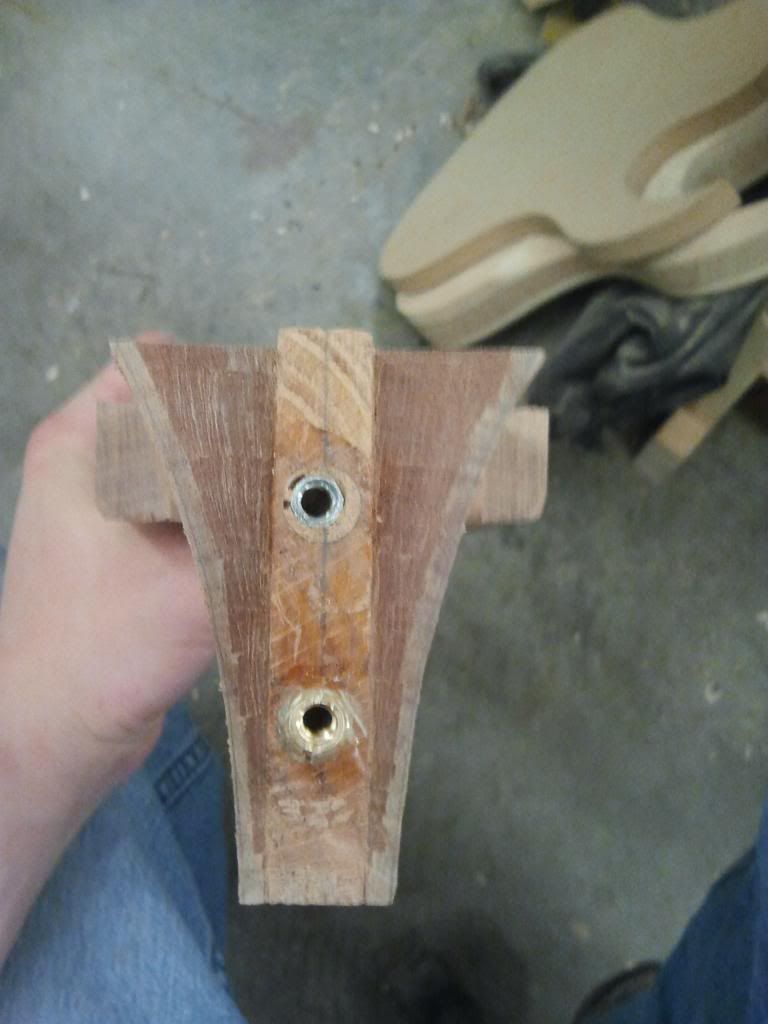
Gluing on the fulcrum.
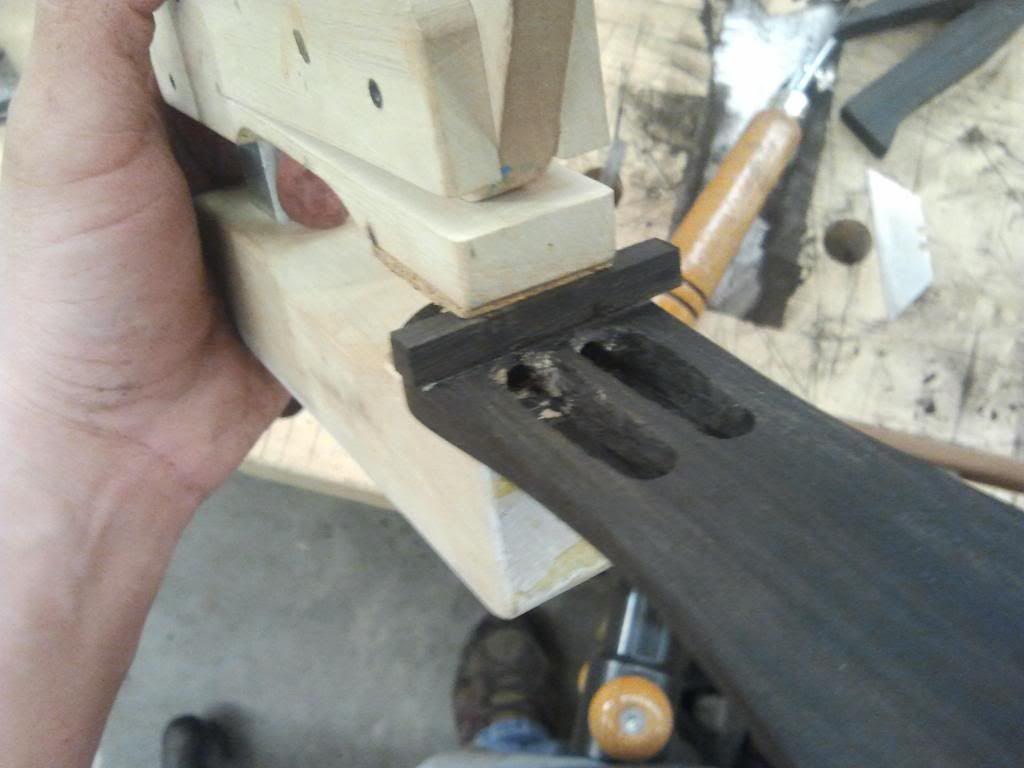
Reaming in the end pin hole.
Fitting the bridge was easier than I thought. Some people use a grease pen or carbon paper or slide sandpaper under each foot of the bridge similar to setting a neck but I found it easier to rough in the fitment with self adhesive sandpaper on the top then just set the bridge on the top and see where it isn't sitting flush and use a curved scraper to scrap those spots away. It helps to put a very slight hollow in the feet of the bridge. It took me maybe 15-20 minutes to fit the bridge using this method and there was no clean up required that you normally would have to do if you used a grease pencil.
-
Yeah, endless sources anywhere other than Finland. Shipping is either awfully expensive (more than the nitro) or just plain murderous.
Then the only thing I'd suggest is to go check out some other builders shops in Finland and see what they use. I know there's a few in Helsinki.
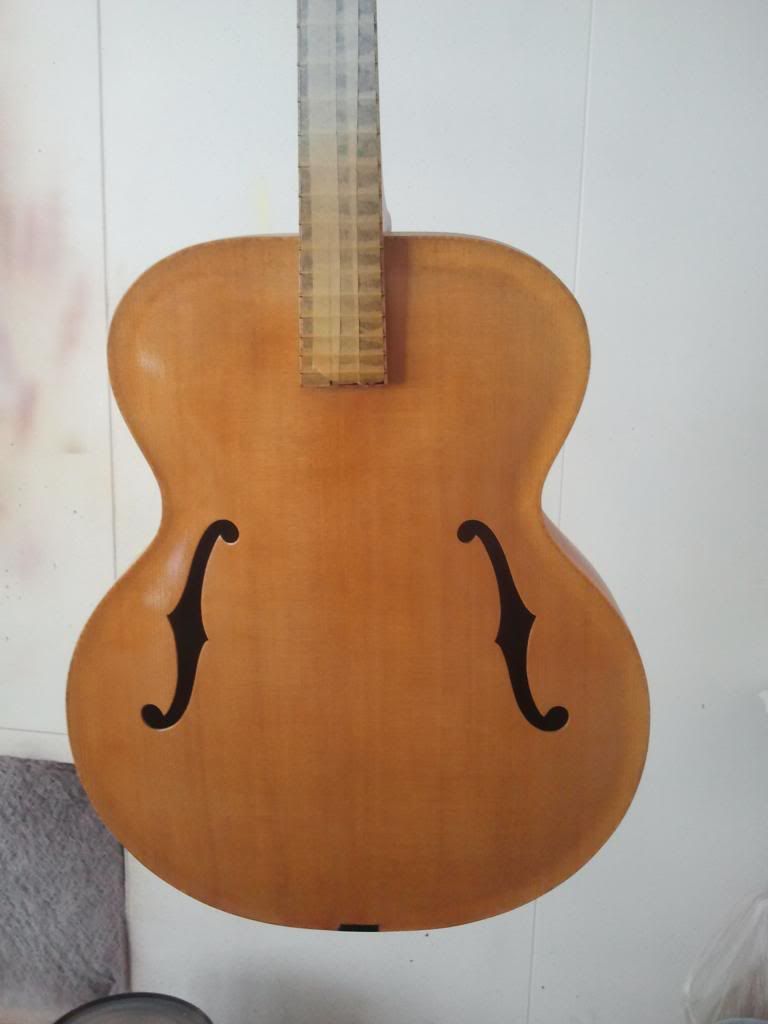
Here's the top sprayed.
-
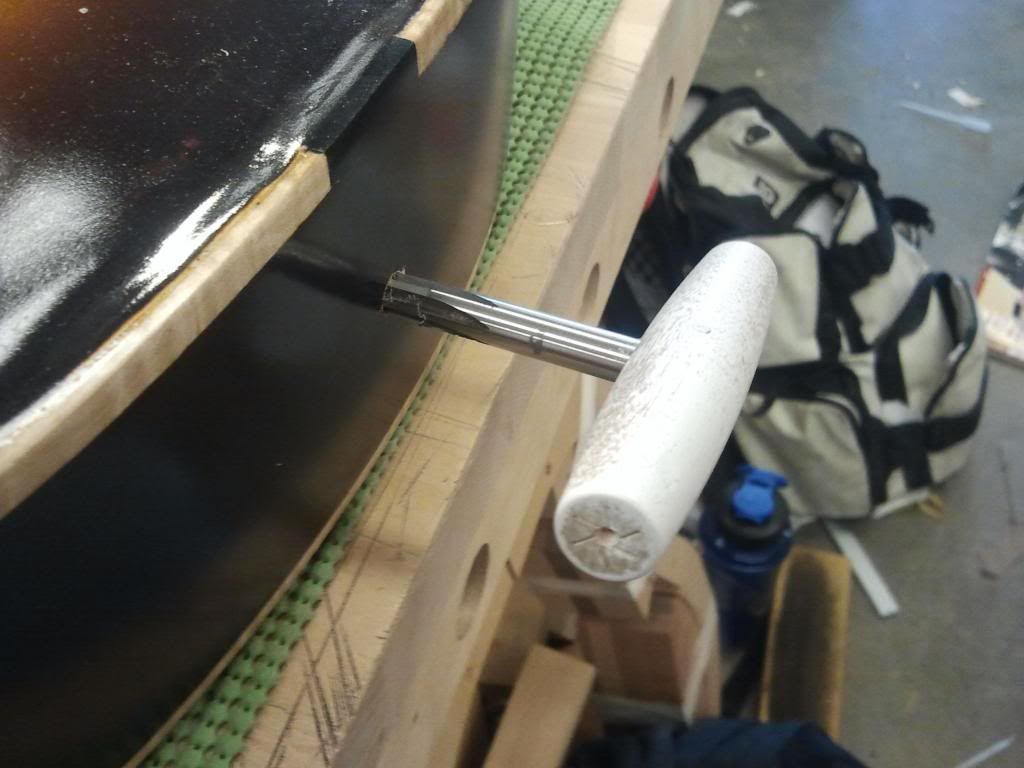
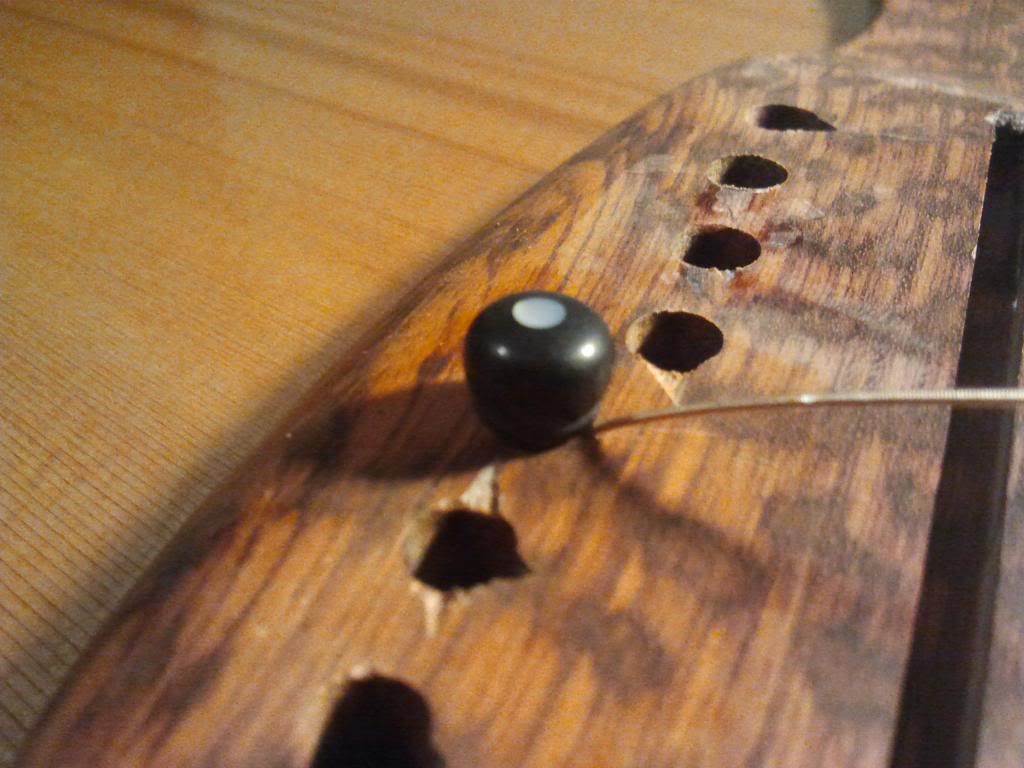
End pin in.
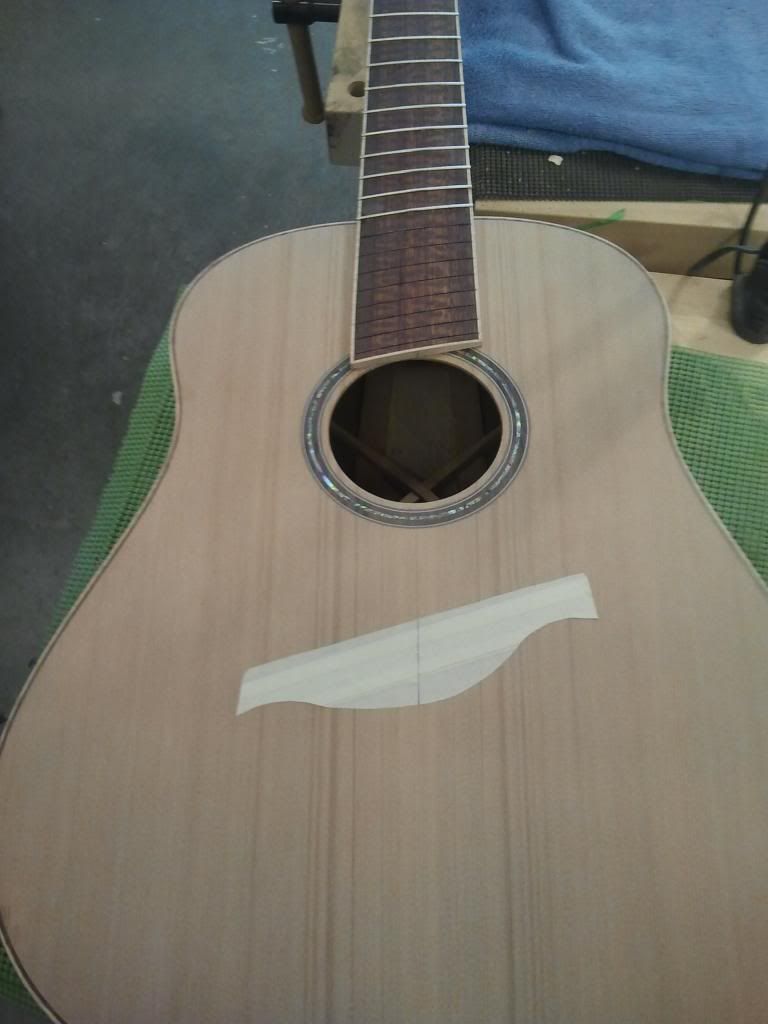
Marking the saddle location.
Bridge pin fitment takes a good amount of time actually. It's not just reaming the holes to fit the pins, you also need to fit the strings into a slot that's cut into the bridge pin hole and make it so it comes out of the bridge with the right amount of clearance. I start by using a small saw after I fit the bridge pin with the reamer, I cut a slot then use different needle files to make the slot wider and fit the string.
I'll have pictures of the completed guitar tomorrow.
-
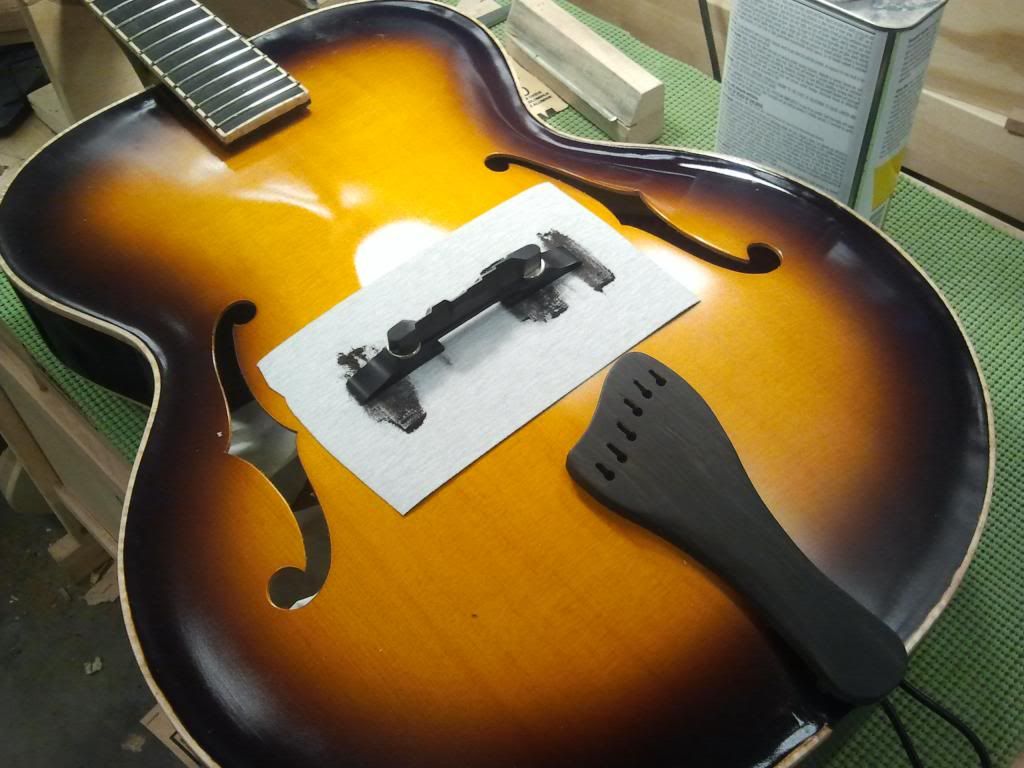
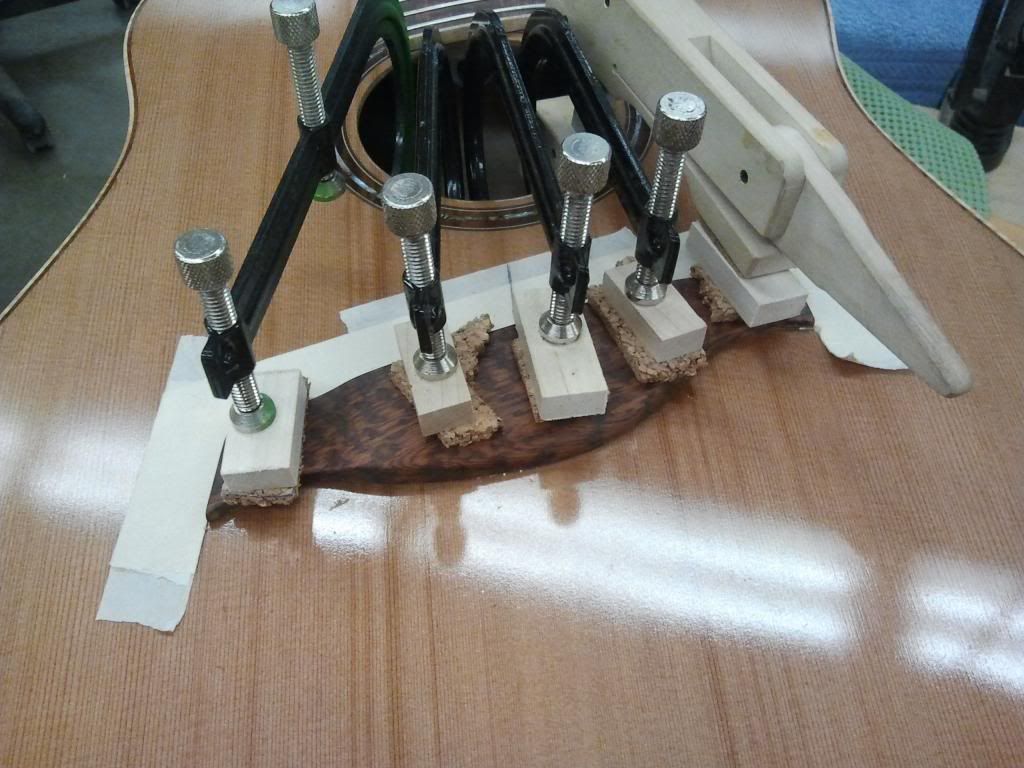
Finished up the bridge and got it glued on.
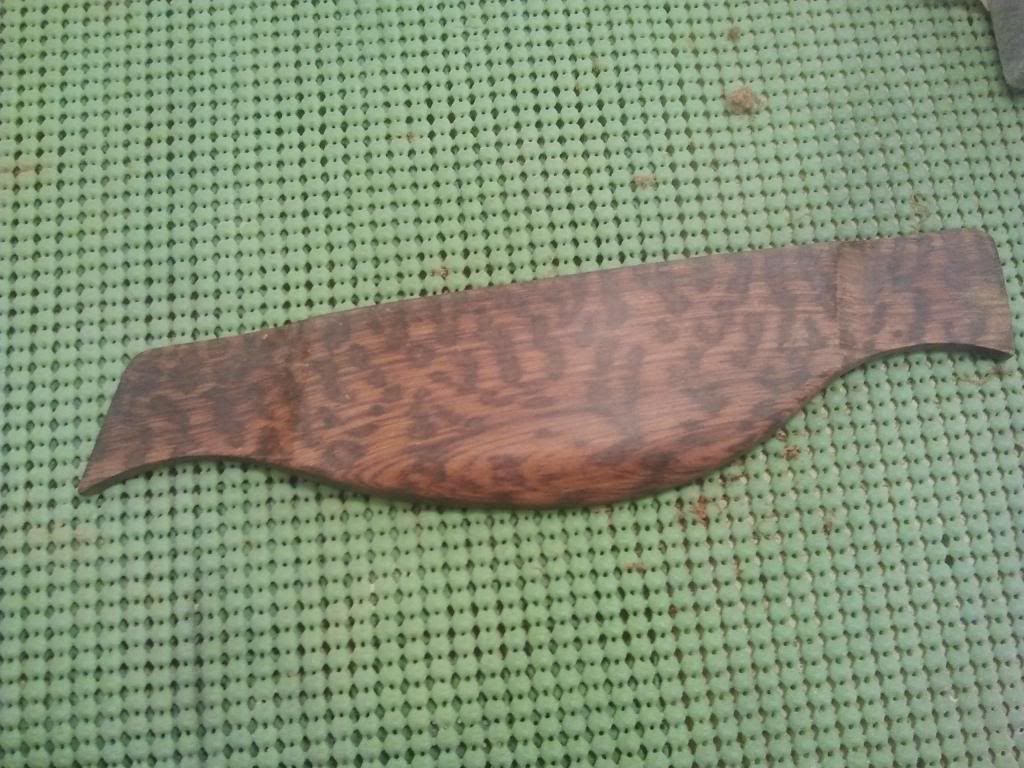
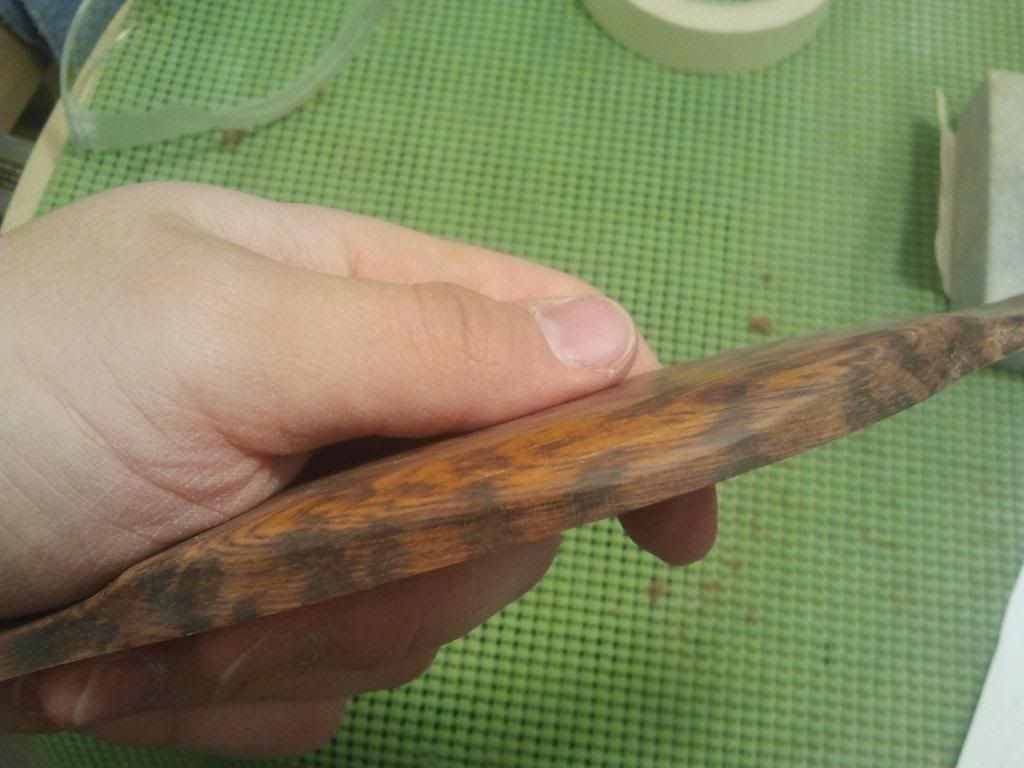
Radiused the bottom of the bridge to 20'.
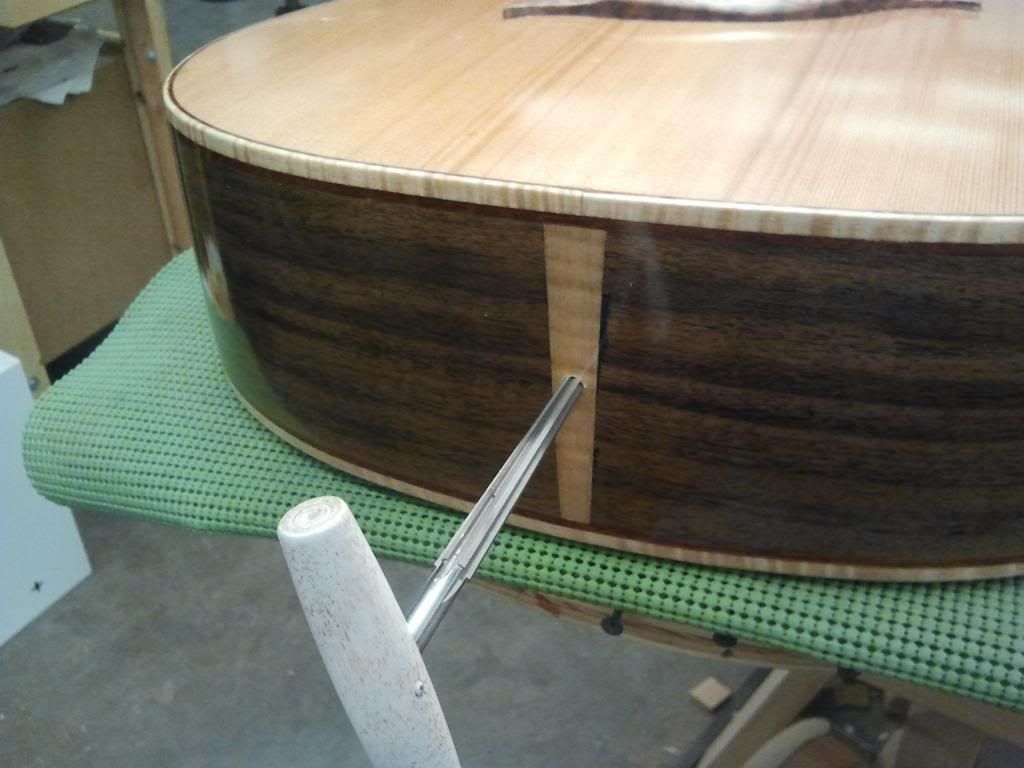
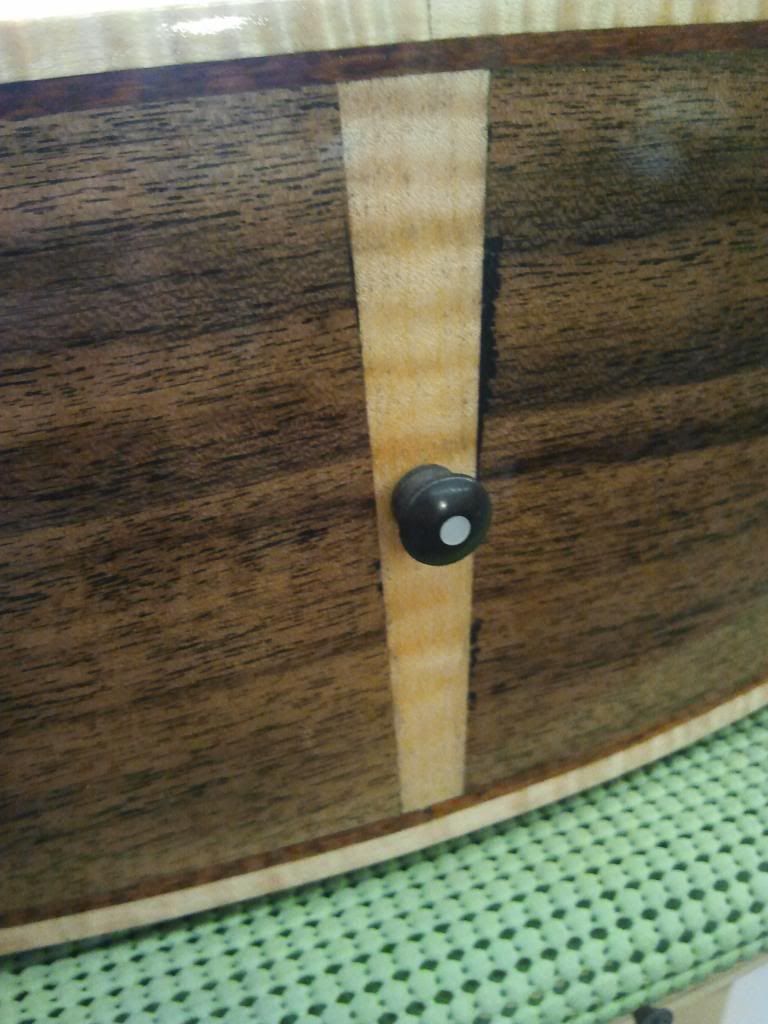
The tape dam to keep it held in place while gluing.
-
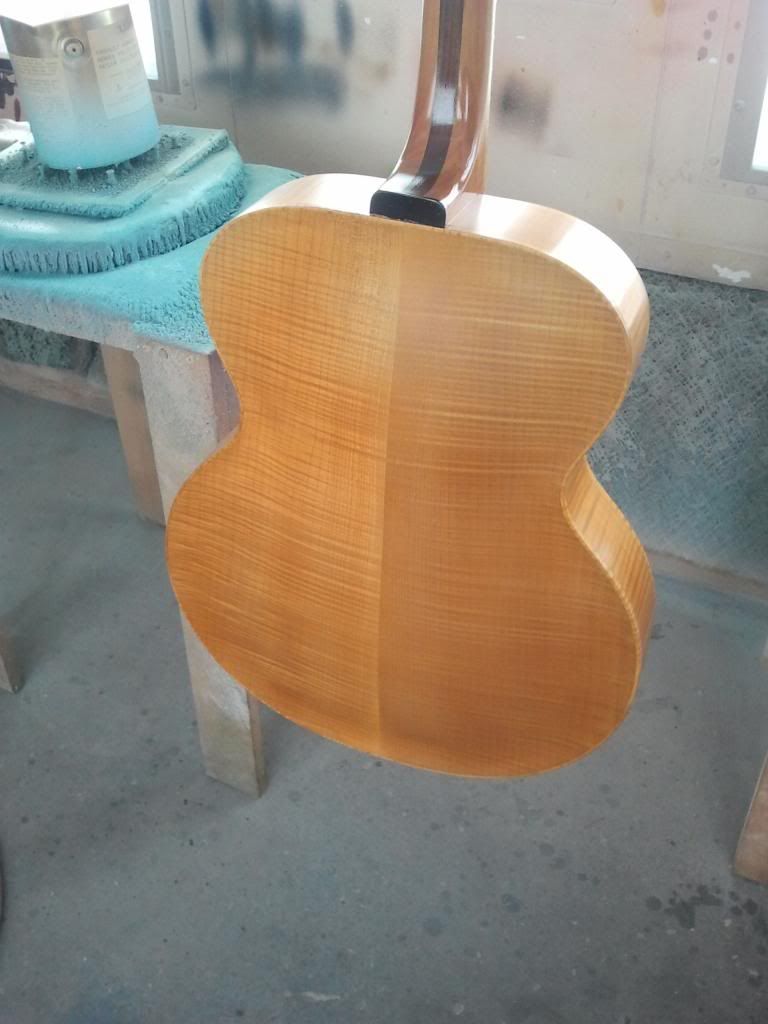
I sprayed nitrocellulose lacquer on this guitar. I did non reduced lacquer until I got up to about 8 dry mills then level sanded and sprayed four 35% reduced coats. I'm using cardinal nitro lacquer.
-
Pore filling was an experiment with the guitar. I used a dry wall compound dyed black with a water based pigment from stewmac. The advantage to this stuff is it's cheap ($4 for that whole jug), it's fully dry in 5 hours and it sands like a dream. The down side is that dust gets EVERYWHERE. Do it in a ventilated area for sure.

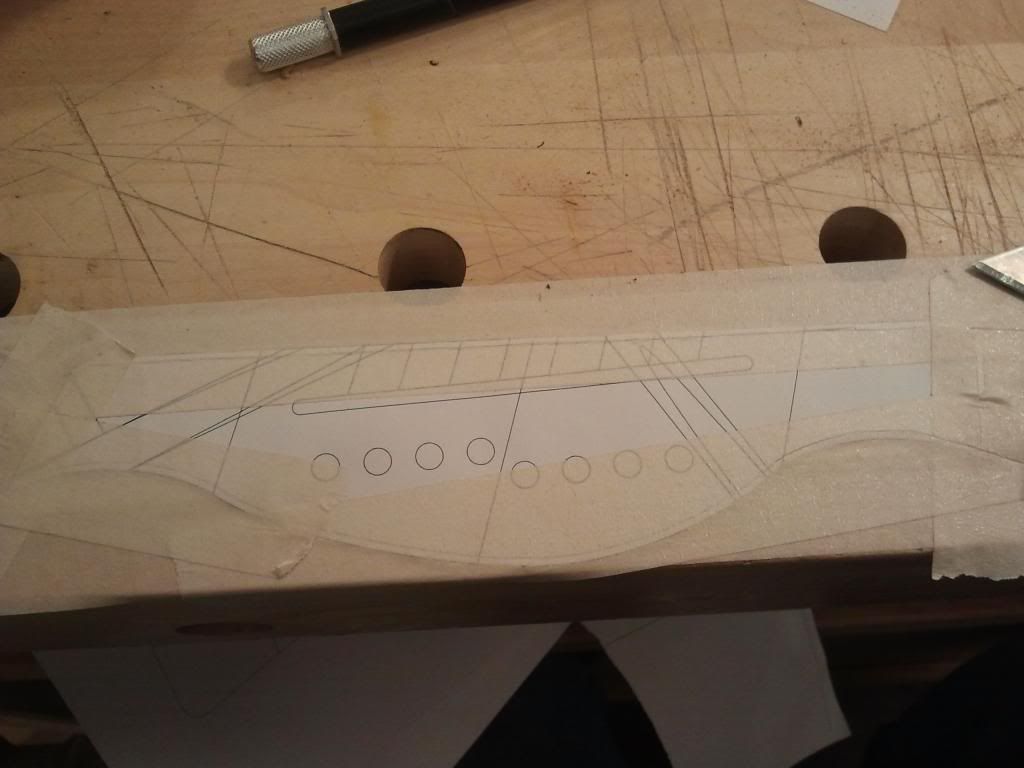
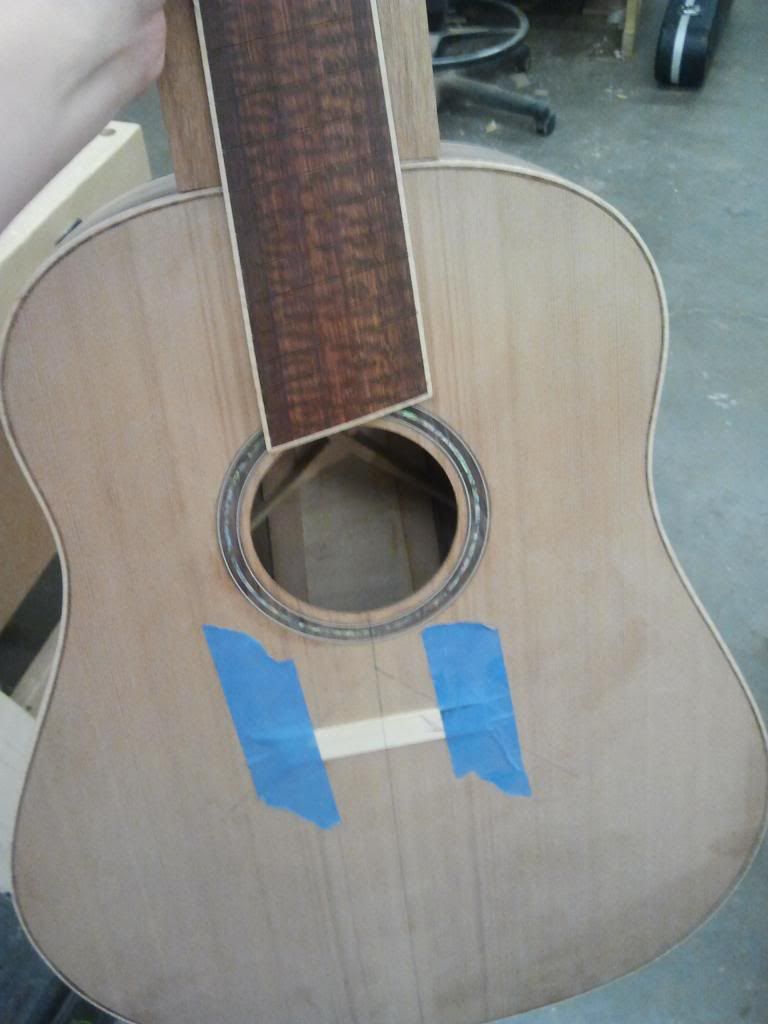
Making a masking tape bridge template to go on the top during finishing.
-
So now that the guitar is playing I will get this updated.
I had a bunch of issues with the neck, mainly because for some reason the CNC only cut the fret slots about 1/32" deep so I spent a lot of time making them deeper by hand and grinding tang off the frets and super gluing them in. I also somehow managed to clamp up bow into the neck when I glued the fingerboard on so I had to heat up the neck to slip the glue joint and flatten it out. I pull and re-installed different sections of the fingerboard several times in-between all these fixes as well.
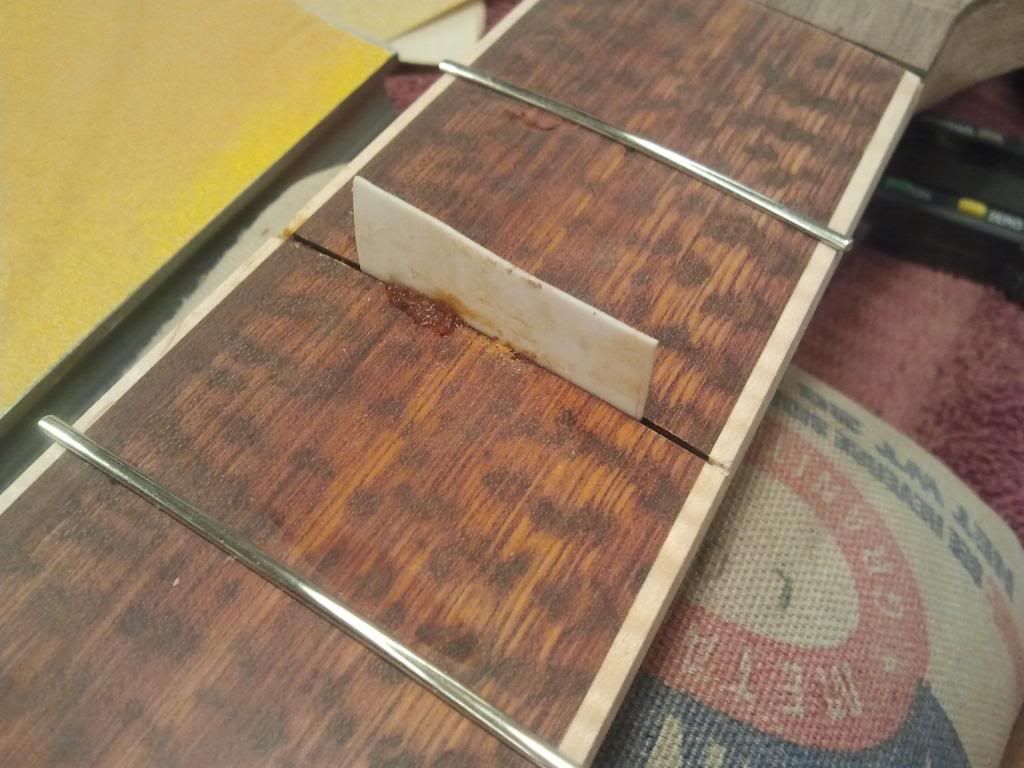
Here's fixing chips from pulling frets. Even using a soldering iron to heat the frets and make them come out easier makes the snakewood chip a little bit. I'm just using Teflon as a dam for the superglue so it doesn't get in the slot.
To slip the glue joint I used a heating blanket for bending mandolin sides. I heated it until the back of the neck was slightly warm before I shut it off. I probably went a little longer than I should have but it didn't scorch the wood so I was pretty happy with that.
Then I had to re-fret the first few frets.
-
1
-
-
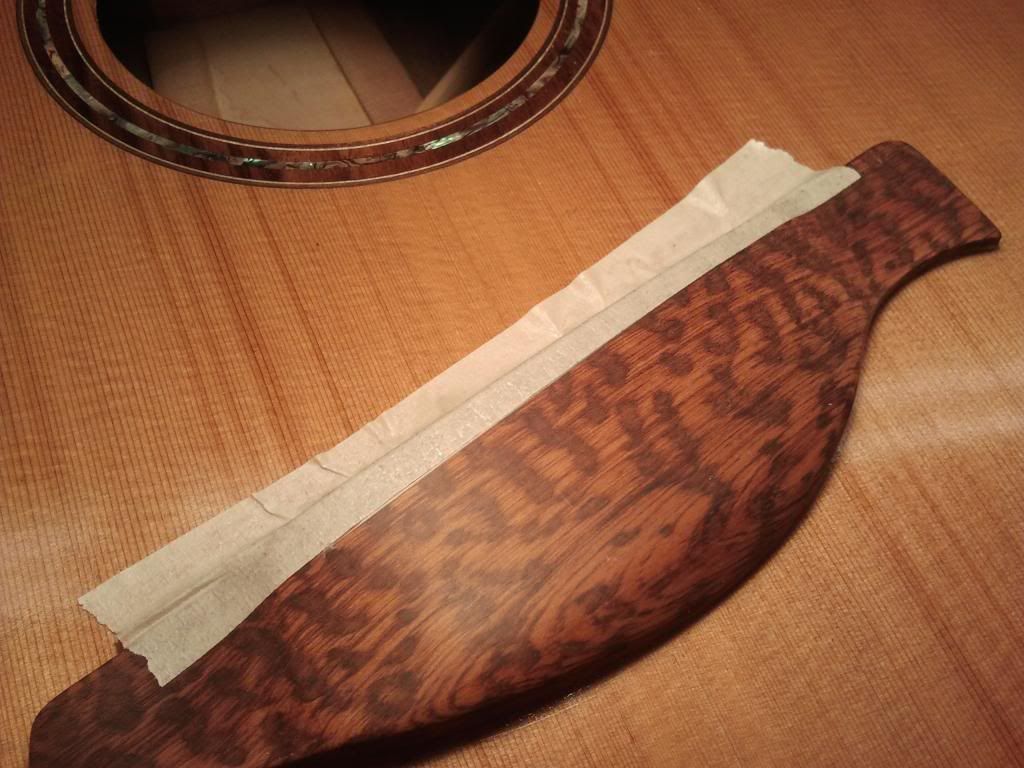
The snakewood looks great. I've wanted to use some, as I think it's one of the best looking and most unique woods for fretboards. I have read about issues with checking and cracks in snakewood. Have you had any issues?
I've had few issues. It chipped a little with the bridge pin holes but it's easy to fix snakewood with some superglue and dust. It ends up looking like the figure spots.
-
Me too. I am in many ways quite gutted because that burst is exactly the one I would love on my dream bass. That shot of the stain on the tongue spreader (I prefer that to "popsicle stick") is a definite reference for when I manage to find nitro in Finland.
That looks like one of our spray booths too!
Look into the brand Cardinal. I'm not sure if they ship overseas but that's what I've been using. LMII.com sells it by the bucket.
-
Uh unless you are a surgeon. Get in, get the job done instead of studying and practicing on my squishy bits please.
Haha yeah I suppose that would not be the ideal job to practice what you are doing while doing it.
This guitar just needs a fret job and to have the bridge fit to the top. Hopefully tomorrow but that may be pushing it...
-
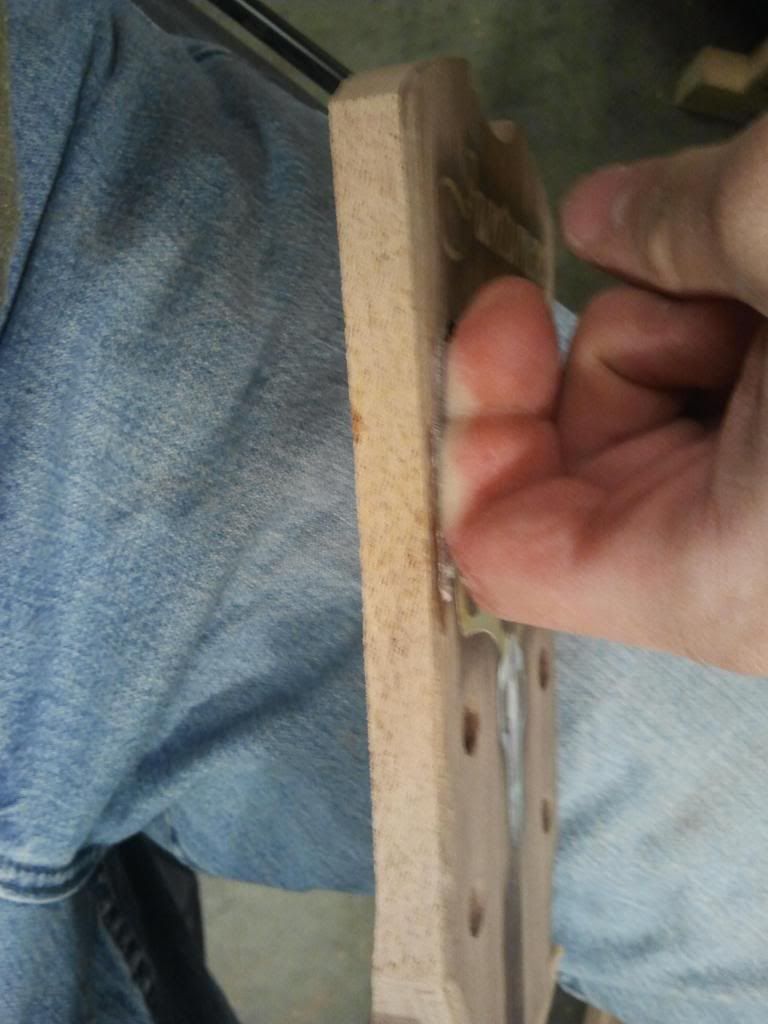
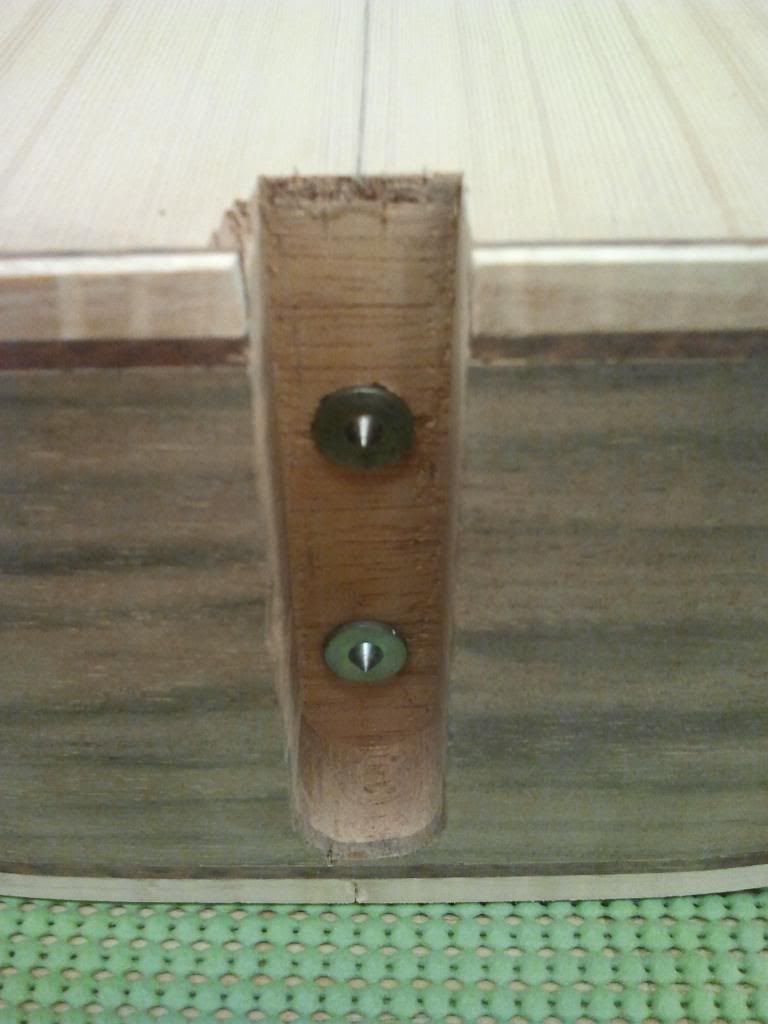
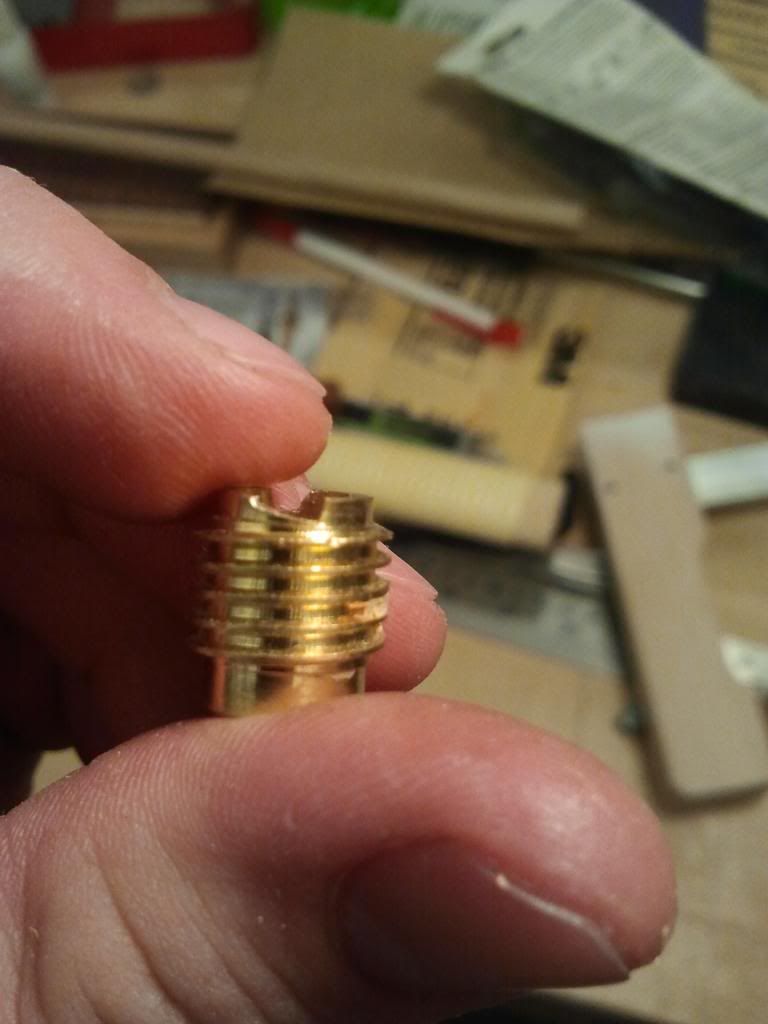
Most inserts are designed for chip boards and other soft wood composites. The best way I found of fitting them is to do what you did, threading them up and locking on a nut, but using a pillar drill as a press and turning the chuck by hand. It is near impossible to get these straight into hard woods reliably since the threads would rather throw the insert out of the perpendicular than cut the threads. I'll have to post a tutorial on how I modify these at some point.
I found it pretty easy with the silver inserts to just thread them in with an allen wrench. It went in pretty easy and I stopped halfway to see if it was straight and they were so I think I'm going to use those from now on. Those brass ones must be for what you mentioned because they wouldn't bite into the oak at all and they were not very strong either.
The guitar is almost done. I'll have it playable tomorrow. I've been to busy for updates so I'll try to get some more pictures up tomorrow.
-
I use titebond and hide glue for everything. Never liquid hide glue though, it's not nearly as good as hot hide glue in my mind (you just have to be fast and know where you want clamps) I used epoxy once to hold in threaded inserts on one of the acoustics I'm building right now and hated using it in every aspect. What I've always been told is titebond 1 is the general all around wood glue, 2 (blue bottle) is more of a water proof glue as it doesn't let water move around as much, if you use it for braces on an acoustic (as with epoxy) you will see where they are from the top because it won't let the wood move like it should so basically you have to keep the guitar perfectly humidified or it will implode on itself because it couldn't move as much (think cracks) titebond 3 (green) I've only used to make a canoe paddle with because it's supposed to be totally waterproof and made for marine applications or something (that's what I was told, I don't use it on guitars)
I use hot hide glue for acoustic neck joints because it will eventually need a neck reset and titebond can be a hassle to undo for that and epoxy is pretty much impossible. I also use it for bridges because those will need to be reglued eventually too. I use titebond for bridges if it's closer than the hot hide though ... just because I'm lazy

I've never had any issues with wood glues and I've never had a fingerboard cup on me like what was mentioned above. How are you guys clamping fingerboards that they will cup? I run clamps down both sides on the edges and run a strip of 3/4" plywood the whole length as well and I've had no problems. If you just clamp in the middle it's not getting enough clamping pressure to the sides no matter what glue you use (in my opinion at least)
I'm going to experiment this summer with making glue from pine pitch. I have a big gallon bag of black and white spruce pitch that I was planning on making a varnish from but I think I'm going to use it to make a type of glue and see how strong it is compared to titebond and hide glue.
Since finishes were mentioned. I prefer nitro, it's easy and melts into itself. Poly, 2K, UV, water based, they are thicker (minus water based) are annoying to sand because of witness lines and in my opinion take longer because of the sanding process. I've started using tru oil now and have liked that pretty good.
-
I be liking it, sorry about all the extra work.
Thanks and extra work is what makes you good at what you do.
-
I look forward to seeing this build if you post it. I've made necks out of ash and would deffinatelly do it again. If you like open pore finishes it's awesome otherwise it can be porefilled if you want to go that route. If you go with the ash neck I'd use walnut for the fingerboard but that's my preference. I love the look of walnut and ash together. Good luck with the build either way!
-
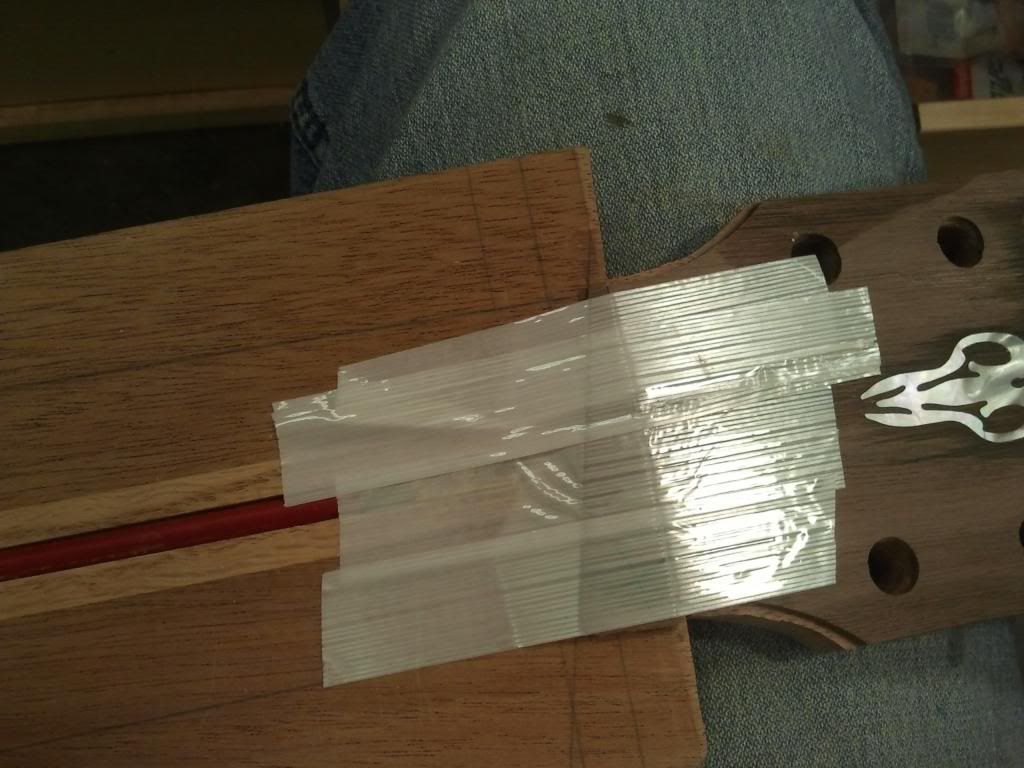
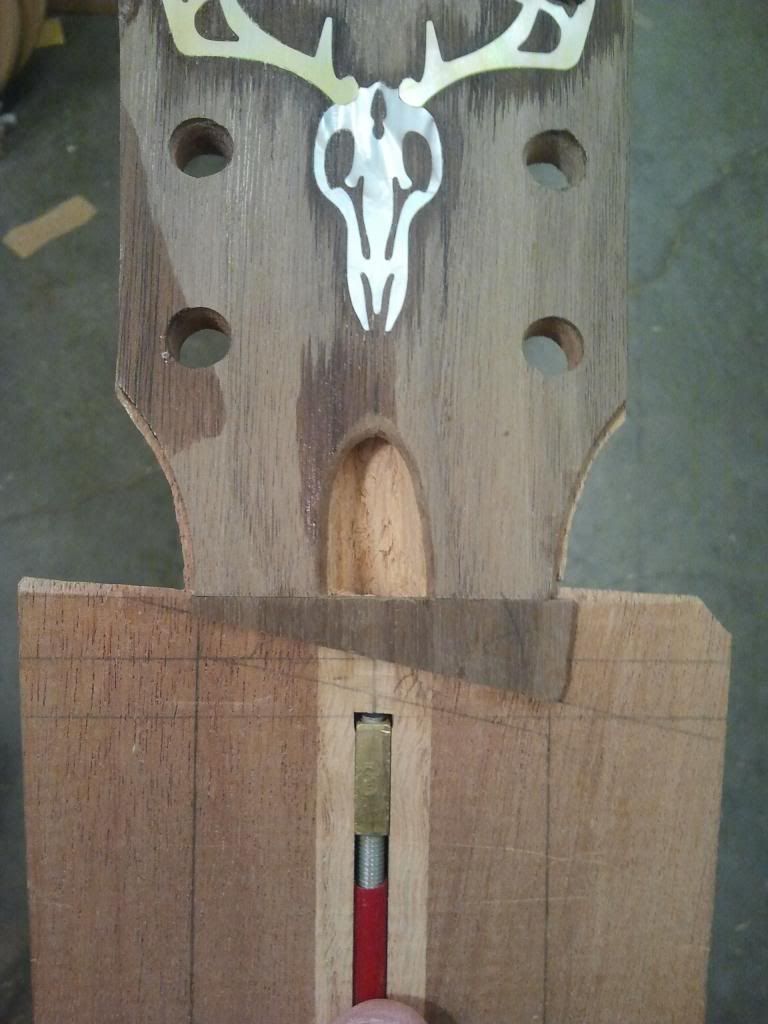
Glueing on the headcap.
Glueing on the extension for the headcap. I didn't want to do some crazy angle at the headstock angle so this was put in to square everything up.
When I drilled the holes for the tuners I had some tear out on the back so when I was superglueing it back in I wicked some thin superglue into the tear out, well I wasn't expecting the superglue to wick all the way through the headstock and the headcap and attach my finger to it. Fun stuff. It was about the whole side of my finger that got glued on so I had to skin my finger off the headstock with an x-acto knife like I was skinning a deer. Oh the joys of superglue

-
Shaping the heel before the neck set. Get it as close as you can in rough form, it just makes setting the neck easier.
And then make the undercut. Setting a bolt on is similar to a dovetail except you only worry about the up and down angle and the center line. Otherwise it's all the same as a dovetail. The angle should be close after you figure out and sand the neck extension height in. The necks heel will be off a bit so I start fitting the neck with a chisel and then when it's close I switch to 80 grit sandpaper and slide it between the body and heel to take wood off one side at a time to set the center line.
Here's the neck bolted on. Almost done with the neck set.
-
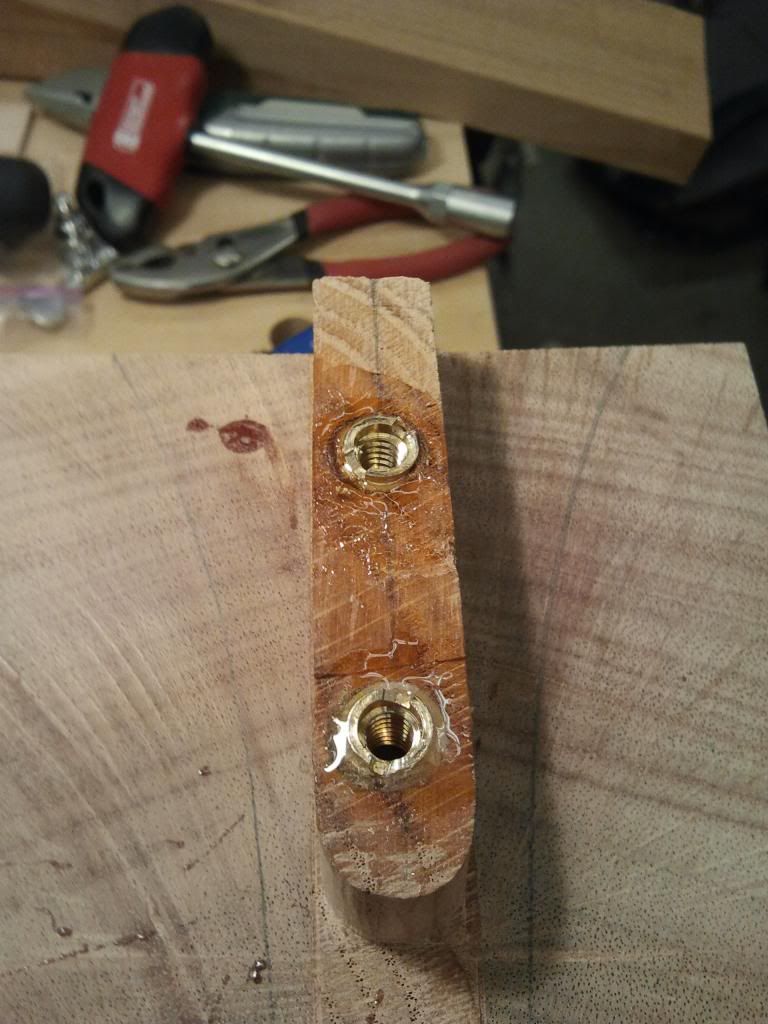
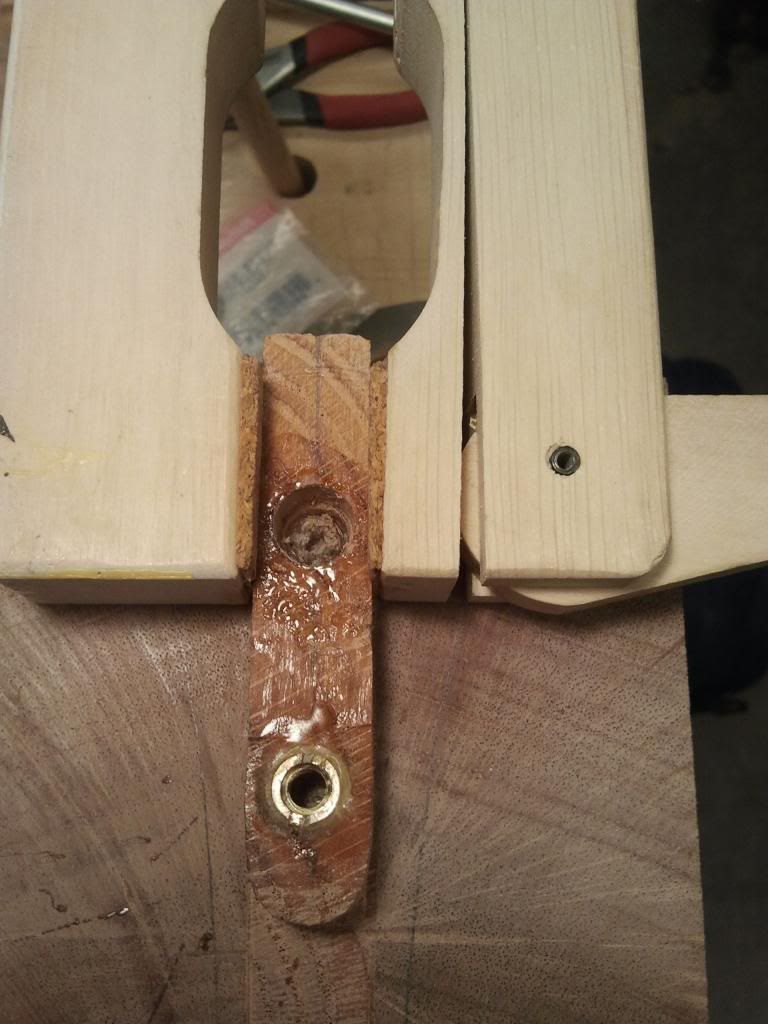
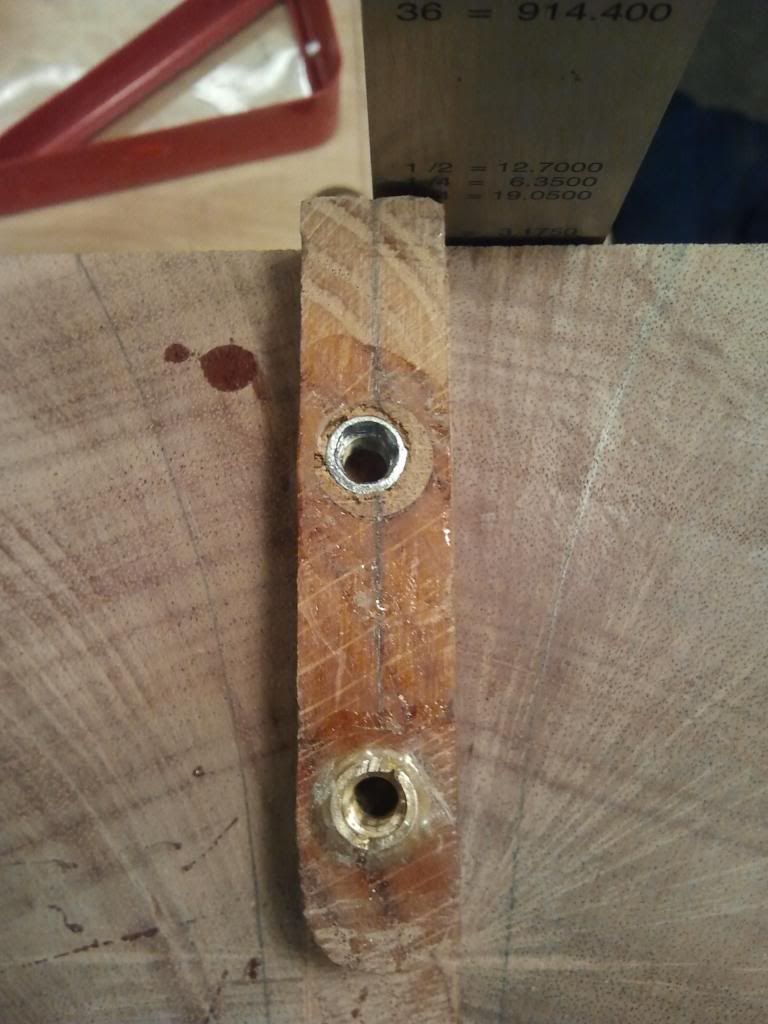
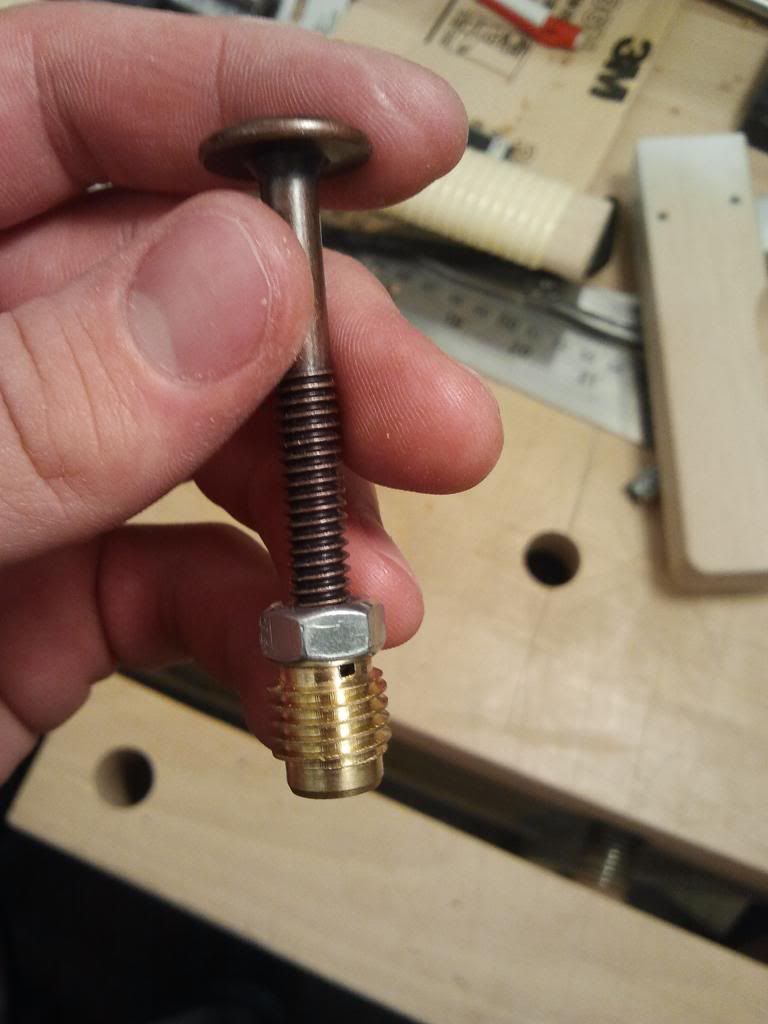
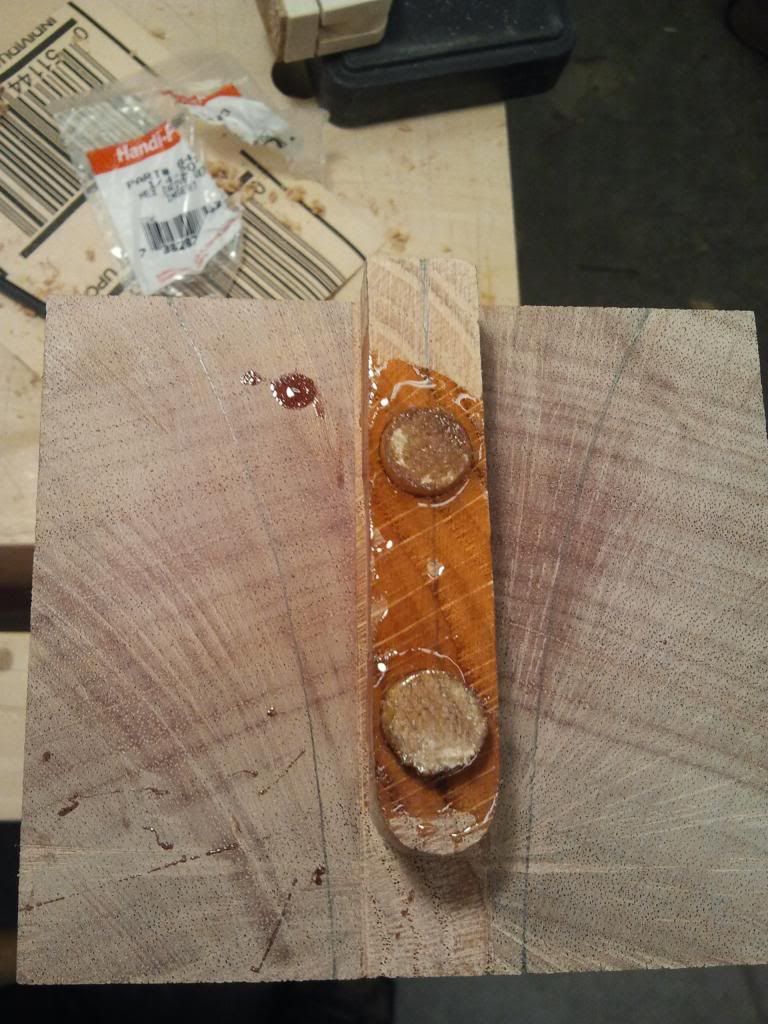
After re-drilling for te inserts and epoxying in the brass inserts I went to tighten up the neck to the body and the top one ripped out but the bottom one stayed solid so I got to again drill out the top one and plug it. This time I went and got an oak dowel to plug the hole with because I didn't want to go through that again. I also got some new inserts with a deeper thread and they are tapered so they wedge and screw in, hopefully it works better this time.
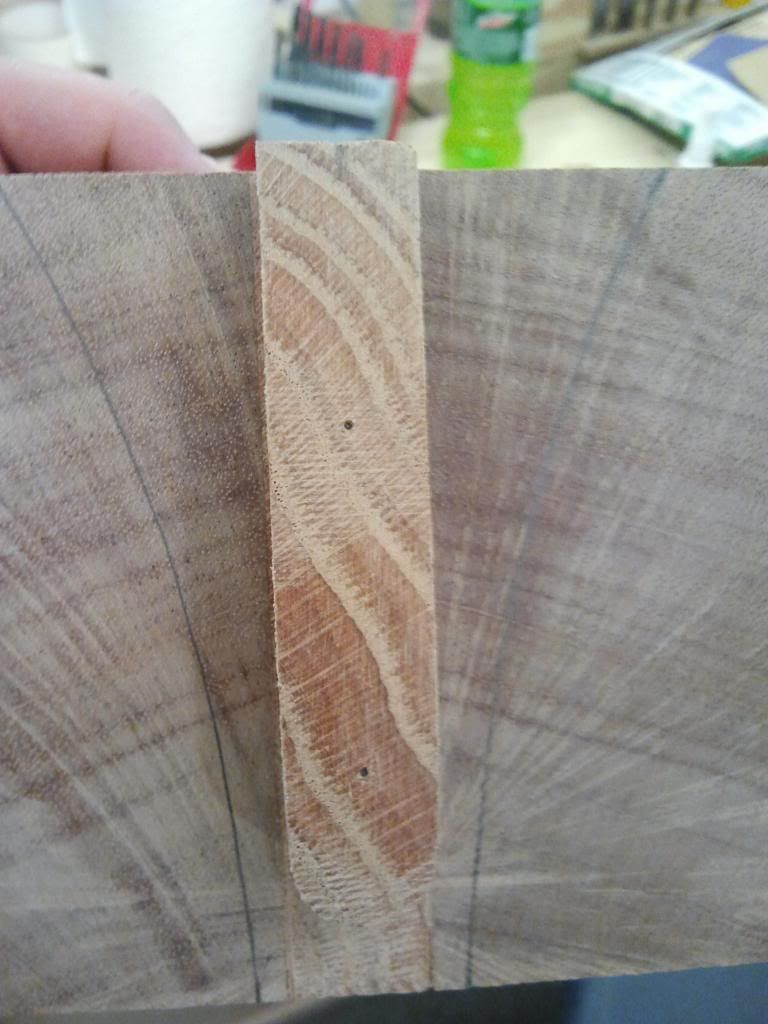
The cam clamp is there because the sides of the tennon were able to flex a little so I clamped it to avoid it spliting or tearing out when I was drilling.
New insert compared to the old.

I didn't screw up drilling here. The offset inserts are how the little pins marked it and I've got the center line just about set right with the neck set so everything is good. I thought something was wrong when I saw it at first.
First time having the neck bolted on. It gets a little exciting to hold that since you realize you are getting close at this point.
-
I had a bit of an adventure with this thing this last week. I got to setting the neck but got set back two days due to having to plug holes and issues with the threaded inserts I bought.
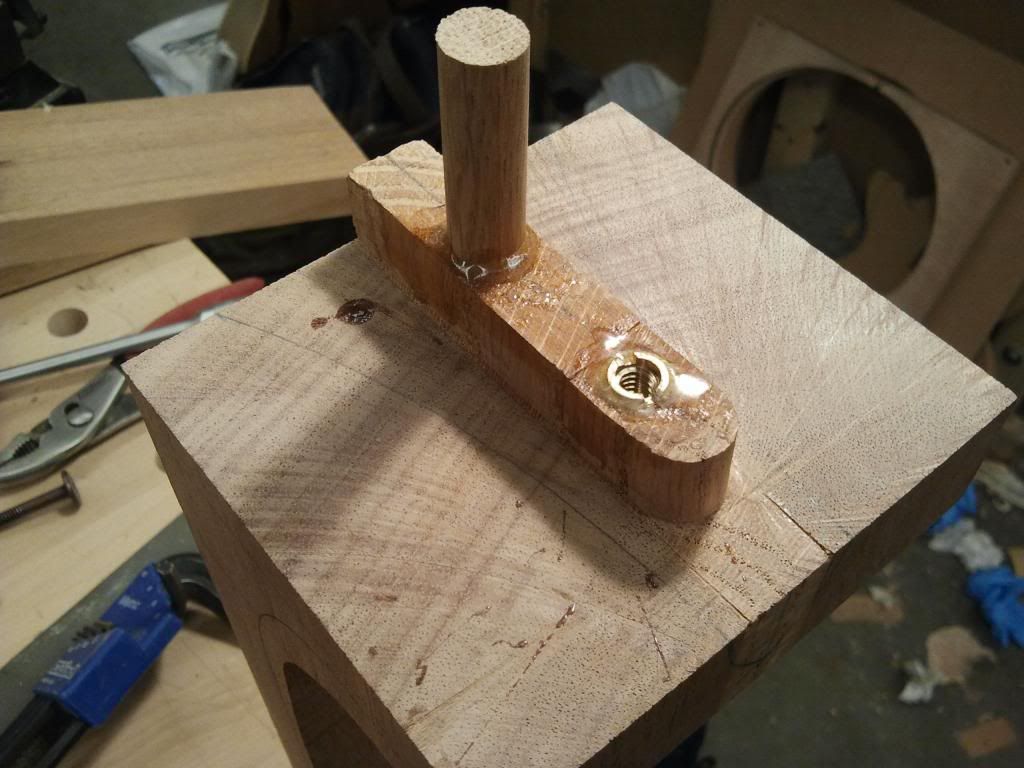
These little spikes are for working with dowels. They fit in the holes I drilled in the head block so to mark where to drill the holes into the tenon I can just line it up and push it into the spikes.
These are the inserts I had issues with. I tried screwing them in with a screwdriver and just destroyed the slots. No matter what you did they were junk.
I had to screw them in by locking a bolt to them with a nut and threading them that way but after the whole screw driver thing I was able to just pull the inserts right out so I had to plug the holes with a dowel and wait again.
-
Agh. Shared space eh? Whenever I cause an accident, I will at the very least admit it if I cannot help put it right. Scumbag scratch fairies.
Yeah it's shared space. Kind of annoying but what do you do?
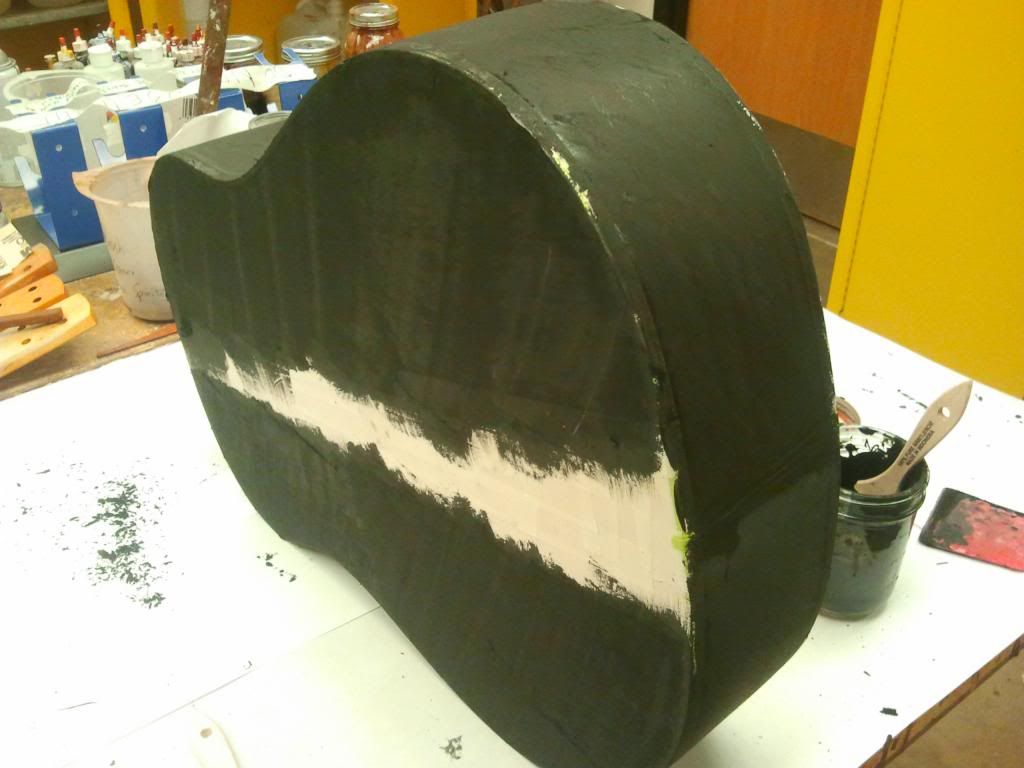
To put into perspective how messed up the top got here it is after I sanded it the second time. This was after I rushed sanding when I was sick and had to go back to re-spray sealer after sanding it the first time. Then to find I got the pleasure of doing it again

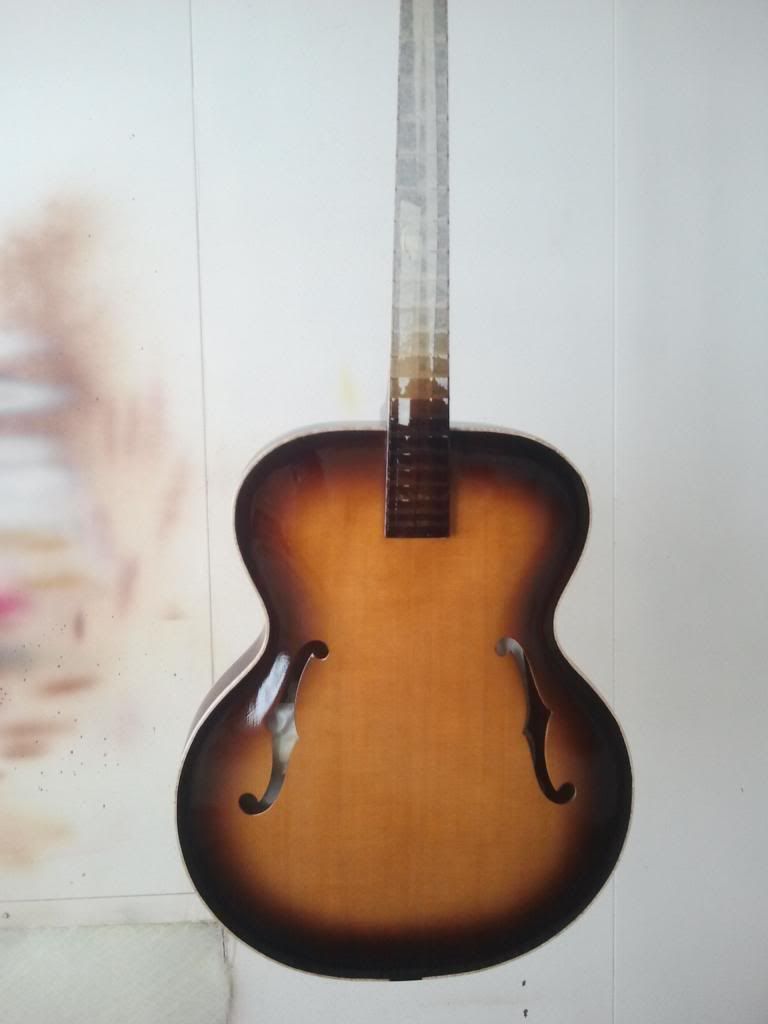
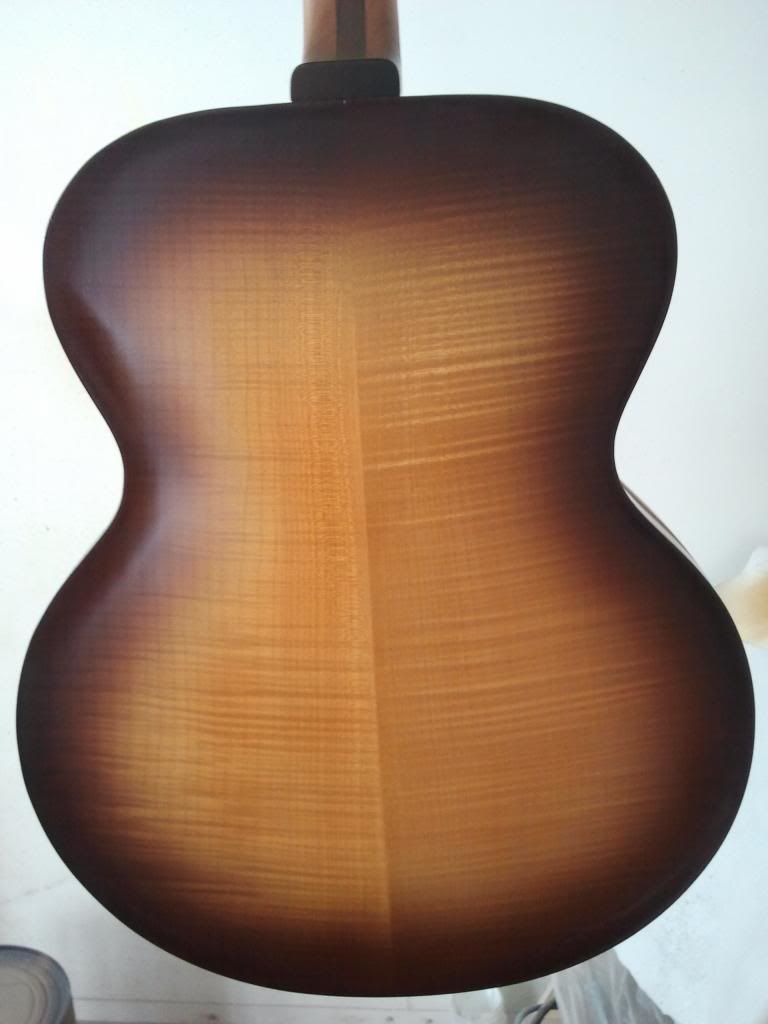
Amber on.
So I wanted to go with a vintage looking burst so I'm using a nitro lacquer mixed into a brown. There's no red, I'm using trans tint mixed with 35% reduced nitro with a ratio of 2ml trans tint to 4oz of nitro. I dilluted the color a little by adding more lacquer and mixed a big batch, it ended up being 5ml tint to 16oz or so because I wanted to slowly build up the burst instead of thick coats right off the bat. It was a little too dilluted though so I will mix another batch when I run out of this one. The brown is made from a dark walnut color mixed with regular brown and a little honey amber to lighten it up a bit.

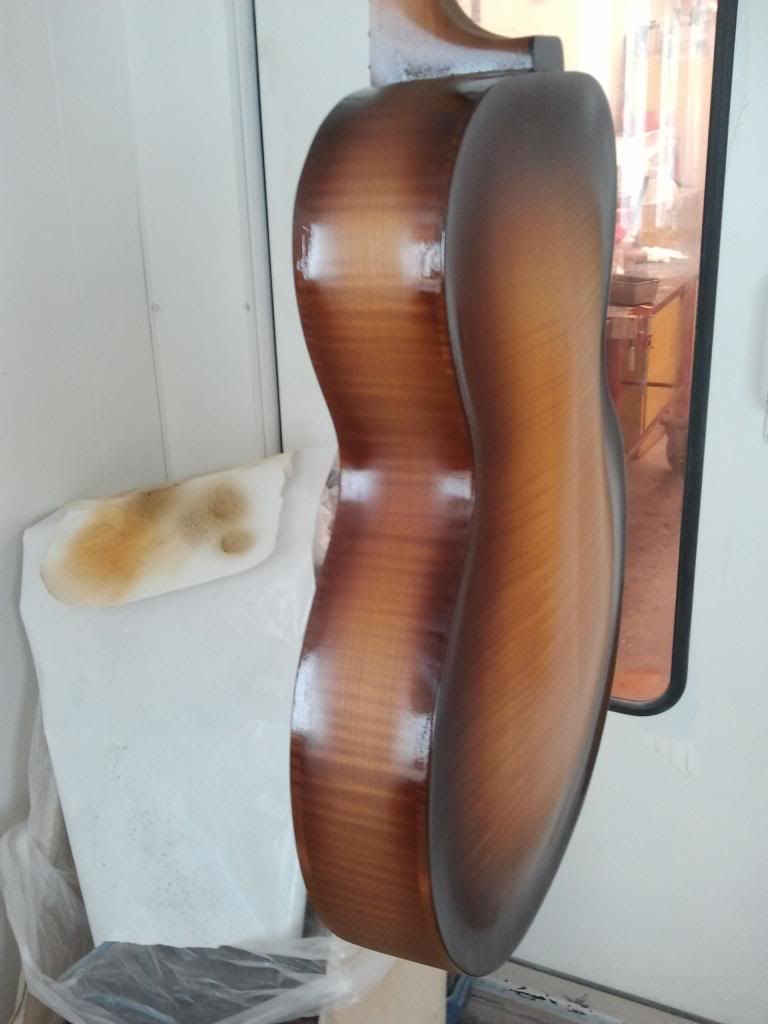
I changed the burst a bit on the sides so instead of finishing it the way I had the sides started I am going to just color the whole side with brown. Usually I use unreduced lacquer and more color so spraying goes faster and I can put heavier coats on but since I wanted to go slowly for this I forgot about the reduced lacquer, tried spraying heavier on the top and got a real nice run so I get to go back and sand that off and respray the top
That's about where it sits currently.-
1
-


Best Cocobolo Finish
in Inlays and Finishing Chat
Posted
Couldn't you seal with Shellac and then spray nitro or a urethane over it to give it a harder top coat? That's what I've always been told to do with shellac unless you want a full shellac finish.