


Juntunen Guitars
-
Posts
569 -
Joined
-
Last visited
-
Days Won
8
Content Type
Profiles
News and Information
Tutorials
Product Reviews
Supplier Listings
Articles
Guitar Of The Month
Links and Resources
Forums
Gallery
Downloads
Posts posted by Juntunen Guitars
-
-
Did it get trapped between the fence and the blade? The fence should be drawn backwards so it is parallel with the front cutting edge of the blade if so. This reminds me....I have a big board of Sapele which I am halfway through cutting for a pair of Flying Vs which closed up around the riving knife and kicked back a few weeks back. Better get back to that.
Meanwhile, back in baritone acousticland! :-D
No it fell in the gap between the blade and the fence, for some reason my table saw has a large gap there compared to most table saws. Usually I fit a piece of plywood in there and just raise the blade up so there is no gap but for some reason I didn't have one made for this saw and it doesn't help that what I was cutting was borderline to small for a tablesaw but I didn't have access to a bandsaw at the time.
Anyways here's more on the build.
I got the back braces glued in last week. This week I'll be shaping them along with getting the top braces in.

-
I bet you're not using fences, eh? What about riving knives?
I was using a fence and push stick, the blade sent the piece straight up at me like if I had stepped on a rake like you see on TV so my reflex was to grab it and the blade pulled, along with my fingers, to the blade. I didn't lose anything just a bad gouge and chunk missing from my left index finger which naturally is my most used finger for guitar playing ... go figure.
-
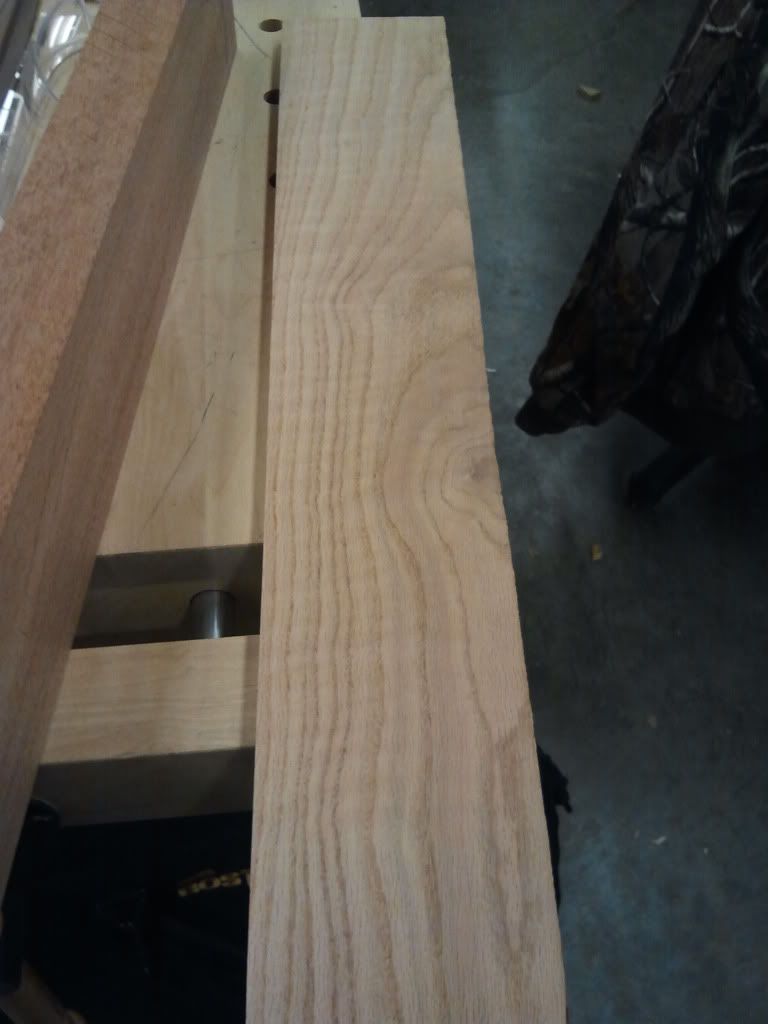
I really like the 3 piece back. Where is the flamed oak going? I really like the look of flamed oak. I have a fretless bass I've built with a 3-tone burst over flamed oak and it's really an outstanding looking wood. Just different enough from flamed maple to look interesting.
It will be the center laminate on the neck. Last time I used flamed oak my hand met my table saw blade so I'm being extra careful this time around

-
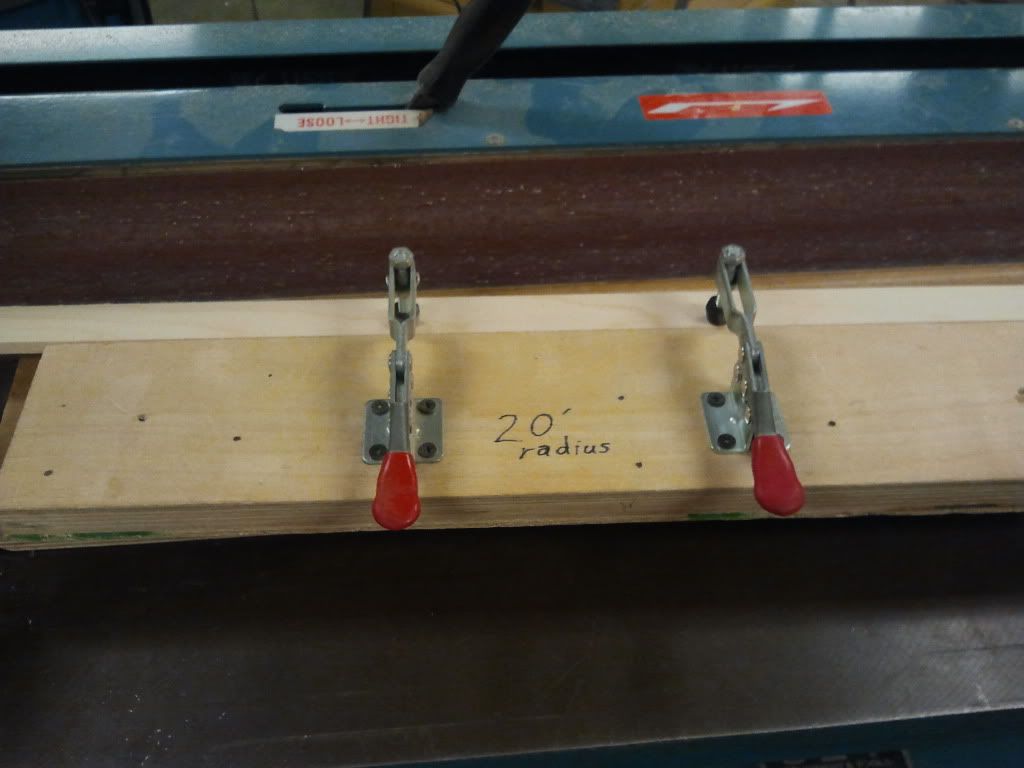
I made some 8" block out of a router screwed to a jig I made the was adjustable to 12", 14", 16" and 20" radiuses. It worked decent but I ended up buying some of the stewmac blocks until I realized they aren't a perfect radius, there are imperfections in them (they are wood afterall) so I bought one of stewmacs fret leveling bars and basically only use that now. I rough in the radius with the 4" blocks and then use the fret leveling bar to finish it off, that way I have a perfectly level and more accurate radius than using a block after a few trys I was able to radius a board faster doing it that way than I could with a radius block. It also made doing compoud radiused boards a lot easier since you just had to section the board into thirds and radius each third then level them with the bar.
-
 1
1
-
-
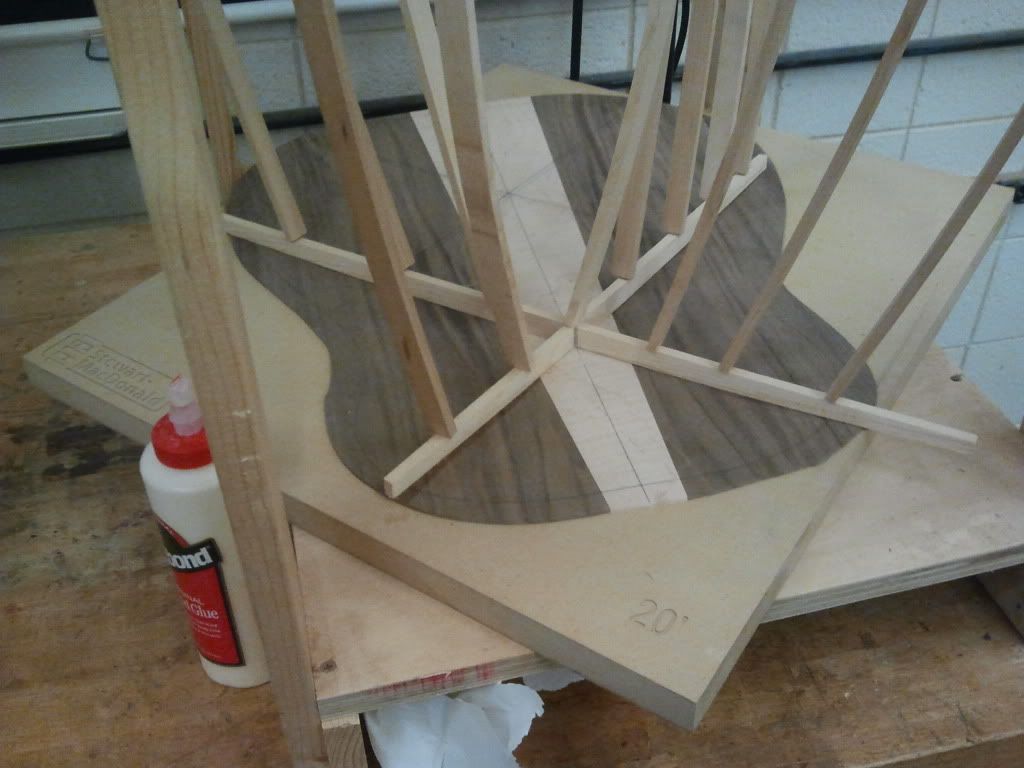
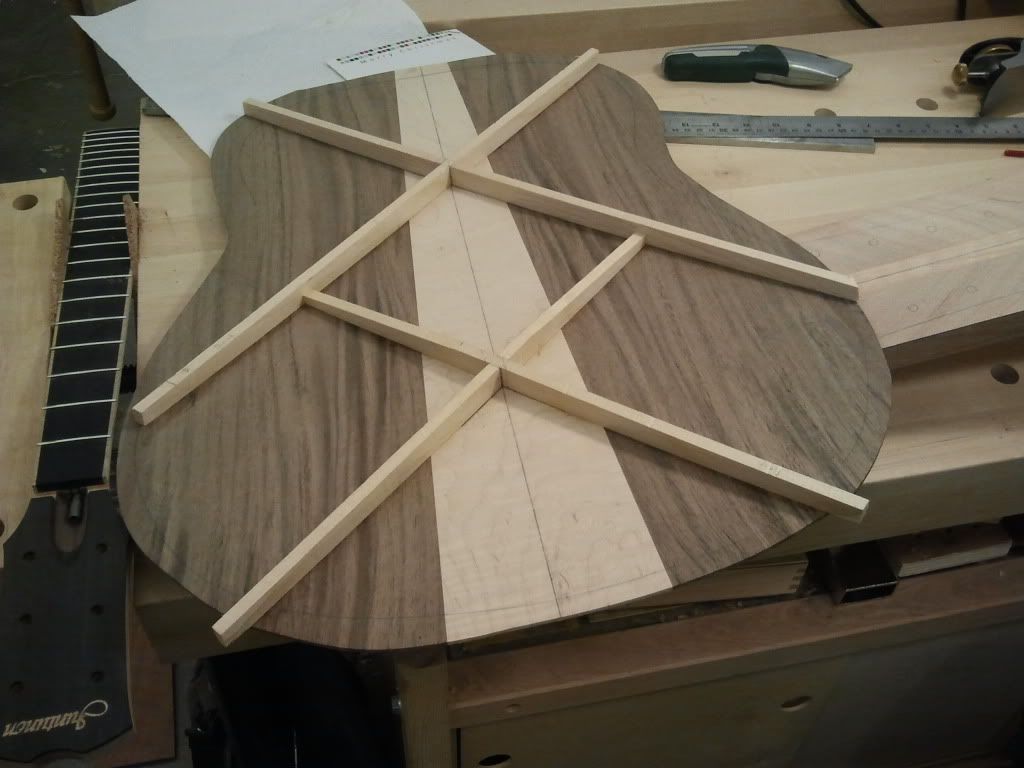
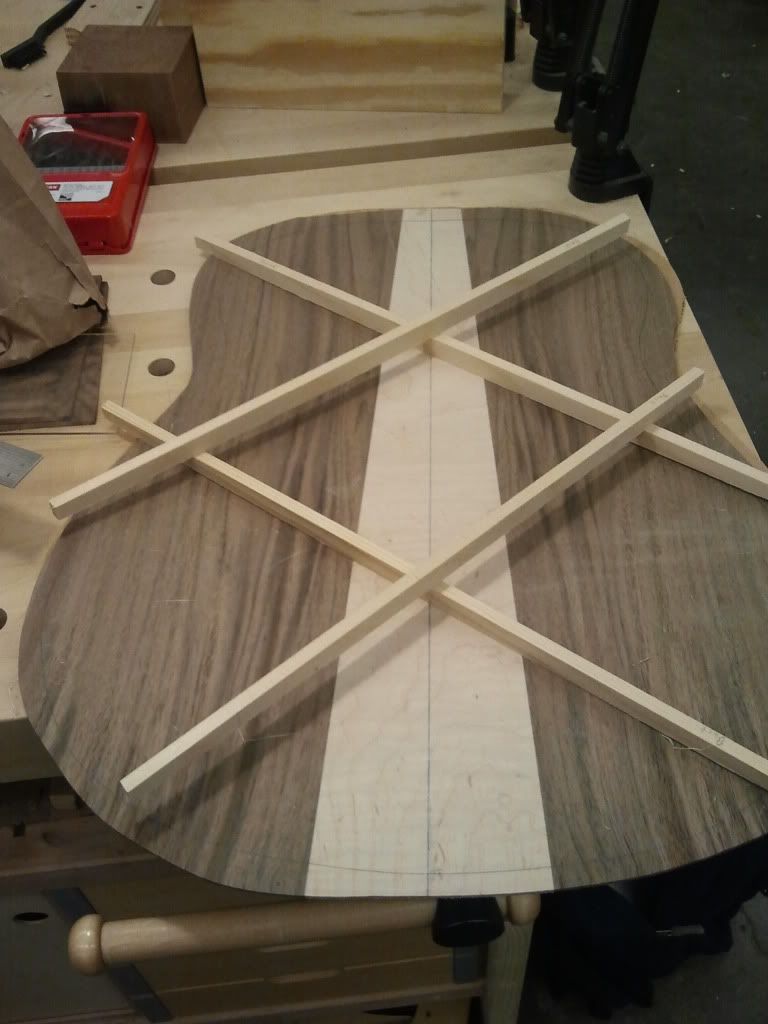
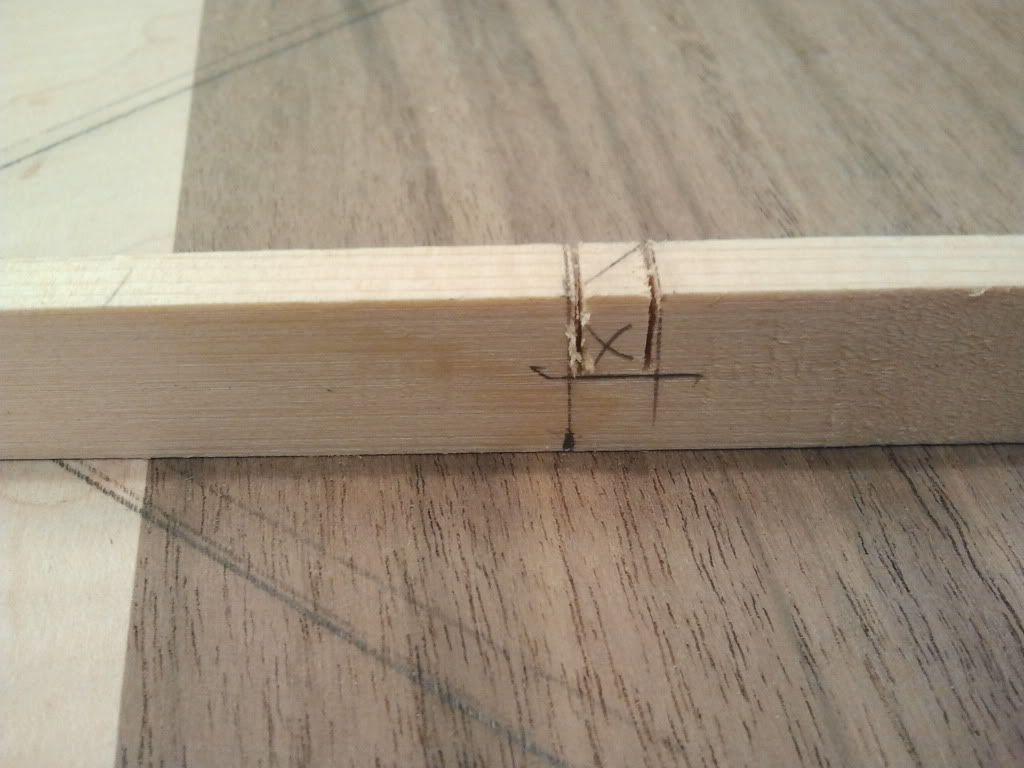
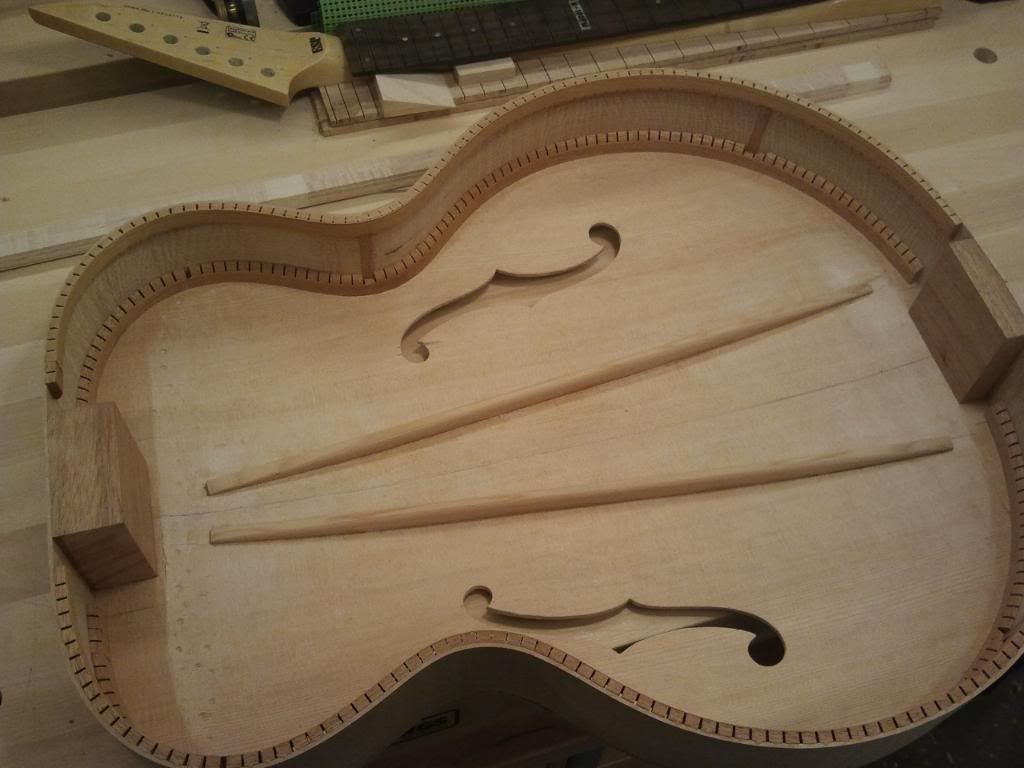
Got all the braces cut out, I was going to do a laminated X-brace with mahogany and spruce but changed my mind when I chaged the top X-brace design toa double X-brace.
Here's a nice jig for radiusing braces. It's just a block of wood that fits in the slot on the edge sander then a jig you clamp the braces into that has a radiused bottom.
Setting up the X-brace locations on the back.
-
Here's the top which ended up being a nice set of western red cedar I found.
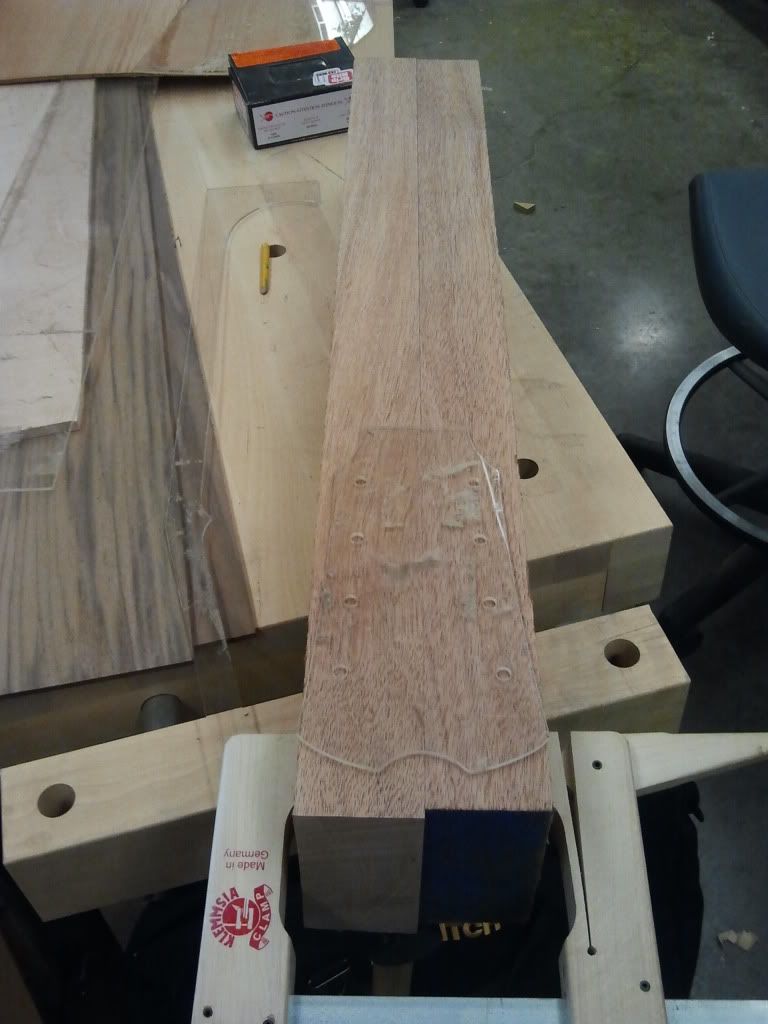
Working on the neck. I'm using african mahogany and a flamed oak piece. I did get this glued up but forgot to take a picture.
-
I started the actual build of this guitar this week and got quite a bit done in the last two days on it.
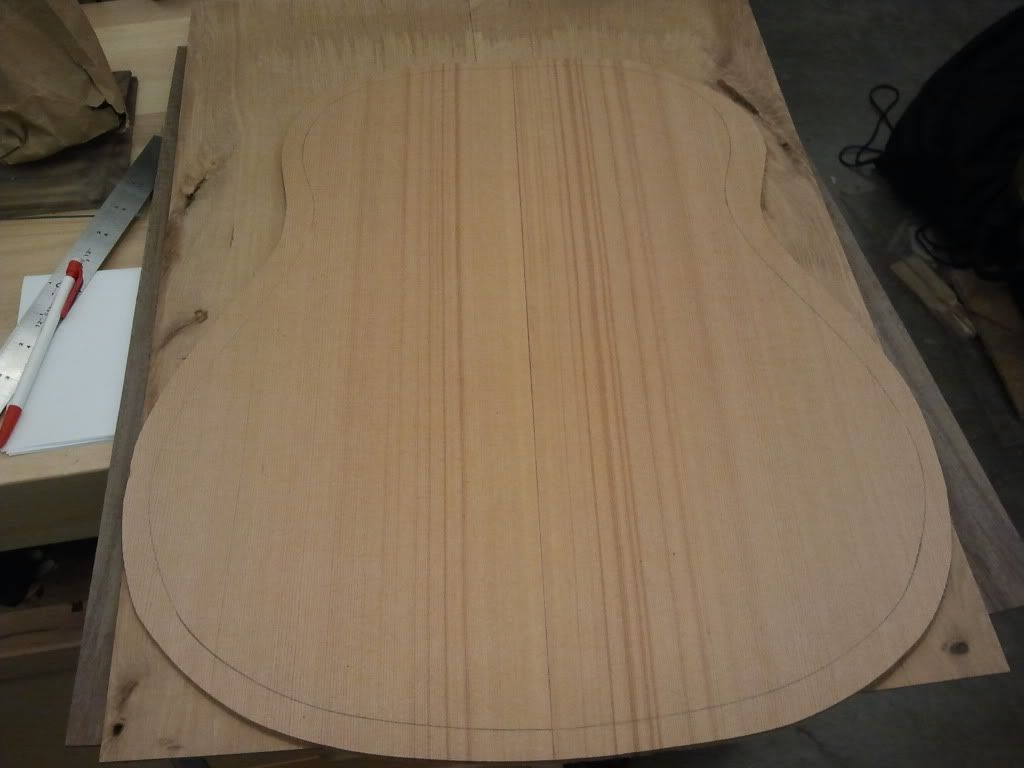
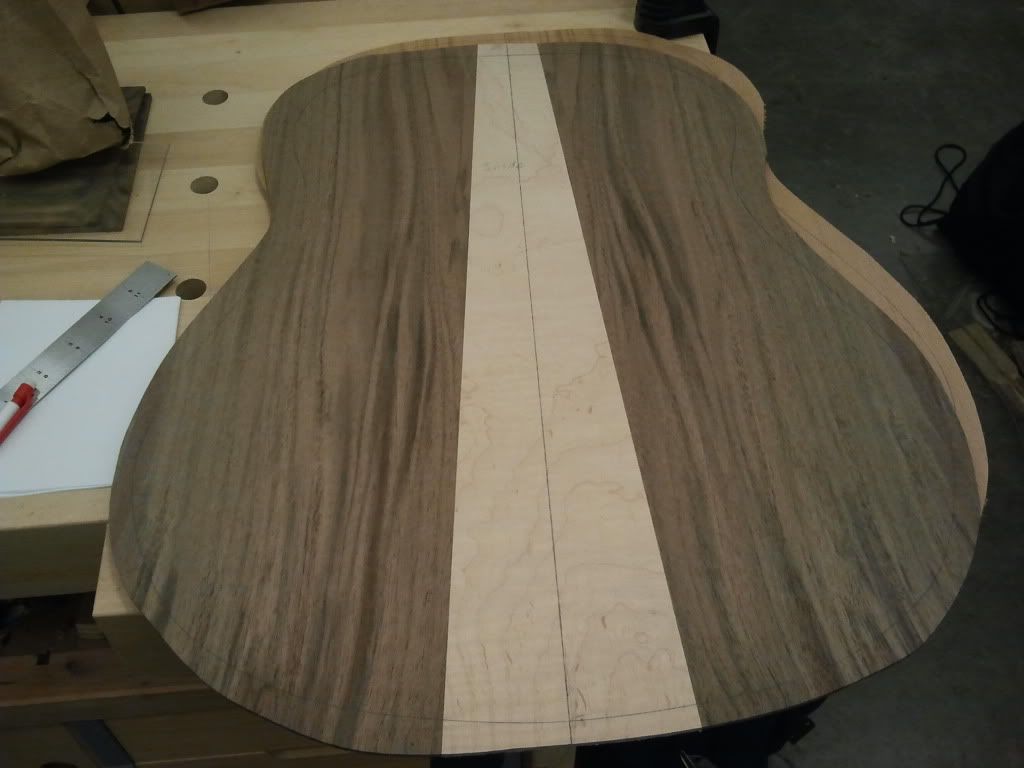
I started with the back. It has a 17" lower bout so I was having trouble finding back and side wood that fit and still had material to take away so I decided to go with a 3 piece back with a maple center strip.
After a while of jointing the plates which involved me getting a several inch long cut on my arm. For glueing the back up I just use a simple jig and use two angled wedges as clamping pressure.
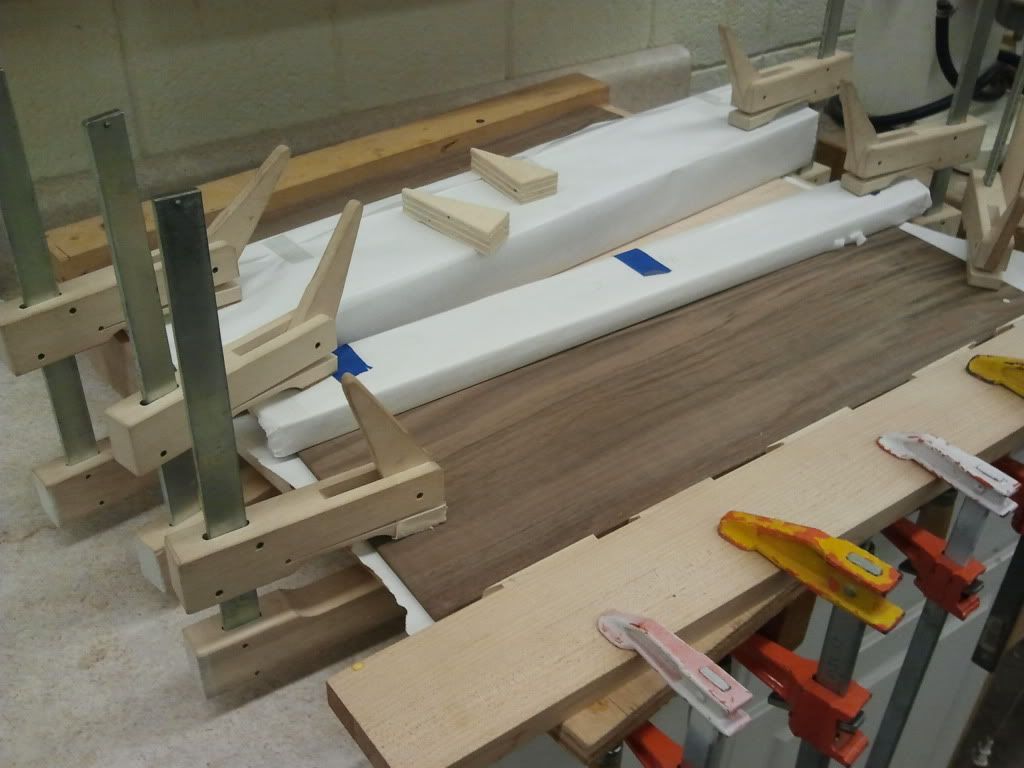
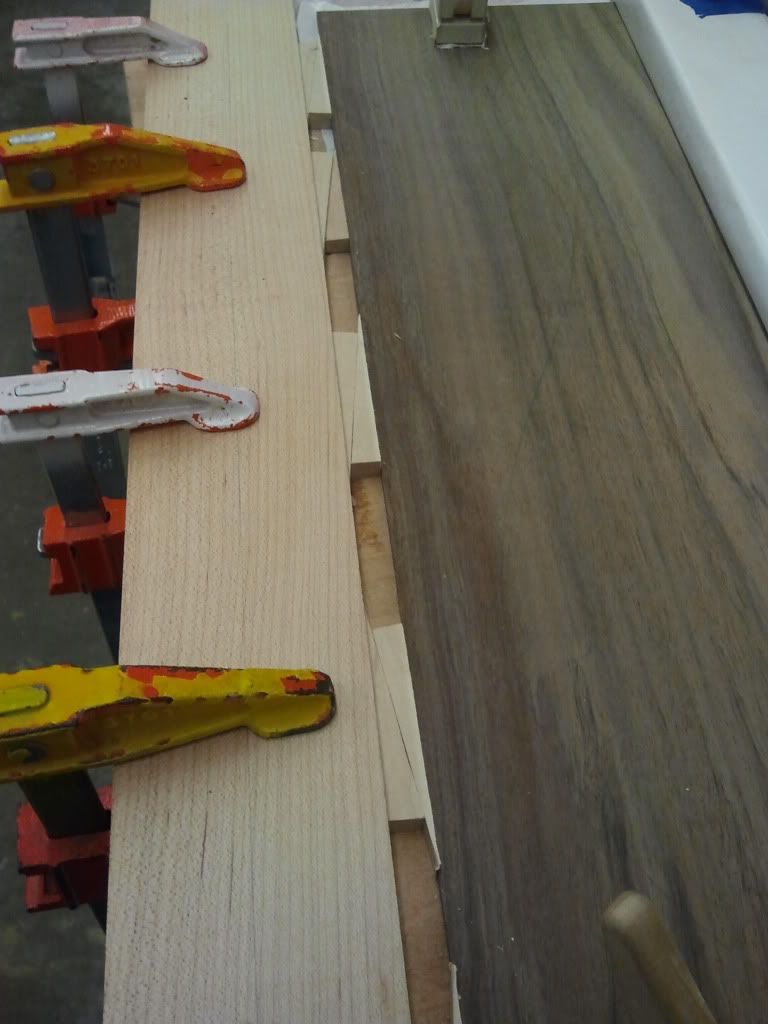
Here's the back out of the jig.

-
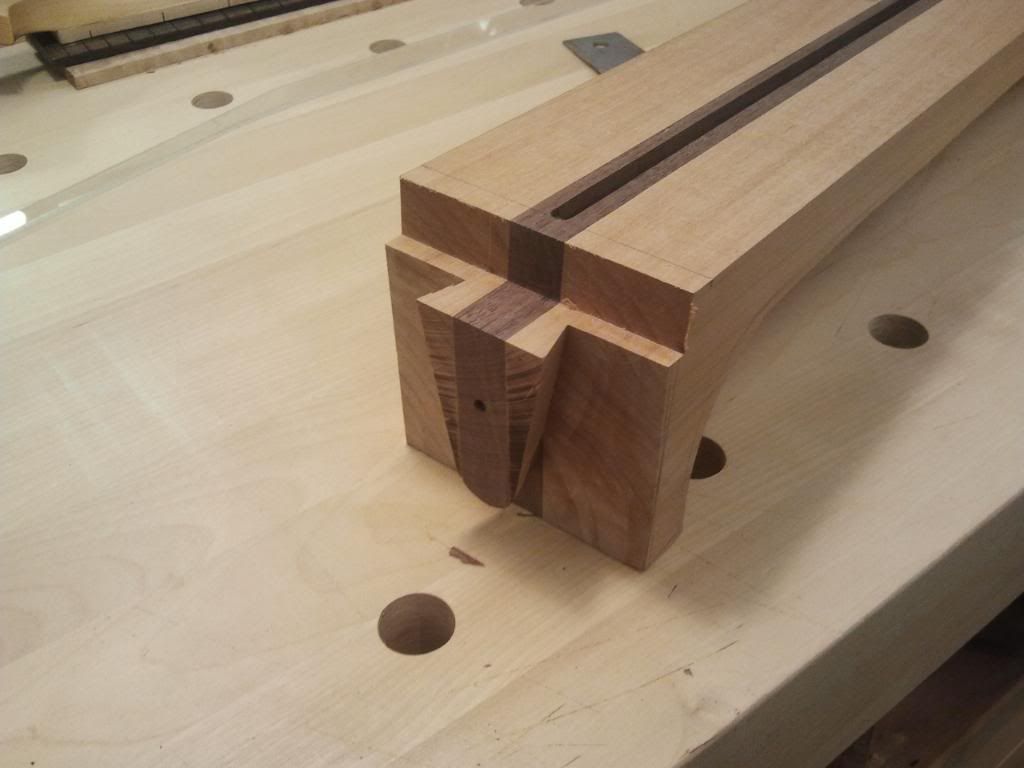
Here is one of the jig for routing the dovetail into the body.
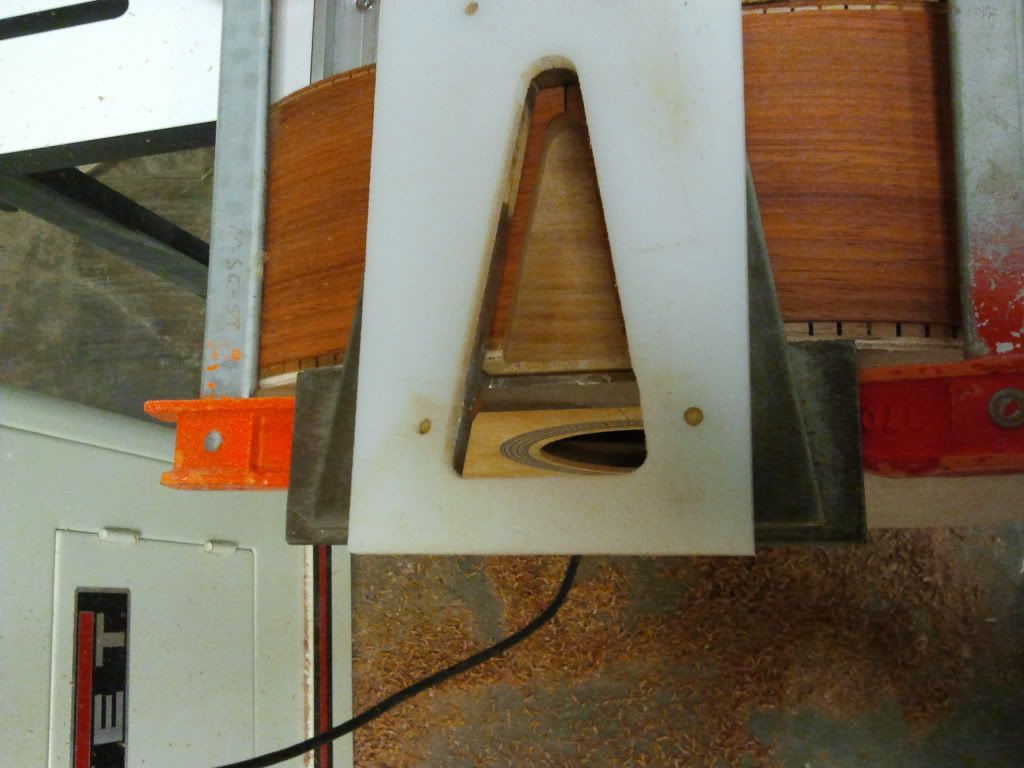
This marks the center hole for screwing the neck down. I think there is a picture in this build somewhere of that.
I don't have one of the actual neck jig but basically it is two pieces of plywood held together at a 90 degree angle, the neck is layed fingerboard down and screwed to the jig with the hole on the end of the neck where the dovetail gets routed. Then there are two lever style clamps that hold the heel down flat, you clamp the jig into the vice and then route the dove tail, it similar to the one for the body but cuts the other end kind of.
-
Although ultimately it depends on the work involved, the configuration you have looks like it is not designed for working on the sides of long workpieces where you pop a long workpiece into a leg vice and secure it up at the other end across the face of the bench with a sliding deadman or whatever. In this case you would want to be planing "into" the vice rather than out of it. The position of your end vice is obviously determined by it being on the opposite end to the leg vice. Your vice is a wider affair with a horizontal chop rather than the vertical chop found in leg vices.
I have had the intention of building a split Roubo style bench with leg/tail vices and a sliding deadman for a while now (and in fact I think RAD caught onto this too) and this configuration is pretty much the basic gold standard for non-lefties. Leg on the left, tail on the right, tools at the left rear, dog line a short distance in from the front edge which is itself flush It doesn't mean it won't work for you of course however it is a little backwards for working on longer lengths of wood for say, furniture. Guitars? Obviously it works for you. I'd see the left-mounting tail vice a little restrictive for working on the flat face of tops secured against dogs perhaps.
Shame that the storage is scant. I intend on a set of organised trays rather than drawers on the basis that drawers - being deeper than as not - collect things you don't use at the bottom. Trays stay organised for longer.
But anywayyyyyyy......! Enough bench geeking.
What did you use to cut the dovetail? Do you have a matched mortice and tenon template? The workholding jig would be cool to see.
I think I see what you are saying about the bench. I have had it set up multiple ways and this has been the best way for me to work on stuff I've found. The nice thing is the bench dog holes aren't just one line there are a bunch all over so it doesn't really matter where the vice is because I can put a dog just about anywhere on the bench. I'll send you a picture of the bench cleared up on the 14th when I get back to the shop.
For the dovetail I used a router. If you look at the picture of the dovetail you shoudl see a hole in the center of it. I bolt the neck down to the jig. I believe I have a picture of the jig somewhere let me dig around a little...
-
I partially disagree about Taylors. I think they are great but I wish the bracing and important work on voicing was done by hand. I might be wrong on this.
Don't get me wrong I really like Taylors and would love to have one, just not for the price they charge for a nice one. I have a GS mini that I've been working on fixing and was surprised with some of the things they do, on the GS mini they route a channel along the top edge insde the body, it's like a recurve on the inside and they don't shape their braces, just scallop them.
-
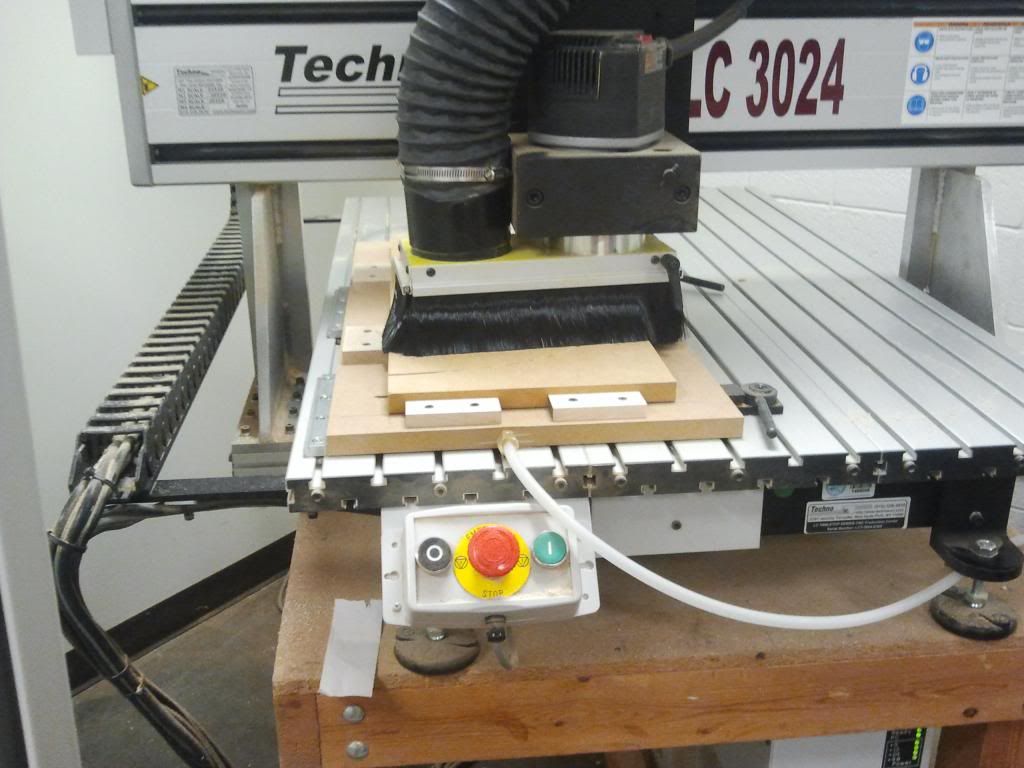
I see CNC as a method of doing things which would be either impractical or inefficient to do by hand. The CNC we have could cut four guitars at once one at a time on the bed size, but it would be better put to use making parts for bending machine moulds, routing templates, jigs and other things of that sort. The jigs where pucks are used to create a specific shape at either end is a prime candidate for cutting the pucks on CNC from Delrin or other similar material.
Not cheating. Just another tool, albeit one that requires a separation of involvement from the actual production into two phases. Desk work is just as important as getting a sawdust shower.
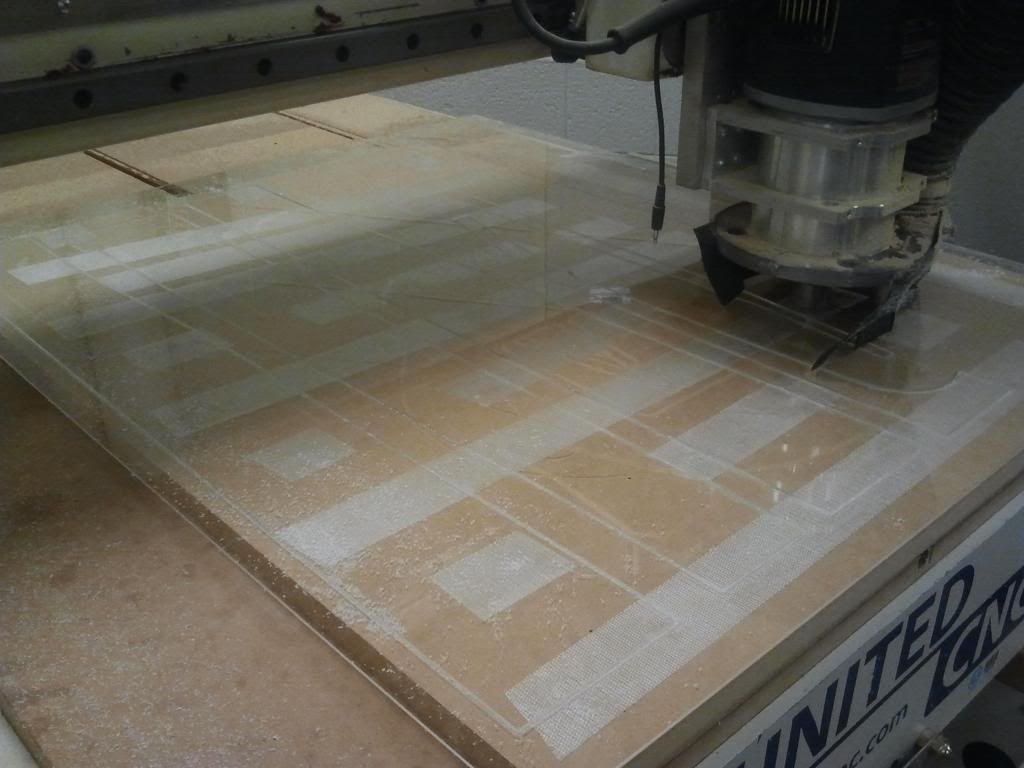
Agreed, I can see their use in a production setting but for builders like most of us I think they can be a little over the top. I definatelly like using this one for making templates though since that's one thing I hate doing. The templates that were cut out of that plexiglass sheet were top templates, different side templates, bridge, headstock and a few other small parts for 3 guitars and it only took about 1 hour to draw in CAD, program it and then cut them out with the CNC. My thing against them is companies like Taylor that have machines do pretty much the whole thing and then charge thousands of dollars for an instrument, the only time I'd ever spend more than a couple hundred on a guitar is if it was built by someone by hand where they spent the time to make it worth that. I just like doing things by hand because to me that's quality, not a machine doing super accurate precise work for you.
Now that being said I will be using the CNC for the fingerboard and possibly the bridge. I've thought about using it for radiusing the braces but we will see. I'd like to use it and get the experience while I have the chance.
Rant done, it's been a long day.

-
I think you could've used more clamps......

NEVER!! I get a little OCD over having clamps
PsikoT and Geoff, thanks.
-
All very useful to see happening Ryan.
One thing I can't figure out though, is why your workbench is set up for a lefty. The end vice should be on the other side otherwise you end up planing into the vice thread as opposed to "to the dogs". The chop of your leg vice is on the wrong side also. You might also want to glue in a couple of pieces of suede leather into the vice faces to protect your work and make the vices more grippy. Otherwise, nice split twin French bench with storage to boot :-)
You seem to be very organised these days when it comes to the availability of good workspace and tooling. What comes out of the other end of the technical college for you?
I guess I'm confused on what you mean about the workbench. I have two vices on it. So say the front of the bench is the edge that I face when sitting at it, I have one vice on the right corner of the front face because I stand to the left of what I'm planing and use my right hand to push. The second vice is on the left edge so it's perpendicular to the front face, that's the vice I use in any of the pictures holding my workboard up, I like it there so the workboard is off the left of the bench and out of the way and it also helps to have one there so I can back it out and extend the bench if I need to since I always seem to lay a guitar with the body on my left and headstock on my right it's nice to be able to back the body past the edge of the bench using the vice if I need to. I use cork instead of leather, I only put it in there though when I'm going to be cranking on something or if it's just about finalized. Usually the stuff in the vice is rough stock and will still be sanded or shaped or cut off. I hope all that makes sense. I'm really not a fan of this bench though, it's very small dimension wise and doesn't have as much storage as you would think, a lot of my stuff is just shoved in wherever it fits because the drawers are so small, I can barely fit my rasp in one diagonally. I think what would make it better would be to add a couple inches in width and length to the table and add some kind of tool hanger and shelf system above the workbench as well as have the drawers on it but yeah overall it's a decent bench, very compact.
Yeah I've been pretty lucky with workspace so far. Either next summer or the summer after once I'm done with college I'm converting a barn into a shop, the lower level is 30x40 feet I believe and it has concrete walls which will be nice for keeping the temp down in the summer. It's a little rough though so it will be a work in progress but when that starts I'll post the process of here if anyones interested. I've invested a lot of money in good tools in the last couple years and lucked out this summer at an auction getting a grizzly 6" jointer and a 36" timesaver for $1400.
What comes out of the other end of the technical college for you?What do you mean, sorry it's been a day and a half for me and I'm pretty beat.
-
My first thought was exactly that "that is cheating" but thats just because I am jealous of all you guys with access to CNCs. If I had one myself I would use it all the time...
Go ahead, use it and enjoy it as much as possible
I don't really care for them honestly. With the amount of time it takes to just make the 3D files for the CNC I could make 1 or 2 of the parts normally. If I owned this CNC it migh tbe different because I could just keep going with making the same thing over and over but for a one time use I'm not sure how much I will use it. They are fun though.
Interesting build. How are you thinking of tuning it?
Same way as the Taylor baritone but with an extra low and exra high string.
I'll be following this one as well. I'm just starting 3 archtop builds and I've been following your archtop build as well. I'm sure this one will be every bit as good. Thanks for sharing!
Thanks and 3 archtop builds at once is a lot, put a link to your build threads if you have them posted here.
-
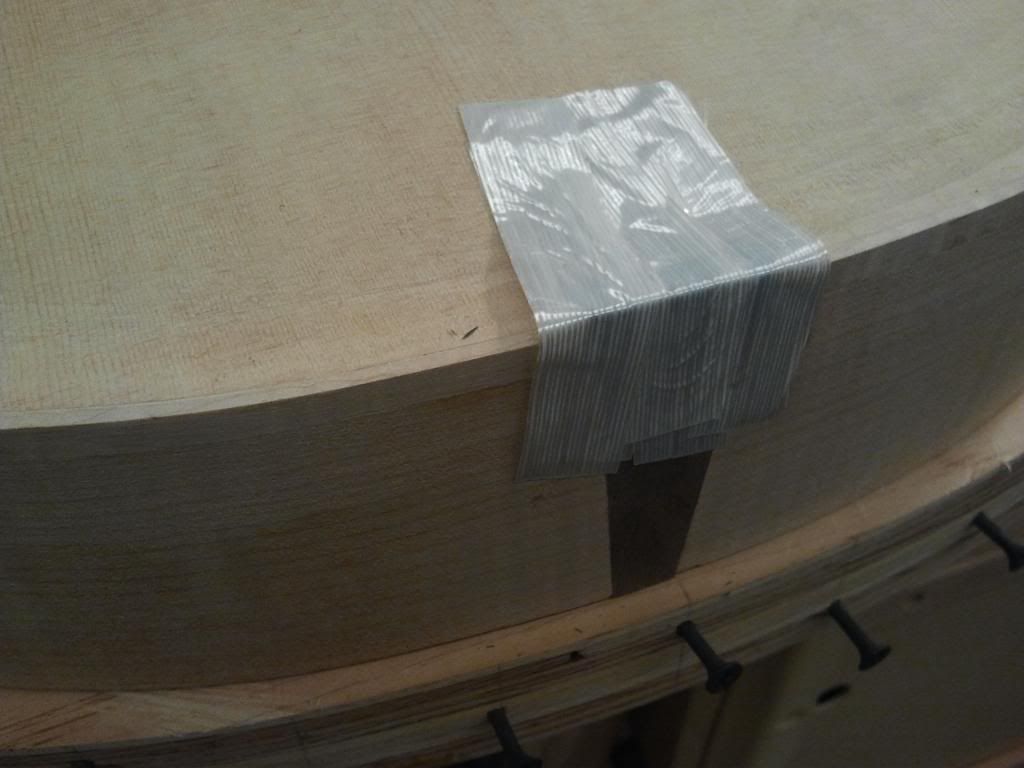
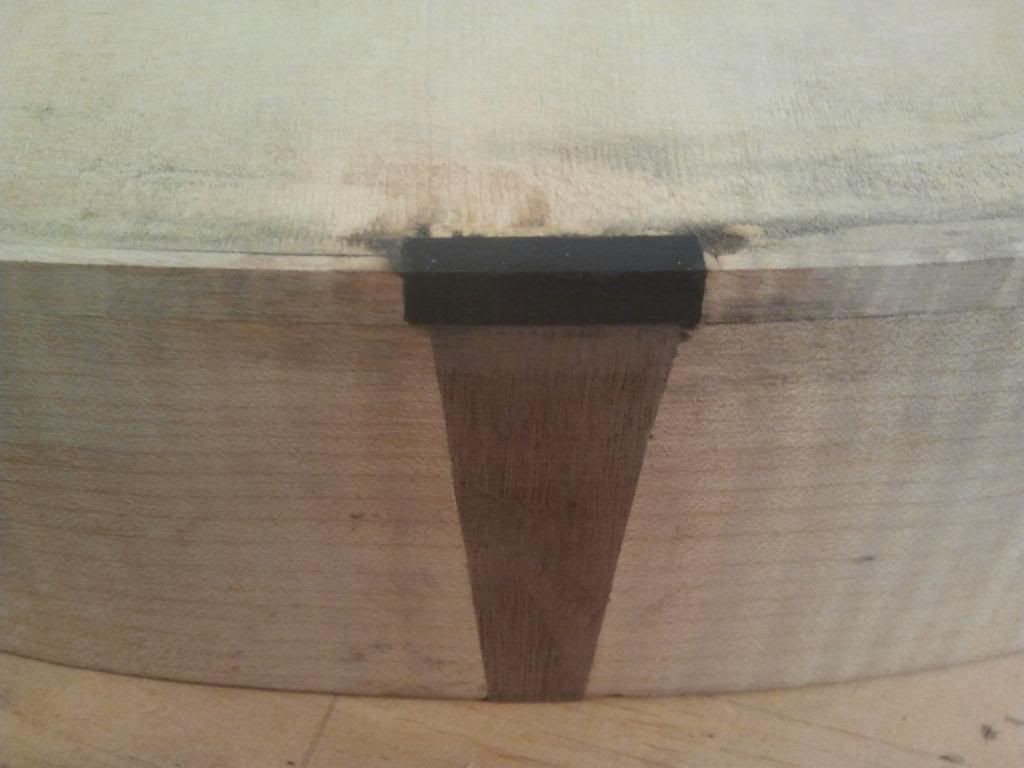
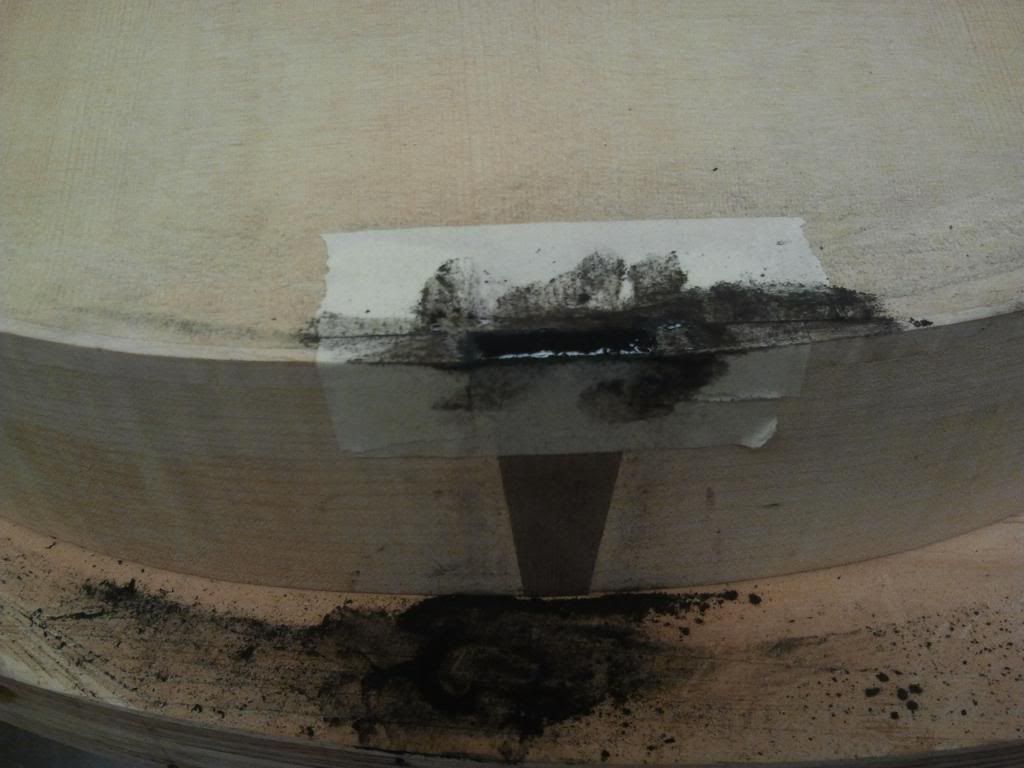
Got the opening for the truss rod ready for the headcap to be glued on. I had a lot of tear out at the ends that I'm going to try and cover up.
-
1
-
-
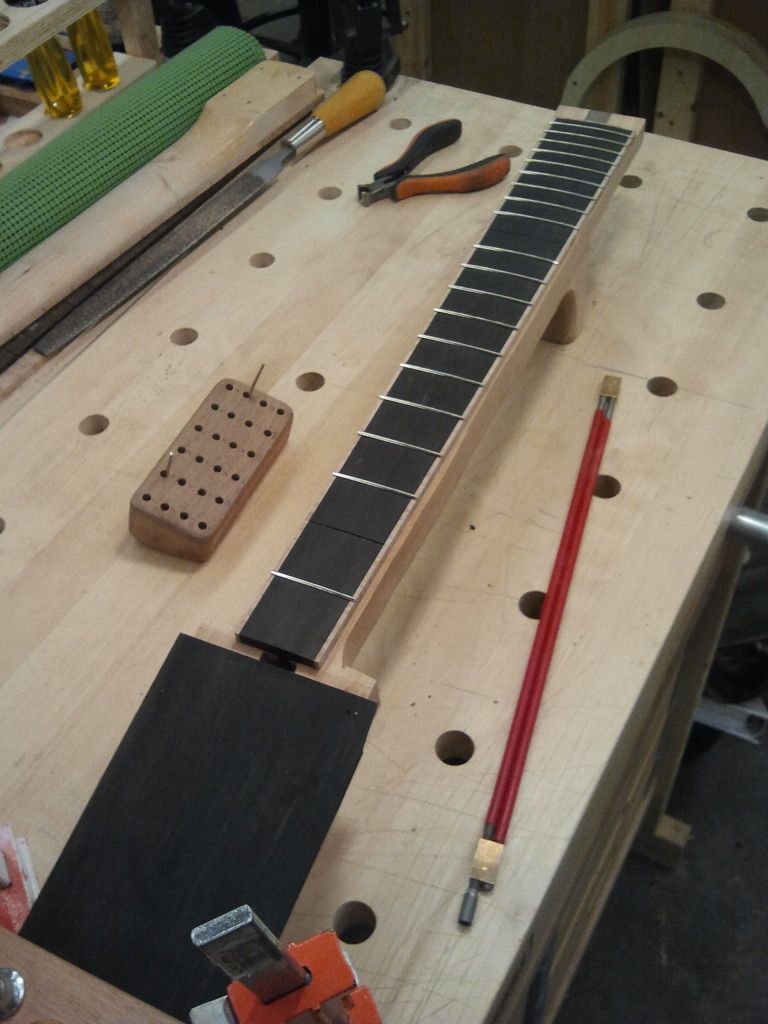
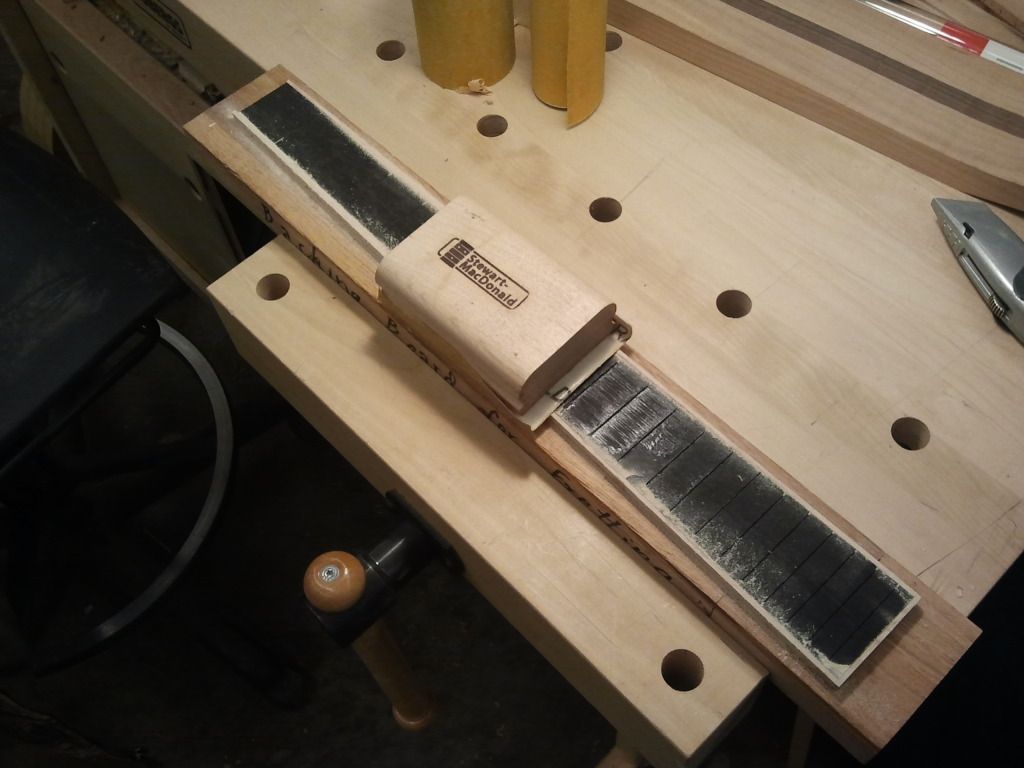
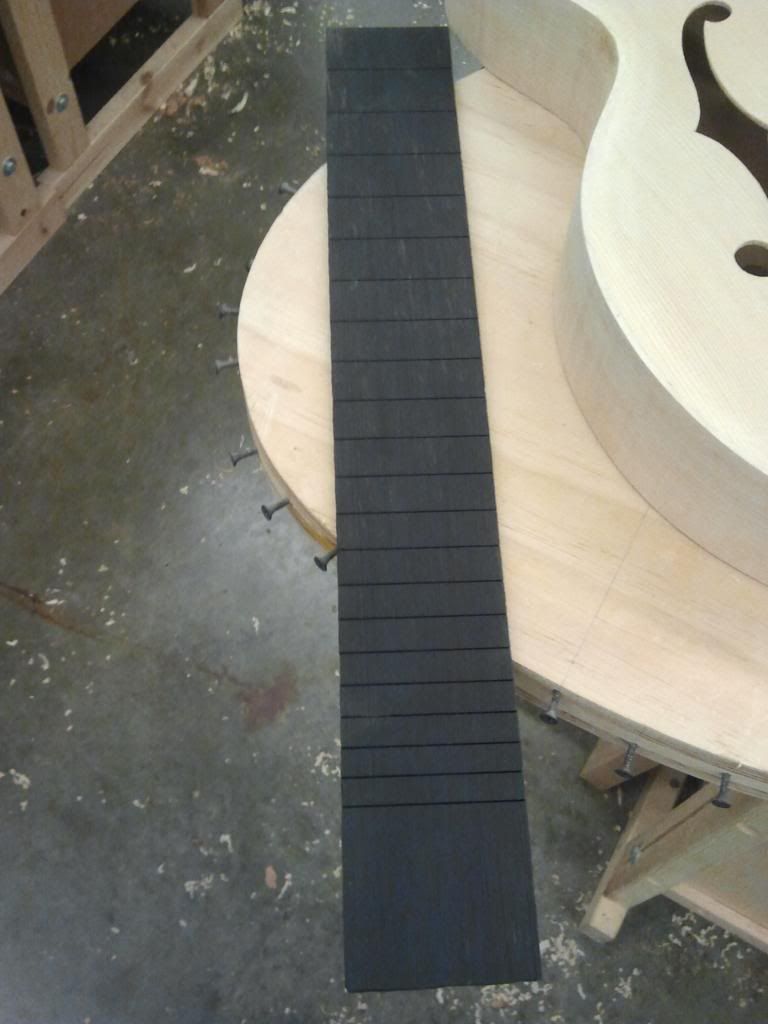
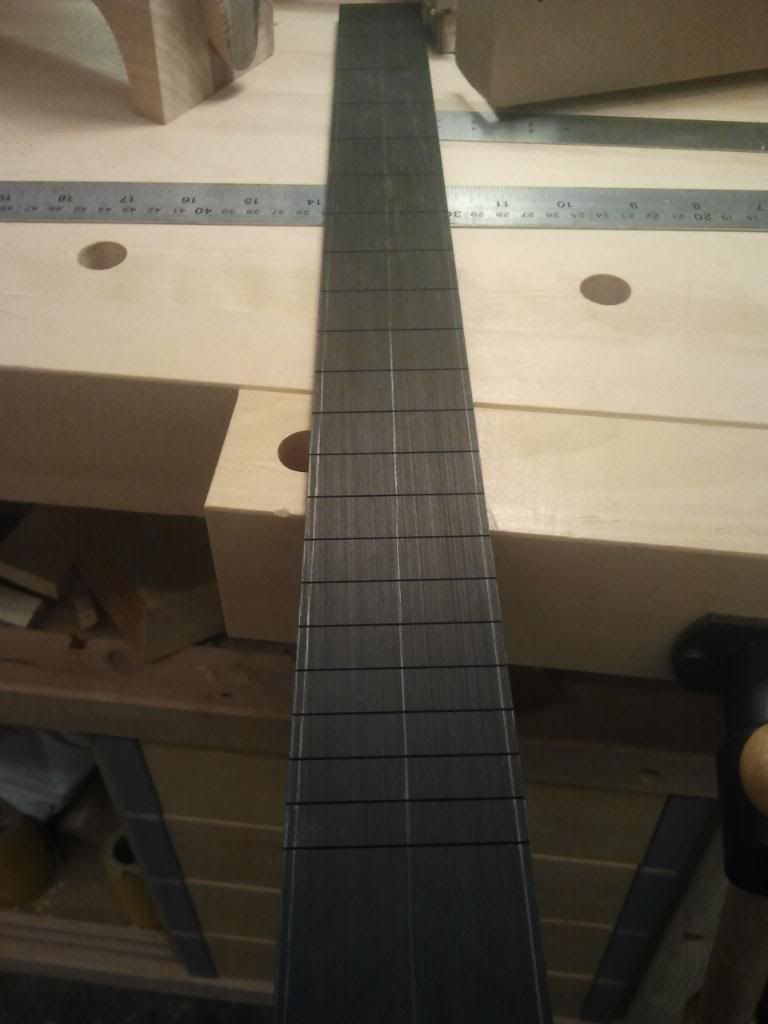
Radiusing the fingerboard.
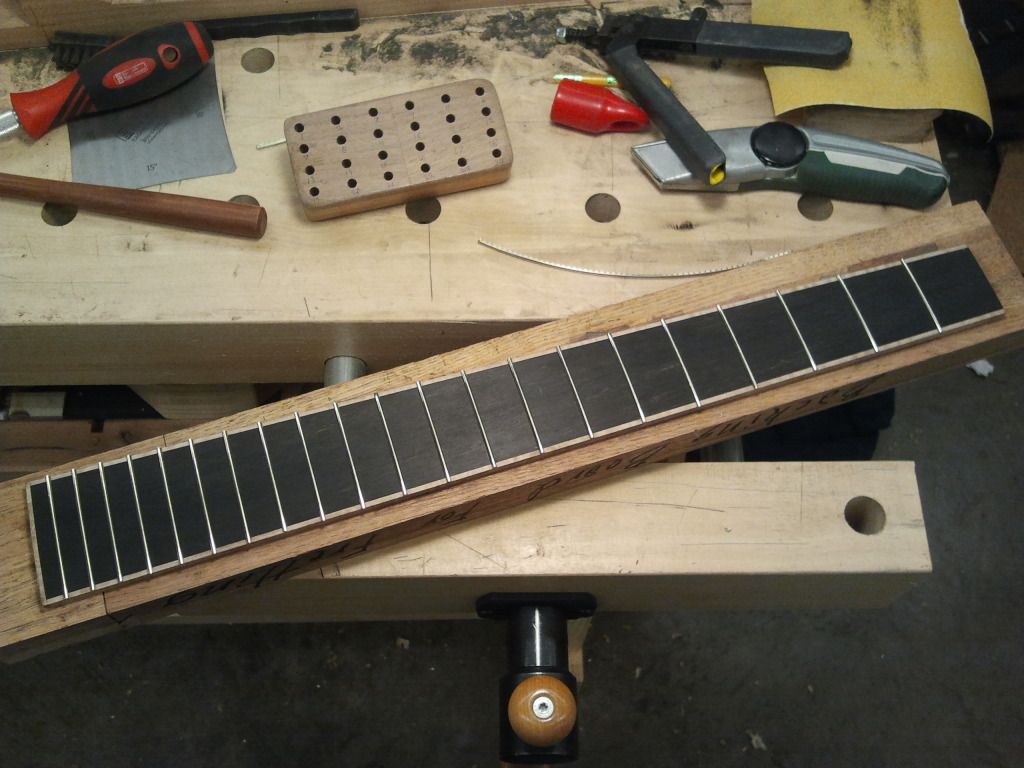
Frets in.
Rough shaping the heel.
-
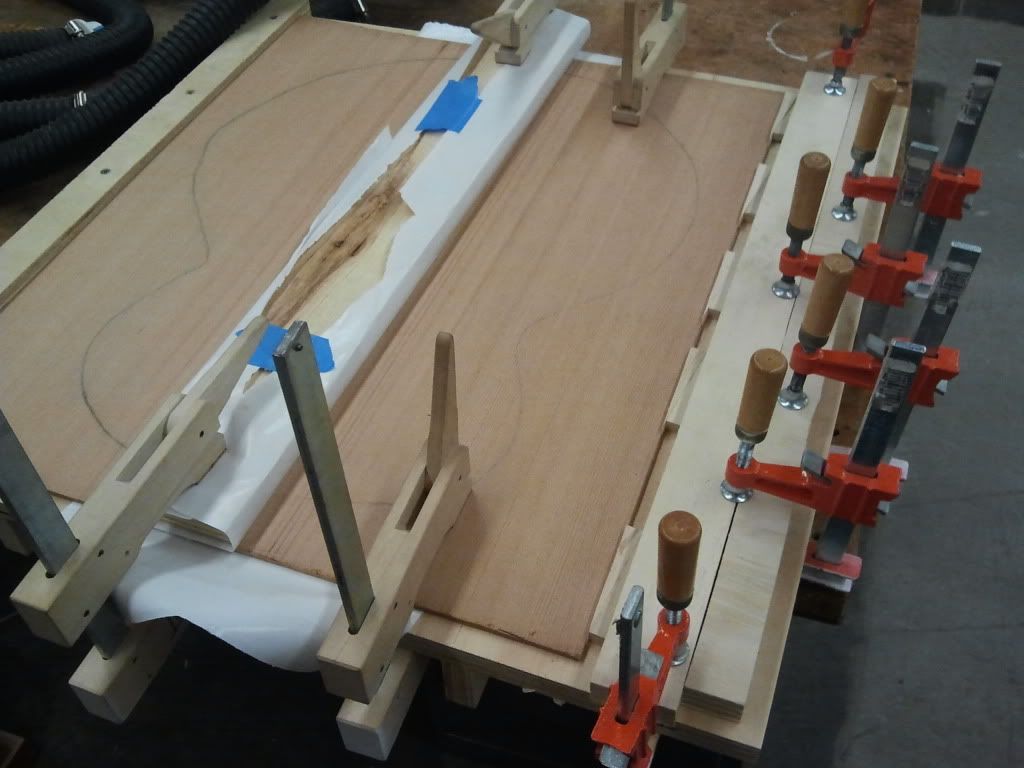
Cutting out MDF for bending molds.
CNC cutting out the bending mold shape.
CNC cutting the rest of the templates out of plexiglass.
I forgot to mention I have access to a CNC for this build, not sure how much I will use it because I think of them as cheating but time will tell if I use it much or not.
-
Here's a screenshot of the 8 string on the left compared to a martin dreadnought.
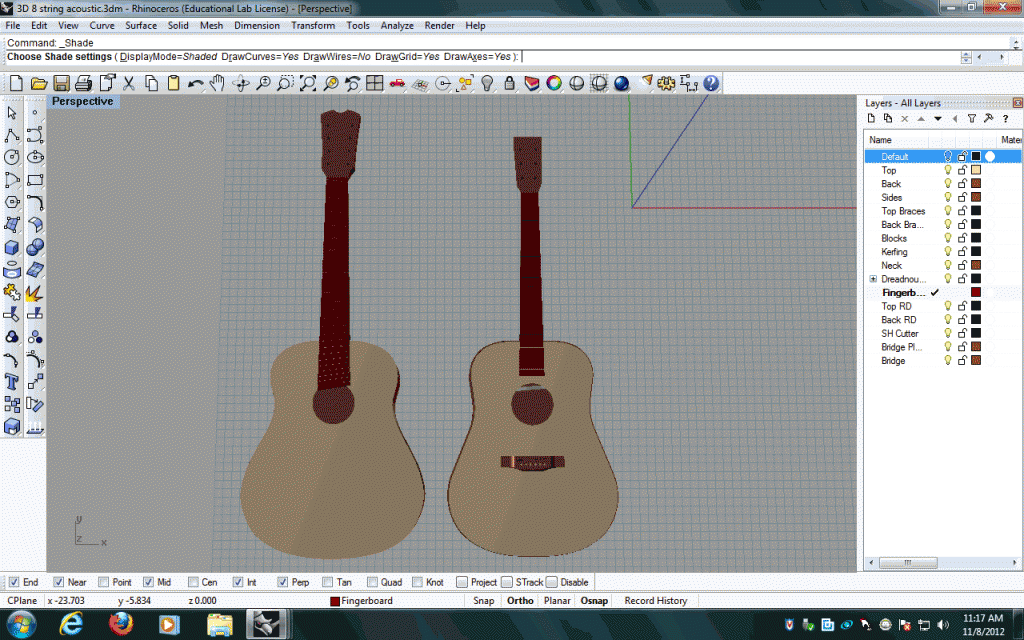
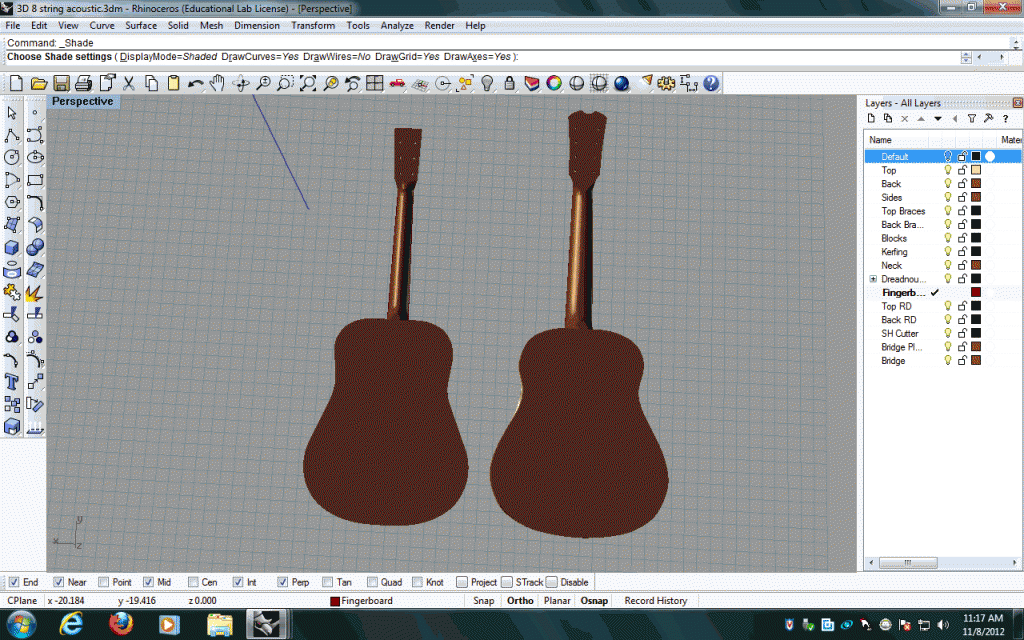
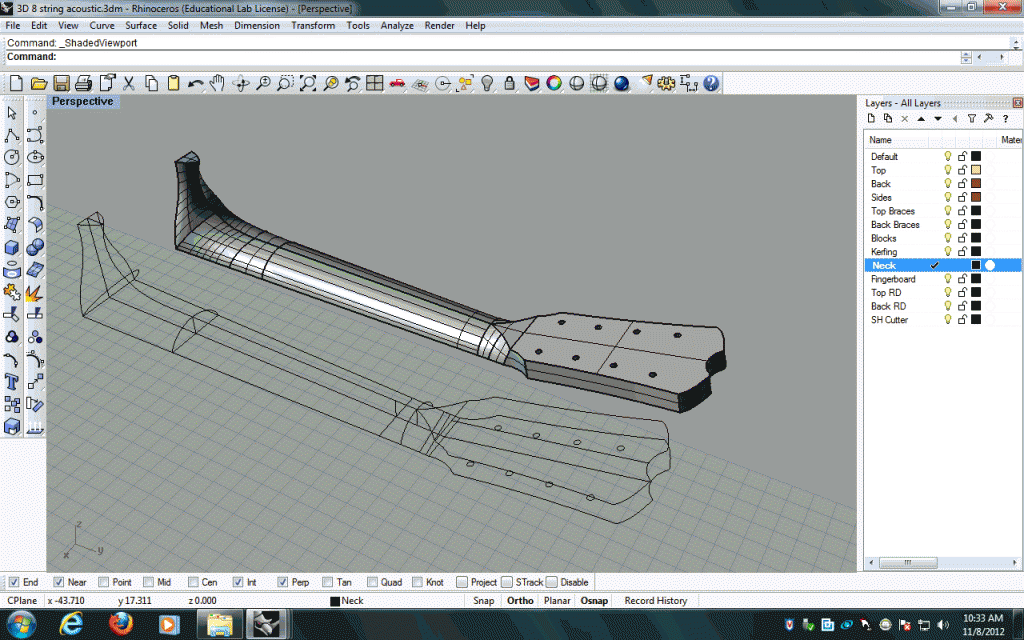
Working on the 3D image of the neck.
-
1
-
-
With my archtop about halfway done I'm starting a new acoustic build. I've been working on the plans for this for a few months now and finally have them done. I'm working on molds and templates currently and won't be working on the actual build until January 14th or around there.
So this build is an 8 string acoustic baritone. Not an 8 string like Taylor's 8 string baritone but an 8 individual string acousic. The neck measurments are off of an Ibanez RG8 but with just a little bit of thickness added to it since I'm not sure how much pull the strings will actually have and just incase I'm reinforcing the neck not only with a stewmac hotrod truss rod but also two 3/16" steel rods on each side of it.
The brace pattern for the back is a double X-brace along with the top. The top pattern was originally similar to a martin style pattern but I modified it slightly and then just decided to change it entirelly so it is now based off of a picture I saw in a book on tap tuning, can't remember the name now but I will post it later.
Specs:
Back and sides: Claro Walnut
Top: Western Red Cedar
Braces: Sitka Spruce
Neck: Mahogany
Fingerboard: Snakewood
Bridge: Snakewood
Binding: Snakewood
Other parts are gotoh tuners, jumbo frets, bone nut and saddle, ebony end pin and ebony bridge pins. For an inlay I am thinking of doing some wooden sugar maple leaves down the fingerboard but haven't decided on that for sure yet.
I will put up pictures when photobucket finishes uploading. I've been having a ton of issues with them ever since they switched to their new layout has anyone else had any problems?
-
Sorry for the out of order pictures, photobucket went crazy on me and I didn't notice they were out of order until I started posting so I hope they make sense.
I also have the fingerboard radiused and fretted. I will be glueing it on tuesday and shaping the headstock and heel and I will be done until January 22nd when I start on the back and start finishing it up.
I also decided on doing a more vintage looking tobacco burst in nitro lacquer.
-
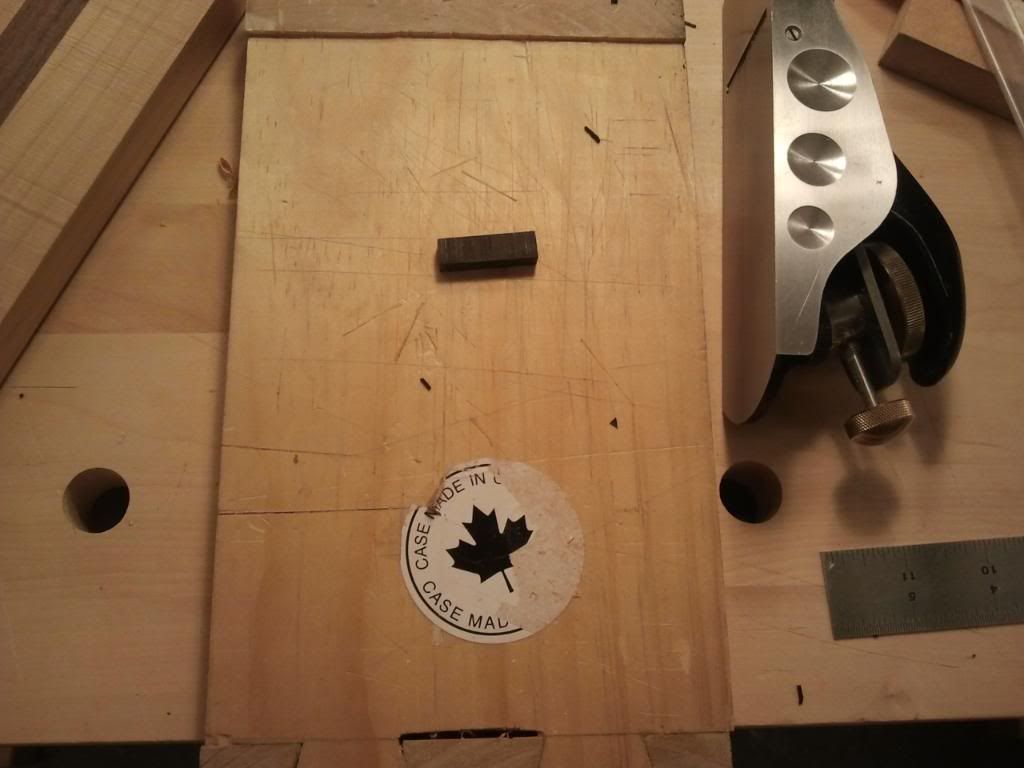
Squaring up the saddle with my block plane. Got to love that made in canada sticker that came off a Gibson USA case


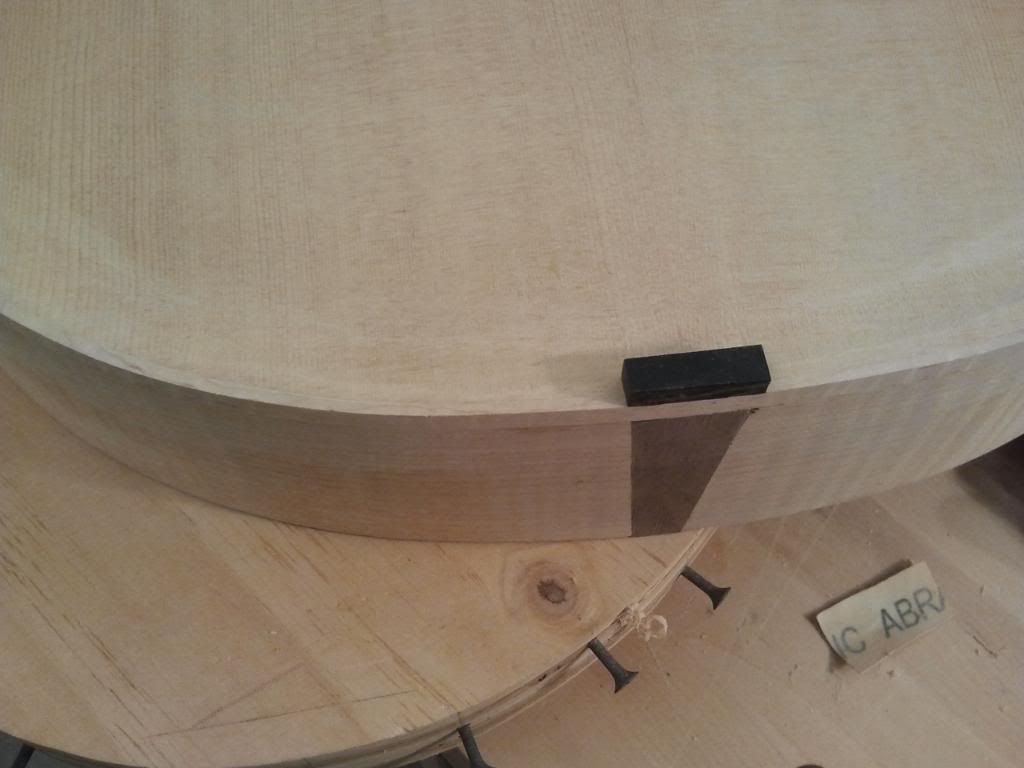
Glued in.
Since I matched the grain of the saddle to the end graft there was a lot of end grain pointing up, I wasn't sure how well that would hold up over time so I doused it in thin superglue to seep into the grain and hopefully stabilize and seal it a bit.
-
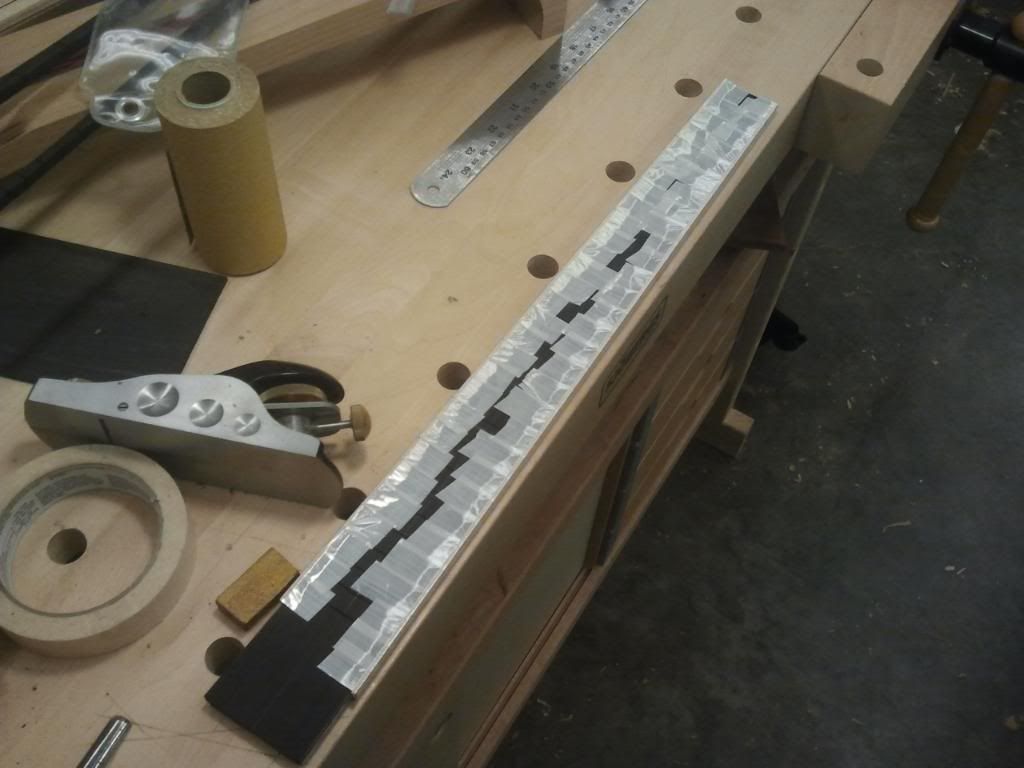
Fingerboard.
Marking for the flamed maple binding.
Glueing in binding,
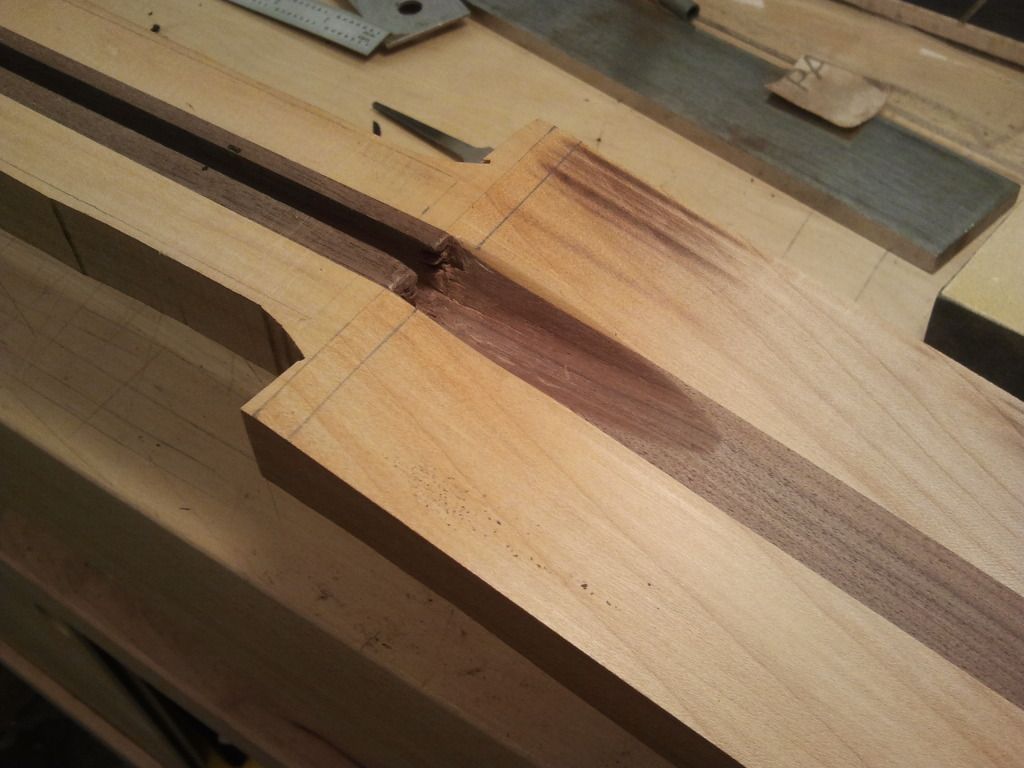
Neck extension slot routed.
-
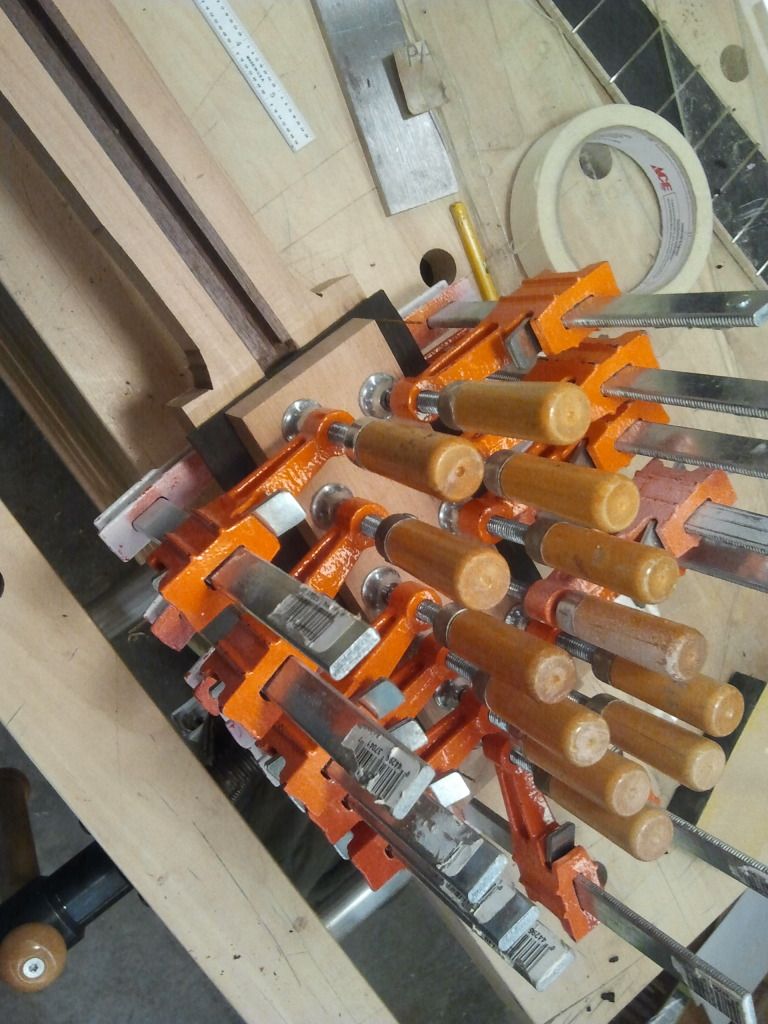
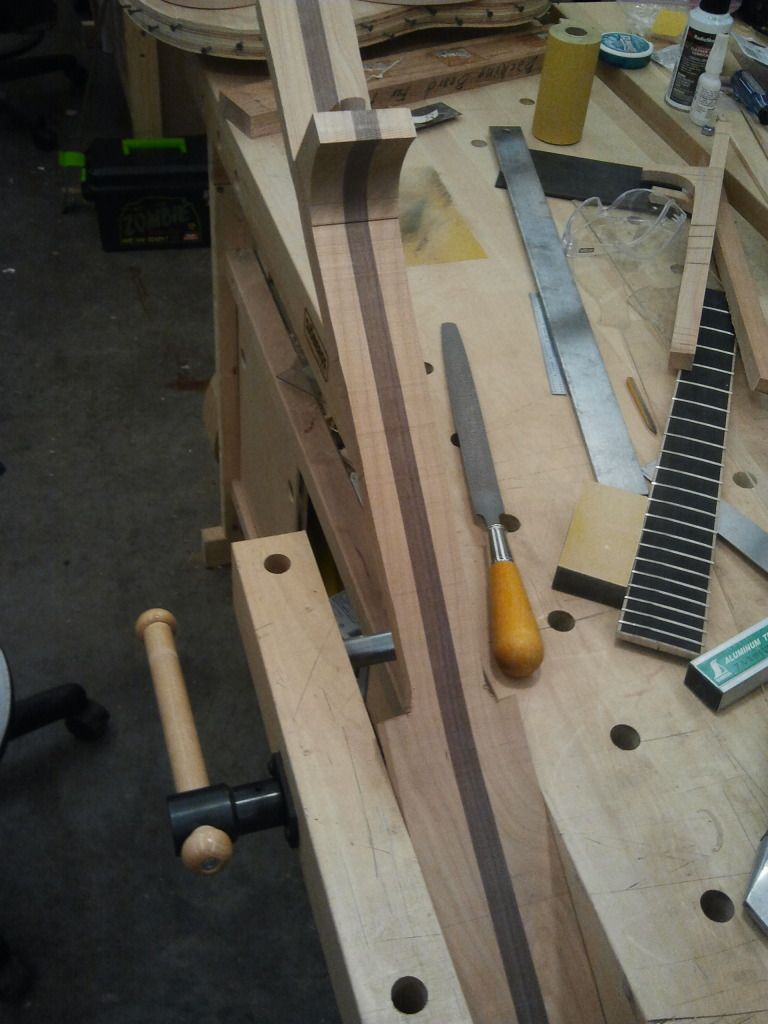
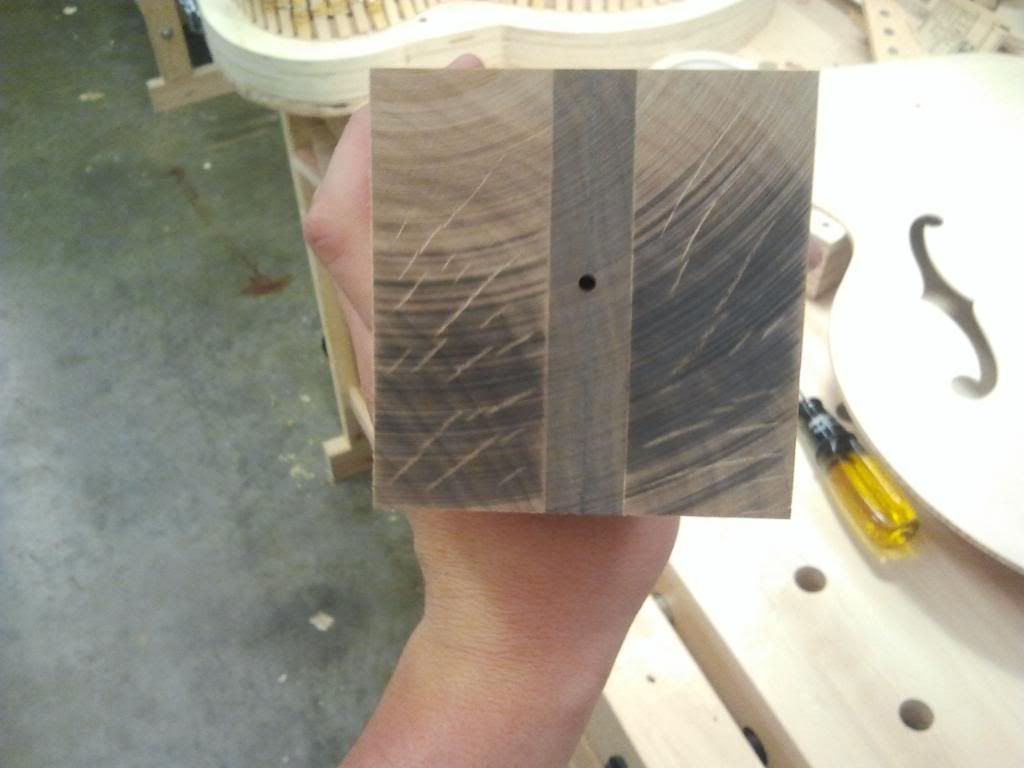
Neck being glued. It's a 3 piece maple/walnut/maple.
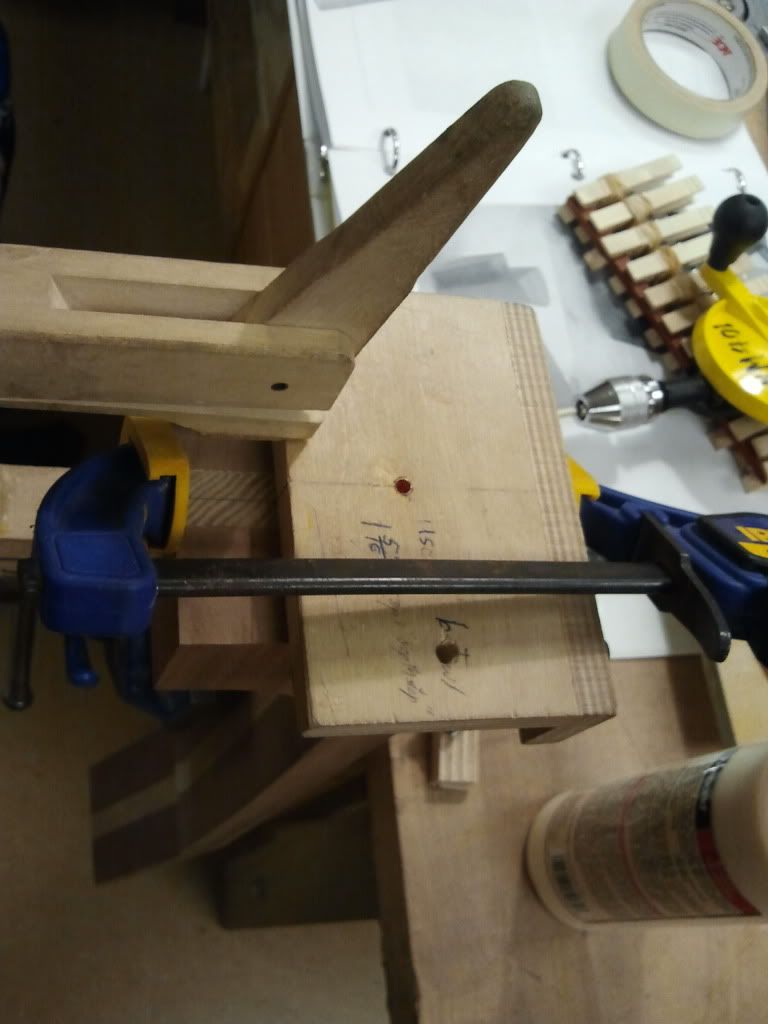
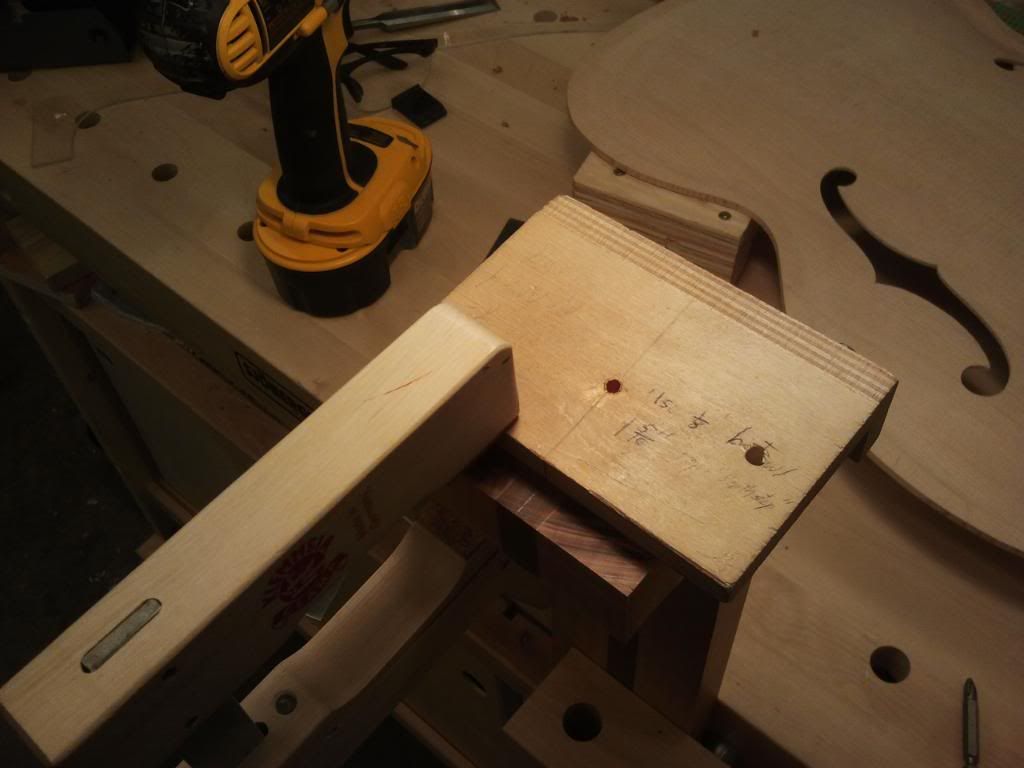
Marking the pilot hole for the dovetail jig.
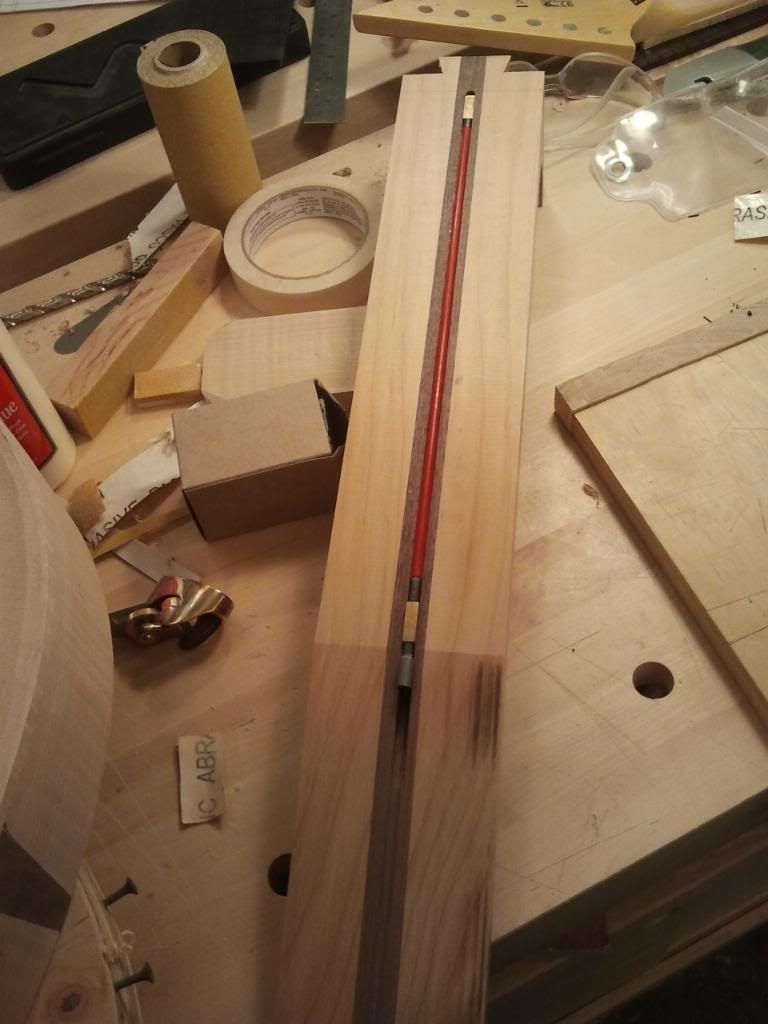
Truss rod slot routed.
-
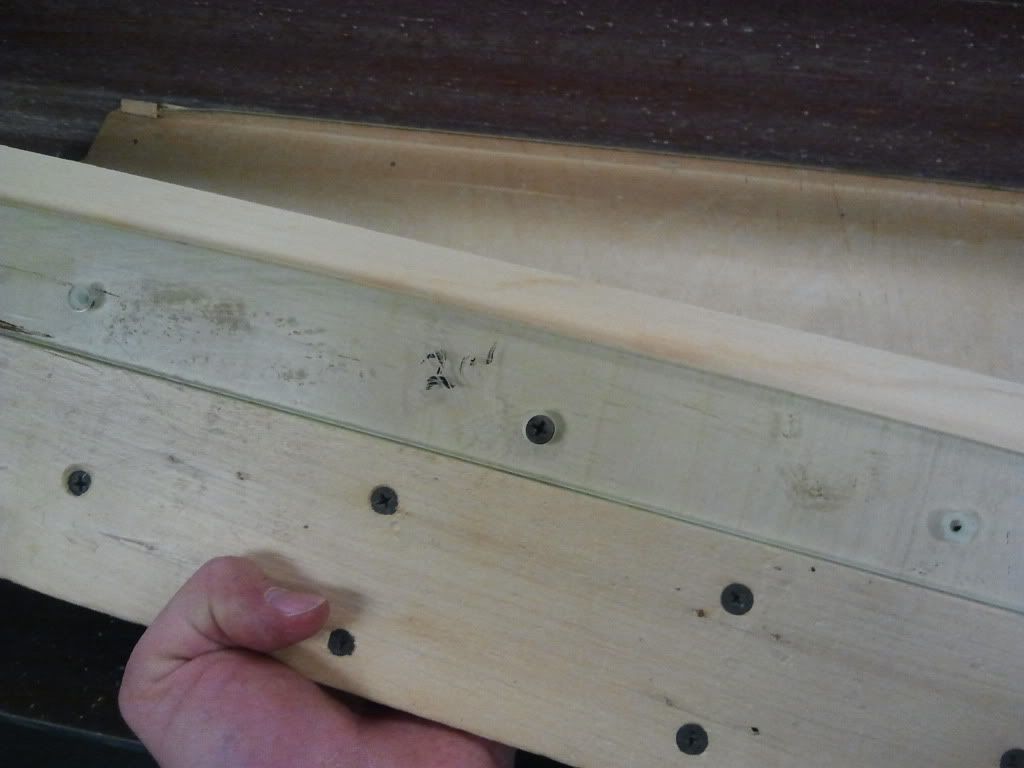
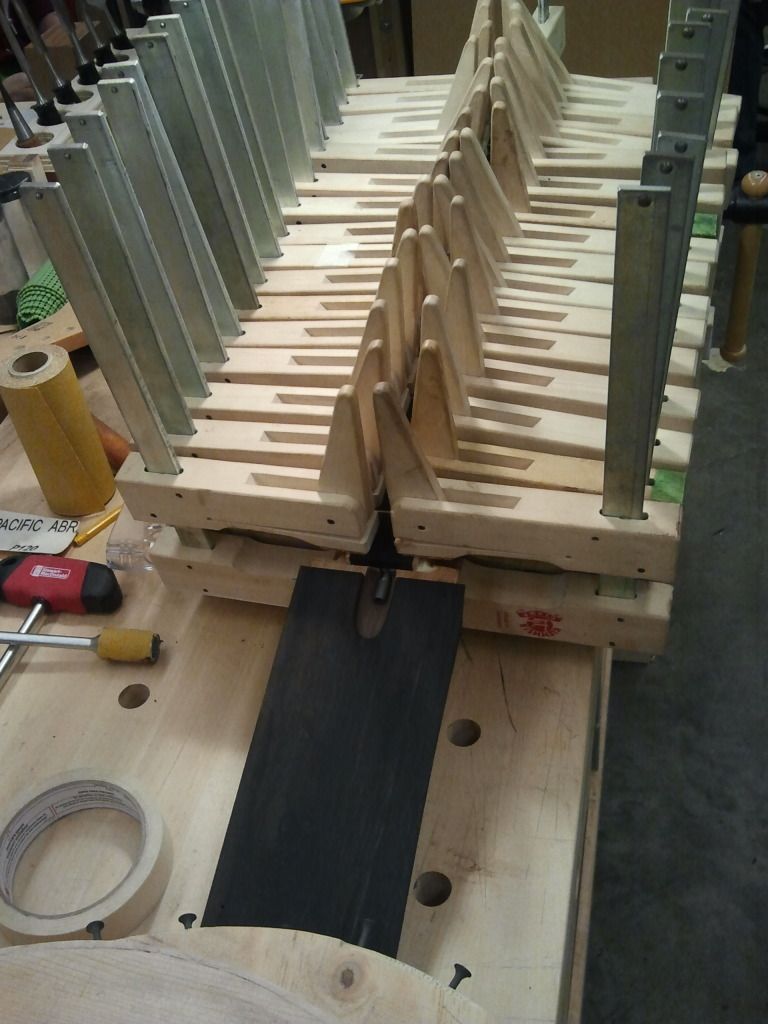
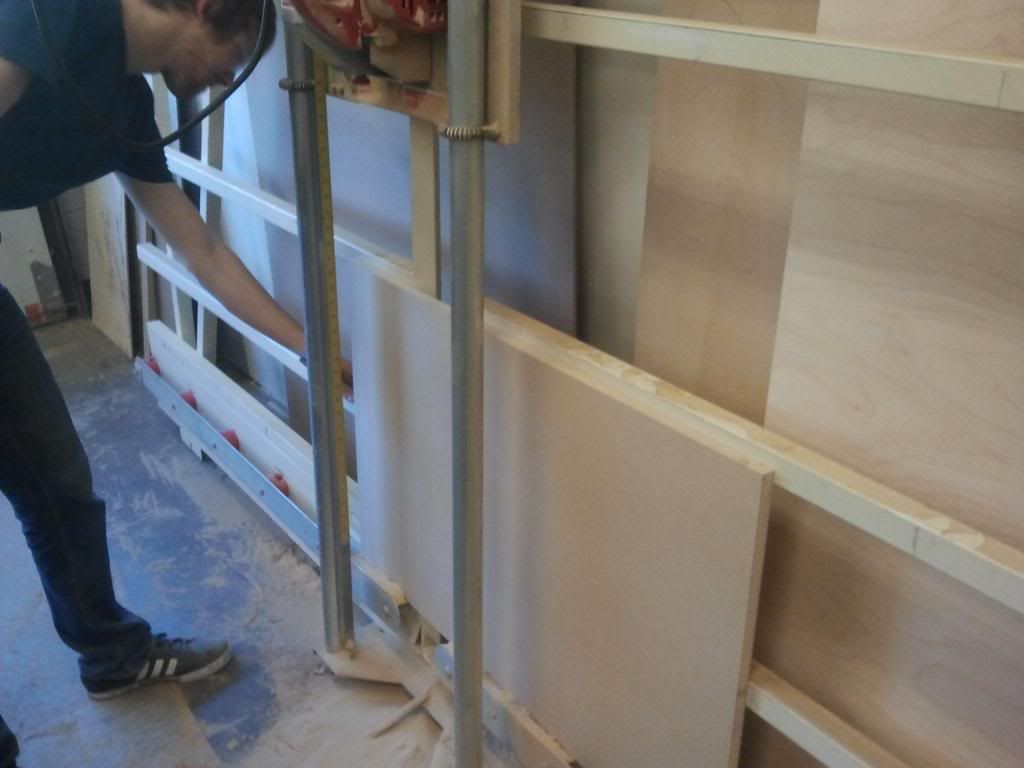
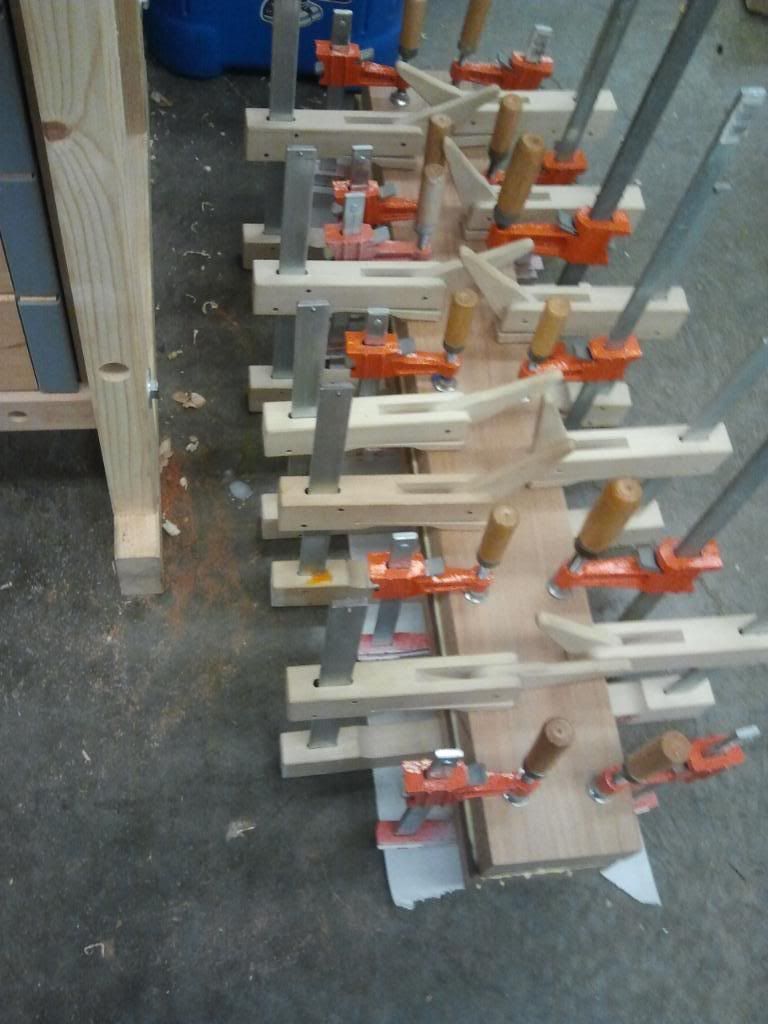
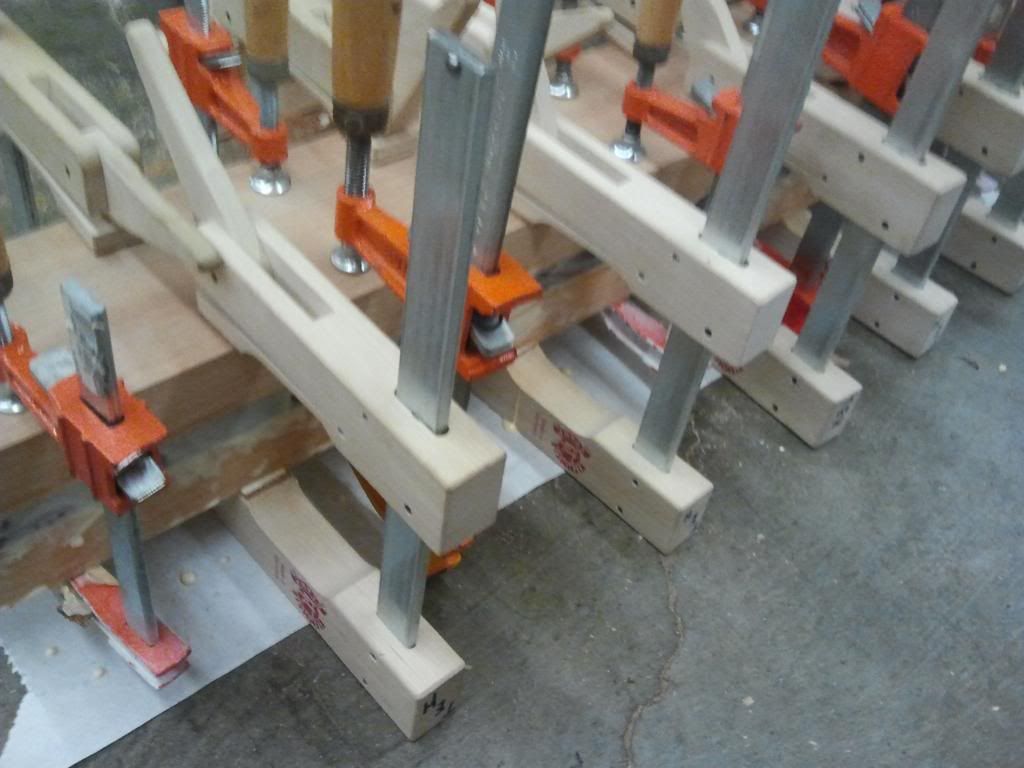
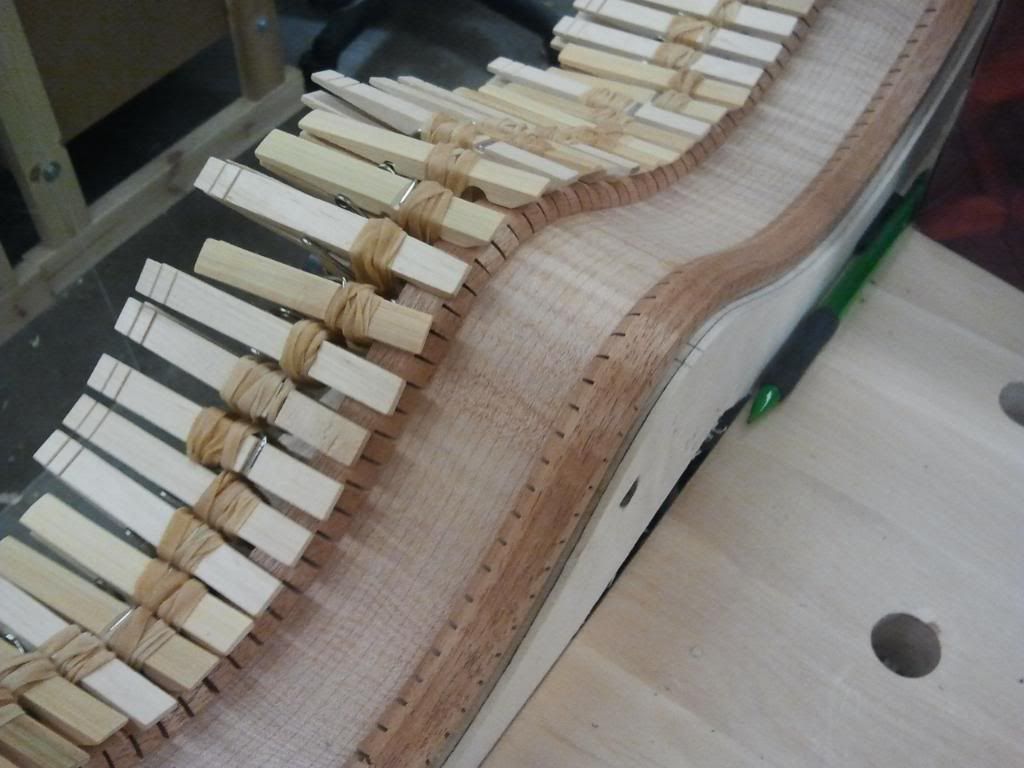
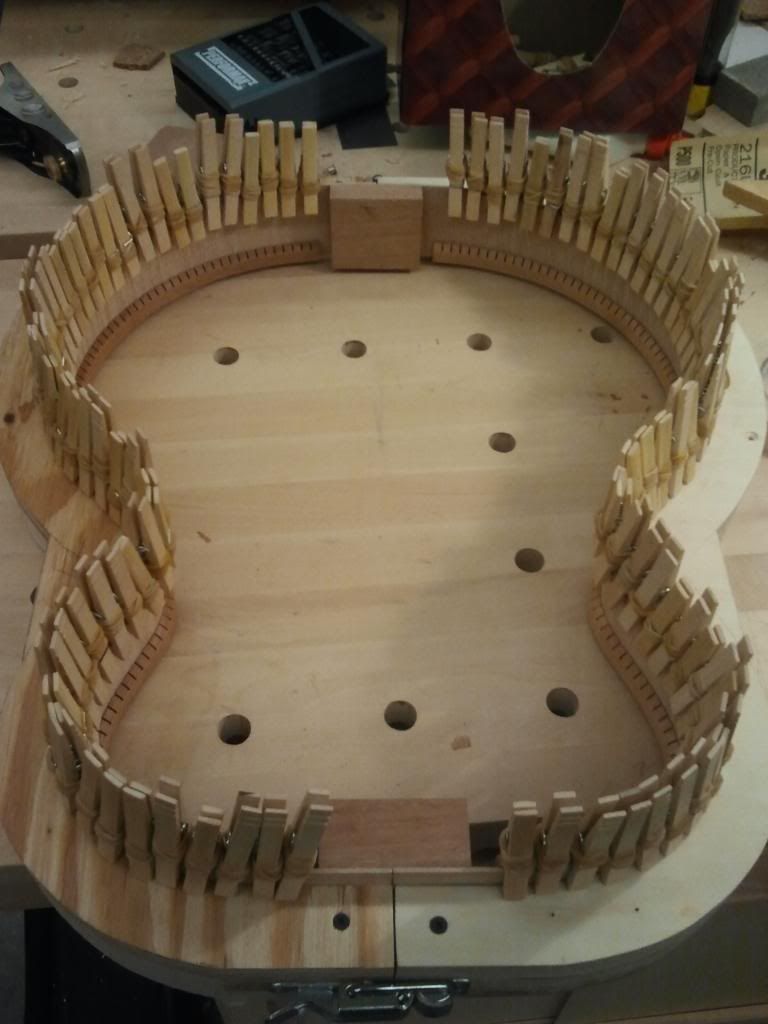
Kerfing and side braces in.


Baritone Acoustic On Steroids
in In Progress and Finished Work
Posted
I also got the neck blank squared up and cut out.
The headstock I originally came up with for this build seemed a bit too big so I was looking at the Taylor 8 string and noticed their tuners were closer so I went back and redesigned it.
Here is the size of the original compared to my 6 string headstock.
The one on the right is the revised headstock.
I also got the sides cut out and thicknessed.