


The Fool Guy
-
Posts
100 -
Joined
-
Last visited
-
Days Won
2
Content Type
Profiles
News and Information
Tutorials
Product Reviews
Supplier Listings
Articles
Guitar Of The Month
Links and Resources
Forums
Gallery
Downloads
Posts posted by The Fool Guy
-
-
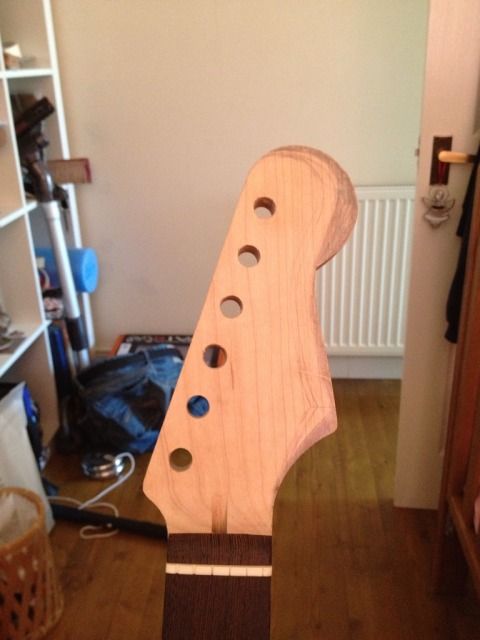
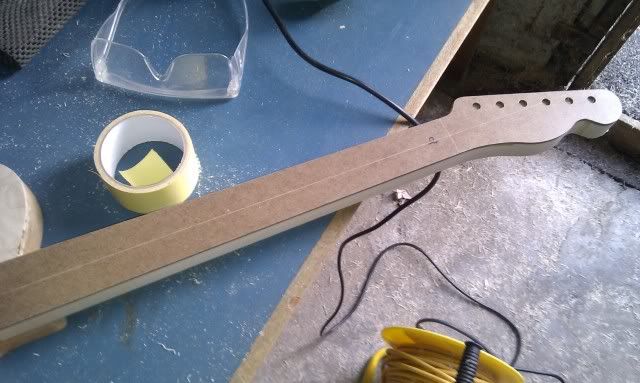
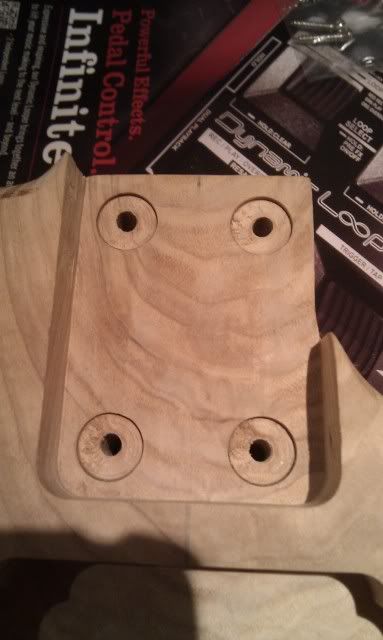
Got a bit more done on this one. The rogue tuner hole has been plugged and re-drilled, as have the holes for the neck inserts.
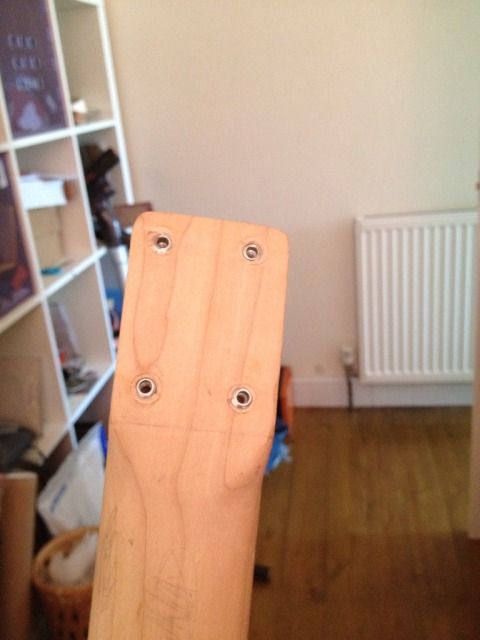
Put the inserts in, a bit messy but should do the trick. Will have to practice this before doing it again.
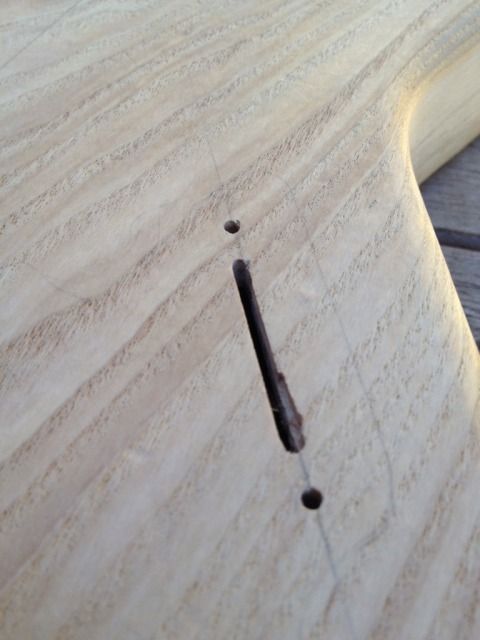
I decided to use my dremel to rout the switch channel, not the best idea, slipped and made a rather messy channel :-[. Will have to find a way to tidy this up. Probably glue a chip in or sawdust.
Back when I shaped the end of the fretboard I cut into the headstock a little so it's slightly thinner right by the fretboard. Am thinking to thin out the rest of the headstock and add two veneers, maple with wenge underneath, and either cut the bottom of the headstock at an angle or carve it to show off the wenge. I picked up a couple of sample veneers which are large enough but are only 0.6mm thick, not sure if this will be thick enough for what I have in mind. :-\
-
That's interesting. My mum does a bit of painting so I'll go and raid her paint supplies and have a play about with that.
Are oil paints likely to cause any problems with finishes? I was planning to pore fill with Z-Poxy and Tru-oil over that.
Cheers
-
Original plan is for a deep red, similar to Gibson's 'wine red'. The stains I have are not the best tho so will have to play around with that one.
-
Well, it's been a while...
Life's been getting in the way of my guitar building this year, but most of the jobs are now finished so I can finally get back to it. Have this build and my tele build which I plan to finish this year, as well as making a start on a few more...
Managed to find a few minutes to get a little done this weekend.
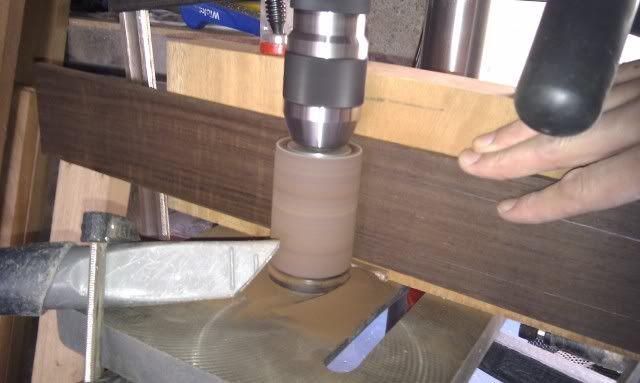
Put my Axminster plug cutters to work for the first time to fix the bodges with the tuner and neck insert holes
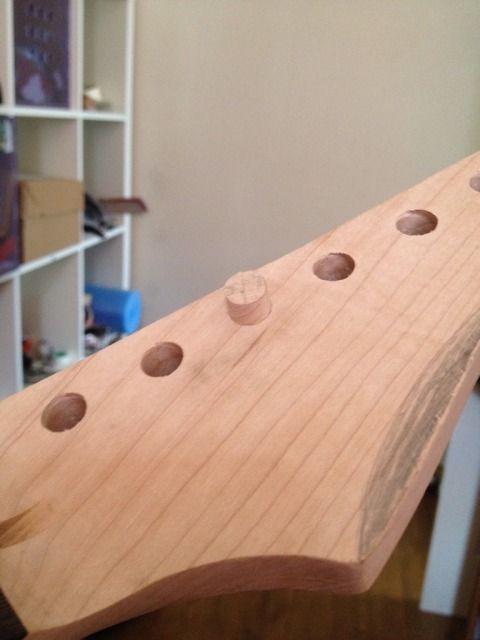
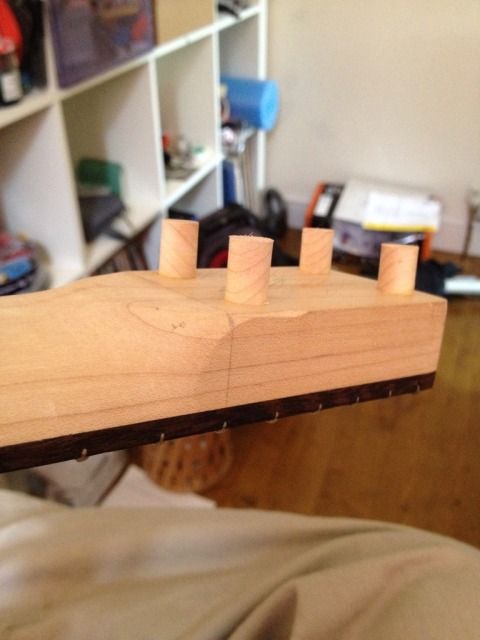
The plug cutters worked really well so that's a relief

Will invest in a flushcut saw to get these trimmed off and will re-drill them soon. Will have to think about how to keep the neck steady when drilling as it's alreeady radiused and fretted
-
I'm about to start a Sapele Custom 24 and if it looks anything like that I'll be very pleased
-
Looks awesome Lee. Very cool...
...and I can't play for **** either

-
I have the radial drill from axminster and am very pleased with it, haven't had any problems with it yet. It hasn't had a hugh amount of use though, and has just spent a winter in my damp leaking garage so I should probably go test it before saying it's great. It is a lot bigger than I expected.
-
Looks awesome!

-
Nice save
Not looking forward to my first attempt at binding, which will probably be in the new year as it's getting cold and dark here
-
-
I really like the pickguard, it adds contrast to the guitar and just looks cool, like the shape of it too
-
I use a brand called Newstrings, cost about 1/2 the price of those listed above but I can't tell the difference, mind you I suck at guitar
-
Tested a different dye now. It's a brighter blue in reality. I'll try and get a picture in better light as the colour is quite different to how it looks in this picture. I think I prefer the blue over the red.
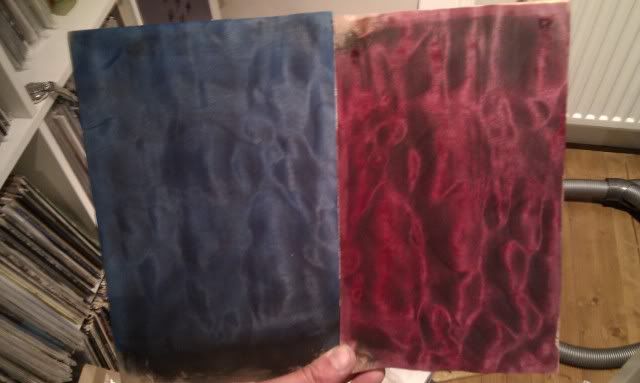
It's just dye at the moment, so it looks a little flat. Will try and get soe z-poxy on it tonight and then I'll have a go at laying down some clear (KTM-9
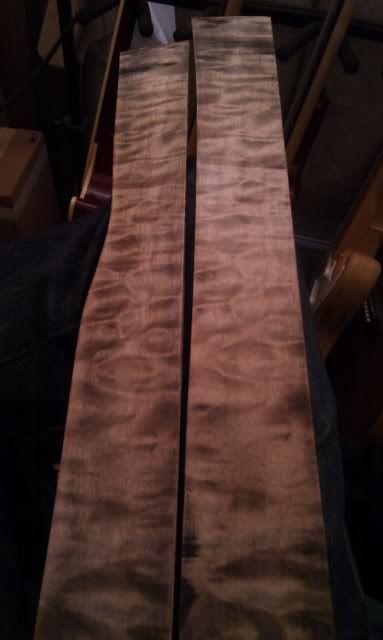
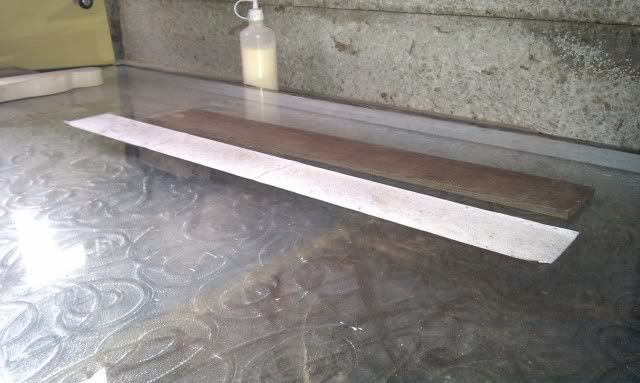
) later in the week.These strips have been dyed black, sanded back and have two coats of z-poxy resin. I'll test tinted lacquer on these. I sanded one back a bit more than the other to see what effect this would have.
-
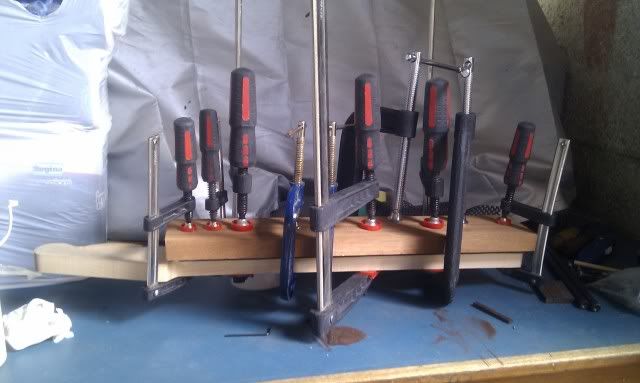
Here's a link to how to make spool clamps. Will be trying this at some point.
-
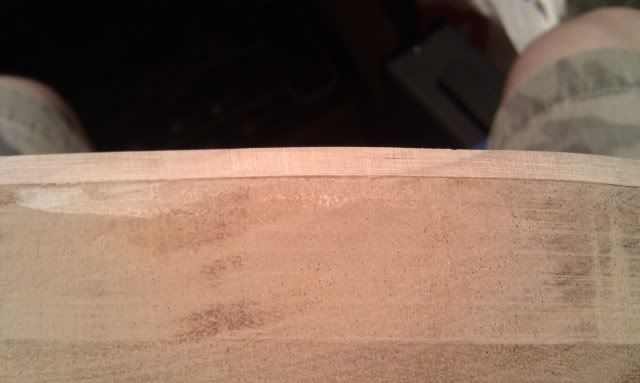
I'll leave this to settle and see if it gets worse. Pretty sure it's the mahogany that's cupping rather than the top. In the meantime I'll be testing some finishes. I'm going to use KTM9 for this one so I'll compare dying the top first then z-poxy fill/seal and KTM9, and the z-poxy first then tinting the KTM9. Will post the results in a few weeks.
This is the first test piece, dyed black, sanded back, then red with a tiny bit of dark blue. It's actually a little bit darker than the picture suggests. Also I think I could have sanded back a little more. It's had one coat of z-poxy but I put it on with a credit card which wasn't completely flat and it's scratched it up a bit, will buy a rubber squeegee before i do it again.
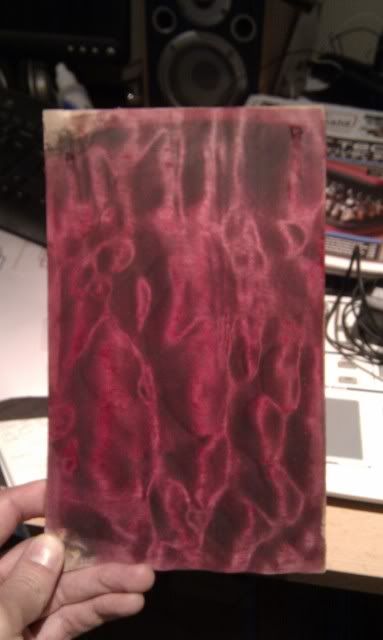
Will probably sand it all off and start again, might try a dark blue dye rather than black for the sand back and see if I can get a red/purple quilt out of it.
-
News! Good news I guess.
So I bolted the neck on to this one but the bolts were very stiff (inserts not lined up properly). Managed to get them tight with a bit of brute force but there was still a very slight gap between neck and pocket (forgot pics, sorry) probably caused by the relief holes for the sticking out inserts not being deep enough.
So I took it off again and what should happen?...
Yes, the inserts came out
So hopefully, with a bit of farting about I can start this again and do a much better job of it. I'm guessing a plug cutter is the way to go here rather than dowels. I'm sure I have some left over maple knocking around. If anyone wants to chime in with advice before I f**k it up again, please do
-
Personally I think the slight angle on the figure looks good, especially on the righ handed one
-
Only a little progress on this one. Got the wiring channels drilled, no exciting pics though

Got the fretboard rough sanded to the neck. I discovered that with finer grade sleeves the robosander doesn't sand flush
 so I'll have to finish it by hand.
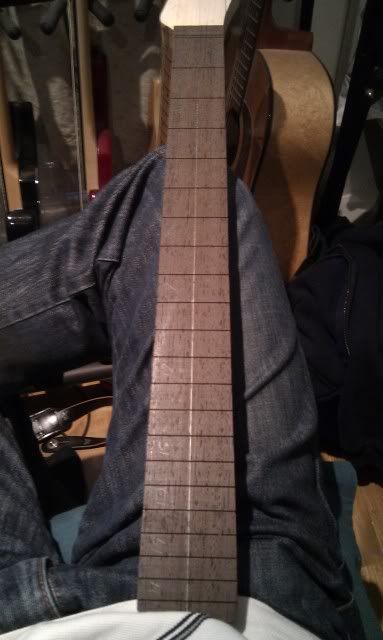
I'm at the point where I'm starting finish testing so I'll add pics of that shortly.
Then the BAD NEWS >
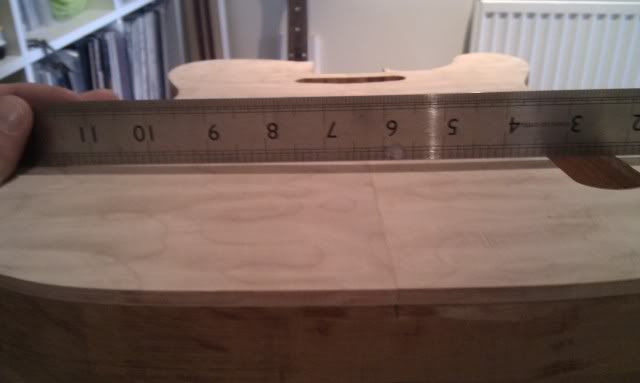
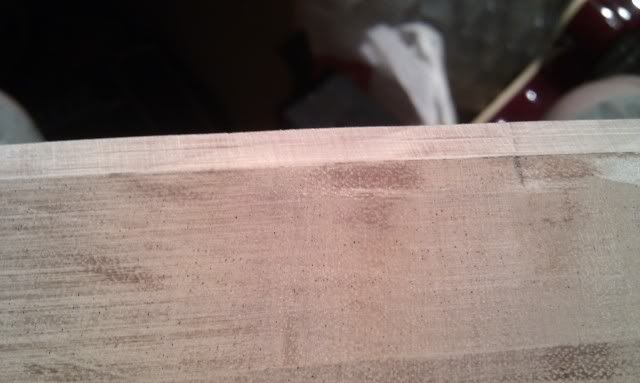
It's gone and warped!
:D I guess that'll teach me for buying cheap wood from unknown ebay sellers :-[. So the question now is what to do with it. I can flatten it out and give up on the faux binding idea, but what's the chance that it will warp further?
Any advice really appreciated here.
-
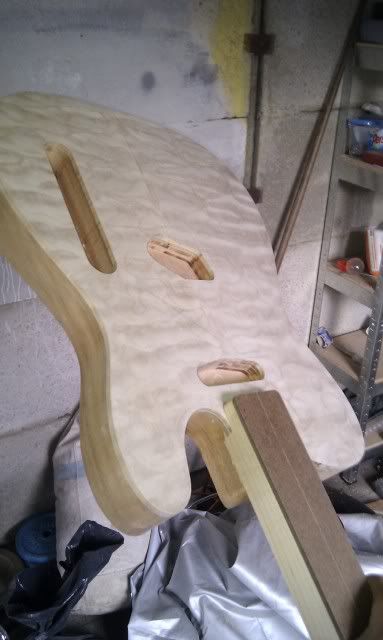
Finally had a few hours to make a little more progress on this one.
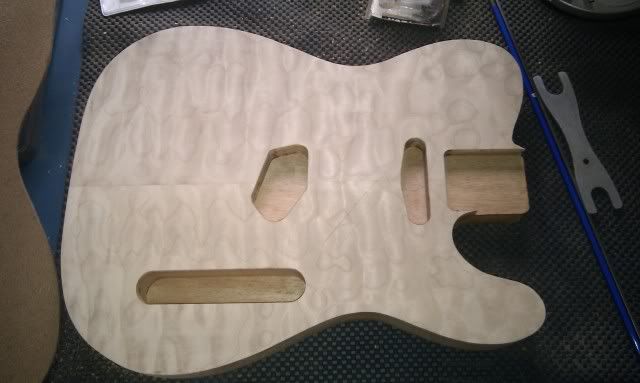
Drilled the wiring channels and routed the control cavity...
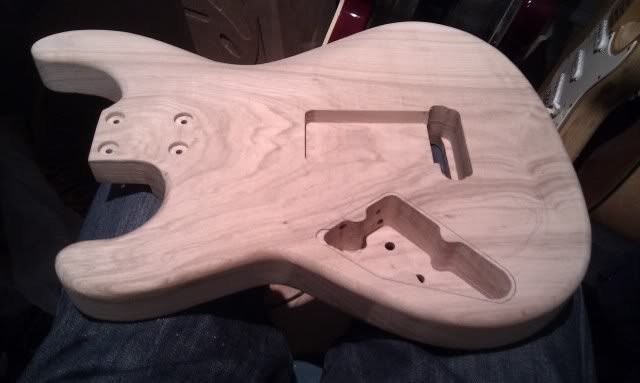
Also sorted out the router slip on the top horn...
Just need to get the neck on now so I can position the bridge, then I'll need to actually start thinking about finishing this
-
Got a bit more done on this one.
The wenge fretboard I had for this was a little thick so i thinned it slightly with the robosander...
...then to the 'sandpaper-stuck-to-old-windowTM' to true it up.
Next up was the truss rod channel...
...body cavities and neck pocket. I haven't taken the neck pocket all the way yet, will wait for the neck. Went with the control plate in the end.
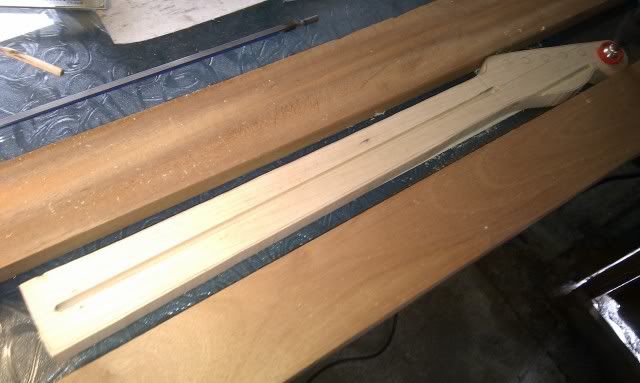
Routed the neck to shape
The neck is tight in the pocket but there is a slight gap. Will sort this out when i come to rout the correct depth for the neck pocket.
Then slotted the fretboard
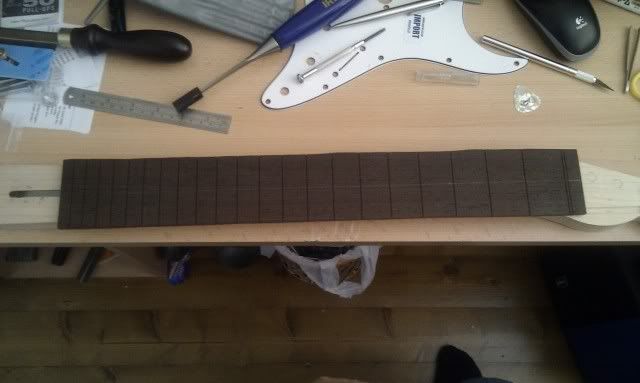
And glued it all up...
-
The paint job looks awesome
-
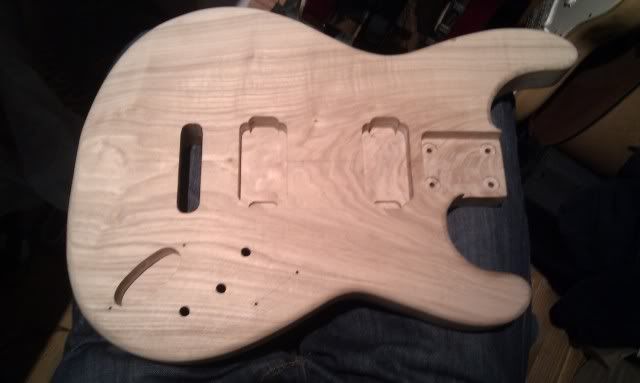
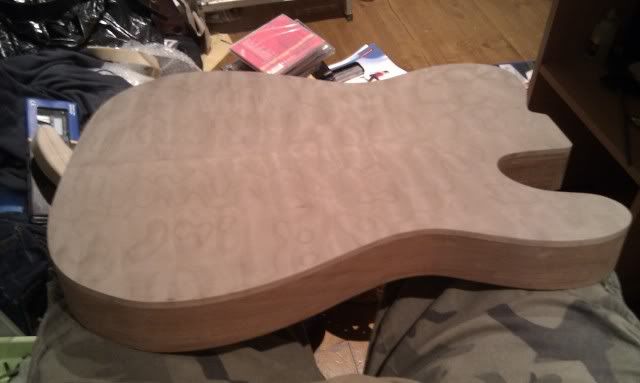
Finally got to do some more on this one, and it went well (unlike my other build).
I got a new drill press back in February/March time and hadn't gotten round to setting it up until today, been too busy with other house/garden jobs. I also bought a robosander at the same time so first job on this build was too sand the top flush with the body. Now I'm not 100% sure what happened here but in the process of sanding it would seem that the heat generated has melted the excess glue, mixed it with the sawdust and filled the gaps between the top and the body which i was planning to fill with CA. I'm planning to paint the back and sides black so it won't show, and now i think I'll leave the side of the cap as faux binding. I was planning to bind the guitar to hide the gaps but now that won't be necessary
I've still a little more to do around the top horn but the robosander was too big to get in there.
How it is now...
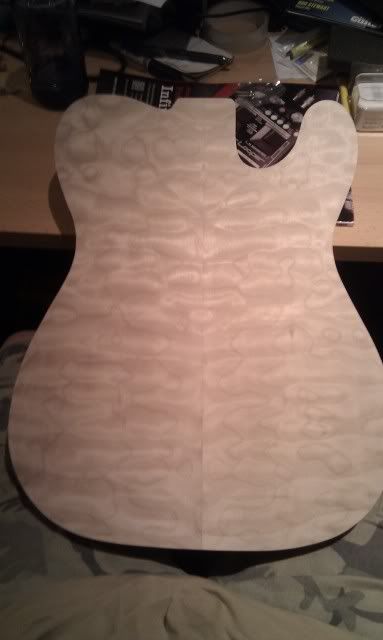
And a quick mock-up...
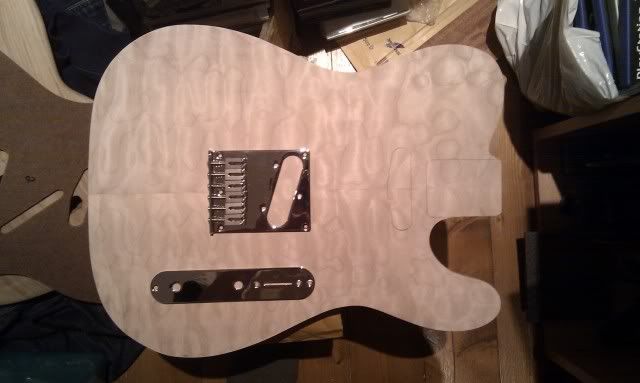
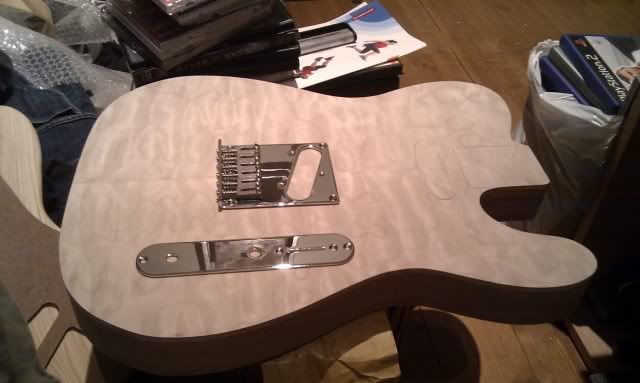
Still undecided about whether to go with the control plate or to mount the pots/switch from the back
So, some good progress to make up for the cock-ups on my other build...
-
Well, it’s been a while. Unfortunately life has been getting in the way of my guitar building which is a shame as the weather has been great for it.
But, I managed to find a few hours to f**k up my first build today.
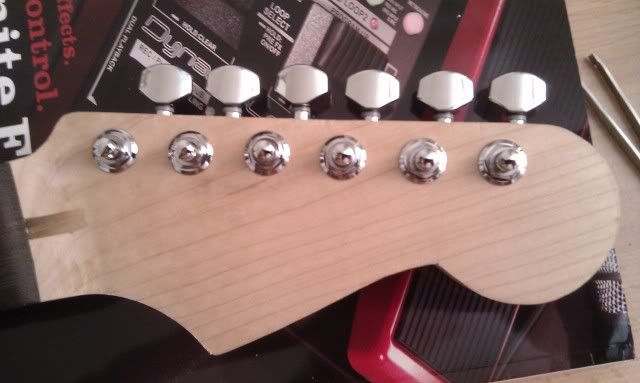
First the tuner holes. Not too bad for a first attempt but one of them is slightly out of line. This is only a practice build so I’m not going to cry about it (worse to come...). I’ll definitely make a jig for this next time.
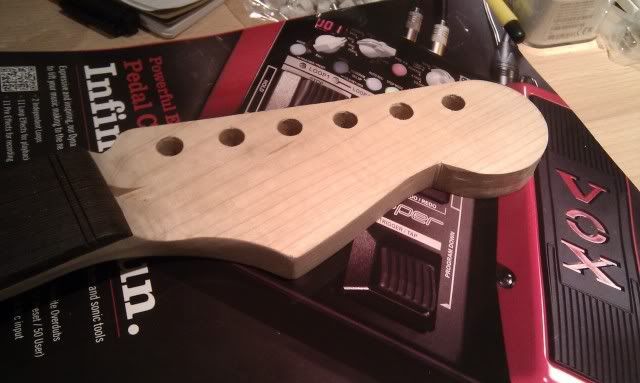
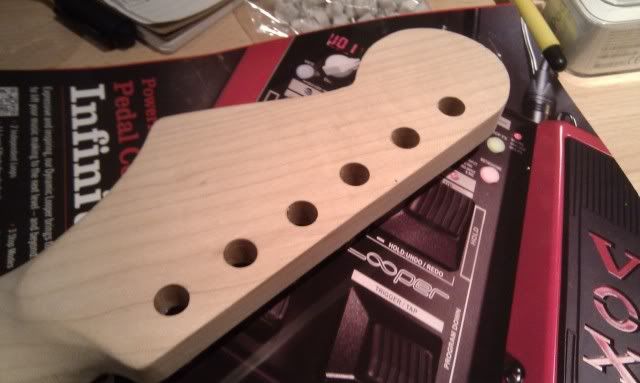
It’s more noticeable with the tuners in...
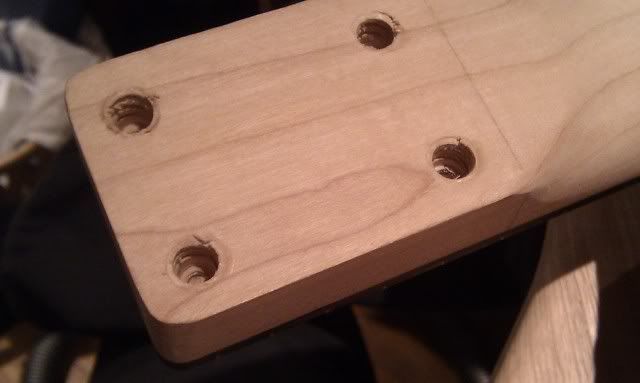
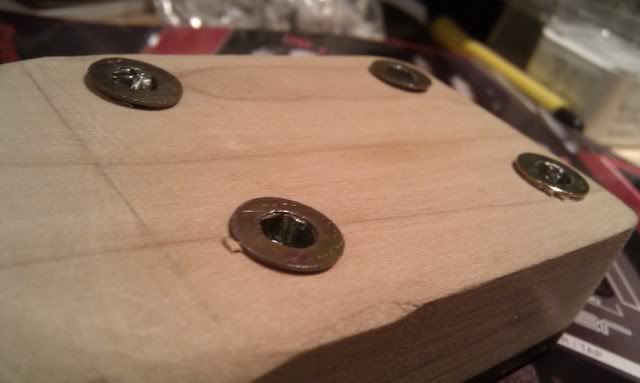
Drilled the body for the neck bolts...
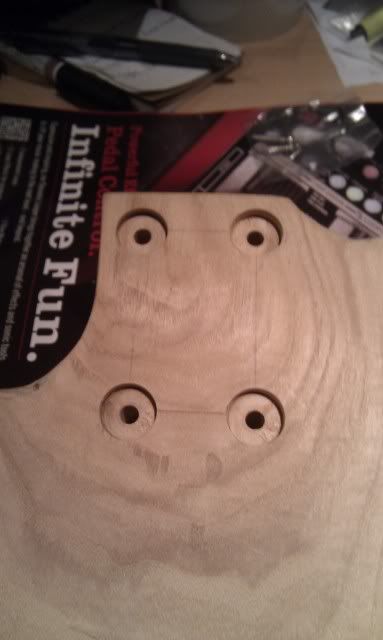
The recesses here are too tight to fit the ferrules in. Need to find a way to enlarge the holes slightly, any ideas are appreciated
And then the neck, this is where things went wrong. I’m using the bolt with insert method rather than screws. I drilled the holes for the inserts. I knew I’d need to drill some relief for the edge of the insert so it would sit flush with the neck but didn’t have the correct sized bit. I thought of screwing the inserts in to the neck, cutting round then with an x-acto knife, then taking them out and removing some wood with a sharp chisel to create the relief. Unfortunately the fit was kind of tight, the insert was kind of soft and the hex key stripped the inside of the insert so there was no way to remove it.
:D Lesson learned, always make sure you have the right tools for the job and be patient...
So how to get around this?
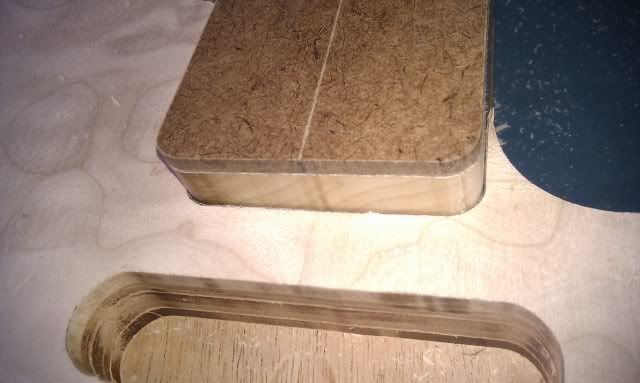
The only thing I could think of was to add recesses to the inside of the neck pocket to accommodate the sticking out inserts, so that there would still be a fair bit of wood-to-wood contact.
Fortunately after all this the holes did line up... just.
Progress on No. 2 went better...
-
Yeah, I'm going for the Blues Engine/Dirty Torque combo for my 3rd build (PRS)


 so I'll have to finish it by hand.
The Fool Guy's First
in In Progress and Finished Work
Posted
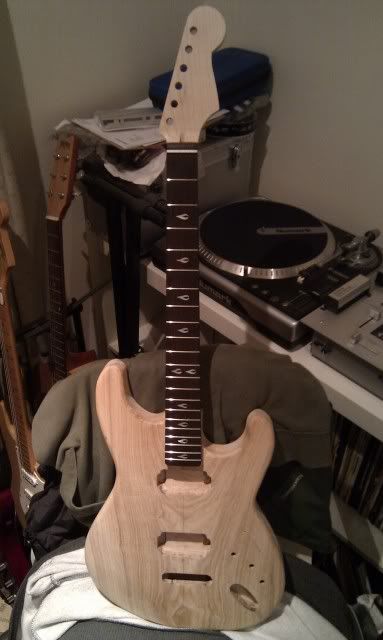
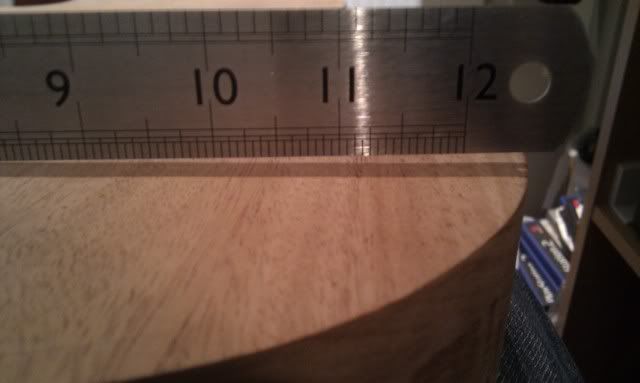
Had Friday off work so with kids at school and wife at work I finally managed to spend some time with this one.
Finally got the ferrules in for the neck bolts. One of the holes needs deepening a little.
Neck's on!
Positioning the bridge.
Action shot...
Had to adjust the tremolo rout as it was stopping the bridge from sitting on its posts properly.
Might need to increase the depth of the tremolo route, not sure how thick the cavity covers will be yet.
Bridge. Mmmmmm... Shiny.
There's a cock-up. You can see the bottom of the tremolo rout. I'll never see it while playing and this is supposed to be a practice build, so I don't think I'll bother fixing it.
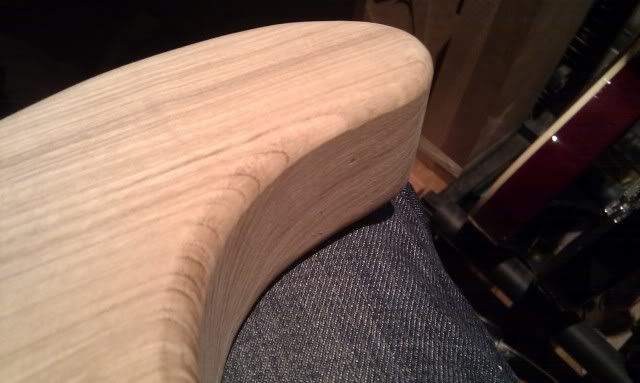
I eased the round over a bit with a file and sandpaper, added a very slight cutaway where the guitar sits on your leg, but you can't really see it in this photo.
Need to rout recesses for the cavity covers, fix the switch channel, and the neck pocket needs deepening by a mm or 2. Then the body is ready for finish sanding
Will do some finish testing during the week if I get time, although natural wood is growing on me.
The bridge is quite large and I'd originally planned on using chrome pickup rings, but with chrome pickup covers it might be a bit too much chrome, so may have to rethink that.