


tetiaroa
-
Posts
22 -
Joined
-
Last visited
Content Type
Profiles
News and Information
Tutorials
Product Reviews
Supplier Listings
Articles
Guitar Of The Month
Links and Resources
Forums
Gallery
Downloads
Posts posted by tetiaroa
-
-
Hi
I'm building a carbon fiber lap steel guitar with a spruce sound board, the sound hole as a shape that don't allow the use of conventional clamps to glue the bridge in place and I think I saw here someone that had a brilliant idea to use guitar tuners to pull strings with retainers through the pin holes as clamps.
Can someone help me find it here.
Thanks
-
I'm hoping you asked him if you could use that headstock design...
Chris
I´m sorry if I have done something wrong, I didn't intent to.
To avoid any misunderstands, I ask to forum administrator to remove all my posts
I'm doing this guitar, not for sale, but for me.
I'm sorry again
-
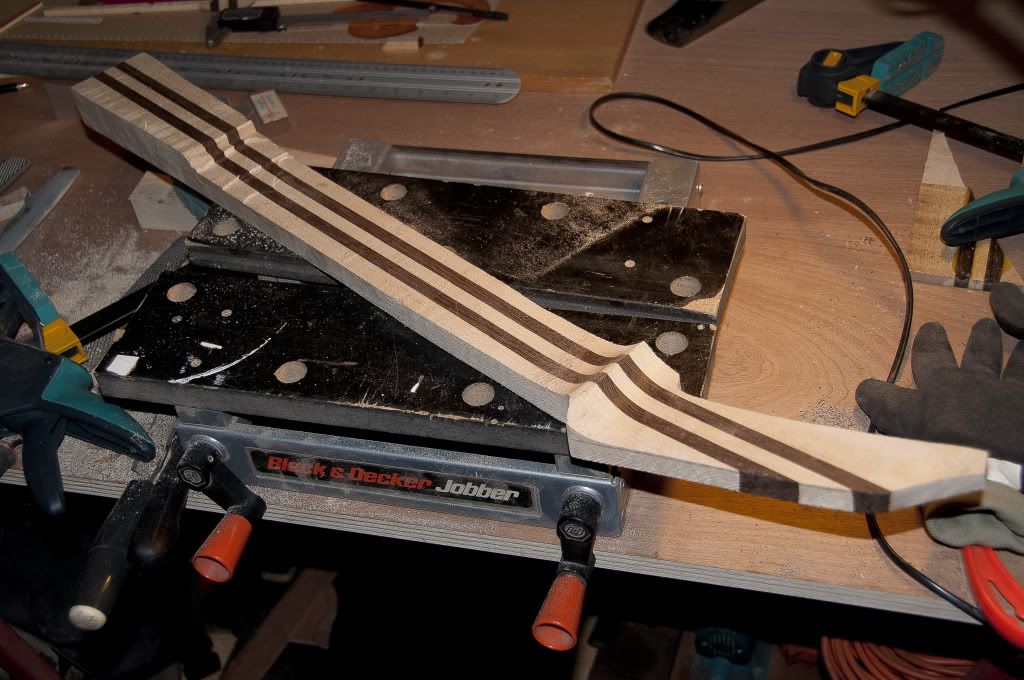
Partially shaping the neck
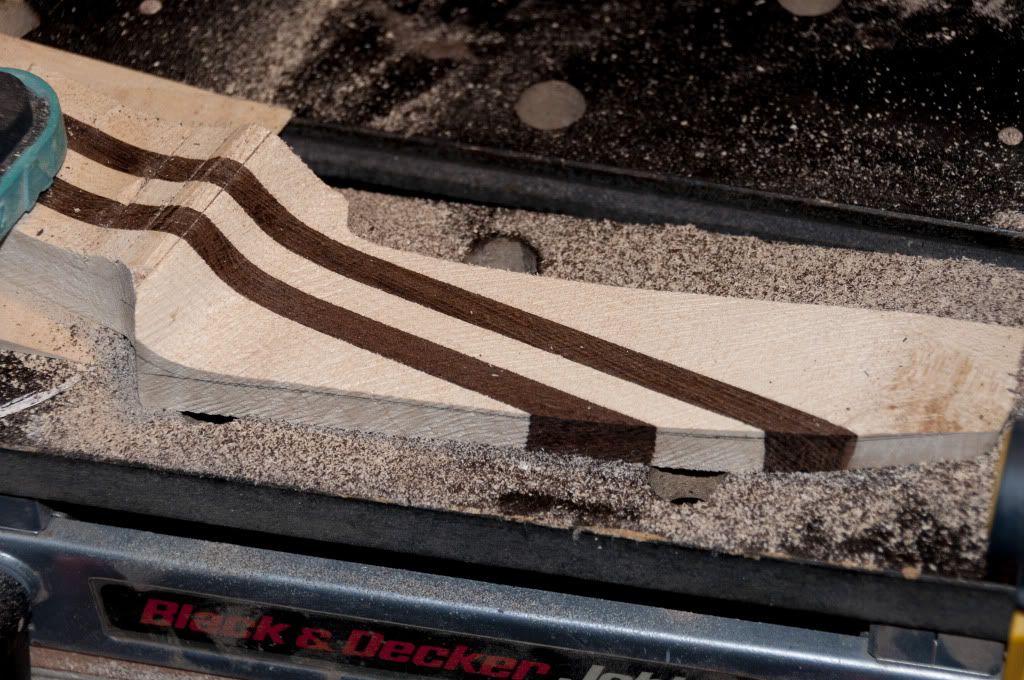
The result

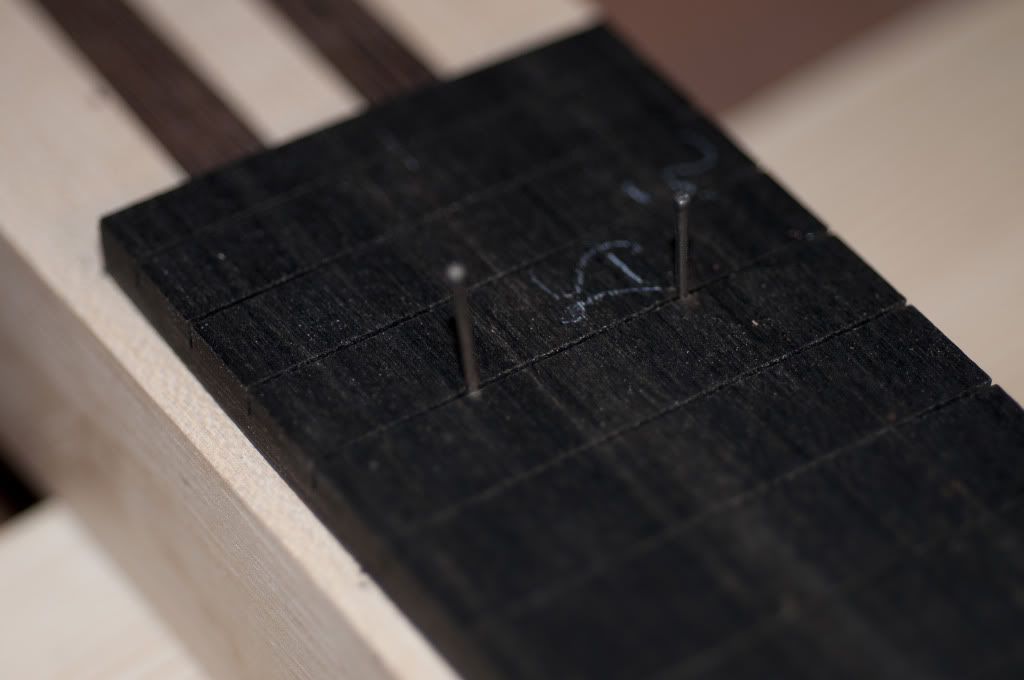
It was time to glued the ebony scale
I've drill four small holes where I've place some nails, two on the 1 fret
and the other two on the 22 fret to prevent the scale to move around withe the glue
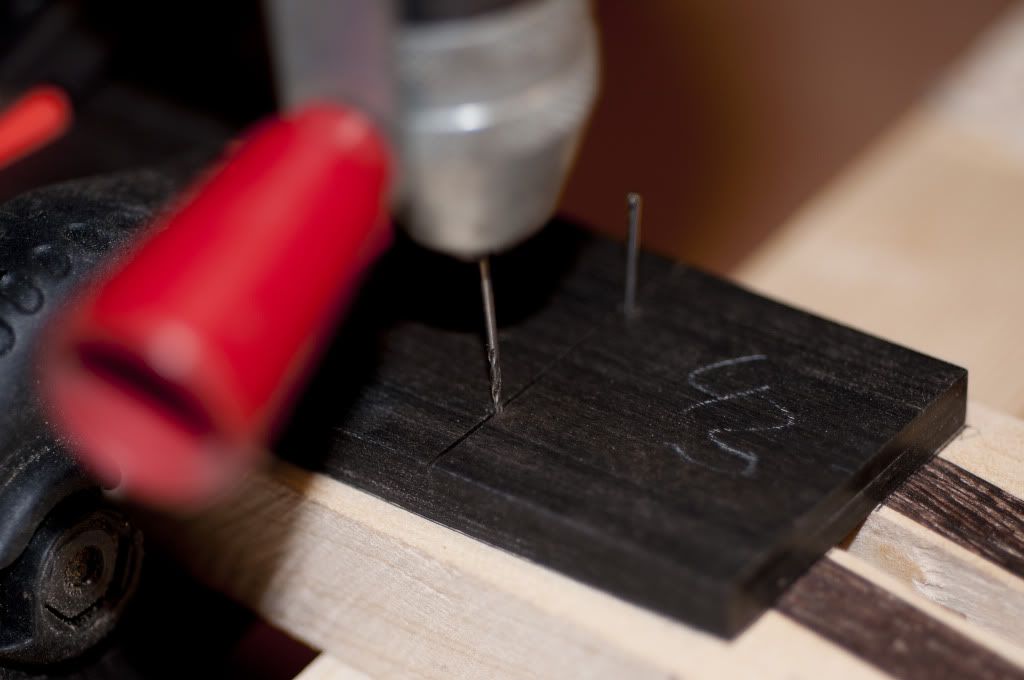
and with a help of a wood caul with slots on the 1 and 22 frets, I've glued it

With the neck partially shaped was time to determine the wright depth of the neck hell
With PCV I've shaped the body correctly and cut the neck slot and placed the neck


PVC is a nice material because is easy to shape, and can be used as material for templates
-
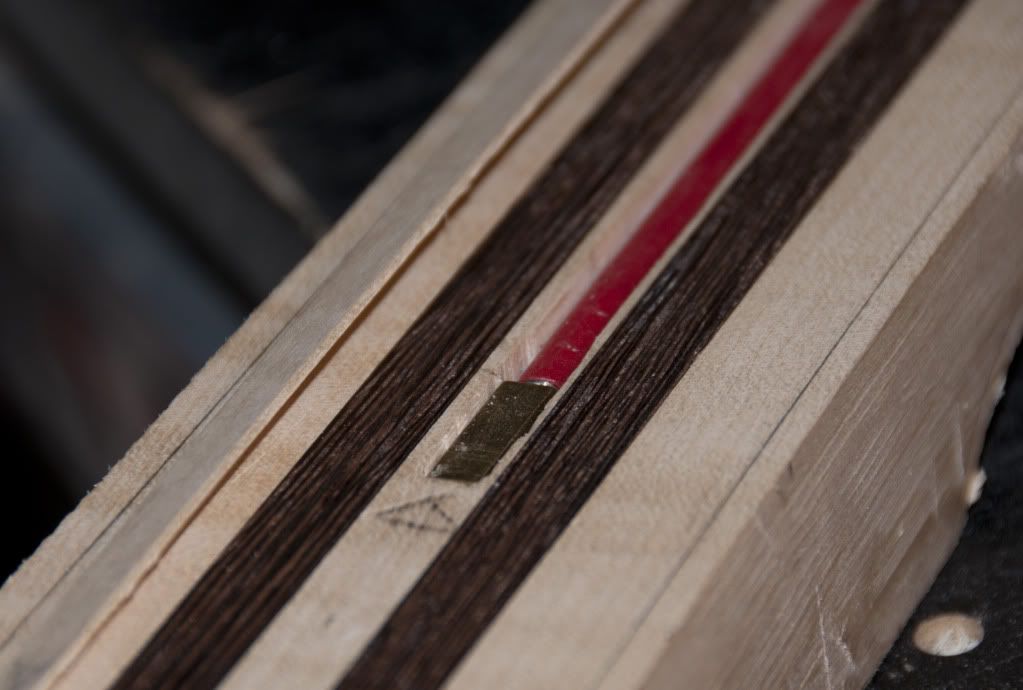
Then I've glued the maple stripe on the neck
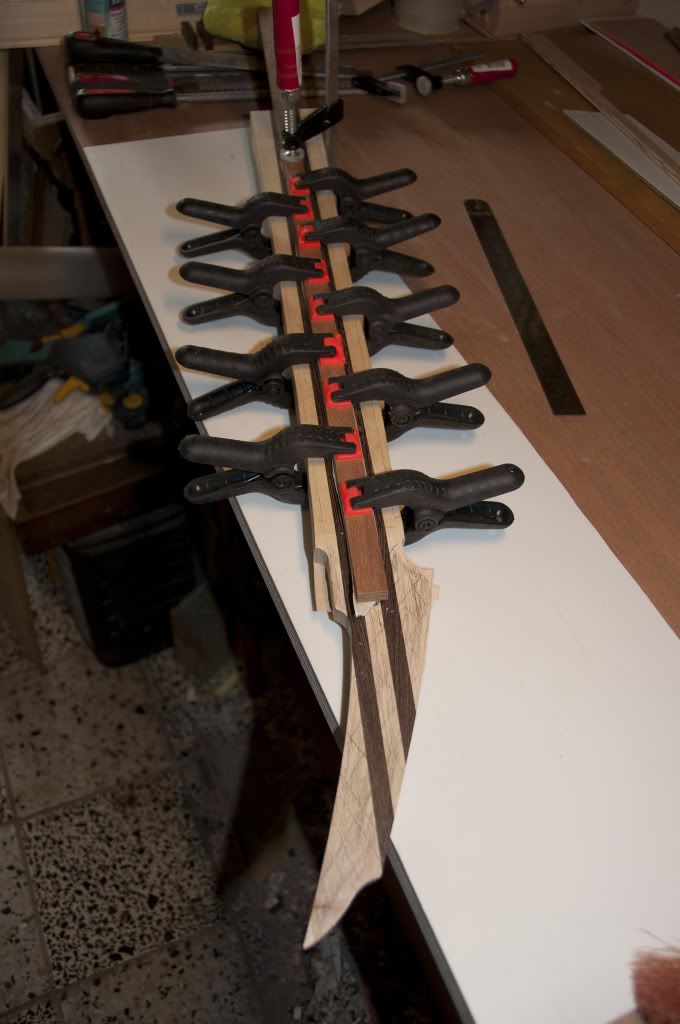
On the trussrod accessed I've glued a small peace of maple to finish it better
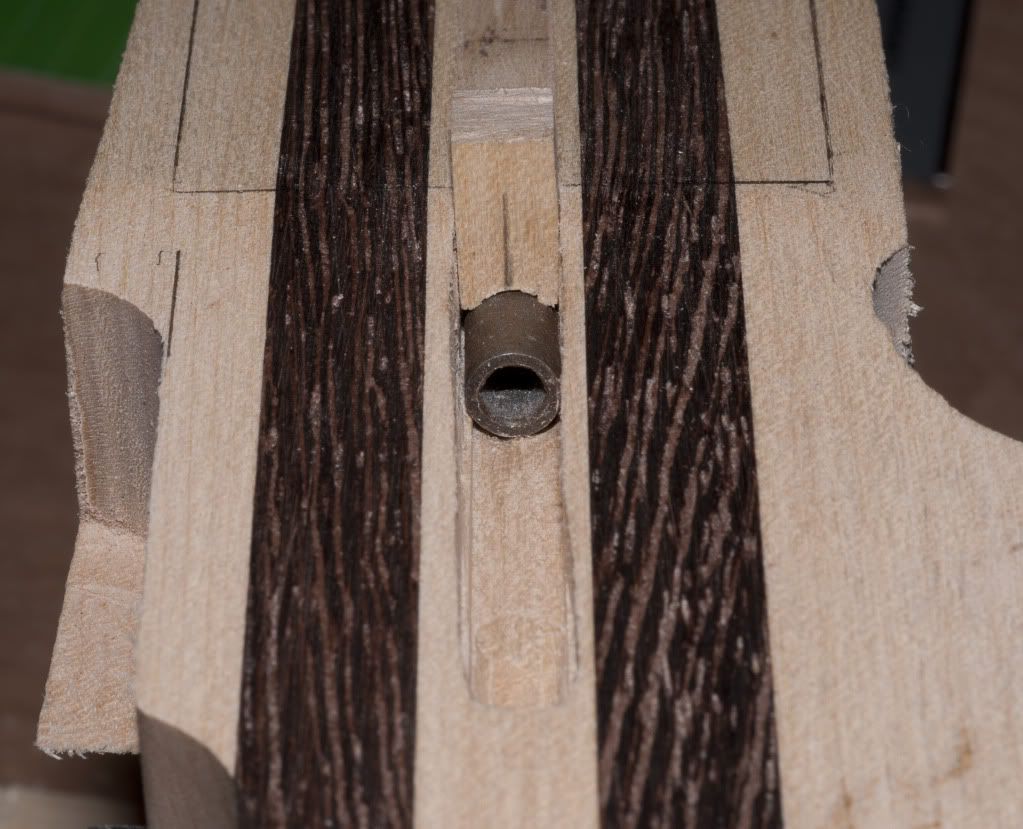
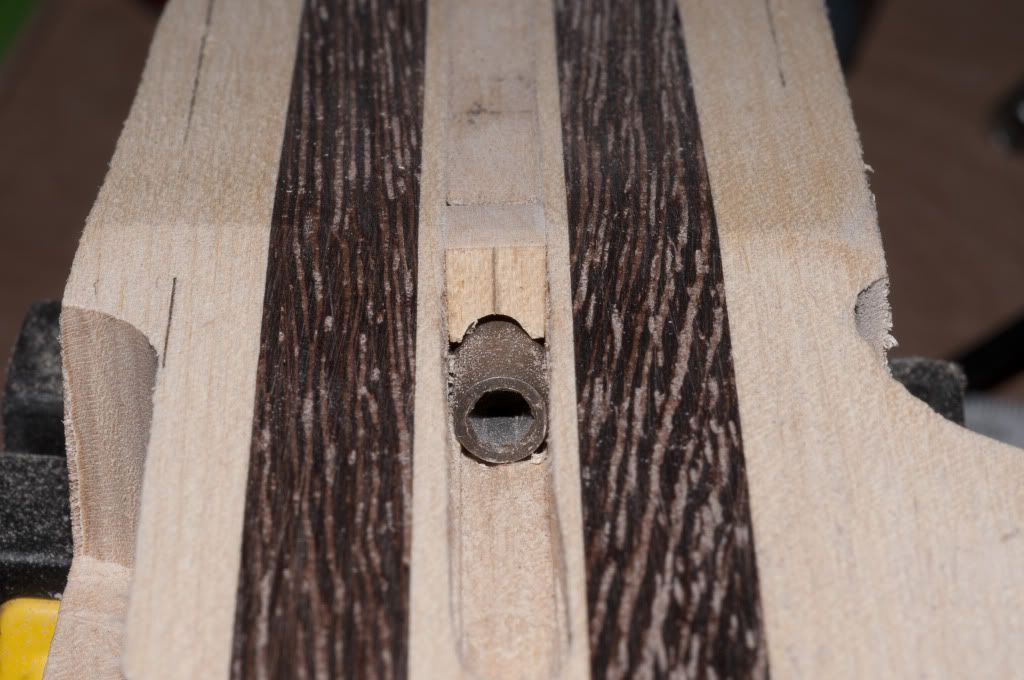
Shaping the neck
-
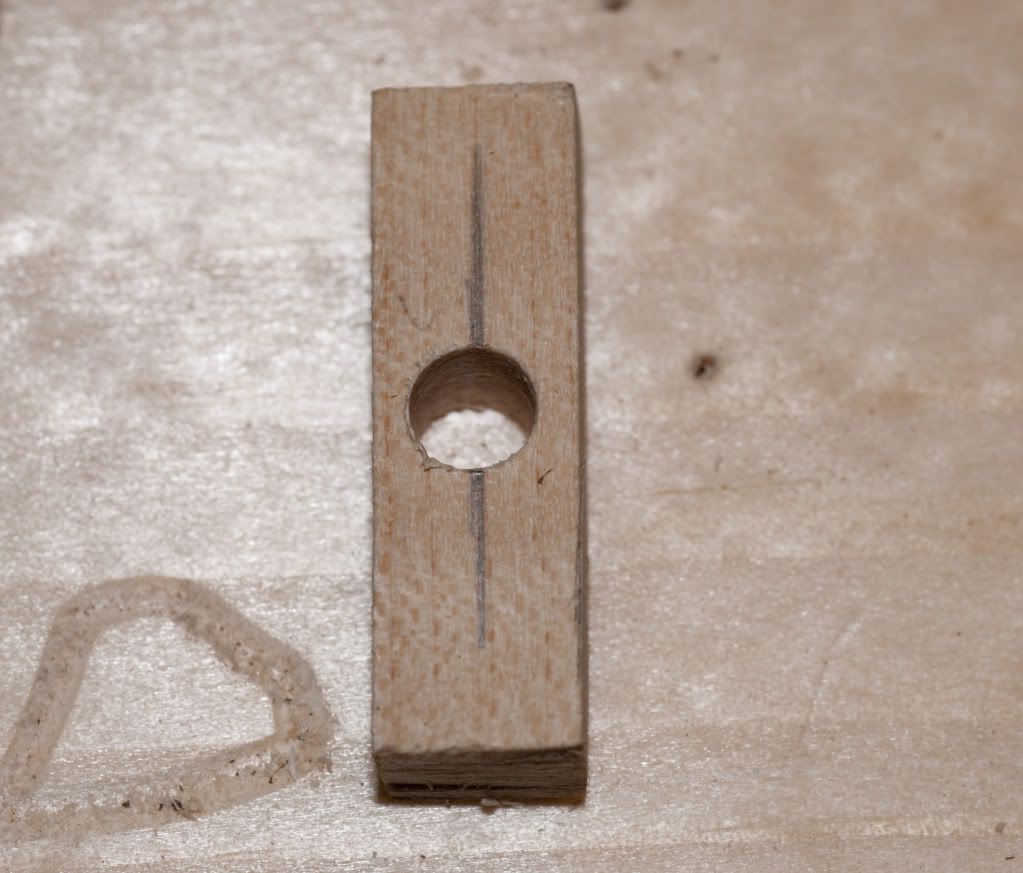
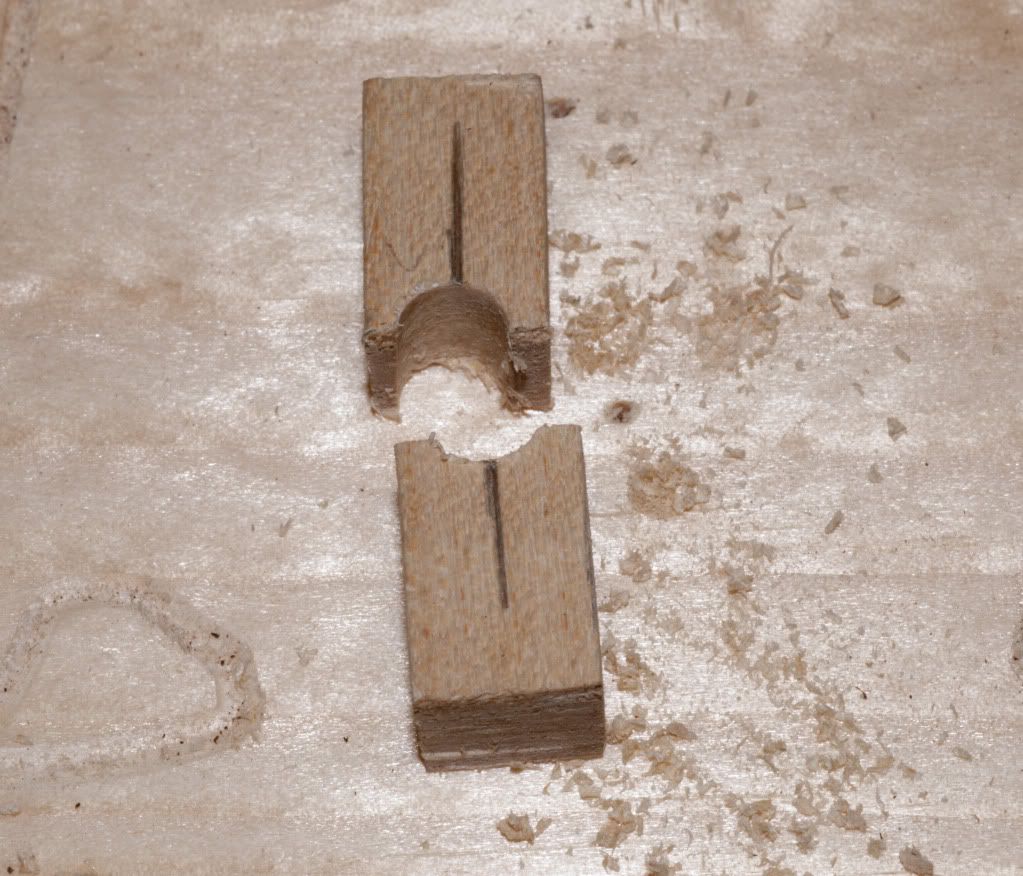
I've bought the trussrod from Stewmac


I've read a bit about trussrod placement, but the way I did, I don't know if is the correct way.
I've put some portions of elastic glue on the slot to hold down the trussrod
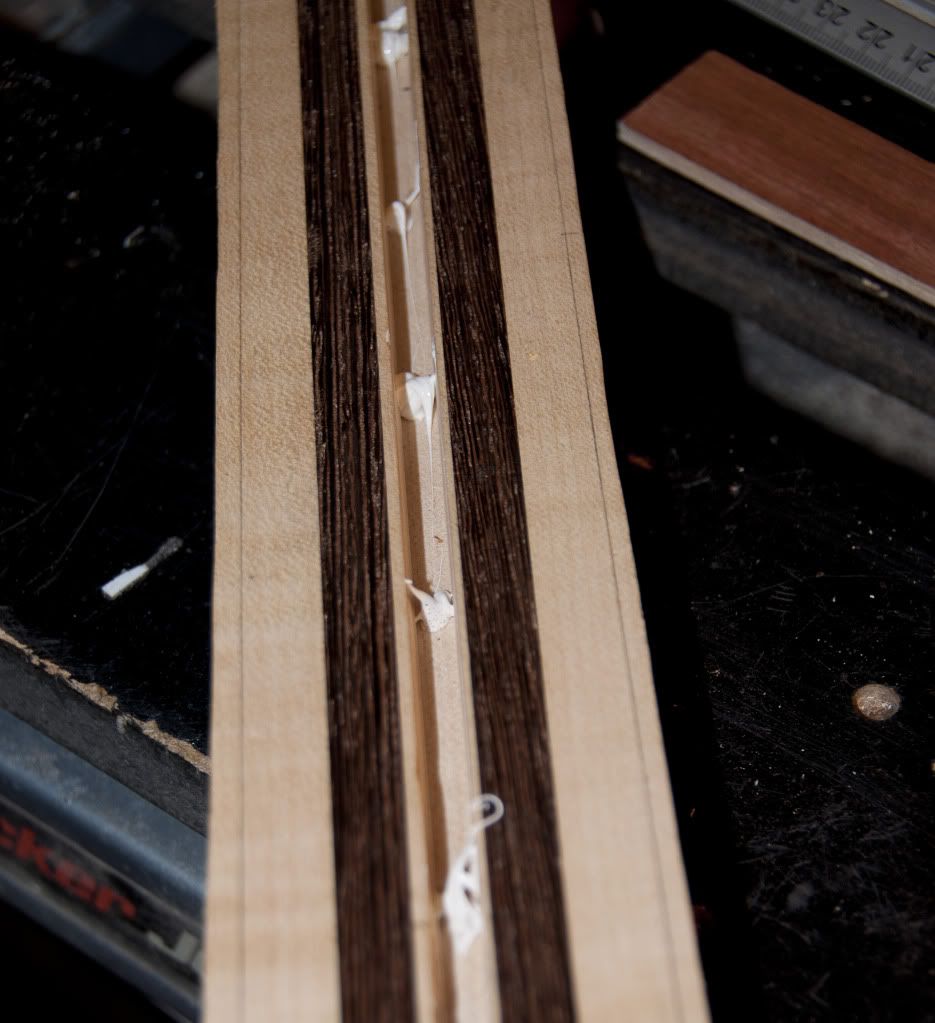
Then I've cut a small stripe of maple and shape it on the sander and glue it on the top

With the neck almost done, I've started do flatten the neck heel.
I've placed the neck between two wood cals glued with double tape with the same higt, and with the router
I've began to remove wood


-
Planing the neck

A few years a go I've bought a Japanese saw with a mitre guide that cuts like hell, and for my first build was a must, the cut is perfect


When I've thought to start this project, I've ordered from Guitar Supplies the templates of the Ibanez Gem guitar, but after a wile
and a lot of taught, I decided to build myself my own templates and I ended to draw them in Adobe Illustrator all the parts I've needed

Illustrator helped me a lot to plan to the millimeter all the parts
Image of the tuners in the headstock

I started to carve the neck using this Japanese saw


-
i going to keep my eye on this one, i really like what you have mocked up. the top reminds me of a build a while back, different wood but similar figure. Keep up the good work

http://projectguitar.ibforums.com/index.php?showtopic=42532&hl=warwick&st=90
Looks like we are building the same

I loke a lot the Poplar, nice figure
-
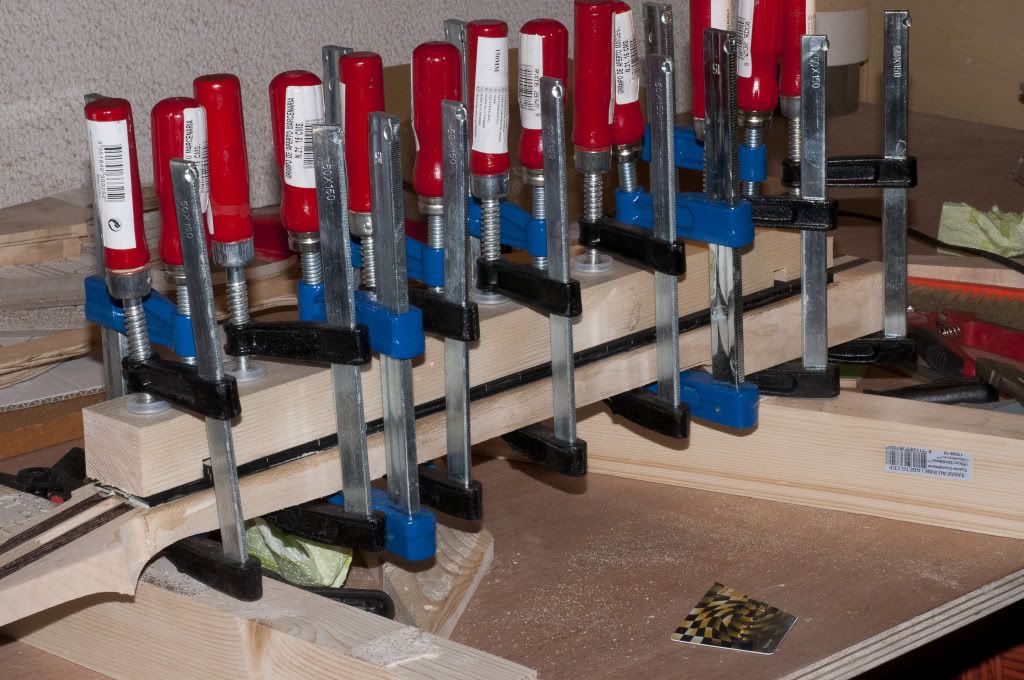
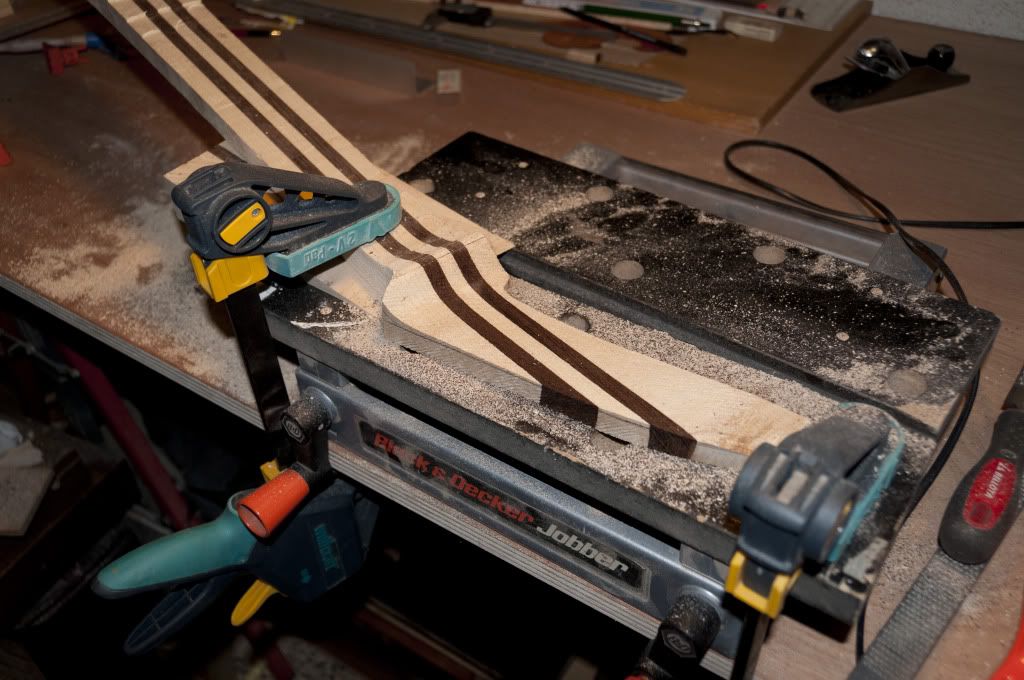
After the topset is glued I glued the downset
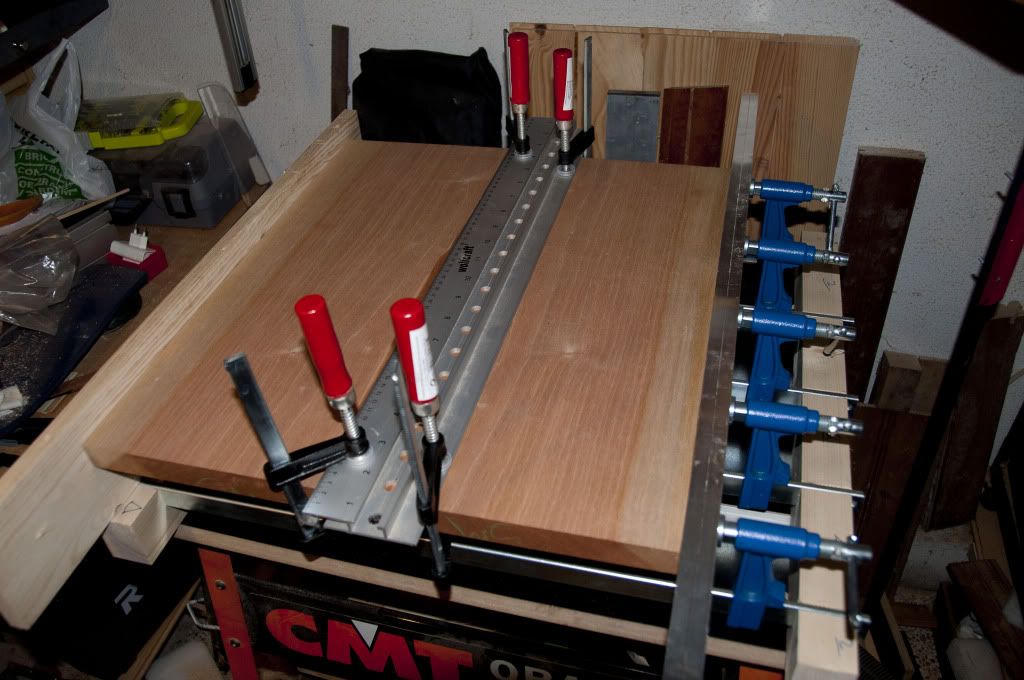
So I start also to glue the neck, I've cut some peaces of square aluminum rod to define a surface as flat as possible with a minimum contact possible with the wood. This allow me to get a good flat surface and prevent me to do a lot of work, because I don't have a joiner


Wile the gluing is on, I began to build a jig to radius the ebony scale, slotting plywood and glue and screw it to a two peaces of beachwood with some screws to control the radius,
and a jig to file the frets edges, also made of beachwood, a file and two stripes of anti-friction plastic


-
Hi guys, it as been a wile that I've posted here seeking help regarding wood suppliers in EU.
I found it in Germany at Holz-Faszination, the owner is a fantastic guy,as a huge collection of wood and I recommend it.
So my project is a GEM like guitar with a headstock a bit different that I've saw here in the forum, that I think is one of the most sophisticated that I ever saw.
Body: Topset is Polplar, Downset is mahogany sapely
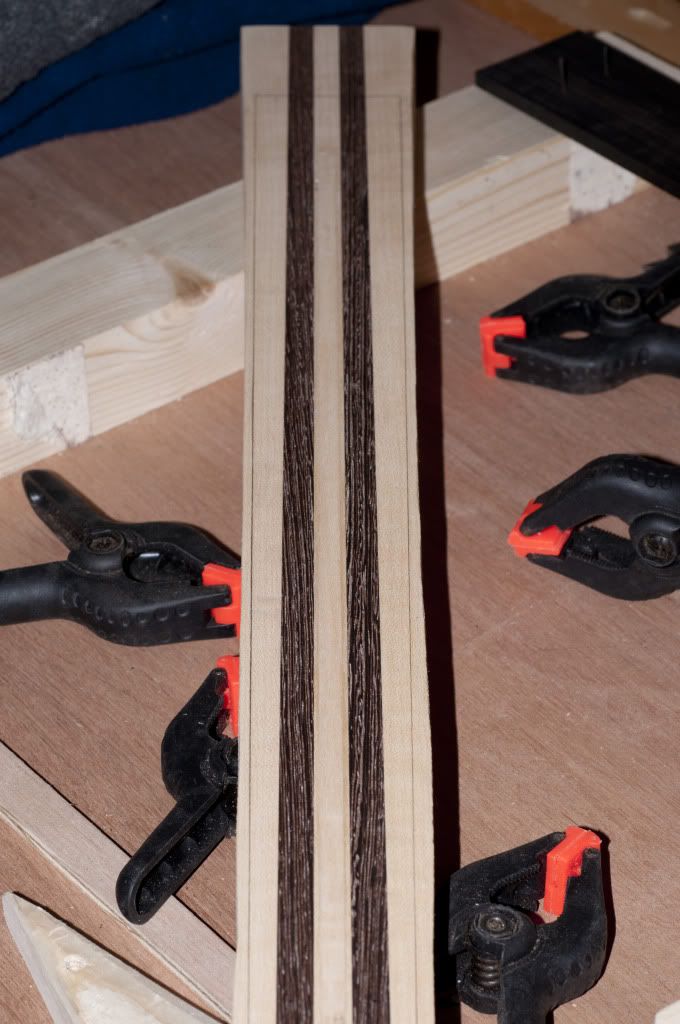
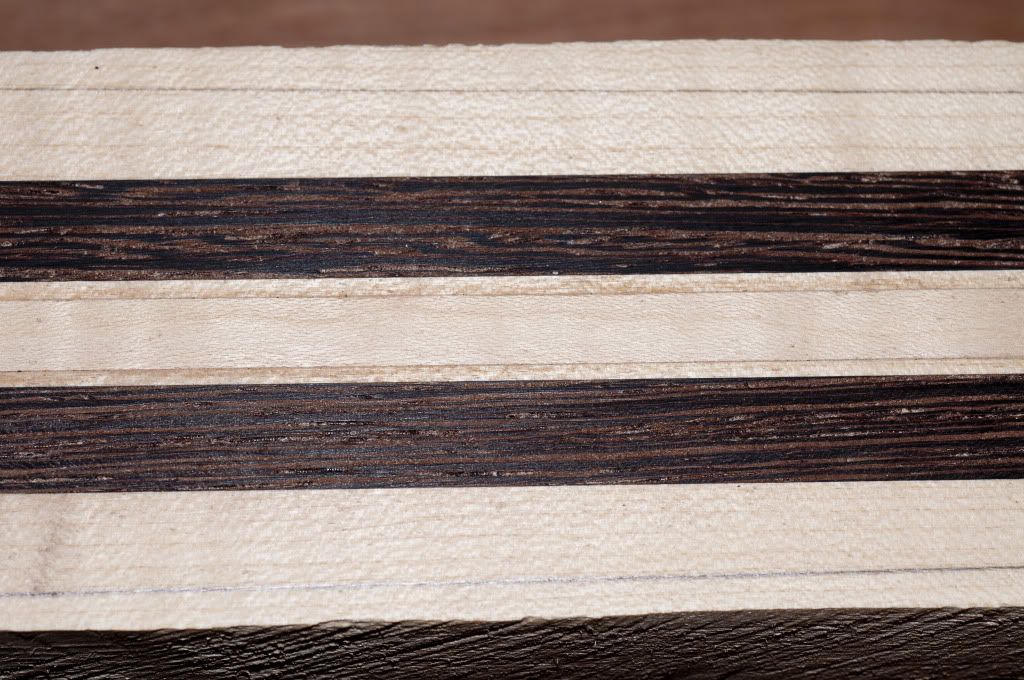
Neck Wood: Maple and Wenge
Scale: Ebony
Tuners: Sperzel
Pickups: 2 EMG x89 active
Bridge: ETS with piezo saddles
Midi interface: Graphtech midi Hexpander
EMG After Burner, and EMG Phase shifter
Inlays: MOP, Abalone strips for the scale

This is a Photoshop mock-up made with the real woods

Neck wood

Body wood
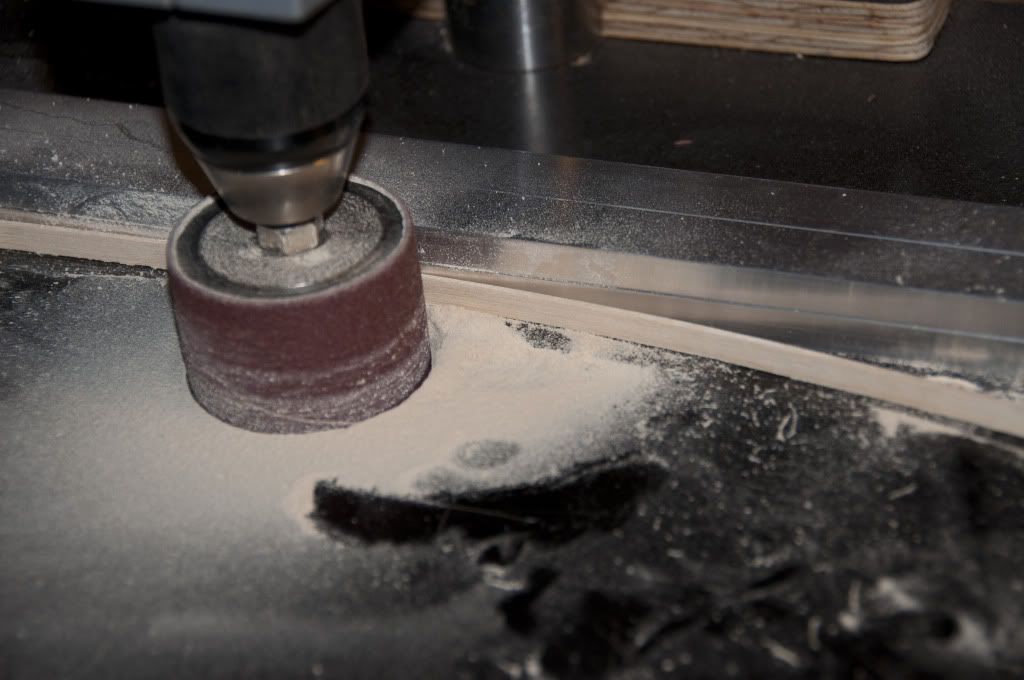
I've start by building a jig with plywood with phenolic top, covered with tape to avoid that the glue could affect the release of the wood


Then I've bought a square tube aluminum table leg, on witch I've glude, on one side sand paper, and on another side two stripes of anti-friction
plastic to avoid traction, to sand the sides of the wood that needed to glue

And the result was this
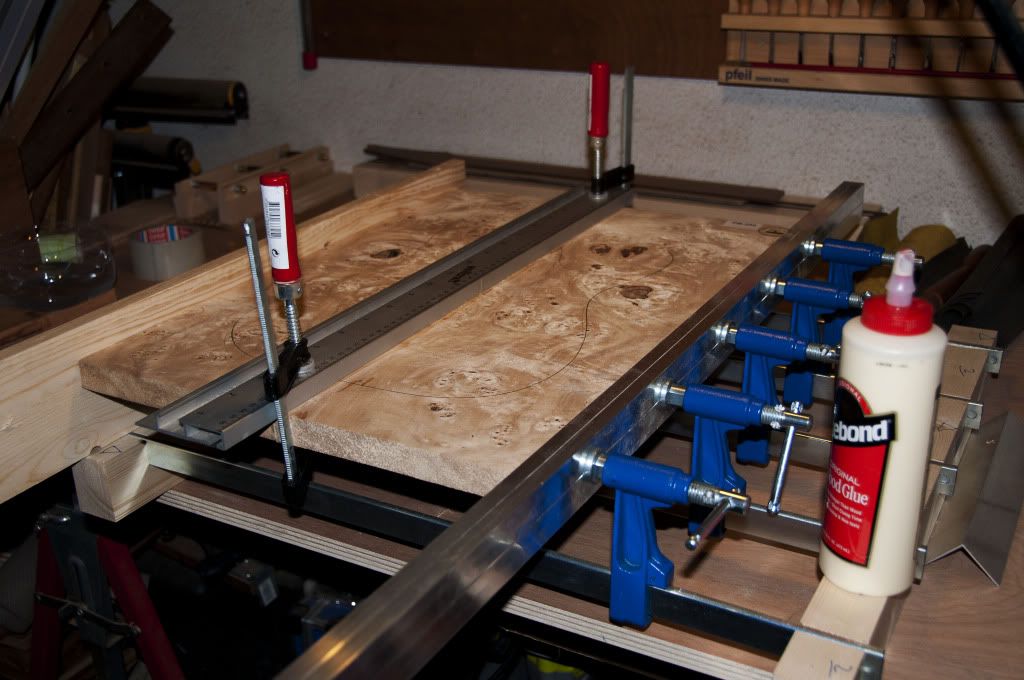
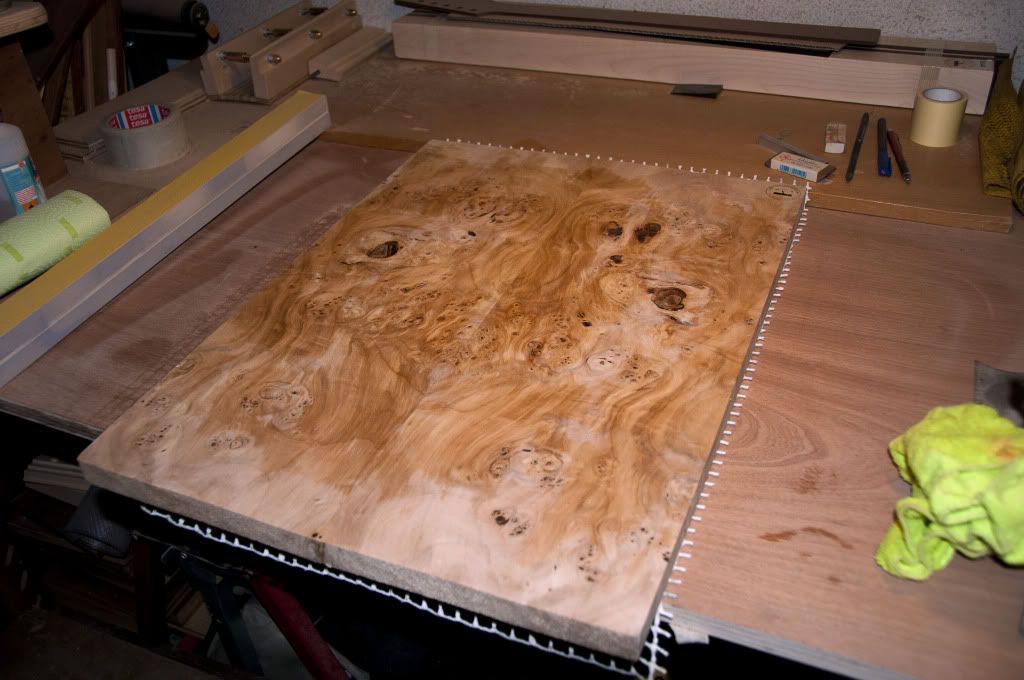
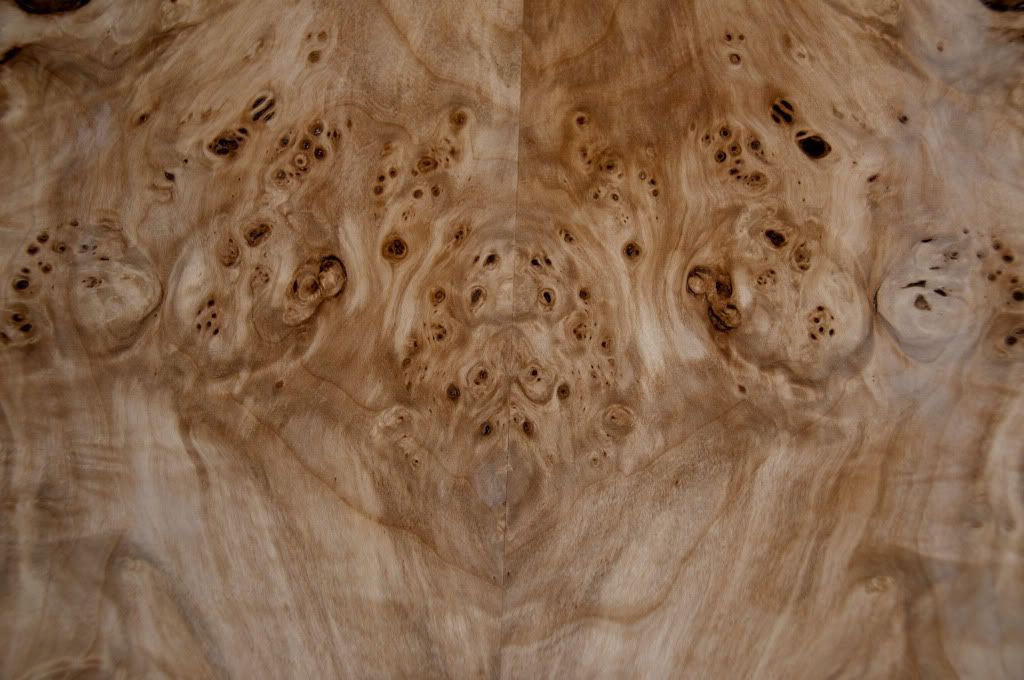
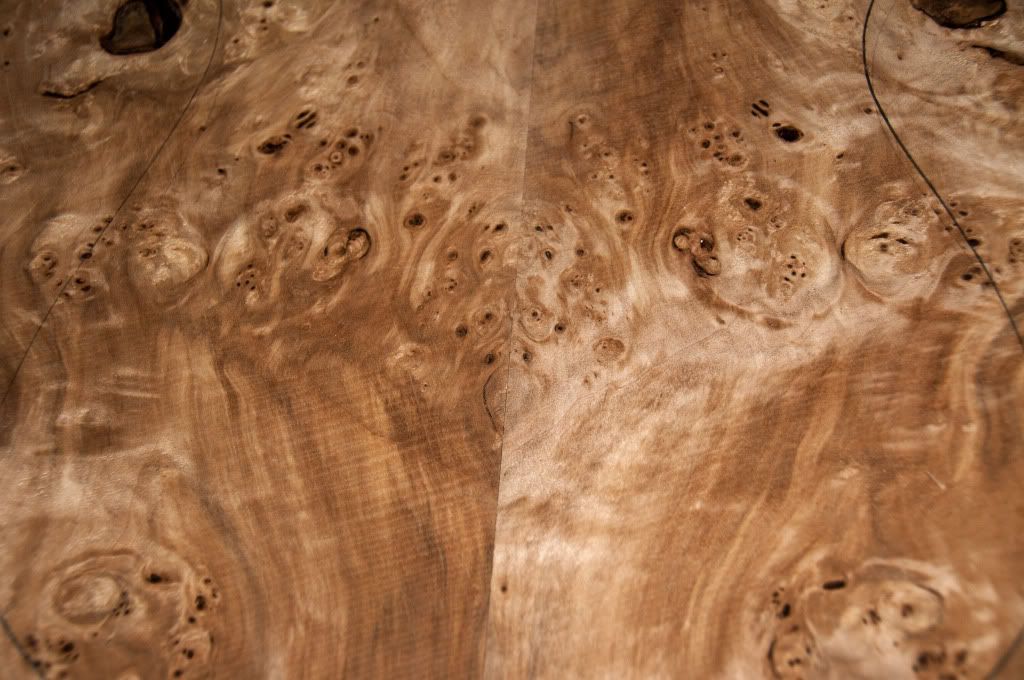
The Poplar as a beautiful figure, and I'm very appy with it
-
I've made one just like it, but I add two stripes of a anti-adherent material to help slid it better.
http://www.facebook.com/photo.php?fbid=1434970288159&set=a.1429964203010.2056714.1650004118
-
Is the illustrator pen tool the same as the photoshop one? Cause I use that A LOT.
<{POST_SNAPBACK}>
Being that they are both Adobe products, I would assume they are the same tool. I don't use PhotoShop much for this kind of work though. I prefer vector based programs like Illustrator. Just prints out nicer and cleaner, especially in large scale.
Illustrator is a vectorial design aplication, is used to draw lines, shapes in vector mode, is one of the best drawing software on the market, ideal to plan any thing with wright measures. Photoshop is a raster design application I use it to, after designing for example a guitar model on the Illustrator, applying textures and other modelling options. They work great together.
-
:D Thanks for the advice
-
I'm planning a build a JEM like guitar. I would like to include a midi Roland GK 3 on it. I have already installed one on a Epiphone Joe Pass and I am having problems regarding on the response of the notes when I play the Roland GR20.
A friend of mine told me to use a bridge with individual piezoe that guaranties a good response. I like to play a guitar that has a clean and loud sound and I am thinking to use EMG pickups.
Please advise me what kind of EMG pickups iI need to use, and about a bridge with individual piezoes.
Thanks
-
At the moment I am listening Jeff Beck "Live at Lucca Summer Festival Italy 2010".
The guy is like Port wine, the older the better.
-
For me the best professional guitar player is not the one who plays more notes for second, is the guy who puts the soul into the playing. With tree or four notes he'll tell more than that guy who stumbles in his own fingers. what about David Guilmoure?
He plays simple and tells you a lot
-
...what about Steve Hackett? try and listened "Genesis Revisited" and "To Watch the Storms"
... and what about Allan Holdsworth?
-
Thanks Buter,
I'll let you know if I wont something.
Let me do some thinking and planning, you caught me out of guard with your proposal.
Thanks again
-
Thanks man
When I start my project I'll give news.
TETIAROA
-
Hi guys!
I'm new in town, I live in Lisbon, Portugal and I play the guitar since 1975.
Over the time I grew fond of lutherie, and after acquire some knowledge in guitar building, I think it's time to start to build one.
Can someone tell me where I can buy wood blanks in europe?
By the way this forum is a must, you guys do beautiful craftsmanship, congratulations to all of you.
Tetiaroa

Clamping A Bridge Using Tuners As Clamps
in In Progress and Finished Work
Posted
Thanks in advance, but I've already found the link
http://mrglyn.blog.com/page/3/