


iluvteles
-
Posts
236 -
Joined
-
Last visited
Content Type
Profiles
News and Information
Tutorials
Product Reviews
Supplier Listings
Articles
Guitar Of The Month
Links and Resources
Forums
Gallery
Downloads
Posts posted by iluvteles
-
-
Photos of 2 coats of clear lacquer.


-
Thanks and yes it turned out well.
Its now got 2 coats of lacquer and will get 3 coats tomorrow then its a 21day cure. Photos tommorow.
I've just had a thought. Can I enter this for the GOTM comp for say October when it will be complete?
-
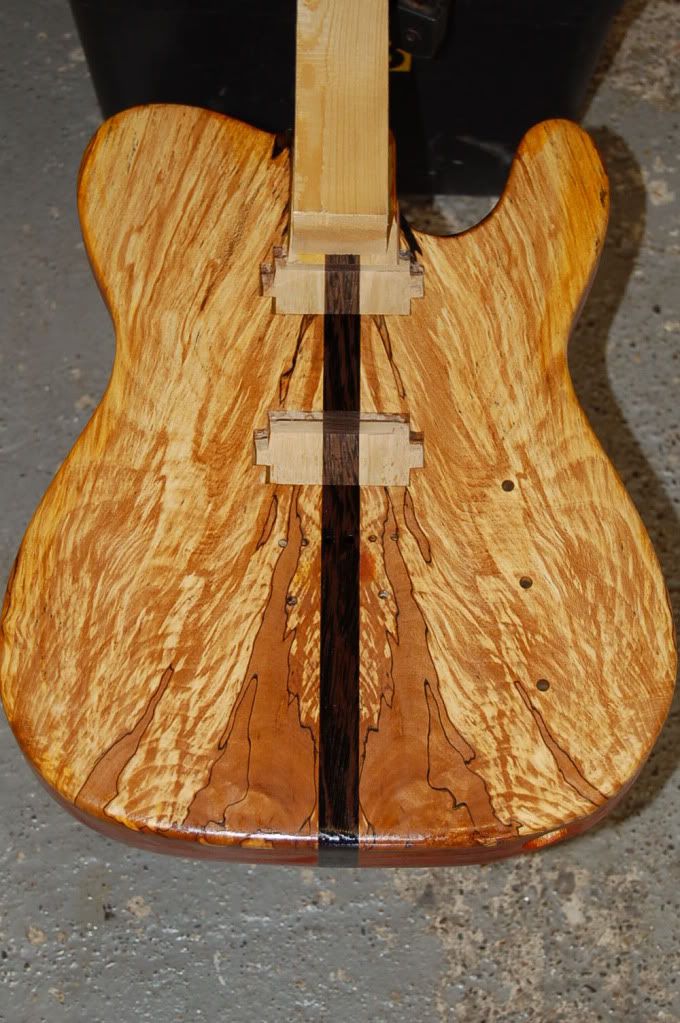
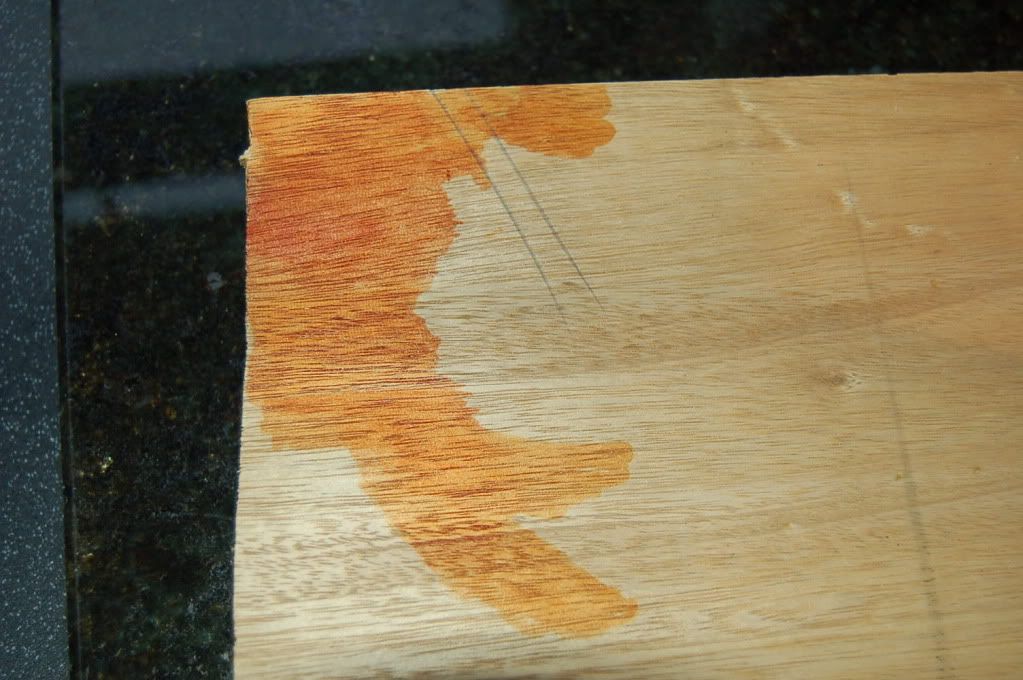
Well Xadioriderx, I took your advice and coated the whole thing again.
I've reapplied the methonol dye again and I think its turned out tip top. I used a diluted mixture so it was not so orange and I like it better now. I also diluted the mixture even more and gave the spalted top a very light coat just to darken it a tiny bit. I think this works also.
What do you all think. Better now?
-
Xadioriderx, I just ment that I thought you prefered the natural wood colour.

Well once again I rushed things. So today I have sanded it back to remove little blotches of dye and lacqure. I think I've made it worse now.
So the plan of action. Apply more dye to the back and sides to coat the sanded back bits. Spray the whole body with a very light tint using the same dye just to give the spalt a more rich warm colour.
Note to self. Lee, DONT RUSH THINGS YOU ALWAYS DROP CLANGERS
-
Thanks for all the replies. Fustrations YES. The latest clanger is to get a nice even colour by using methonol dye and then use a brush to apply the lacqure. I thought the lacqure would soak straight into the spalt which it did however the brush lifts the dye and spreads it around which makes the even stain now UNEVEN. If it was'nt so funny I would cry or maybe I'll cry anyway. Sand paper here I come.
-
Well Oasis sang " Roll with it" so here you are. First coat of lacquer. I'm not very good but most of it will be sanded back before the next coat. A waste but its better than paying £150 to get it done.
The Jaffa Orange is growing on me.
-
I put the dye on and now I'm in two minds if I like it or not. What does the forum members think?
I know xadioriderx wont like it
-
So slow on this project but I have give the body a final sand today. I used those Siasoft foam backed pads and was very impressed with them. Took it down to 400grit. I dont think I need to go any further.
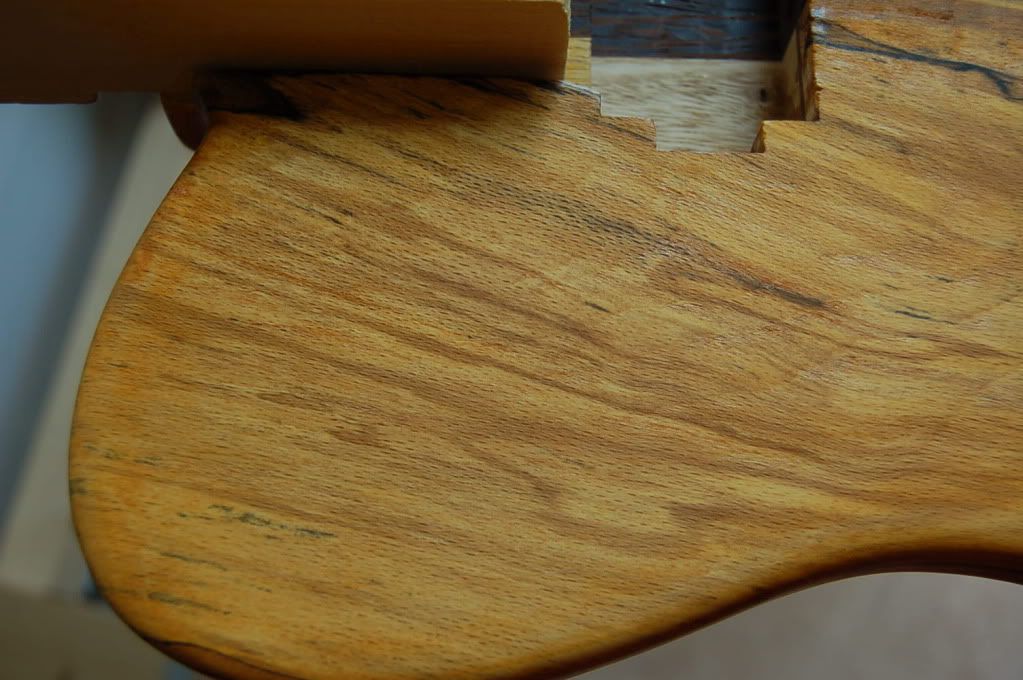
Also a photo of the rotten bit I dug out and epoxy filled. I dont think it will look that odd since the top has lots of black bits in.
Also I think the Idigbo is a bit too pale so I mixed a bit methnol based dye, yellow and a drop red and ended up with a colour that I like.


-
If you buy a tele and a strat sets I'll reduce the price so the shipping is not so painful.
PM sent
Lee
-
Shipping to the US is expensive. One set with Royal Mail Airservice is £28. This is 2kg max. Anything over is best going DHL. Its £35 for the first set then £10 for each additional set. Sorry but I cant help the rip off postage prices.
Thanks
Lee
-
Thanks for that Xadioriderx. Its going slow but I'm at the final sanding stage now which for some strange reason I dont make mistakes on sanding! Just need more hours in the day. Been to busy getting templates and neck blanks ready for the free listing weekend on Ebay.
Lee
-
Should clarify. Its free postage to UK for forum members but the rest of the world will be UPS or DHL Express at cost price.
-
Hi, I have for sale Strat and Tele routing templates. These are CNC laser cut using 9mm plywood.
They are modern spec i.e. 42.8mm nut width that fender are using now.
I can also get vintage spec if there are requests for it.
Price is £40 with free p&p to forum members otherwise its £5 p&p on ebay. £5 discount if you buy both sets.
There is 0.15mm clearance on the neck pocket to allow for finish thickness. if you dont want this just line the neckpocket template with tape.
Any questions just ask.
Payment by Paypal and postage to UK only.
PM me if interested.
Thanks
Lee


-
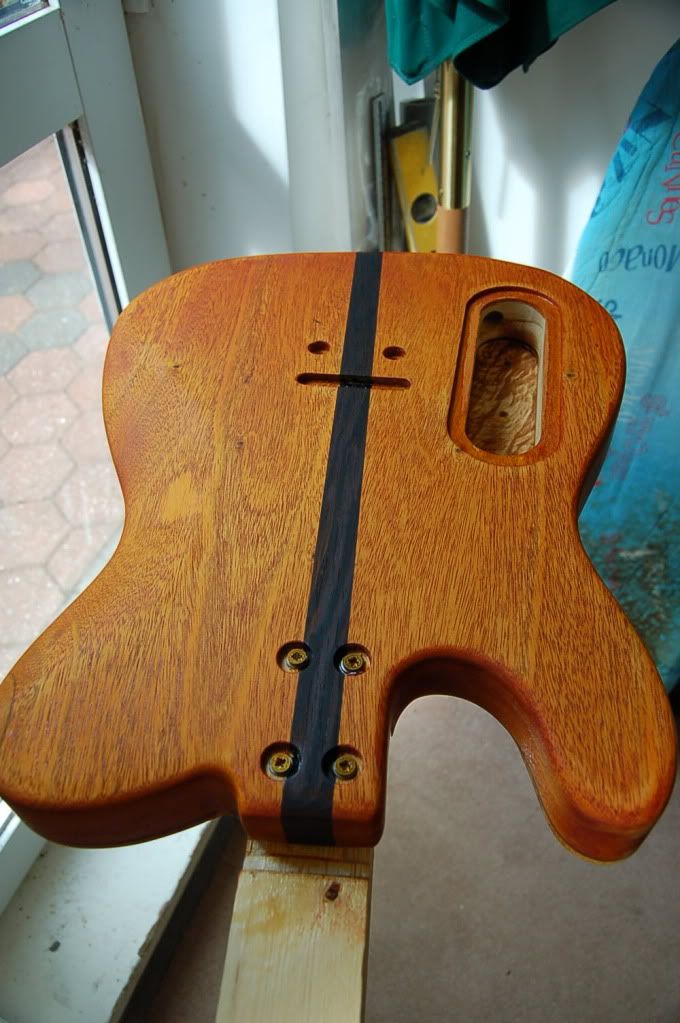
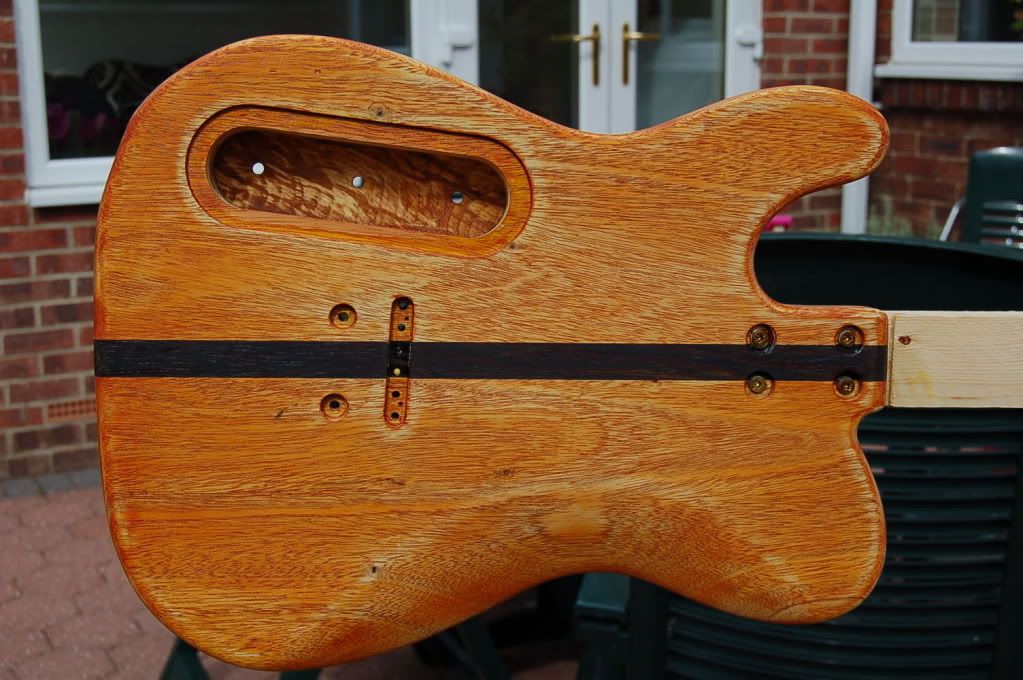
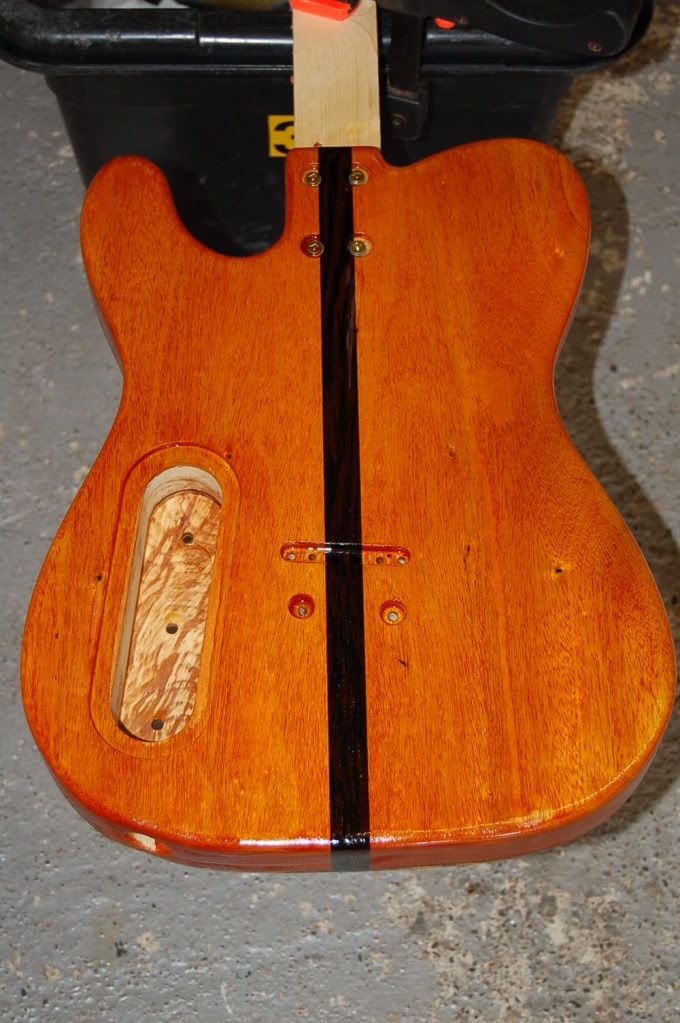
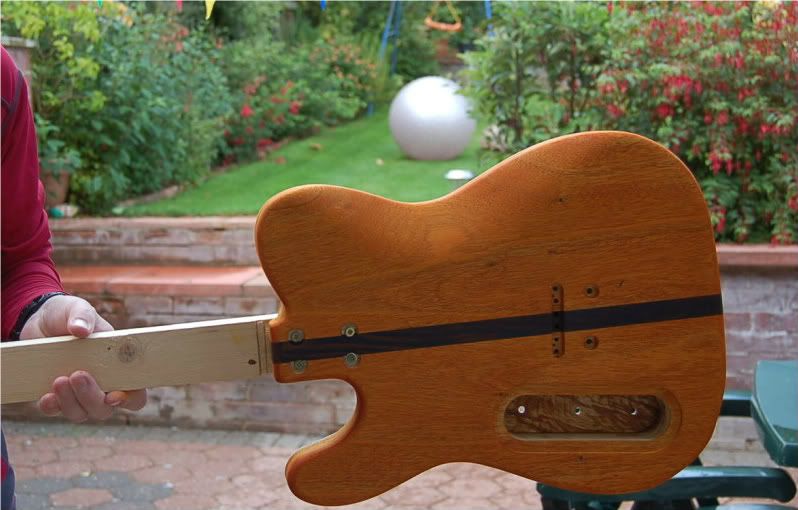
I've drilled the hole for the euro-scoket jack. Had to off set it from center because I did not want the socket bisecting the Sapele body laminate. I think I've done the right thing.
Just need to do the back belly contour and thats it. Just need to do final sanding and then it spray gun time.


-
I've done the recess using my new template and its worked well. I'm surprised because I normally make a mess of things but this part of the build is going well. Nice clean uniform curves.
I've ordered a 3mm sheet of black perspex so I've router the recess to 3.7mm to allow for the double sided sticky tape I use to clag the thing down.

-
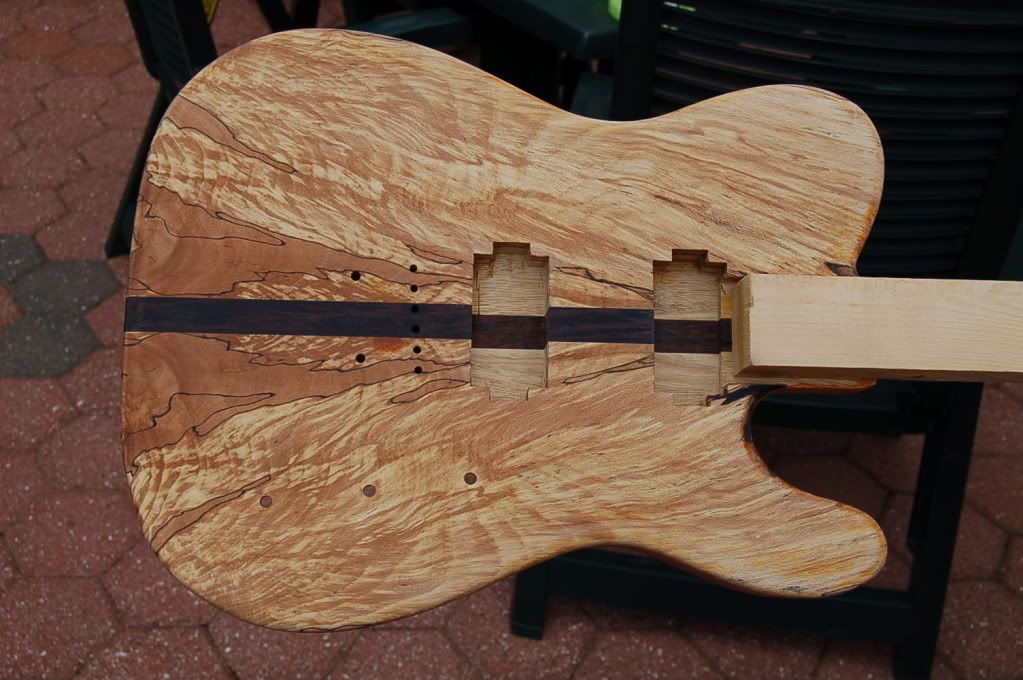
Done a bit work today. I've routed out the rear cavity to take the 3 way switch, vol and tone pots. I used a template I had a local laser cutters do for me as I want perfect radii. Its worked really well. Each cut out is 1/2" bigger than the other so the smaller is to do the cavity, the second is to make a bigger recess to take the plasic cover and the biggest of the 3 is to cut the plastic cover using the same 1/2" router bit. The plastic cover should fit perfect with good clean rads.


-
I finally was brave enough to drill for the Schaller Hannes Bridge. Its a tricky little thing. As is normall custom for me I have made a bit of a booboo of it. The slot for the string retaining thingy is too long. my own fault I was just not taking my time. See photos.
I've had the neck on and checked for neck alignment and all seems to be OK.
All I need to do now is drill for the switch and pots and route the control cavity then final contours and sanding.


-
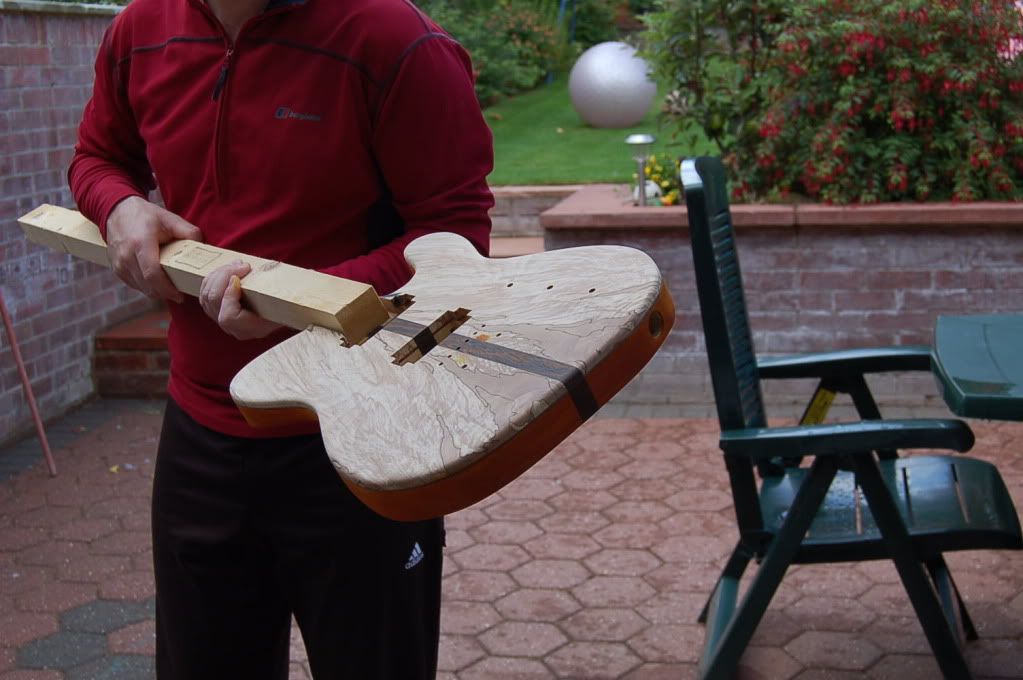
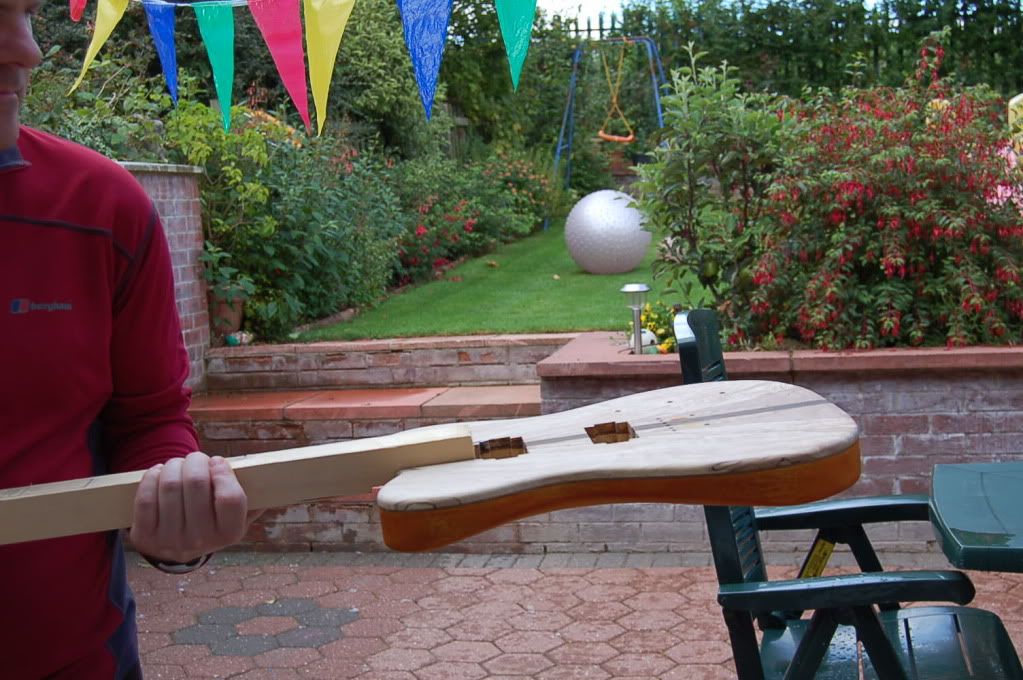
Pulled my finger out and done a bit of work today. Pickup cavities done. I still need to square up the corners with a chisel. Next operation will be to fit the Shaller Hannes bridge. It looks a bit tricky


-
After weeks of deciding to have a glued in neck or bolt on I'm going for the bolt on. Main reason I'll mess thing up as usual and the neck will be on and off half a dozen times.
Problem is the holes are not spaced wide enough.


-
The epoxy is in now but I'm going to leave it a few days before I sand it back. In the meantime I've rough sanded the neck. I wont compele the neck until the body has been finished. This way if the neck needs sligh sanding at the heel to make it perfectly flush to the body I can do it then. Since the neck is Goncarlo and Wenge it's getting a few coats of Danish Oil only so its silky smooth.


-
Thanks Ripthorn, Its the first time I have used the Hannes bridge and I really like it so far eventhough it was very expensive about £100 is I remember.
I'm glad I'm back on this build. I took a break to build a new neck for a tele I built in 2009. It was for sale and the neck was to the buyers specification but I think I've been bummped. I'm not bothered because its a great guitar. Photo below
Lee

-
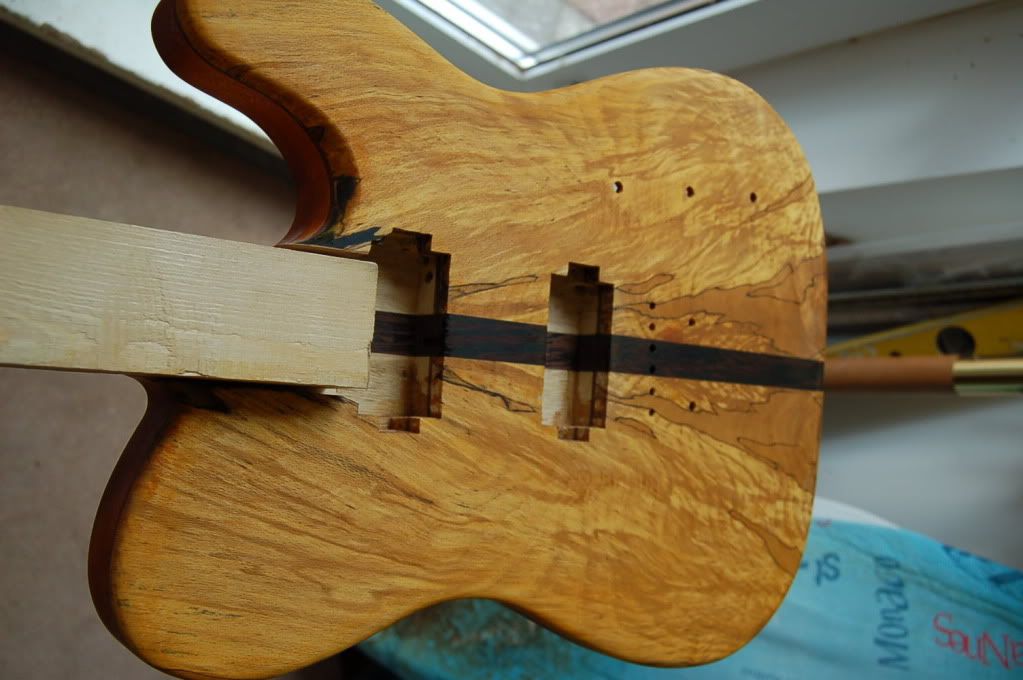
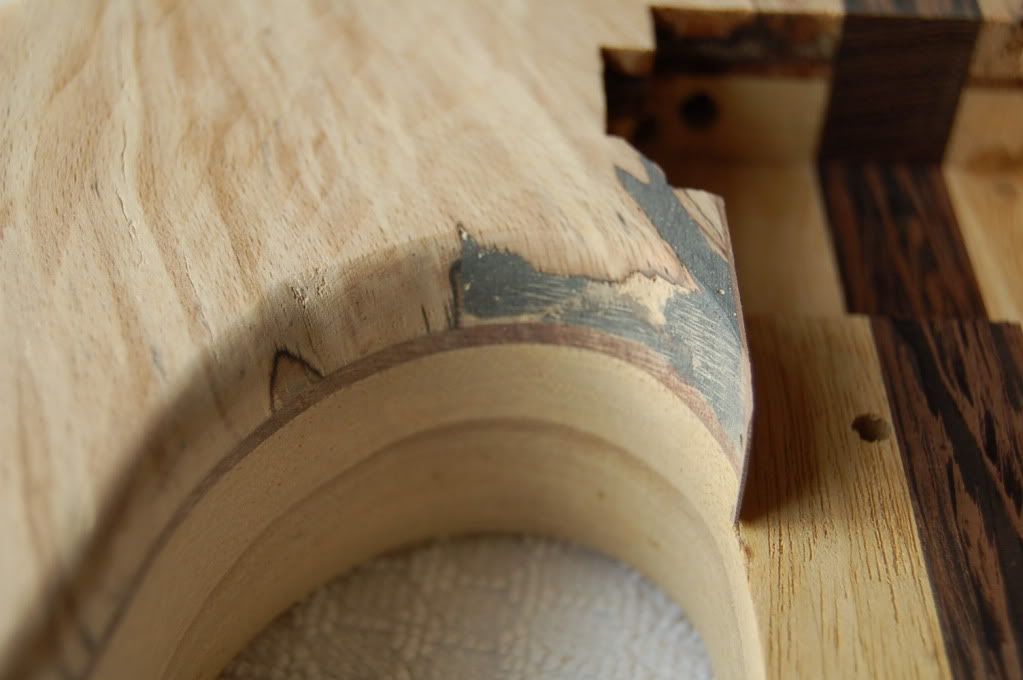
I decided to do something about the bad bit of spalt near the neck pocket. I've gouged all the soft wood out and formed a little dam so I can pour epoxy down the hole. May work may not only time will tell.#


-
Some photos of a mock up just to see what it will be like. It was always the intention to glue the neck in because I think it may give better sustain or may be not but I'm starting to think about bolting it on. The only reason is I can position the neck and the then datum the bridge position from it and also I can always take the neck off if I need to shim it or build the neck thickness up any. I'm in two minds.


-
After a bit of a break from this one due to reworking the another Tele I had but not happy with, I'm now back on the job.
Not much work, just cut the neck pocket and tried the neck in place. The end of the slot is a bit untidy but the pick up cavity should clean it up.


No-finish Neck With Laminates
in Solidbody Guitar and Bass Chat
Posted
My current build has a Goncarlo Alves and Wenge lam neck. I clean it with Methonol first to remove the oils and then glue with Polyurathane 30minute glue.
They dont need to be lacquered but I do apply Danish Oil to make then silky smooth.