


sofison
-
Posts
35 -
Joined
-
Last visited
-
Days Won
2
Content Type
Profiles
News and Information
Tutorials
Product Reviews
Supplier Listings
Articles
Guitar Of The Month
Links and Resources
Forums
Gallery
Downloads
Posts posted by sofison
-
-
Carving the top and neck is the best part of a build IMHO. Yours came out great. The consistency of the flame on that piece of maple is awesome. Be careful about repeatedly soaking that top in water to pop the grain for photos though. Remember all the water that soaks in must evaporate back out. A better alternative is naptha or denatured alcohol.
Thanks a lot ...
I always let the water evaporate back out. I use water on raw wood just to raise the grain, I found out that it helps me a lot with the sandpaper by achieving a smoother surface.
-
Looks pretty good. That shallow carve is actually getting pretty common on thin guitars.
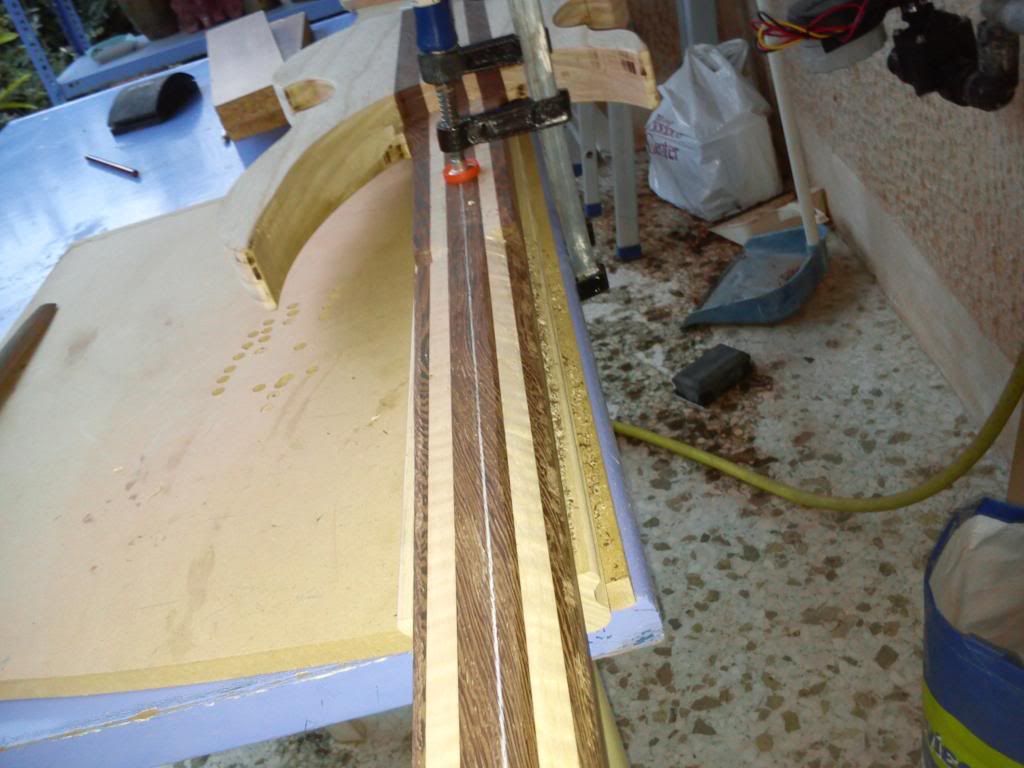
Looks like your nut width barley fit on the outside of the laminates. That is always the first thing i measure when doing multi laminate necks.
Thanks
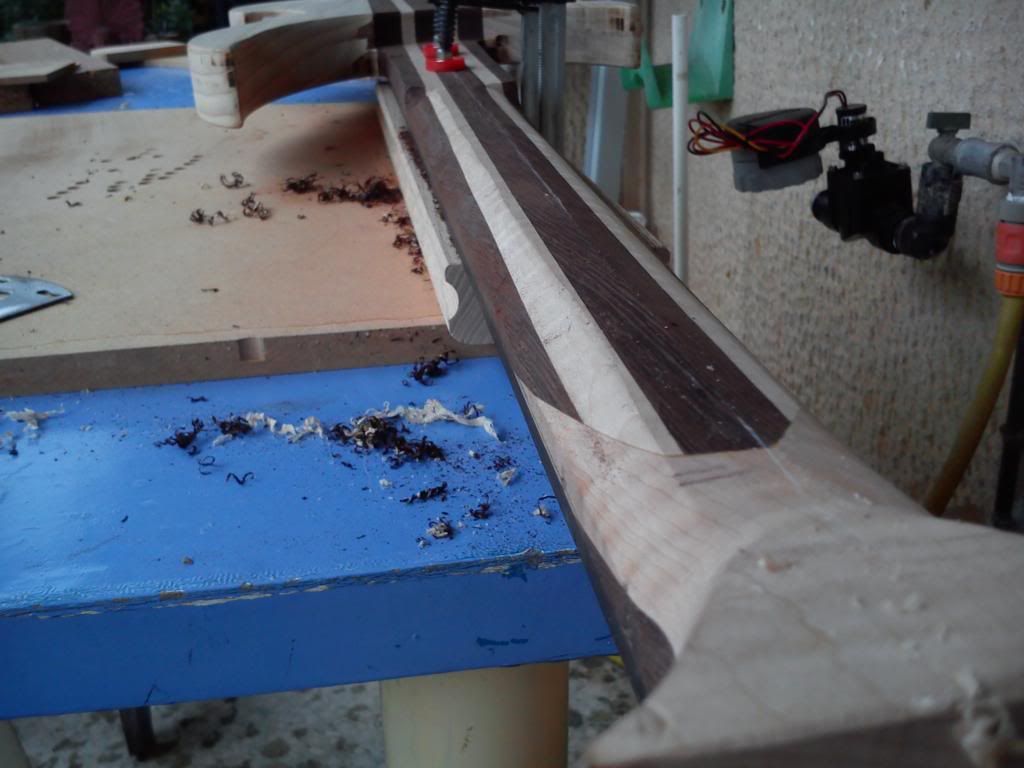
That is true but finally the outer laminates are still there about 2-3mm each. I'll post some photos soon.
-
Okay the last ones at the moment.
More ....coming soon!!!!
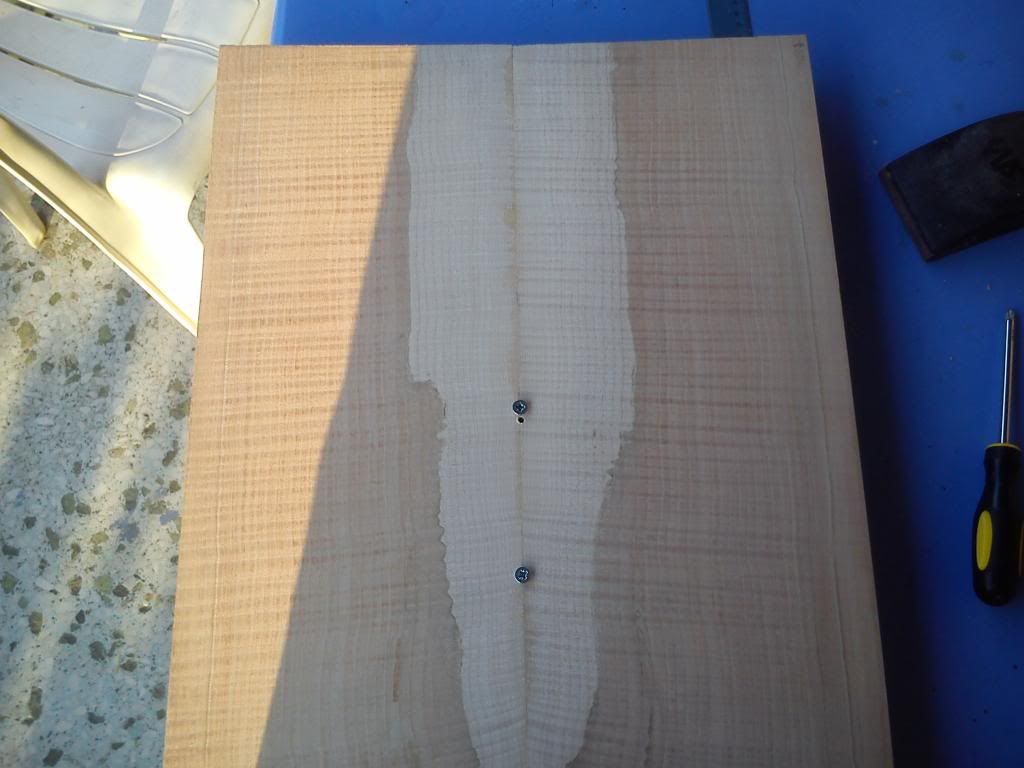
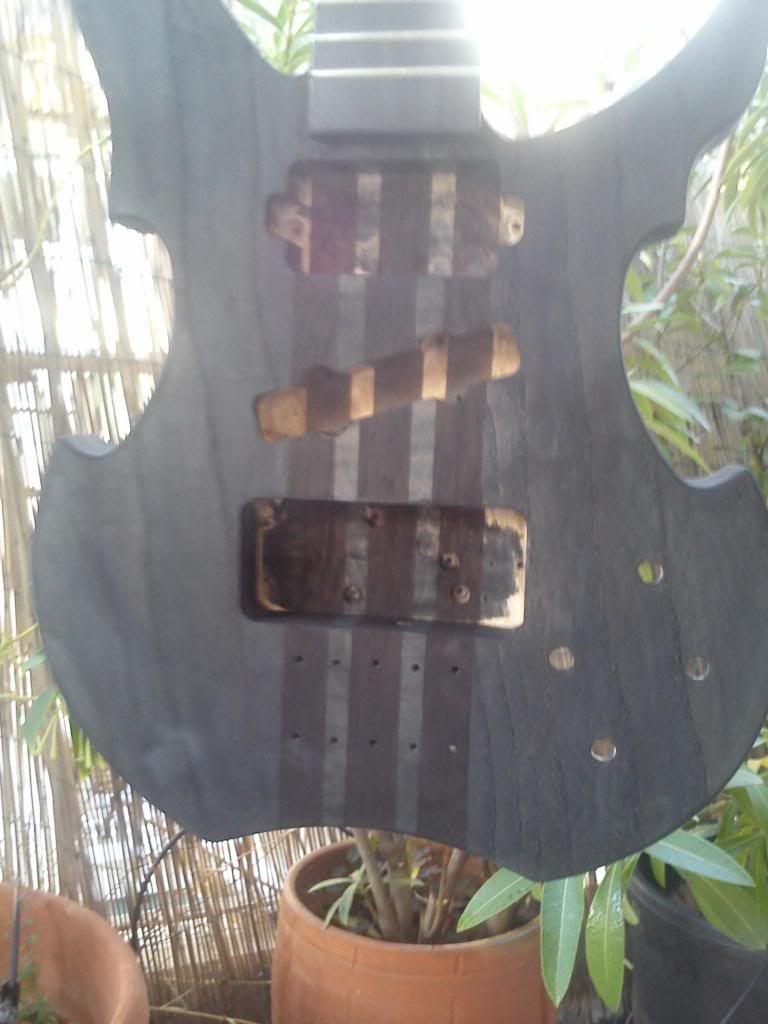
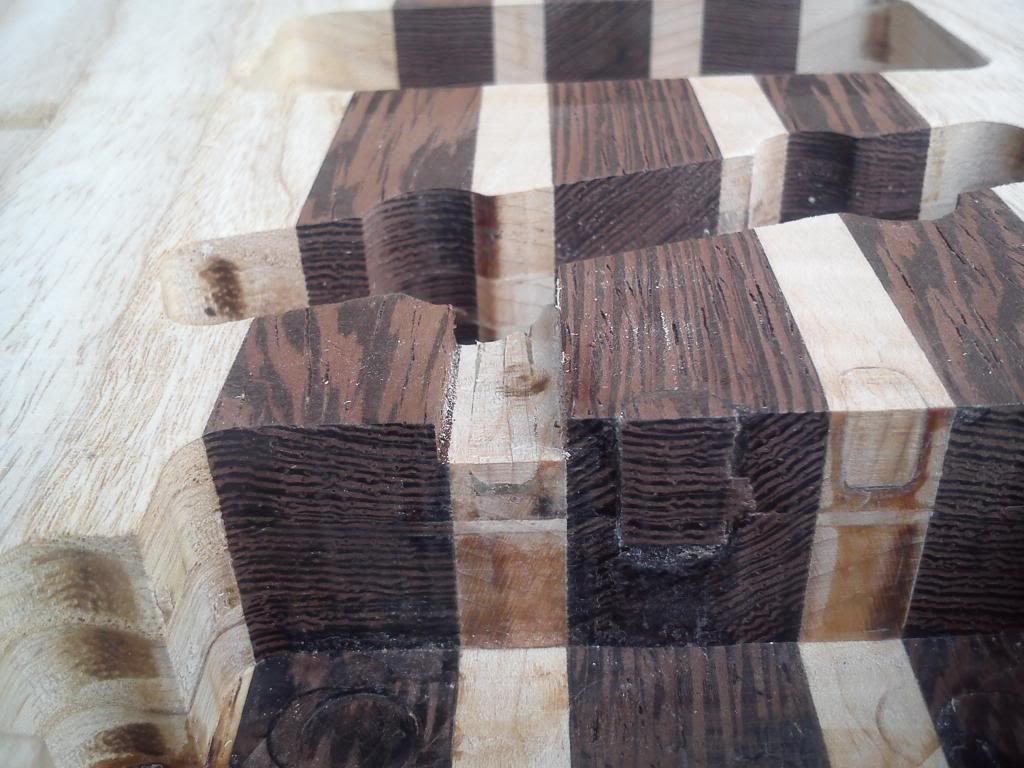
Water enhancement (Crappy photo)
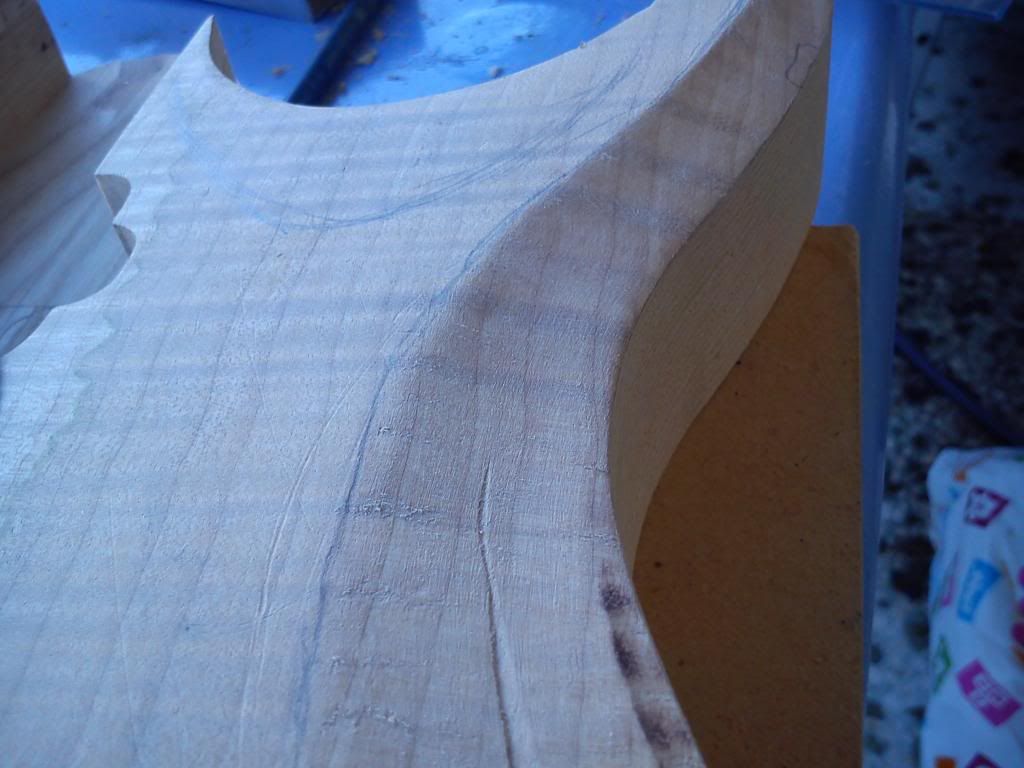
Carving detail
The whole thing
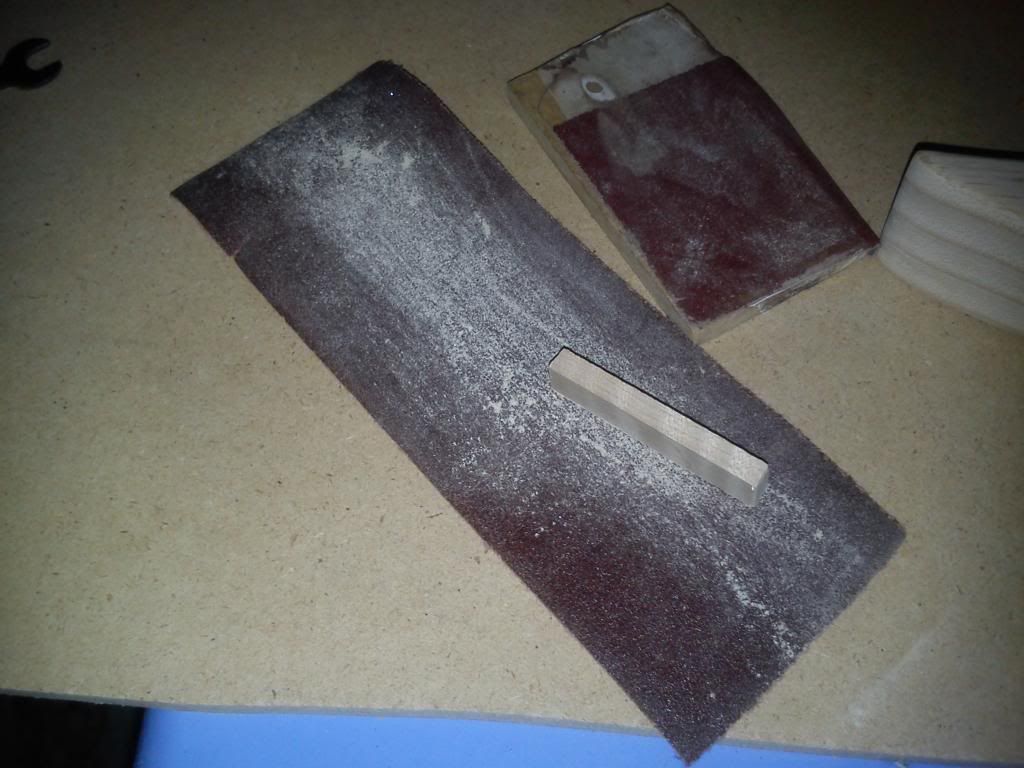
After a couple hours of sanding (need some more sanding to smooth the transition at the lower edges of the belly)
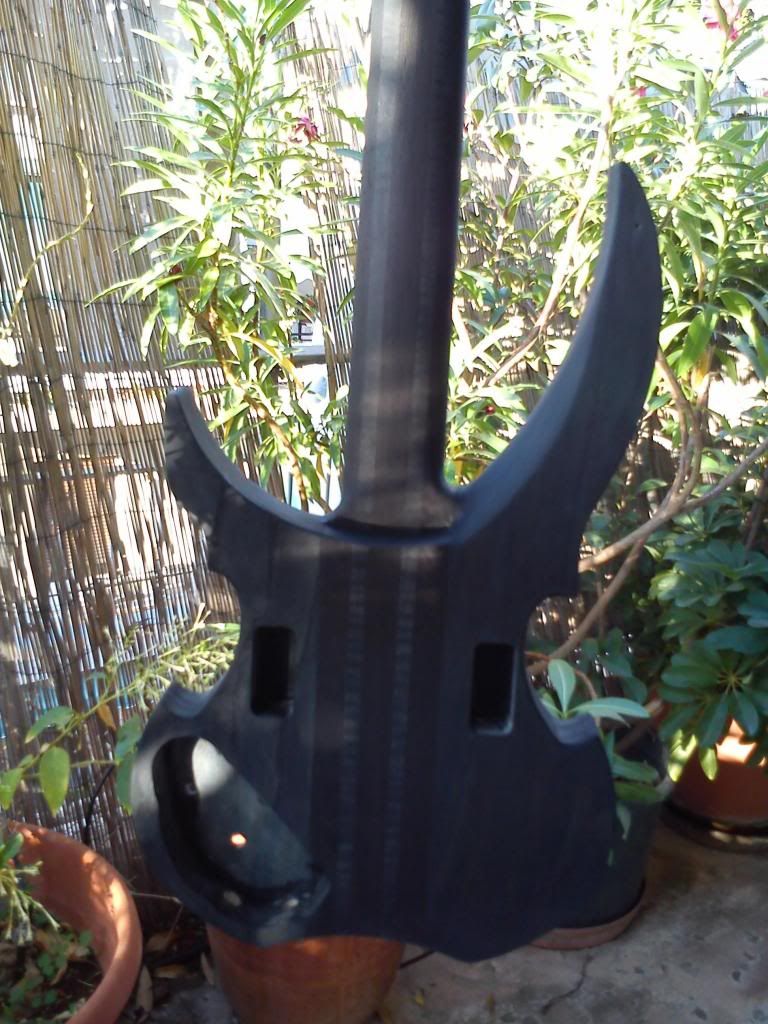
I don't know if you like it..... BUT i am really proud of my first body carving.

-
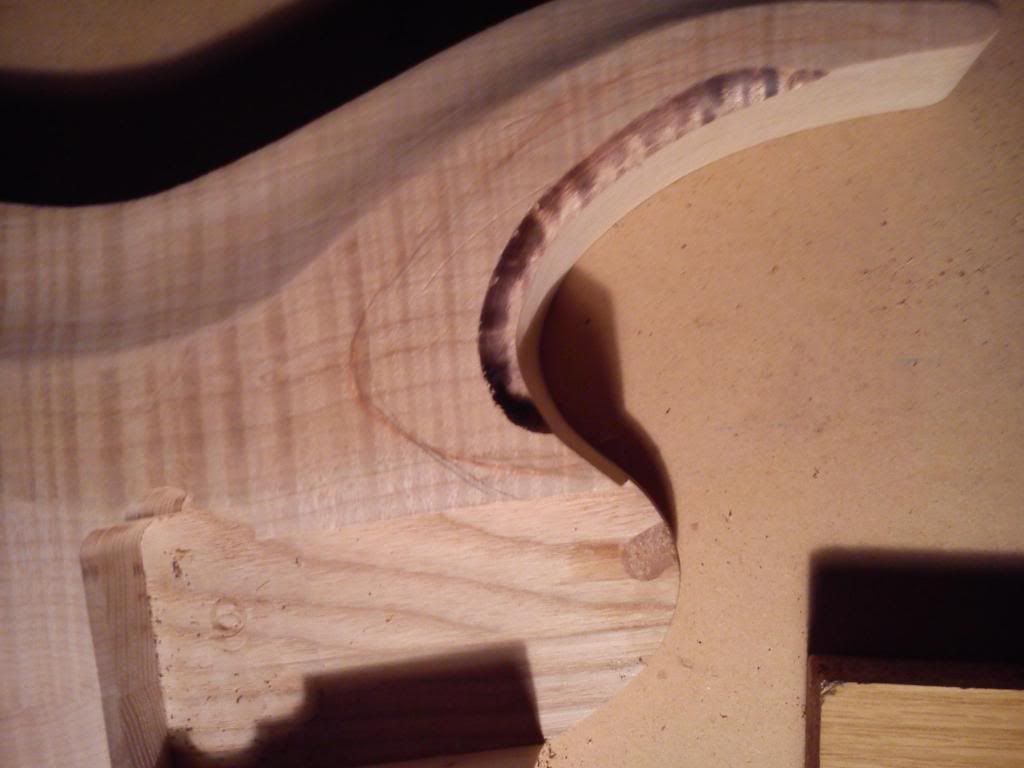
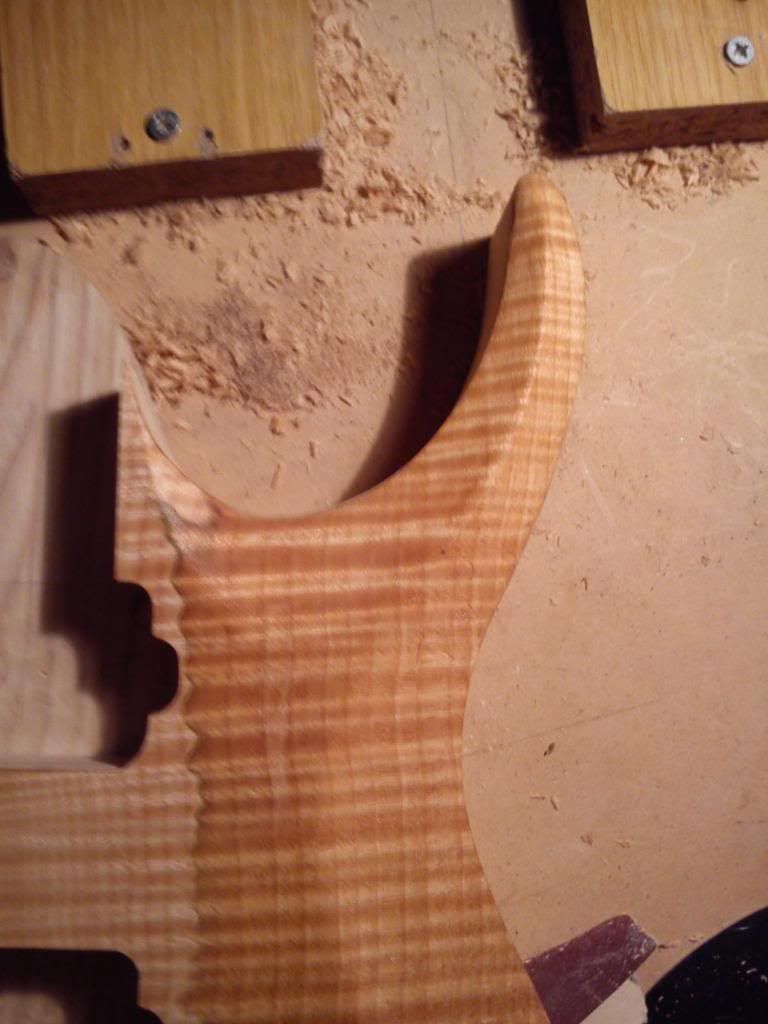
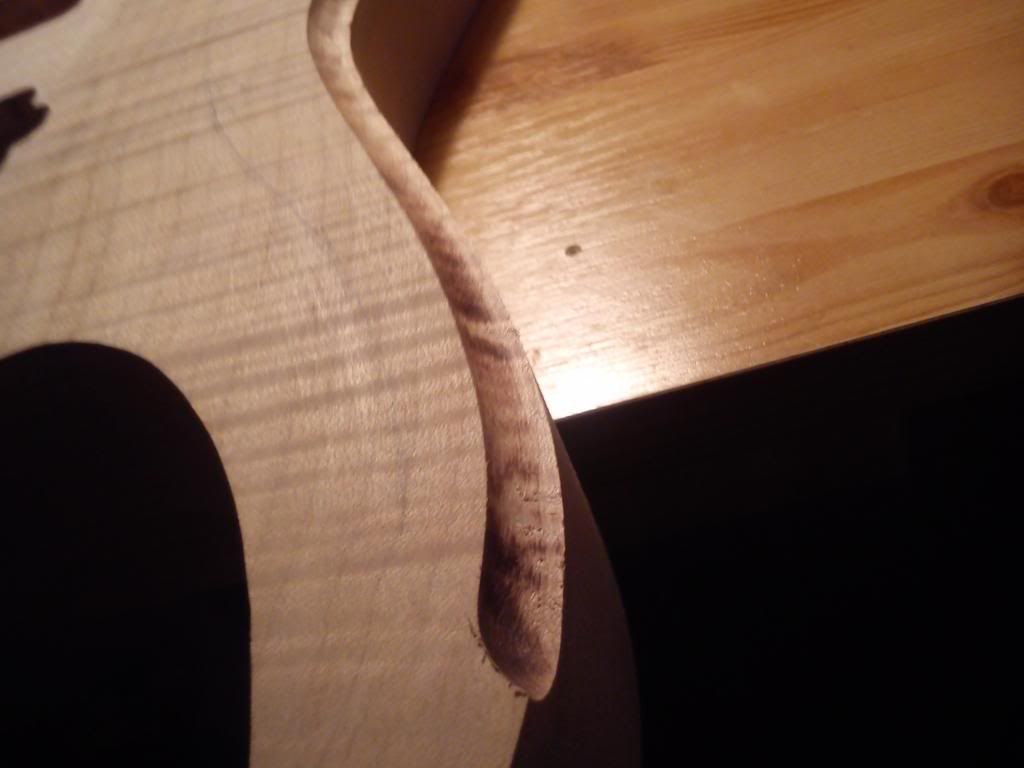
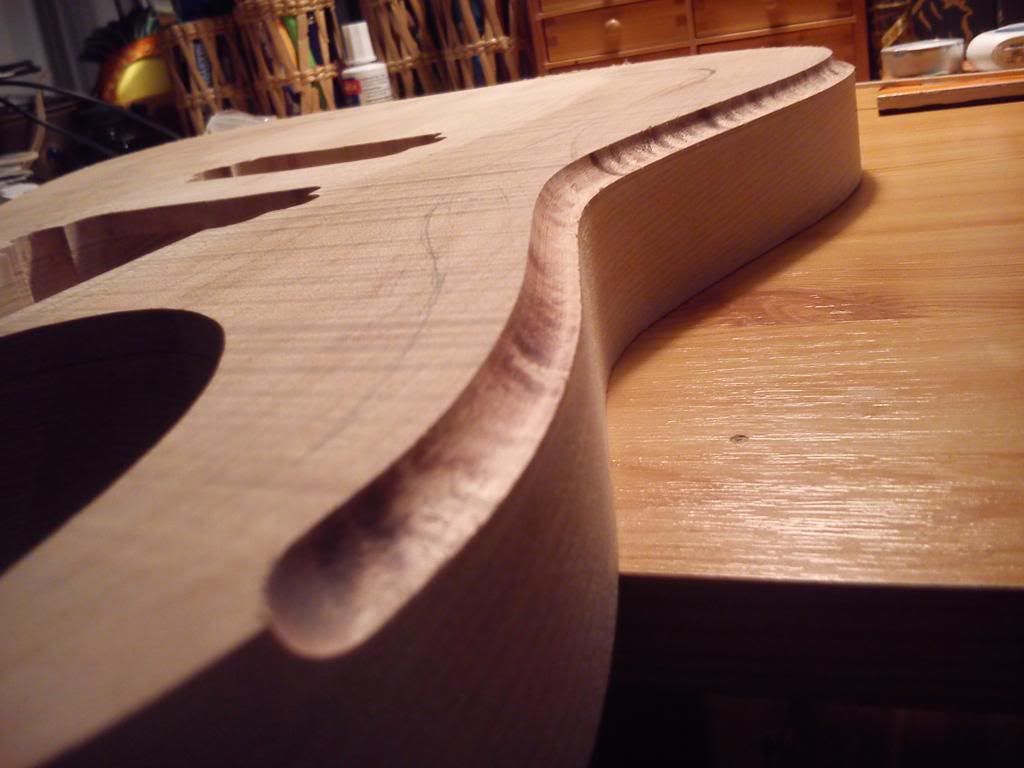
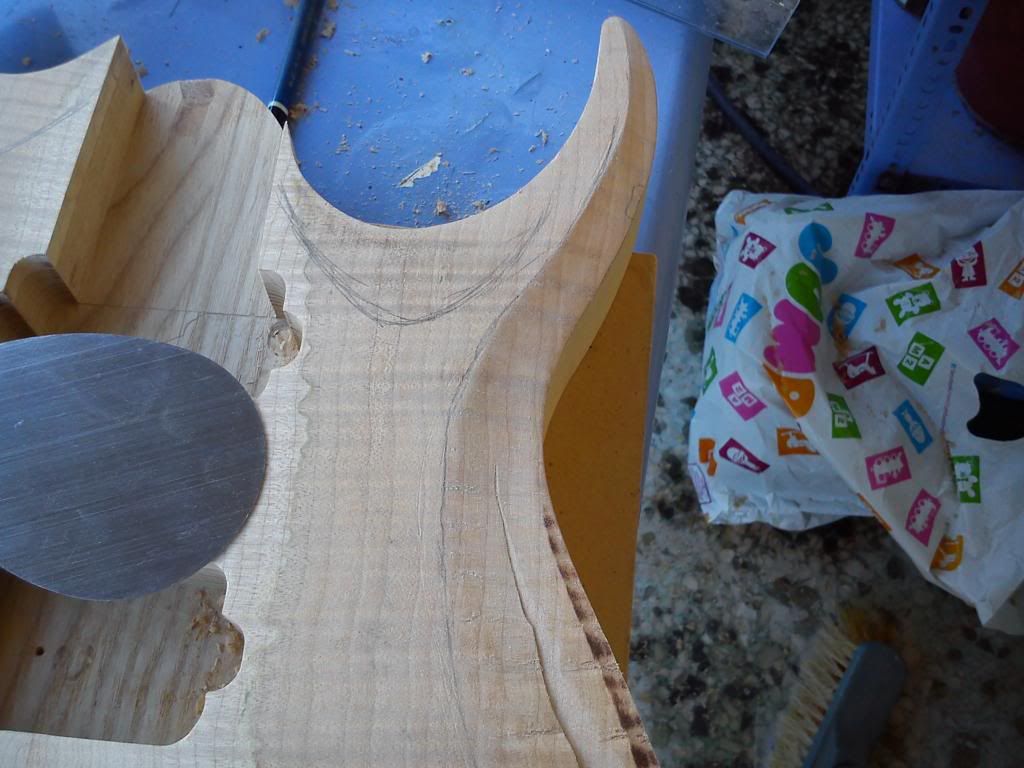
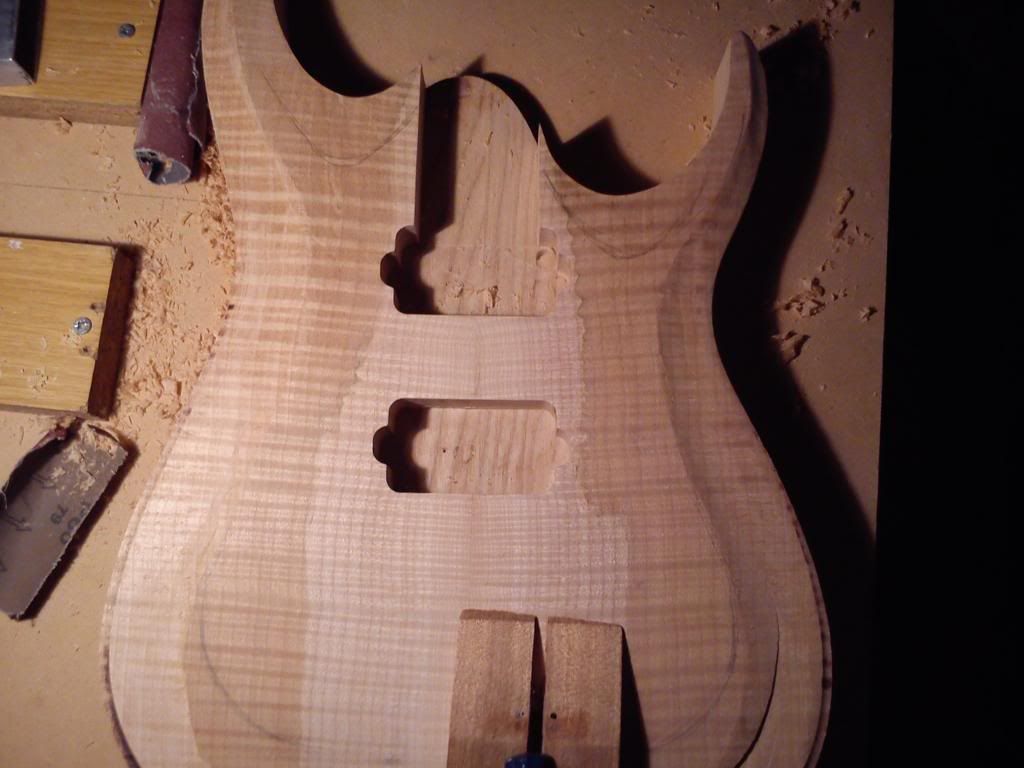
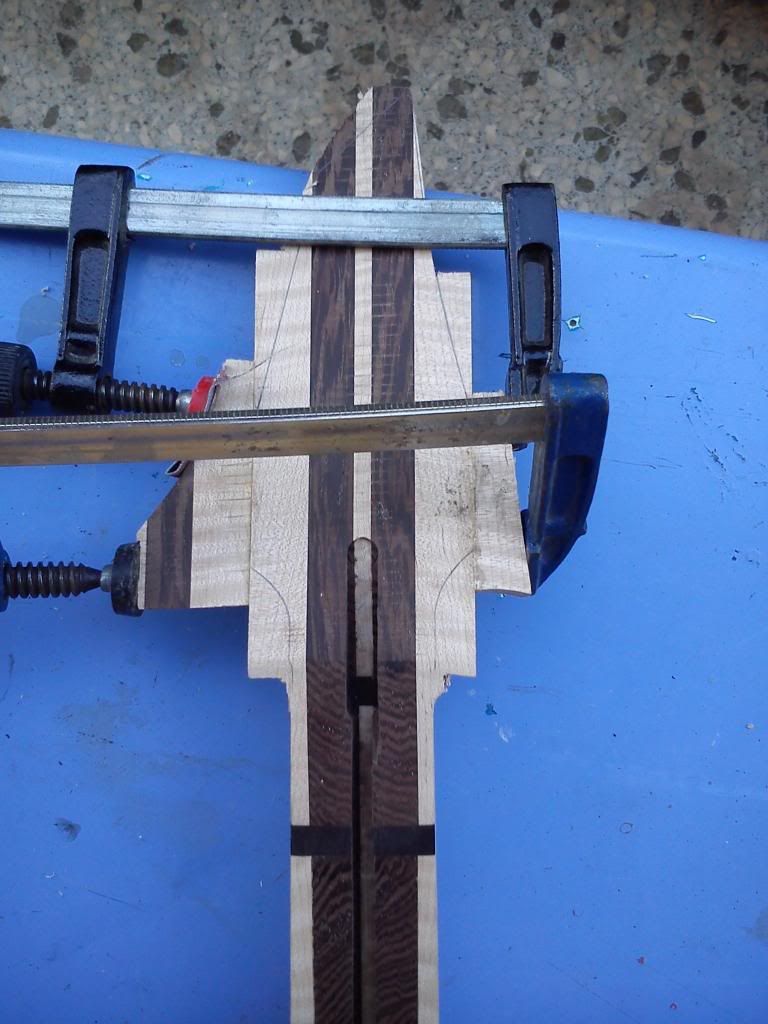
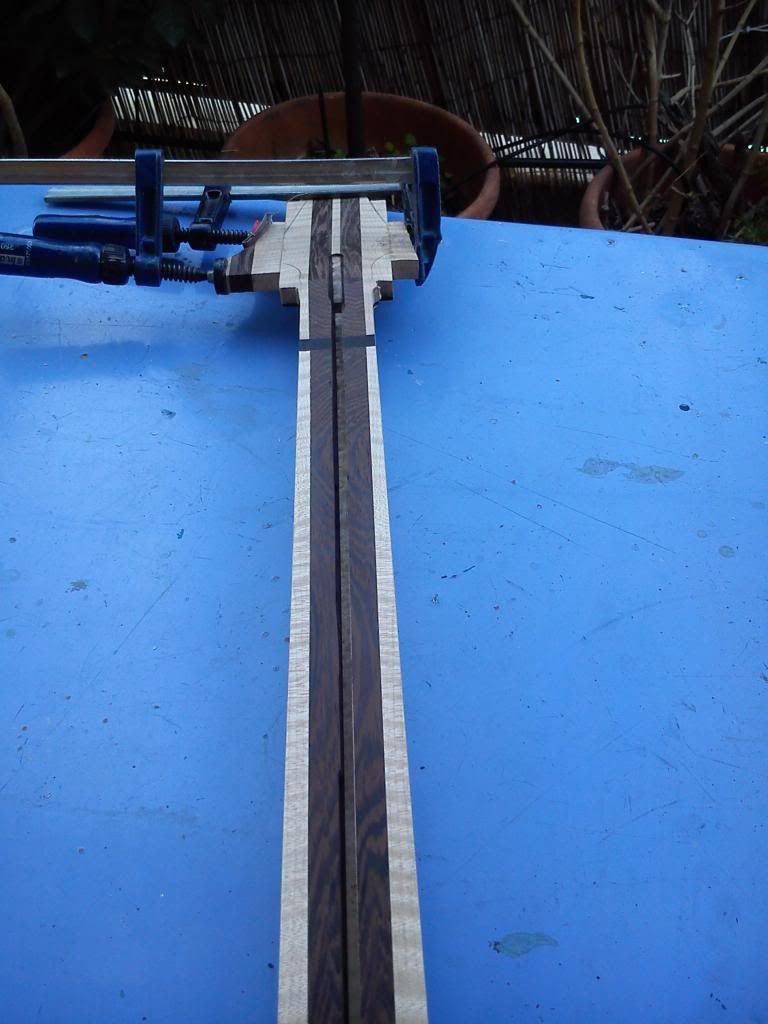
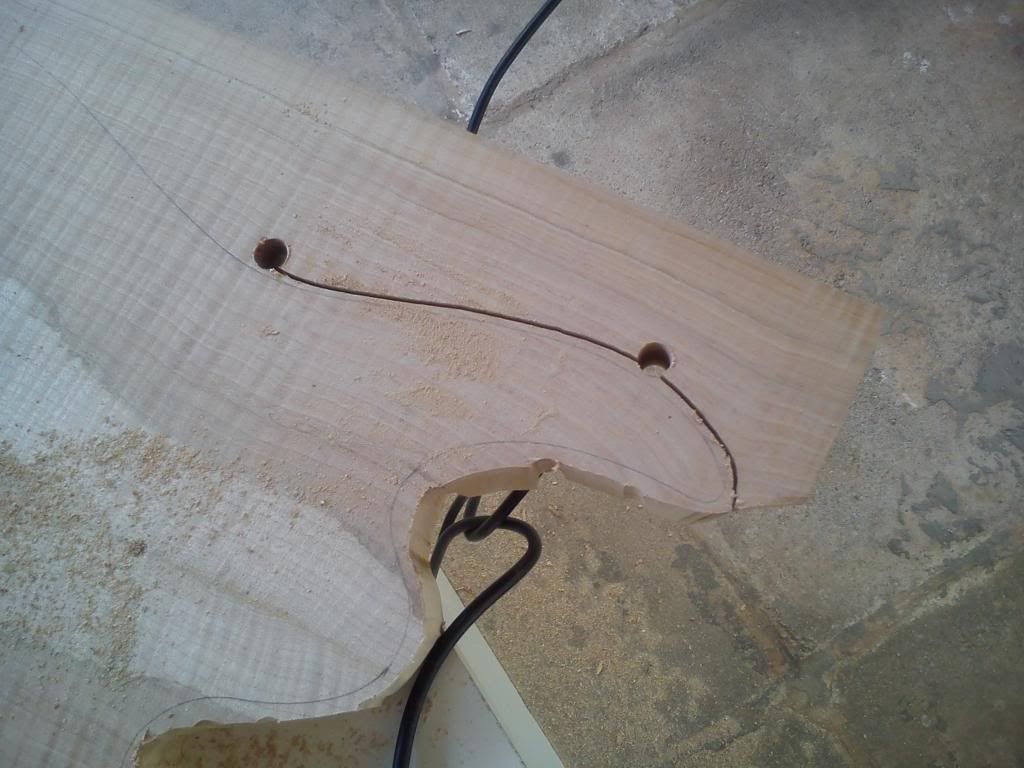
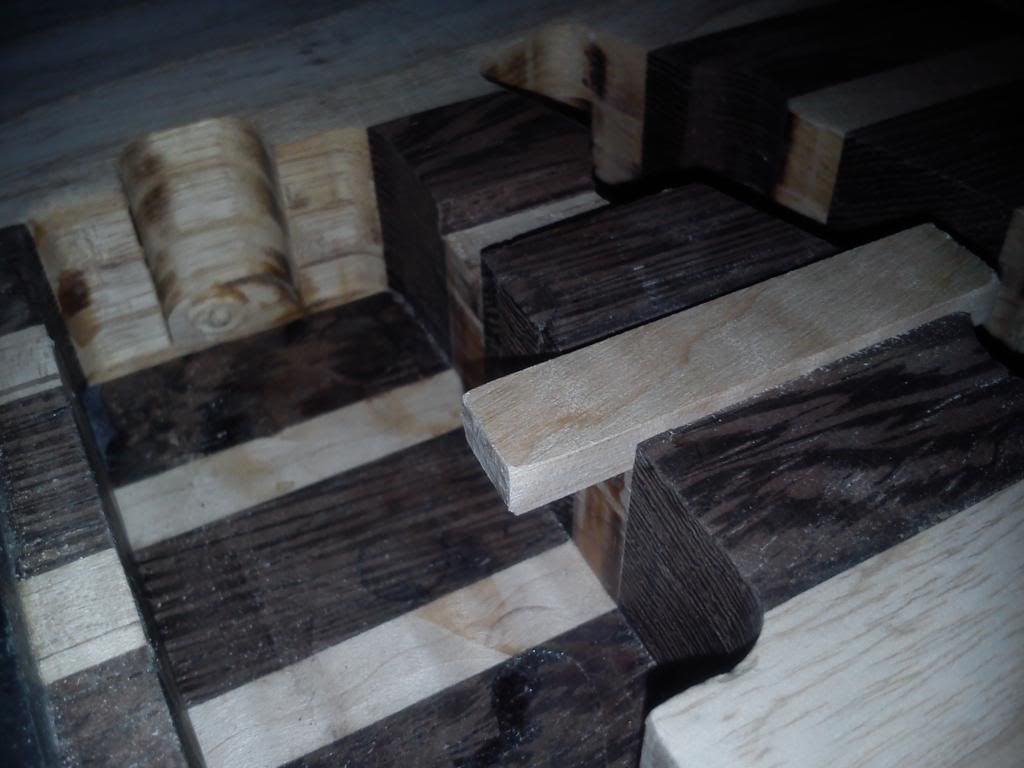
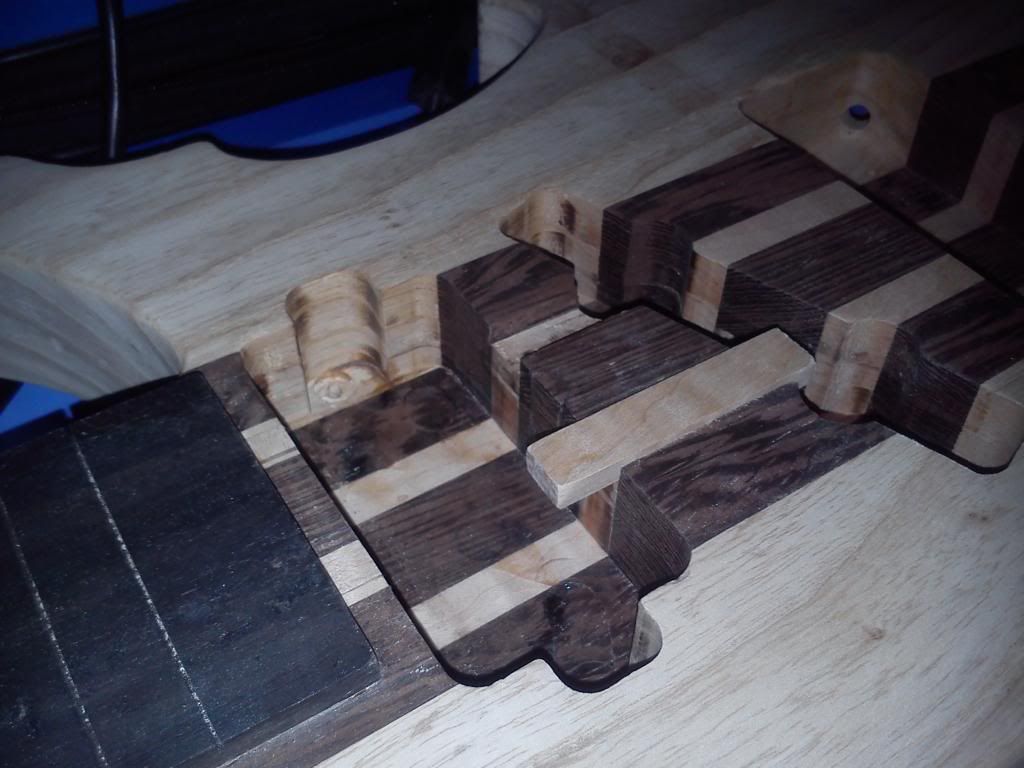
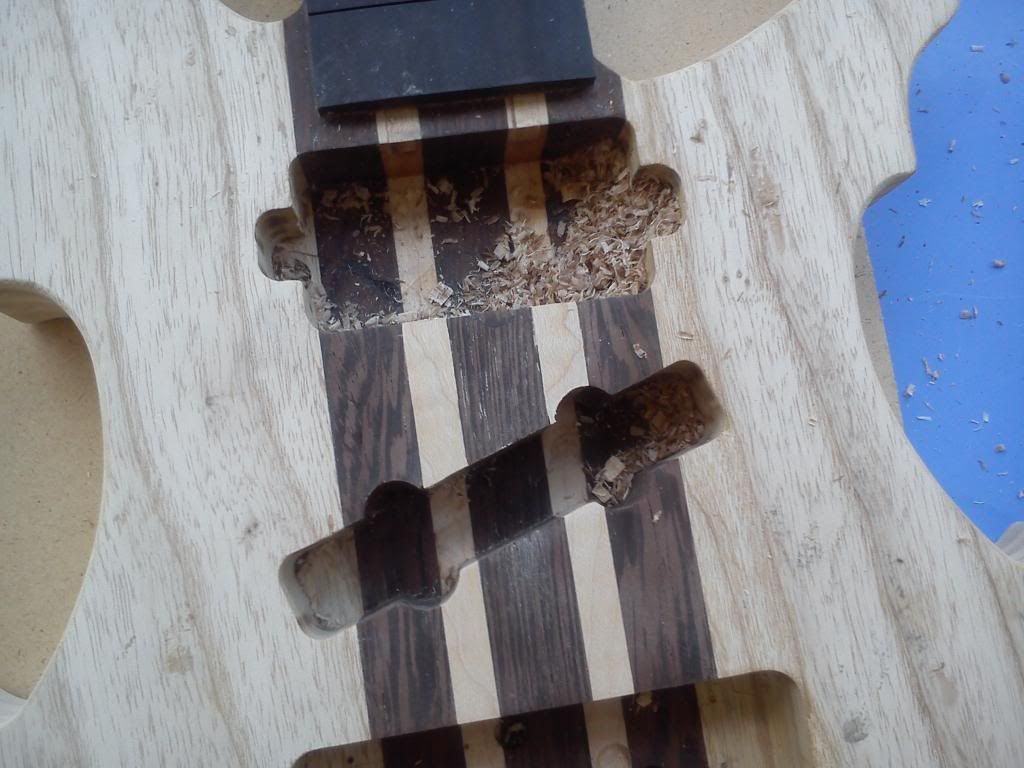
Carving inside the horns
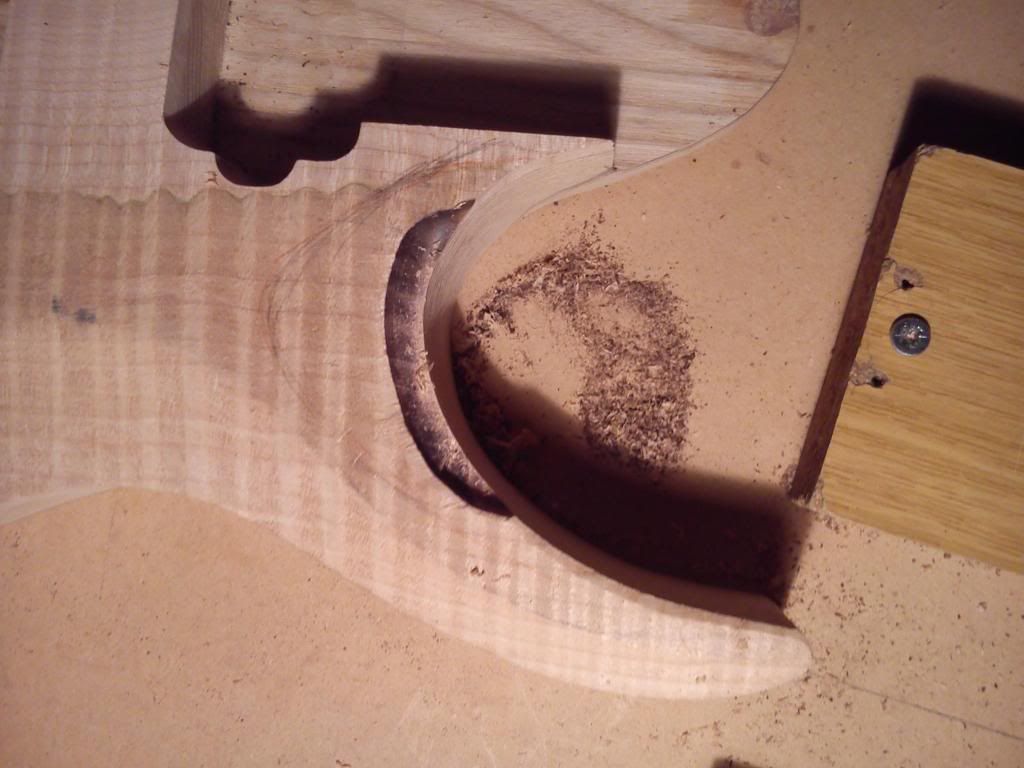
Marking the heel contour
Shaping the neck (I really love this stage, unfortunately I didn't took more photos
 )
) 

Test fitting - Heel contoured
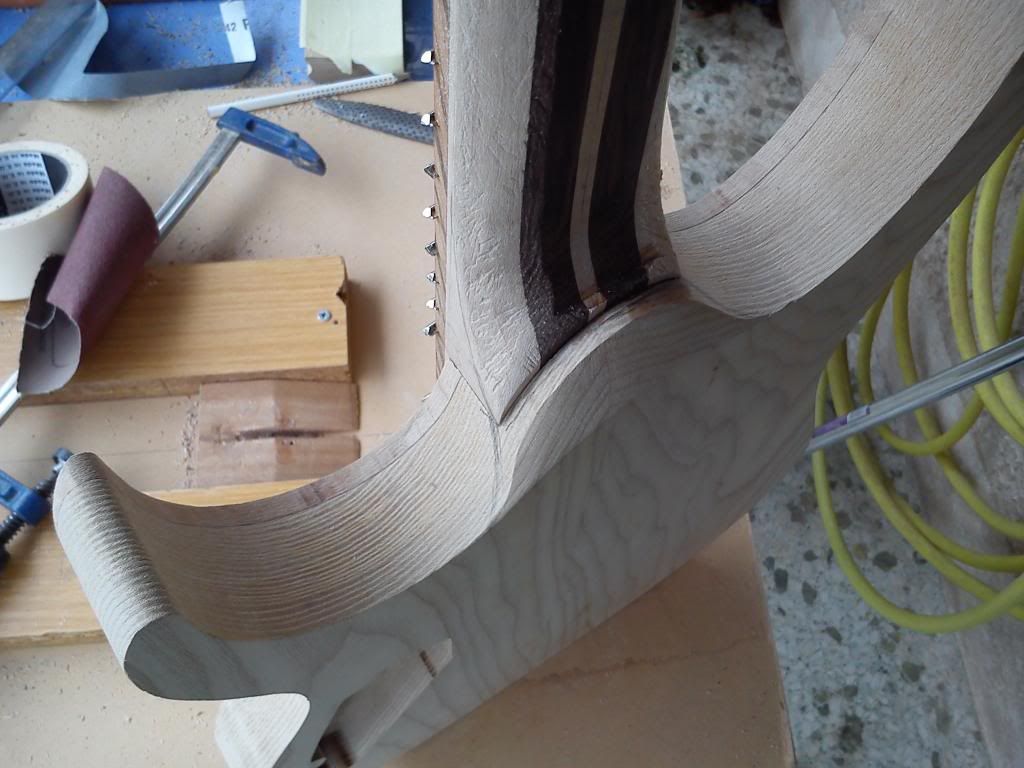
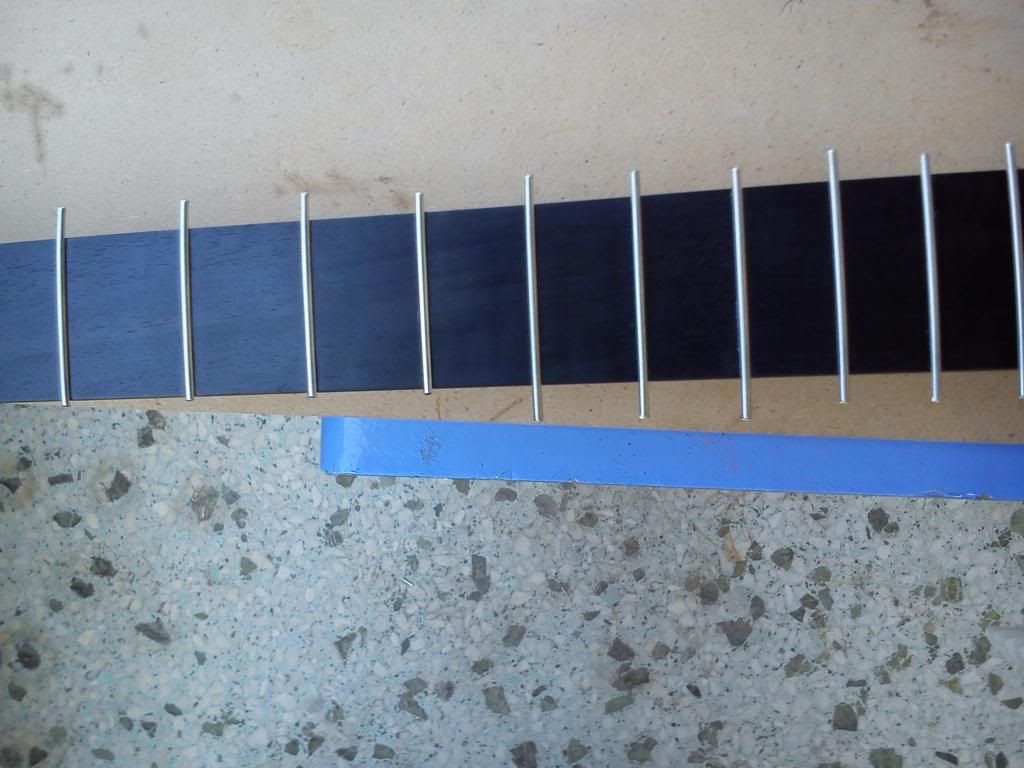
Ohh there are some frets on....
-
This is exactly how I plan my headstocks out also. It is possible to scarf on a piece which is exactly the thickness of the destined headstock thickness and apply a "backstrap" in order to hide the join as it traverses the volute. Generally the headstock piece will encompass the entire volute as described.
I compared this to a scarfed Ibanez headstock with no volute, and they still use a 18-20mm piece which I presume is cut off a larger neck blank. Ultimately the only uses in using a thinner headstock scarf would be to move the join further towards the nut (this can reduce "first position hump") or to make subsequent headstock thicknessing operations less burdensome.
I personally dislike seeing any kind of join within the volute itself on the basis that it is a clash of angles to my eye. It makes the volute look "pasted on" and serves to overemphasise that the headstock is a separate piece of material.
Your CAD plan is more or less bang on. The volute can be less pronounced if it serves to reduce waste or helps produce a smaller initial blank. I presume that you plan to recover this piece from the underside of the neck as opposed to from the length?
Thanks for your answer.
If I got it right from your whole post you agree on what I've planned out.
Yes I generally use the piece from the underside of the neck but sometimes i cut it from the initial neck blank if it's too big.
I also tend to add thin pieces of wood between the 2 pieces to give a little more length if it's required and for aesthetic reasons too.
-
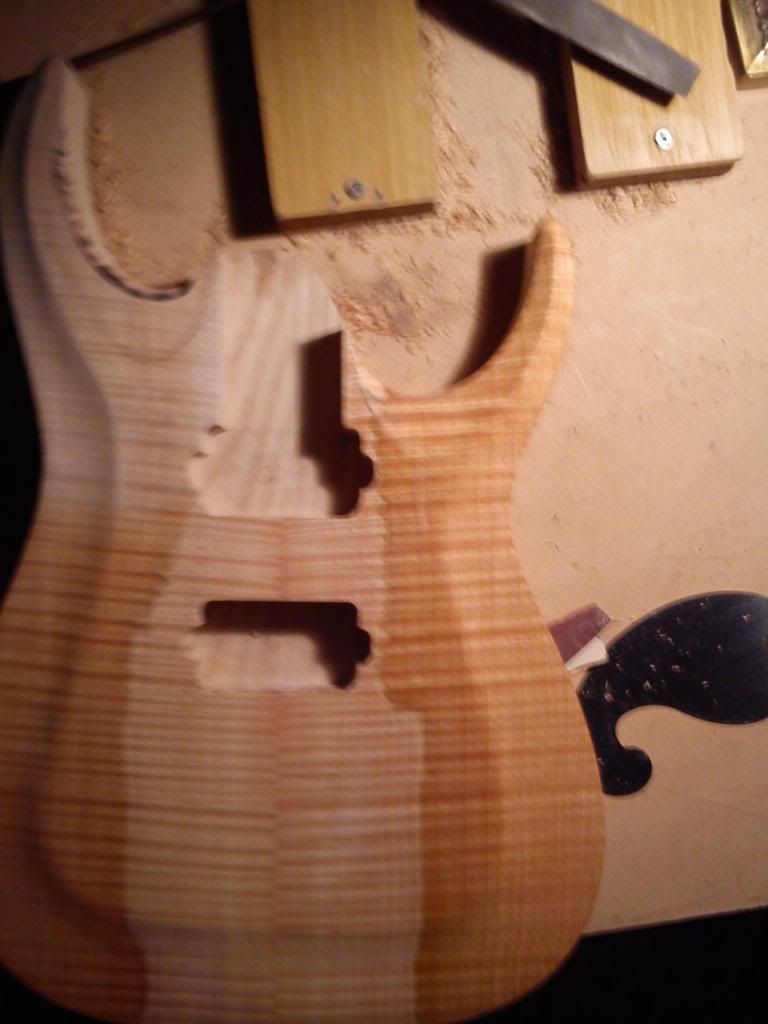
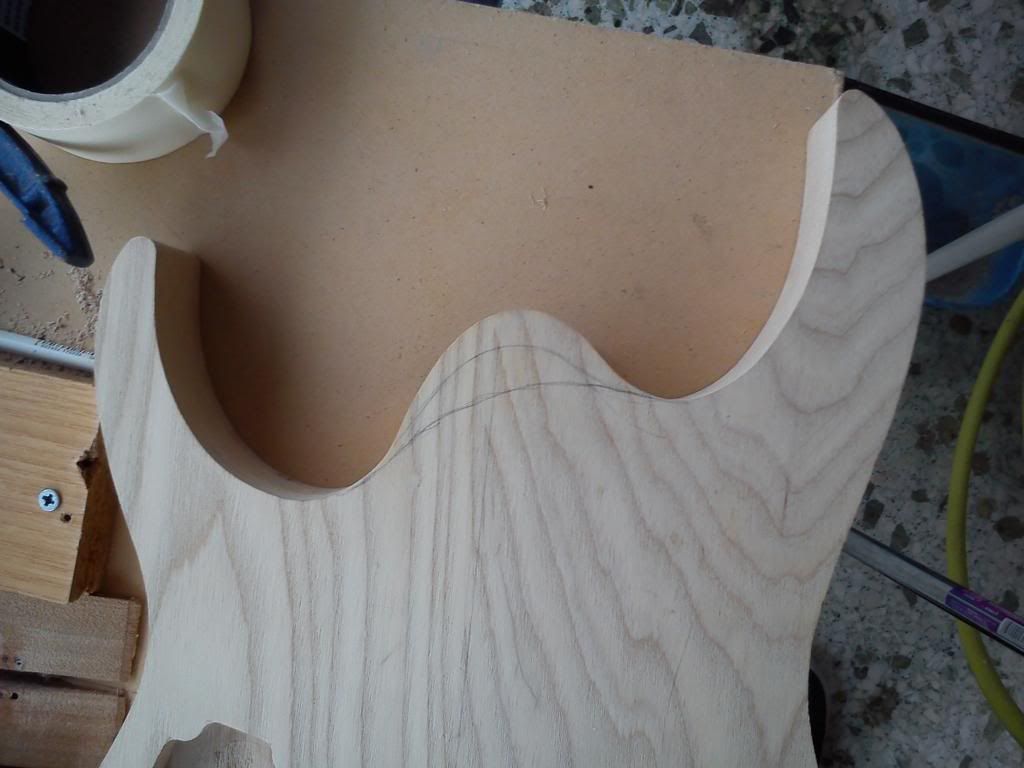
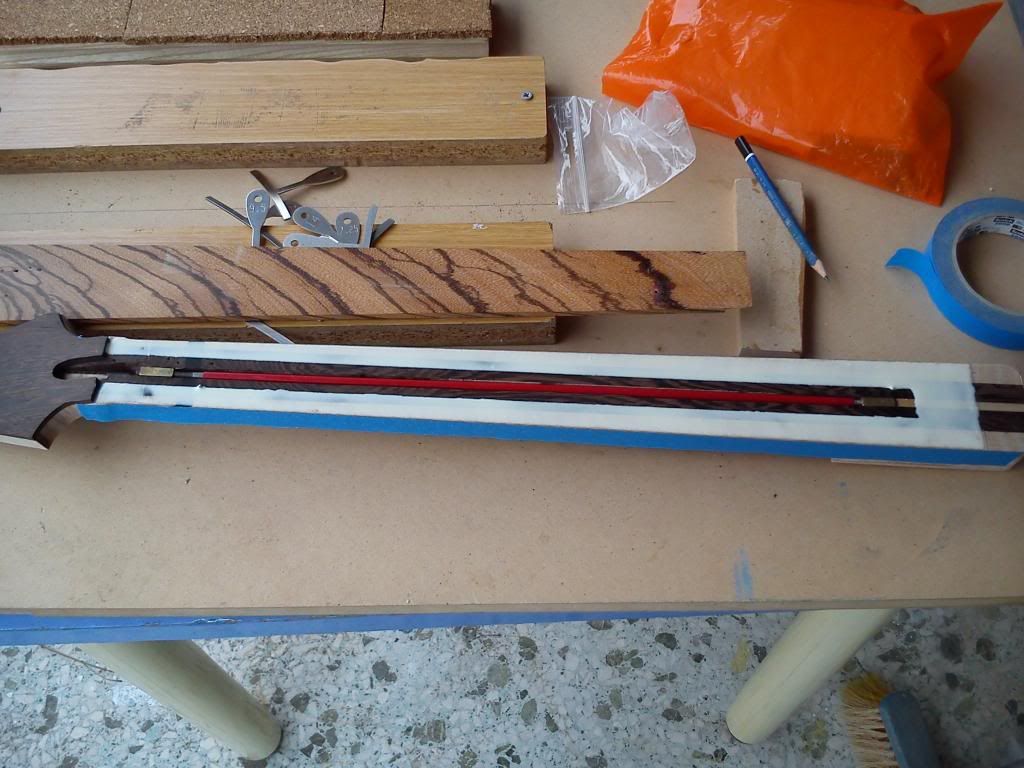
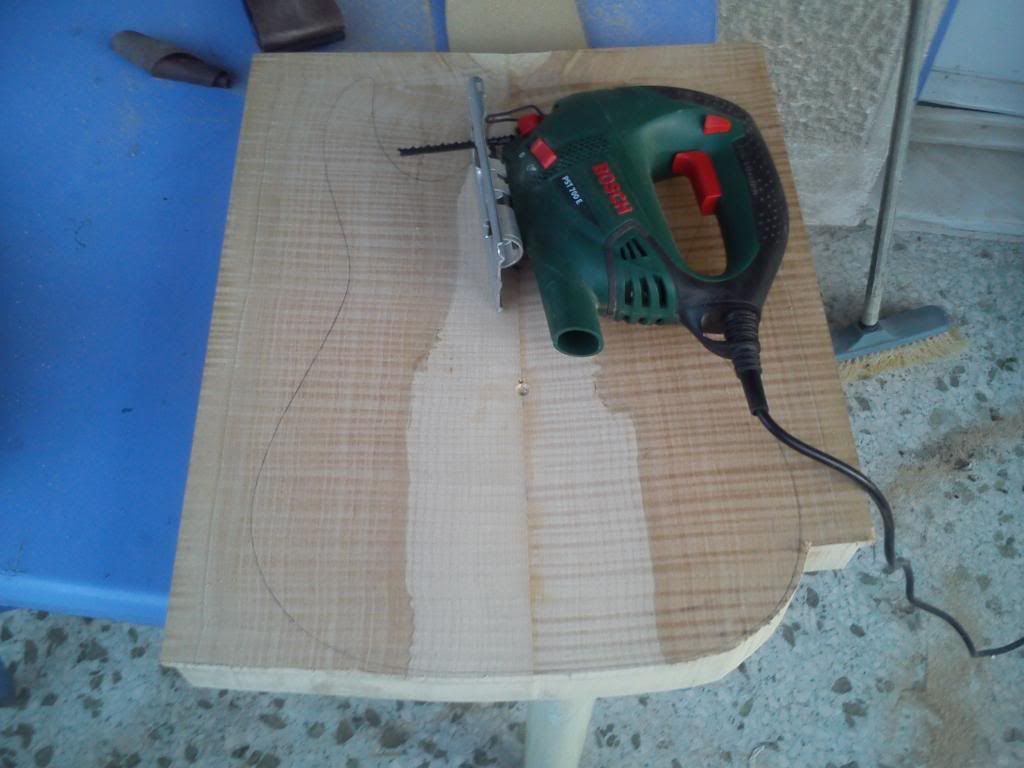
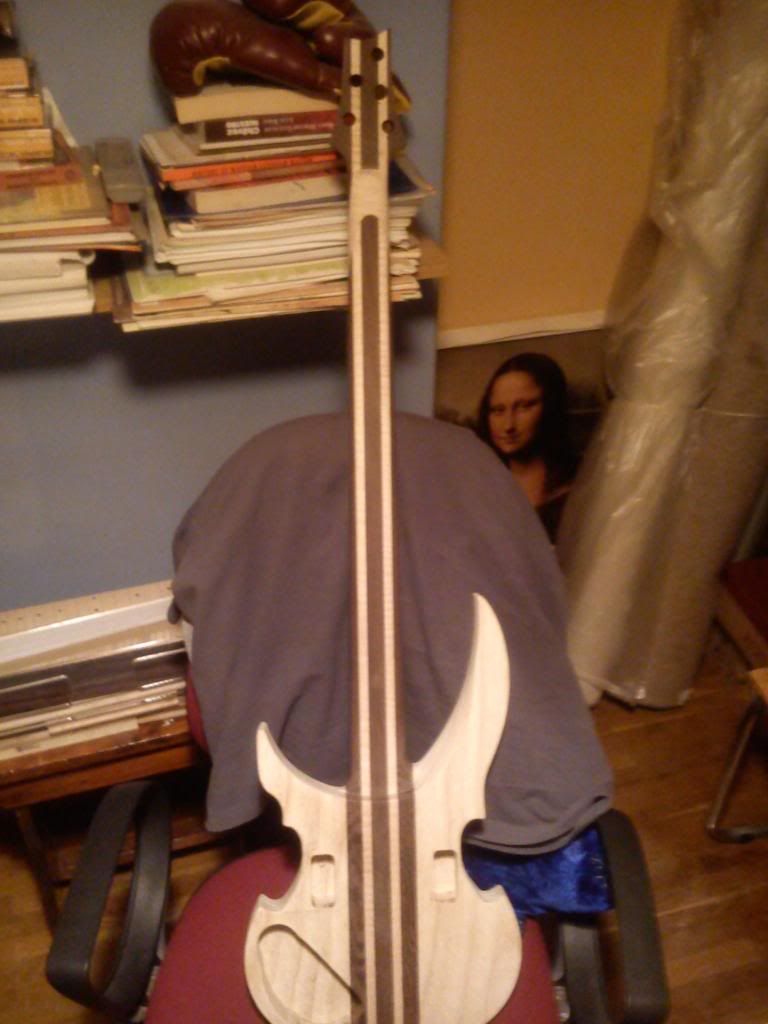
Here comes my first body carving attempt.
Unfortunately the maple top wasn't enough thick (aprox. 7mm) so the arch came out light.
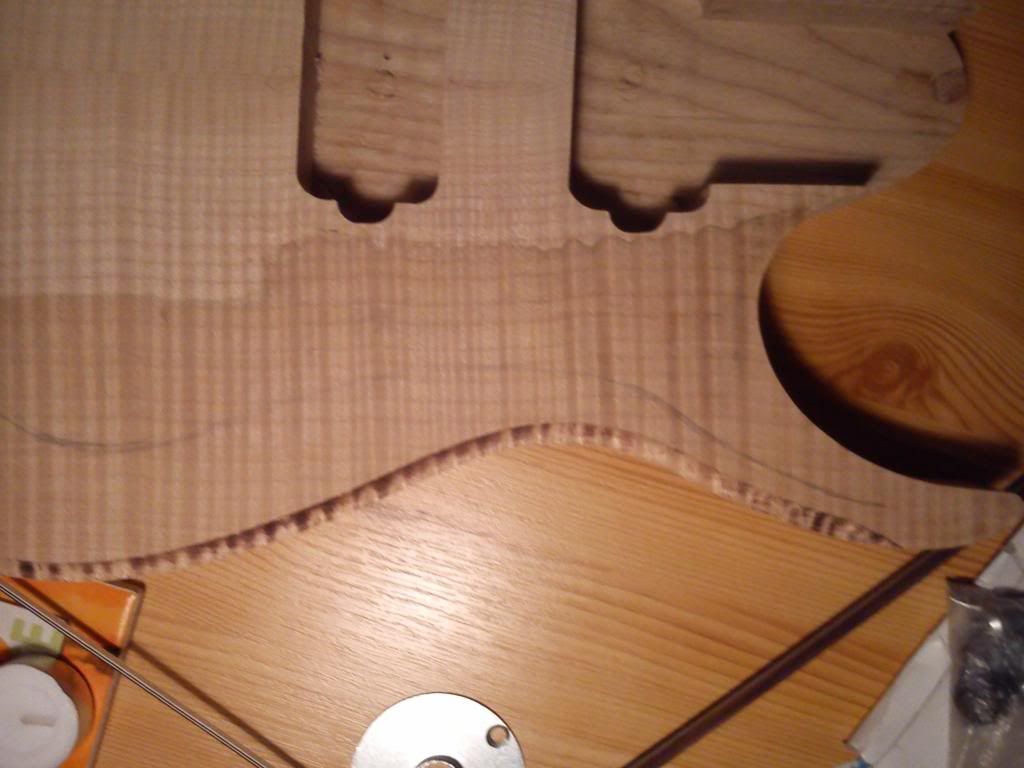
Edges first
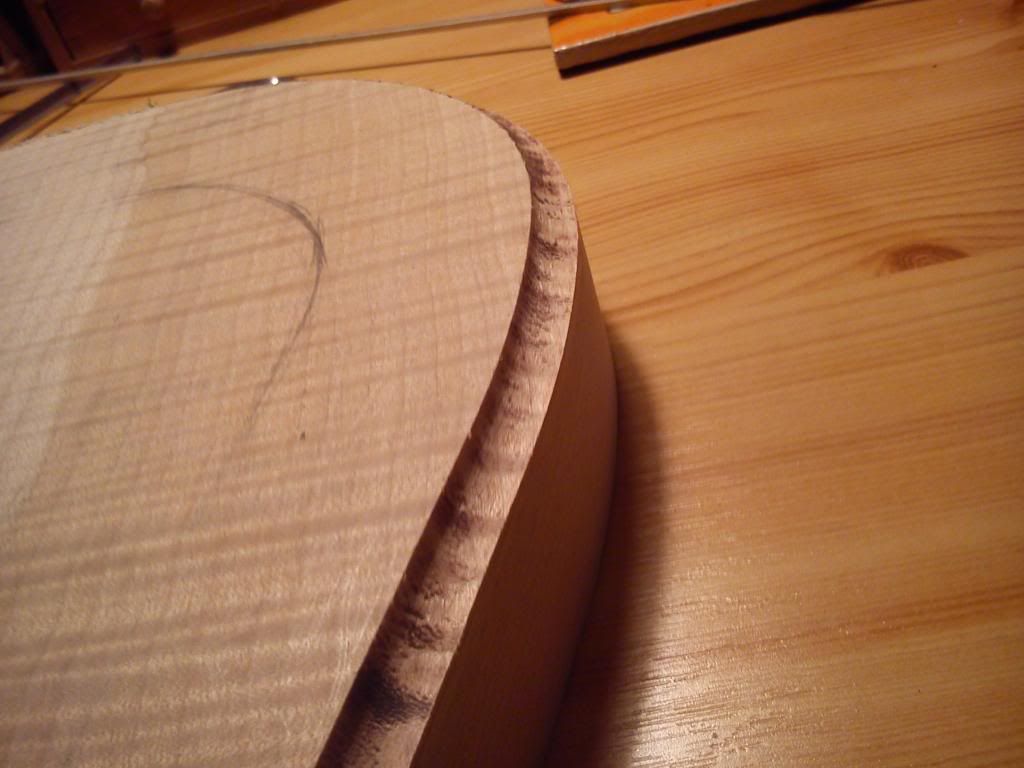
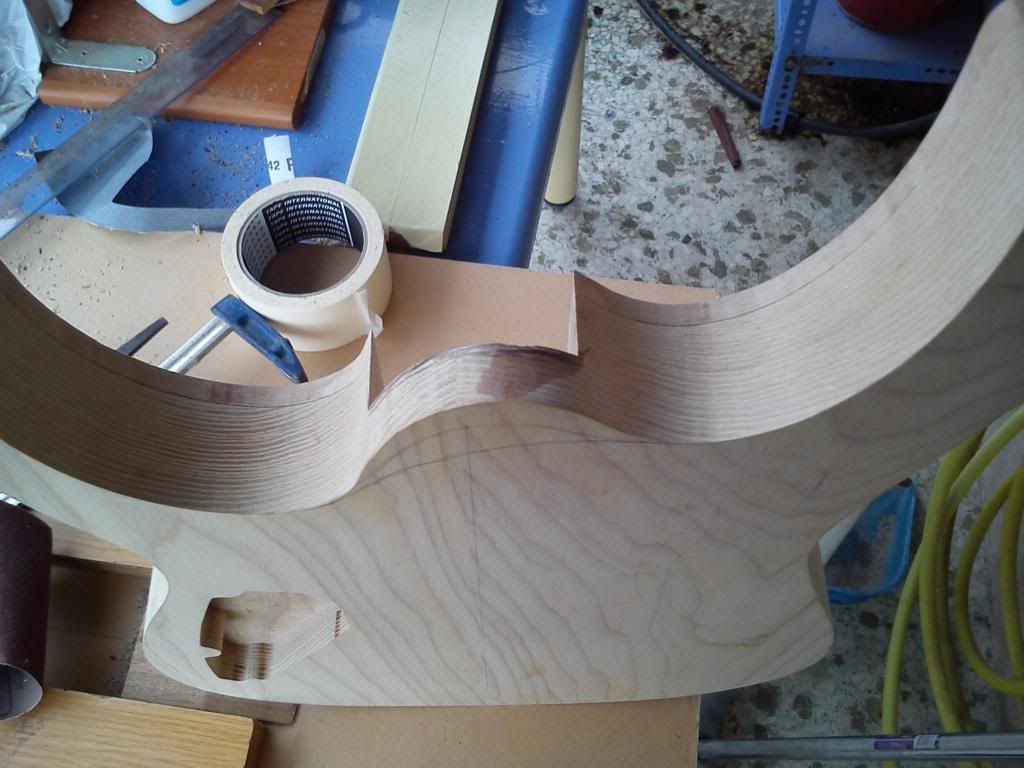
Scrappers!!!!
My new best friends

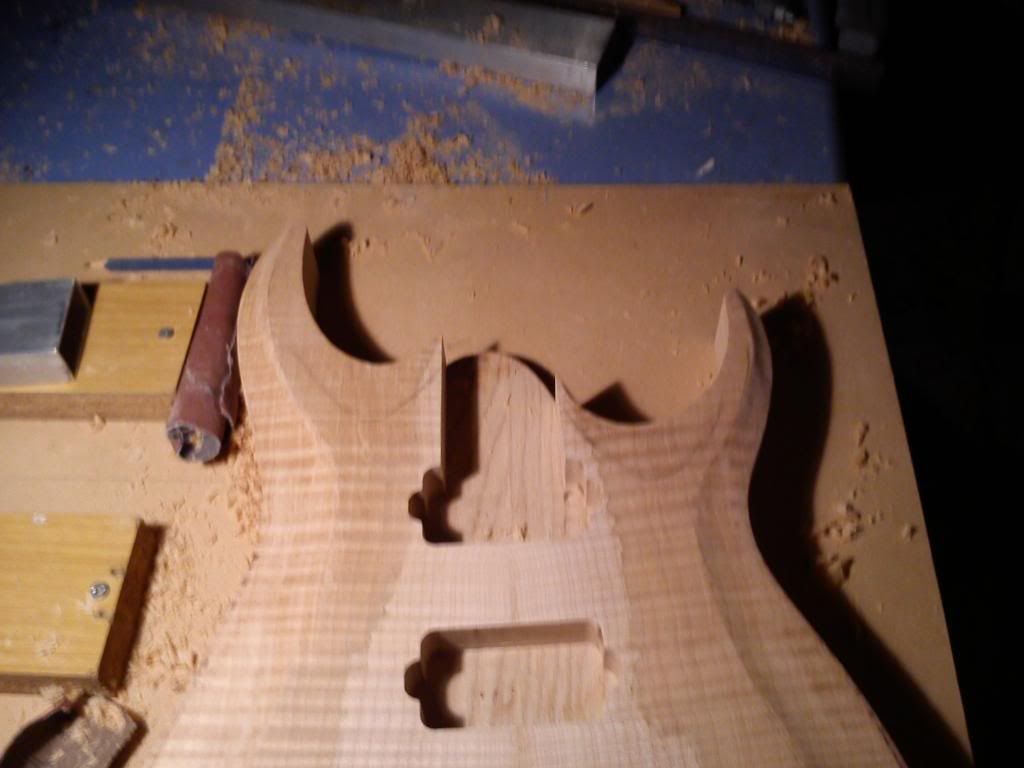
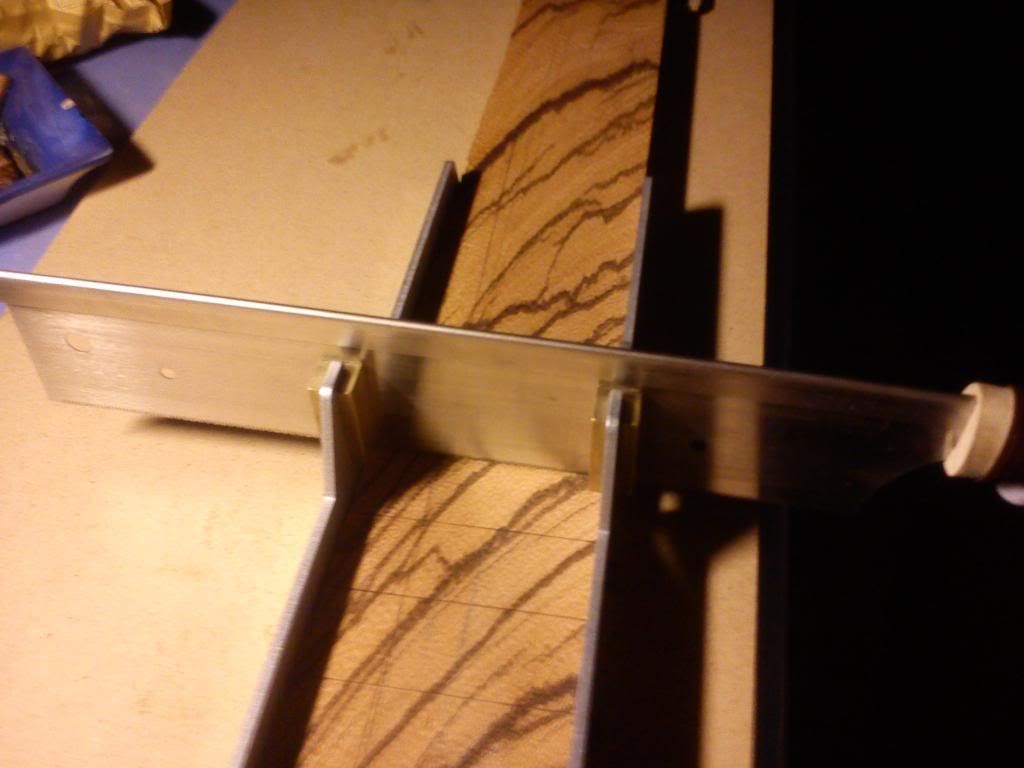
On the top of this pic you can see the freehand rout step I've made
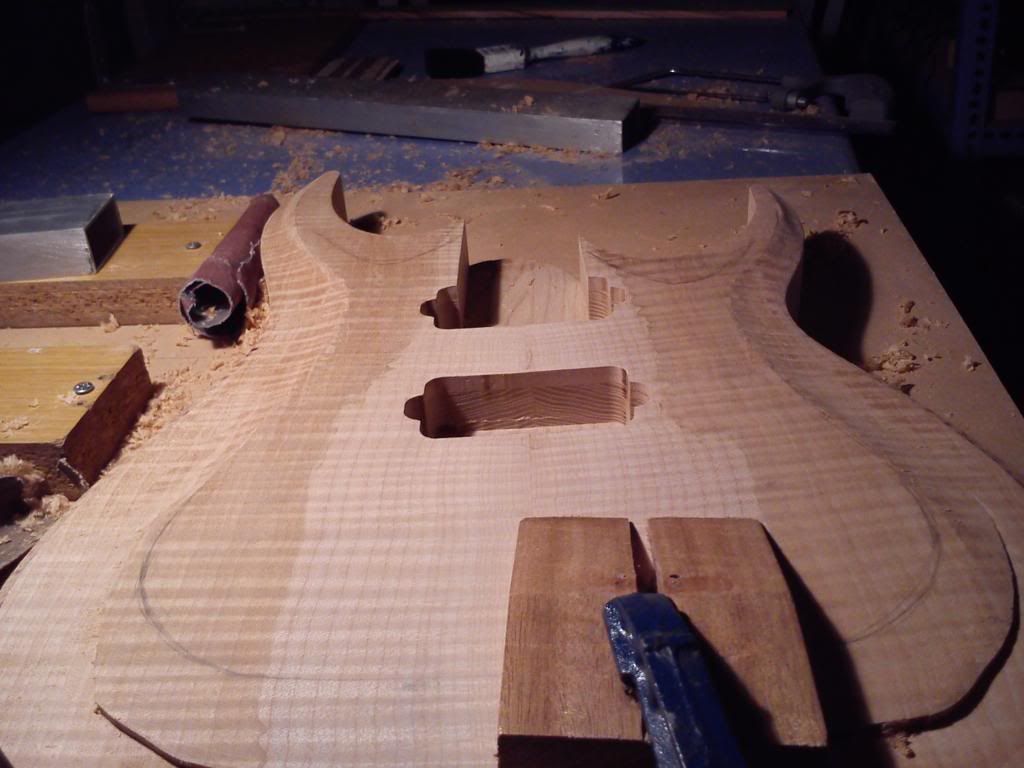
You can see it better in this one
-
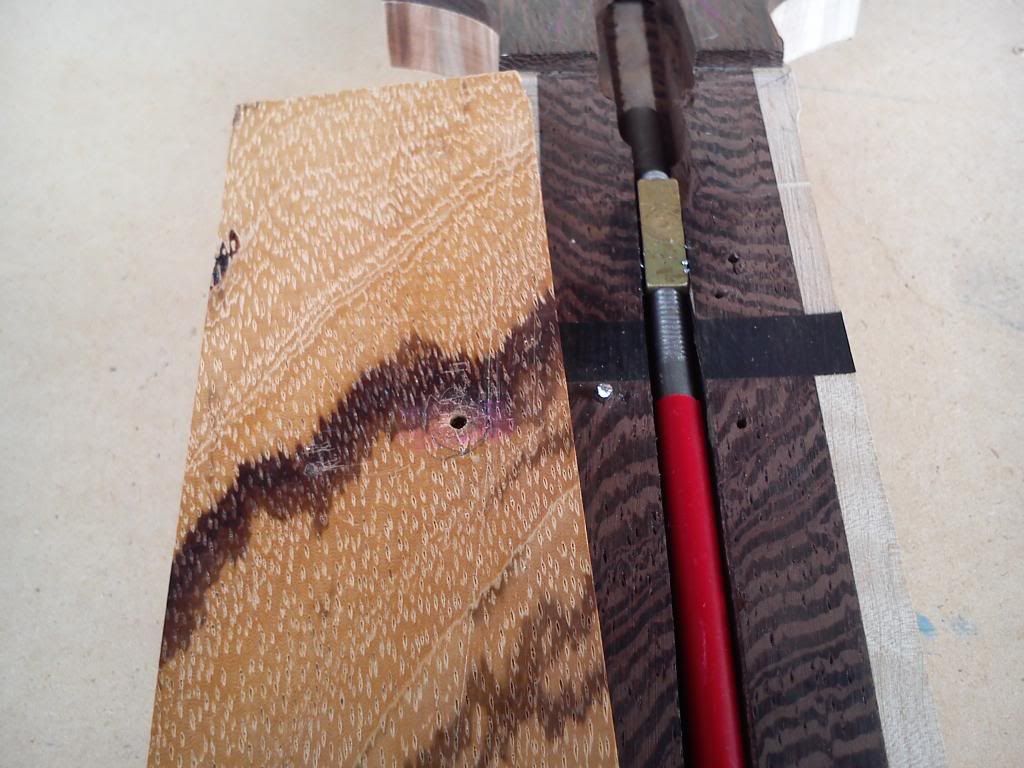
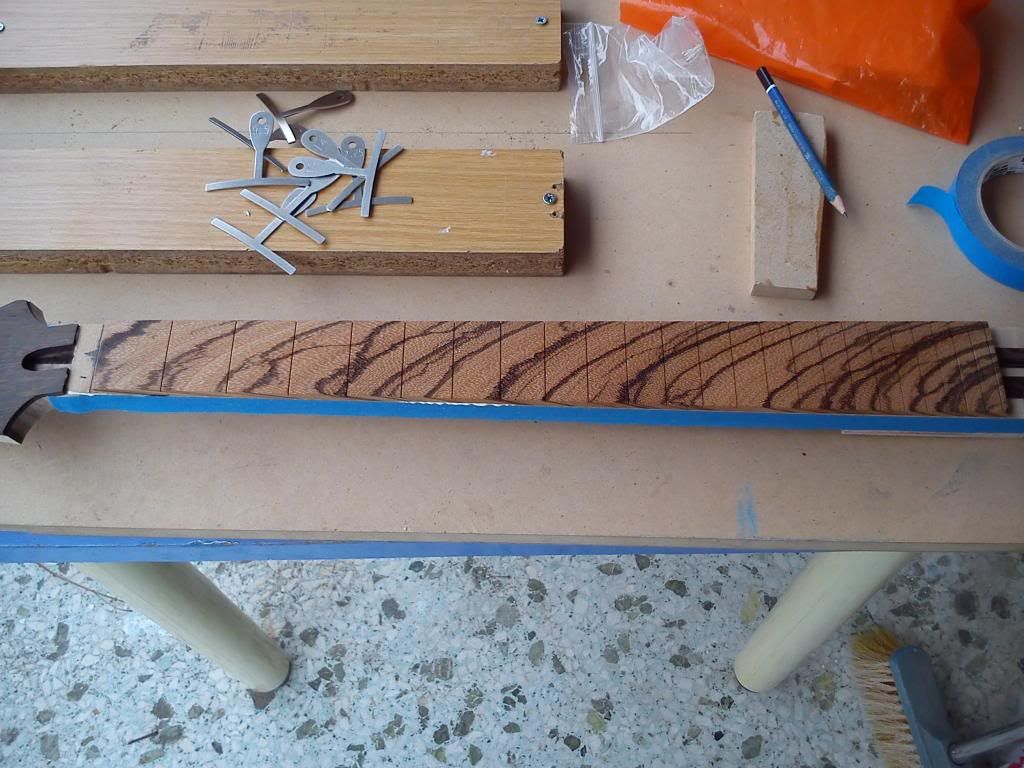
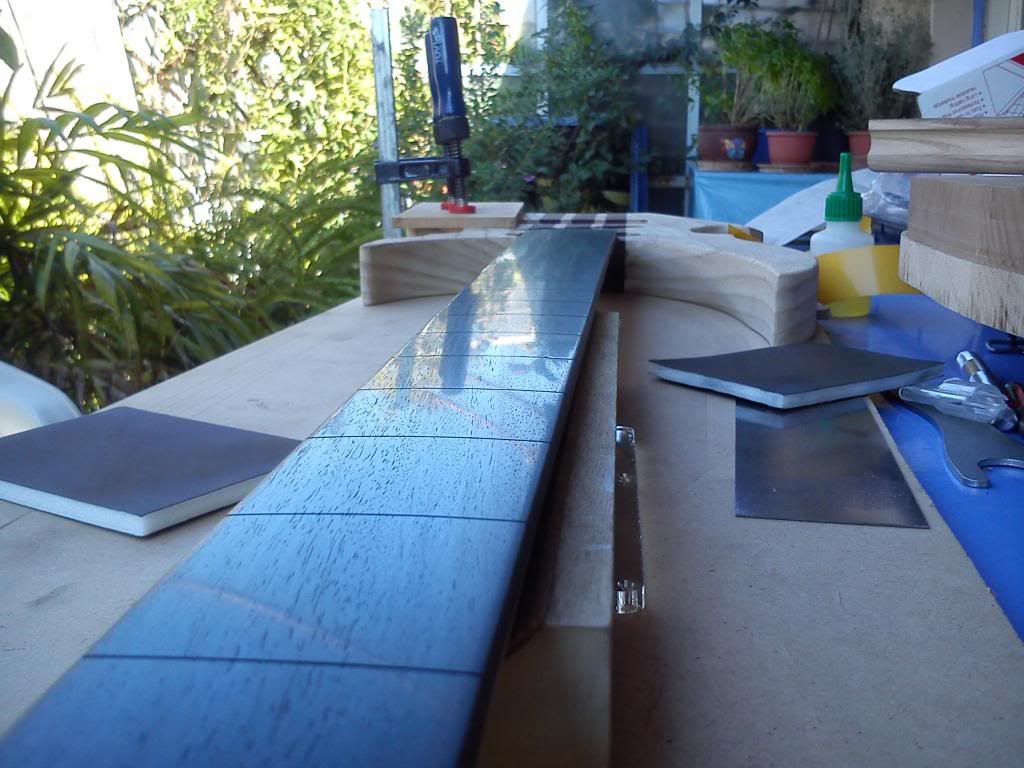
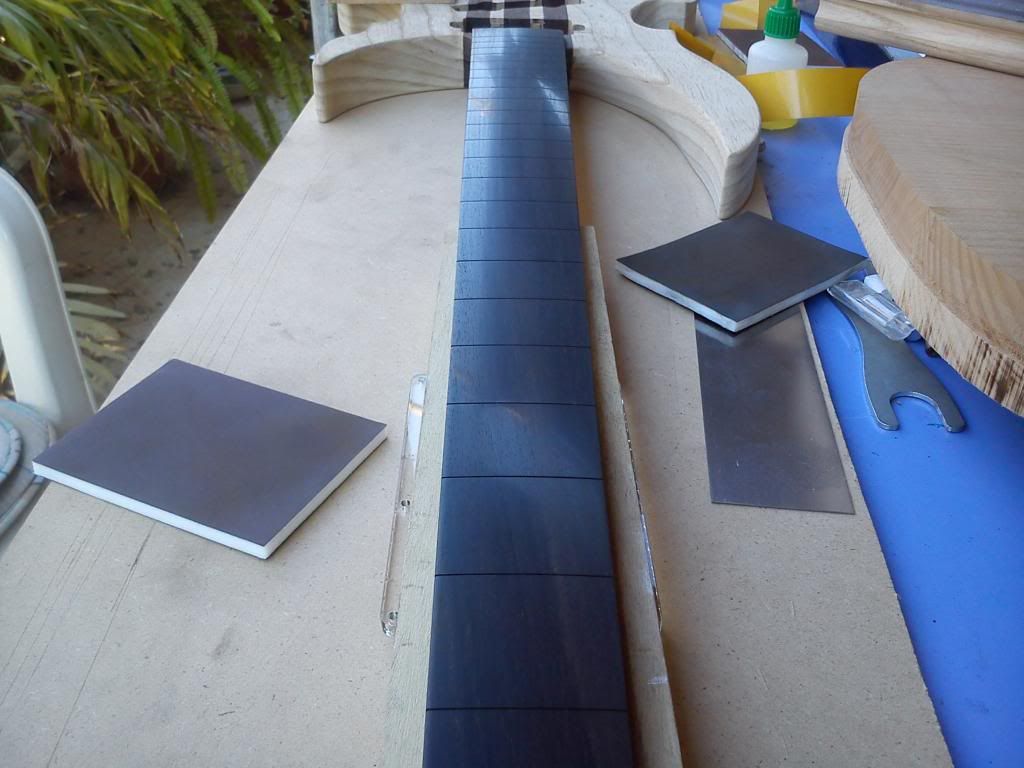
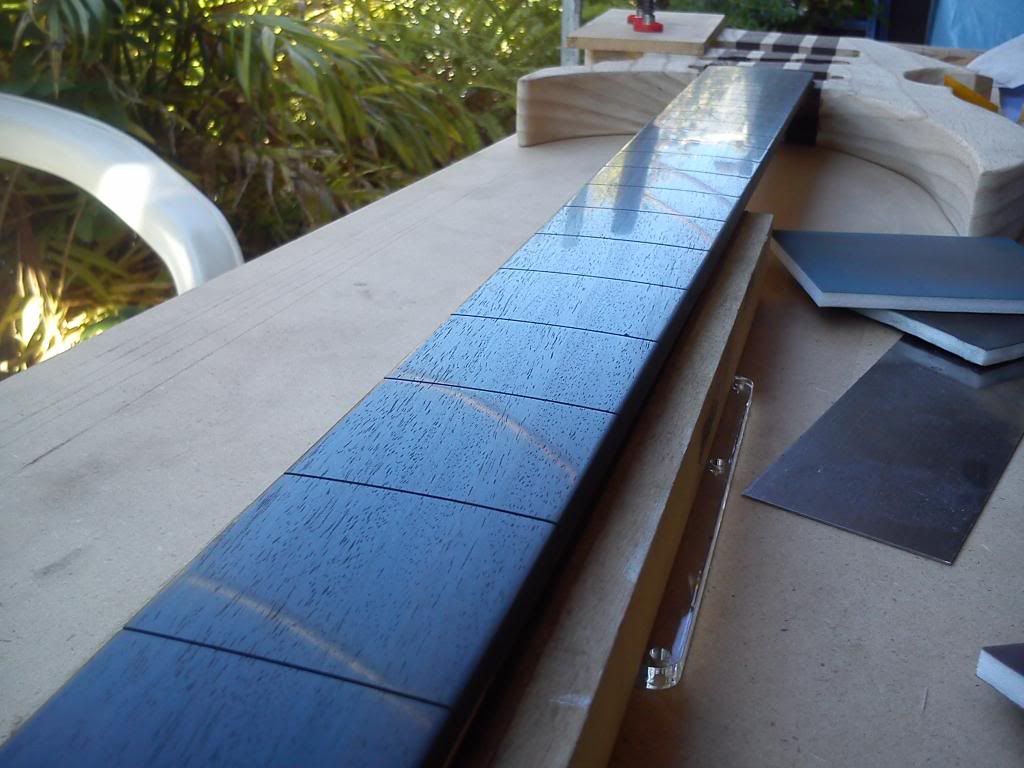
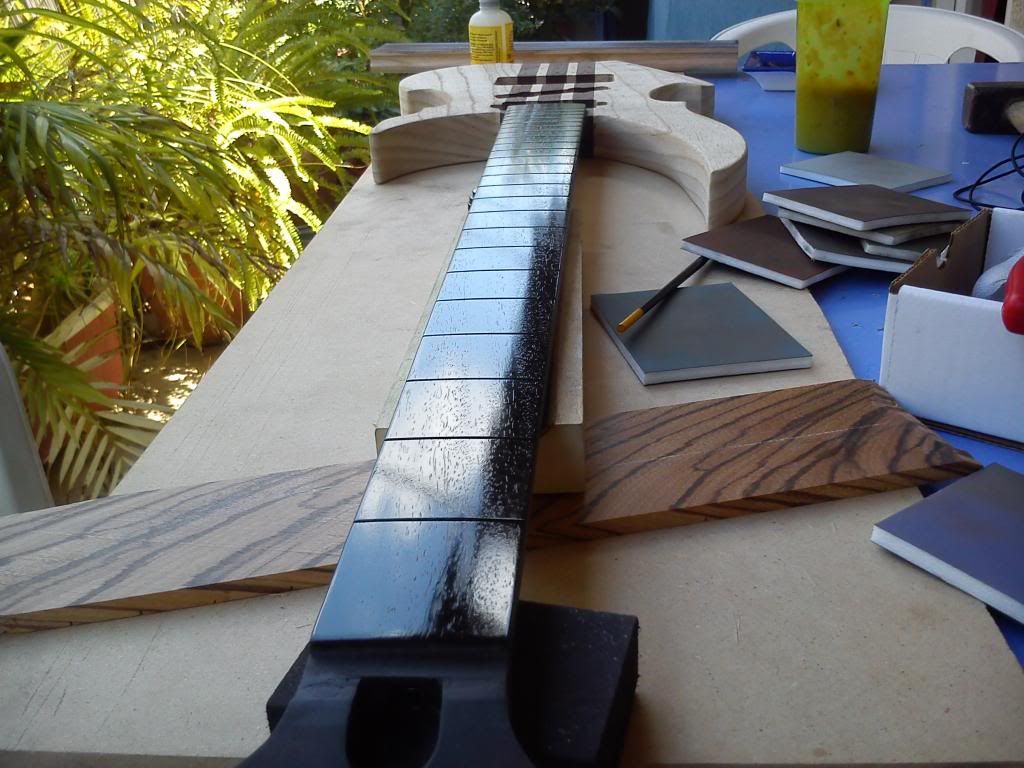
I don't recall if I've ever seen a zebrano fretboard before. That one is going to look cool! Nice work so far.
SR
.....thanks a lot.
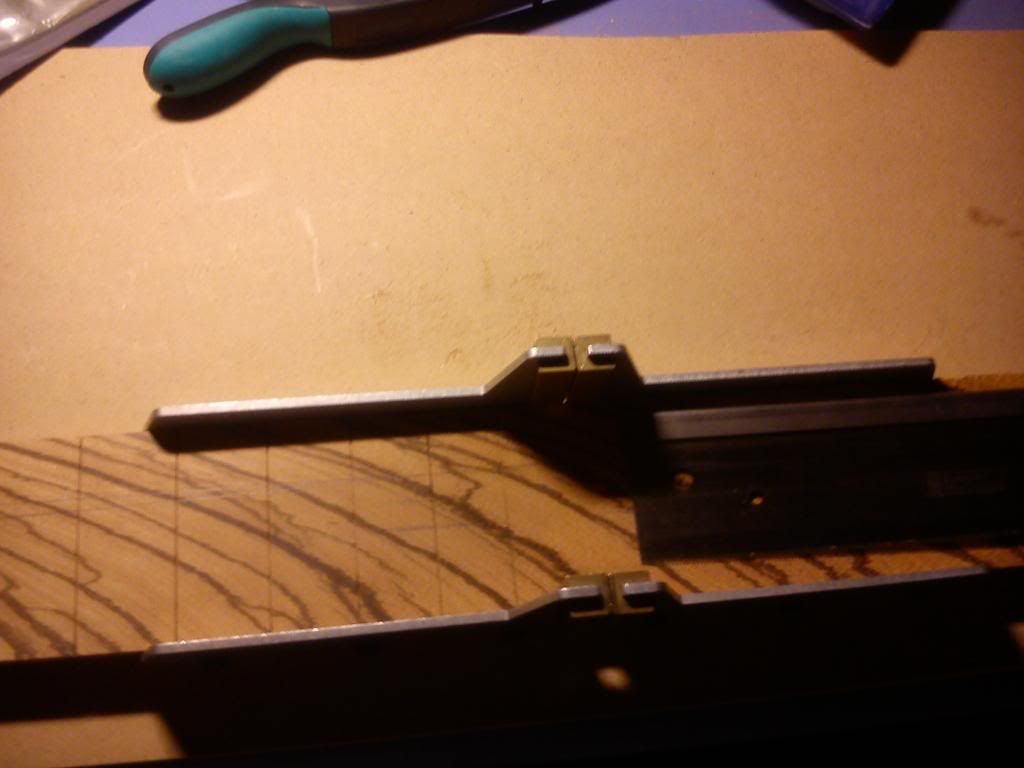
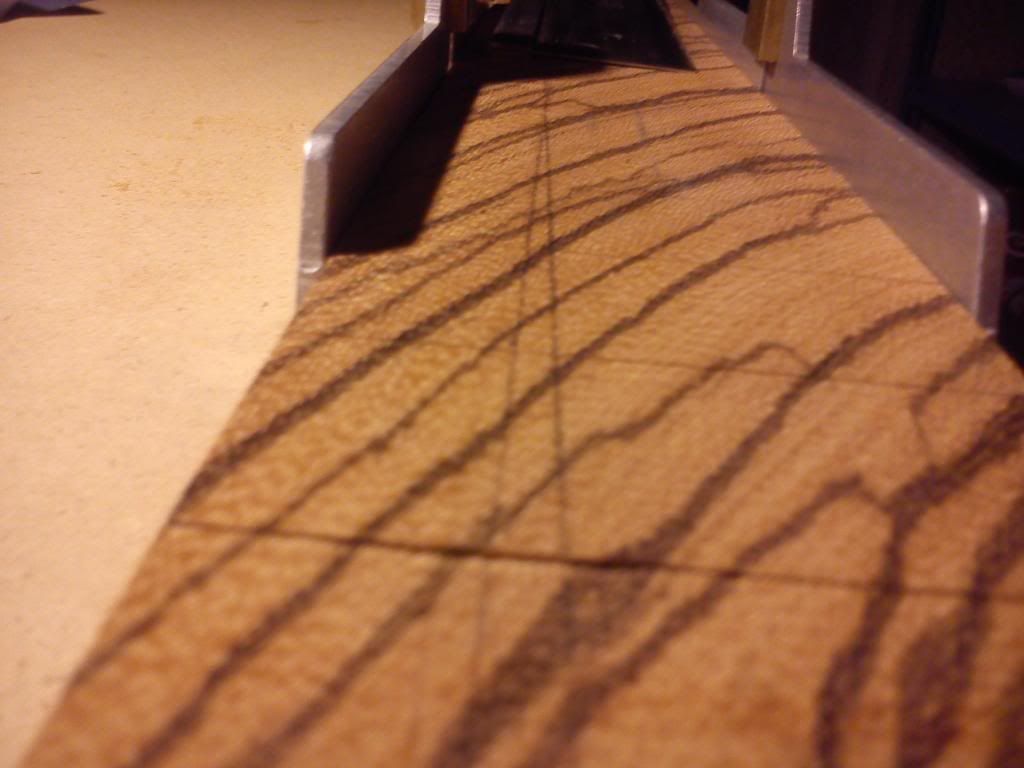
Zebrano is real pain in the @ss. Tends to chip out all the time and it took me about 2 hours to achieve a decent radius of 14 inches.
-
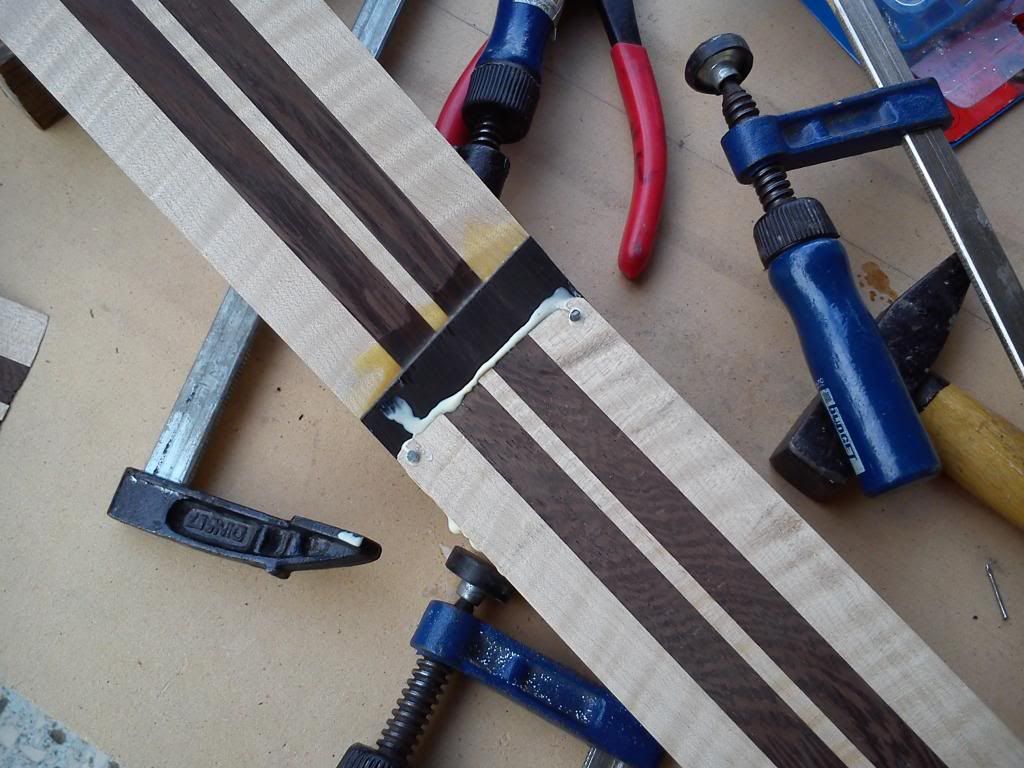
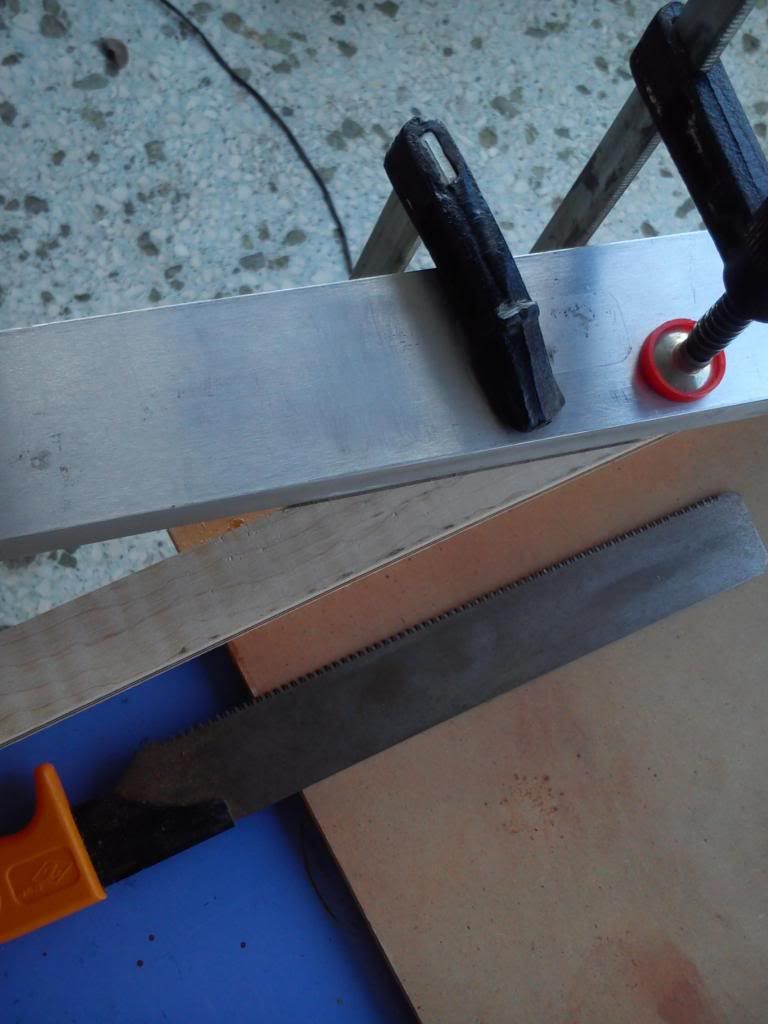
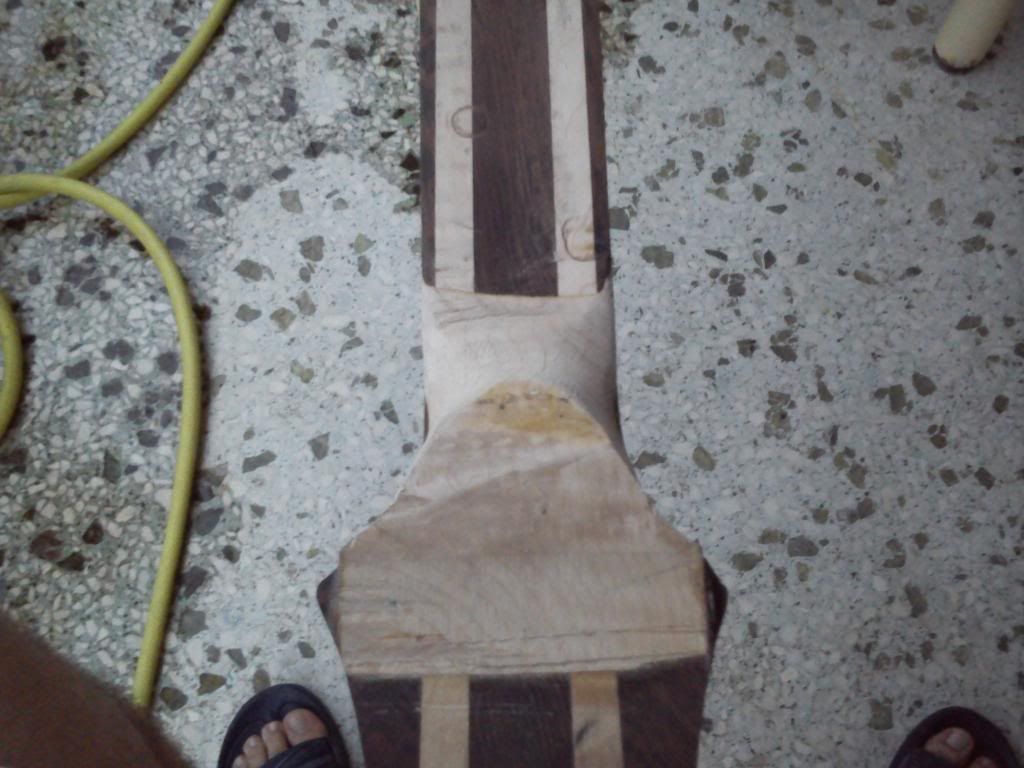
I used a small hand saw for rough cutting headstock veneer 'cause wenge was extremely dry
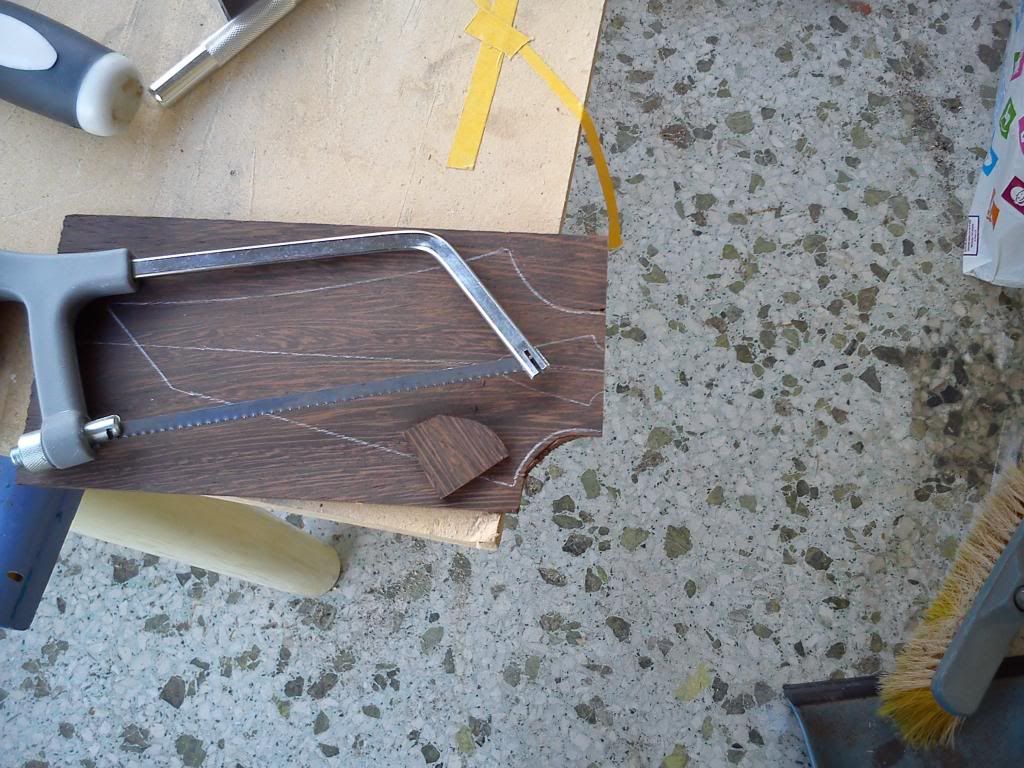
Rough cut headstock veneer
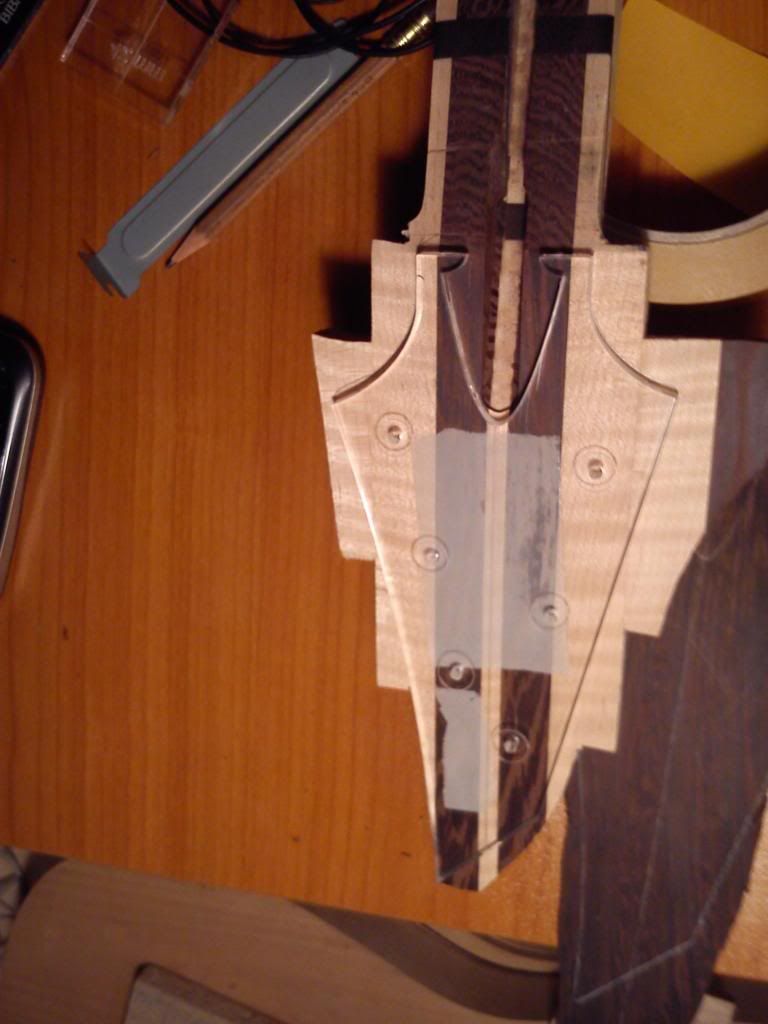
Headstock routed
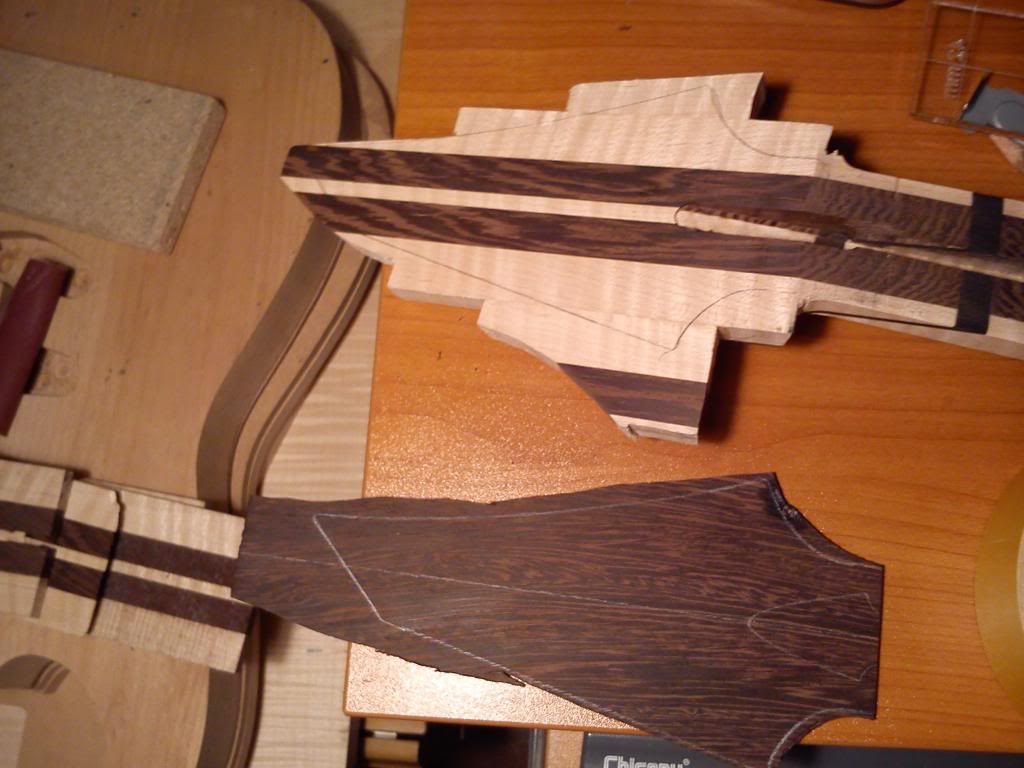
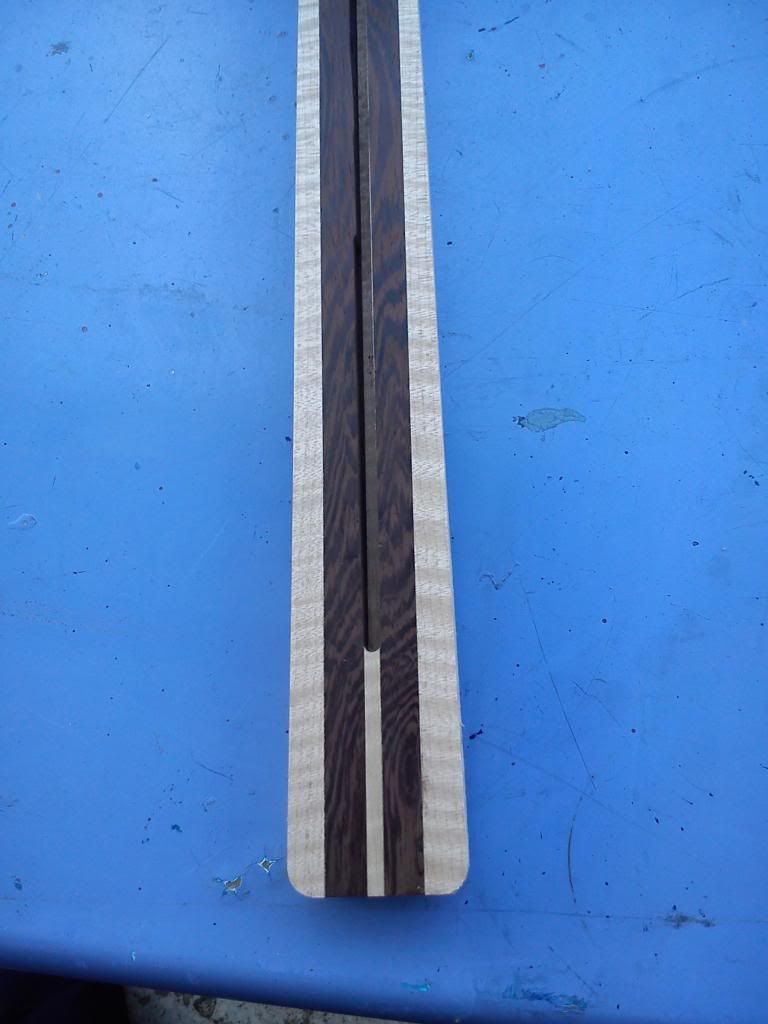
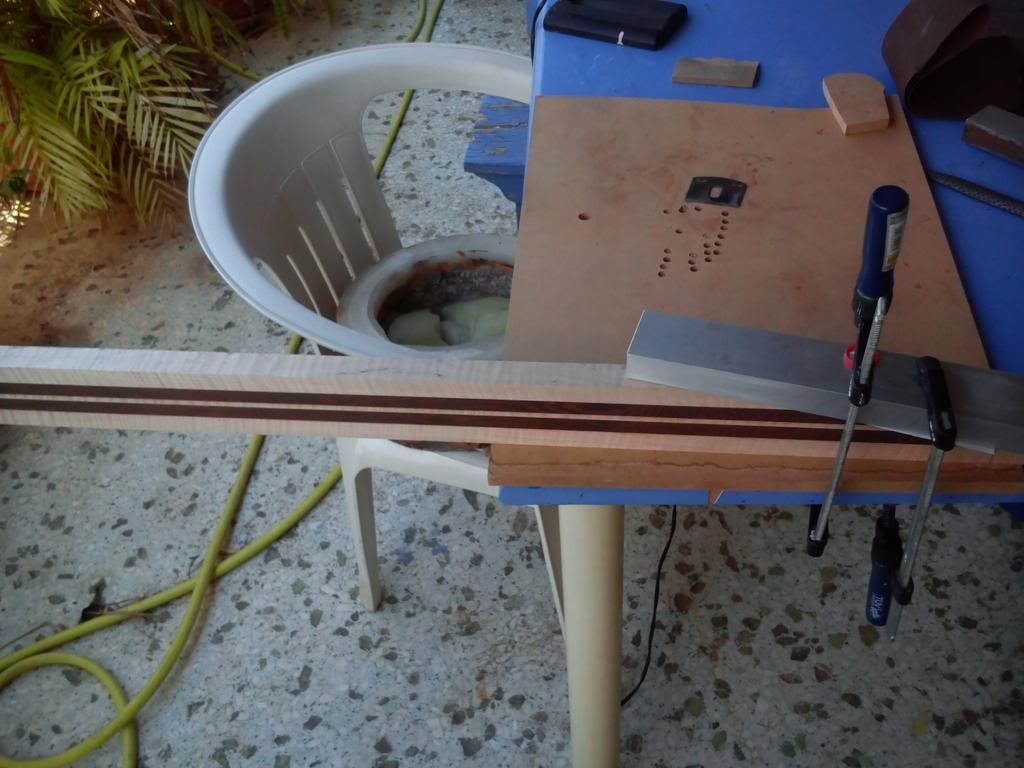
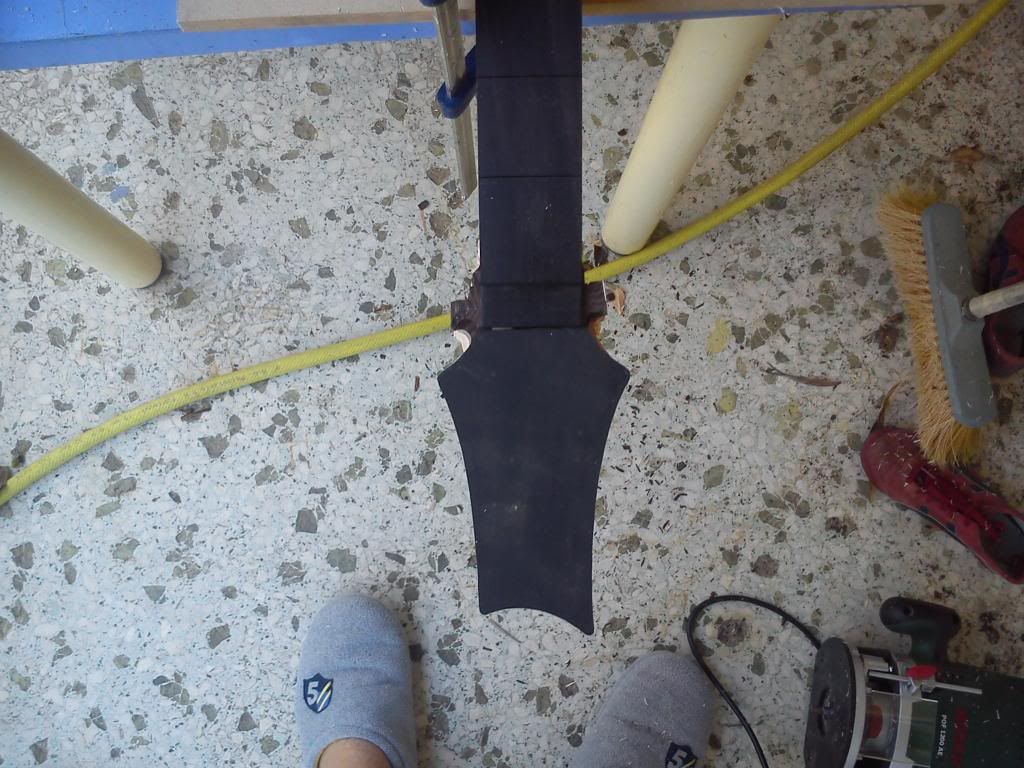
Neck parts
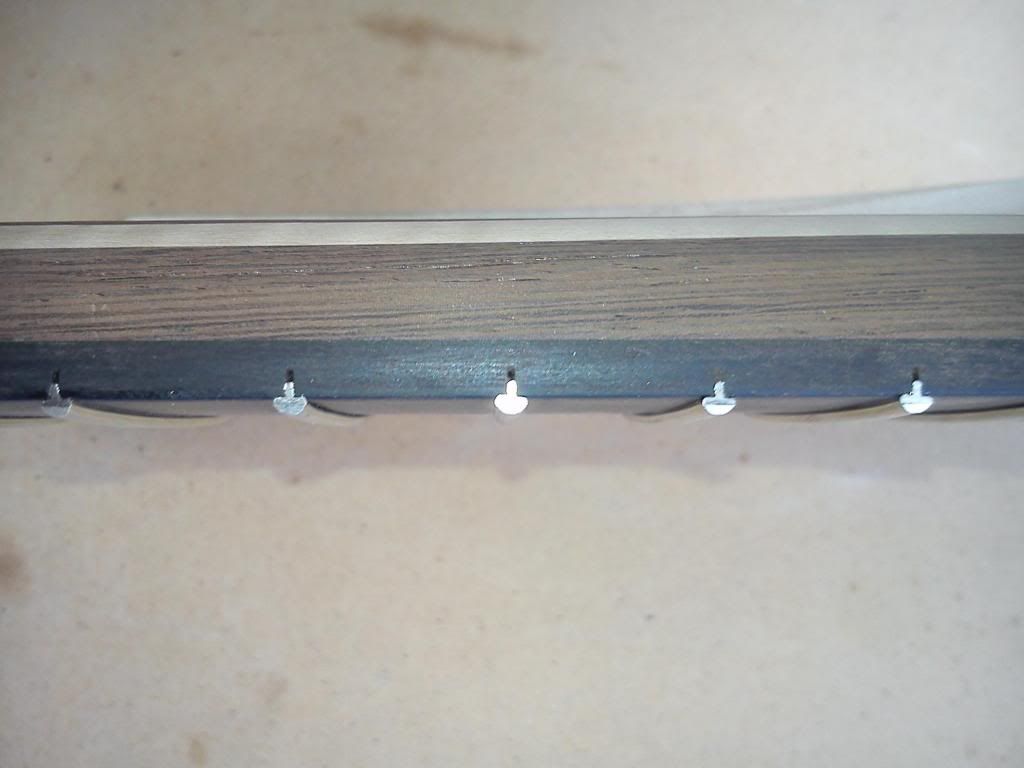
Pins
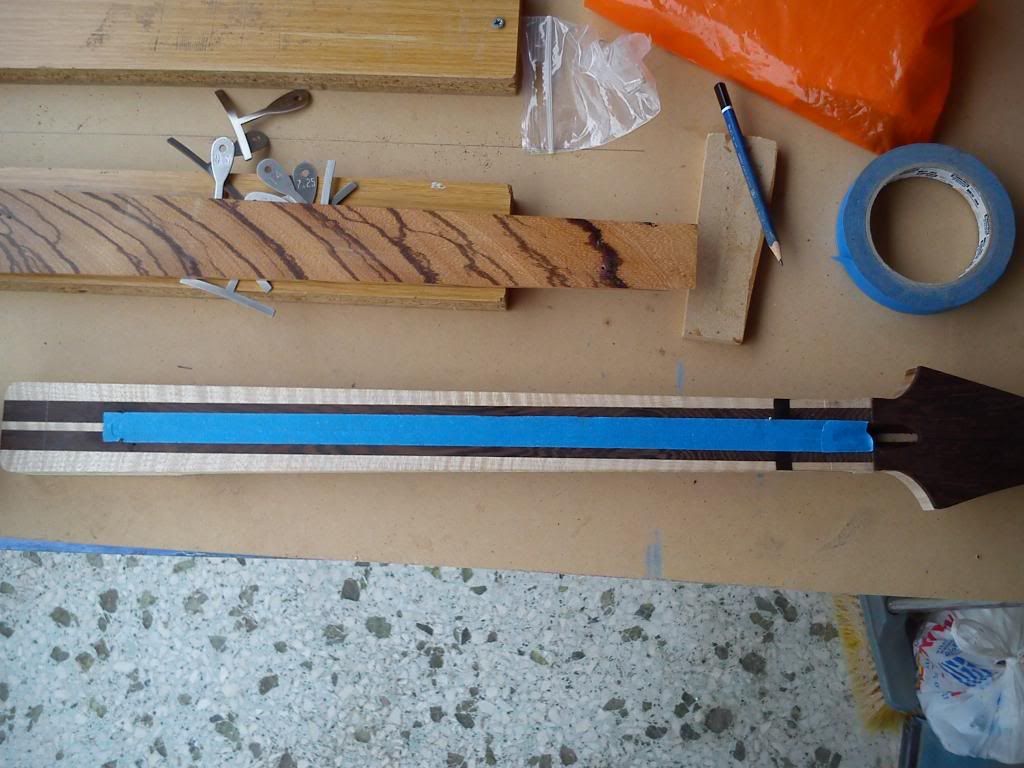
Ready for glue
-
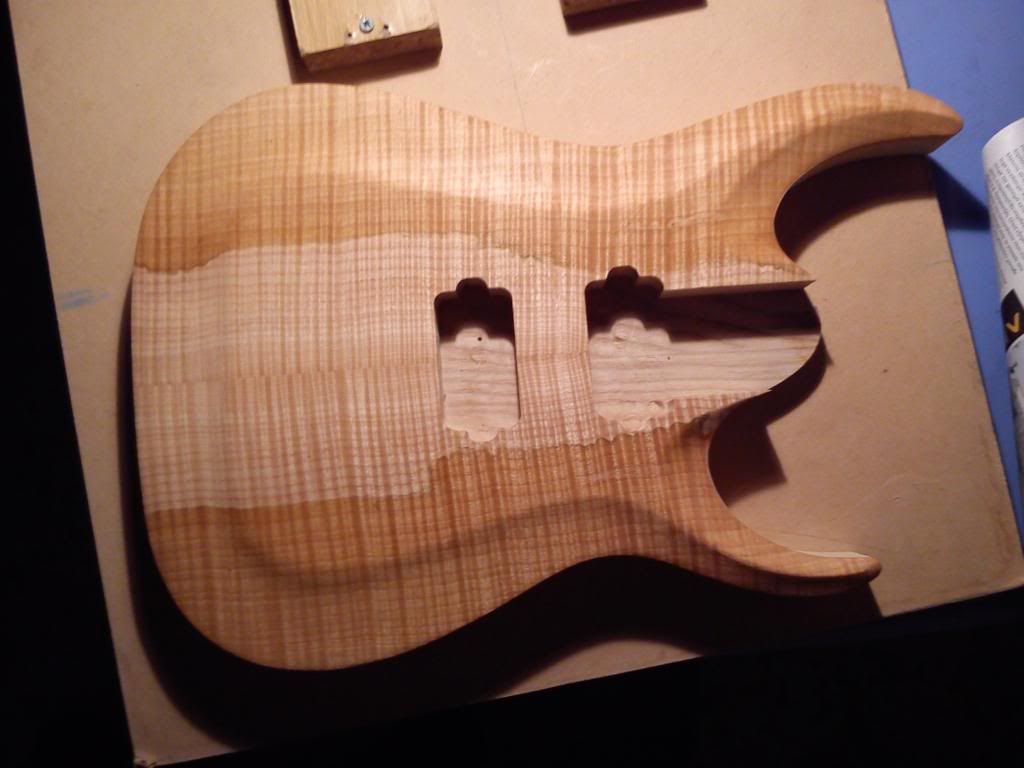
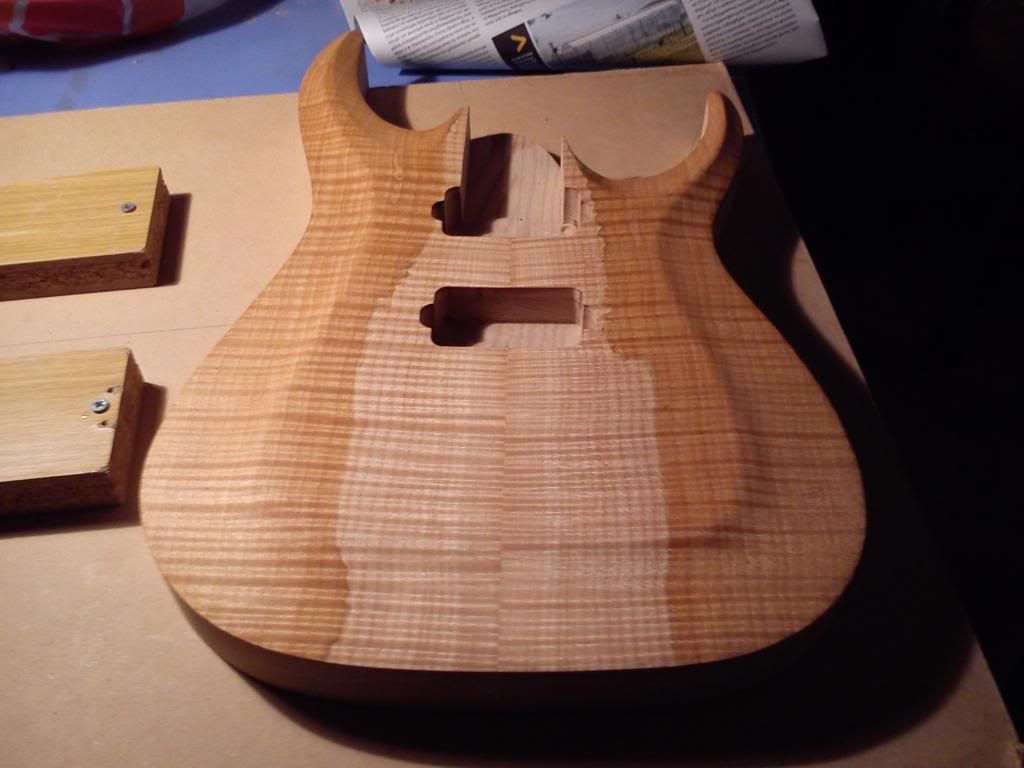
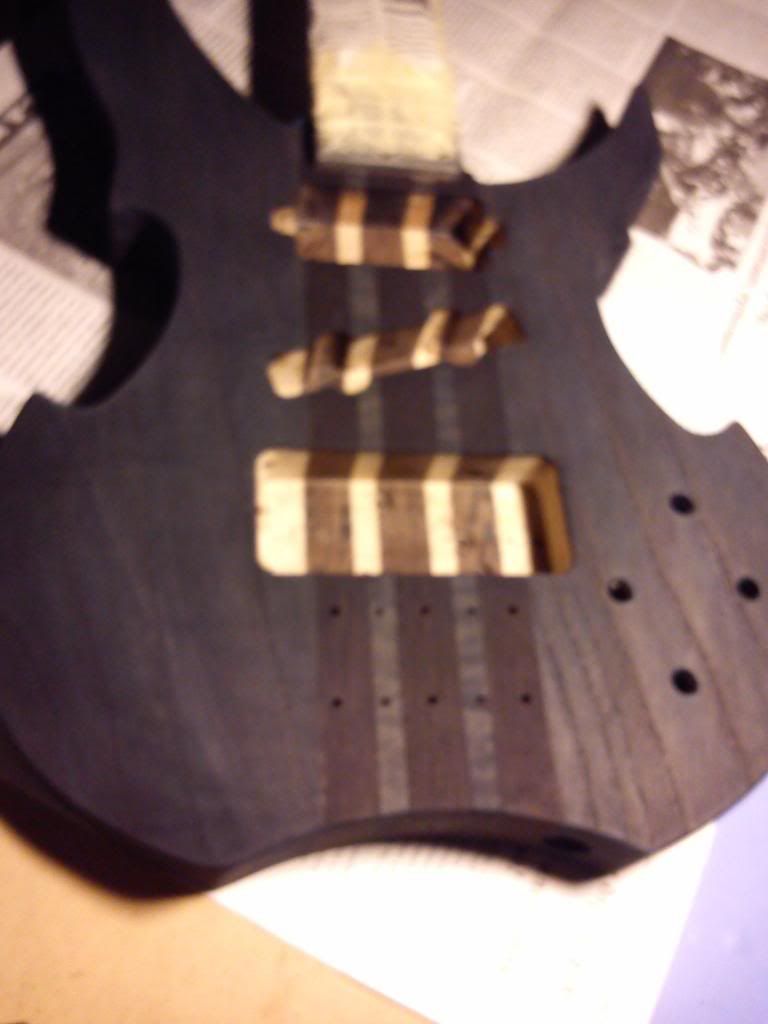
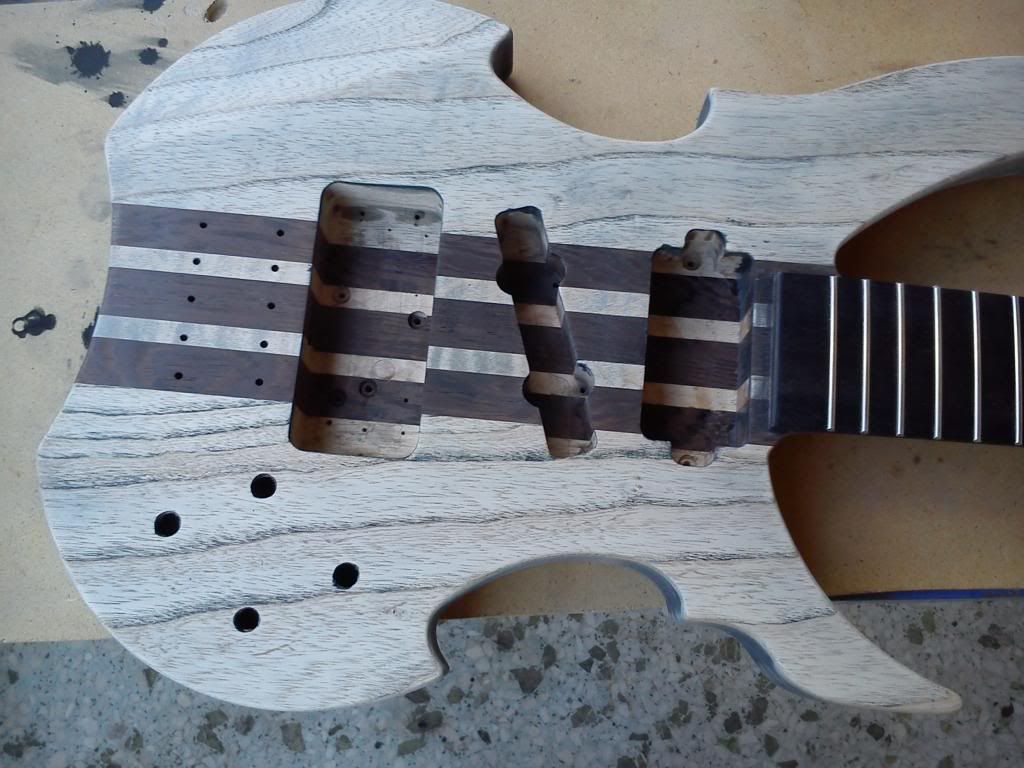
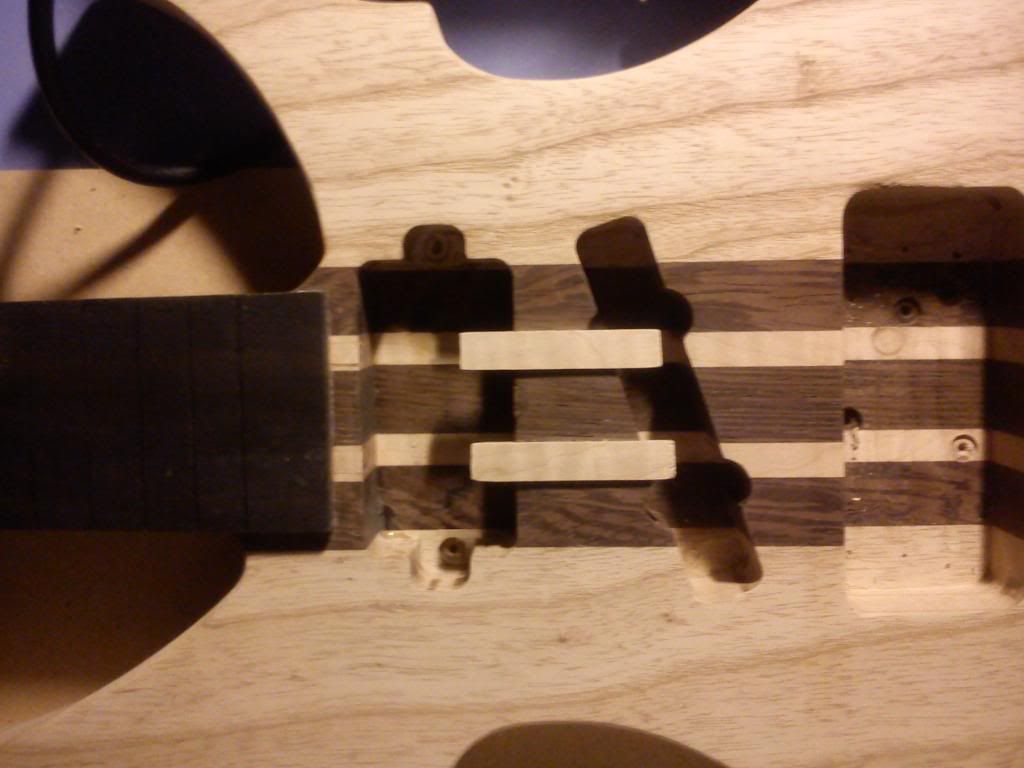
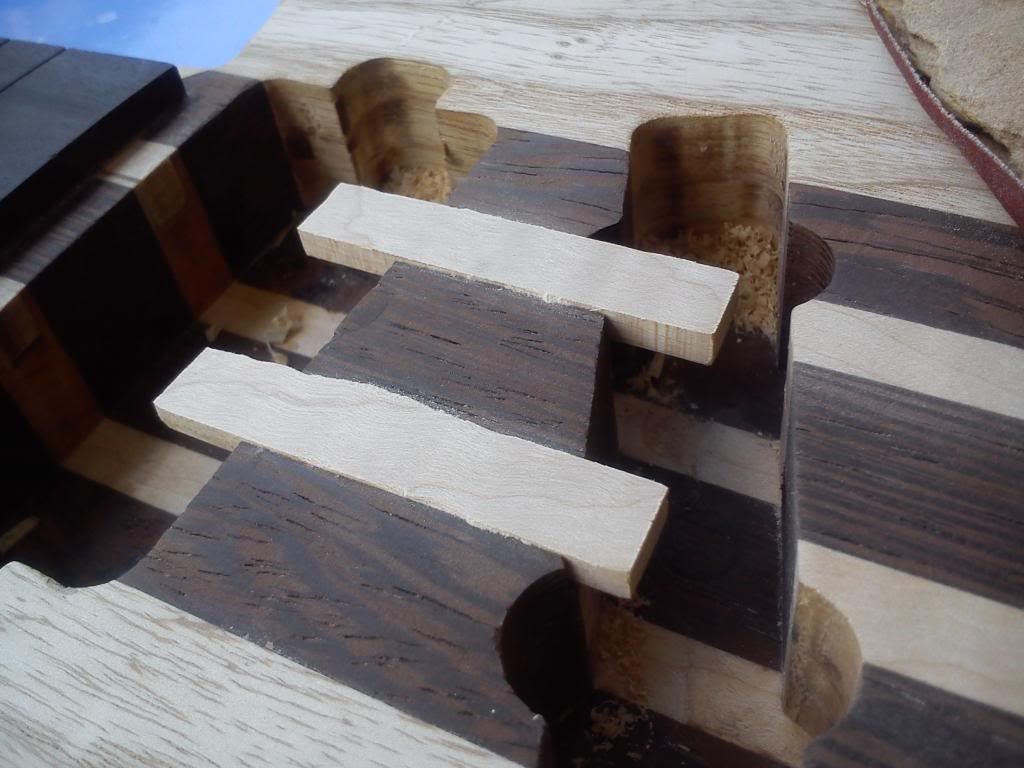
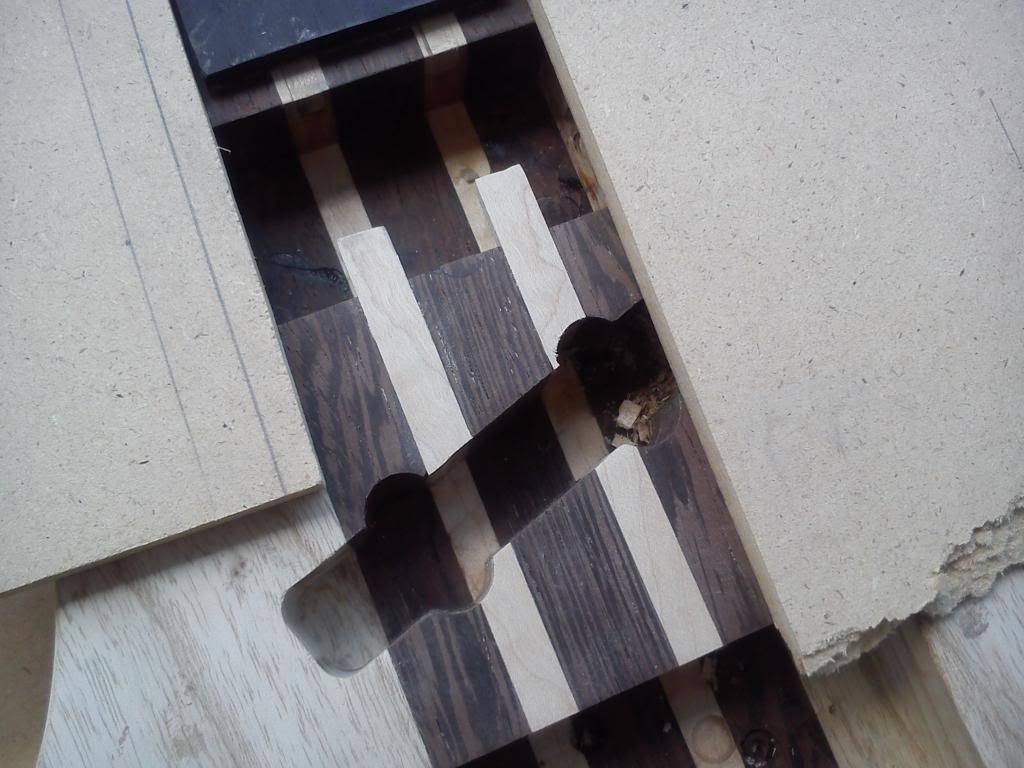
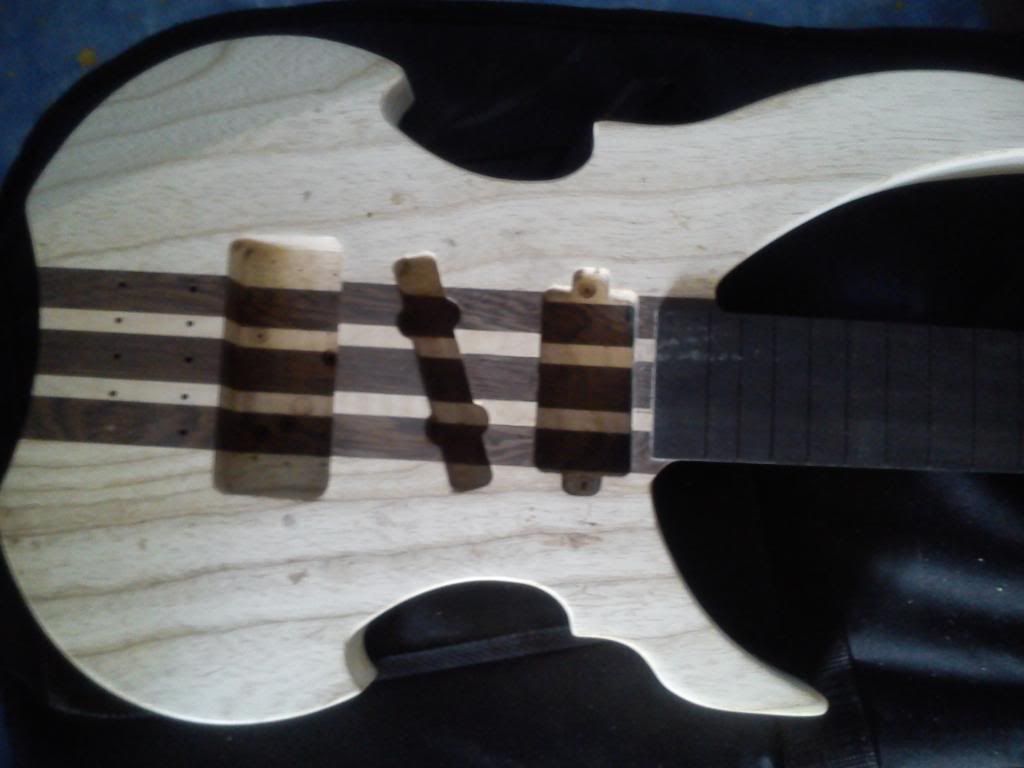
Fret slots
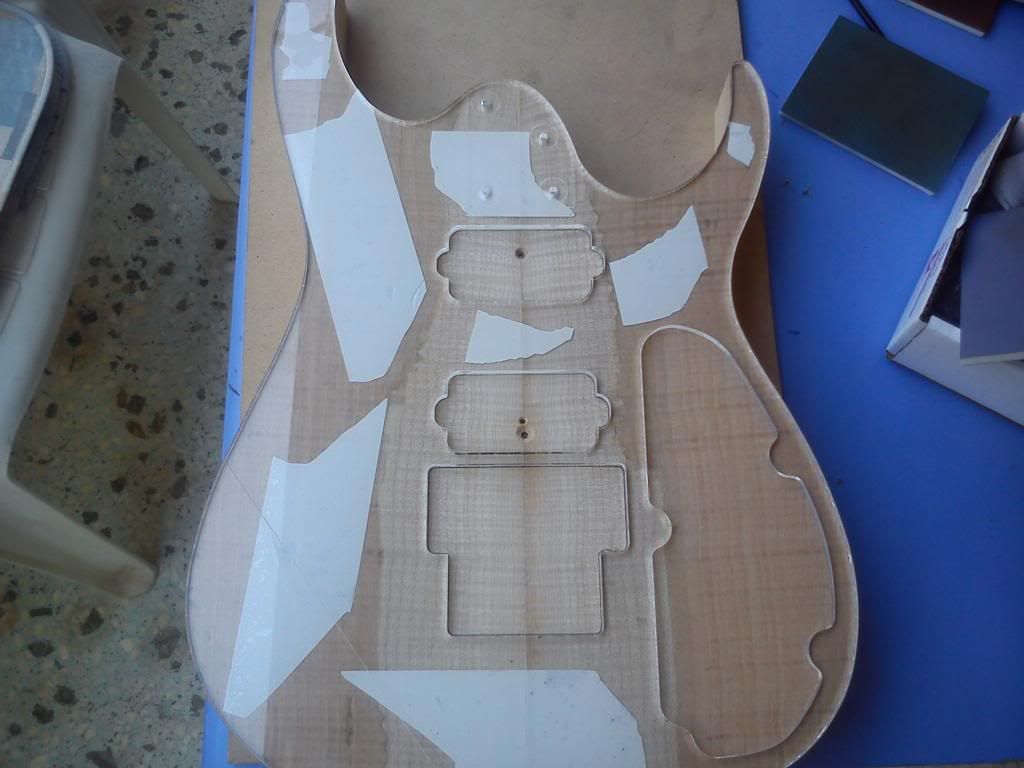
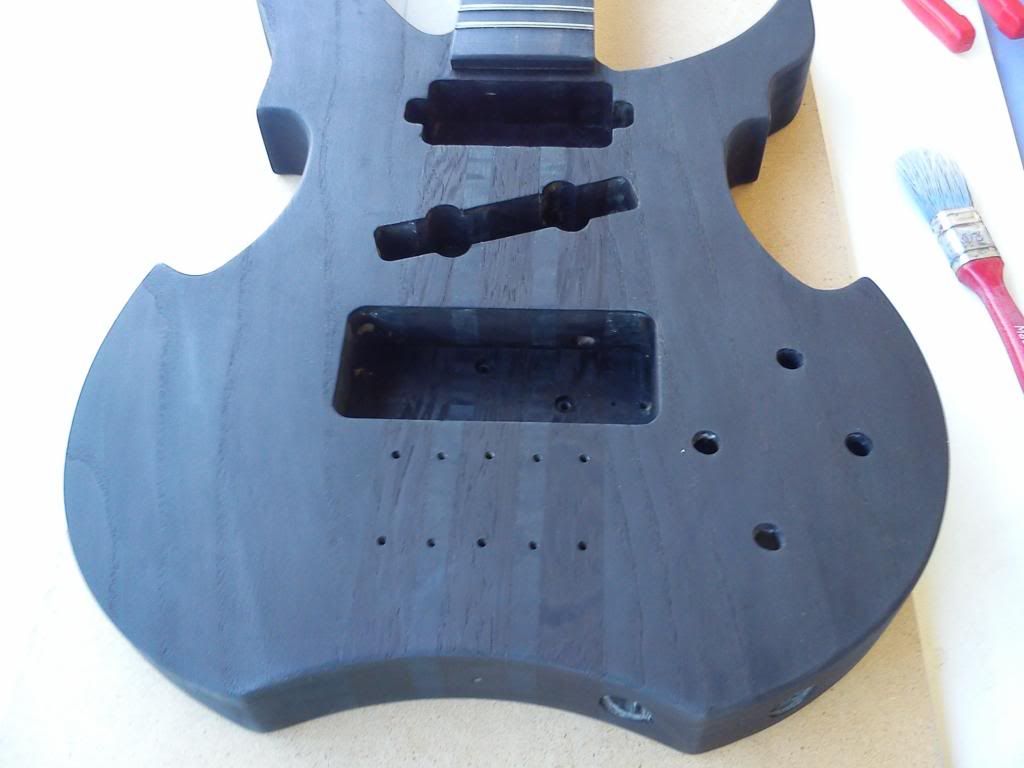
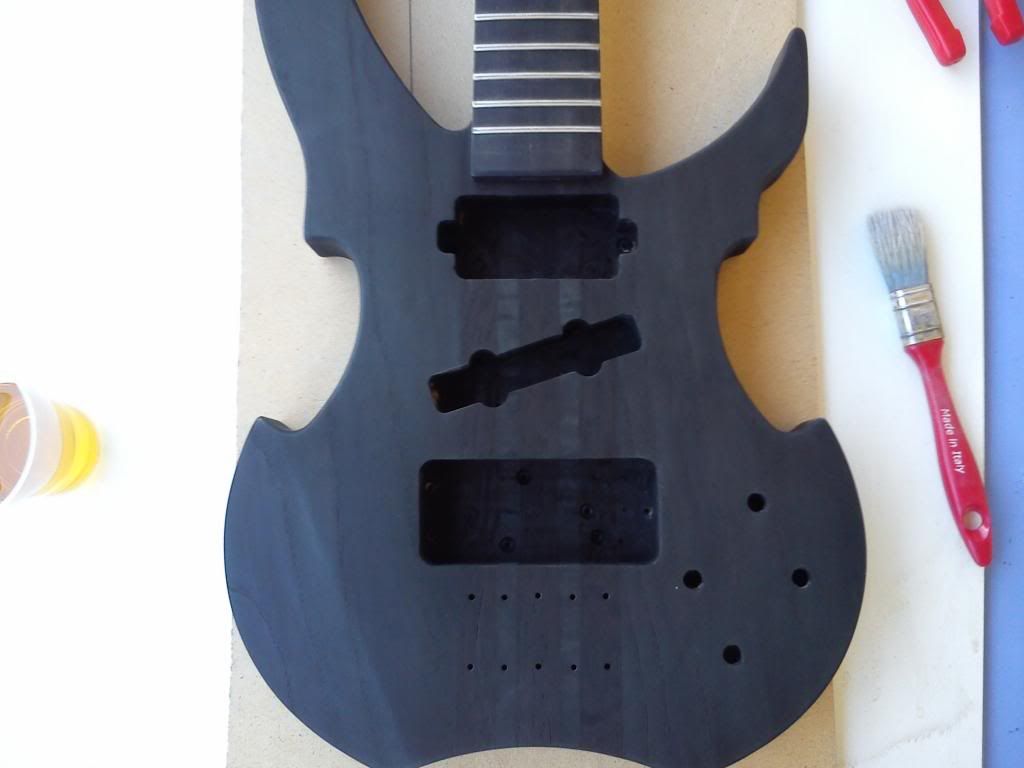
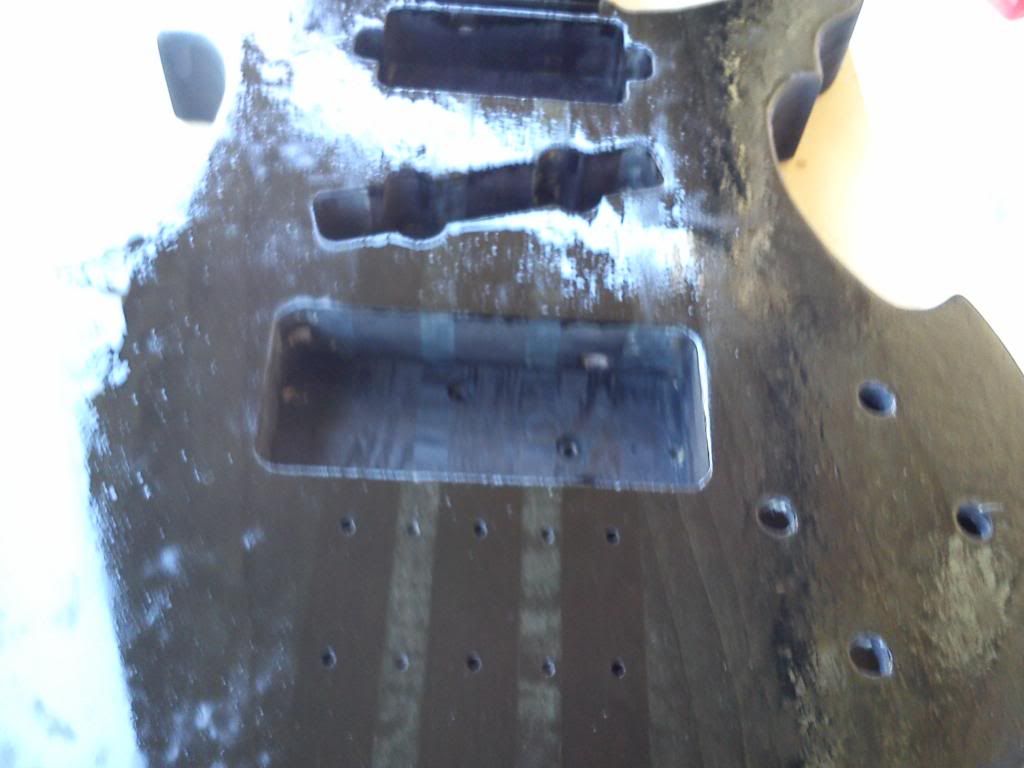
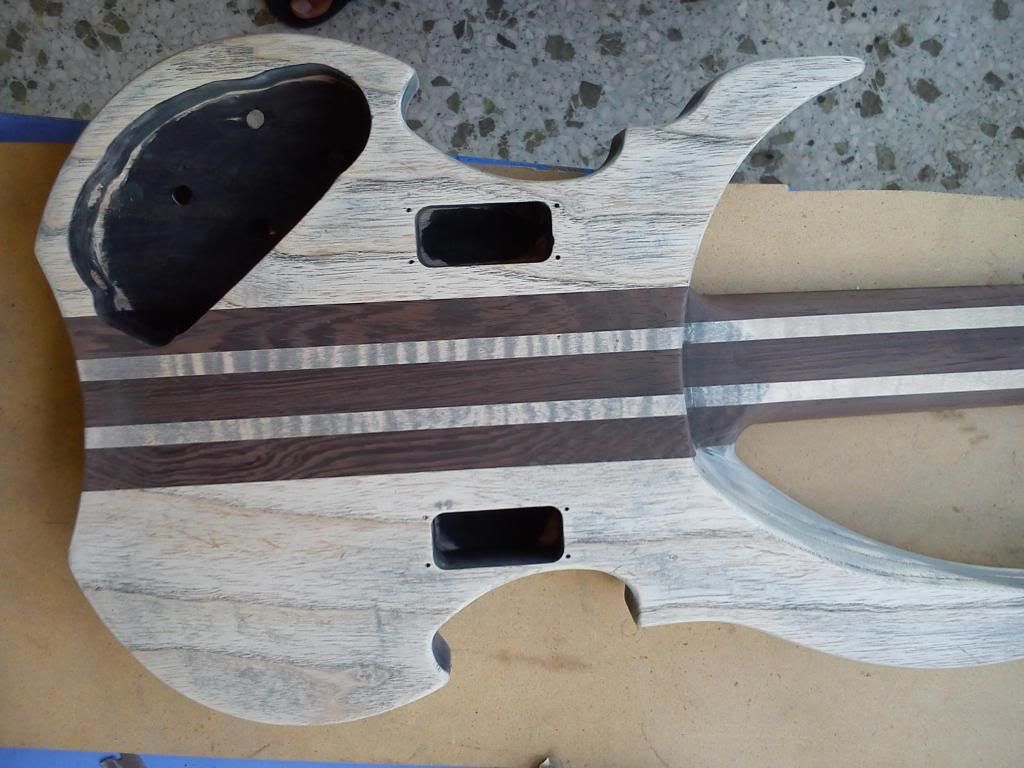
Body routed
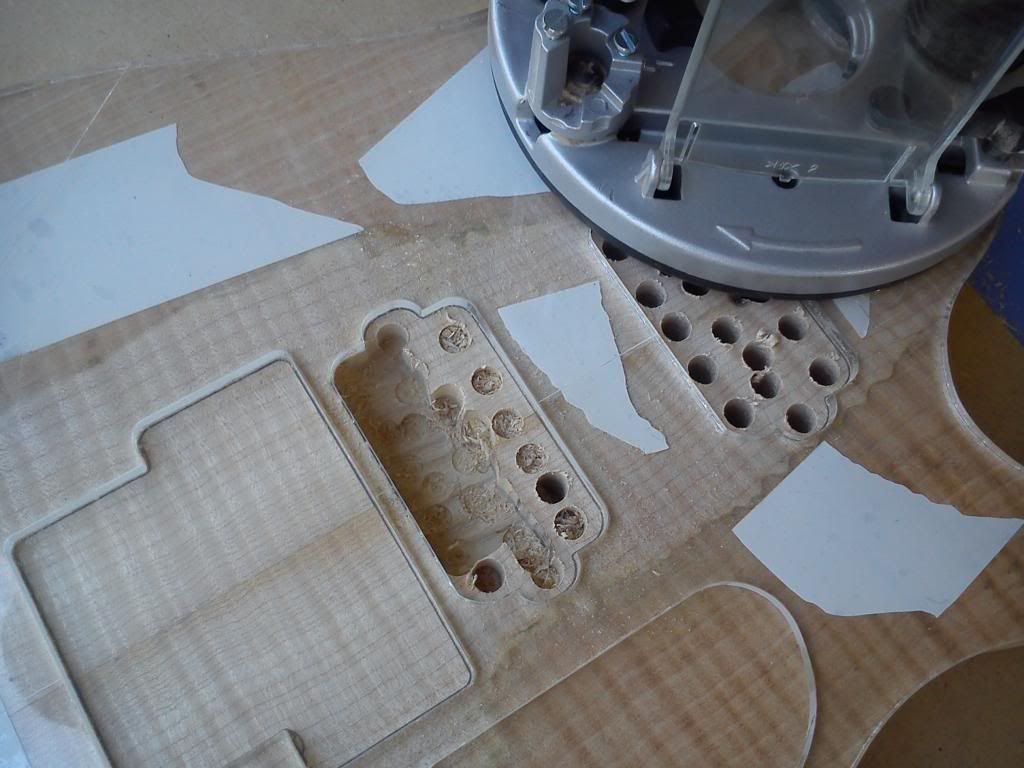
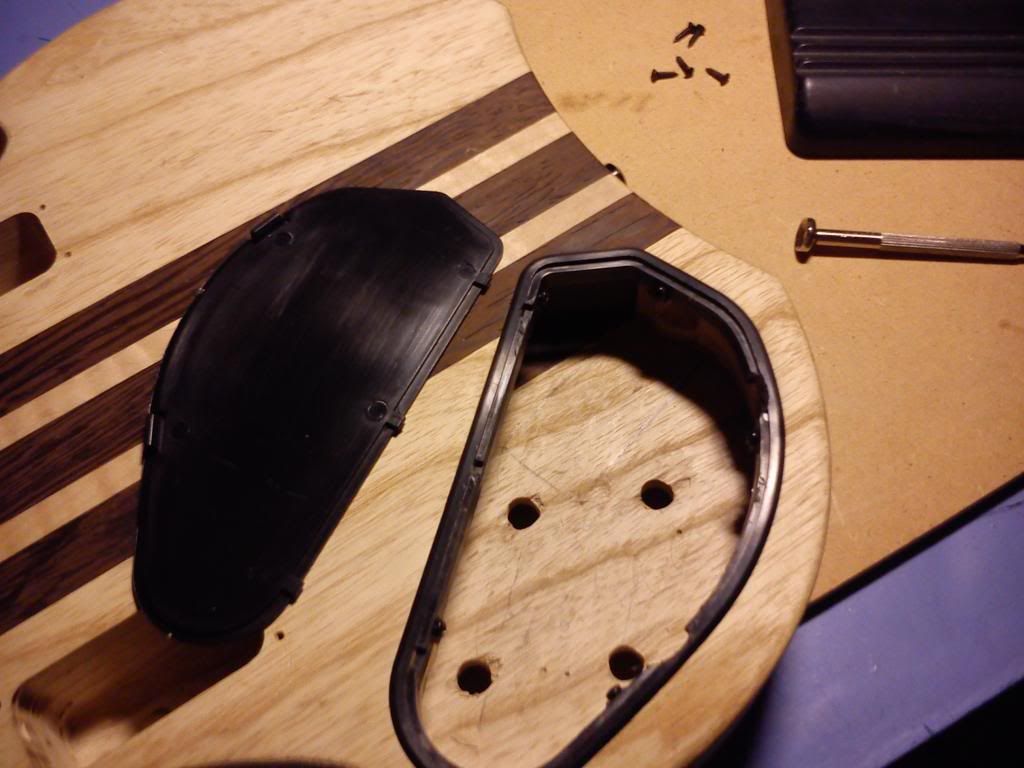
Pickup cavities
Gluing headstock
Truss rod channel
Headstock ears
Neck rough cut
-
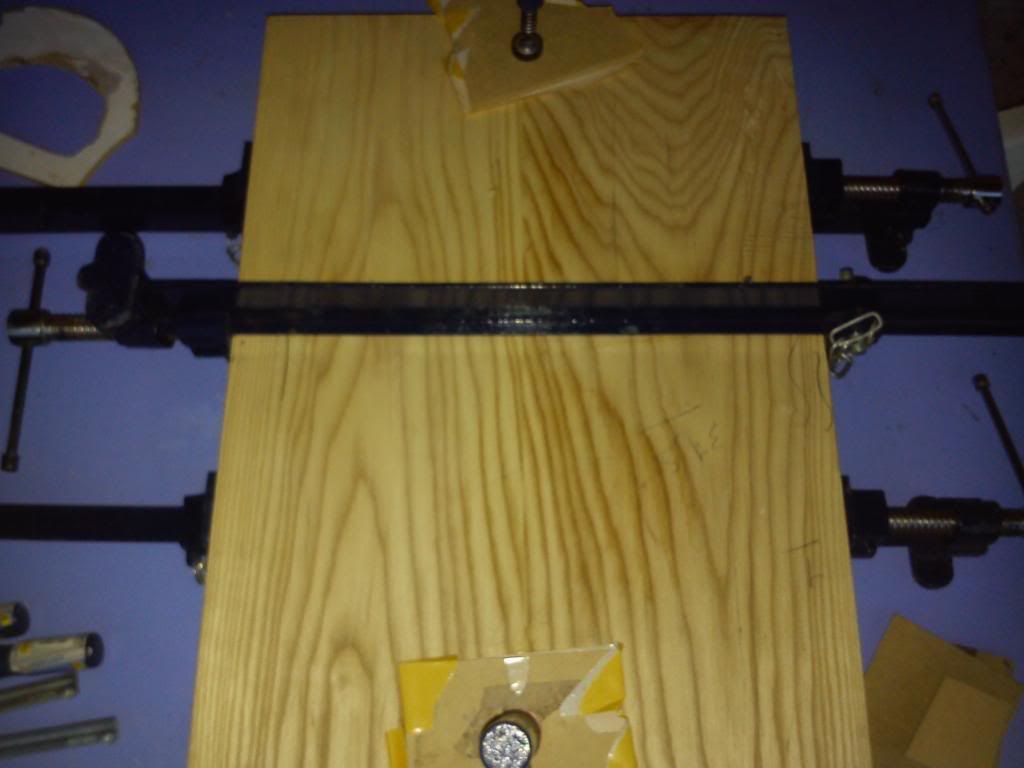
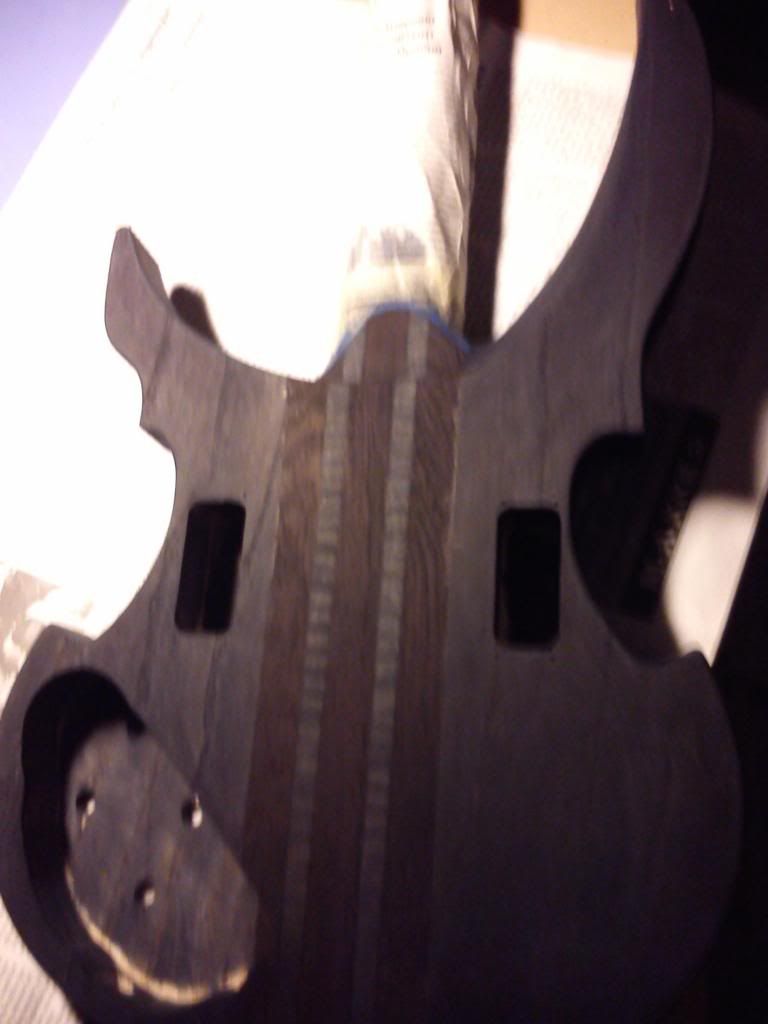
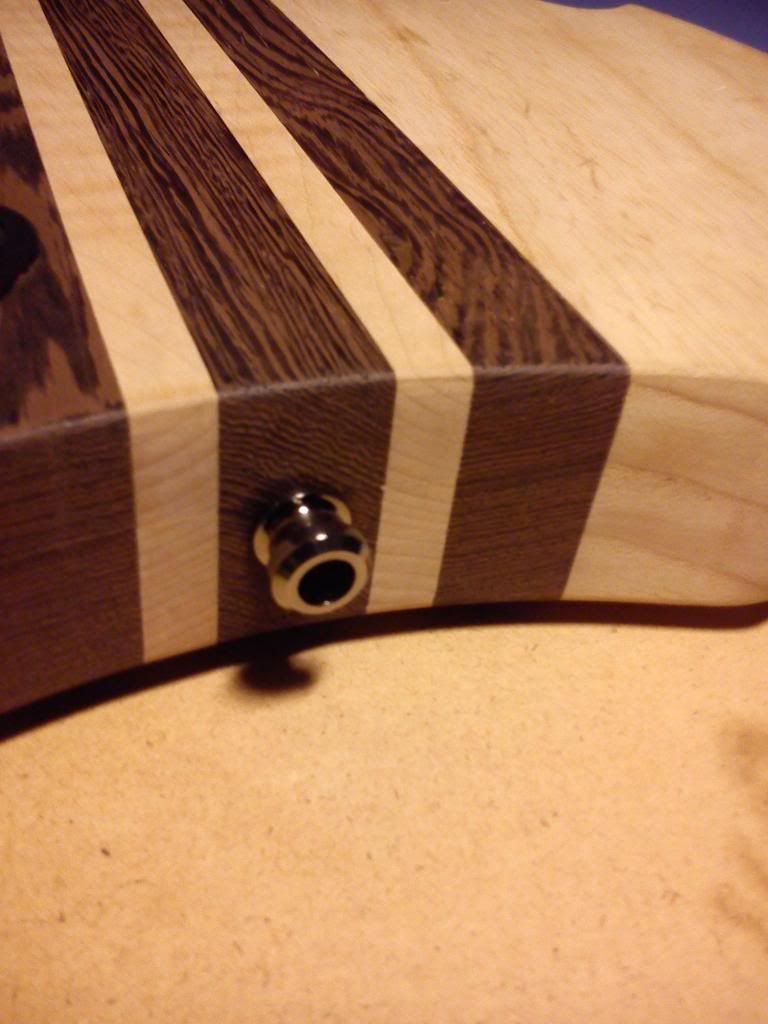
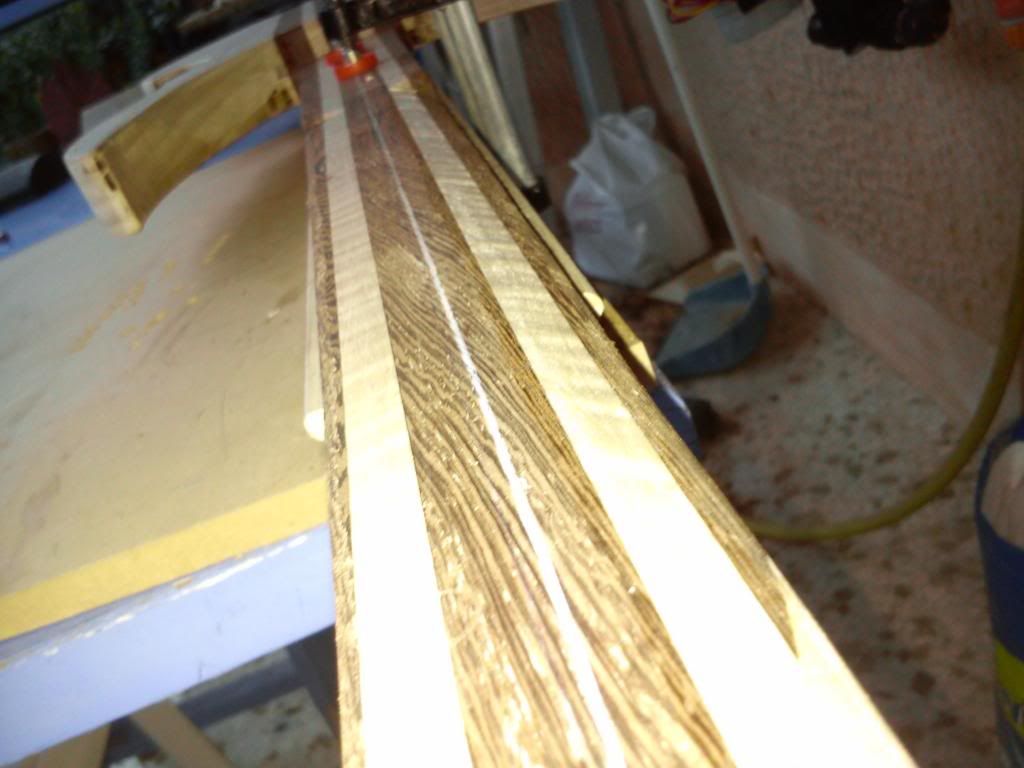
Top glued up
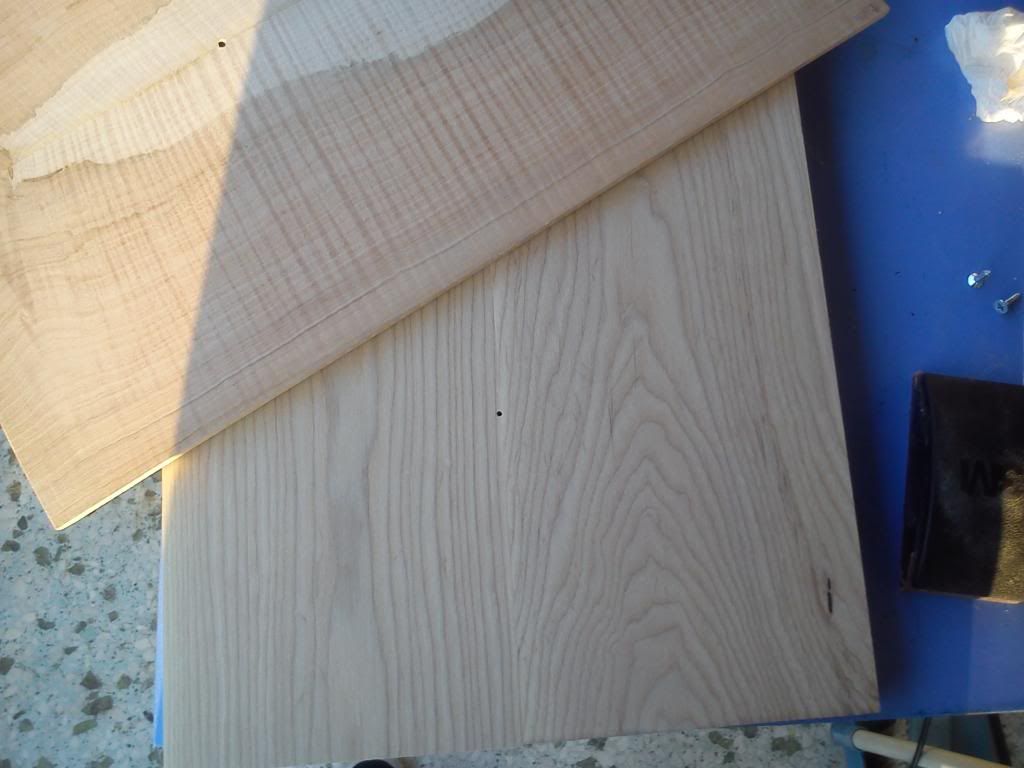
Top & body
Cutting body
-
Hi folks
This is a new project that I am working around these days.
SPECS:
Superstrat style
6 strings, 25.5" scale lengthZebrano fretboard
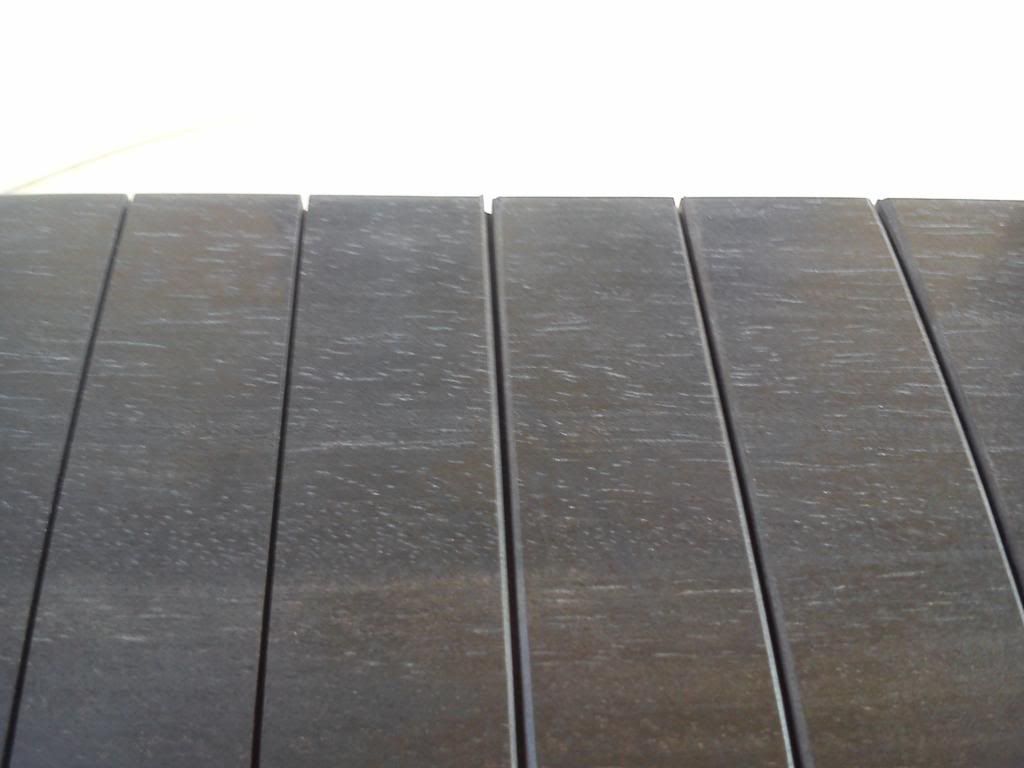
5pc flame maple/wenge/flame maple/wenge/ flame maple set neck
Ash body / Flame spalted maple top
24 jumbo frets
Zebrano fretboard
5pc flame maple/wenge/flame maple/wenge/ flame maple set neck
Ash body / Flame spalted maple topWenge headstock veneer
Floyd rose style bridge
2 humbucker pickups (neck pickup slightly moved to middle)
3+3 tuners
Still considering:
Color of hardware
Pickups ( + color)
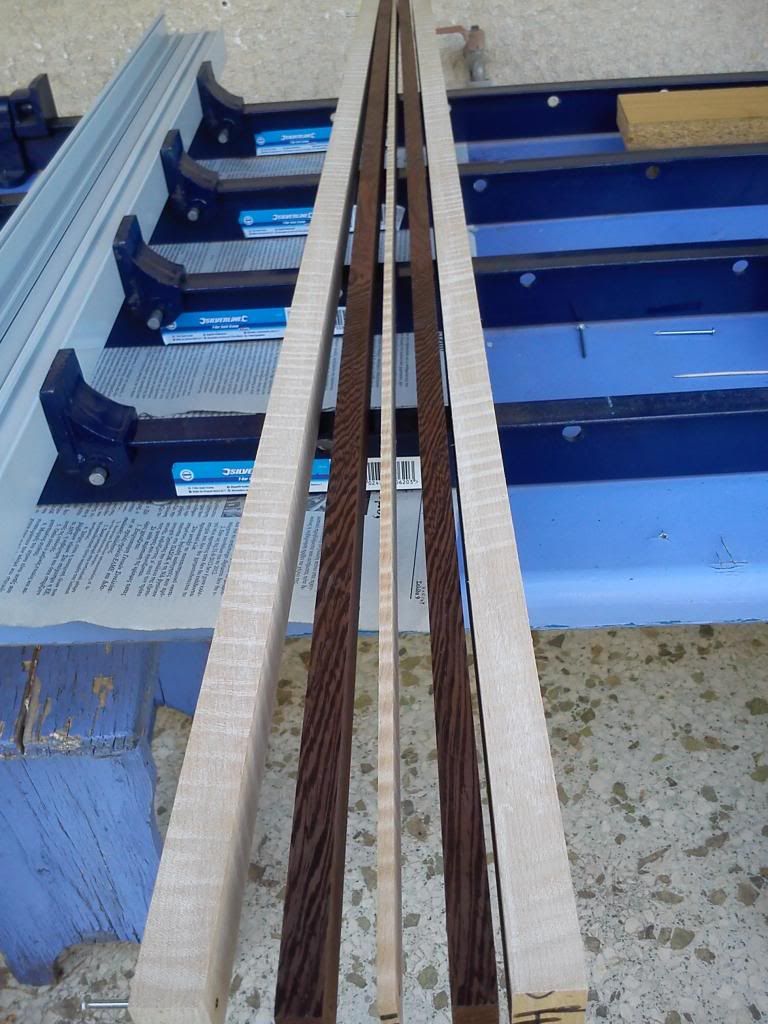
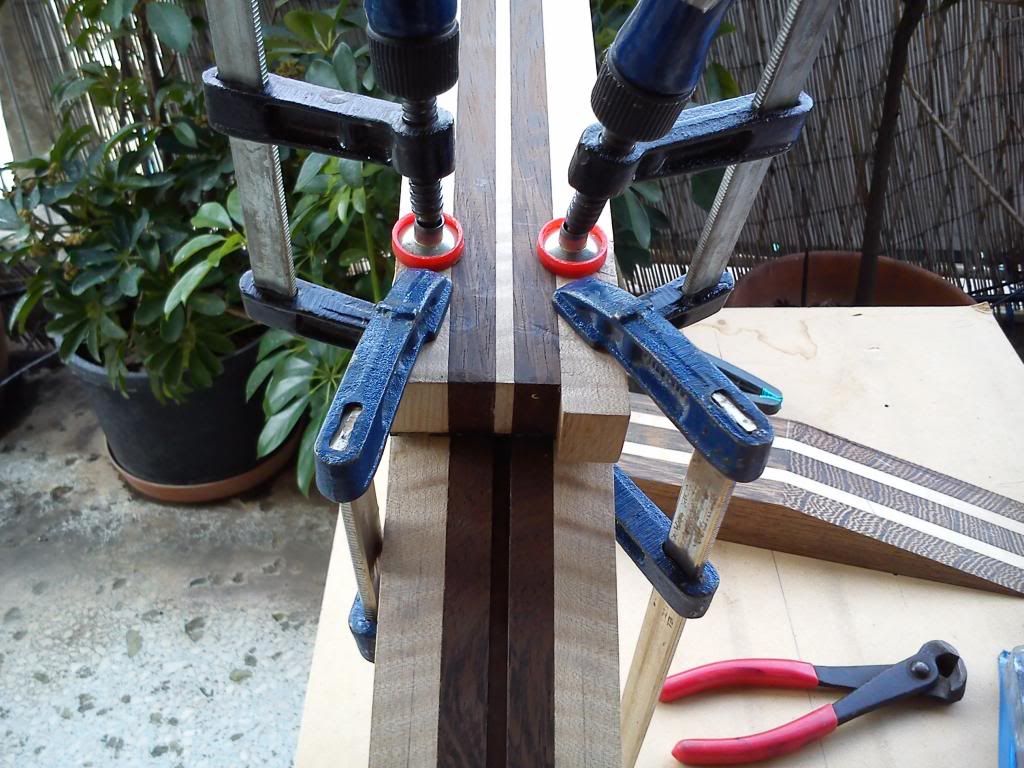
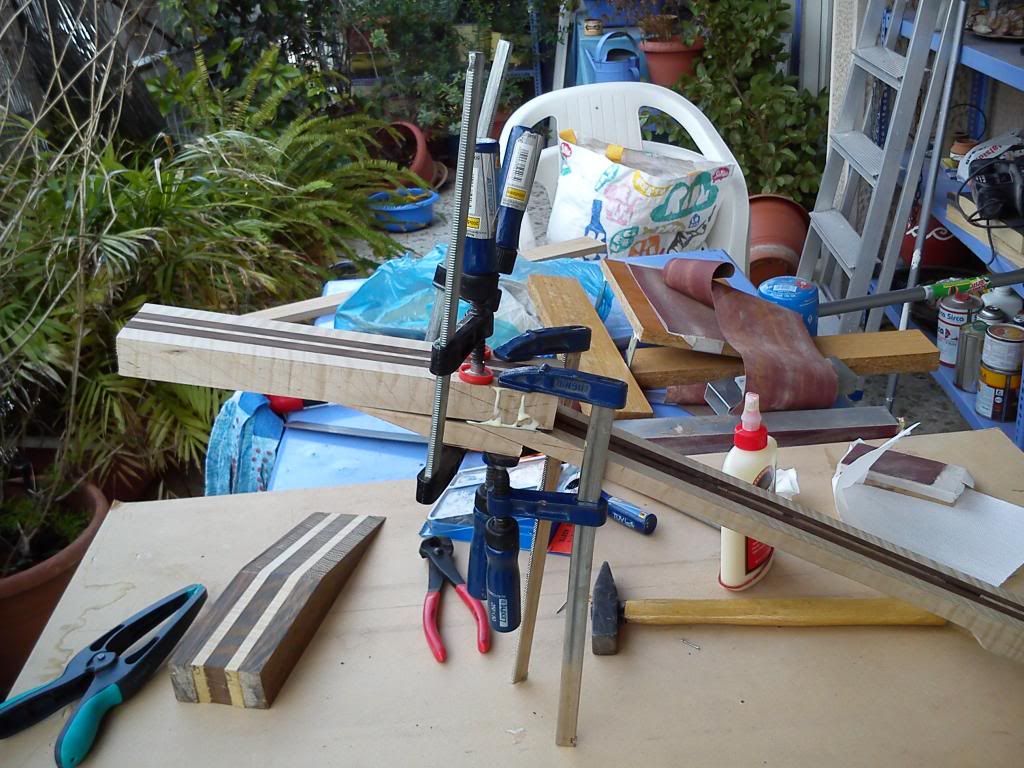
Neck laminates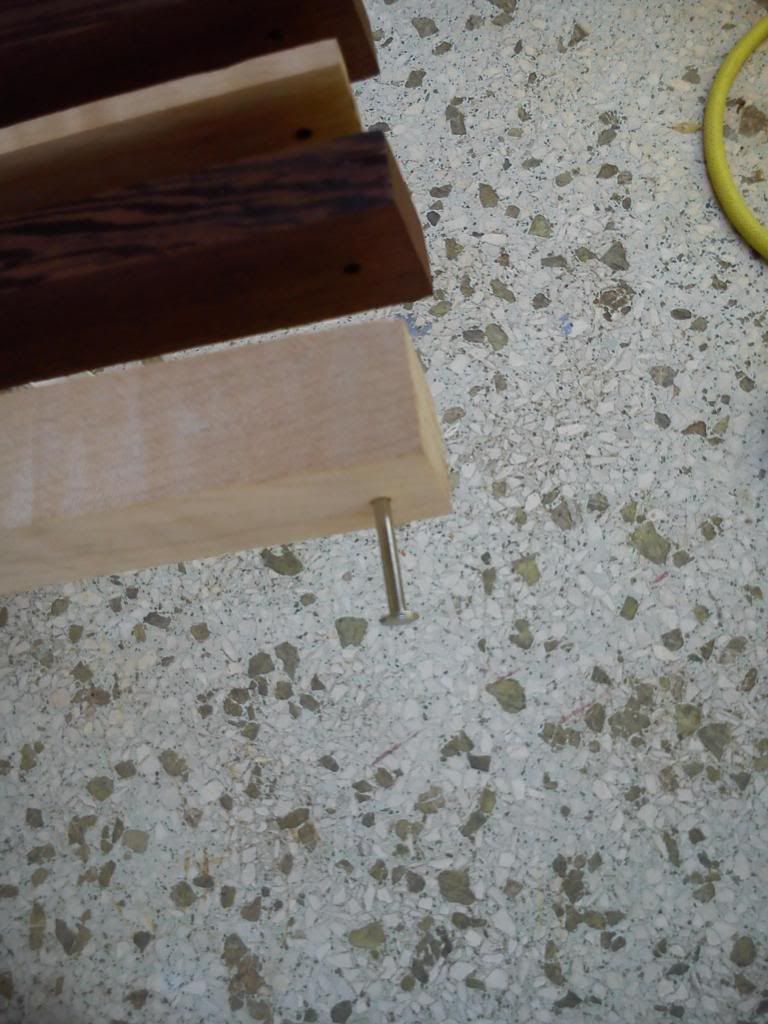
Aligning
Body gluing
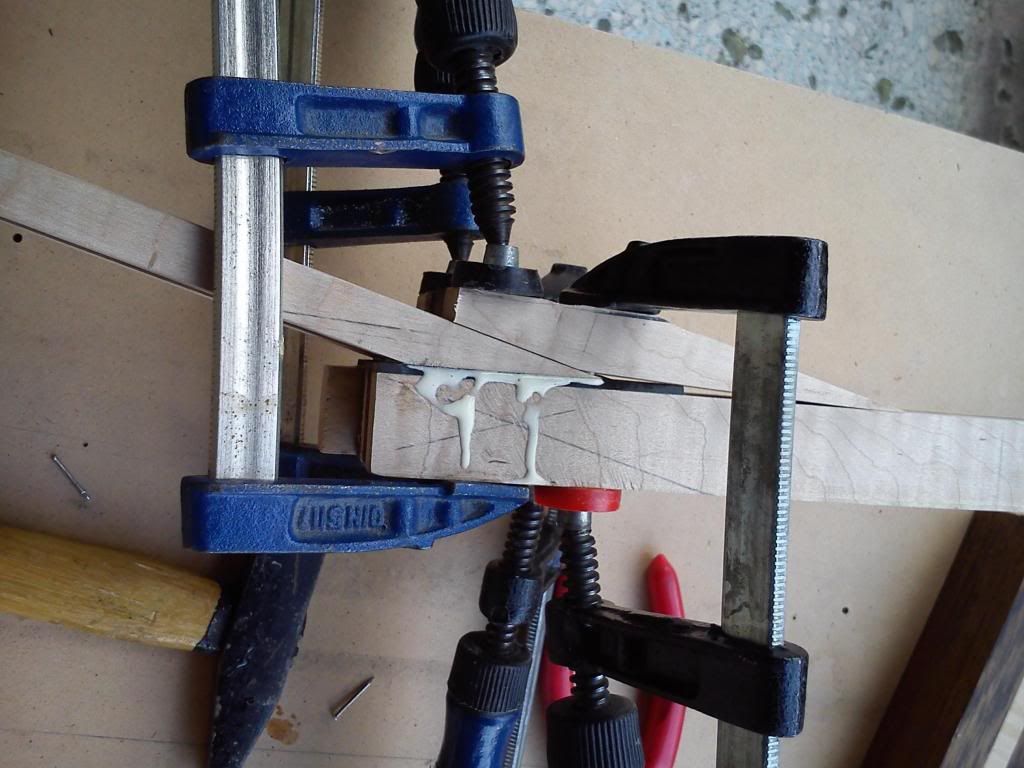
Cutting neck angle
-
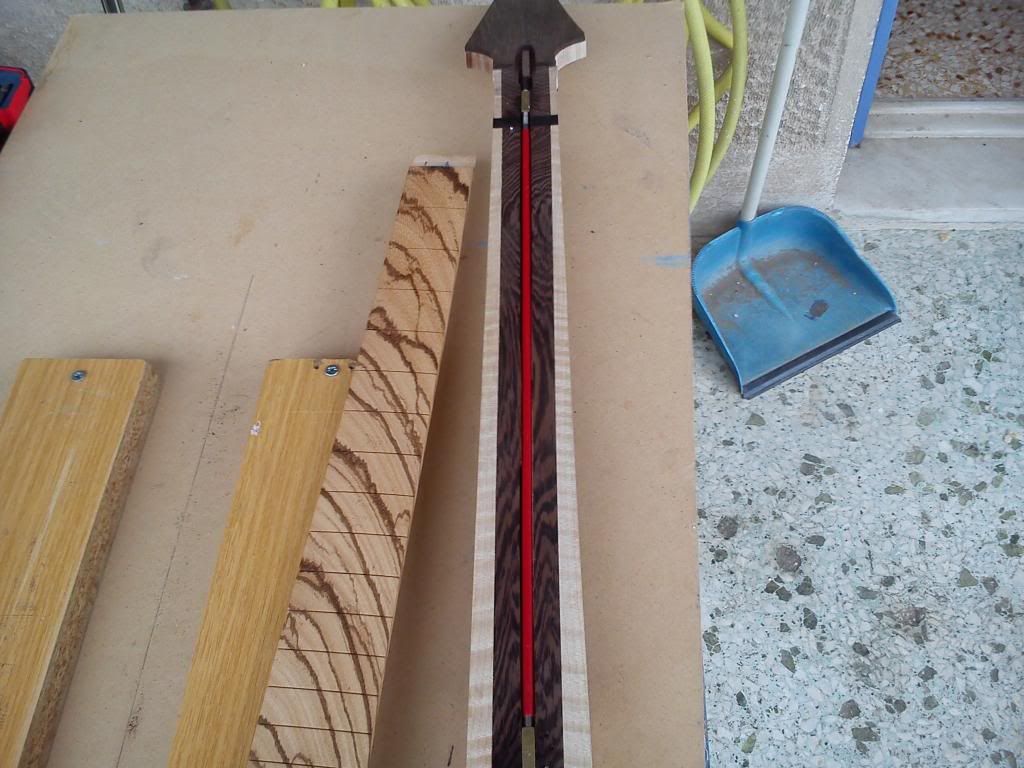
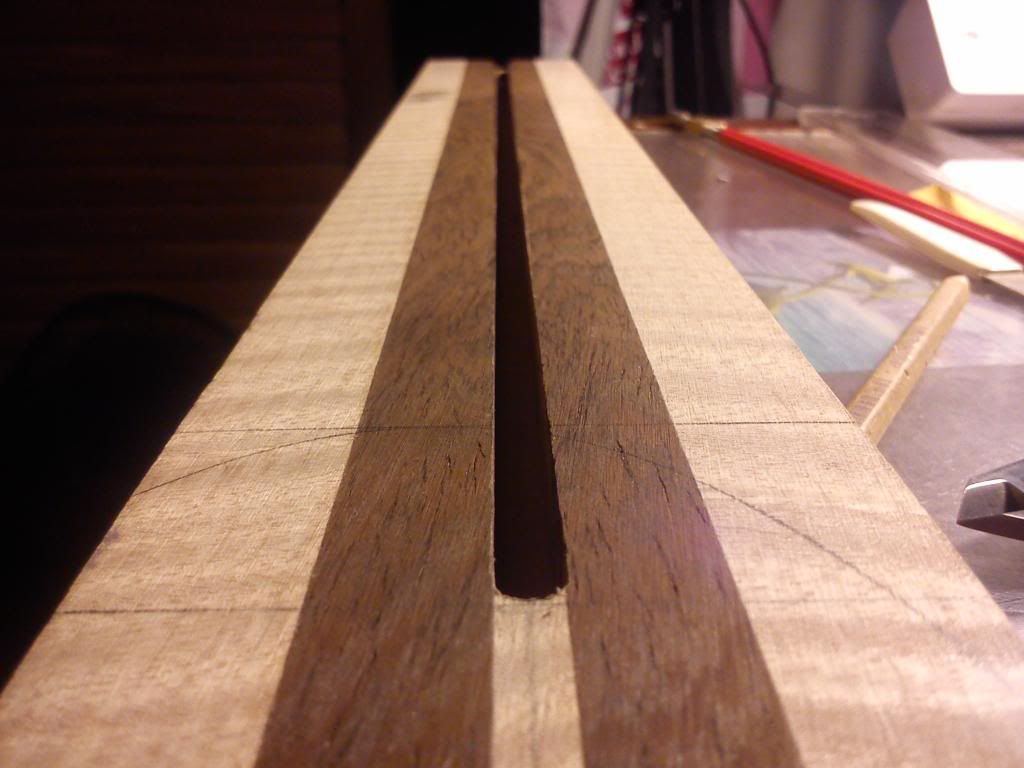
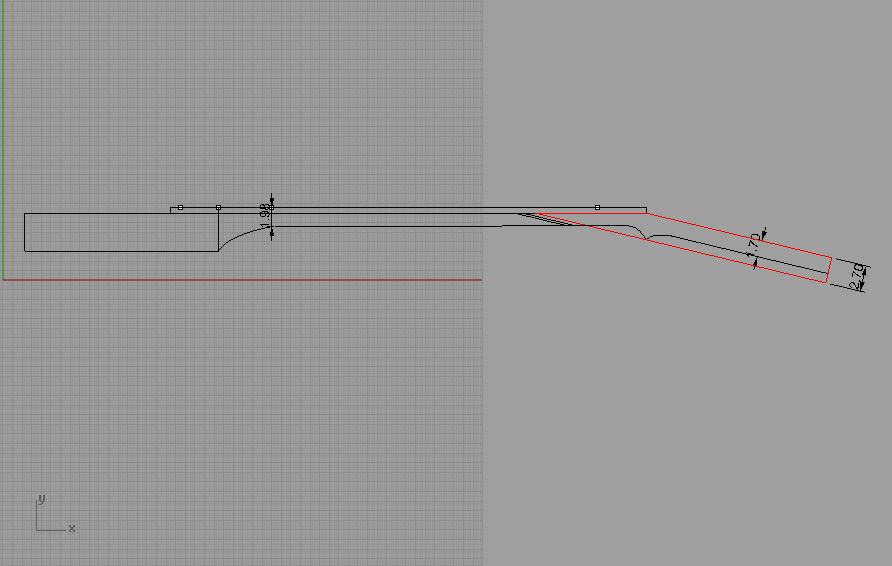
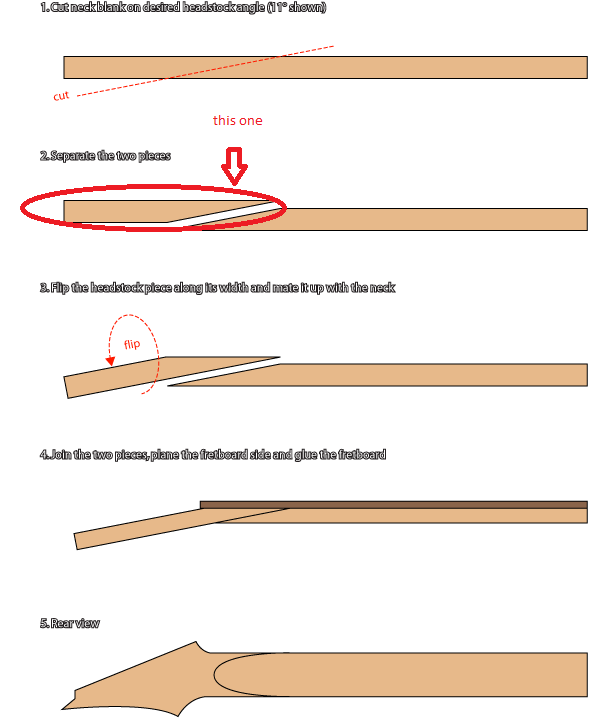
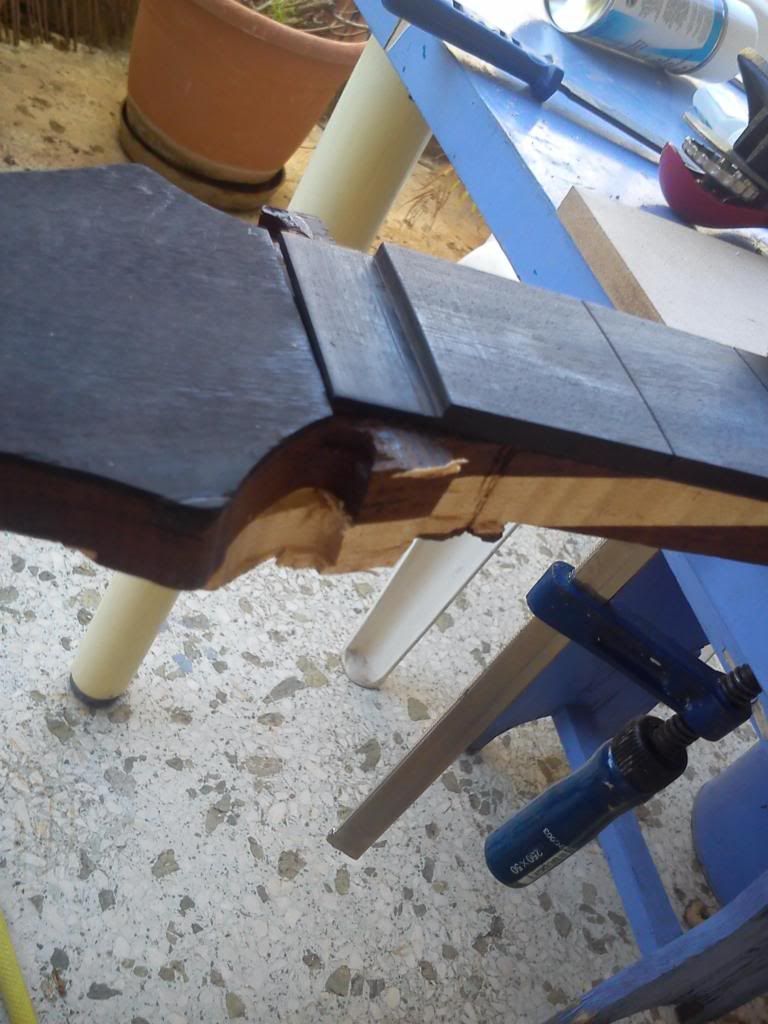
Headstock needs to be 1" thick to make the scarf come up right. Bandsaw it to thickness after neck blank is glued together.
thanks for that....
I draw this one a couple of hours ago and I came up to the same conclusion (more or less)
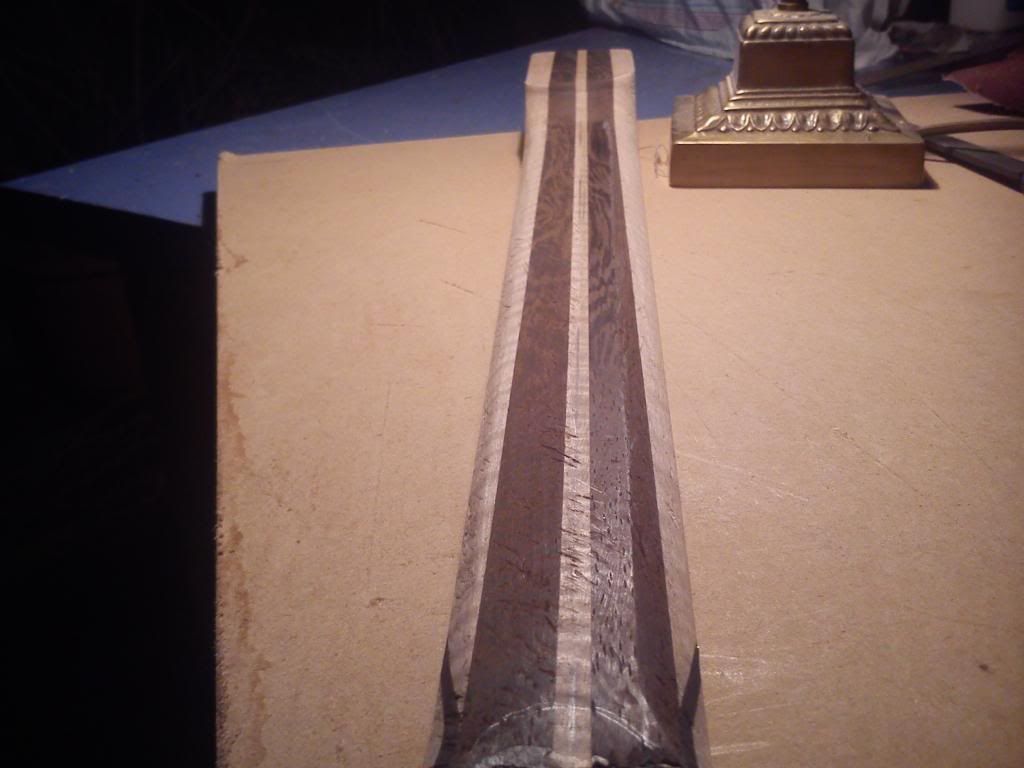
The red line shows the piece of wood before bandsawing.
It came up 2.7cm a little thicker than an inch.
-
I always make my neck blanks about 1/8- 1/4" thinner than my bodies will be. Obviously this only applies for set necks.
The thicker your neck blank is, the further down the neck the scarf will be.
This is right but usually after cutting the angle I take down the headstock piece to the desired thickness and then glue it.
With this method it's difficult to achieve the desired volute. That's why I am asking for proper thickness.
-
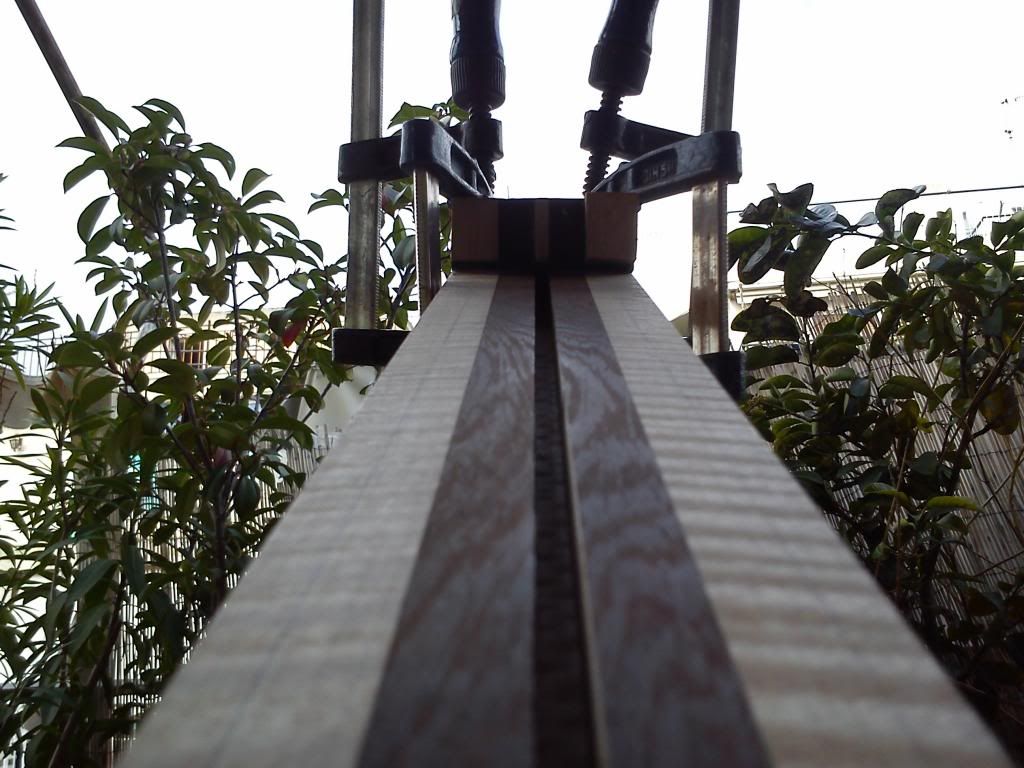
Hi
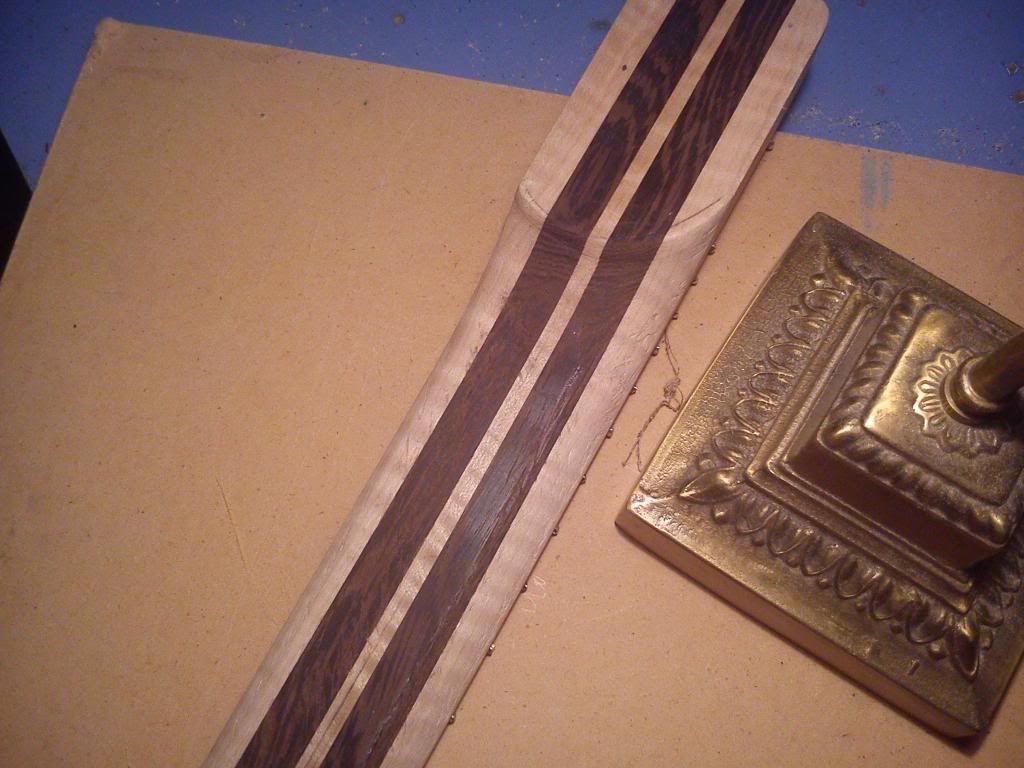
I am wondering what is the thickness of the piece of wood you are using to make the headstock at the stage of scarf joint?
I mean the piece that is marked in the first picture below.
I generally like necks with volutes, although most of my necks have volutes that is formed from the wood coming from the neck and not the headstock piece (second picture)
Thanks guys
-
This is shaping up to be a fantastic build - I bet you're really glad that you fixed up those routing errors. I have to wonder how much wood there is between the rear neck/body transition and the front pickup rout though! It looks somewhat precarious!
Wish this issue came up sooner... Unfortunately a crack appears at the exact spot so I have to start all over again. I tried to fix it by adding some of the same wood and shaping as a heel.
I will post some pictures soon with the new one and the fix from the previous.
-
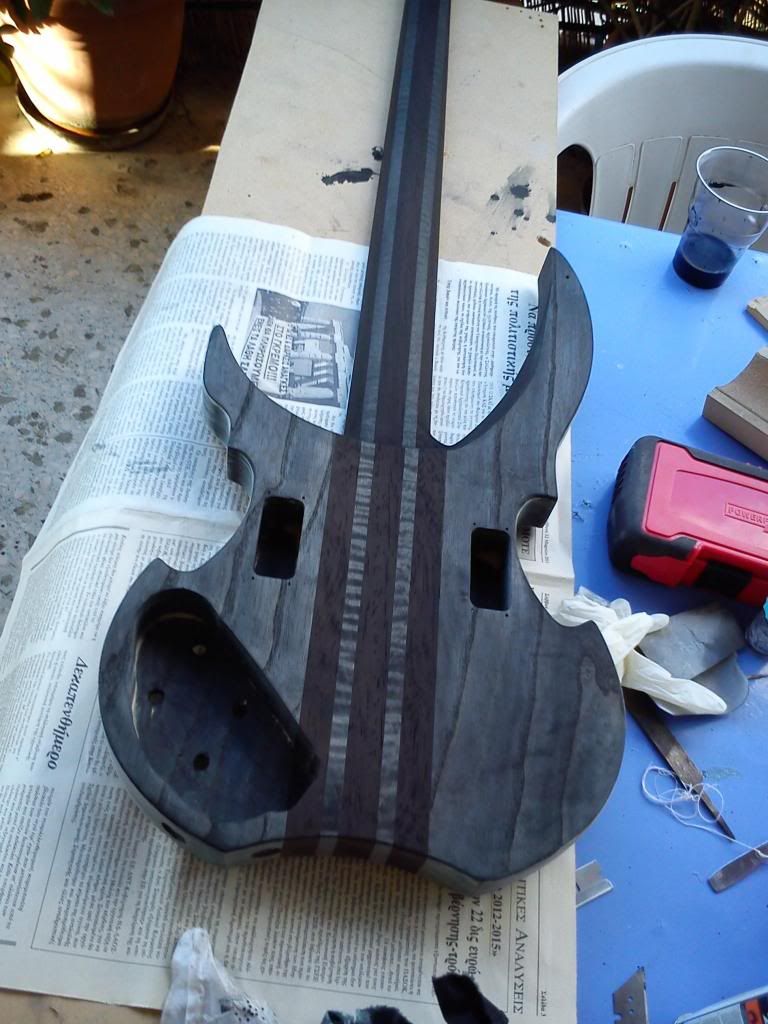
2nd coat of black dye and some oil
-
...And the finishing progress has begun
-
Hi guys it's been a while.
Ok some progress
-
Generally dyed/stain wood and oil finishes don't work too well in my experience. Teak/Tung Oil penetrate into the wood as do stain/dye and it tends to displace the color. Do some testing before hand. My last guitar I used gel stain on the mahogany but let the guitar sit over 6 months before I applied teak oil. I did get a small amount of color displacement as seen on a rag when first applying the oil but overall wasn't too bad.
I was afraid of this reaction. I'll do some tests first and see.
You won't get that black finish with oils, they have an amber tint to them that will give you a brownish color. Your best bet for the finish you posted is to go with satin lacquer or poly over a black dye as you suggested.
I read somewhere in Warwick's site that they achieve this kind of finishes just with their beeswax.
-
So before I move on I would like a little help with the finishing schedule.
The bass it's going to be dyed black. So I am thinking something like this

Does anybody has a schedule to suggest?
I am thinking:
-Water based black dye all over
-Sanding and dye again
-Few coats of Teak oil or Tung oil
-Leveling
-Rub on poly
-Waxing with warwick beeswax
(By the way I've never tried an oil finishing before just some guitar necks with tru oil)
-
Indeed. Definite applause for the fix. That's what it's all about!
Thanks I own this to you guys for convince me to give it a try
-
Oh, yeah, thats much neater. Good save. BTW, an awful lot of pickups in that instrument. OK, not much more than in a strat...

Yeah there is going to be a mess trying to solder all together
You could get a piezo in yet.
I hope not
Way to go.
HSH with the proper switching can be very versitile. Looking good.
That's a very clean fix
Thanks a lot guys
-
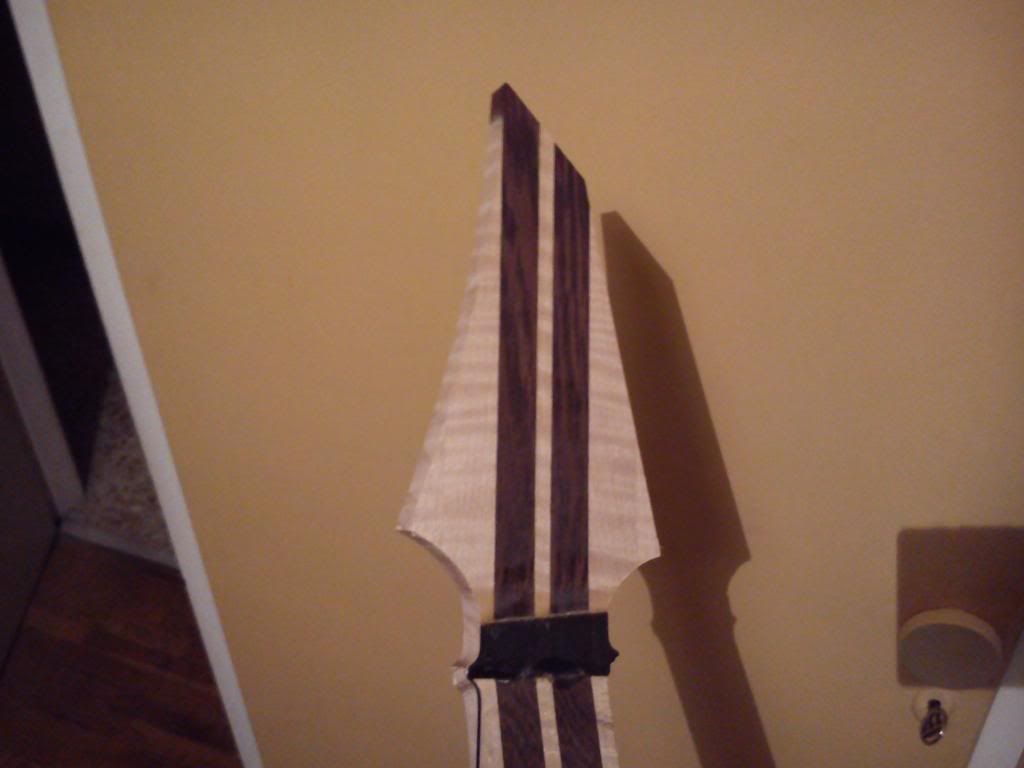
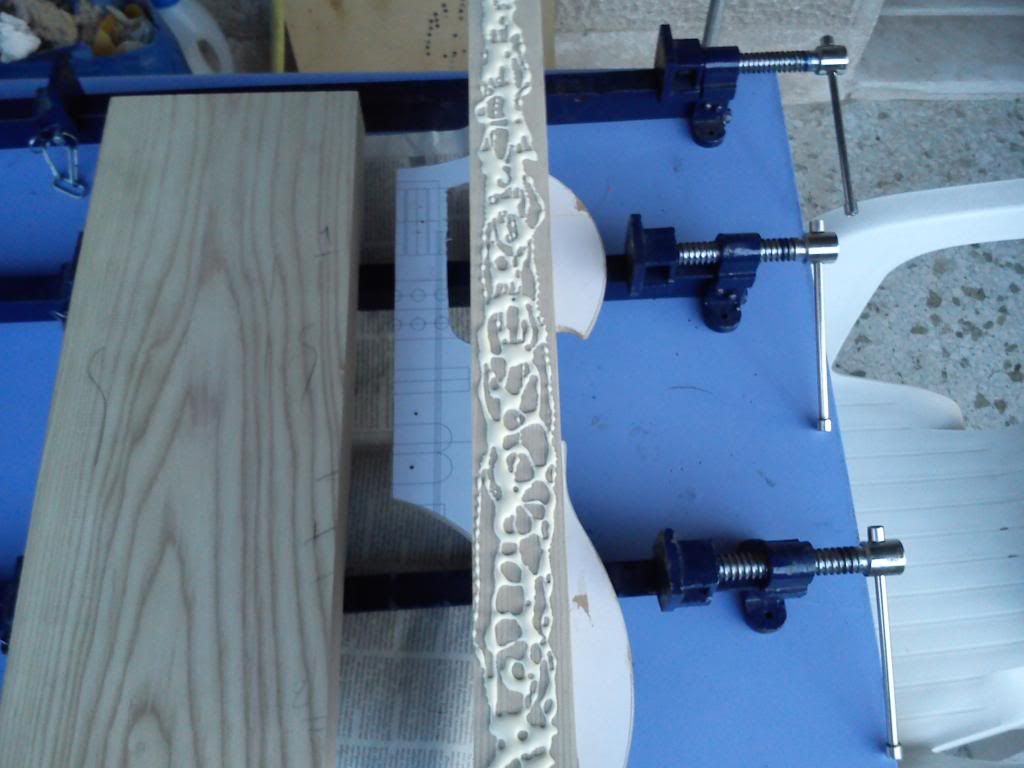
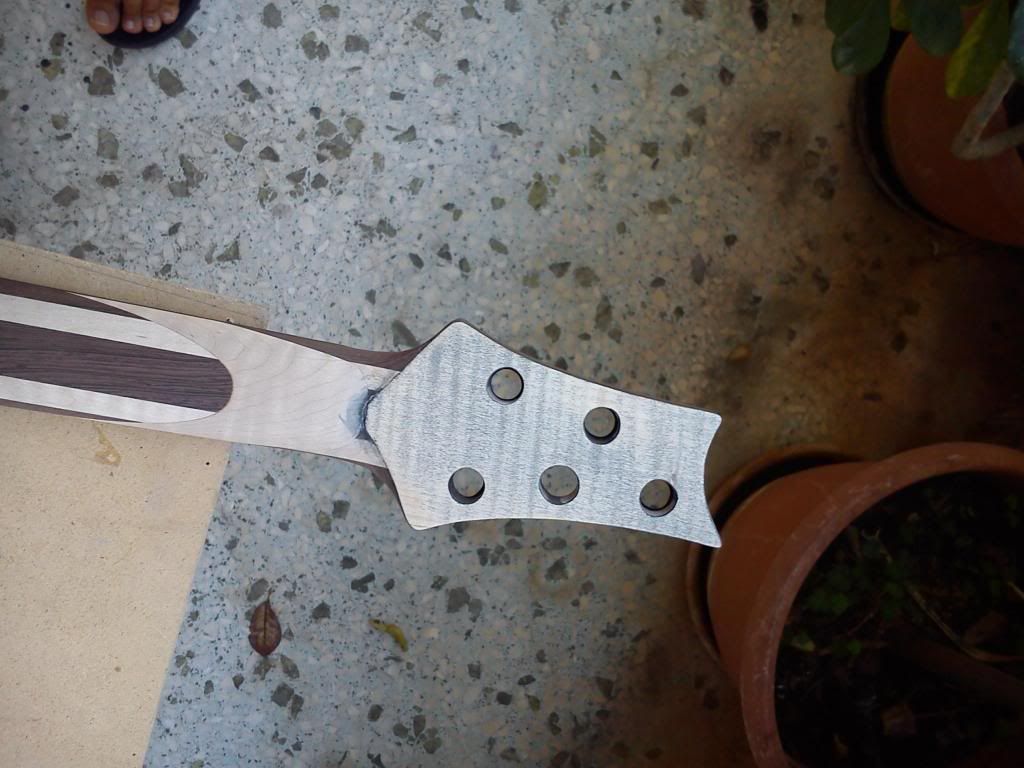
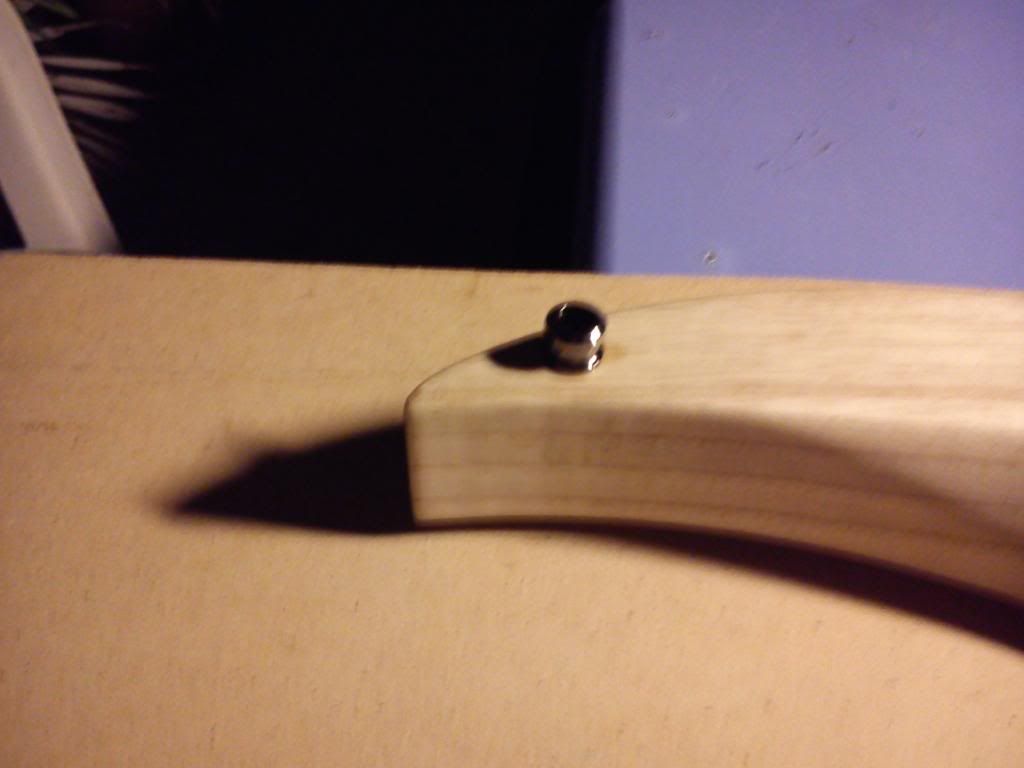
Peghead shape
Hopefully everything seems better with the new patches


-
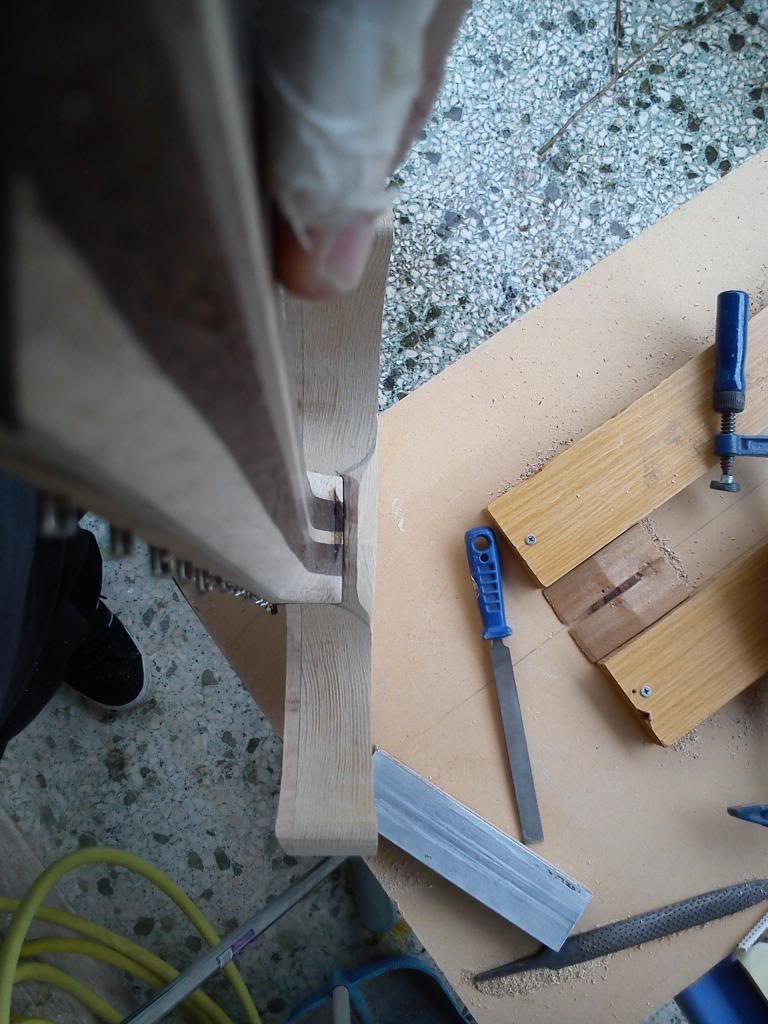
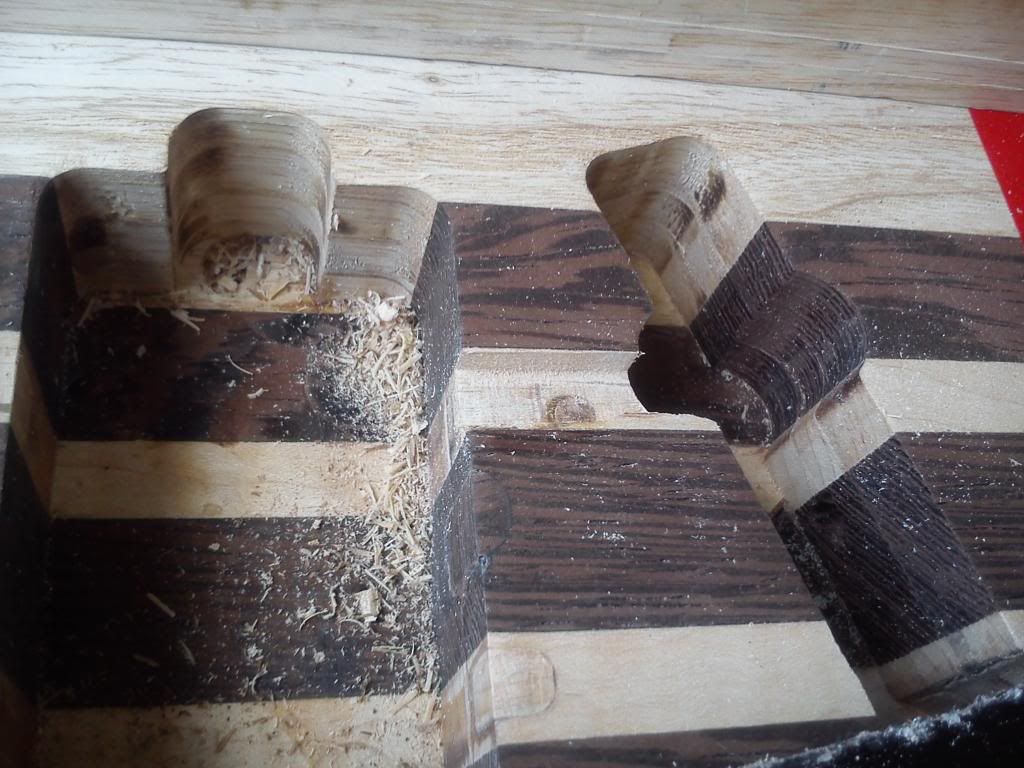
Shaping the neck was interesting cause I asked for an asymmetric back shape
So first I carve a volute but in the end I decide to remove it.


 )
) 
KEA 2014 Builds
in In Progress and Finished Work
Posted
Man I really love the selection of woods that you choose.