


xadioriderx
-
Posts
130 -
Joined
-
Last visited
Content Type
Profiles
News and Information
Tutorials
Product Reviews
Supplier Listings
Articles
Guitar Of The Month
Links and Resources
Forums
Gallery
Downloads
Posts posted by xadioriderx
-
-
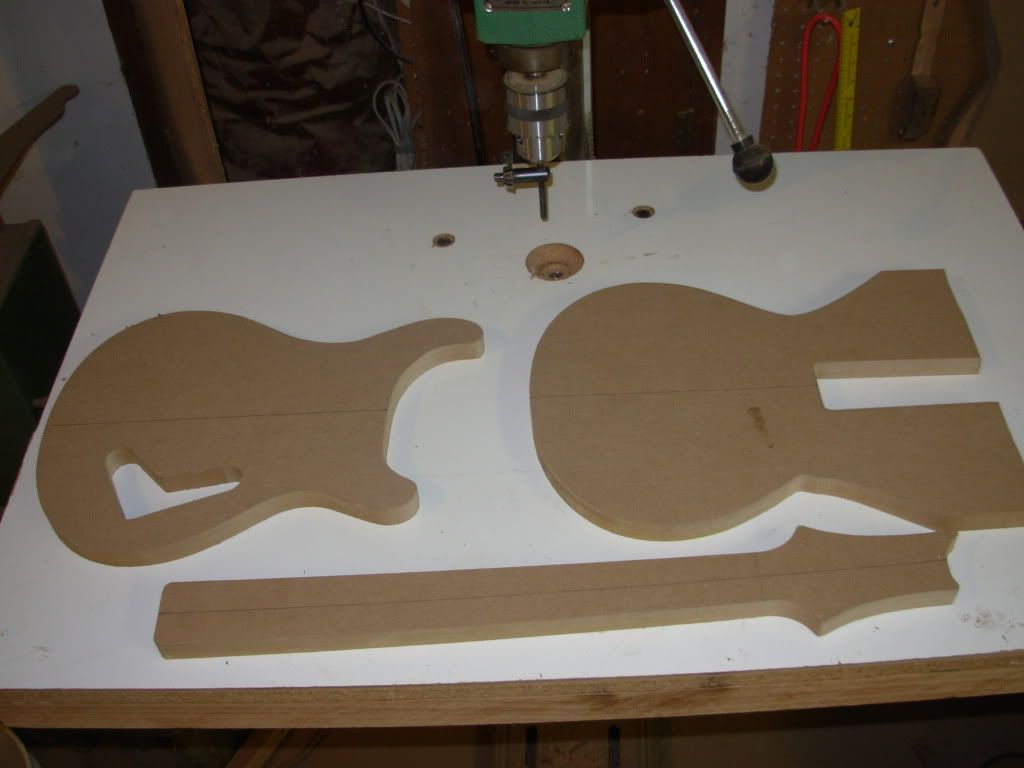
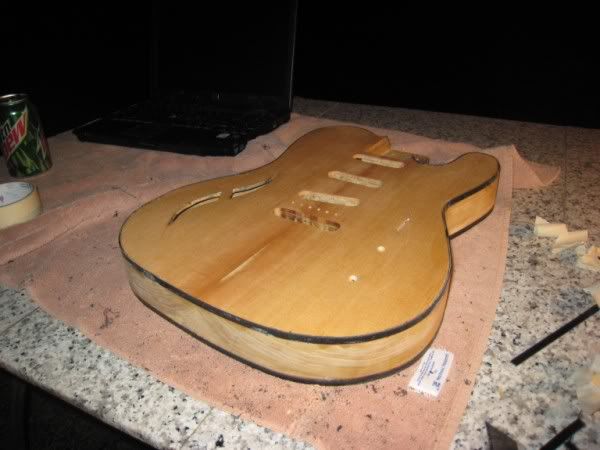
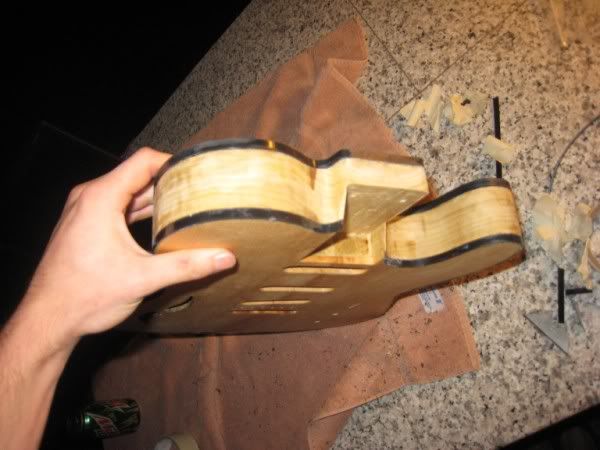
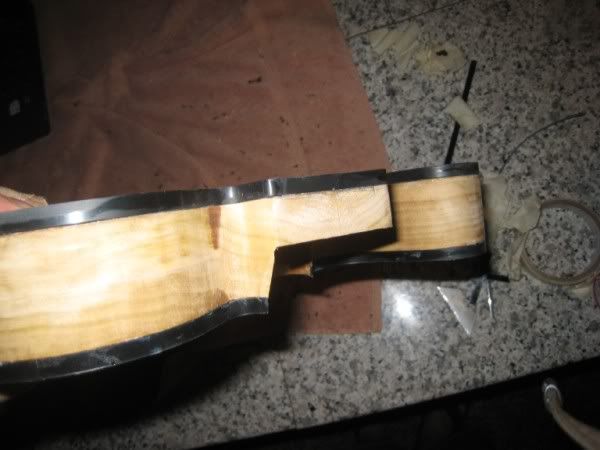
pulled the binding tape off, cleaned it up.
i have to say, i will never bind before painting again. i dont know why people say to.
i think route, paint, a little clear, then bind, scrape down flush, then clear some more. next time...
put a little clear on today, but there was a spot on the front that got under the clear, so i stopped. will have to sand it out tomorrow, then continue =(
-
i didnt know that even existed until just now

-
got the tuning machines on today, except they didnt come with screws apparently, so ill have to do those later. oh well.
also put side dots on at 5th and 12th. the gold doesnt match, but im not worried about it, they came out pretty good! used some solid copper wire. i was too scared to do more dots. maybe later :haha:
i think having only 5th and 12th, and only on the side, will be a decent challenge for a while

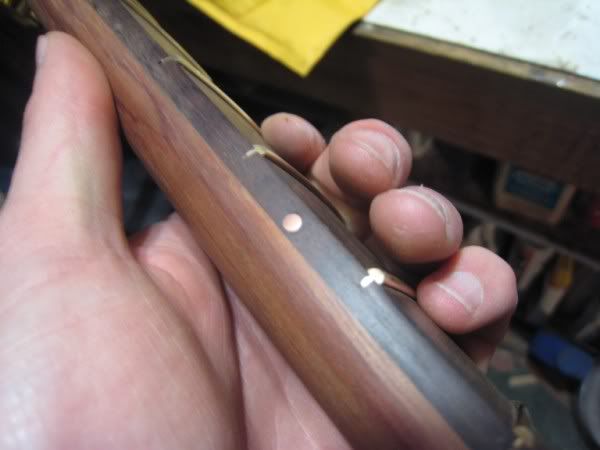
still need to figure out a truss cover. hopefully i can work a piece of bubinga down thin enough
-
humbuckers generally have a wire that grounds the base plate anyways, so if it does, its not going to make a bit of difference...
i did a write up on using aluminum tape to shield cavities. if you take a voltmeter now and test for continuity between the separate strips of tape you used, there wont be any most likely. copper shielding has conductive adhesive, aluminum tape does not.
take your soldering iron with a pointy tip, and poke numerous dimples in the tape in places where it overlaps. this melts the adhesive and pushes pieces together. i used about 10 pieces to shield this:
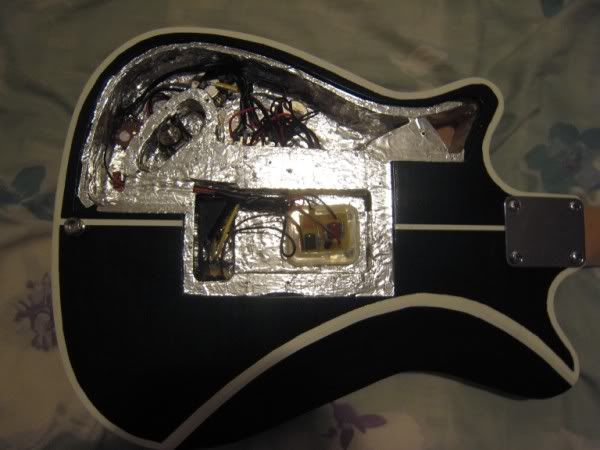

and none of it had continuity anywhere, it was bad. so i found the dimple method and now all of it has continuity. its also part of the ground loop because the pots sit in it. and the control cover shielding makes contact with it (without adhesive in the way).
-
yeah you should give it a try, id love to see a more experimental outcome of this, see if people like the sound or not.
ill call it a ryanbucker or something =p
-
So I saw that you have no inlays, not even side dots You must be one of those people that never even looks at their fingers

yep im just so amazing at guitar i dont need markers
or i dont trust my inlay skills. ill let you decide which
i actually just found some solid copper wire to use for side dots i think, so ill have to attack that soon...
and yeah my neck angle is intense isnt it?
i have a super tall TOM bridge for it, i swear... lol -
straight legitttt!
havent cleaned up the edges yet
=)
-
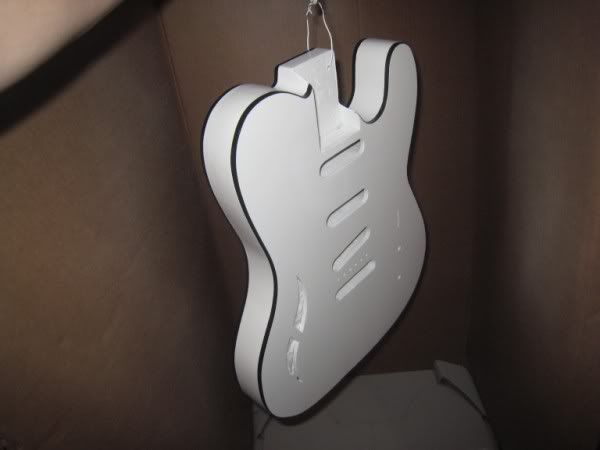
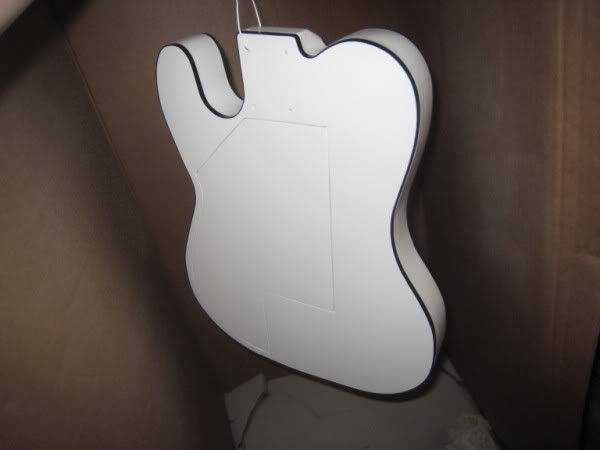
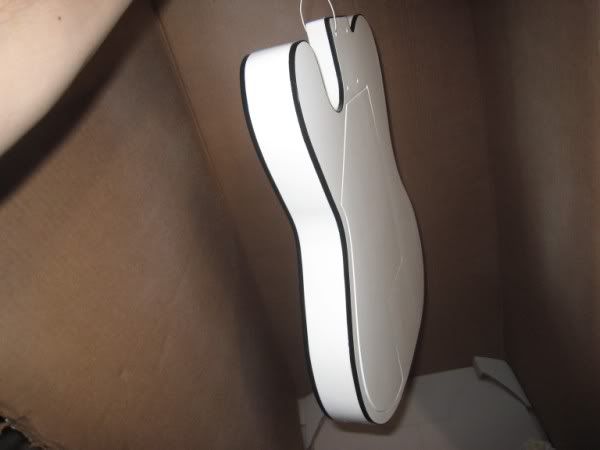
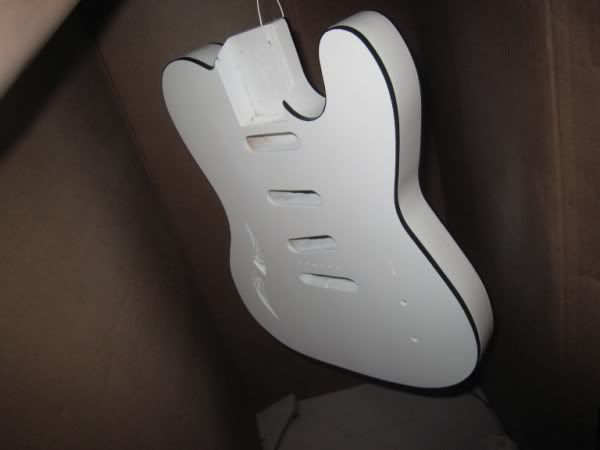
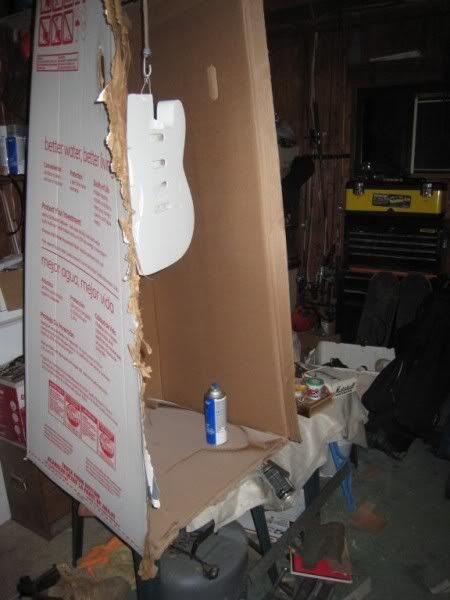
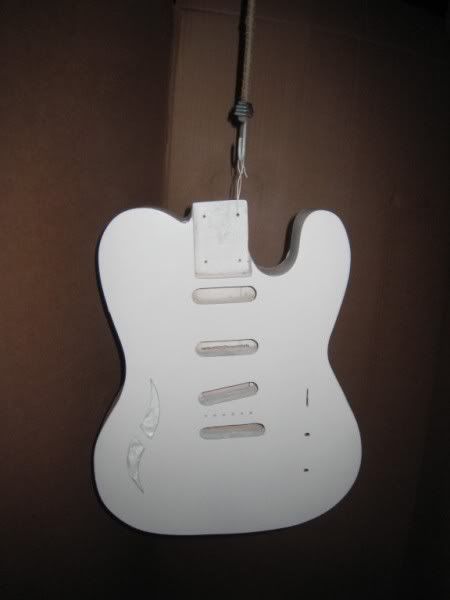
ok, so ive been painting for the last week and a half or so. ive got it about as smooth as its gonna get. the top and back are smooth, the sides dont seem to want to get perfectly level, but it wont be all that noticeable i guess.
i did a few coats of sanding sealer, some primer, etc, and the grain is still there no matter what i do. so its not going to be plastic smooth, but thats alright, i like a little grain. i painted the headstock face, and it gave an awesome grainy look to it.
a few more coats of white then ill do clear. hopefully in the next 2 days ill be done with painting and can let it dry out
-
that looks like a double function as an amp stand and a cozy chair
i dig! that looks great!
-
alright i did some testing.
i compared a humbucker in the bridge position, to adding the single coil in parallel, and then adding it in overlapping series.
a humbucker in the bridge was fairly twangy, as expected.
adding the single coil in parallel added a lot more low tone into it, and overall filled in a lot of sound.
adding the single coil in overlapping series did the same, but less so. it was like a half step towards adding the two in parallel. interesting.
-
you did a fantastic job. the bigsby just looks so out of place on the LP, i dont know why
the lp shape is just so classy, in a very different way than the bigsby is classy in itself.
what kind of dye do you use for the blue? or is it a tinted stain?
-
I do a lottttt of wiring diagrams for people, drawing them up and trouble shooting for people, but one thing ive never tried and never seen is this.
has anyone ever tried wiring 2 sets of coils in overlapping series? what i mean is this:
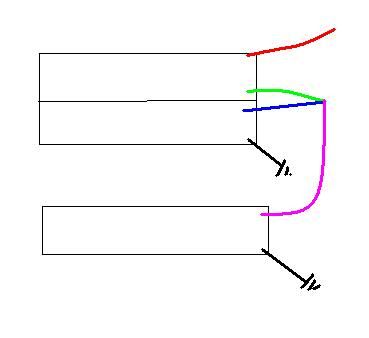
imagine if that single coil were in phase with it, and wound opposite the north of the humbucker? same as the north of the humbucker?
how might it change the sound adding that other single coil?
or imagine if the humbucker was in humbucking like this, but the single coil was out of phase with the north of the HB? out of phase with the south?
ive never seen anyone do this. and it makes me curious! i may just have to try it out!
-
great finish! did you use nitro or acryl lac?
-
yeahhh i started wearing leather gloves when i used the little block plane to shape my neck! it gets painful!
you did route for the pups and get the bridge drilled out before carving right? pleaseee say yes? itd be very tough to route once its rounded over!
i hate getting tearout, it can be the most depressing thing. and whats worse for me is sometimes i get frustrated and decide i just want to get through it so i rush and make it worse =/ i hate that feeling though. i use a router to do the tuning machine holes - i start it then let it drop down the depth guide and through the headstock. well recently i had it too low when i flipped it on and it was touching the wood. skipped and took a nice mark on the face of my headstock =( luckily i planned to paint it, but i had no choice after that happened. did it come out okay when you glued it back on? definitely take some time off ont hat part and come back with a clear mind, youll figure out a fix for it then, never with fresh frustration though!
and yep you have to be super careful gluing fretboards and scarf joints. that much glue makes it easy to slide back and forth when clamping, no matter what you do! i make a little mark that i know ill be able to see even if glue seeps over it, so i can line it up while gluing
anyways, keep it up! and post more pictures, dont leave a month in between!
-
ugh i hate when that happens =(
itll be fine in the end. keep going!
-
more buffing?
it looks great to me. but i have yet to get a glass finish either. i just learned to like the more natural look... =p
i think your tele came out awesome!
-
my paint booth consists of a bungee cord hanging between a few trees. so be happy with what you have
looking good so far! im in the painting stage now on my sss build, having some trouble around my binding though. looks like yours is going pretty smooth so far!
-
heres how it moves (click)
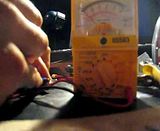
and heres the test of how it works. every time the needle jumps, it will kill sound (click)

Now, to wire this to a single pickup as a kill switch is very simple.
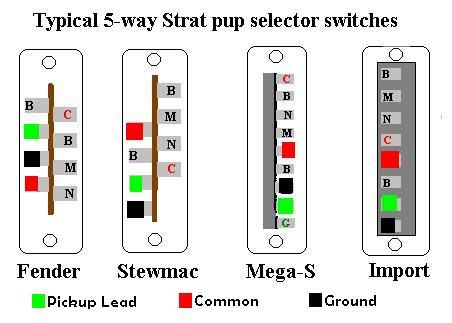
This is an import switch, so the middle 2 lugs are common. one of the pins is typically for the middle pickup, and one pin is for the neck (or whatever your position 1 is)
position 2 connects common (output), position 3 (middle), and lug #1 (for position 1)
lug 1 is only connected in positions 1 and 2, but we dont have position 1. just 2 (which is the momentary position). so this lug goes to ground.
the middle lug comes from the pickup, and the common goes to the volume or output.
simple as that!
-
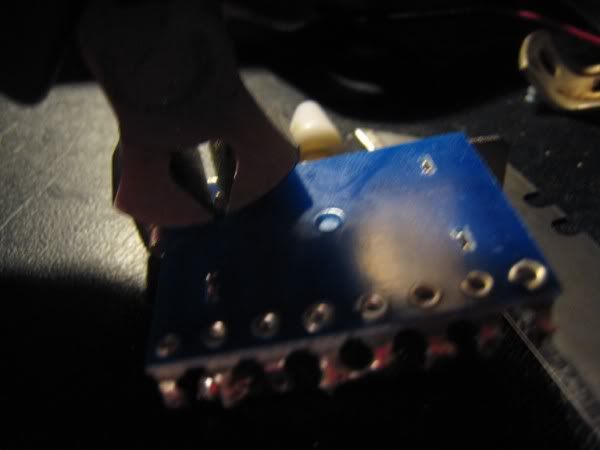
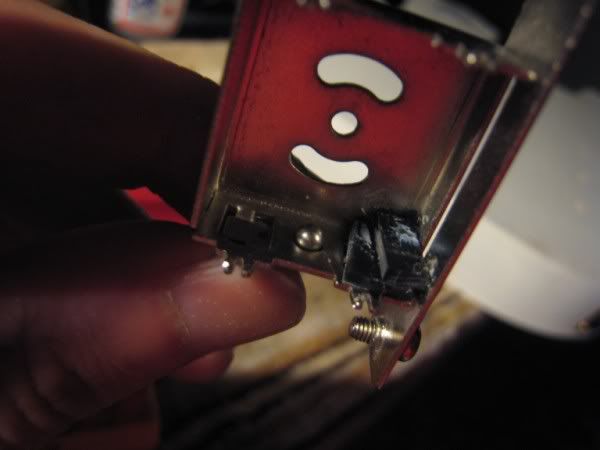
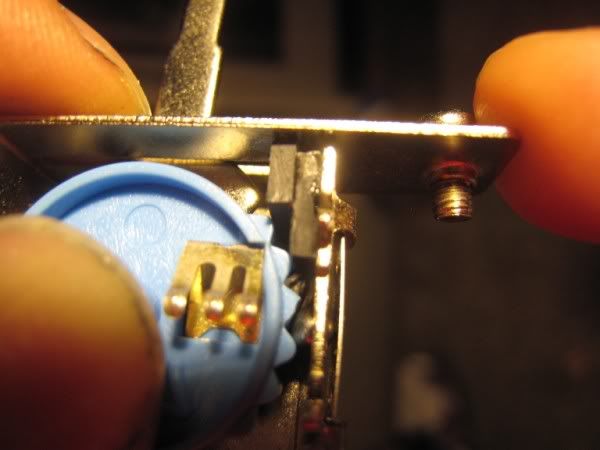
Alright well I got an email from a guy who had a single pickup on a telecaster, which had a useless 3 way switch on it. He wanted a kill switch in place of the switch, but he wanted it momentary, not detent.
So i took a 5way switch i had laying around apart to see what i could do. Theres no way to spring load it using a spring, however they are already spring loaded by use of a bearing and leaf type spring.
To get the board off (this all may vary from one switch to another), first we twist the 4 sets of holders so they are straight, and not holding the board on:
Heres the board off, should look like this:
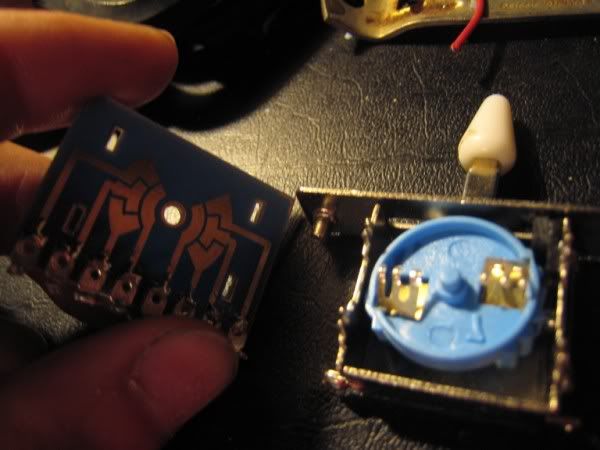
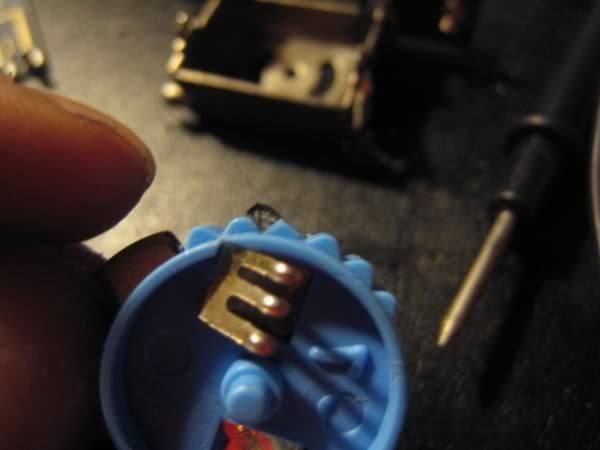
Now, the switch should slide out, but be careful of the little ball bearing! its loose, so it will fall out and you DONT want to lose it! you can see it sitting in the metal part.
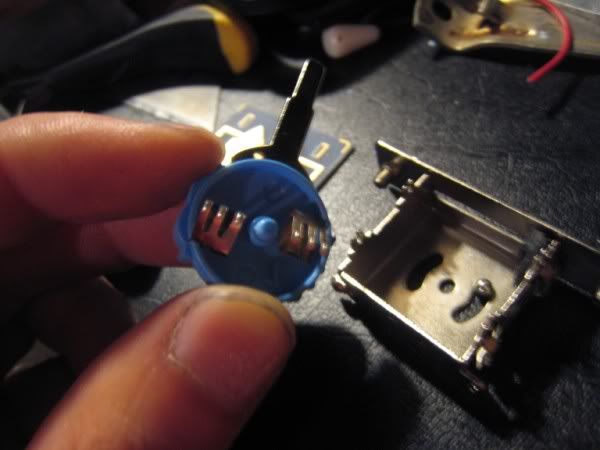
now, here is where the bearing goes, youll see the spot on the side. this is the side where the "gear" part of the switch sits. you can see i used pieces of binding to build up a slight stairset. you will have to fine tune this yourself. the goal is for the metal handle of the switch to stop right after position #2, so you cant get into position #1. its not pretty, but a little super glue will do the trick!
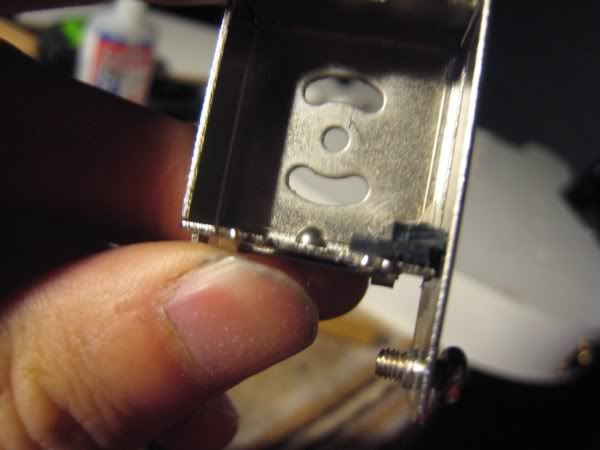
now, your switch still has positions 5, 4, 3, and 2. and they still detent, but the ultimate goal is to have the switch stay in position 3, and kill then return when pushed to position 2. so we have to add a block in the "gear", then modify the shape some so its just one big ramp. the bearing will roll up it, then pop back into the middle position.
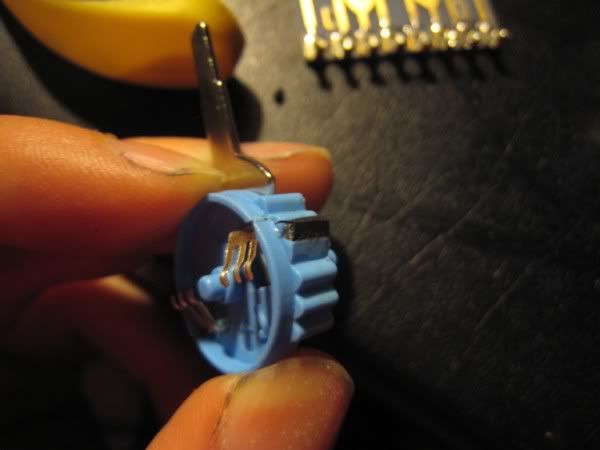
okay, now test it out, and see if you need to lower the ramp a little bit so it will move further. to do this, place the board on and peak in to see if the pins will touch the correct part of the board. its hard to see in the picture, but when you have it in your hand it will be easy to tell:
heres what it looks like without the board in place. in my case, the part on the gear actuall holds it back from switching the other direction into 4 and 5, but you may have to add a larger stairset like you did in the beginning in the actual housing on the opposite side.
go to the next post to see a video of it in action (bench test)
-
i like the one on the right, those horns are Xtreme!
-
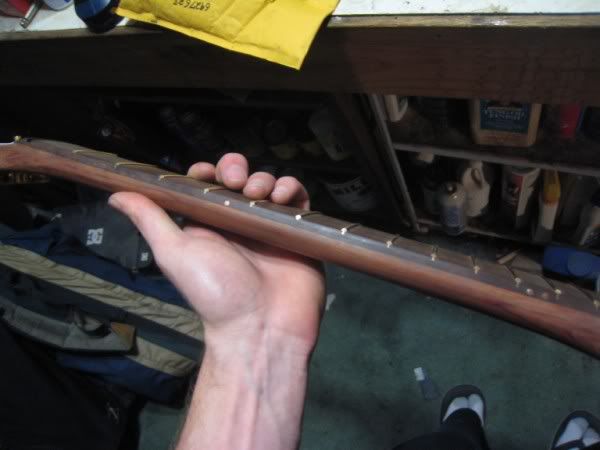
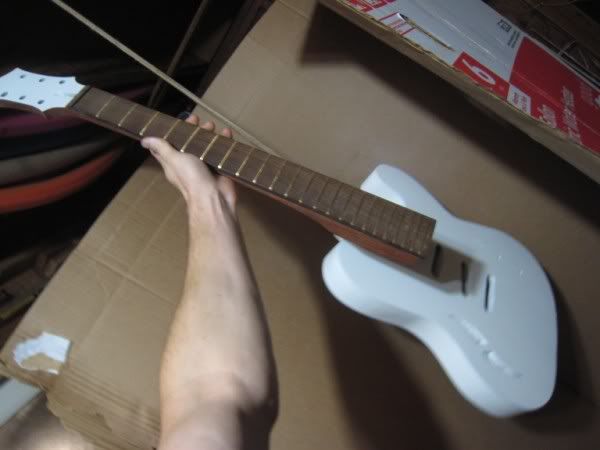
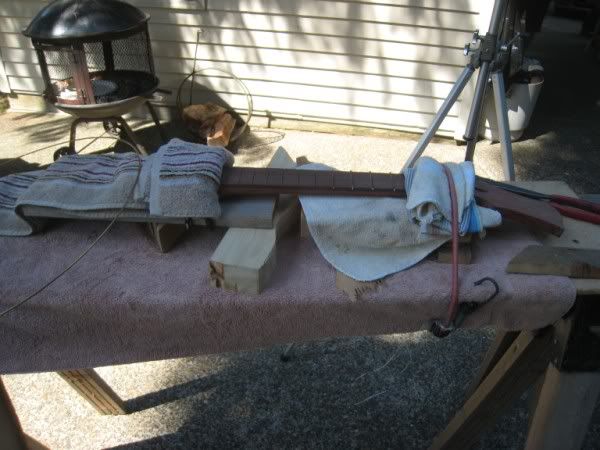
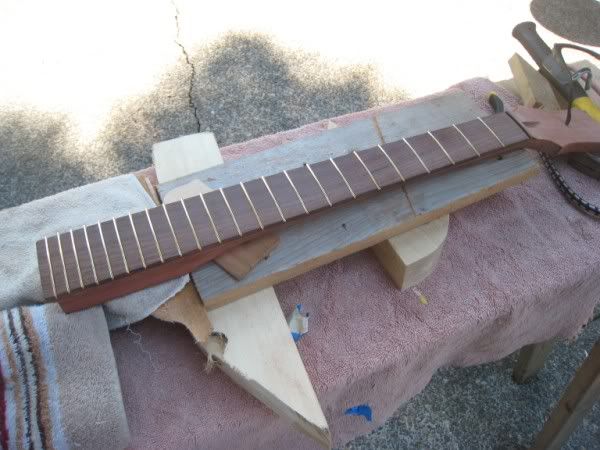
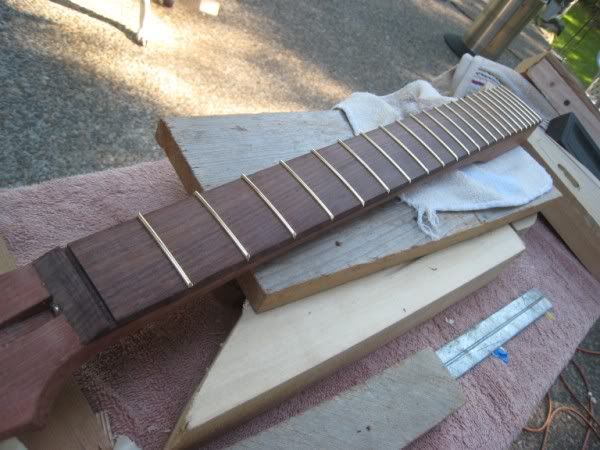
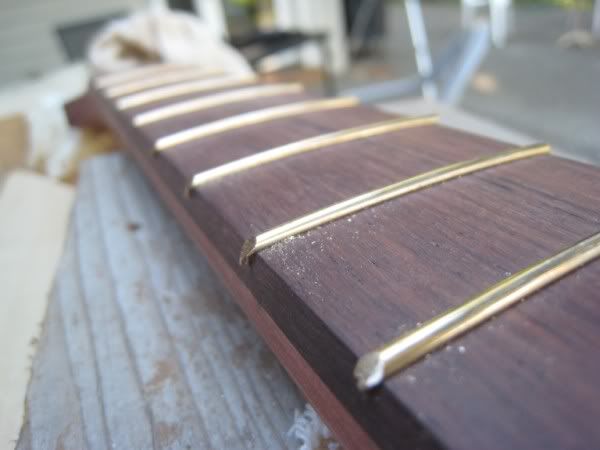
alright, hammered the frets on!
wood block and a hammer. once i figured it out, it went really fast. i would never spend money on a press just for that. it was cake.
i made a how to video. itll be on my page soon, and youtube as well.
i did however run into an issue leveling.
my first fret seems higher somehow, i tried to level it but it kept getting more and more flat...
and it is pounded in all the way. it was a stewmac board, and it glued down nicely, so i cant imagine its off.. but maybe? i am thinking about pulling the fret and replacing it. ill get a pic of it later. its just getting flat like its worn, and i wont be crowning this because i dont have a tool right now. or maybe ill just leave it. ideas?
this is good for cutting fretwire
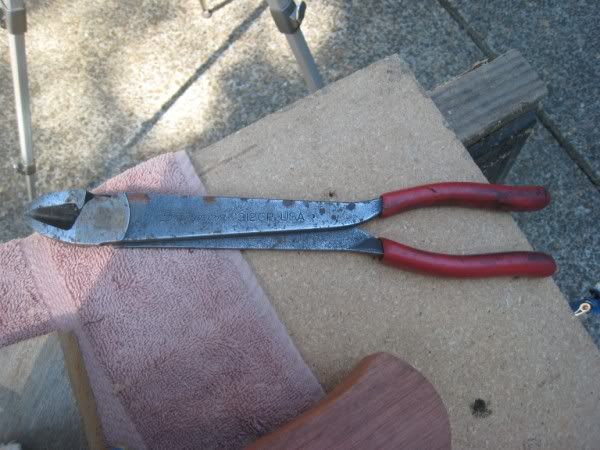
this sucks balls, didnt work at all
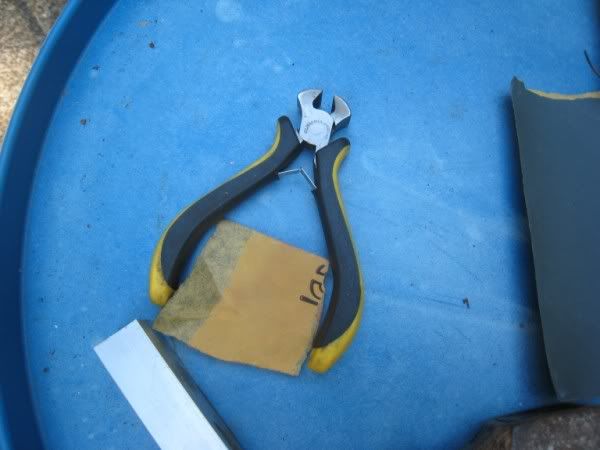
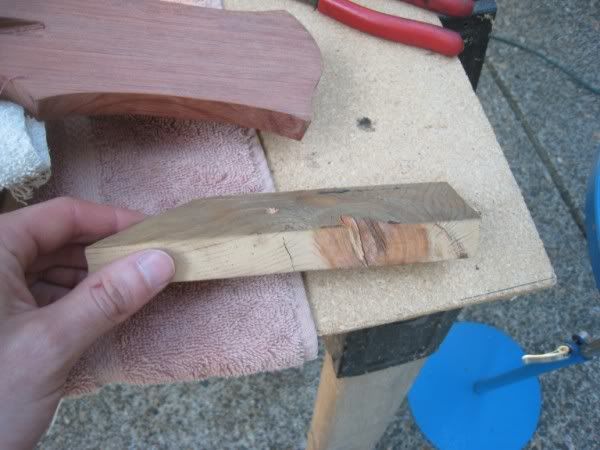
my wood block, just a random scrap
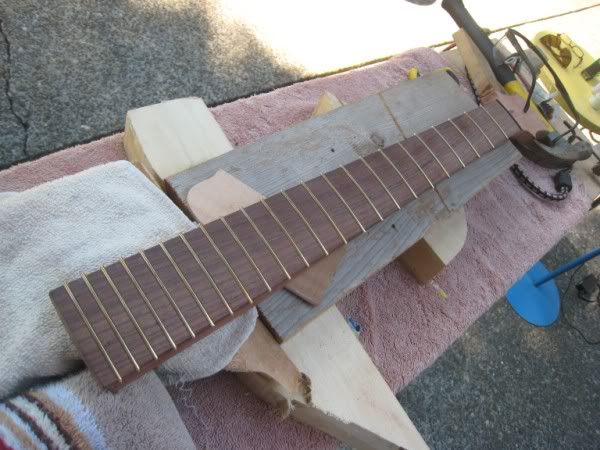
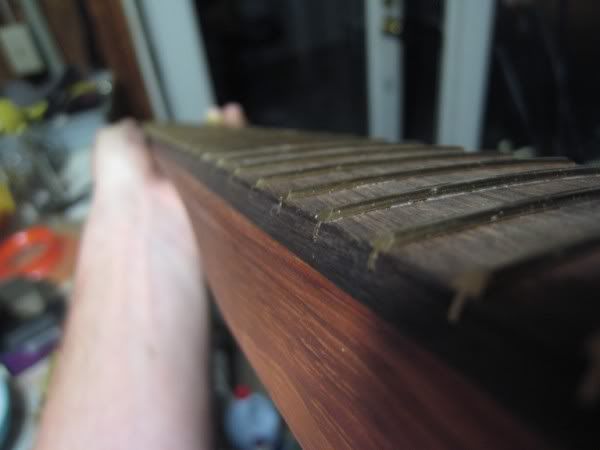
heres my file for the edges of the frets.
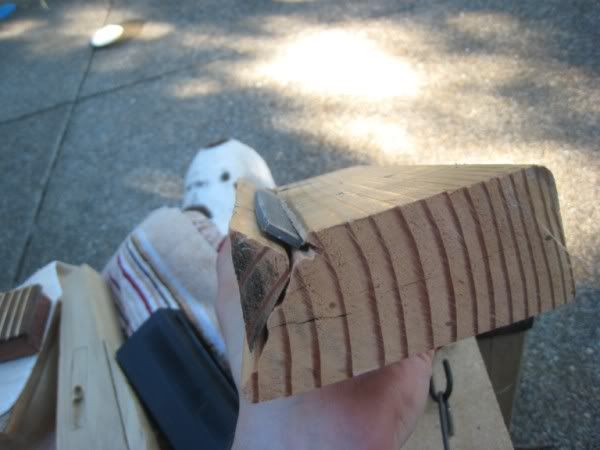
partially filed
all done, but bad picture, it was dark out
-
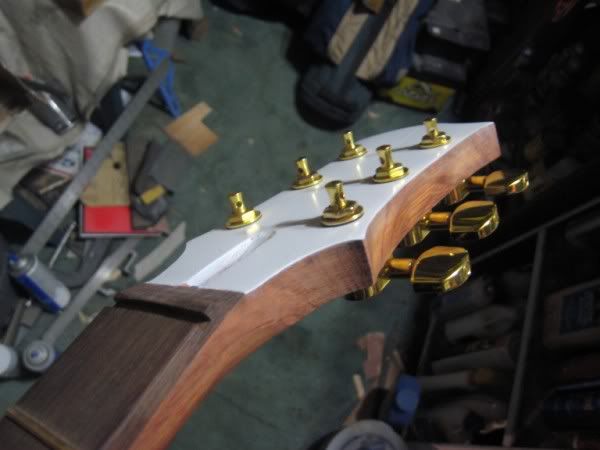
headstock came out really nice! i need some inlay skills, but im too scared
i know id botch it up somehow
-
alright!
well today i picked up some of this:
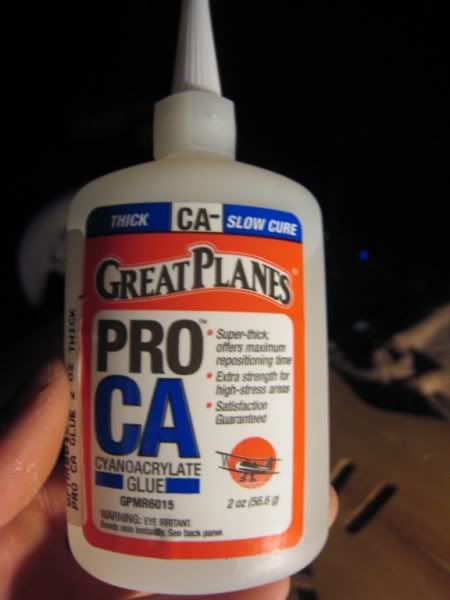
thick, and slow curing. MY A$$!
i cant imagine what the super thin i almost got would be like. this thick stuff is like water!
and slow curing means about 20-30 seconds instead of the normal 2-5 seconds.
but i went ahead and gave the binding a go!
i didnt have any binding bands, and my tape was too weak, even after prebending. so i had to do it a little at a time, by hand. THAT took forever. and my fingers are covered in glue, and got glued to everything in sight
luckily, when i cut my fingers with a razor today, i had just opened the glue, and it sealed the cuts right up! =p
i read to wait a day or two before scraping all the way down, so i only did a little bit, which means the binding is still all grubby from my fingers, but it will clean right up!
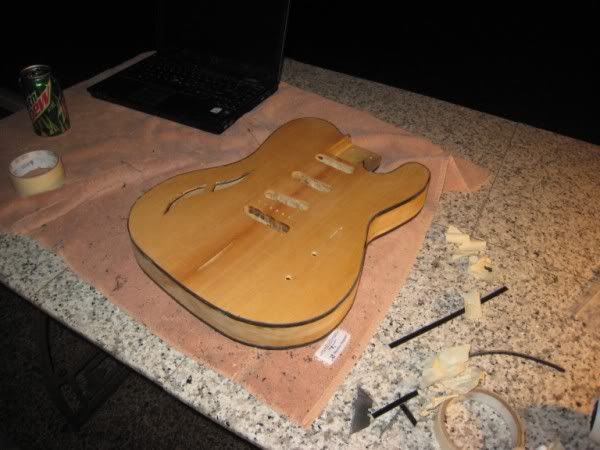
can see right in the middle where i did a little 45 degree scarf joint on the binding. should clean right up and be hard to see
-
(continued)
had to use my router like this
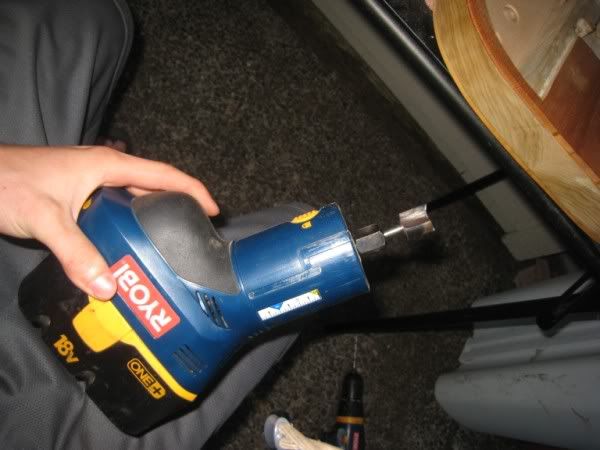
to do this. was a bit scary, one wrong move and NYEEEEEEEH! could have gone through
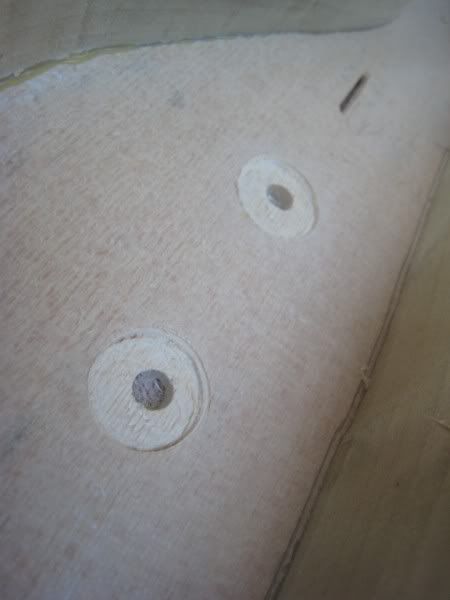
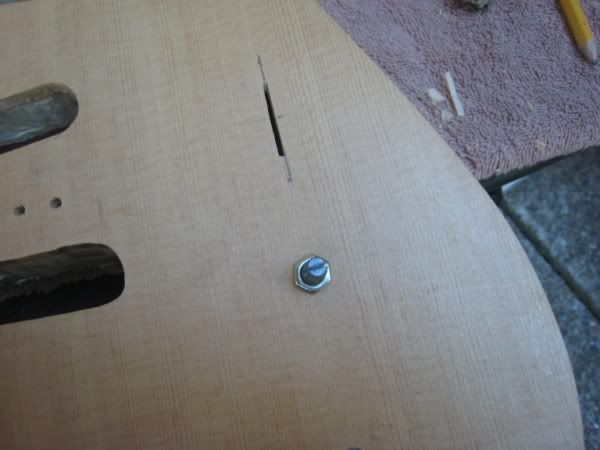
holes and slot
from the back
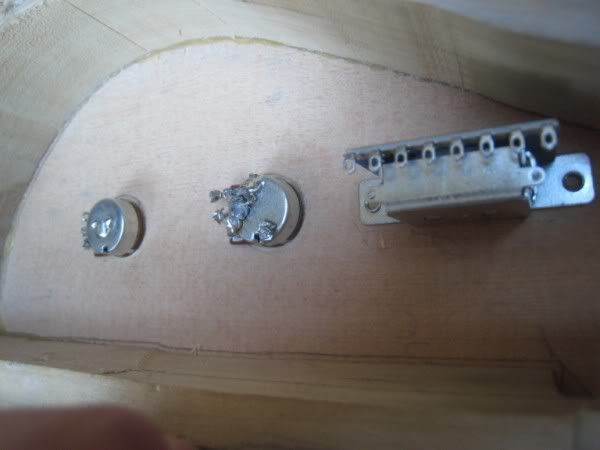
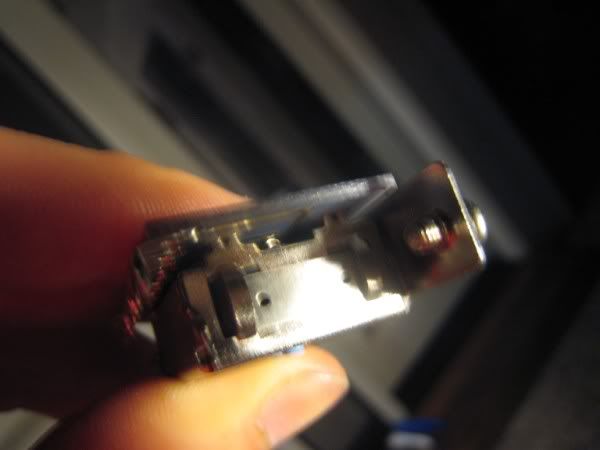
my screwless install of the switch. slides in from the right underneath a piece of aluminum, the lower piece is a guide. then screw down the one on the right and it holds it snug. it doesnt budge even the tiniest bit! and its still removable!

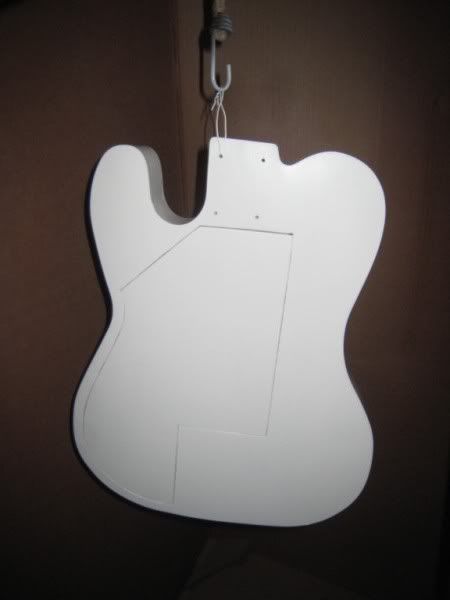
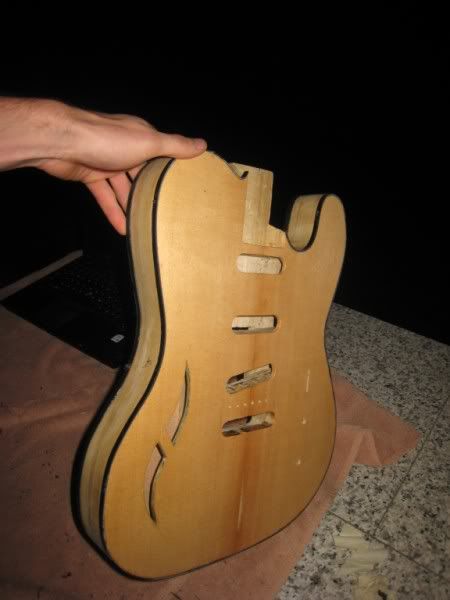
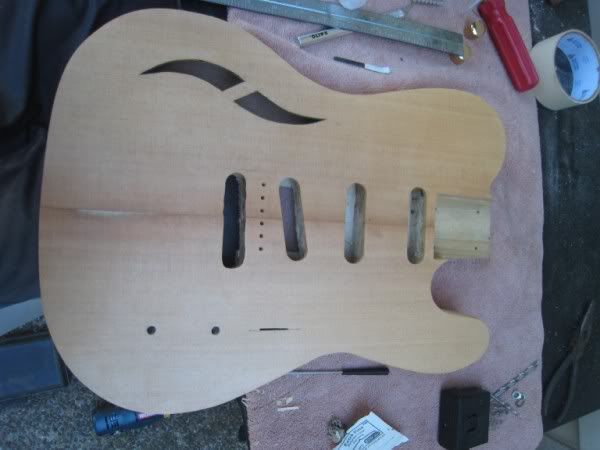
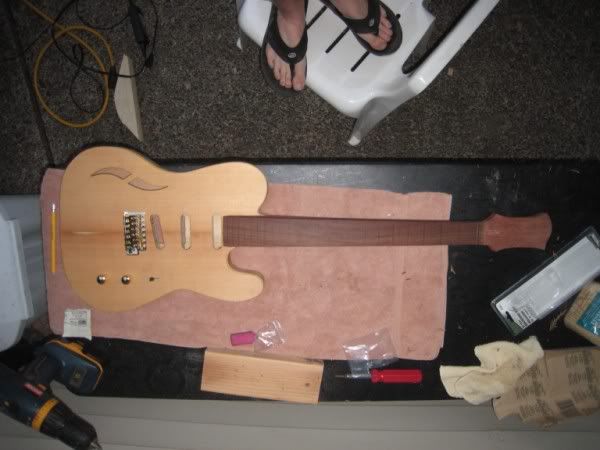
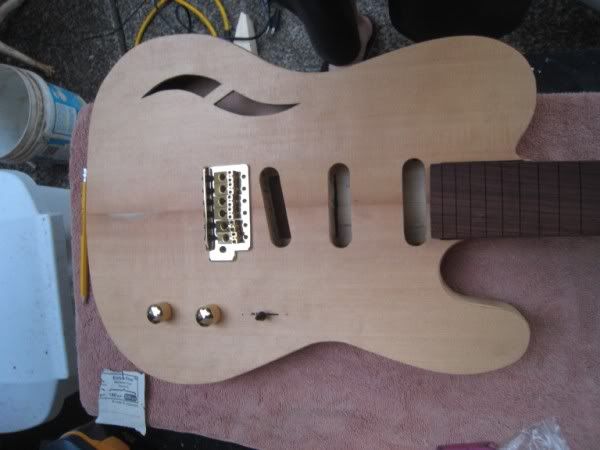
as she stands now. the white spots are filler, and this has a coat of sanding sealer on it. next is binding!


Lee's Spalted Beech Tele
in In Progress and Finished Work
Posted · Edited by xadioriderx
been there. theres almost always something, somewhere, that holds back something else. no news to me either
i waited all night for a little clear to dry last night so i could sand out a spot i noticed. sanded it out, made sure all was good, just started clearing again, guess what i found? another one. now i have to wait again
thats life. lol