


Robbinst
-
Posts
269 -
Joined
-
Last visited
-
Days Won
20
Content Type
Profiles
News and Information
Tutorials
Product Reviews
Supplier Listings
Articles
Guitar Of The Month
Links and Resources
Forums
Gallery
Downloads
Posts posted by Robbinst
-
-
I agree with you Chris, this was my first set neck and I wasn't to sure about specific measurements but I will definitely leave more in the pocket next time. Thanks for the tip!
-Tyler
-
Routed the excess tenon


All glued up


and a rough heel carve

-
Fits nicely

And to test it

This thing has a really good feel to it, its very comfortable in a playing position

gluing up the neck
-
I got a decent amount done today!
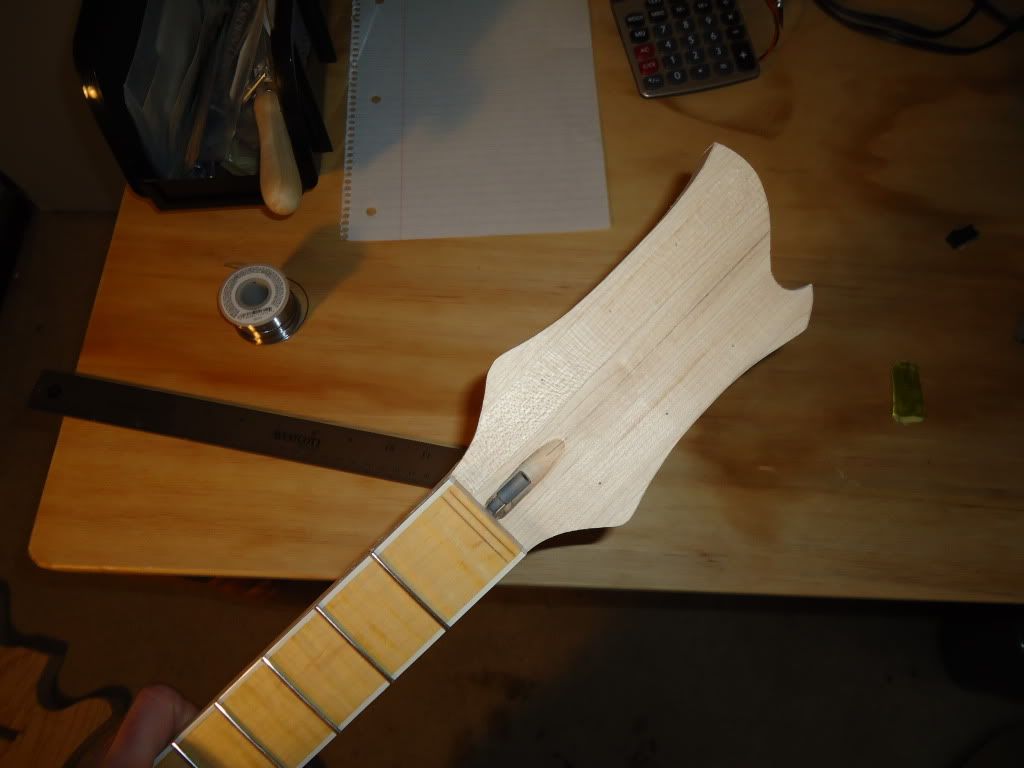
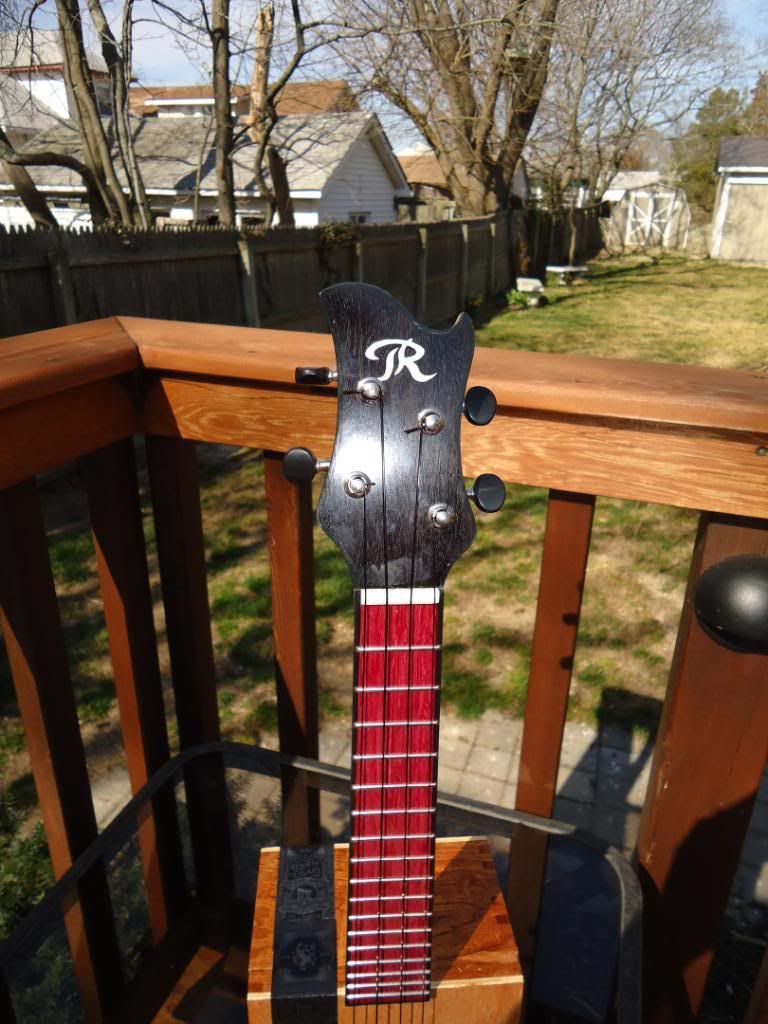
Tuner holes drilled and my "R" cut


Carving the neck


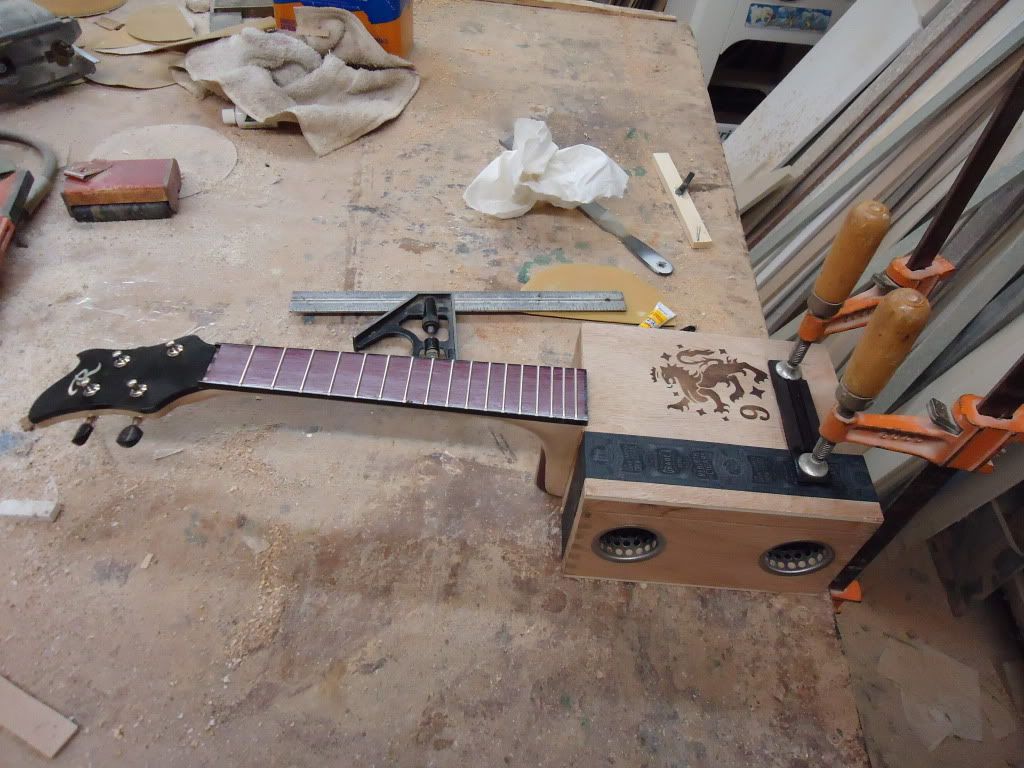
Tone/vol/ switch/ jack holes drilled


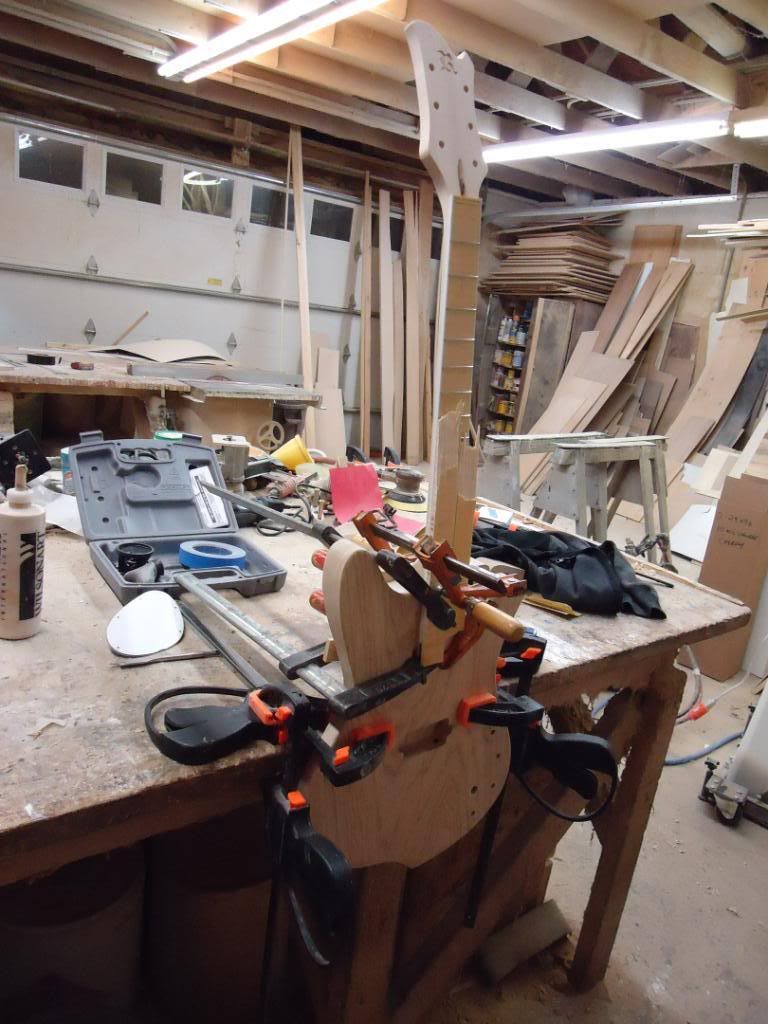
Heres a tip for any newer builders: My template for the neck pocket was not as snug as I wanted it so rather then making a new one, a strip of tape on each side gave me just enough extra material for an ideal fit.


-
fret board stained and oiled
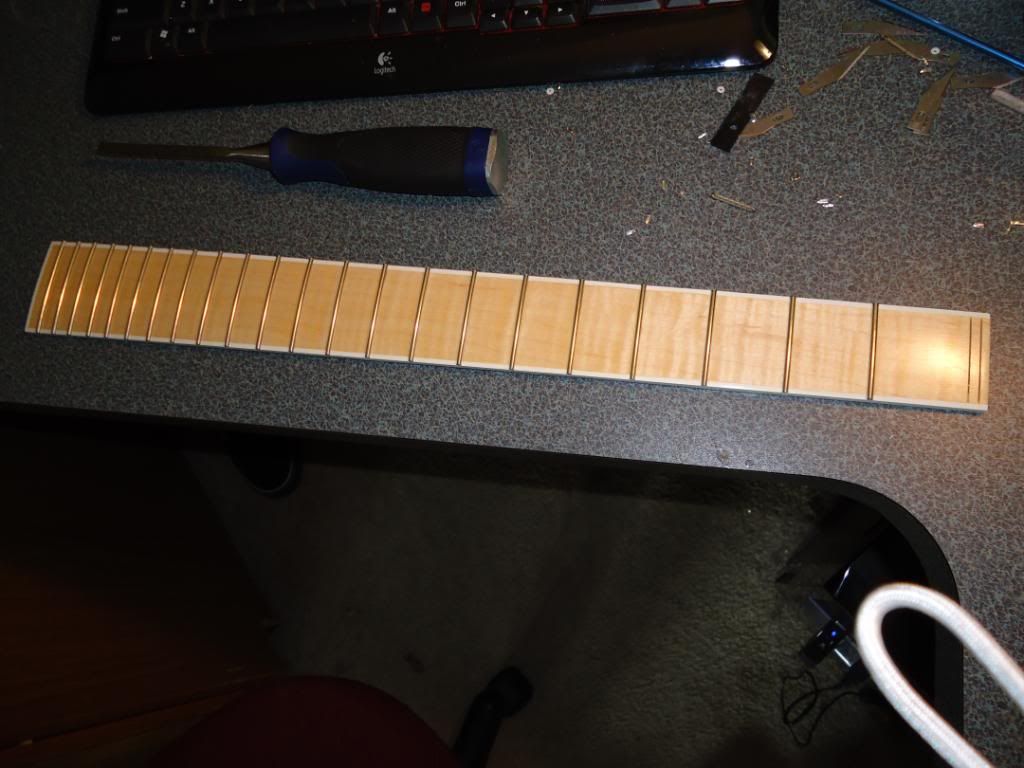
Frets
Head stock cut out and fret board glued
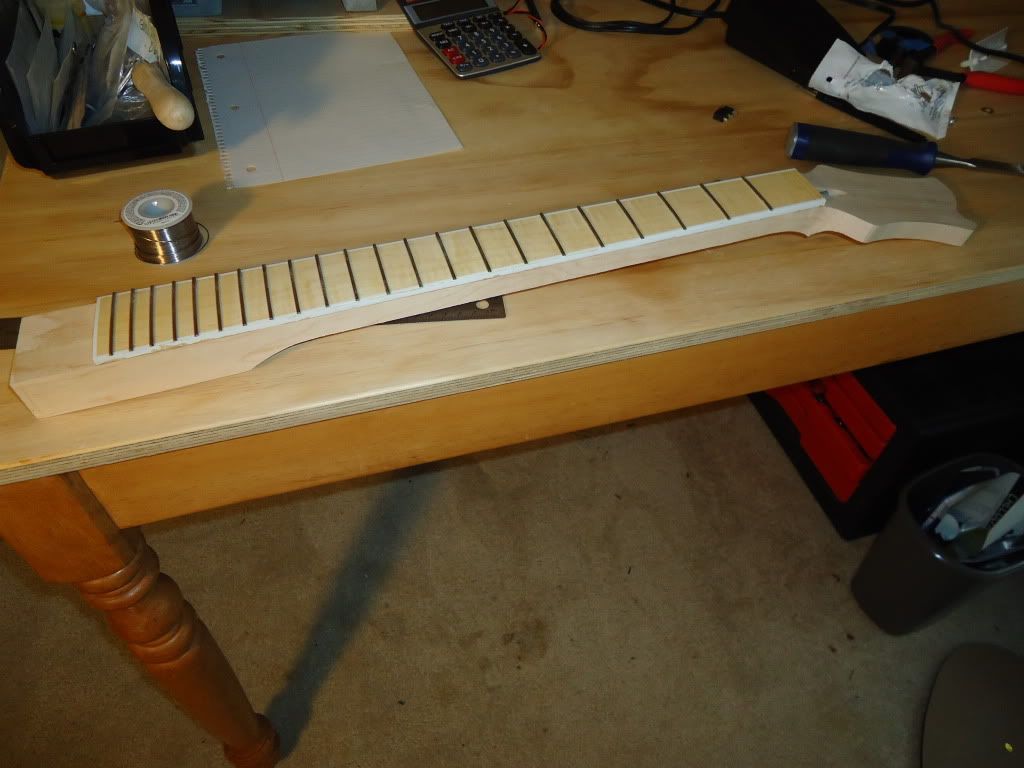
Its starting to look like a guitar!
-
Very sorry for the delay everyone, I got busy with other projects that I was excited about and left this one sit for a while but now I finally managed to finish it!
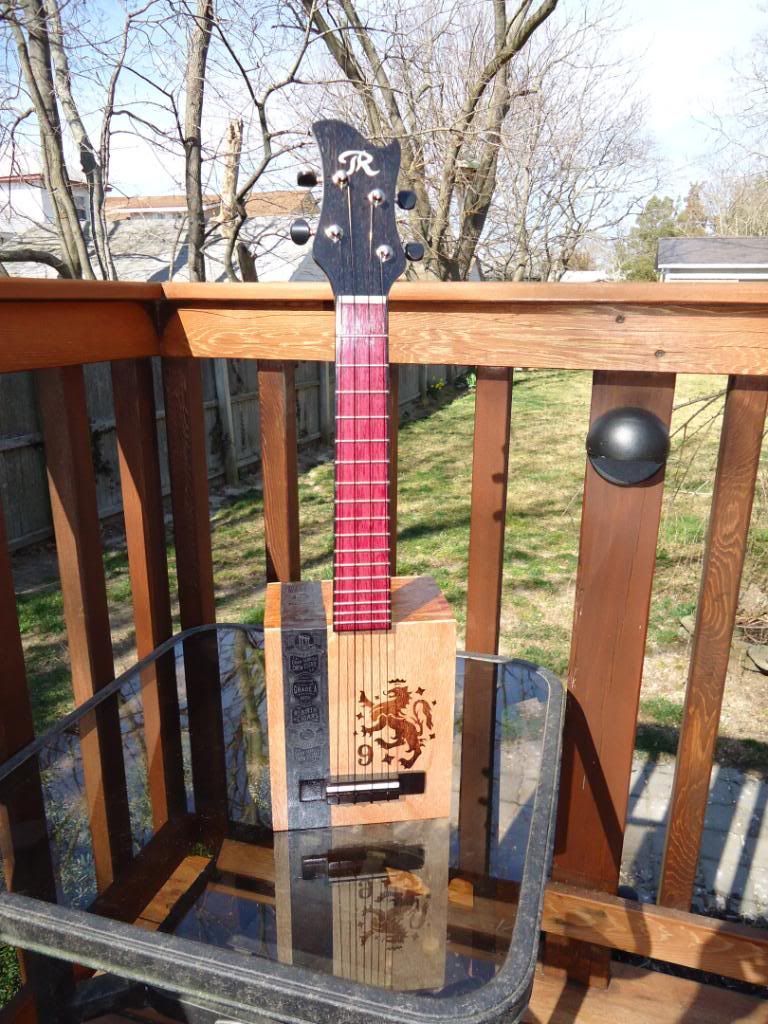
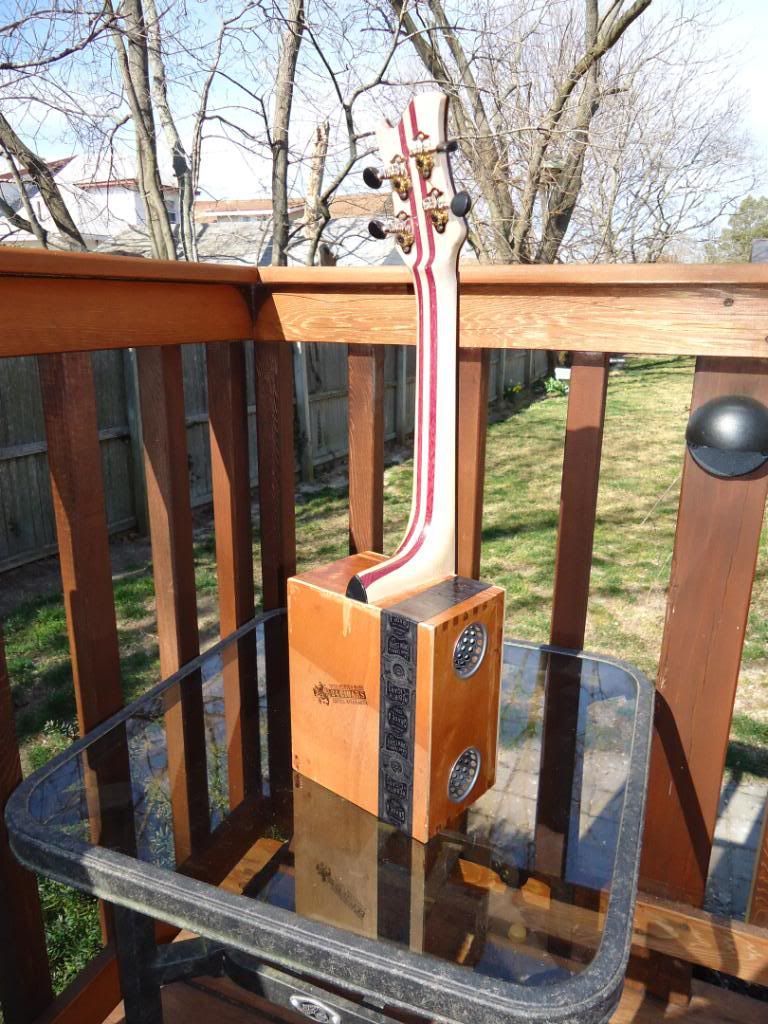
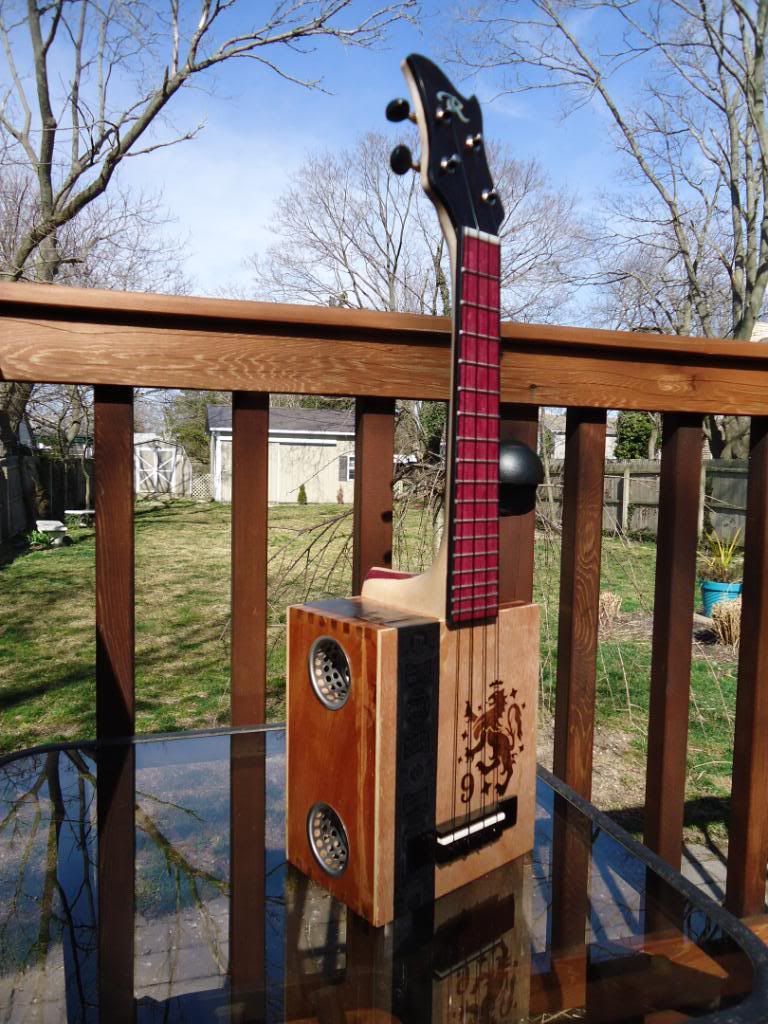
This things really neat, its about 3/4th as loud as my store bought uke and has a much brighter tone. It is lacking in the low end but I did not expect any kind of fully rounded amazing sound from a cigar box any way. For what it is I am very happy with how it turned out.
Thanks for looking guys!

-Tyler
-
So I unclamped the body today to find a pretty decent joint all the way around and the body is dead flat again! I did some shaping up and routing tonight but now I think I'll leave this one sit for awhile to see if any signs of moving or joint failure appear. Check it out:

-
I got the cavity cover done tonight!

Staying away from screws for a nice clean look

Magnets! 1/16" x 1/8"


For some one who would be traveling a lot or playing gigs I would use stronger magnets but for the average at home player this if more then enough. Unless your literally throwing the guitar around the cover wont come off.
-
Well I actually just got home from the shop after gluing it up...I didn't get any replies and I so I went for it. I have 23 clamps holding it together so hopefully the wood will chill the hell out and just do what I want it to do(unlikely
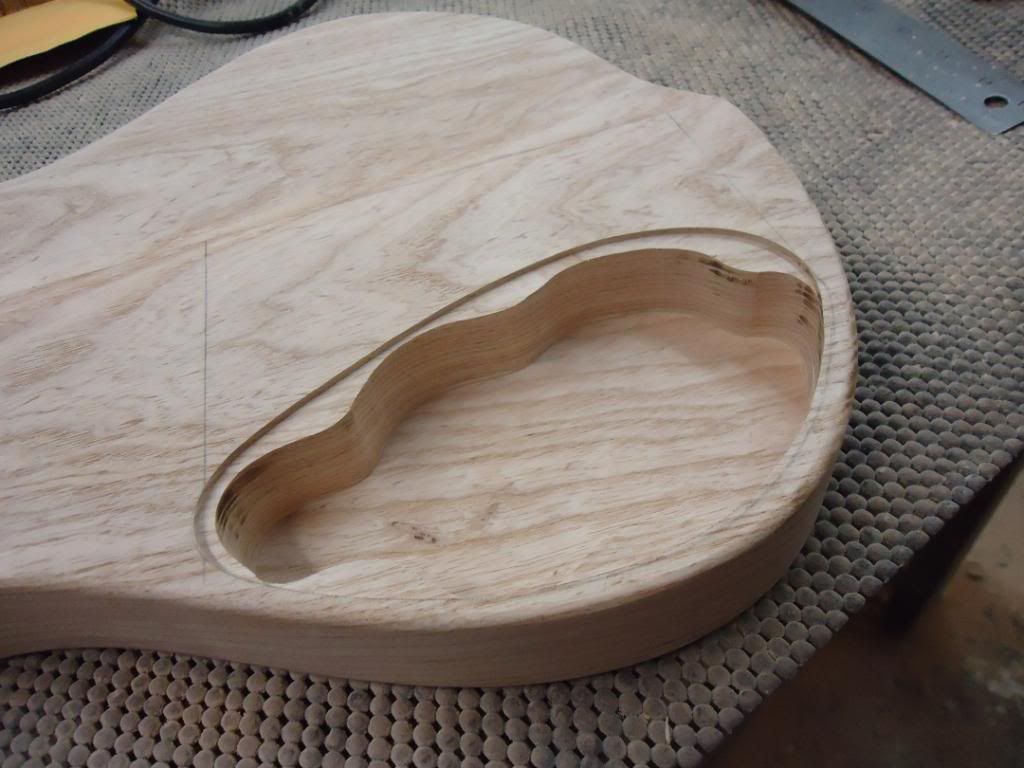
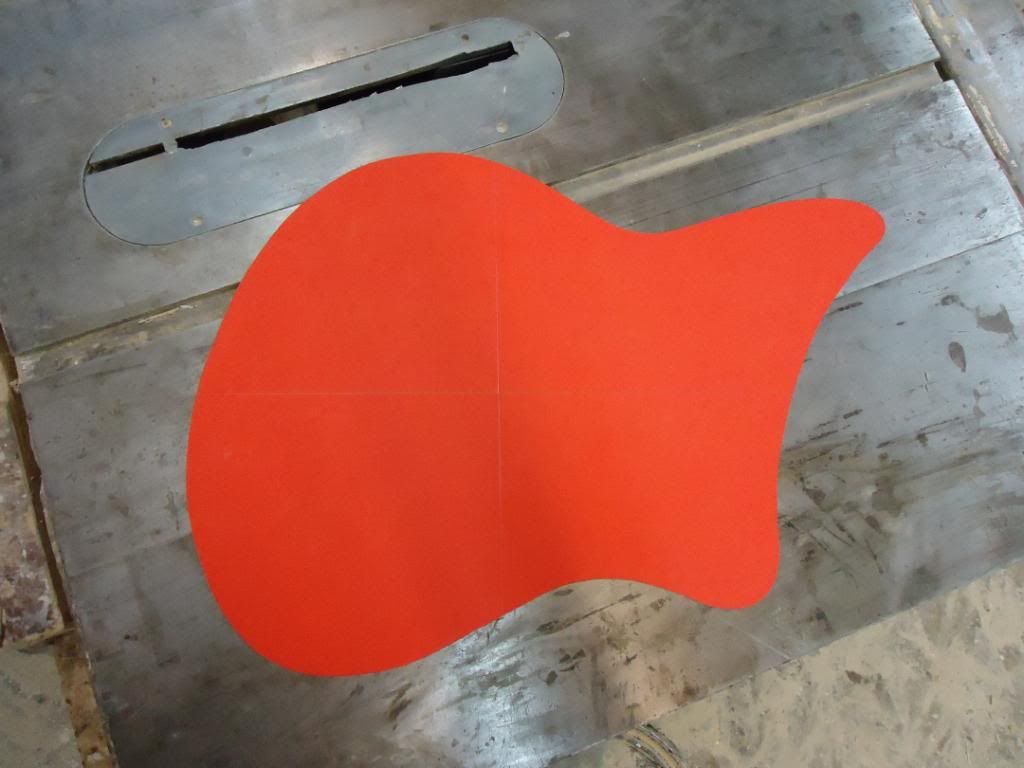
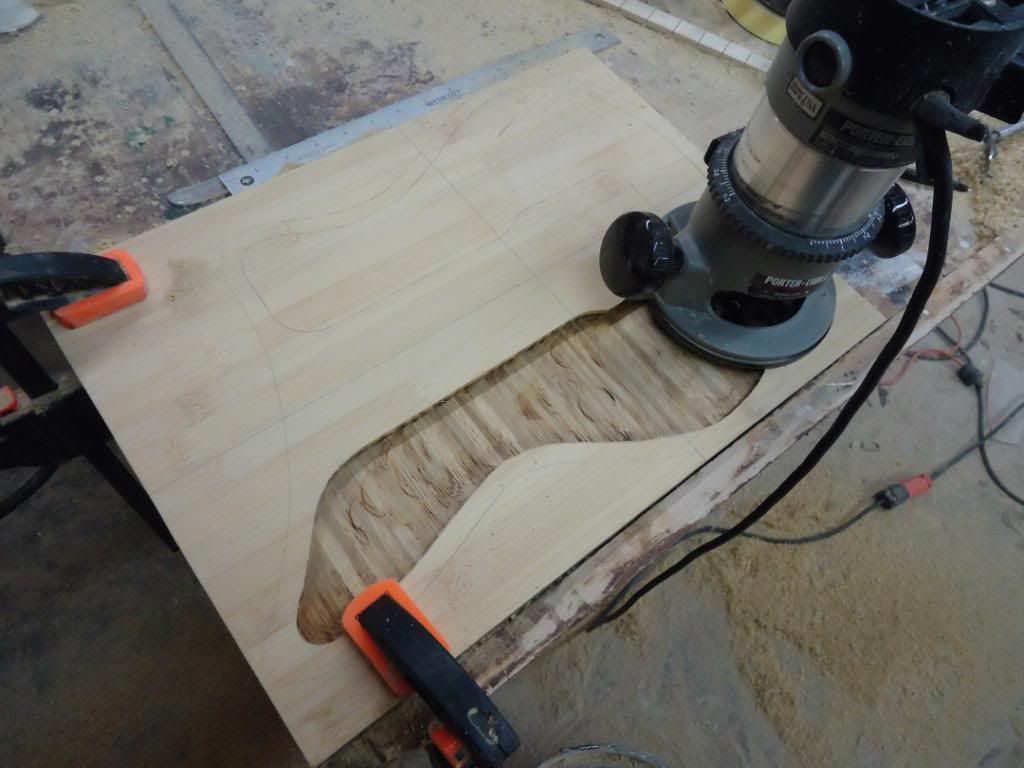
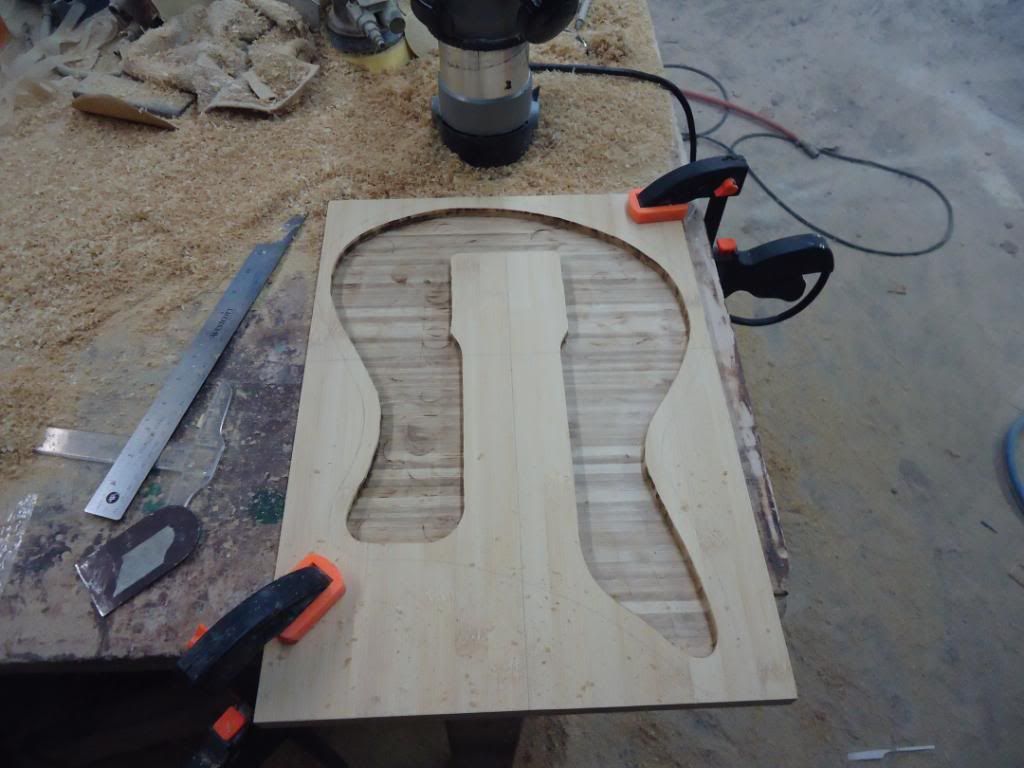
) I did manage to snap some pics of my adventures today so here they are:design

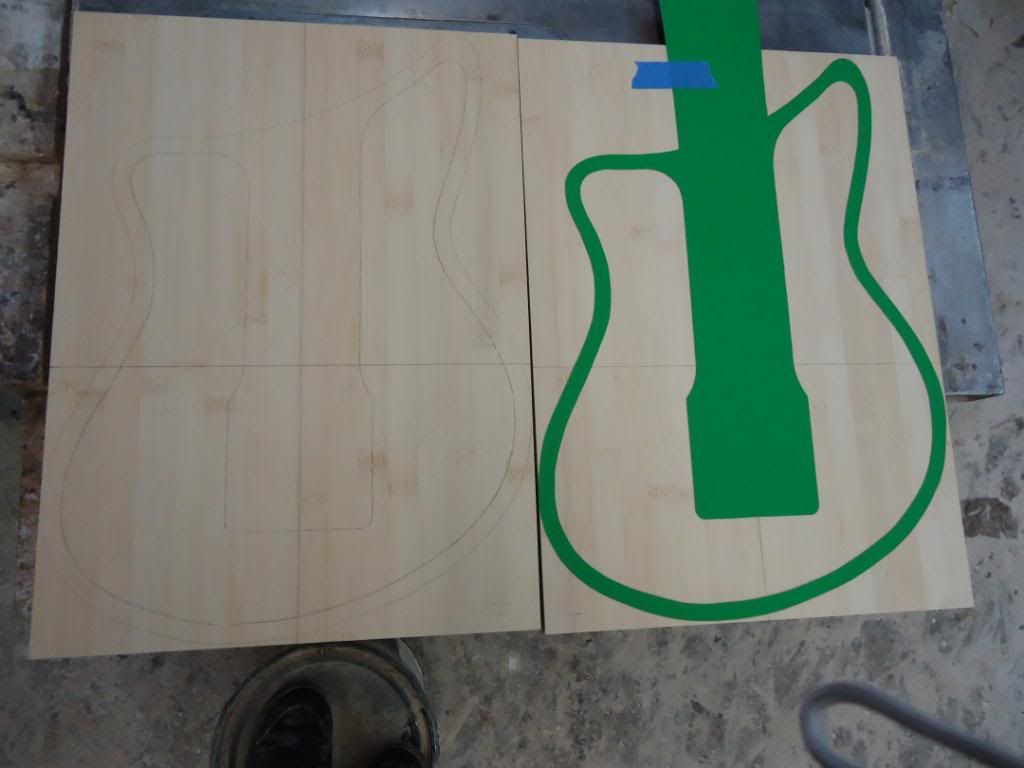
hollowing out the body

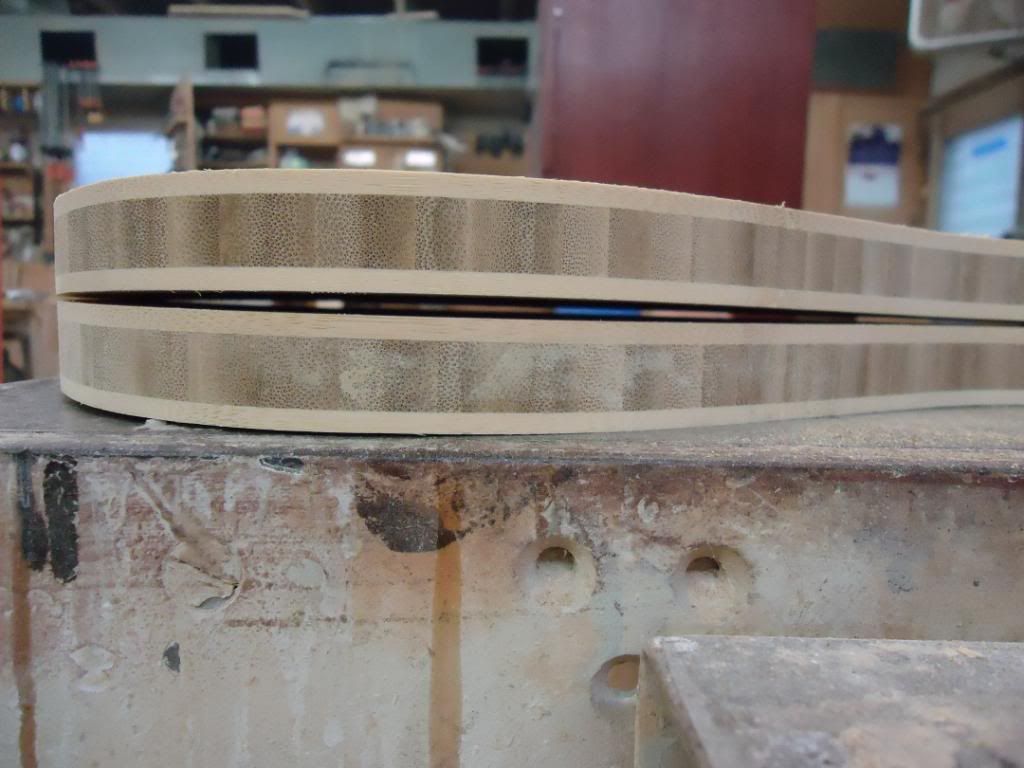
The GAP!
The clamps!

so now its sitting there drying till tomorrow, hopefully it will hold up. I'm pretty sure that if I had not made it a hollow body it would have stayed dead flat, but that was just poor decision making on my part, but if nothing else this will help others know what not to do with bamboo.
-
Ponticat- I think the vacuum would help a lot. I'm not sure how direction of the cut would work, dust seems to fly everywhere(including in my eye even when I have goggles
). I'll have to mess with it more once I get a little less busy.bob123- Blue you say...? I did not even consider color but if done right it come look awesome! Were you thinking a light blue, dark blue, or a fade from light to dark? I may use this, any one else have any thoughts?
Here's some progress:
scarf joint jig

gluing the joint

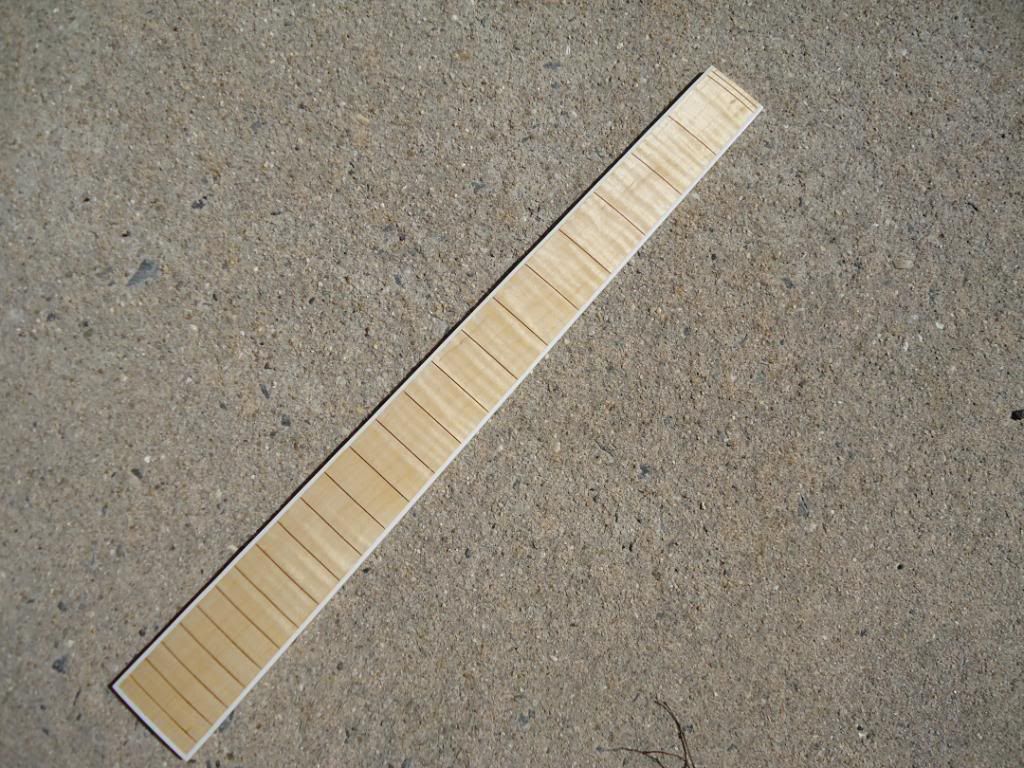
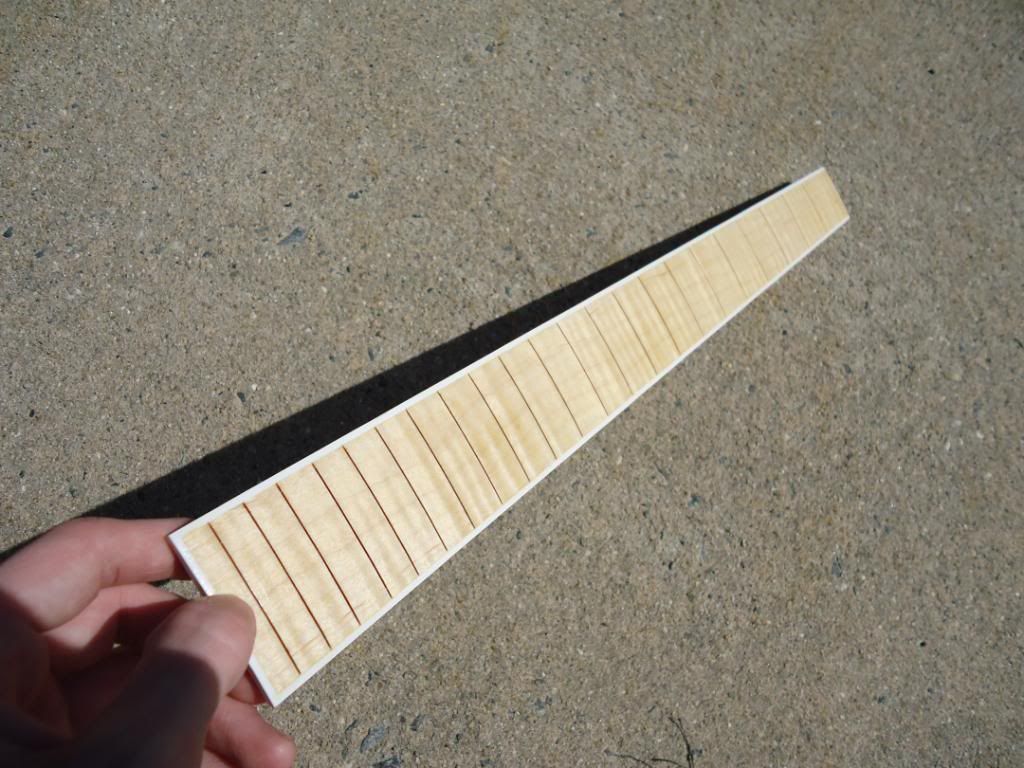
fret board marked and cut


truss channel and hotrod


-
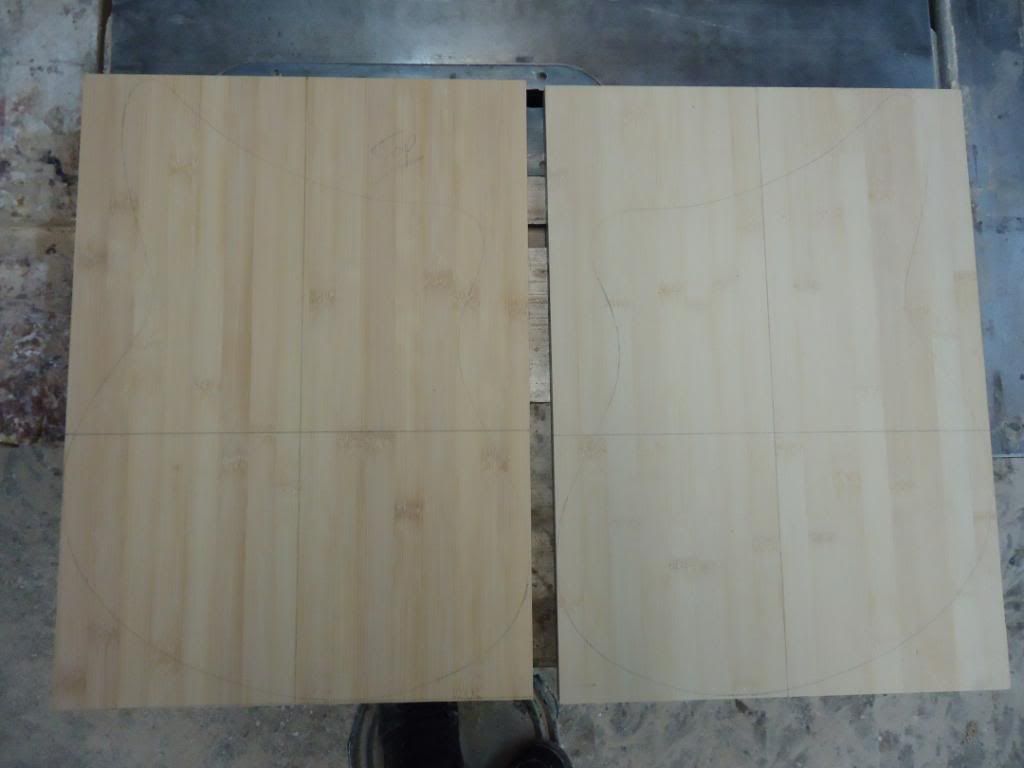
Well guys, I spent a few hours today cutting and routing the bamboo. Just a RAD said, the bamboo almost immediately warped once the body shape was cut out on the band saw. When I put the two pieces together I have about a 1/4" gap on the lower part of the body. I have come this far so it would be dumb to not at least try and get a good glue joint between the 2 halves and see if it holds. My question is will the wood ever give up and remain flat once glued or will it be forever trying to separate?
-
RestorationAD- I did not explain as well as I should have. I did not intend to use both pieces for the same build(although it does seem that way), I just wanted to ask questions about each of them. Also I did not plan on making a neck from the bamboo, just a body. Do you think gluing up two pieces into a body blank would hold up in the long run or will it be likely to distort even at 1.5" thick? The bamboo really has no use it was left over from a cabinet my uncle built and is relatively expensive($399 for a 8'x4' sheet of 3/4) so he wanted me to mess with it rather then throwing it away.
I'm thinking of using the bubinga for fret boards and lams. For right now I think I would be happier spreading it across a few builds then just getting one neck from it and that knot is in the way I believe, I haven't measured. Also Dpm99's suggestion of a maple and bubinga neck is appealing to me.
Thanks for the advice so far you guys!
-
Hey everyone I recently acquired a nice piece of bubinga but I'm not sure what to use it for. I was thinking either a few fret boards, using strips of it in a laminated neck, or making a whole neck from it. Its pretty heavy so would a whole neck be too much?

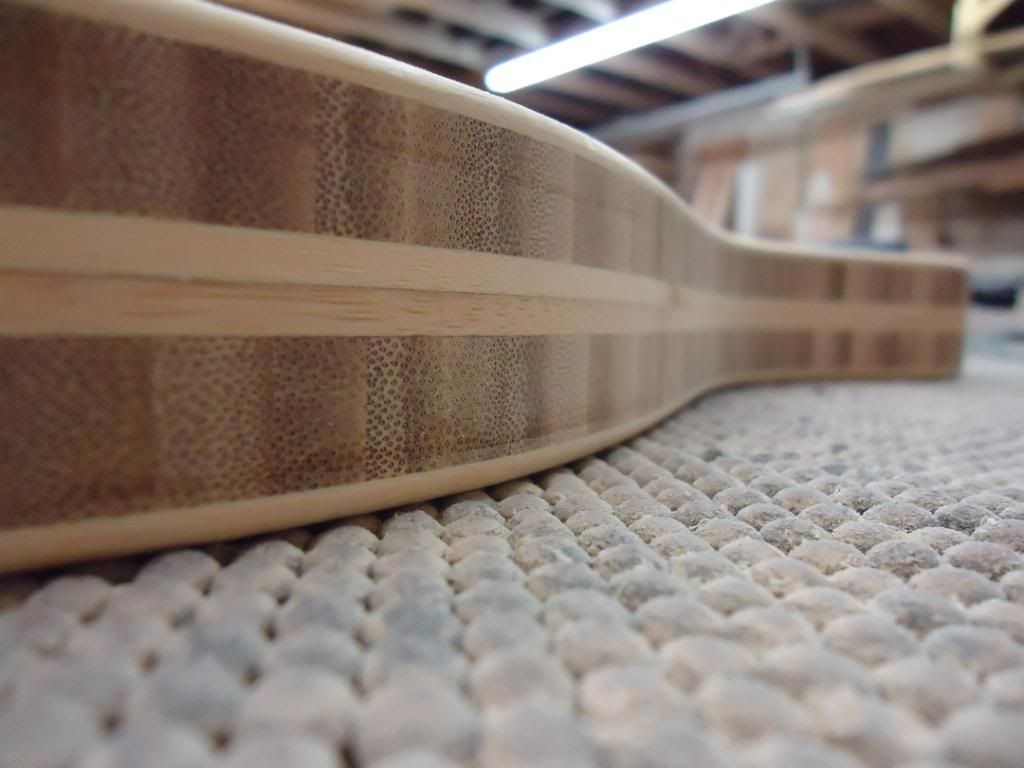
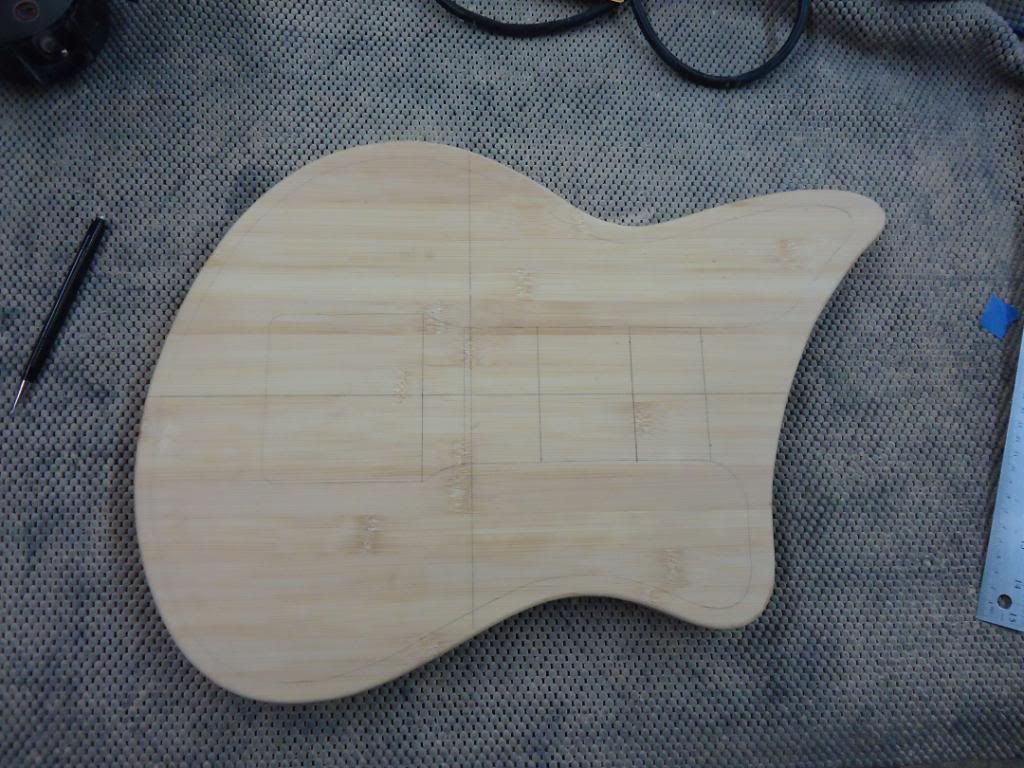
I also have been given a relatively large piece of 3/4" bamboo. It is a plywood but its all bamboo, no filler/crap wood. I was thinking of making a hollow body by cutting two halves, routing out the internal chambers and gluing them up into a 1.5" body blank. I would like to get some of the more experienced builders opinions on this. Is this a good idea? What can I expect tone wise? Will it be too heavy even after its hollowed out? I'm just trying to get a feel of what I will be up against before I dive into it. Here is some pics:


Any advice for either piece will be greatly appreciated, thanks guys!
-Tyler
-
very interesting, I don't think I've seen any one do a mulch-laminated top like that before but it looks good. I like the body shape, and your cuts are very clean. I'll be looking forward to seeing more of this!
-
Ponticat- yes its made from spare drawer slides that I came across in my grandpas shop. It is more trouble then its worth because I didn't take into account the saw dust clogging the bearings. Here's the thread showing how I made it if your interested
http://projectguitar.ibforums.com/index.php?showtopic=46234
Maybe you can think of a way to improve upon the design.
mattharris75- My pups, binding and knobs all have white in them so that's why I'm going to stick with the clean white and chrome look that I originally had in my head for this build. The look of that guitar is really nice, I would definitely be interested in trying that on a future build. I was also shown a torched finish today. A guy used a blow torch to burn the softer grain and cause it to stand out, followed by a light brown stain. If your interested I'll send you the link to his build
-
That top looks great(as well as the rest of the guitar), nicely done!
-
dug out the rear electronics cavity


Tomorrow I begin work on the neck. I'll be in NY for the weekend so expect more progress pics around the beginning/middle of next week.
Have a good weekend guys!
-
Time to update!
Laminated maple neck being glued up


I found this 1/4 inch maple at Lowes. It has a nice flame to it will be my fretboard. Can any one tell me how to pop the grain wile retaining a semi natural maple color? Im not sure what dye to use

Threw in some bevels for comfort.


-
I agree, its a little unnecessary but I had the tracks laying around and it didn't cost me much($15 all together)so I thought it might be worth a shot. Oh well it may be a lost cause but I will try to address the problems and if all else fails Ill just make a simpler one.
-
So close to being done!!
Glued the neck to the body ( I did reinforce the joint but my camera died before I could get the pic)

Bridge being glued into place
All I have left is to put a few coats of clear on the body, then shape the nut and the saddle. I'm really excited to get this one strung up and hear how it sounds.
-
I messed with the dyes tonight but nothing worth showing came out of it. I was going for a look similar to this:

Except using either red or blue but the color didn't hold in the grain after sanding back the way I had hoped, so this builds gonna be a nice clean white.
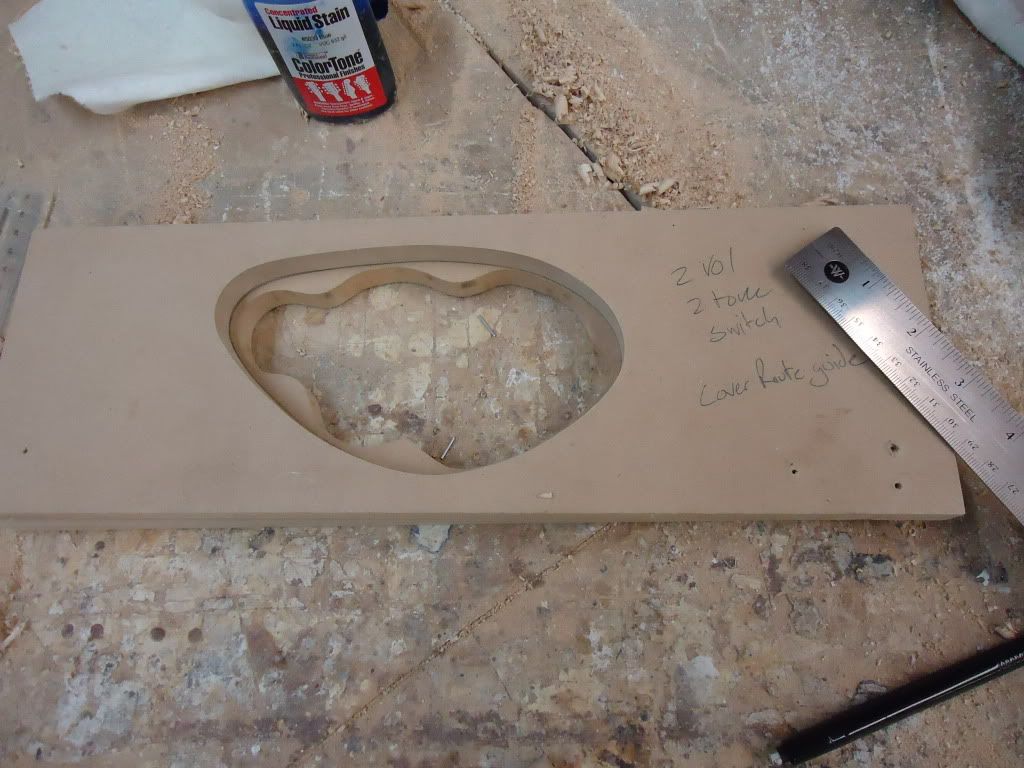
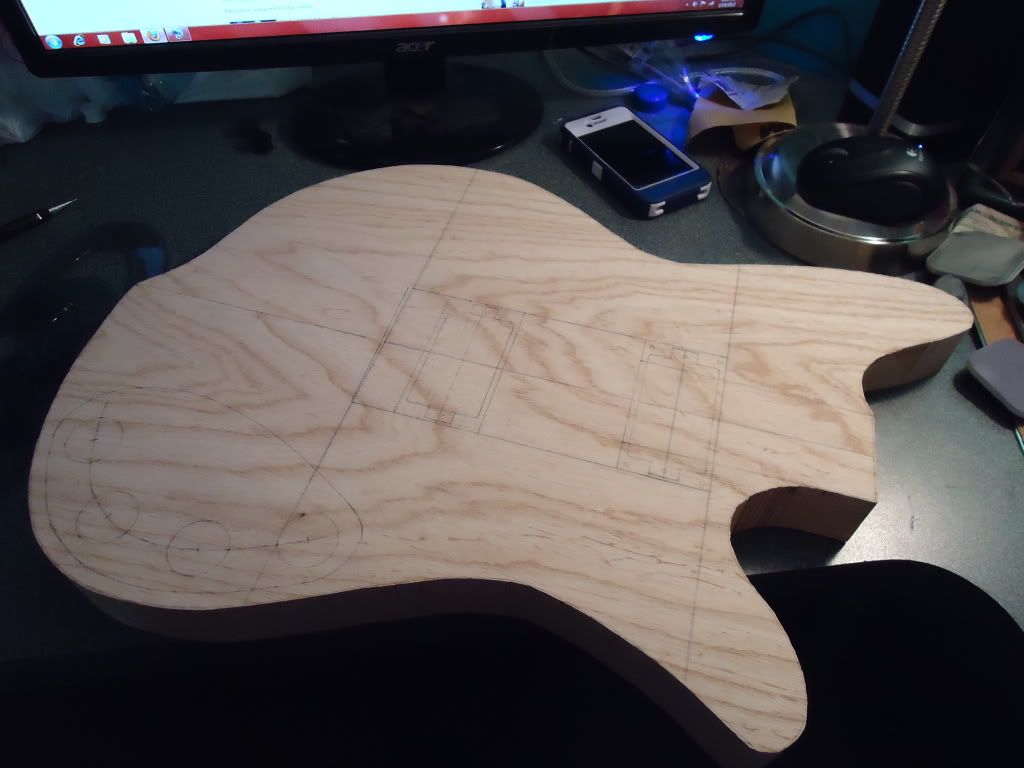
I did manage to get a few templates made tonight though so I guess I'll show those since its all I got
Electronics cavity template
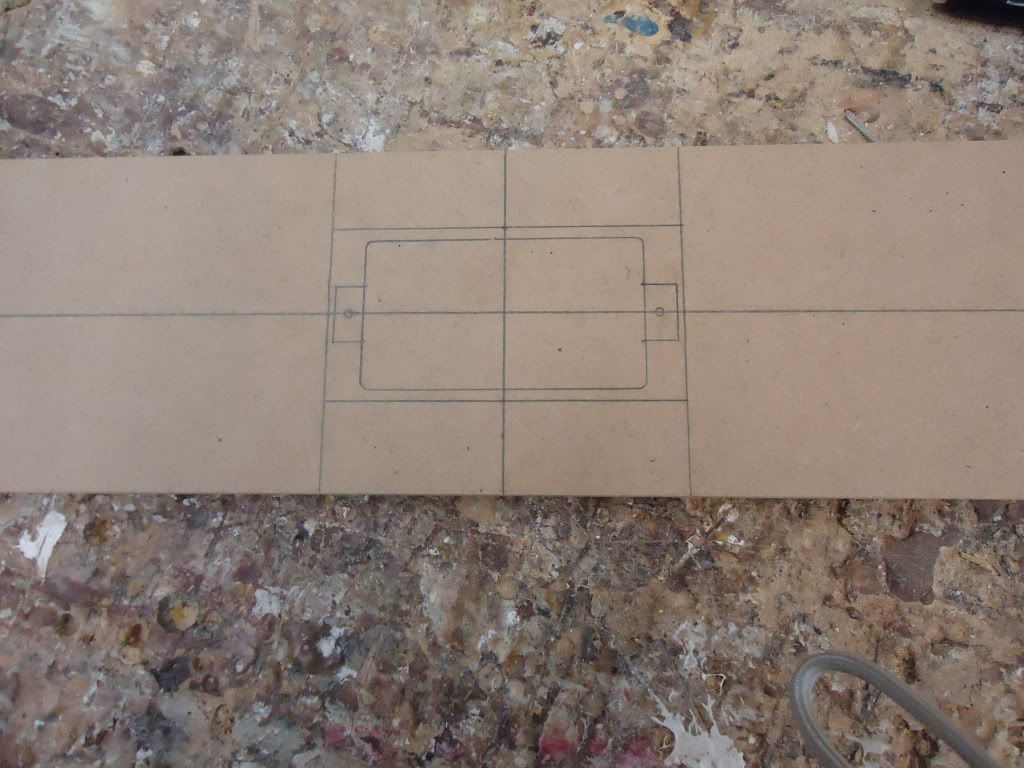
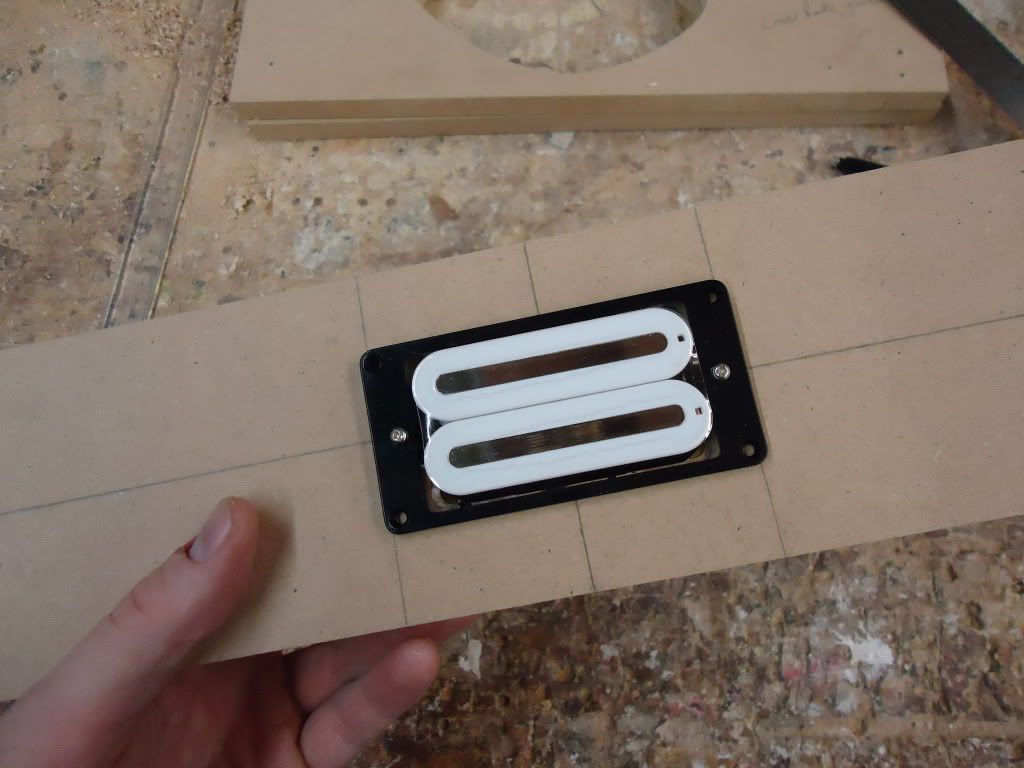
Humbucker template
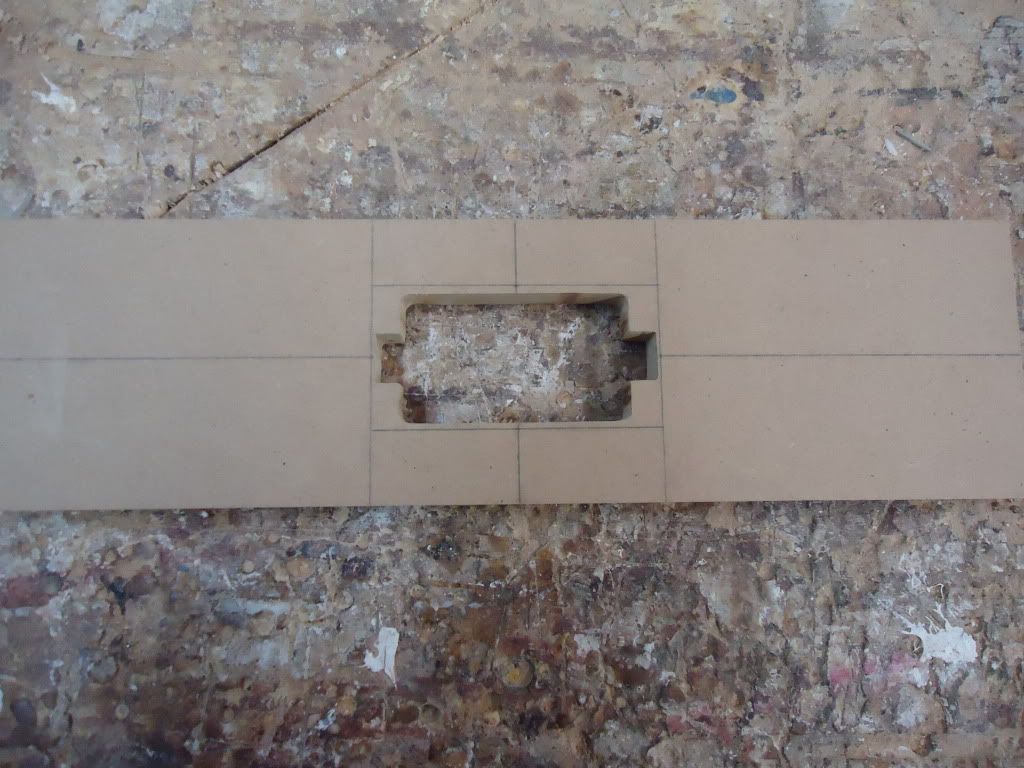
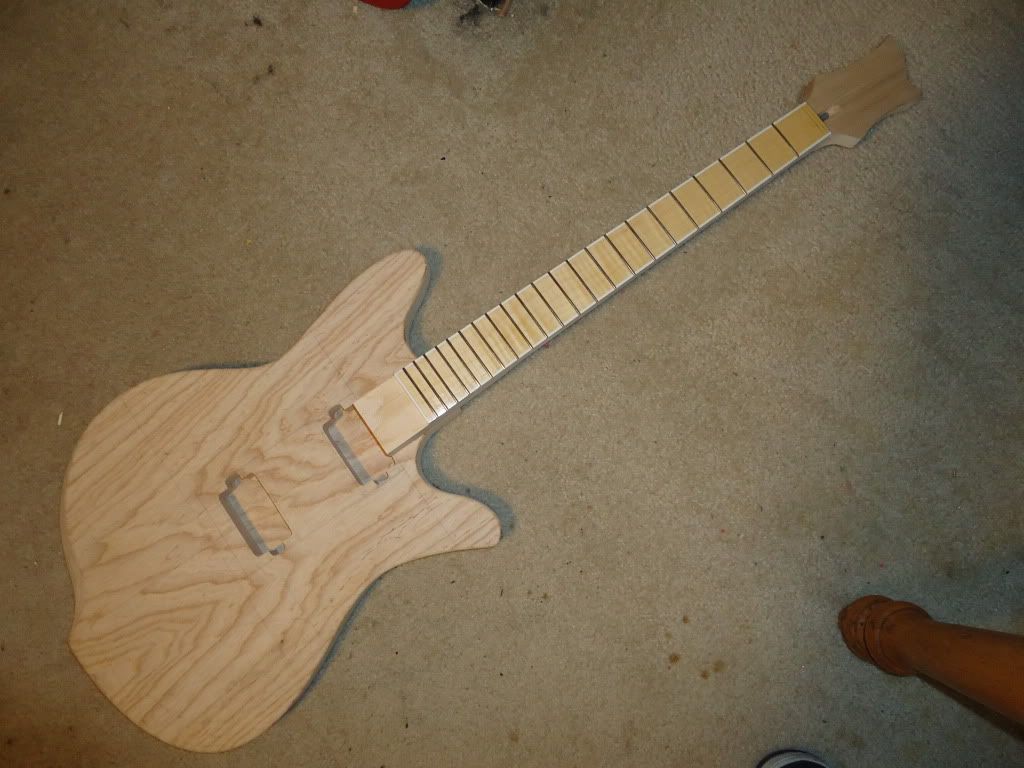
and fitting the Power Rails
-
Hey everyone, I'm sure some of you are used to my Cigar box guitar build threads by now, but now I'm going back to full size guitars. Hope I can handle it
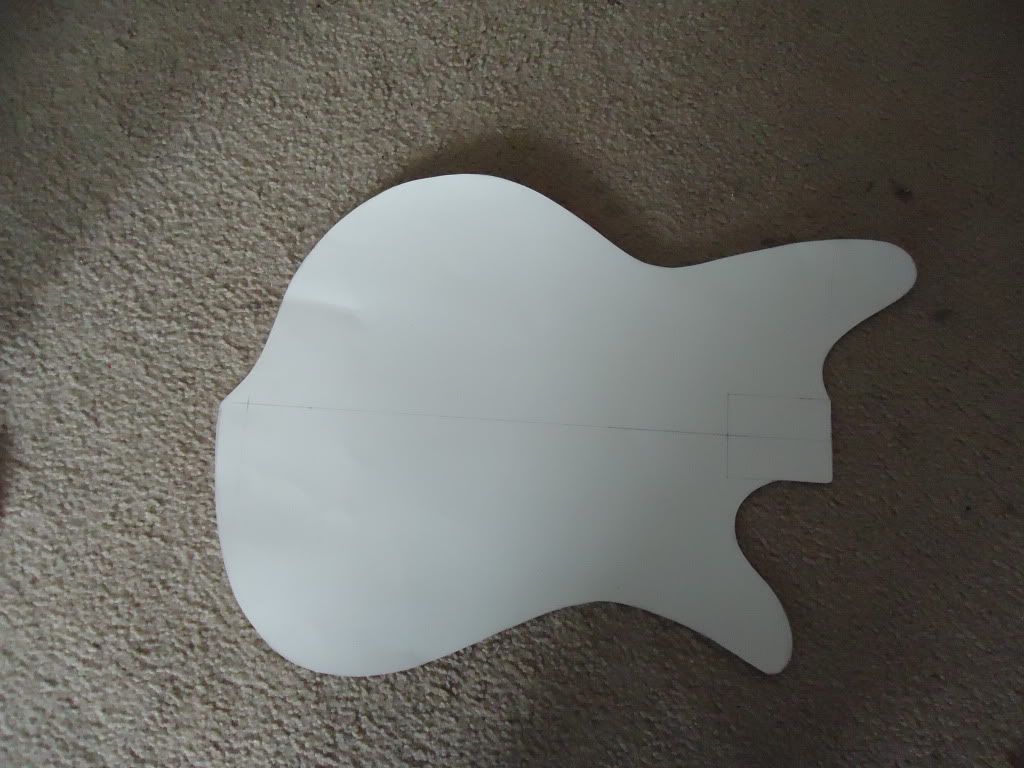
This build is one of my custom designs and will have a swamp ash body and set maple neck. The scale will be 25.75 with 22 frets and a 12" fret board radius. My original plan was to do an all white guitar with a natural flamed maple (bound in white) fret board, white GFS (keepin costs down) power rails, and chrome hardware for a classy look. After I finish typing this I'm gonna go mess with some color dyes on some scrap ash and see if I like any of those instead(ill post them samples later tonight to get your opinions as well). Well... I guess that's it for now, here a few starter pics for ya.
Template
Wood...

Thicknessing the body down about 1/4 inch

Body rough cut with no sanding yet
More to come soon!
-Tyler
-
I got around to making the router base to attach to the tracks


I used it to get a 1.75" body blank down to 1.50" and it only took about 45mins of taking shallow cuts. Into some problems though. as DTN pointed out, the dusk in the bearings made the movements significantly less smooth. I'm going to use some graphite on the bearing and see if that helps. I'm also going to be using a router with a vacuum attachment next time to minimize the amount of dust flying around. the other problem was that my base was not thick enough and was did not remain perfectly flat witch lead to different cutting depths in different areas. I will step up the base to 3/4" plywood next and see if that fixes it. I also welded the tracks together for extra strength.
Over all this thing did what it needed to and saved me hours of belt sanding and planing. Hopefully I can fix the problems and get better results next time.
-Tyler
-
That's what its here for my good man! Hope it works well for you

Time To Get Back To Legit Builds!
in In Progress and Finished Work
Posted
Demonx- I routed the "R" using a dremmel and the stewmac precision base which turns your dremmel into a mini router. I used a 1/16th bit to clear the bulkier parts and came in with a 1/32nd bit for smaller areas and tighter lines. Last I shaped the points and sharper corners with an exacto knife, be careful because its easy to slip and cut something you dont want to, whether it be the wood or your hand. As long as you can follow a line you can inlay, just take your time and start simple.
-Tyler