


Robbinst
-
Posts
269 -
Joined
-
Last visited
-
Days Won
20
Content Type
Profiles
News and Information
Tutorials
Product Reviews
Supplier Listings
Articles
Guitar Of The Month
Links and Resources
Forums
Gallery
Downloads
Posts posted by Robbinst
-
-
That inlay came out amazing, I think I like it more then the shell version. I'm really excited to see this whole build come together, its going to be sweet. Can I ask where you get your inlay materials from?
-Tyler
-
I dig the sound, its very cool. Congrats on the sweet build sir!
-
Awesome, glad your happy with it. If you could get a sound clip of it in the future that would be really cool, Im sure im not the only one interested in hearing it in action

-
Very cool! Green is my favorite color so I really like the burst you chose. How does it sound?
-Tyler
-
Added a black heel cap

my fret beveling tool in action


sound holes marked out then cut


neck slot, its going to need to be reinforced to prevent the joint from failing

and finally the neck with 2 coats of oil on it, just waiting for it to dry then i can finish up the project

-
Pics!
Finished binding

carving the neck


finished carving, stills need to be sanded


-
I really love the looks of that back piece, the white stripe adds such an awesome contrast to it. keep up the good work my friend!
-Tyler
-
This is such a cool build, I wish I had started building that early. Cant wait to see more!
-Tyler
-
Update time!
The bits worked great and i believe them to be of the same quality as stewmac so if your lookin to save a few bucks check out these guys:
http://www.bitterrootguitars.com/servlet/the-Inlay-Material-cln-Inlay-Bits/Categories
Pics:
finished slot and epoxied inlay


I want the rosewood bridge to match the ebony veneer so I stained it black


binding being glued up

before the clean up

the binding went better then my first attempt but I think the plastic Im using is too thick for such tight curves. Heres the one spot that did not glue up right.

time to clean it up a bit

just patchin up the less then perfect glue spots, but you can see the finished inlay

-
I knew I saw someone do that inlay design before so I had to spend 15mins looking for it. It was actually a member of this site but he only did the hand of God not both arms. That's so much work to get both arms inlaid though, I hope you go through with it because I really want to see how it turns out. Good luck with it!
Here's the guys site in case you wanted to see, its the first piece under fretboard inlays.
-Tyler
-
thats a good idea, I will talk to my dentist next time I go and hope that he is as cool about it as yours.
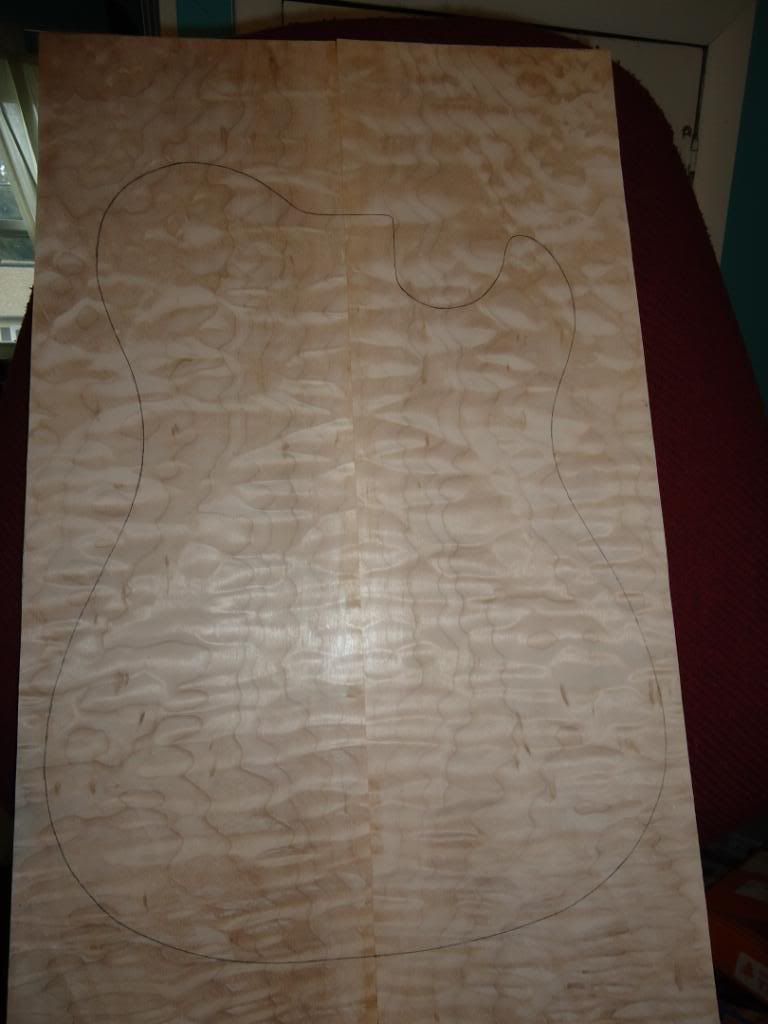
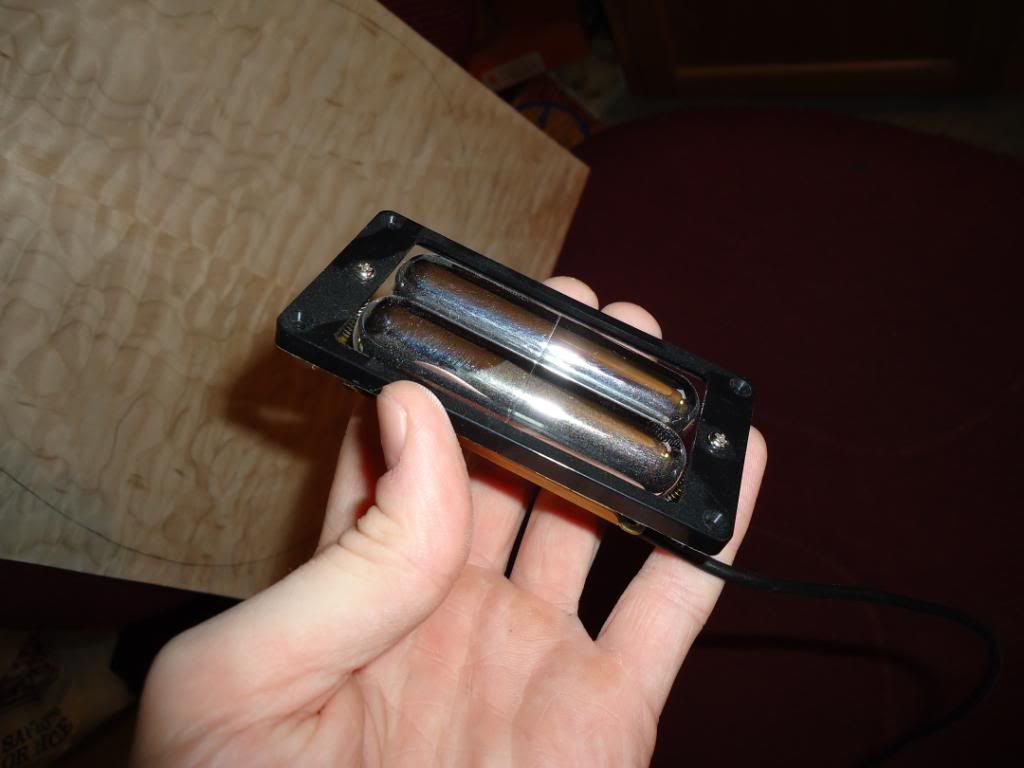
In other news im very excited for the build I will be starting after I complete this one. Its going to be a custom take on the tele design for my girlfriend. It will be a semi hollow with three butterfly shaped sound holes, a Quilted maple top, an ocean blue burst, maybe a figured maple fretboard, white binding all around( maybe double bound front and back), chrome hardware, not sure of the pickguard material yet, it might be white or a natural color maple to match the fret board, and I'm thinkin an S/S/H Pup set up using lipstick pups(i love the looks of the lipstick tube humbuckers). I really hope i can make it nearly as nice as the image I have in my head.
Here is a little teaser:
-
I hit a speed bump in the build process guys. I got alittle greedy and went too deep routing out the inlay cavity in the ebony veneer and when took a break to check my cut I watched the cutter of my 1/32 stewmac dremmel bit simply fall off... although I was pissed, it was sort of comical the way it happened. Anyways I decided to try a new place for a replacement bit. stewmac cost like 18 per bit plus closer to 9 or 10 bucks for shipping. I found this other site with the same size bit for $13 and only $3 dollars for shipping. I let you know what I think of it and if its worth checking out the site once it arrives. hopefully this can save every one who does do there own inlays some cash because paying almost $30 every time one decides to break gets old quick.
-
School started up again yesterday so my progress might roll on a little slower then I would like it to, but for now here is what Ive managed to get done since my last post.
Fretting!


Taped up to keep the finished board clean

Binding channel routed. Had a minor blow out with the ebony veneer but luckily I found the piece and was able to glue it back on. This is one of the most nerve racking parts for me at least.


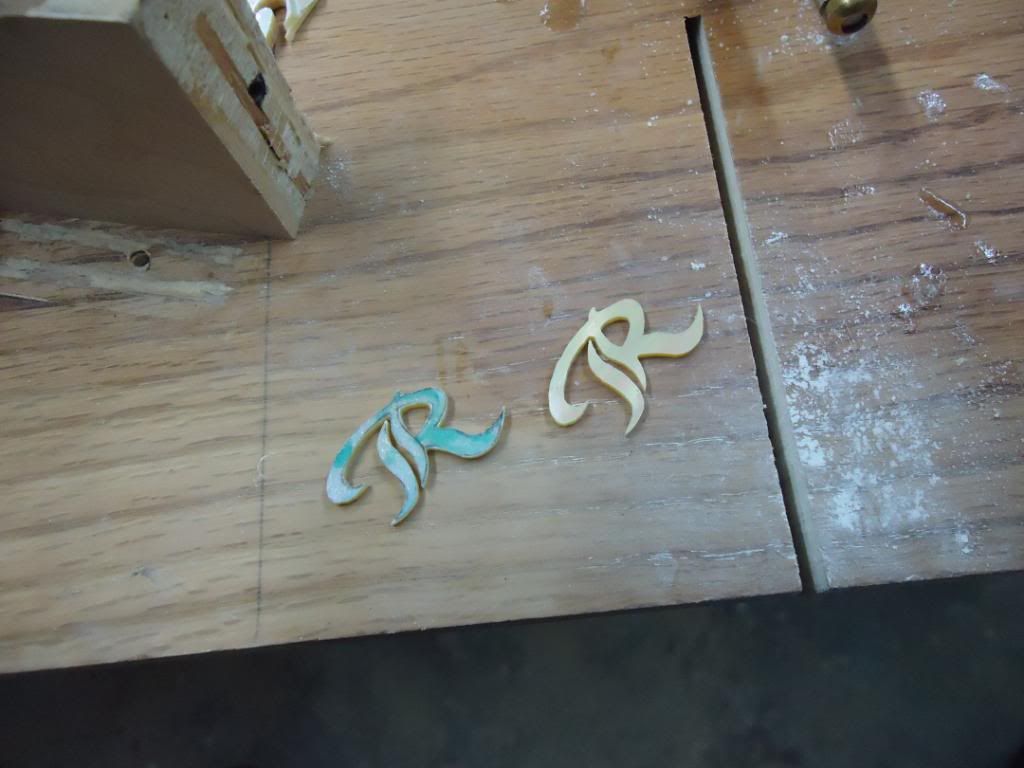
My "R" inlay. I decided to double up the MOP and get two logos for the cutting time of one.


safety first

and after about an hour and a half here are the finished R's
-
sounds like its going to be a nice build, I'm looking forward to the pics!
-
I got a little bit more done over the last couple of days
fretboard polished up to 12000 grit

with two coats of tung oil


heel block glued and the neck starting to take shape


-
Its going to be a cigar box uke, I gave an introduction explaining it but it looks like that post got deleted some how? I dont have too much money so this is just a fun little project to keep me occupied for now. More pics coming soon!
-
neck, ears, heel block, headstock veneer and stencil

gluing the ears


glued and planed

ebony veneer being glued (there is scrap between the clamps and the veneer)

-
Here a little bit of progress
My scarf joint jig being used to cut the headstock plane


After the cut then cleaned up


square tube truss installation


bound fretboard

neck cut


Drawer Slide Router Jig
in Tools and Shop Chat
Posted
Hey every one I wanted to show you a router guide I made up that I think is pretty neat. I have seen other people make this guide with types of wood that slide along each other but it seems to me that there would be some dragging that would prevent really smooth operation. This build is not practical for every one, it only cost me 13 dollers in nuts and bolts to make because my grandpa (a cabinet builder) had some extra 18" drawer tracks that he was nice enough to let me use. I believe these slides can be near 10-15 dollars from some stores, but if you can come across them for cheap or in an old dresser it may be worth it to give this guide a try.
supplies
-4 18" or longer drawer tracks
-4 1/2in by 6in bolts
-12 1/2in bolts
-8 1/2in washers
-2 1/2"x 21" support wood
-1 1/2" to 3/4" thick base large enough to hold rails (approx 22"x22" at least)
-6 small wood screws
-4 machine screws cut to about 1/4in( this will vary depending on the amount of room in the track and the size of the holes in the tracks.)
-4 nuts for the machine screws
I started with a base that was slightly longer and wider then then tracks
Next I cut wood supports to mount the outer rails to.
Next I drilled holes in the 4 corners of the support wood for the height adjustment bolts. Its important to make the set of holes at the end of the tracks that extends off center so that they can extend without running into the height bolts. consider making these holes bigger then the height bolts to allow room to angle the rails for neck pocket cutting
I then mounted the outer rails to there supports using 3 wood screws each. you can see that about 1/3 of the rail hands off to avoid running into the height bolt when extended. I also took this time to mark out where the height bolts would go on the base board.
the height bolts are then put into place.
each bolt receives two nuts followed by a washer which will be used to raise or lower the tracks
next I put the tracks on to the height bolts. when mounting the tracks to one another take your time and check your measurements, you will need to cut the machine bolts to size and if you have cut the bolts to long they will hit other parts of the track and cause it to bind up, if you cut them to short you will have a hard time threading them into the nuts. look at the rails and plan your method ahead of time. also a drop of thread locker on each bolt is a good idea.
i chose to epoxy the rails together in addition to the bolts to make it nice and sturdy and prevent any loosening of the nuts and bolts. just be careful to keep the adhesive out of the bearings and other moving parts.
the final thing to do is to make a router base out of plexiglass that can be mounted on the rails. School has prevented me from getting to this step so far. I tested it out by taping a medium size router to the top rails and it worked nicely.
heres some pros and cons to consider before making this tool.
Pros/uses- extremely smooth operation, metal wont warp over time like wood, can be used for thicknessing, can be angled to cut neck pockets, can be use for initial carve top routing, binding channel routing(flat top), and I'm sure it can be used for many other things.
cons- rails can be expensive depending on the source, size should be considered for smaller work shops, bolting rails can be tricky and or frustrating.
Well I think that's every thing. If you have any questions or if something is not as clear as it could be please don't hesitate to ask. I hope this can be useful to a few of you. Take care.
-Tyler