


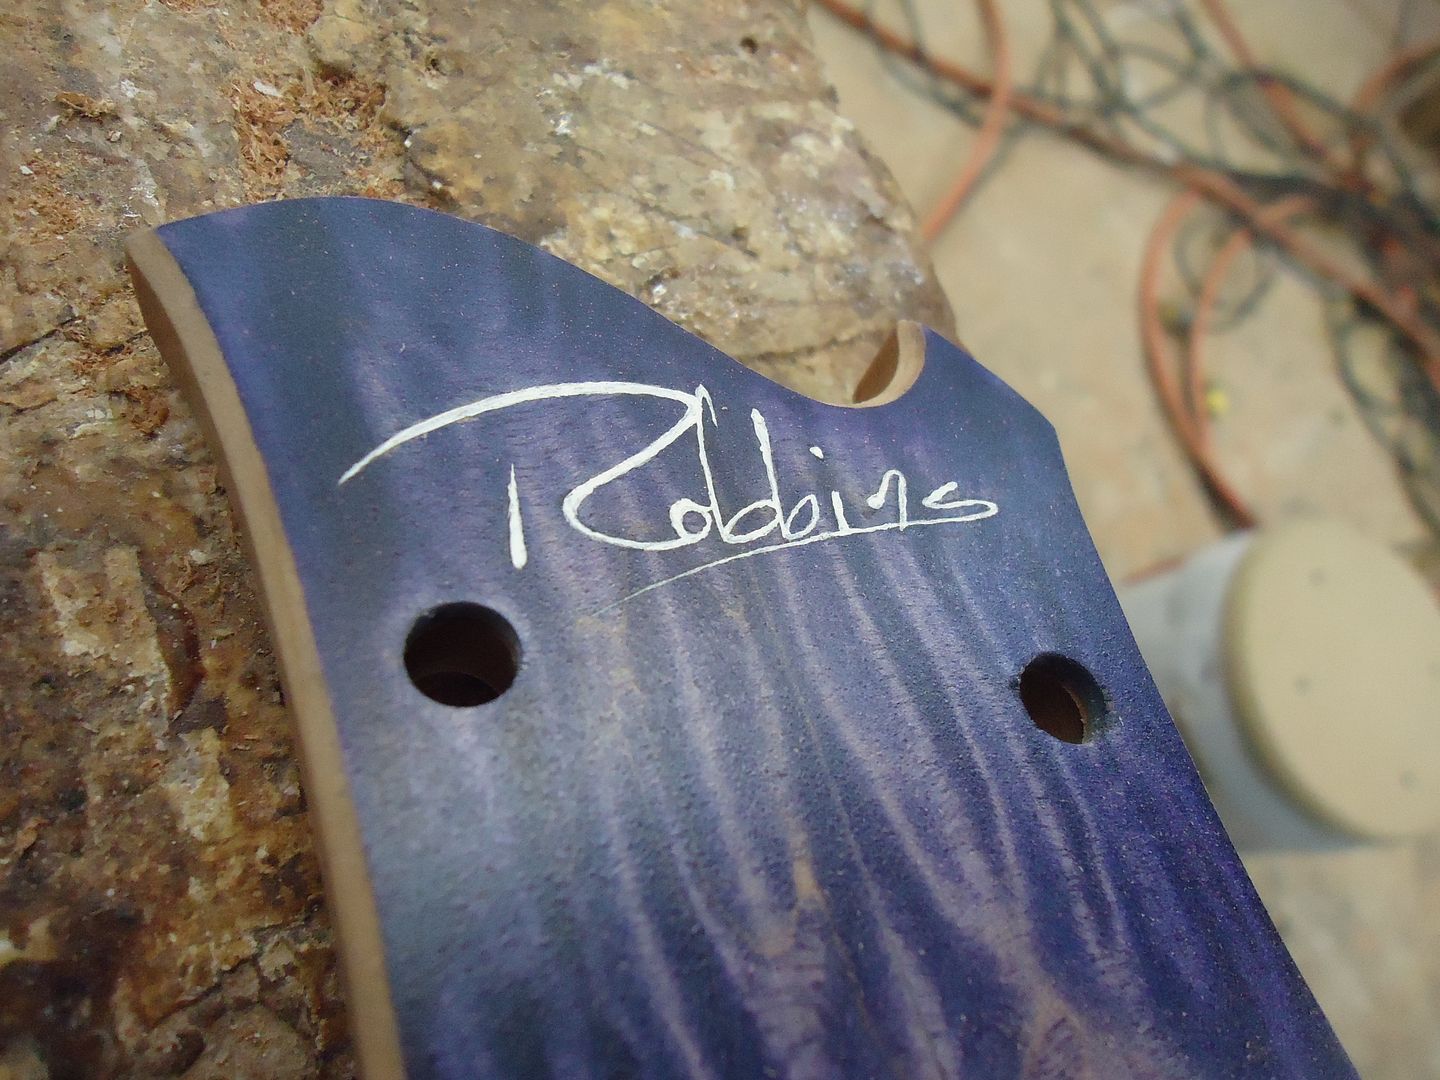
Robbinst
-
Posts
269 -
Joined
-
Last visited
-
Days Won
20
Content Type
Profiles
News and Information
Tutorials
Product Reviews
Supplier Listings
Articles
Guitar Of The Month
Links and Resources
Forums
Gallery
Downloads
Posts posted by Robbinst
-
-
Thanks man! Thats really cool that you took the time to get those pics! I will have to find some veneer and give it a shot. Your color combos are awesome by the way. Im very jealous of your lumber haha
-
I cant find the exact site I used because I ordered them so long ago, but this site seems to have the sizes you would need
http://www.kjmagnetics.com/products.asp?cat=10
I use all 1/4" diameter. 1/8" thickness for the cavity cover, 1/16" for the truss cover
-
 1
1
-
-
How to open the electronics cavity on a Robbins custom.
Step one: locate cavity cover
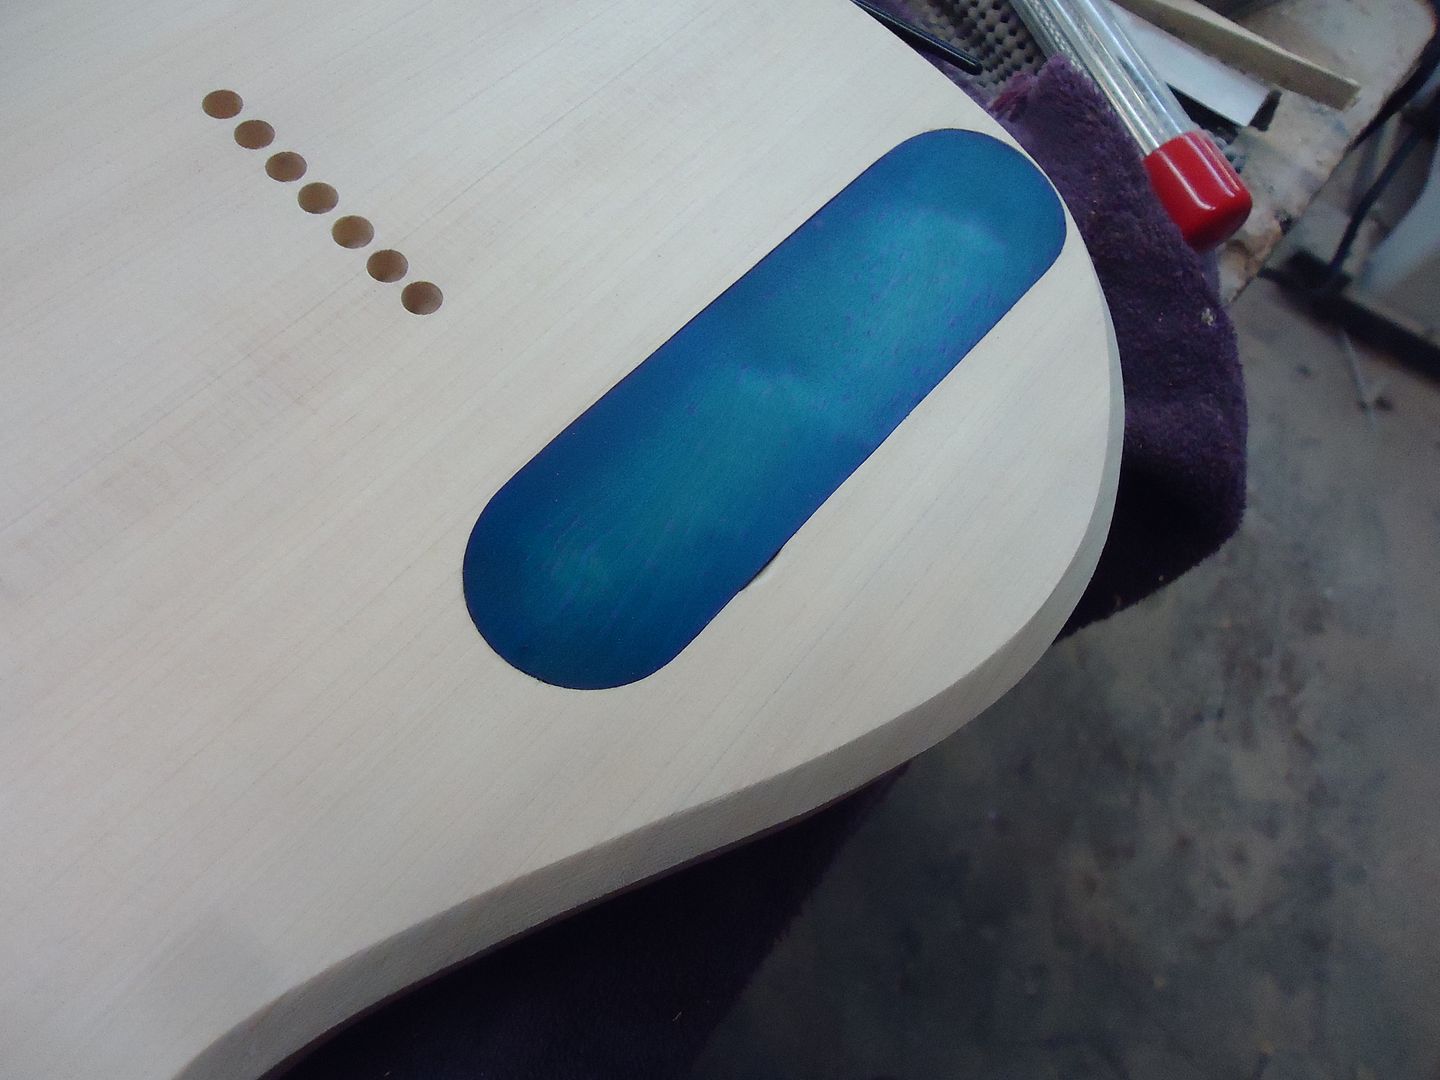
Step two: Insert pick til snug but do not force it
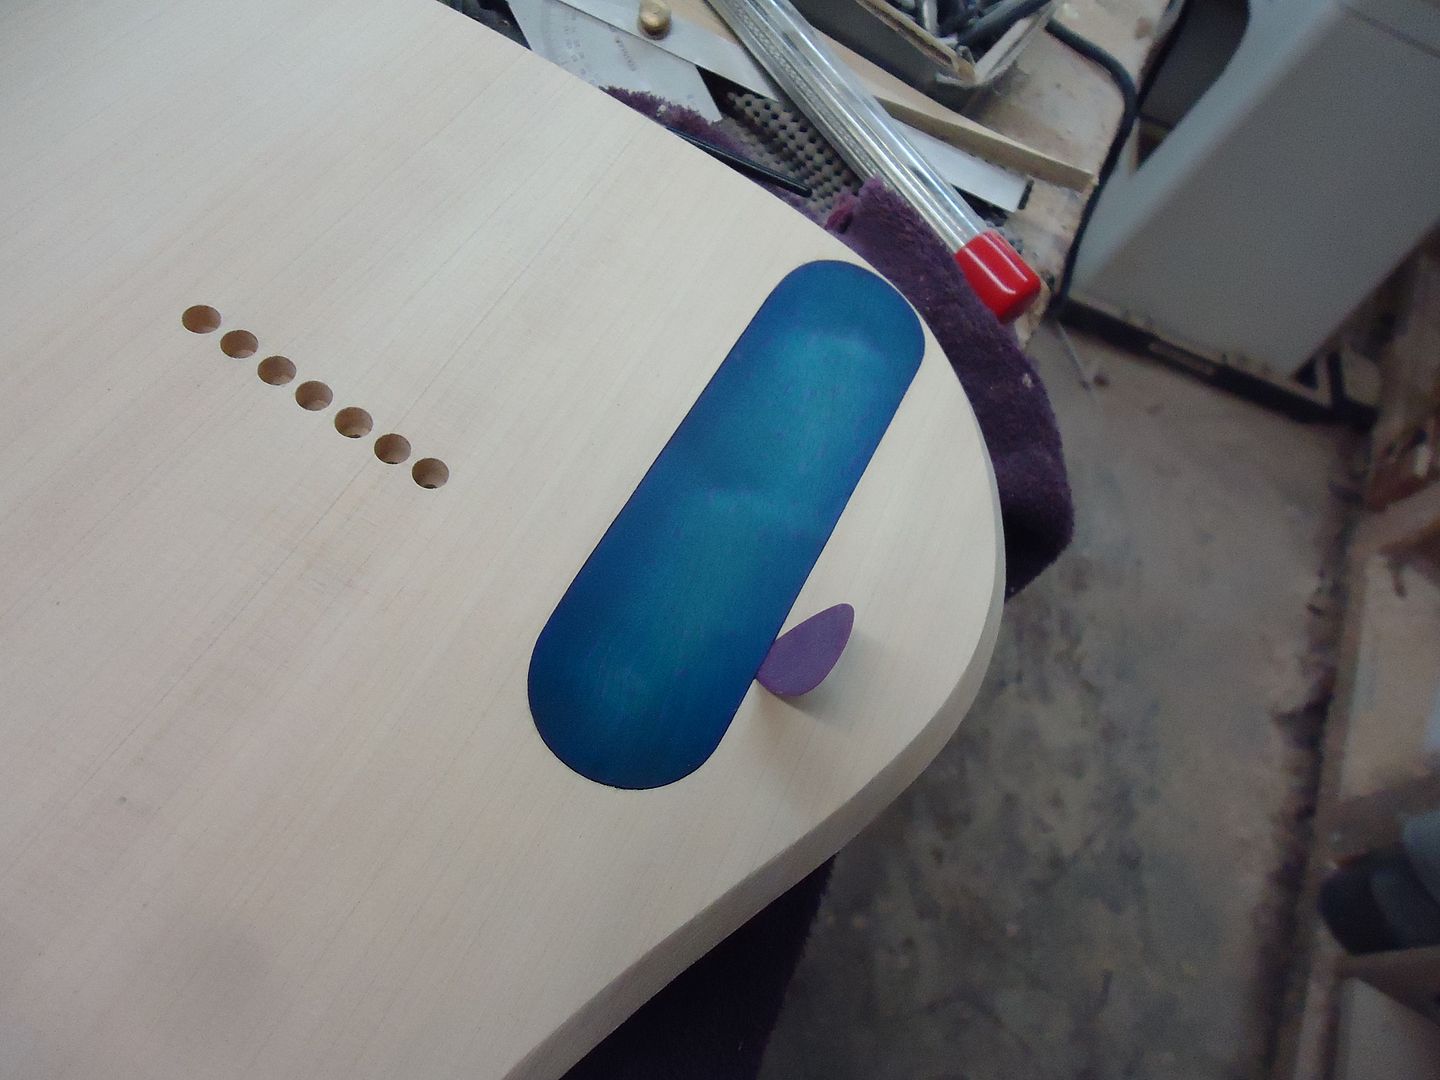
Step three: Press down ward on the pick (It will want to push back out of the slot but keeping light pressure on the wider side of the pick will keep it in place while it lifts the cover.)
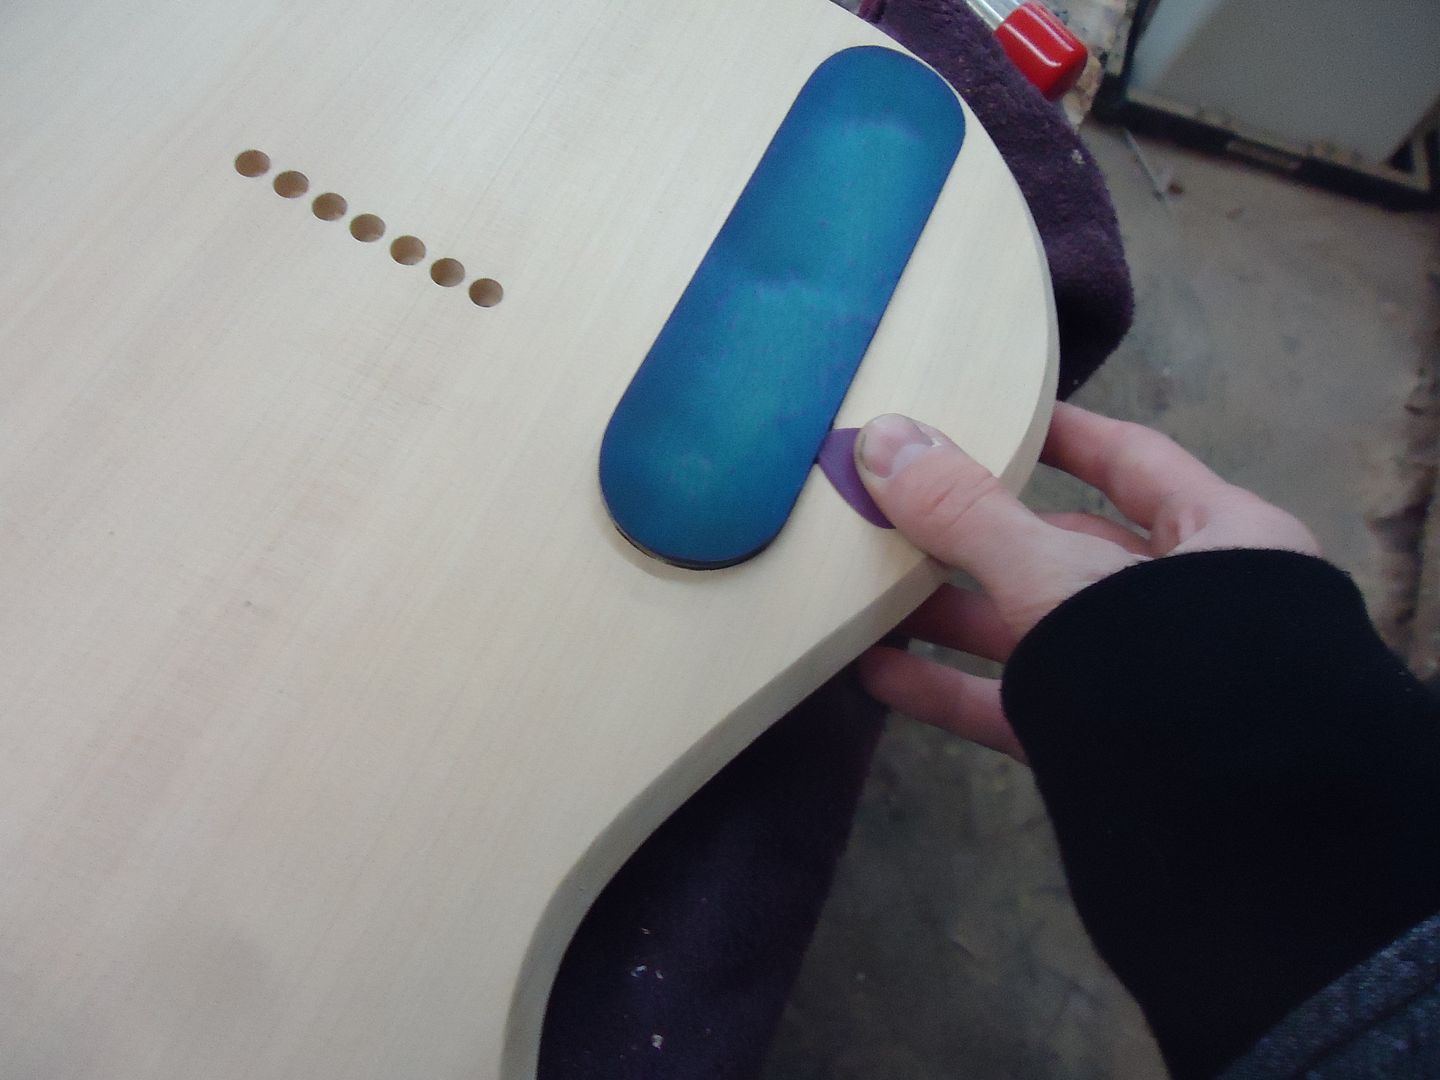
Step four: Once the cover is raised use your other hand to grab and remove the cover
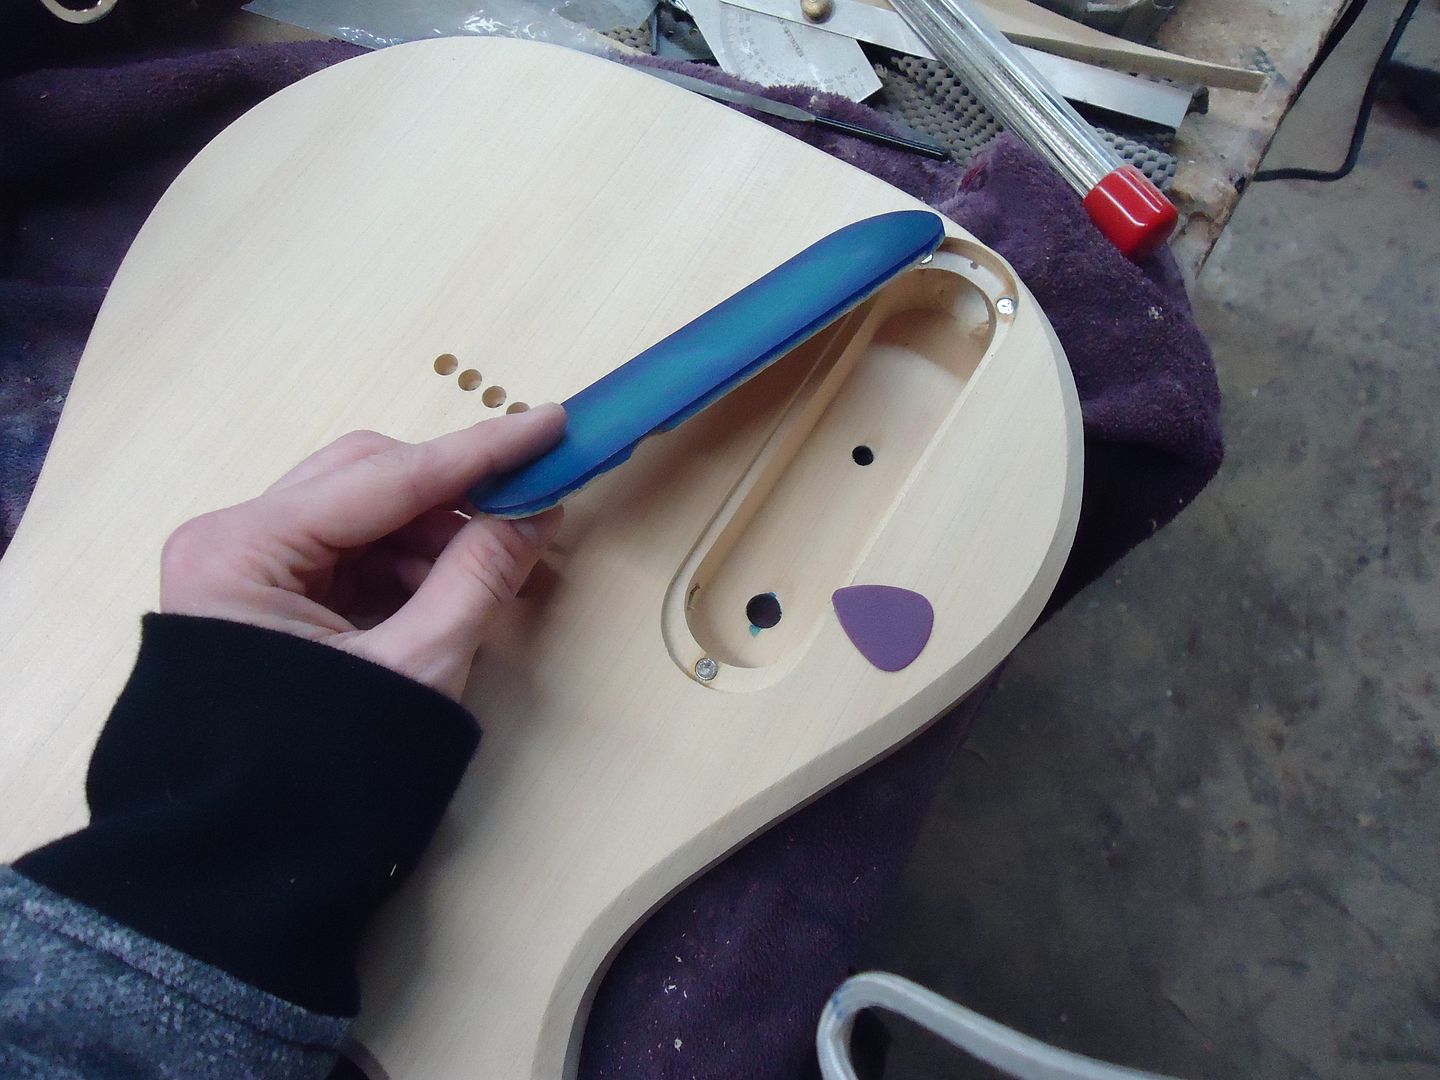
The cover is plenty secure and will not move even when shaking the guitar with all your strength. If you hit the guitar hard enough to make the cover come off then you have bigger repair issues to worry about. No more screws to strip or lose and its a much cleaner look.
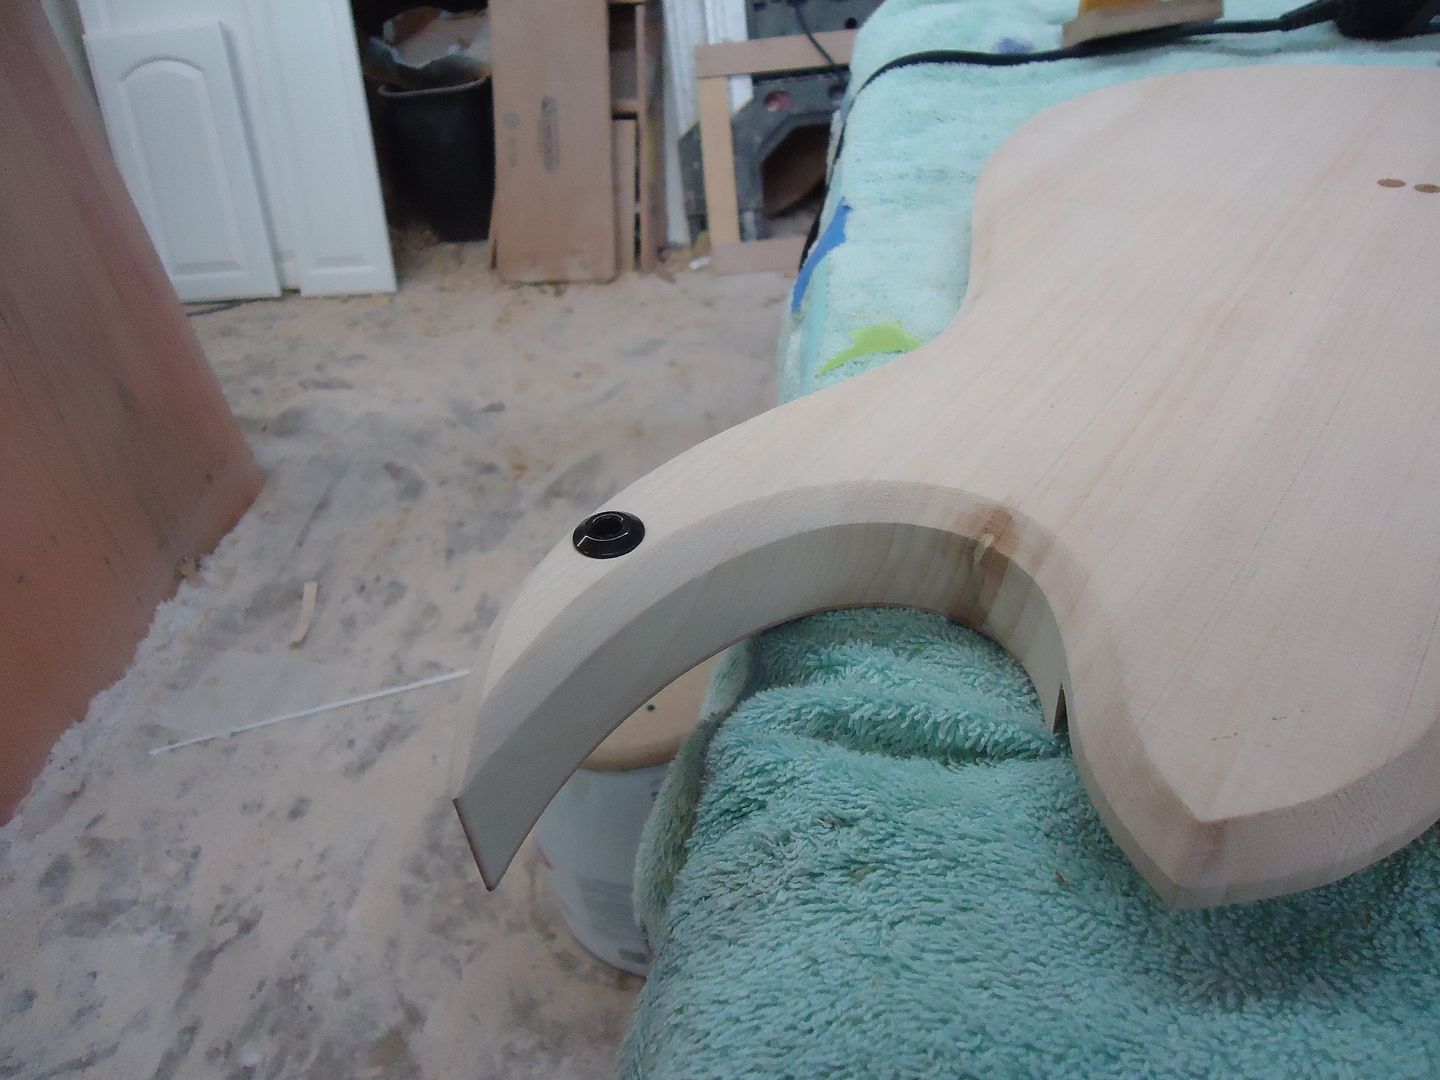
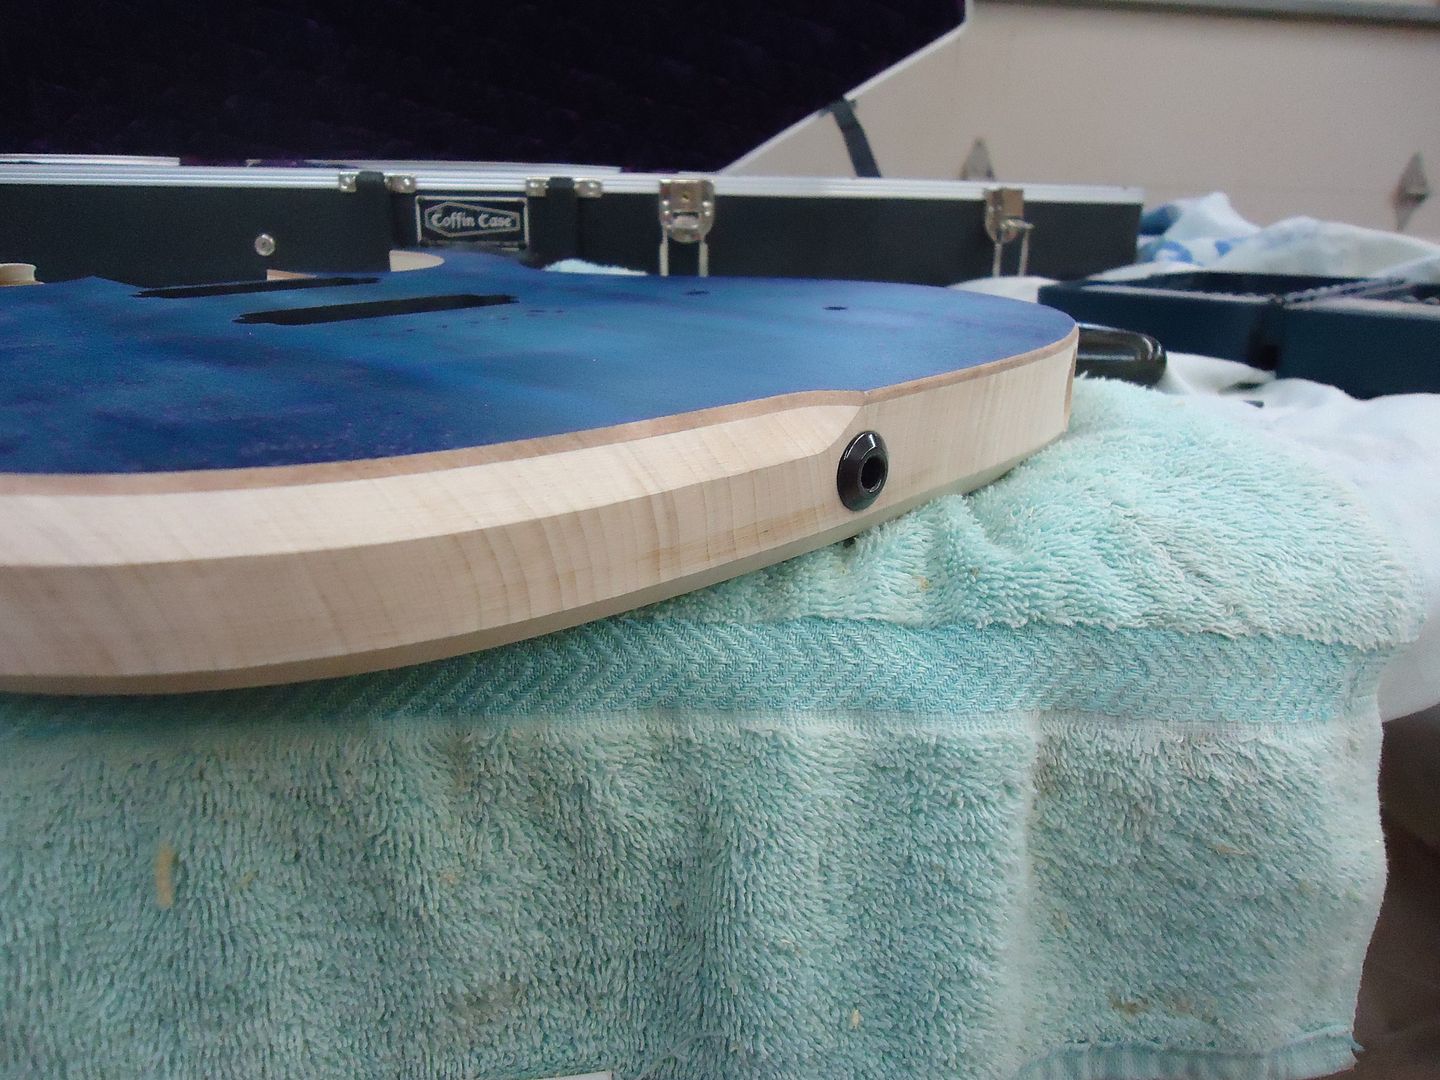
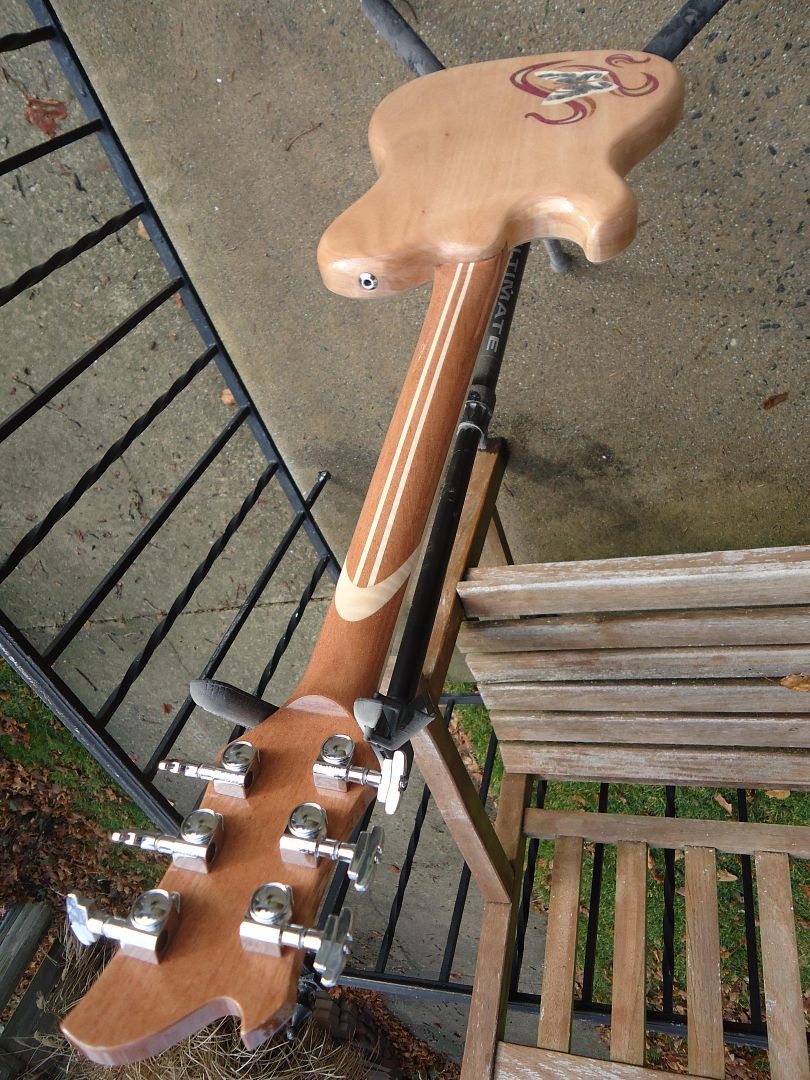
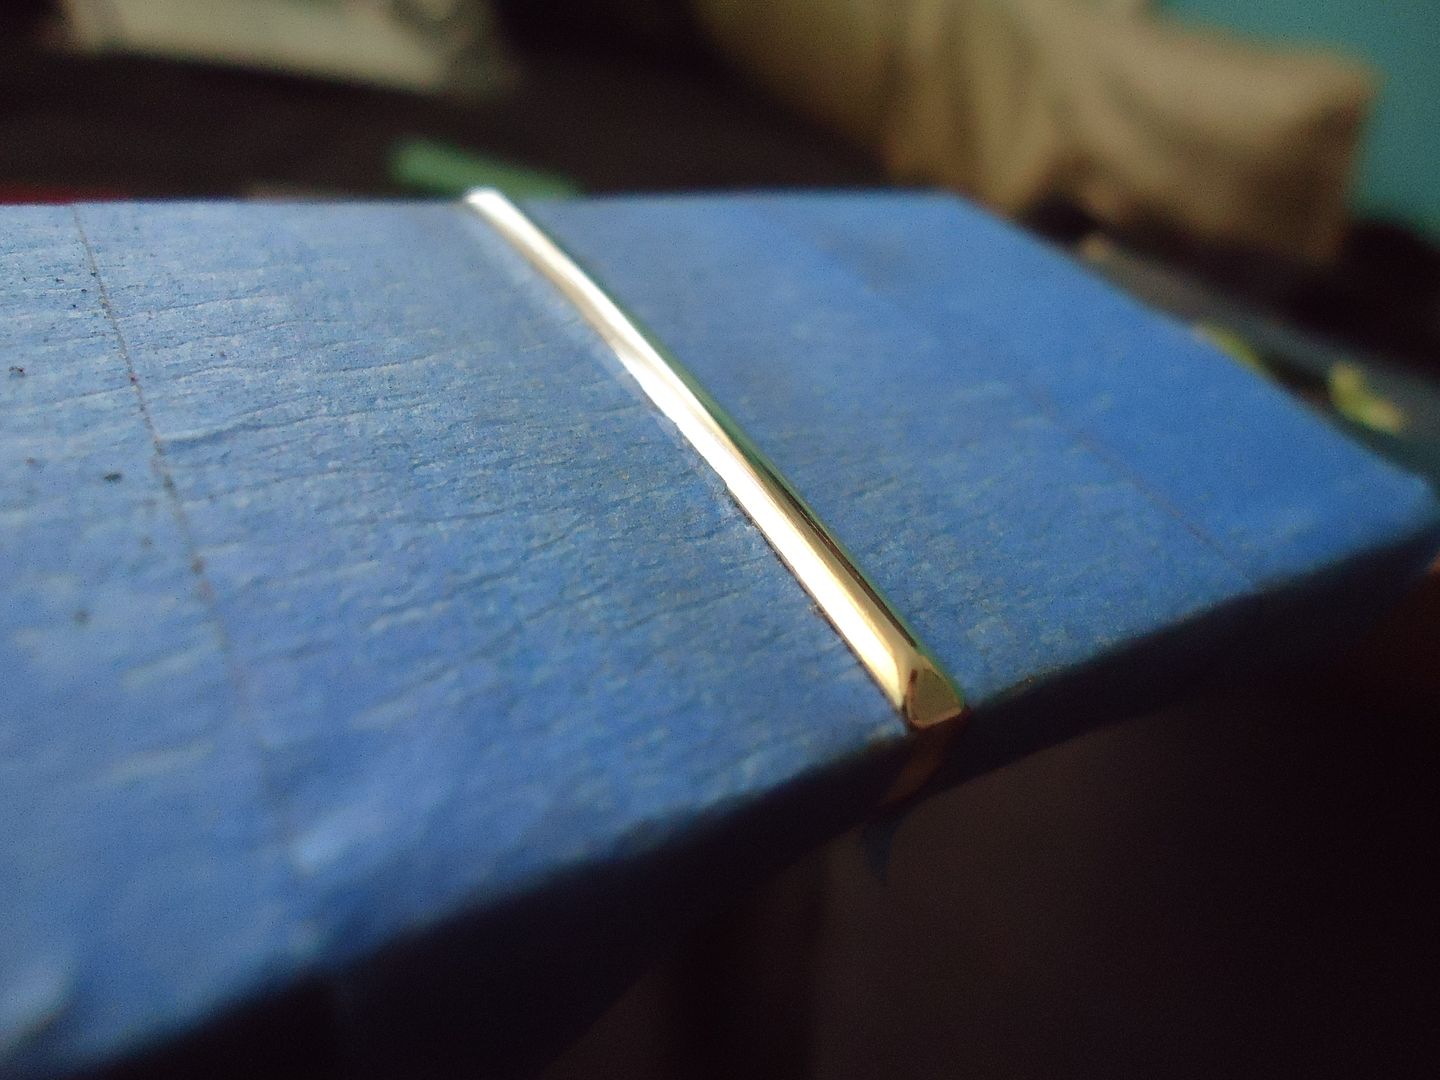
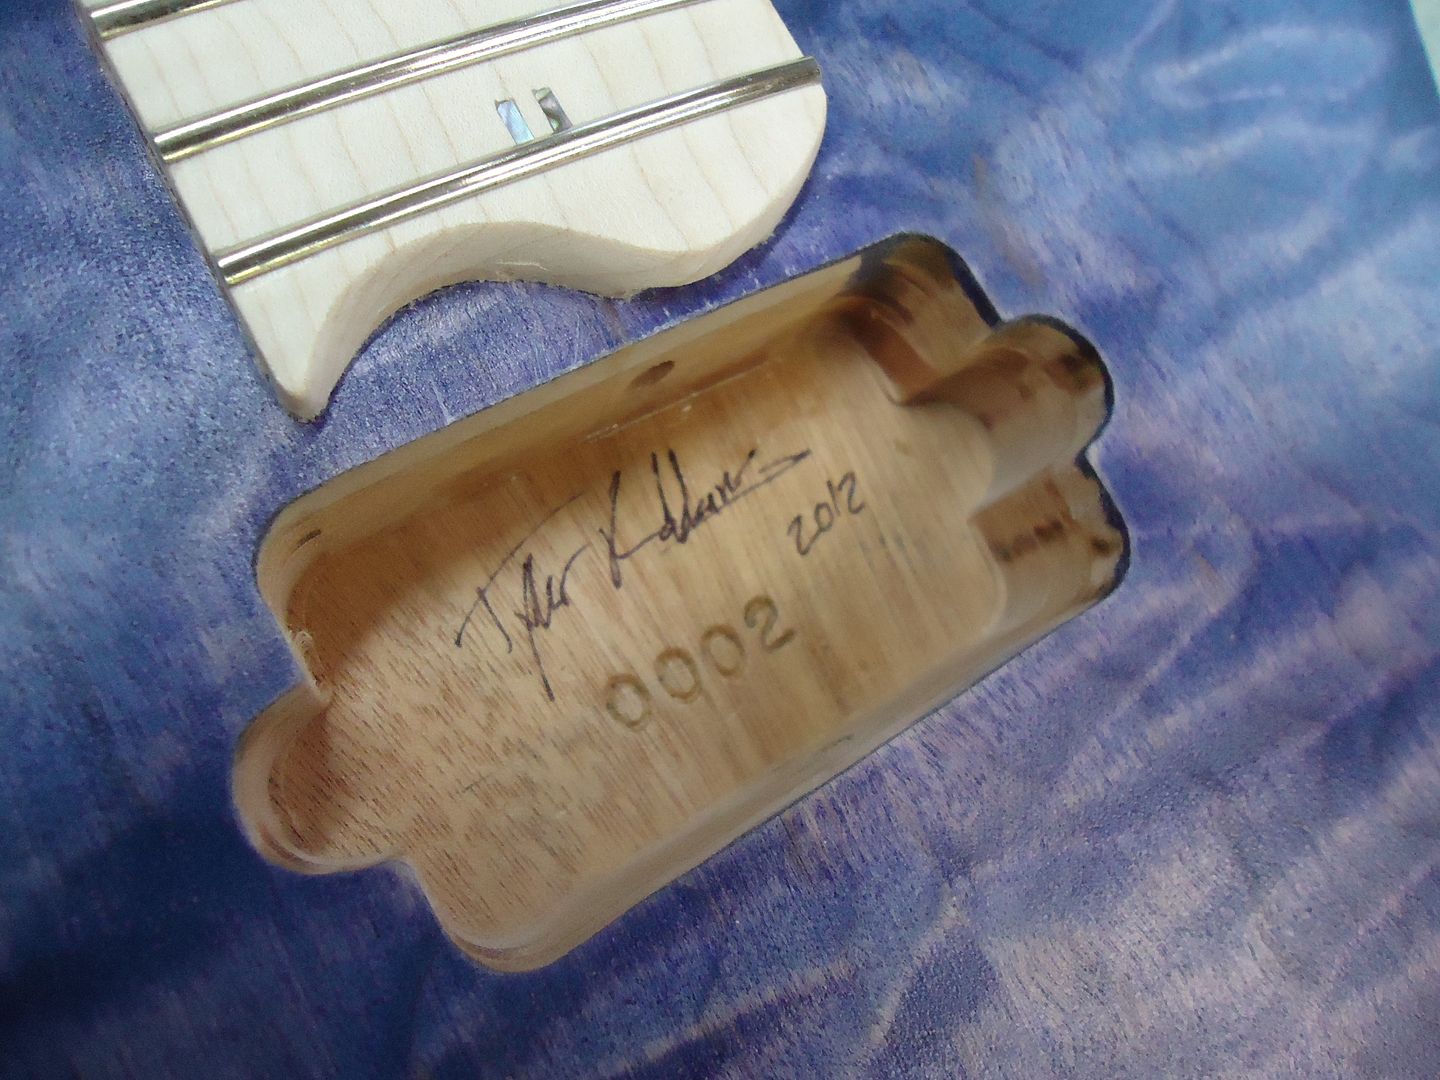
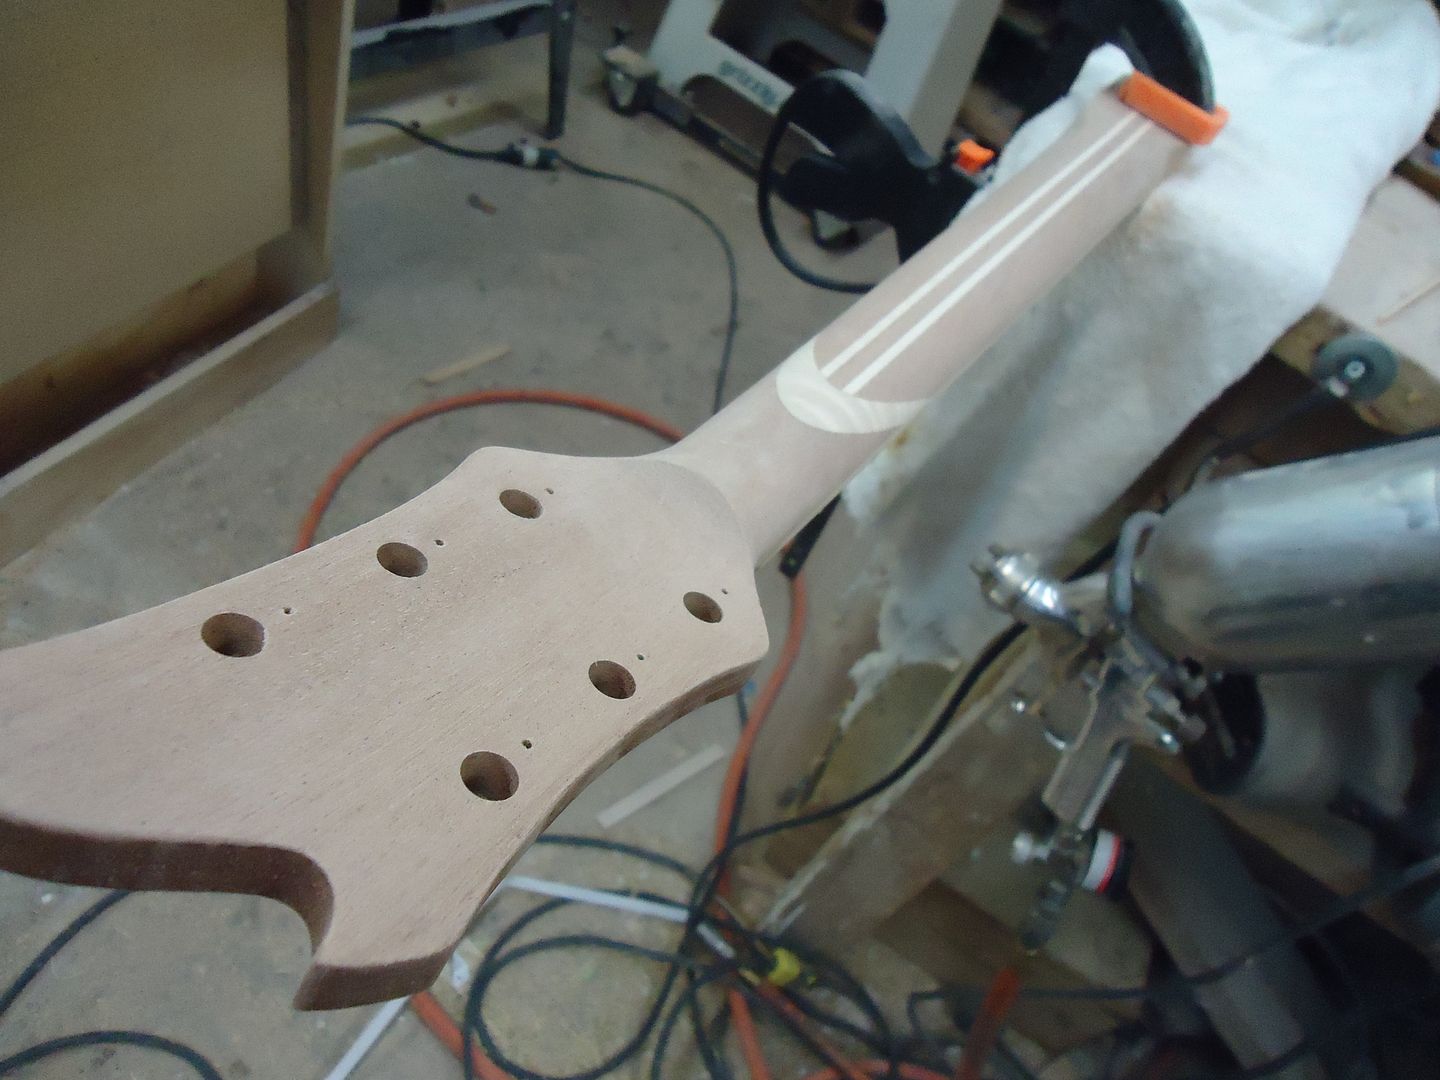
Neck bolt anchors
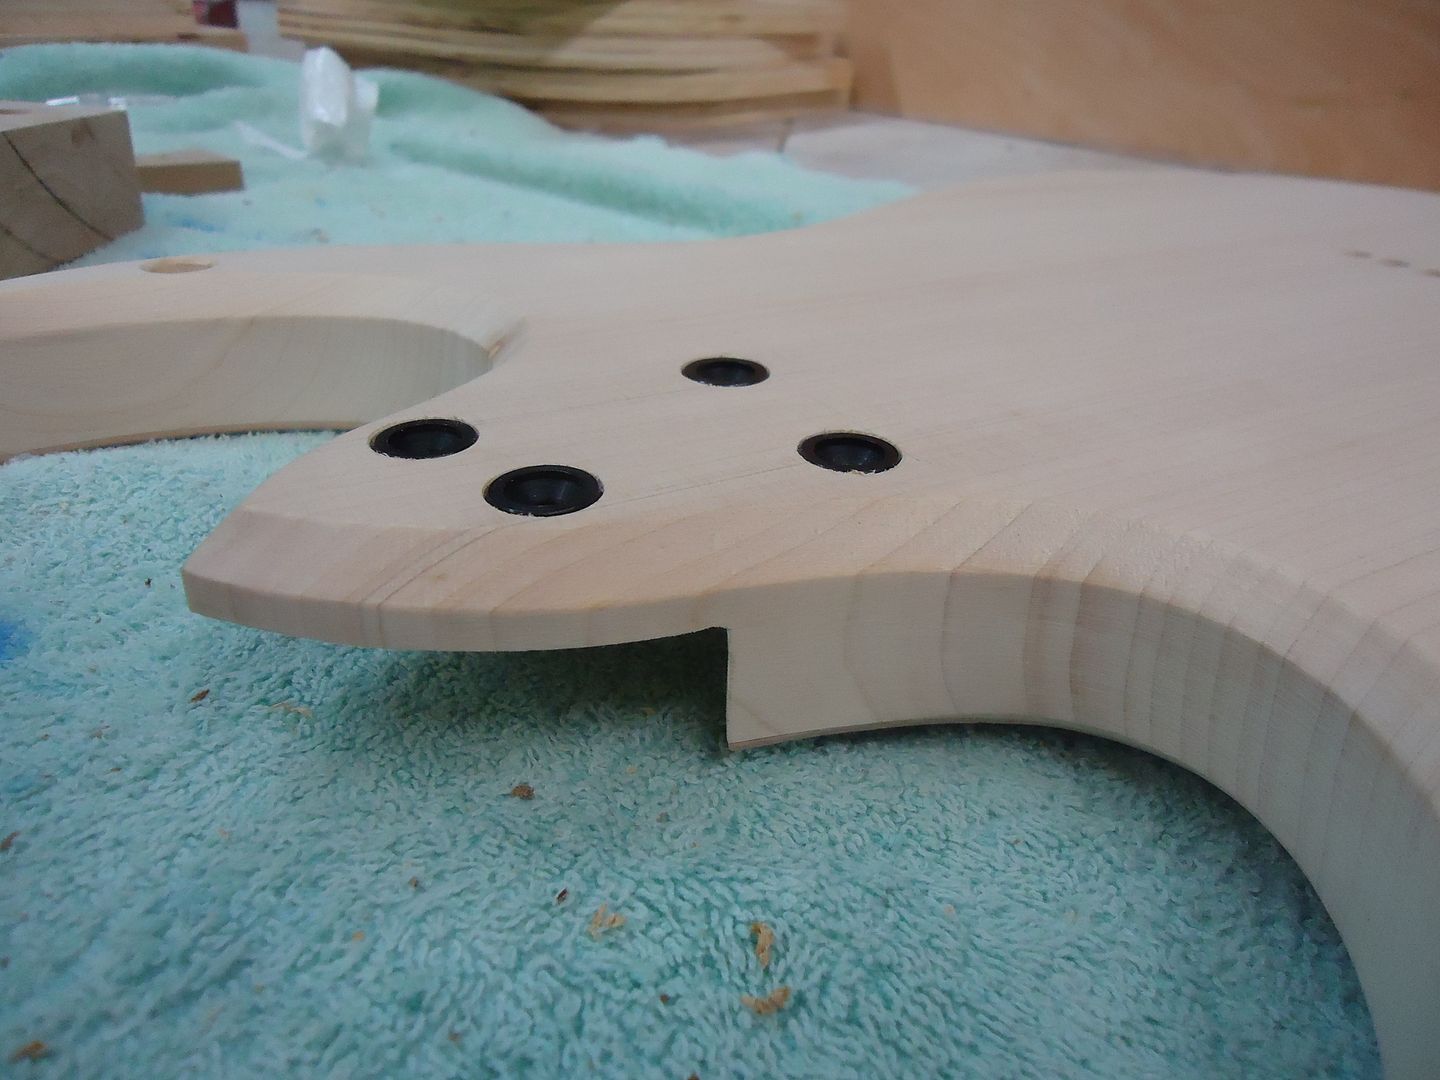
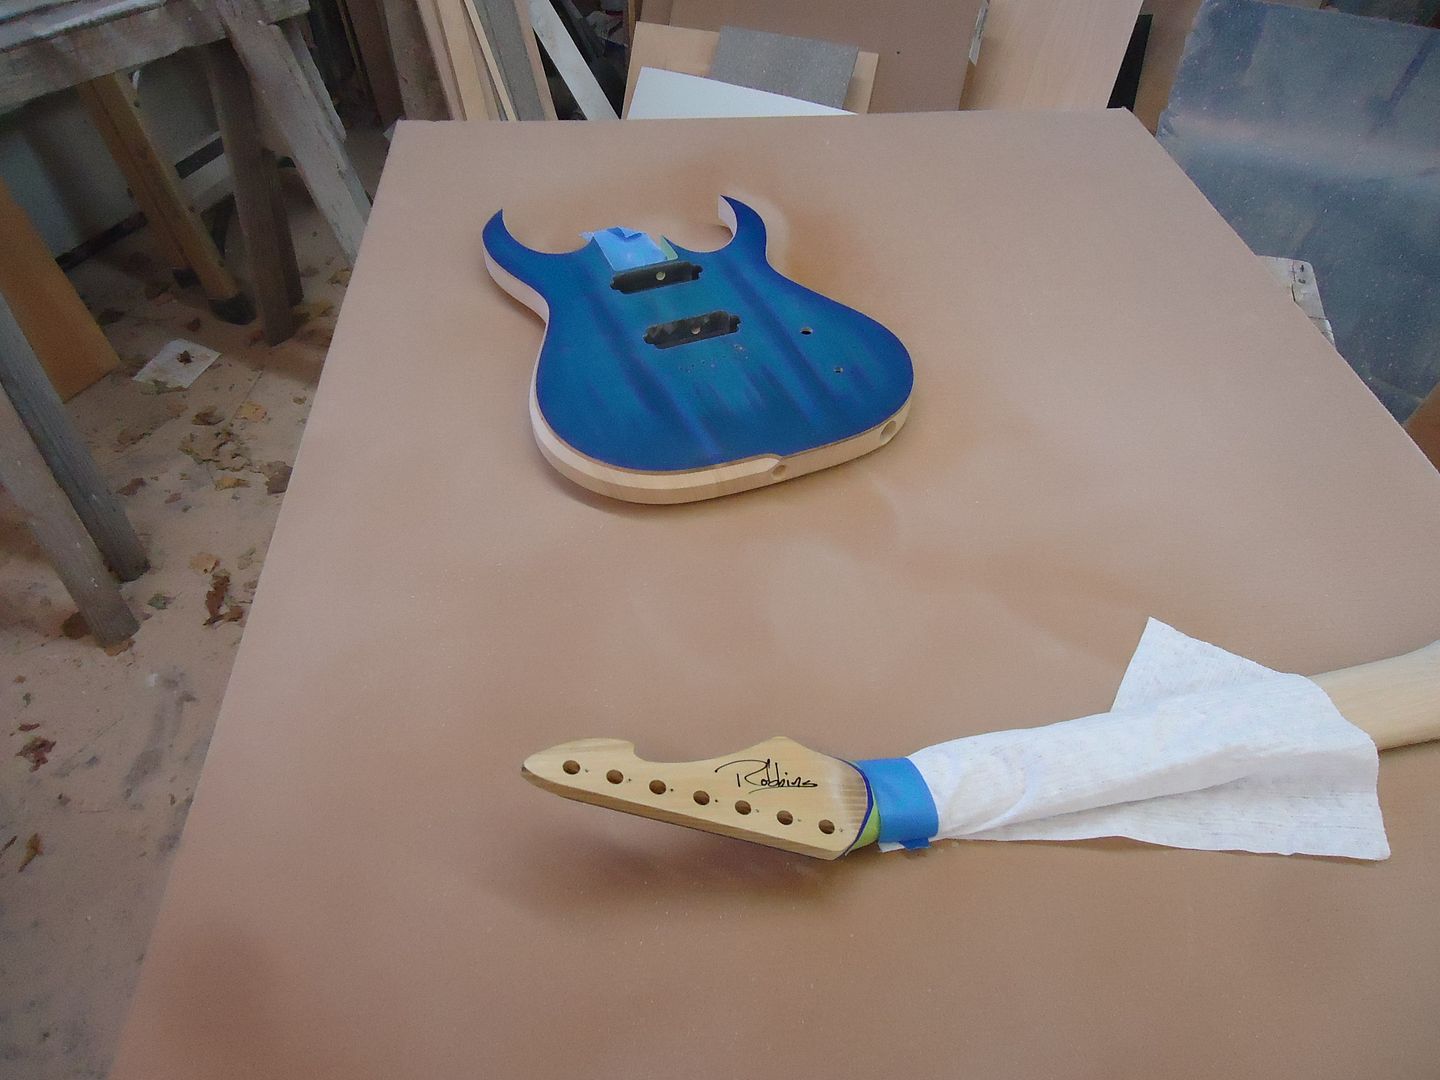
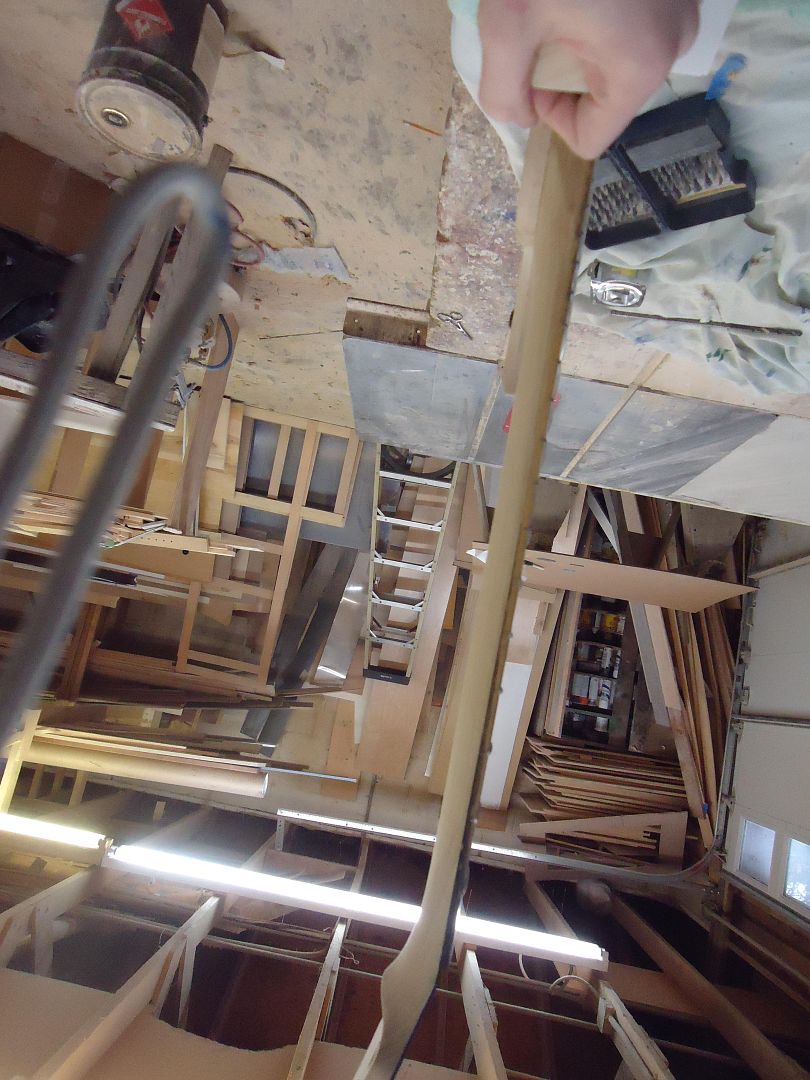
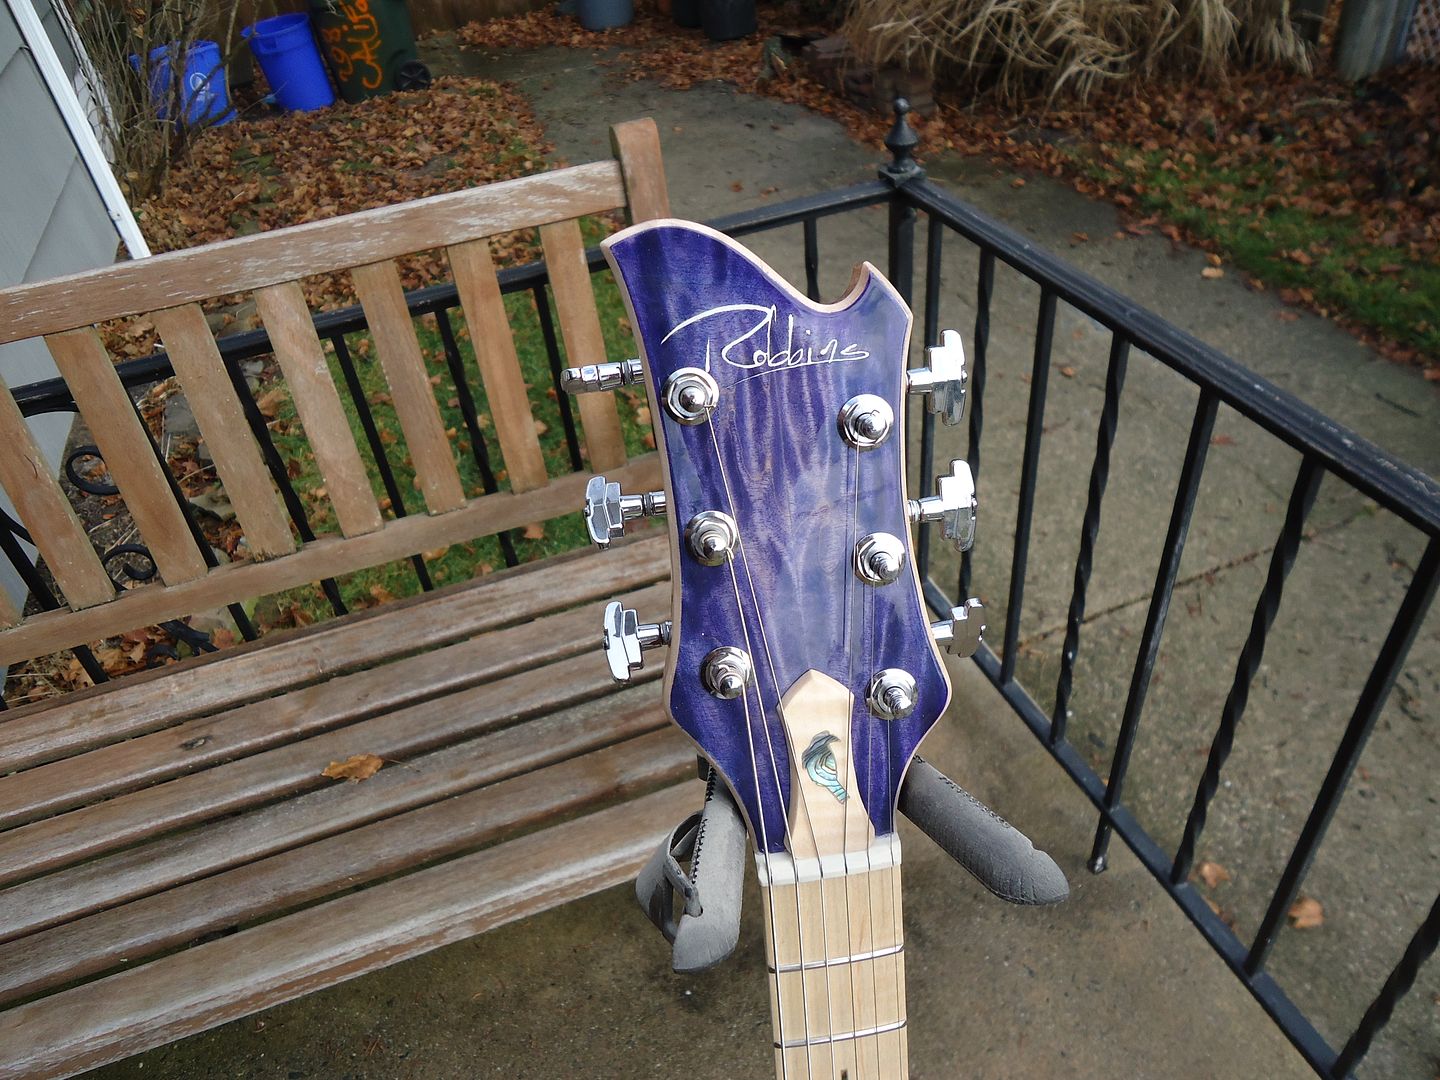
My decals came in a little larger then I had expected and wont look right with this head stock design, but no worries, the back of the headstock works fine too
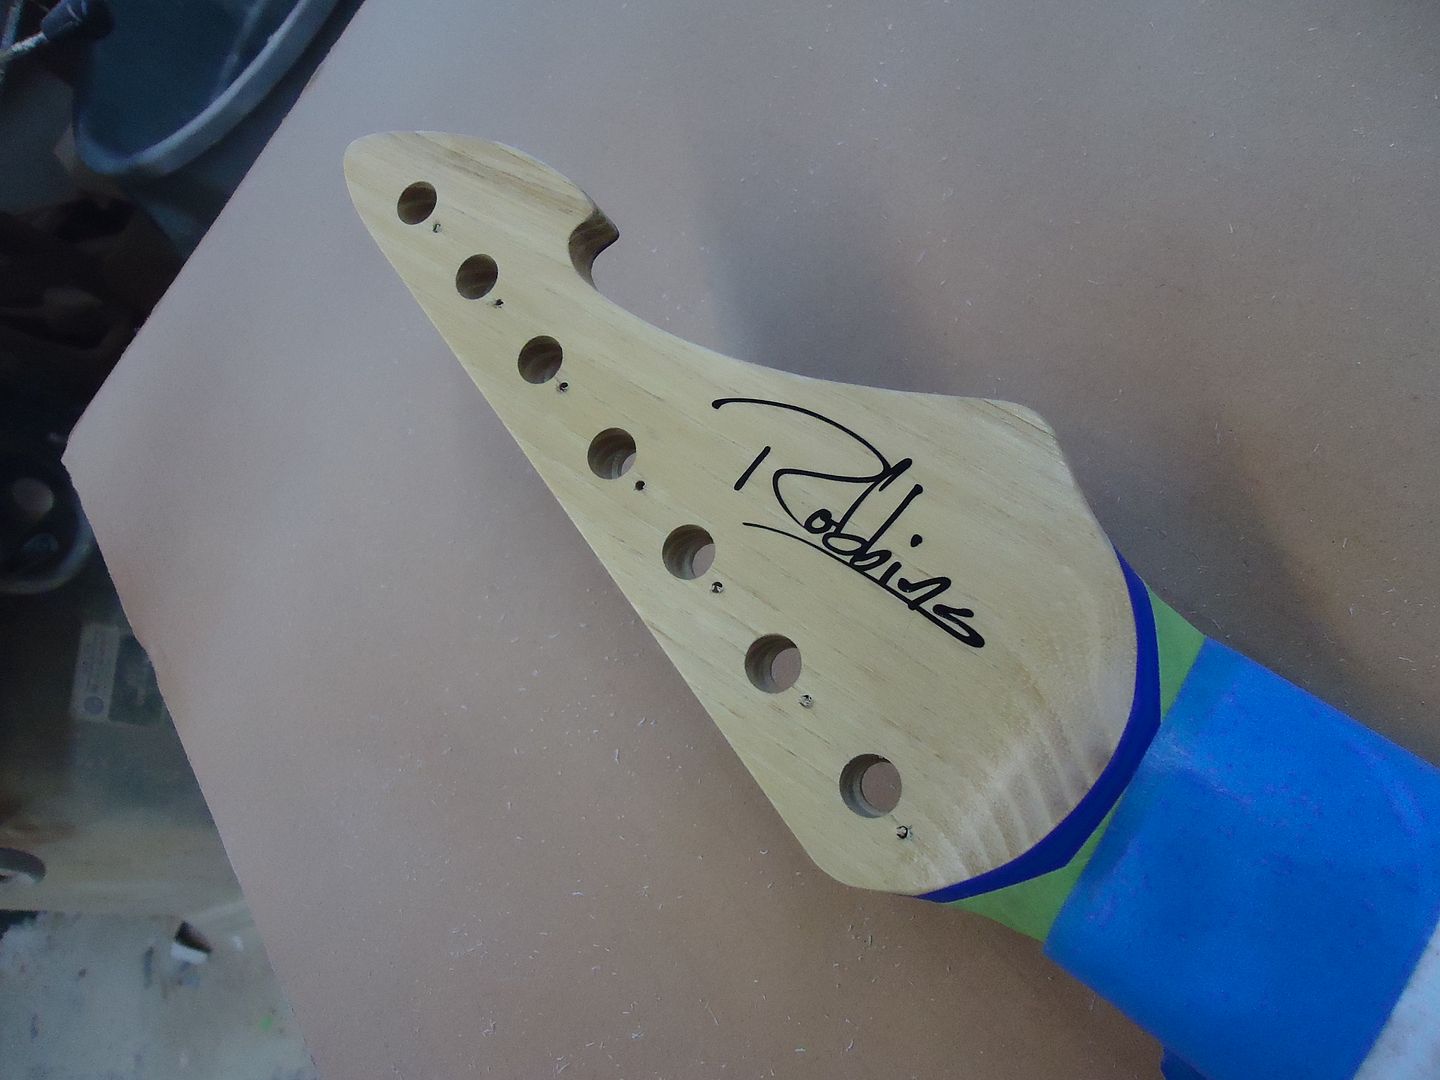
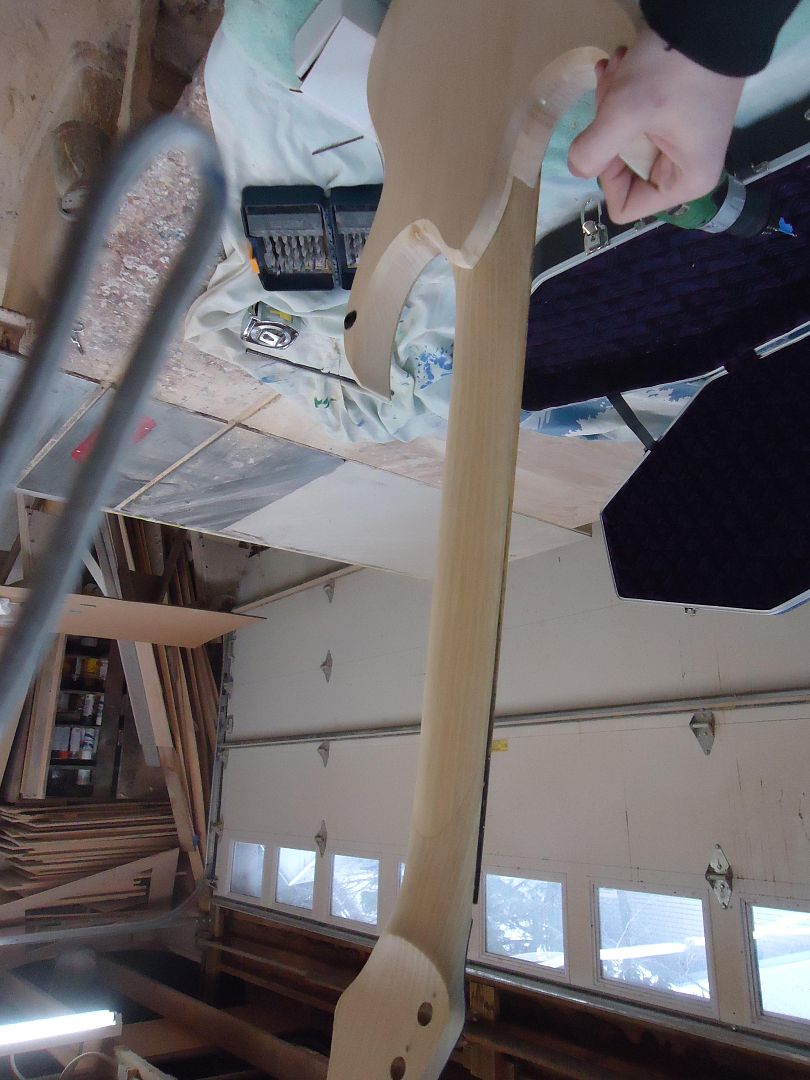
Every thing is sealed, sanded, and ready for finish
-
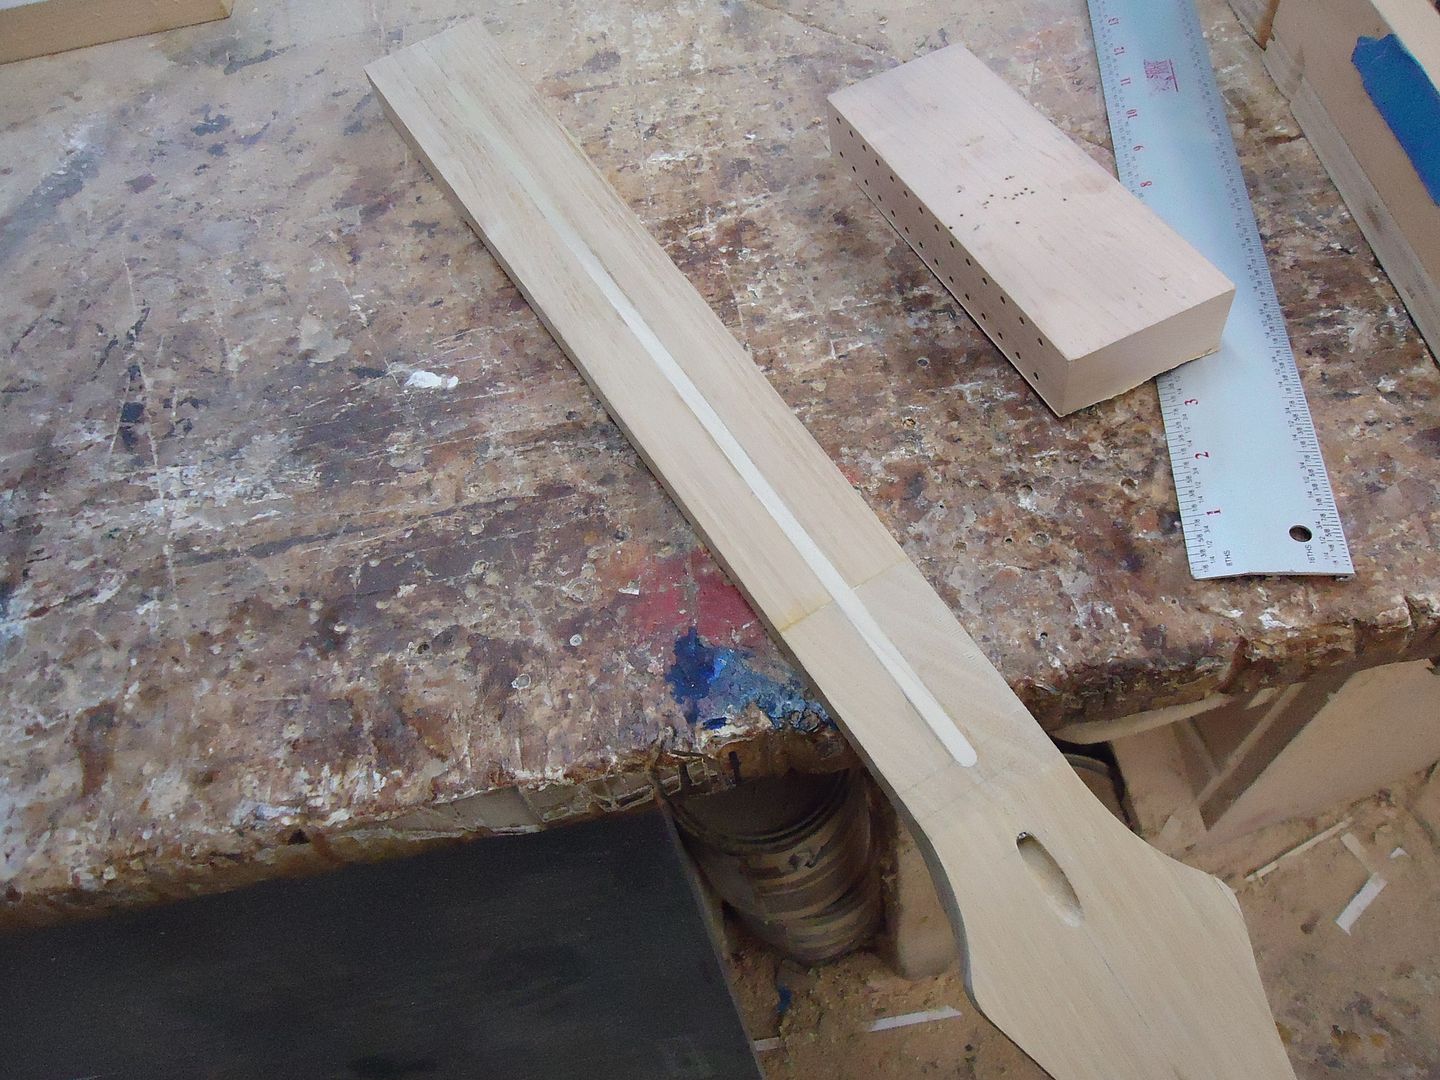
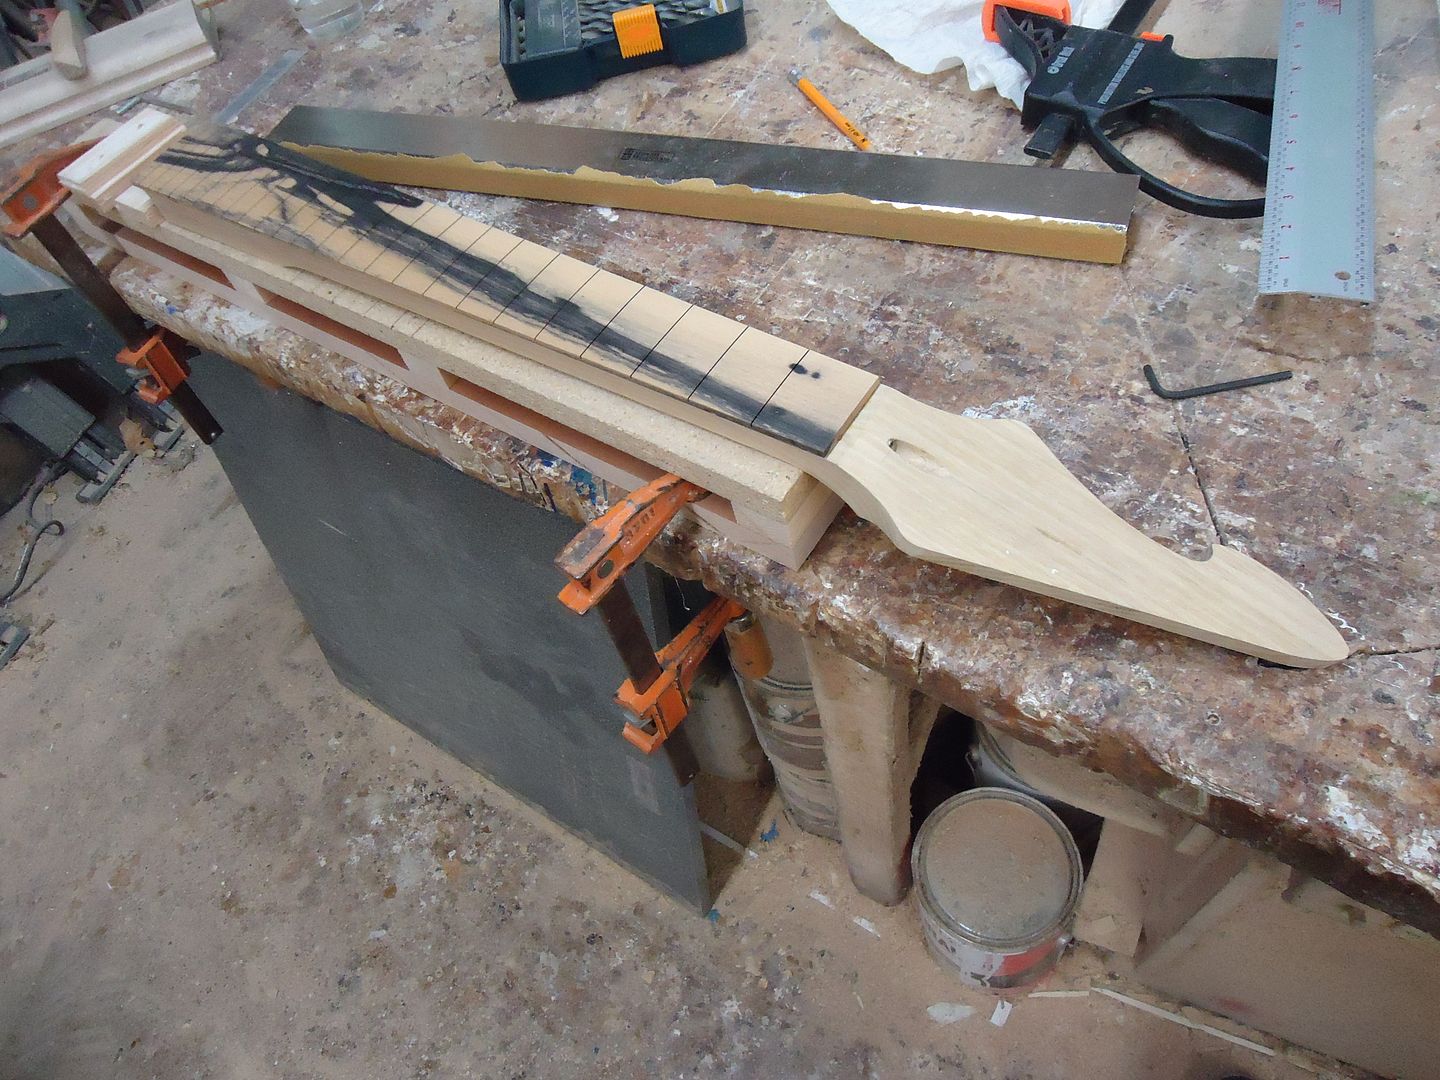
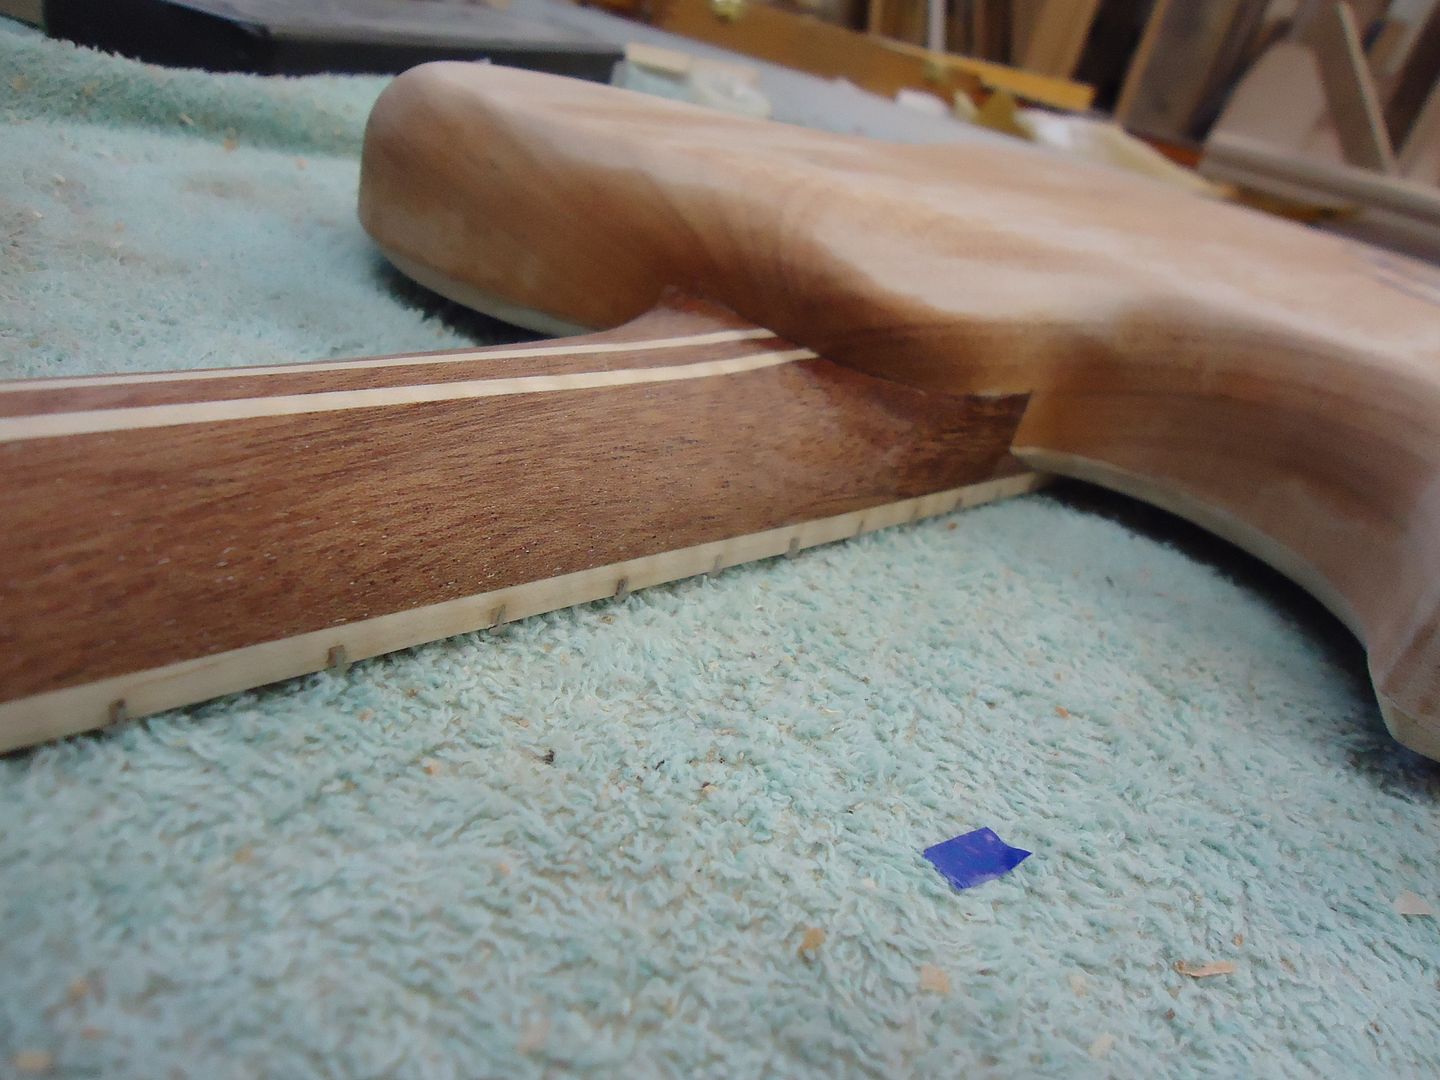
Neck carved 19.1mm at the 1st fret, 21.04mm at the 12th
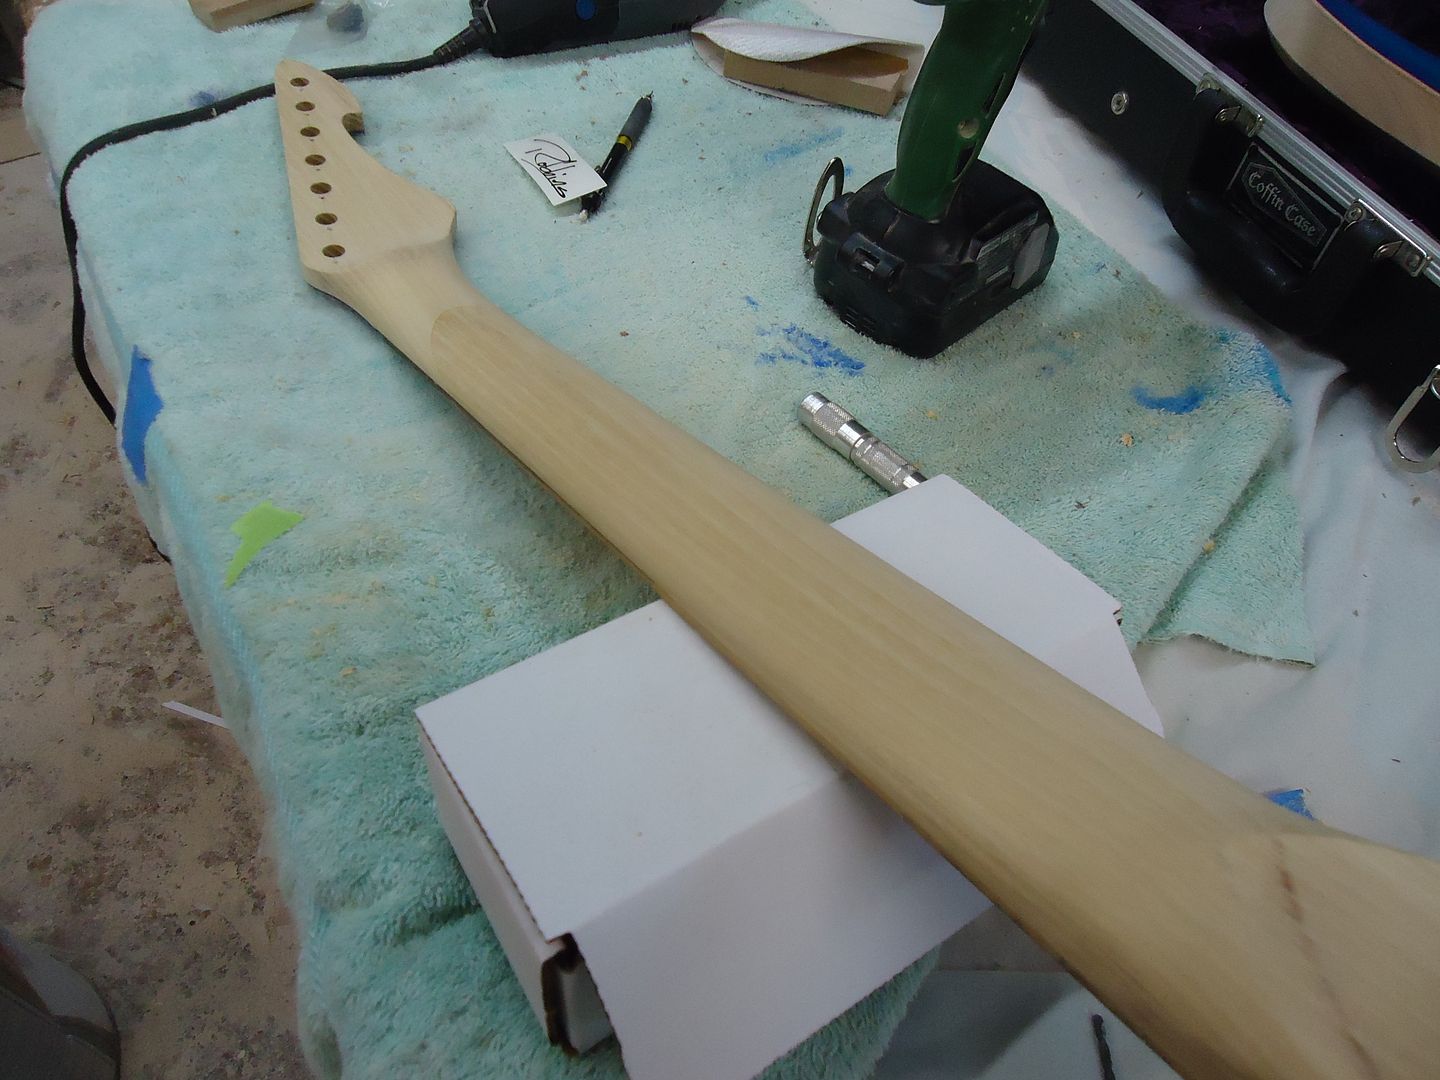
I think tomorrow I have to add my sig, neck bolts, and final sanding and it will be ready for sealer and clear!
-
1
-
-
Christmas slowed me down a bit but now I'm back on track with this build.
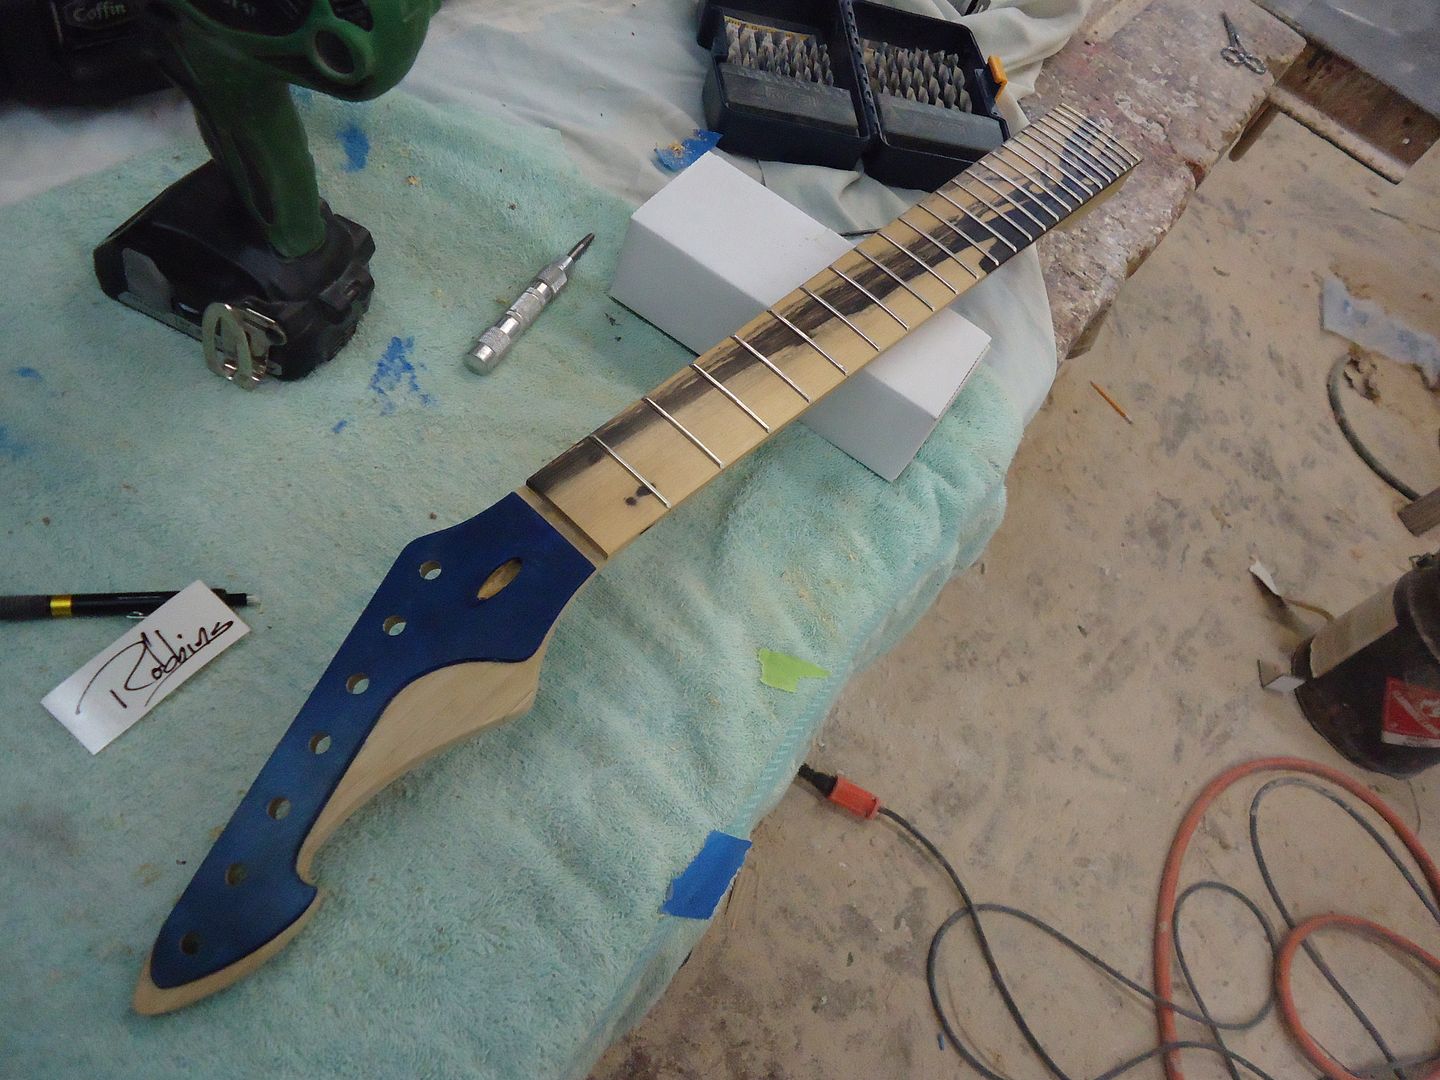
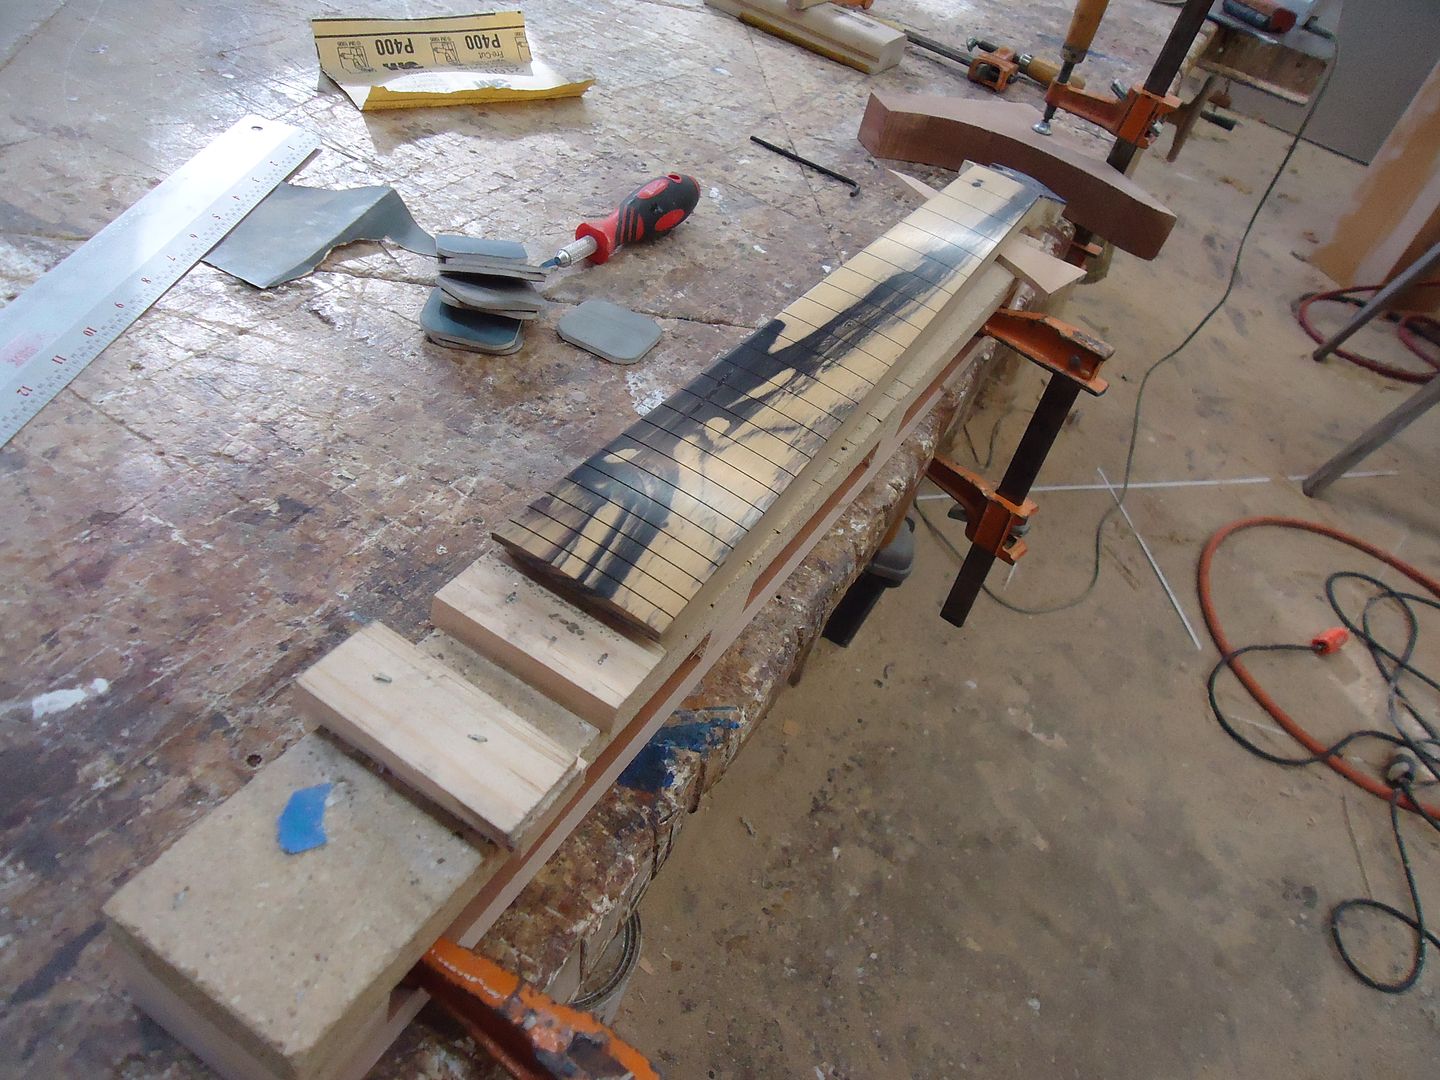
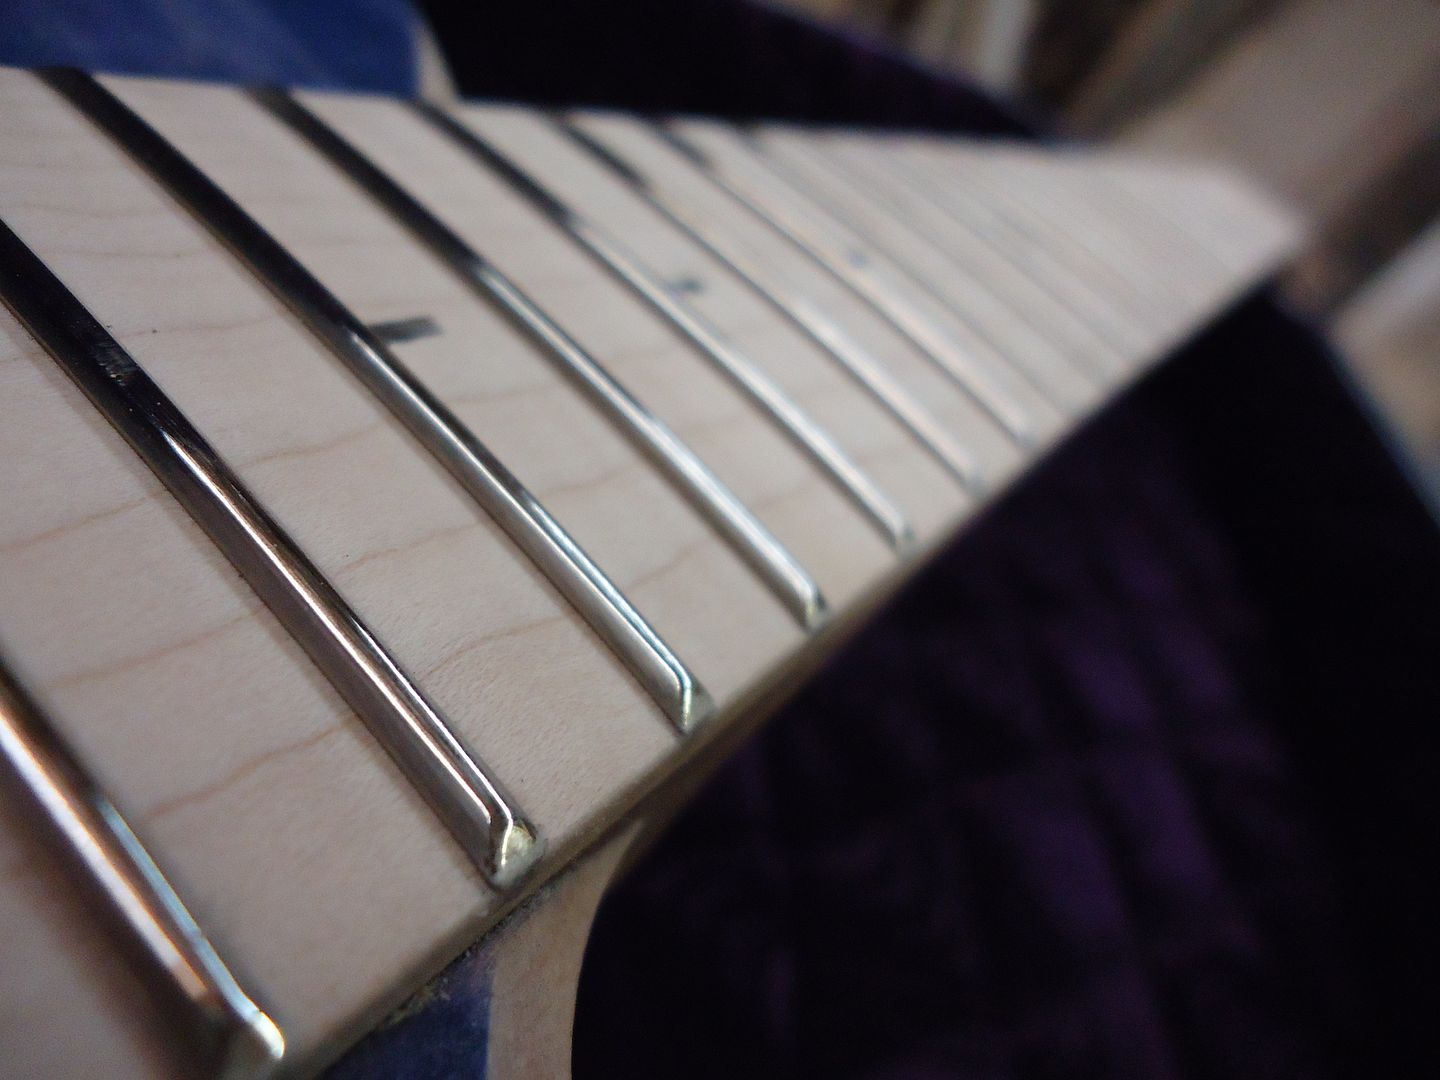
fret board leveled, fall away added, and polished
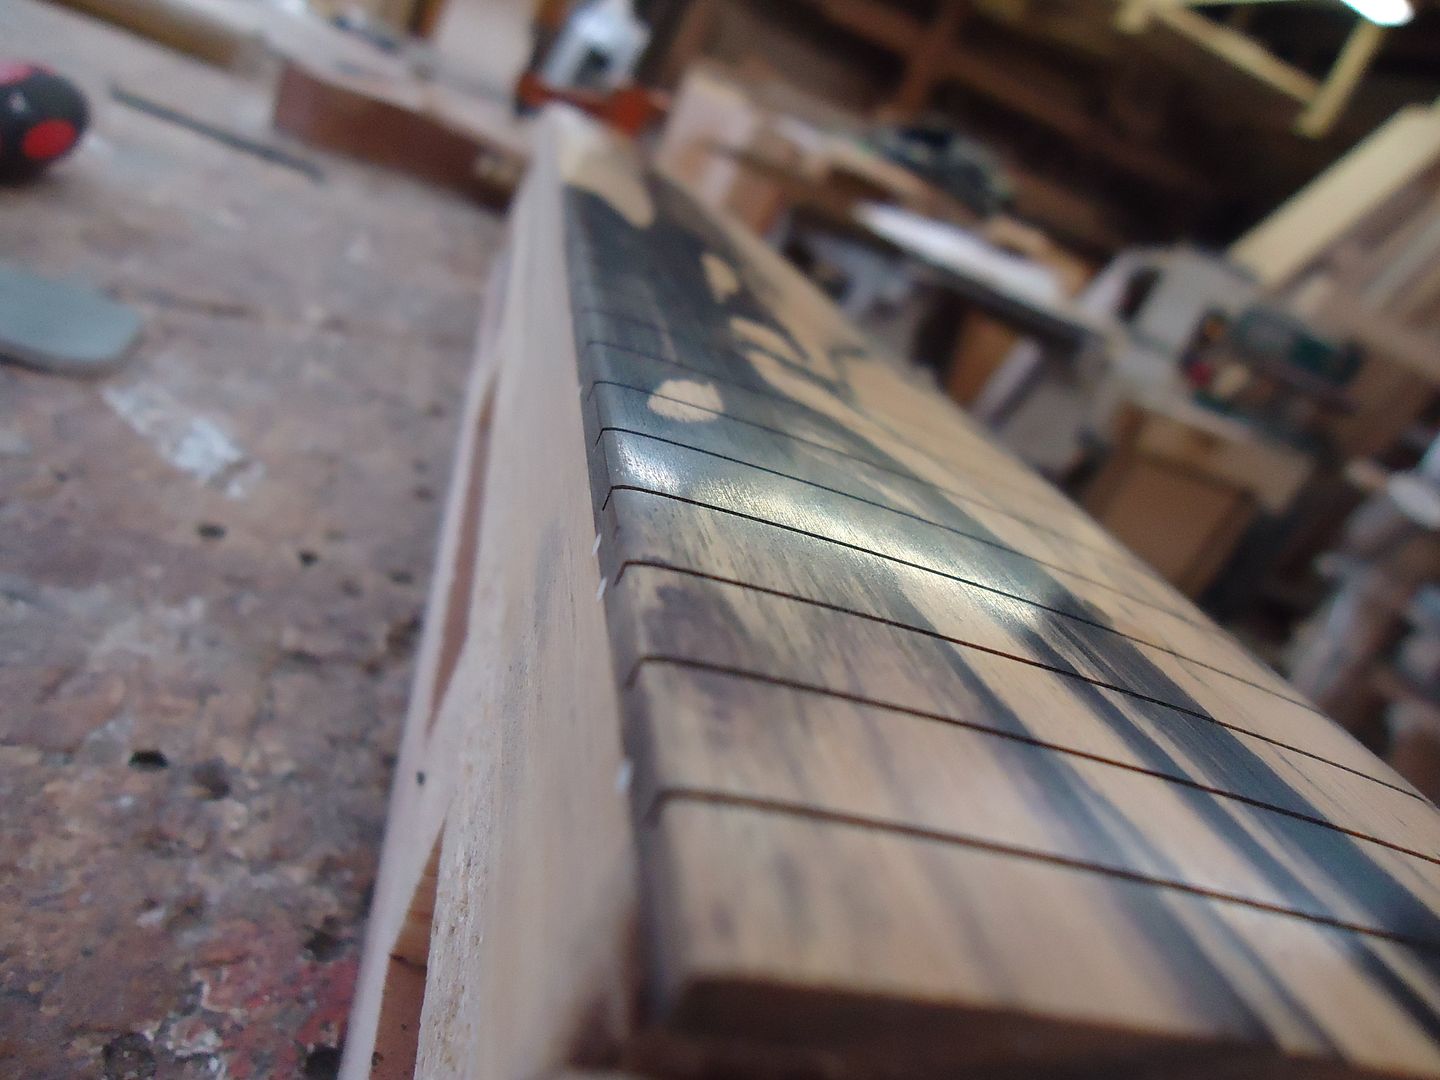
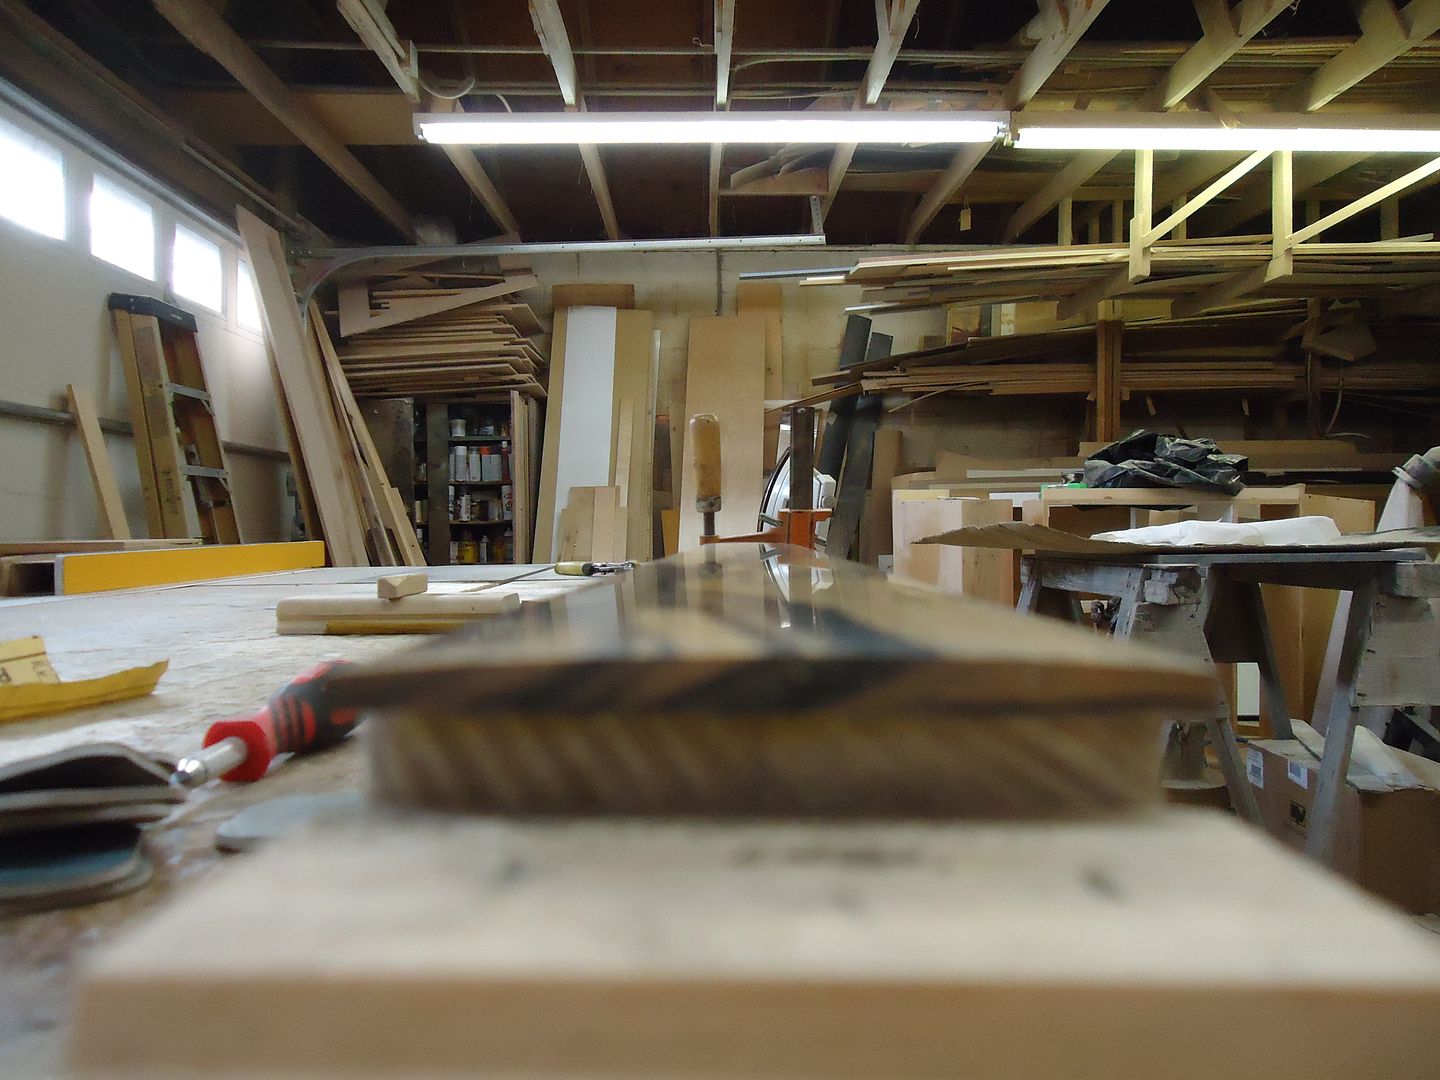
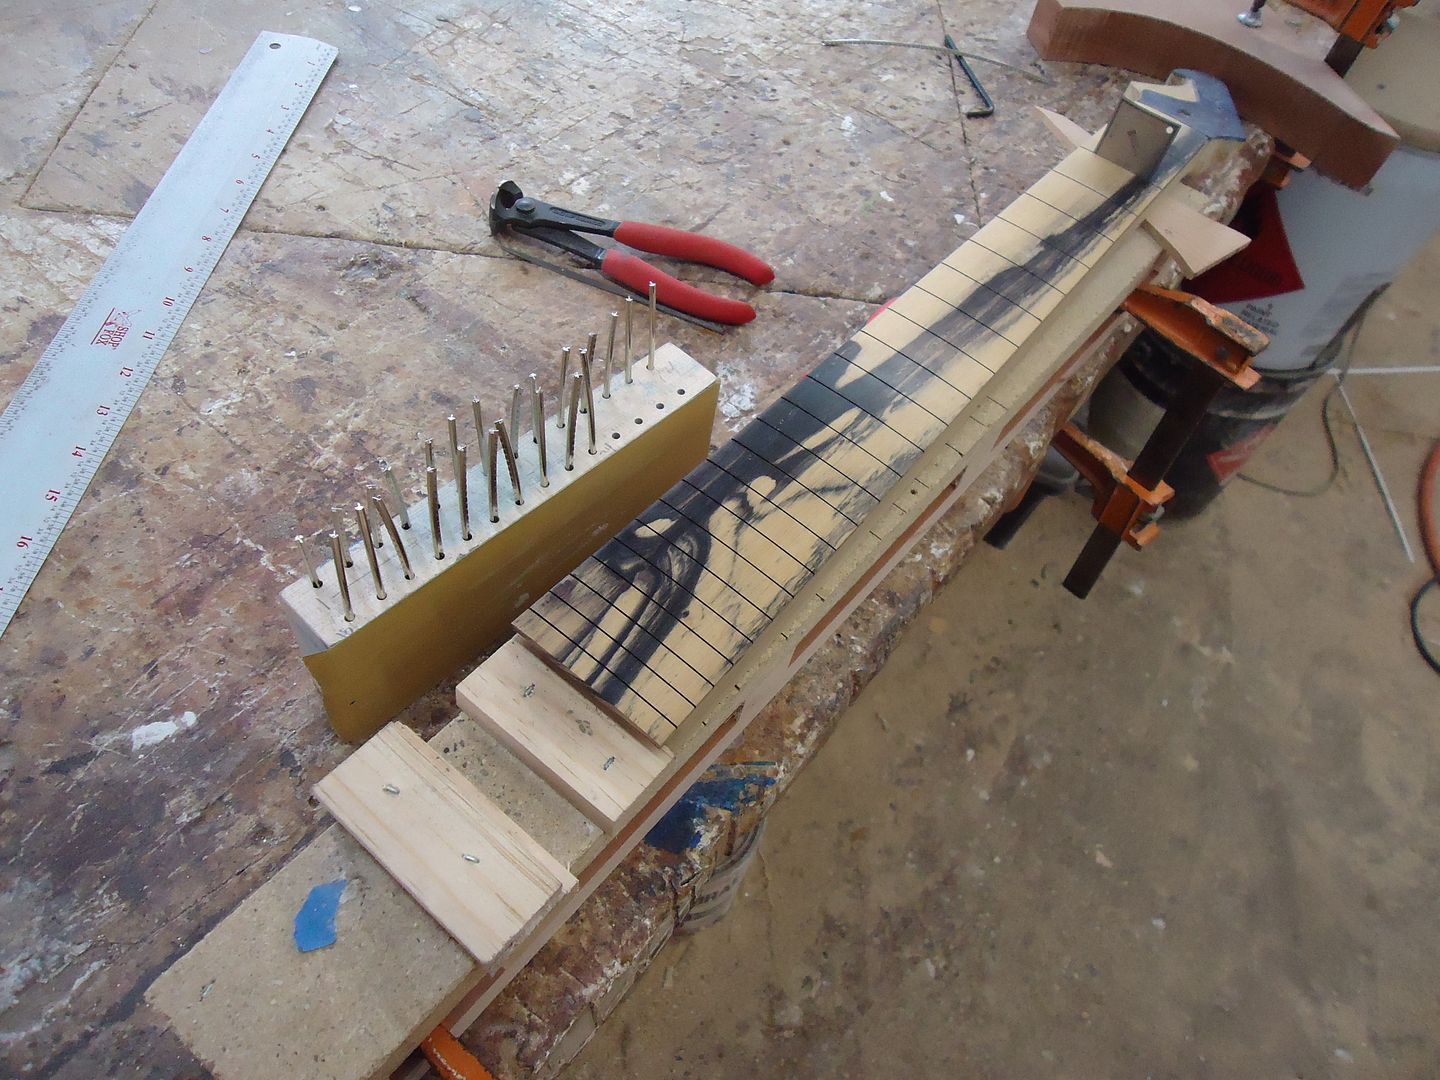
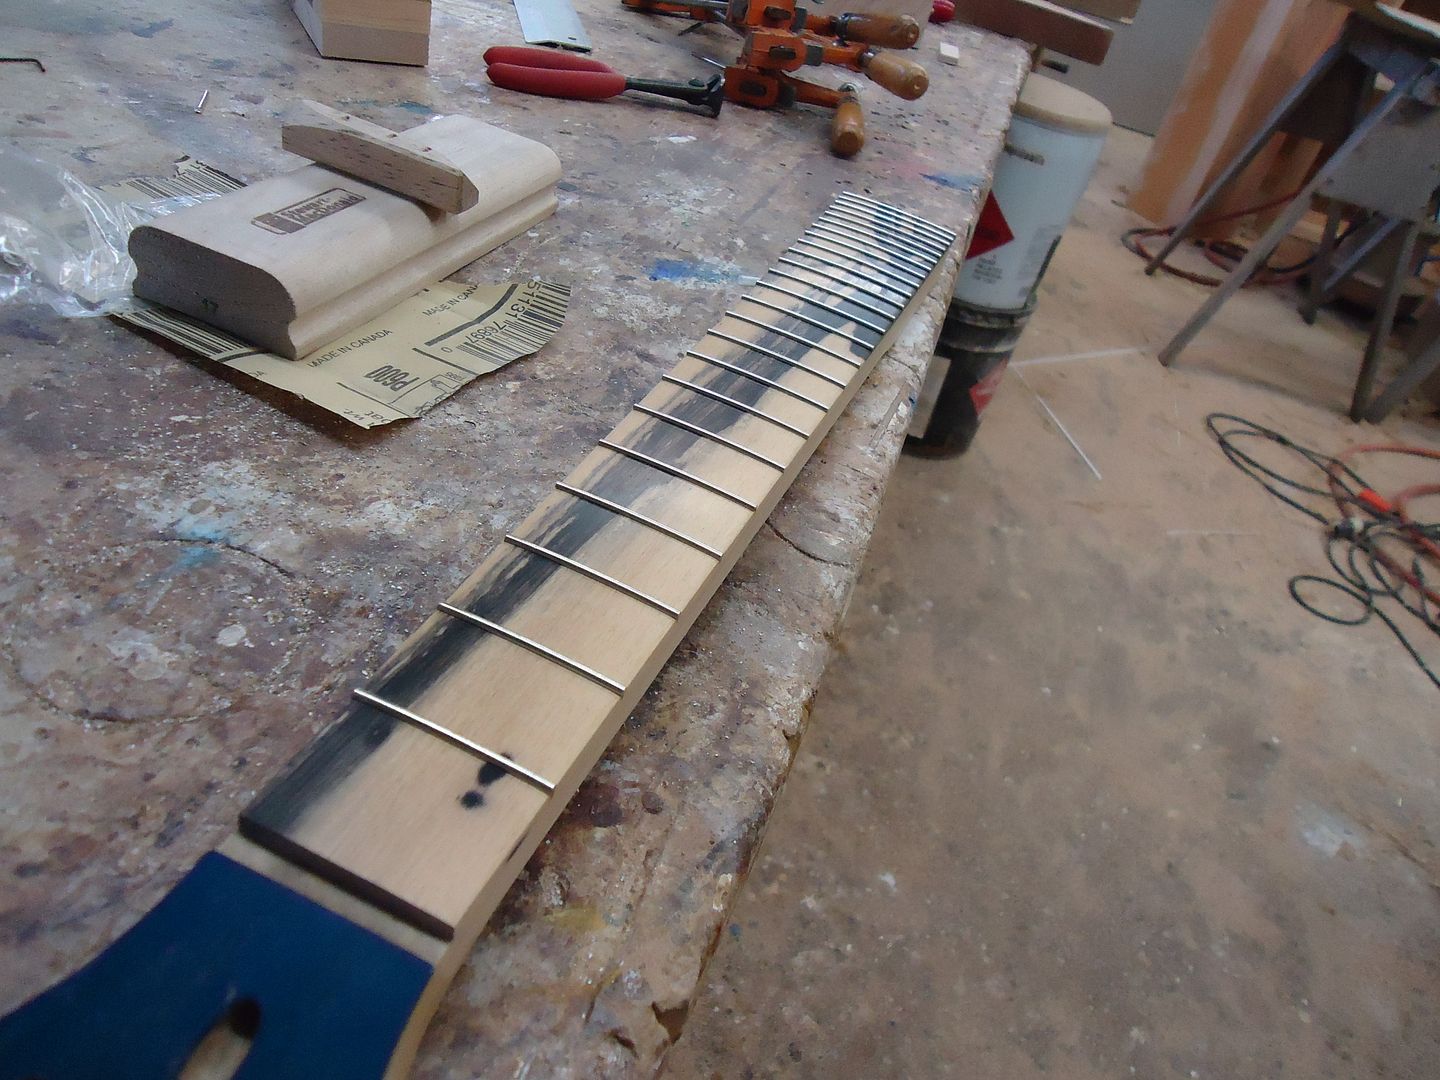
Frets
Blacked out pickup cavities
Sunken strap lok anchors
-
I was bored today so I decided to hack up a few songs with my playing. Its running through a 15 watt Crate amp and record it on an iphone so quality is not great.
Distorted
Clean
-
1
-
-
how... did you get such a clean roundover??? Im impressed! I usually get some some "ruffling" when I do roundovers, hard to explain, but nothing that clean. I love it man, well done sir
I did get some roughing in certain parts because of grain orientation I guess but I just followed it with some 80 grit on a small sanding block then a scraper and it cleaned up real nice. Its ready to be taken up through the rest of the grits to get it ready for its finish
-
-
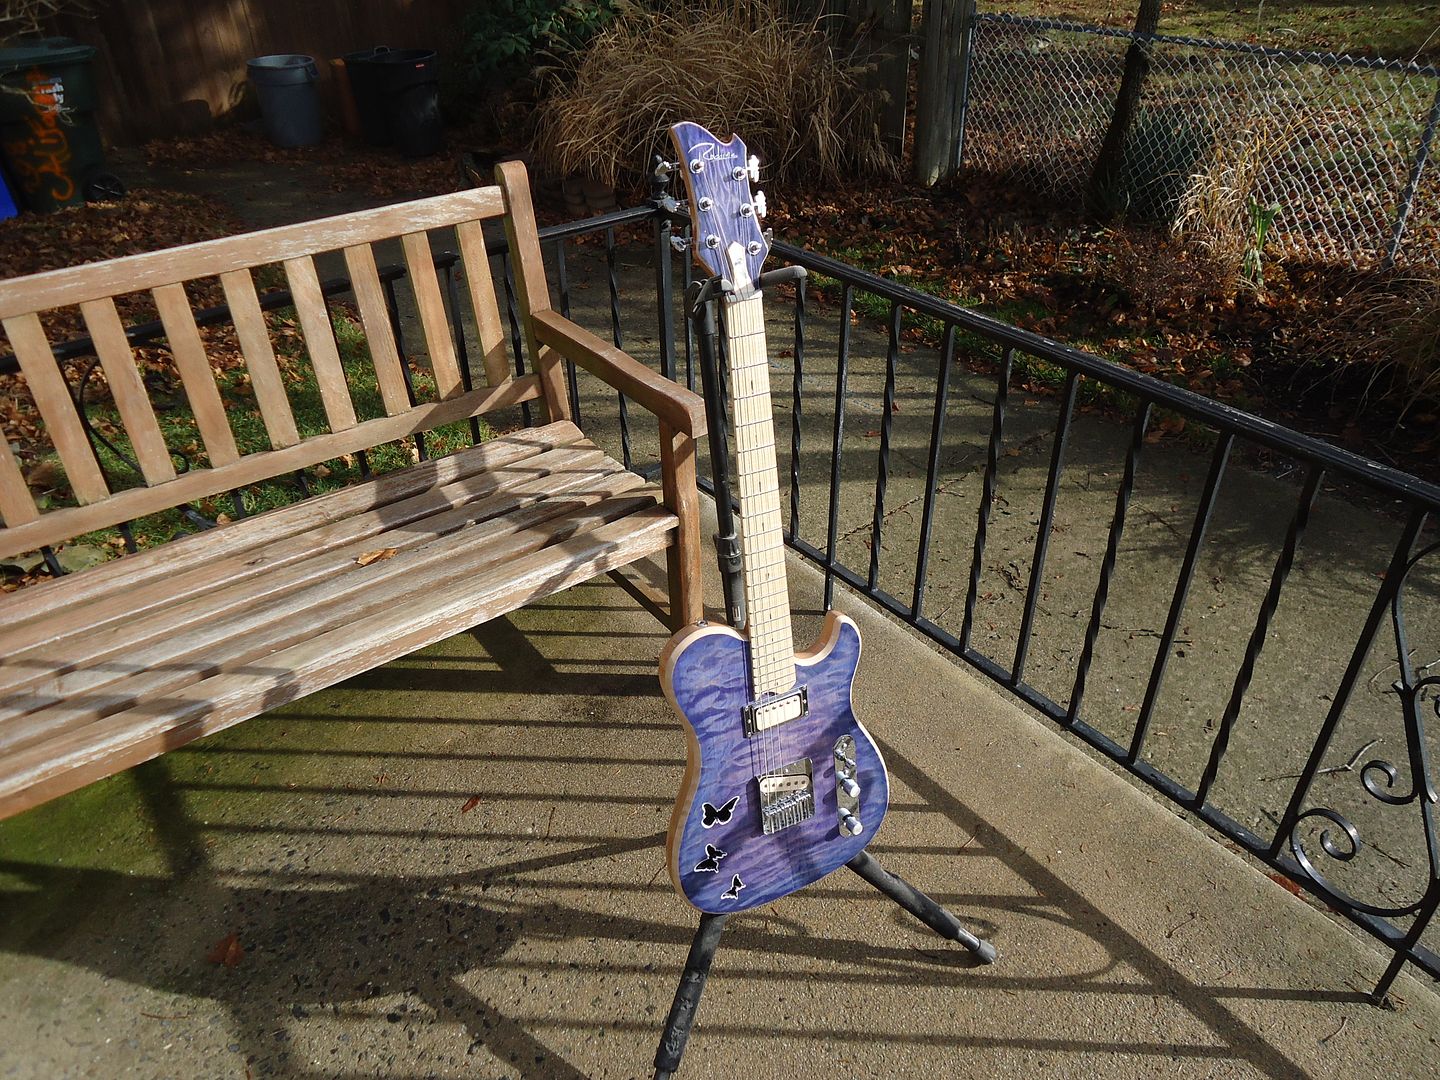
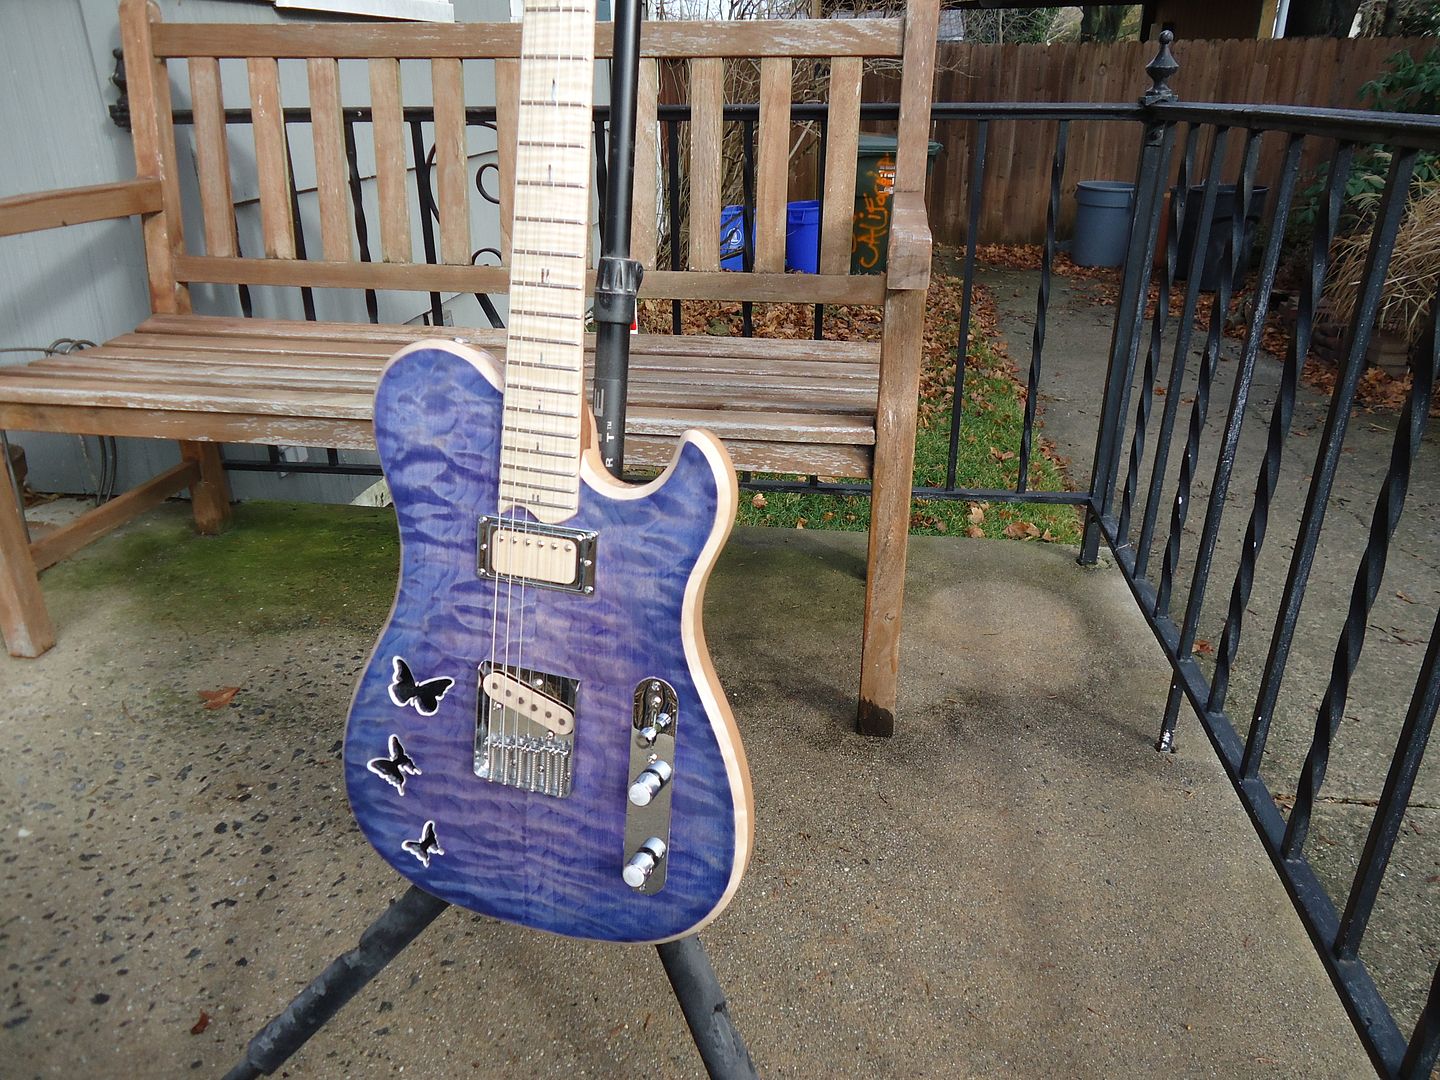
That is stunning
 I think im in love with that tele. If I wasnt poor Id purchase that in a heartbeat lol. That must have been pretty difficult to glue up that many layers of different woods in the neck. Do you have a jig or process to get every thing to stay where it needs to be while glueing or is it a multi step process?
Also I finally got my decals from that site you recomended and they look amazing! Thank you very much for the tip sir!
Tyler
-
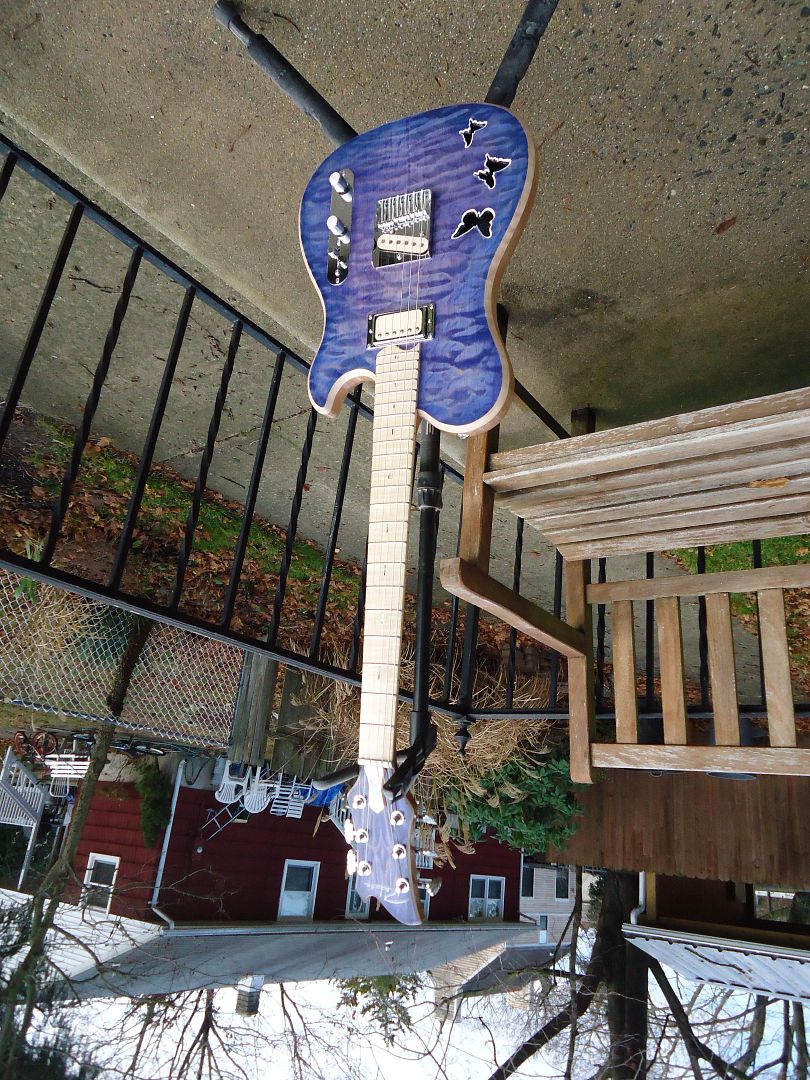
Sorry to leave you guys hanging so long but shes finally done! I love the tones can I pull out of this thing even from a cheap Crate amp. It is light weight, comfortable to play, and the actions nice and low. Over all I'm very happy with the final product! I'll put up a demo video if I can get one in the future.

-
2
-
-
This is a great build. Quick question; is there any difficulty with ebony cracking when you insert to pole pieces?
None at all, they dont require much force to get them in but they are plenty snug once seated.
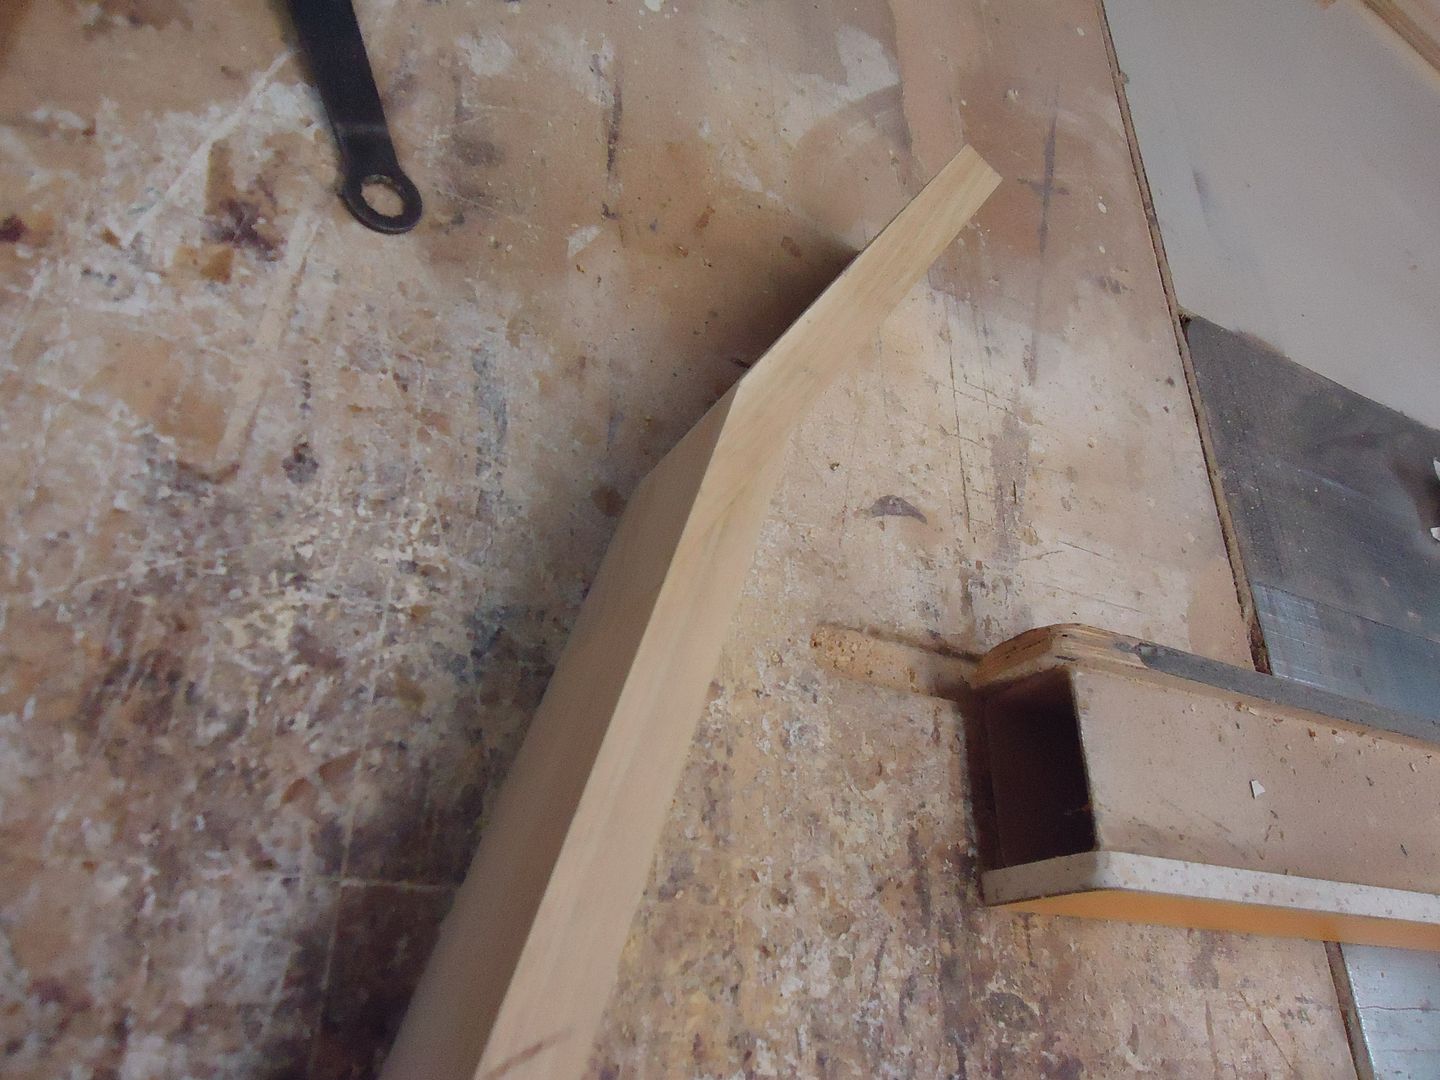
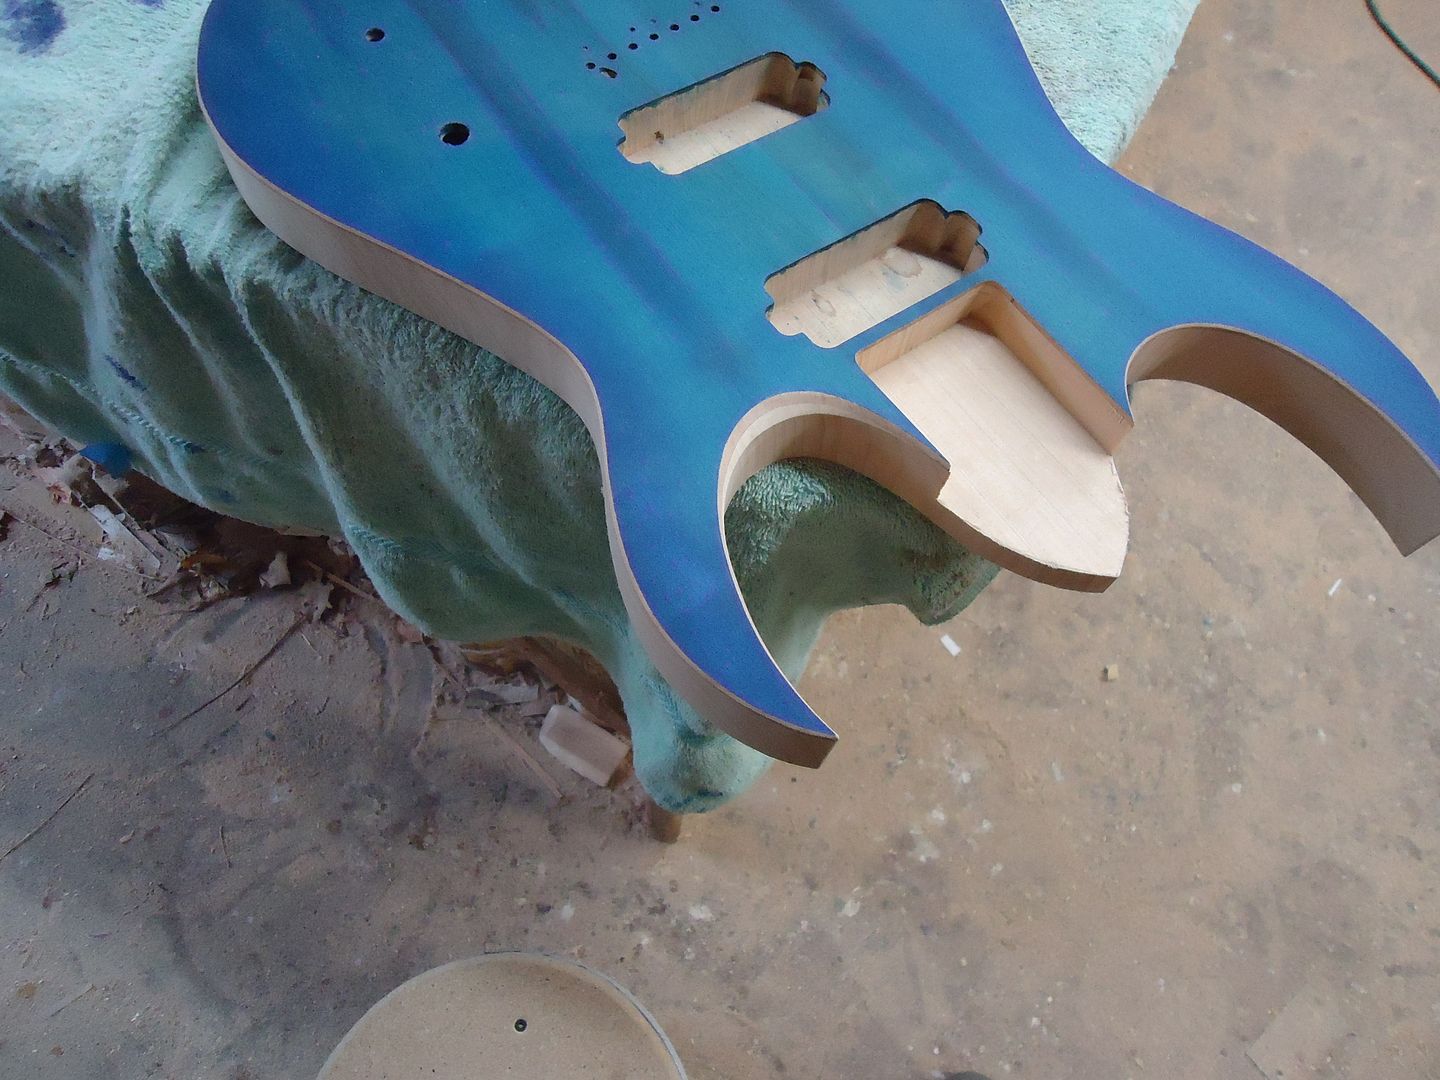
Cut the neck pocket
Perfect
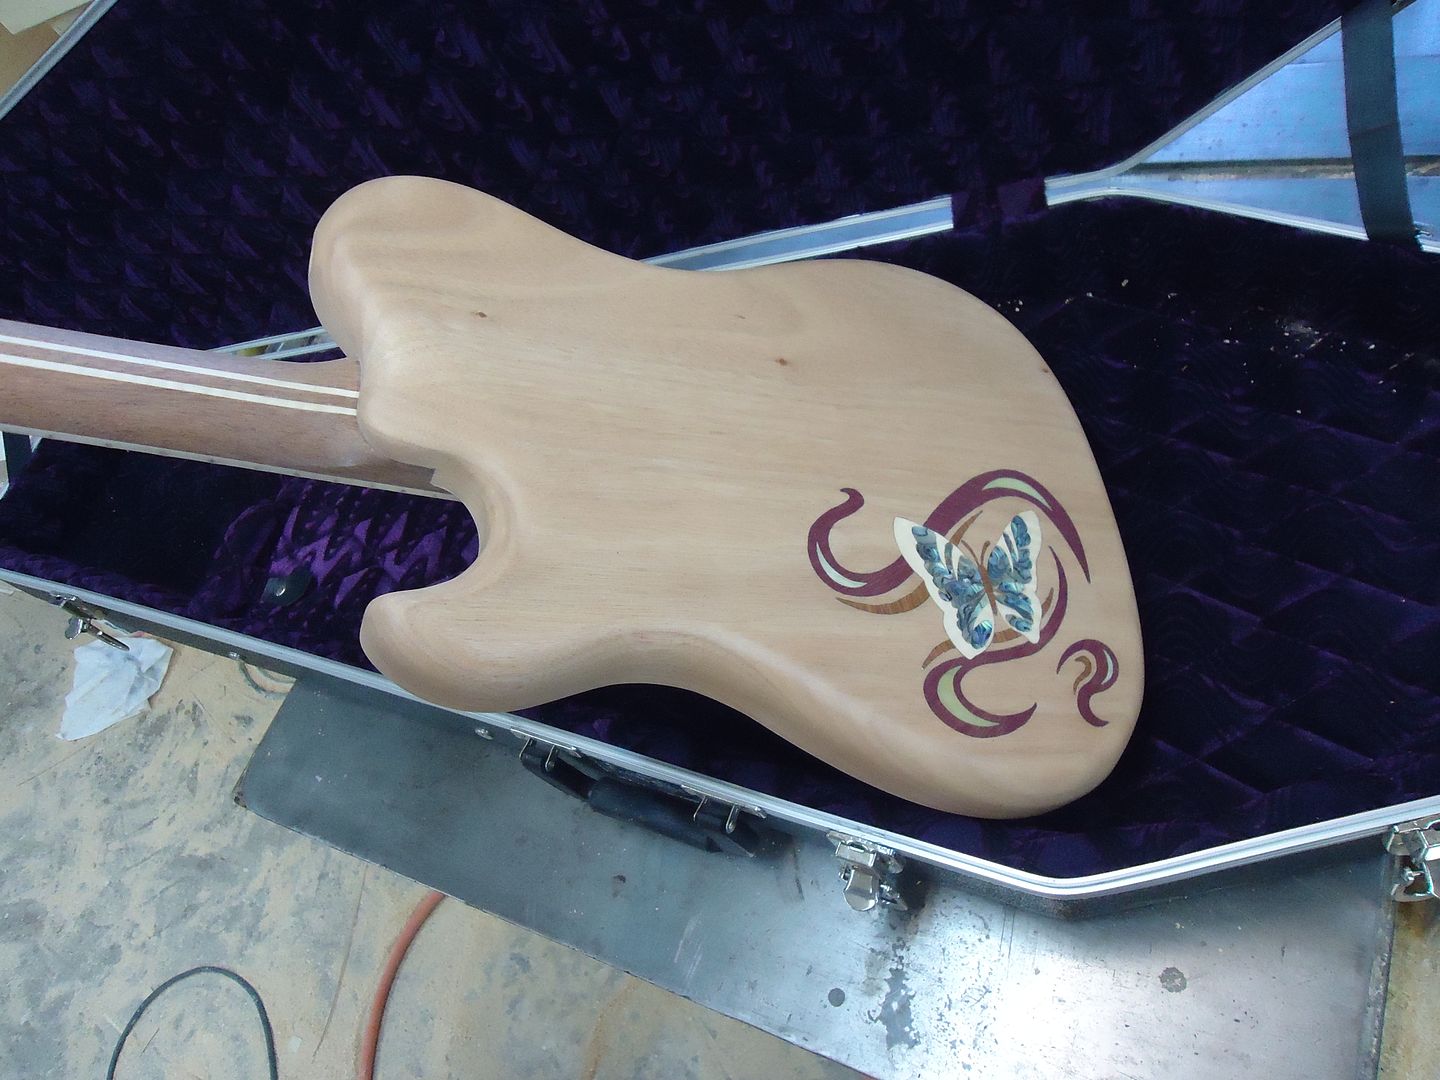
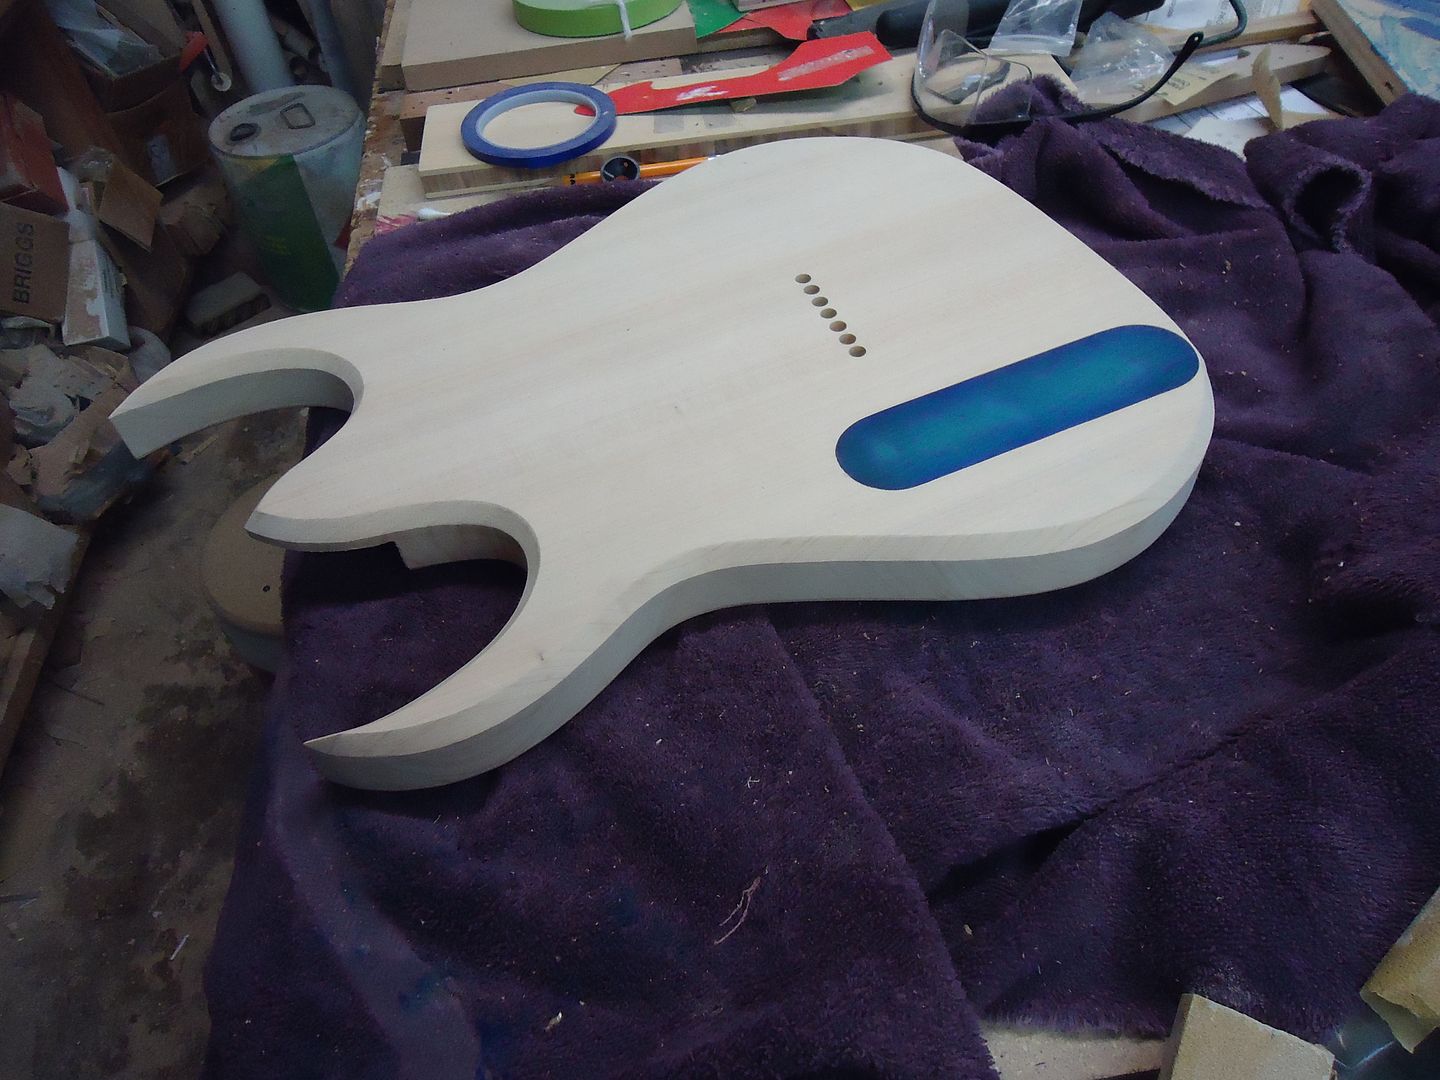
Finally slimmed her down a bit
Side dots and neck pocket close up
Well balanced
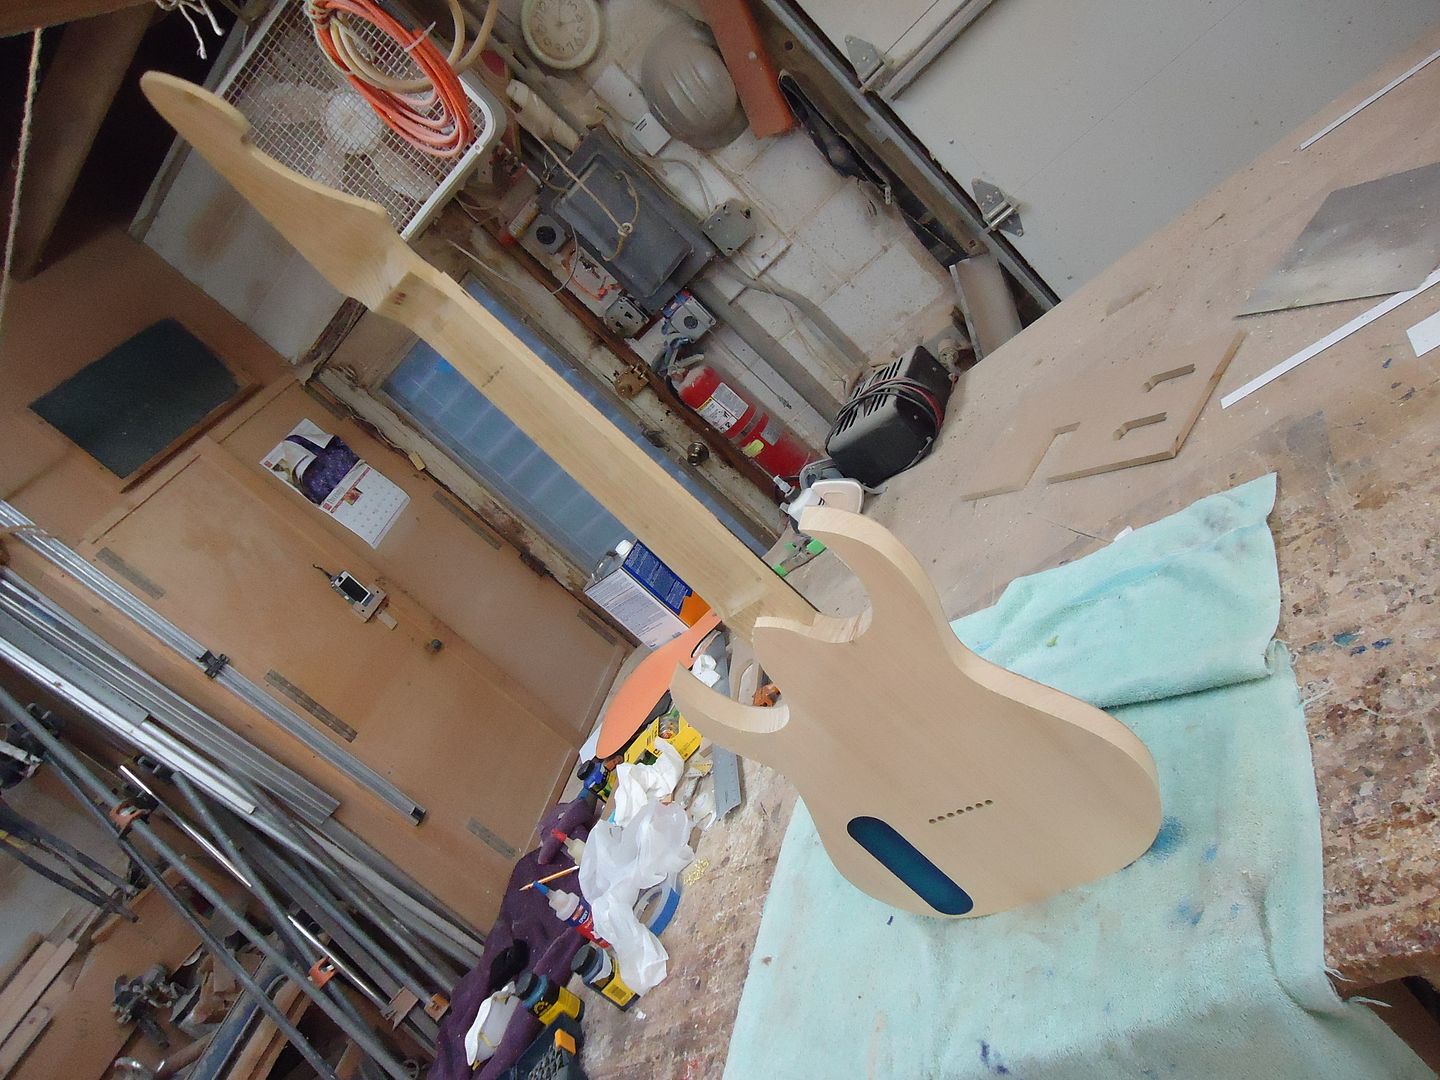
Both neck and body carving coming soon!
-
2
-
-
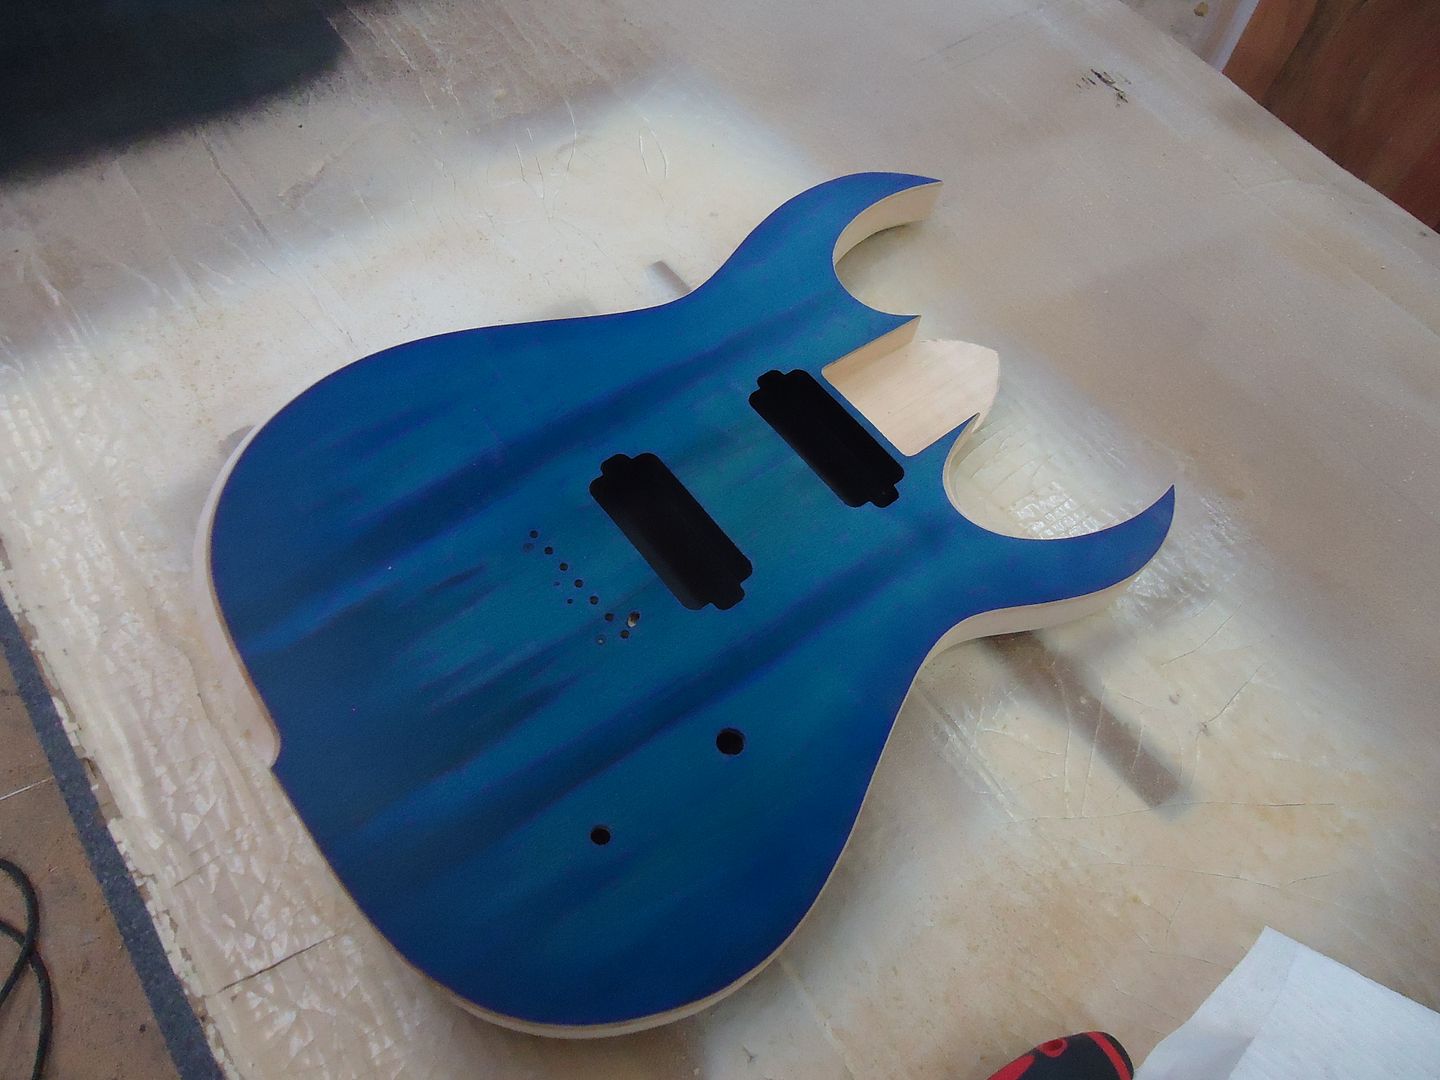
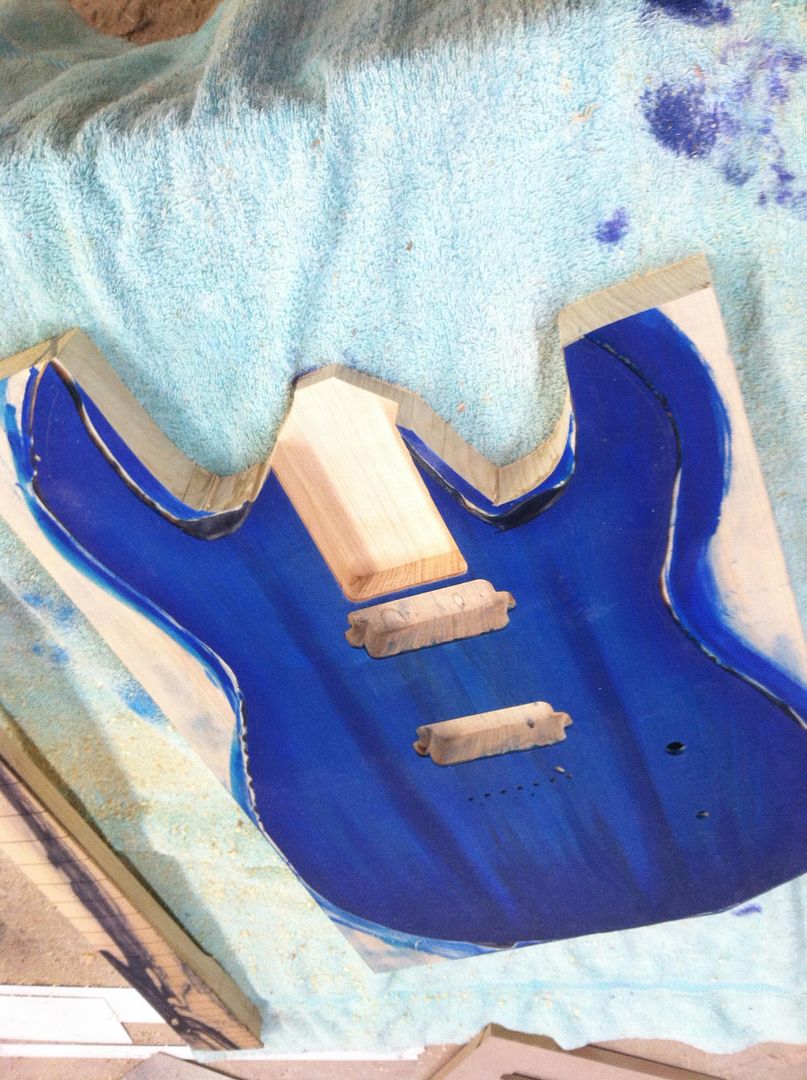
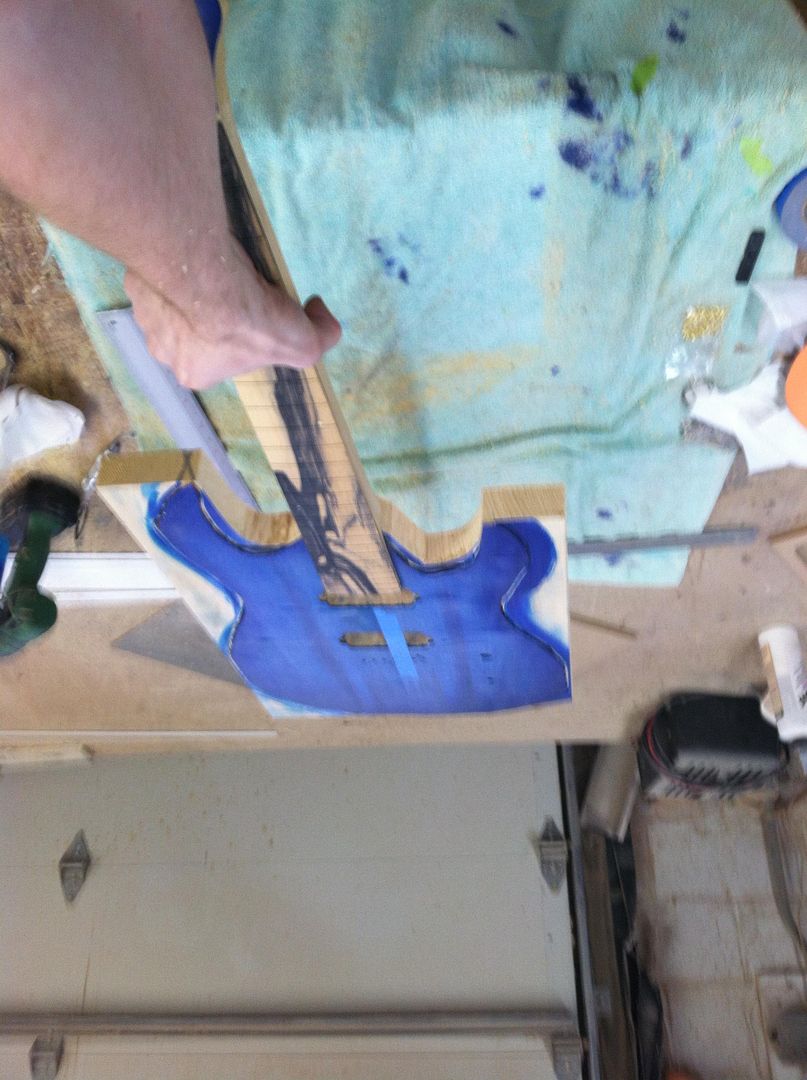
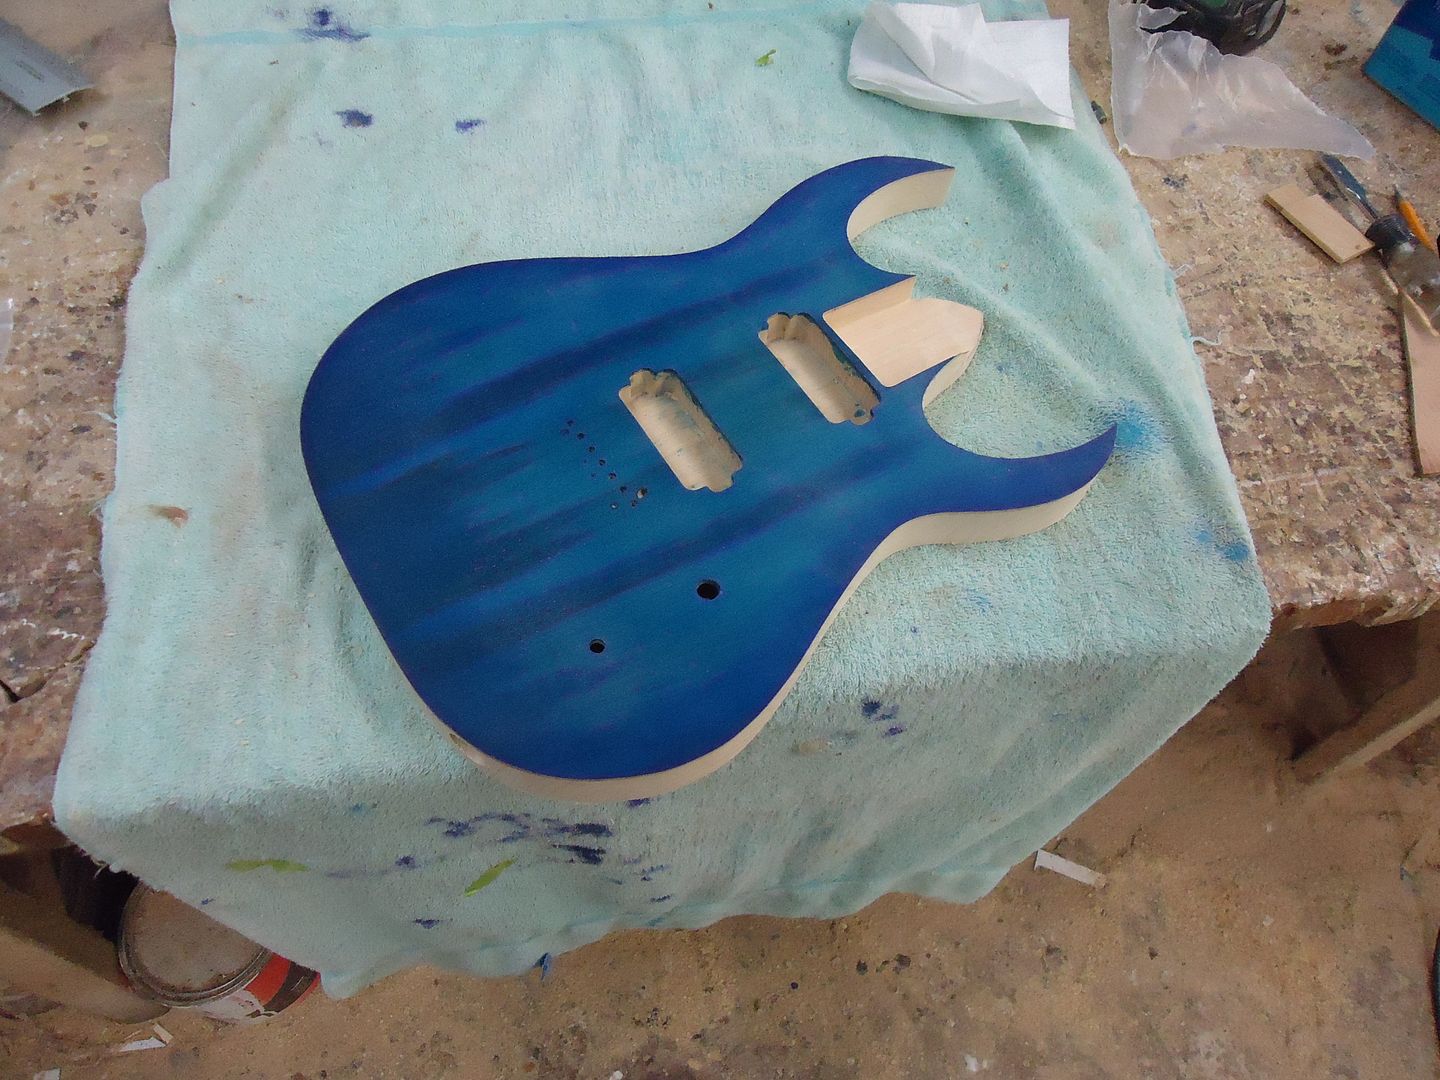
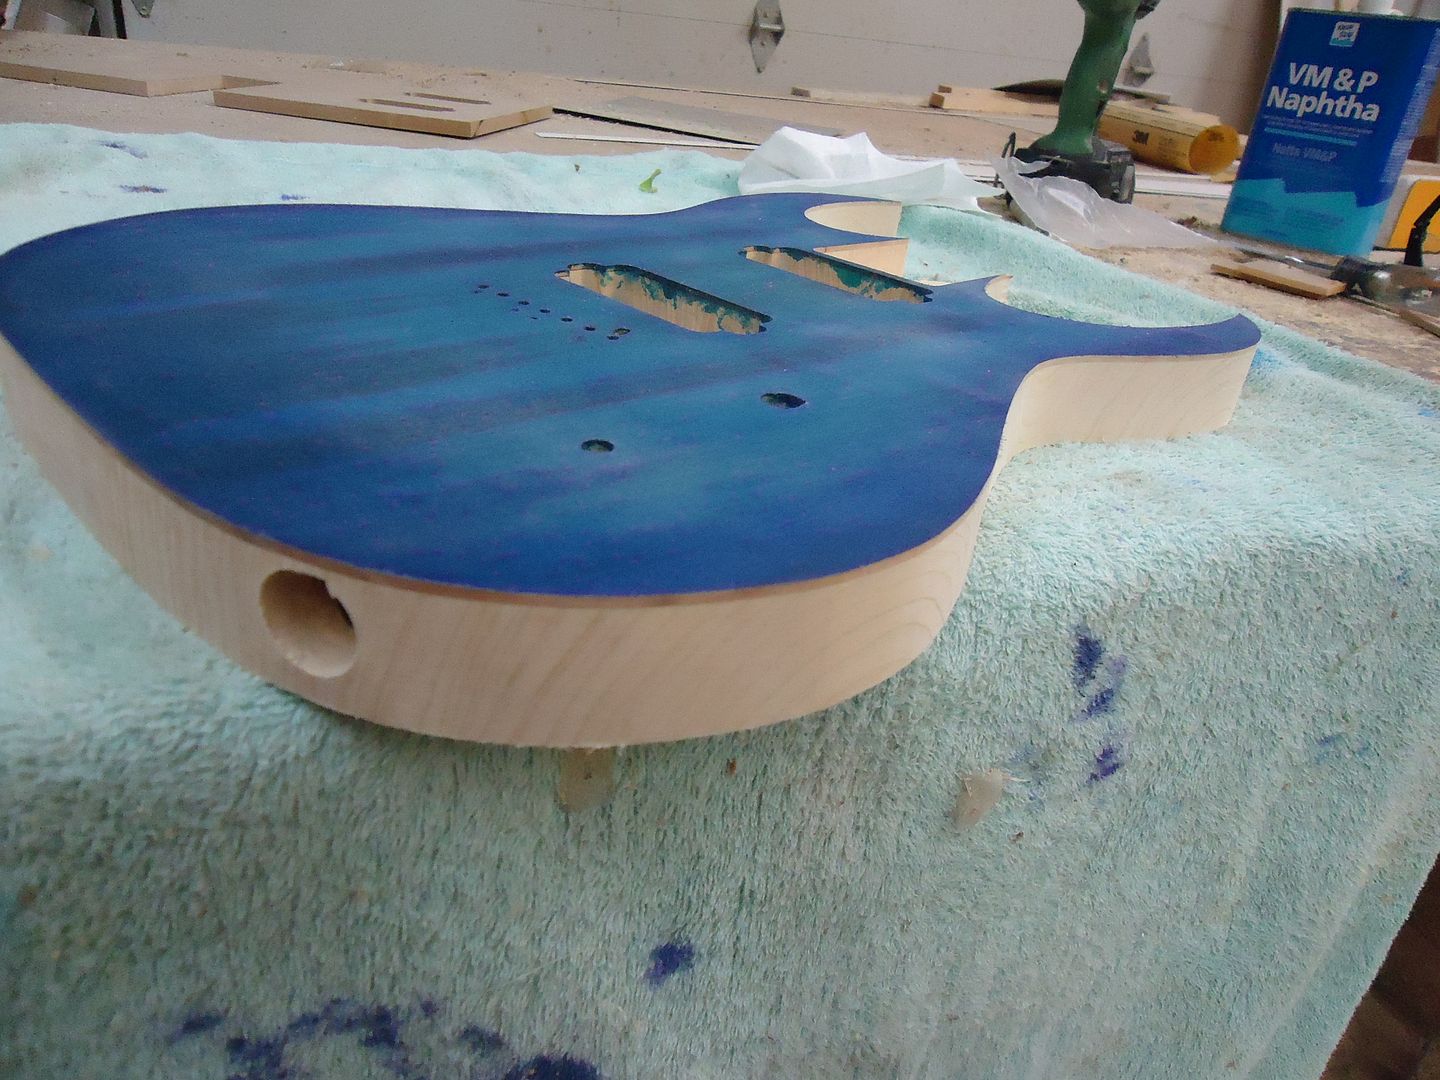
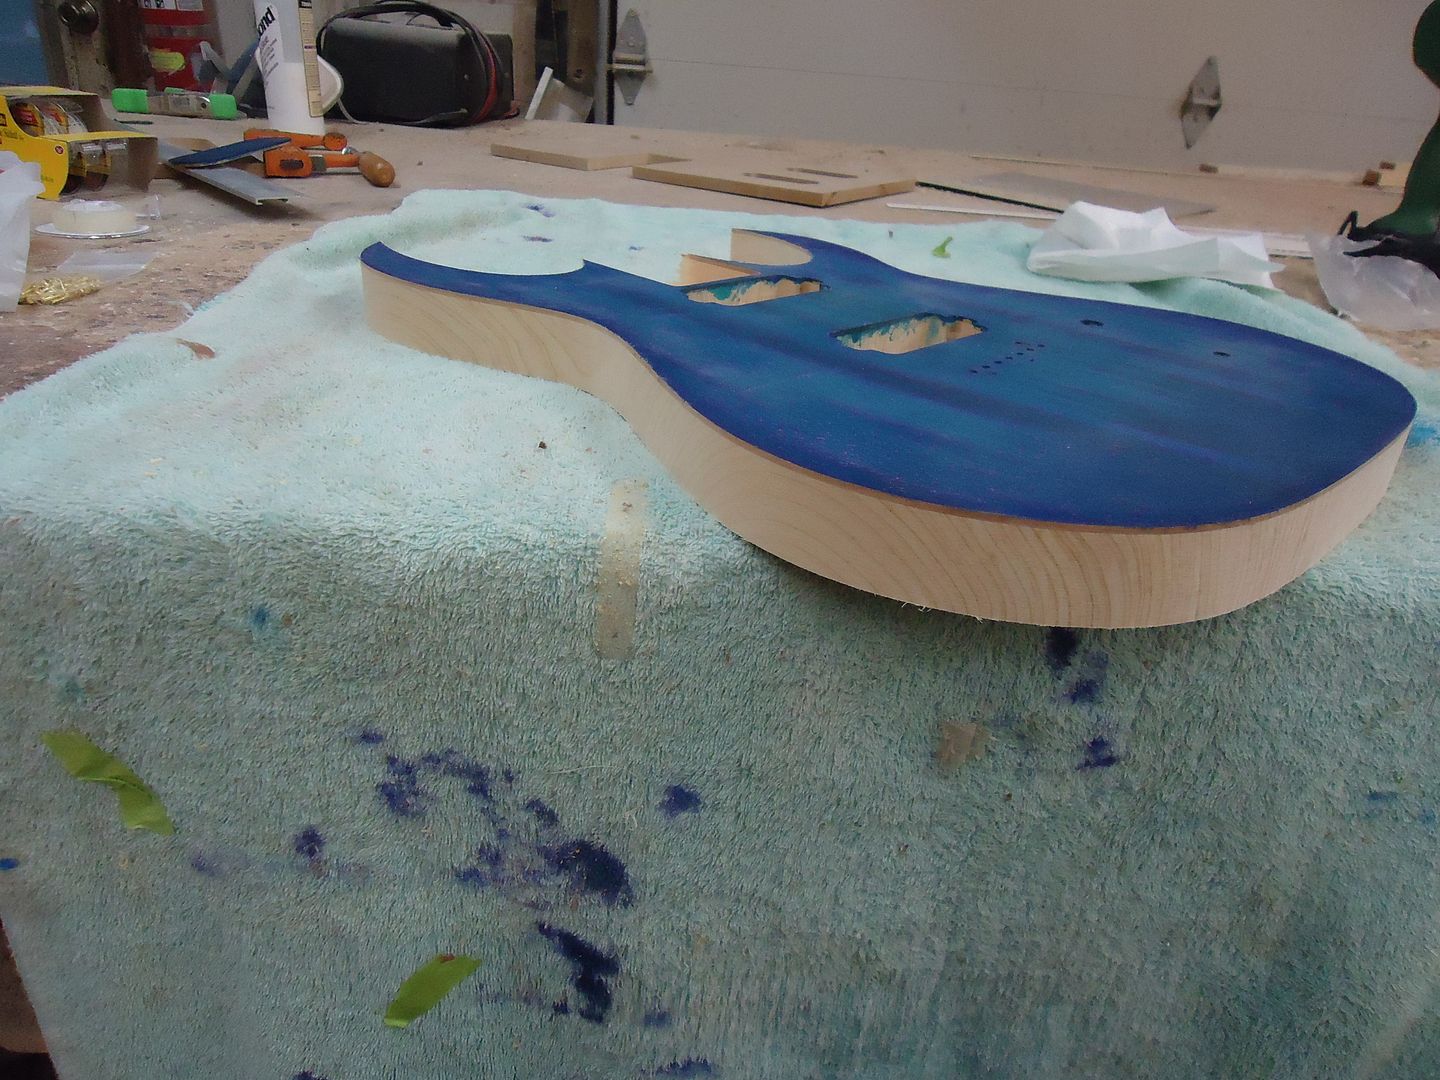
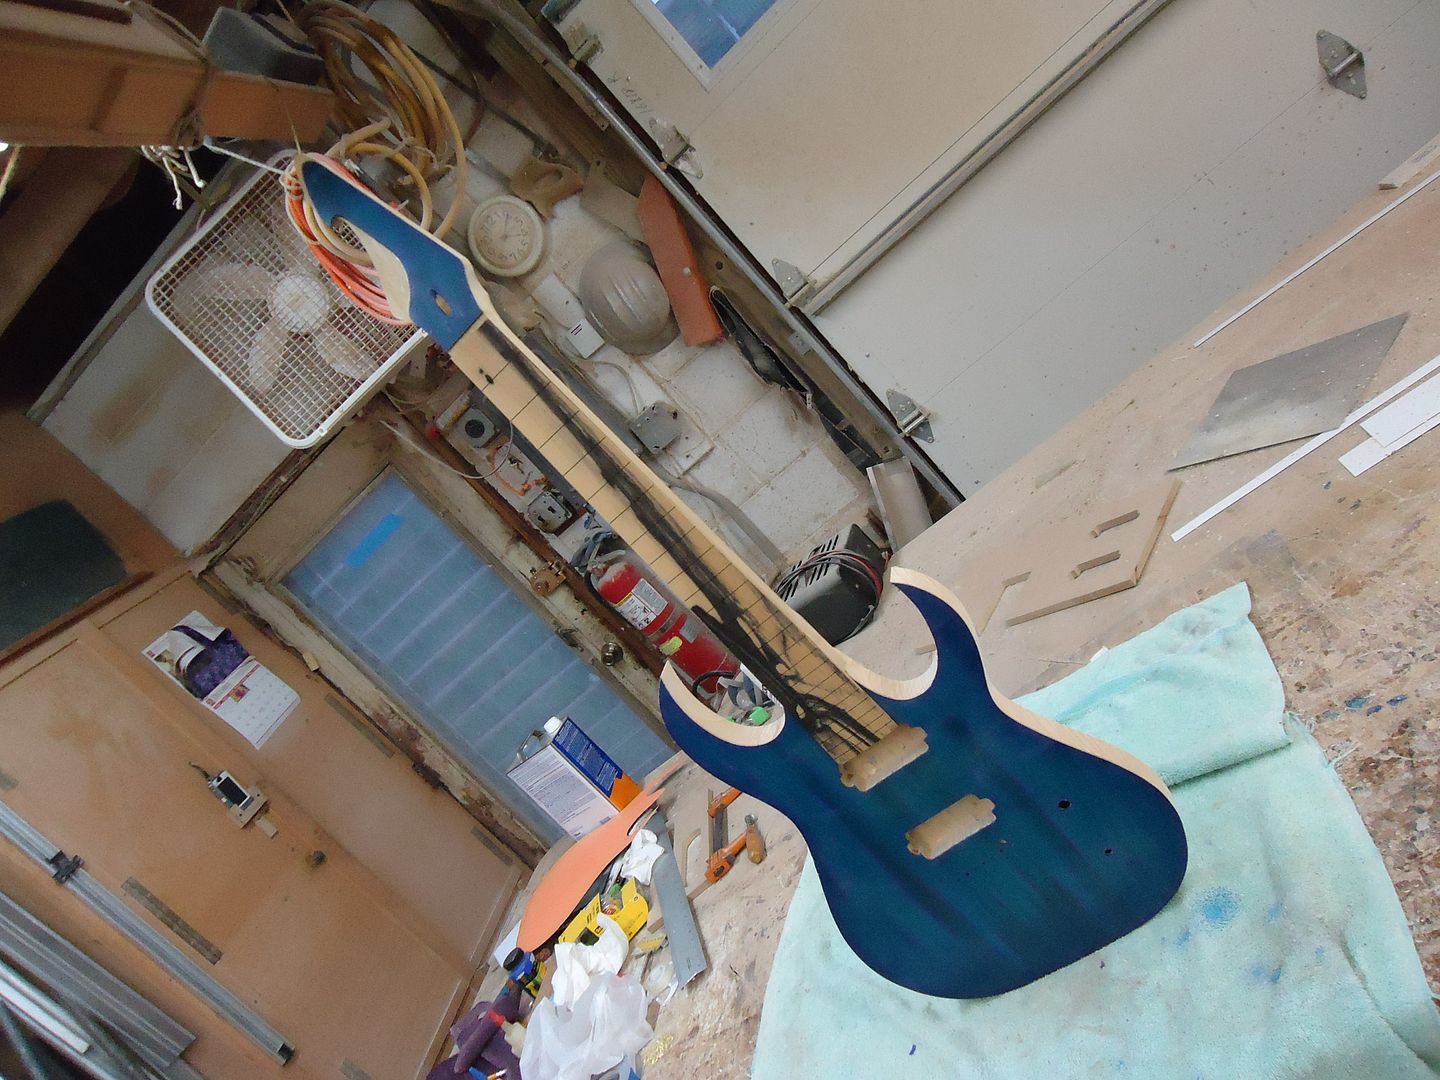
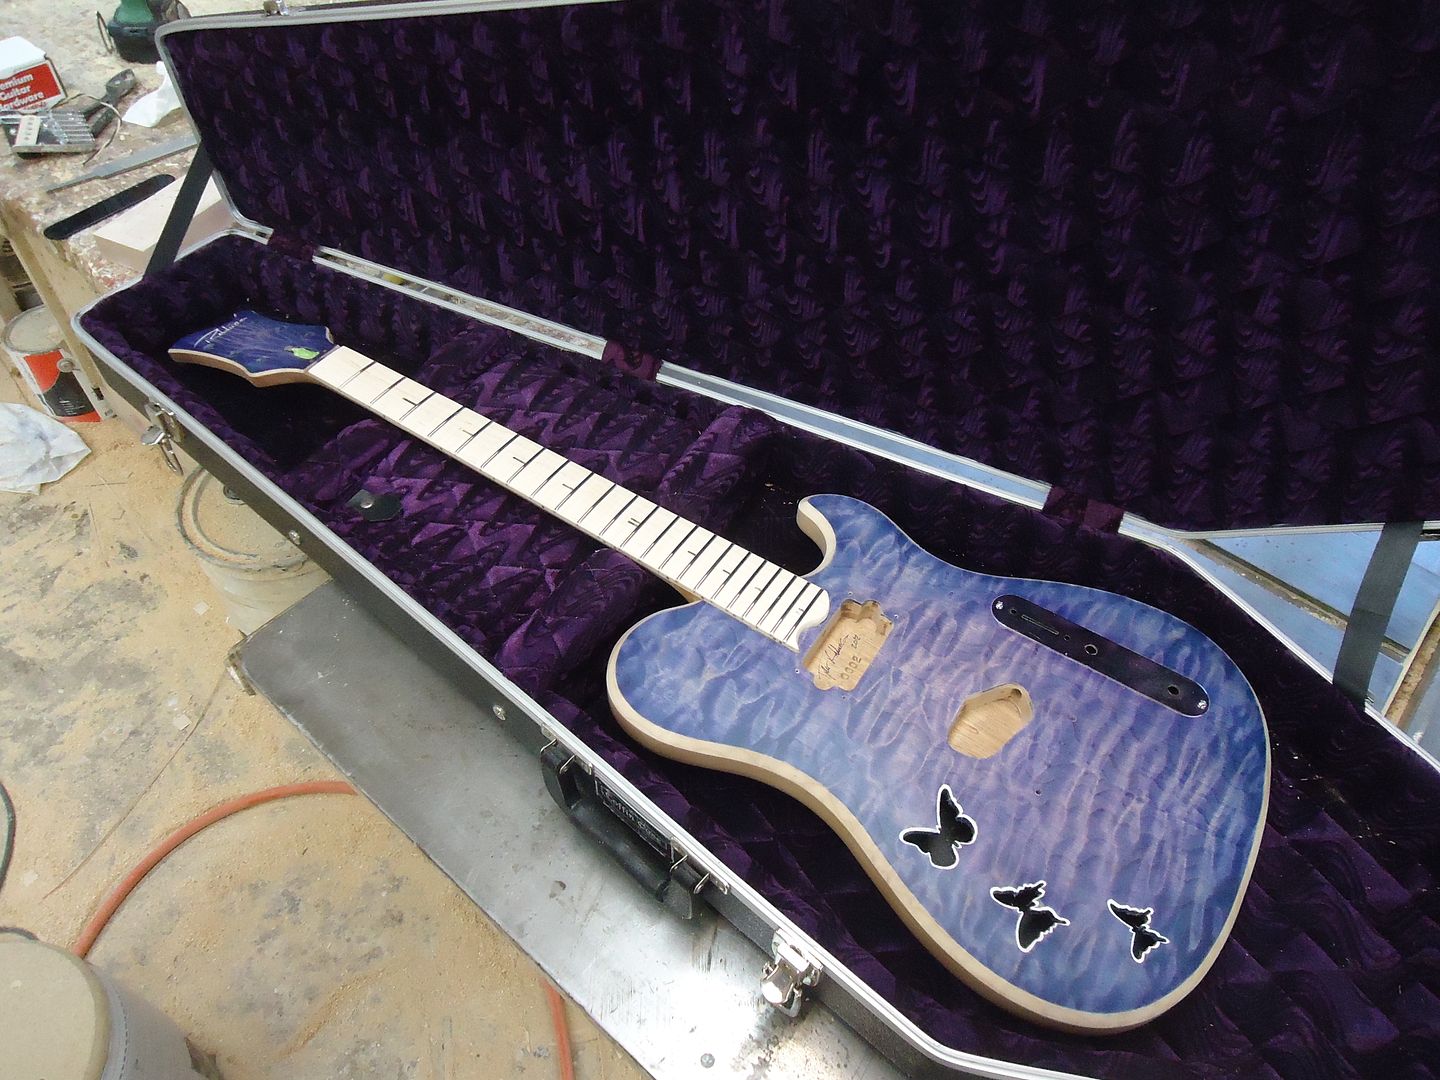
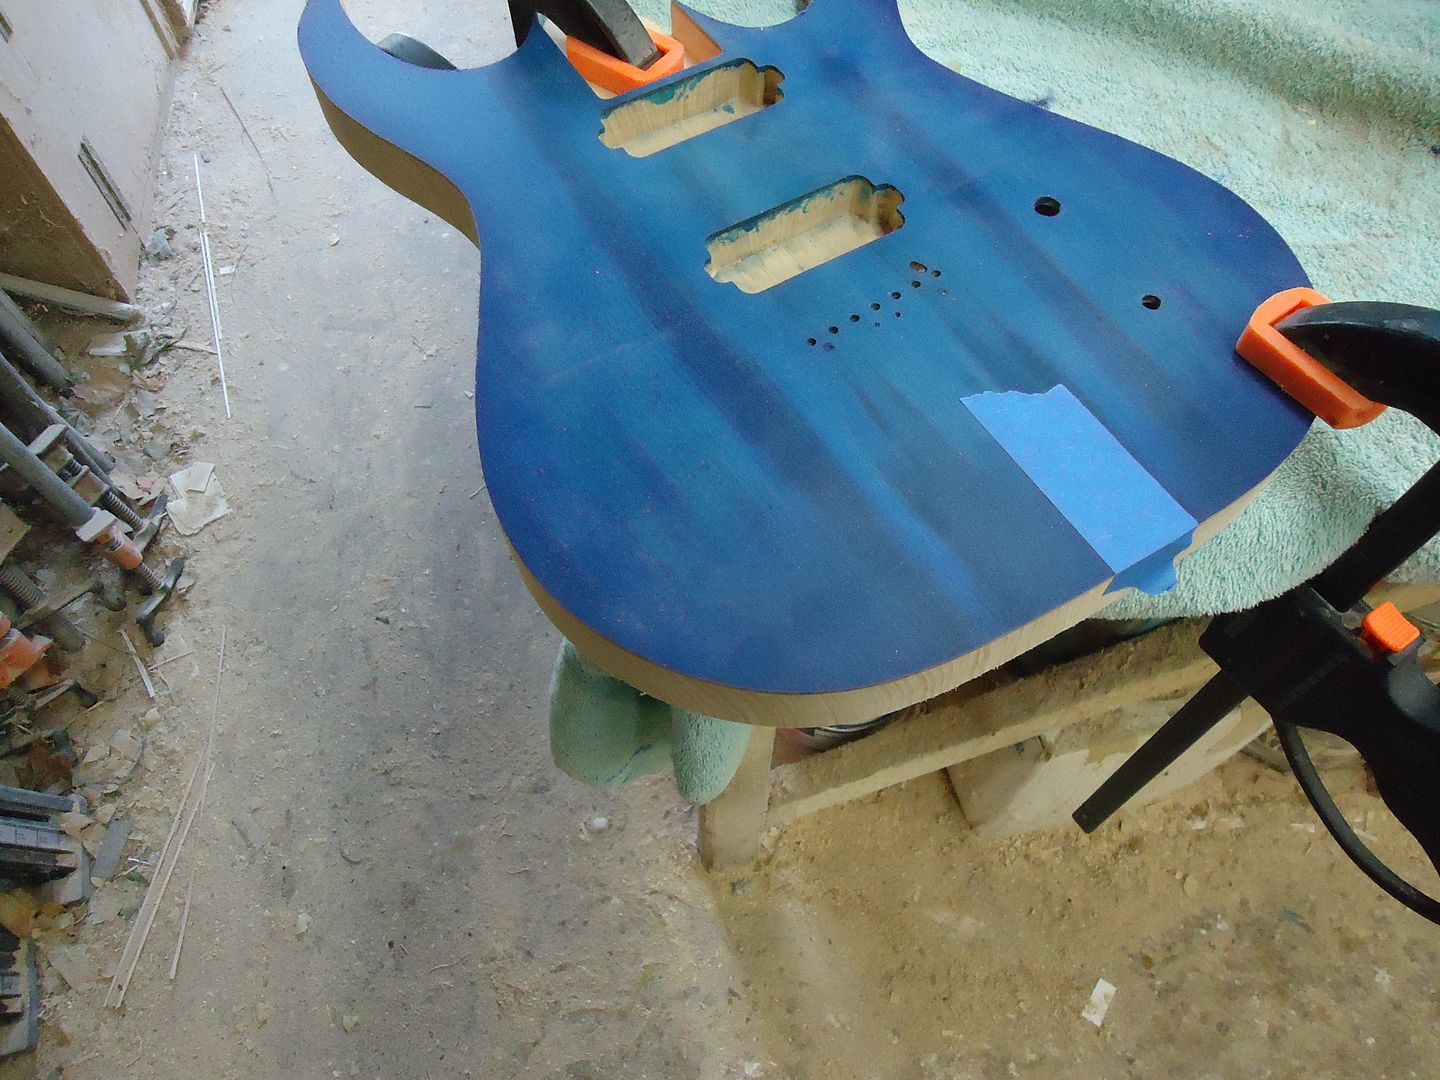
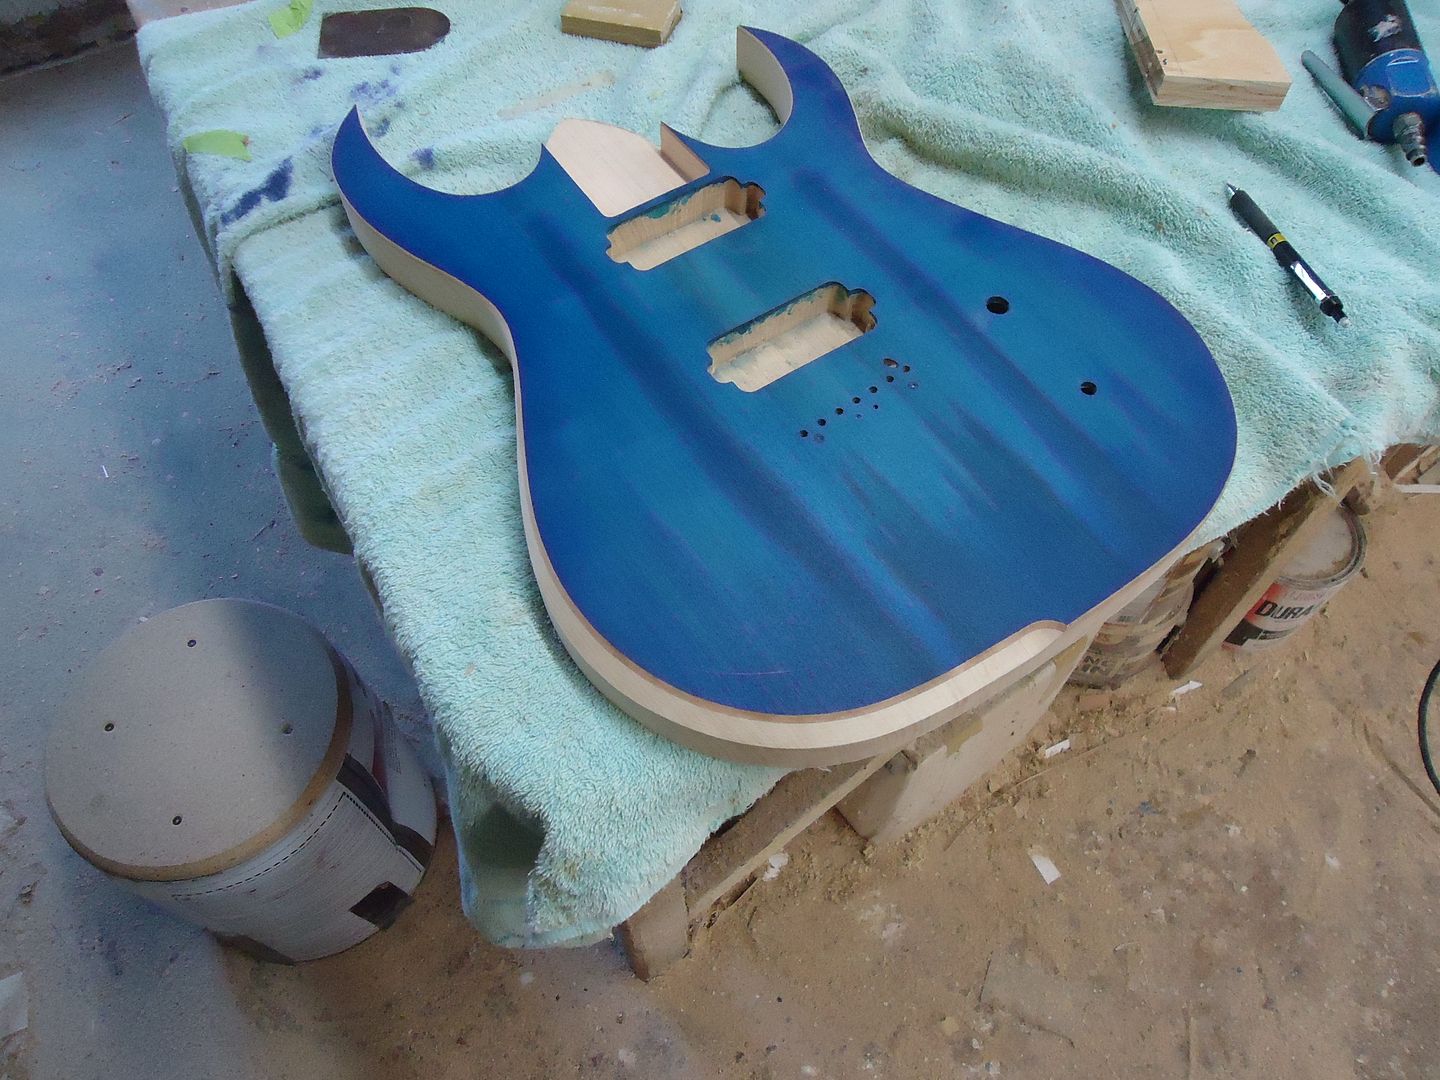
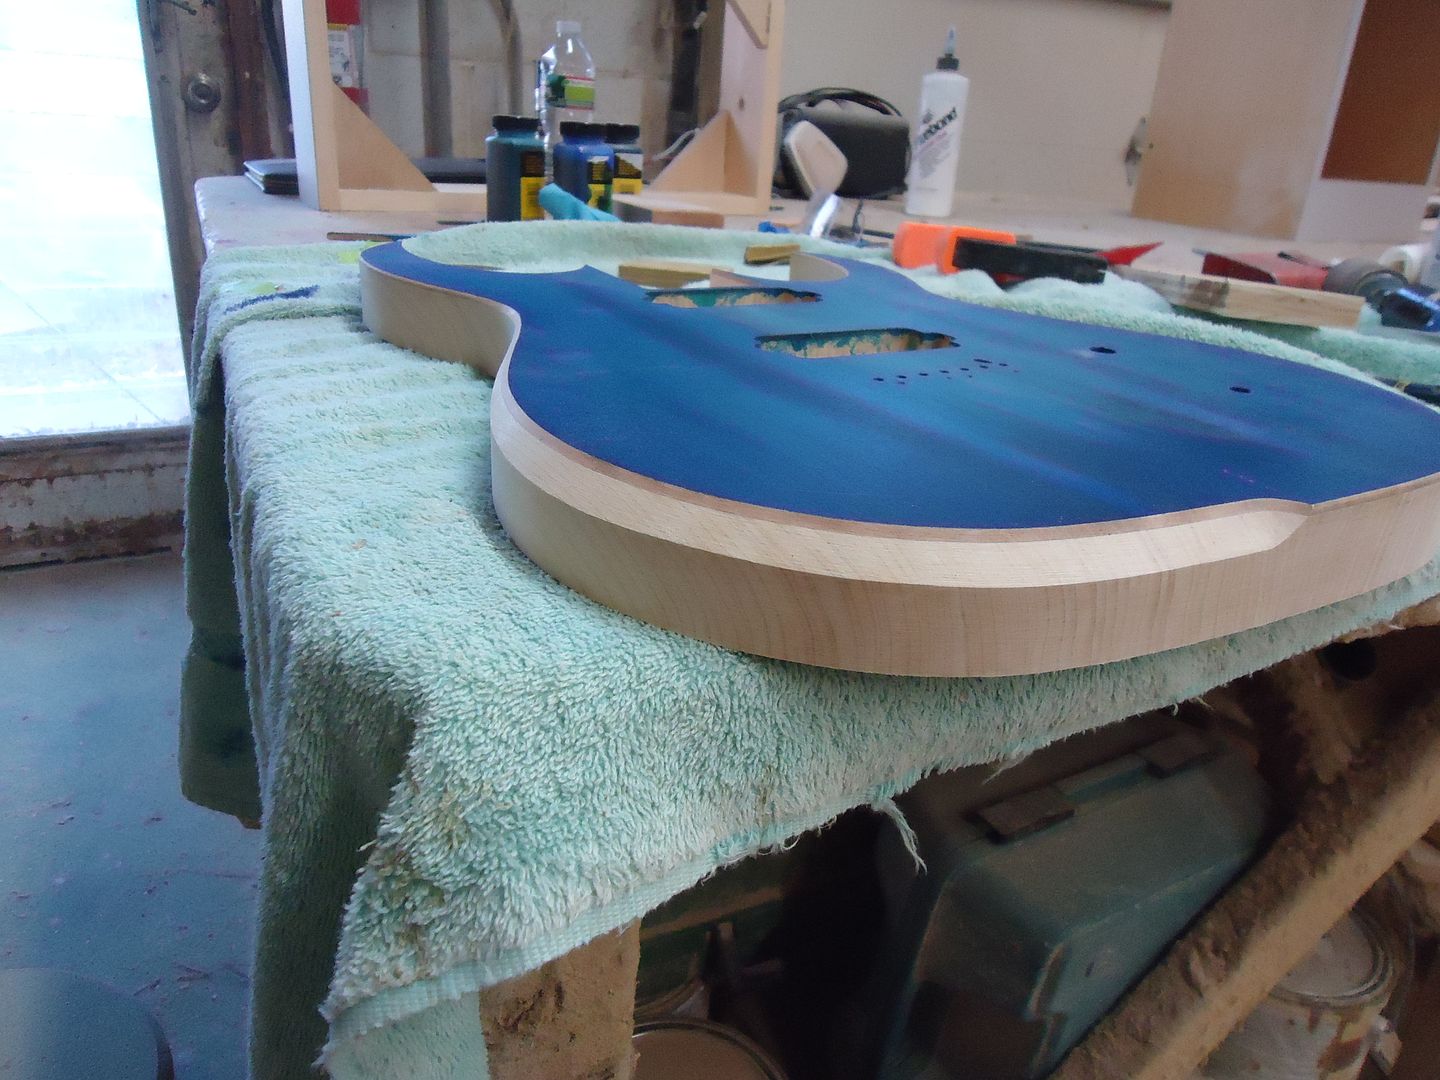
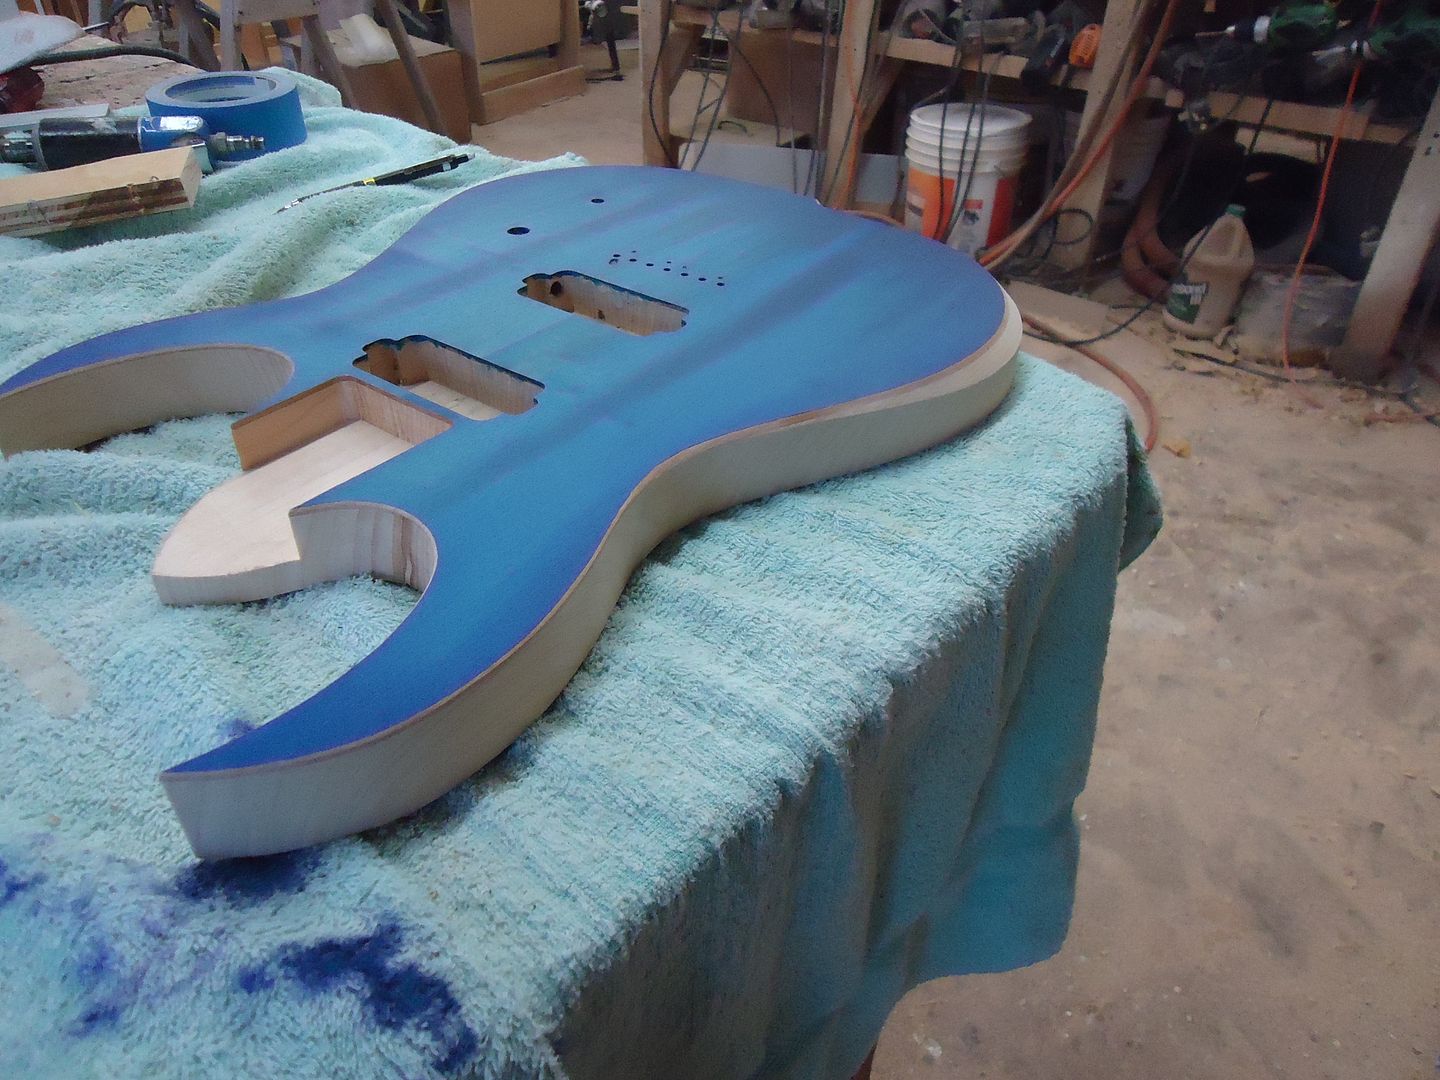
Color time
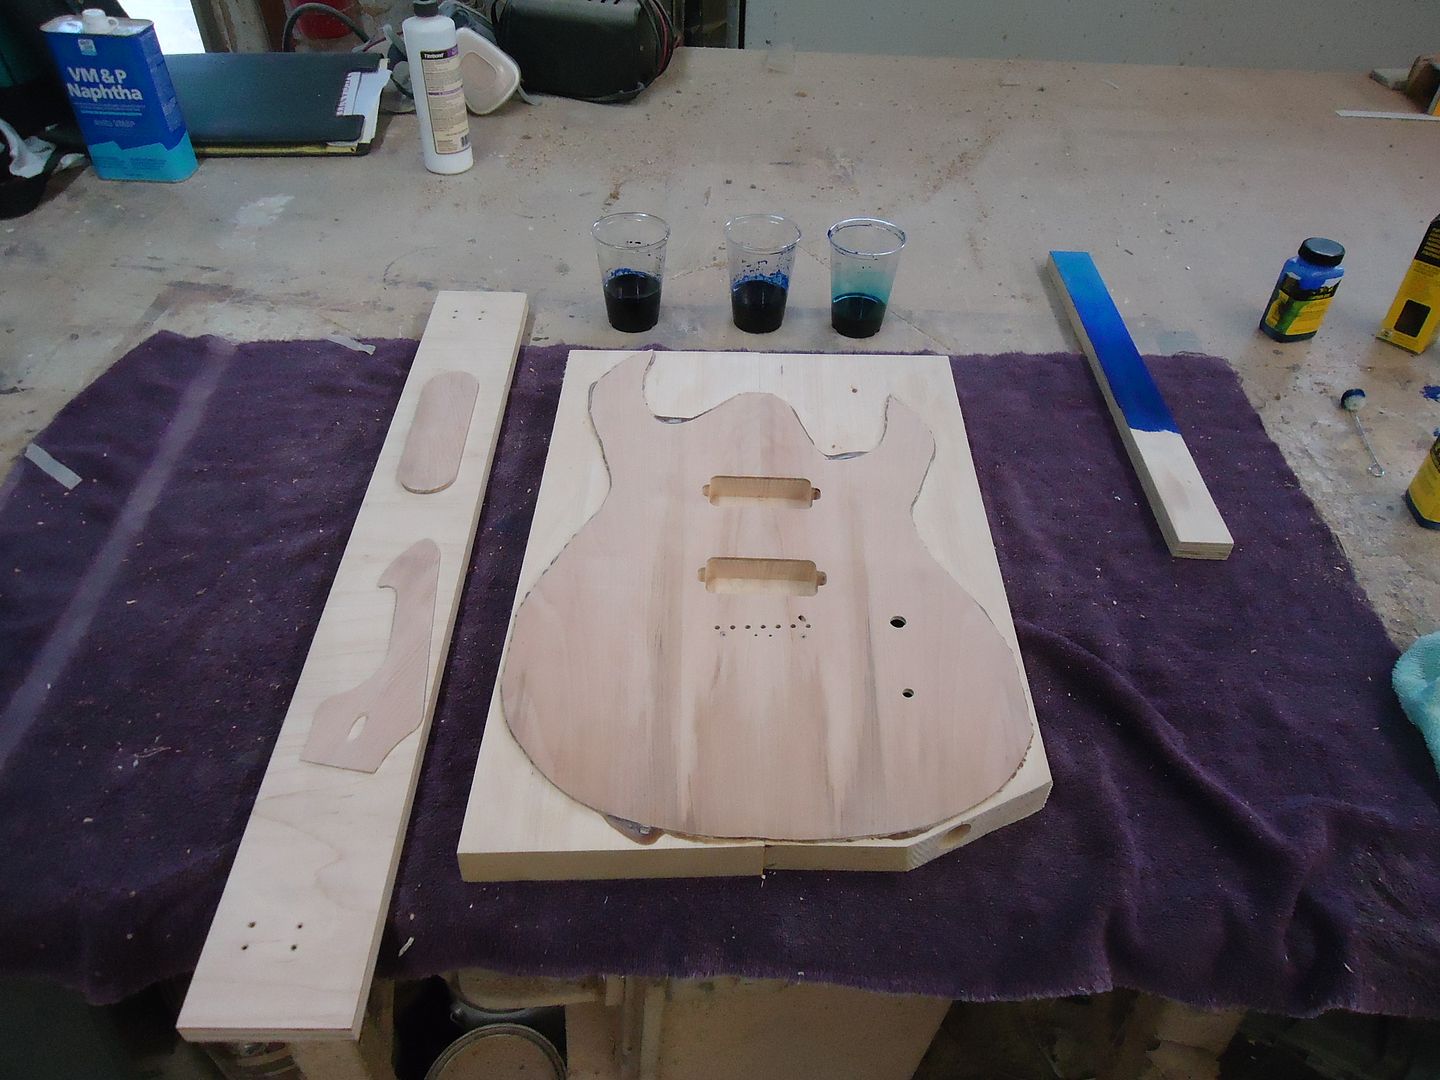
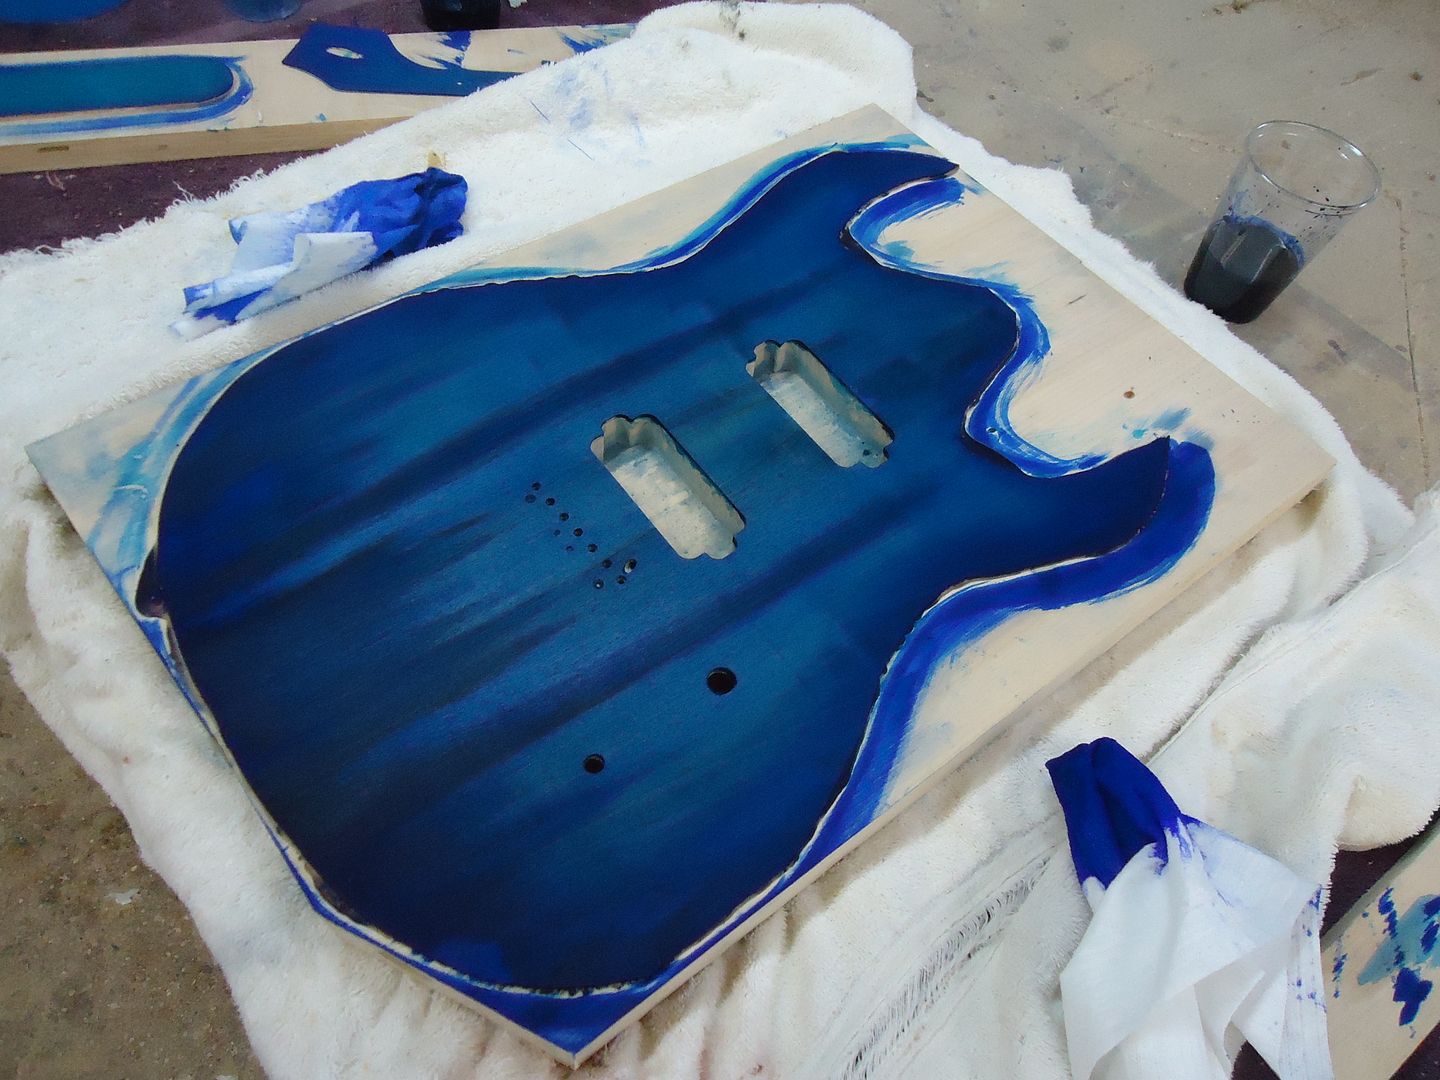
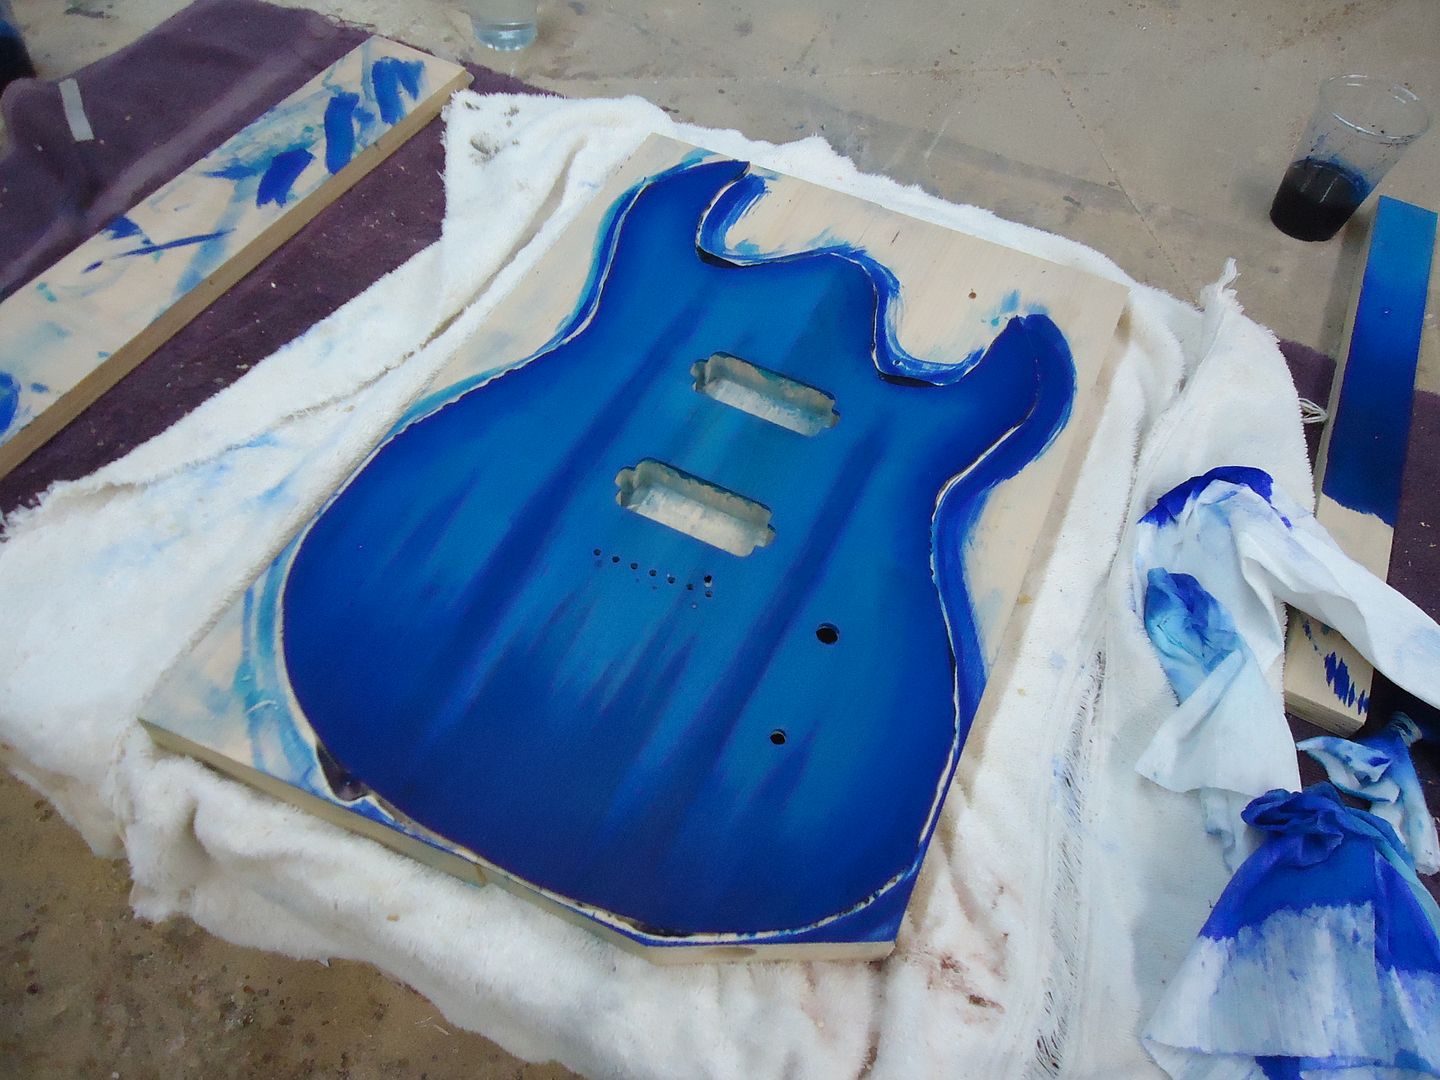
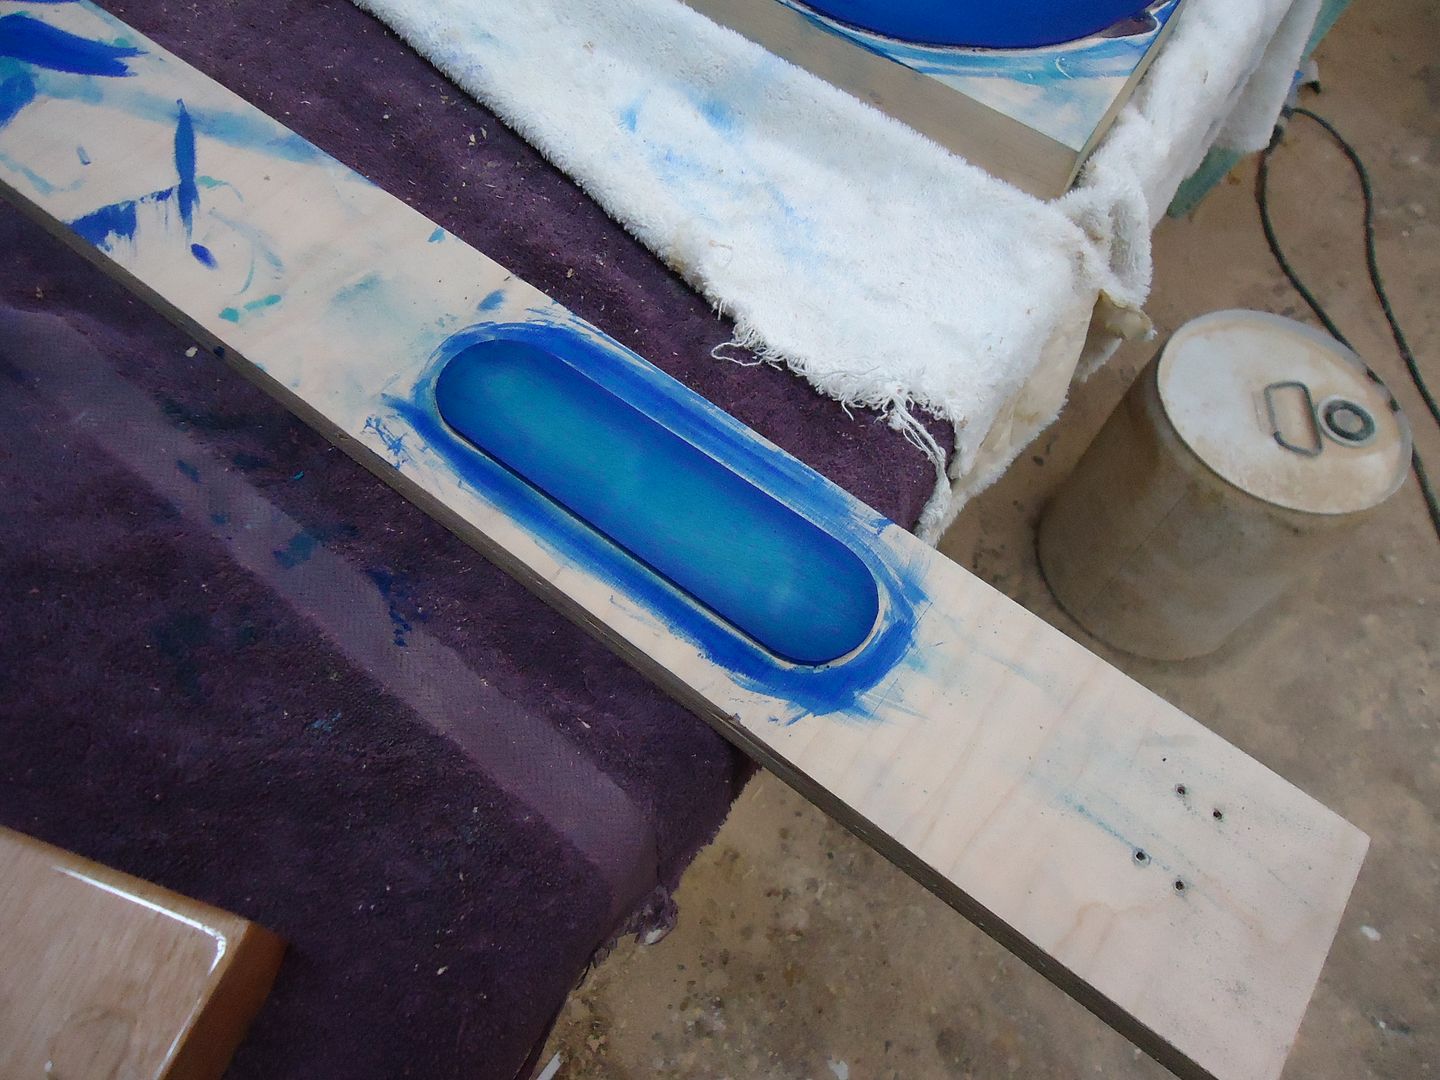
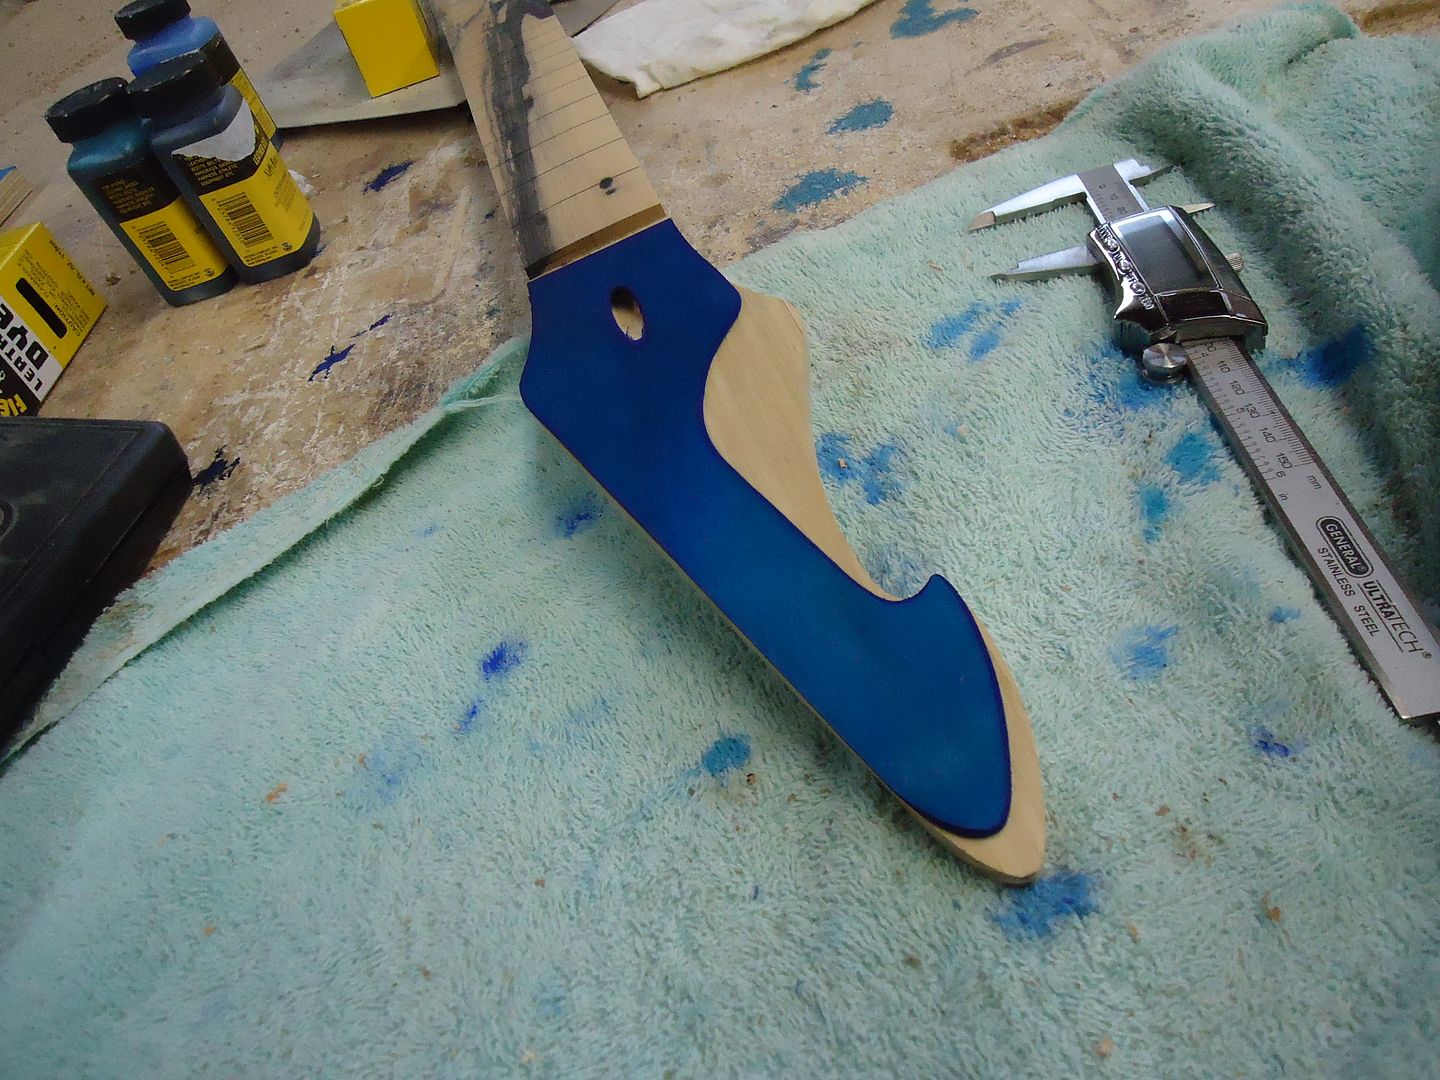
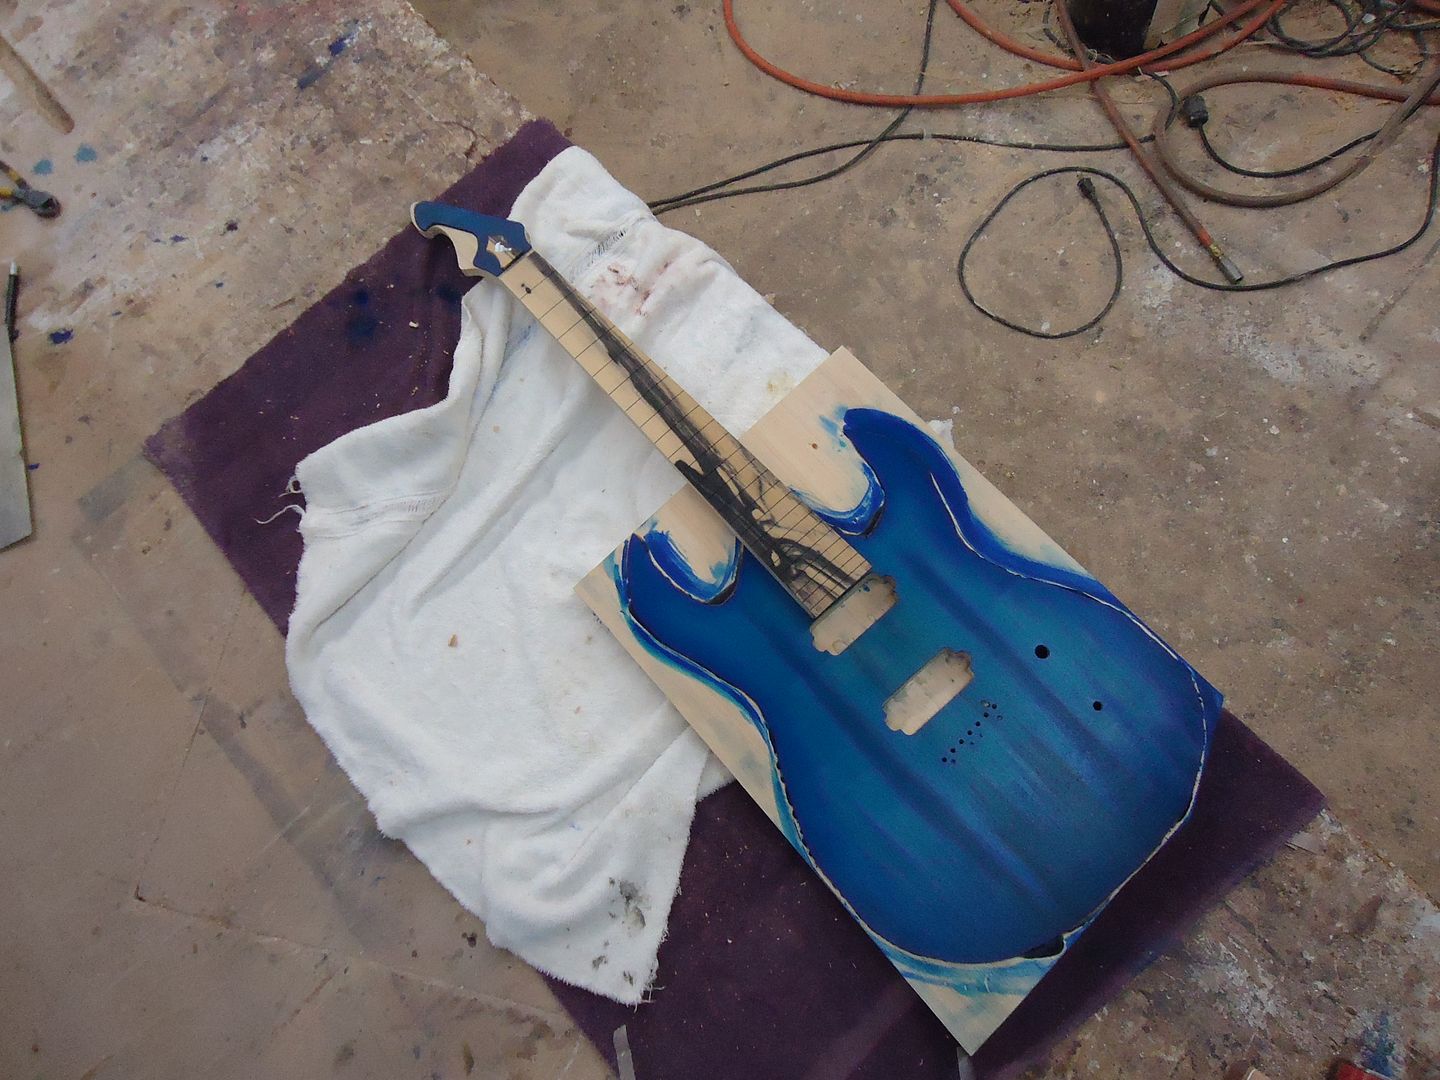
The colors been sealed in to protect it. The next step is to cut the neck pocket then I'll finally be ready to cut out the body so it will actually look like a guitar!
-
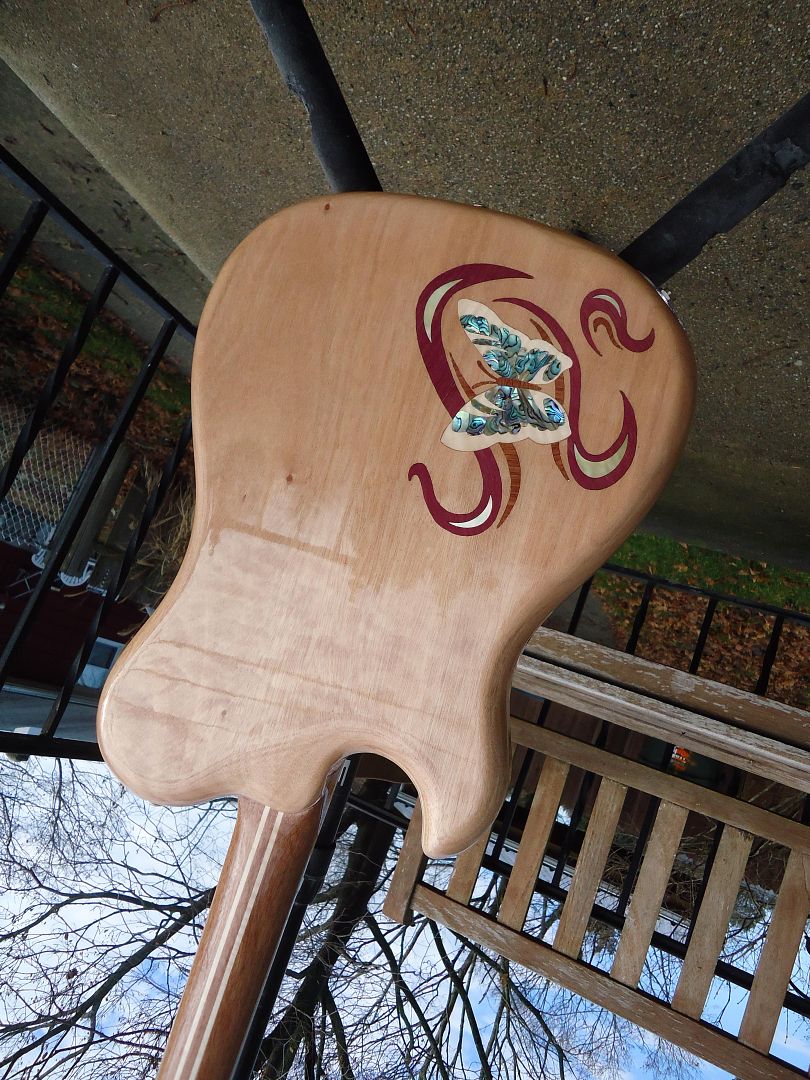
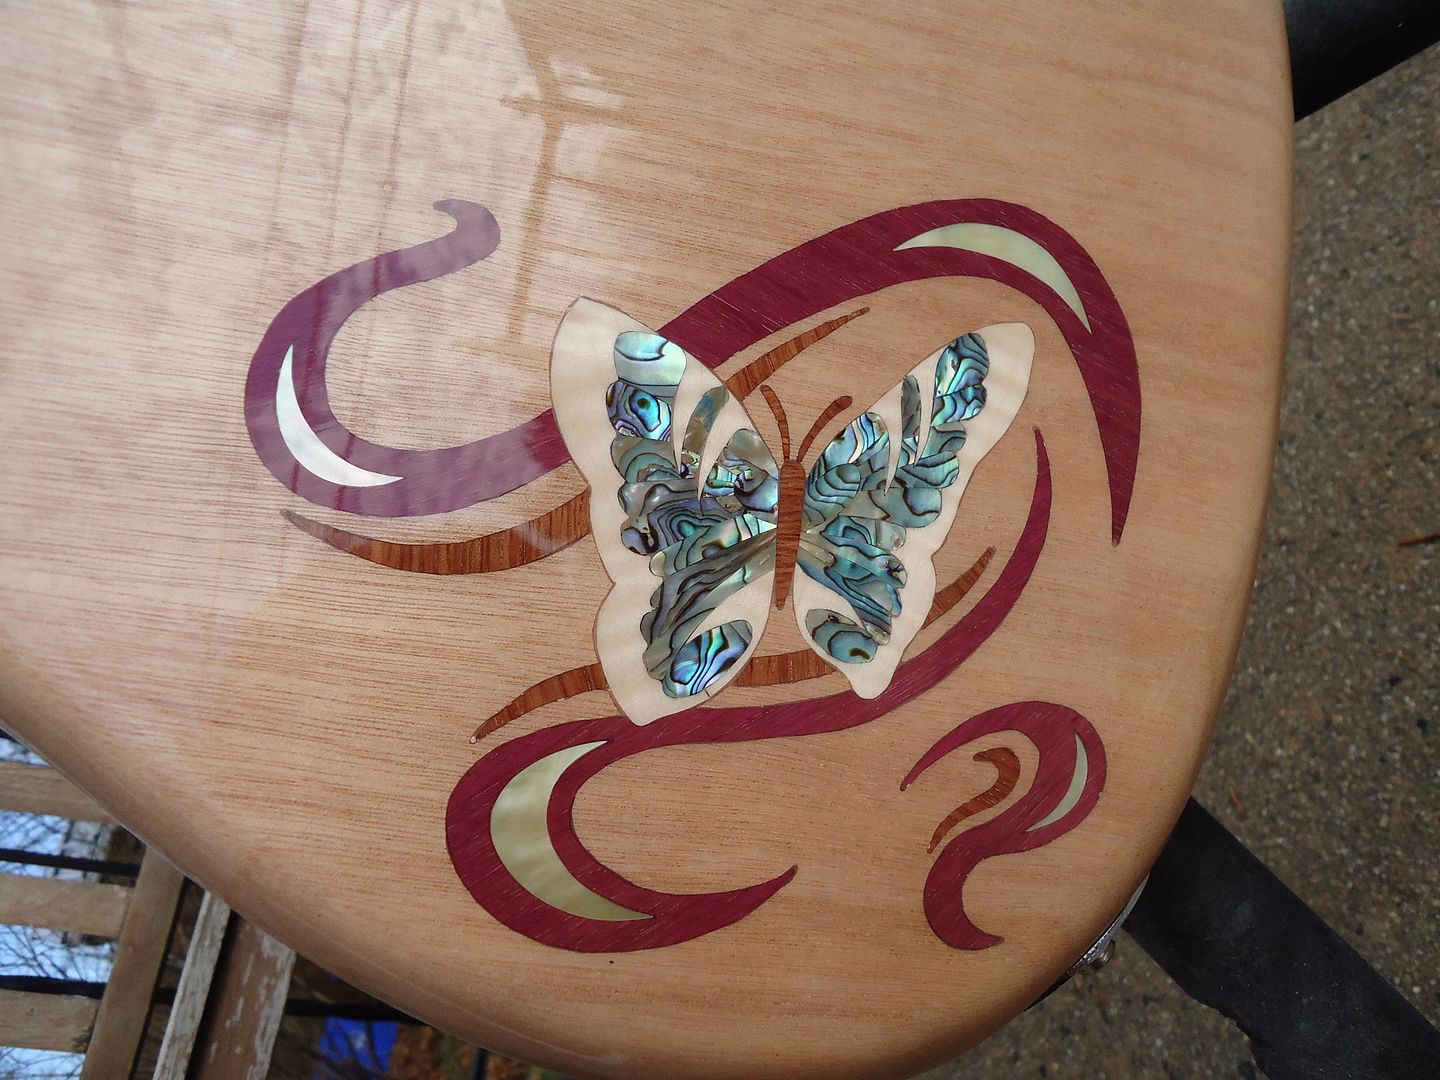
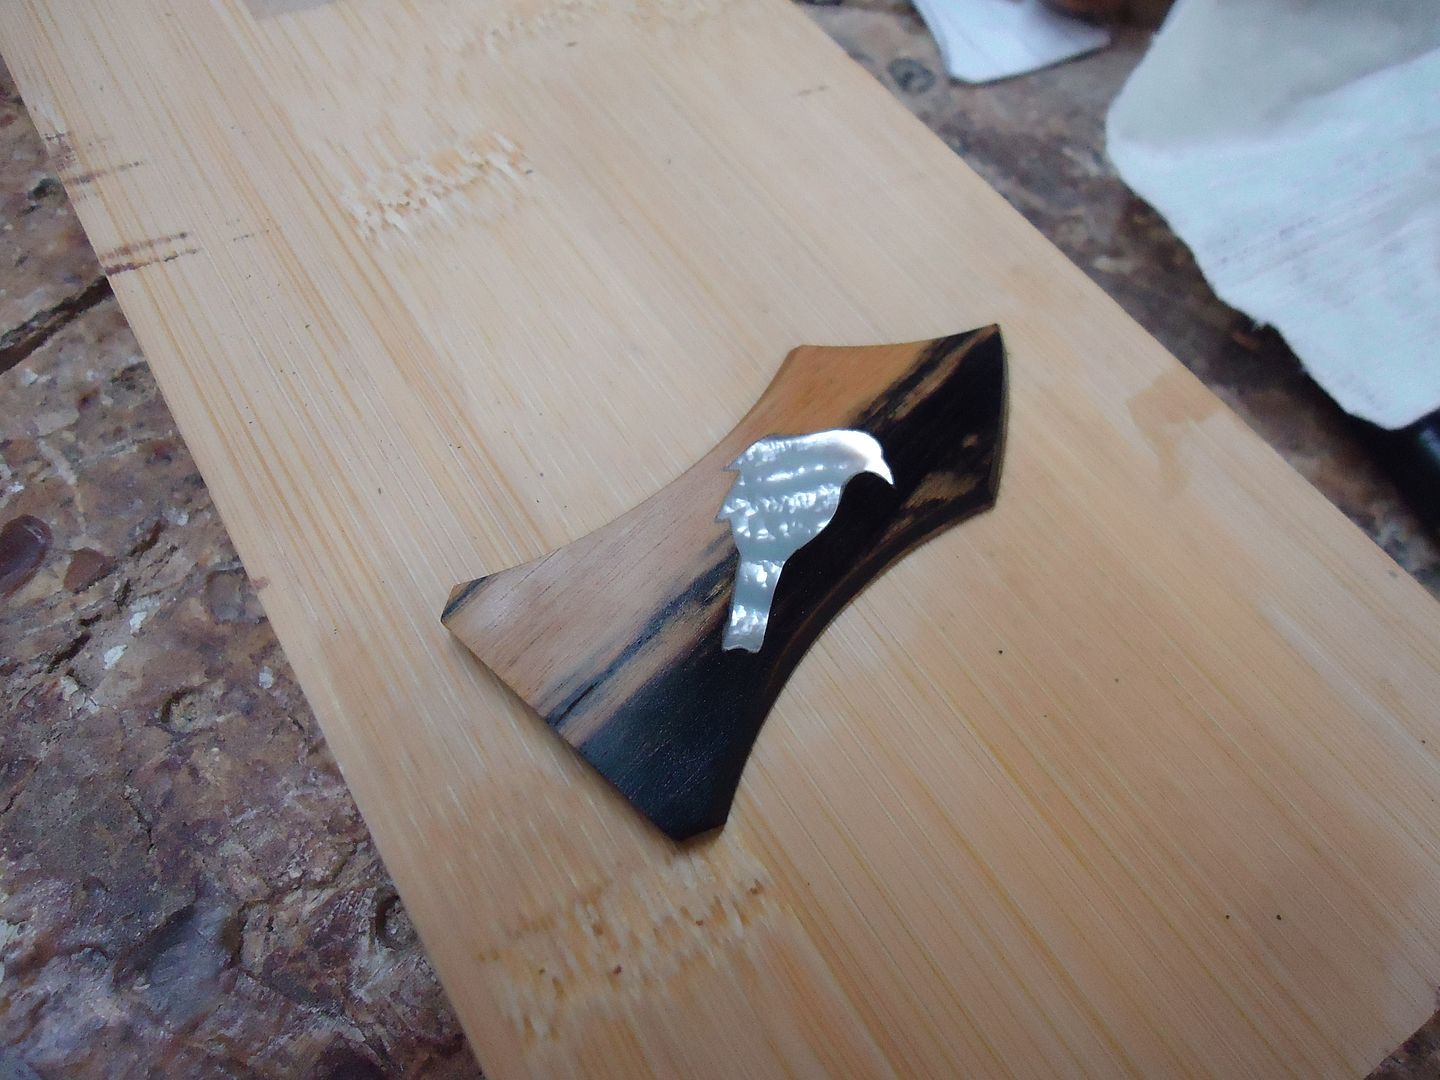
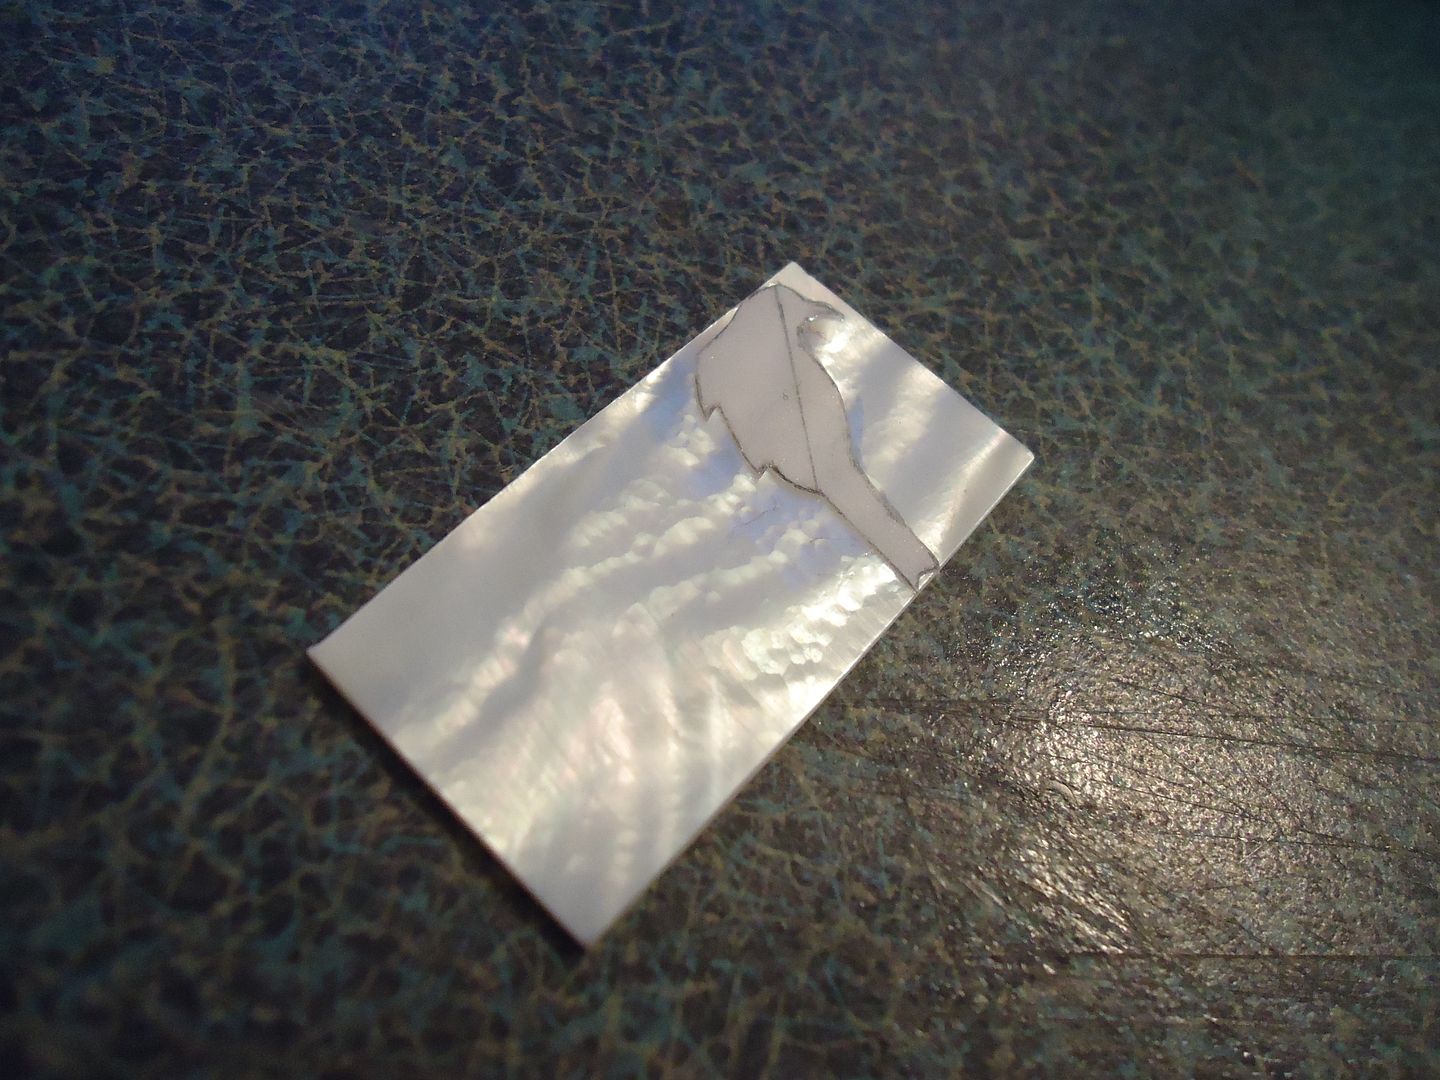
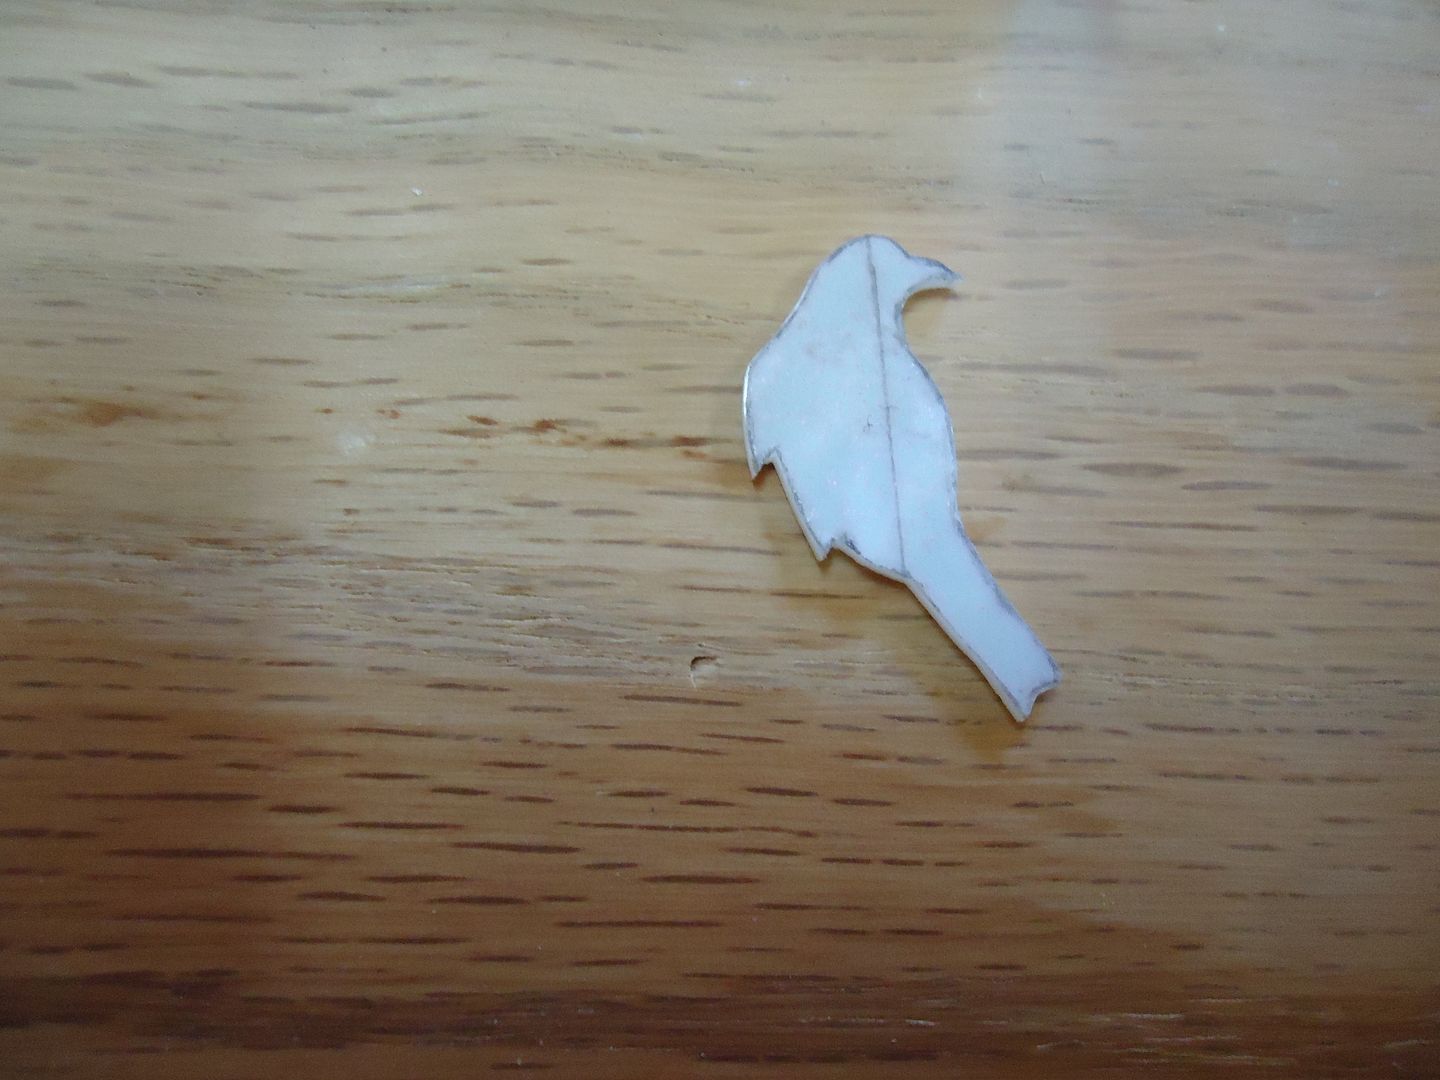
Figured MOP Raven on this one
Fret board glue up
Lovin they way this ones coming out so far! Possibly adding some color to the mix tomorrow so stay tuned guys!
-
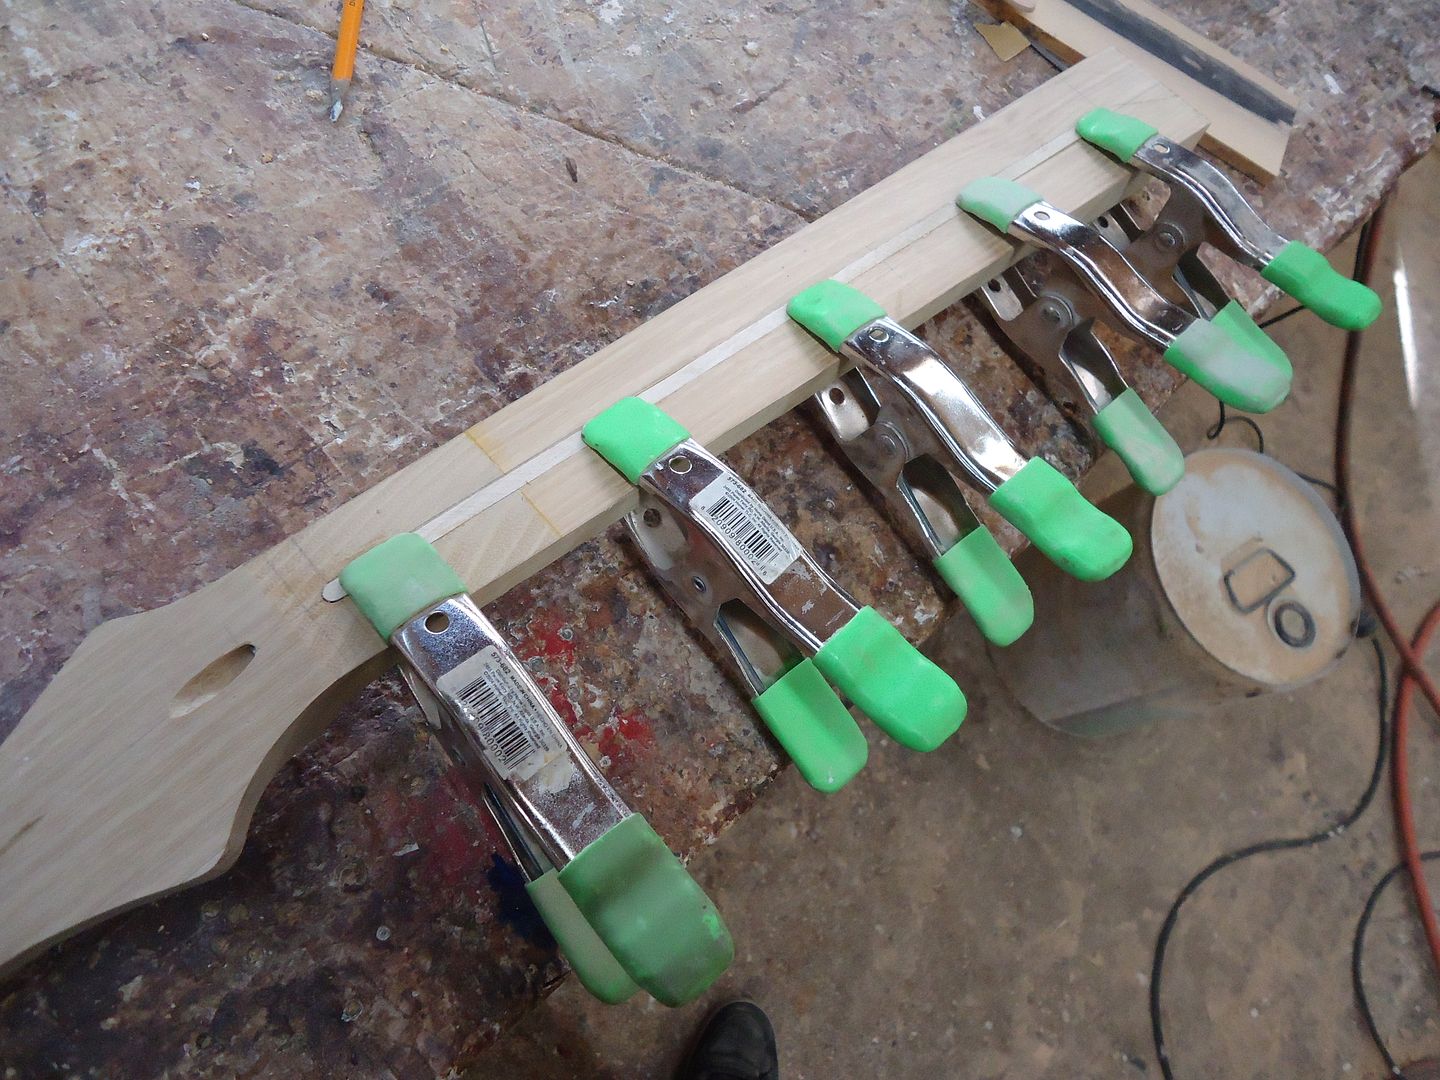
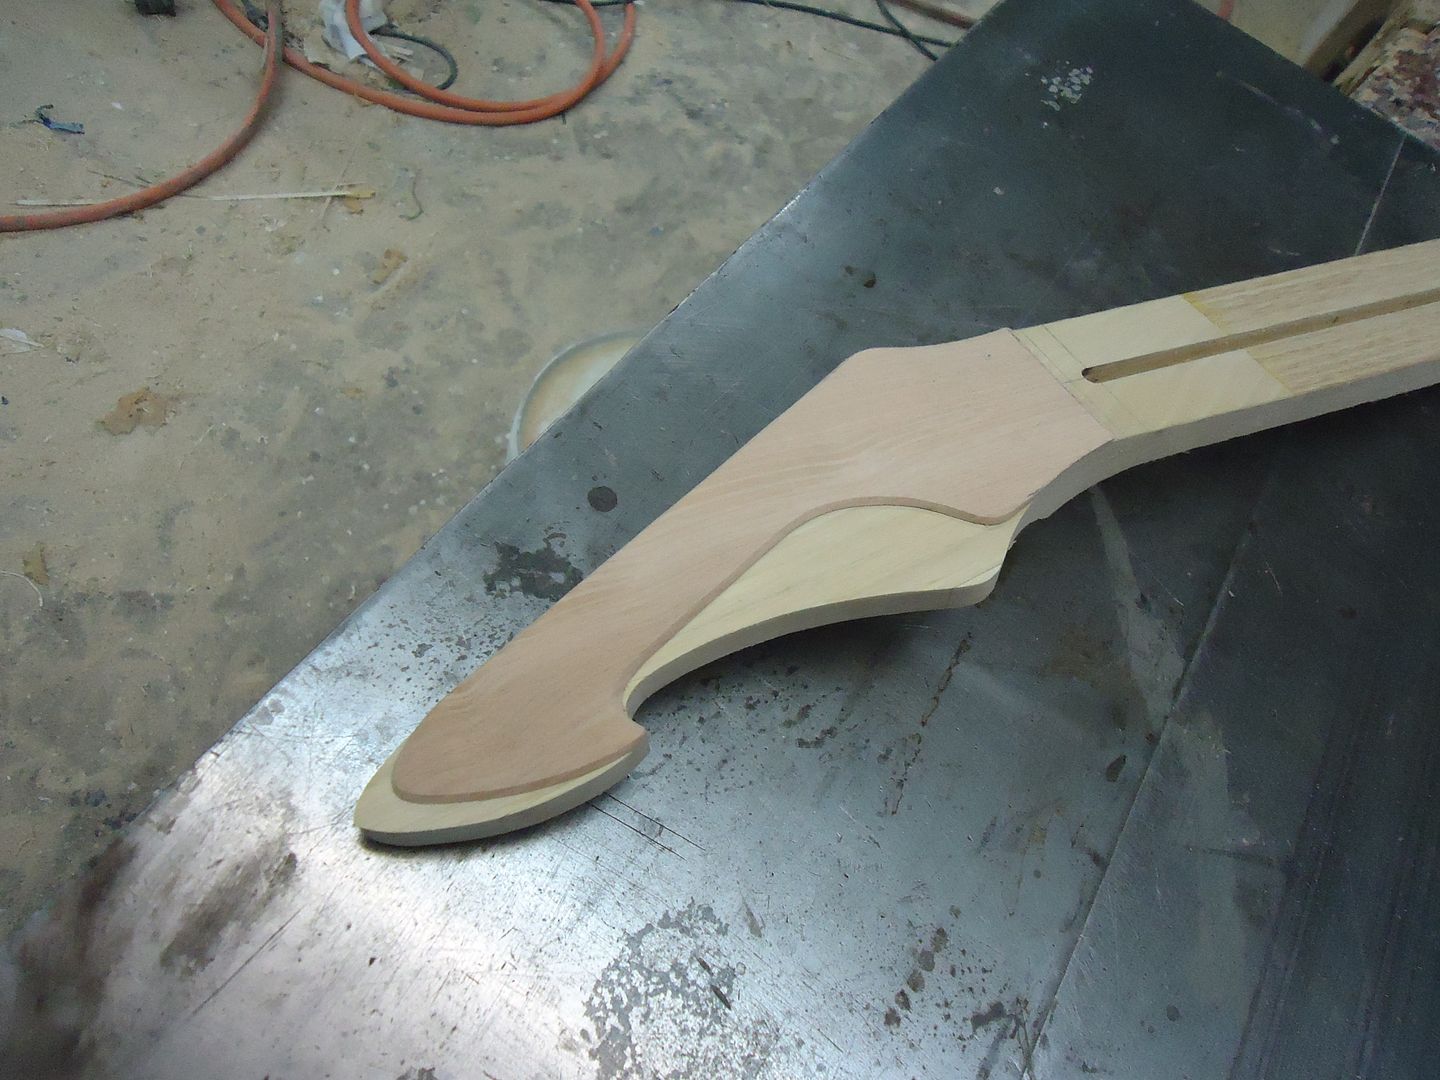
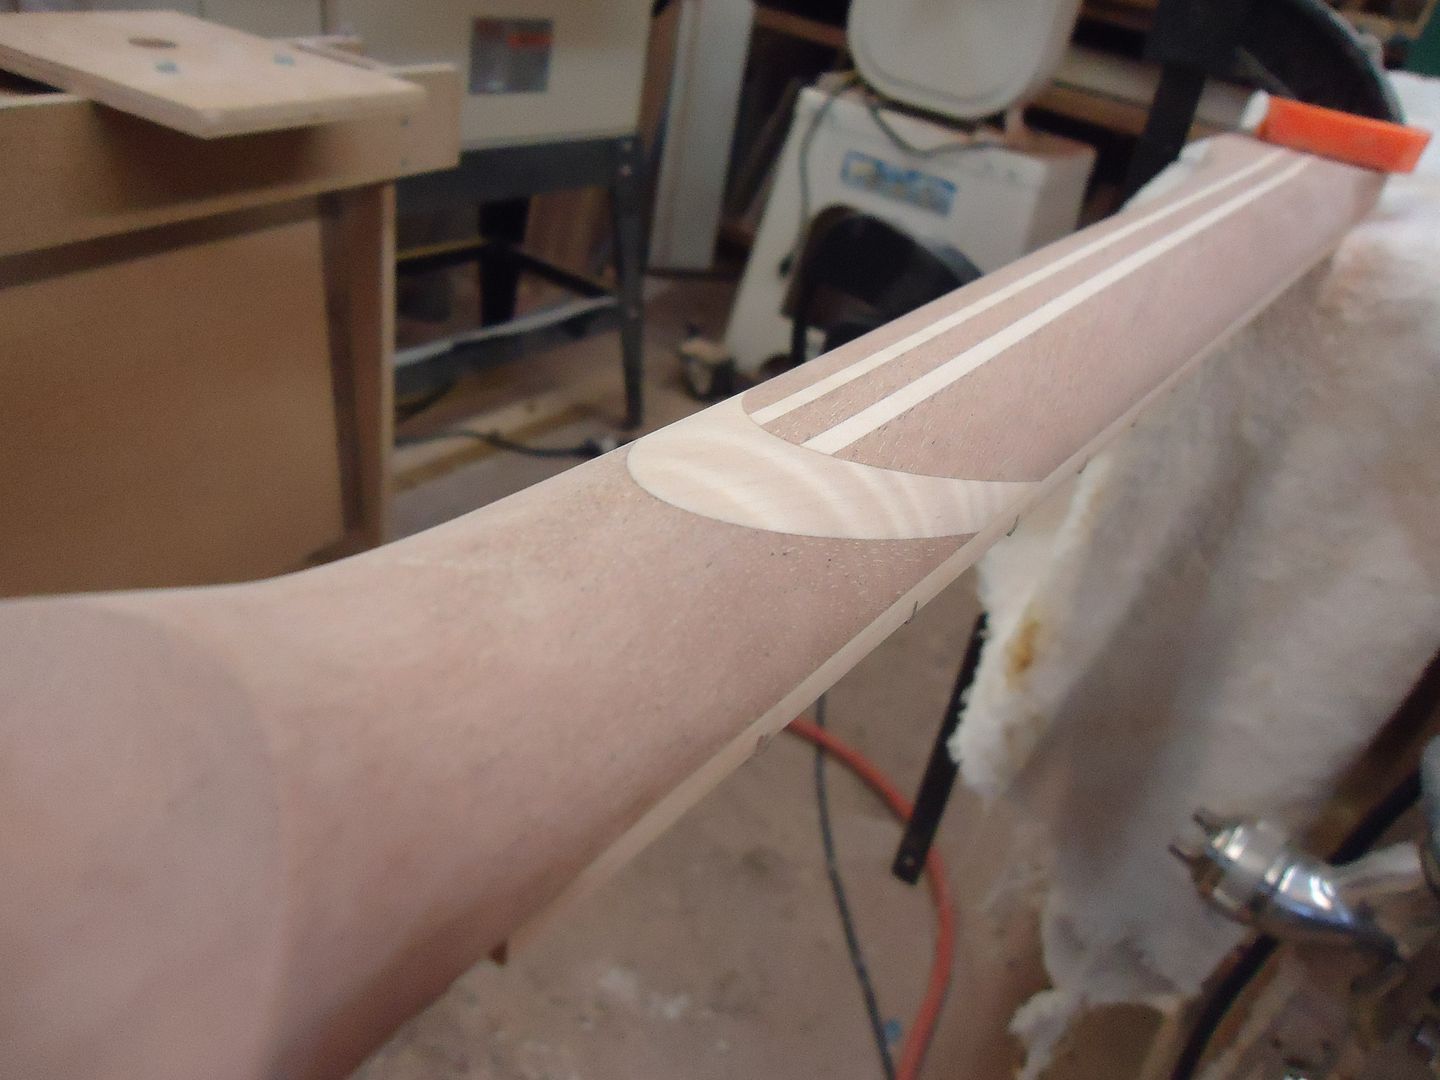
Neck progress:
This black locust is tough stuff, took a little longer to rough cut this thing
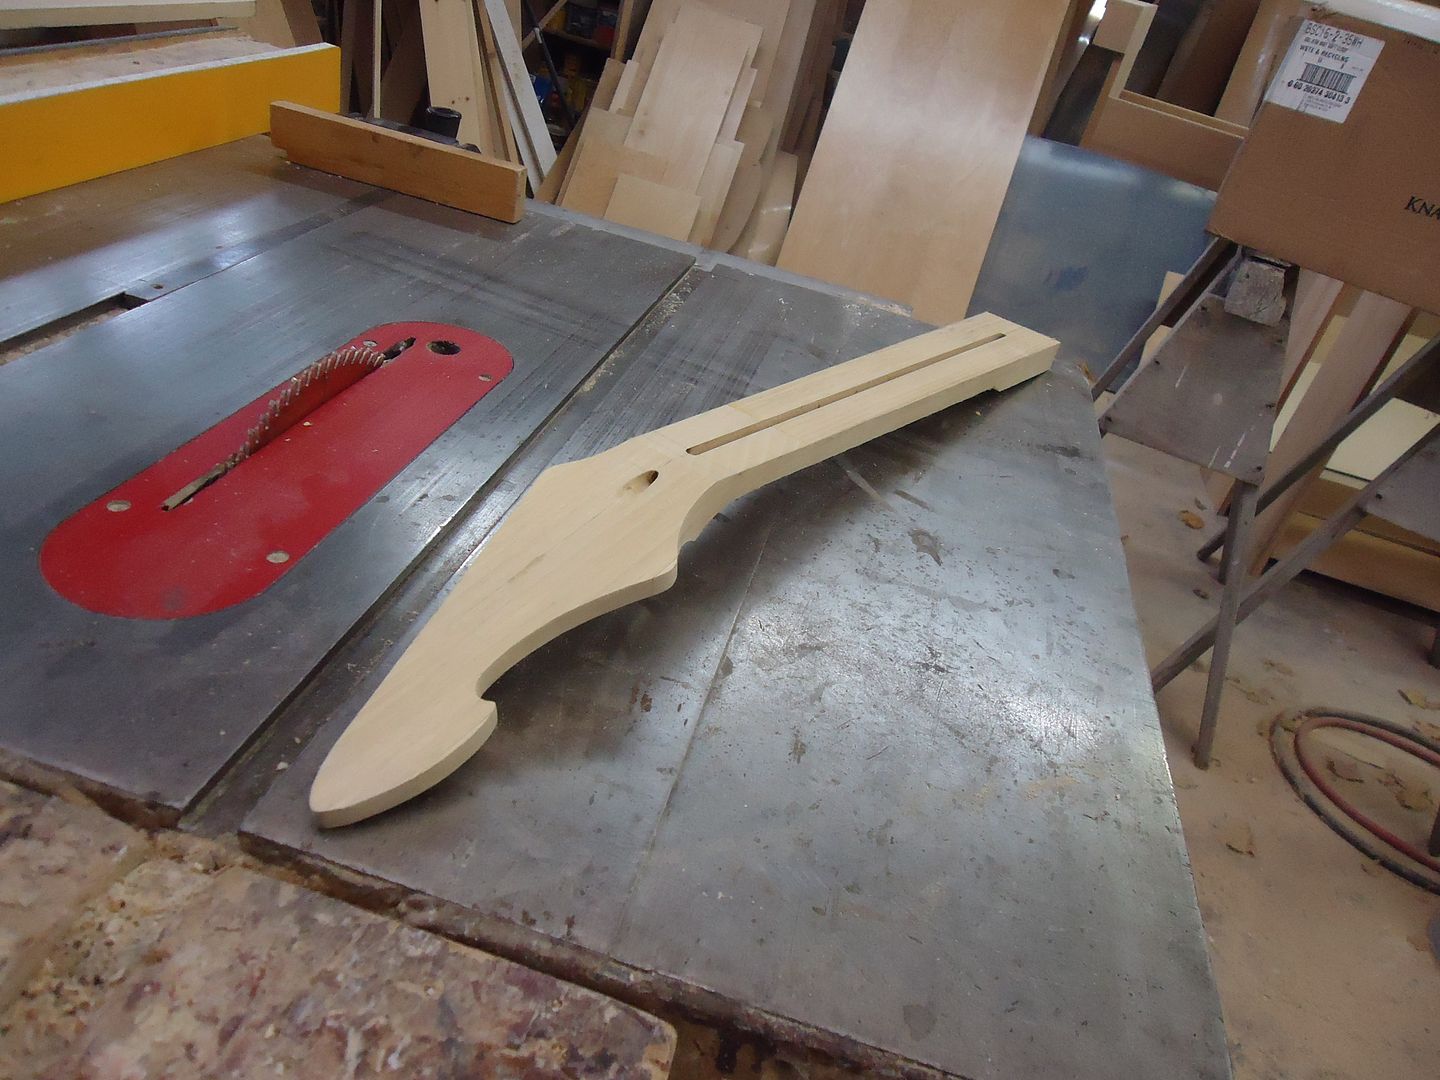
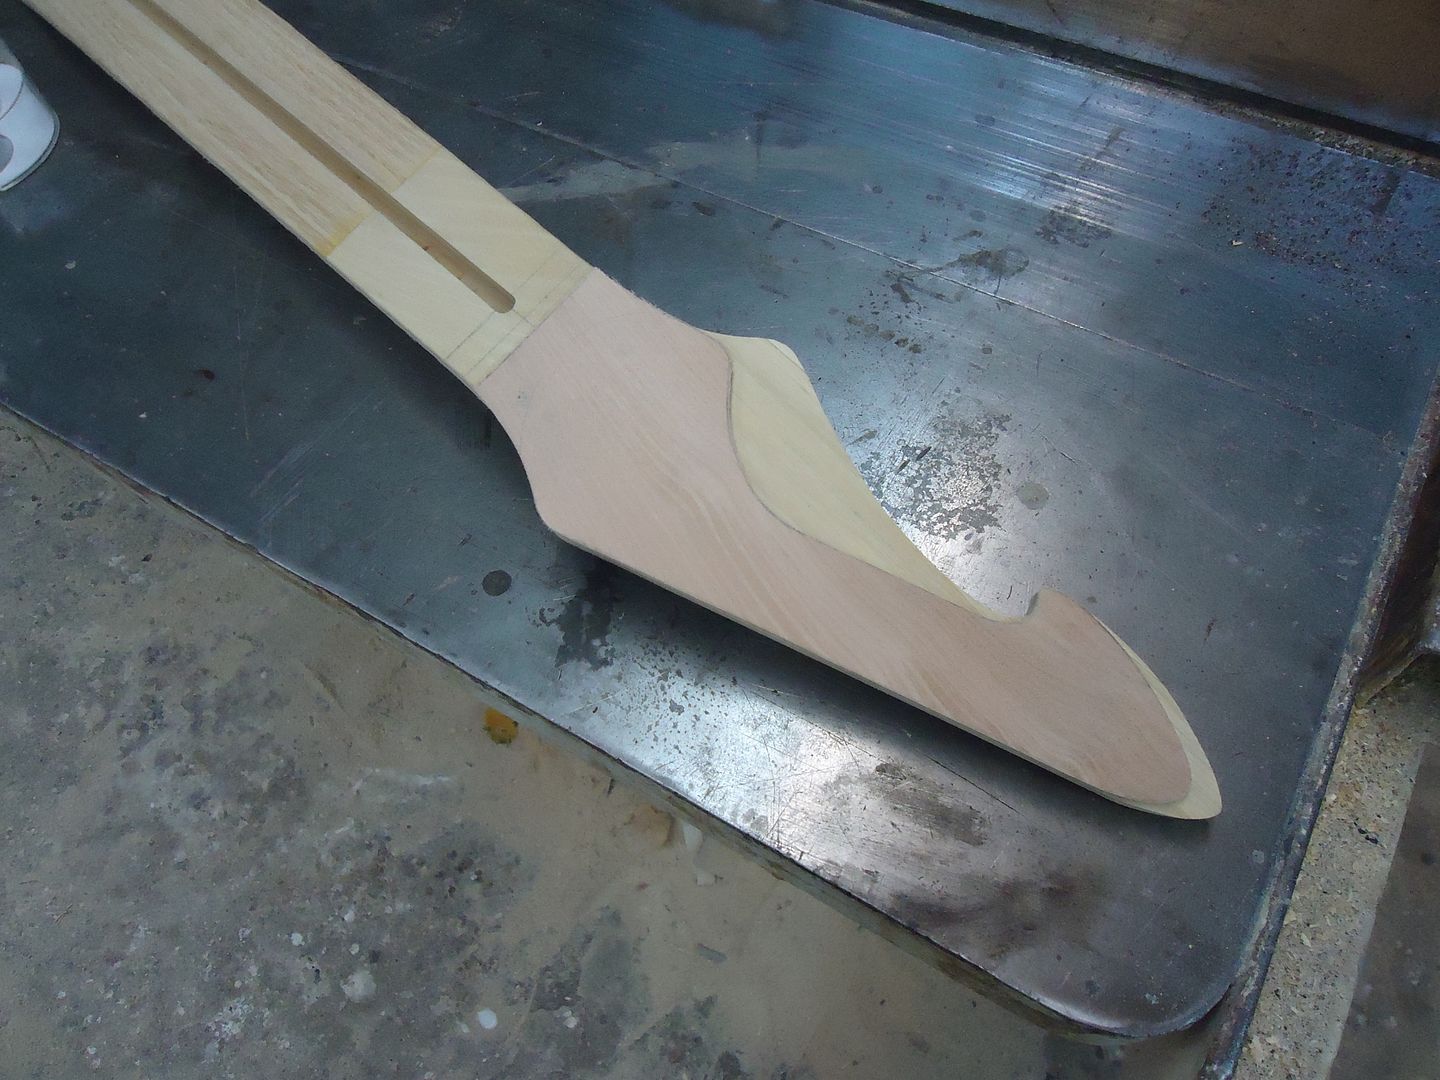
Going with a layered headstock on this one
-
17" radius
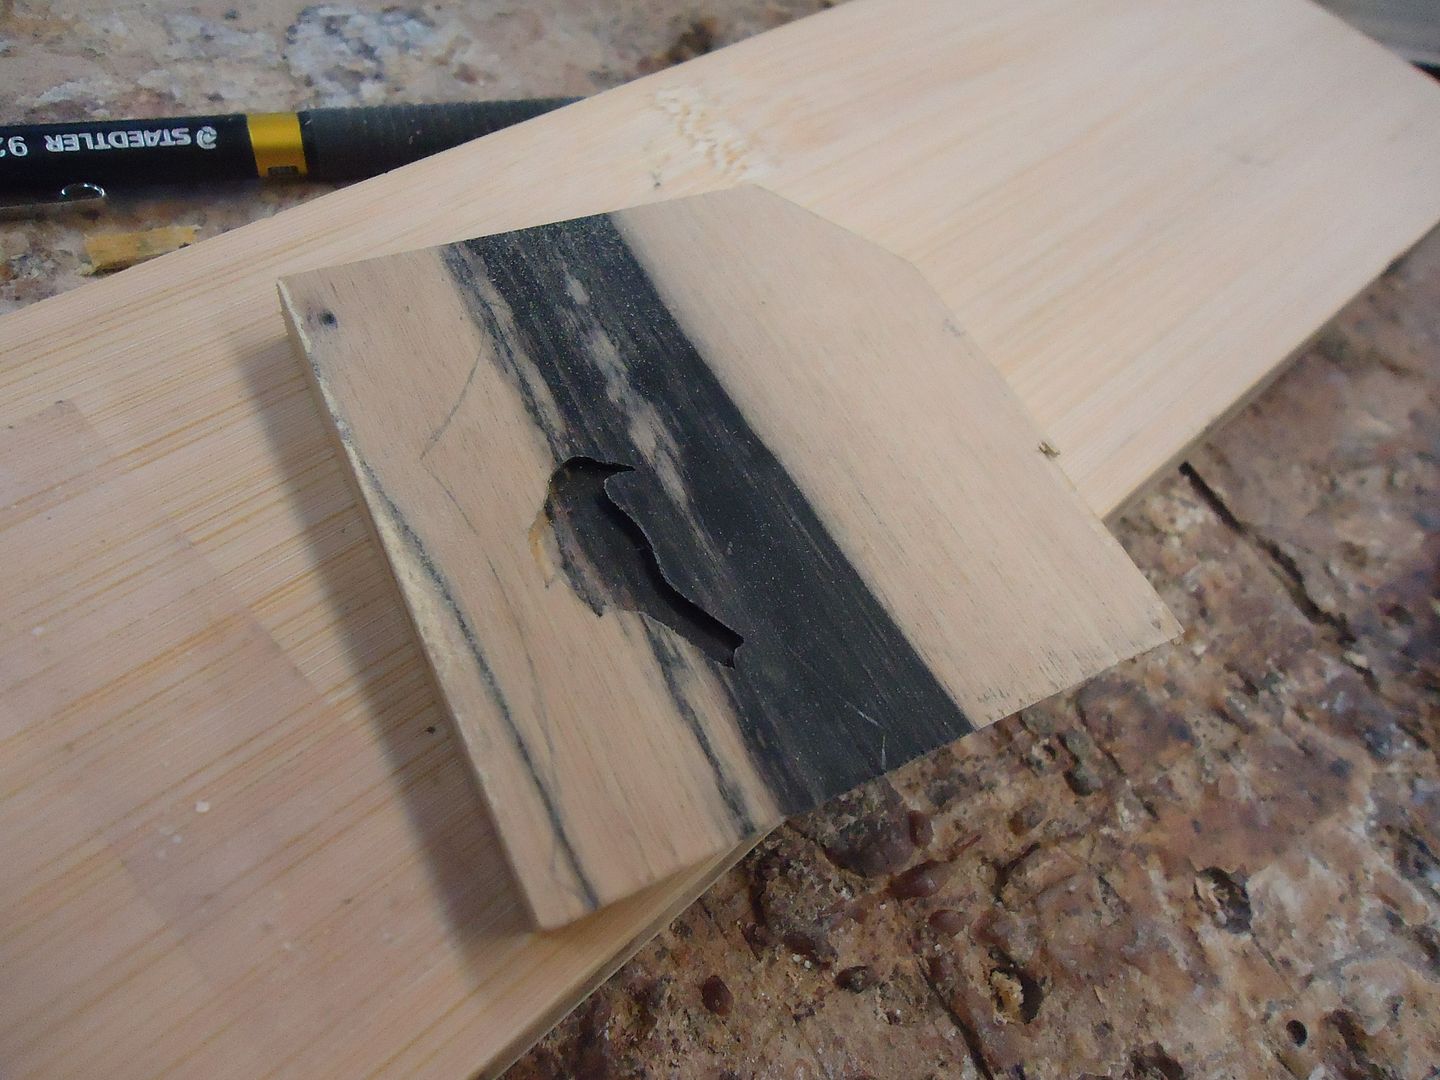
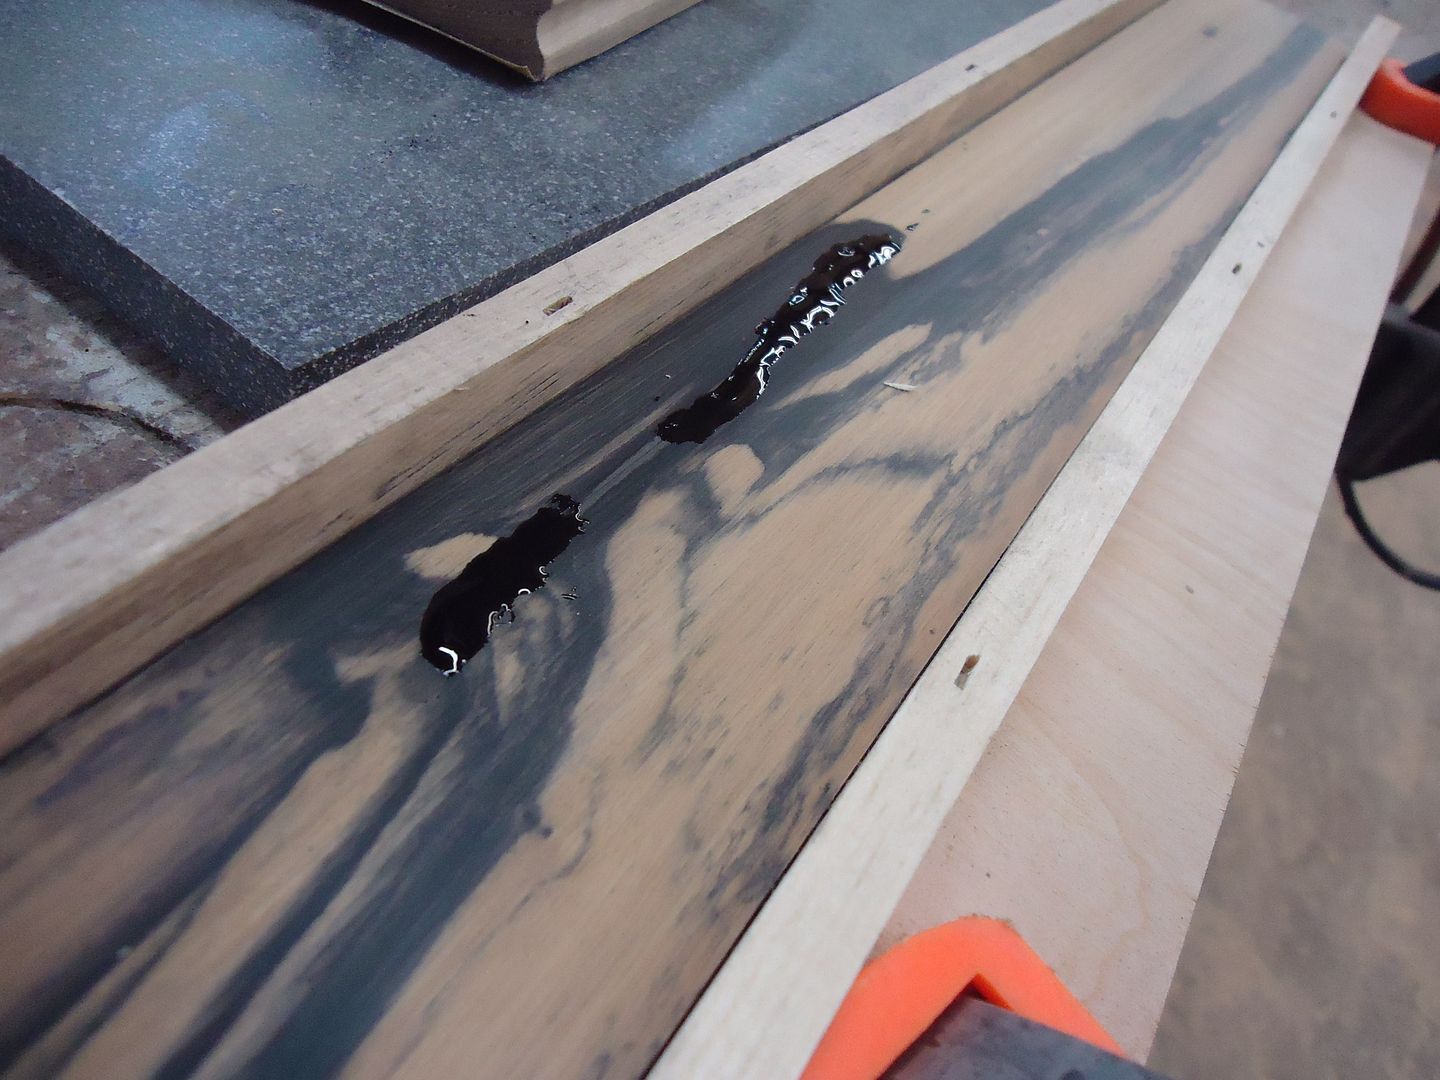
Little blemish in the fret board, Filled it with epoxy and ebony dust
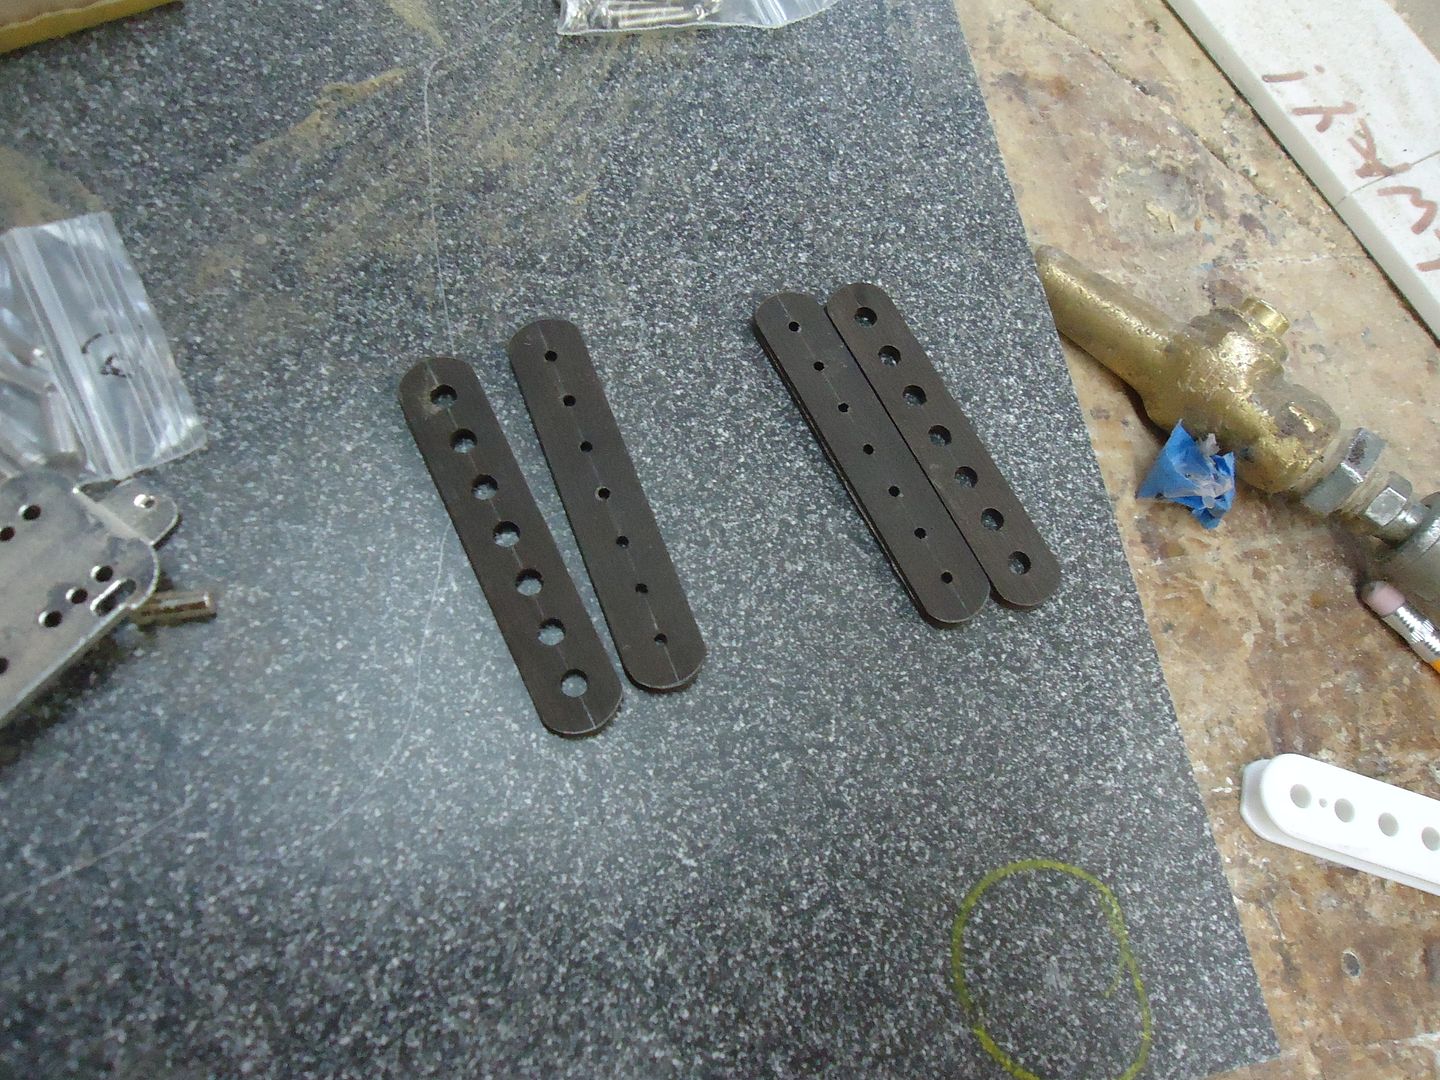
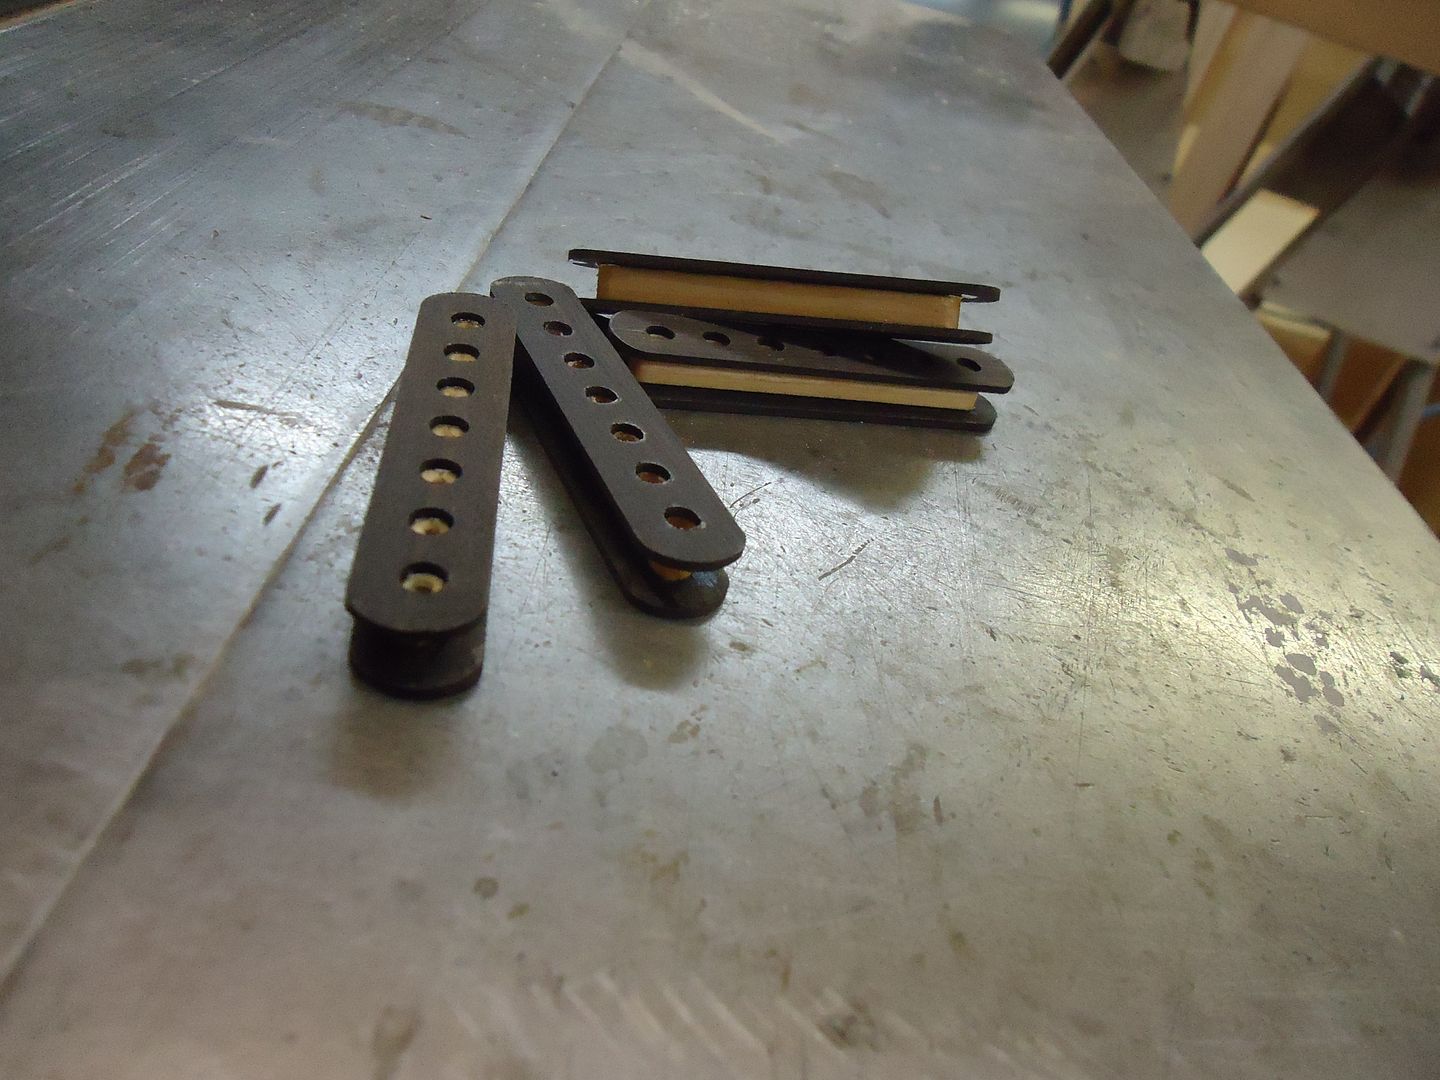
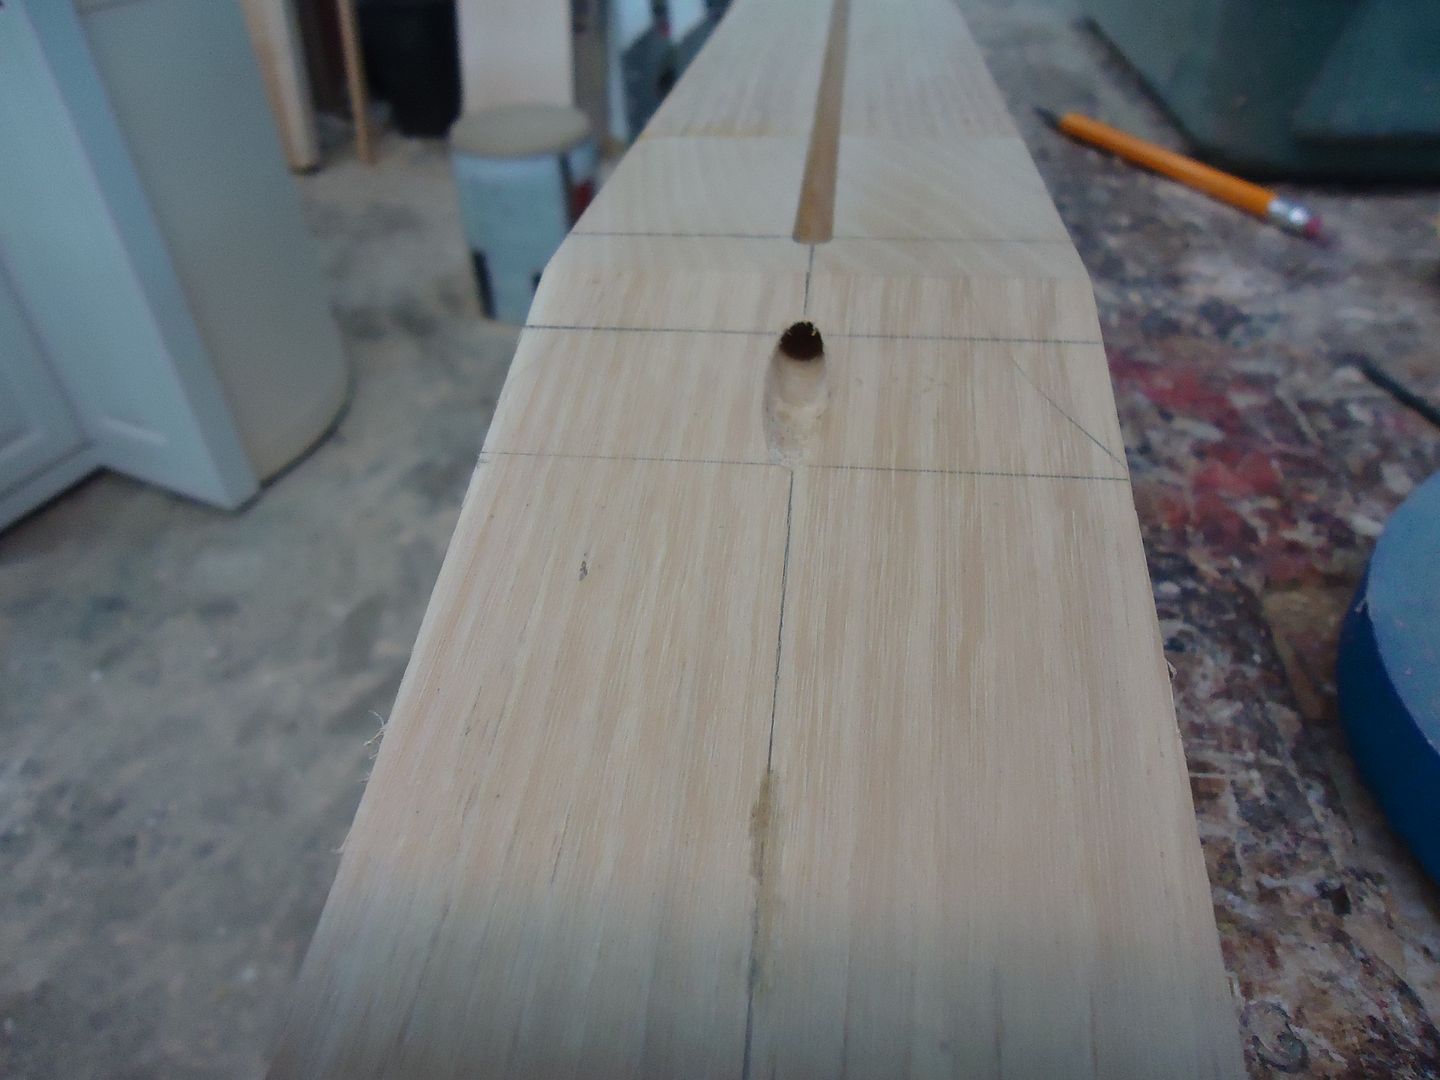
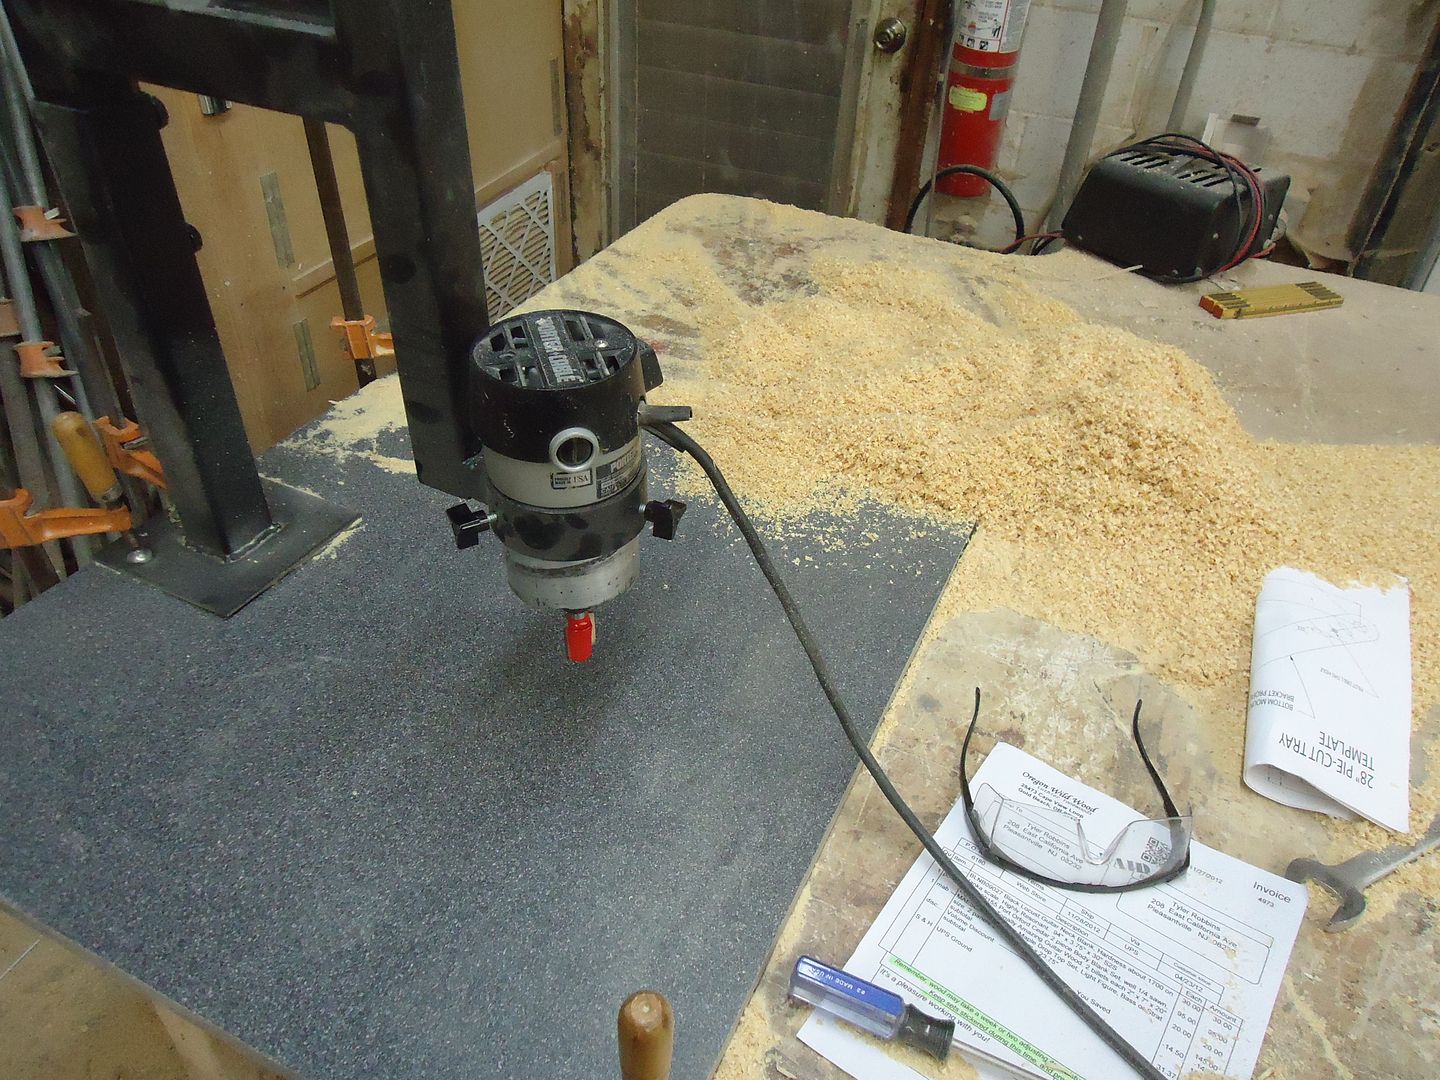
More work on the bobbins. They were a bit tricky but I think they will work nicely.
Trying to get the more tedious stuff out of the way first, more interesting pics are coming soon!
-
1
-
-
Beautiful color!
-
Today's Progress:
I'm leaving everything rough as far as the body goes so that after I dye the top I can come in a shape the body and get nice clean lines. This way I wont have to worry about taping everything off or getting color in places where it is not wanted.
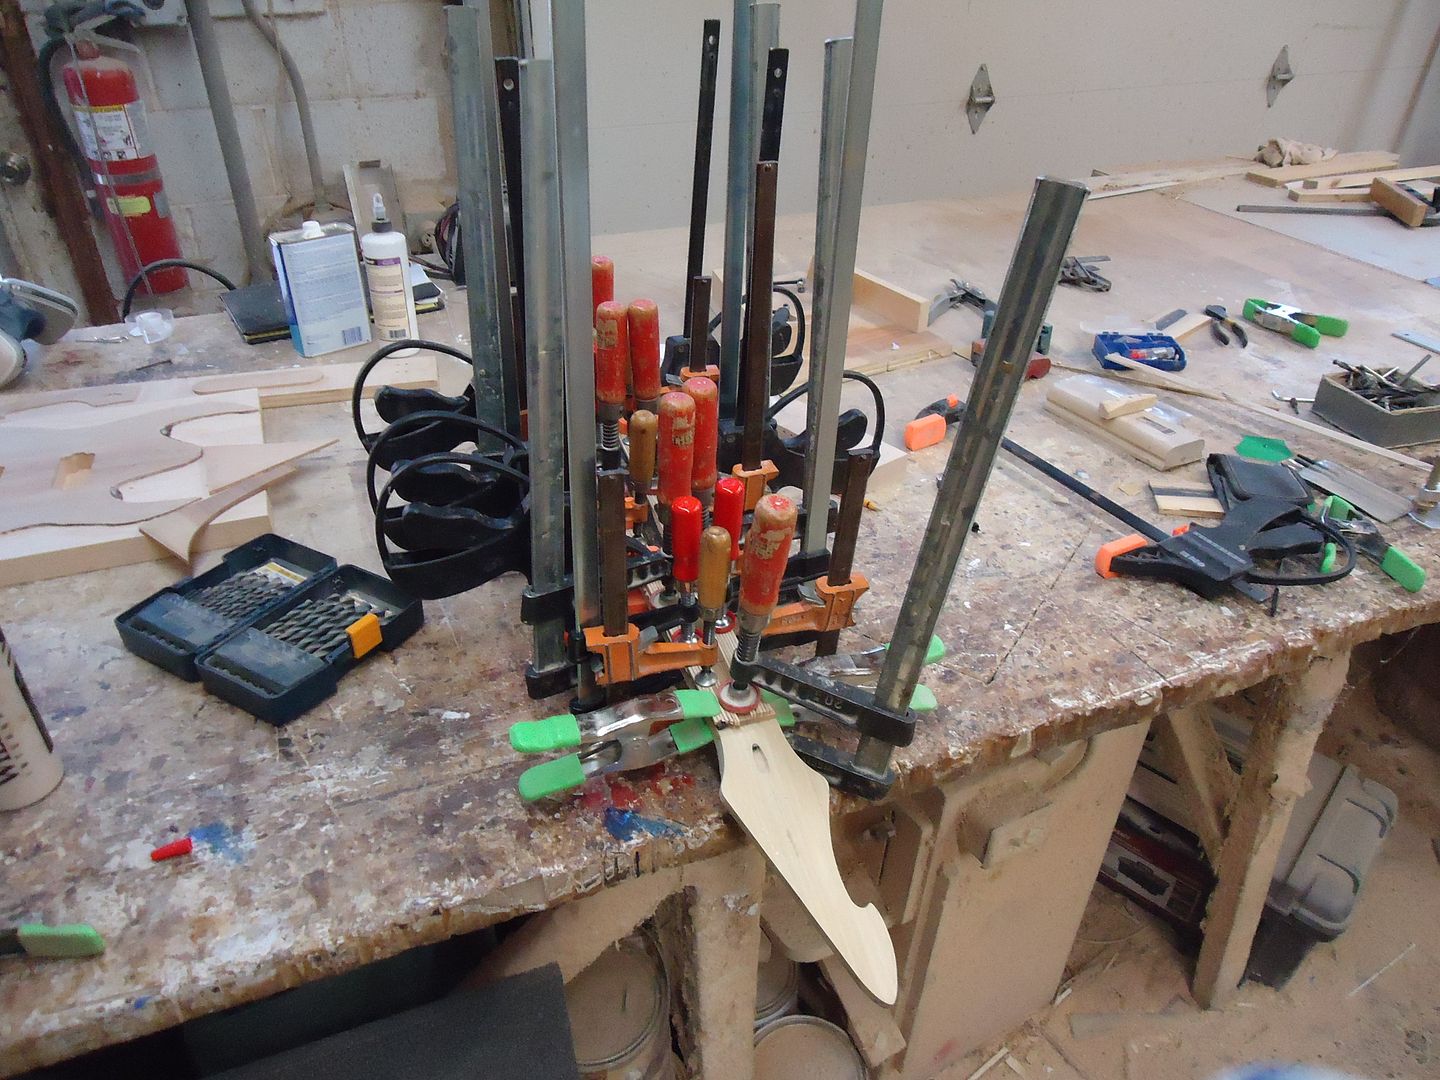
Cavity cover (not sanded flush yet)

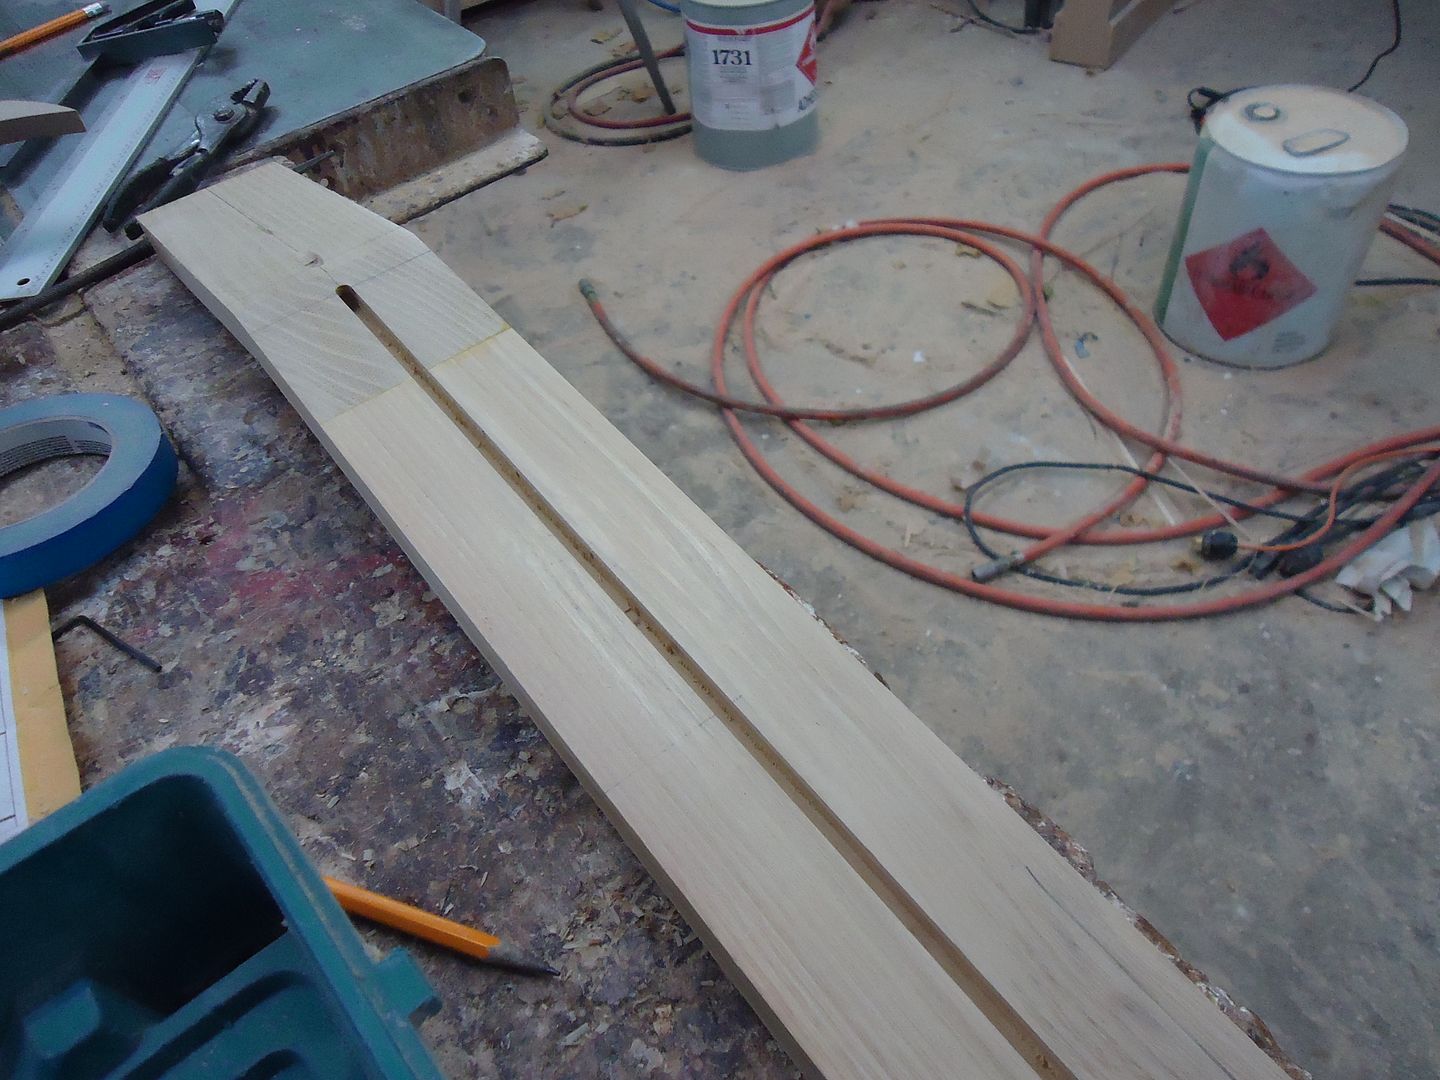
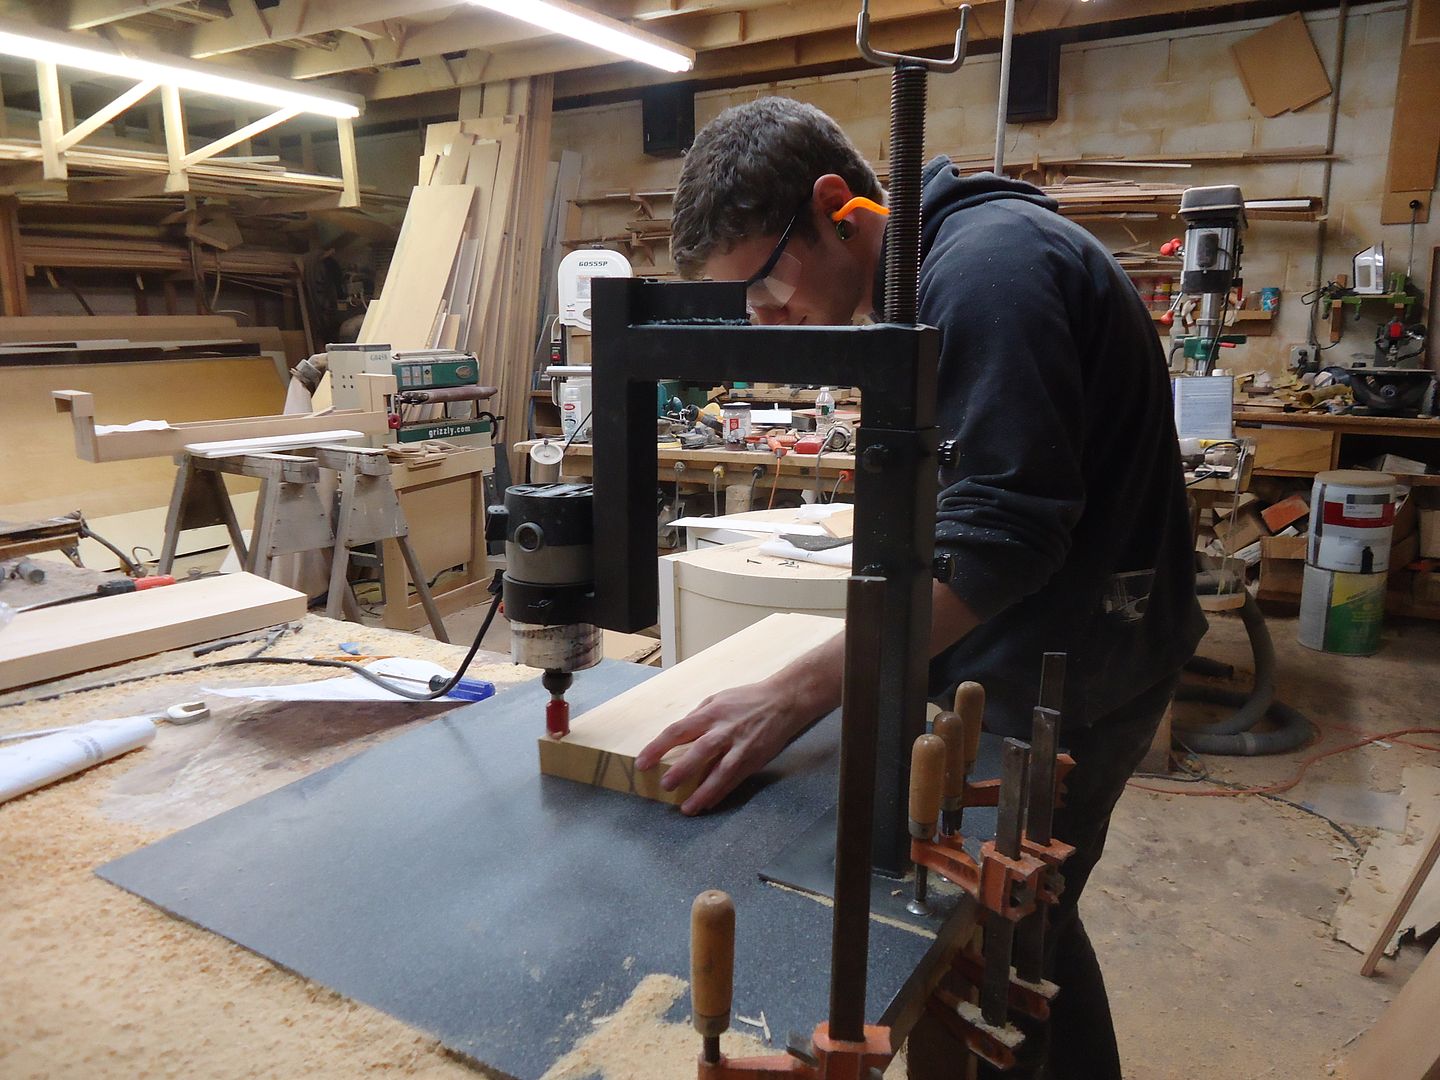
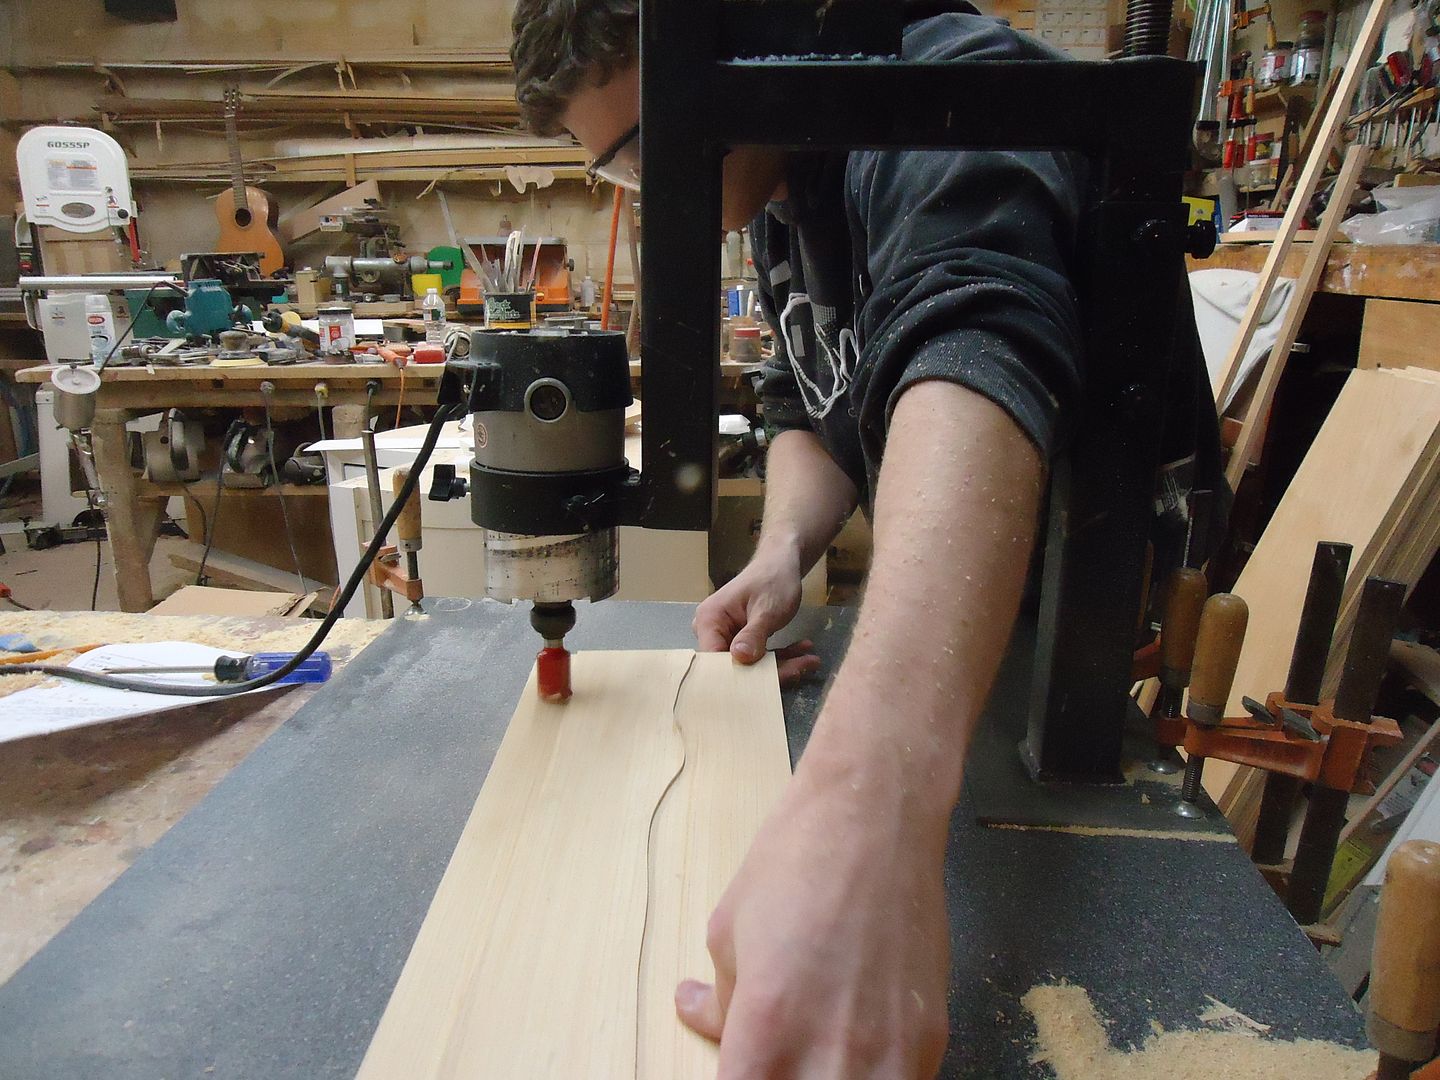
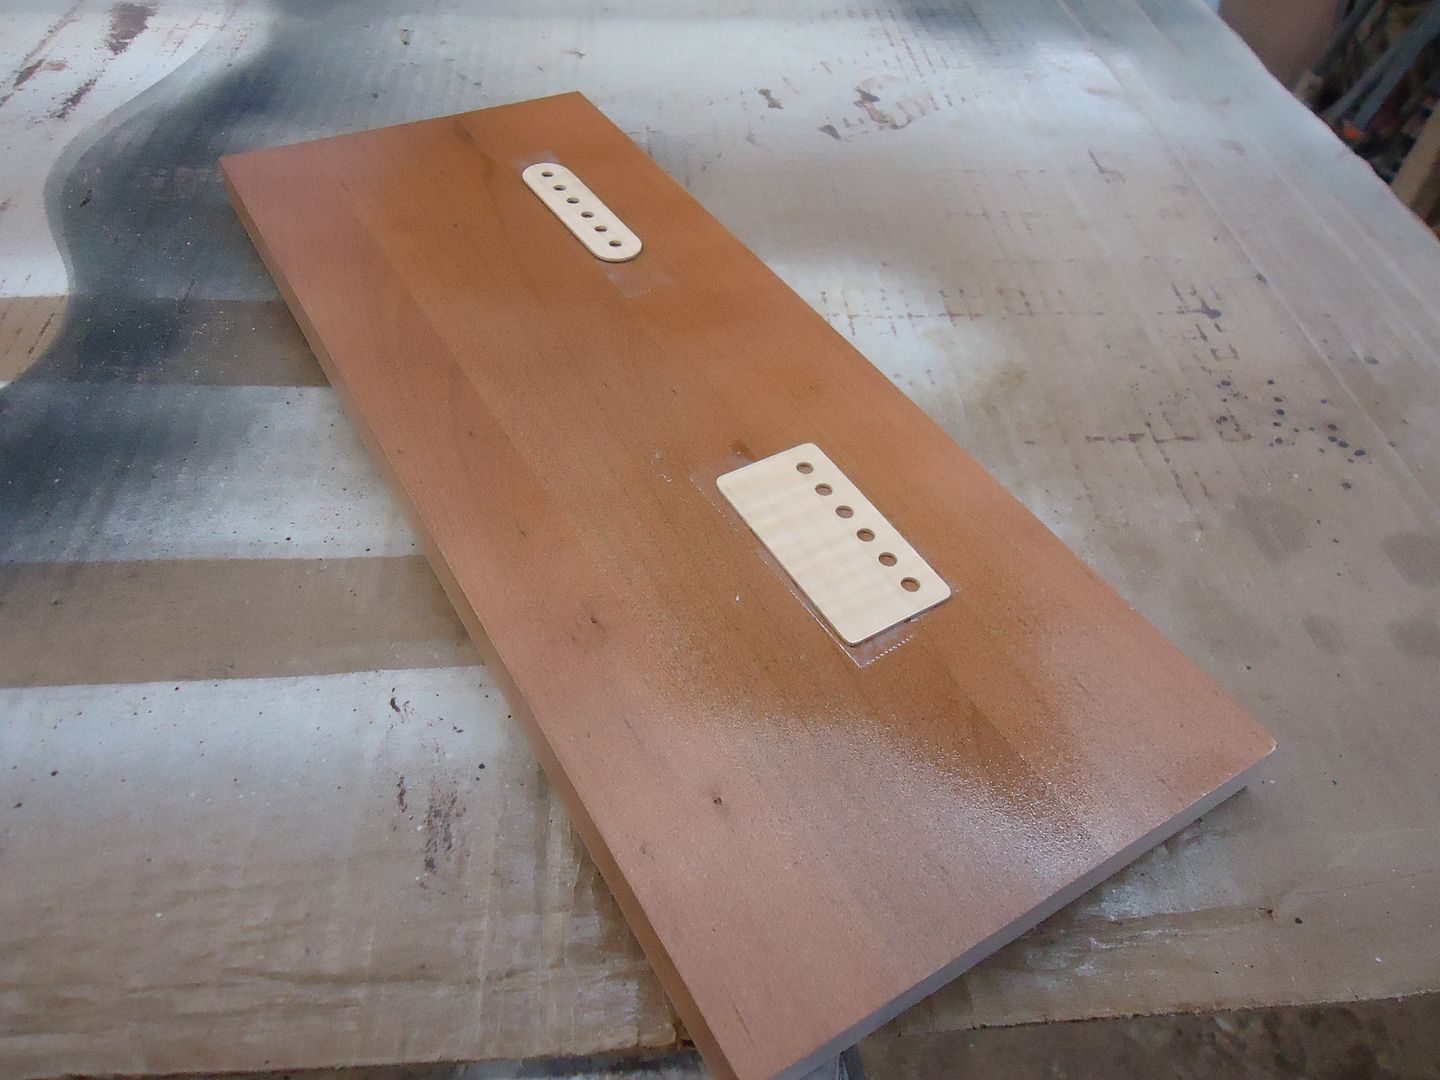
Like I said before I will be making wooden bobbins for these custom buckers. The flares will be ebony and the core of the bobbin will be maple.
Starting block
Cut down to the top and bottom of four bobbins
And taken down to their final thickness
-
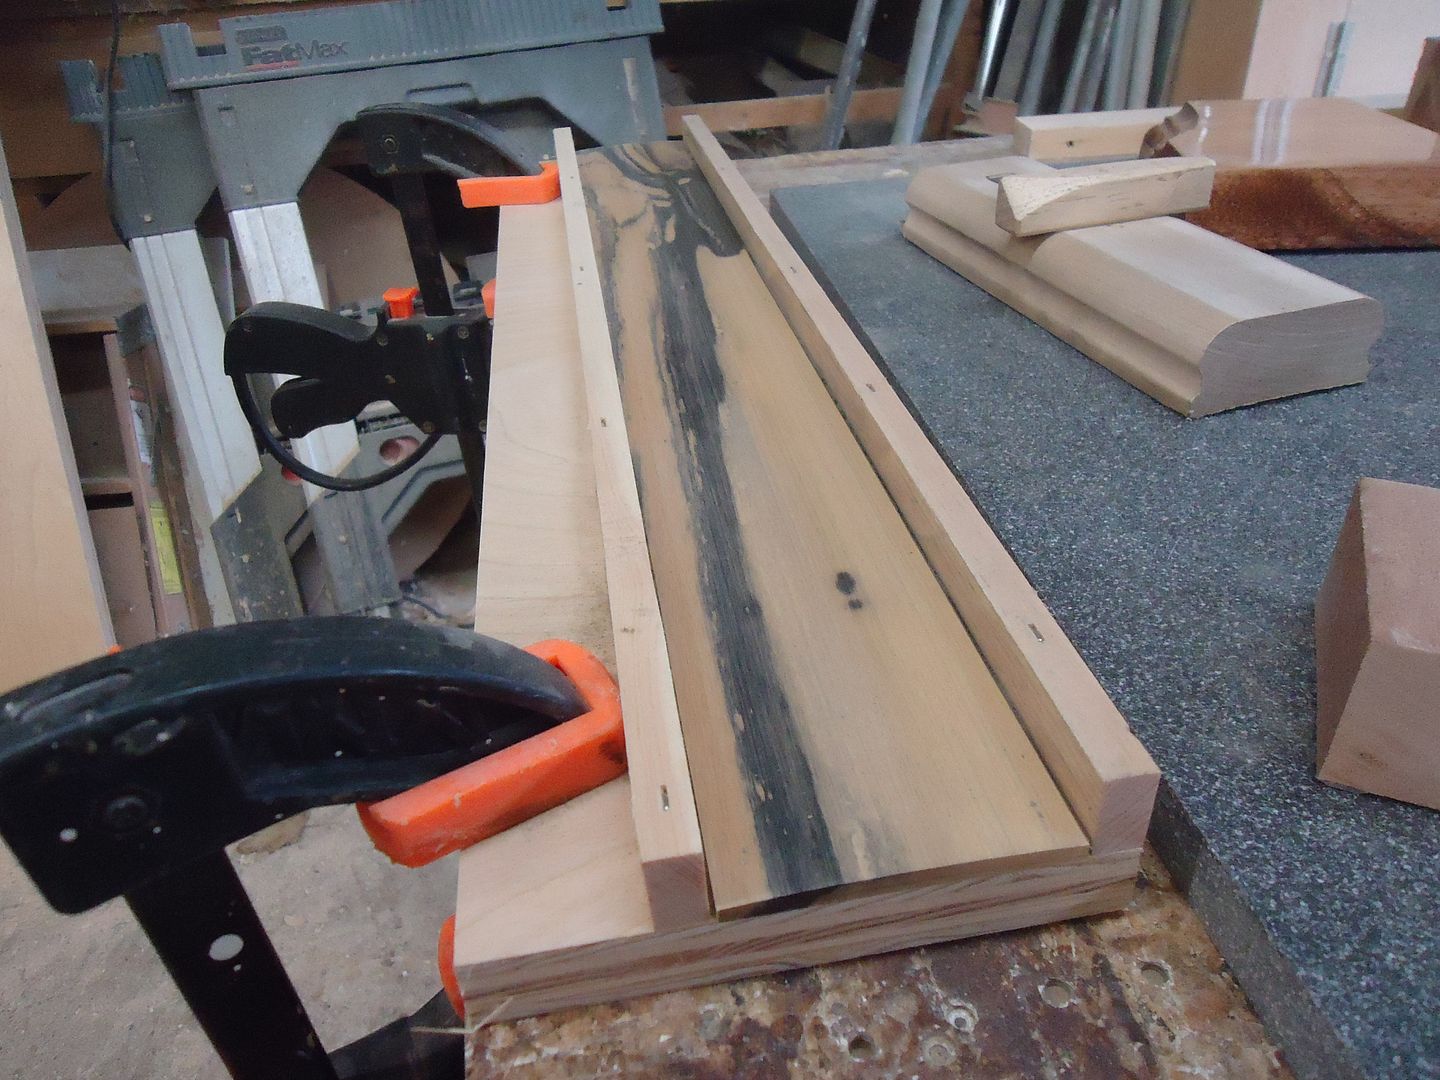
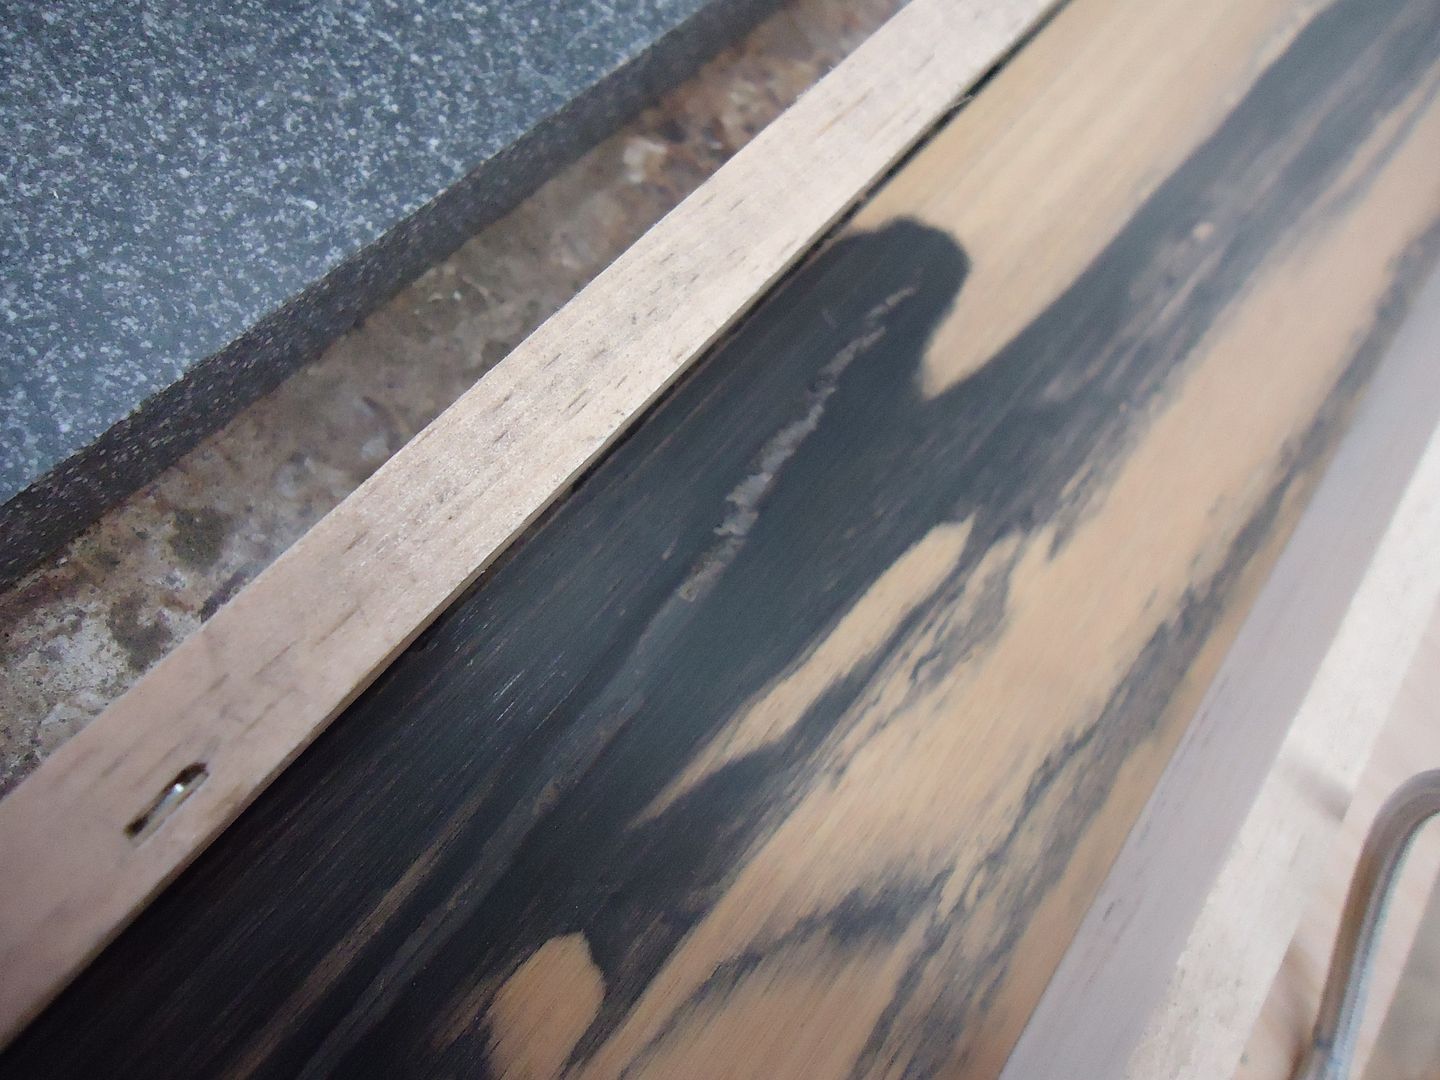
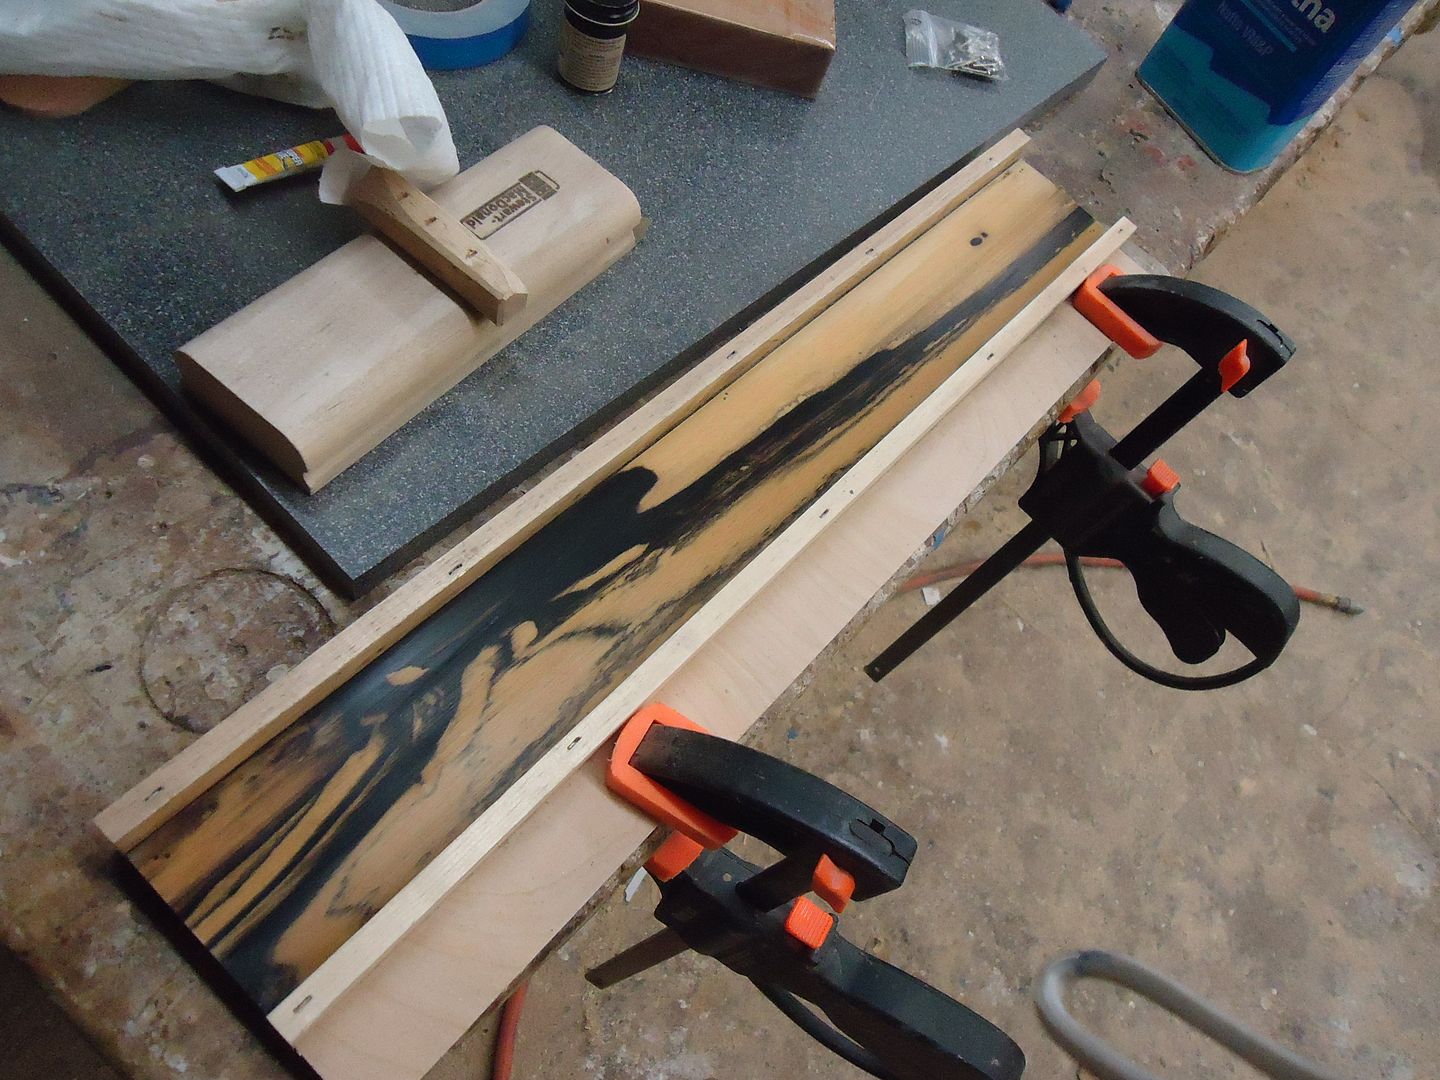
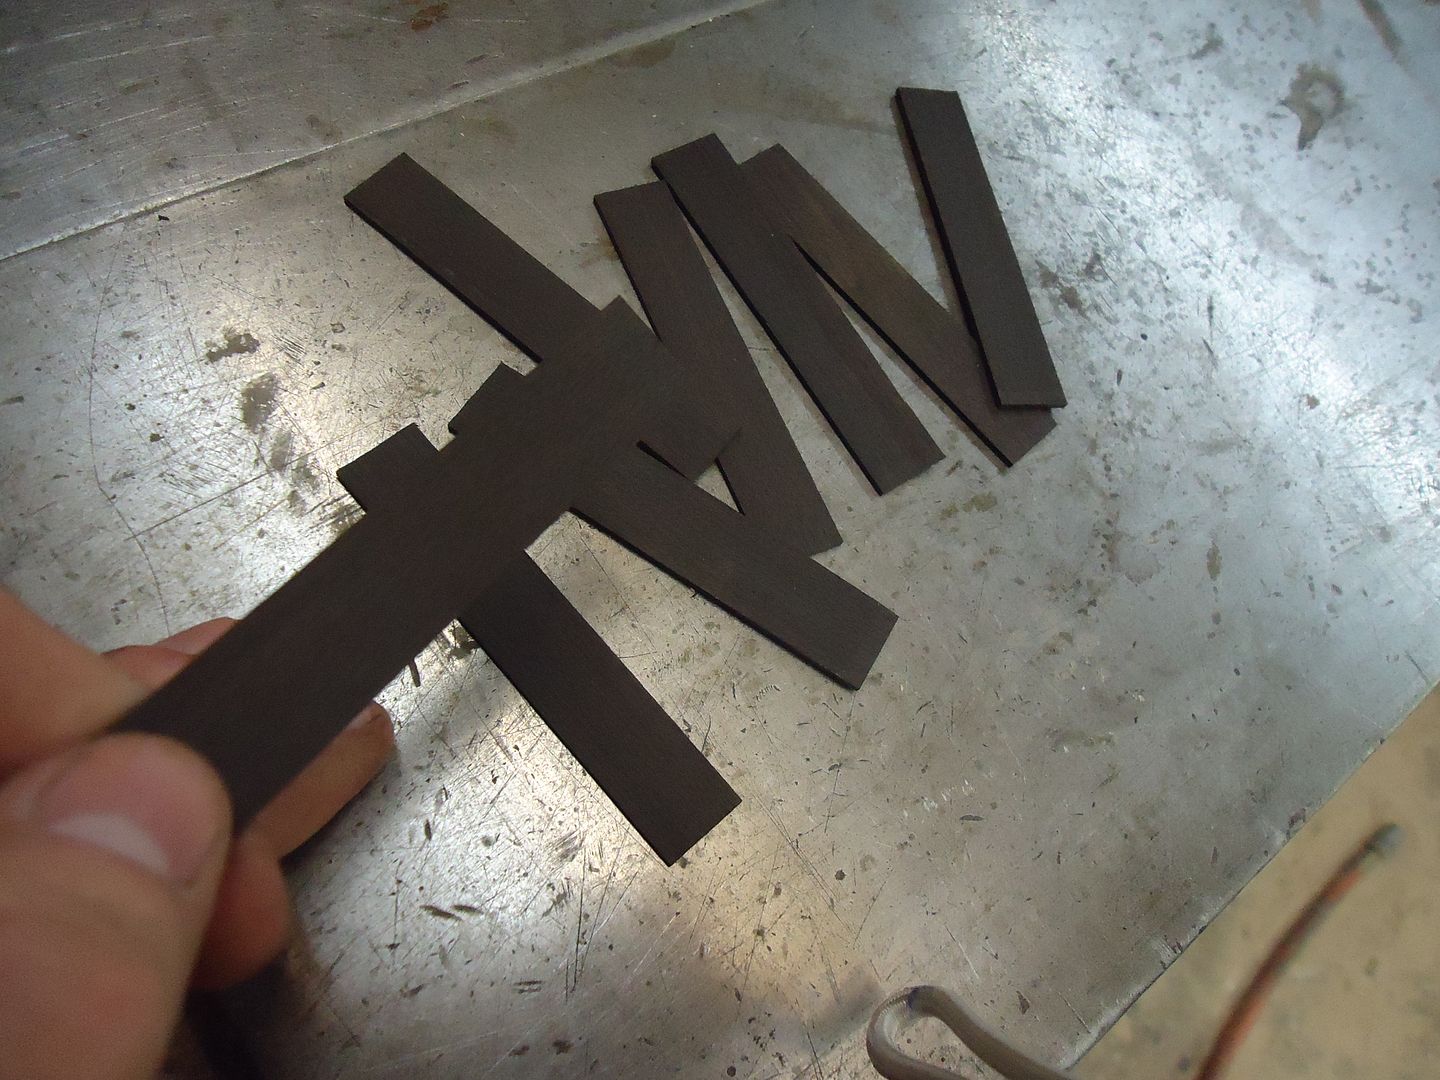
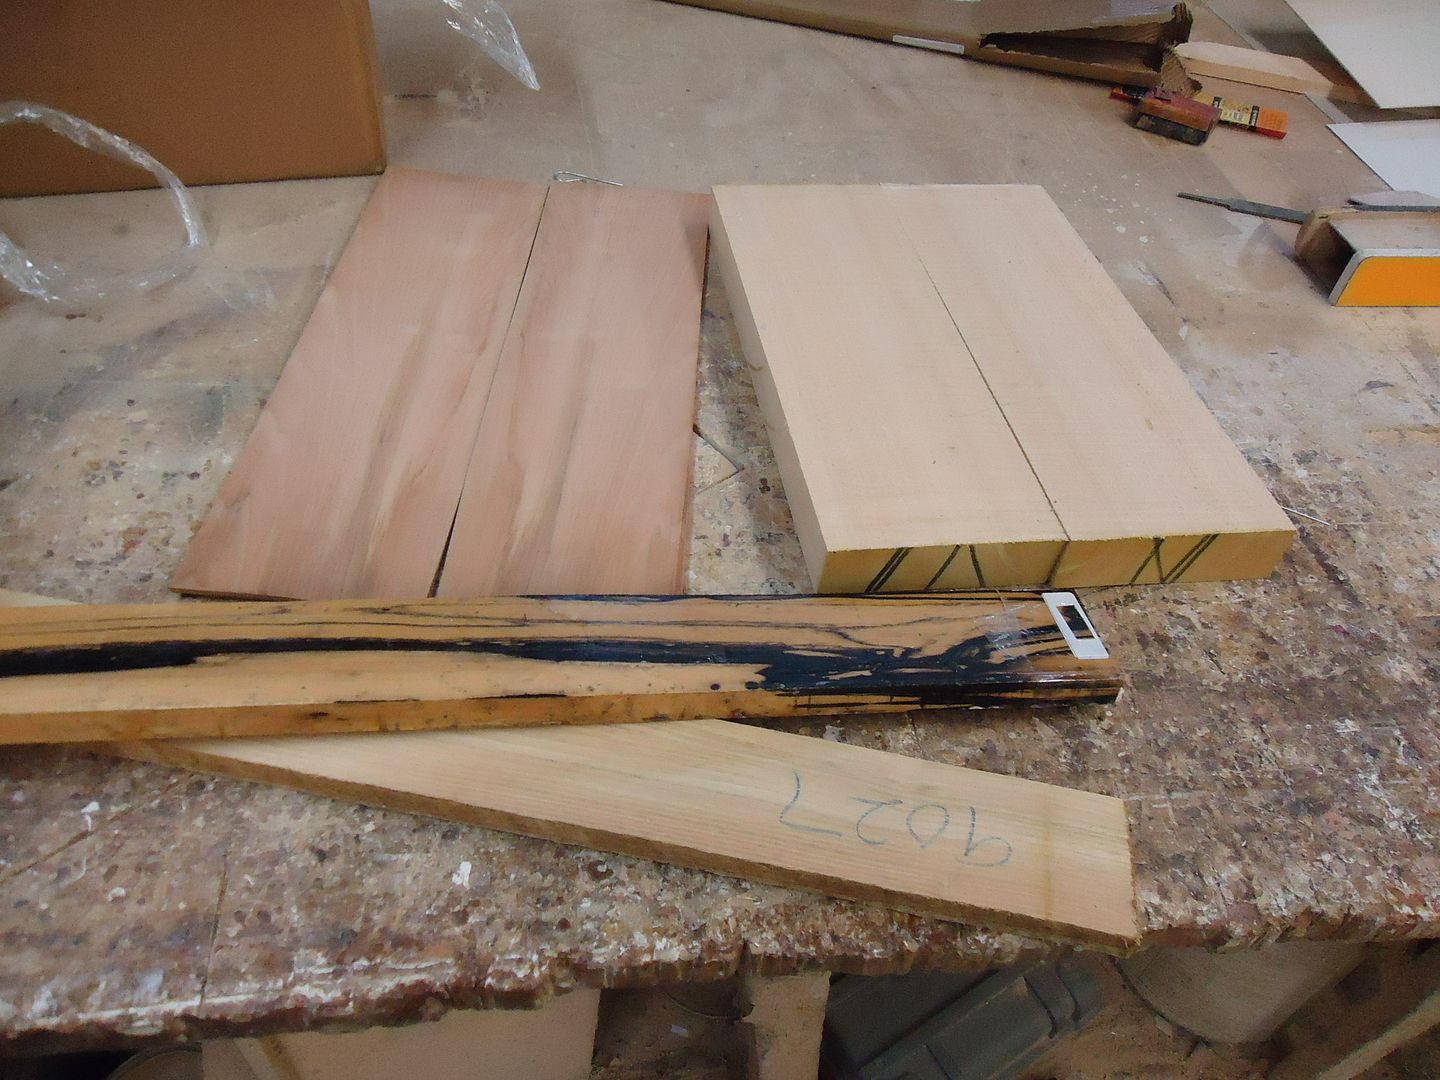
Split the black and white ebony into two fret board blanks
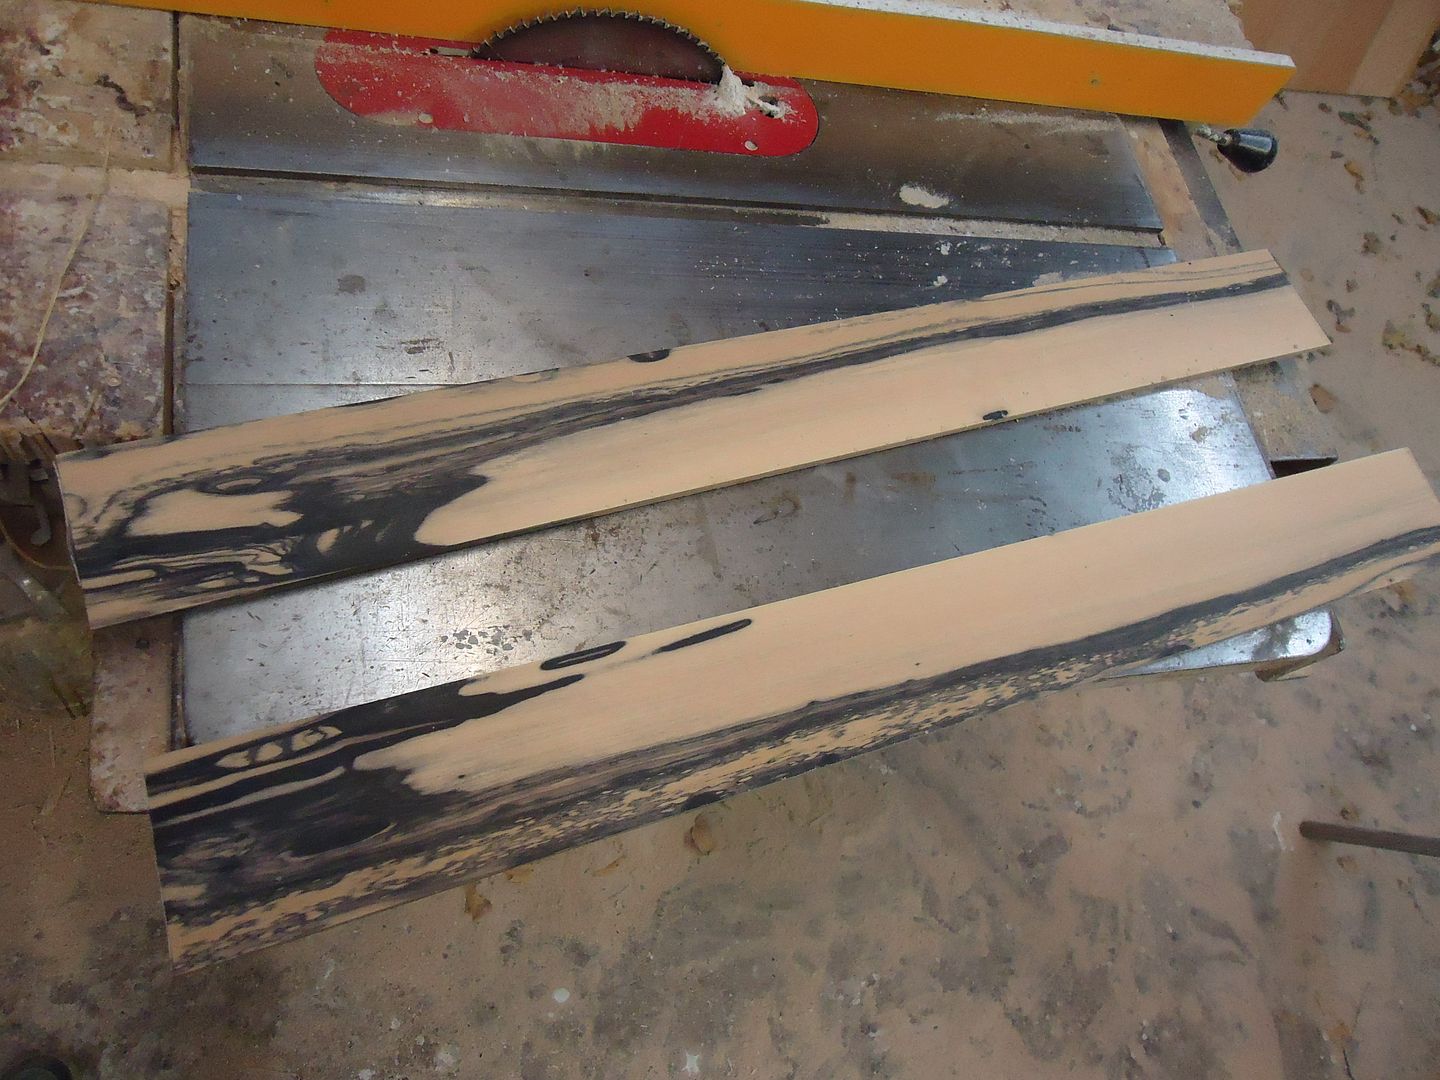
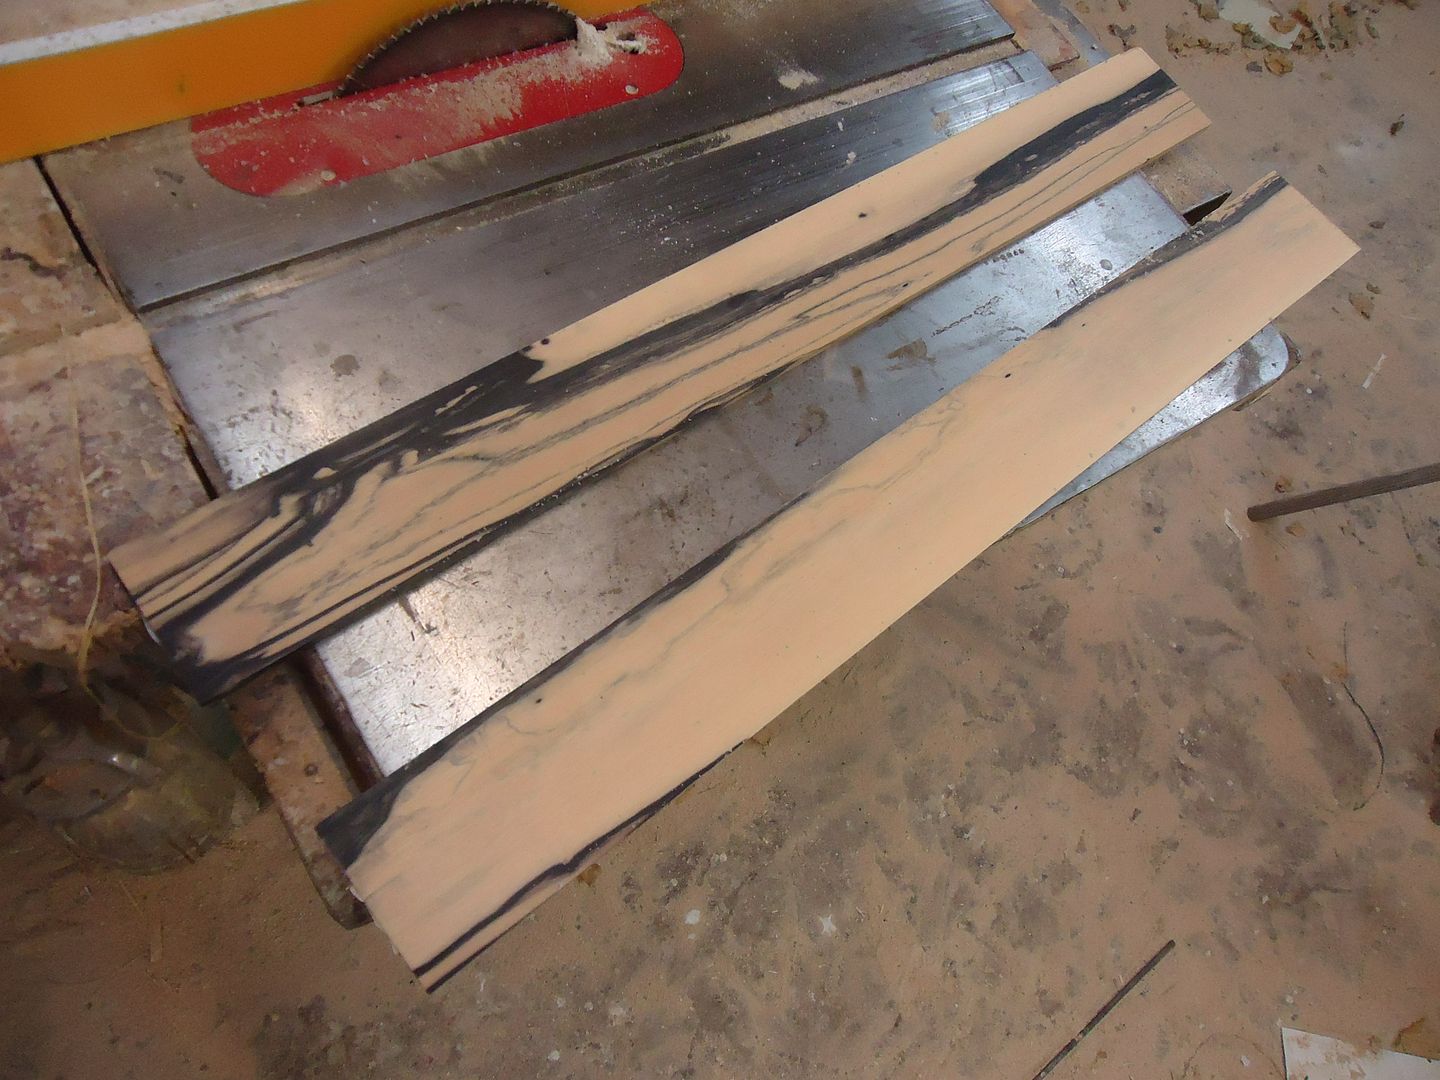
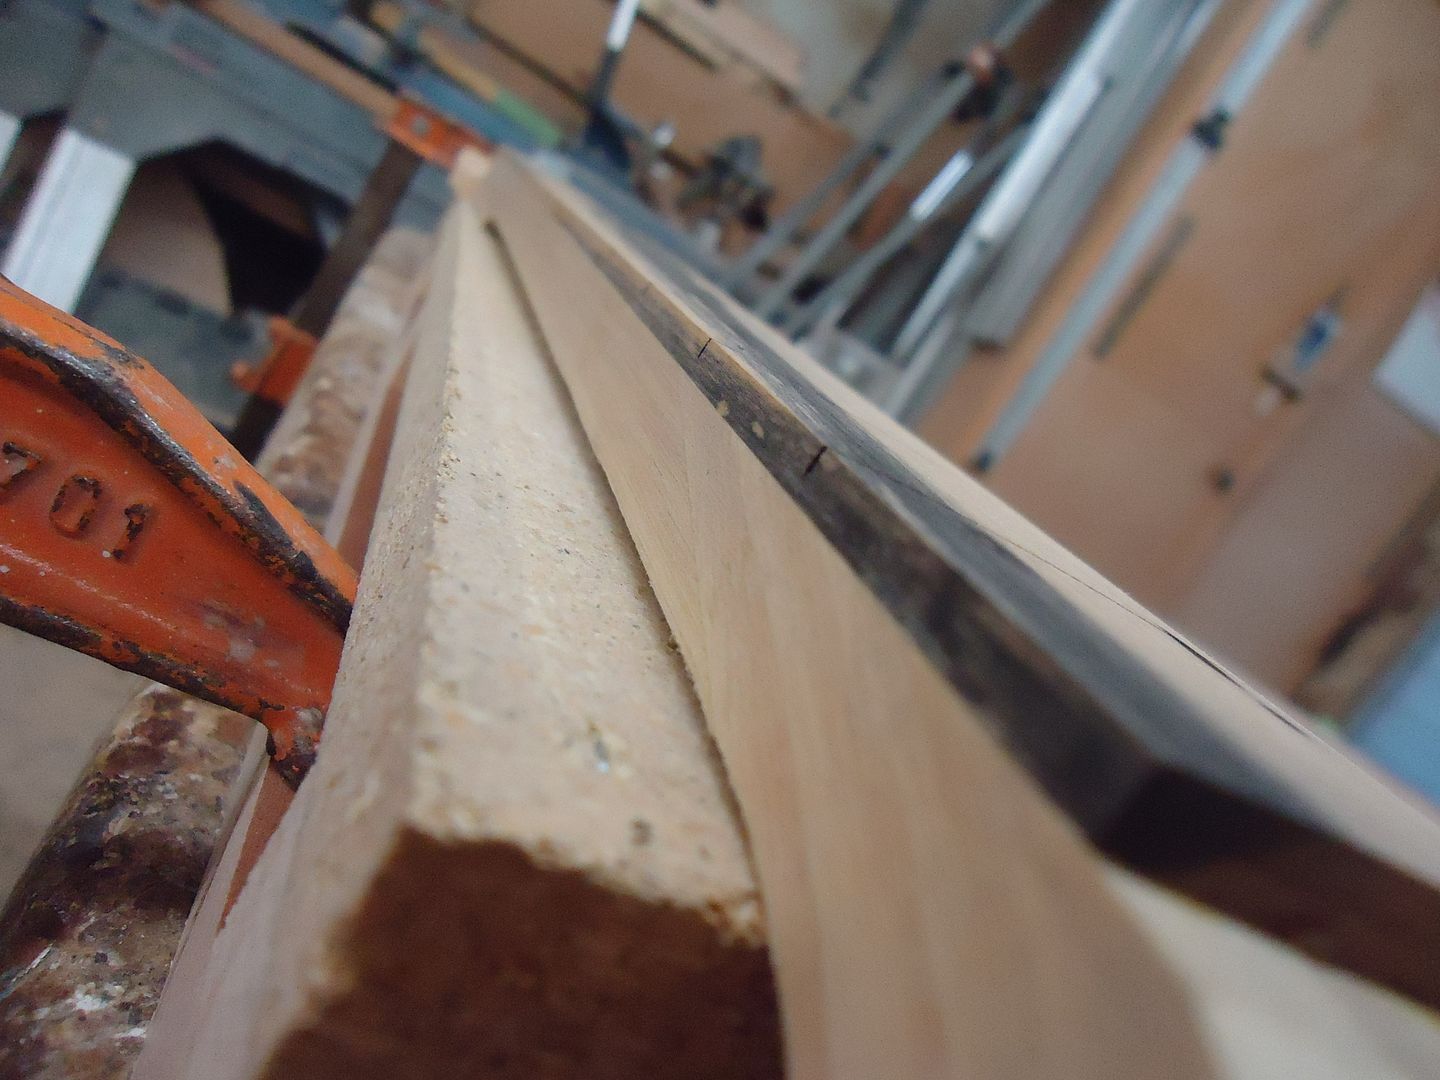
Clean scarf cut

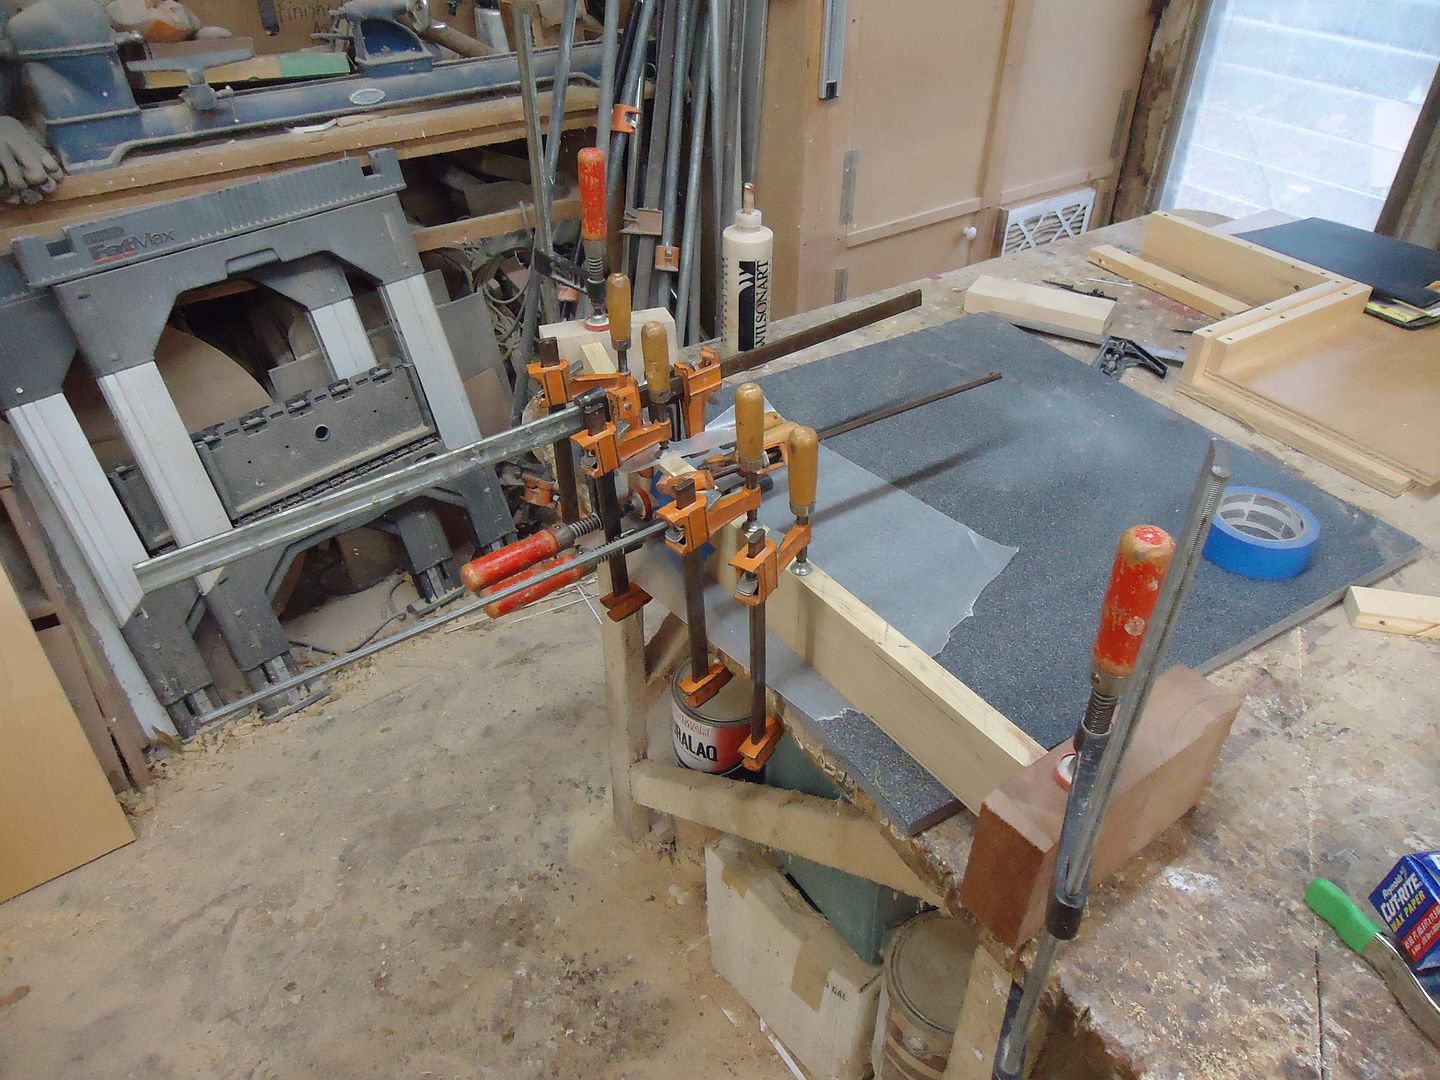
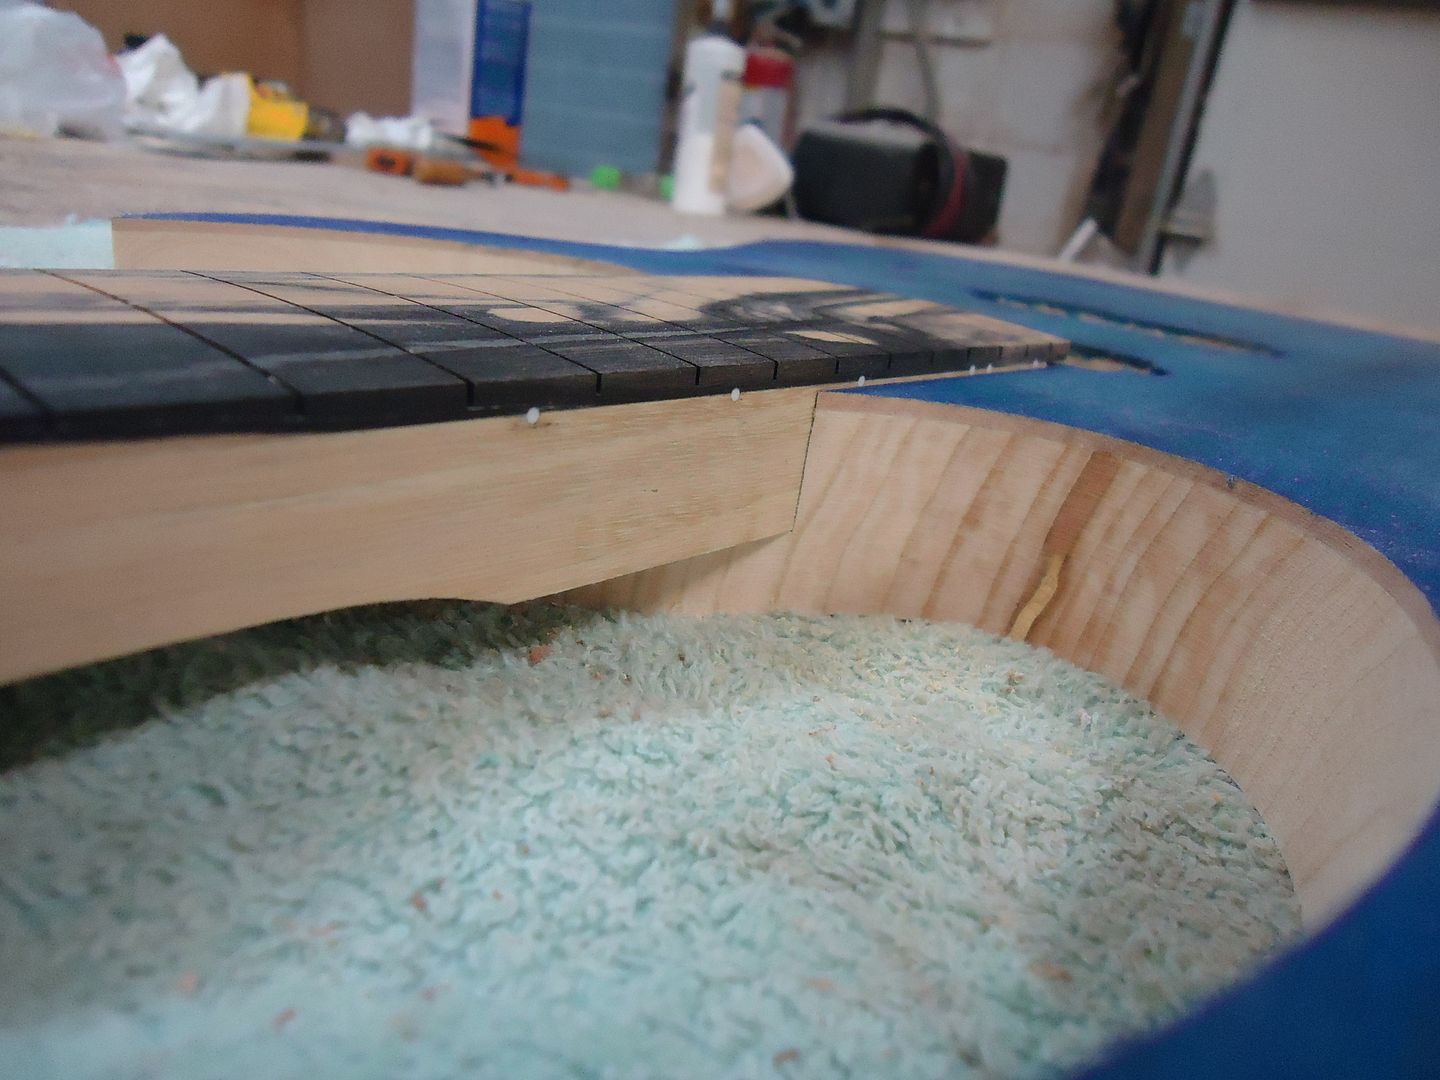
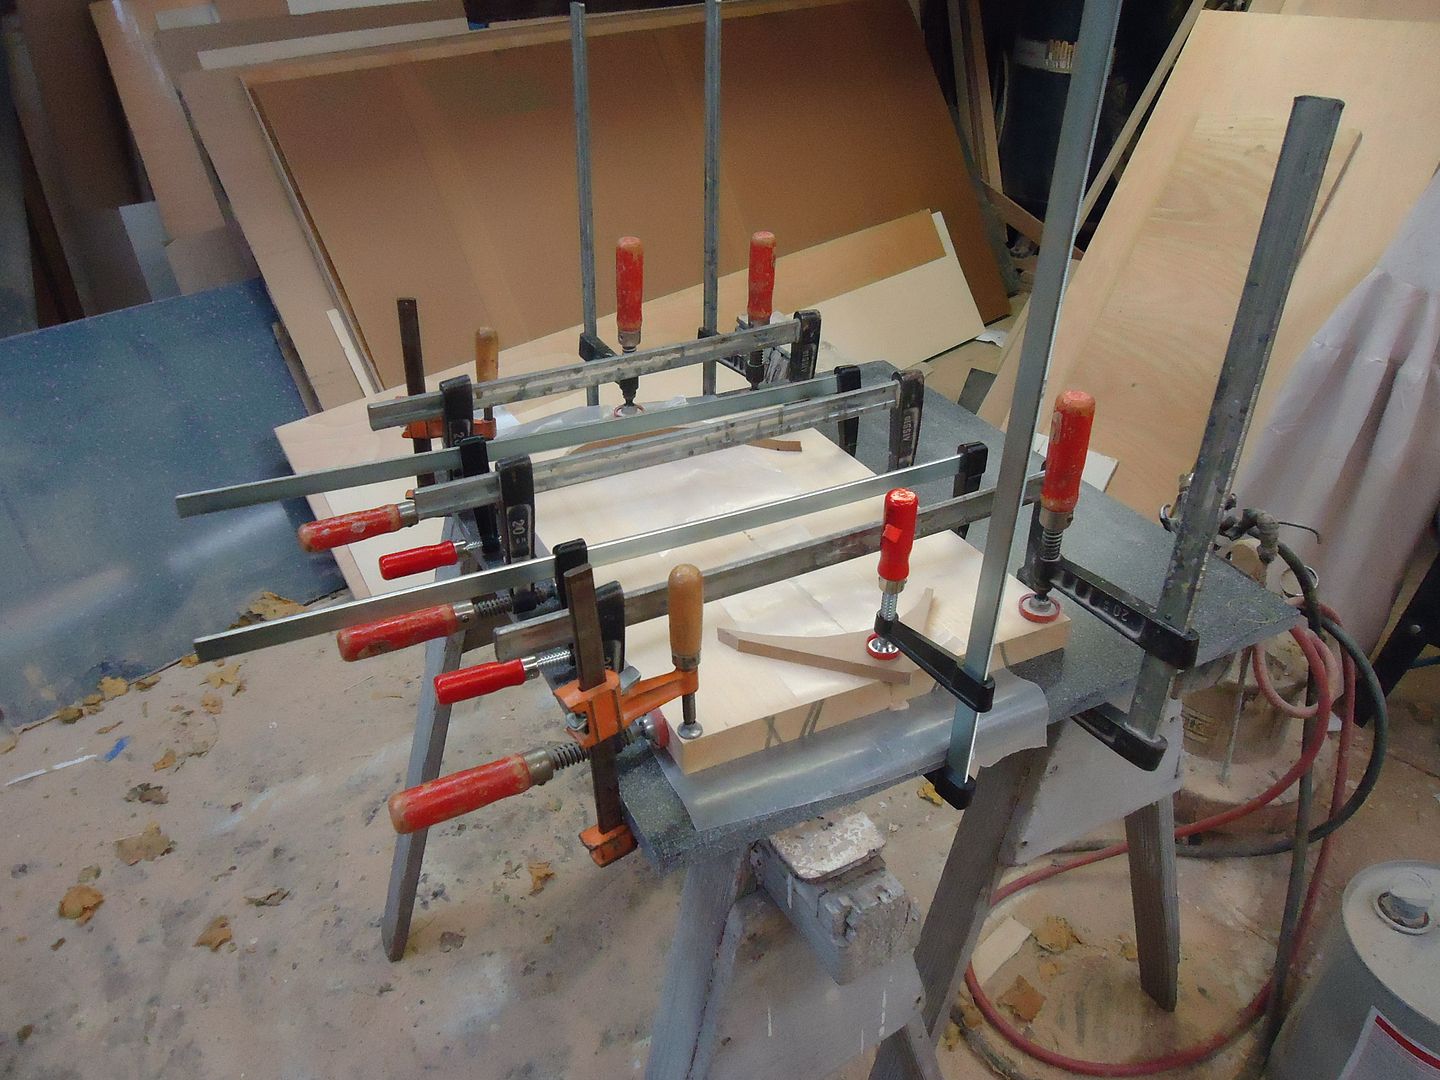
The body un-clamped

-
Hey I'm about to finish my Tele build ( Just oiling the fret board which takes a few days) but I have started a new build in the meantime.
Seven string
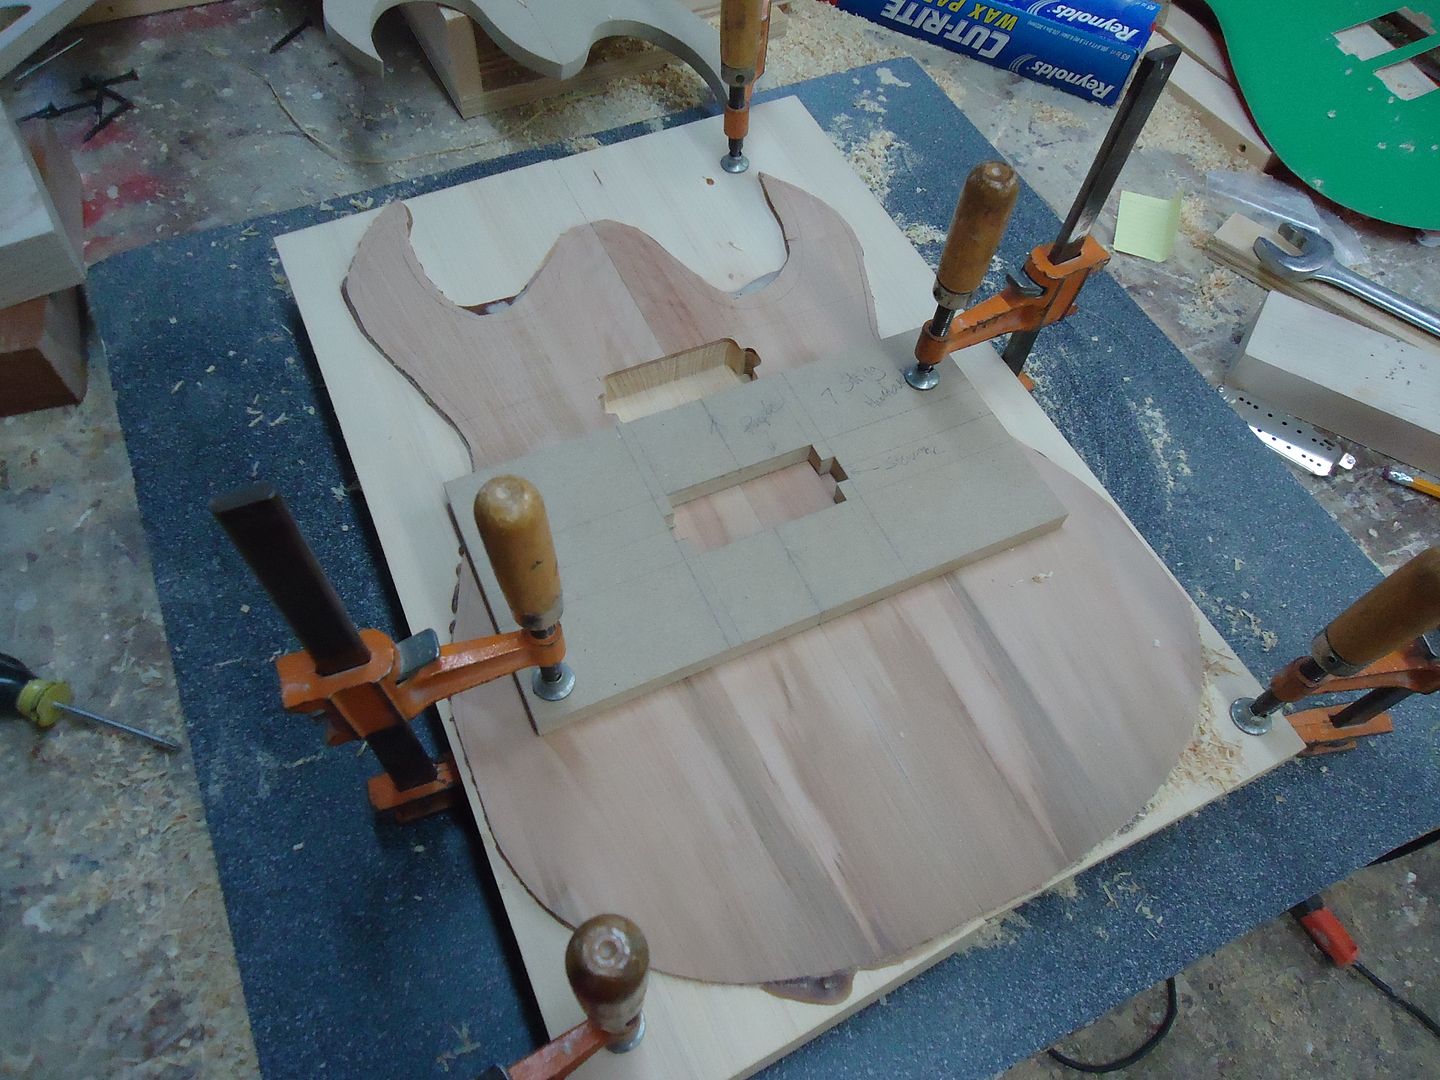
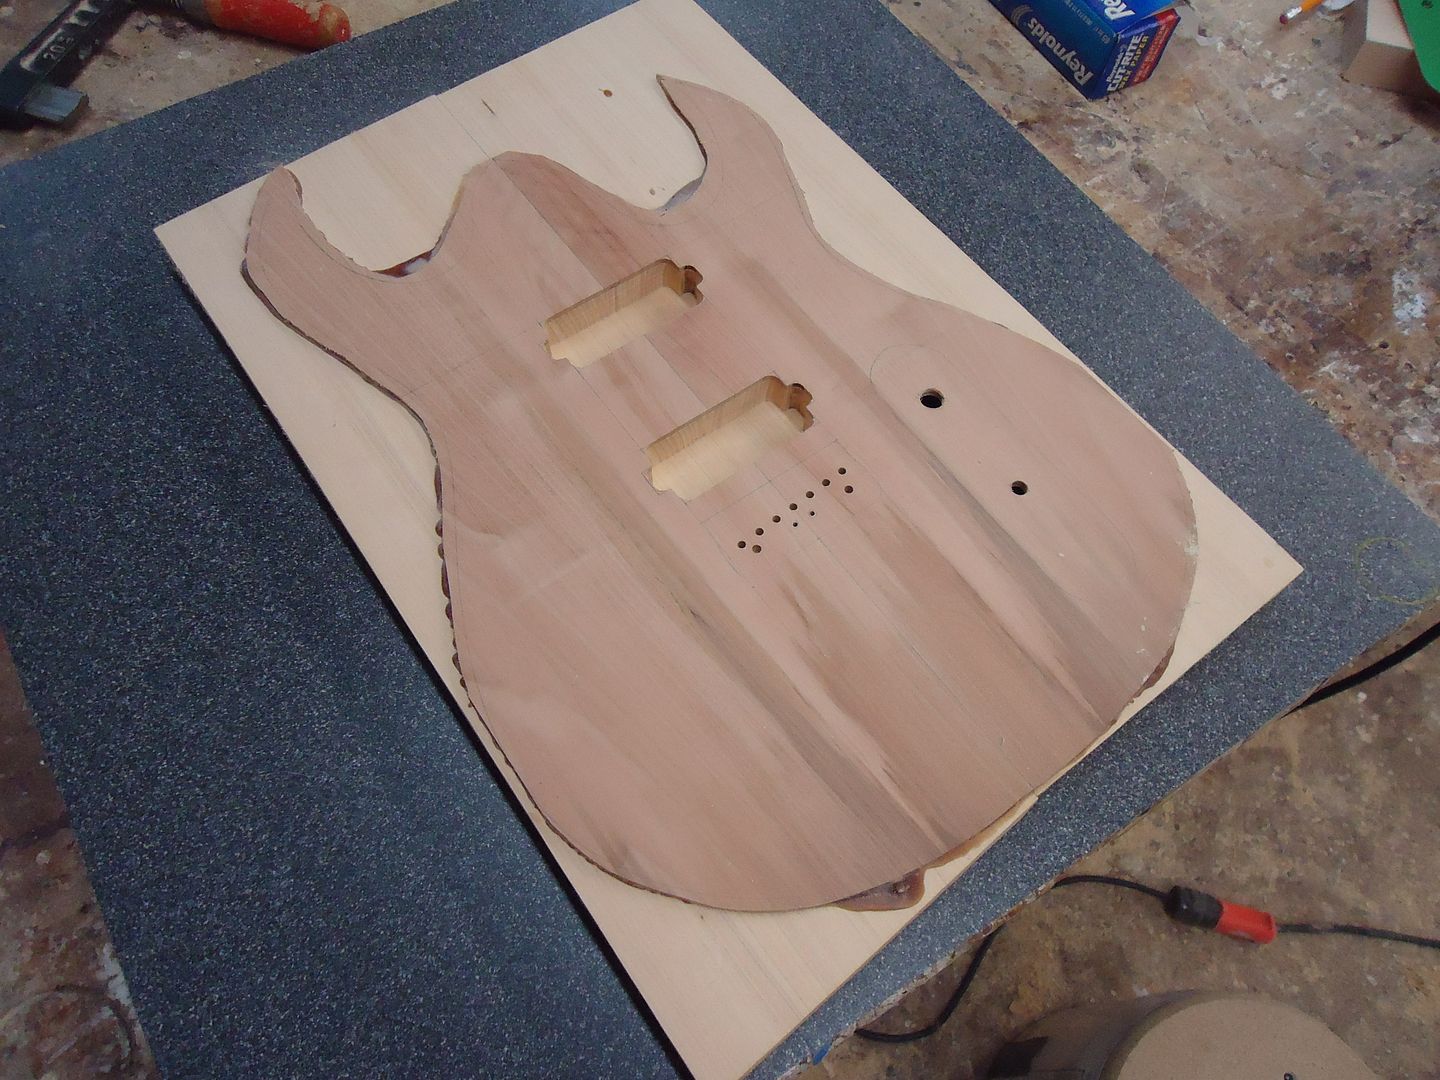
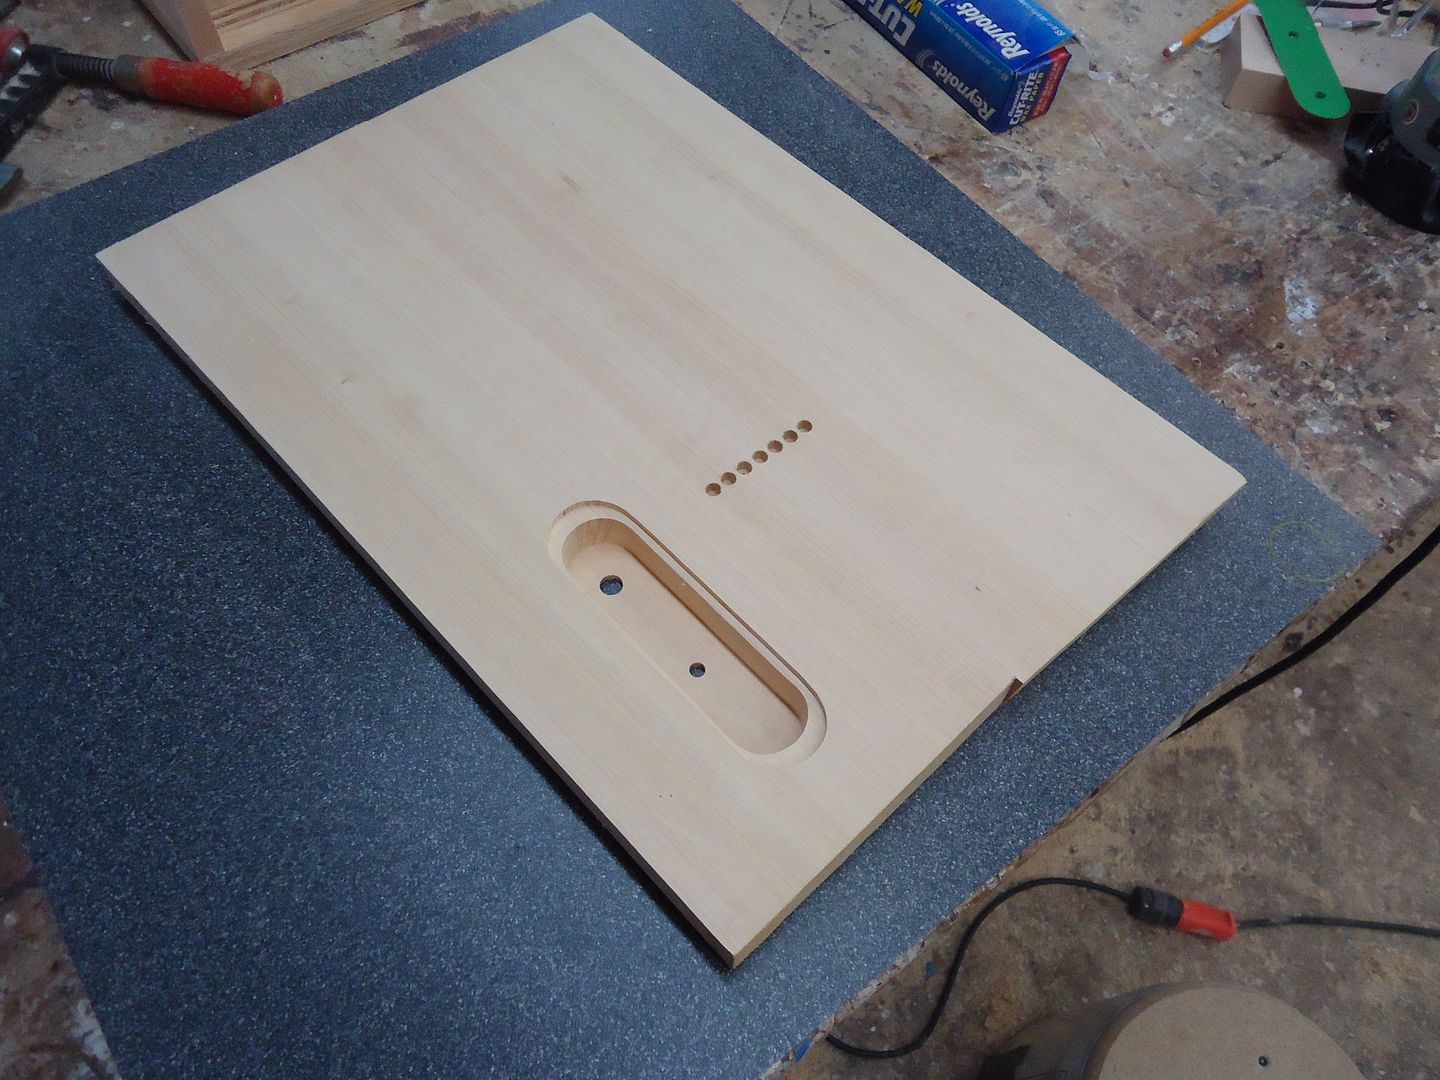
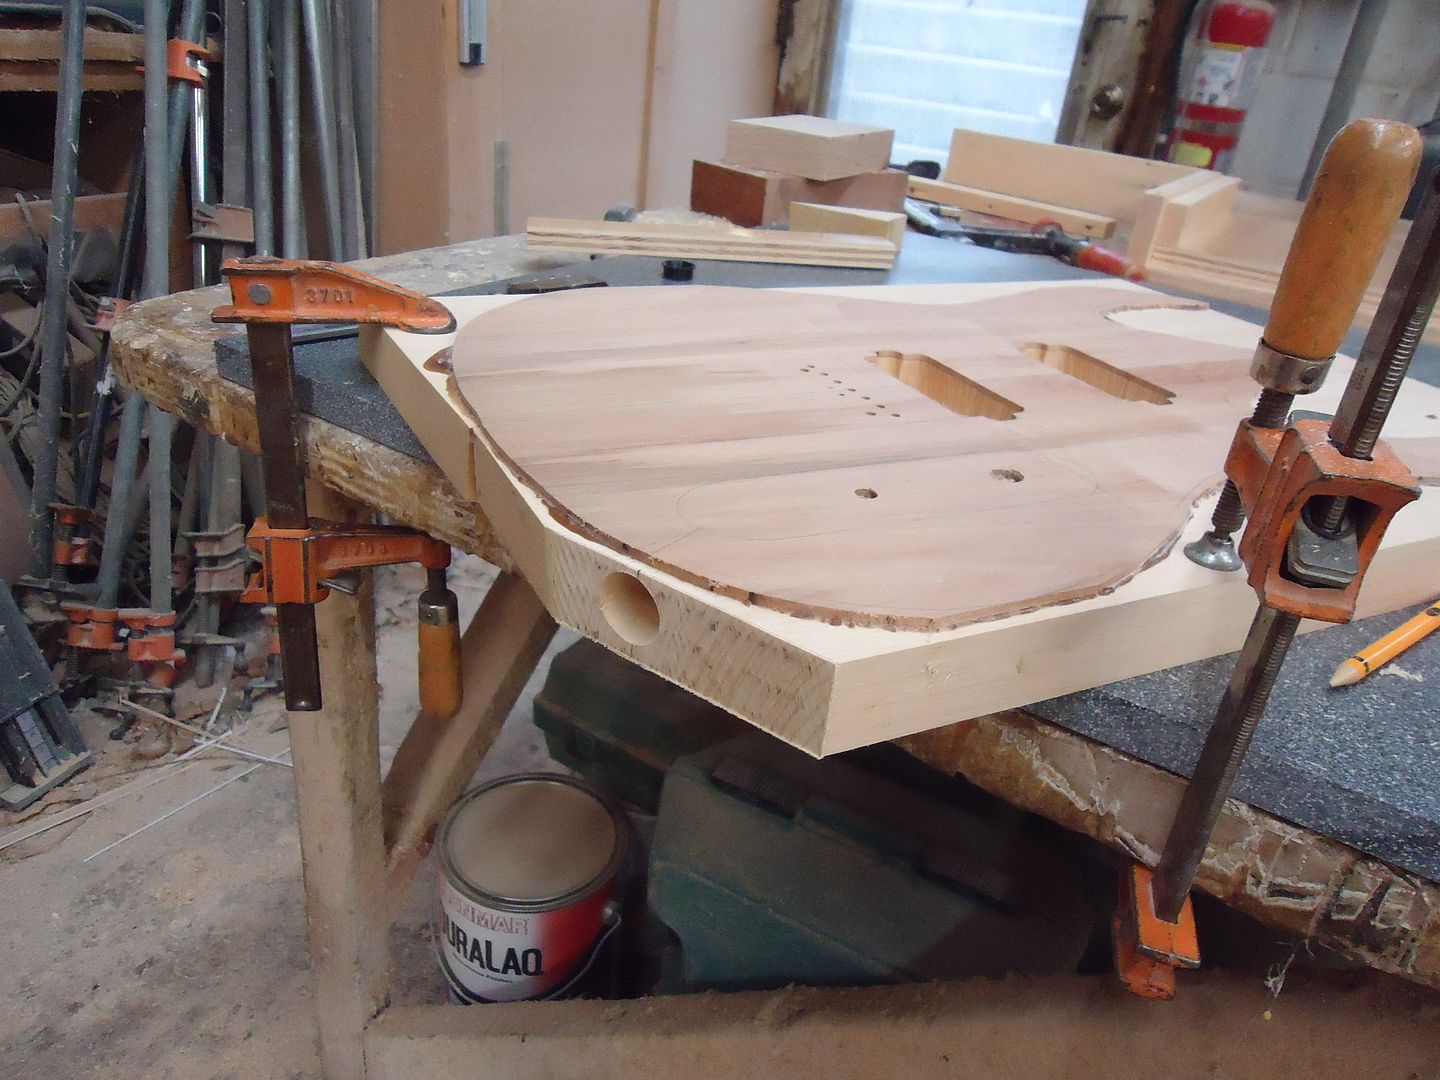
Port Orford Cedar body
Western maple top
Black locust neck
Black and white ebony fret board
25.5 scale with 24 jumbo frets
Black tusk Nut
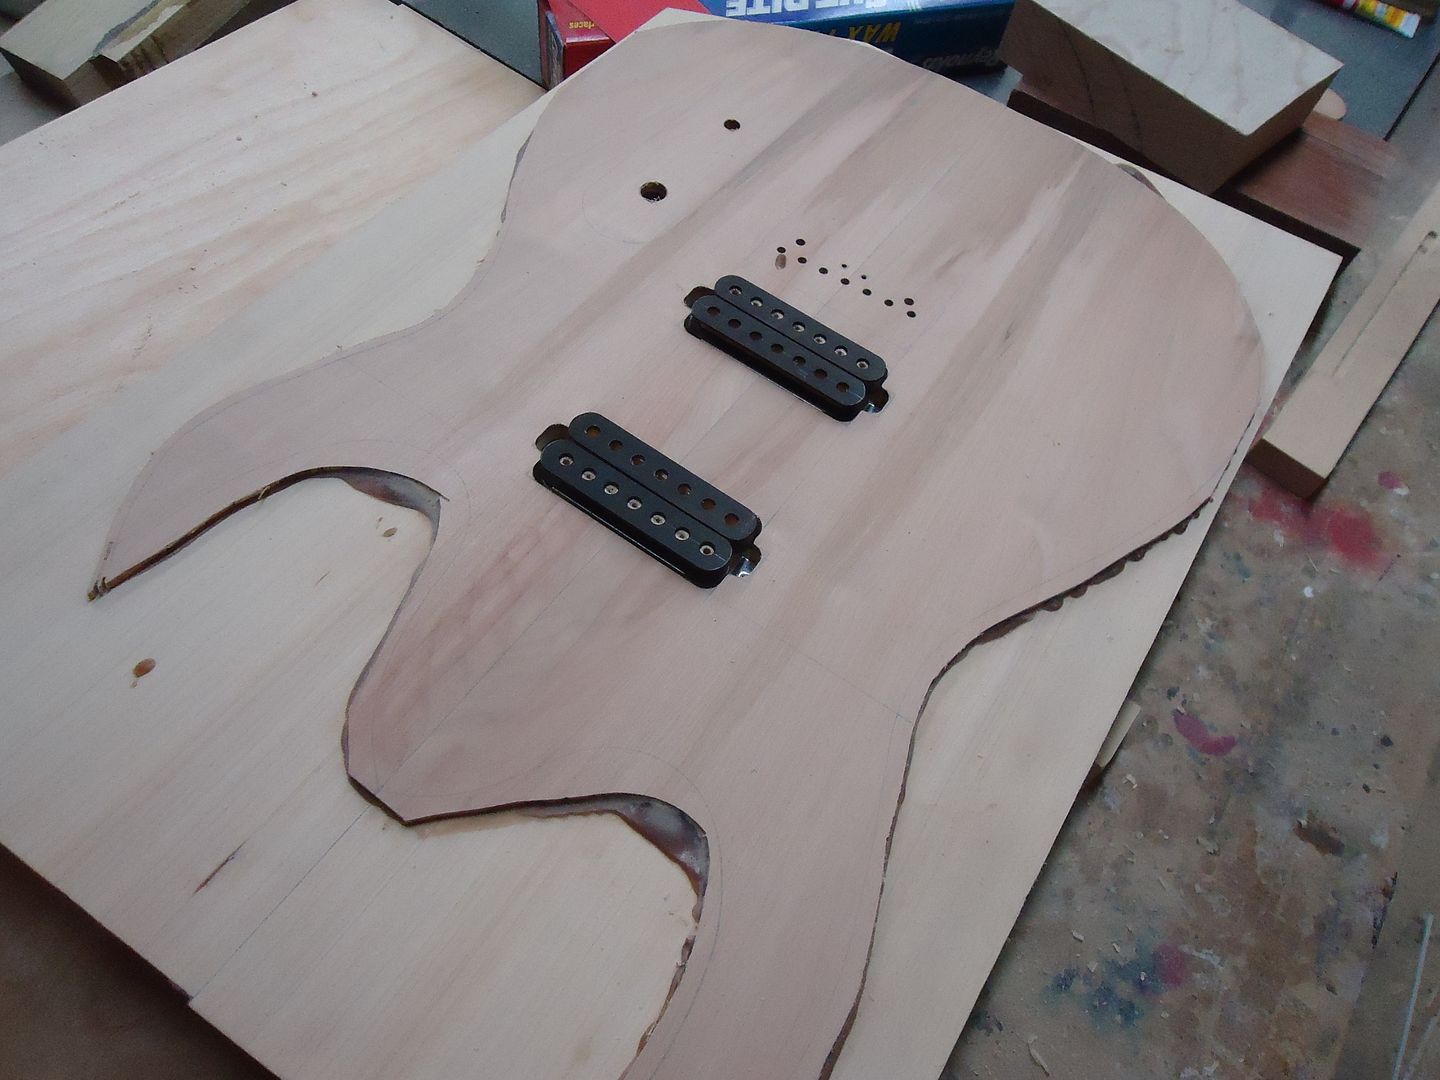
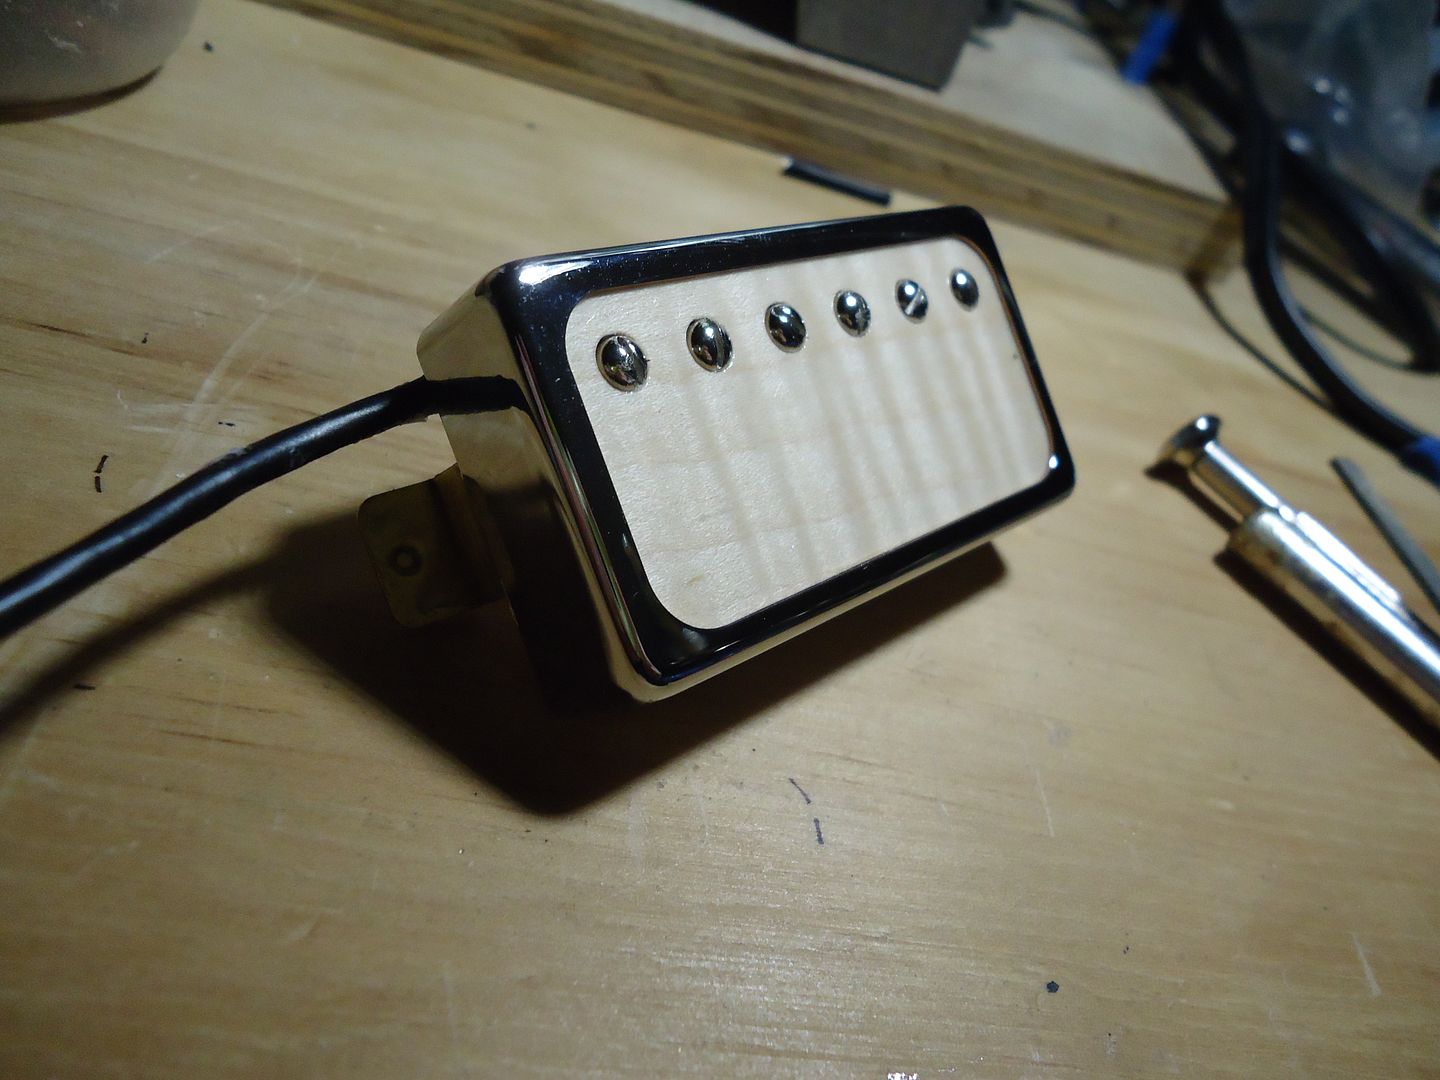
Custom wound Robbins Humbuckers with ebony bobbins
Black hardware
Hipshot hardtail and locking tuners
To be finished of with a lagoon burst!
Heres the boring start up pics
Getting the body down to about 1 1/4"
Jointed body

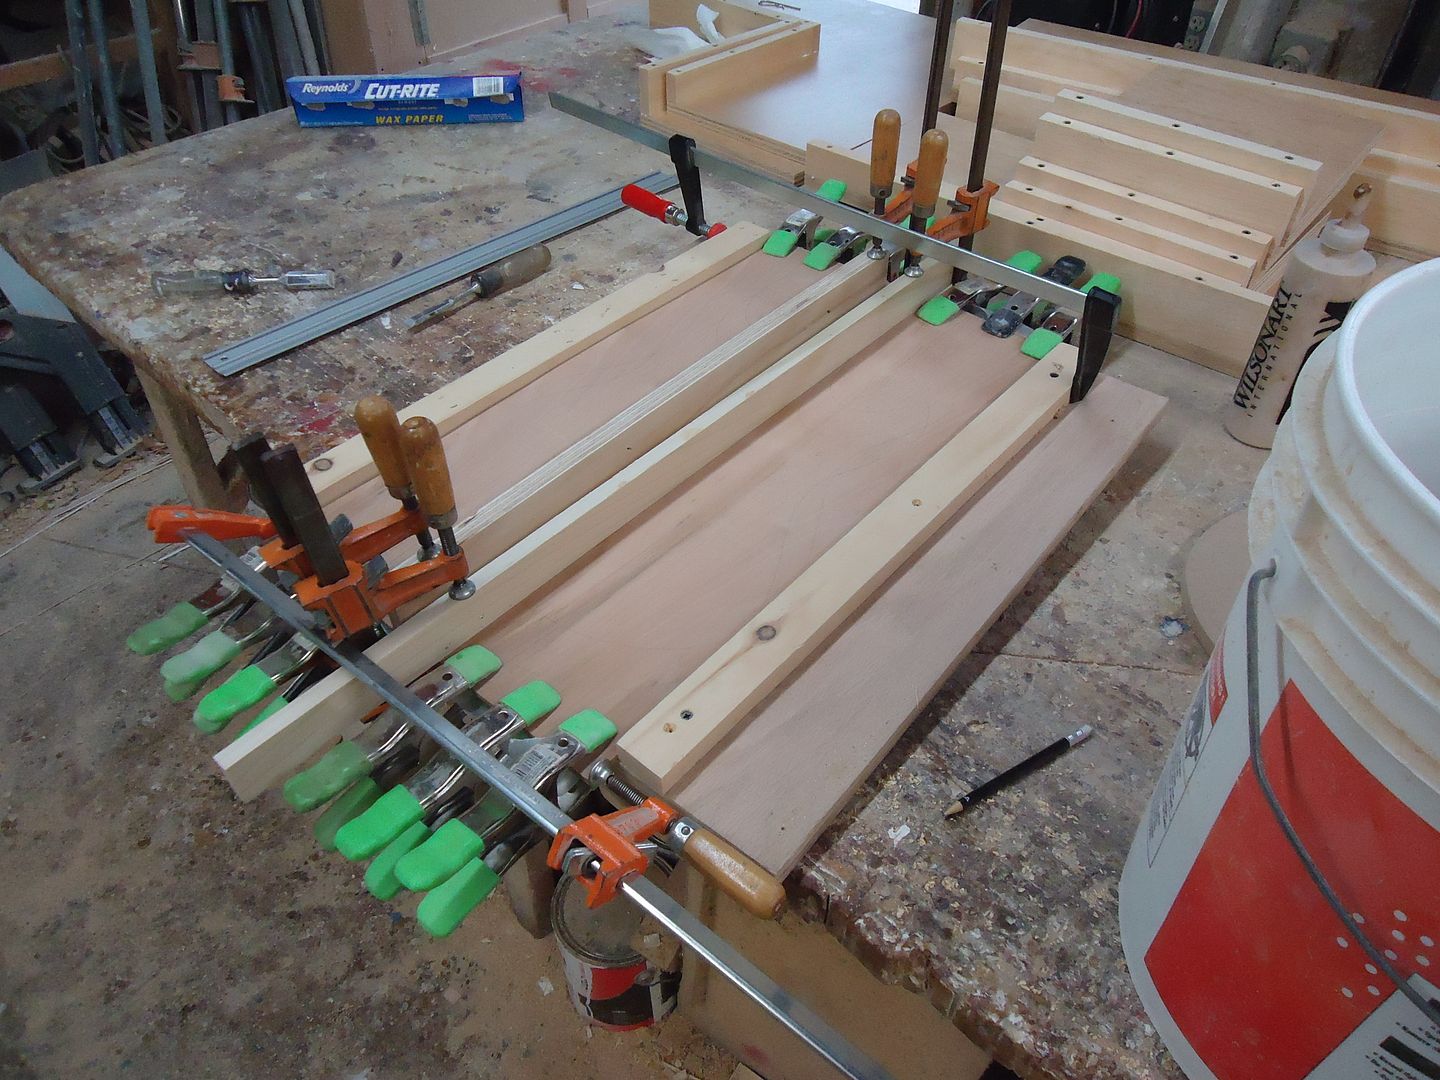
glueing up
glueing the top
-
Last few pics till shes all done guys!
Fretwork
All sealed and ready for clear coat!
-
1
-
-
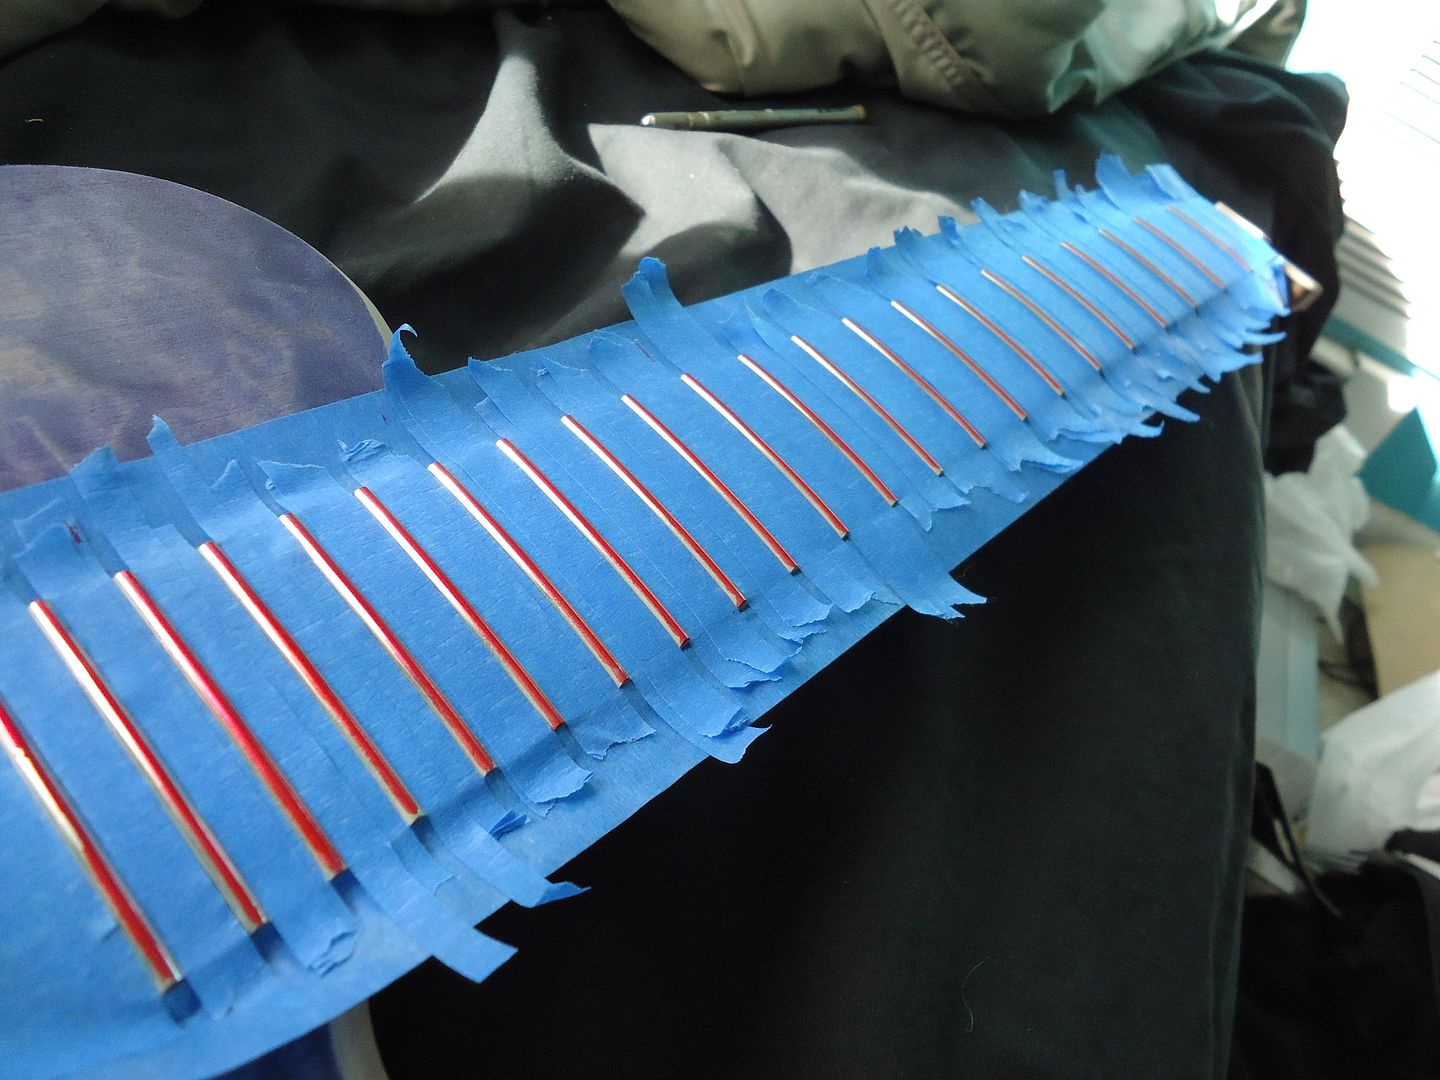
Haha thanks! Im still looking into vinal decals though, I was goin cross eyed trying to get such thin lines
-
Neck glued in
Adding some sealer

Number 2
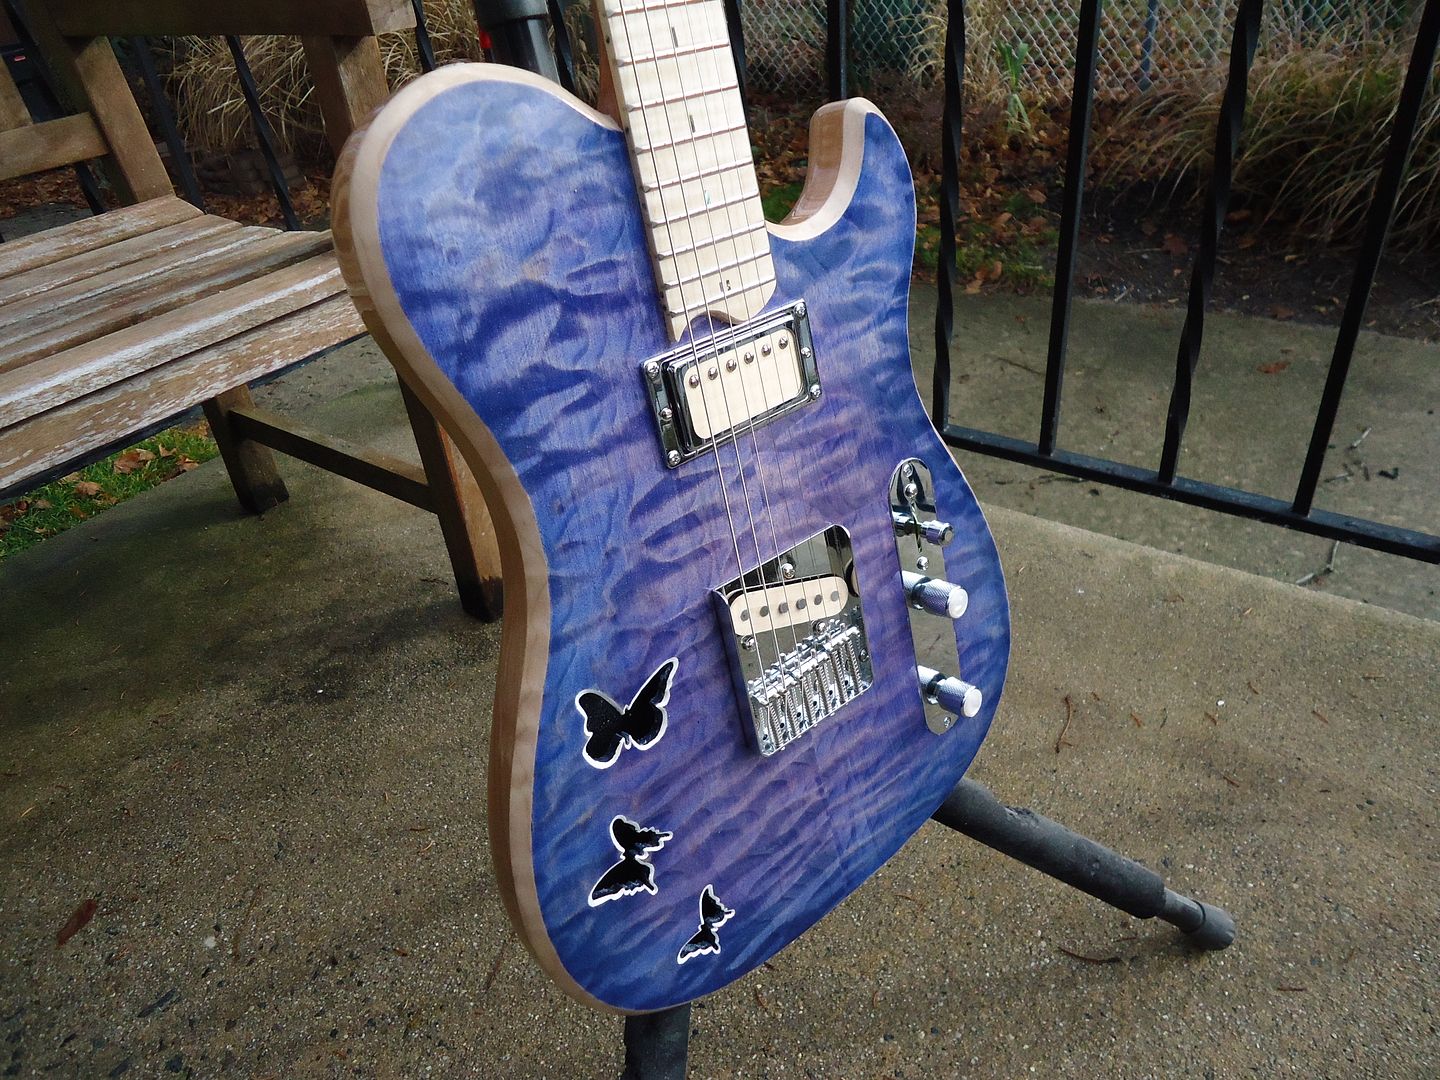
I emailed a place about white decals and they took to long to respond so I just painted it and I'm really happy with the white!
The maple butterflies got some blue dust on them from sanding and I just couldn't get them as clean as when they were first filed so I decided to really make'em pop with white

So close!
http://i171.photobucket.com/albums/u286/razor279/DSC00770.jpg[/img
-
2
-
-
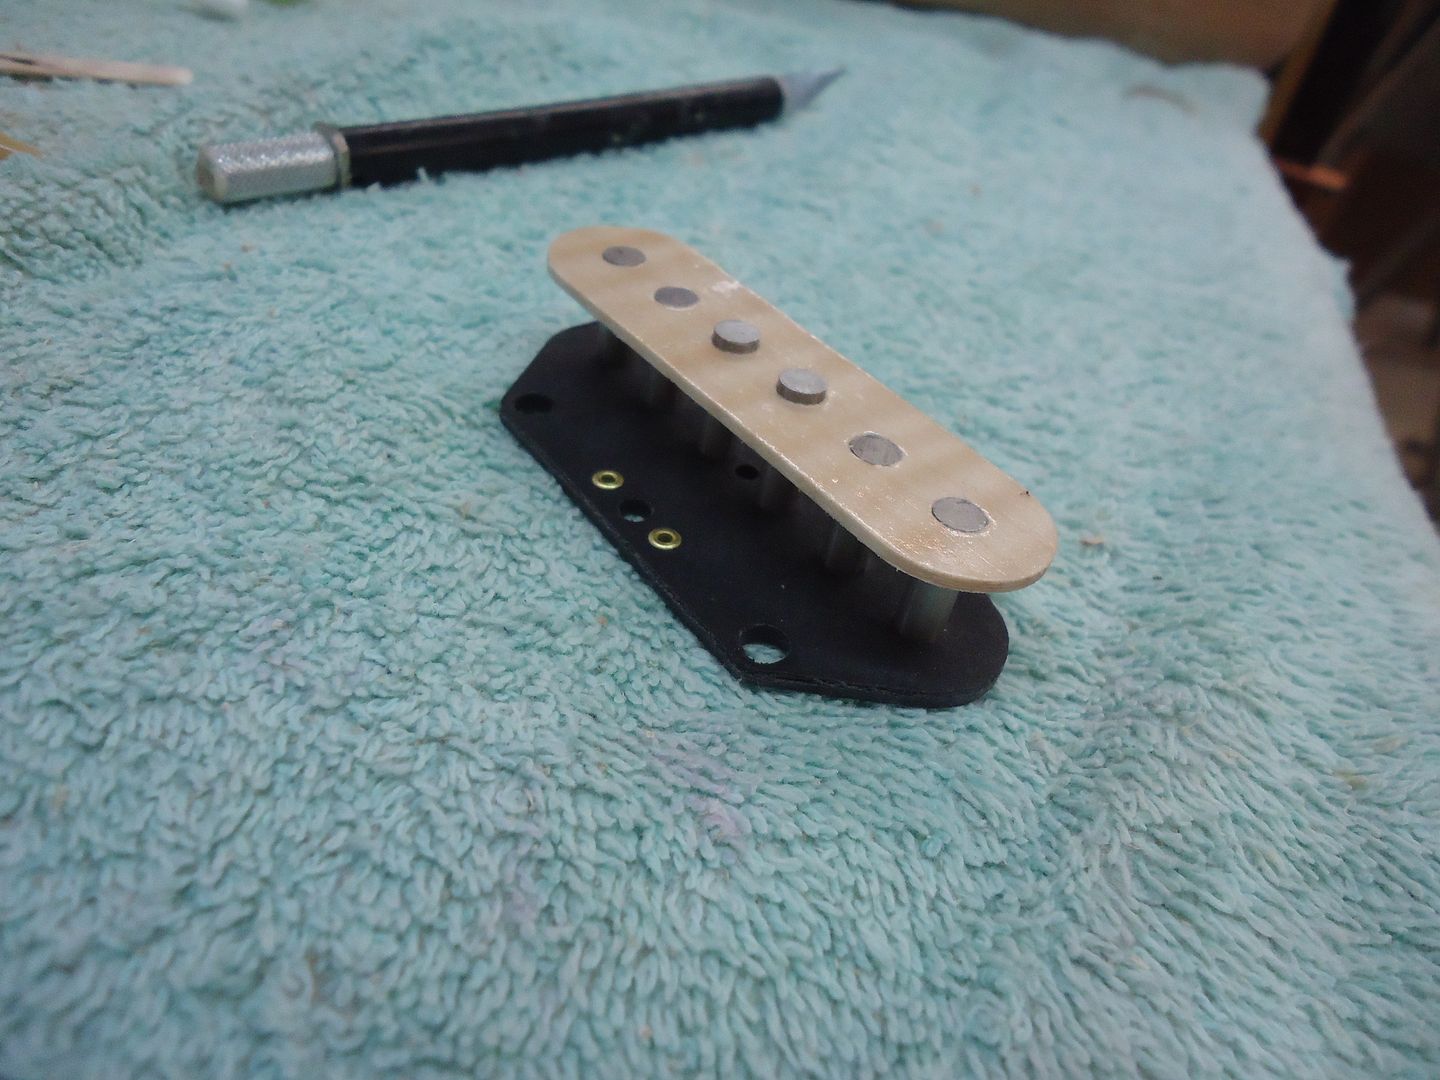
Winding the Single coil
-
Neck bucker wound to a 7.2
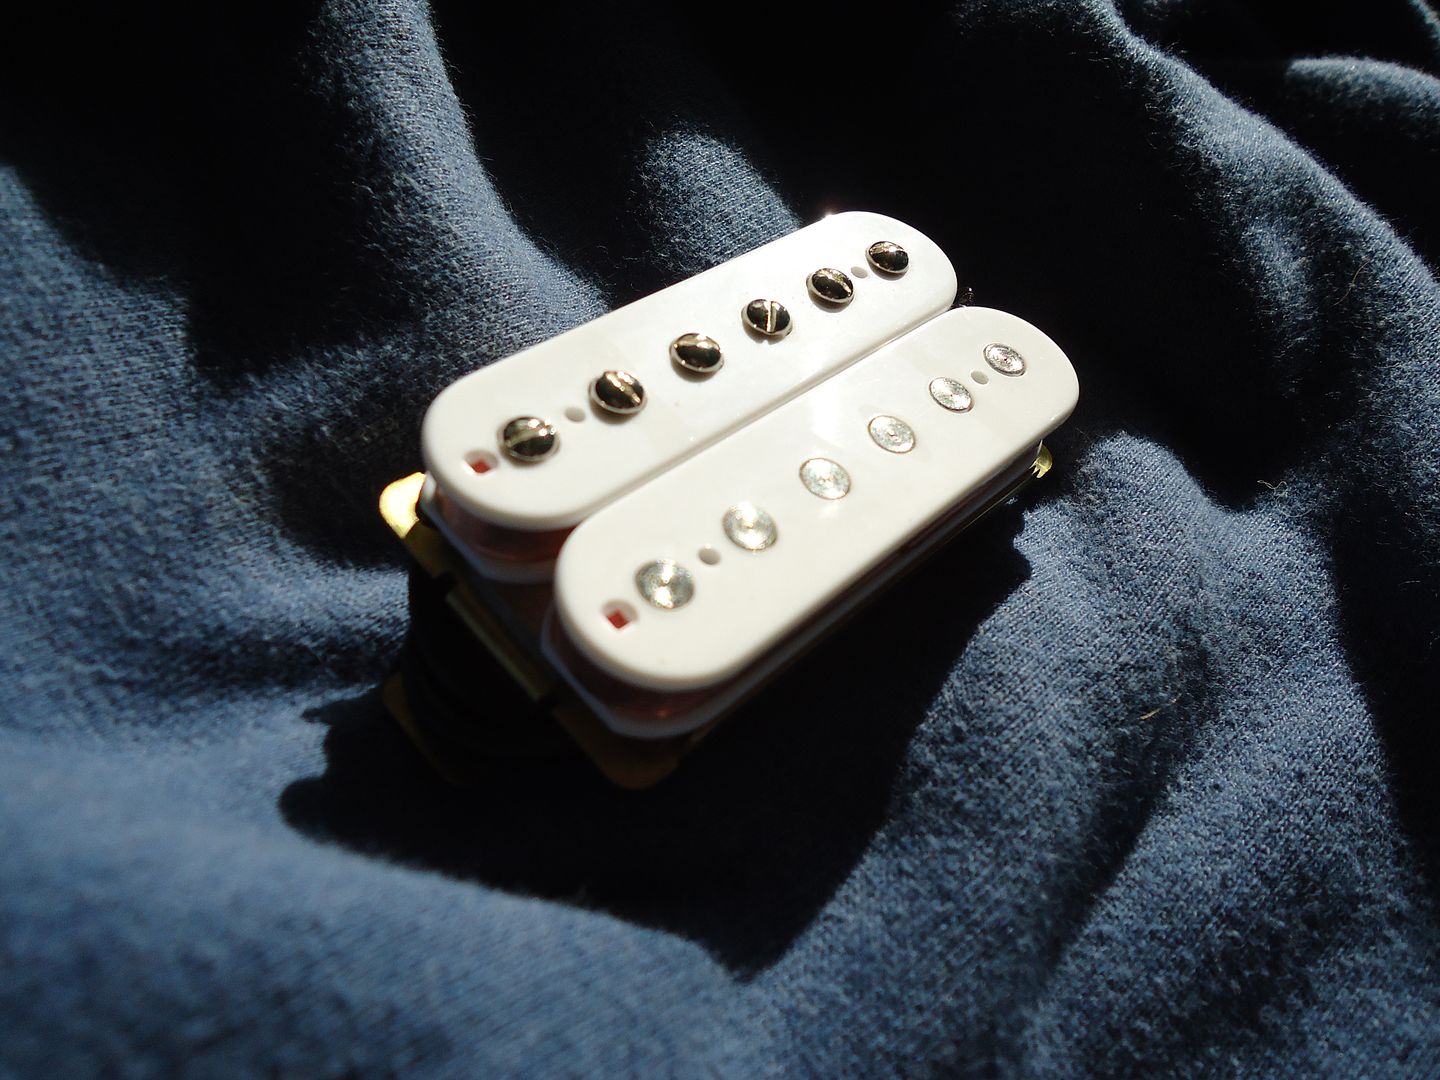
Maple covers with subtle figure
Sanding the neck to its final shape
-
1
-


 I think im in love with that tele. If I wasnt poor Id purchase that in a heartbeat lol. That must have been pretty difficult to glue up that many layers of different woods in the neck. Do you have a jig or process to get every thing to stay where it needs to be while glueing or is it a multi step process?
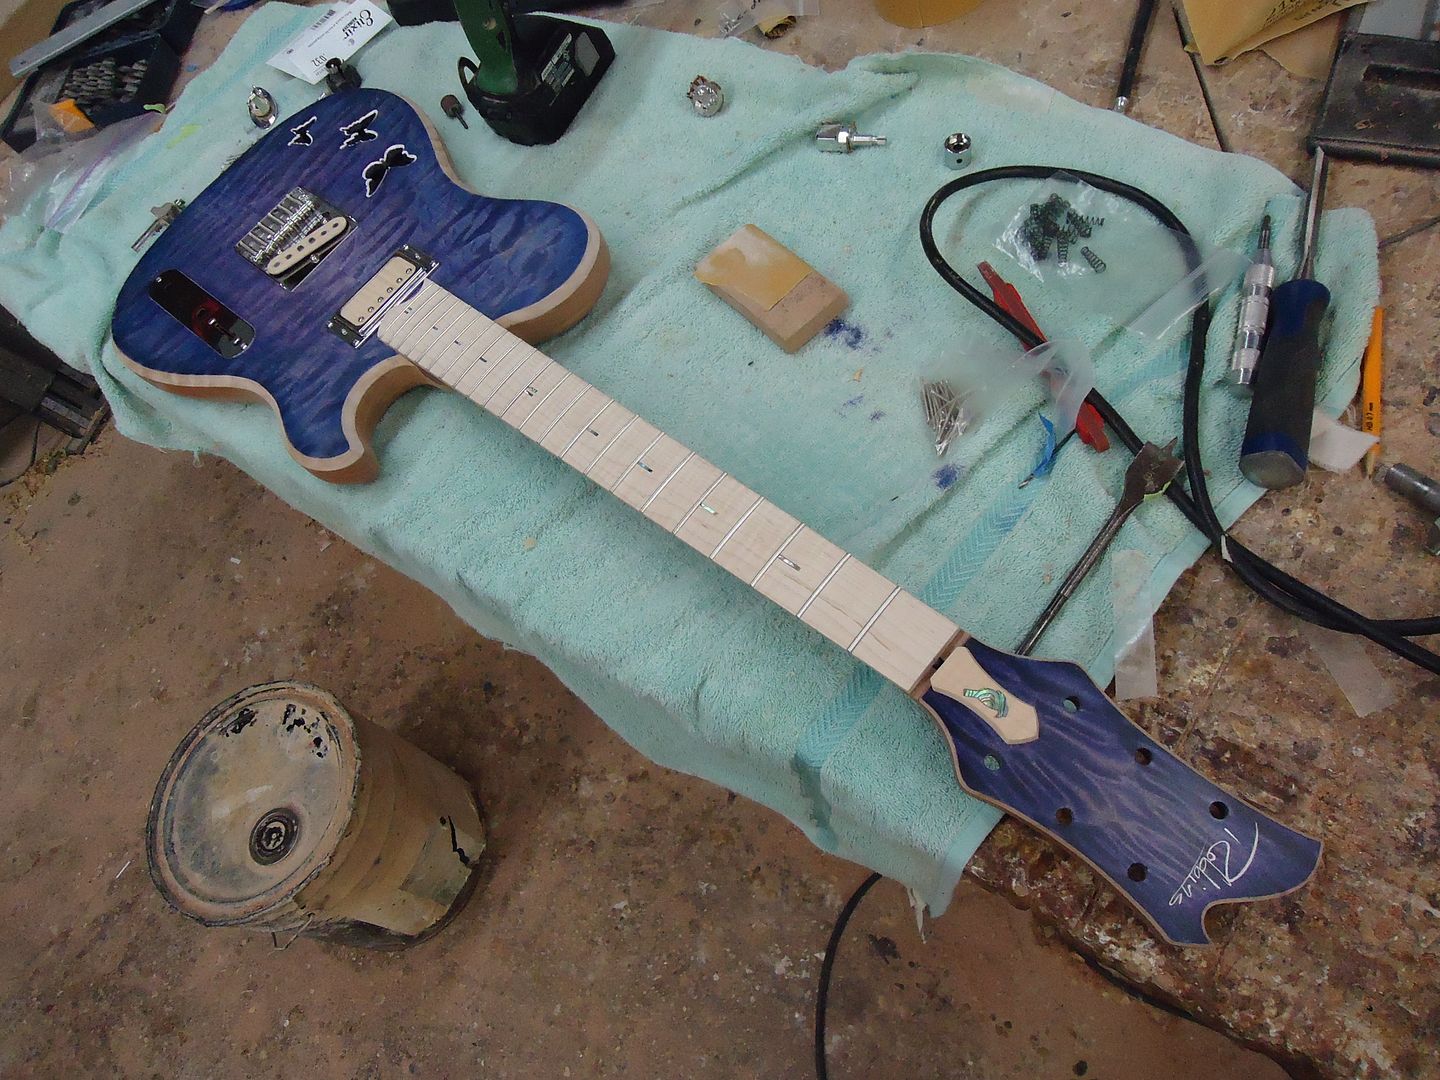
Custom Maple/ Cedar/ Black Locust 7 String
in In Progress and Finished Work
Posted
I'm hoping to get this thing back from finish later today or tomorrow then I can get her together and ready to go.
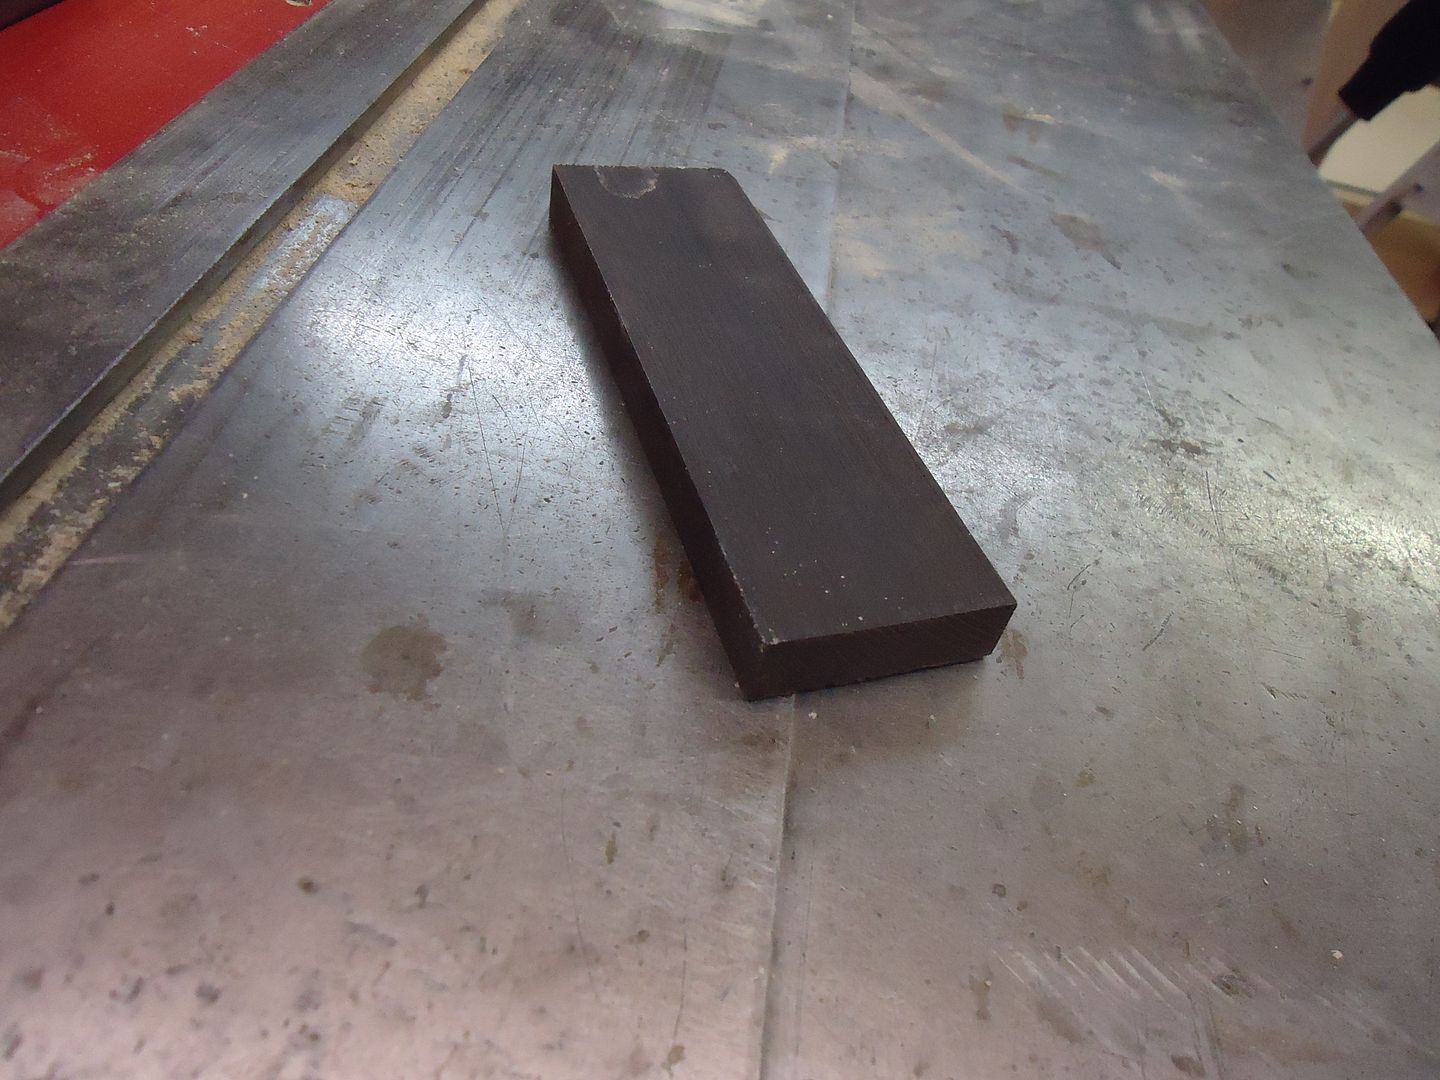
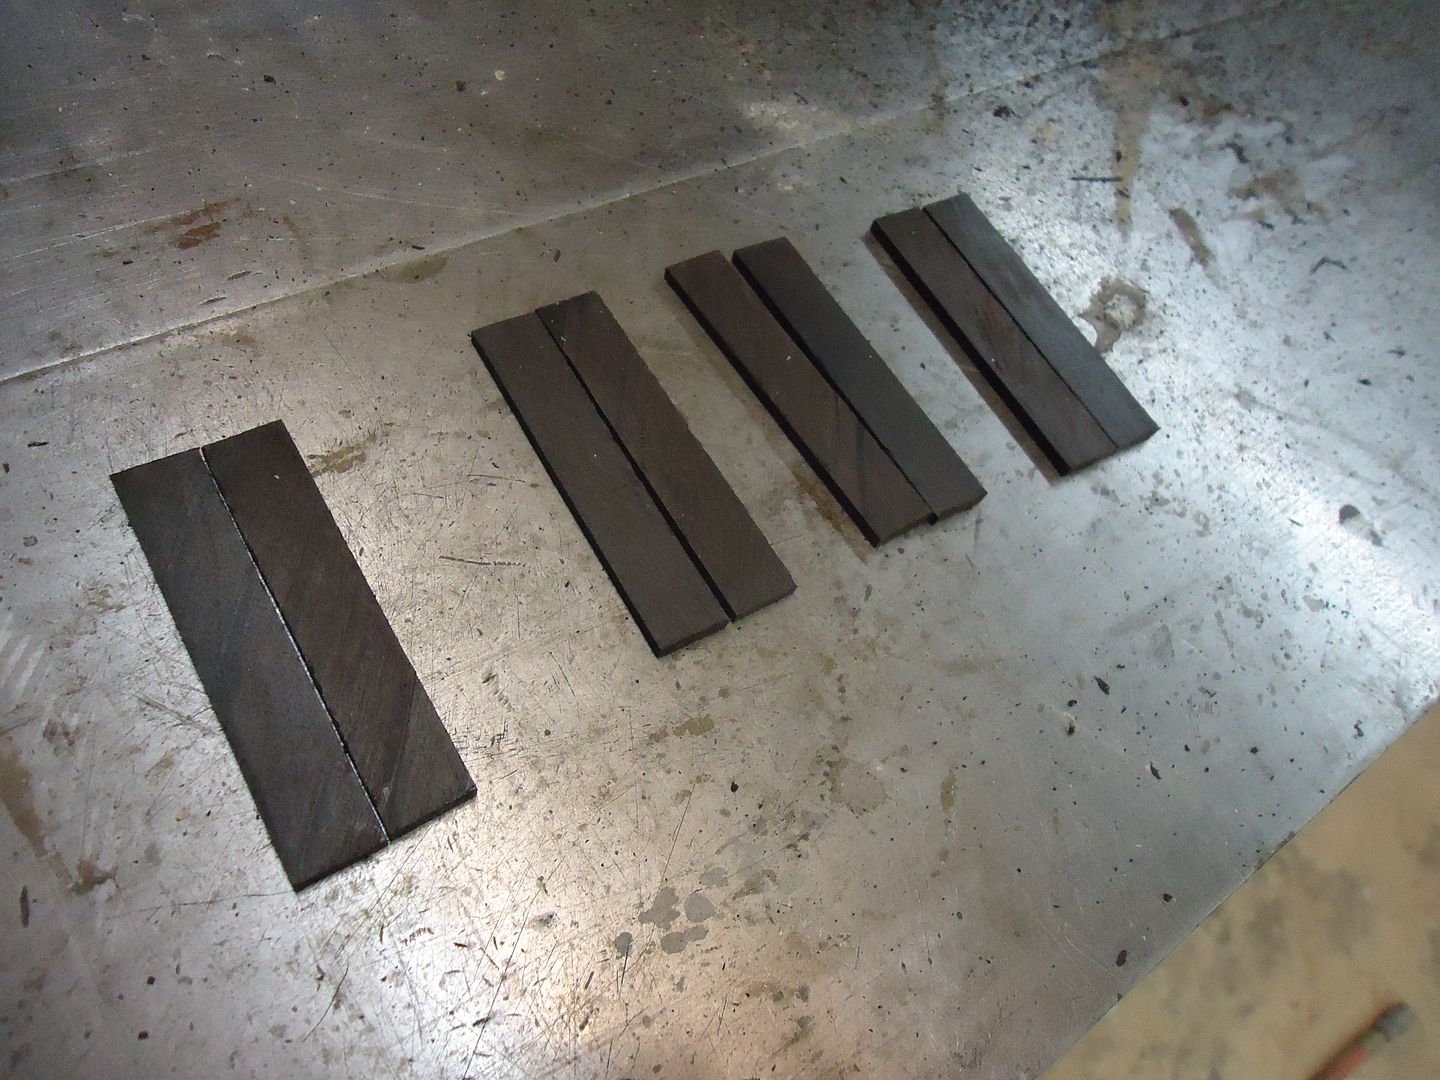
I decided I did not like the three piece design of the humbucker bobbins. They were not as clean as I wanted so I re-made all four. This time they are one piece solid ebony and I am much happier with them!