


Robbinst
-
Posts
269 -
Joined
-
Last visited
-
Days Won
20
Content Type
Profiles
News and Information
Tutorials
Product Reviews
Supplier Listings
Articles
Guitar Of The Month
Links and Resources
Forums
Gallery
Downloads
Posts posted by Robbinst
-
-
Beautiful work. I'm admiring the sharp edge of the faux binding. Could you explain how you got it so sharp? Is it because the sanding sealer stops the dye getting to the timber (so the trick is in how well you put the sanding sealer on)? Or from accurate masking when you placed the dye? Scraping back any dye leakage? Combination? Or maybe trade secret?
Thanks in advance.
and a nice clean edge.
Hey Brian, I used 2 or three quick shots of sanding sealler on the faux binding, Then taped it off once it was dry. I found that the stain caused the tape to release in a few spots resulting in some color geting on the binding. Luckly the sealler worked perfectly and the color was simply sitting on top of it, it could actually just be wiped of while it was wet. Once eveything dried, a quick pass with 150grit on a small sanding block cleaned it all up really nicely. I would say tape off the binding to minimize clean up but for the most part the sealer is responsible for the clean edge.
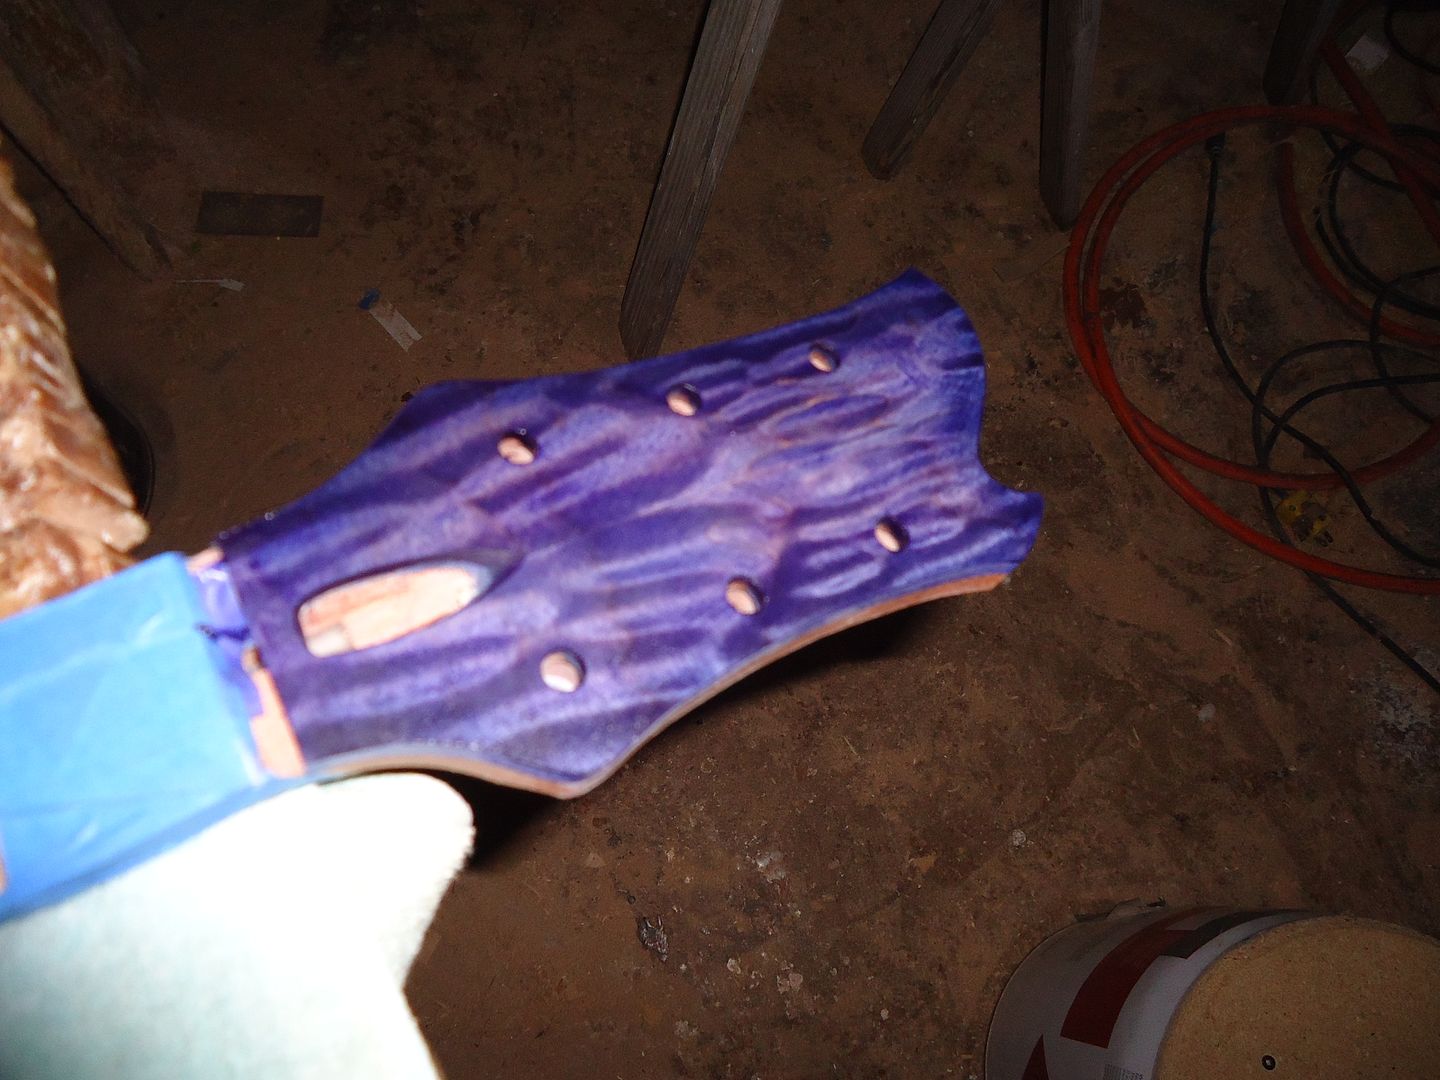
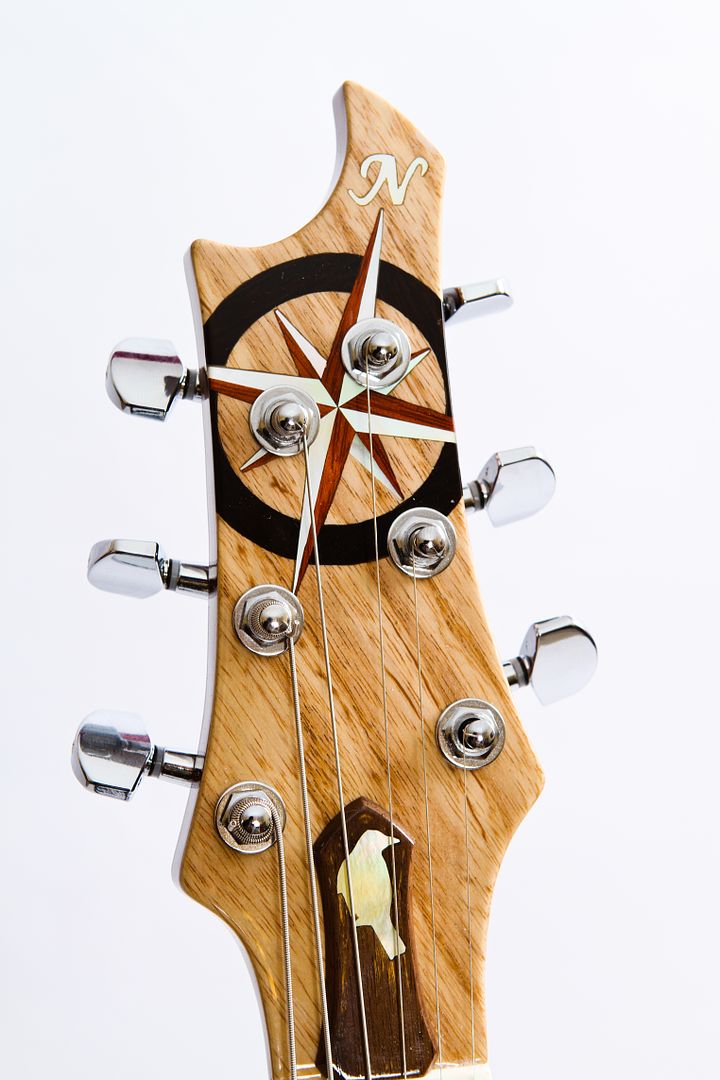
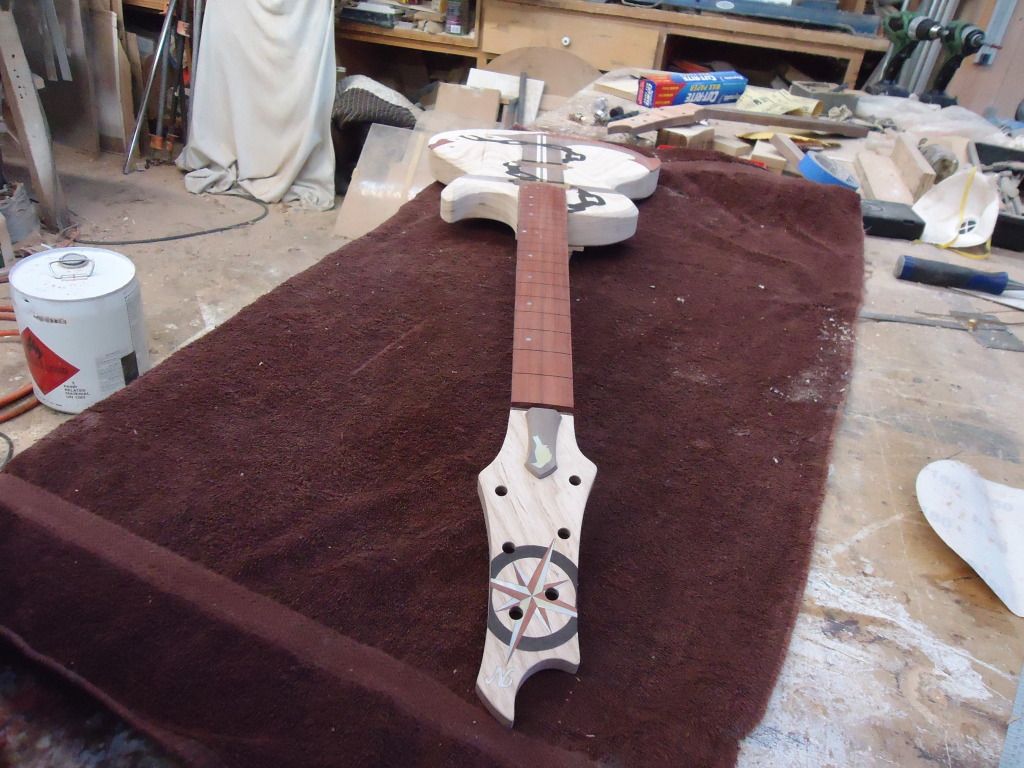
Another way to do this would be to dye then come in with the router afterward and cut the bevel. That is what I did with the headstock.
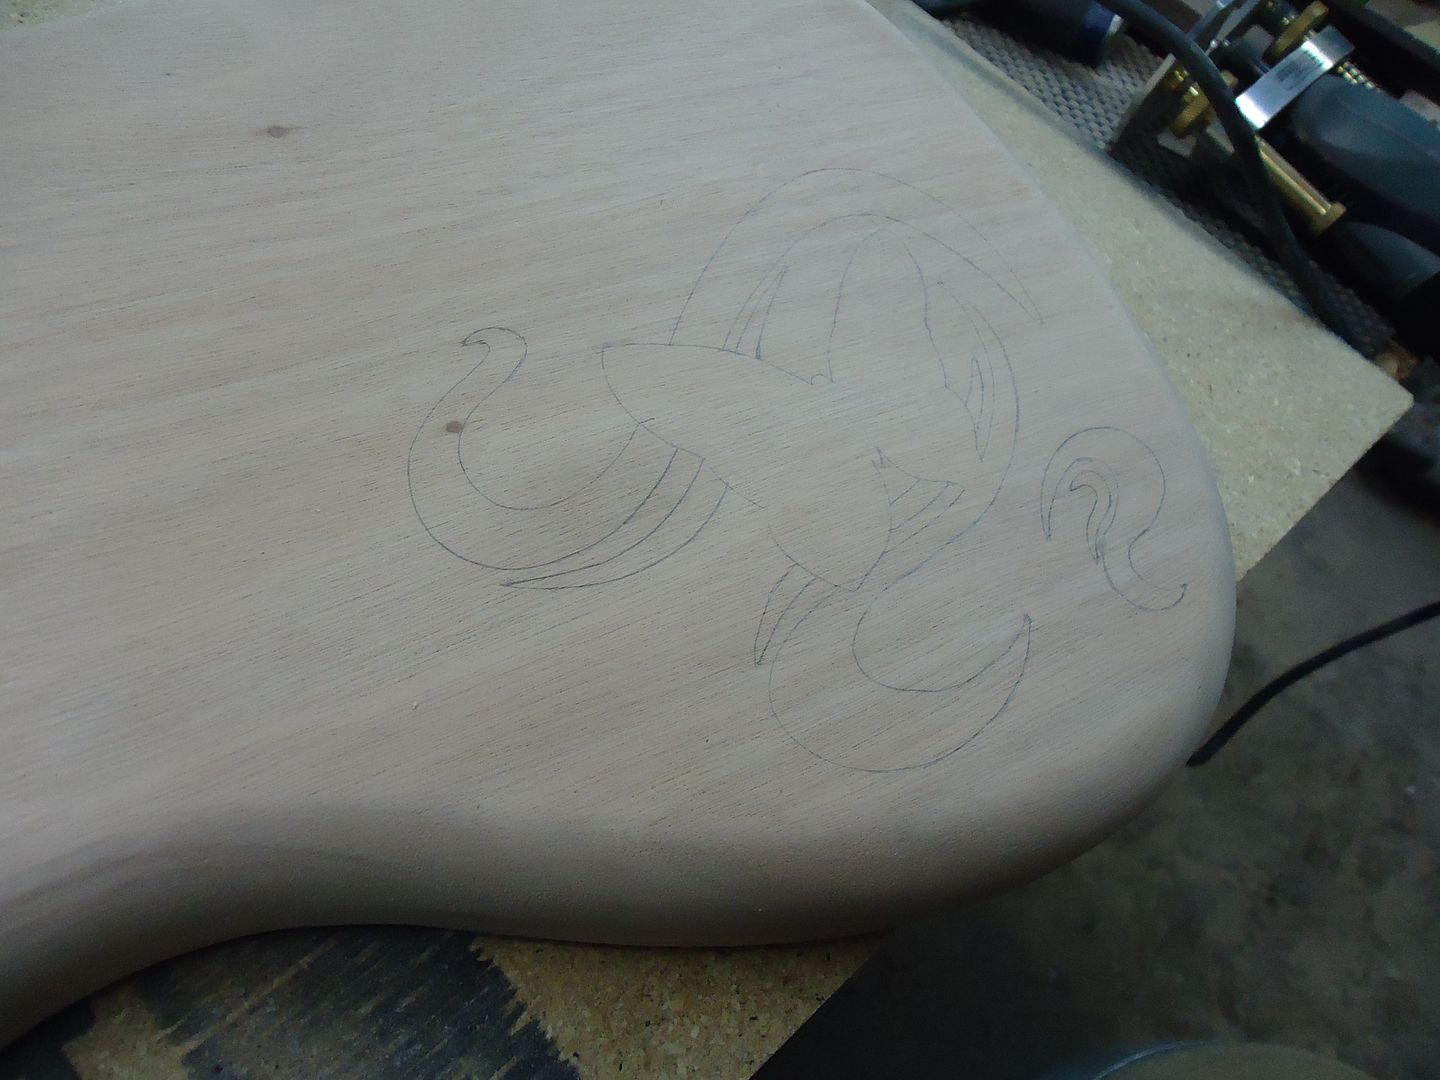
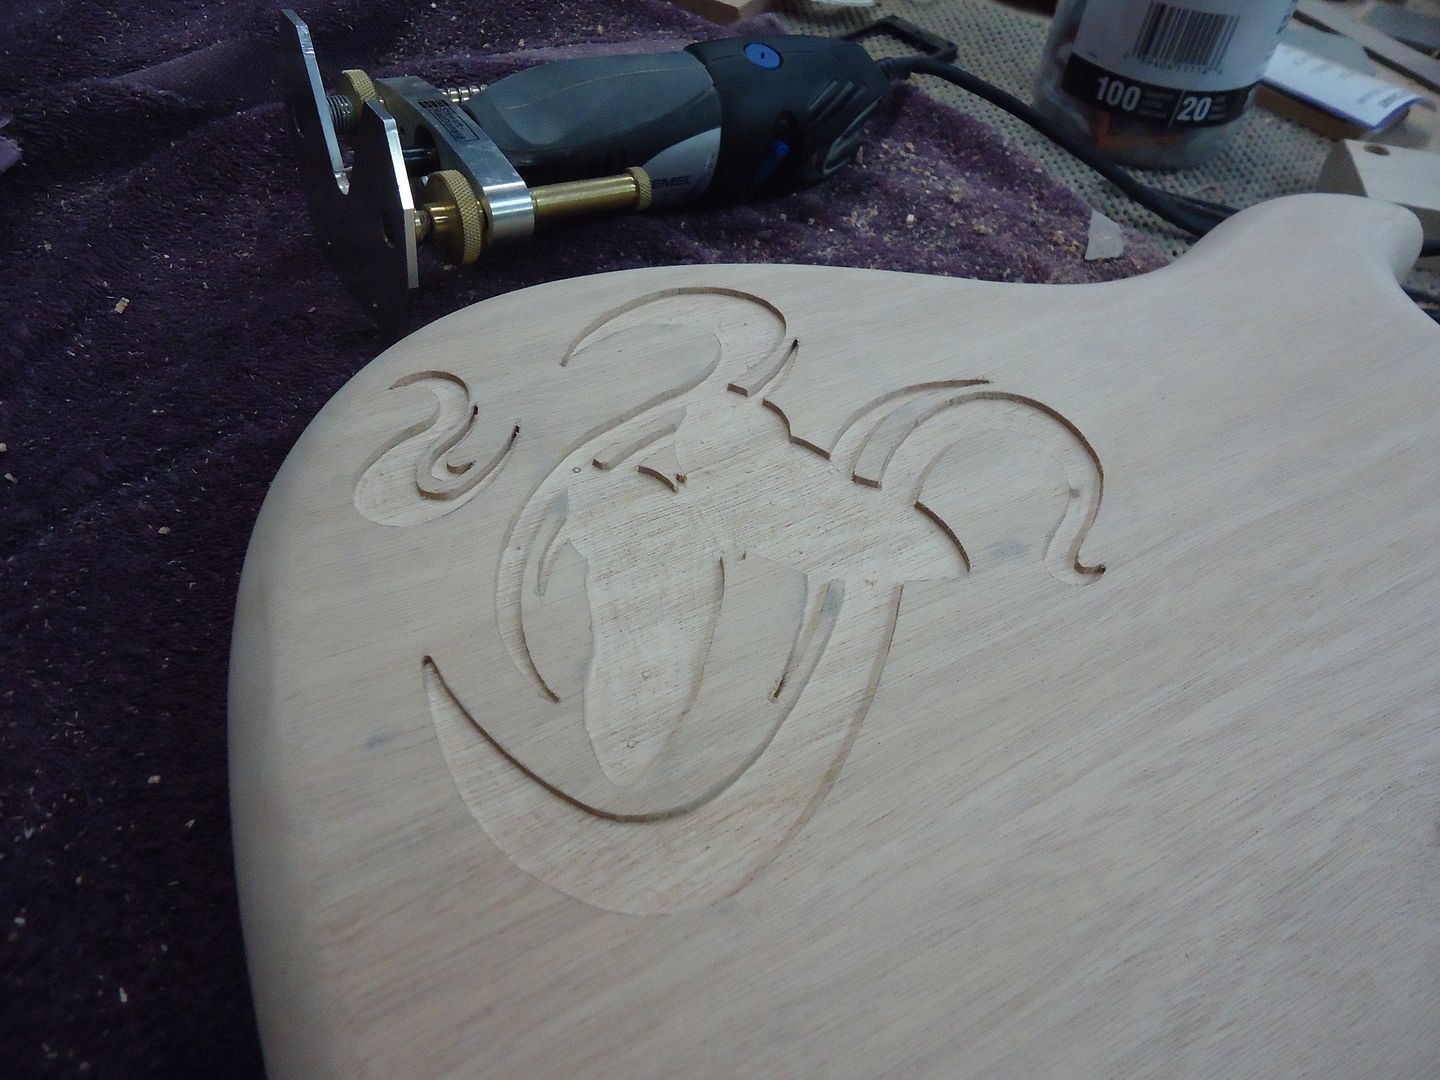
As for the logo, I think I going to test out this inlace stuff ScottR had recomended to me for another build. Ill try it on a test piece first and hopefully I can just carve out the logo and fill it with this stuff.
-
I need some help guys. I had this same issue with the anchor guitar. I only have the ability to print my logo in black but I'm afraid it will be very hard to see on the dark violet headstock. I think if I could get it done in white it would look perfect but I cannot find anyone with the capability to print in white ink. Do any of you know a place I could send a file and have them print a decal or a transfer image thin enough to be under the clear coat? Any ideas at all would be greatly appreciated.
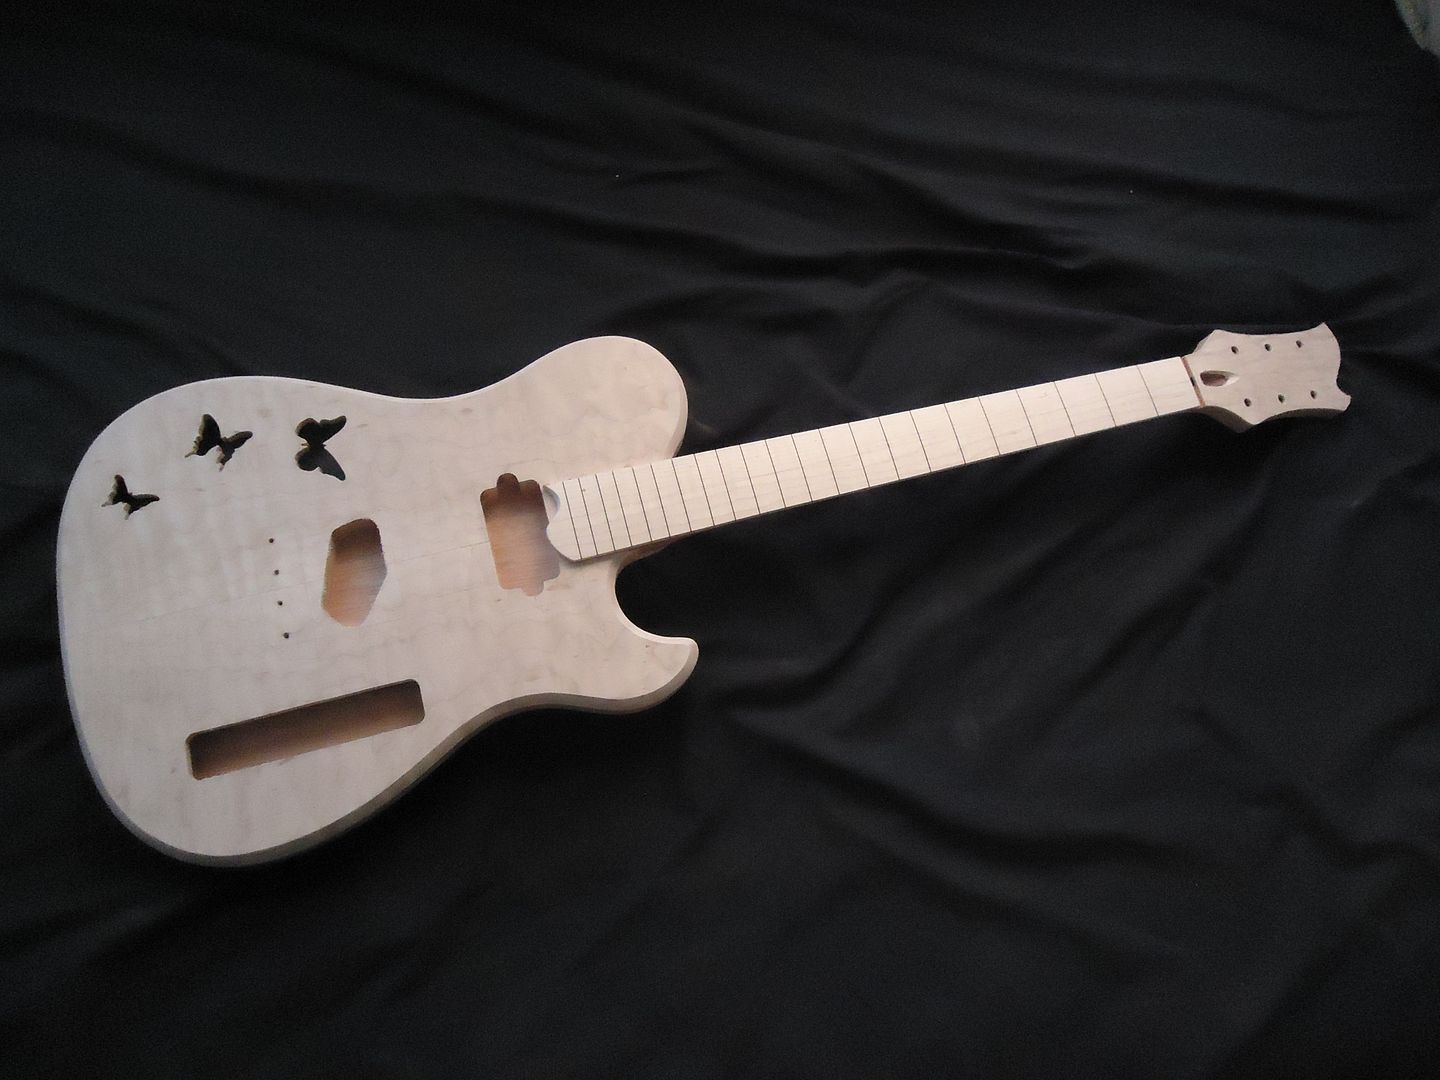
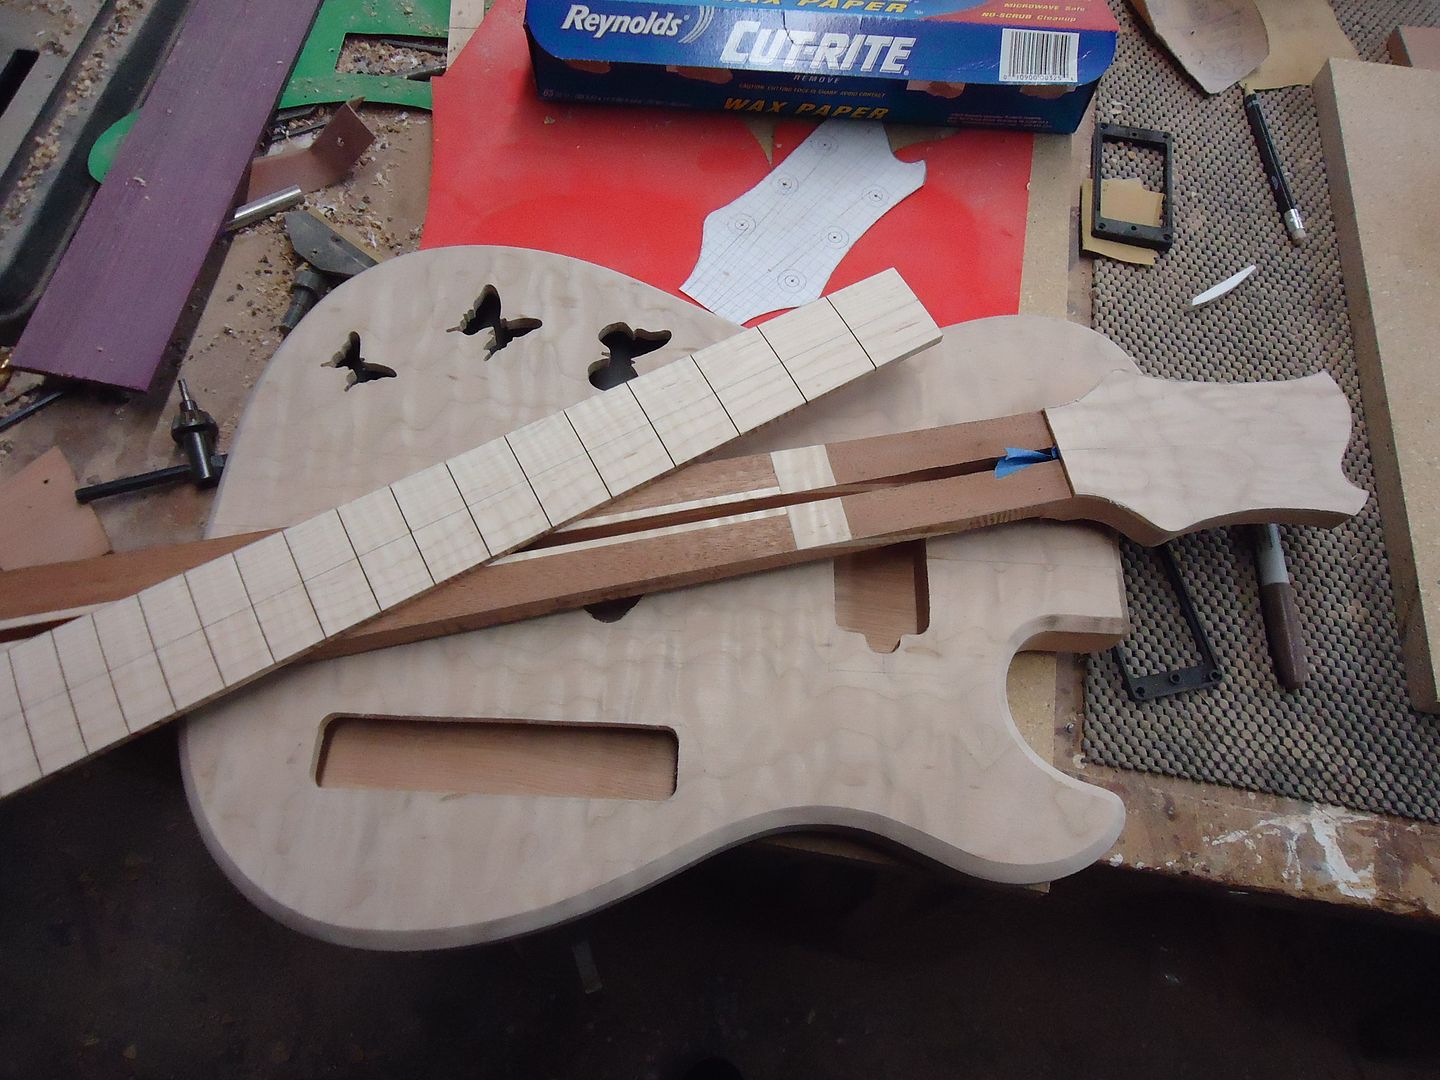
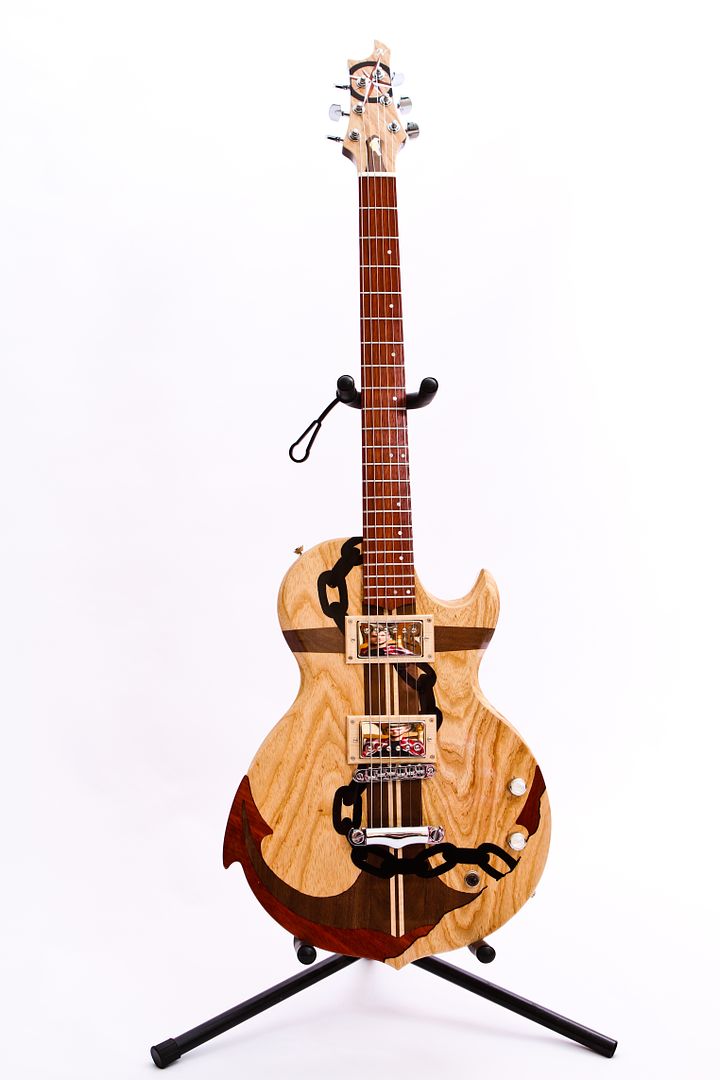
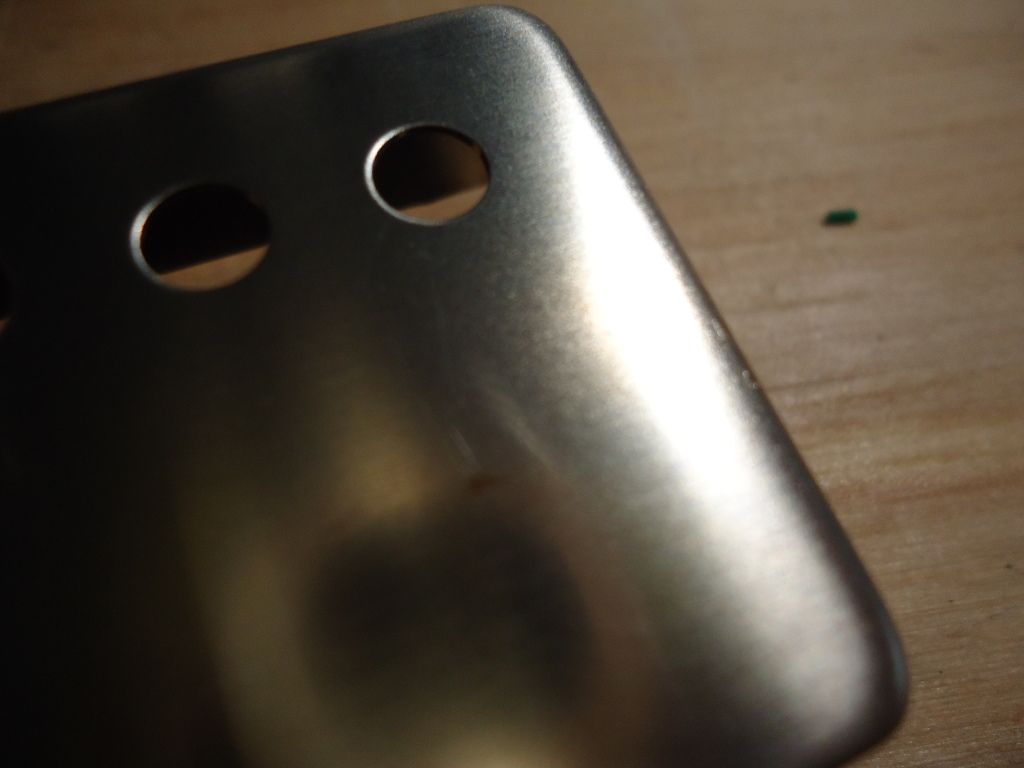
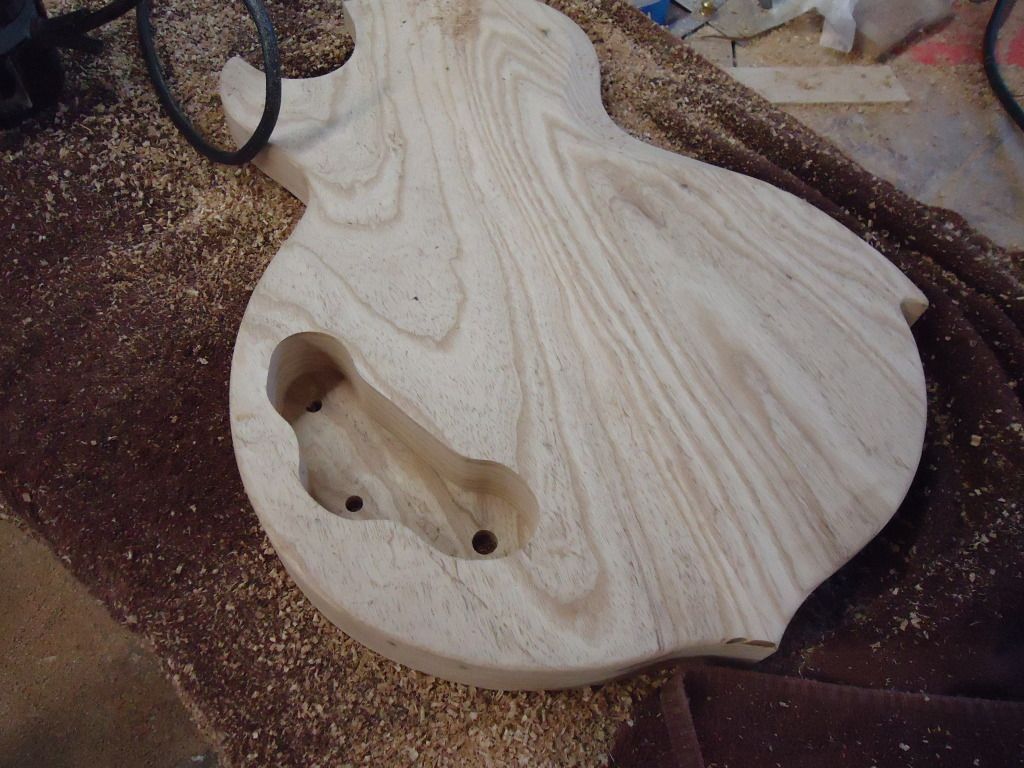
Here's a few pics from this morning:
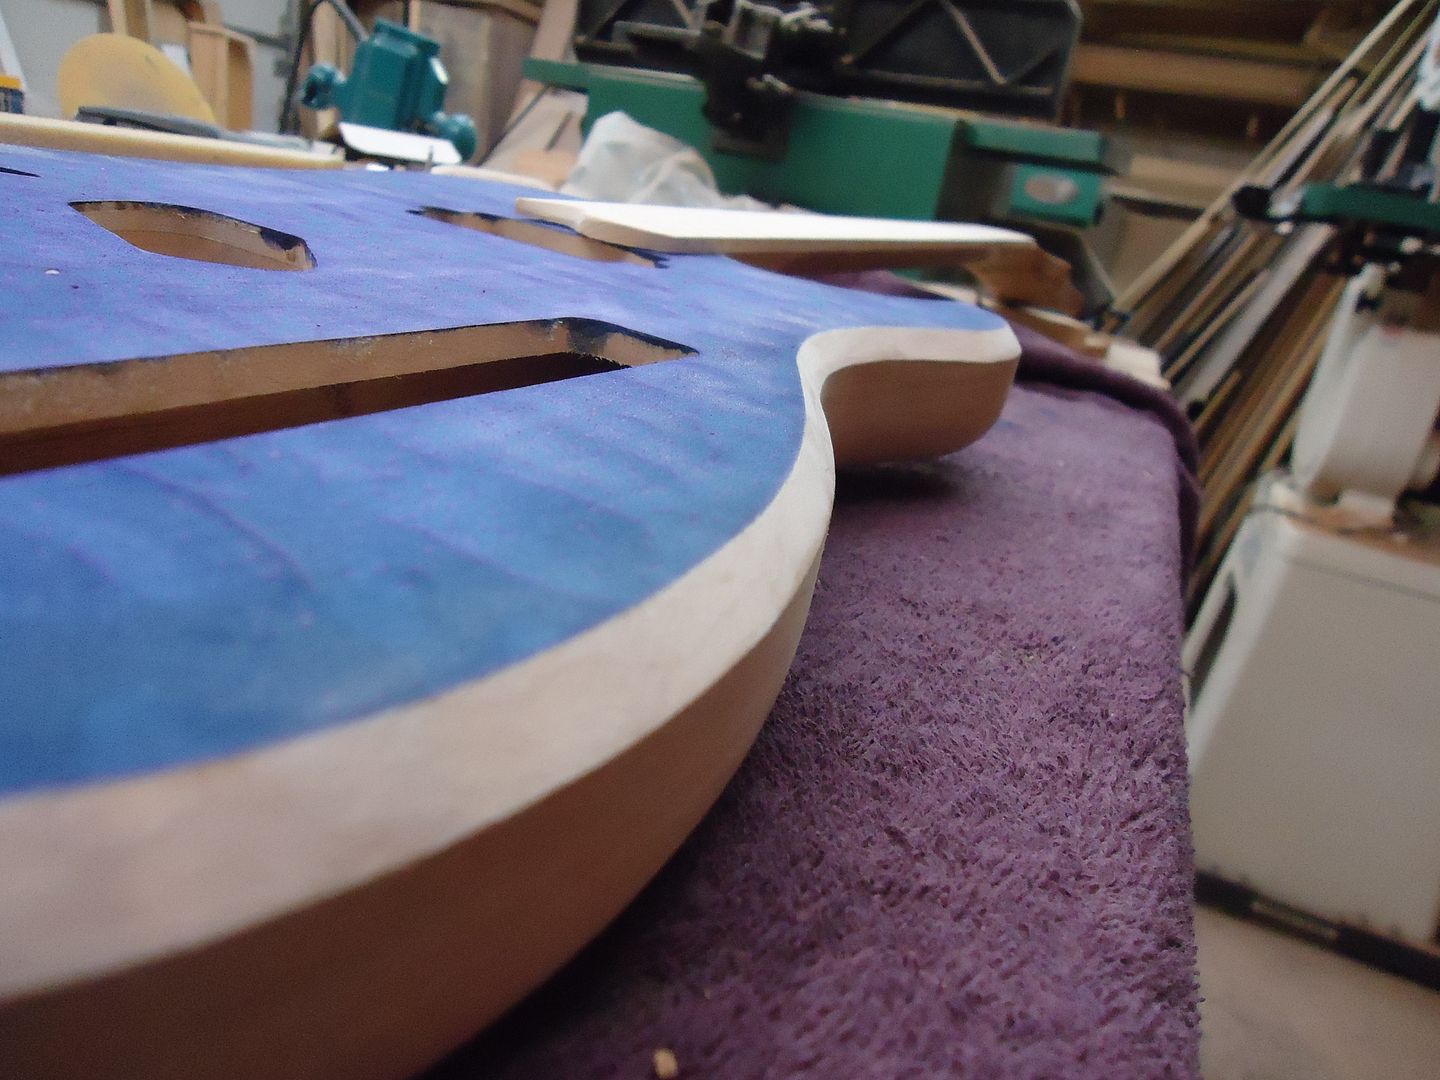
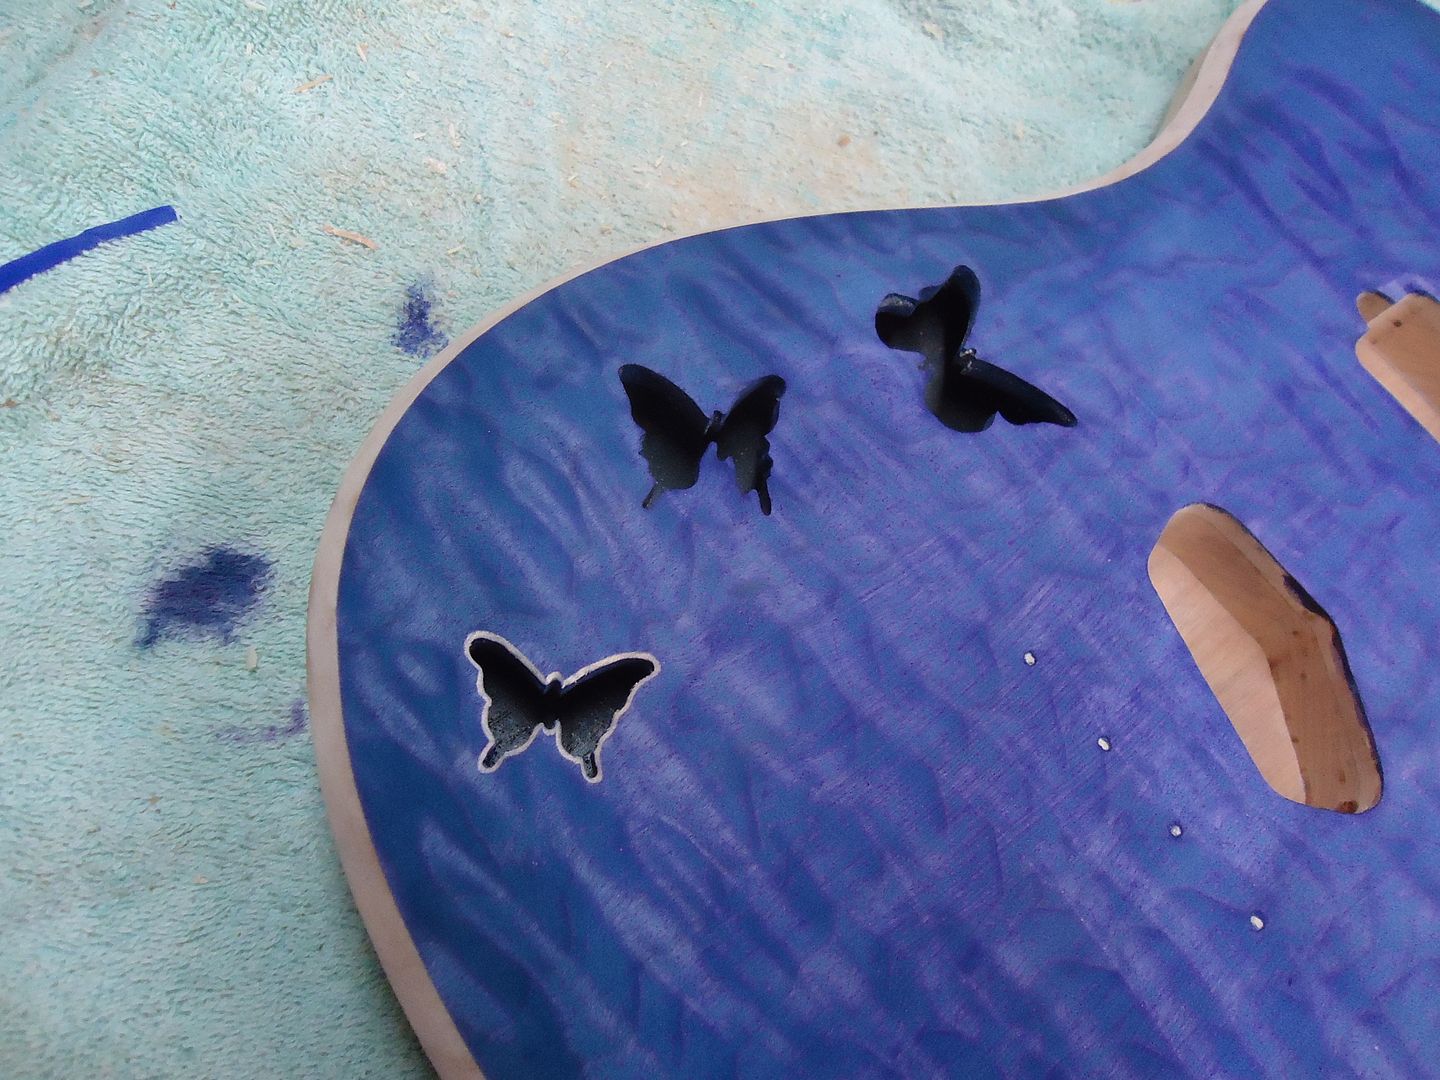
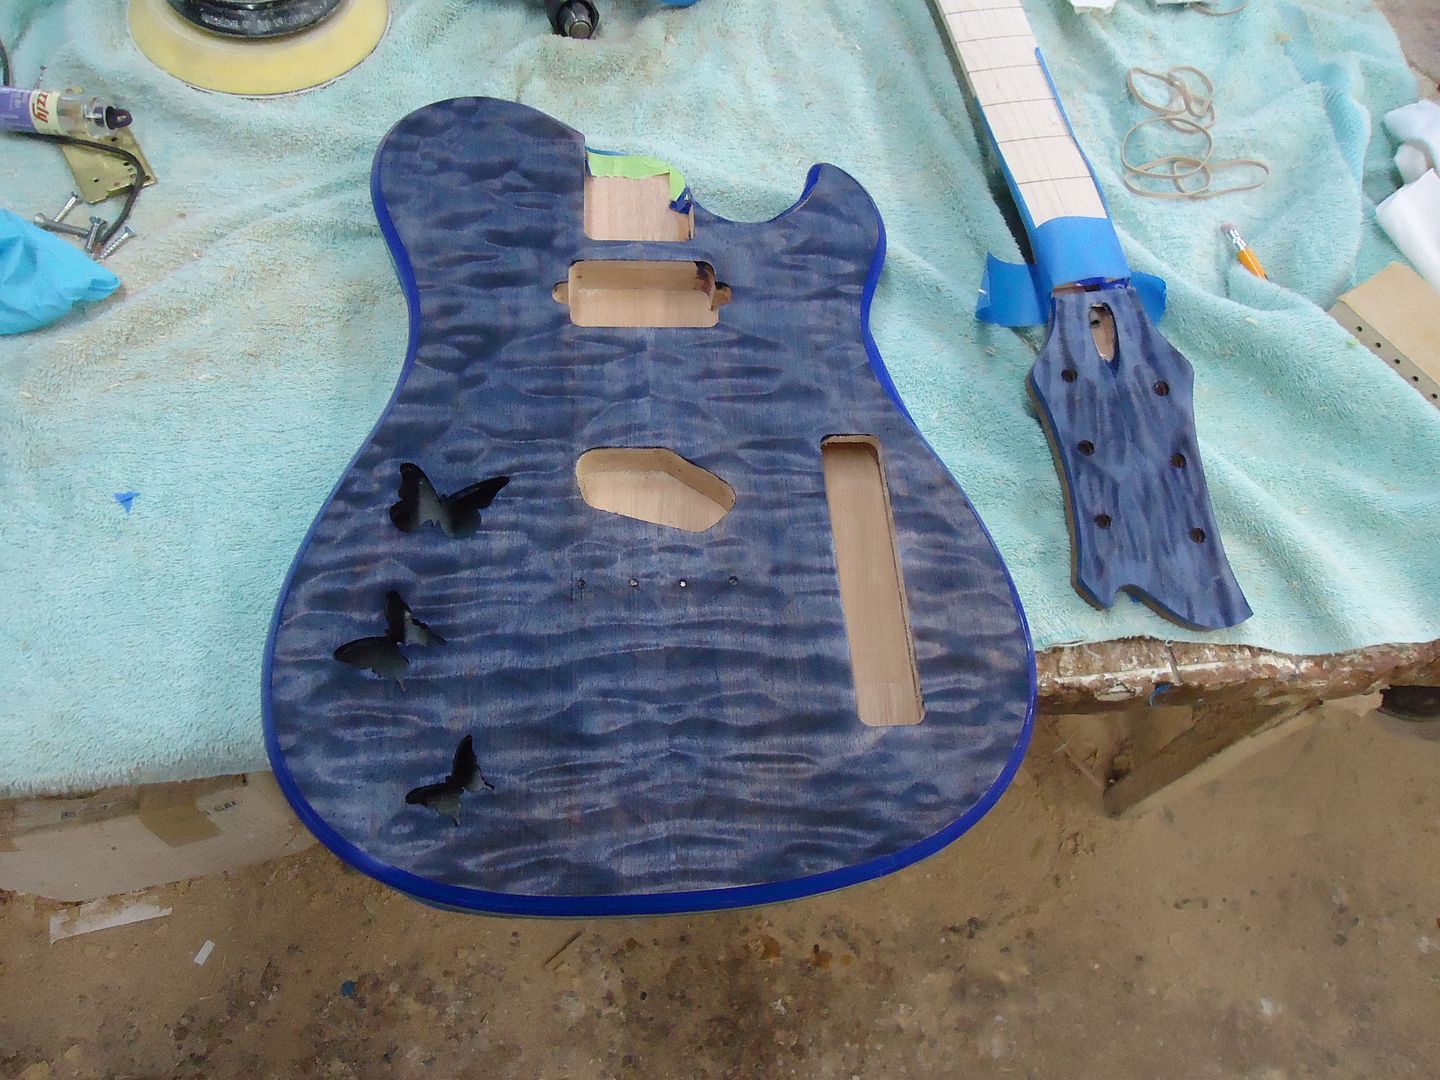
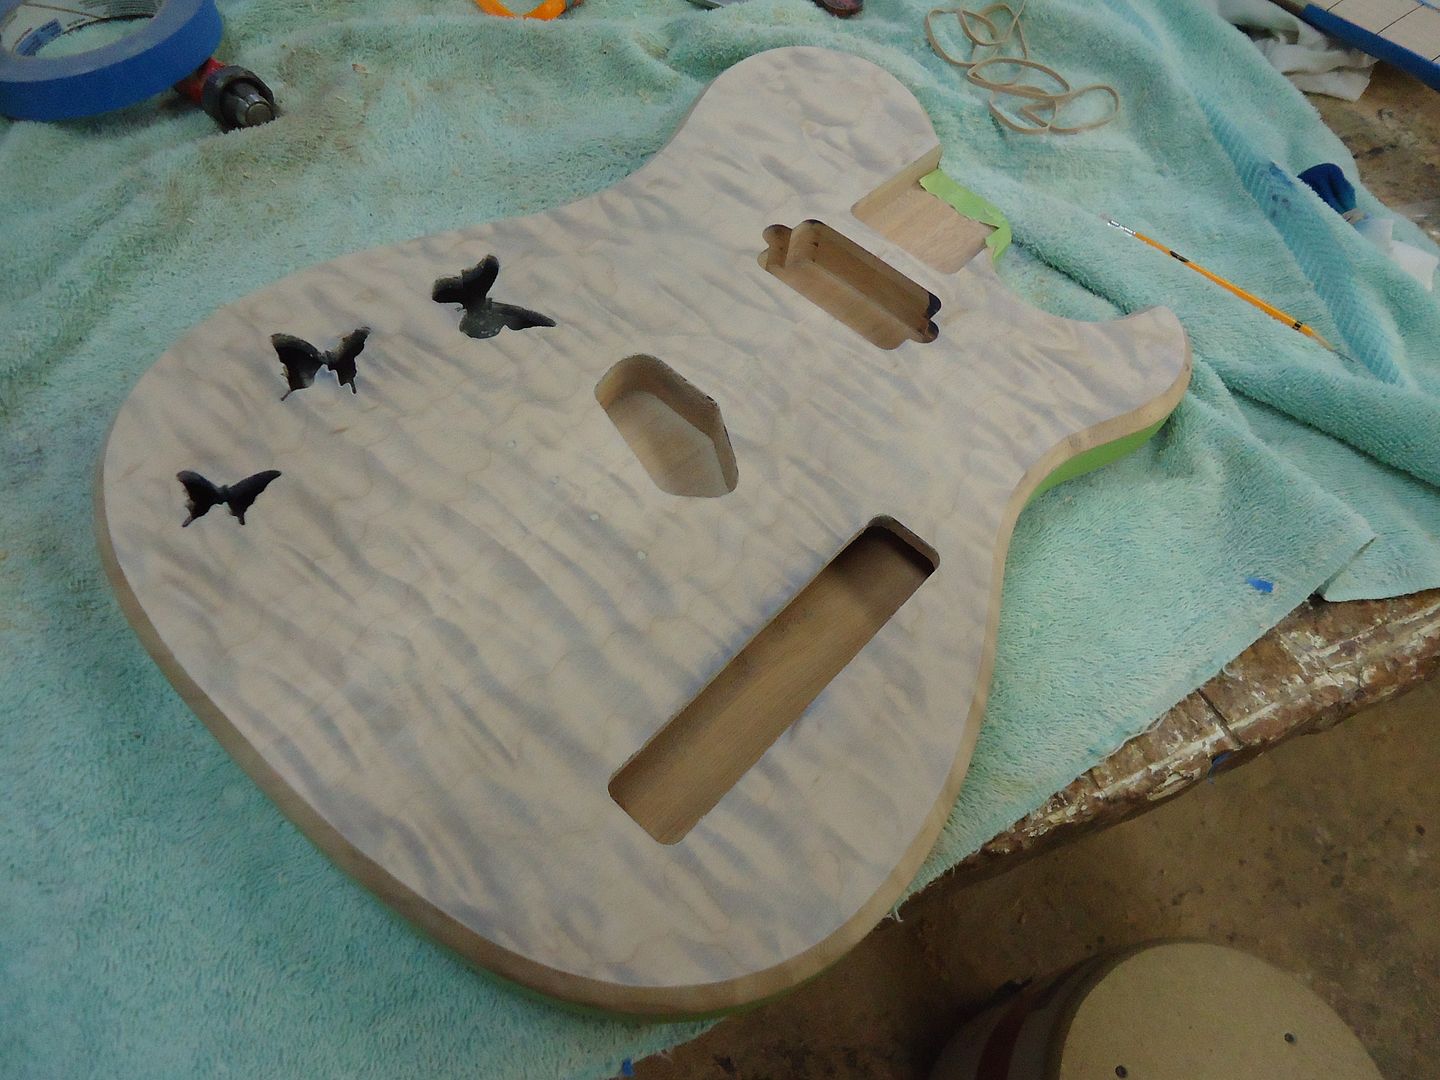
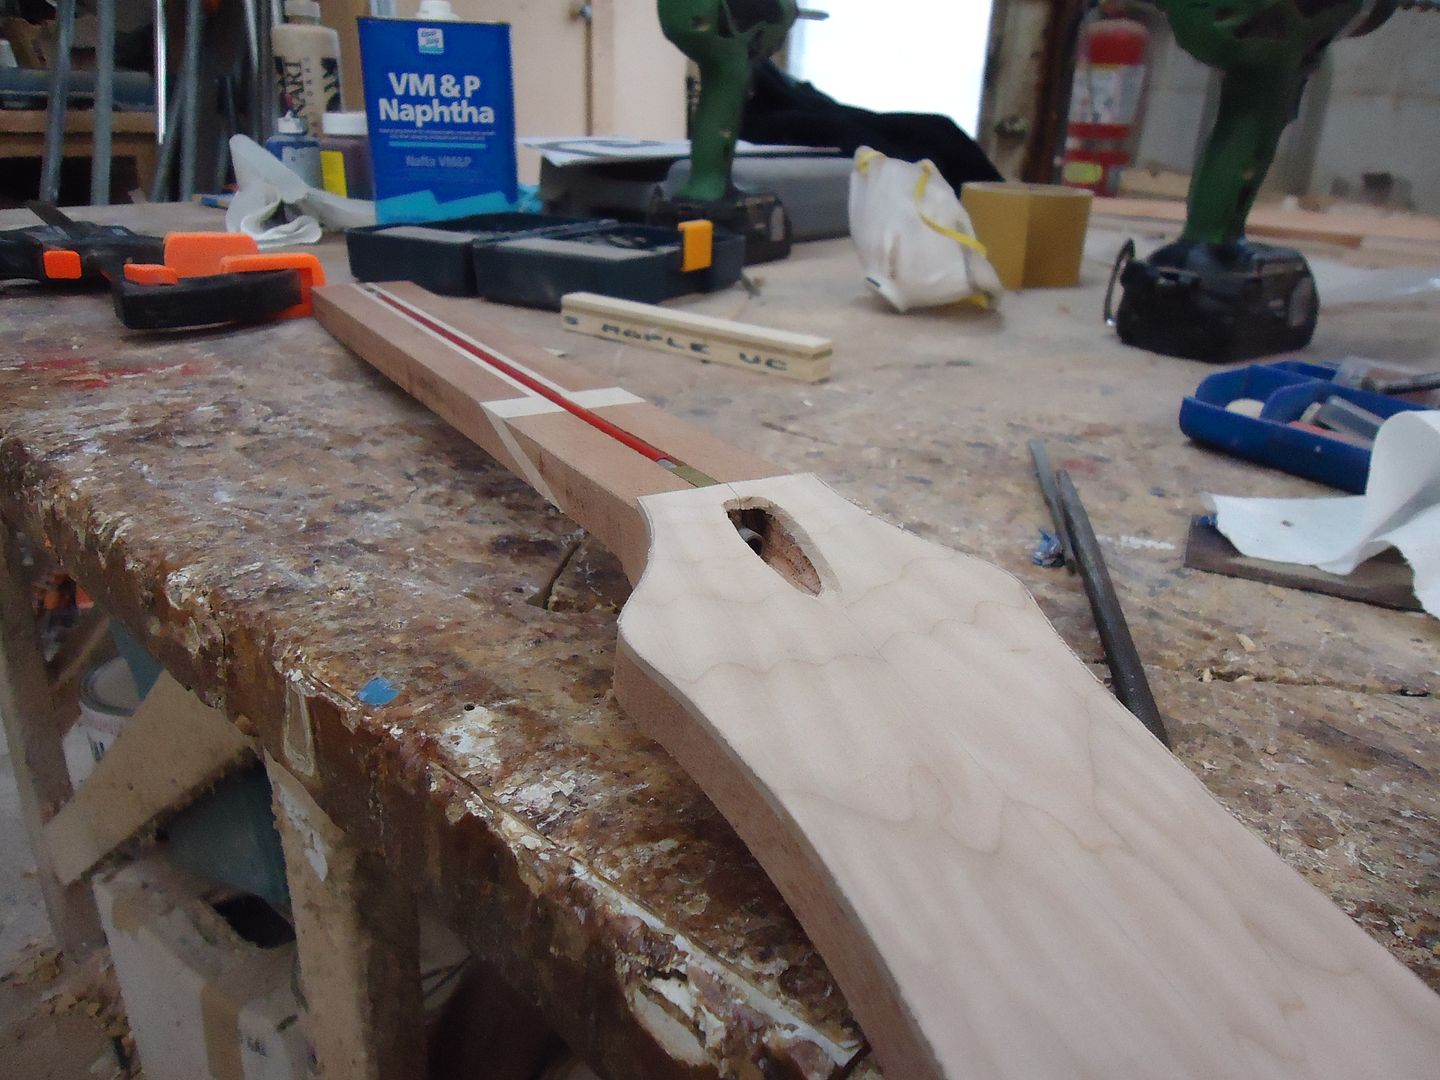
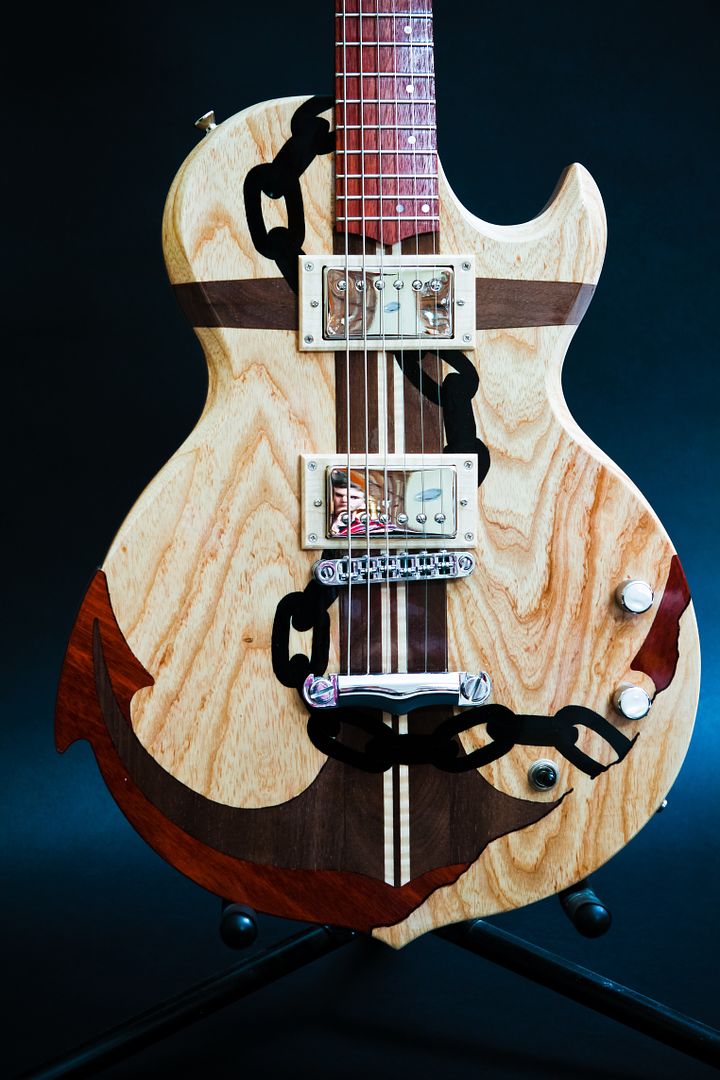
Beveling the edges of the sound holes to make them stand out better
Also added the faux binding bevel to the headstock
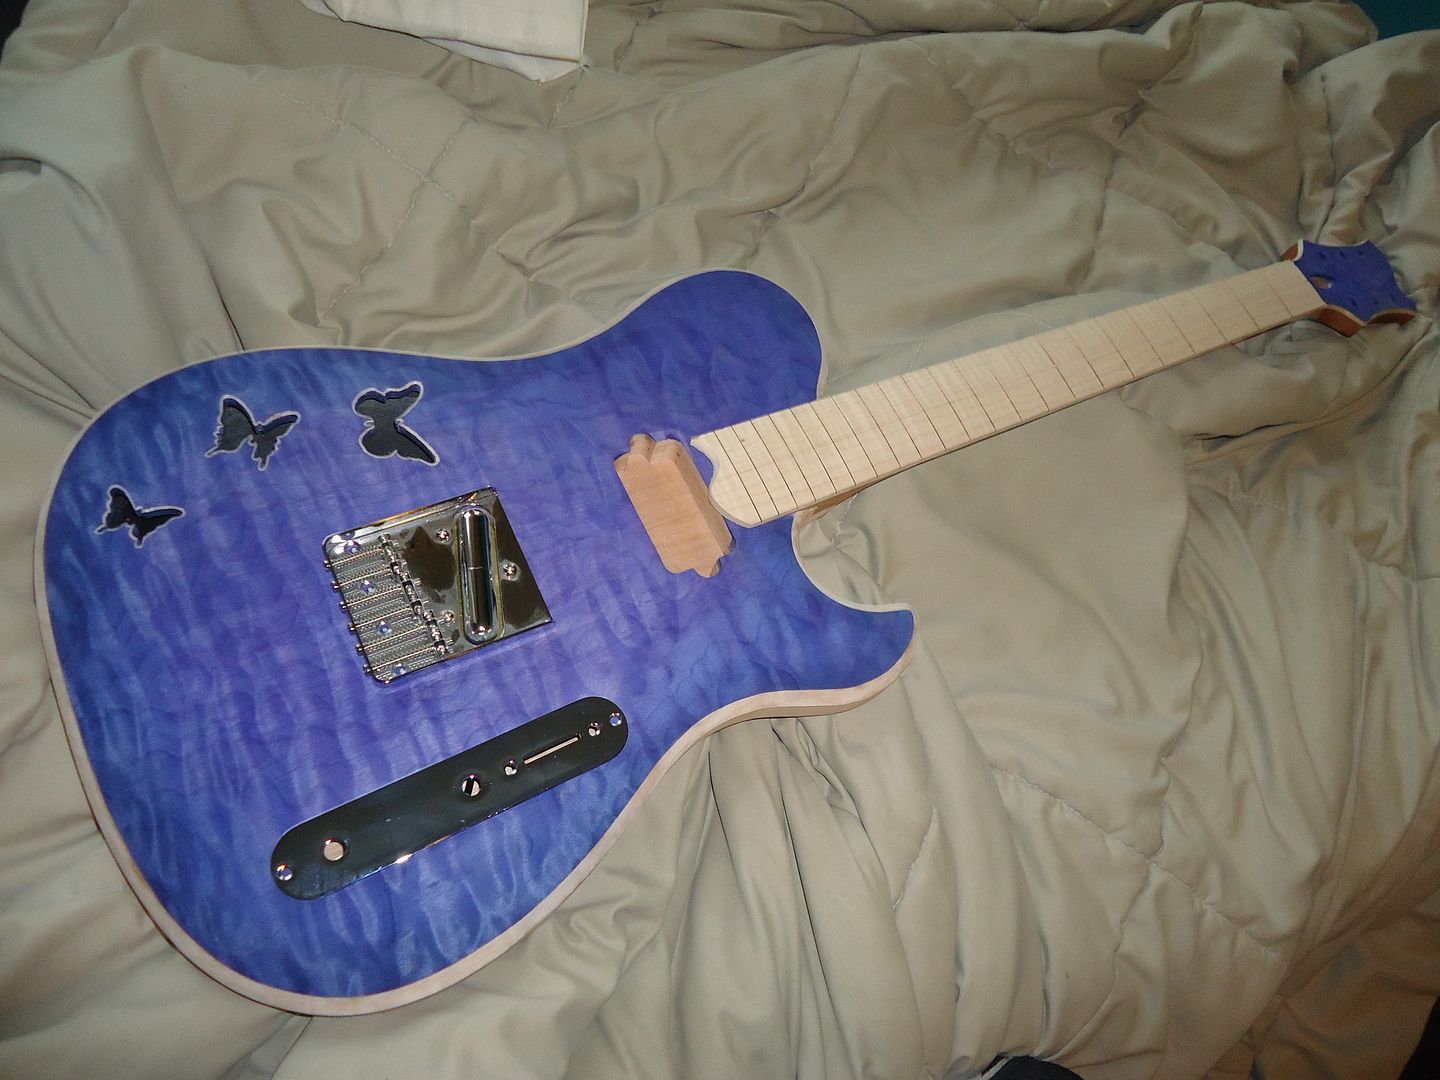
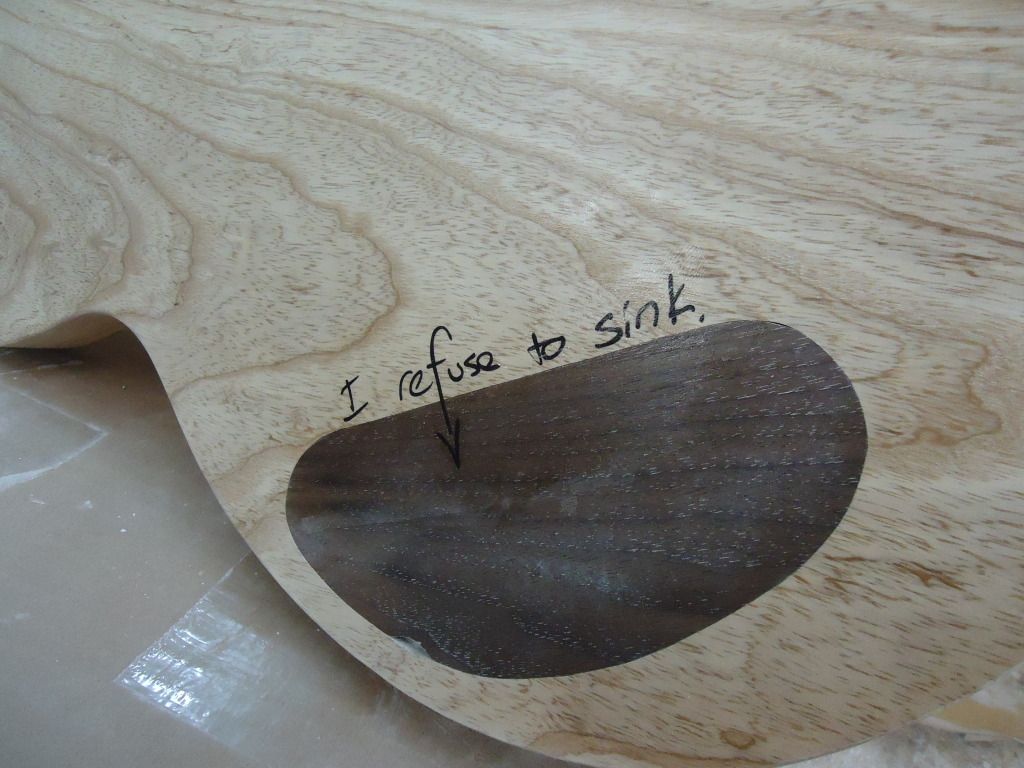
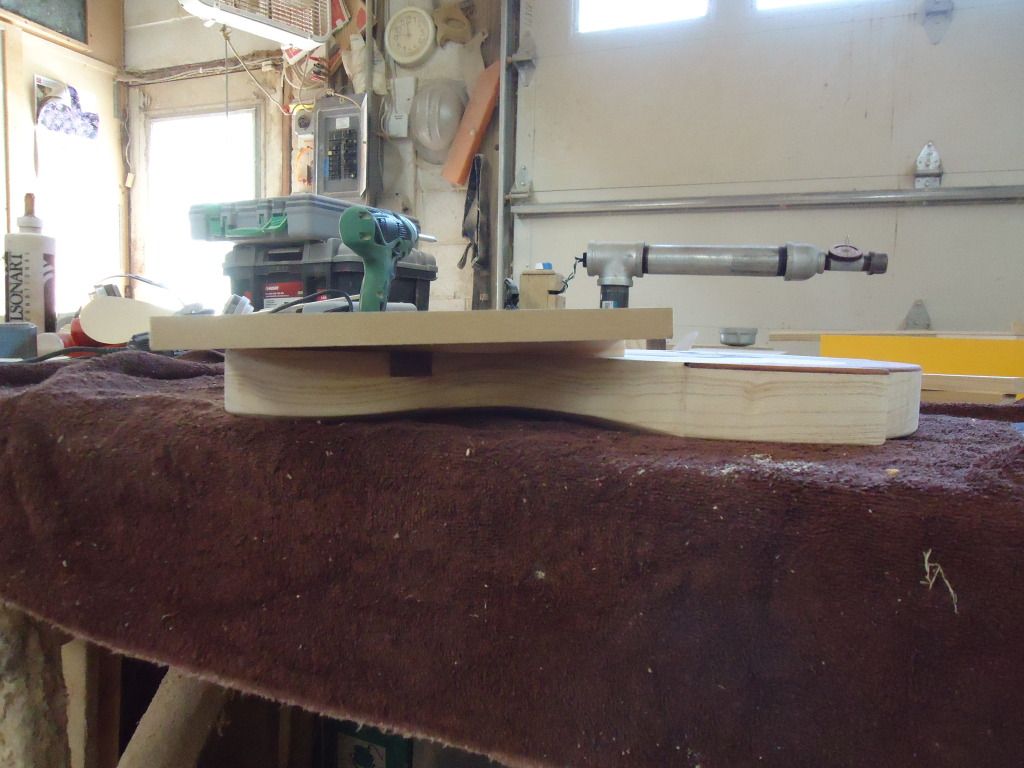
I have decided to skip the pick guard because it would be a crime to cover up any part of this top wood. I also plan on recessing the control plate so it sits flush with the body.
-
Lets add a bit of color to this thing
used sanding sealer on the beveled edge to create a natural maple faux binding.
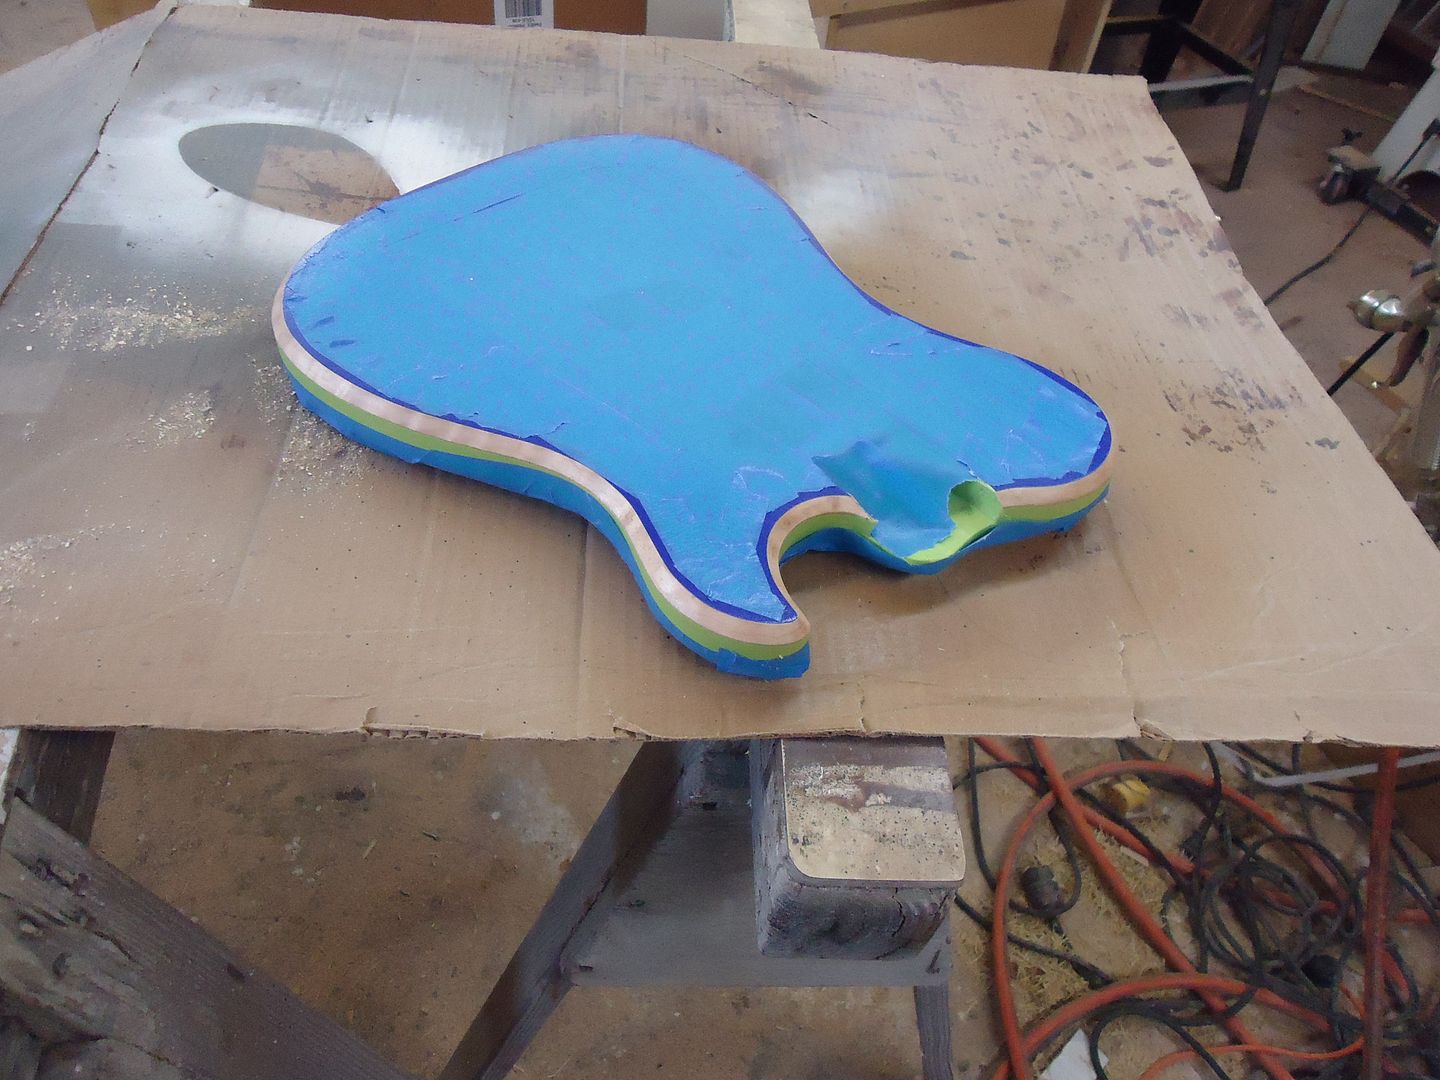
dark blue under coat for the lows
then sanded back
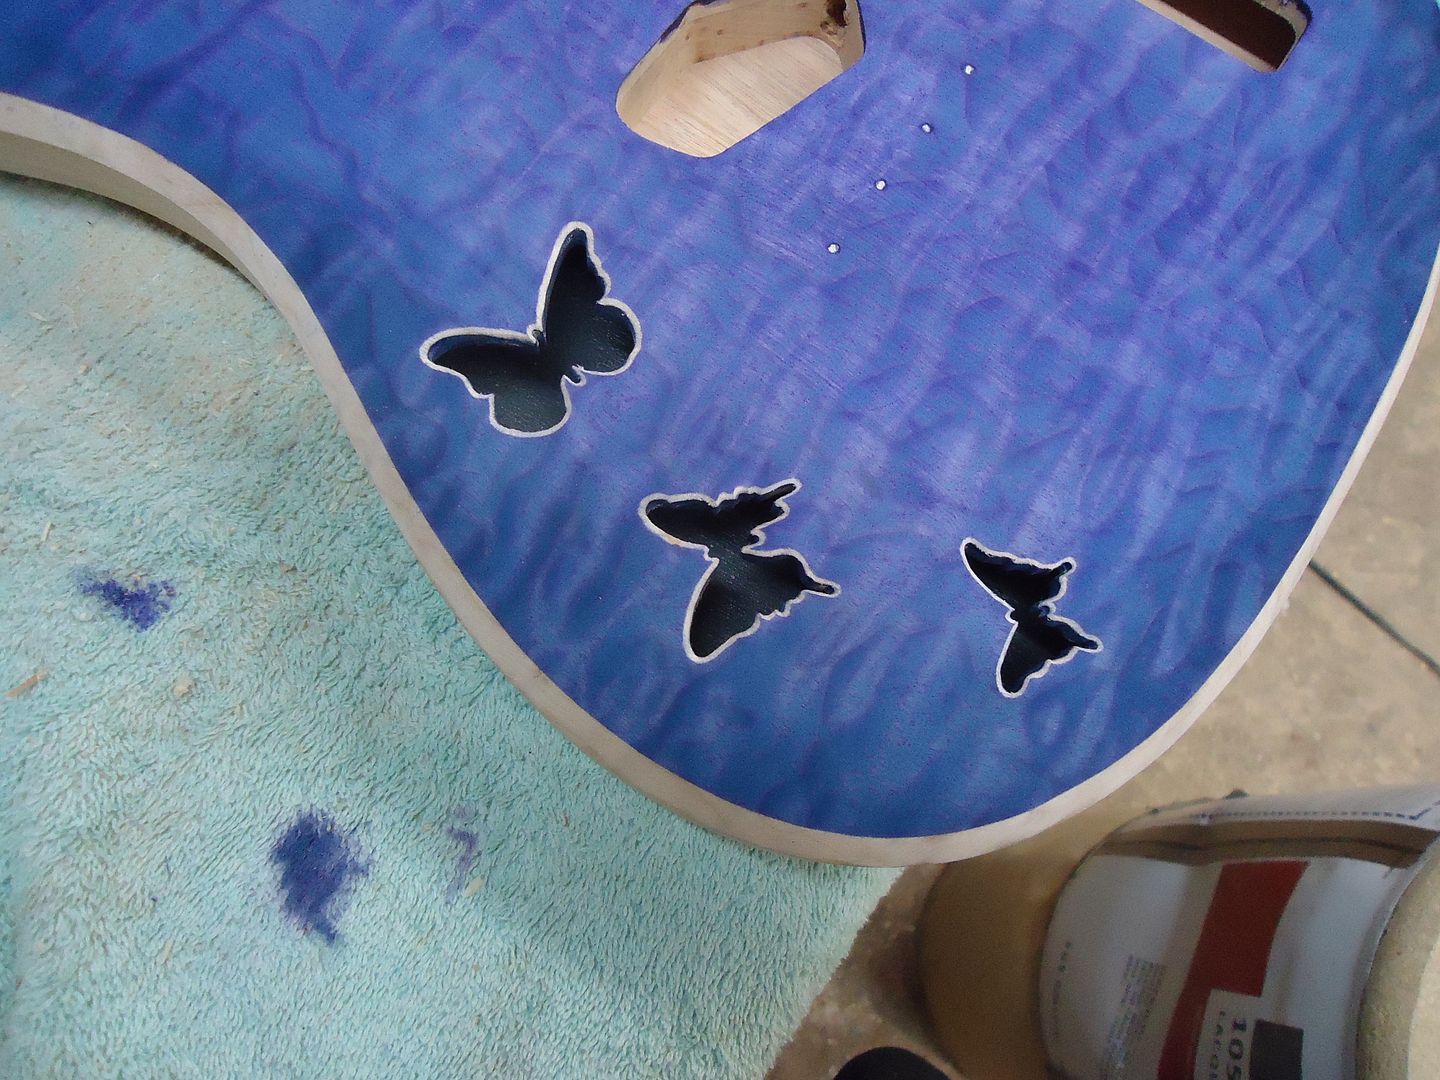
then added the purple and blue dye
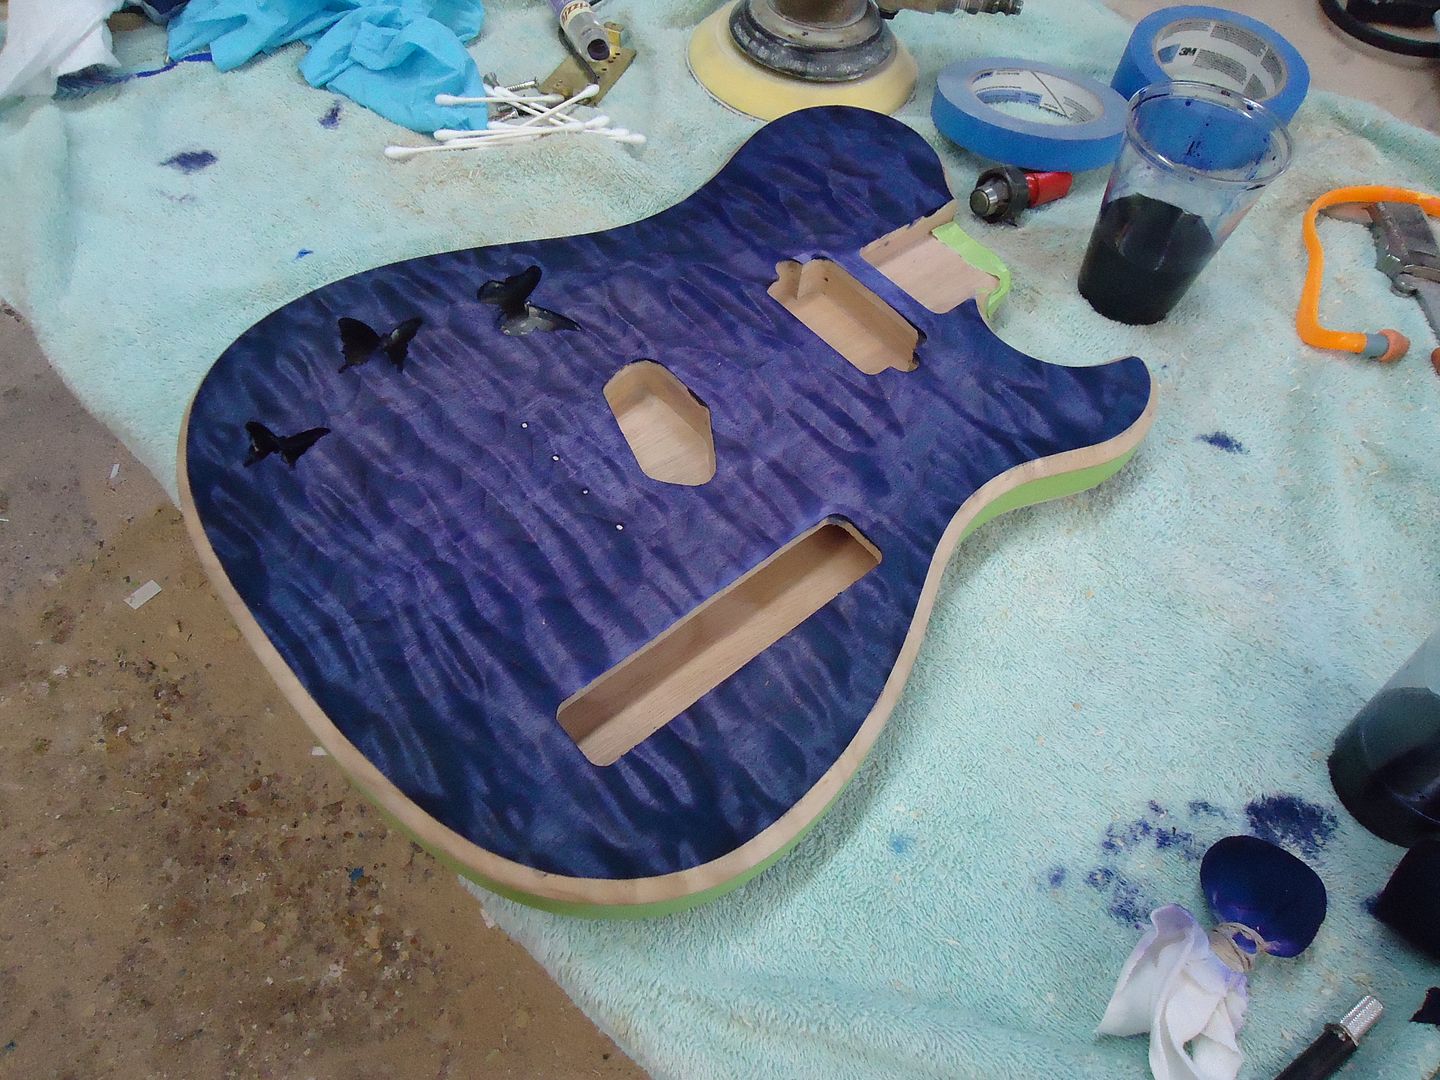
I turned the lights off and took a photo with the flash, this is closer to the actual color
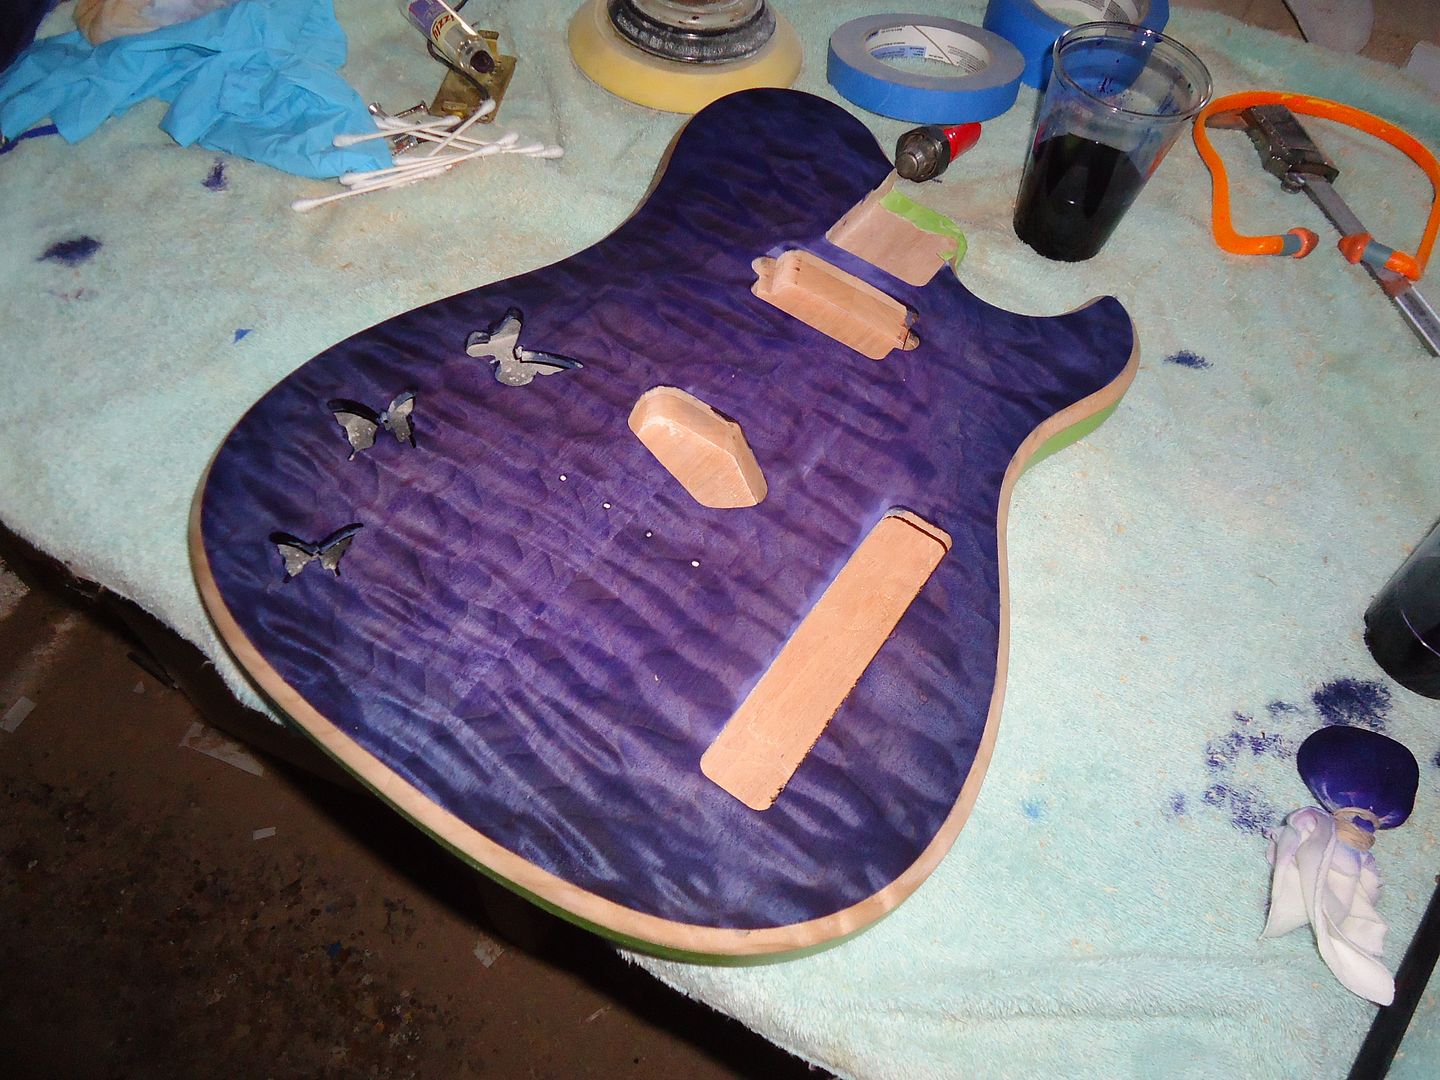
sorry this is a little blurry
all dried up

and a nice clean edge.
I'm pretty happy with this considering it was my first stain/burst attempt.
-
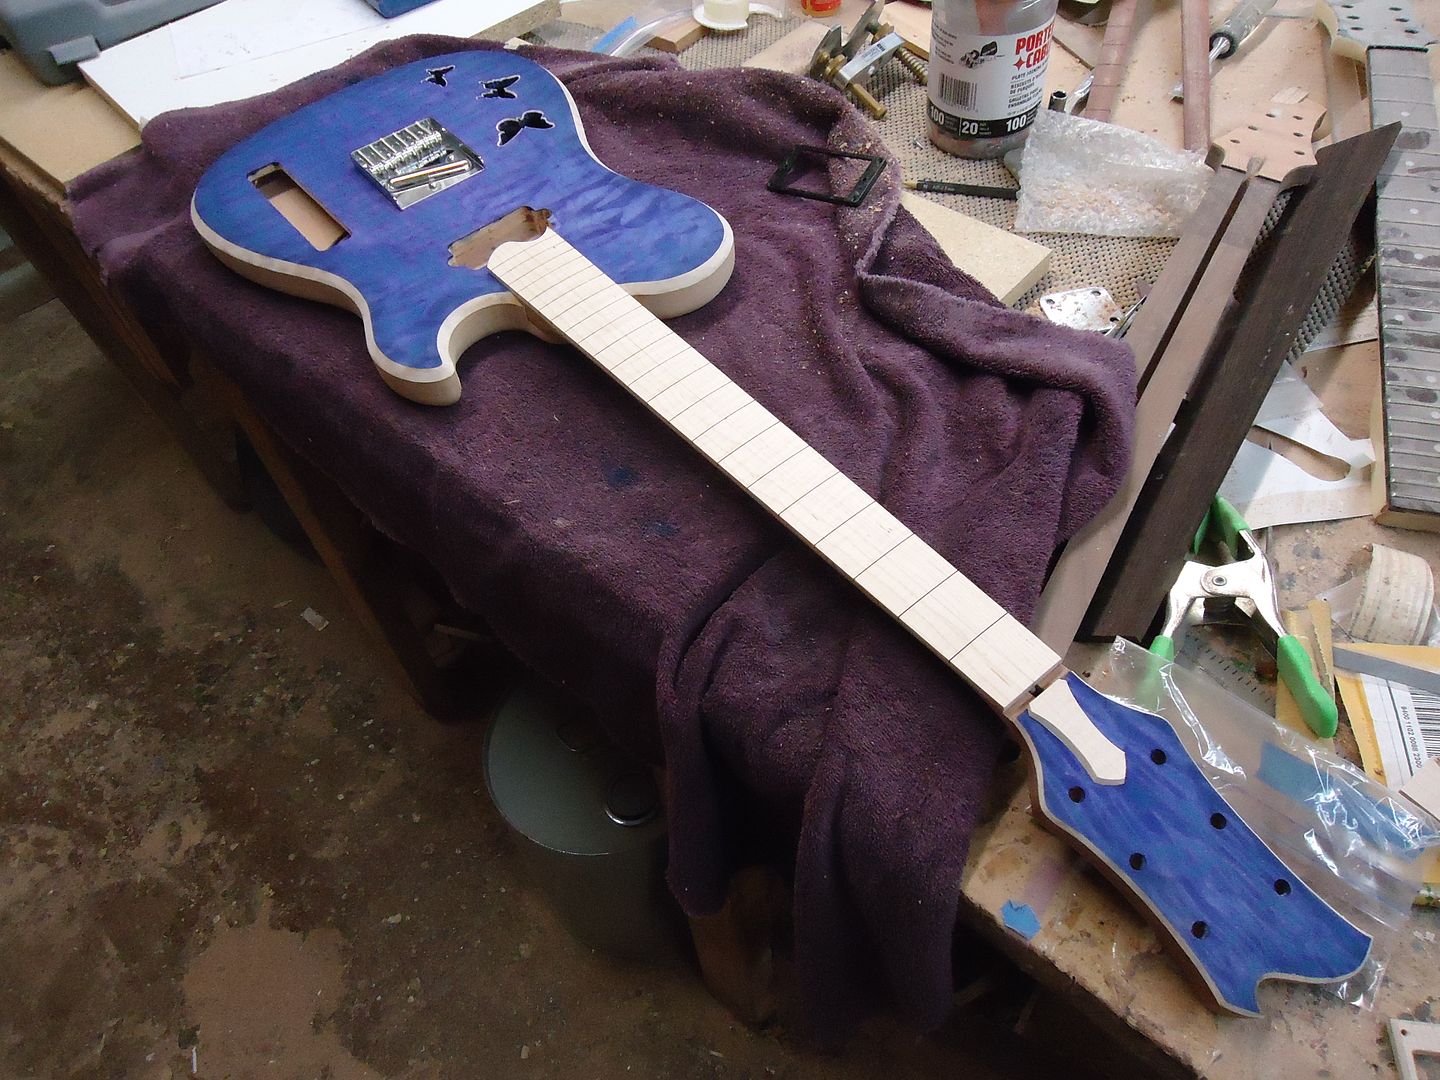
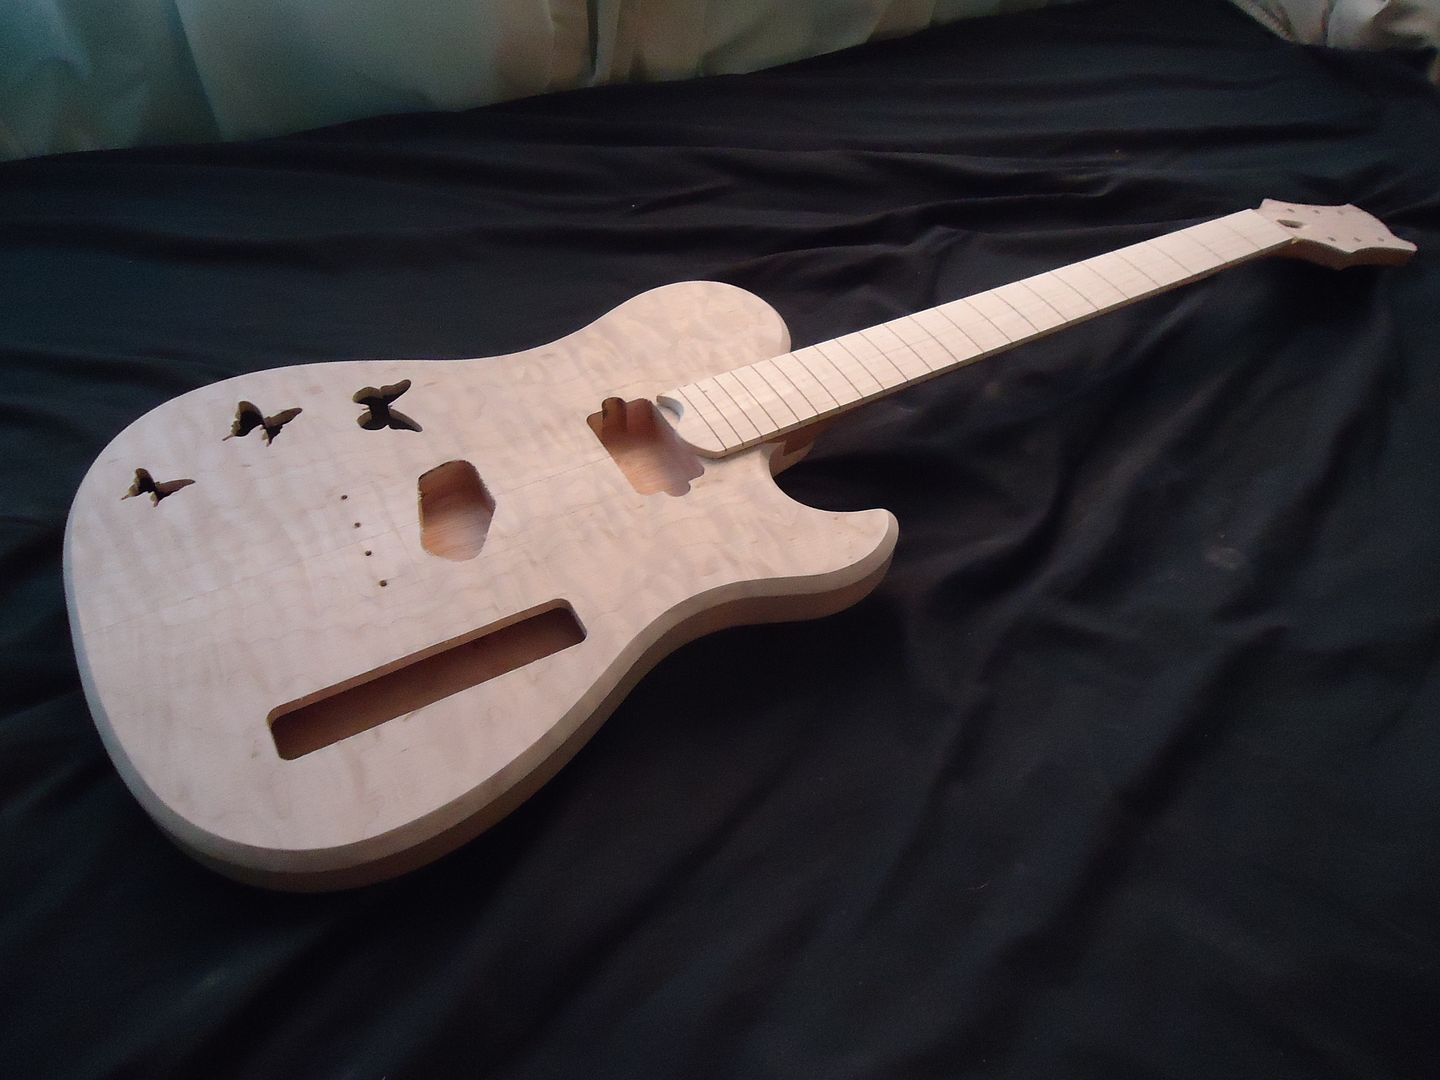
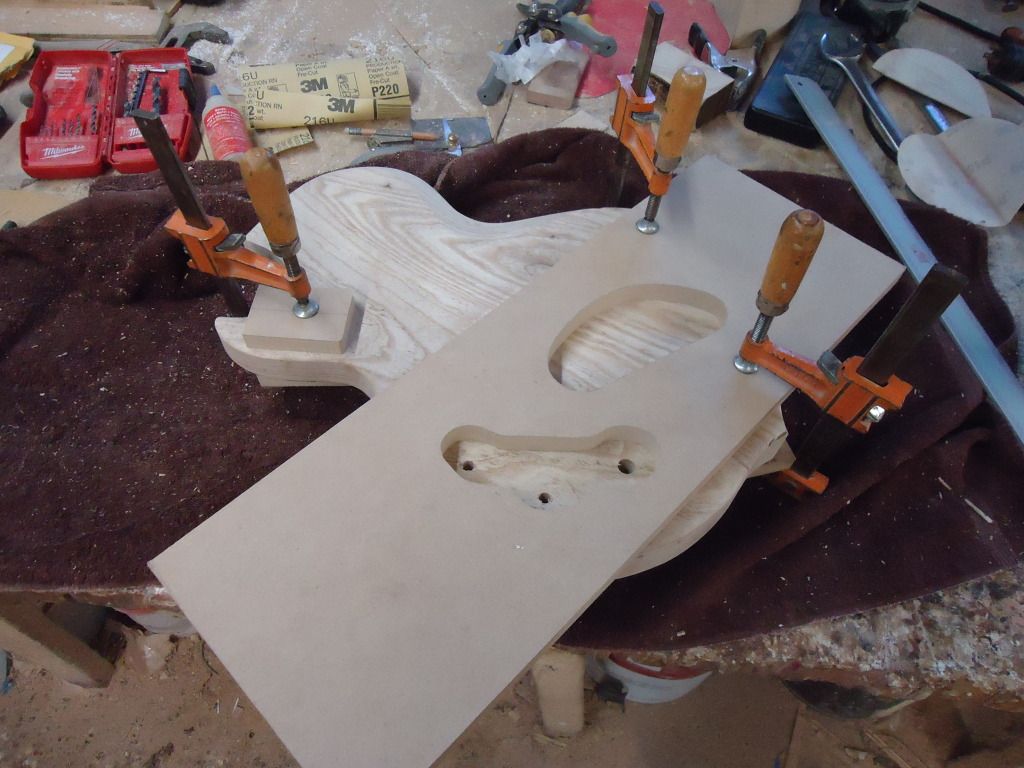
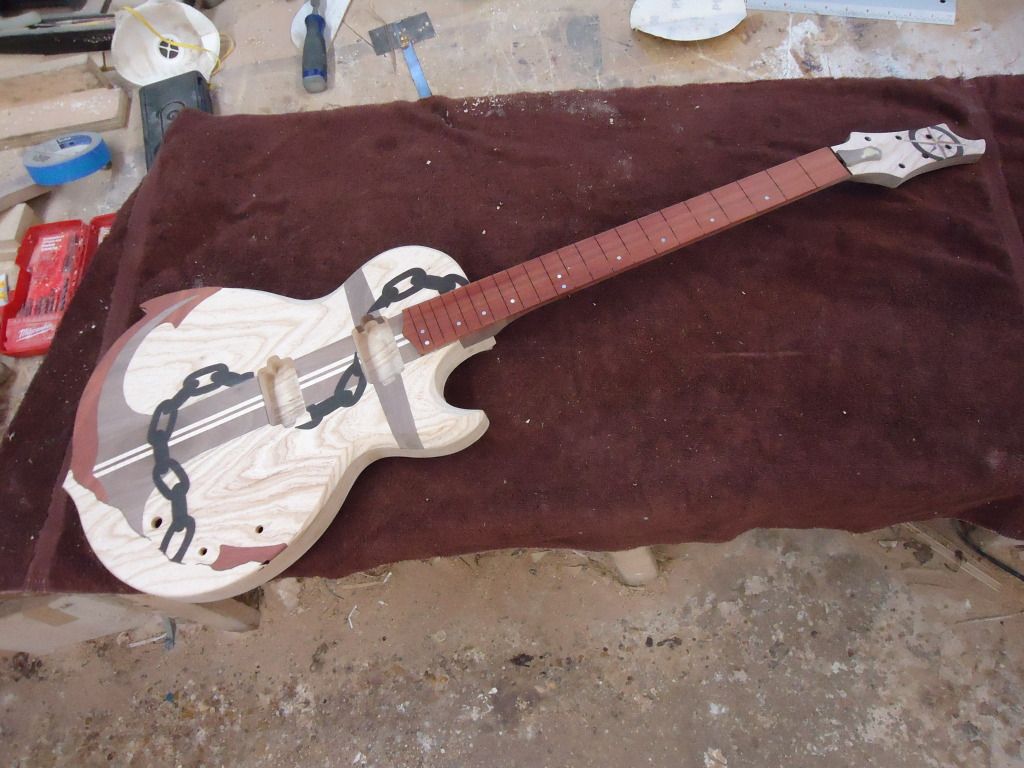
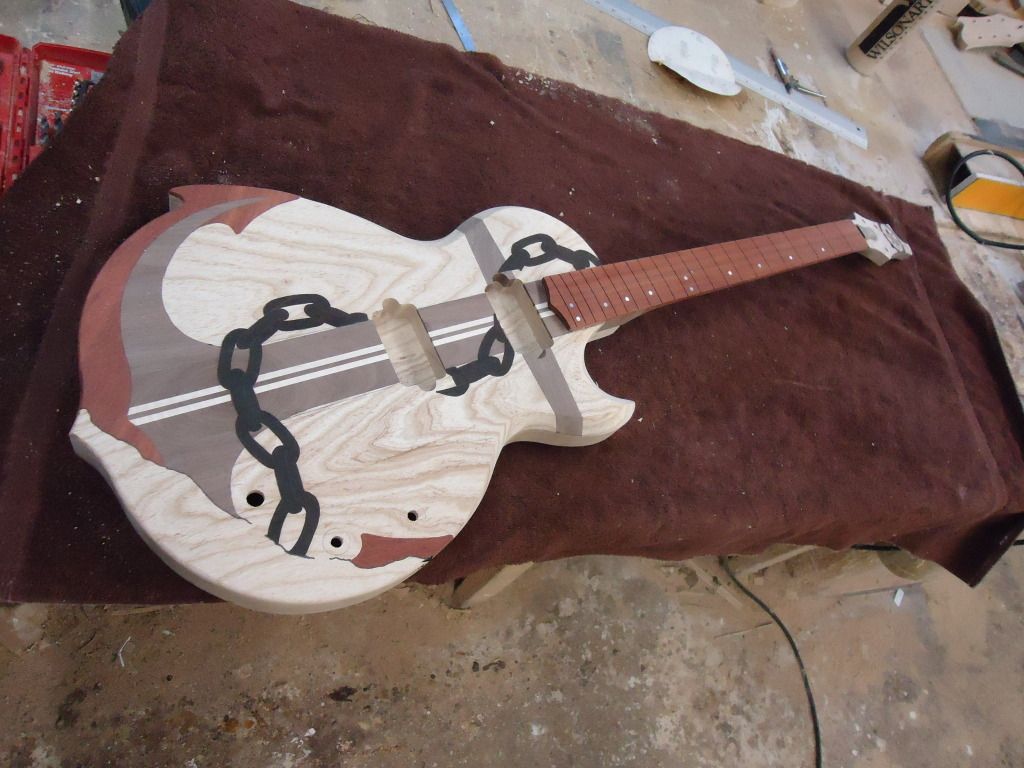
More progress!
I got the neck pocket cut and every thing lines up nicely. I also rough carved the neck. I cant wait to weigh this thing when its done its insanely light!
-
TAh dah! Now is time to carve the neck, stay tuned!
-
 1
1
-
-
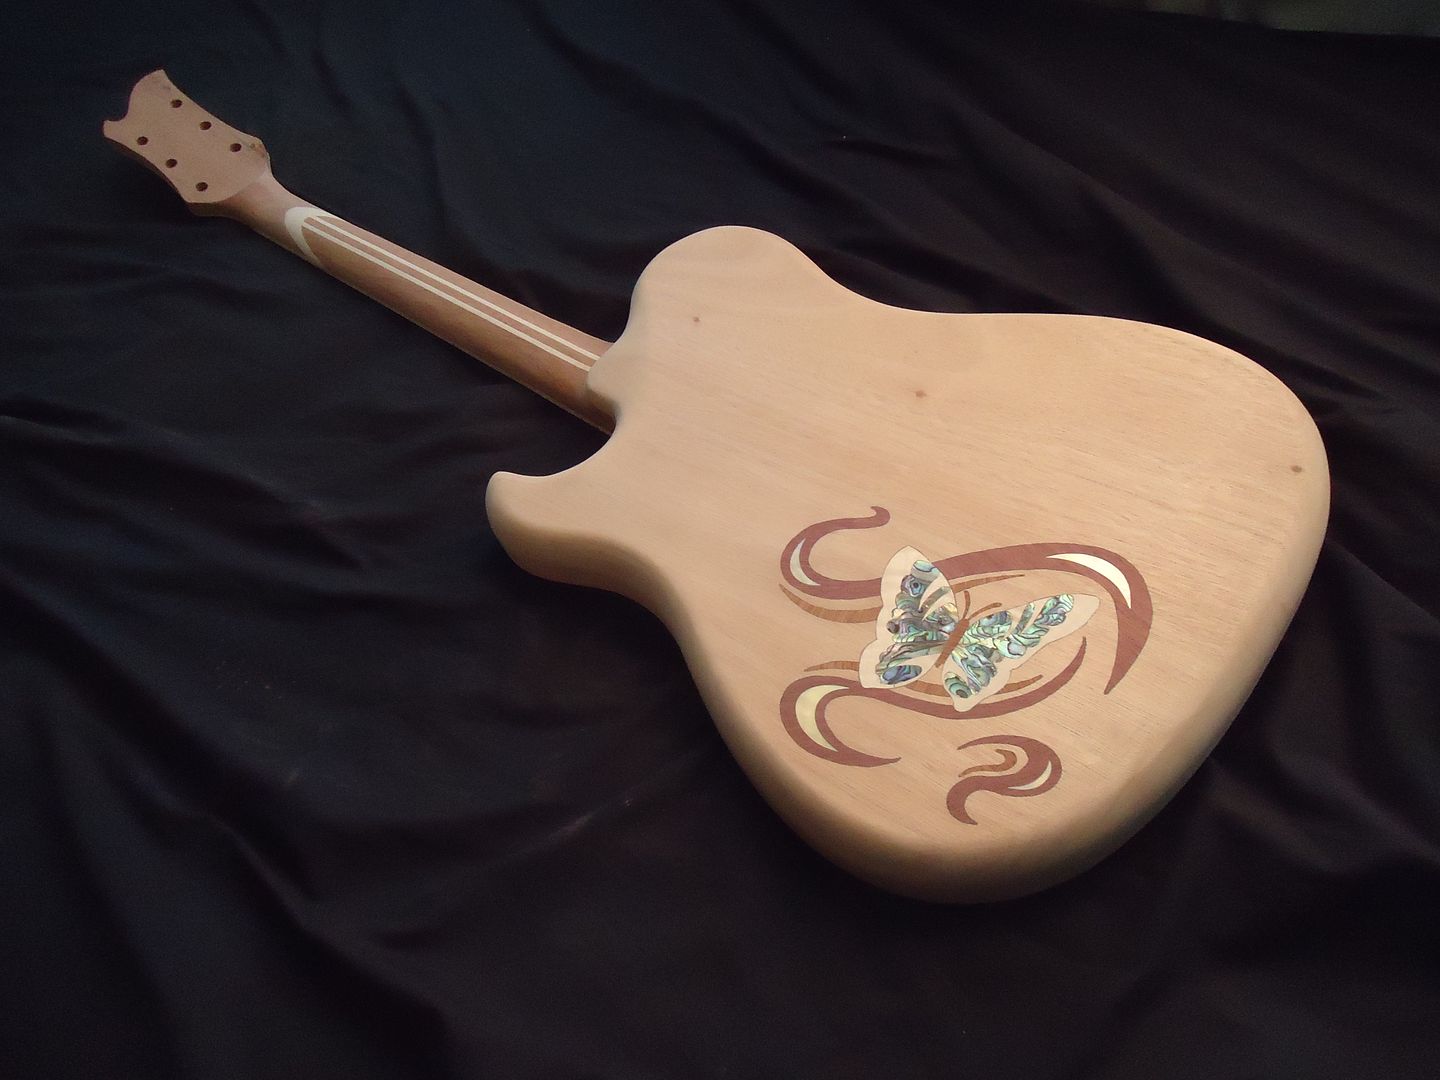
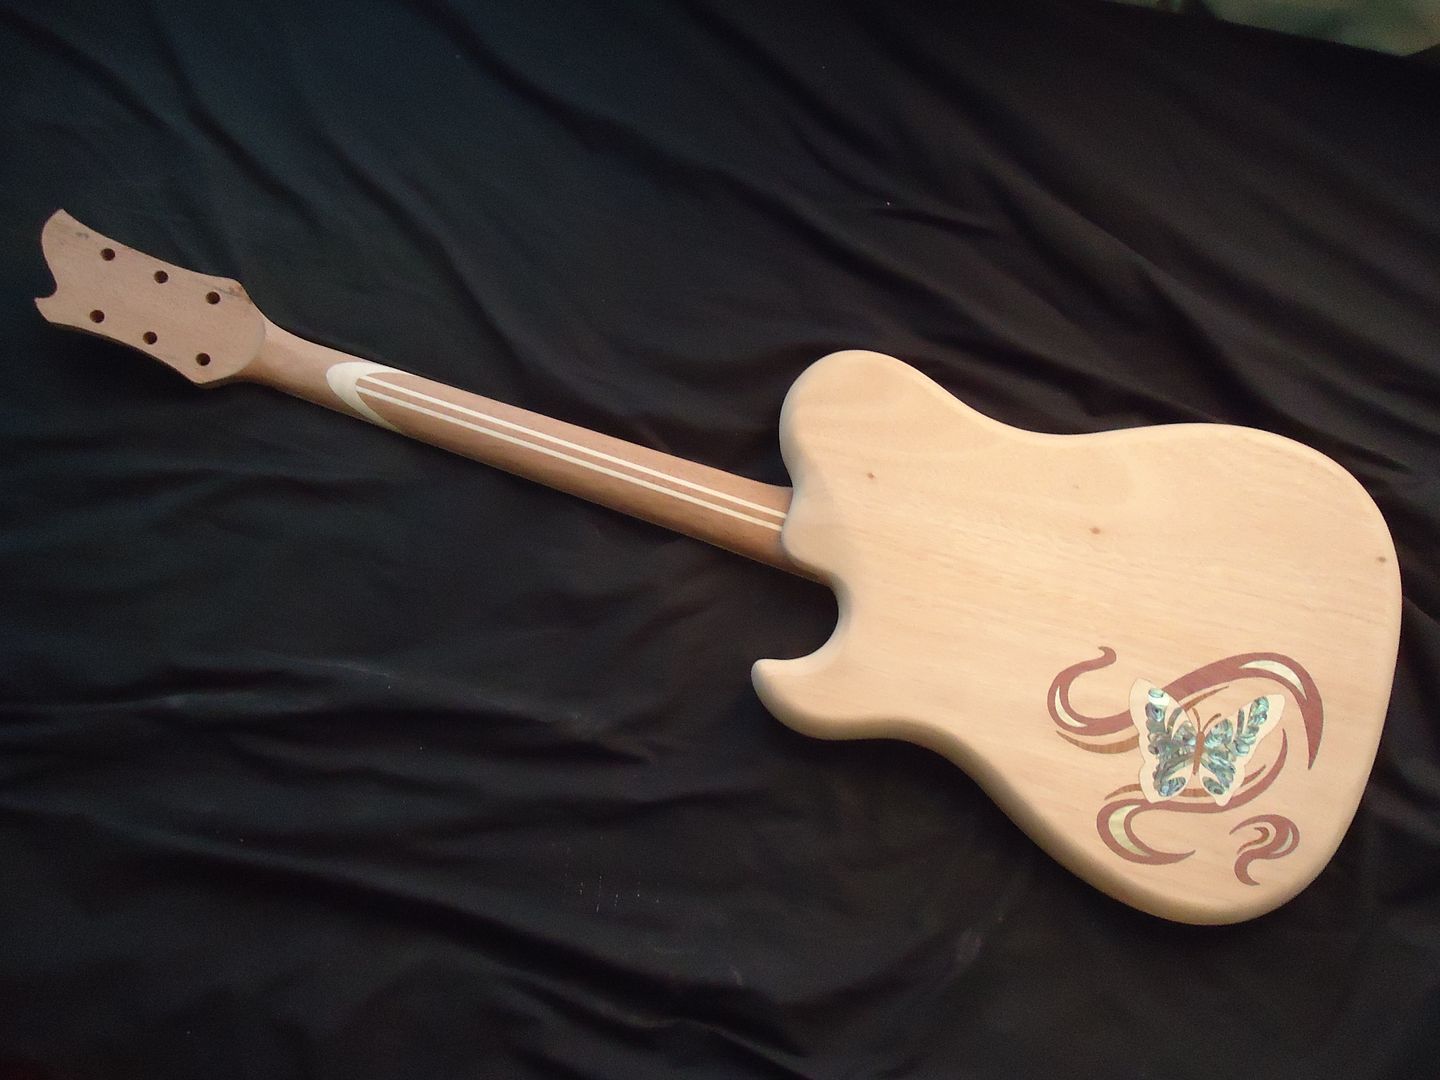
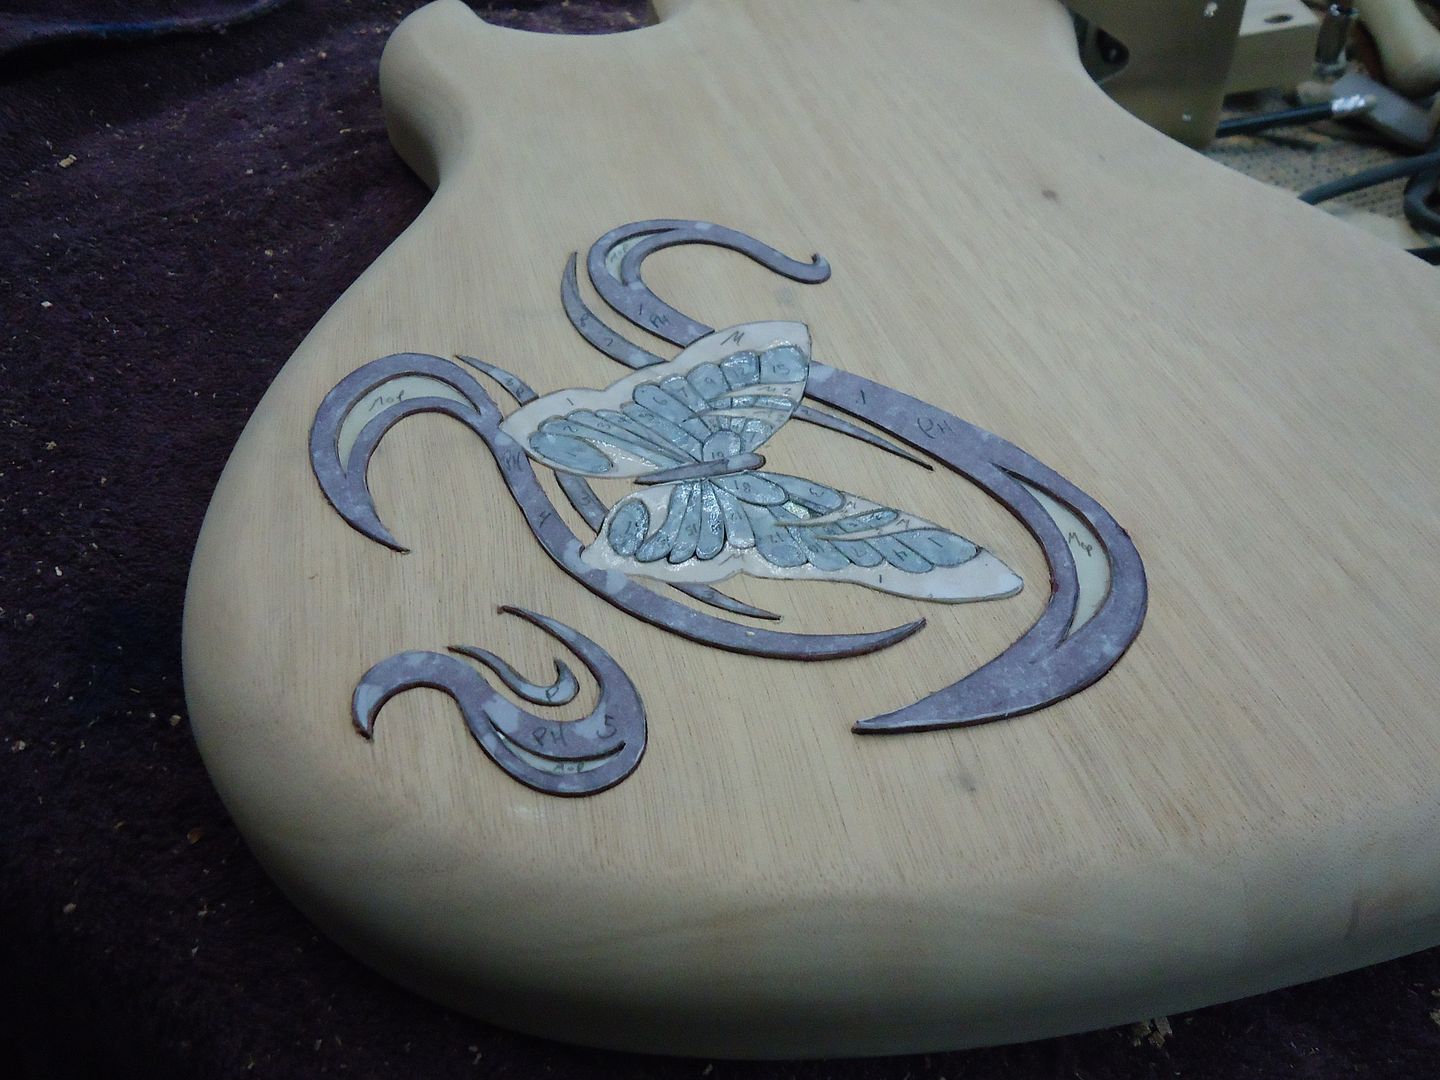
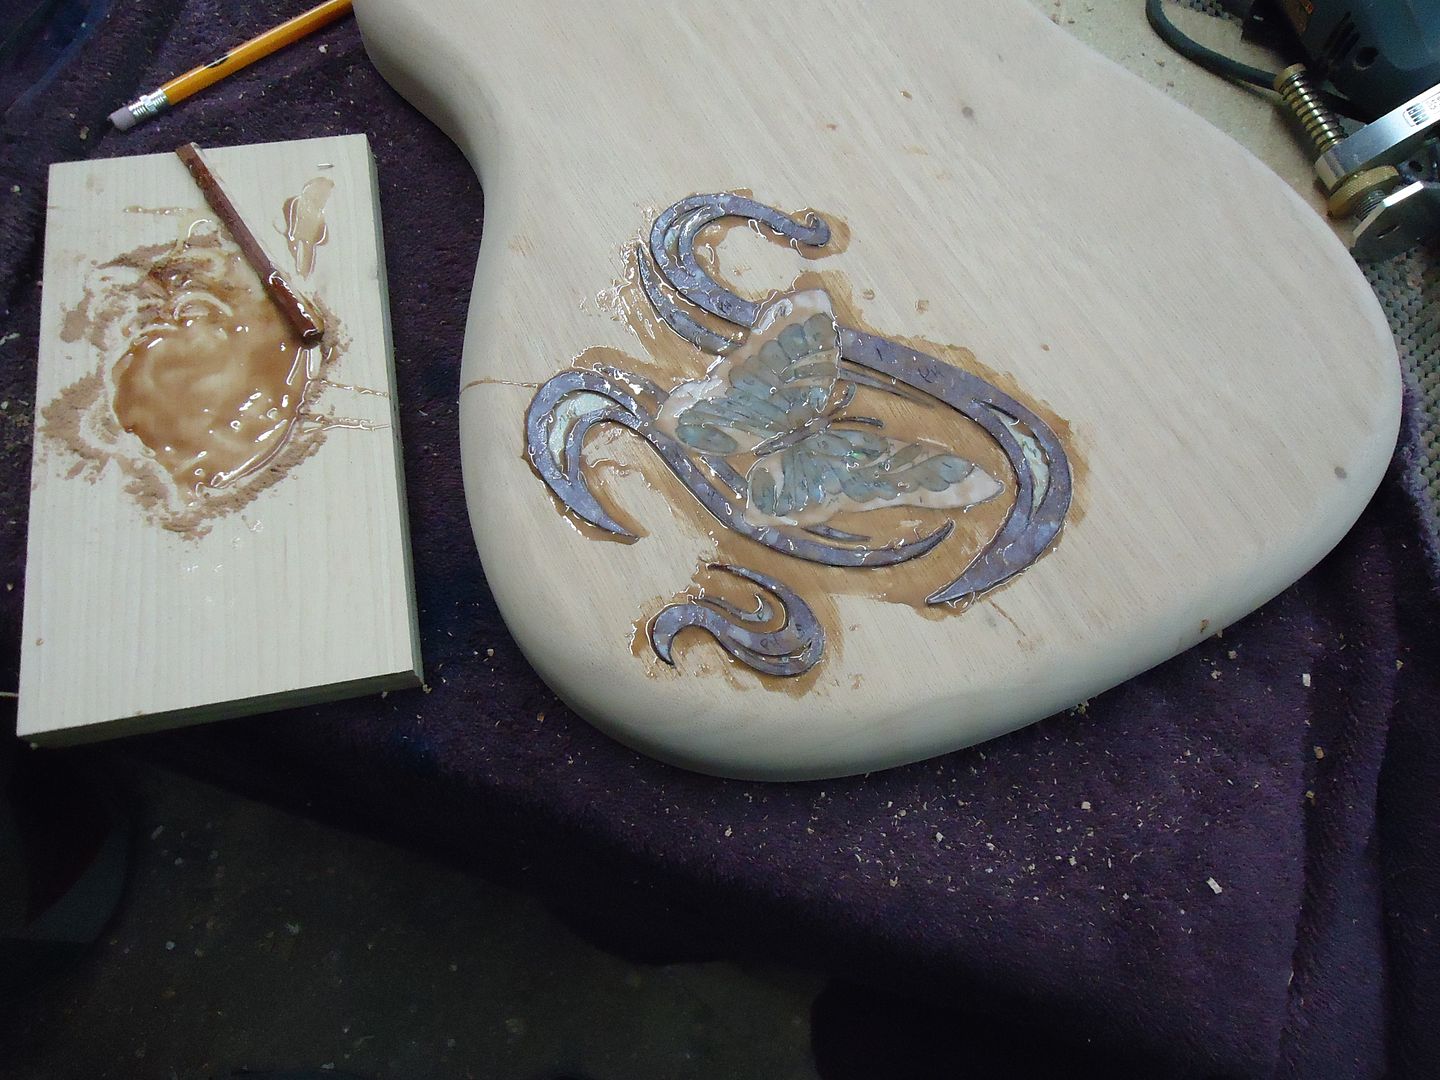
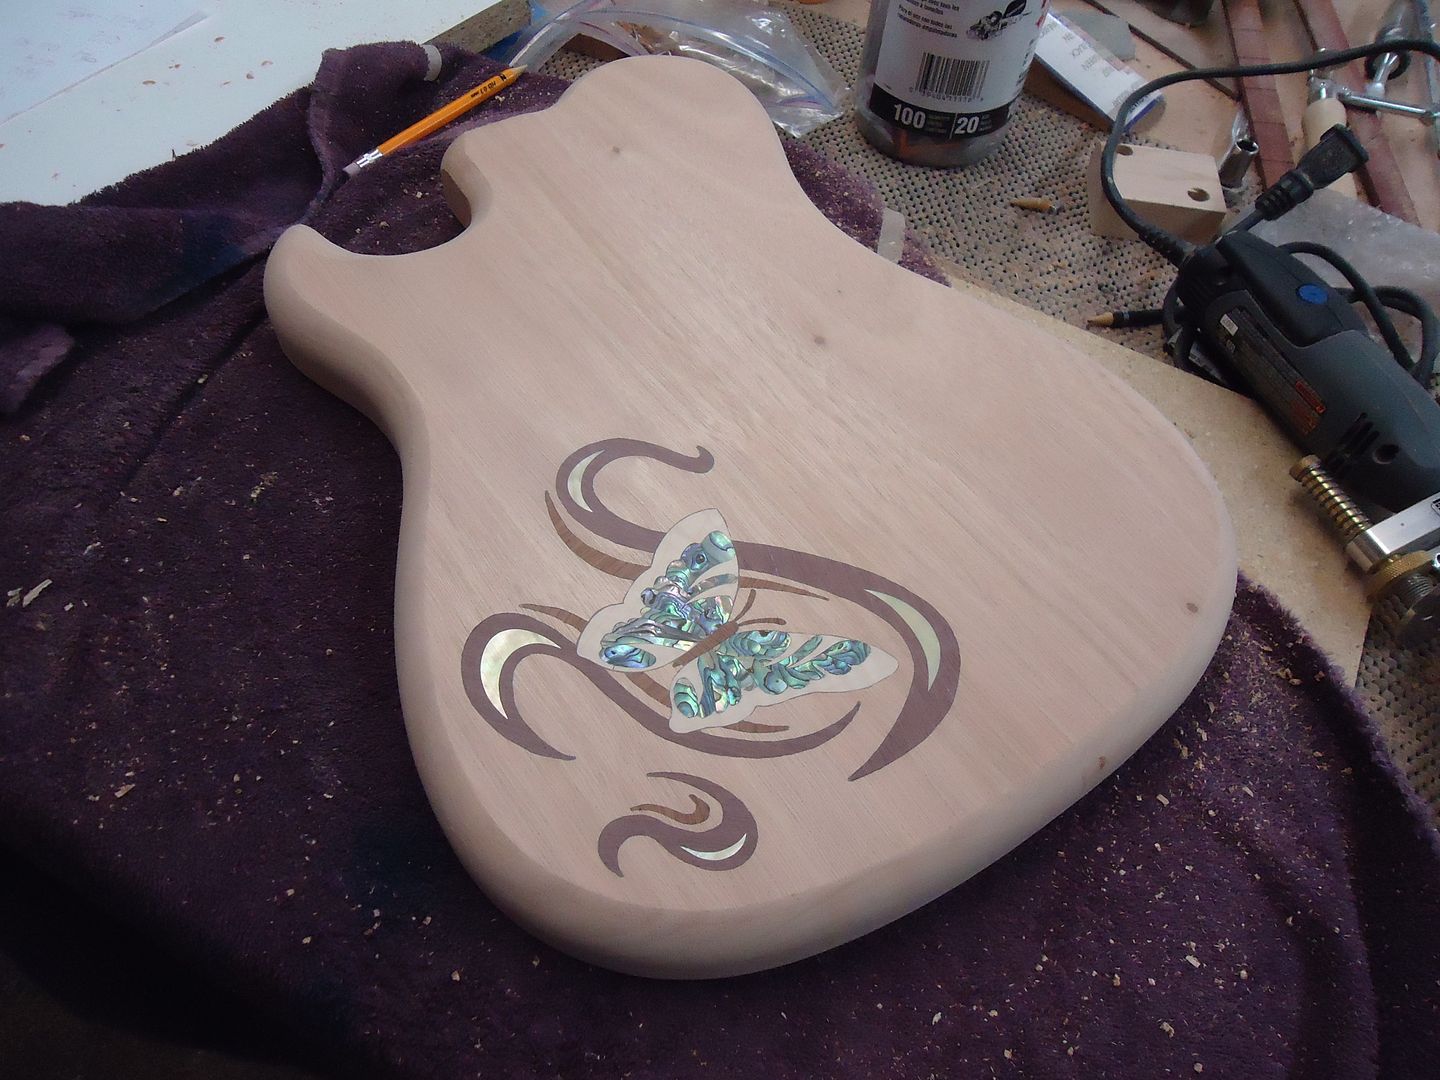
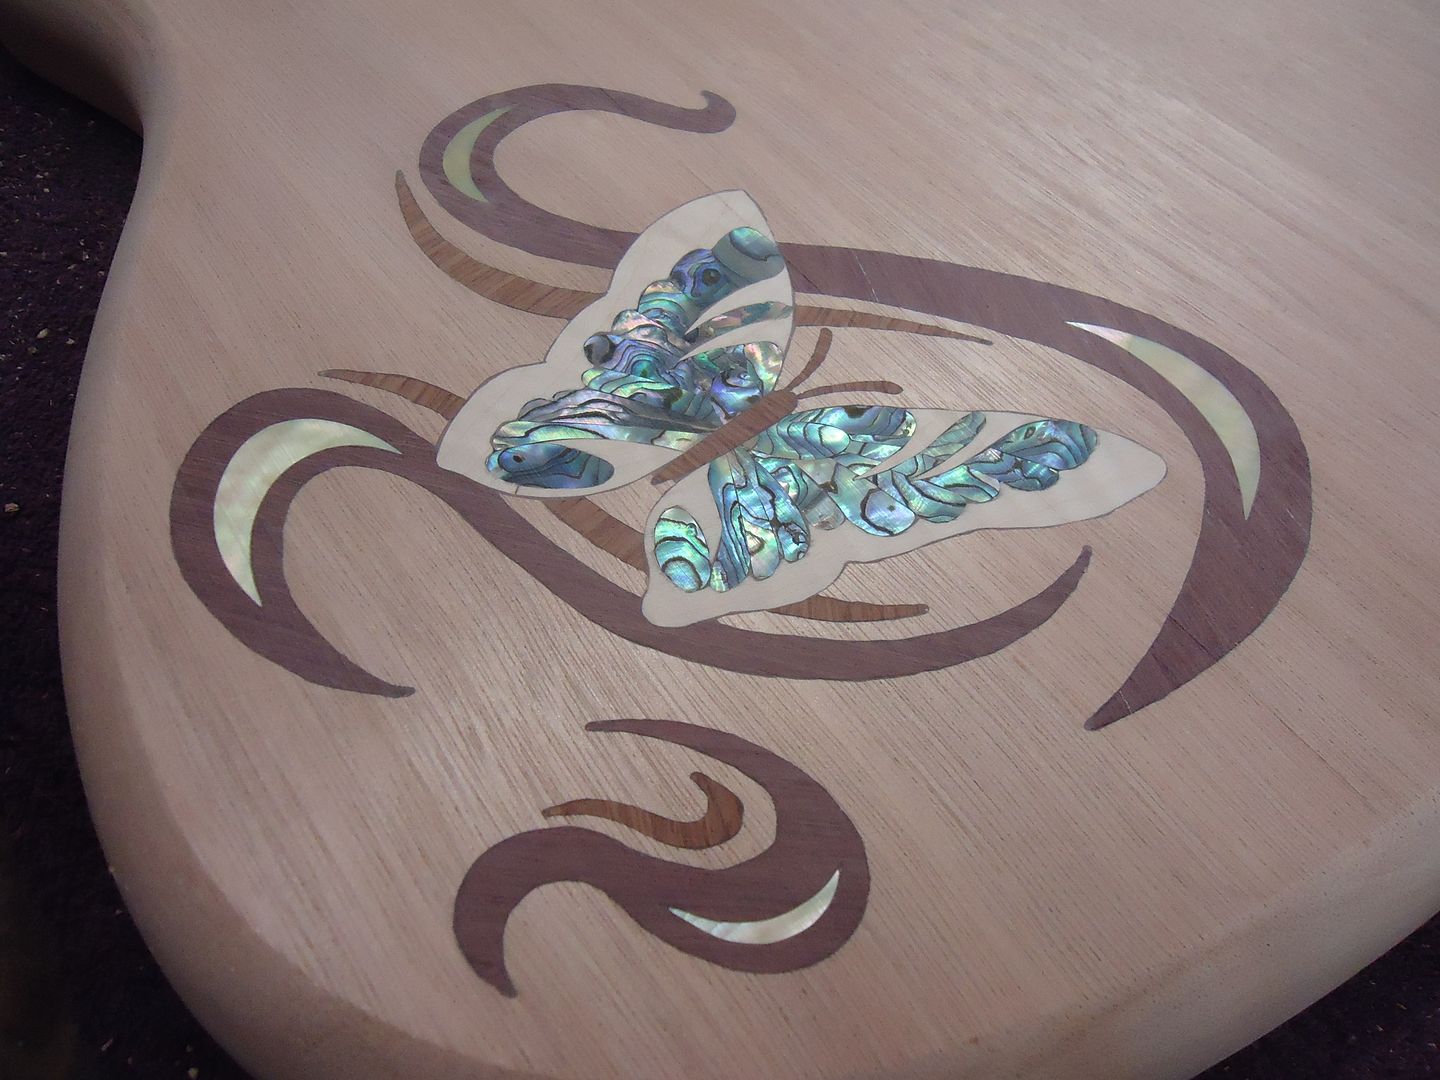
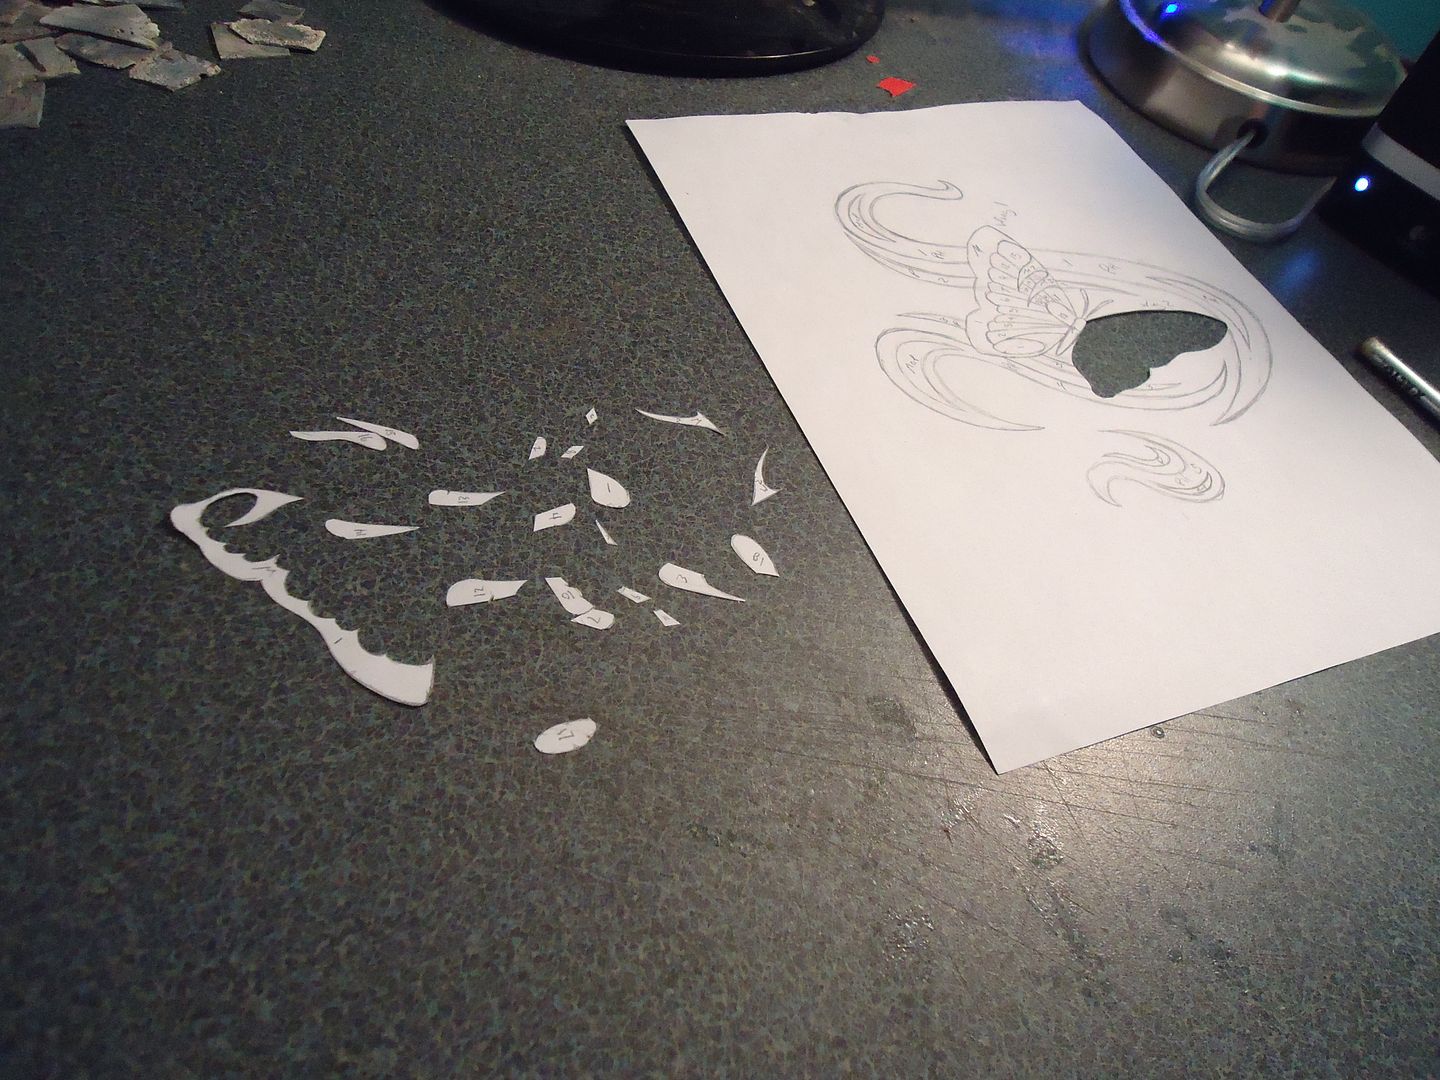
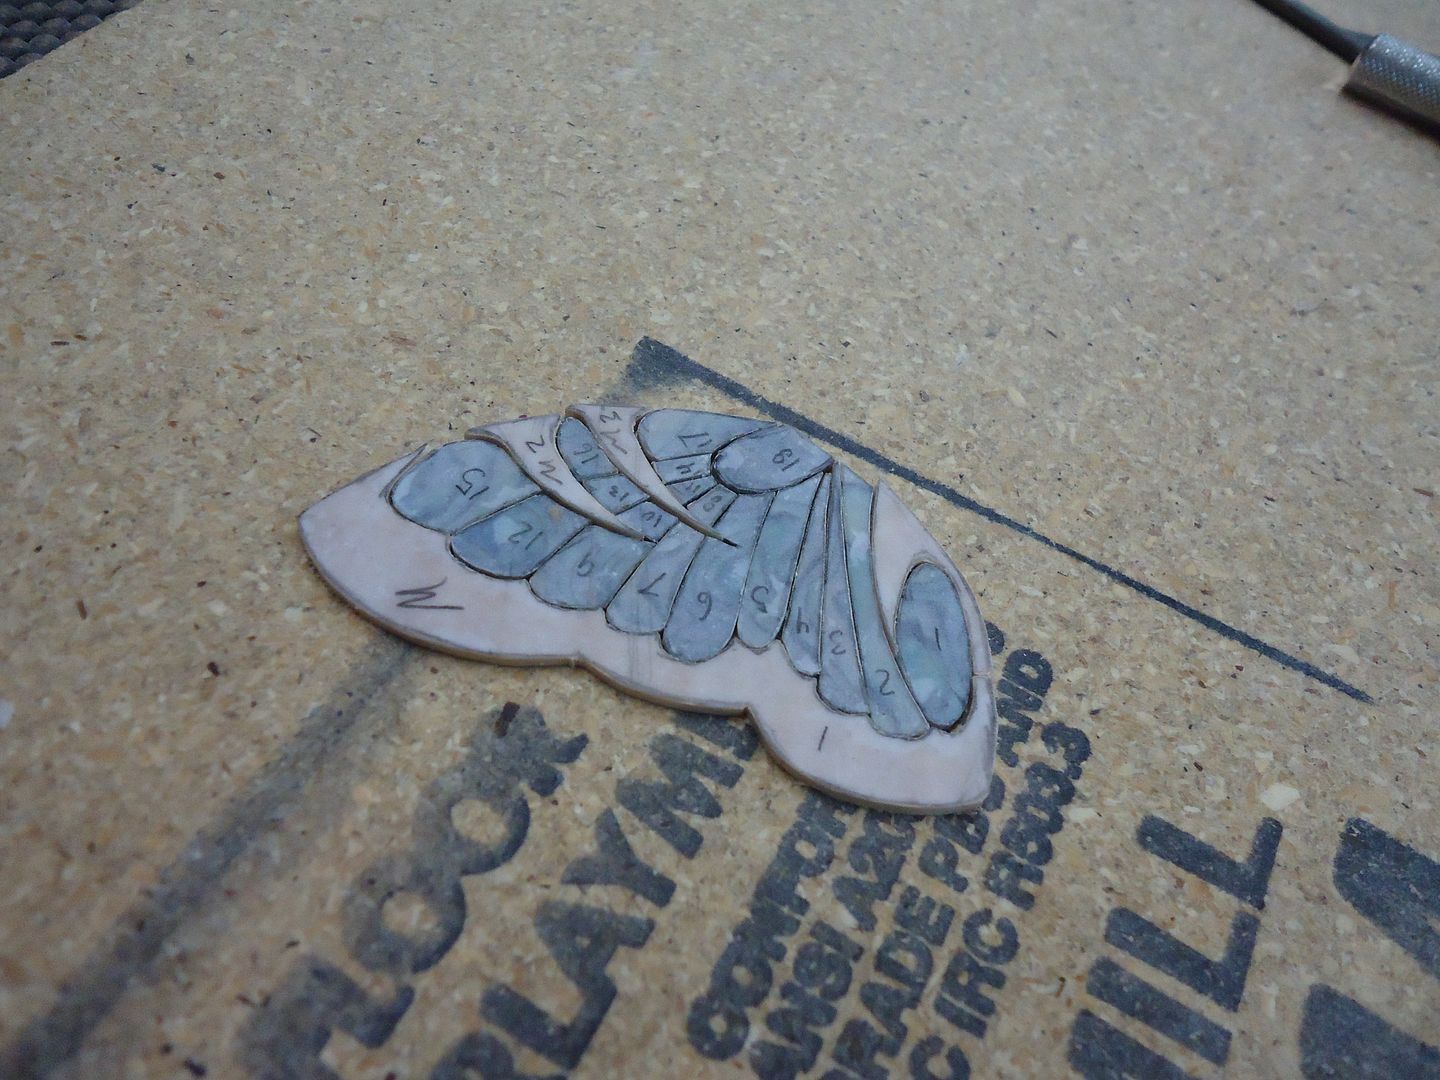
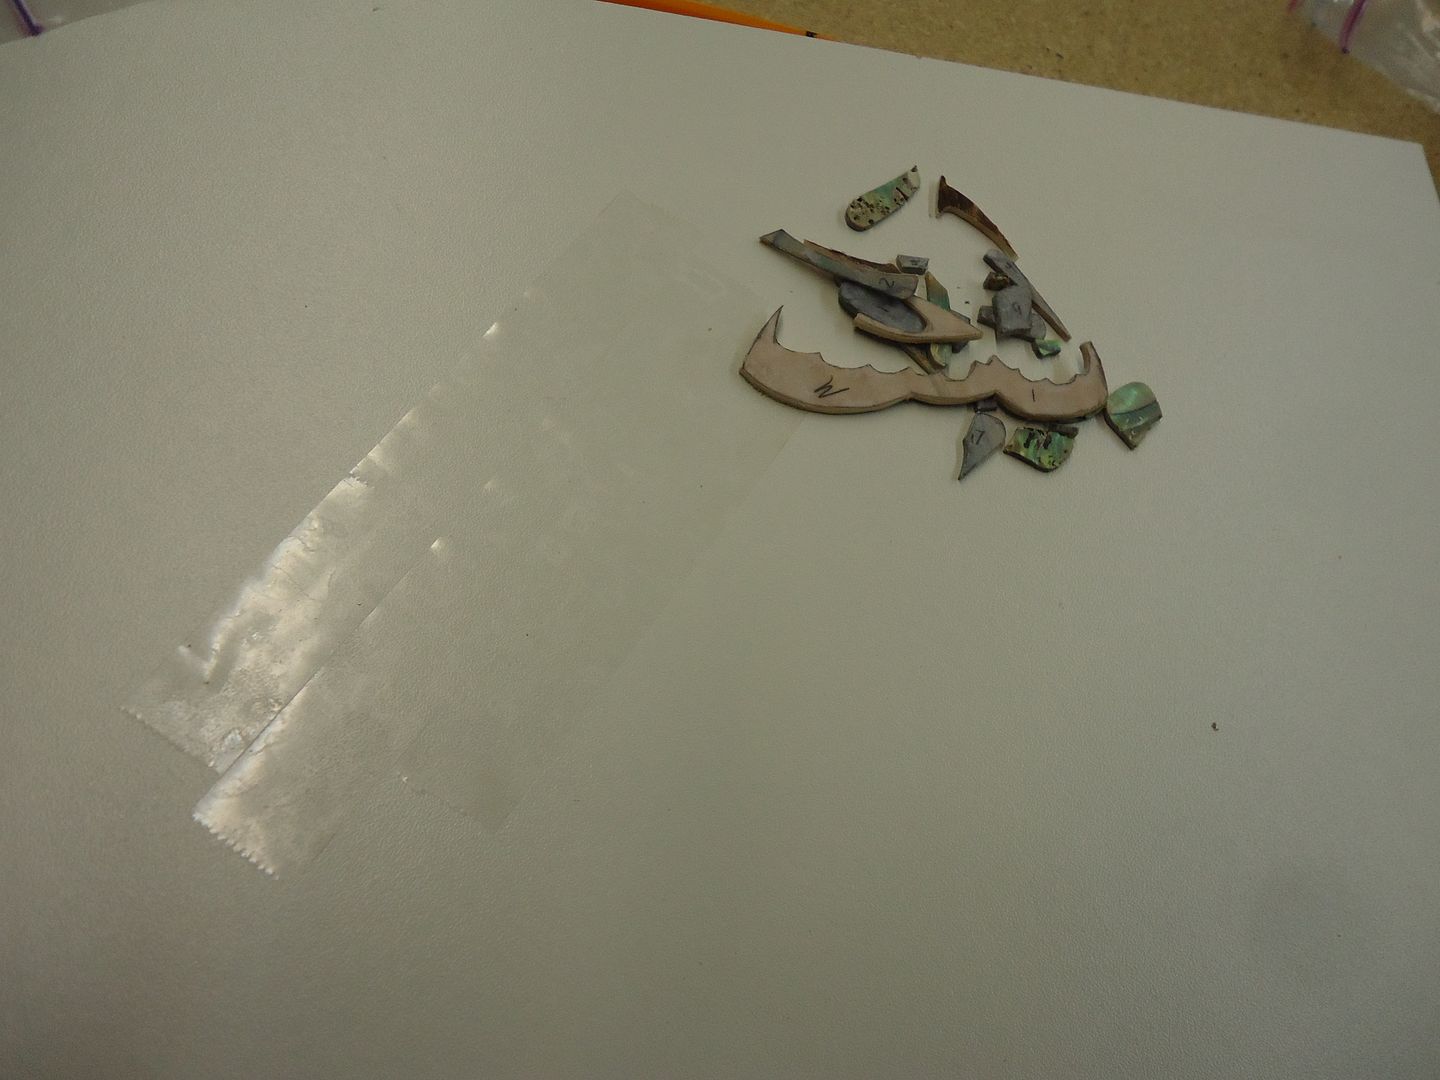
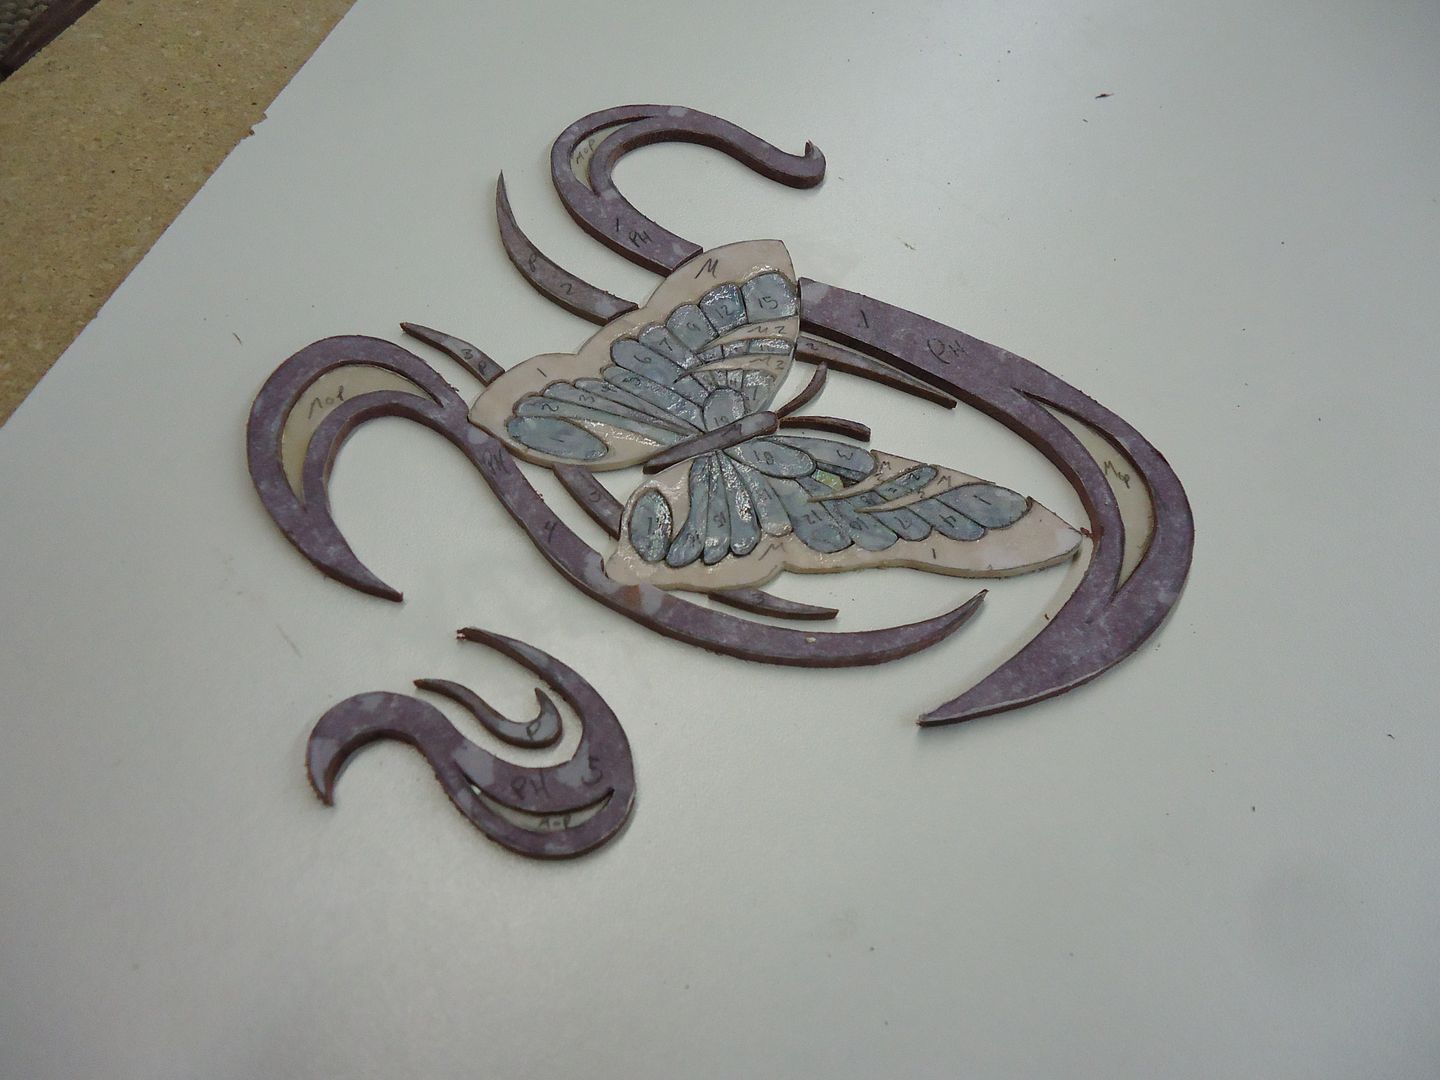
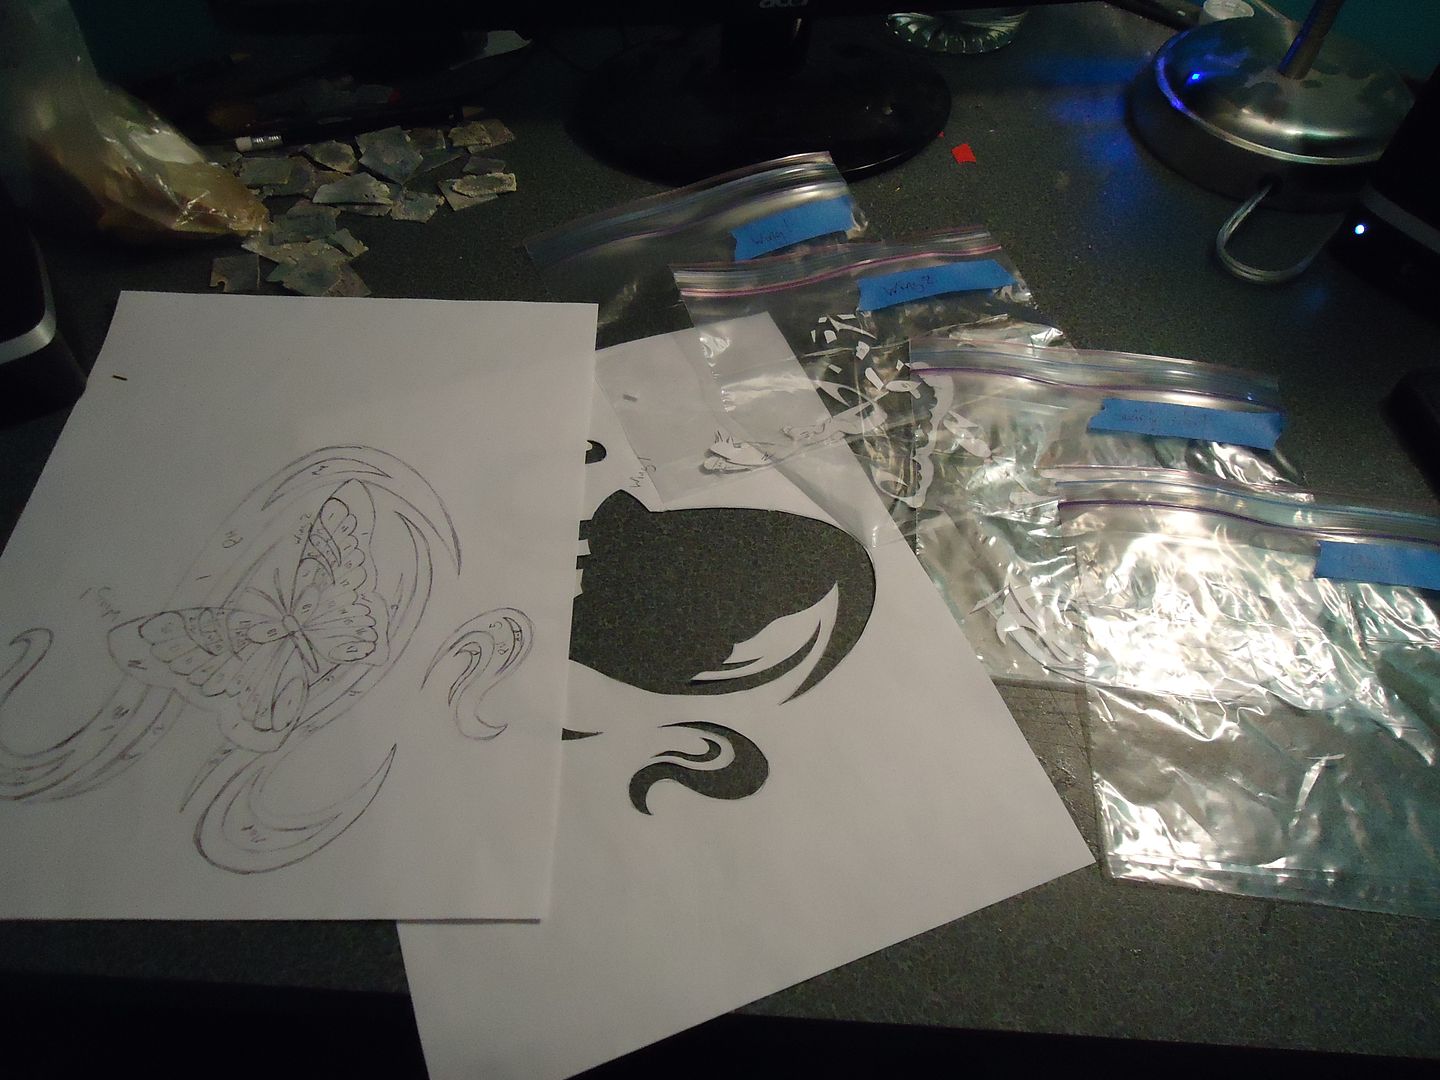
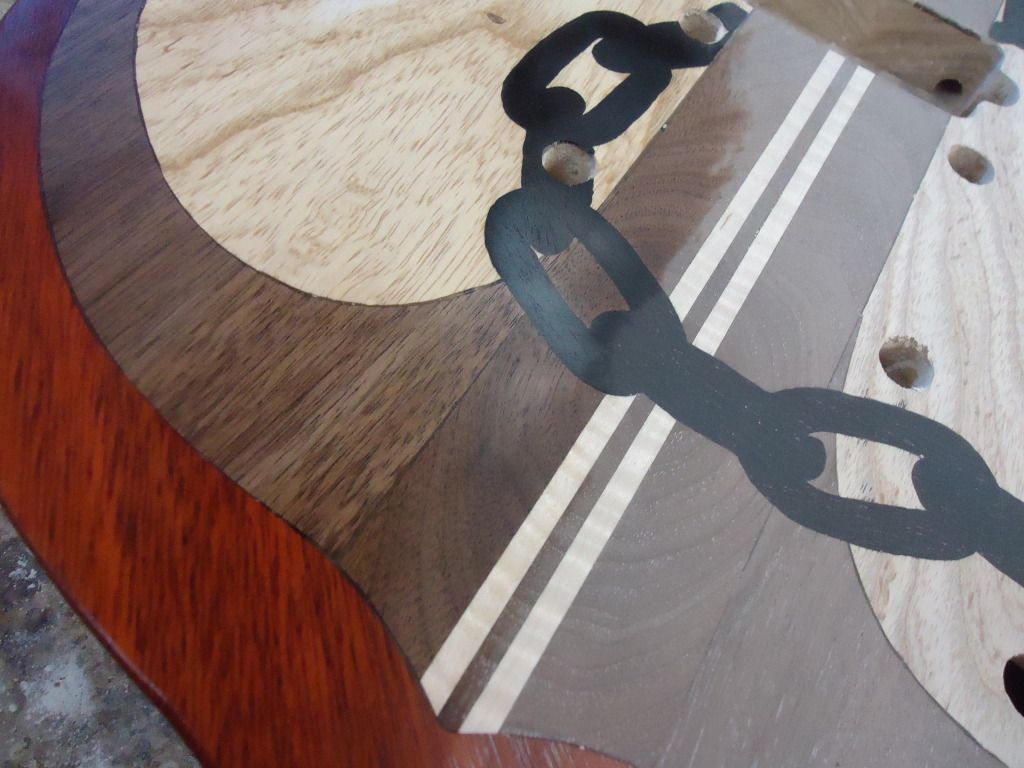
This morning I finished the Inlay with a total of 58 pieces and 13 hours into it from the time I started drawing till the epoxy was sanded off (not counting epoxy dry time). Its currently at 150 grit. I cant wait to polish it up and really make it shine. The purple heart is brownish right now from being freshly sanded but once the oxygen has time to get to it, it should turn the vibrant purple that the wood is known for.
-
Took some scrap from the top to make a headstock plate
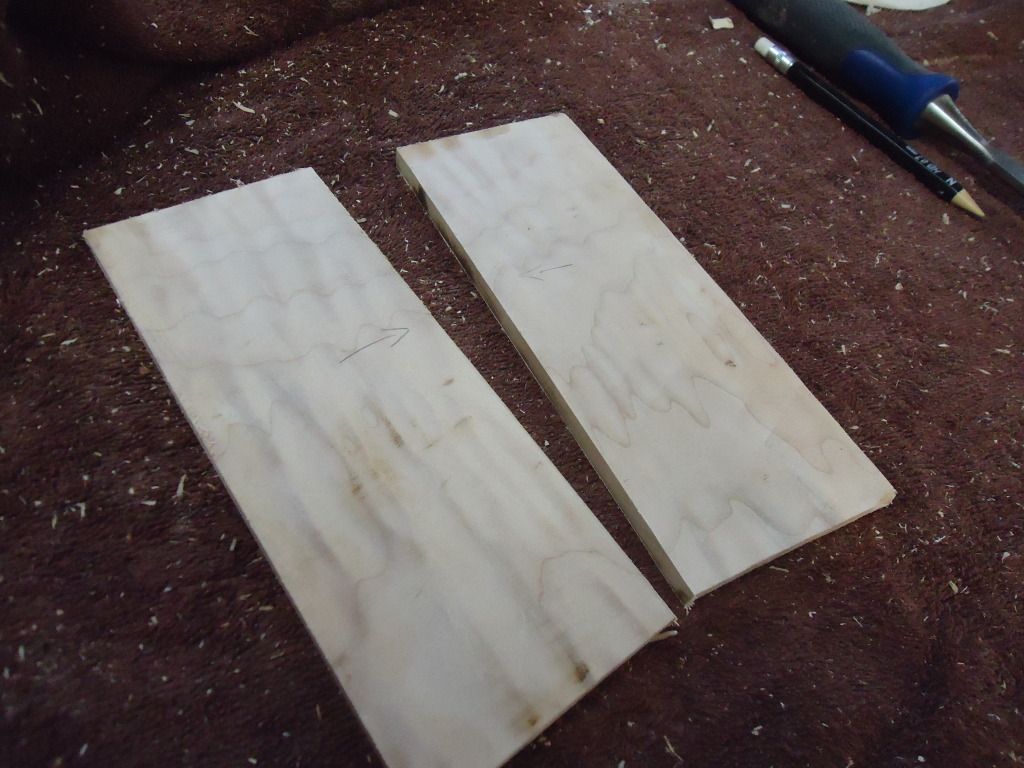
sanded down to thickness
http://s171.beta.photobucket.com/user/razor279/media/DSC00552_zps50303287.jpg.html?sort=3&o=105
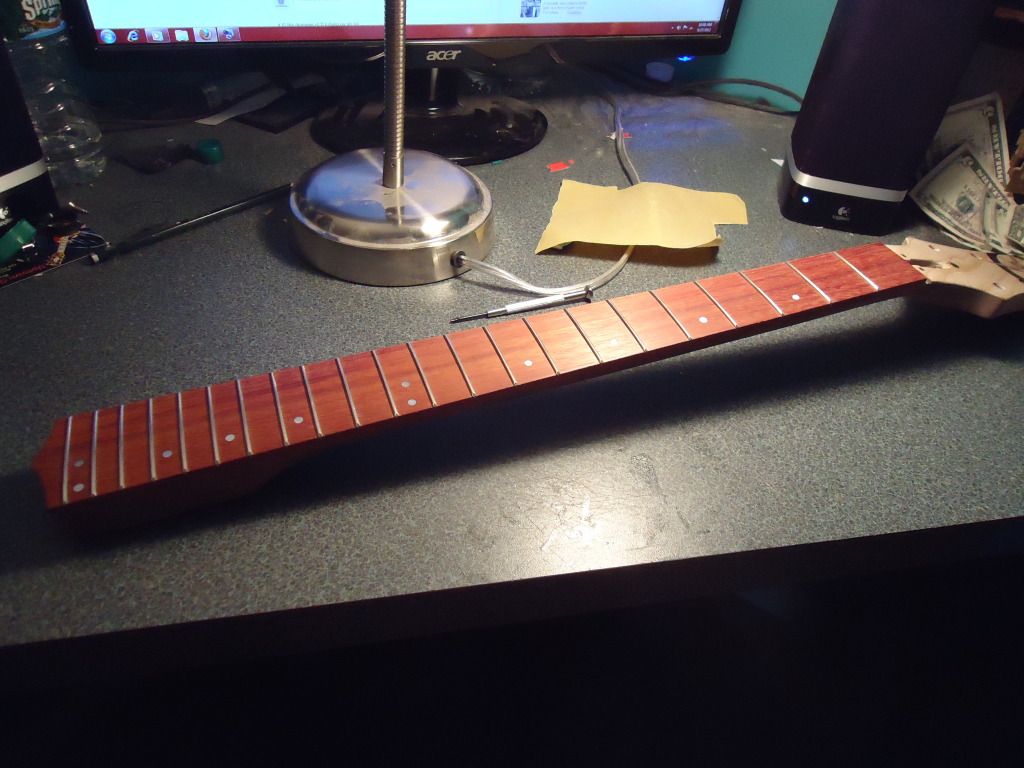
maple fret board
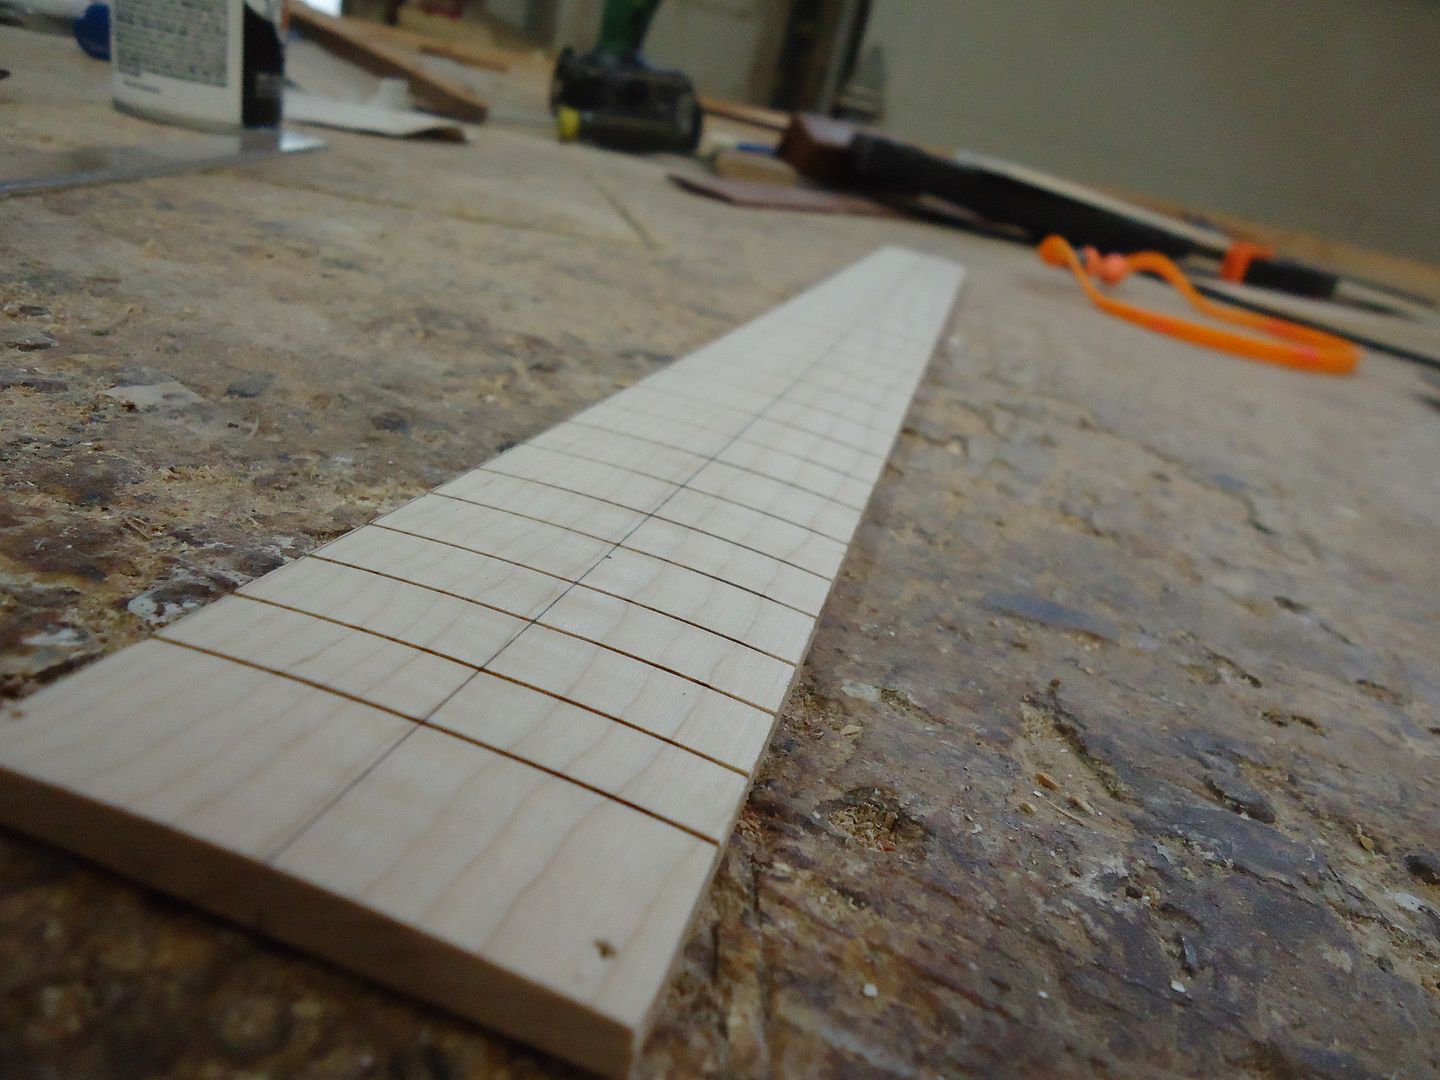
slotting
taper cut
I re-did the neck and made it a little bit fancier with curly maple
truss cavity cut
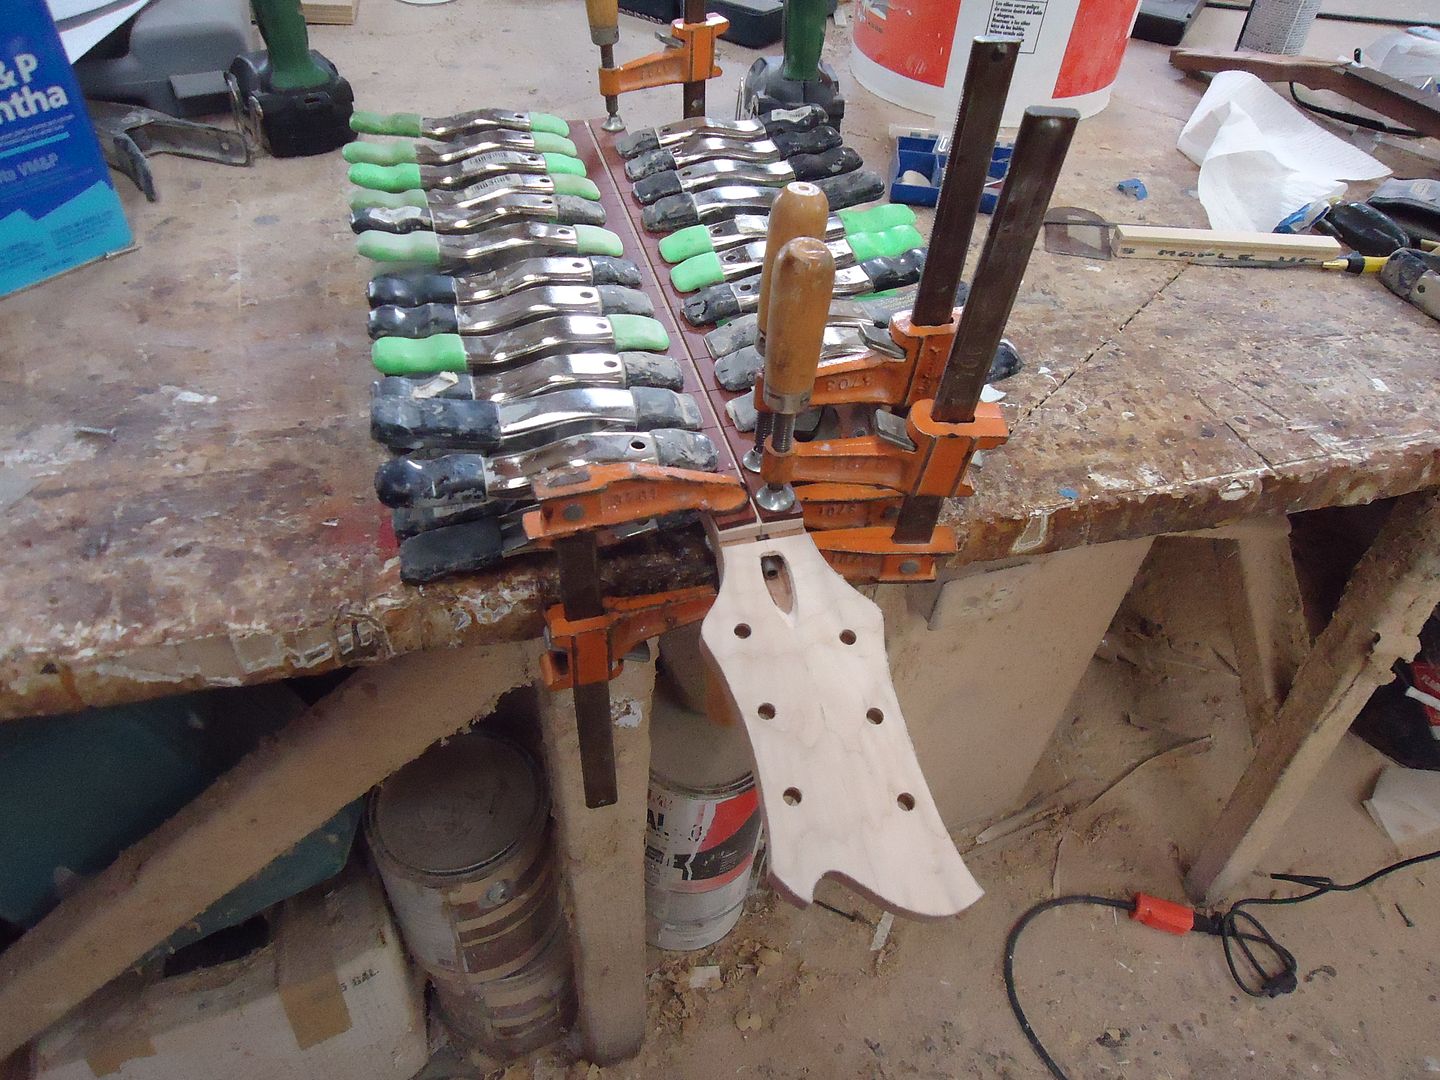
and gluing up the fretboard
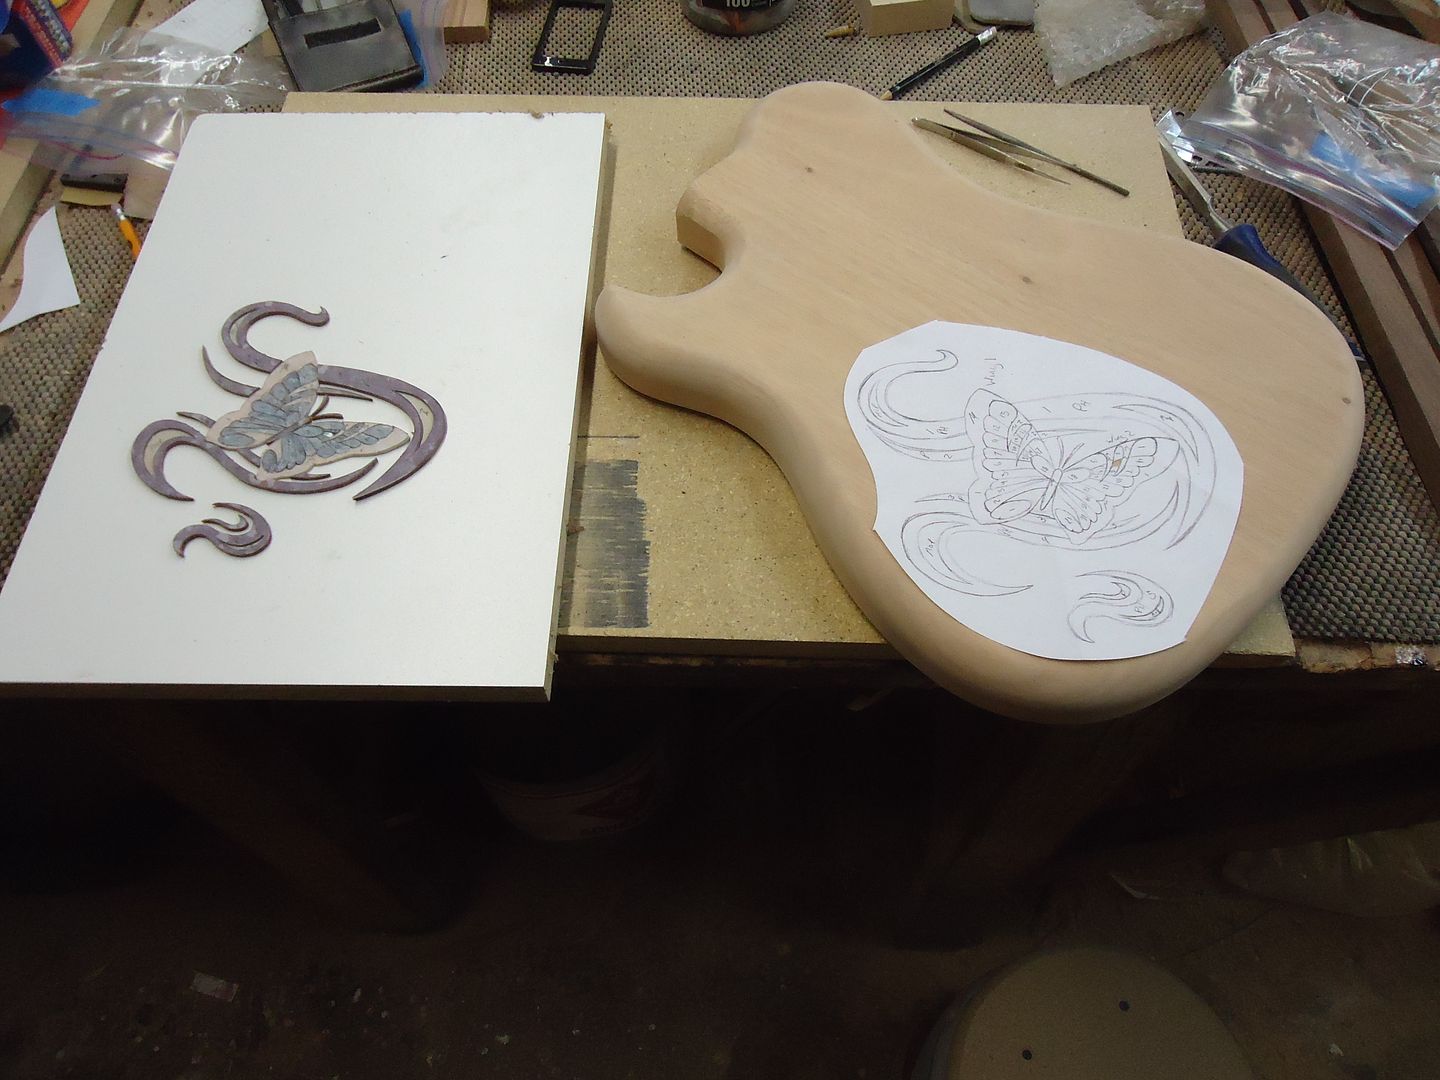
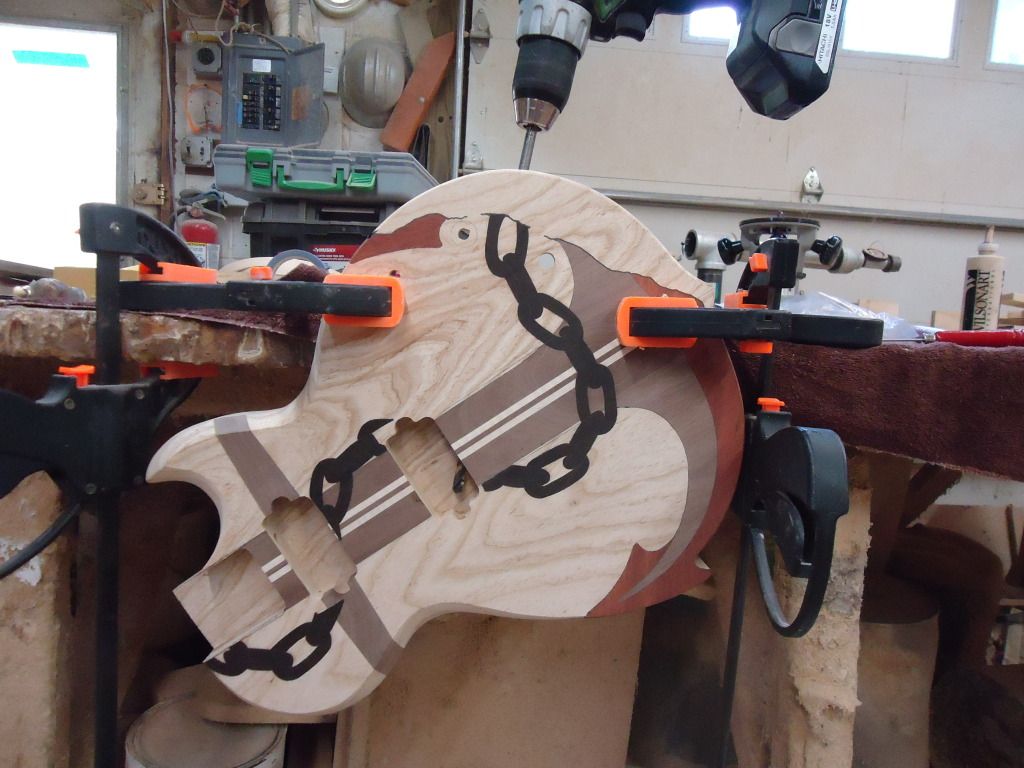
The tele electronics setup allows for front access and no need for a rear cavity cover so I'm left with an empty canvas of a mahogany back to work with. I do believe its inlay time...
-
Sound demo II
-
^ haha awesome thank you!
Ok, I think I have beaten this thread to death, these are the last pics guys. Thanks for all the comments and opinions, I do appreciate them! Also keep an eye out for my tele build, that is next in line to be completed.

-
1
-
-
Anchor demo by Jason Moceus
-
Thank you!
Here is the other pics I had left on my camera
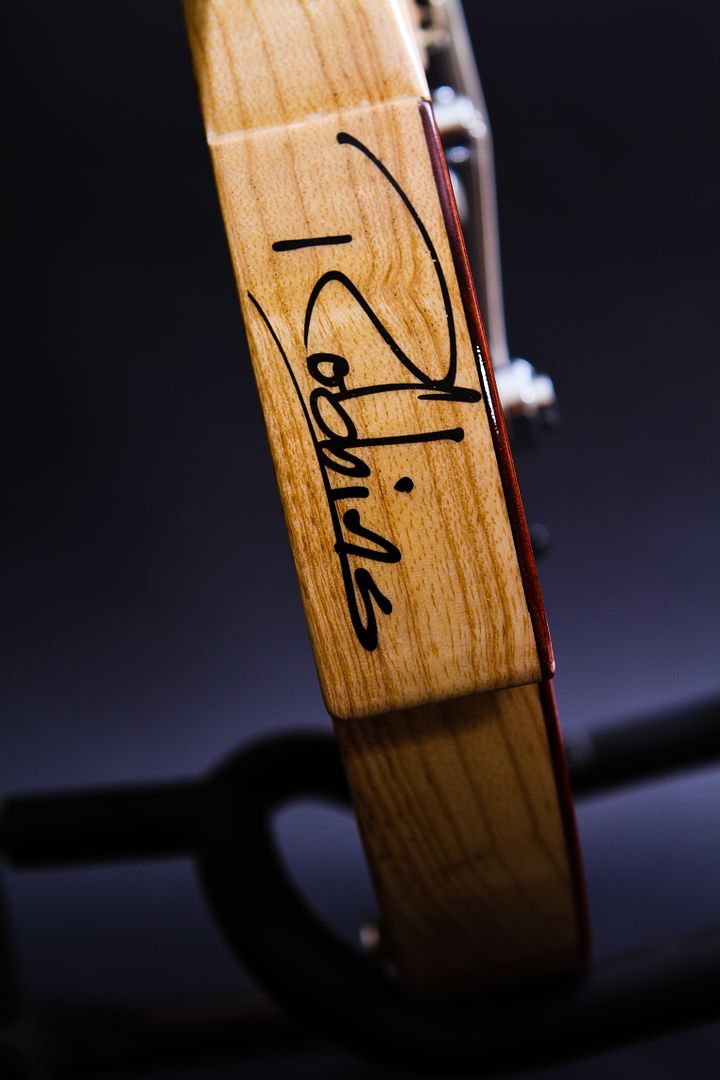
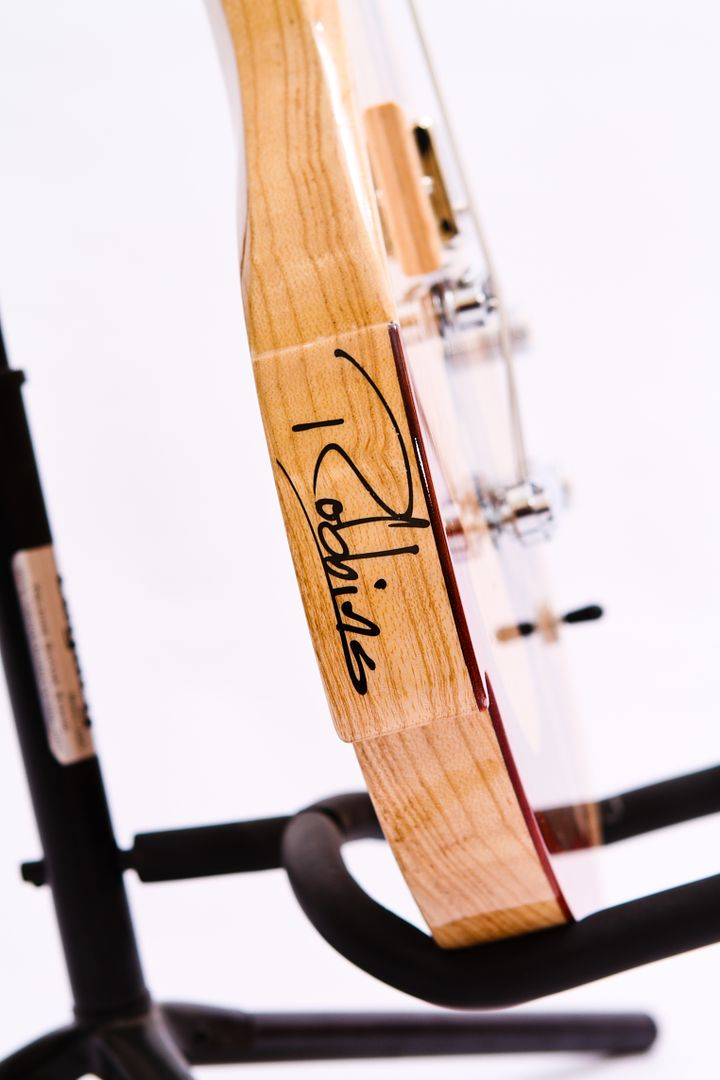
Sig placement
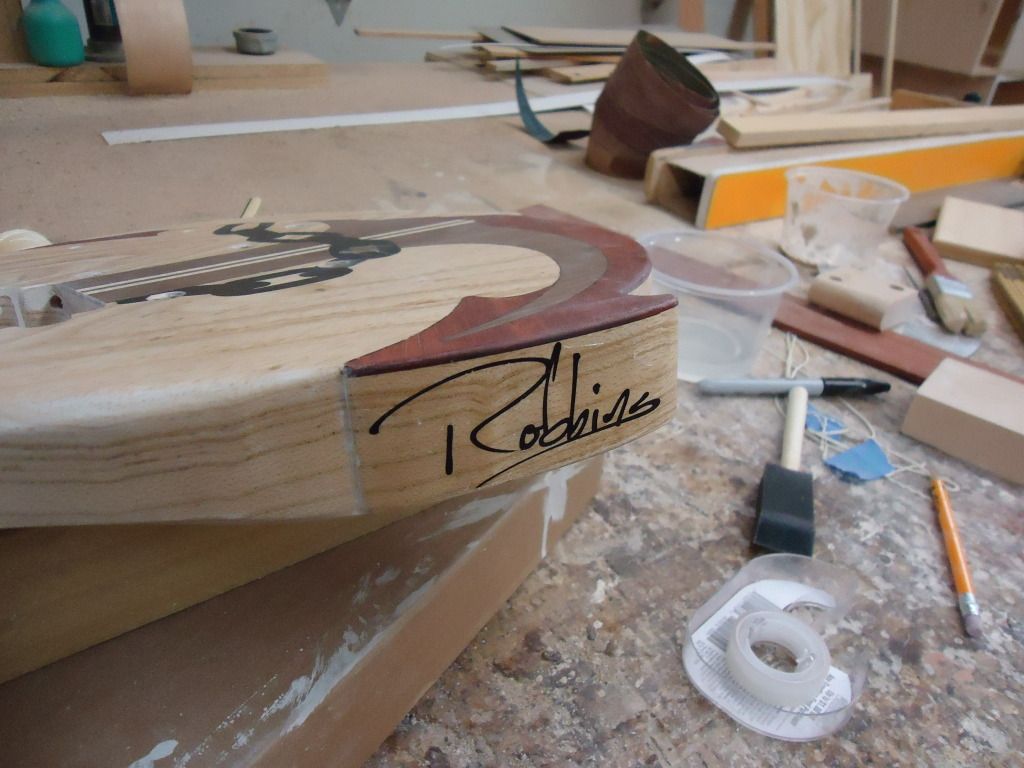
Song lyric requested by the owner
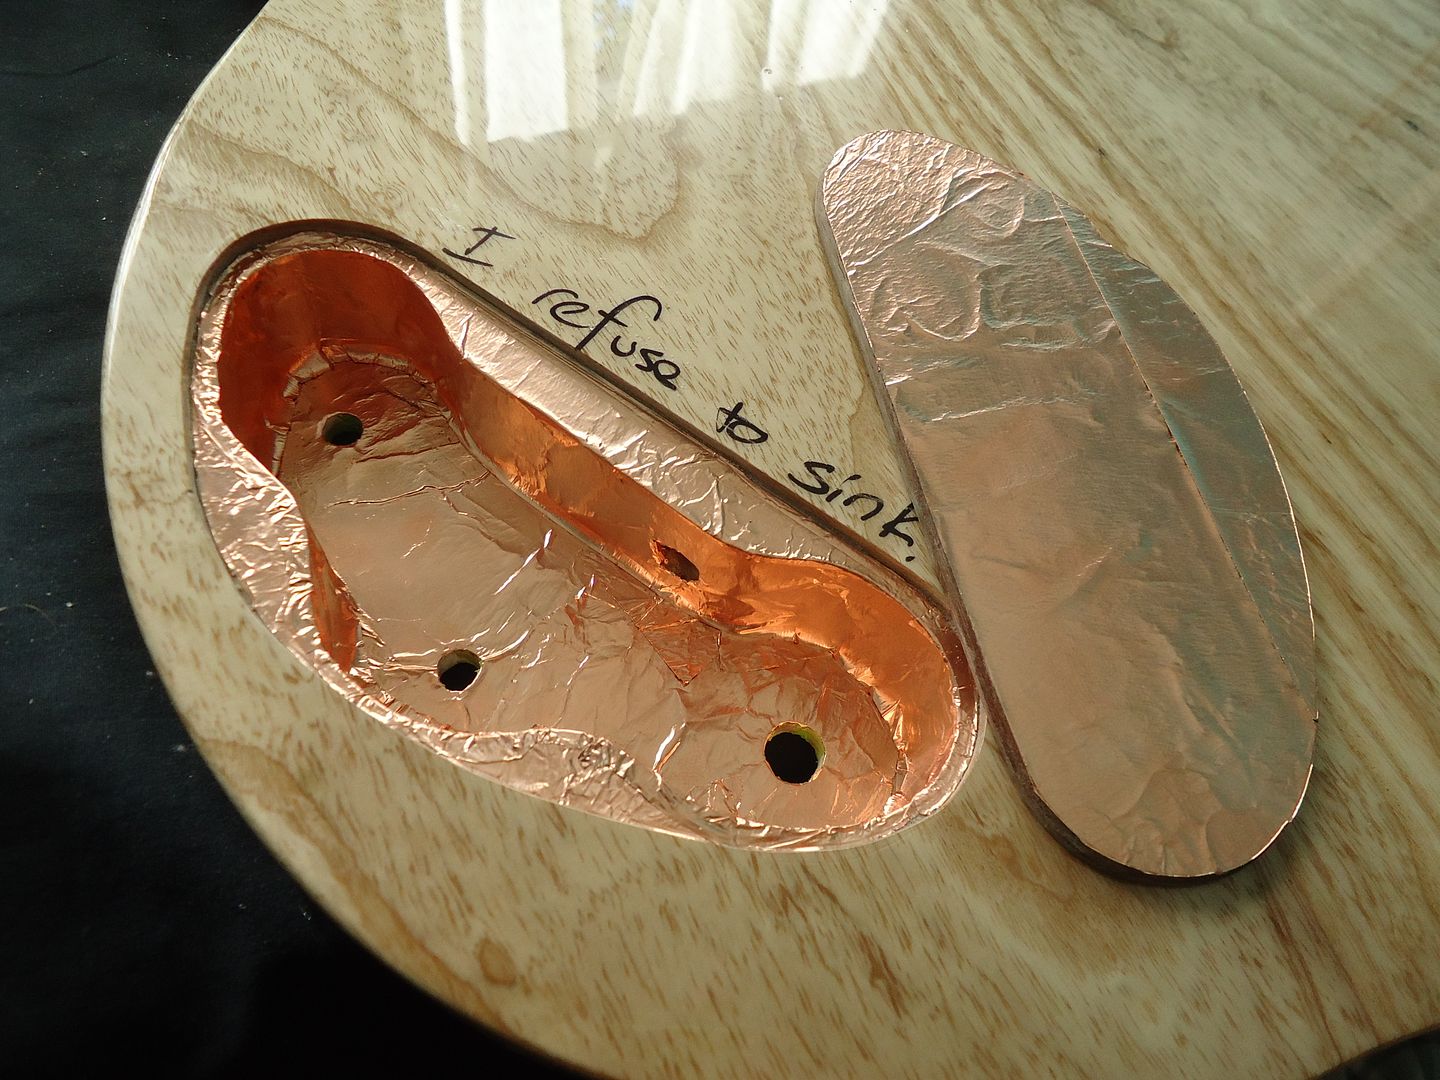
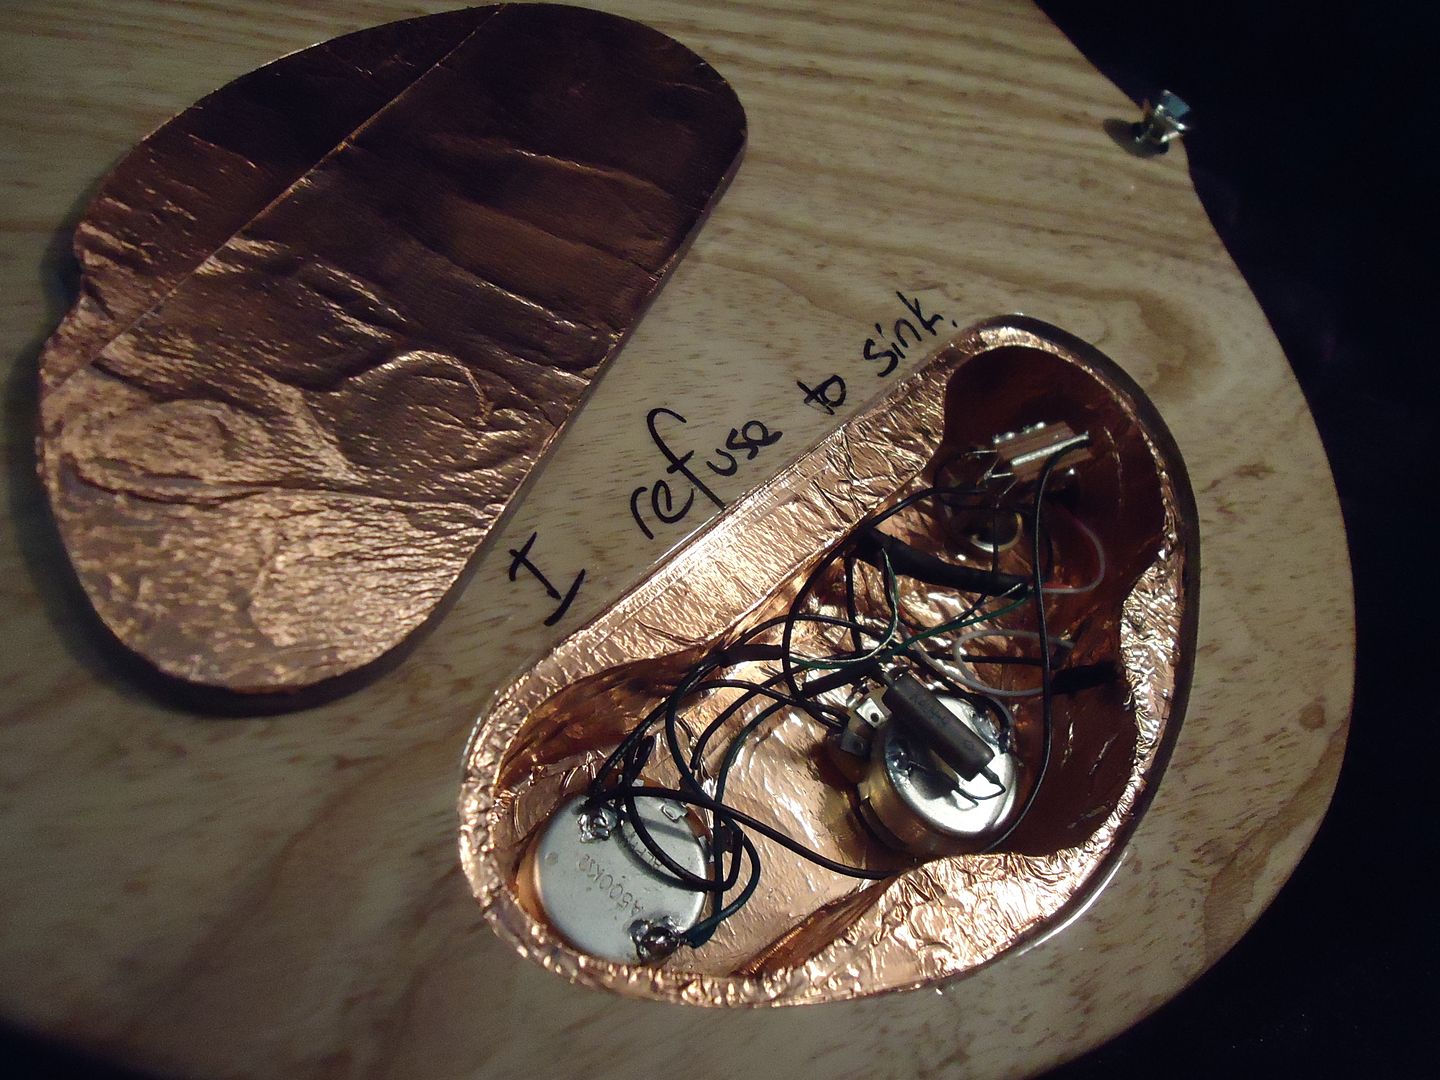
Shielded cavity
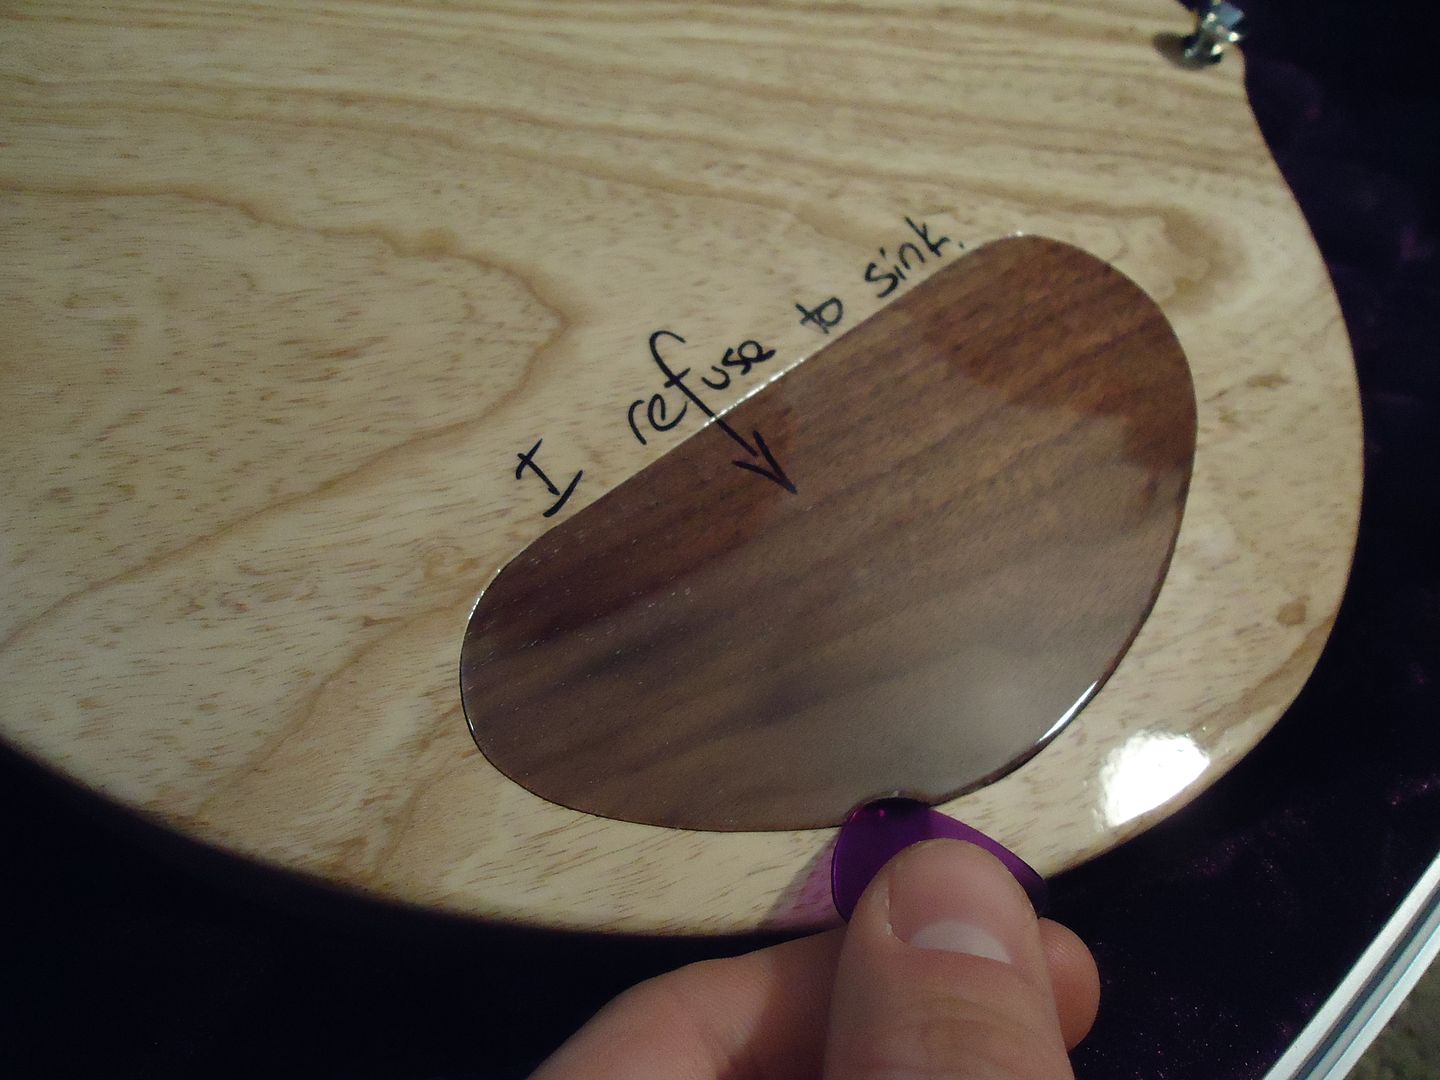
The cover is held with magnets, too get it off you just insert your pick into the slot and it pops off! the magnets are plenty strong and this will not come off unless you want it to.
All wired up
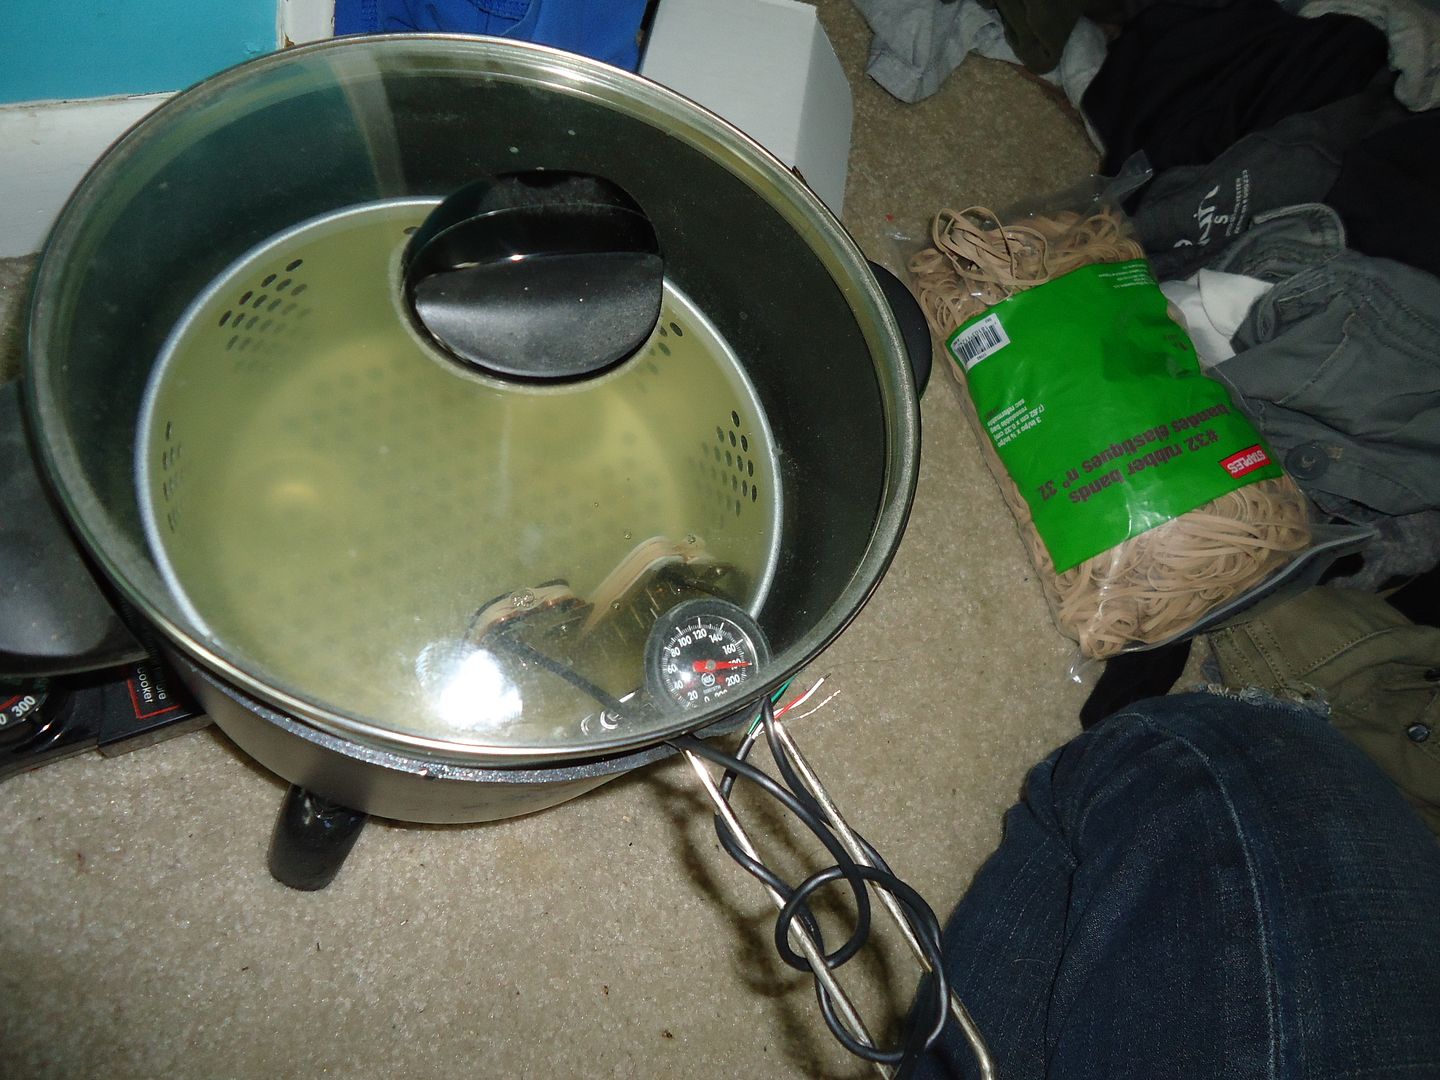
Potting the humbuckers
The moment my heart sank through the floor
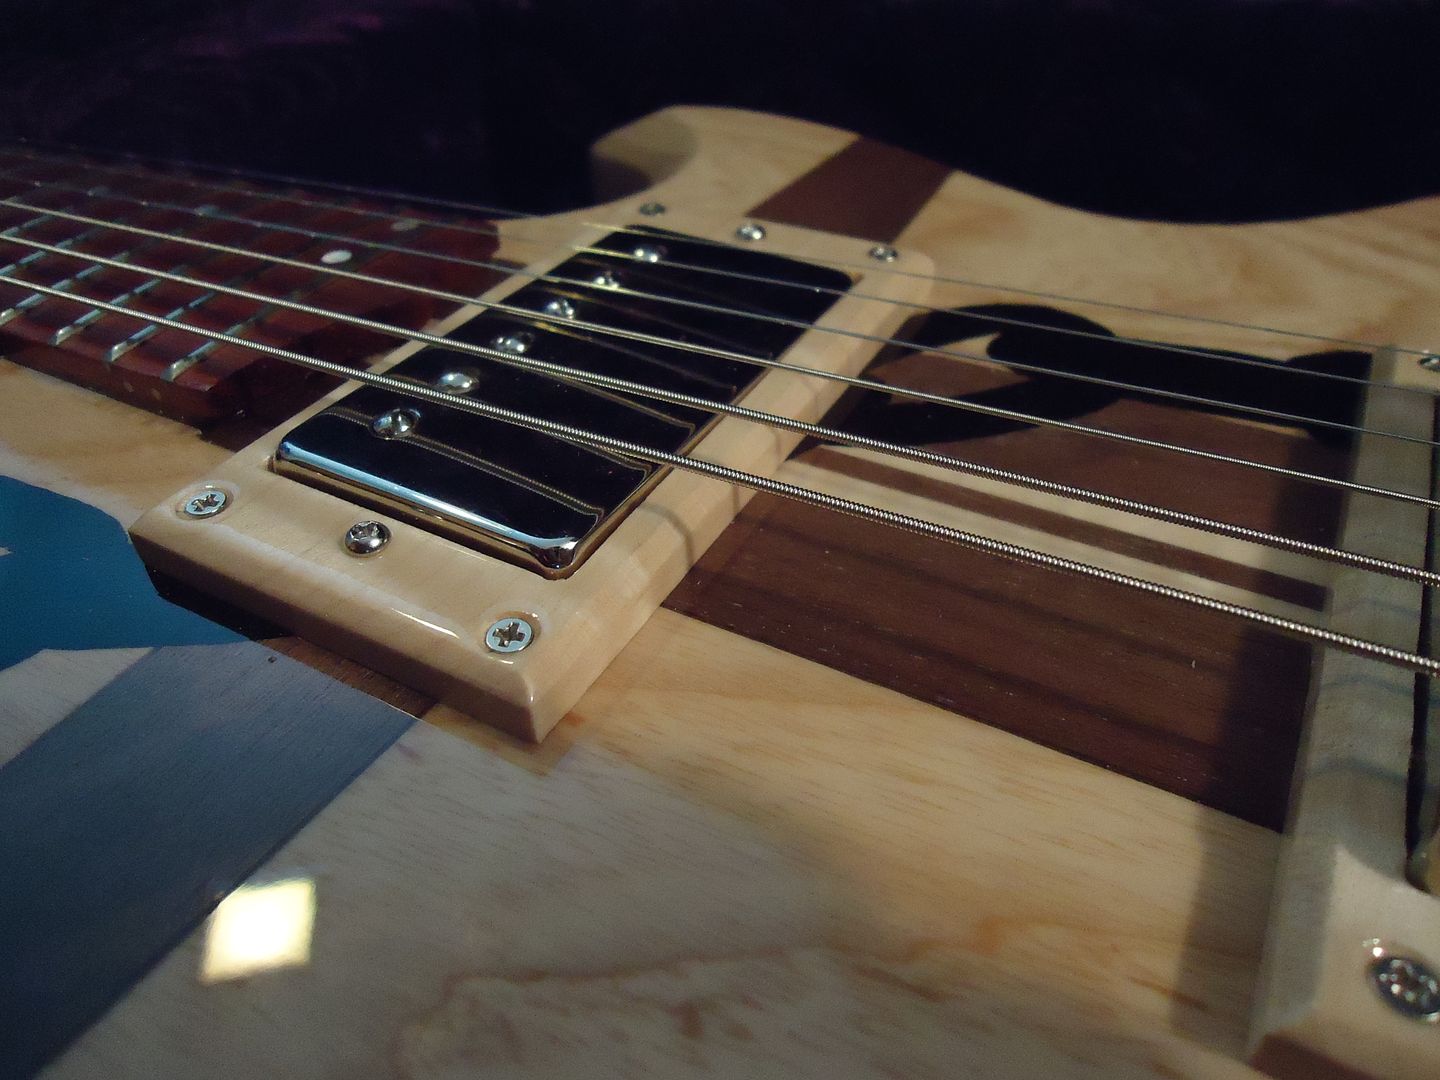
Got the buckers to fit, and a close up of the maple rings
That's all I got, hopefully I'll have the professional pics and sound clips soon!
-
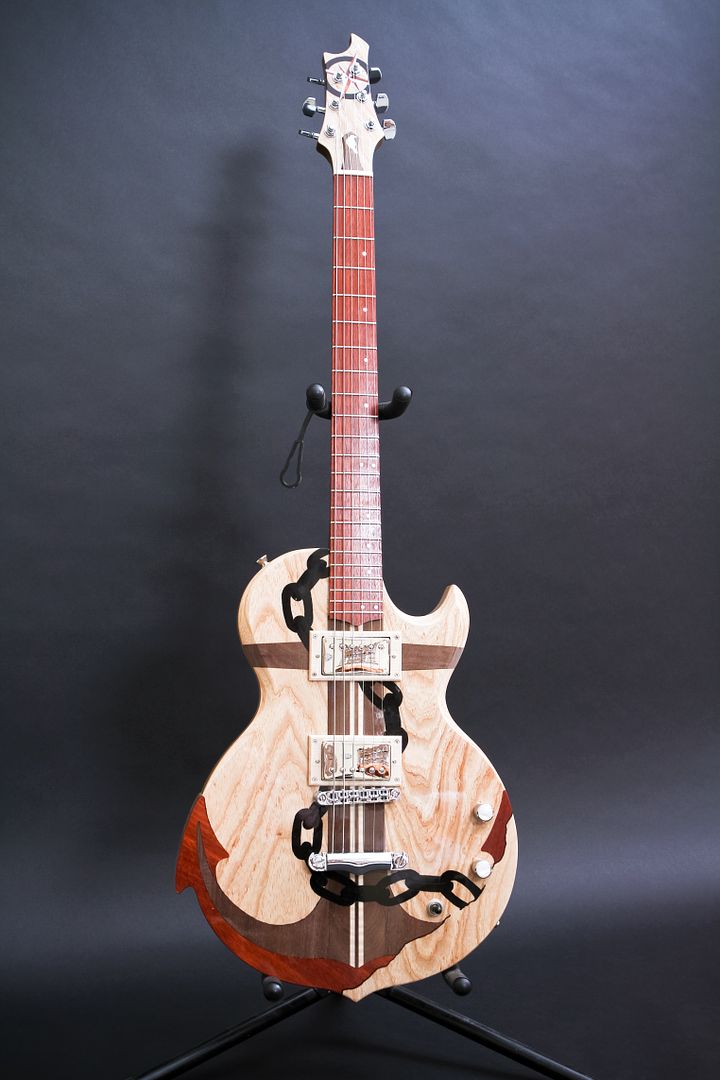
Hey guys I'm running late for work but I took a few quick pictures, so here she is all strung up!
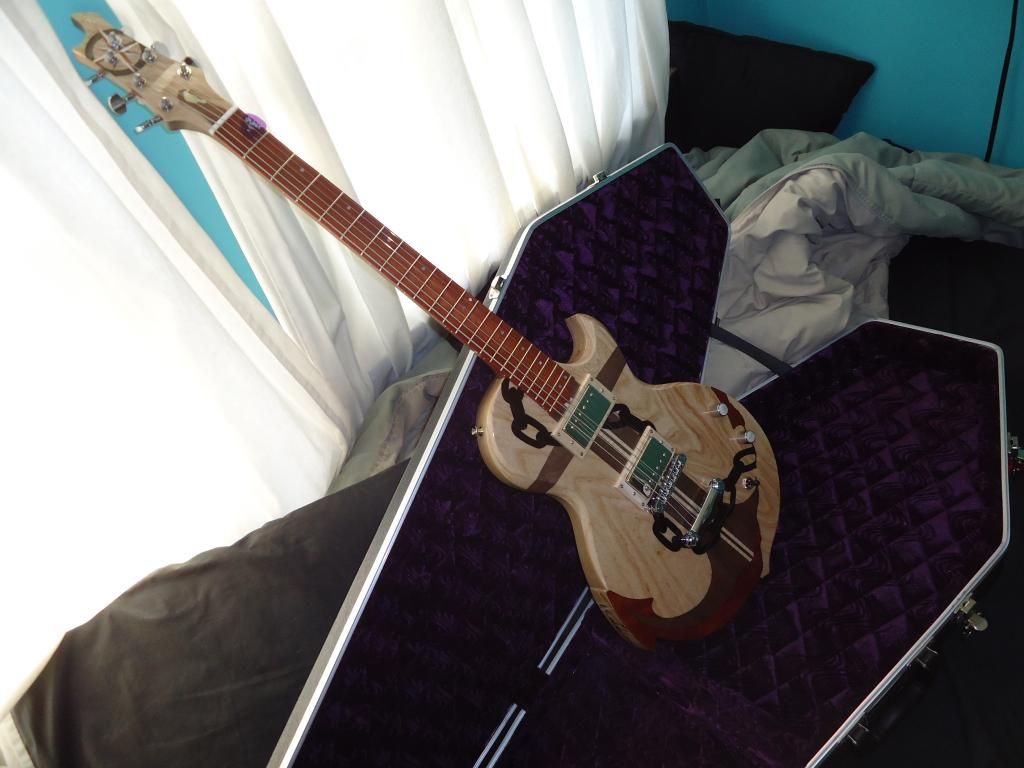
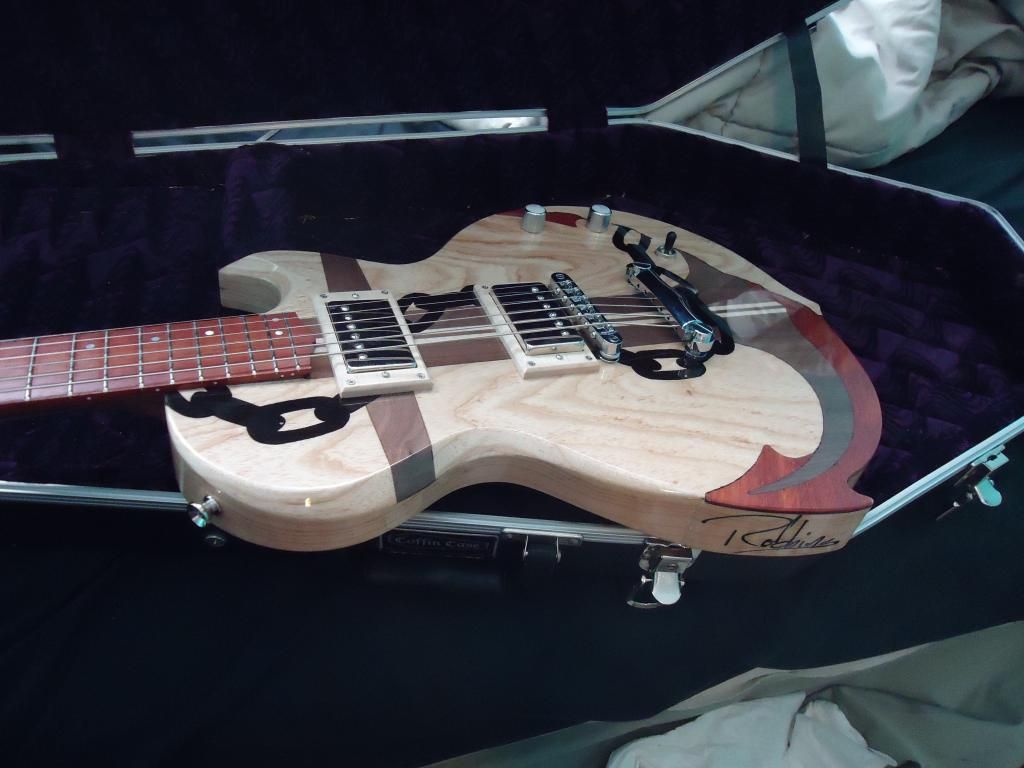
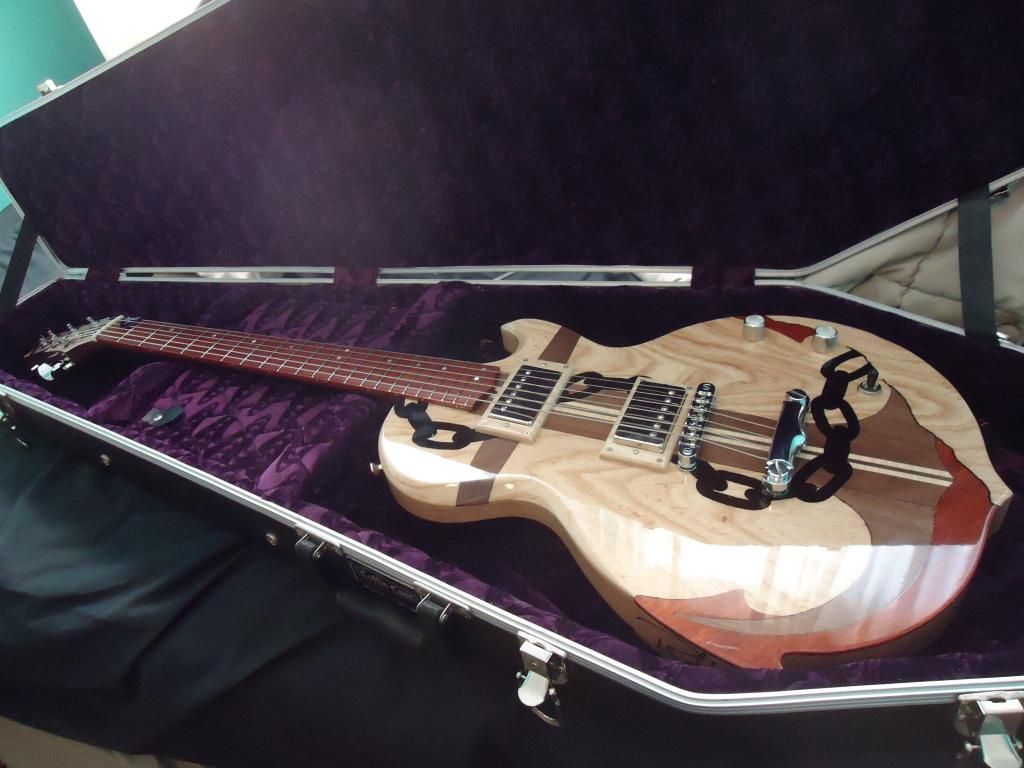
It plays and sounds fantastic even before I gave it a proper set up! I'm very happy with it and almost sad to give it away haha.
Ill post the other pics I have that led up to the finished product tomorrow and a friend of mine will be taking profession pictures within the next few days. I will also try a get one of my friends who can actually play guitar well to do a demo for me so you guys can hear it for yourself.
-
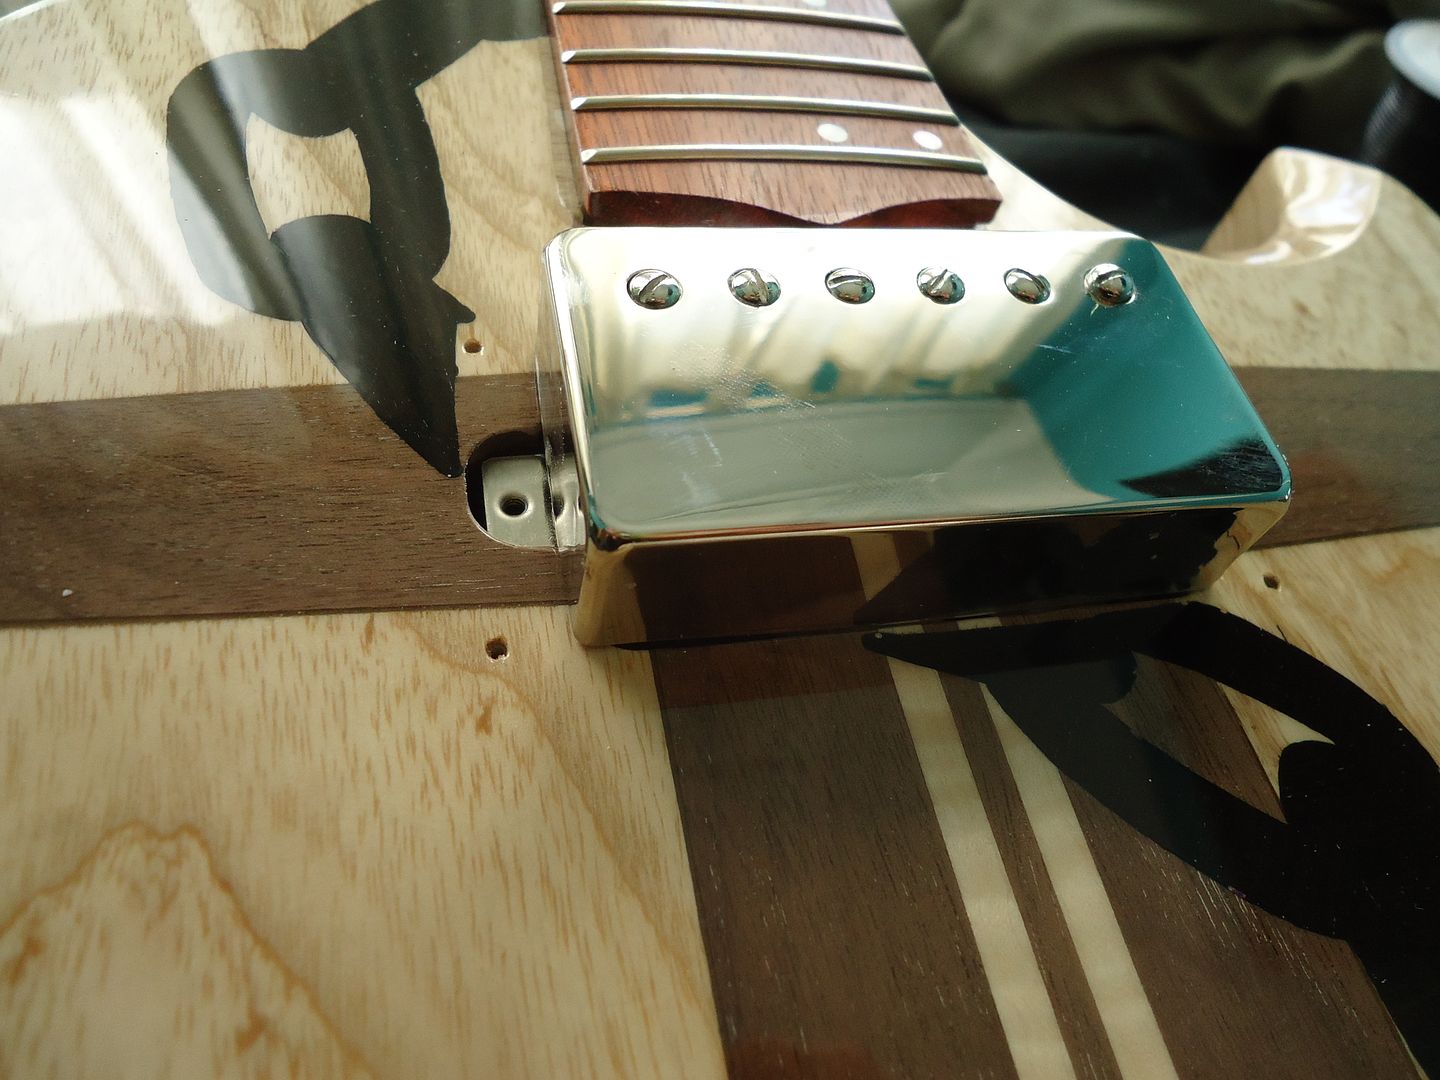
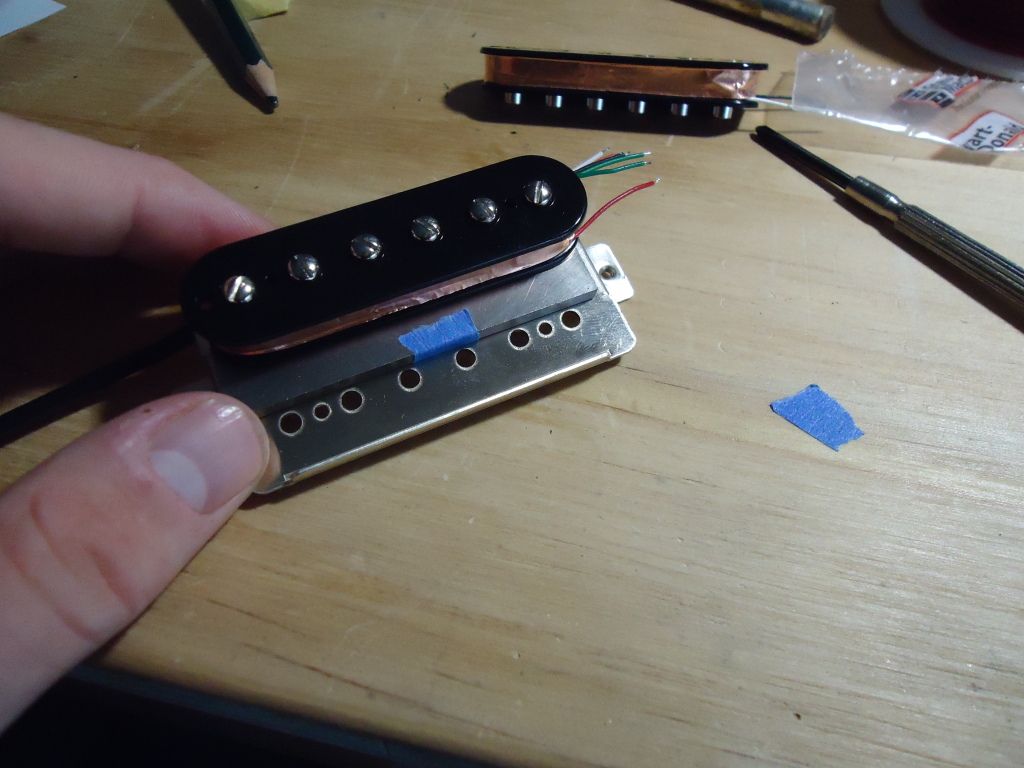
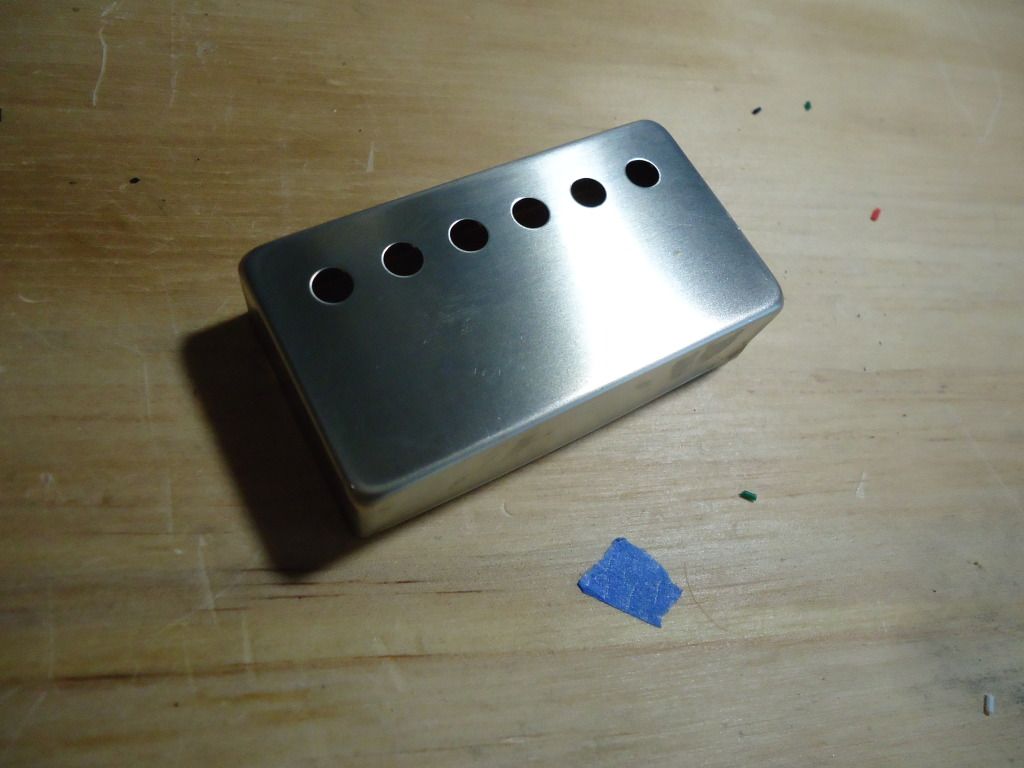
Ran into a slight problem today. I got the guitar back from being cleared and as I was putting the hardware on I realized the pickups don't fit at all. I used a template for a humbucker without a cover and since these have the nickle covers they don't fit. I now have to make the cavities bigger which is not that hard but I'm going to be freaking out trying not to mess up the finish. I'm going to tackle this tomorrow and hopefully not ruin everything, wish me luck!
-
Sent the guitar to the shop to be cleared today hopefully Ill have it back within a few days. I'm just gonna leave you guys with a little teaser now. I put some naptha on to show what the woods should look like with a finish. These will be the last pics of the guitar until its complete.
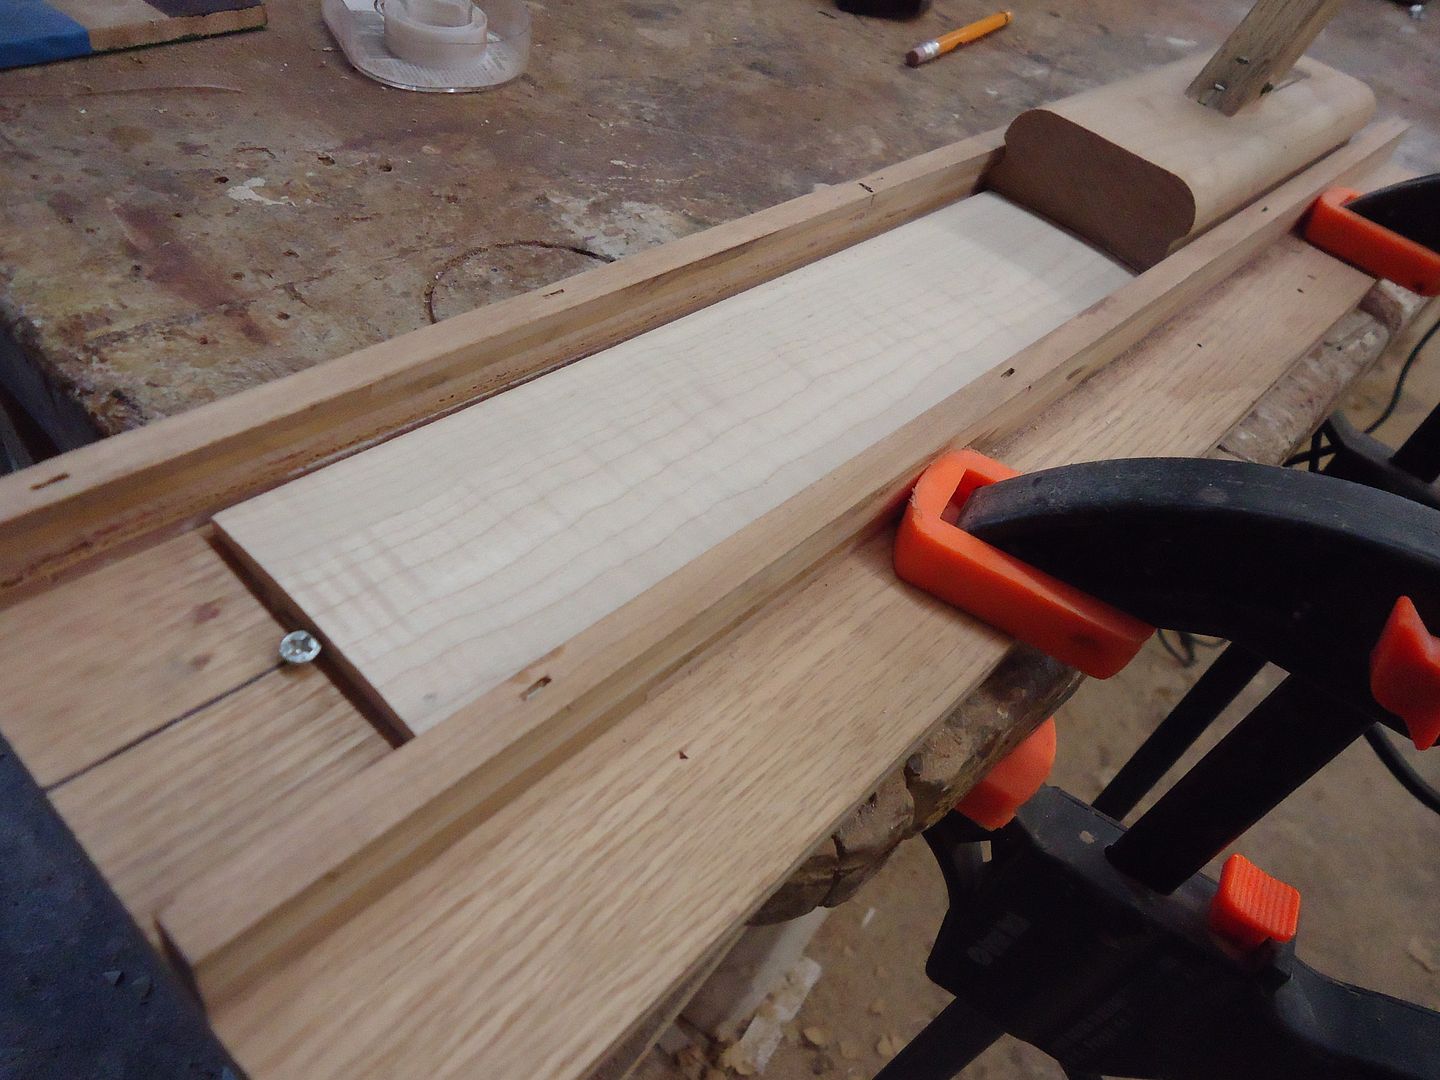
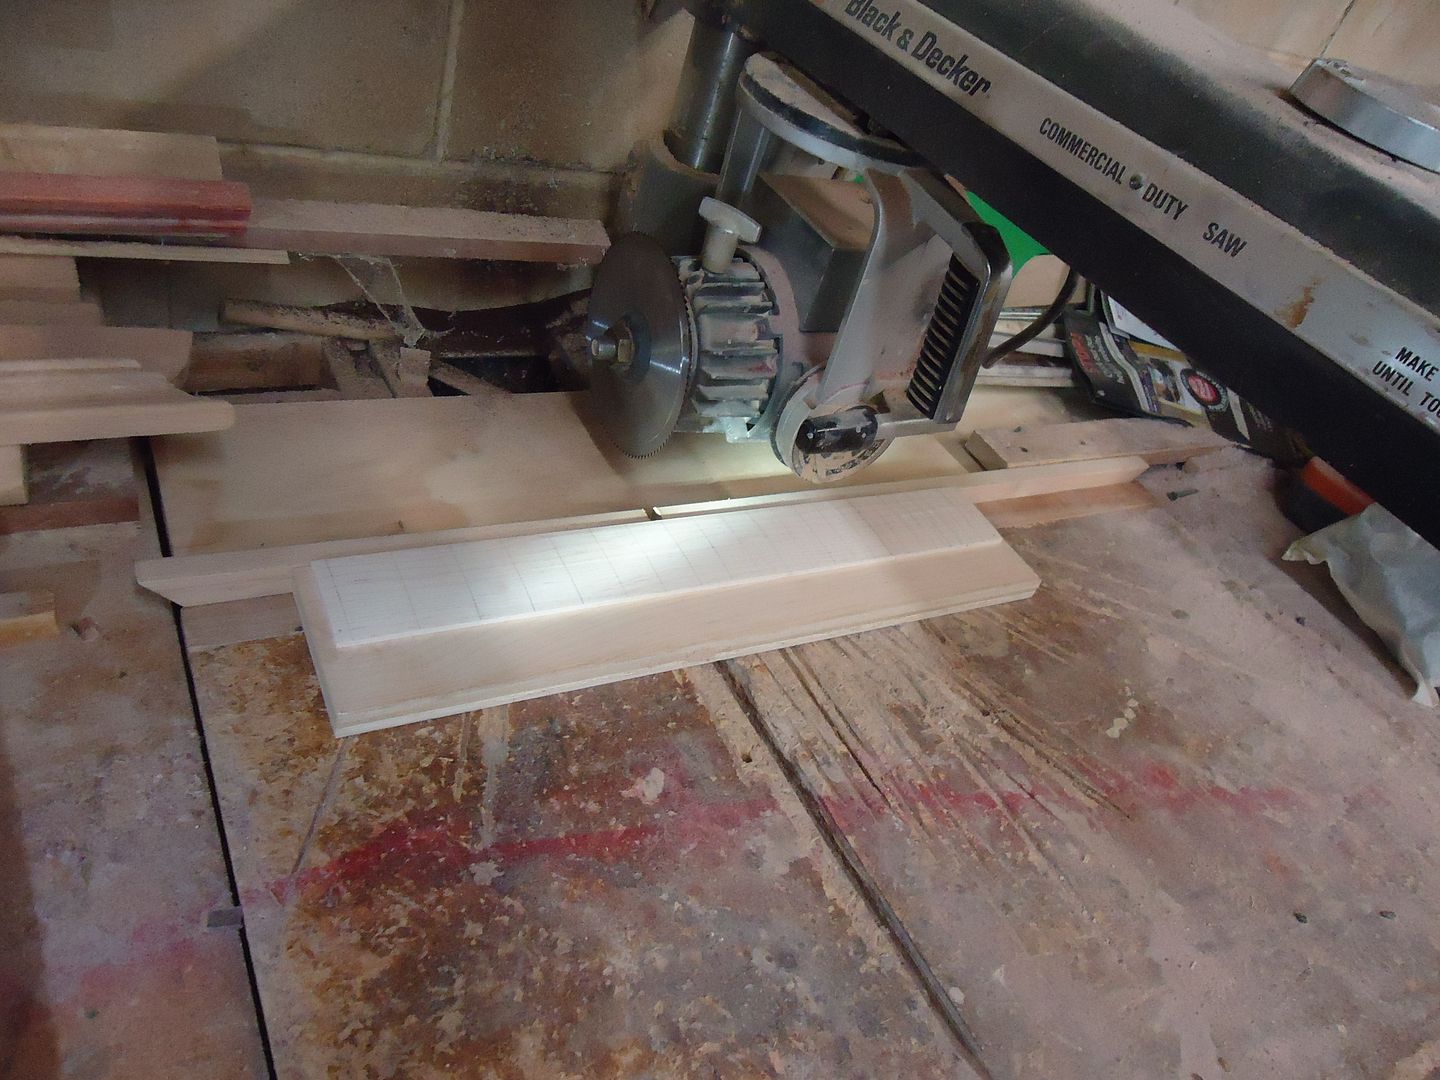
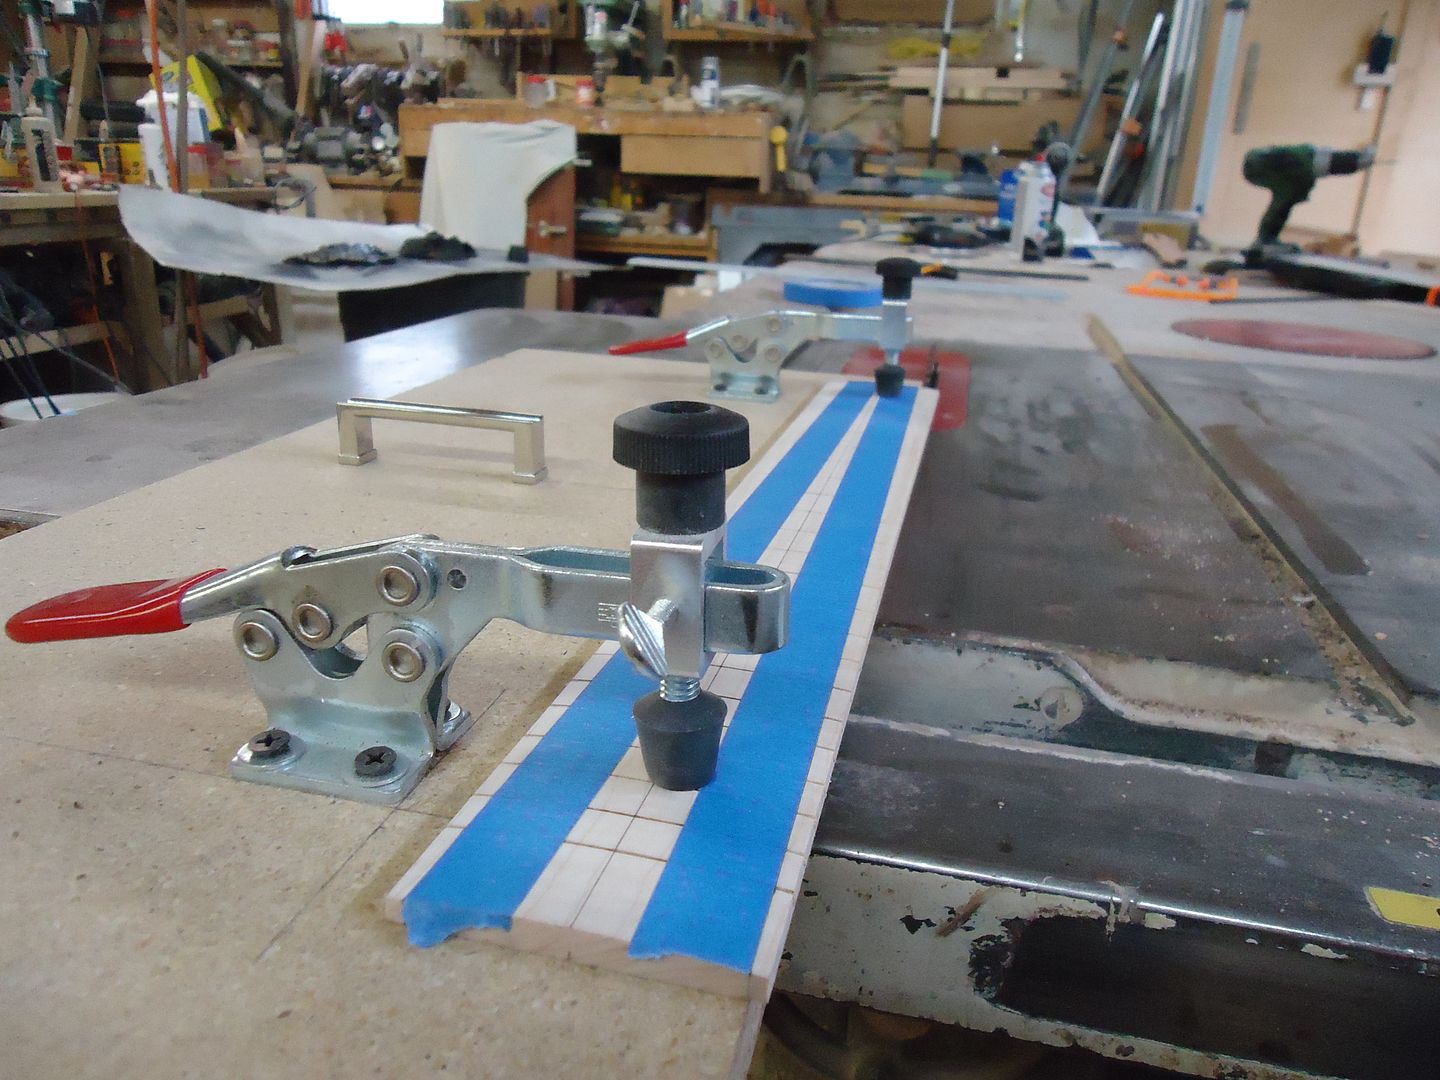
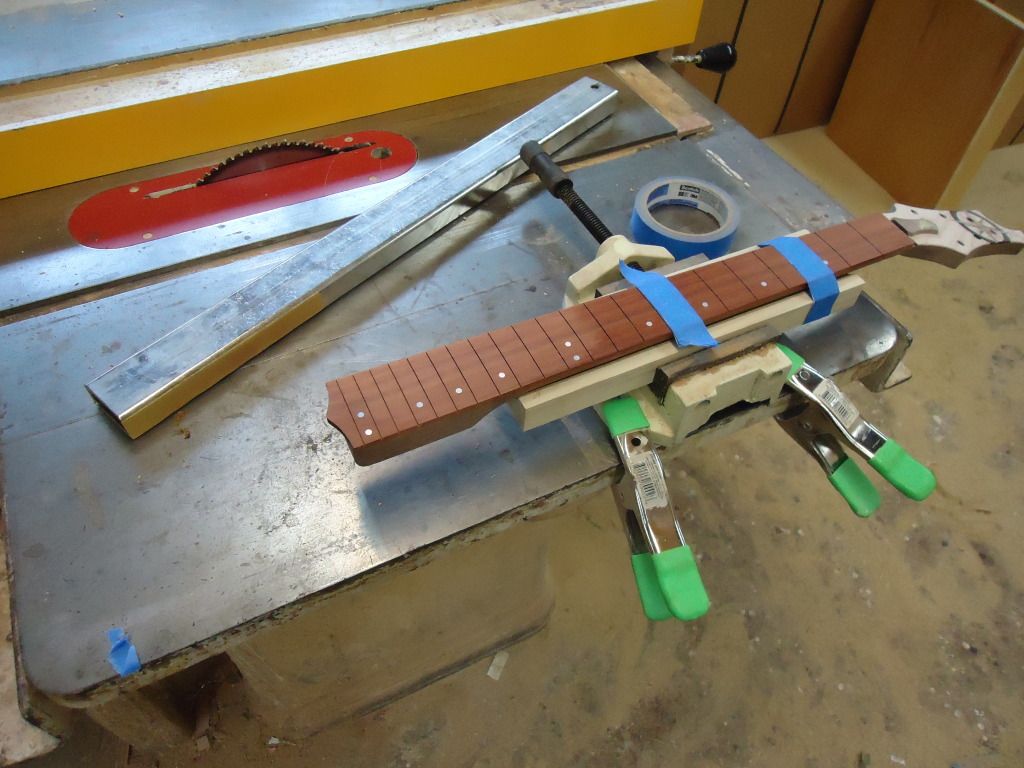
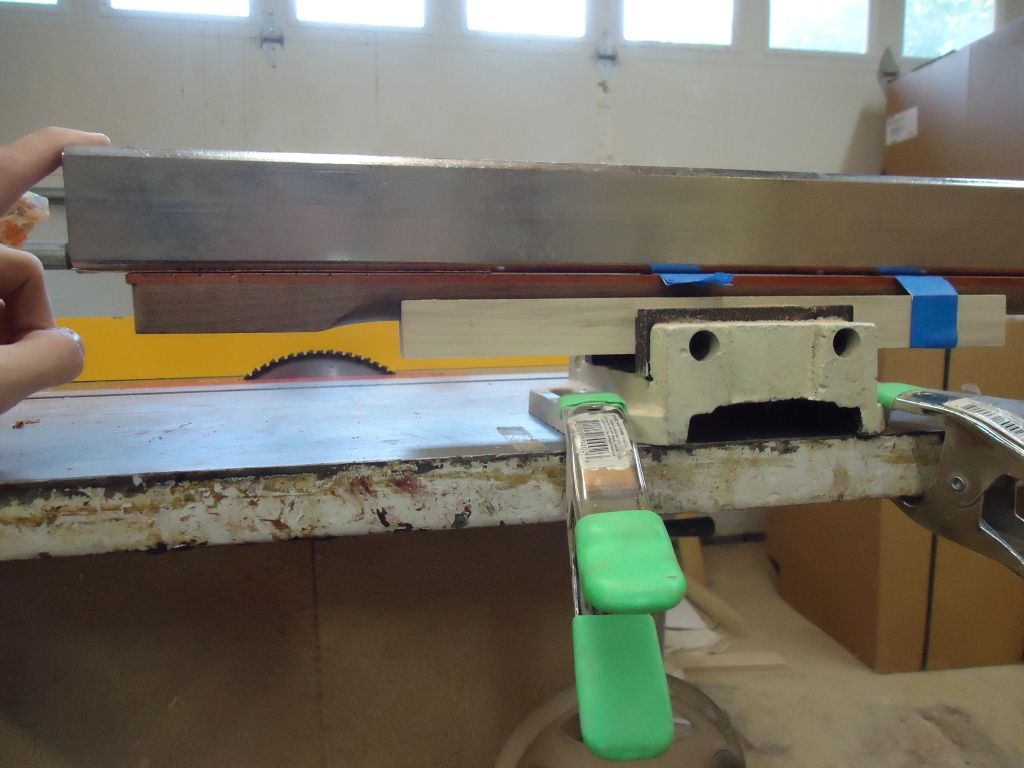
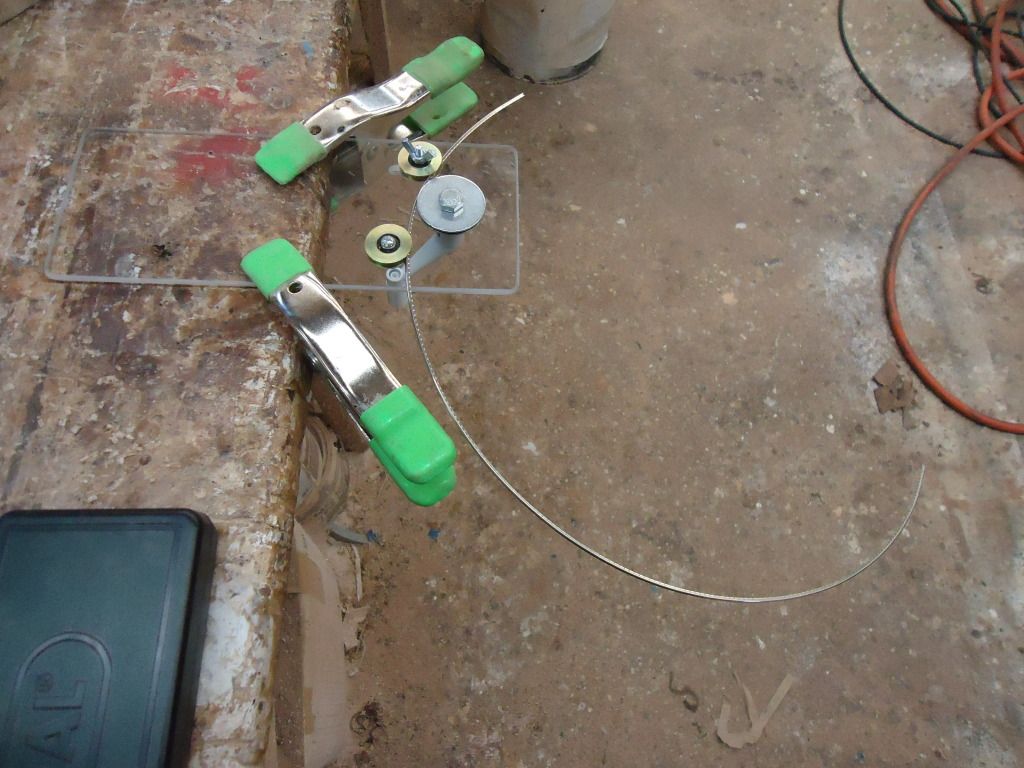
When I make a new jig or come across one that works really well for me I like to show it off with the hopes that it can help someone else who might be having the same difficulties as me. Up until now I have been cutting the fret board tapper free hand and spending a lot of time sanding it to get it perfectly straight. Today I made this
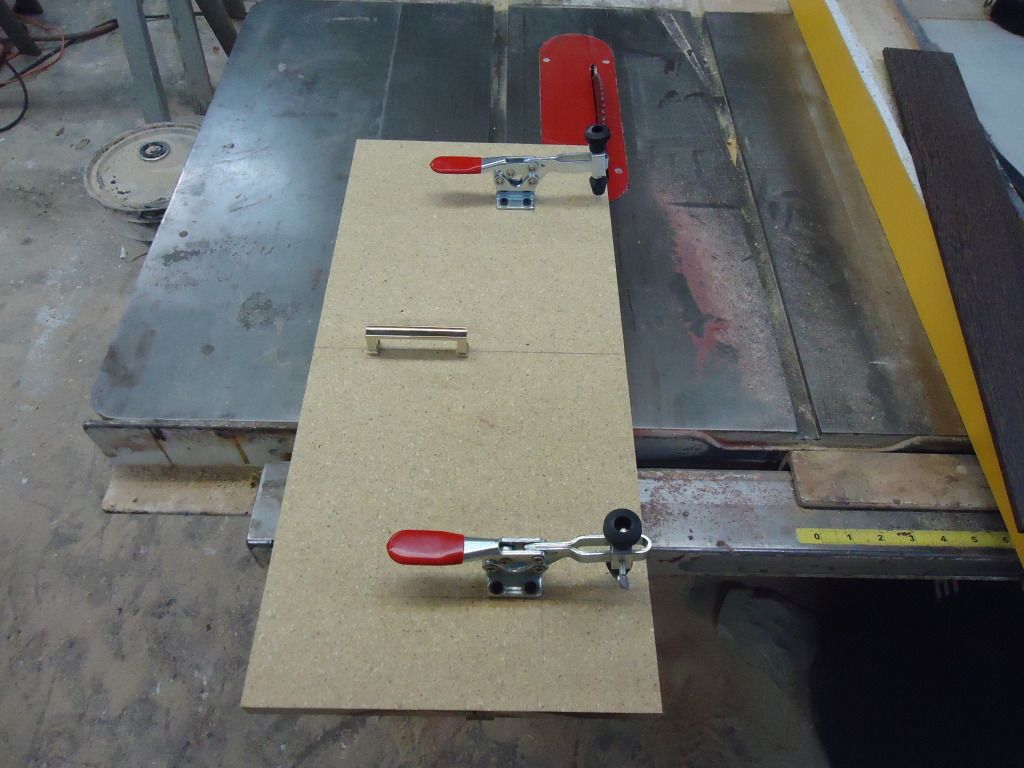
Its a board with two hold down clamps from rockler and a rail on the bottom that guides it through the saw blade. Its zero clearance so what ever you line up with the edge of the platform will be cut. You simply mark your fretboard taper, line it up on the platform, clamp, and cut. Cuts a perfect taper every time in seconds.
-
1
-
-
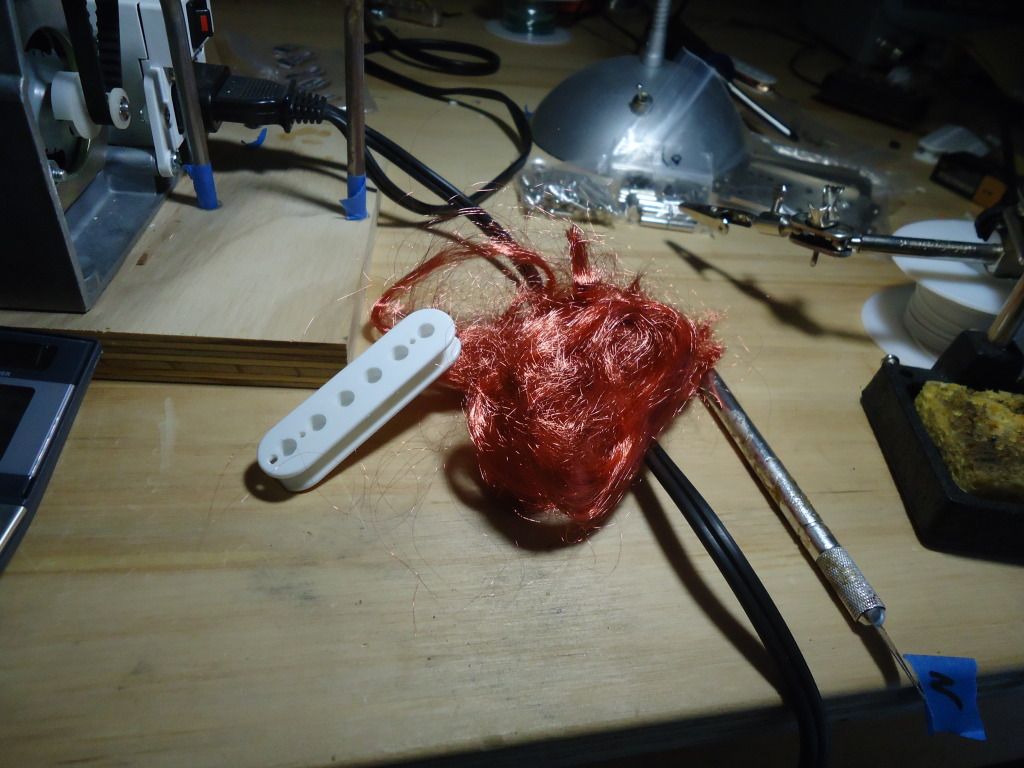
Wow I love that wood. The red really makes it look like something you just ripped out of a person though lol.
-
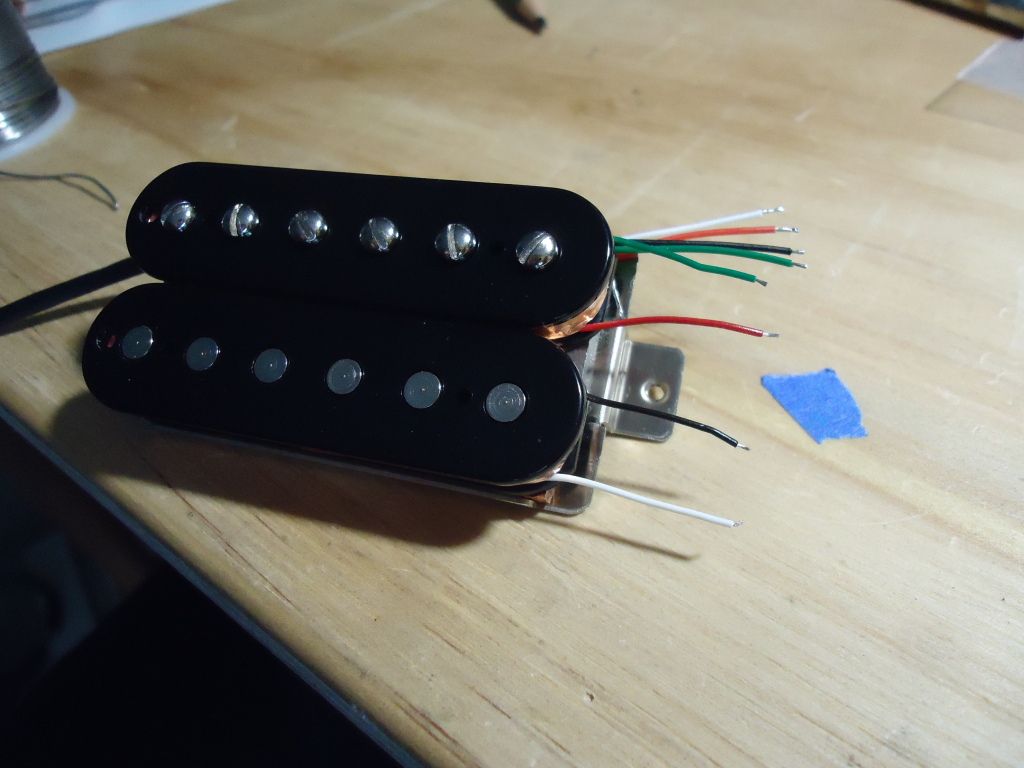
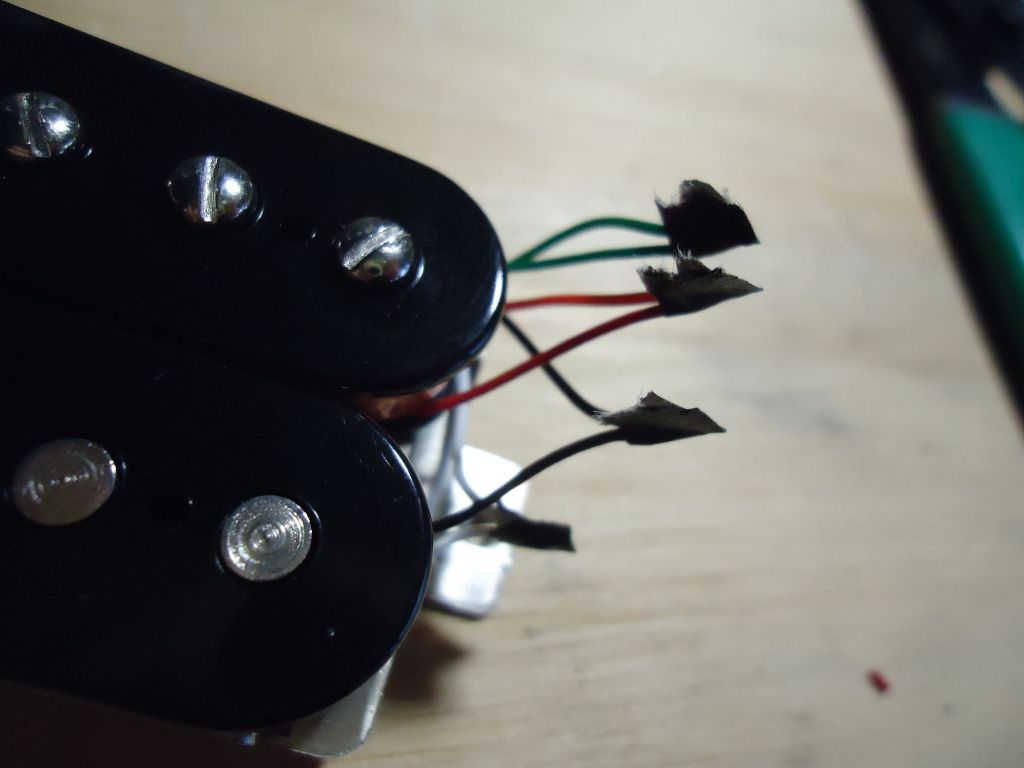
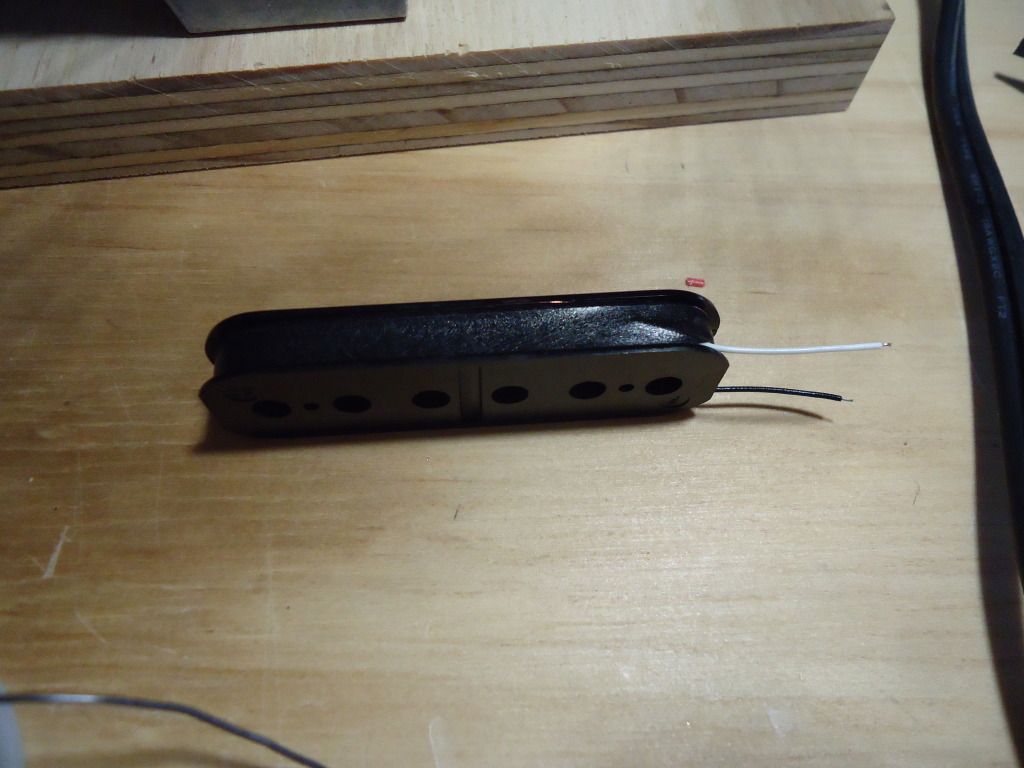
soldered and taped
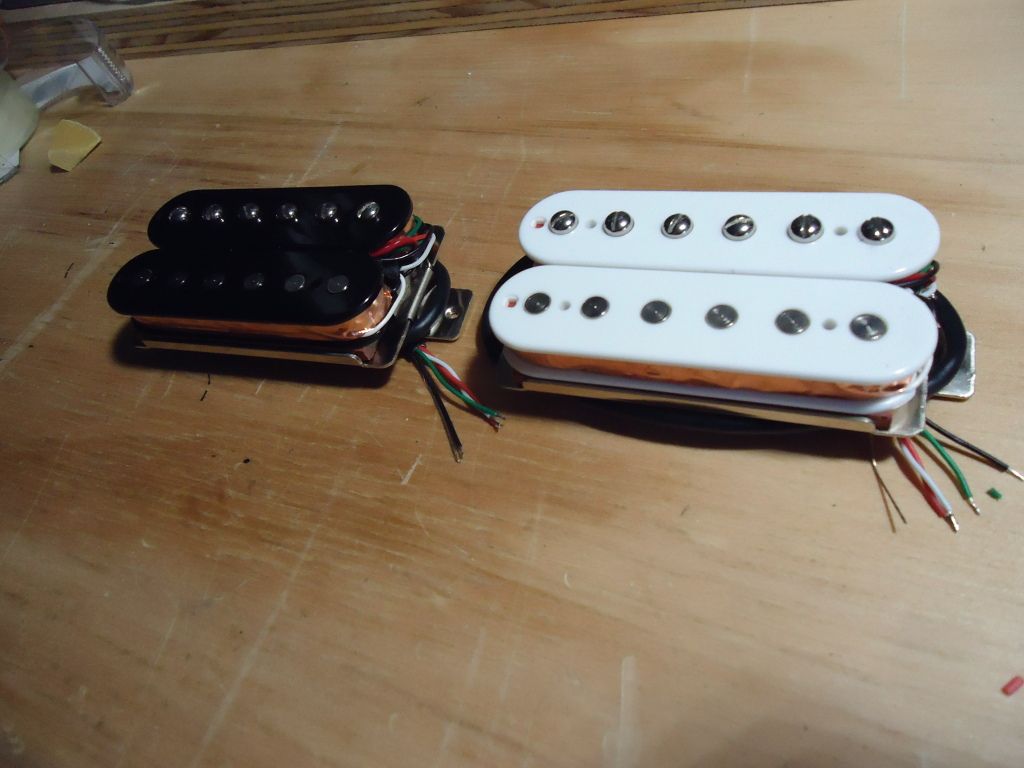
I ordered bare nickle covers by accident and I kind of like the finish but its not the best quality. There are a few blemishes. I may order the ones that are shinier to see if they come out better, if not I will have to call mojotone and yell at them haha.
-
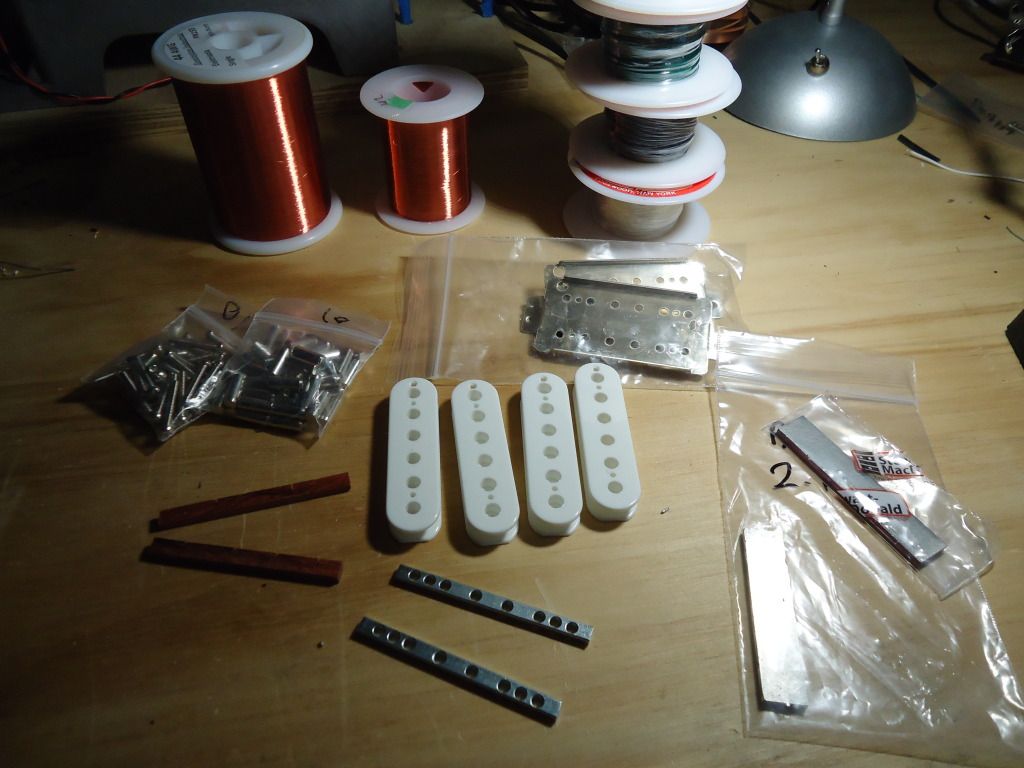
Humbucker time
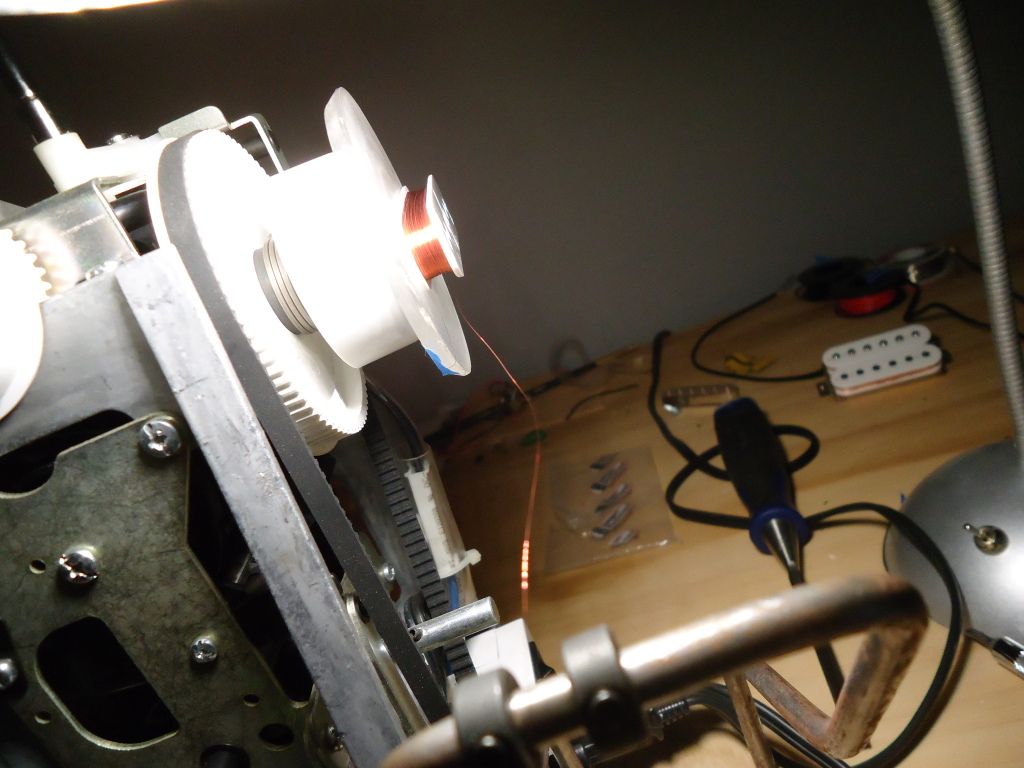
Finished this bobbin with 6500 turns and broke the start lead wire while removing it from the winder making it useless. Had to cut it all off and start again.
leads soldered and coil taped
I use a layer of copper tape around the coil itself to help shield it
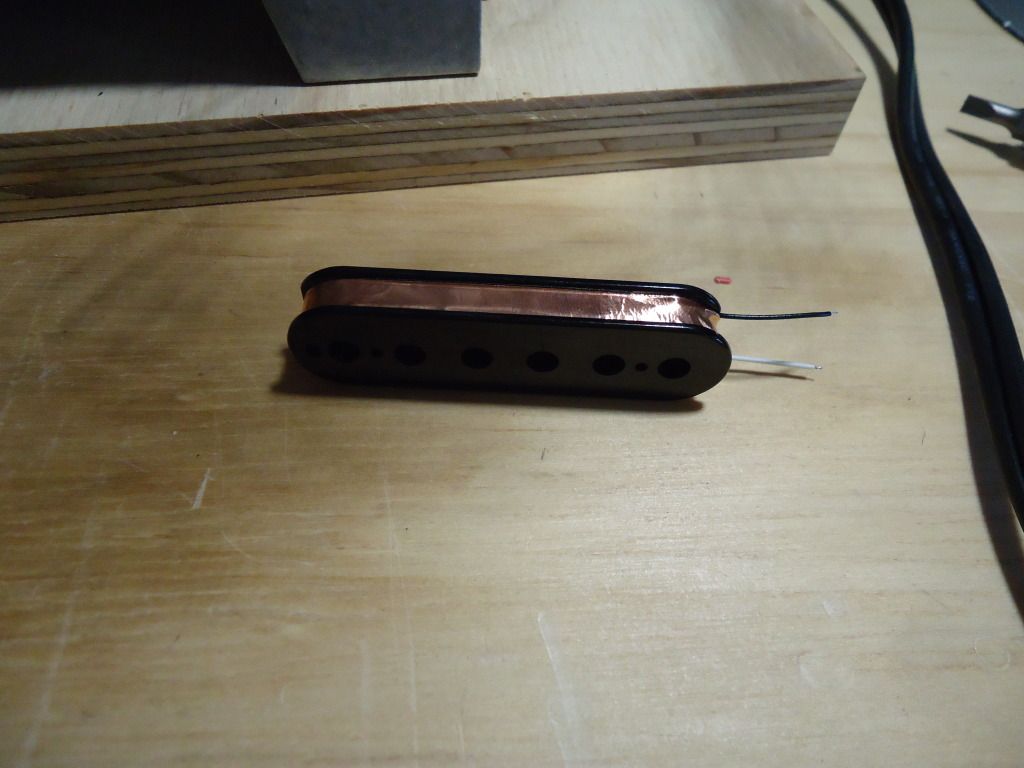
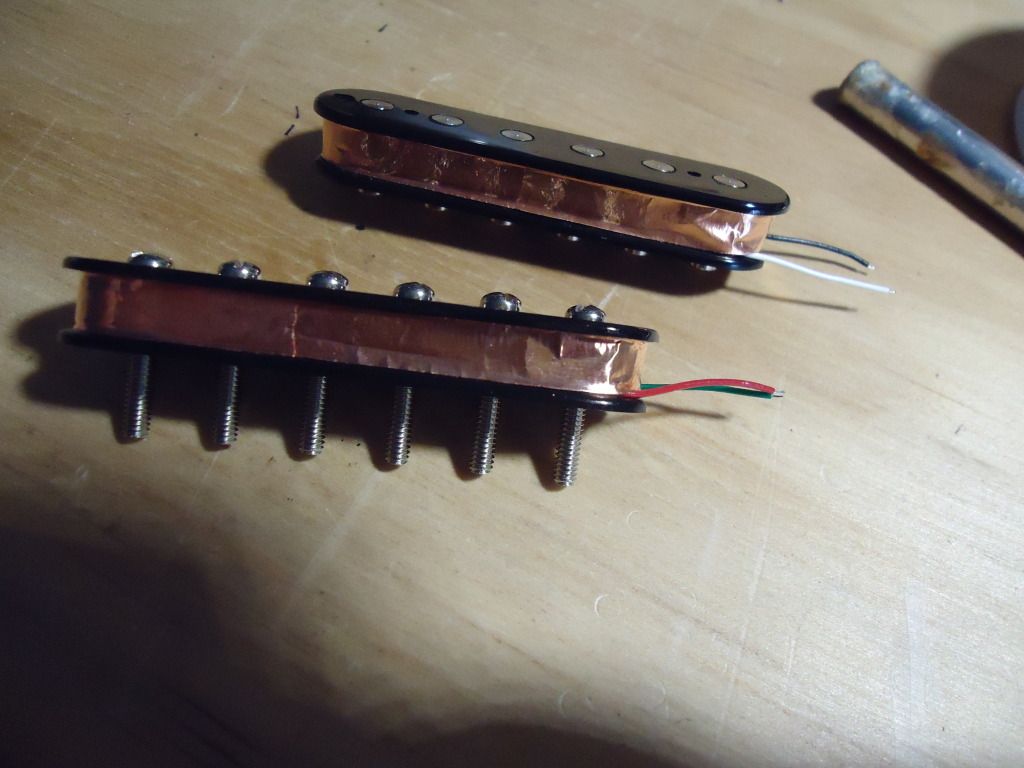
Grounded to the base plate

-
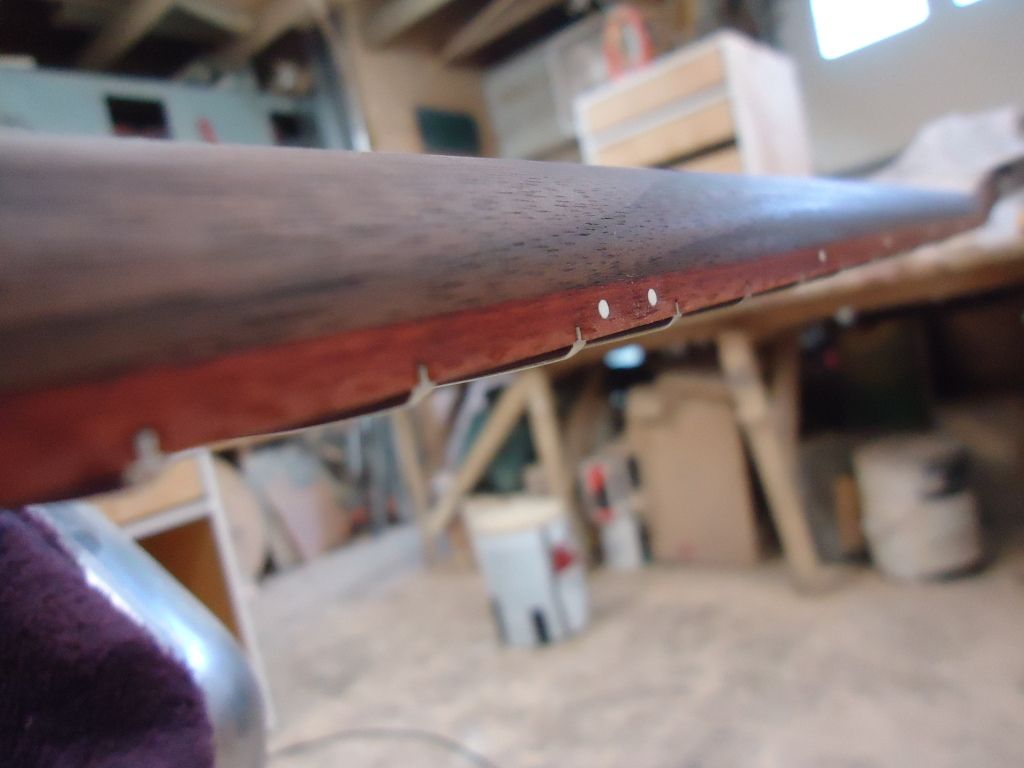
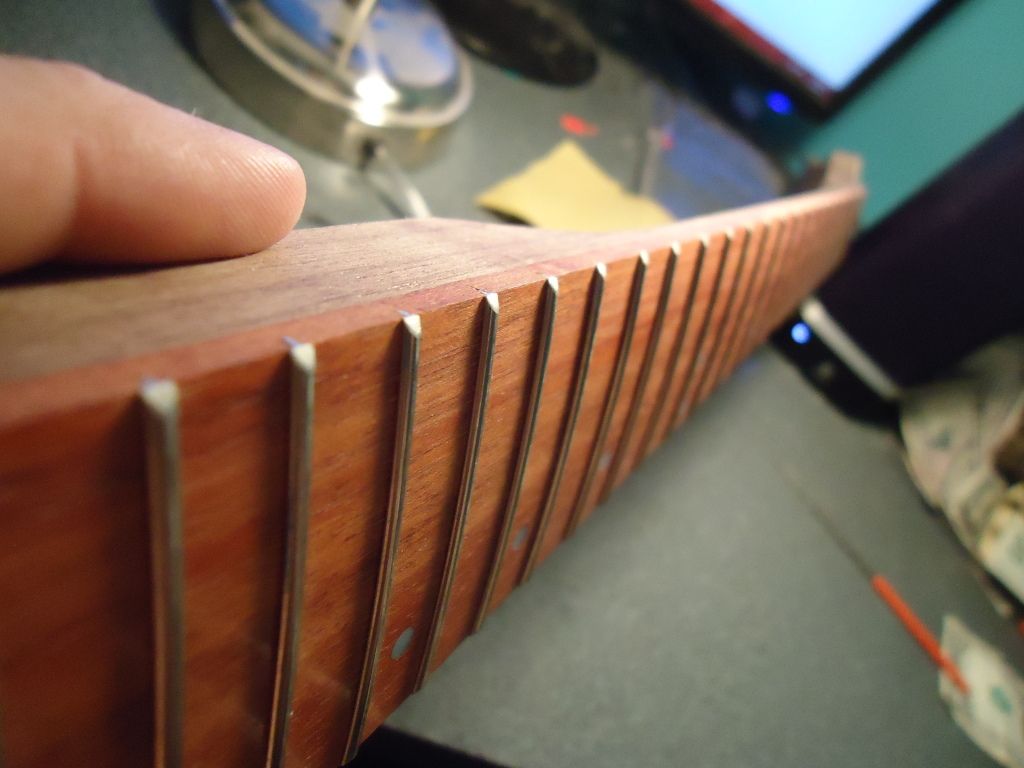
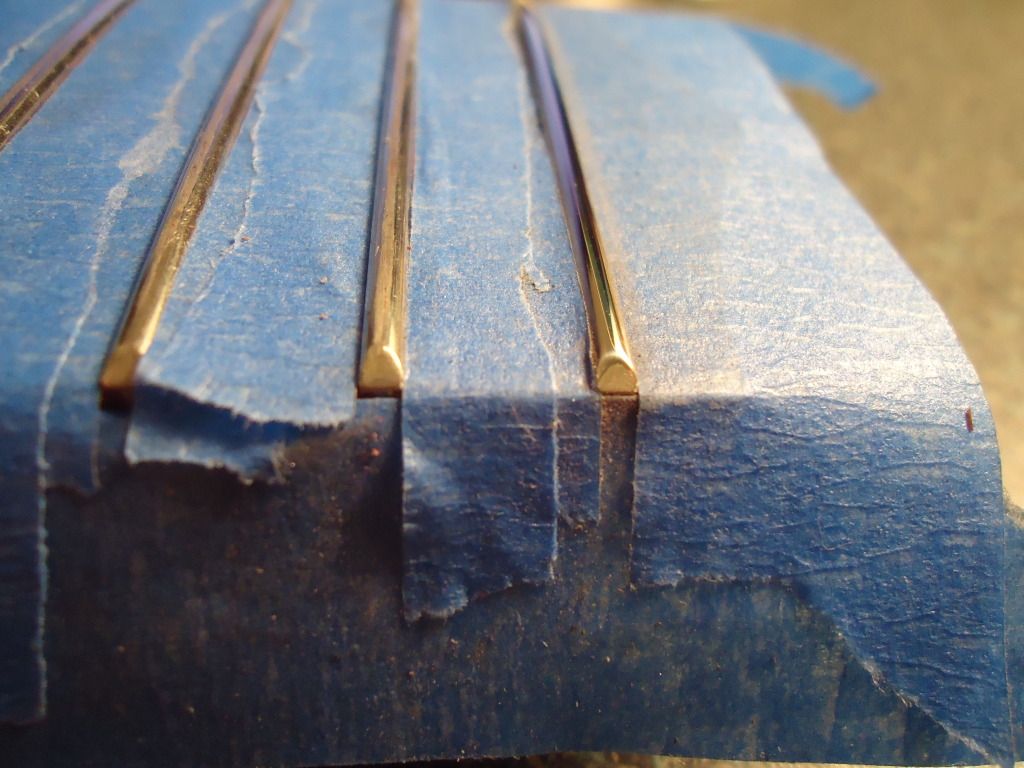
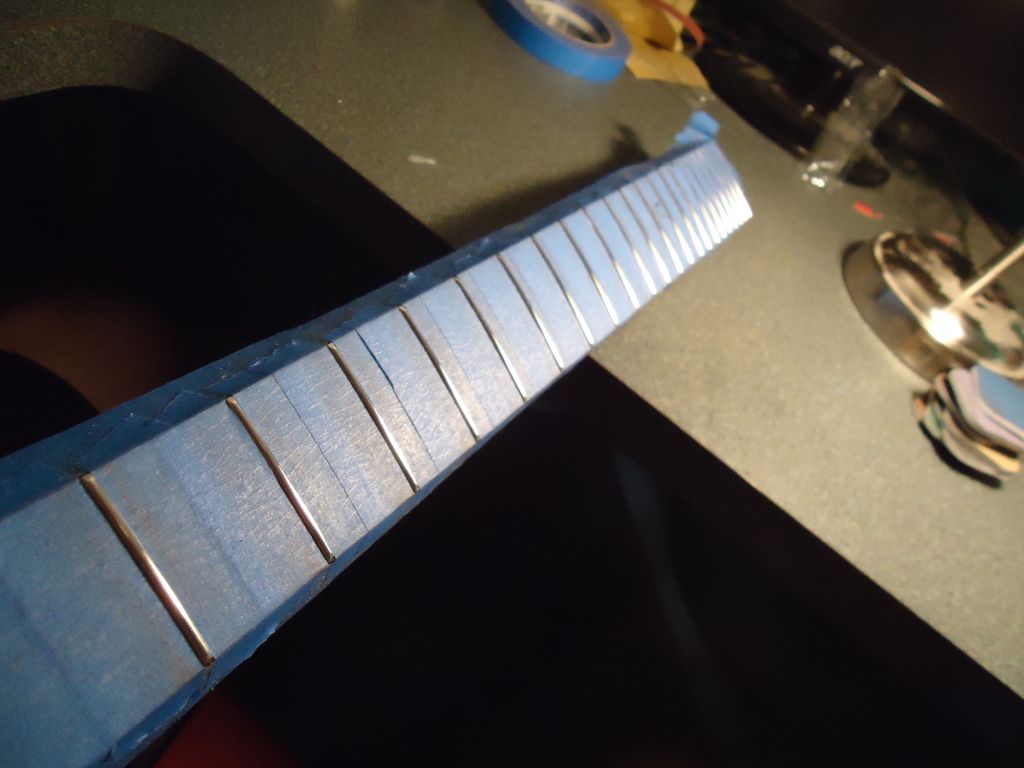
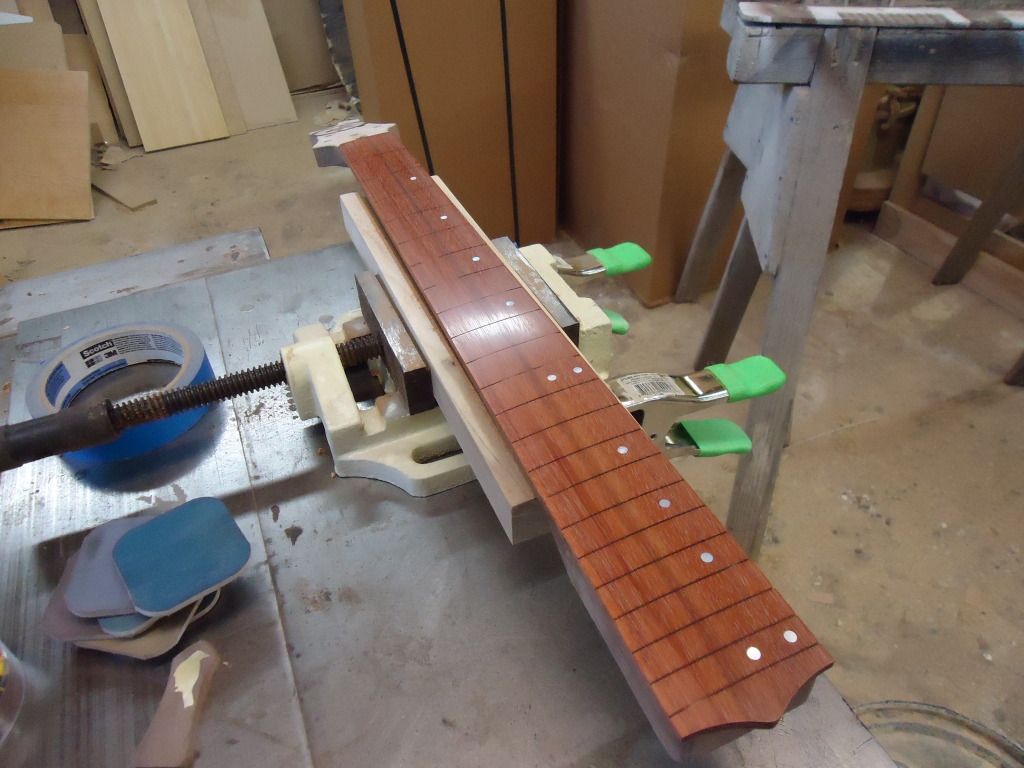
I forgot my camera at home last night so I dont have pics of the actual fretting but heres the end results.
30 degree bevel
Taped up to protect the board while polishing

I brought each fret up from 400 to 12000 to get that mirror shine. Each one took about two and a half minutes.
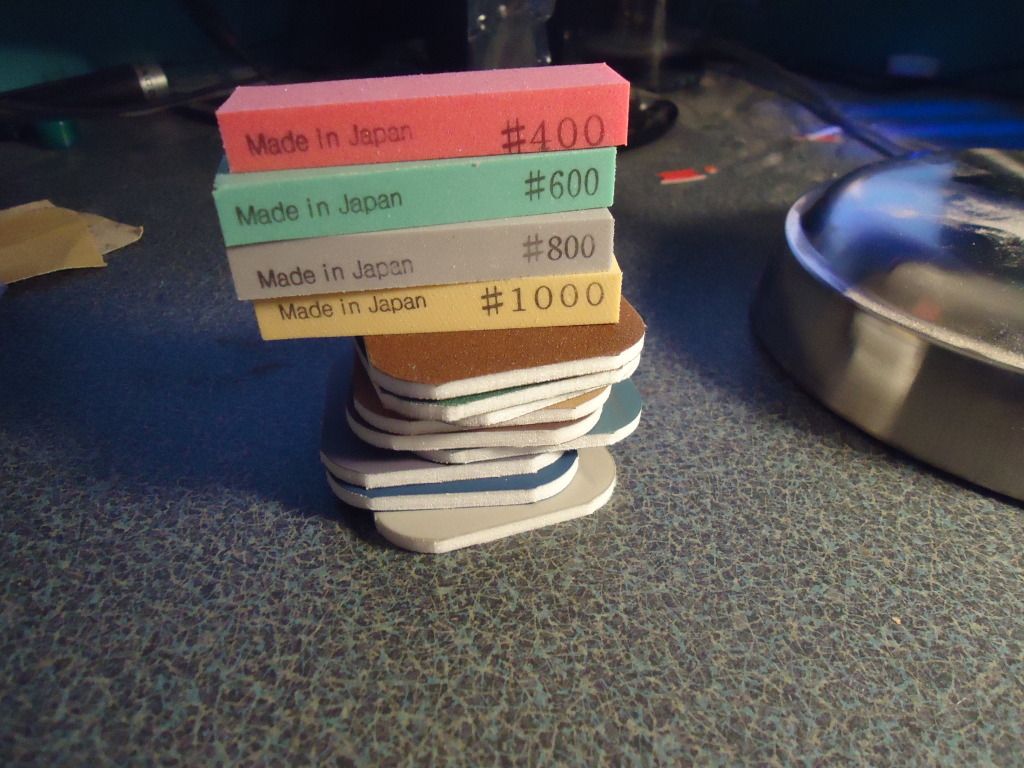
Heres a comparison between a fret at 400 and one at 12000

-
a few people have said that and I kind of agree, ill talk to the customer about it and see what he thinks
-
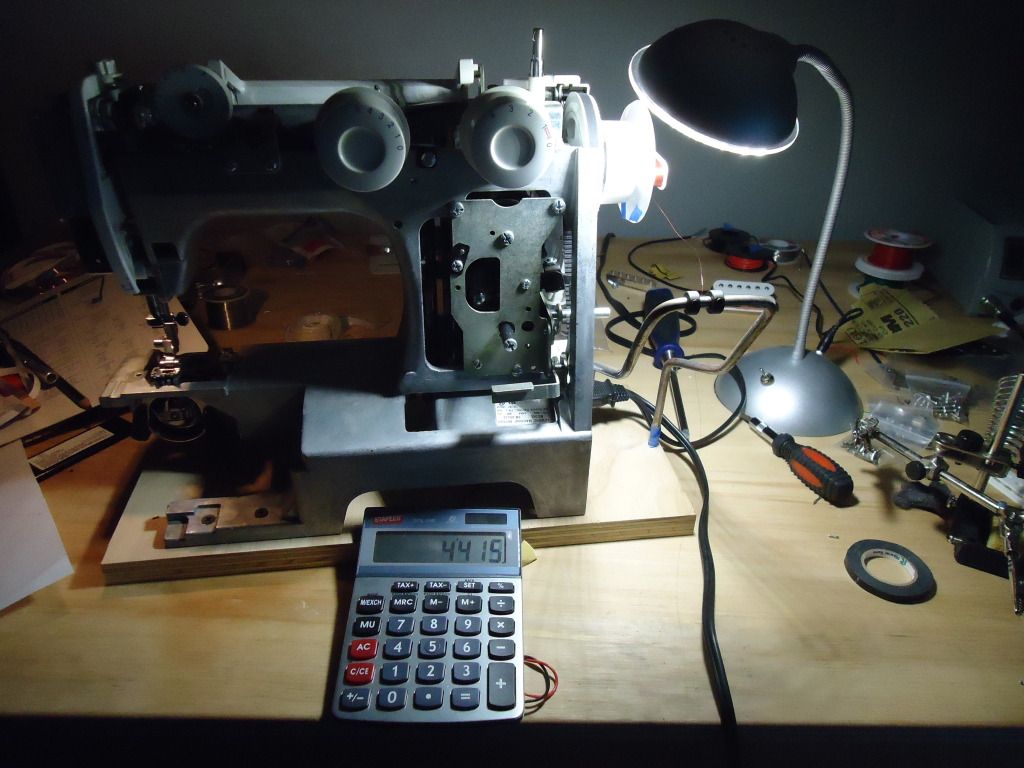
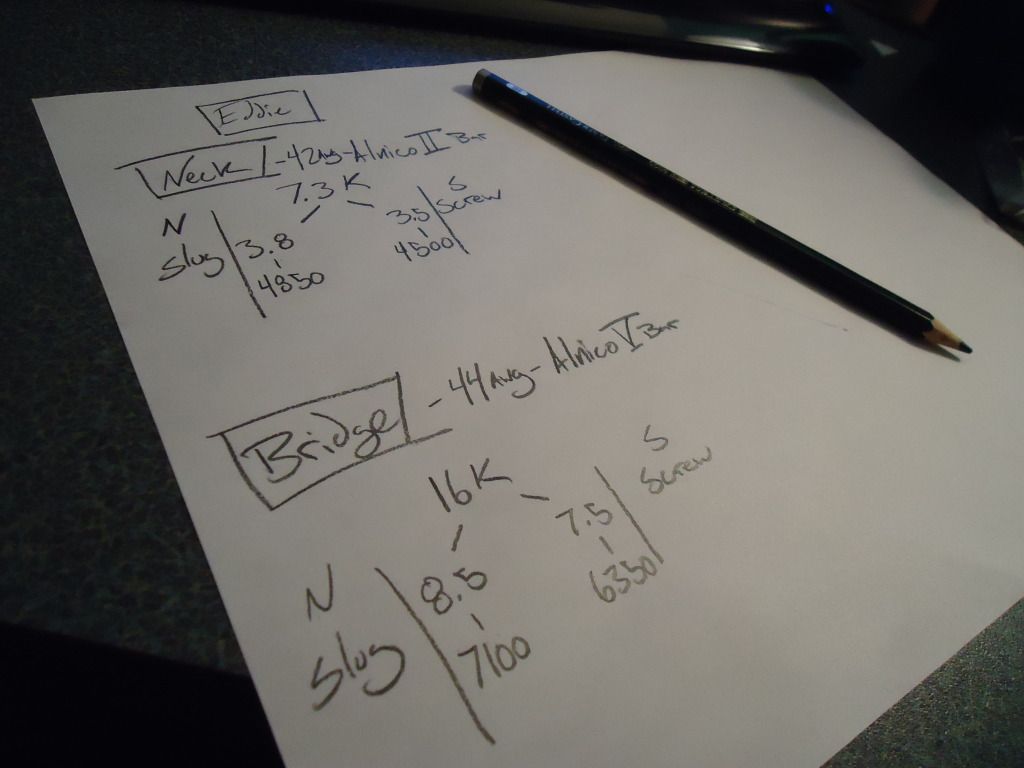
Designed the pups I'm going to be winding
Very nerve racking to say the least
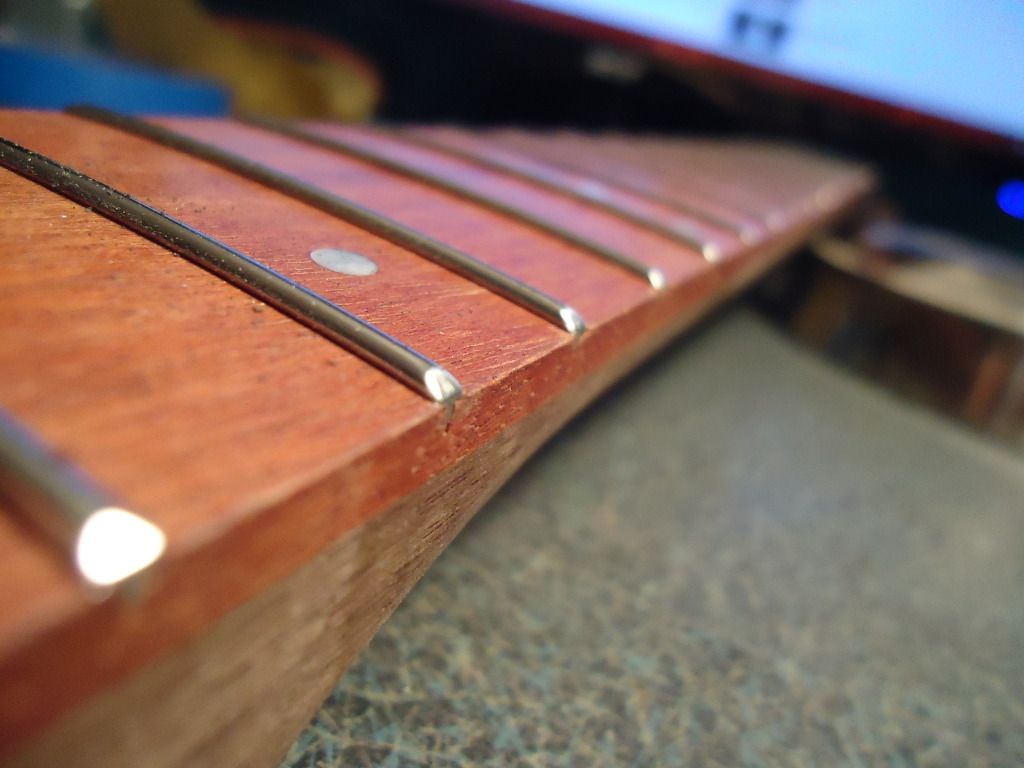
Creating the fall away
sanded to 3200 but lets keep going

12000
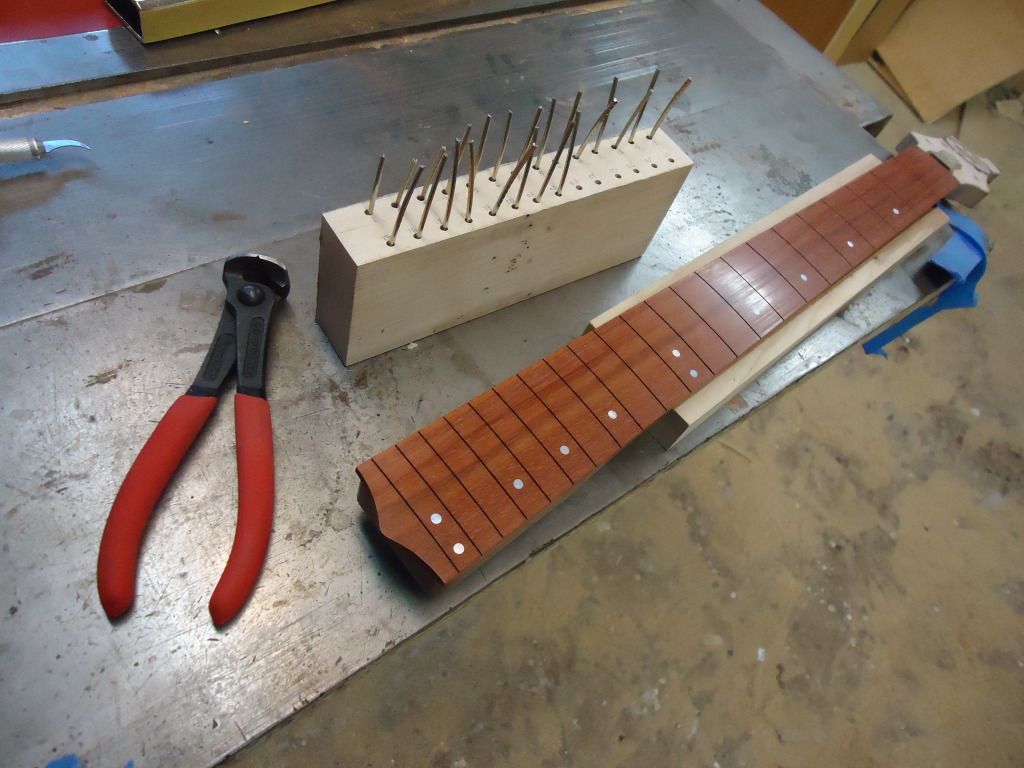
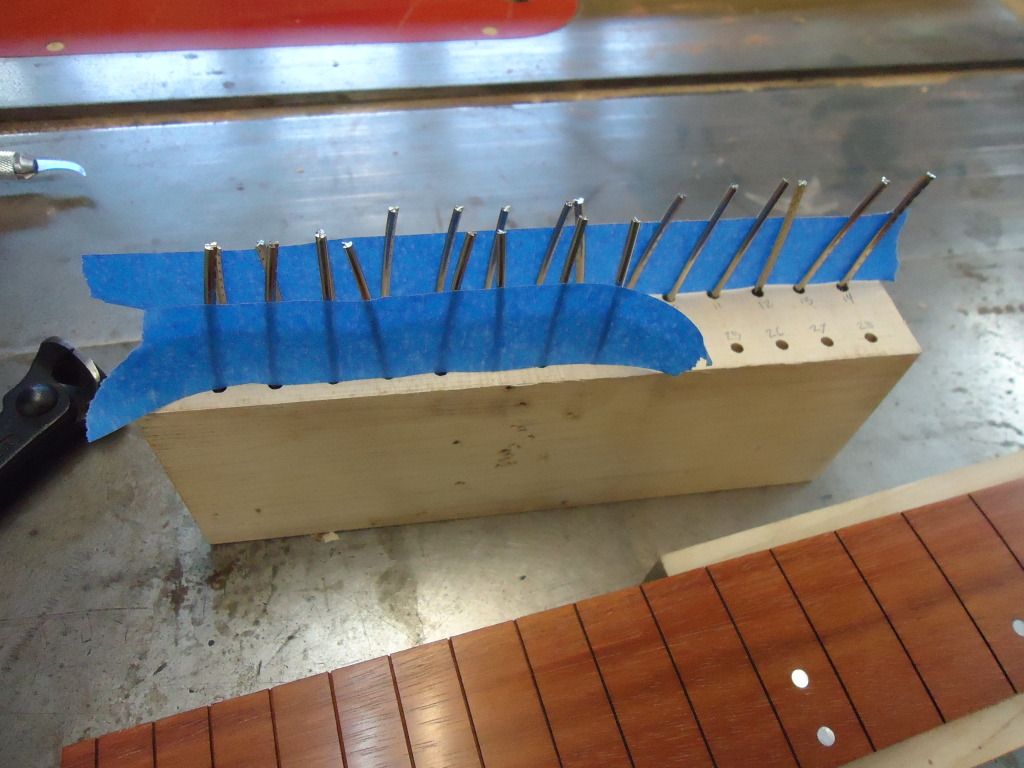
I ran out of time to fret today but just so my holder dosnt fall over and mix them all up I just used a piece of tape to keep them in order, just in case
-
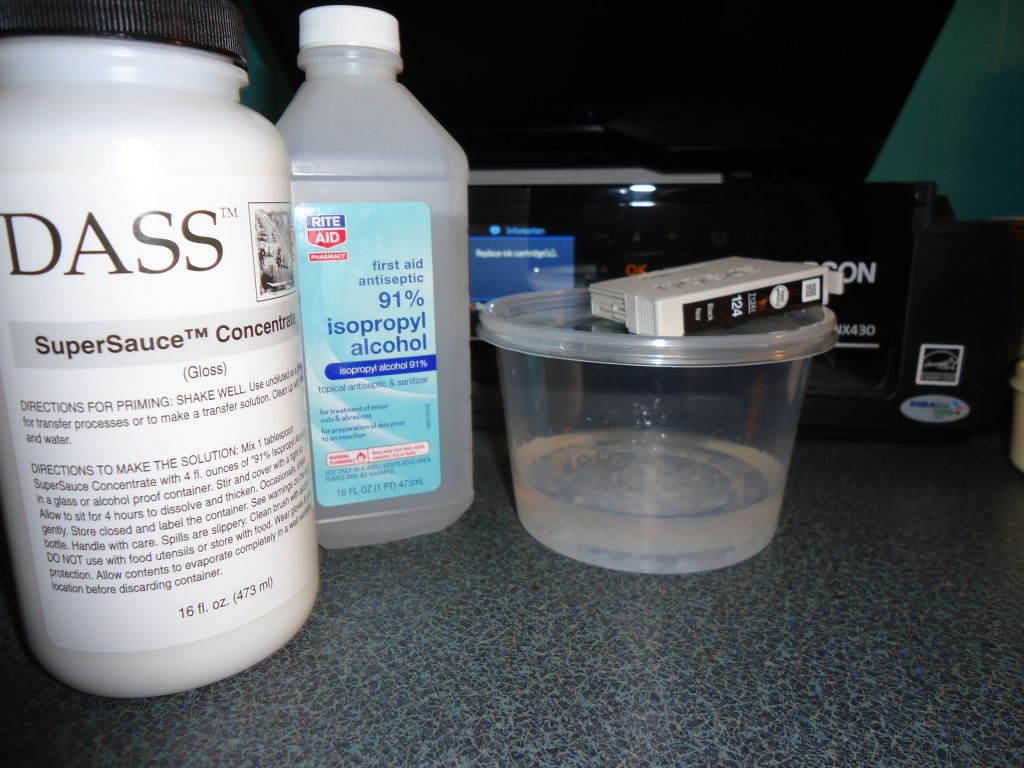
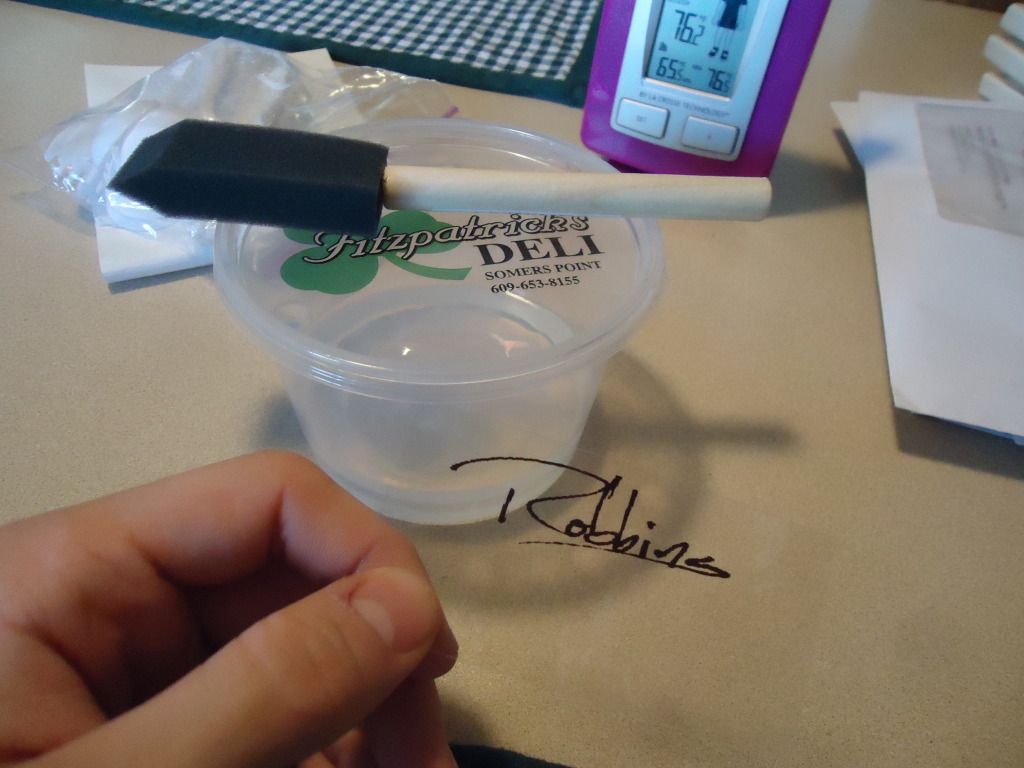
Ive been looking for away to get my logo onto the headstock and I finally ended up ordering this Dass sauce stuff and I'm pretty happy with the results. Heres the test run:
You mix the concentrate with alcohol and let it sit for 4 hours, then you have the transfer solution that will take an image printed, by your standard printer, from the transparency to another surface
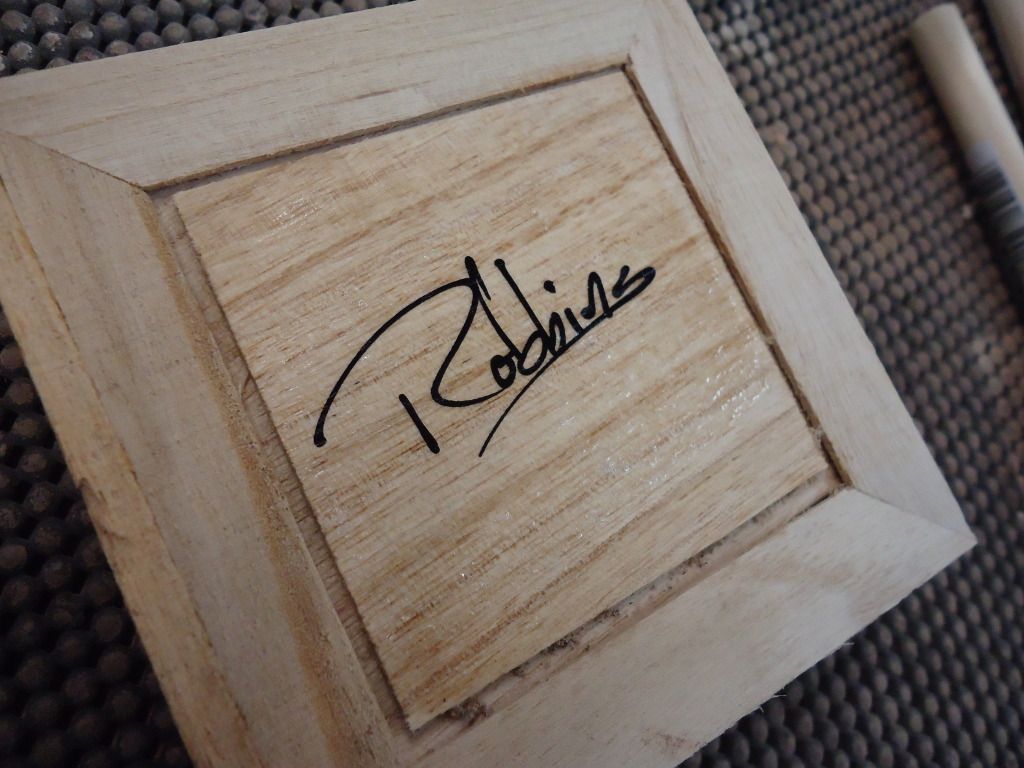
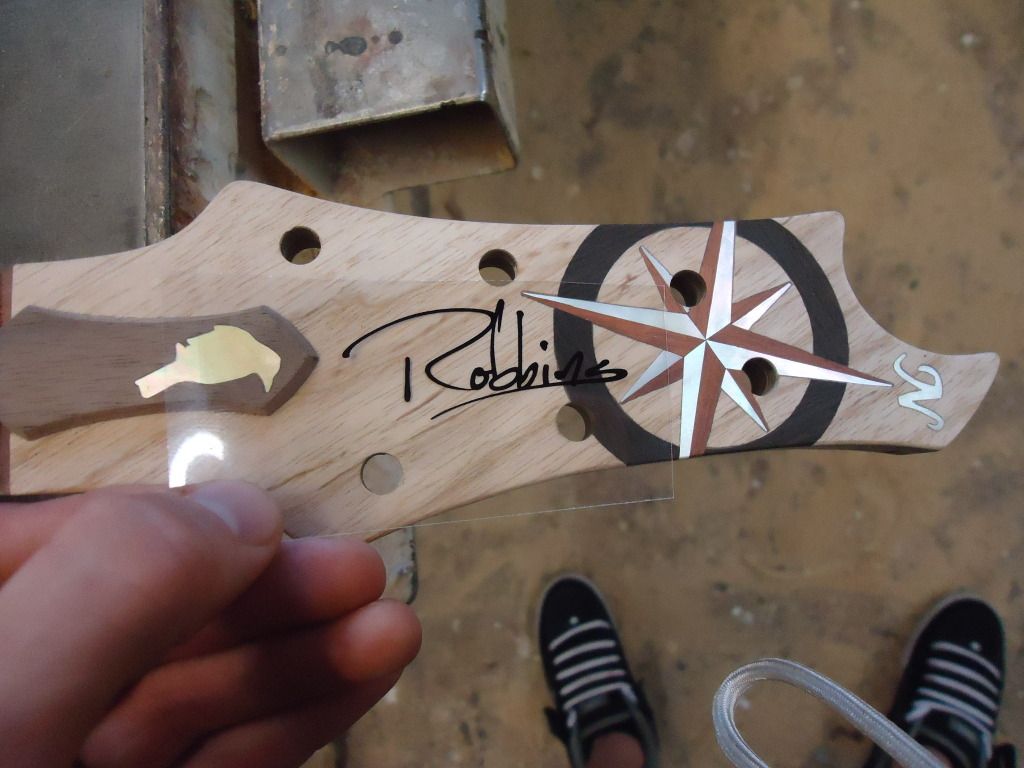
I think this will be where I will put it
-
-
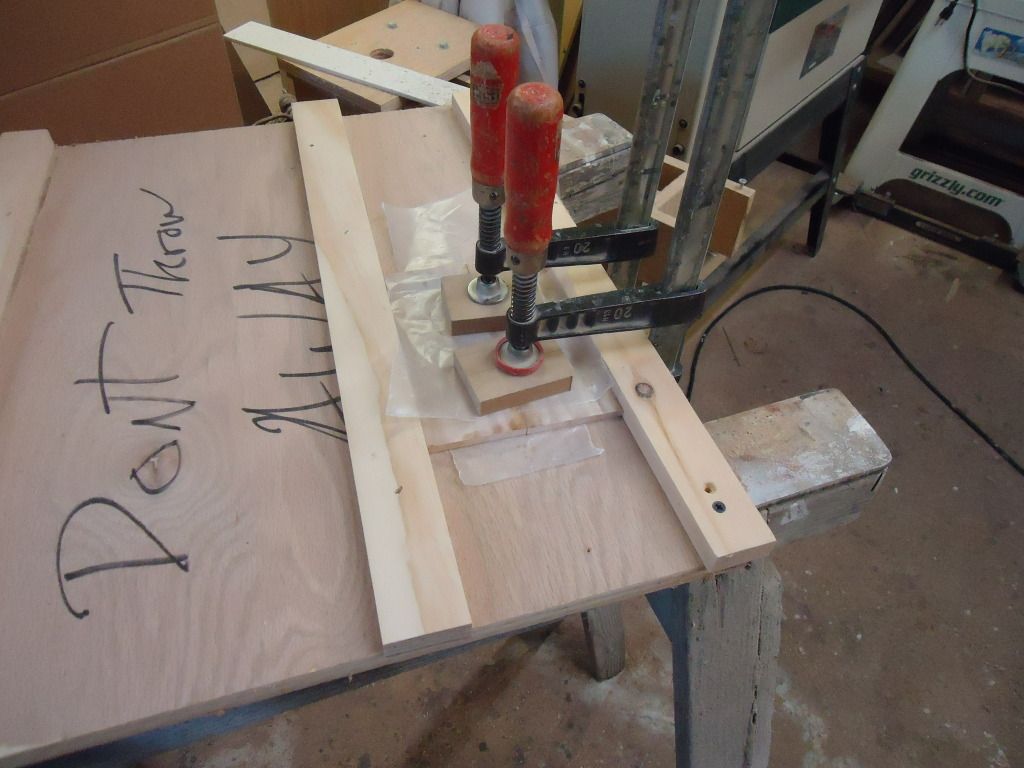
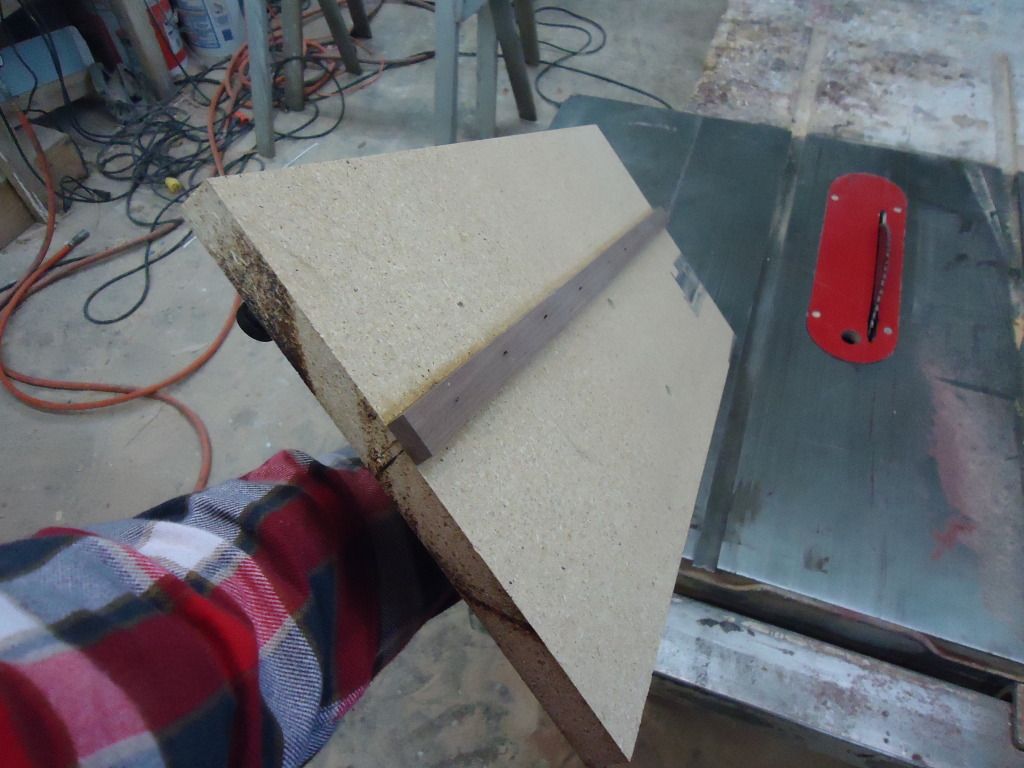
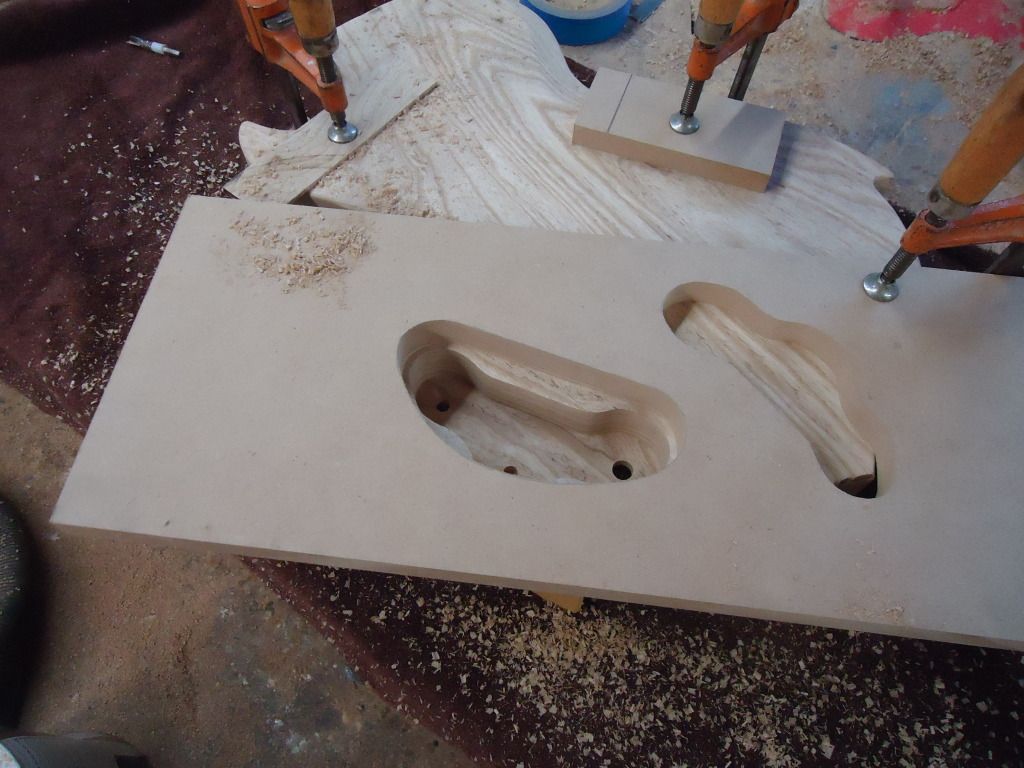
I made a simple template for the neck pocket that gave me not only the correct fit but the 3 degree angle I needed.
Start by marking a line that is 3 degrees or what ever angle your going for on a piece of scrap then cut and sand it straight as you can.
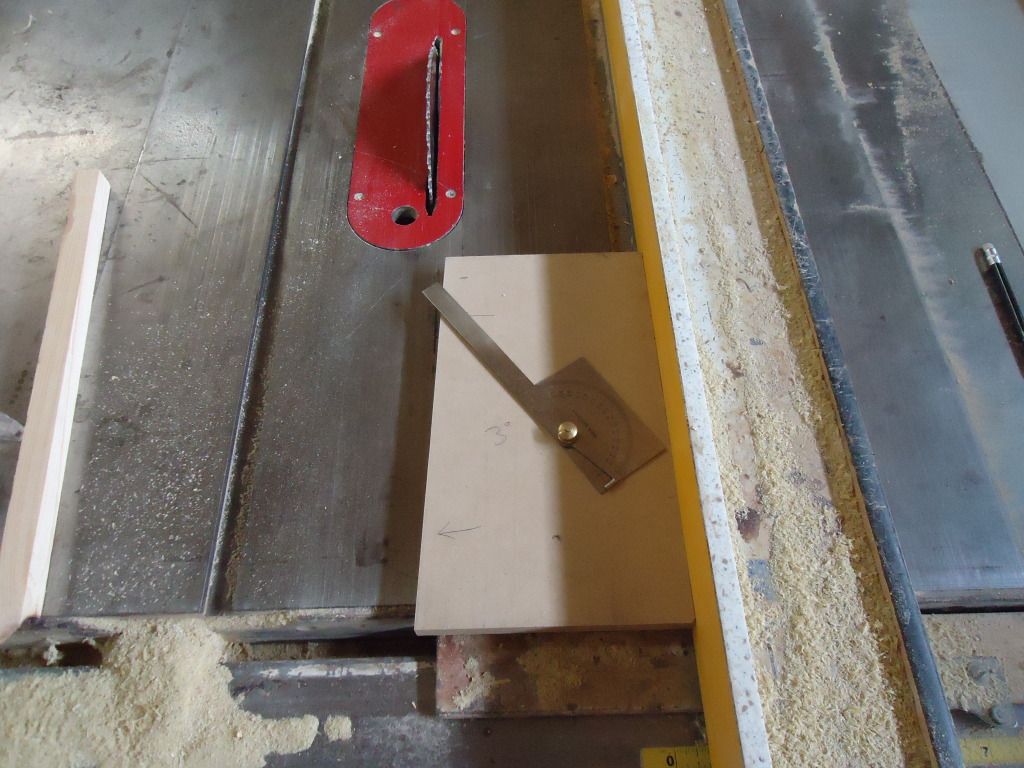
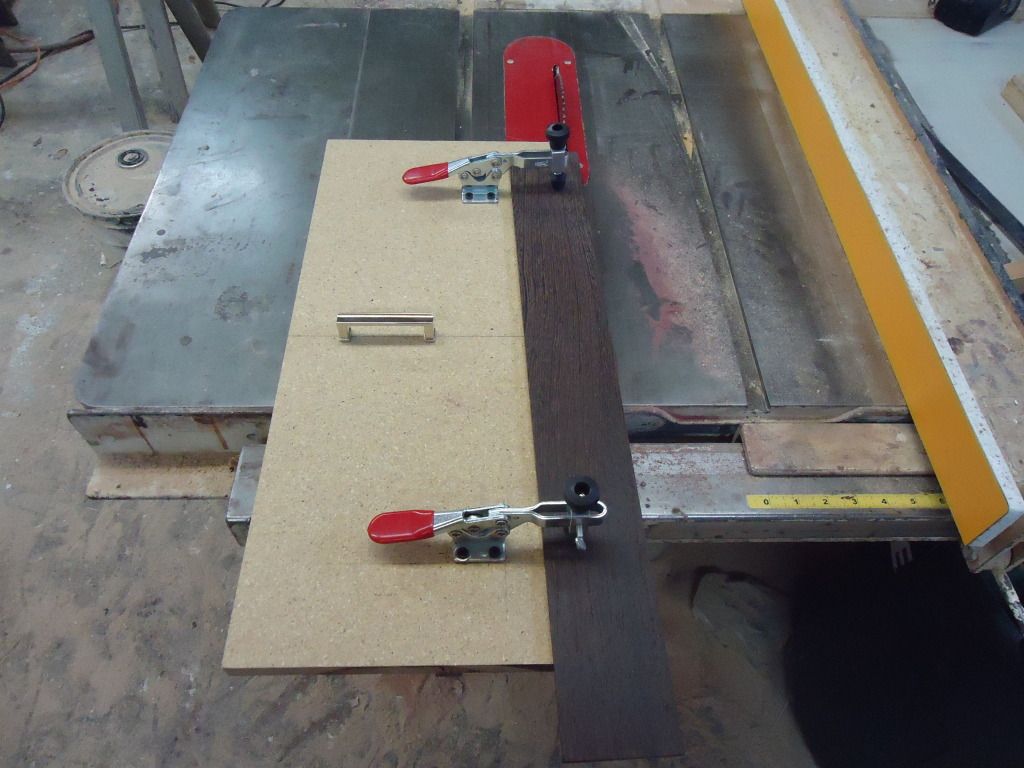
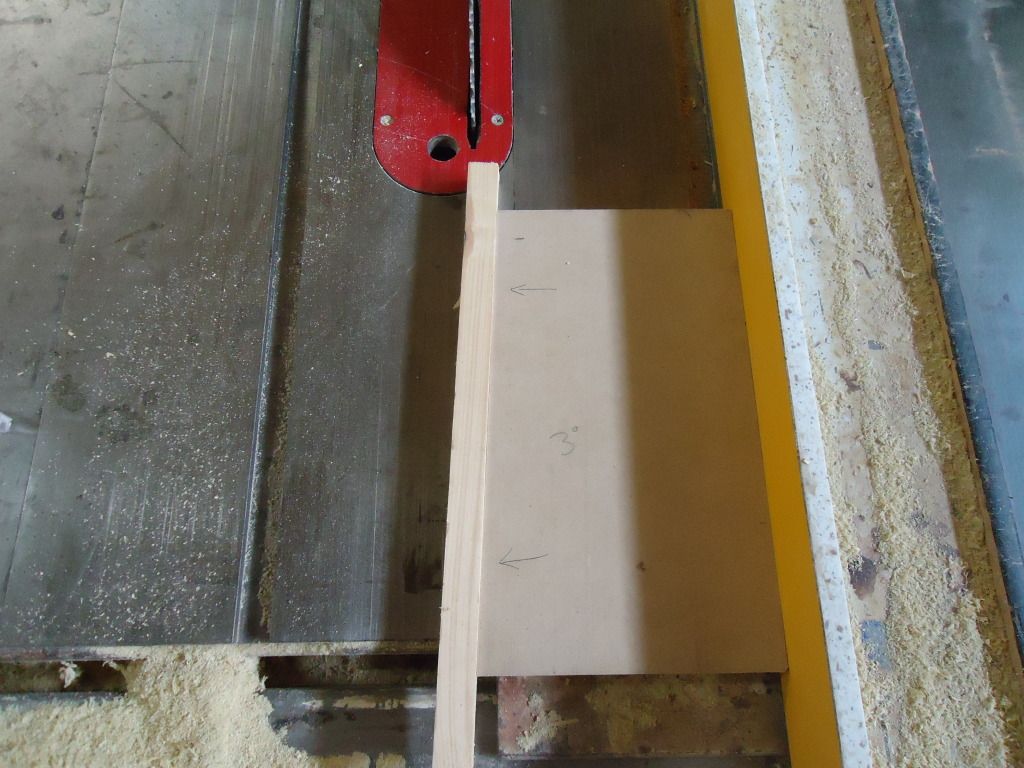
Once you have your angled edge take another piece of scrap wood and place it against that side. Then you can run the opposite edge, the straight one, along a fence and the saw will transfer the 3 degree angle to the piece of wood. I just held the wood against the template but it might but a good idea to use double sided tape to keep it in place while you cut.
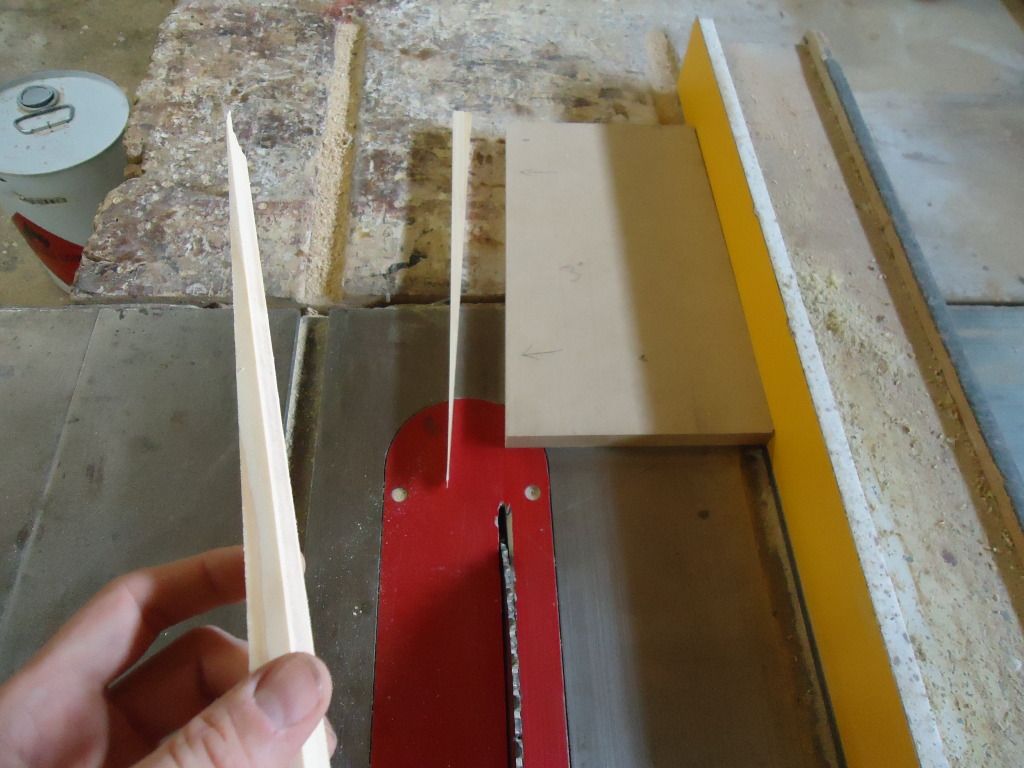
Once you have two angled pieces you can double sided tape them to your neck pocket template and make your cut
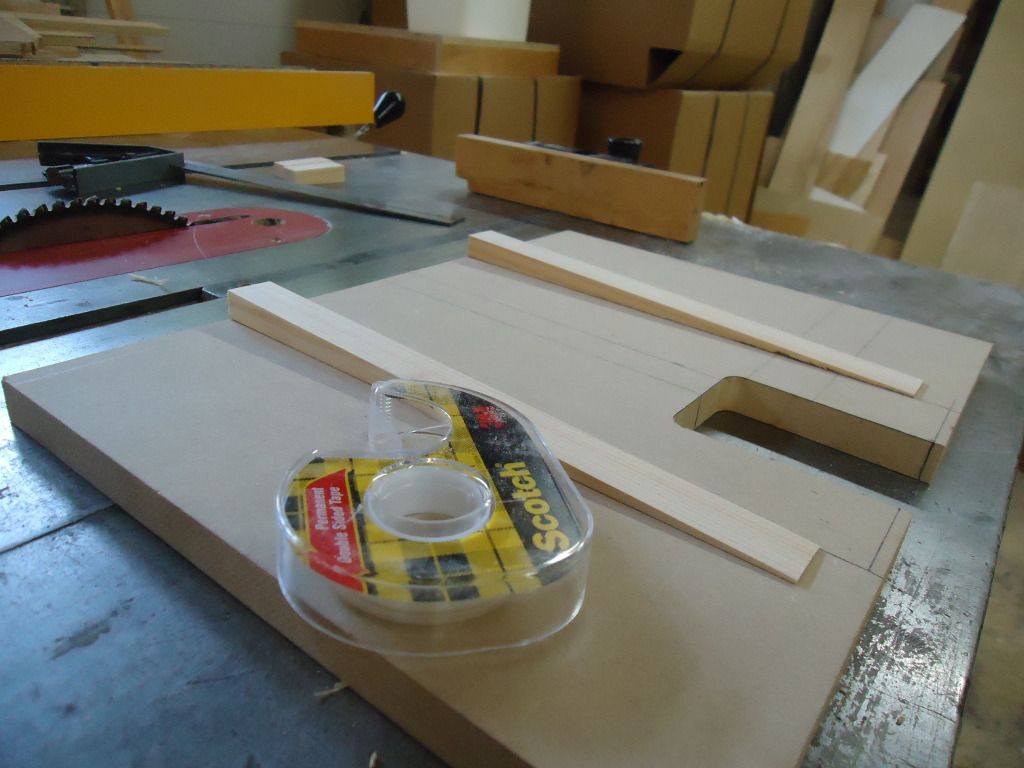
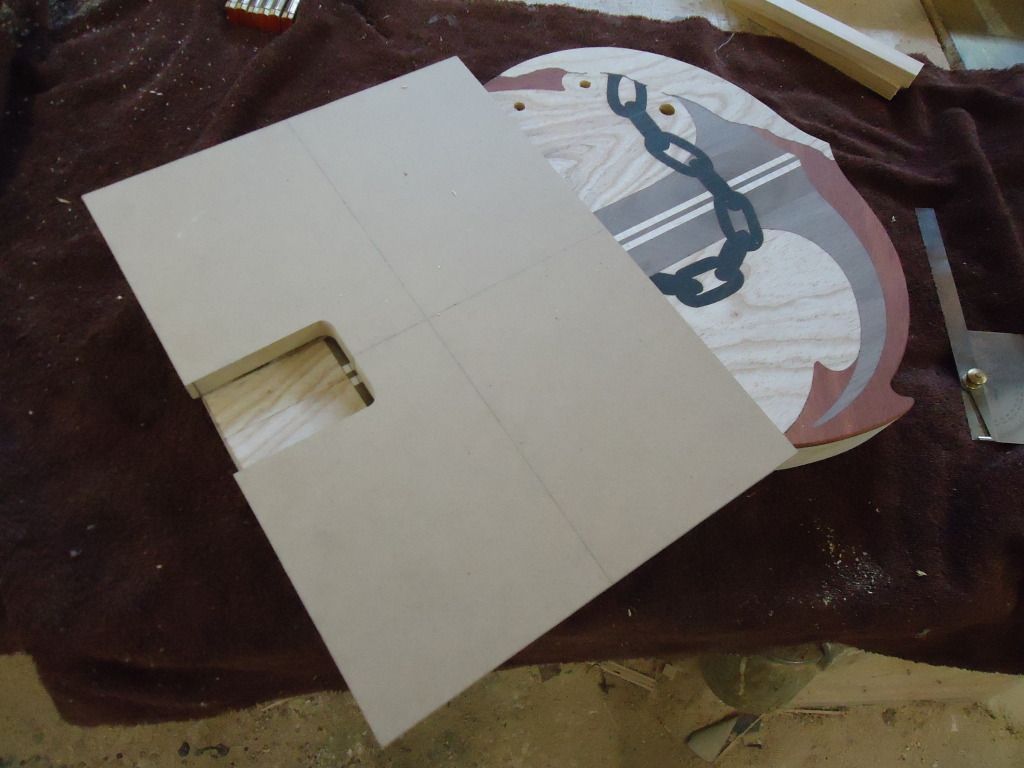
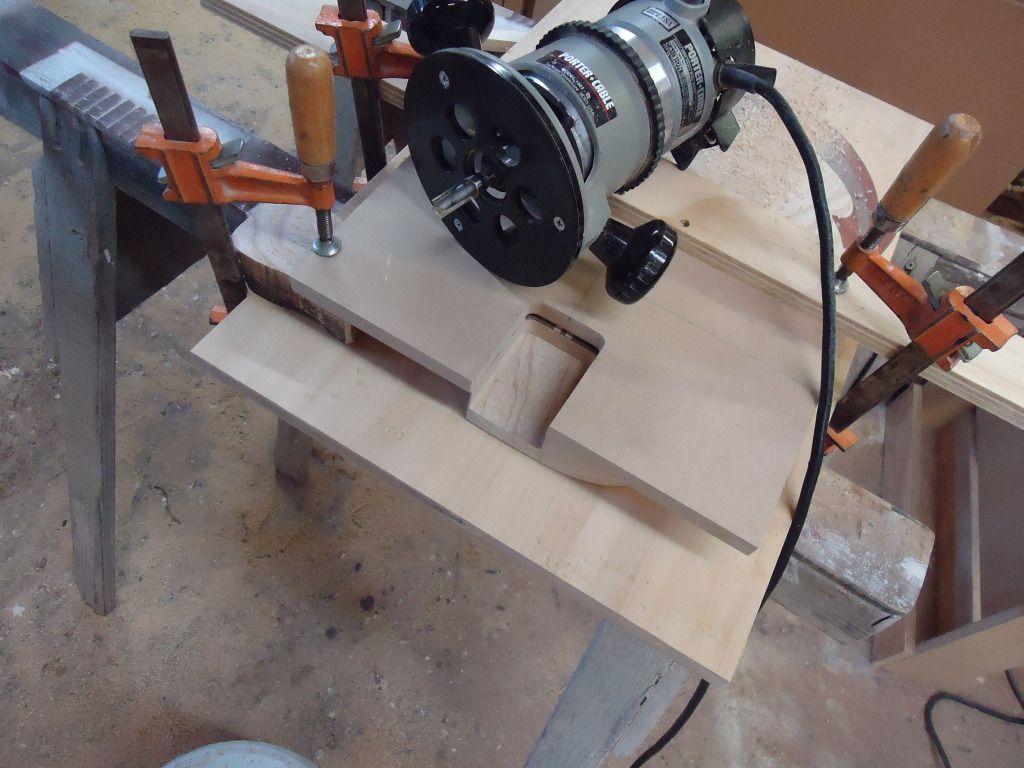
This might be common sense but I had trouble figuring out how to make this cut when I first started so hopefully this will help some of the newer builders.
-
1
-
-
Beautiful carves sir! I'm loving it so far!

Butterflies
in In Progress and Finished Work
Posted
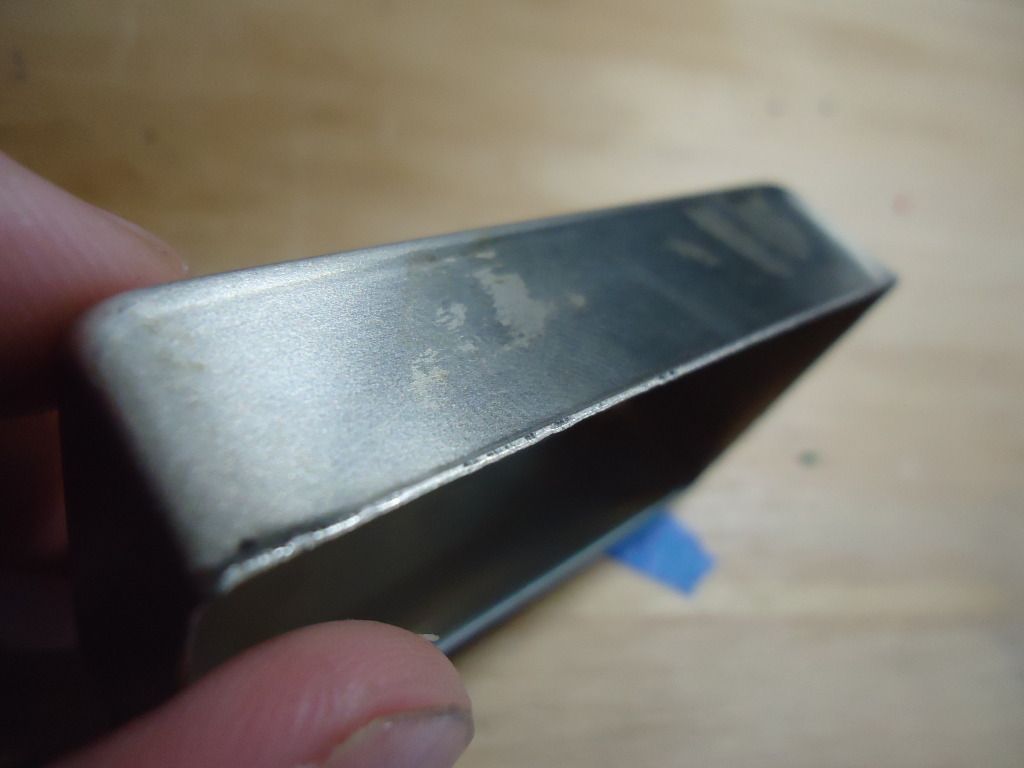
Plate recess
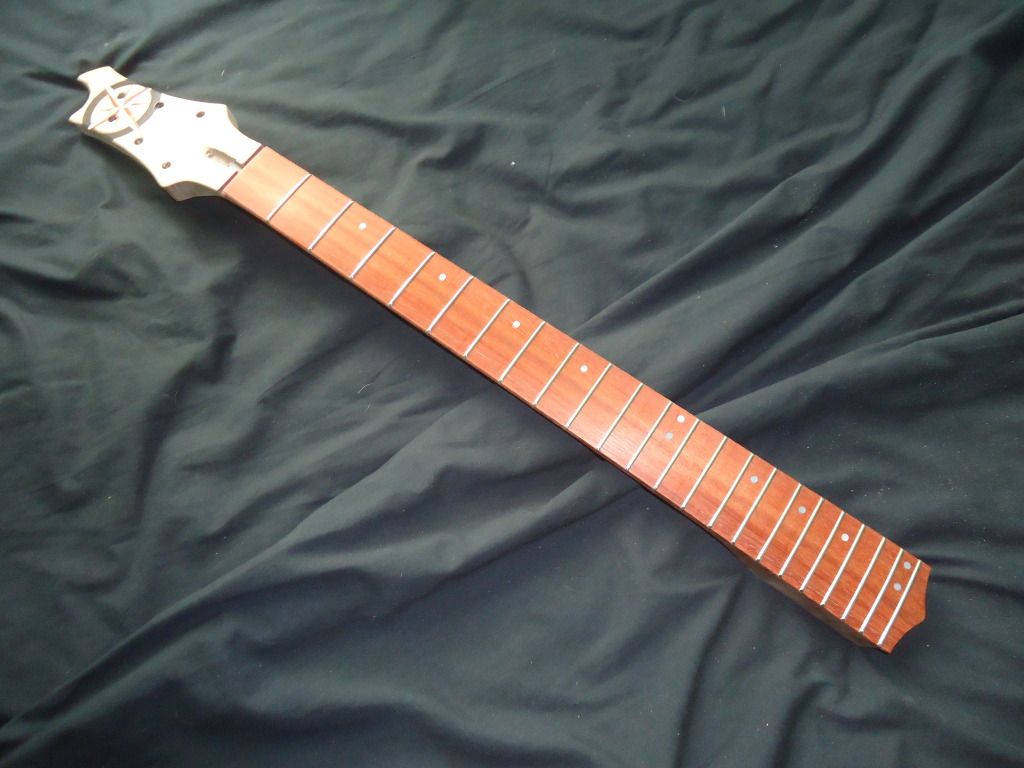
Sanded back just a bit to reveal the lightest lights, hopefully this will add even more depth to the figure once cleared
My signiture Raven
Frets and line fret markers
and side markers