


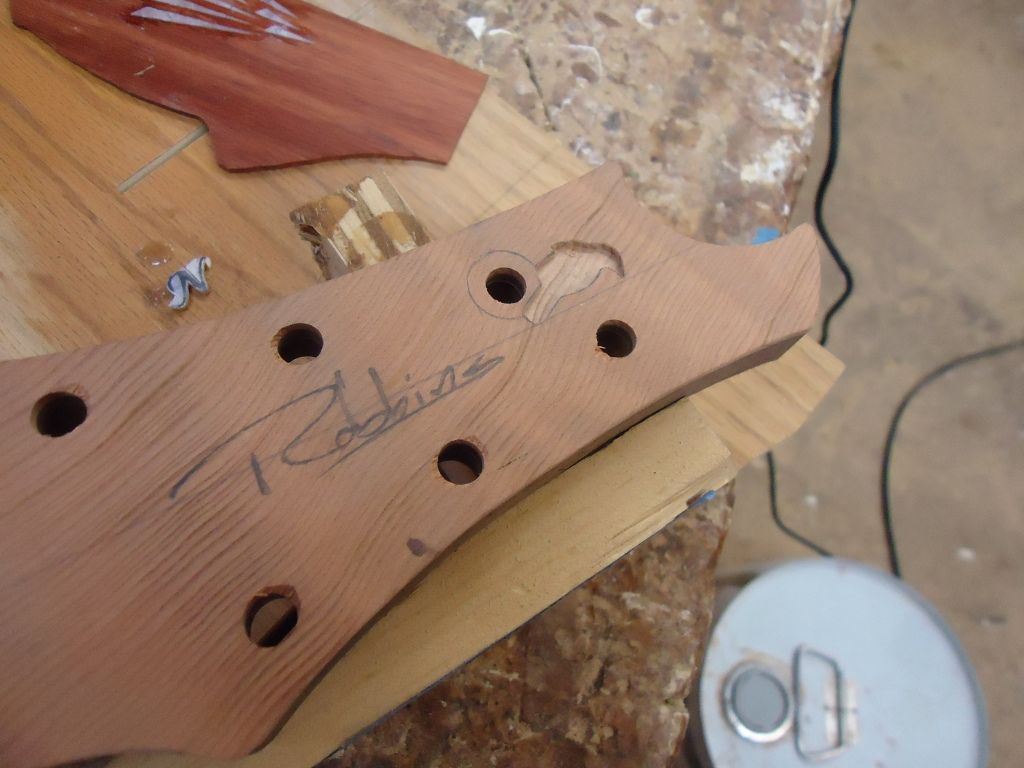
Robbinst
-
Posts
269 -
Joined
-
Last visited
-
Days Won
20
Content Type
Profiles
News and Information
Tutorials
Product Reviews
Supplier Listings
Articles
Guitar Of The Month
Links and Resources
Forums
Gallery
Downloads
Posts posted by Robbinst
-
-
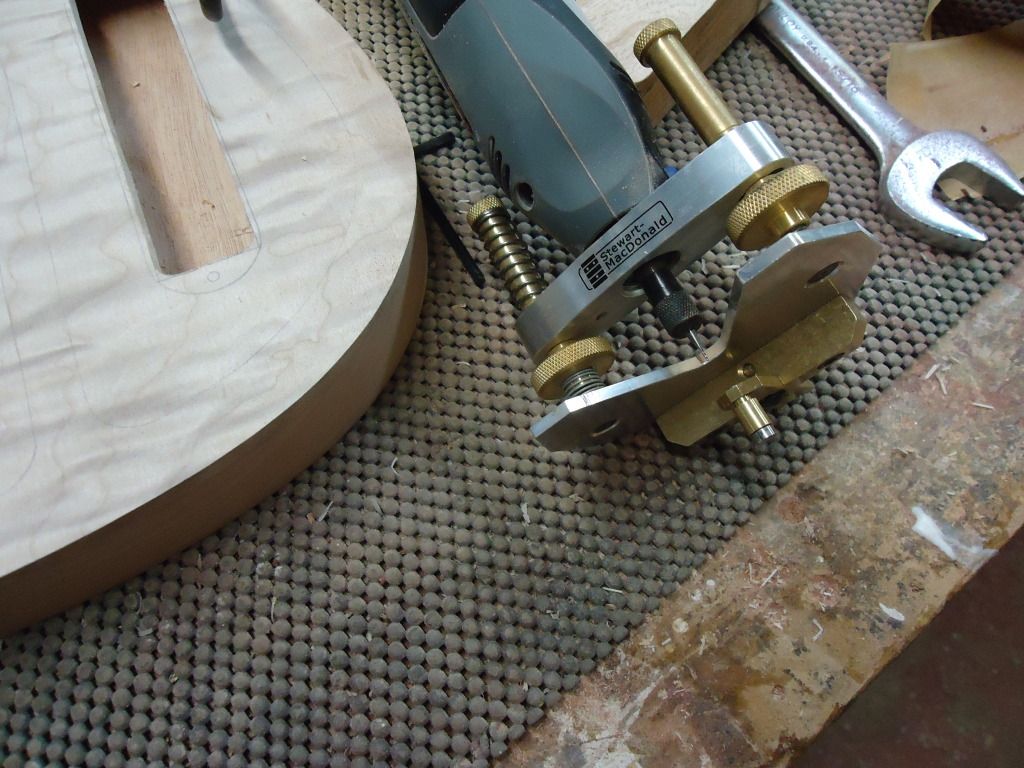
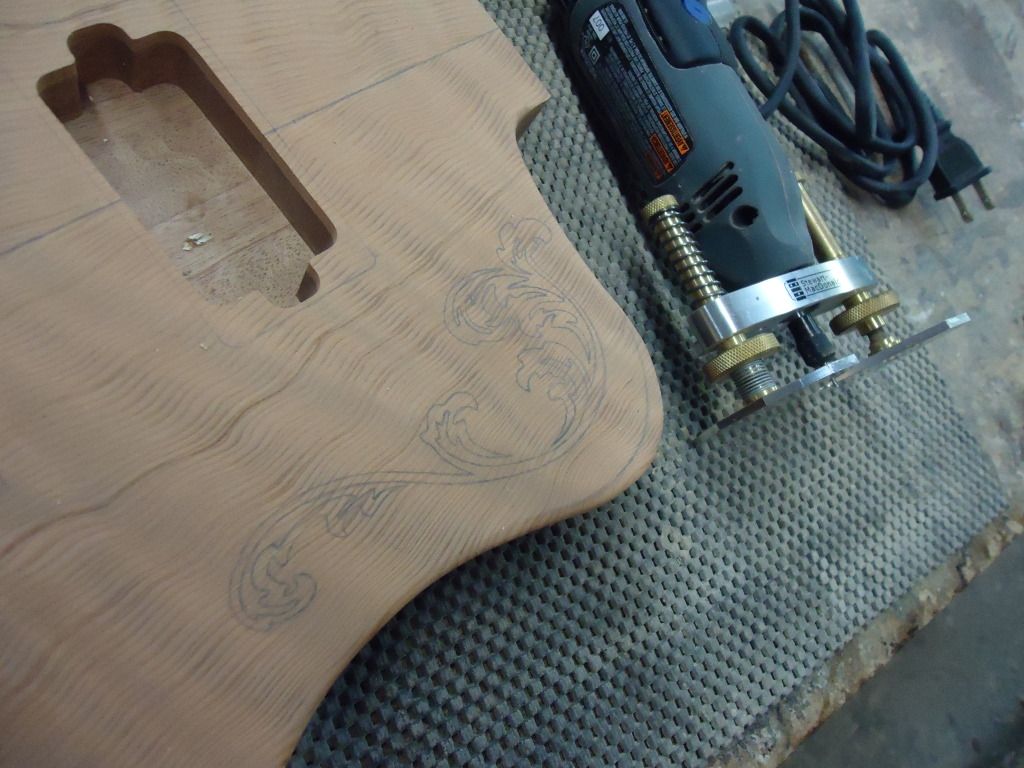
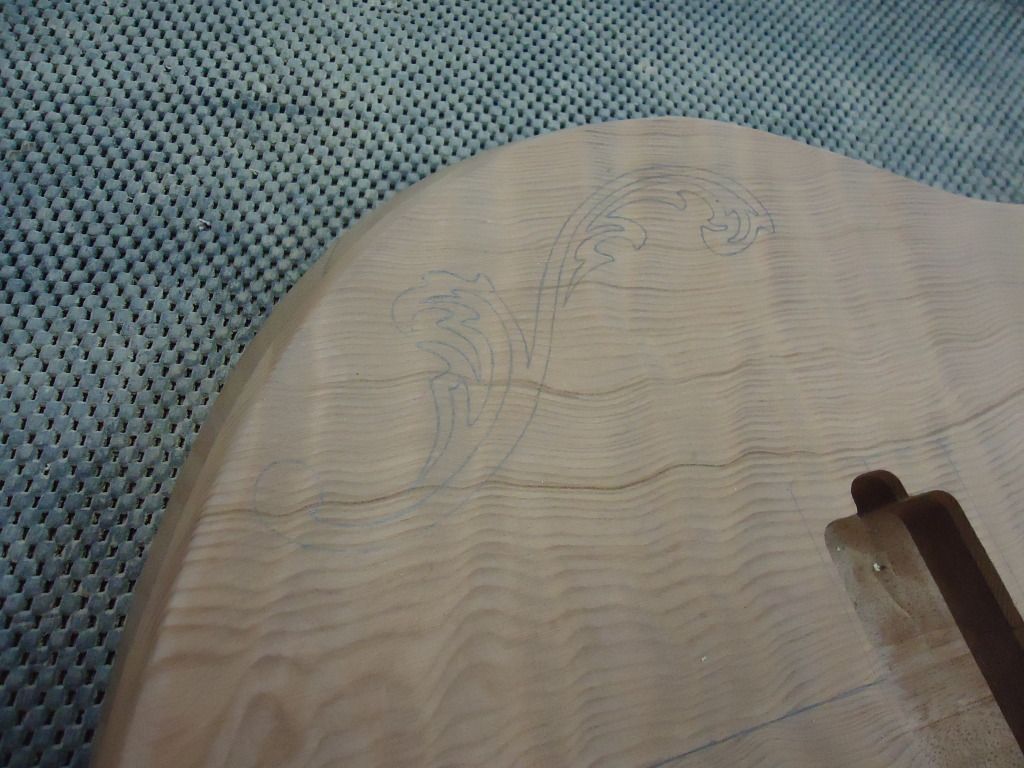
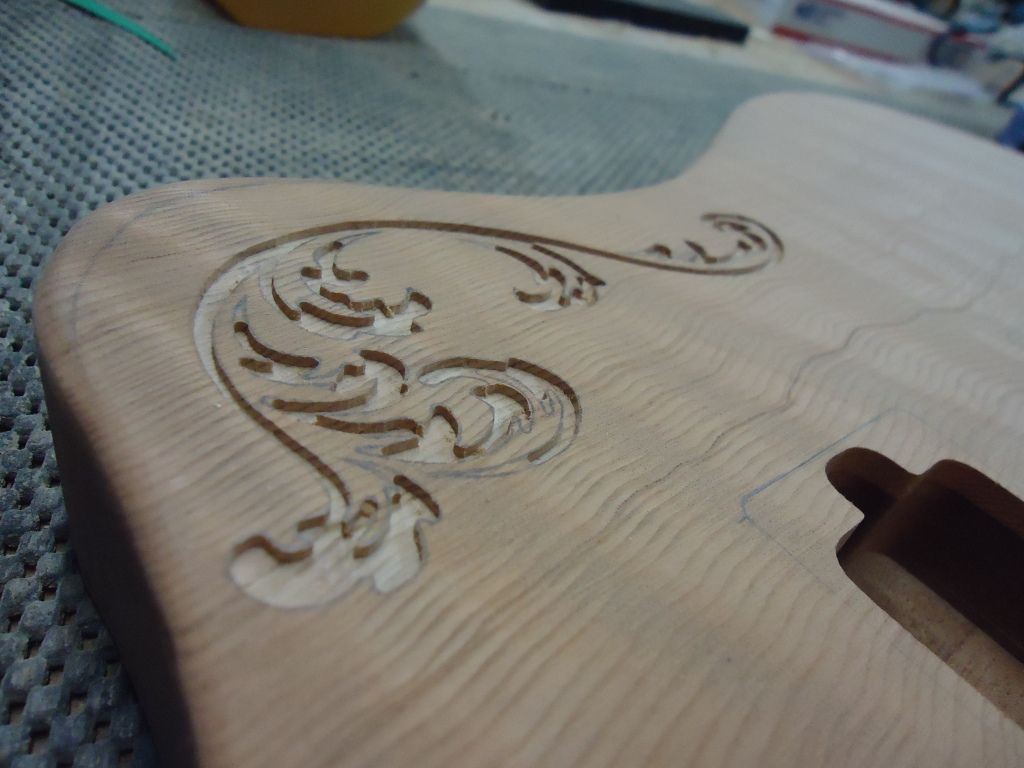
Man,you really have an eye for inlay.I am envious.Do you think you could take a pic of the tools you use to get your inlay routs?
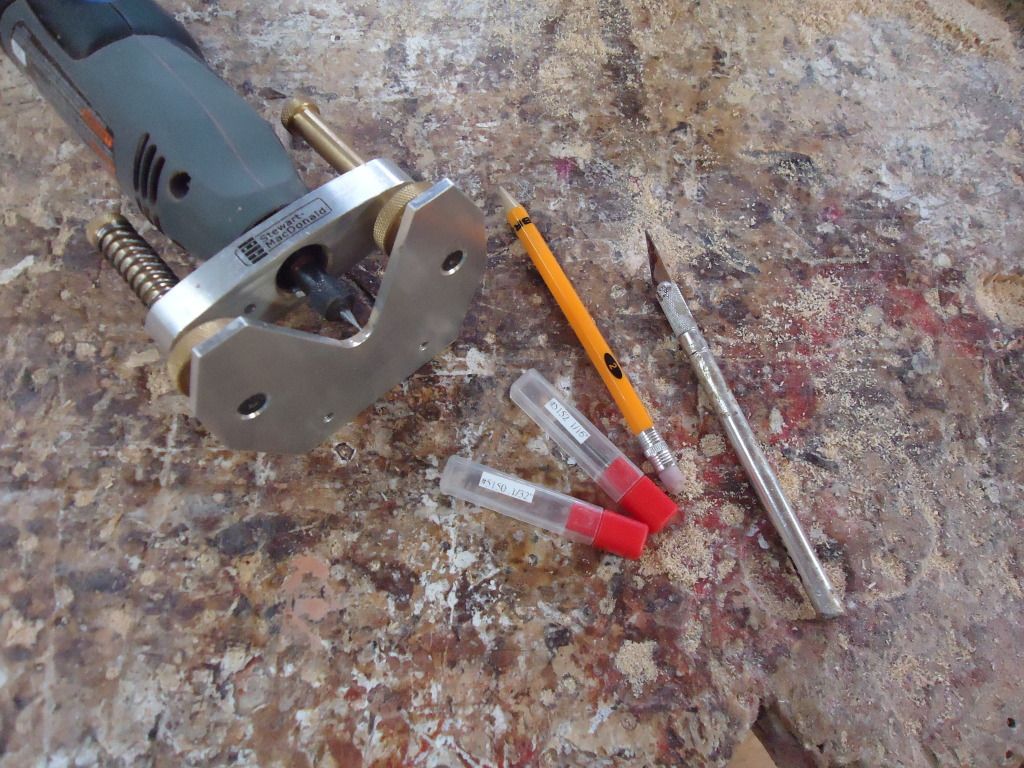
I just use a really sharp pencil to trace the inlay then cut up to the inner edge of the line and the piece usually fits snug the first try. I never had luck using a scribe, the peice would move or Id get lines where I didnt want them, pencils much easier and less stressful to me. The bits are 1/16th and 3/32nd from stewmac along with the dremel base. The exacto knife is just for cleaning up the slots after the rout if necessary.
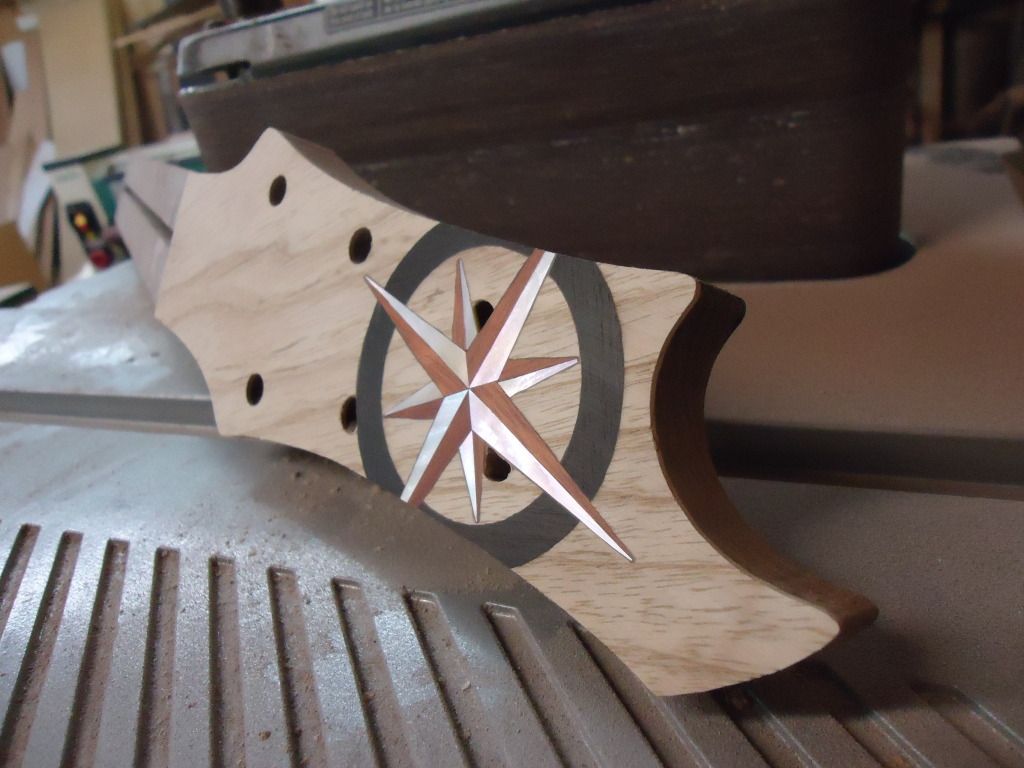
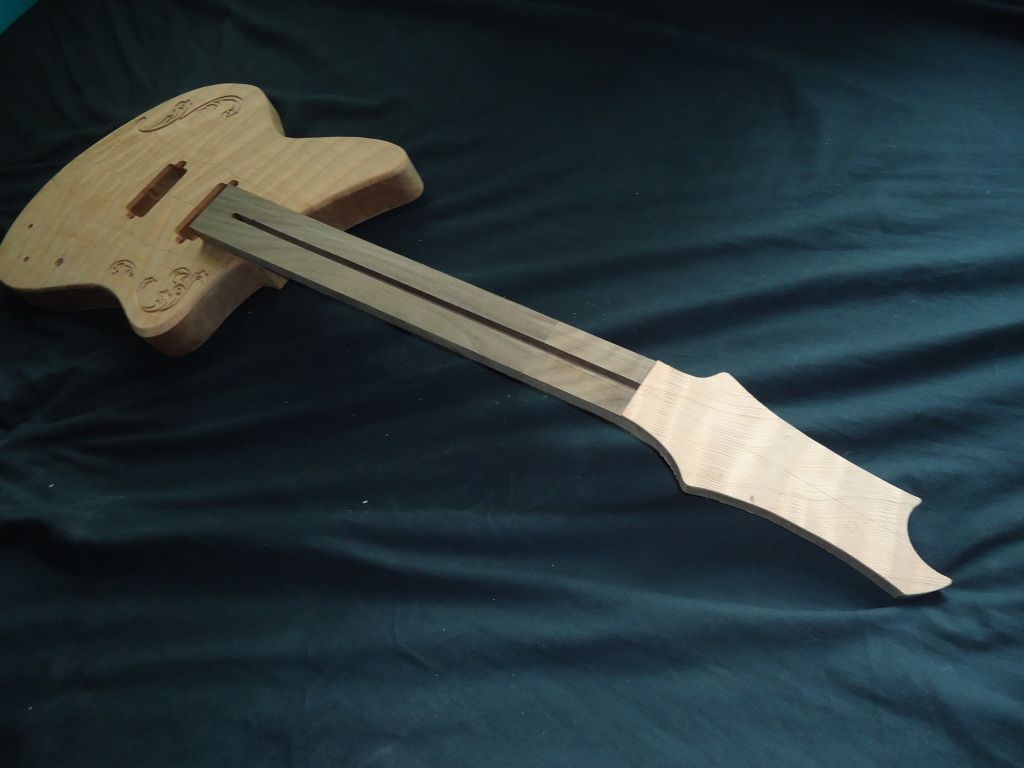
Neck carving day! It's still a little rough but I'll clean it up later.
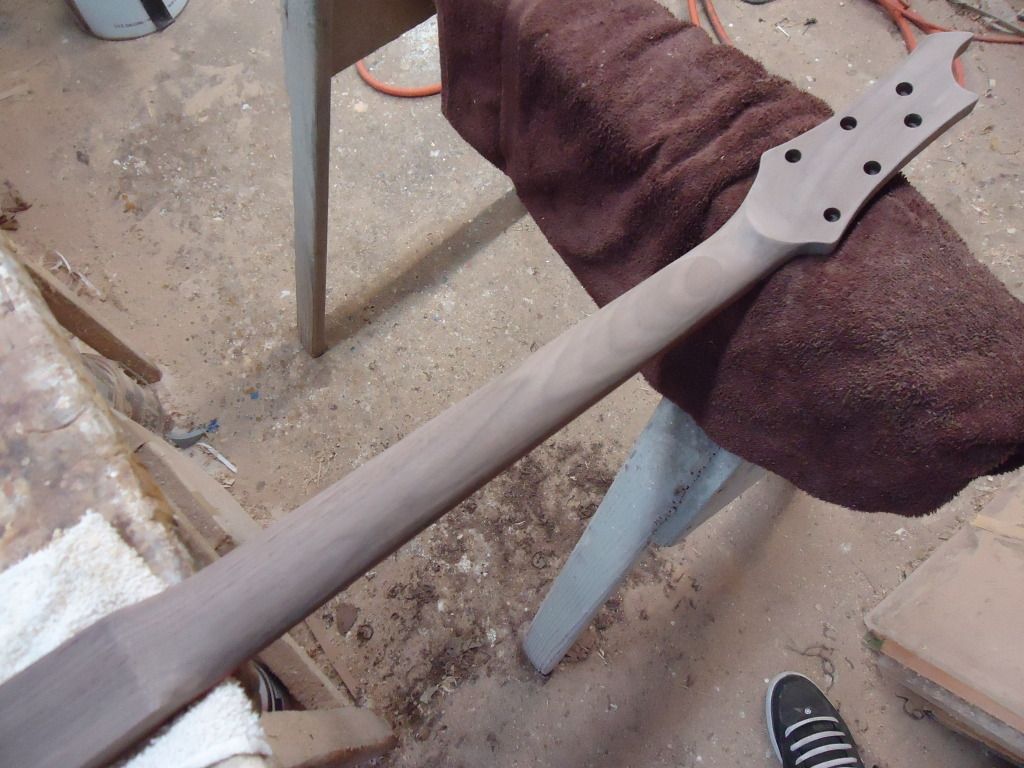


Got rid of the sharp edges
-
 1
1
-
-
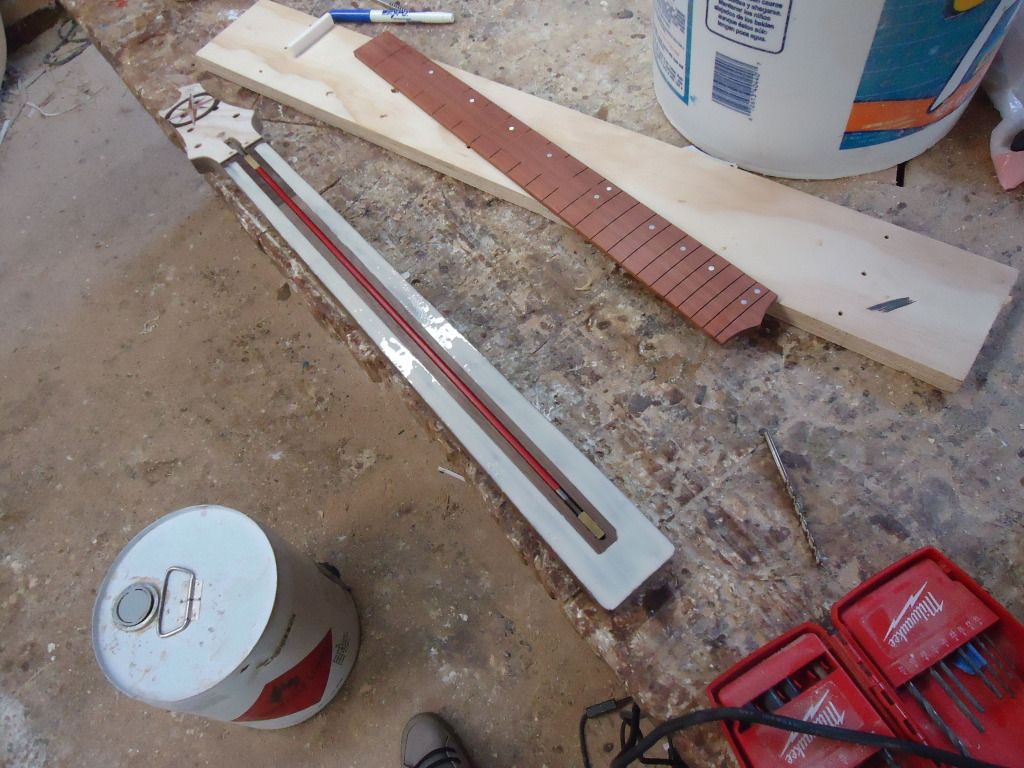
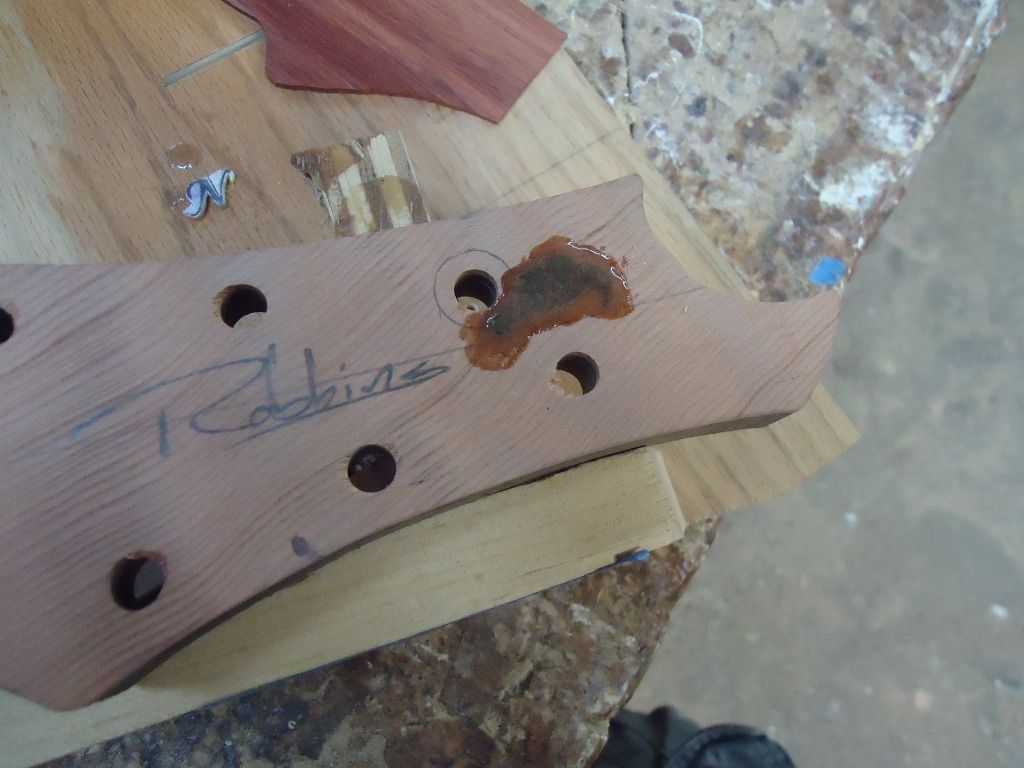
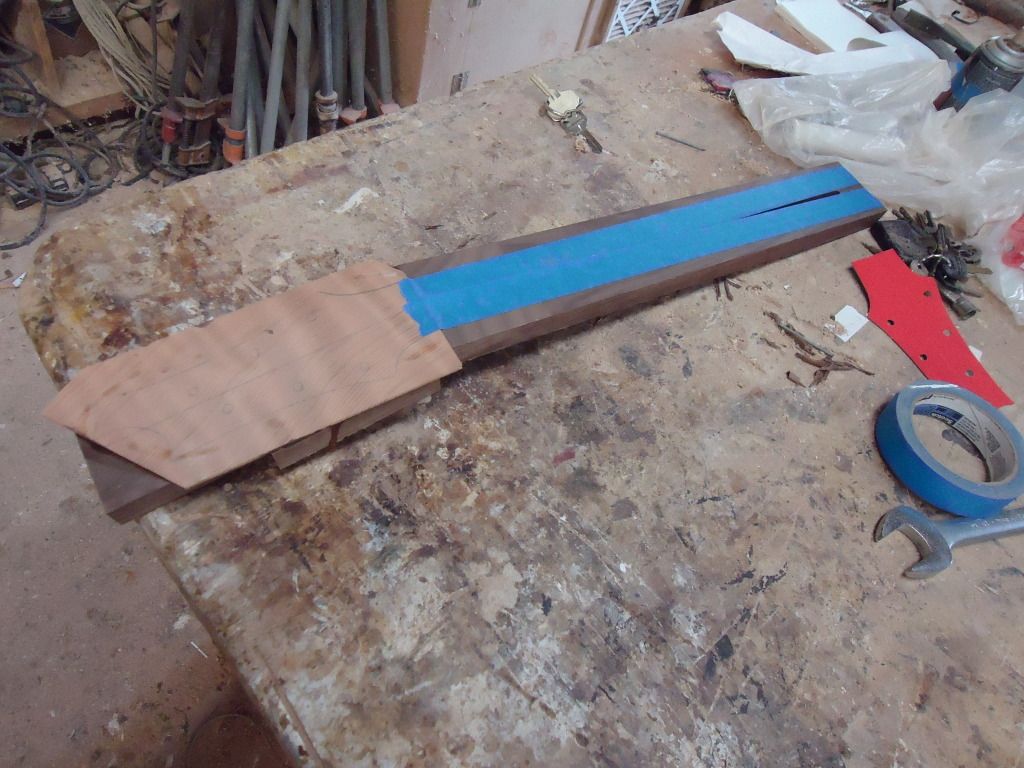
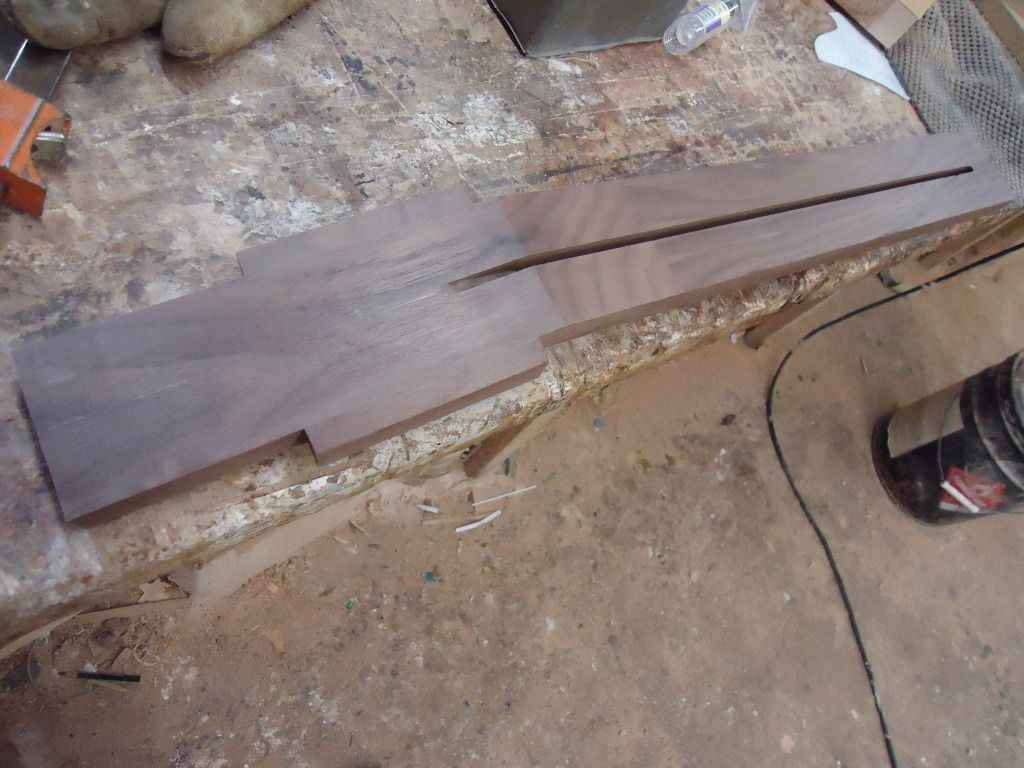
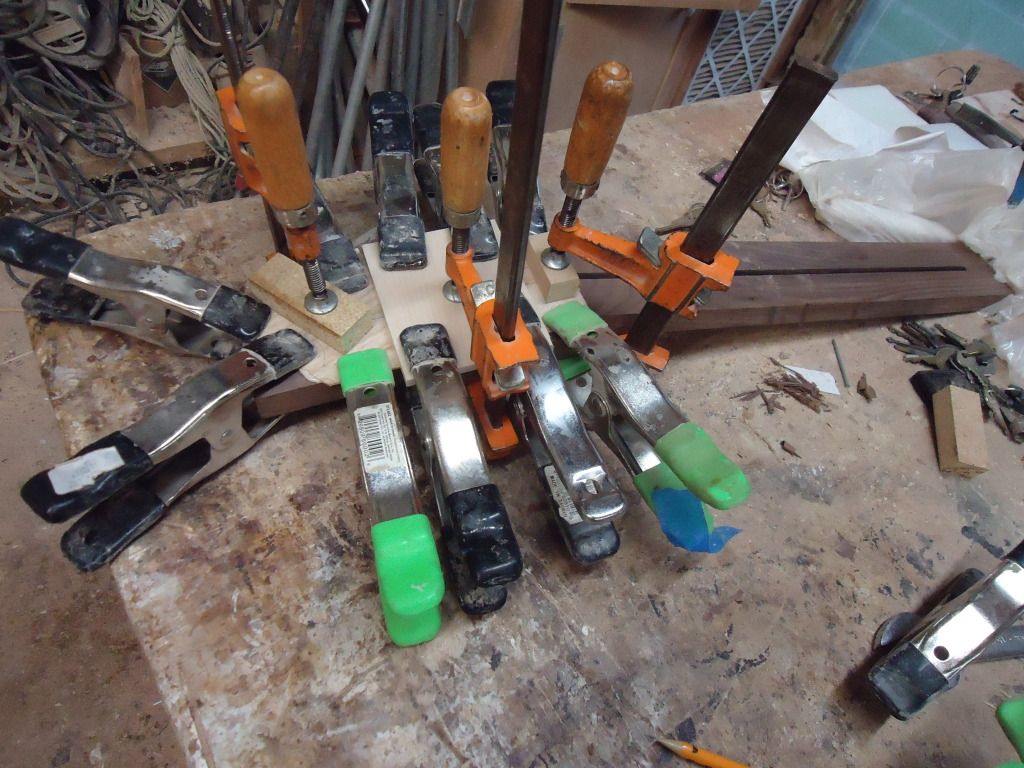
Laid out the glue for the fret board

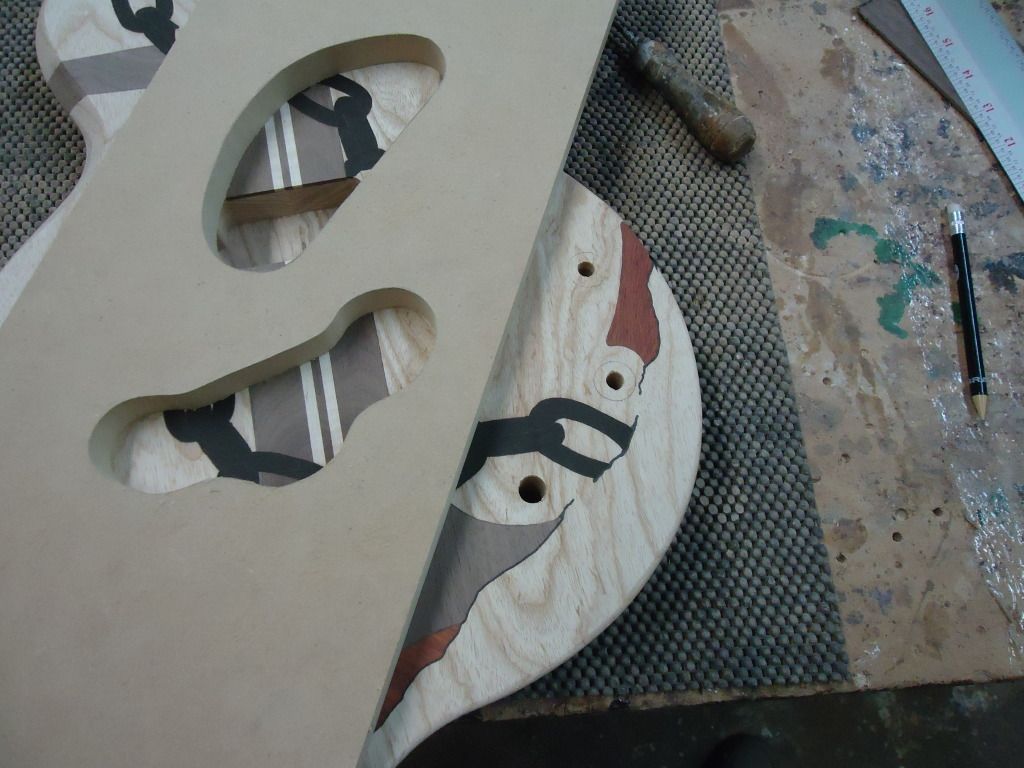
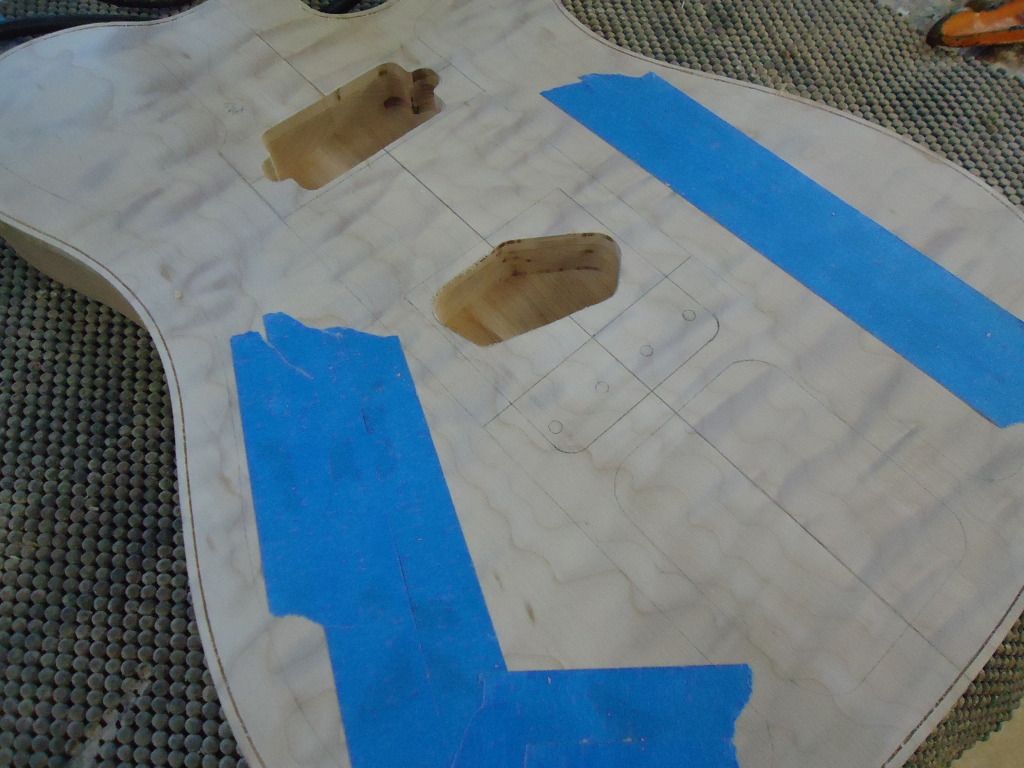
Drilled the electronics holes and mad the cavity templates. That will be routed out tomorrow!
-
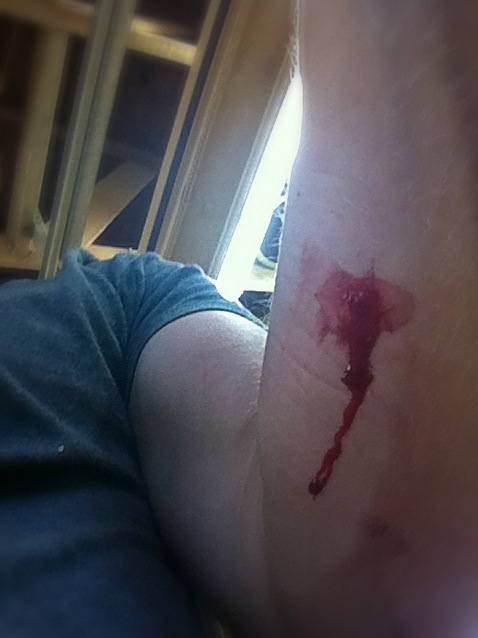
Looks like you've been performing surgery with that knife!!!! lol
Fantastic work!
I didnt know that got into one of the pics haha. Yeah I forgot the knife was on the table next to me and when I turned to grab something I got stuck right in the forearm!
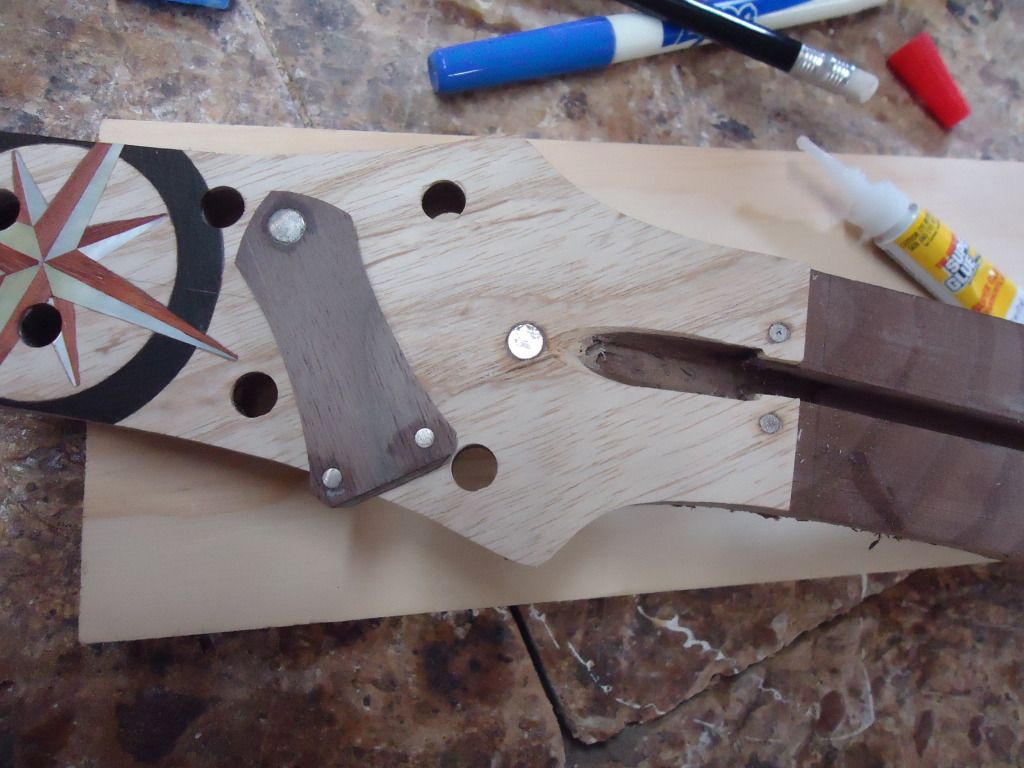
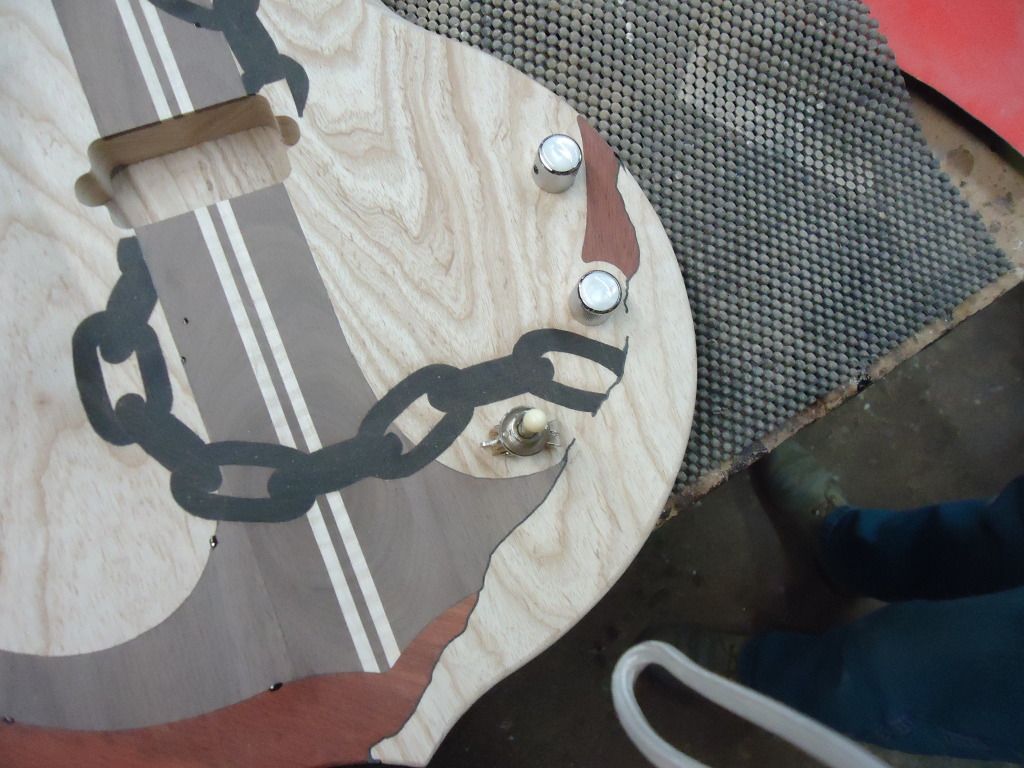
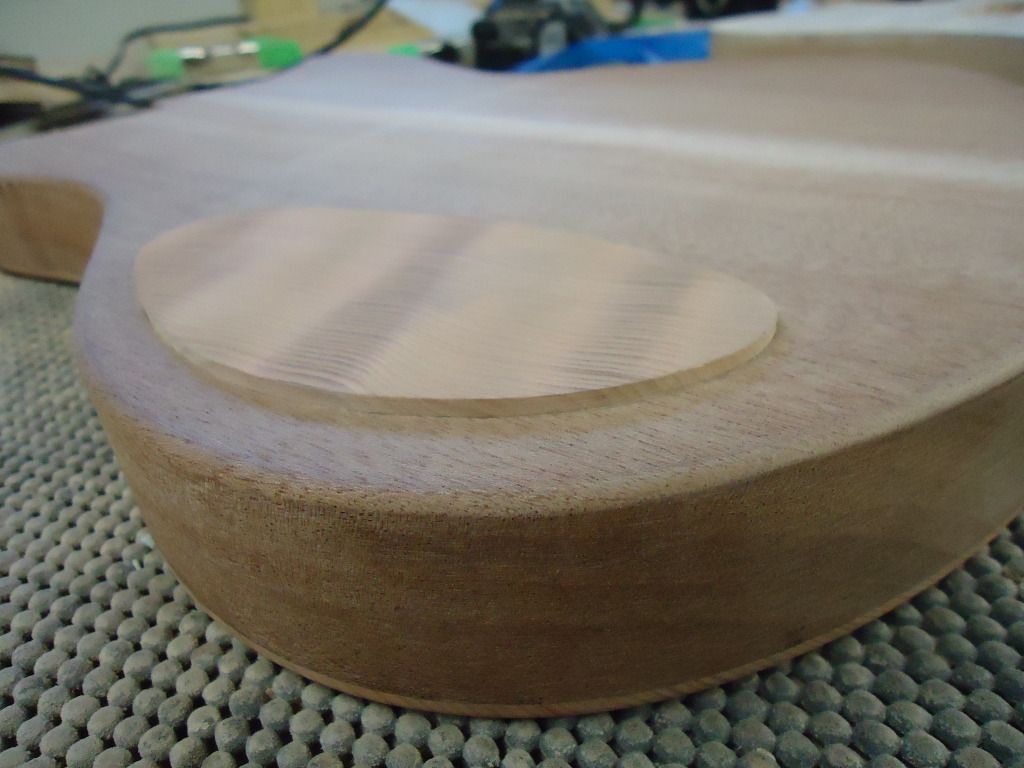
Drilled holes for the magnets that will keep the cover in place
-
Thanks for all the comments every one, I'm glad you are diggin it so far! Here is todays progress:
In hind site I should have done both inlays at once but I jumped the gun cause I was excited about the rose
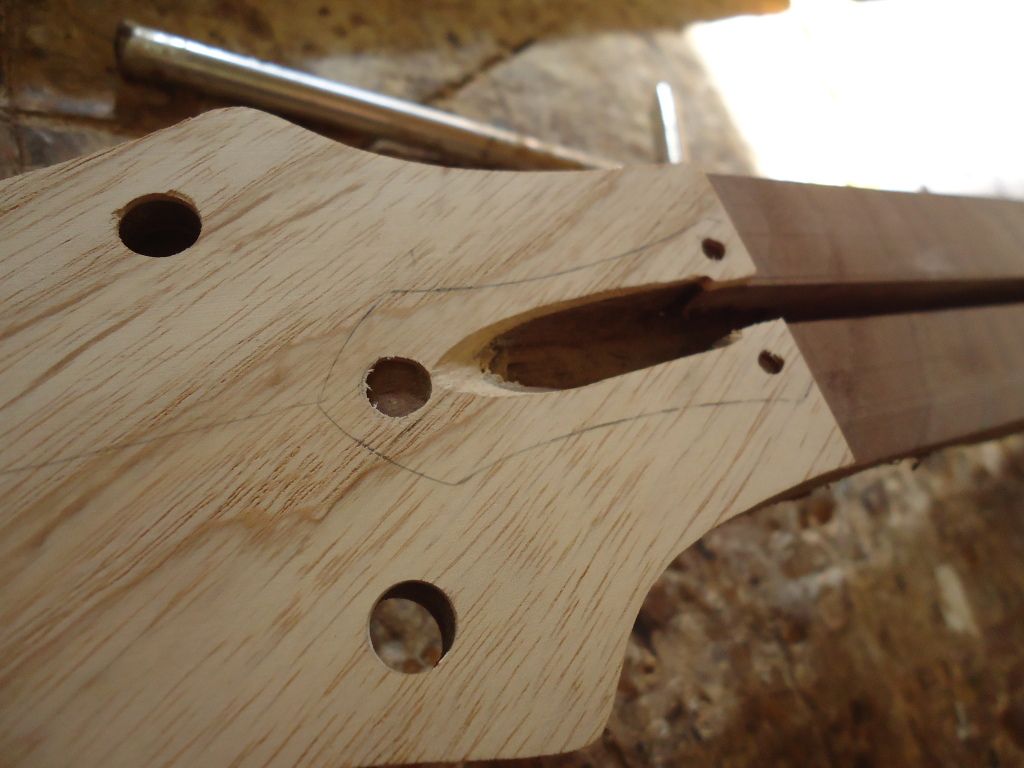
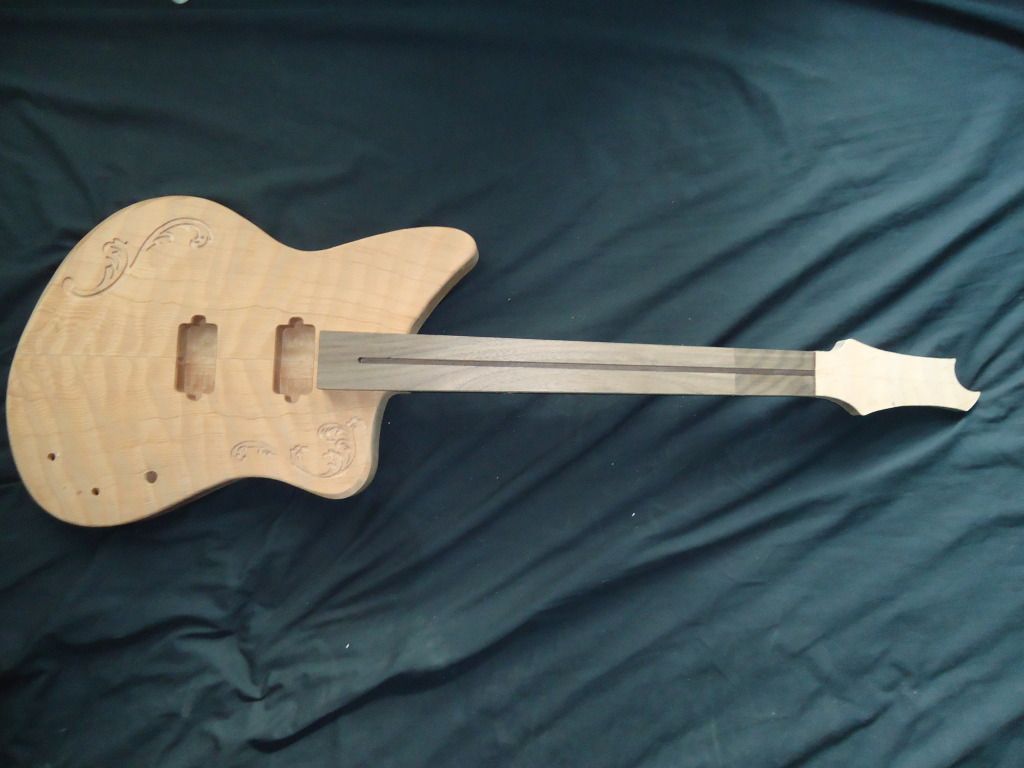
Opened up the top of the truss cavity
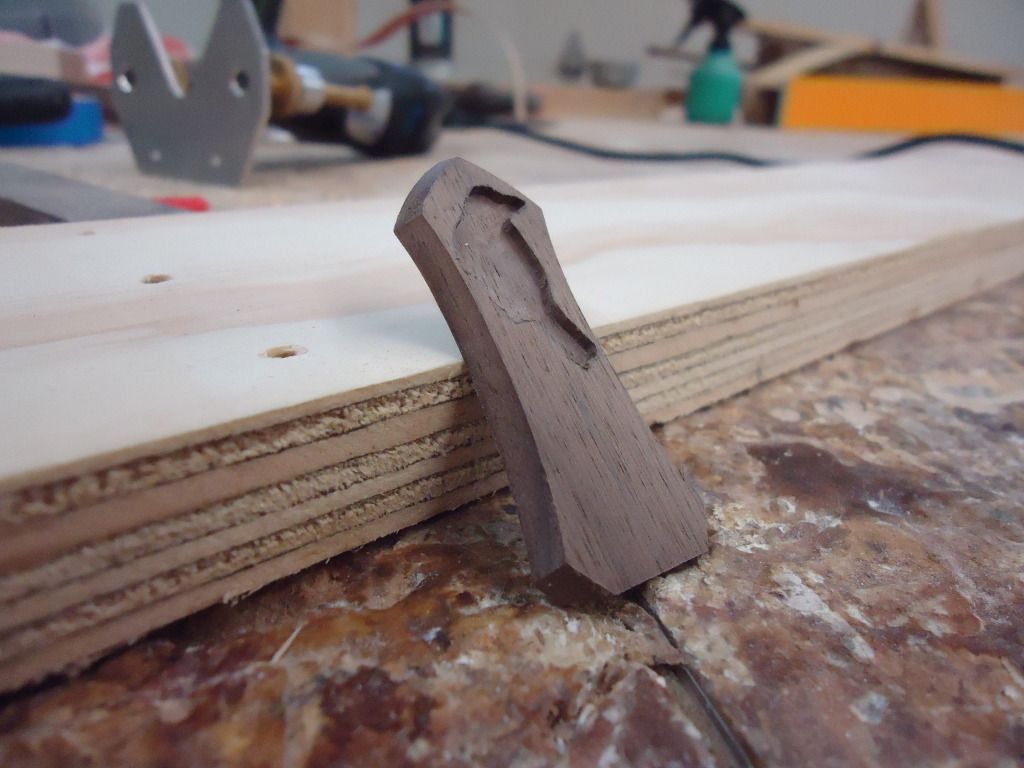
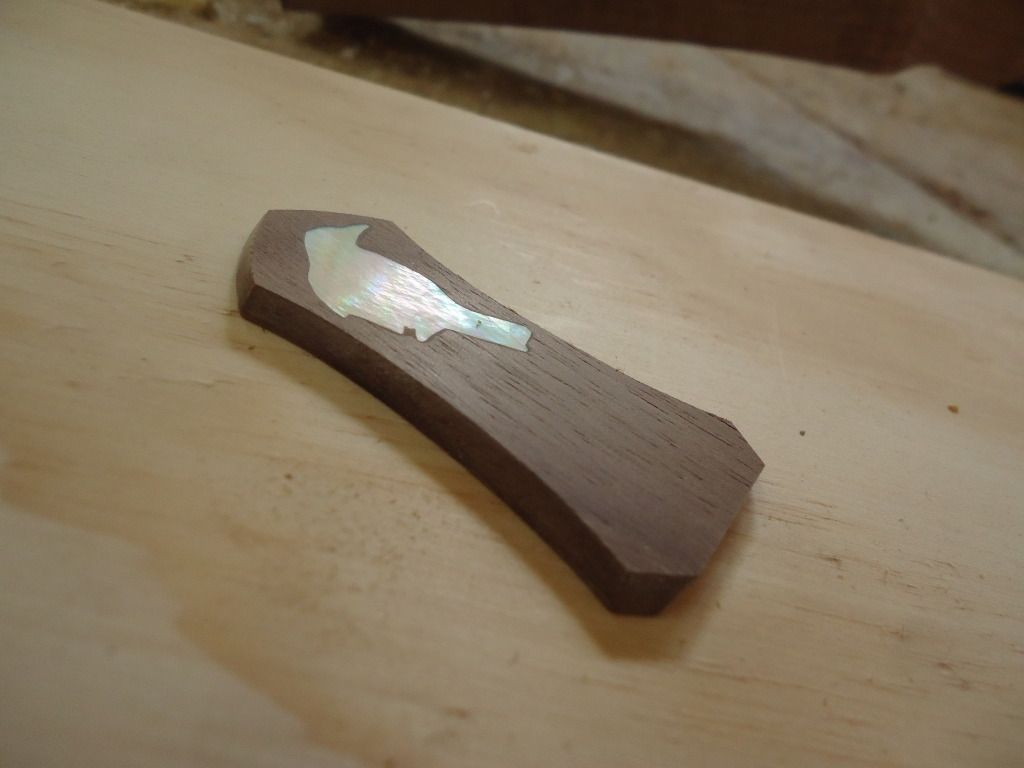
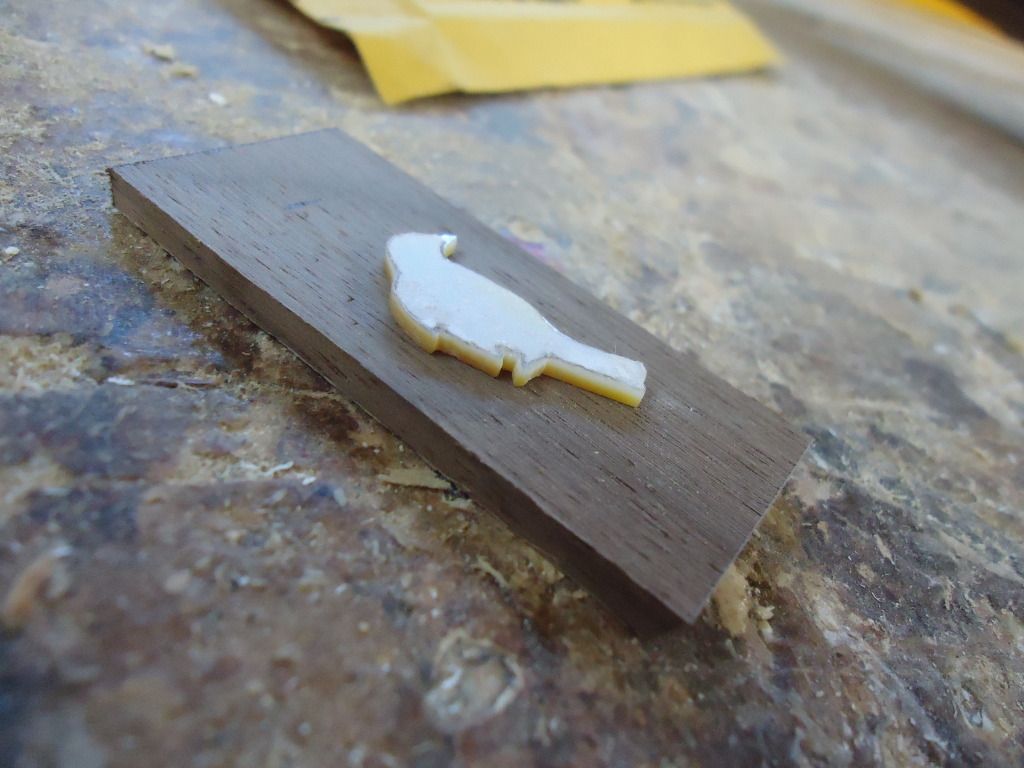
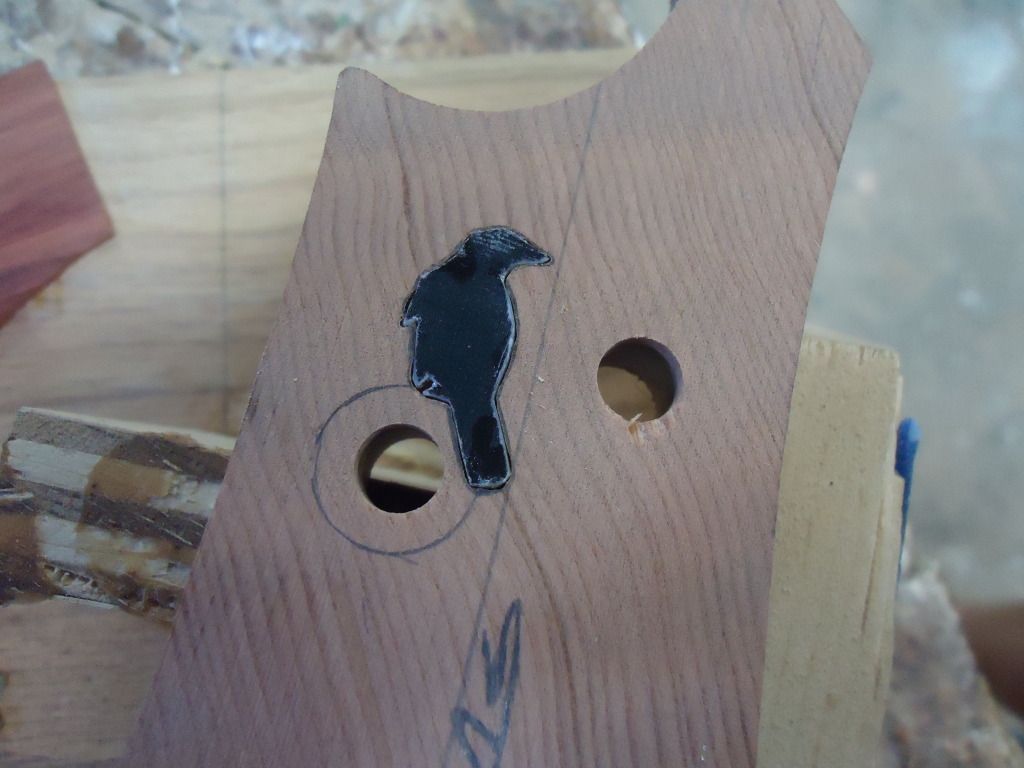
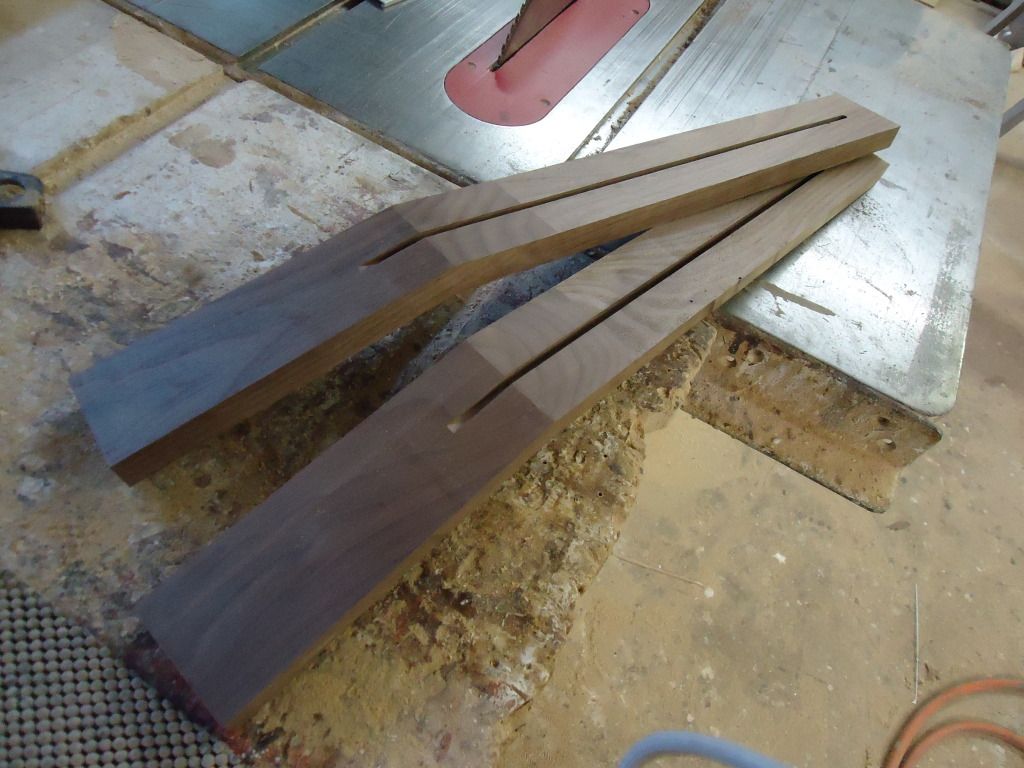
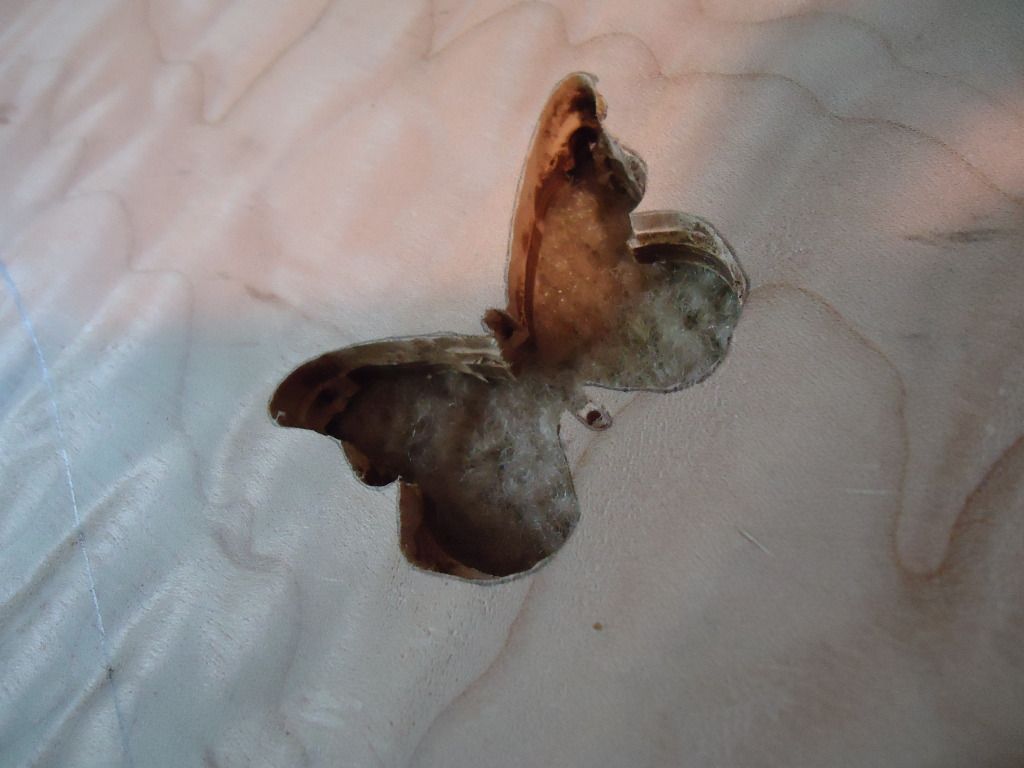
I'm going to make the truss cover out of walnut and inlay my raven into it. Still havnt decided on a shape though.
-
1
-
-
I think going to be including a perched raven on my builds from now on as kind of a trademark thing. Once the tuners are installed it will appear as though its sitting on the tuning machine.

-
I'm thinking about this for the switch/ knob layout, let me know what ya think.
-
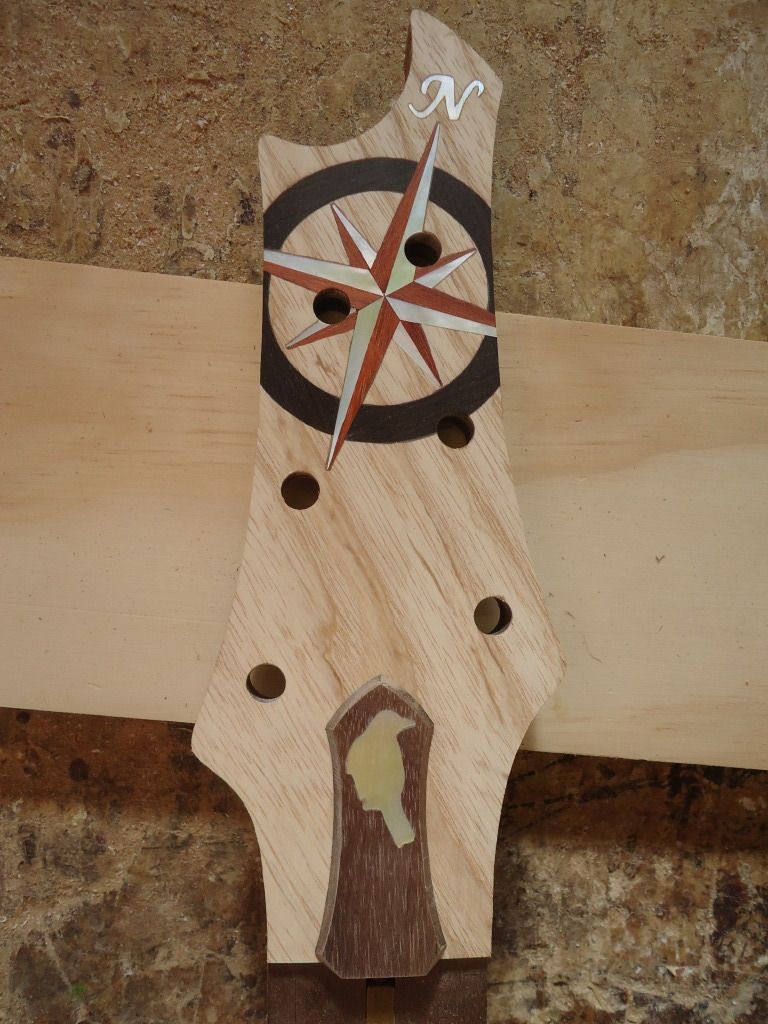
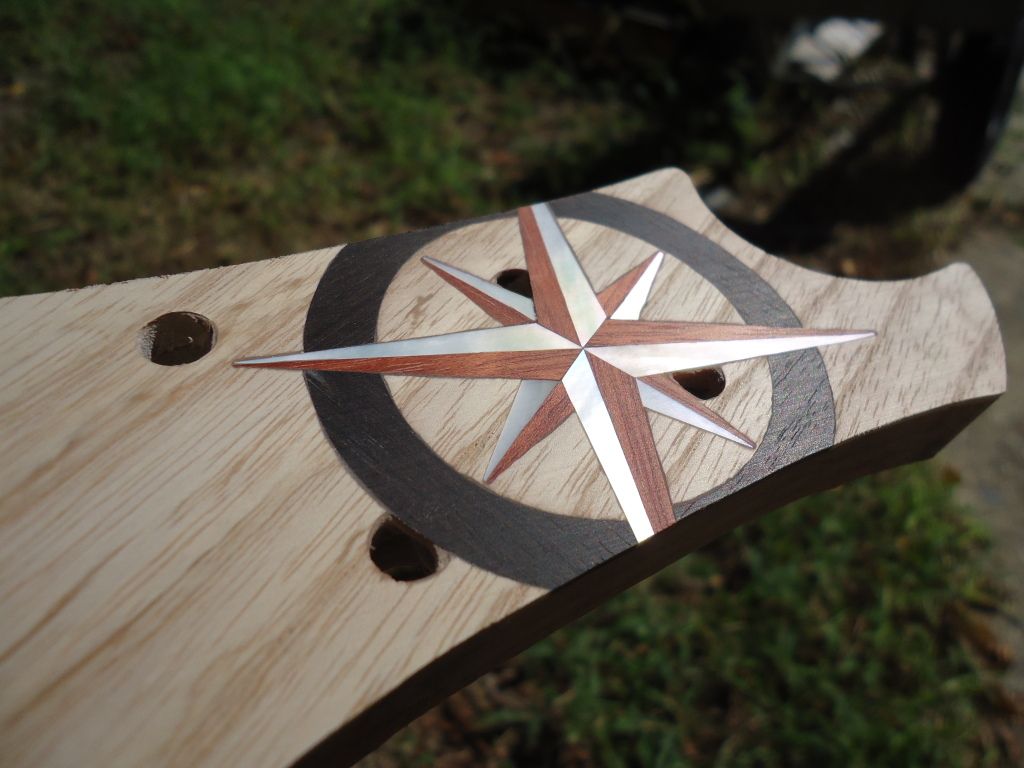
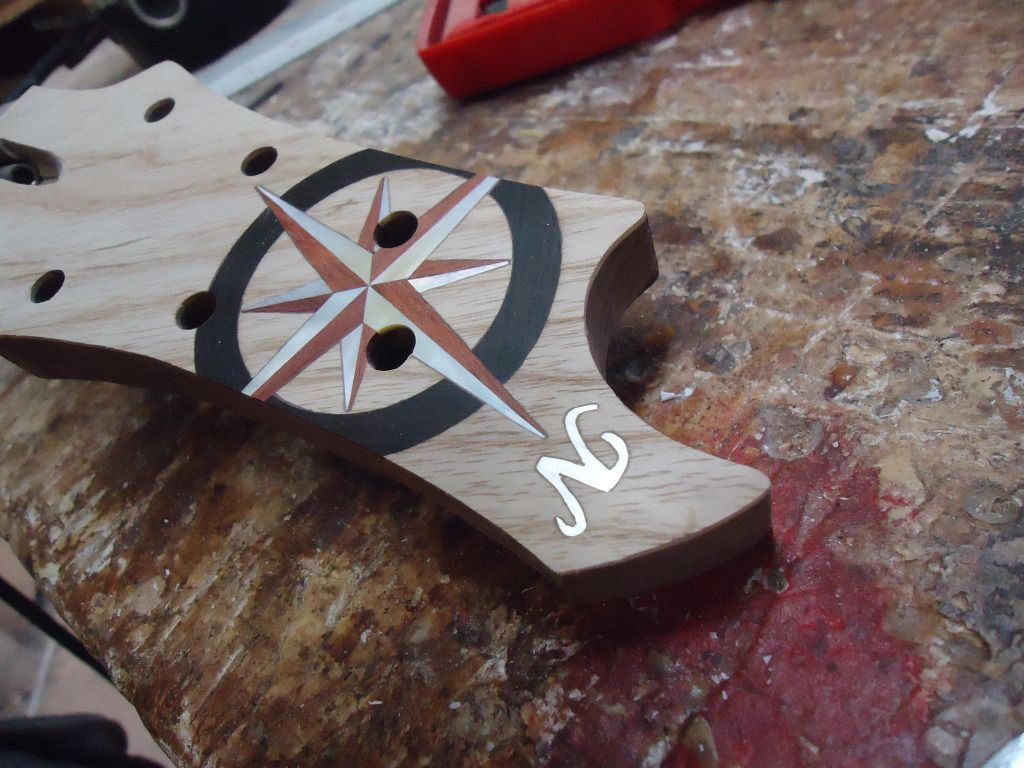
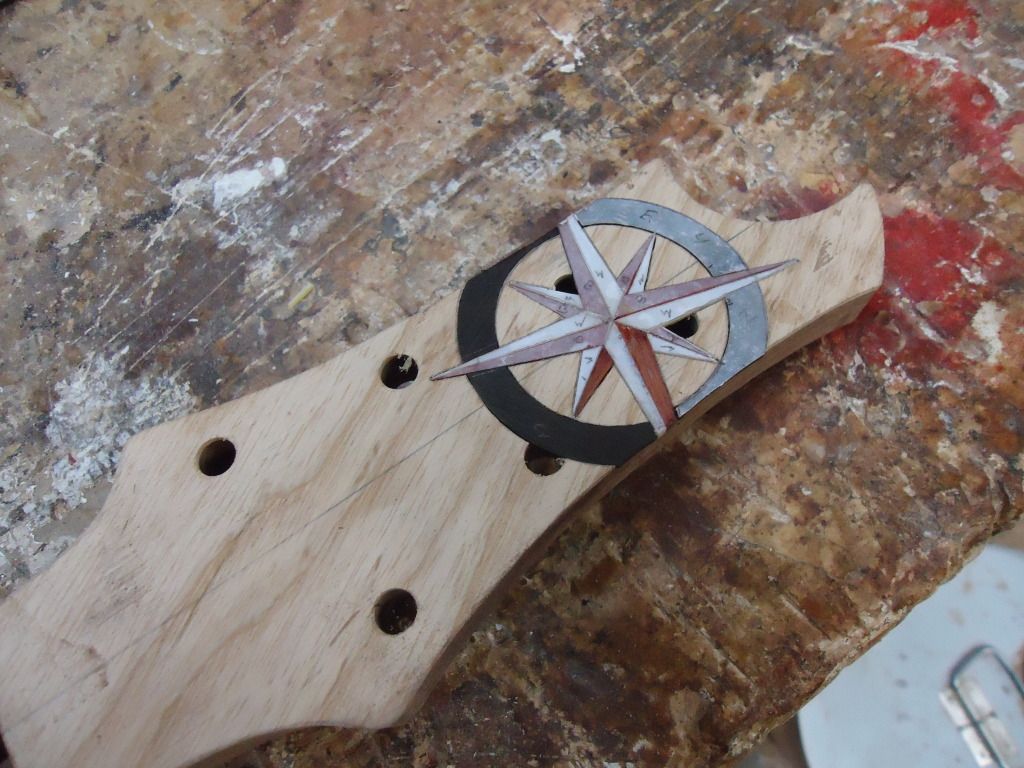
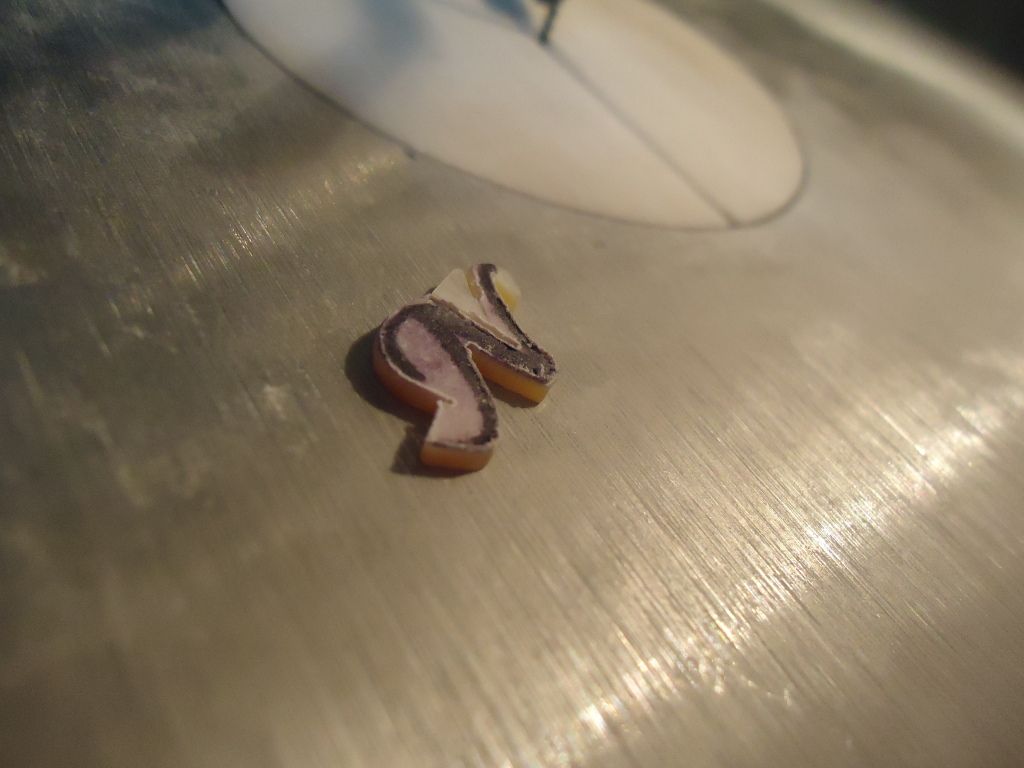
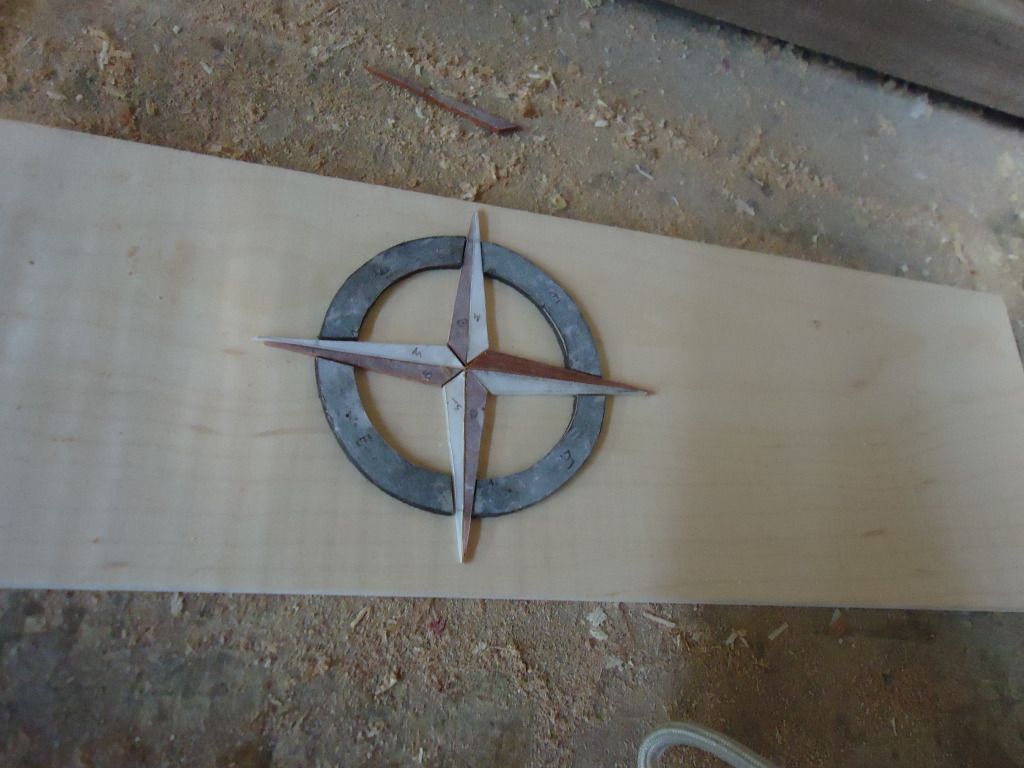
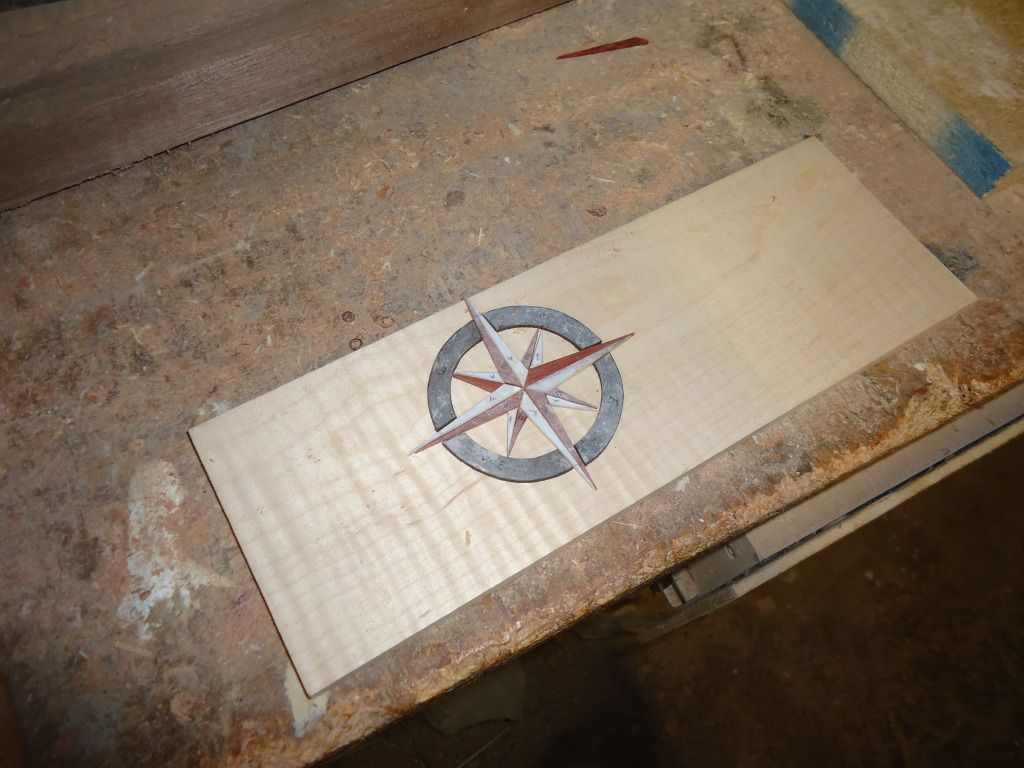
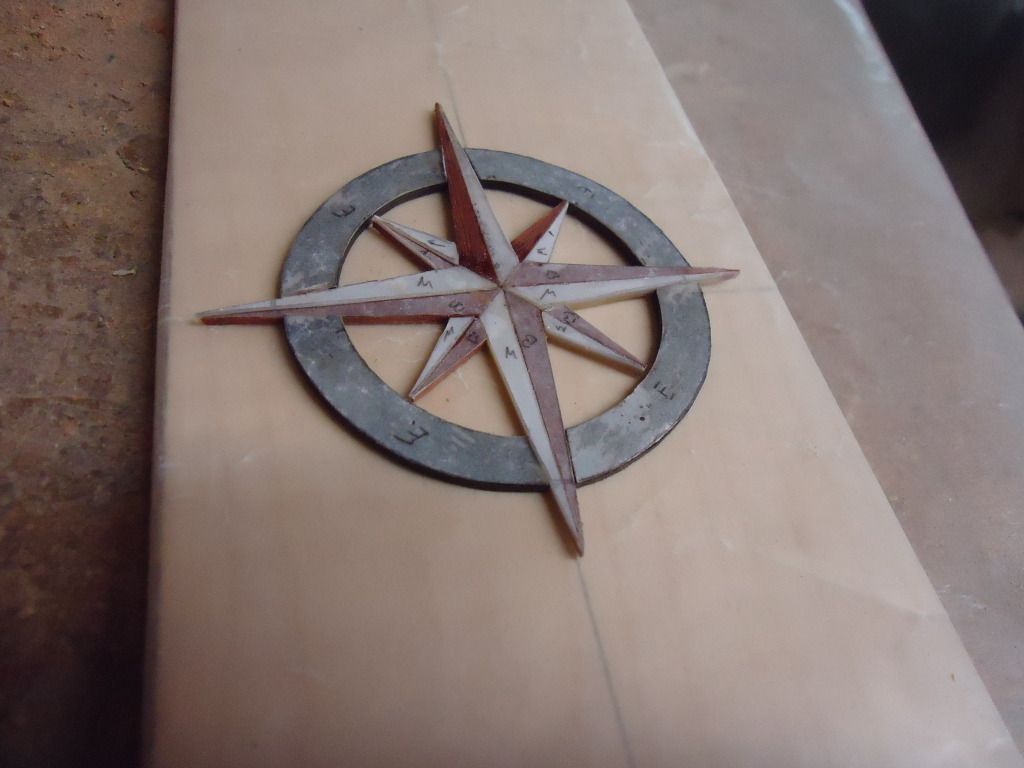
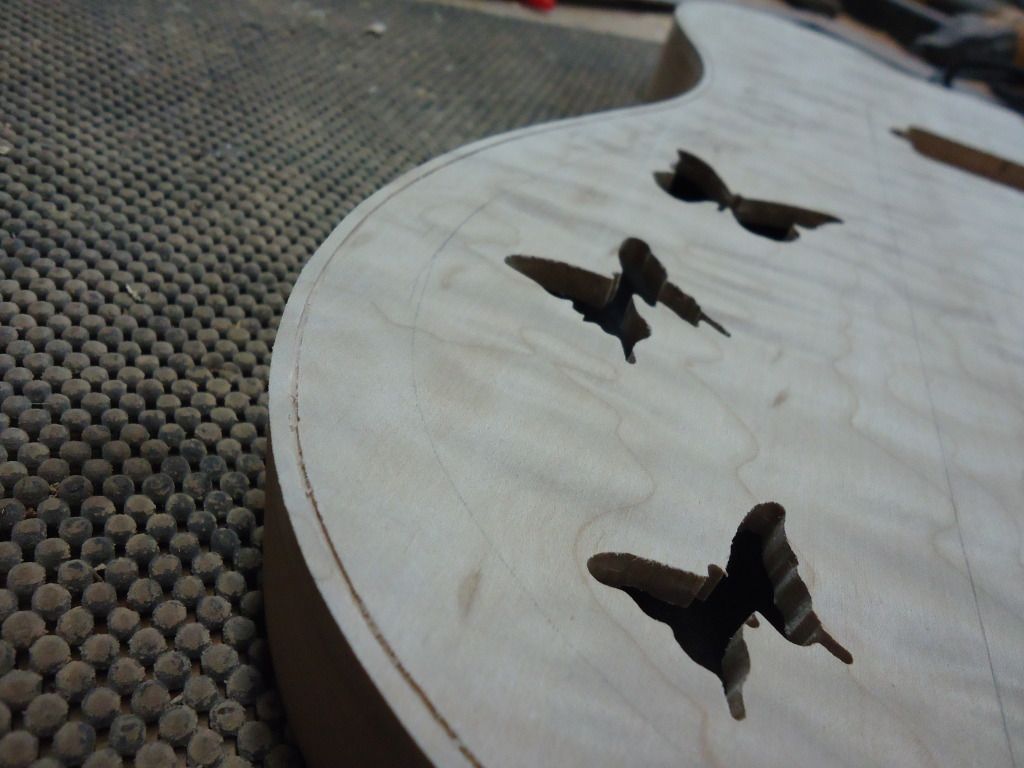
INLAY DAY!
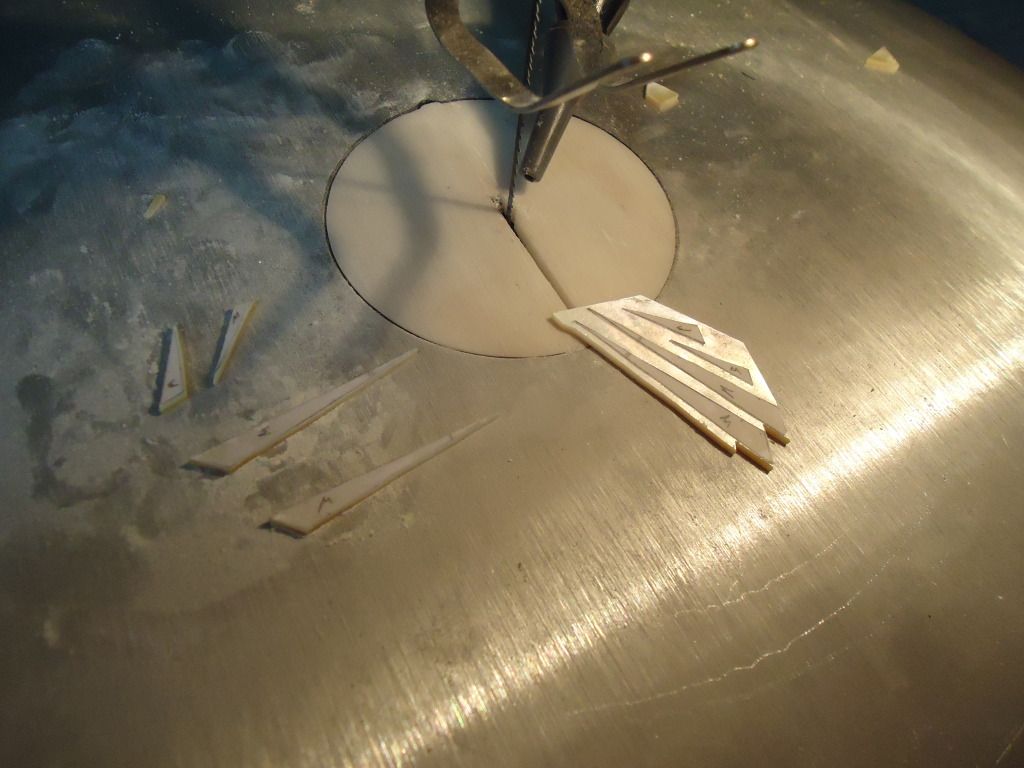
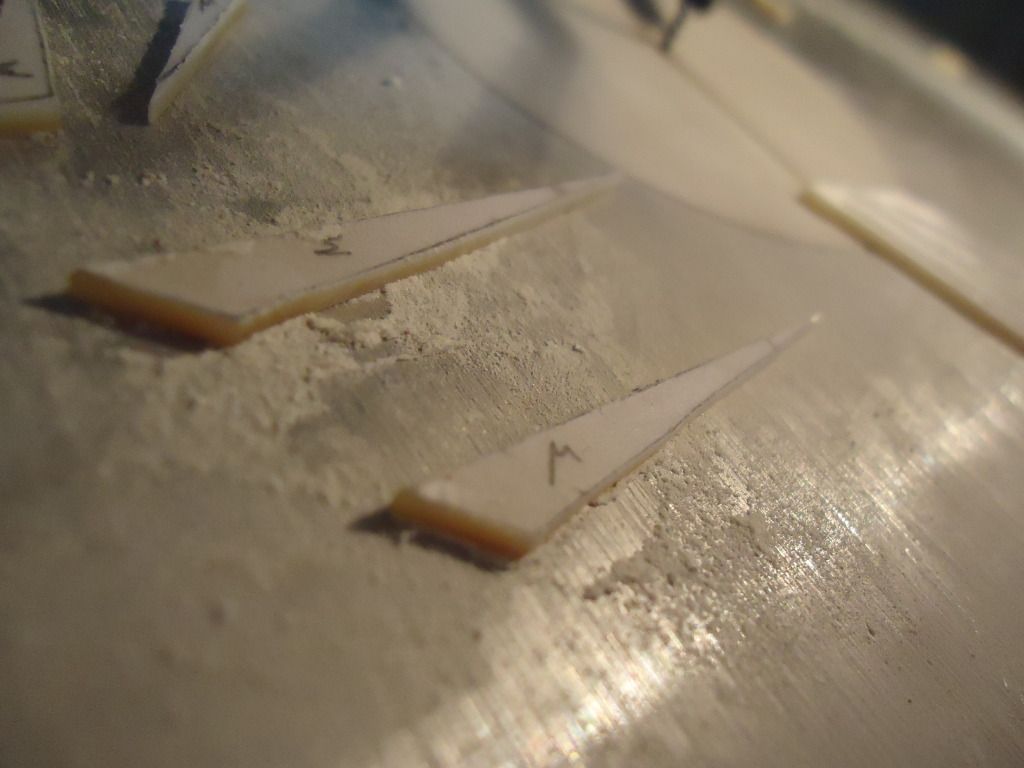
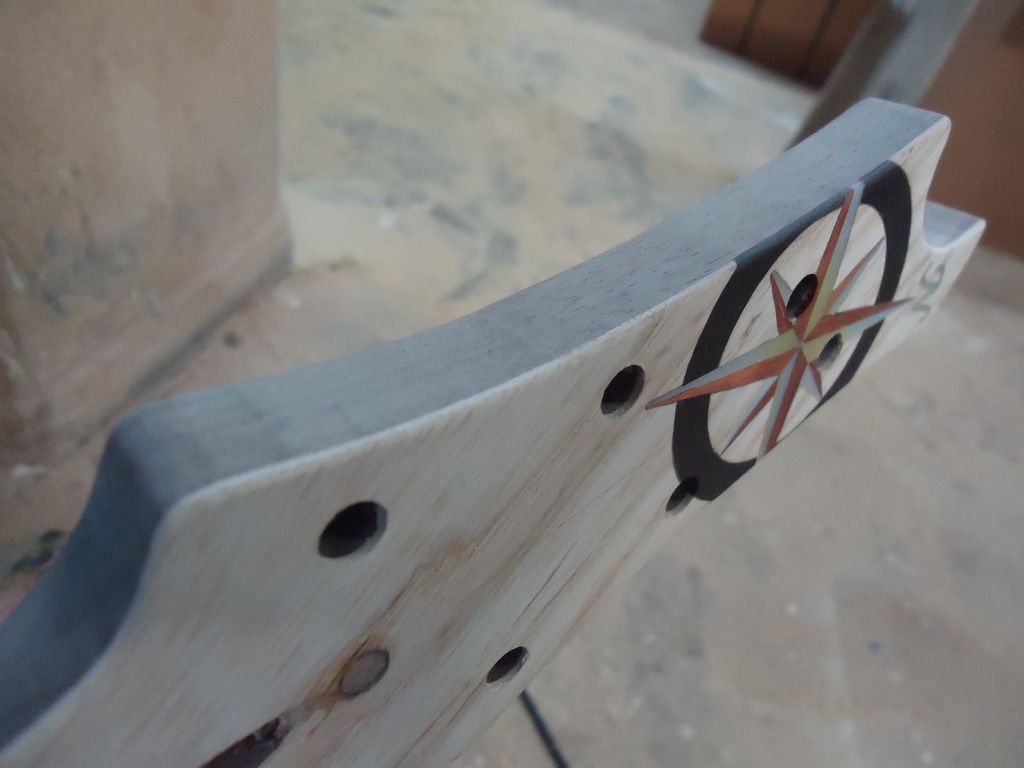
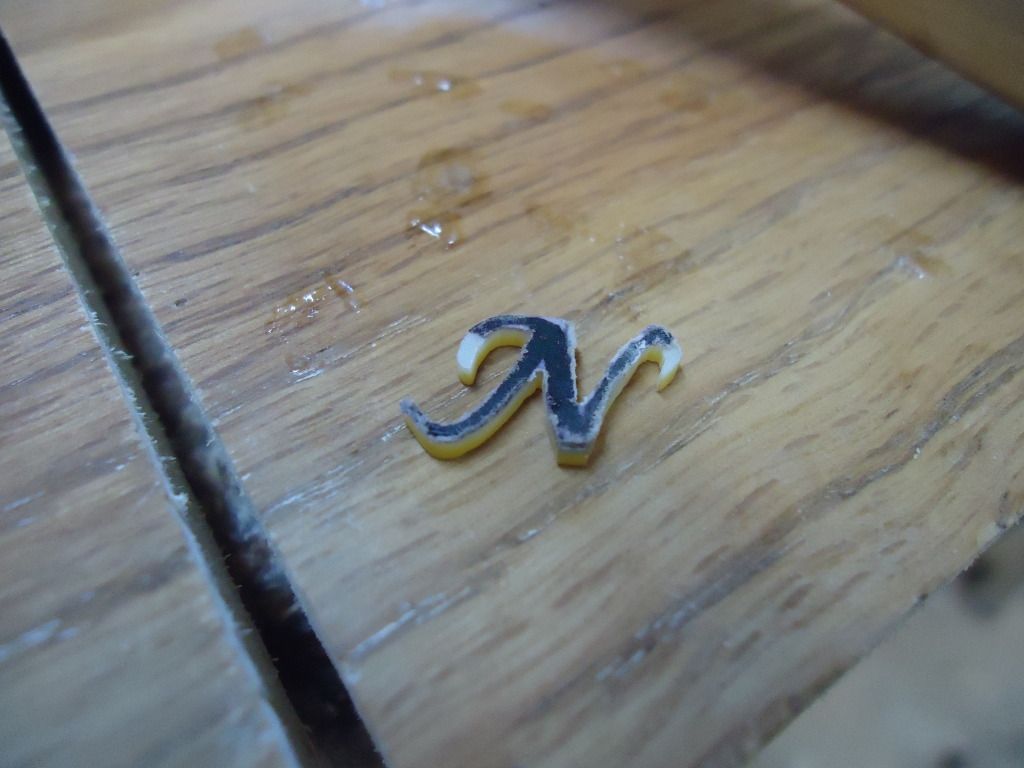
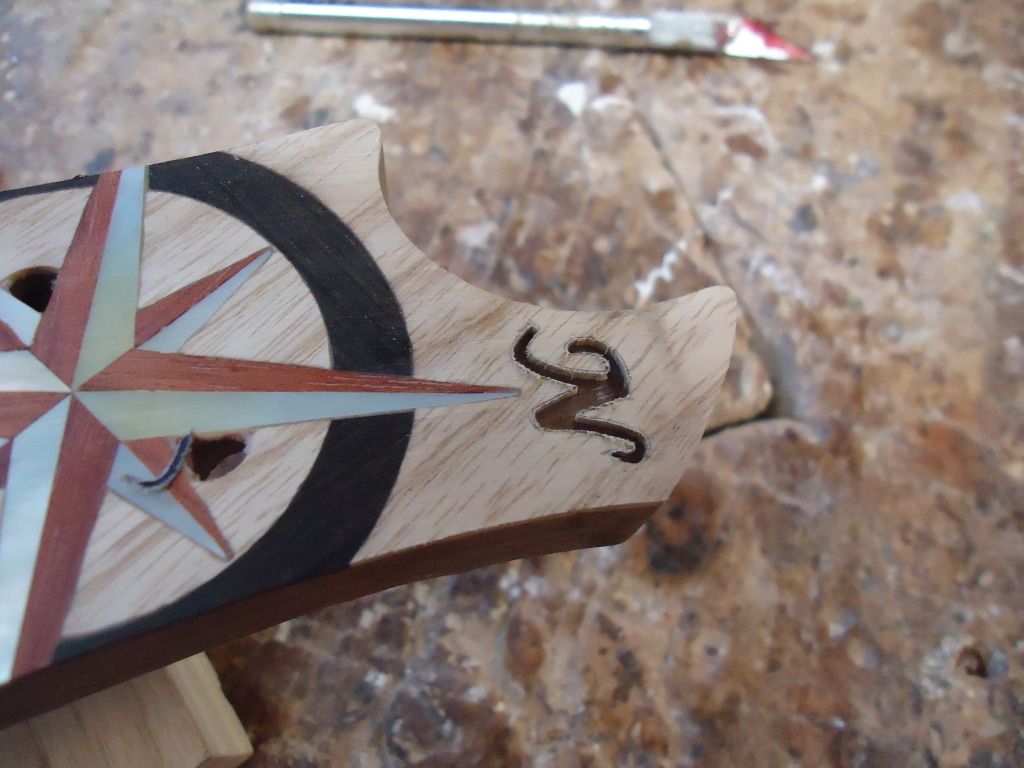
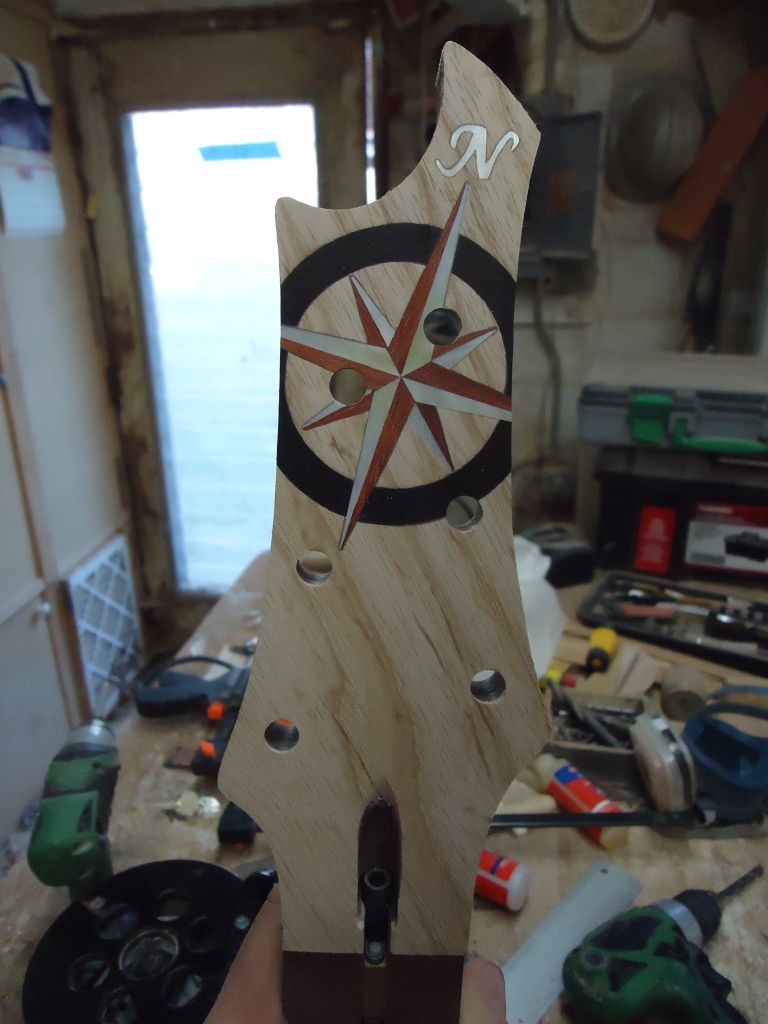
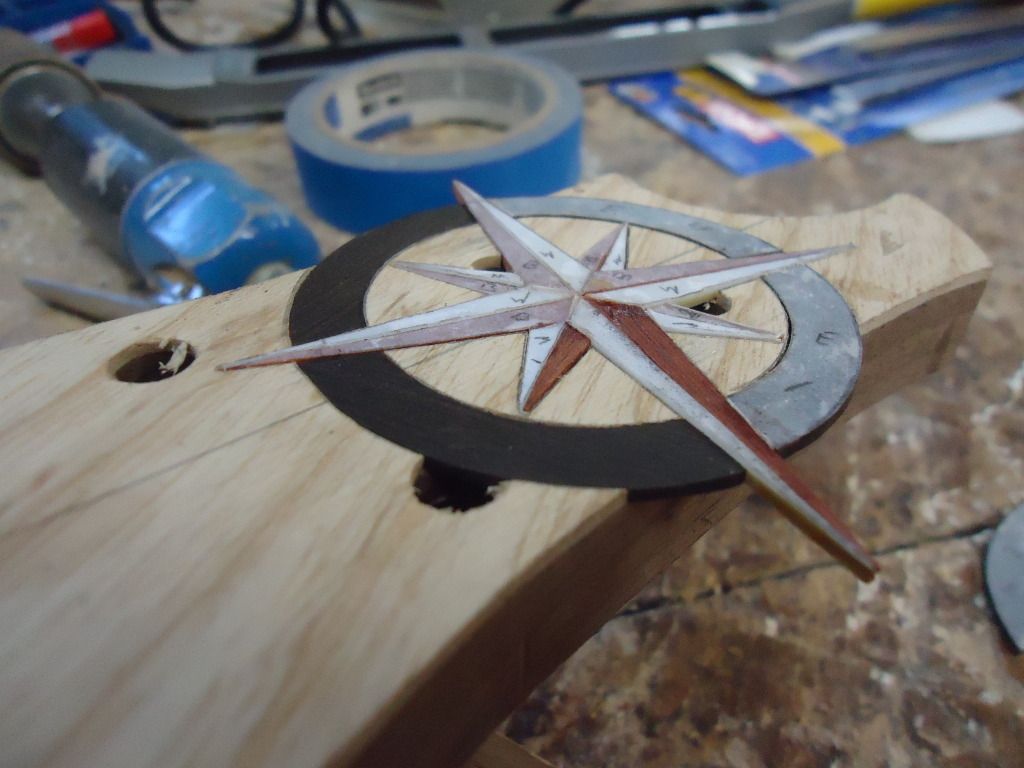
I still have to cut this but I will be including North on the compass rose

-
I should probably stop giving estimates of when I'll be posting more pics because I suck at it. Something always comes up!
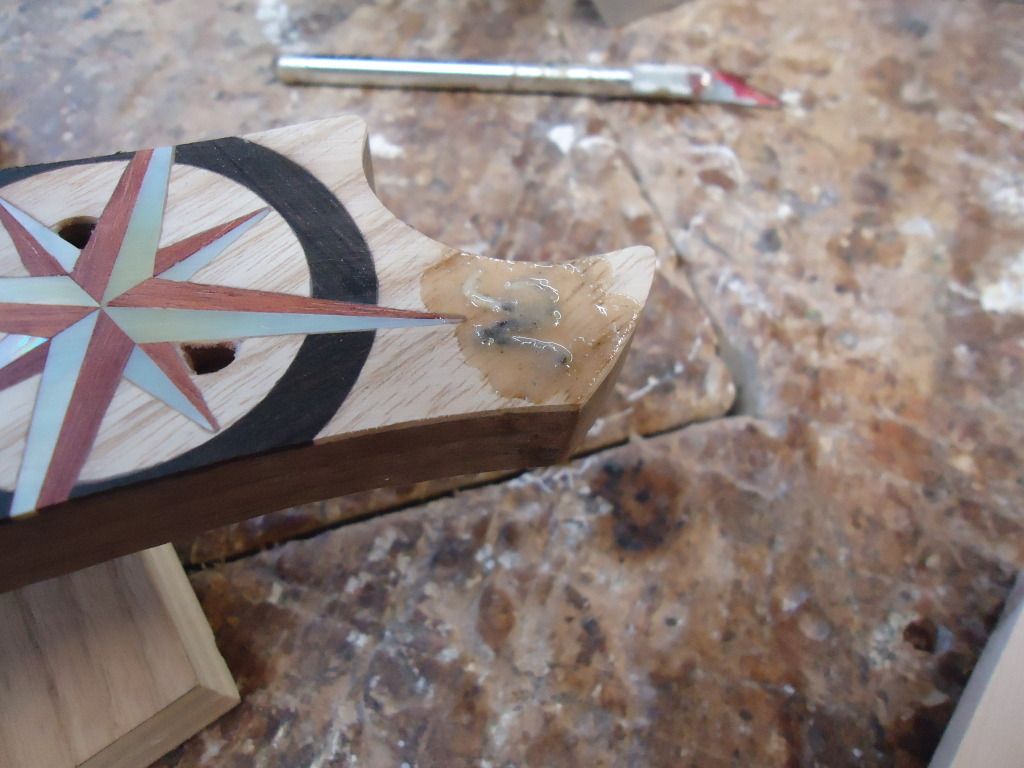
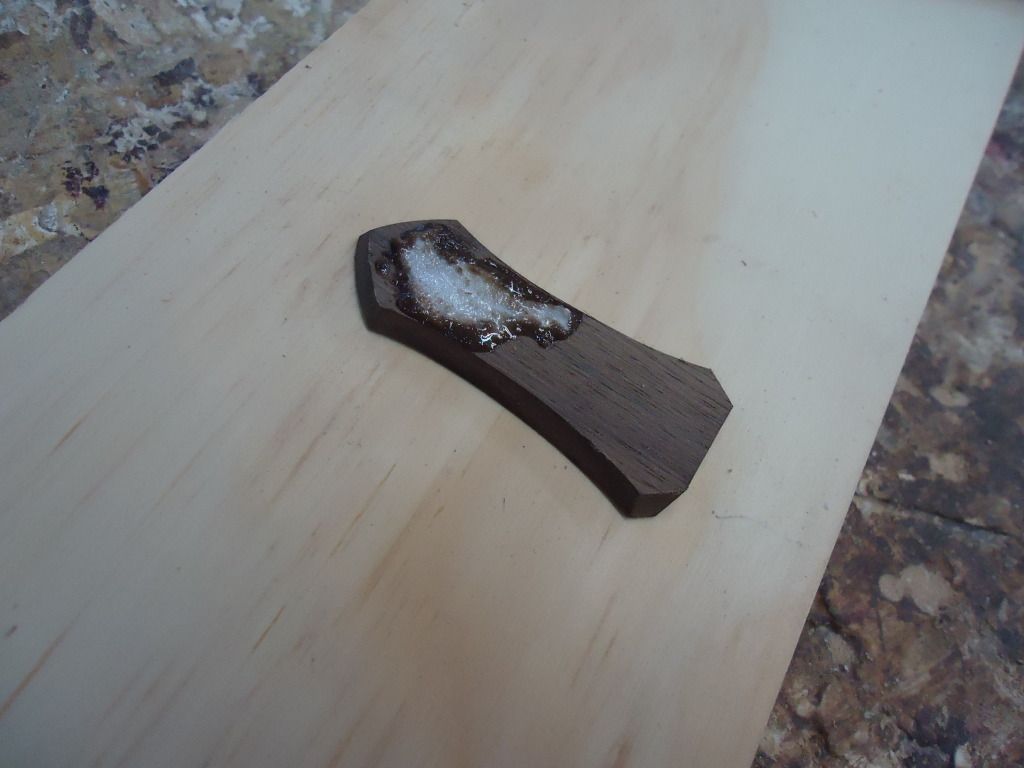
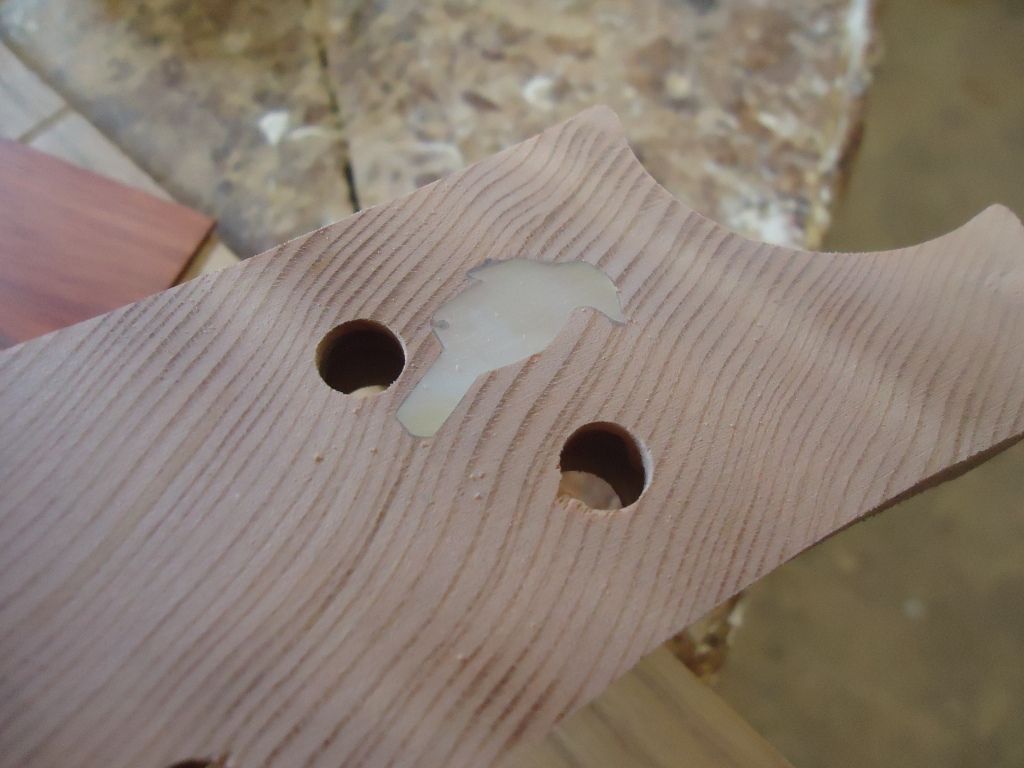
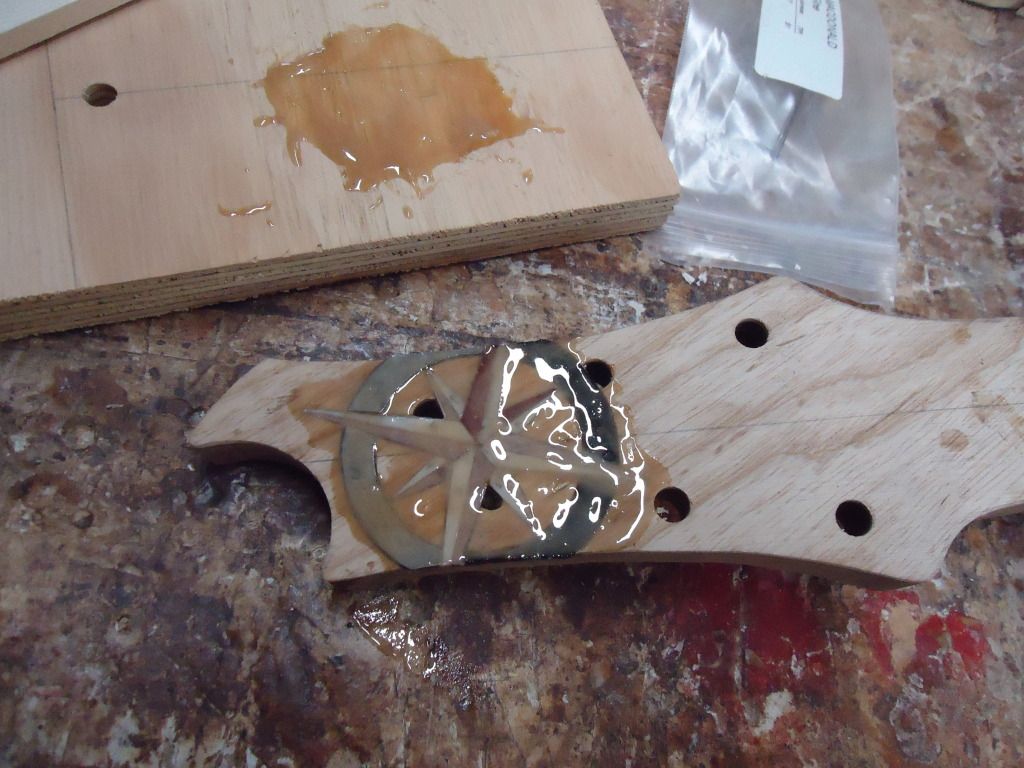
Filled in the black line and did some spot filling for air holes that appeared in the epoxy

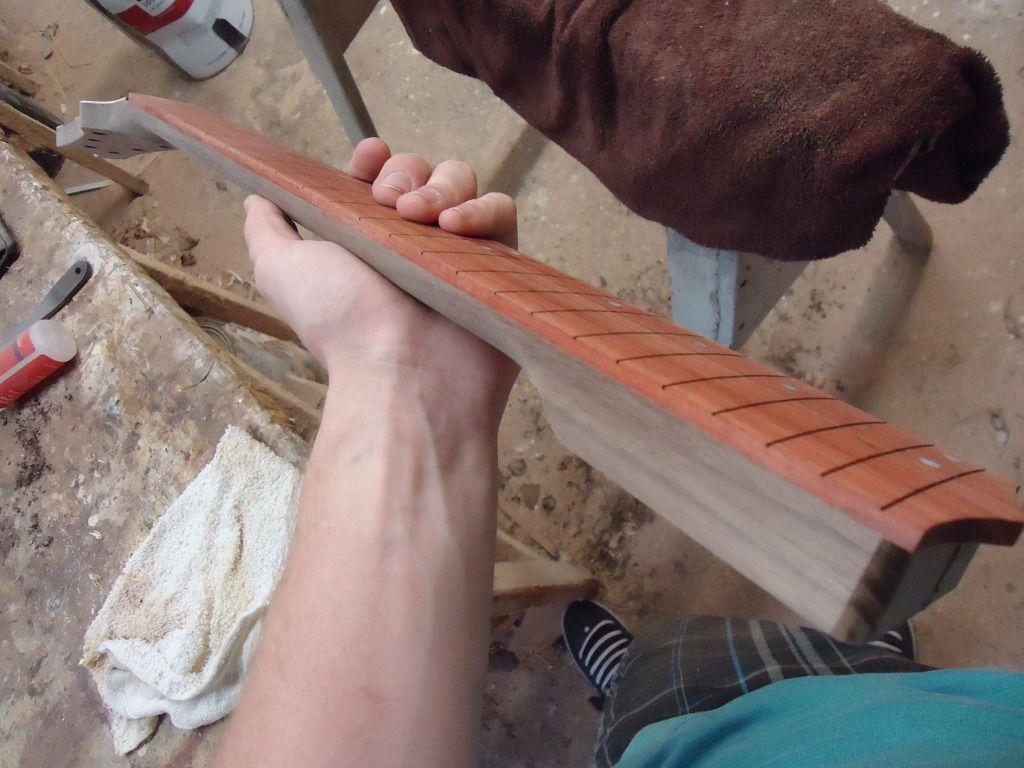
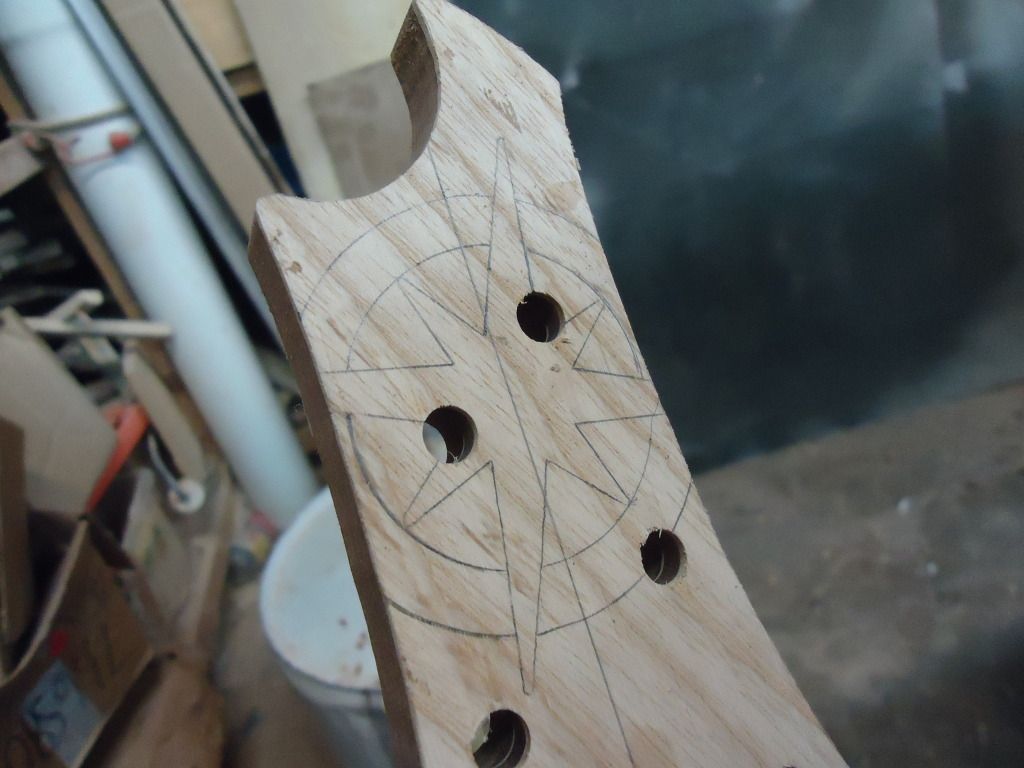
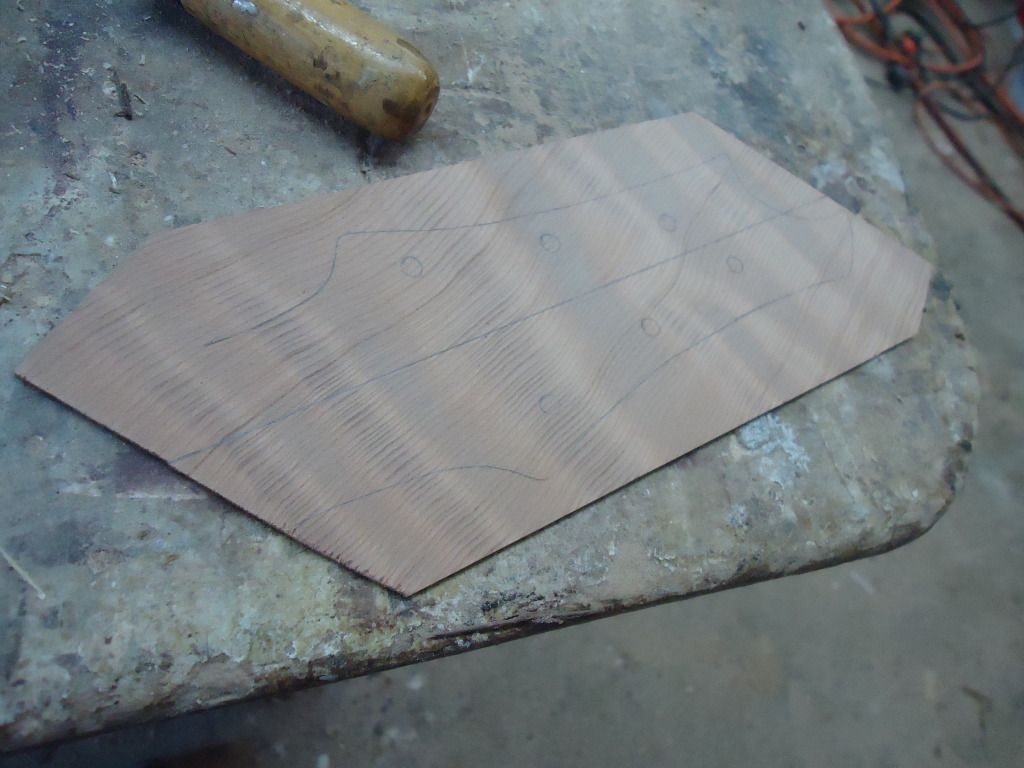
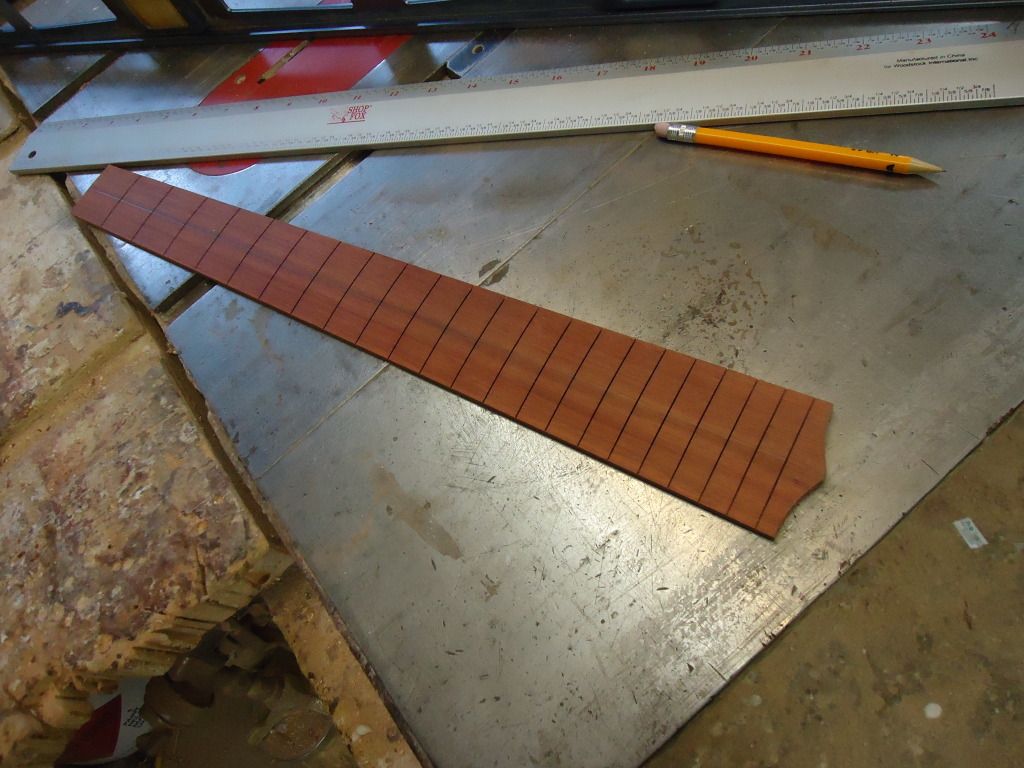
Fret board inlays


-
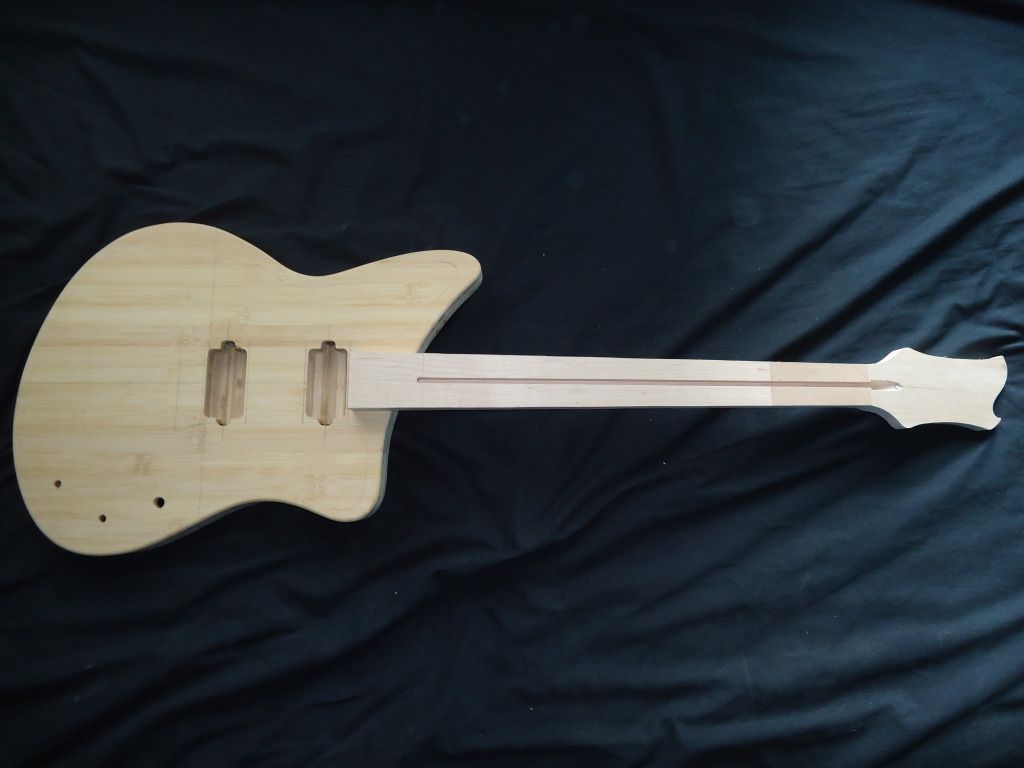
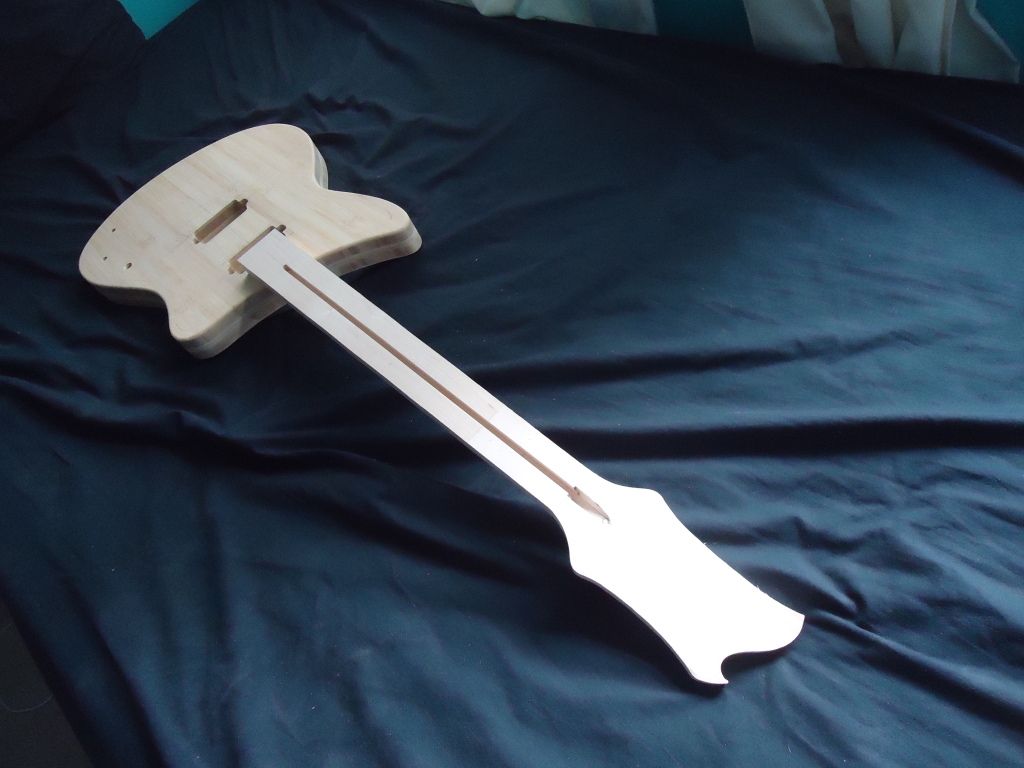
Starting back up on this build since the body is pretty stable.
-
-
^ Thanks!!

OK I really need some opinions guys, I'm not sure what type of wood to use for the fretboard. I cant tell if i should go with a light or a dark wood for it, so let me know what you think.
-
I always drooled over Drak's tops and finishes, they are really beautiful. Is he still around? I dont think I have seen any work from him in a long time.
I originally planned to use white plastic for the electronics cover but then I realized i had plenty of curly redwood left over to make a nicer cover.
Sanded flush
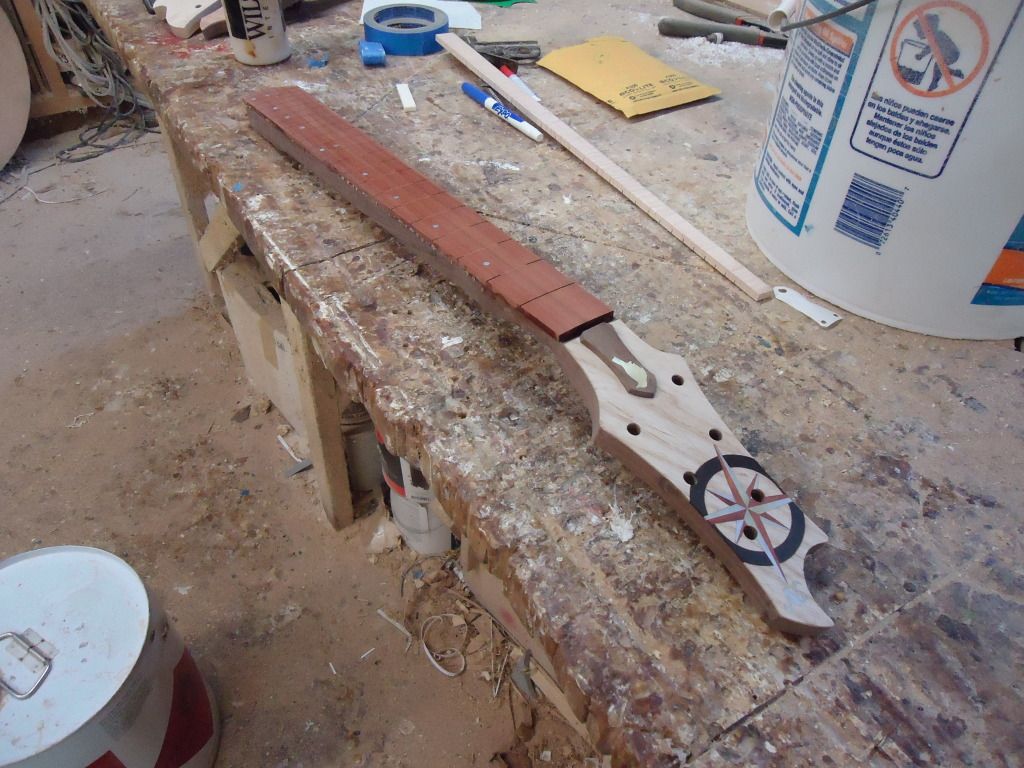
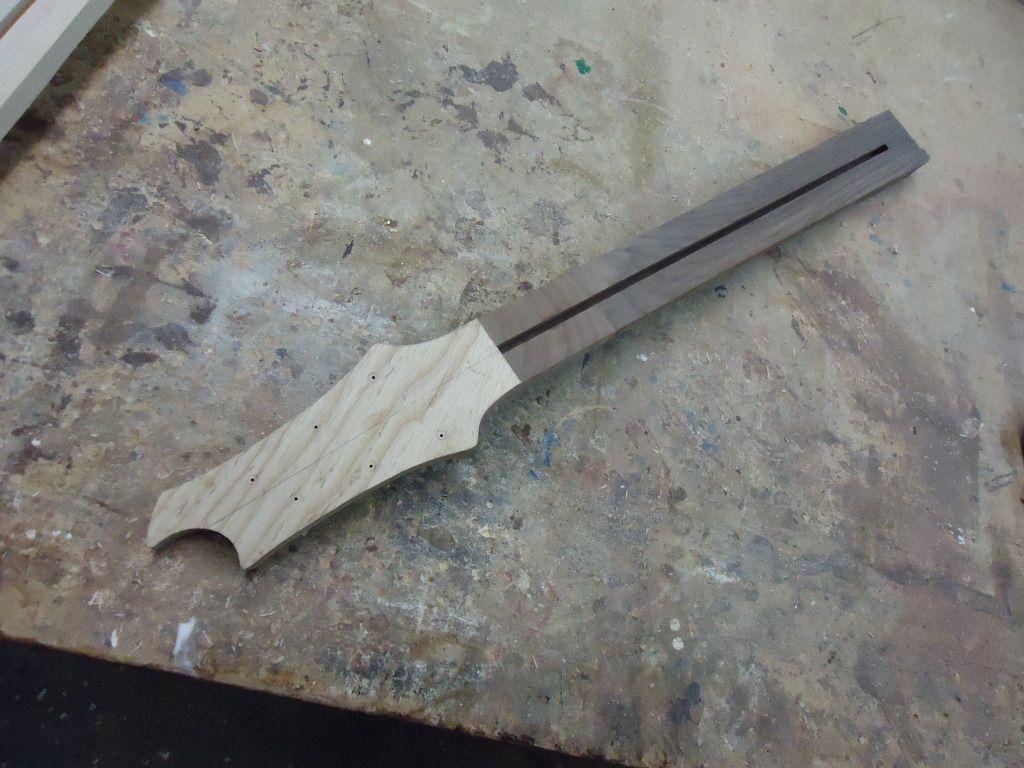
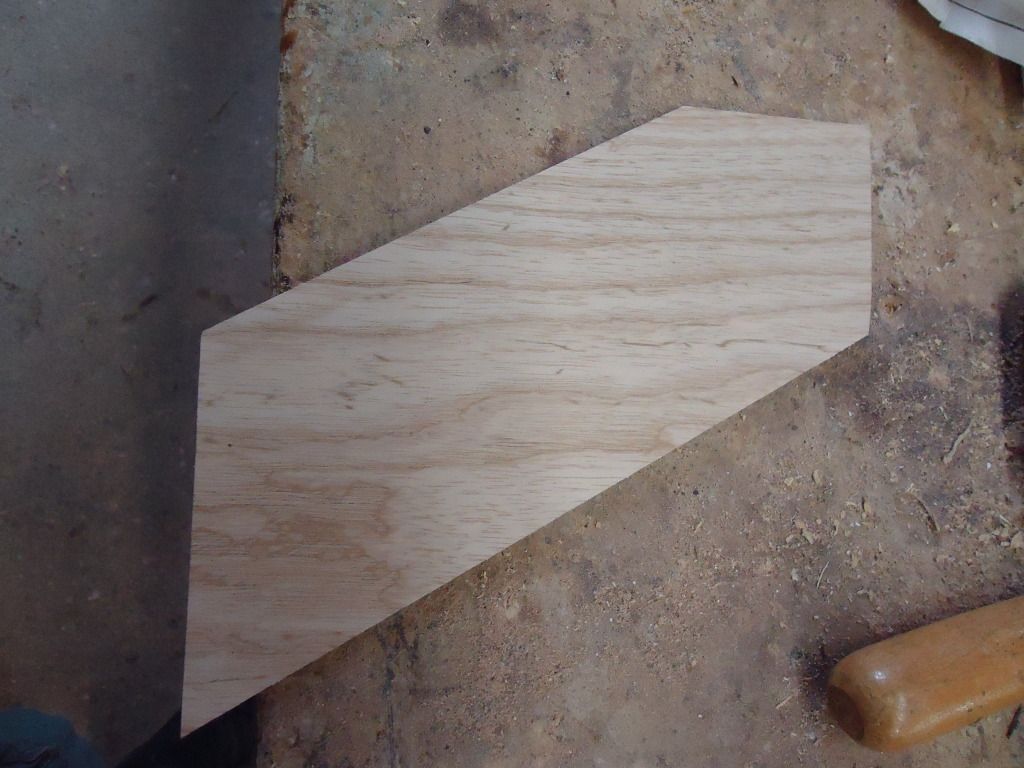
Headstock plate
-
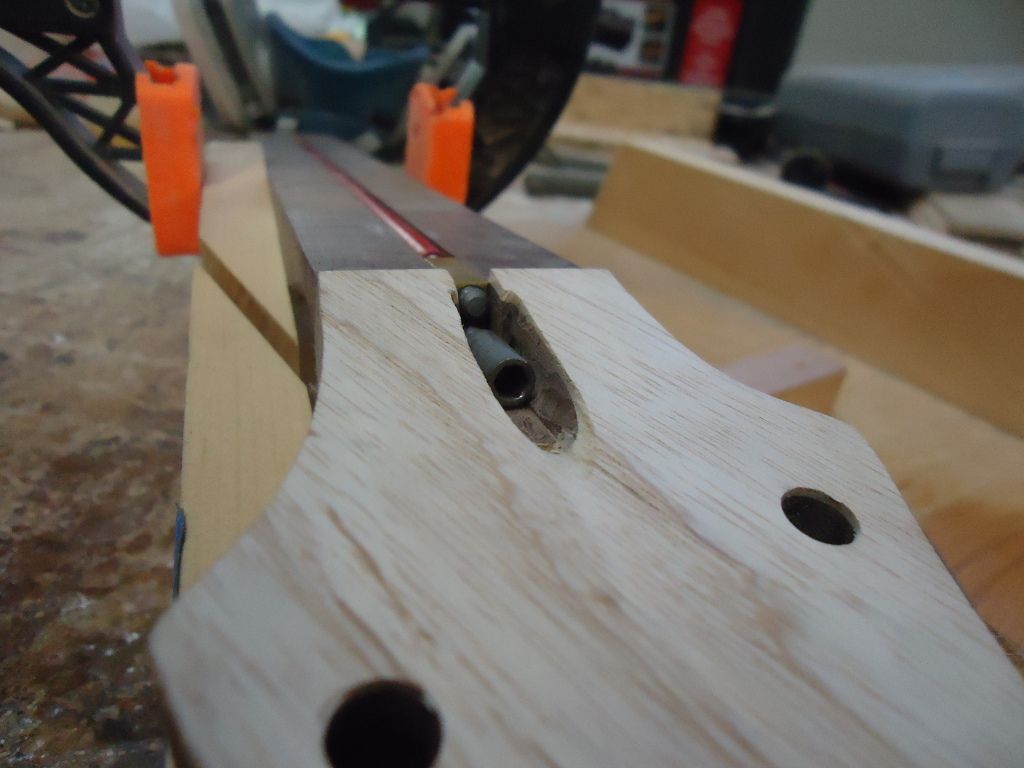
Finally received the pro tube in the mail so was able to route the cavity and position the bridge.
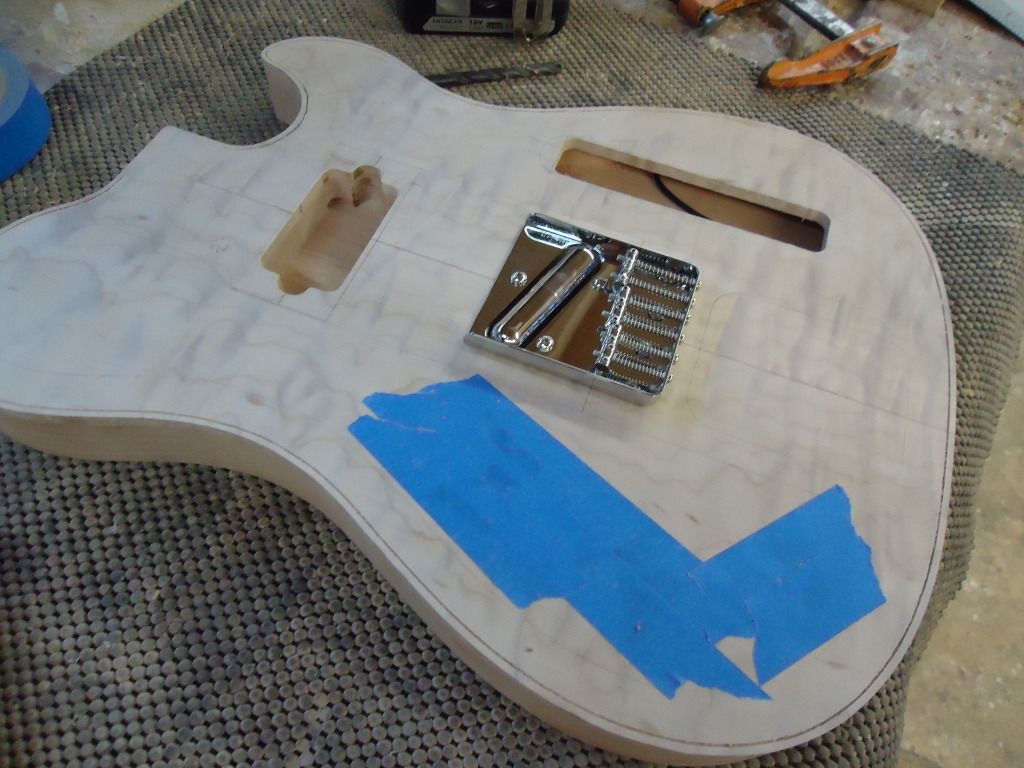
Progress on the neck should follow shortly.
-
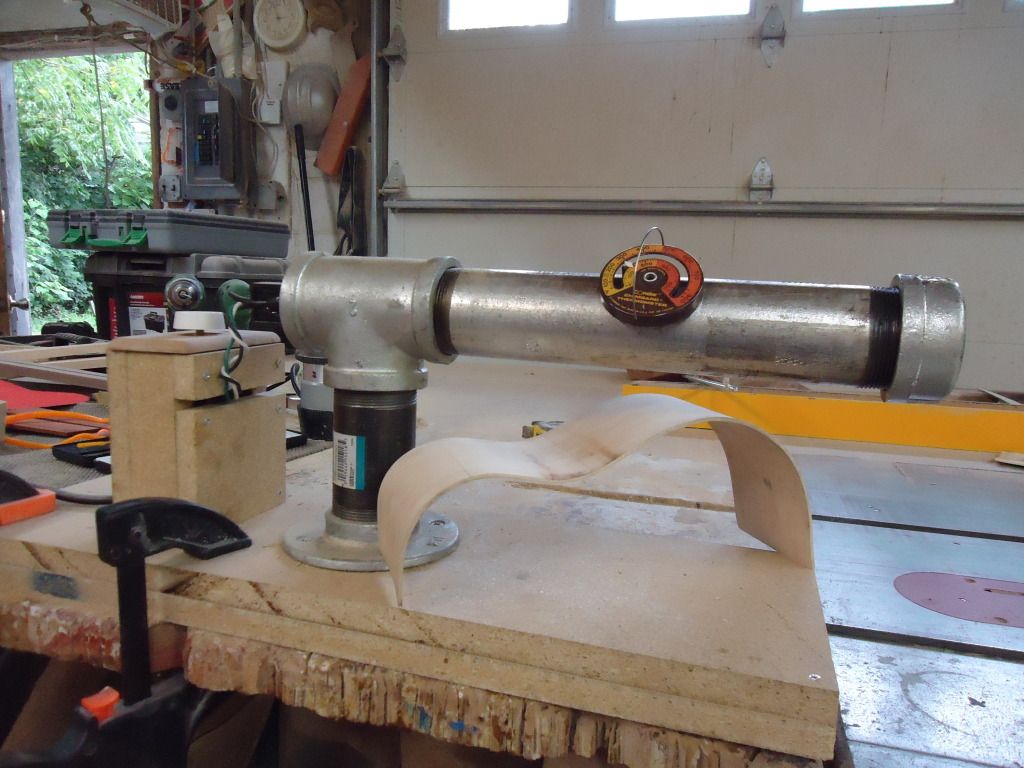
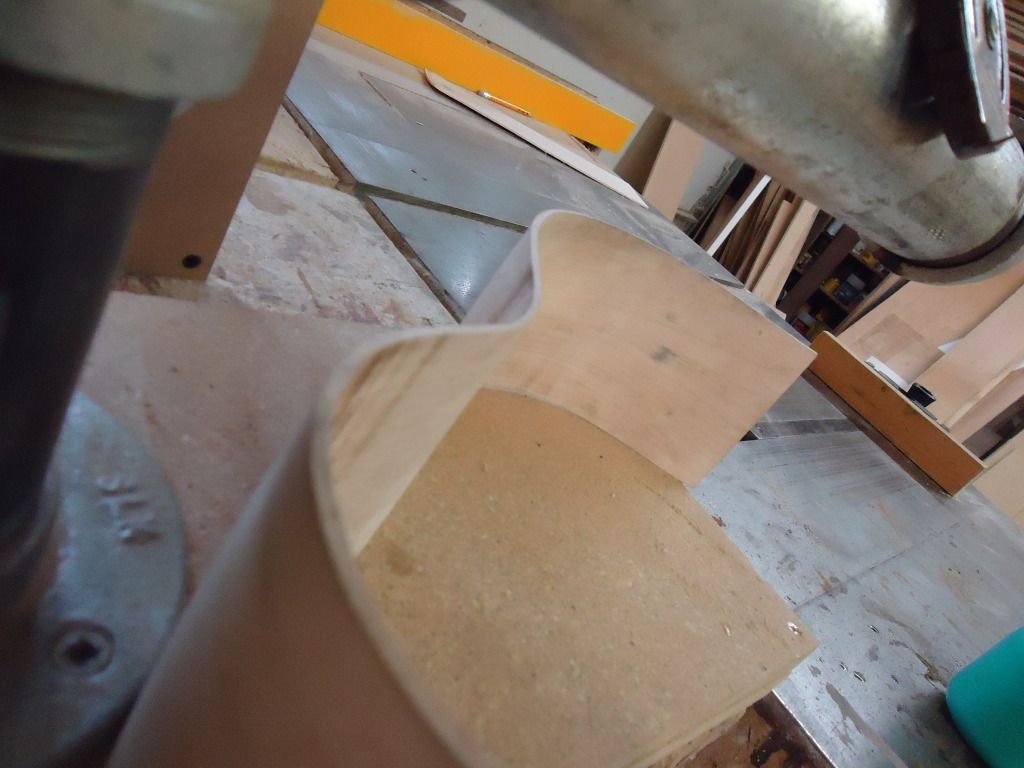
Hey guys sorry I keep getting distracted. This past week I decided to build a wood bending iron so I could start practicing for my acoustic builds. Its a real simple design that uses an charcoal igniter to heat a 12" long piece of 2" steel pipe. I put a dimmer switch through the power chord which acts as a temperature control. I bent one side and got some scorching but with a few more tries I'll get everything dialed in and will be able start using nicer woods. I also think I will be adding a piece of 1" pipe to make tighter bends since I plan on doing a custom shape uke before I tackle bigger instruments.
Now back to the anchor build. Like I said I'm redoing the neck, which is coming out much nicer, so some of these pics might feel familiar. As soon as I'm done typing this I'm heading over to the shop to work more so I'll have some more progress around 4pm today.
-
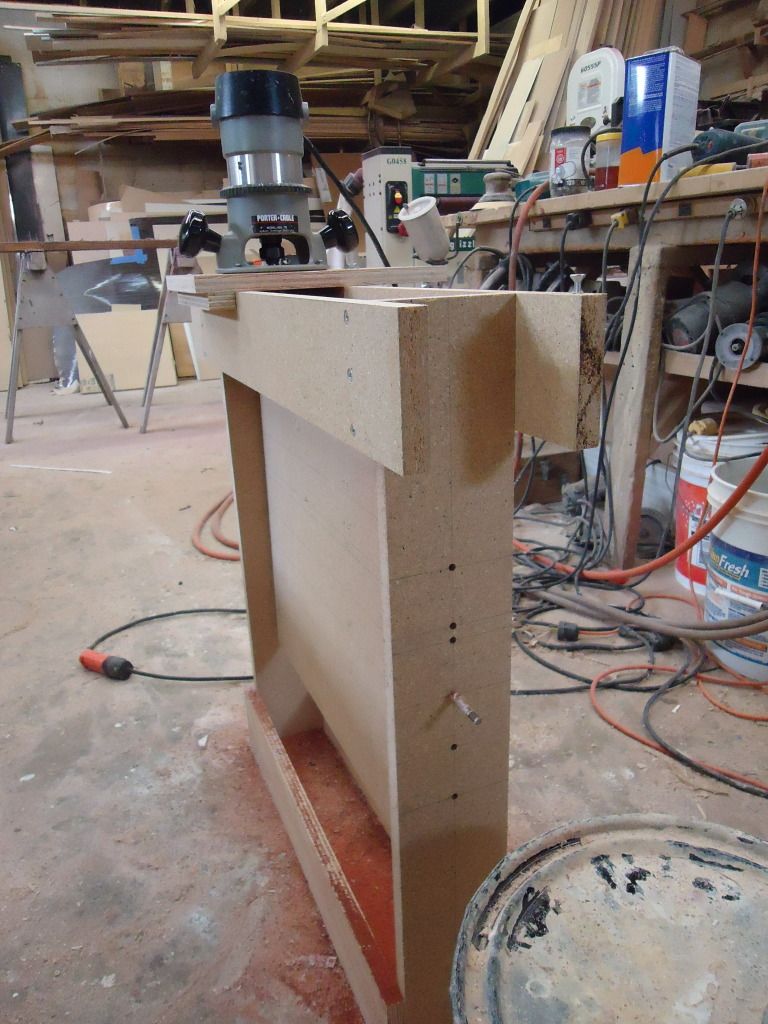
Levi- I can never do anything right the first time so I actually built it twice. The first time the plywood ended up being warped and seriously affected the jigs ability to cut straight so i re-did it in a composit material that I was sure was dead straight. The first time took me about 3 and a half hours and the second time took a little over and hour because I aready had all the measurements down. Its not hard to build at all, just be sure to take your time when measuring everything and youll save your self alot of hand work down the road.
-
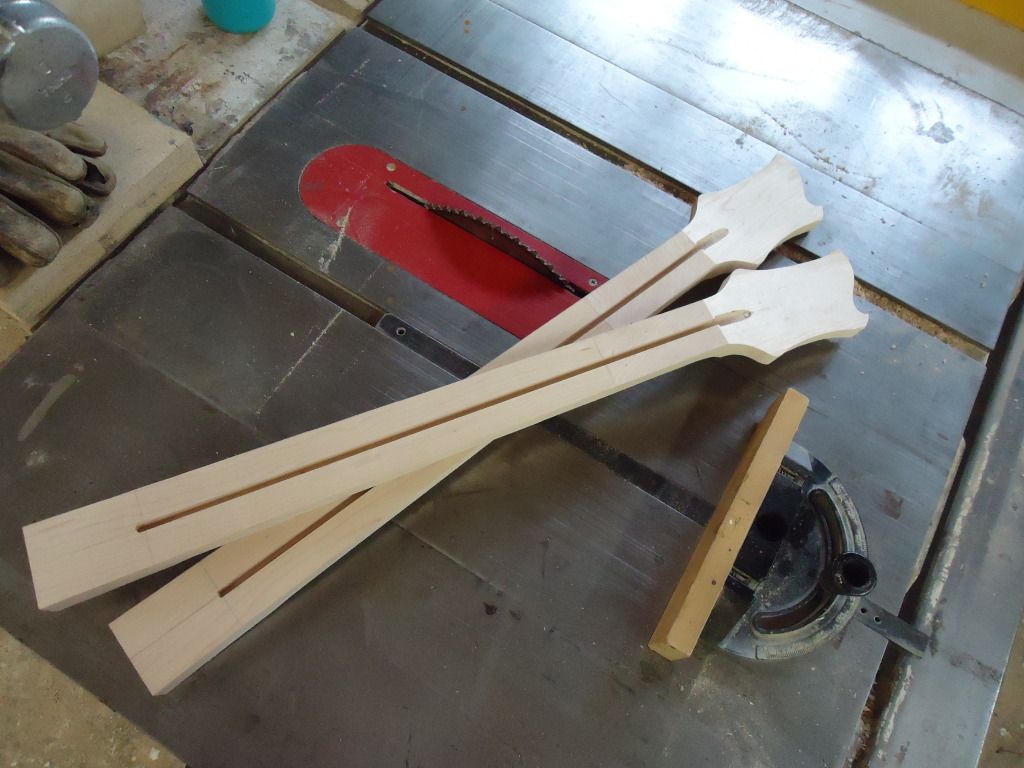
Hey guys sorry about the hold up, been workin on some other stuff recently. I'm not satisfied with the neck and fretboard so I decided to redo both of them to hopefully get better results.
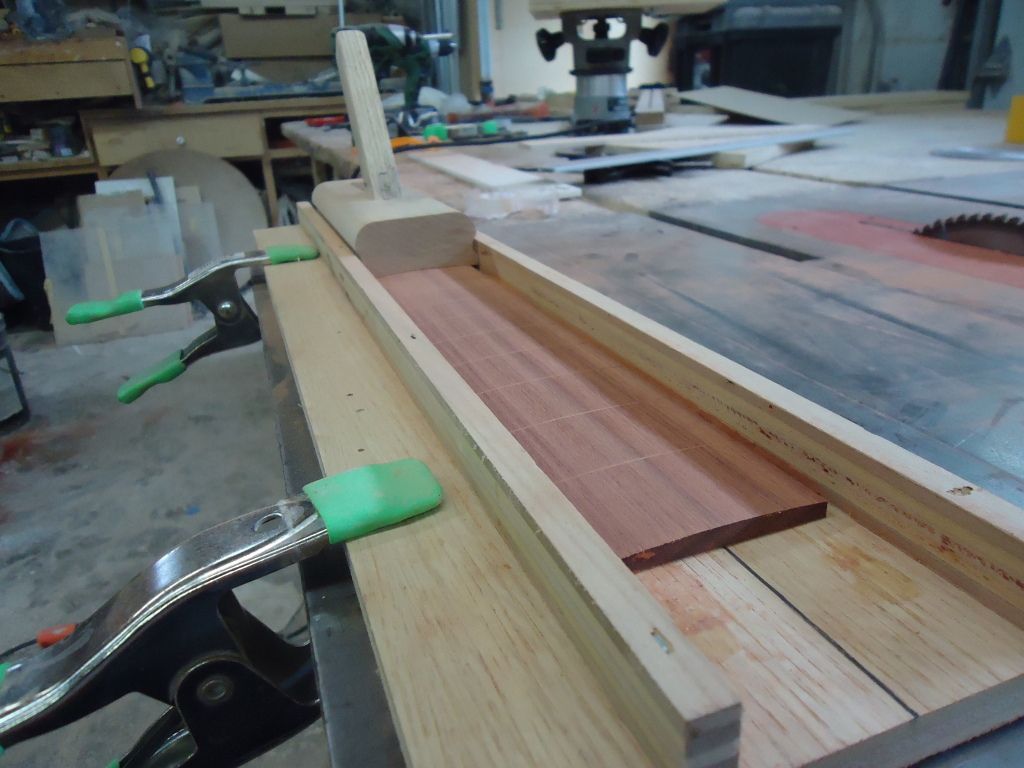
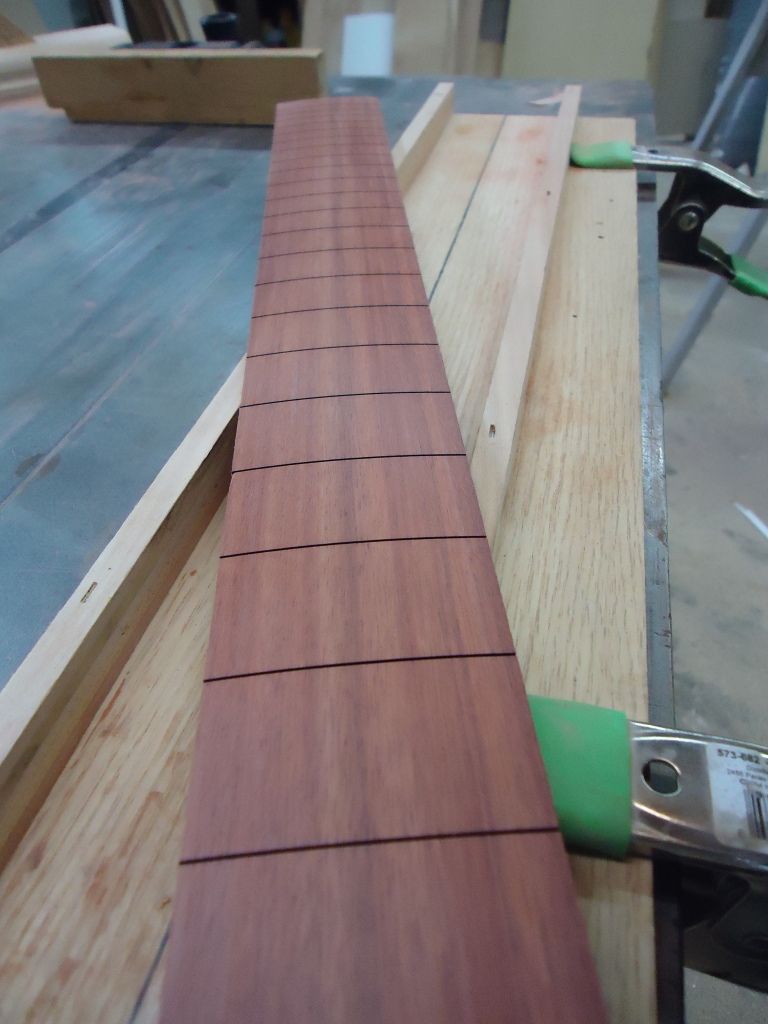
Heres the new fret board I made using the fretboard radiusing jig I found on youtube.
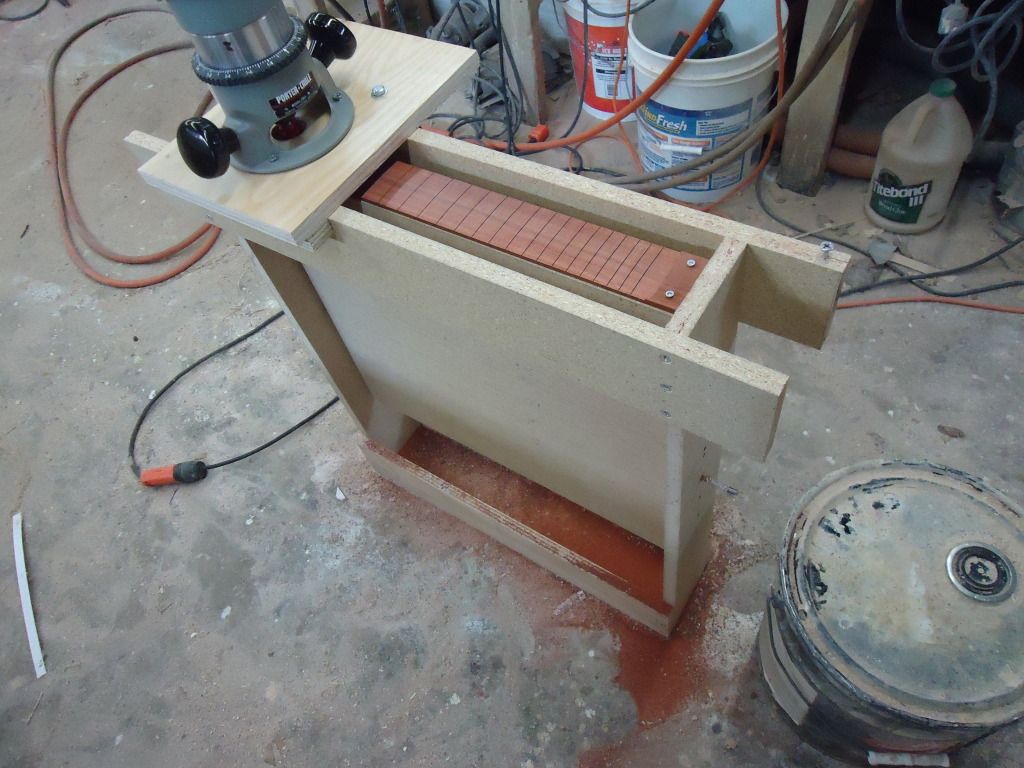
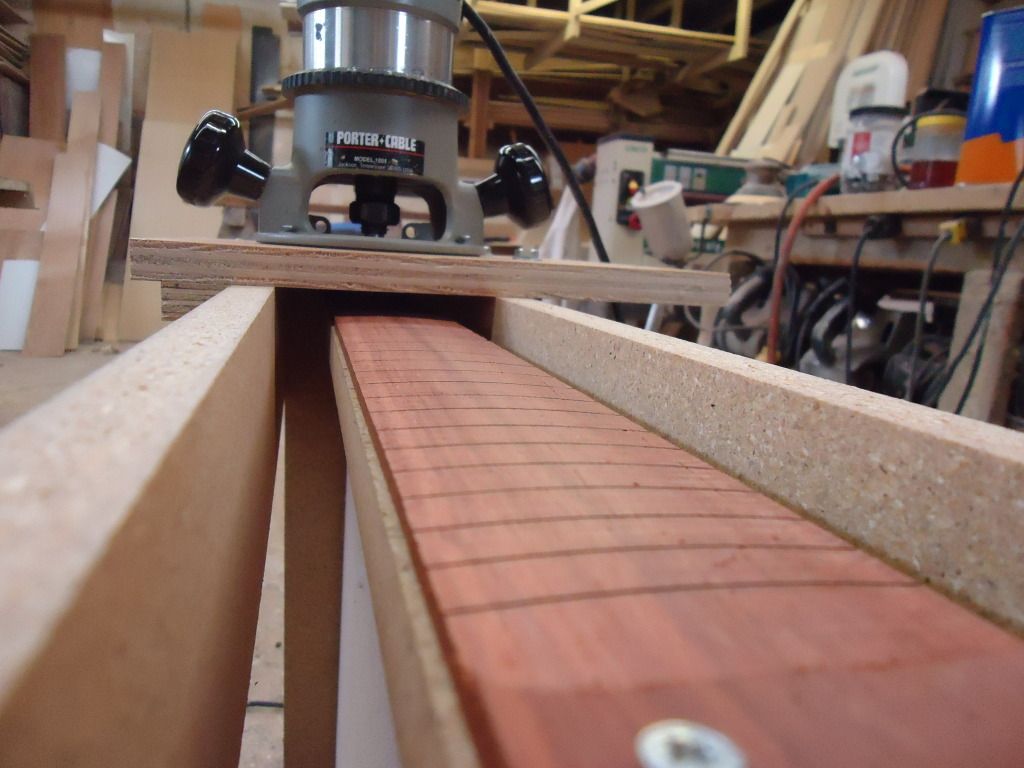
Once off the jig you still need to clean up the surface with the radiused hand block but it takes less then 5 minutes, compared to the hour it took to shape everything by hand.
-
1
-
-
Wow thats really cool man! I woulnt say more effort, just in different aspects, that paint job is awesome! I cant paint to save my life unfortunitly

-
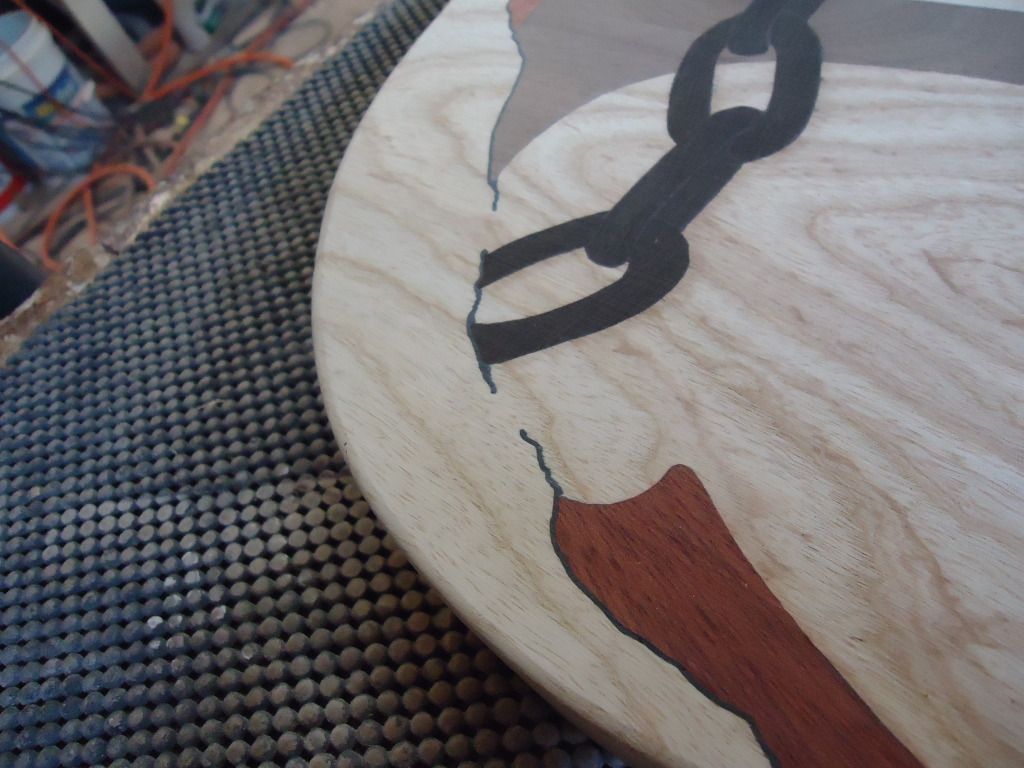
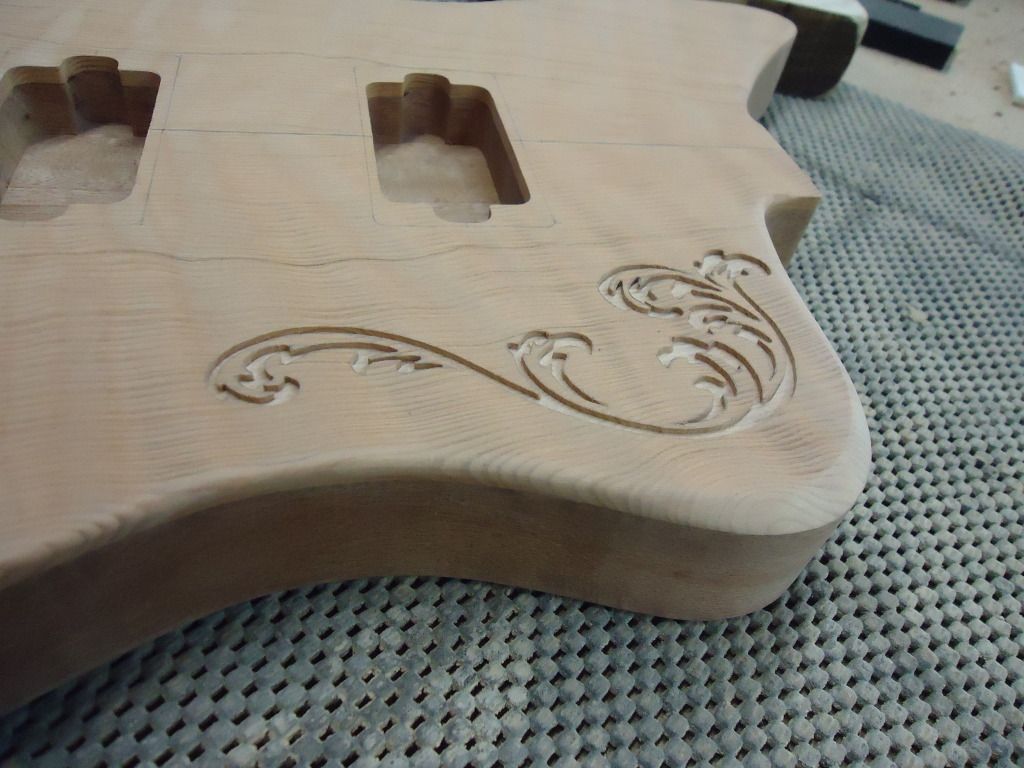
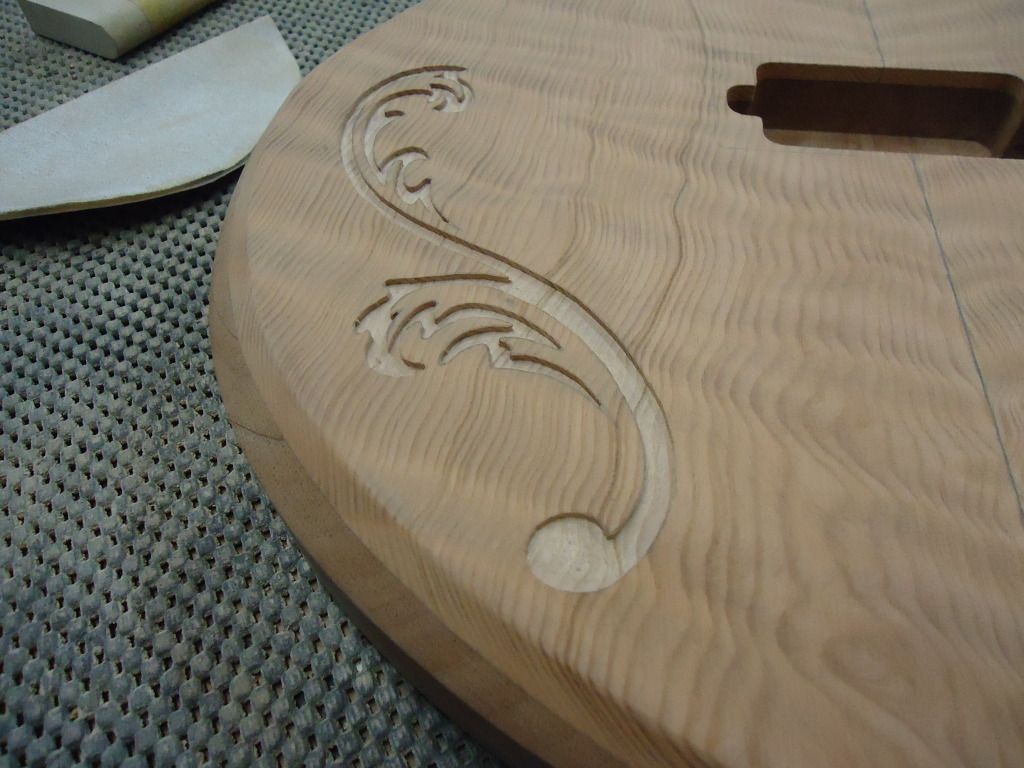
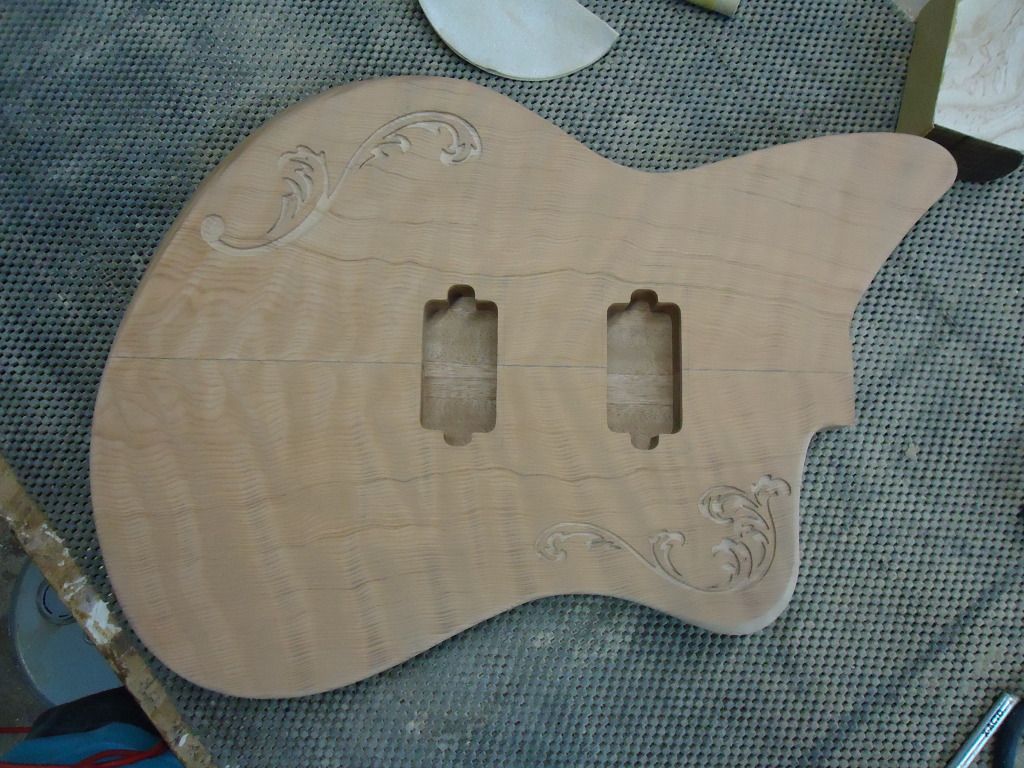
I decided to rout out a line that follows the border of the body. I'm going to fill it with white inlace and it will serve as a border between the purple and natural faux binding.
I had a few inconsistencies with the line around the top horn area but hopefully it wont stand out too much and I'm please with the rest of the cut.
Ok so now I'm tackling the fret boards and necks for this and my other builds. I just finally got my radiusing jig dialed in today which was holding up a lot of stuff so expect progress on all builds shortly. Take care guys!
-
2
-
-
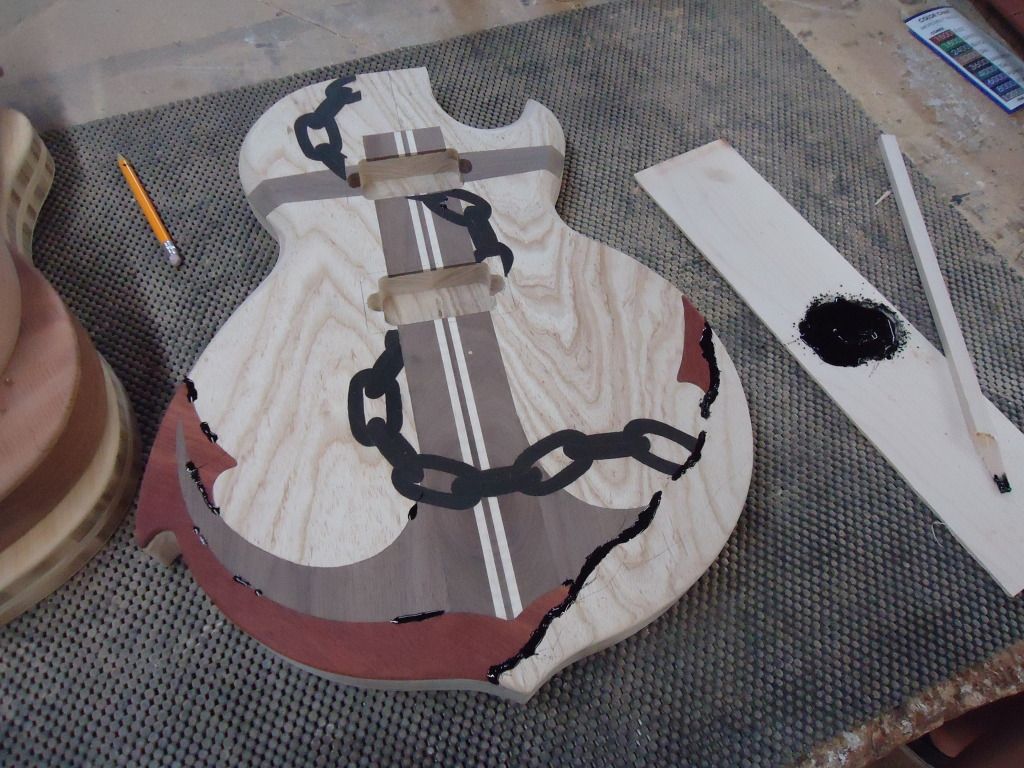
Body chambering and paint


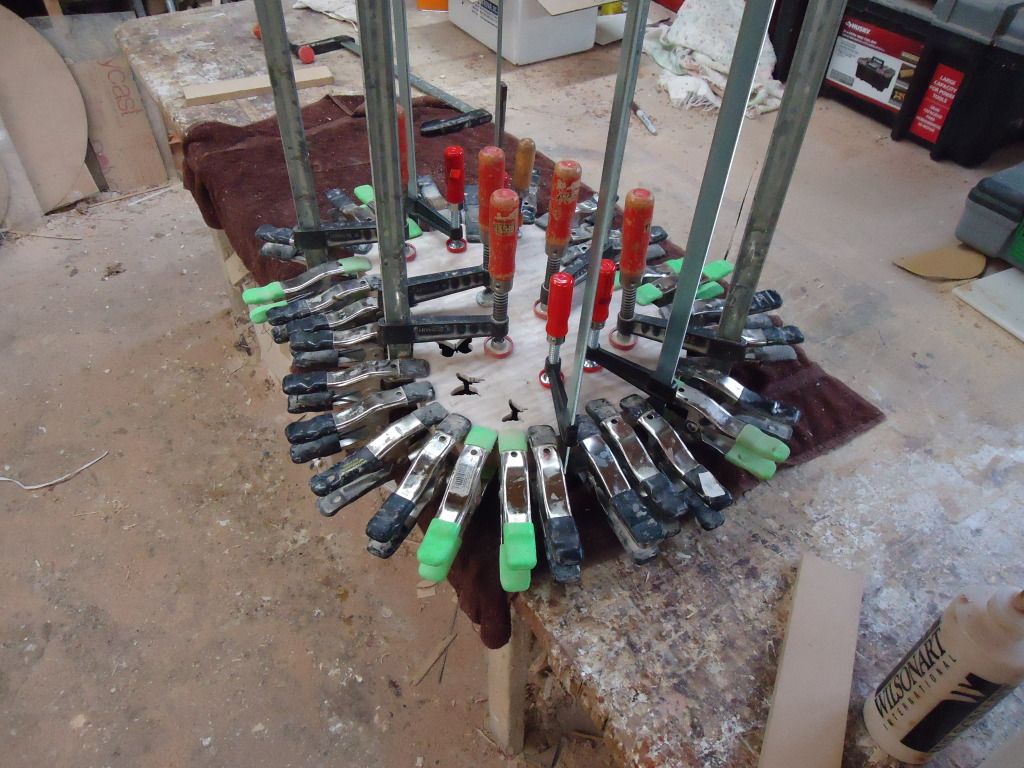
gluing the top on
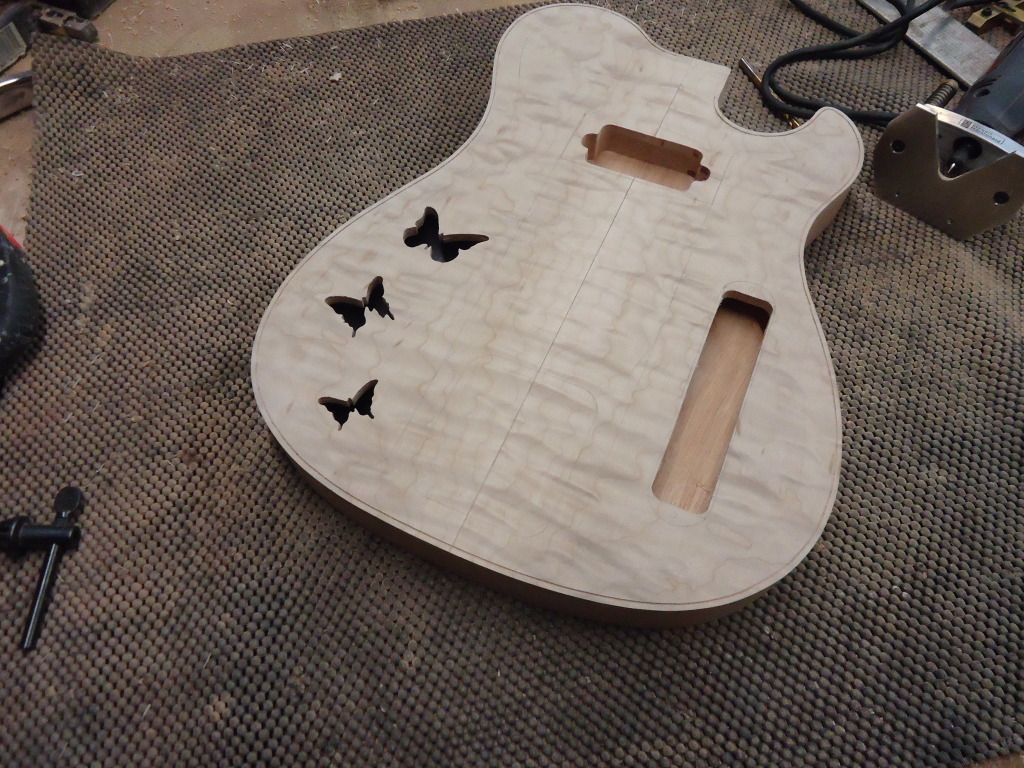
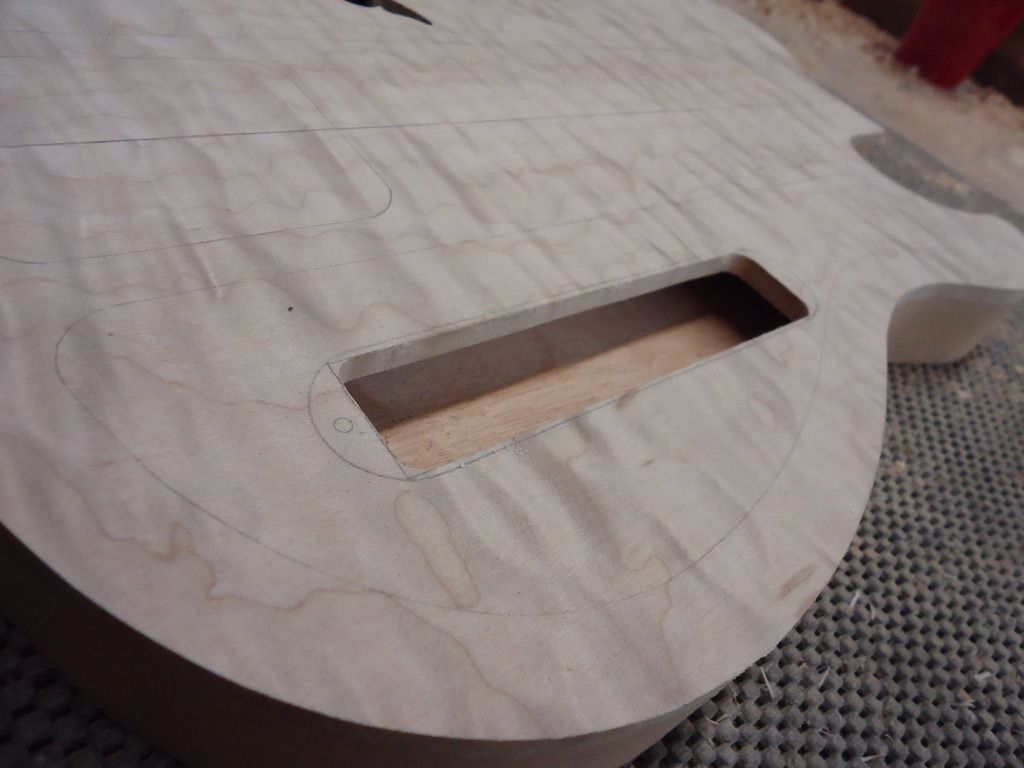
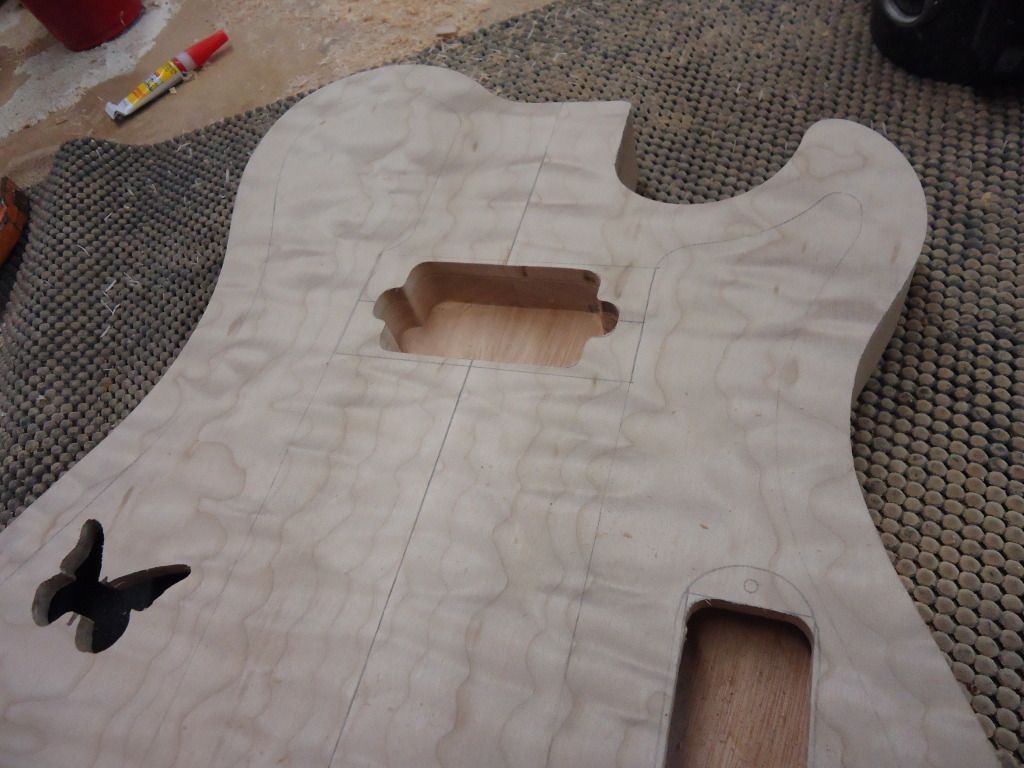
Electronics cavity routed

Pickguard stencil
Humbucker cavity
-
Ok everyone, Ive had this build going for awhile and was keeping it under wraps but since I'm working on this my other builds are not being updated so I decided to post this one as well so you can see I'm not totally slacking on the guitar building.
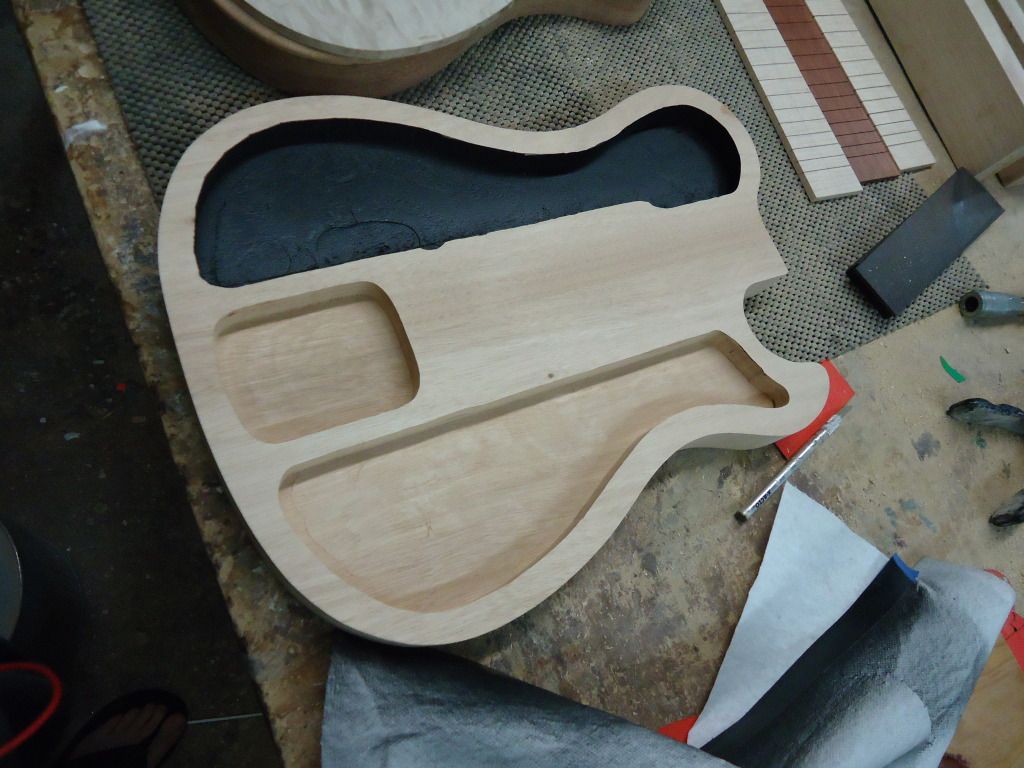
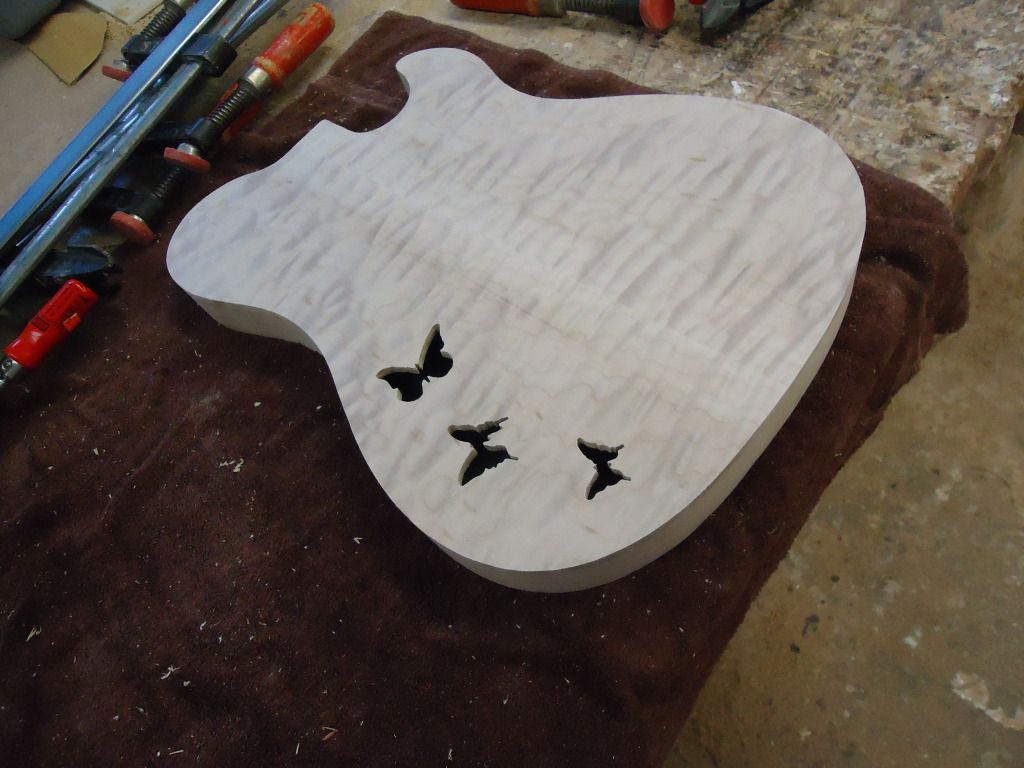
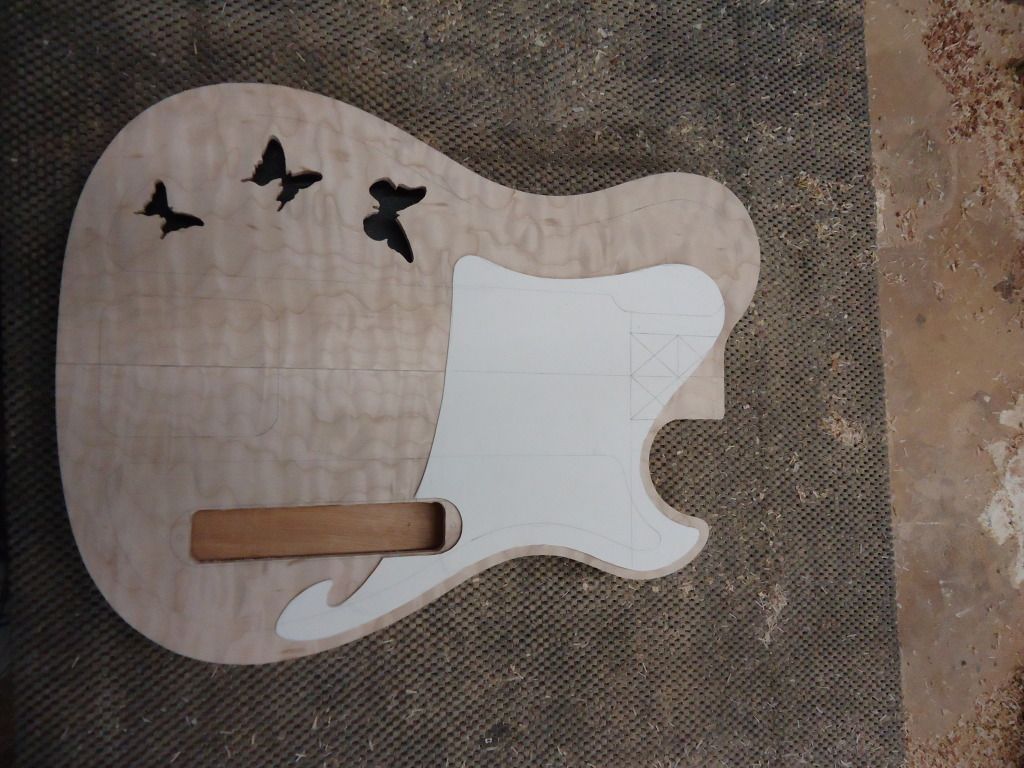
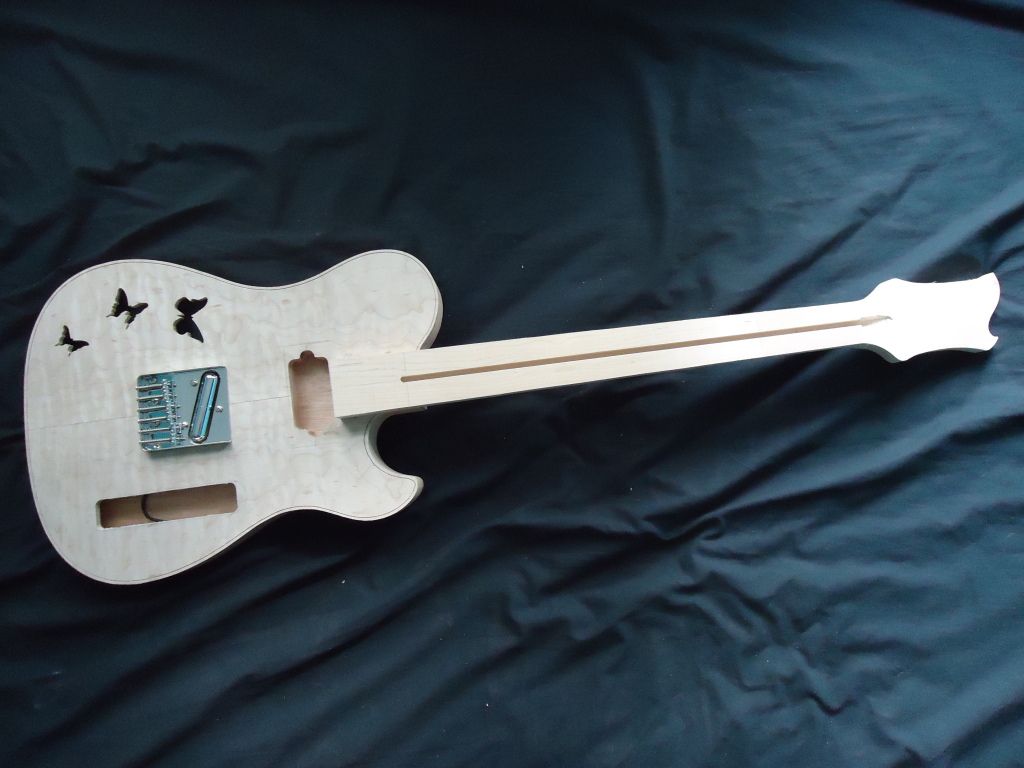
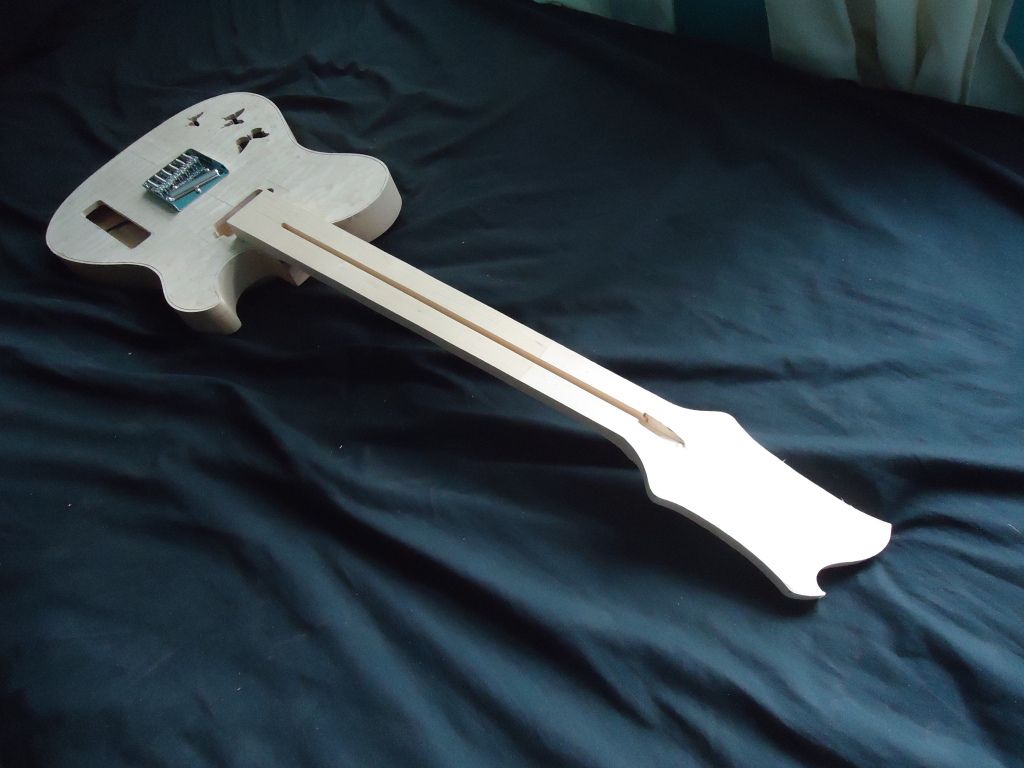
This is a Tele based semi-hollow with butterfly sound holes. I'm using a mahogany body with a quilted maple top that will be dyed purple with a natural maple faux binding. I'm trying out GFS's lipstick single and double pup just because I like the looks. I have multiple purple heart fret board blanks but I think it might be too much so as of now I'm planing to do a natural maple fretboard with purple heart binding.
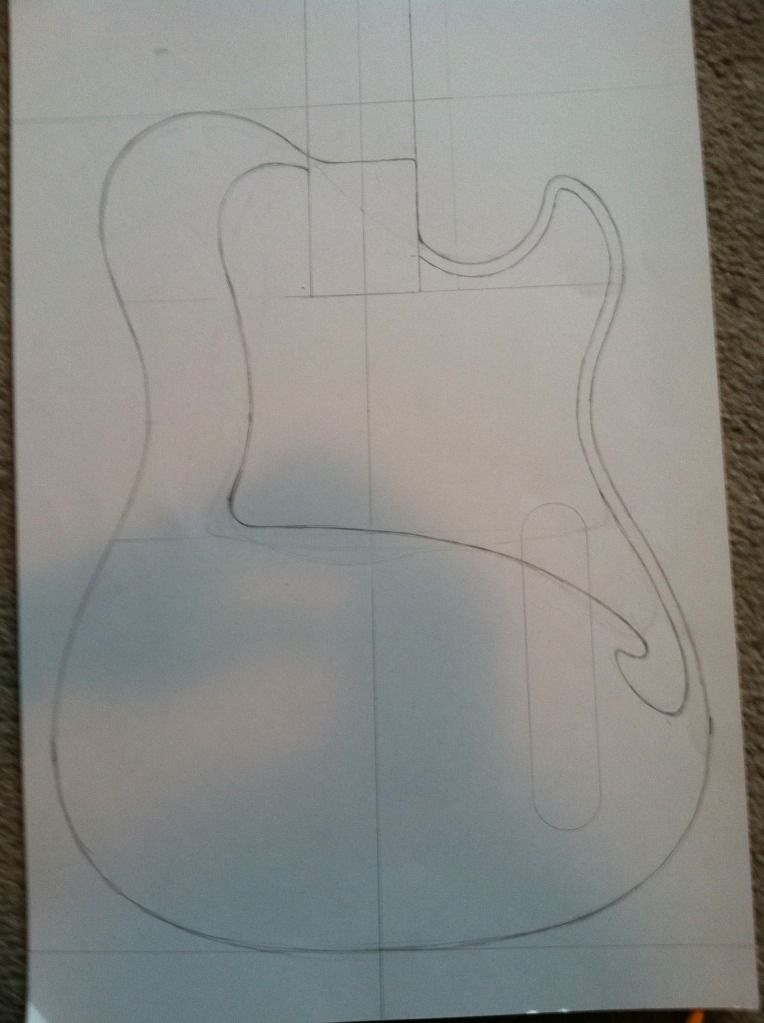
The design

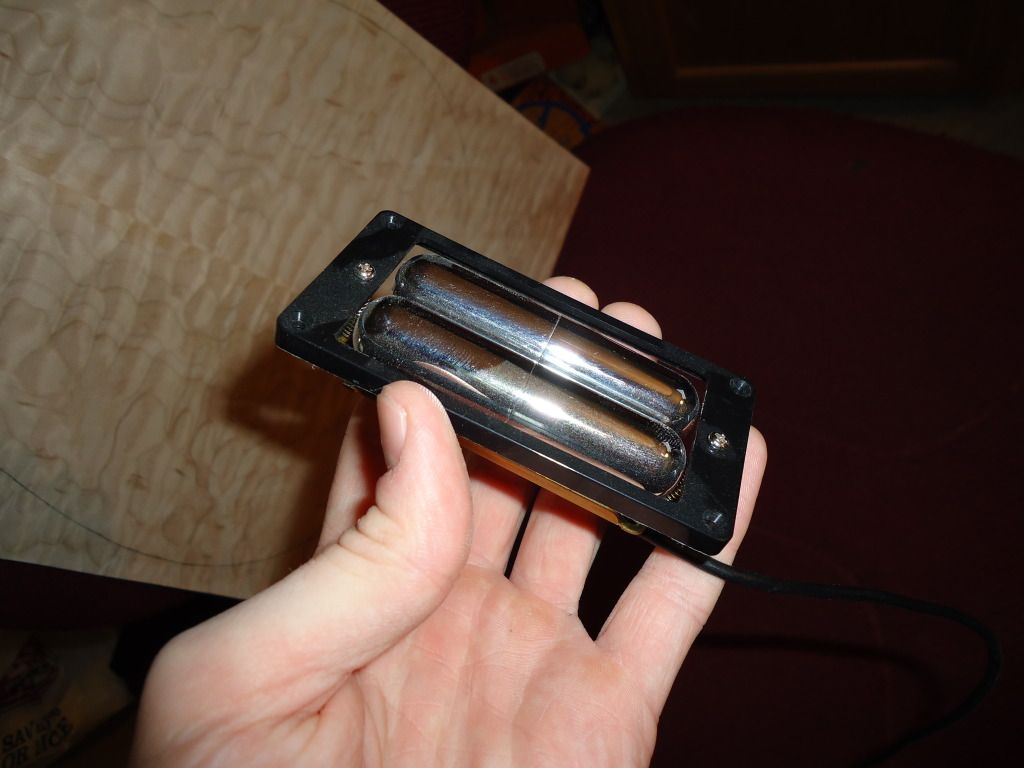
The lipstick tube humbucker that I hope sounds halfway decent
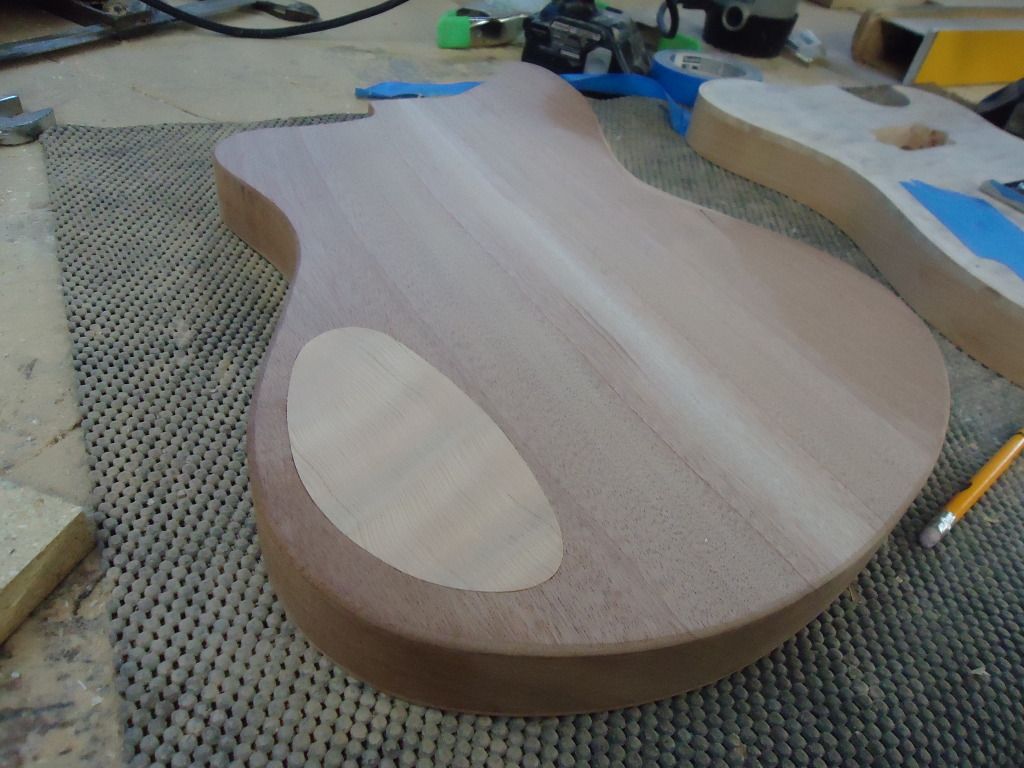
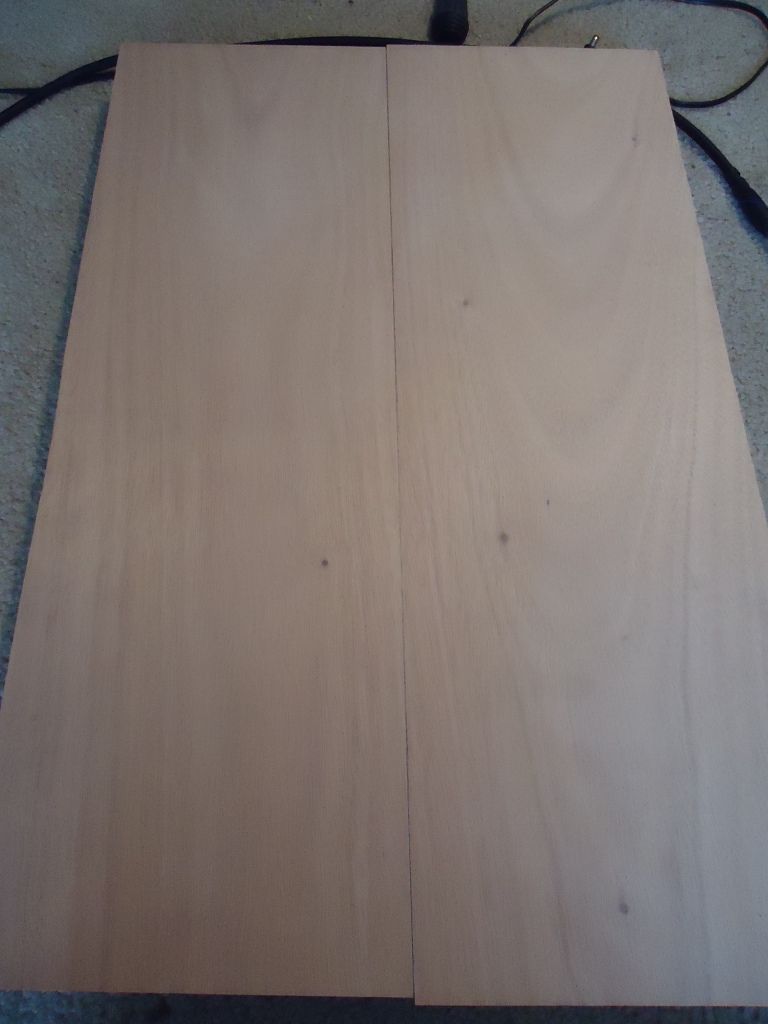
Mahogany body
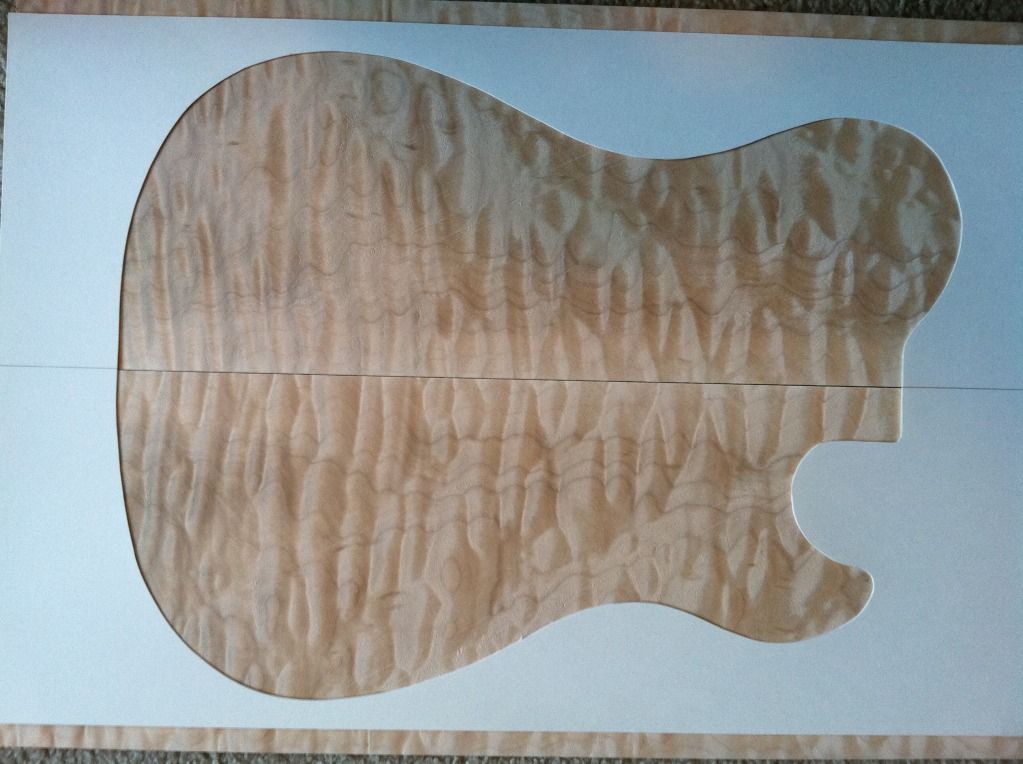
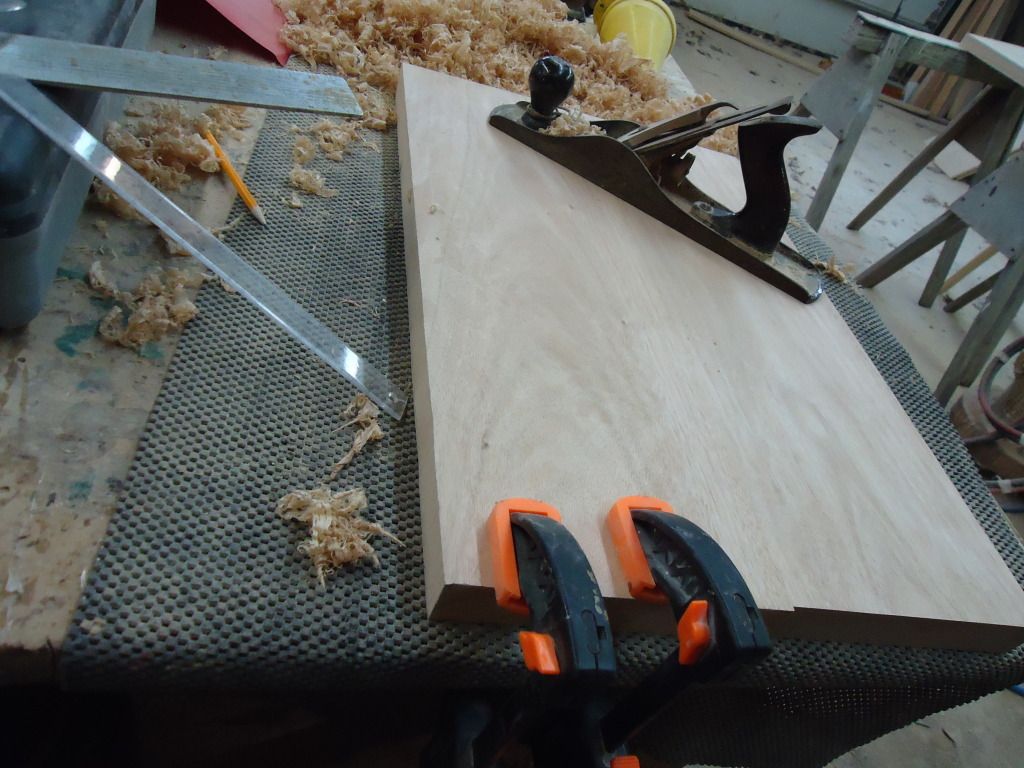
After being planed nice and flat
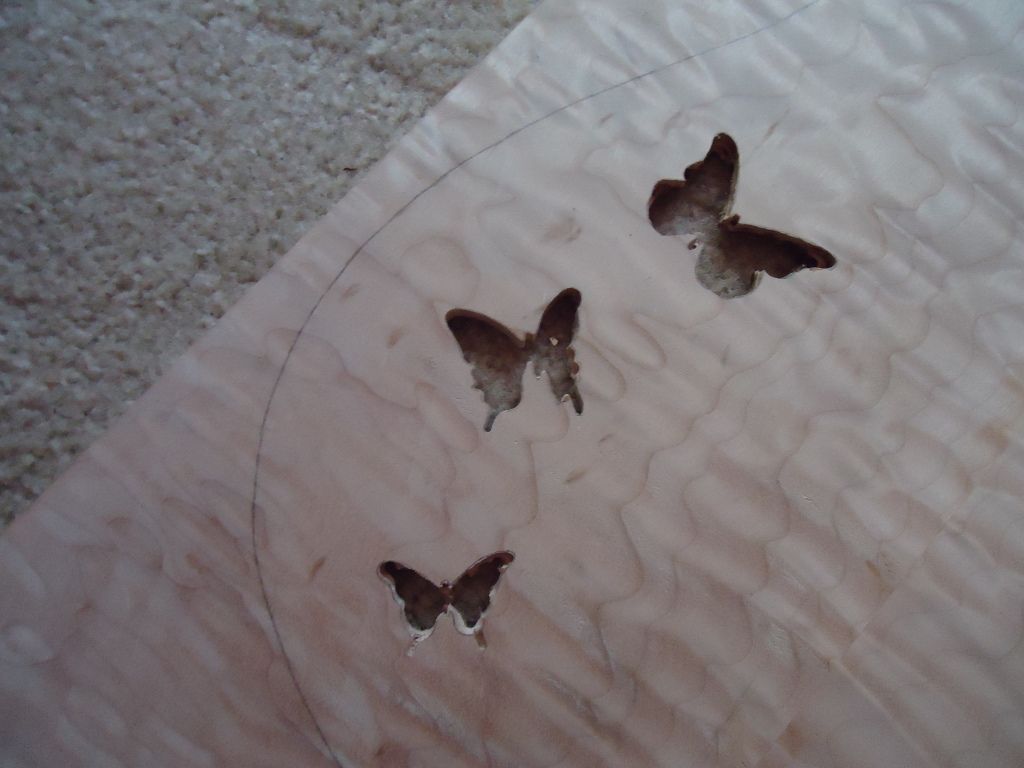
Sound holes very roughly cut

-
This inlace stuff has got me really excited about future projects, I'm just picturing all the stuff I could use the different colors and variations for. I ordered the white 3 days ago so I'm hoping it gets here relativily soon and works well.
The top wood is from oregon wild wood, I cant brag enough about the wood they sell. They have some really amazing tops and their prices are not unreasonable at all. Definitly check them out if you have yet to do so!
Stay tuned guys more pics coming soon!
-
Awesome Scott, I think that will work perfectly. Thanks for the tip!
-
Decided to do a design on the top. I routed it out and am looking for something to mix with epoxy to get a decently bright white fill but I'm not sure what will work best. If i cant find something ill use black instead. Suggestions for a white fill are welcome.
-
1
-
-
The thickness differs at the four corners. Like the end closer to me will end up thinner then the end farther away and the two corners of each end will vary. Its due to my in ability to put even pressure down the length of the board. I always push to hard toward one side or one end with out realizing it. I figure this jig will make my life a lot easier so I think I will try and tackle it tomorrow.


The Anchor
in In Progress and Finished Work
Posted
Thank you! The neck wood is walnut to match the body of the anchor and the truss cover. I think it looks a little lighter because it was freshly sanded but I am hoping it will be a decent amount darker once it gets a finish on it. If I remember ill hit it with some naptha later and take a pic of it wet vs dry.