


justin squire
-
Posts
149 -
Joined
-
Last visited
Content Type
Profiles
News and Information
Tutorials
Product Reviews
Supplier Listings
Articles
Guitar Of The Month
Links and Resources
Forums
Gallery
Downloads
Posts posted by justin squire
-
-
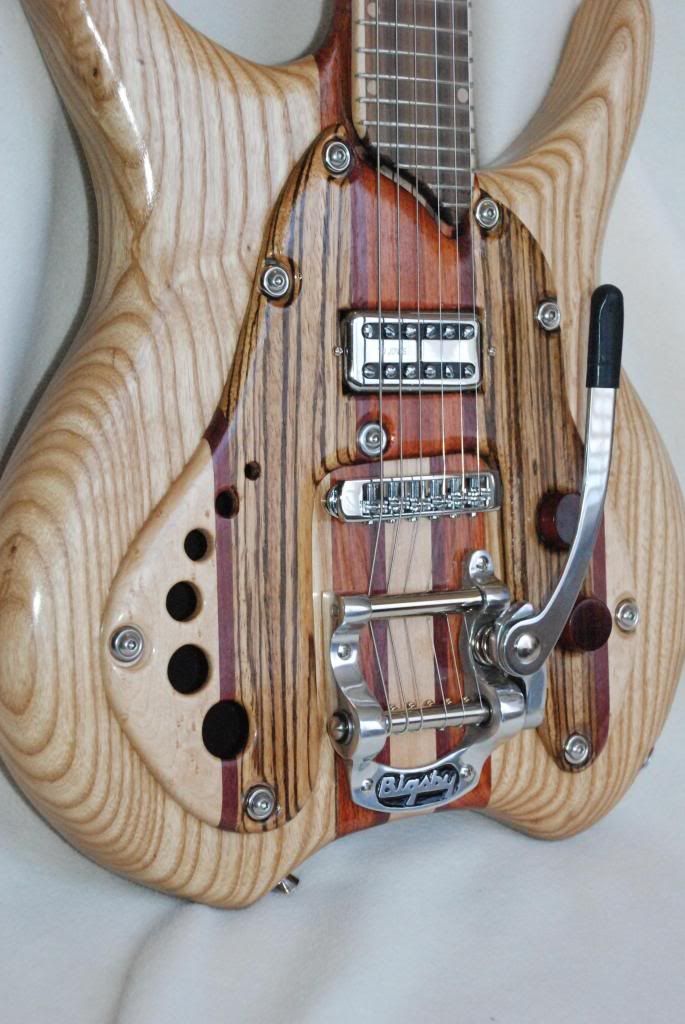
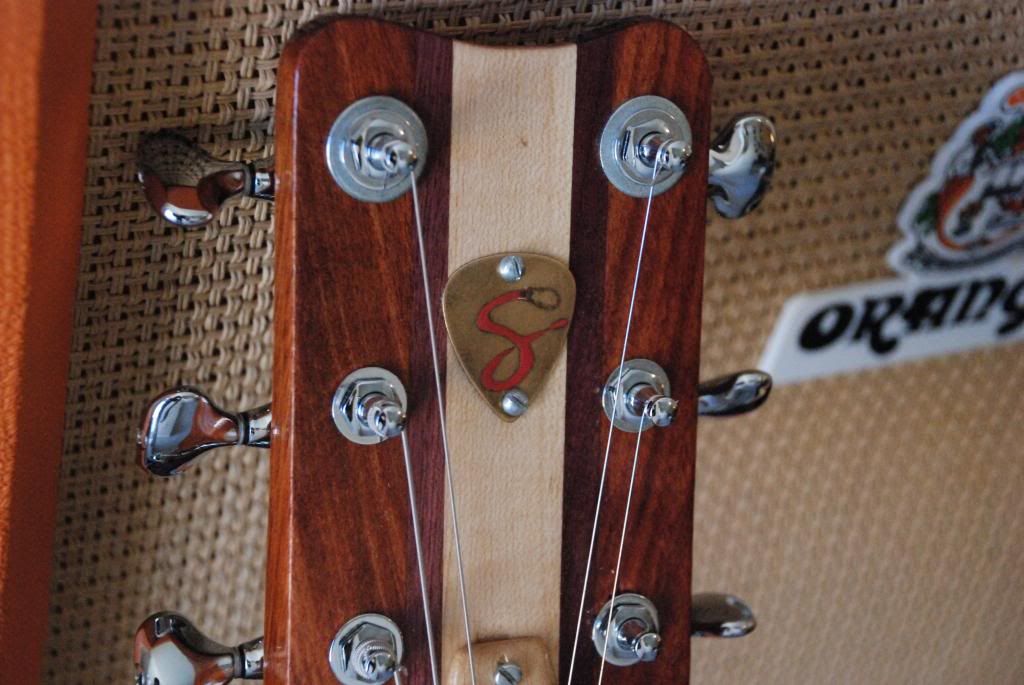
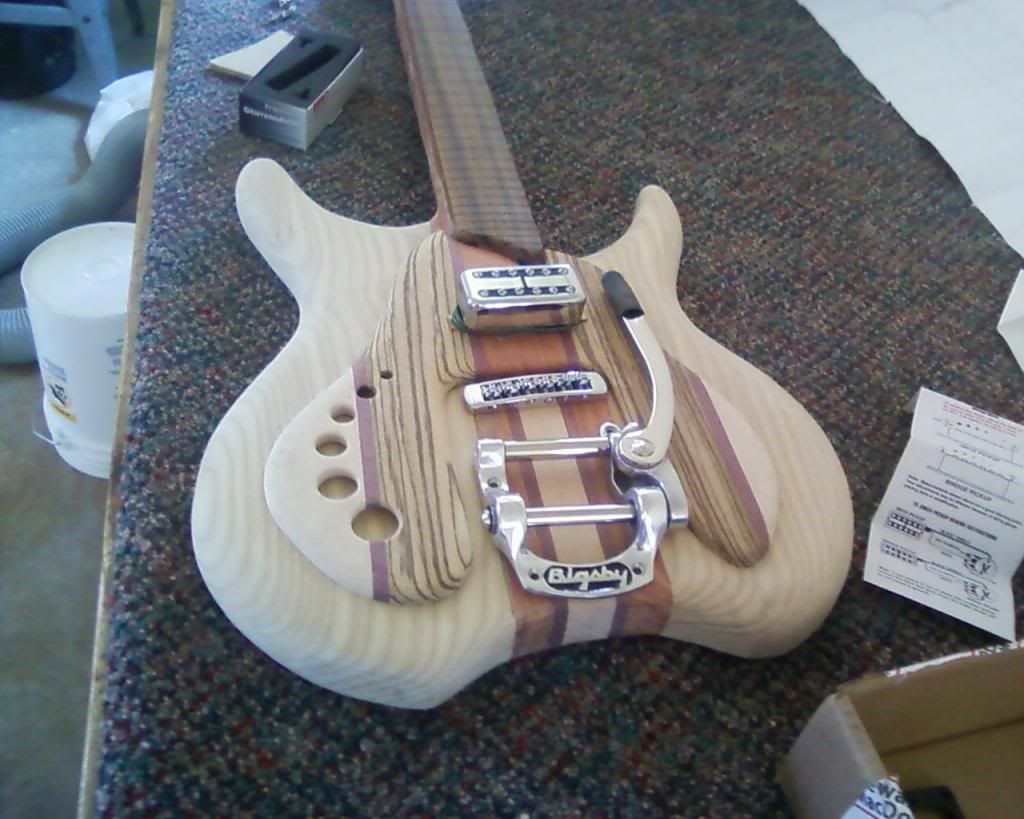
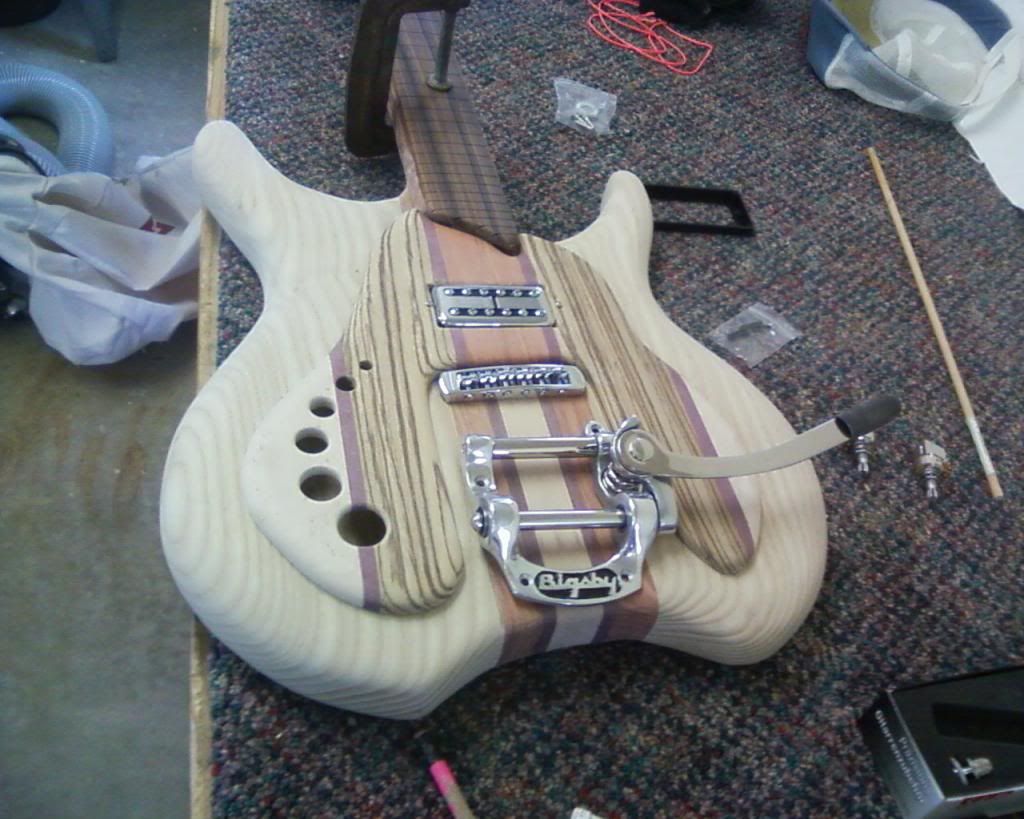
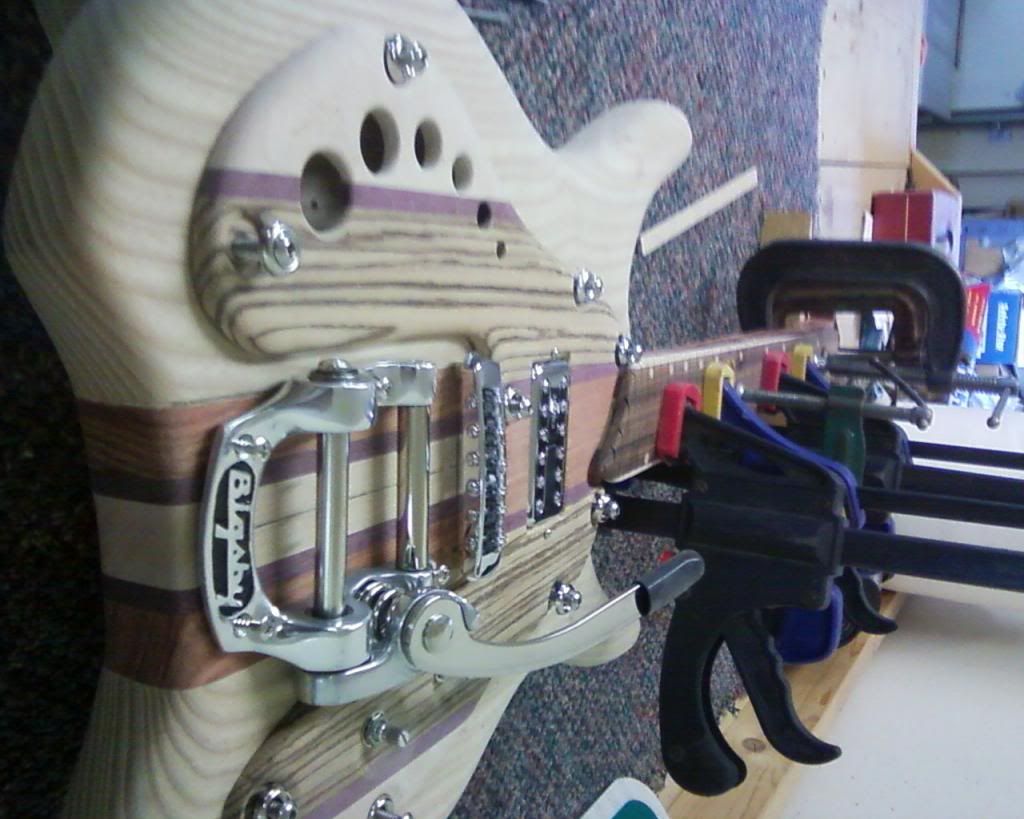
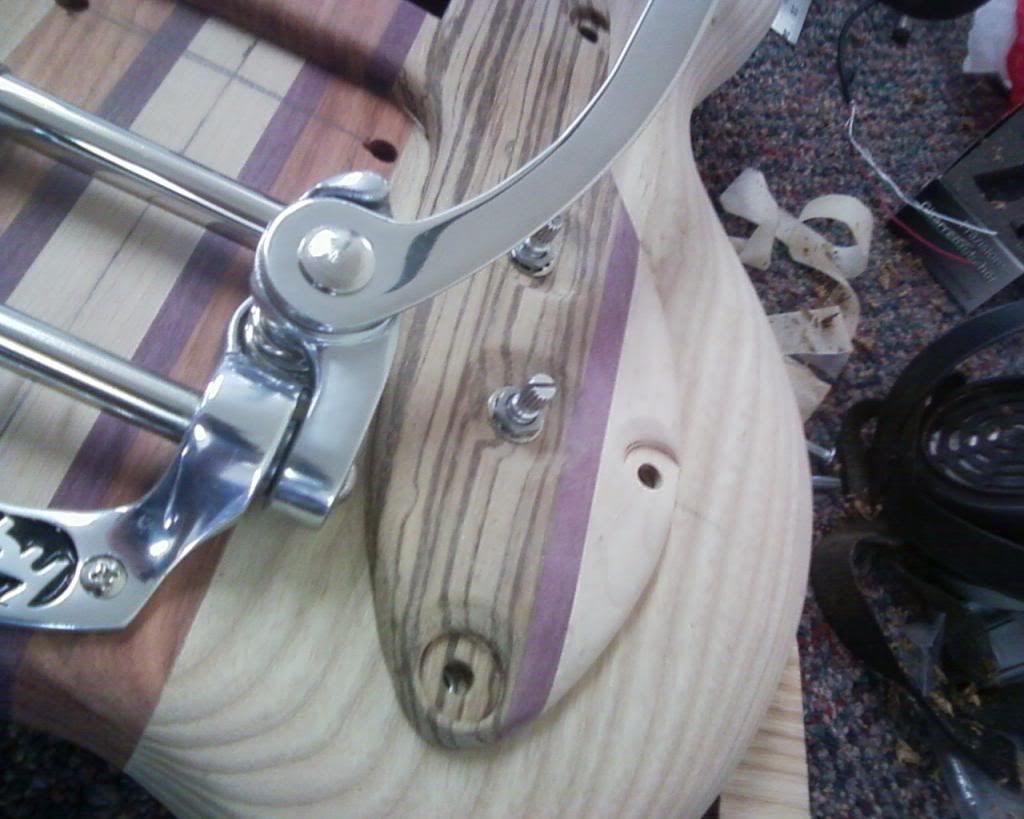
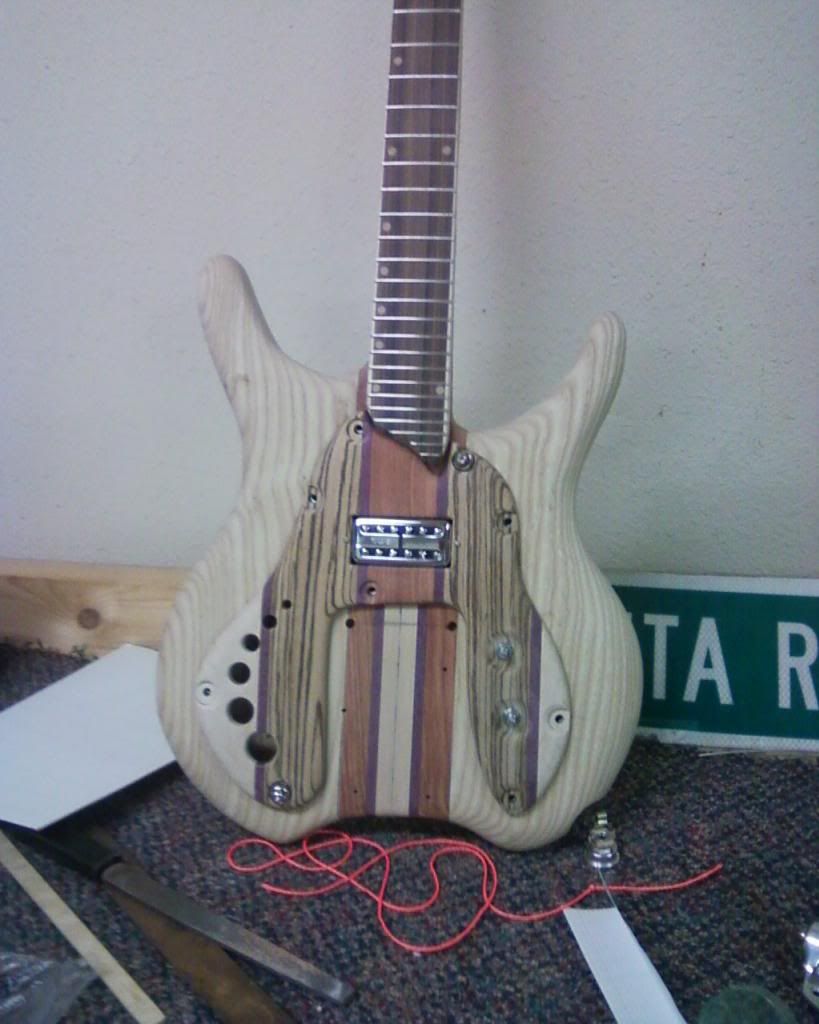
And now for some glamour shots:

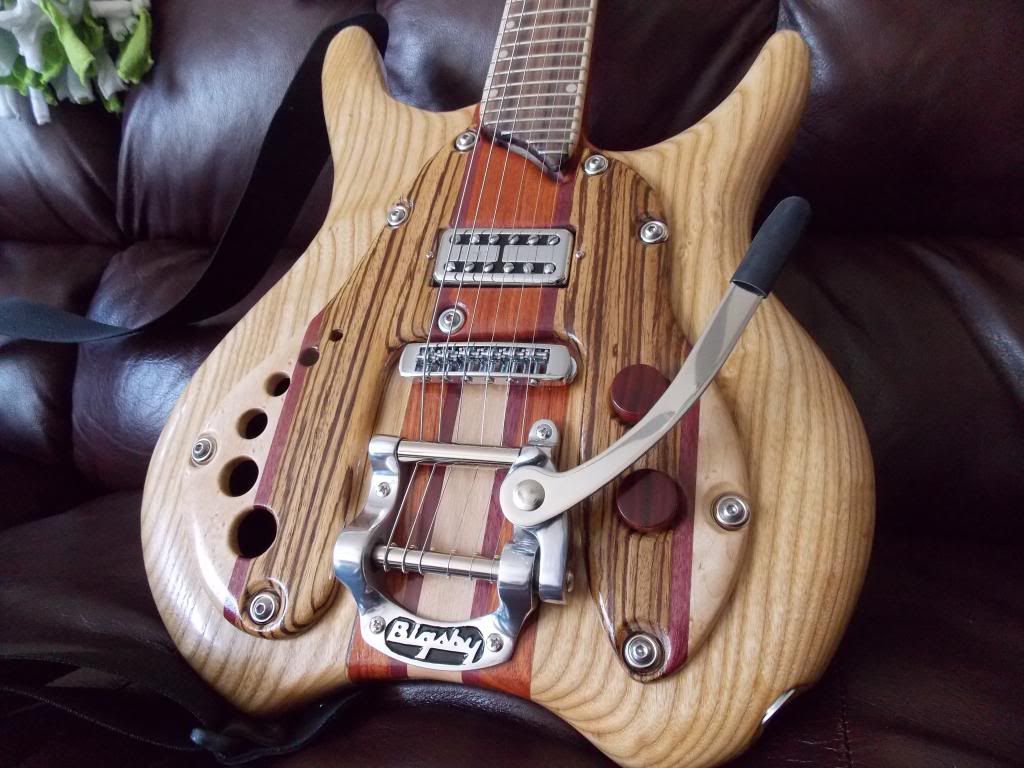
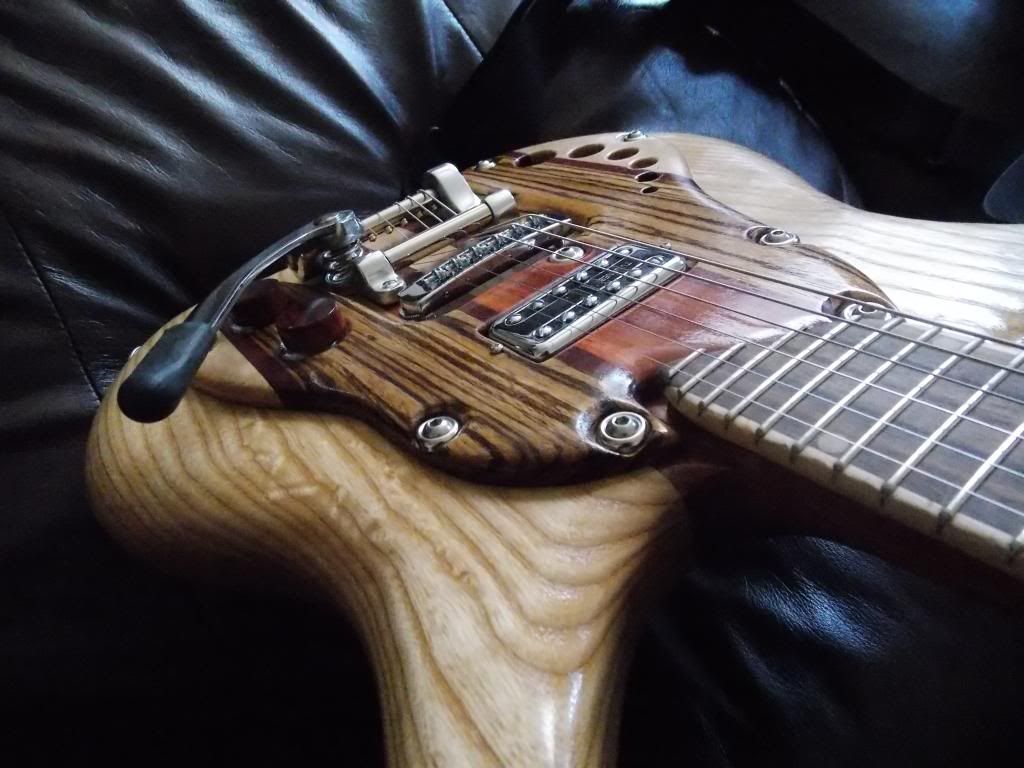
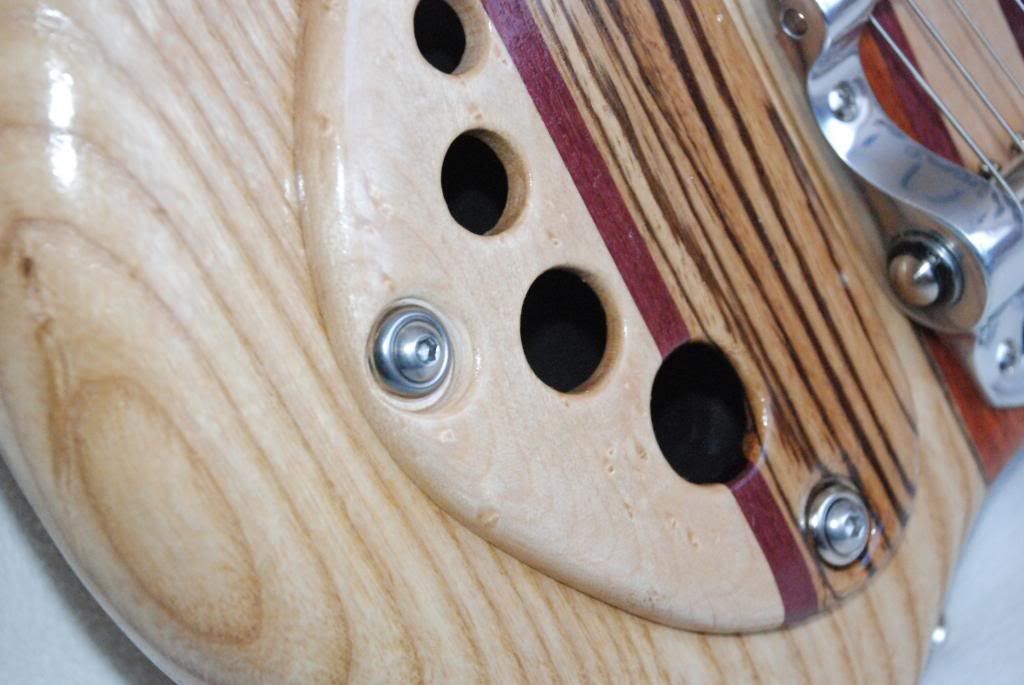
This is the first guitar that I have designed and built from start to finish. It plays very well and sounds great too. It doesn't have as much sound and resonance acoustically that I was hoping it would, but it is still considerably louder than a solid body guitar when played acoustically.
Neck:
laminate - bloodwood, maple, purpleheart
top plate:
laminate - zebrawood, maple, bloodwood, purpleheart
body:
solid white ash
components:
-tuners - gotoh 510
-pickup - tv jones powertron
-pots - 2 500k push pull
-knobs - bloodwood
-bridge - schaller roller bridge
-tailpiece - bigsby tremolo
Let me know if you have any questions, and what you think about the guitar. Thanks for reading
-
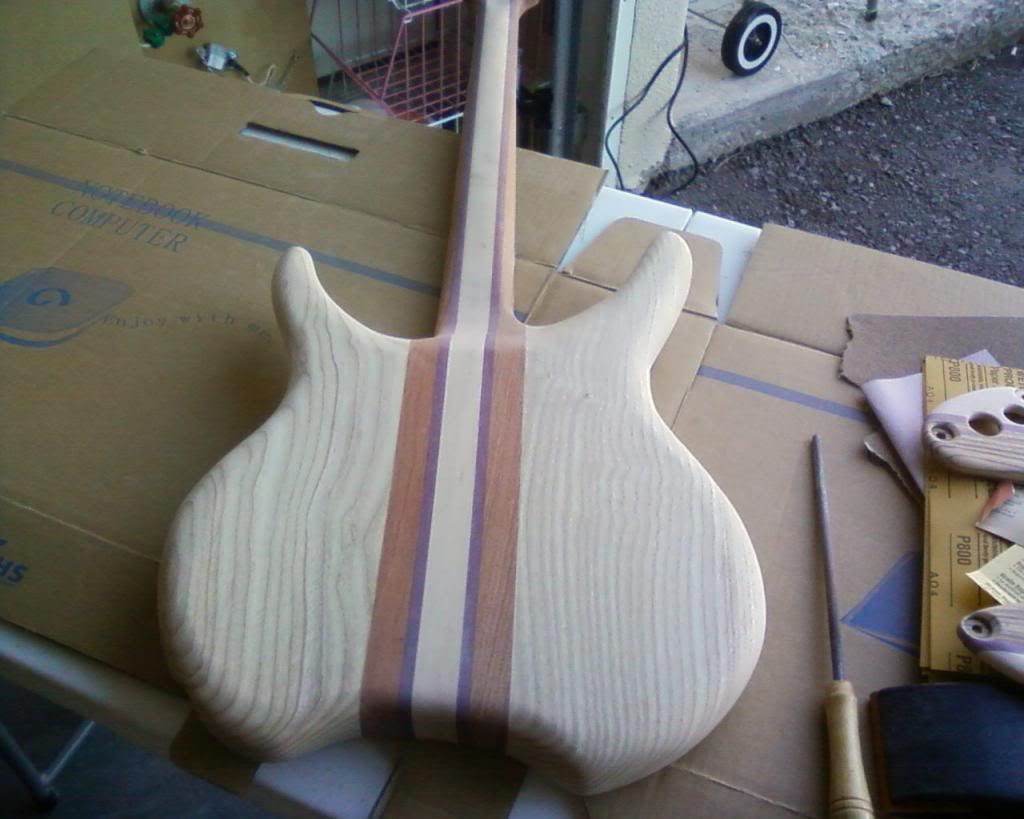
Finally finished this guitar build that I started out almost a year and a half ago. I'll post a few pictures of the build process here.
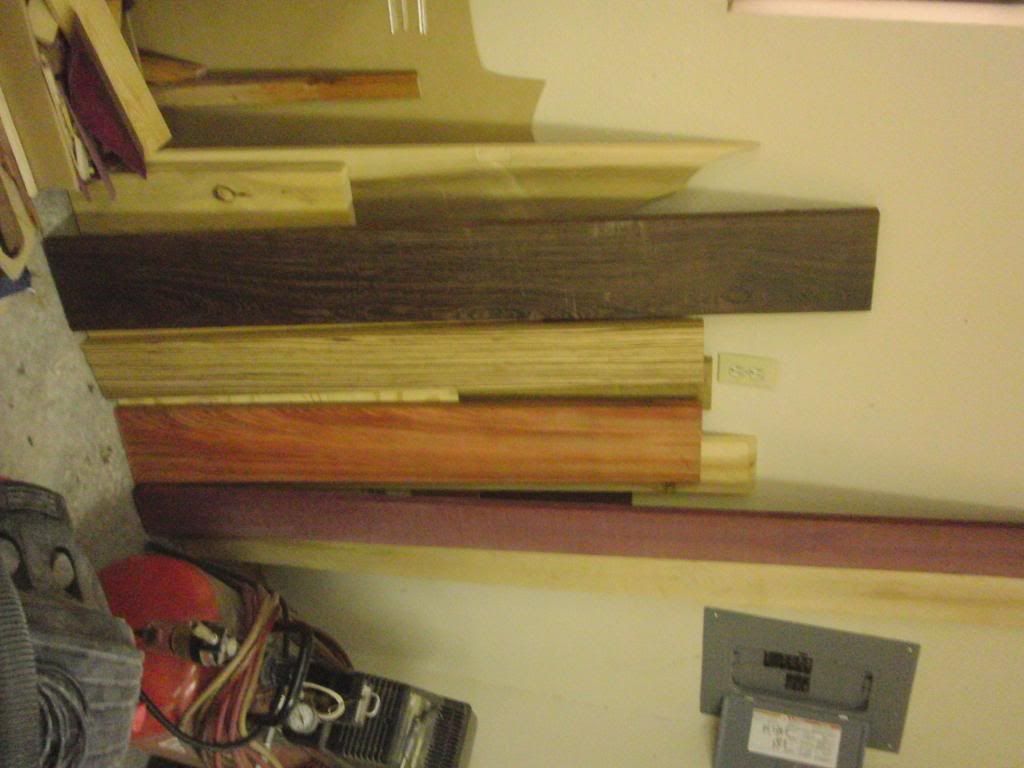
The Wood that I started out with.
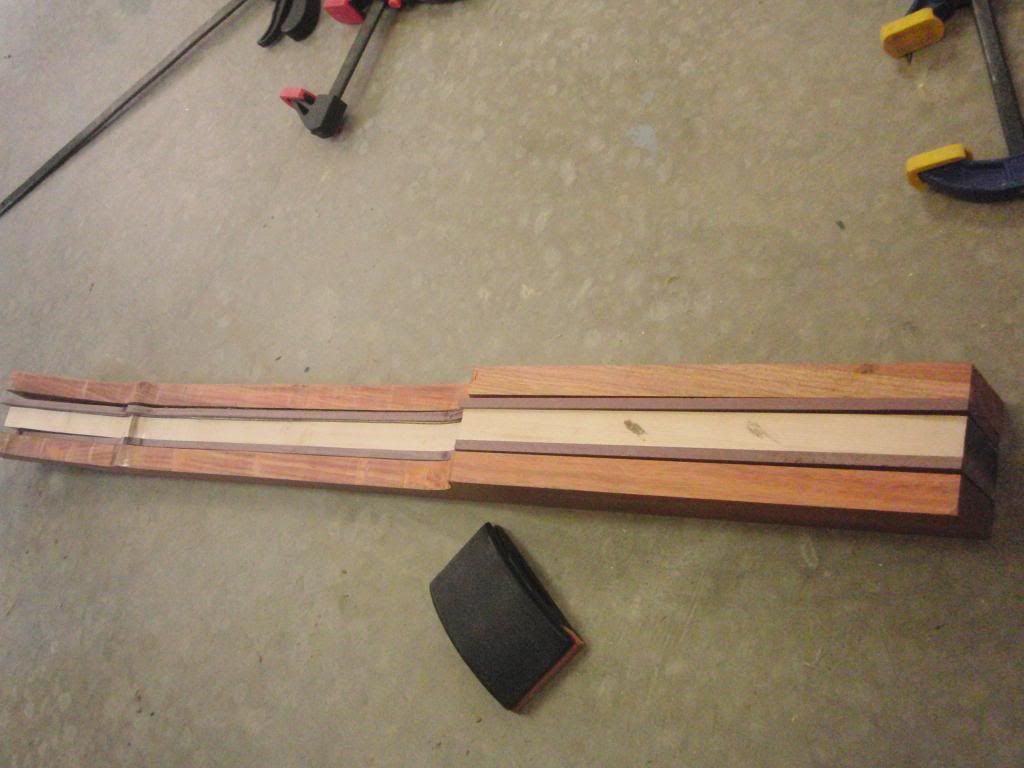
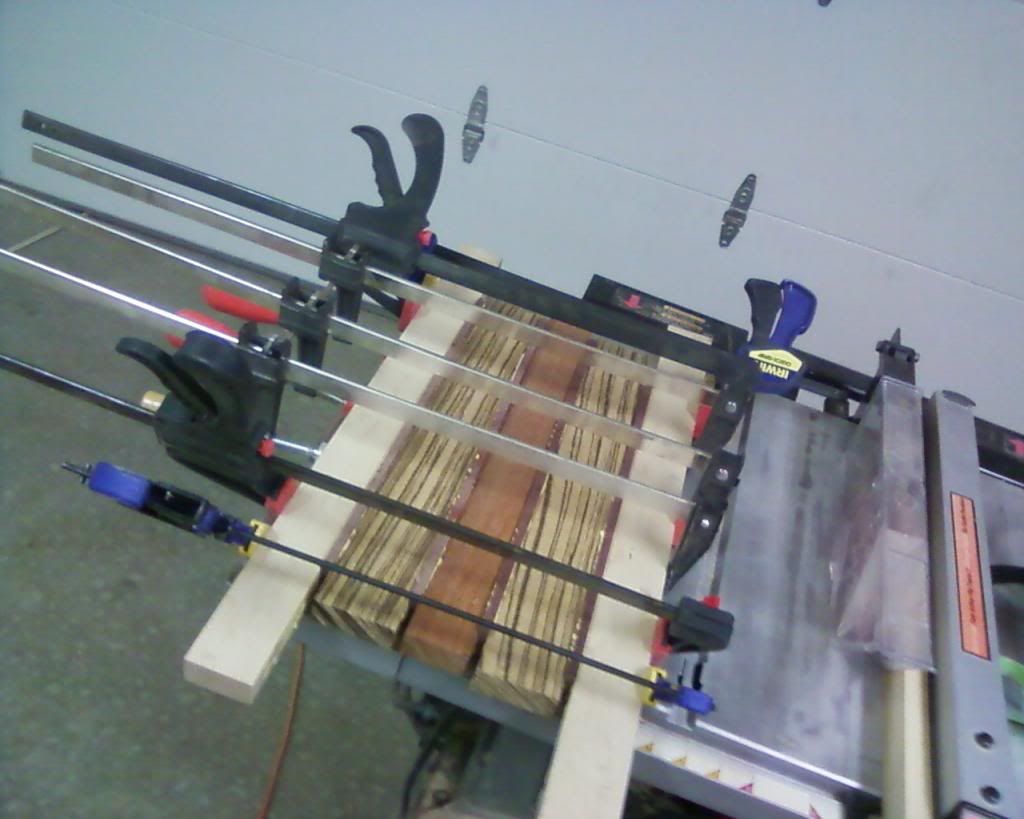
The 5 laminate pieces cut out for the neck
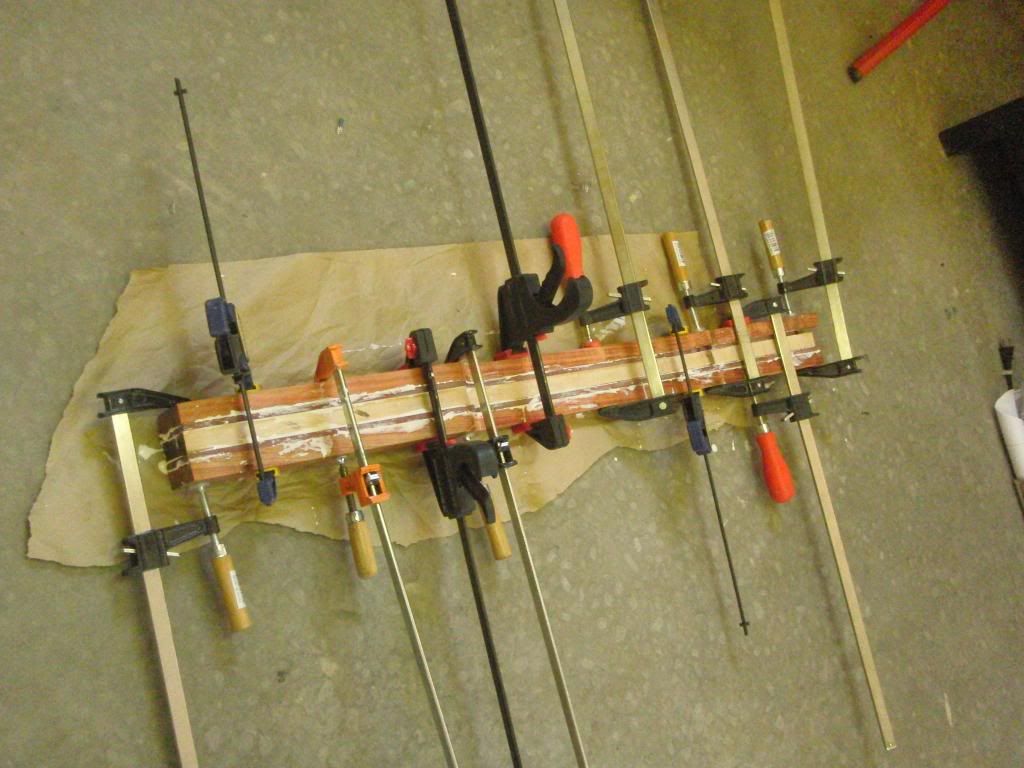
Gluing it up
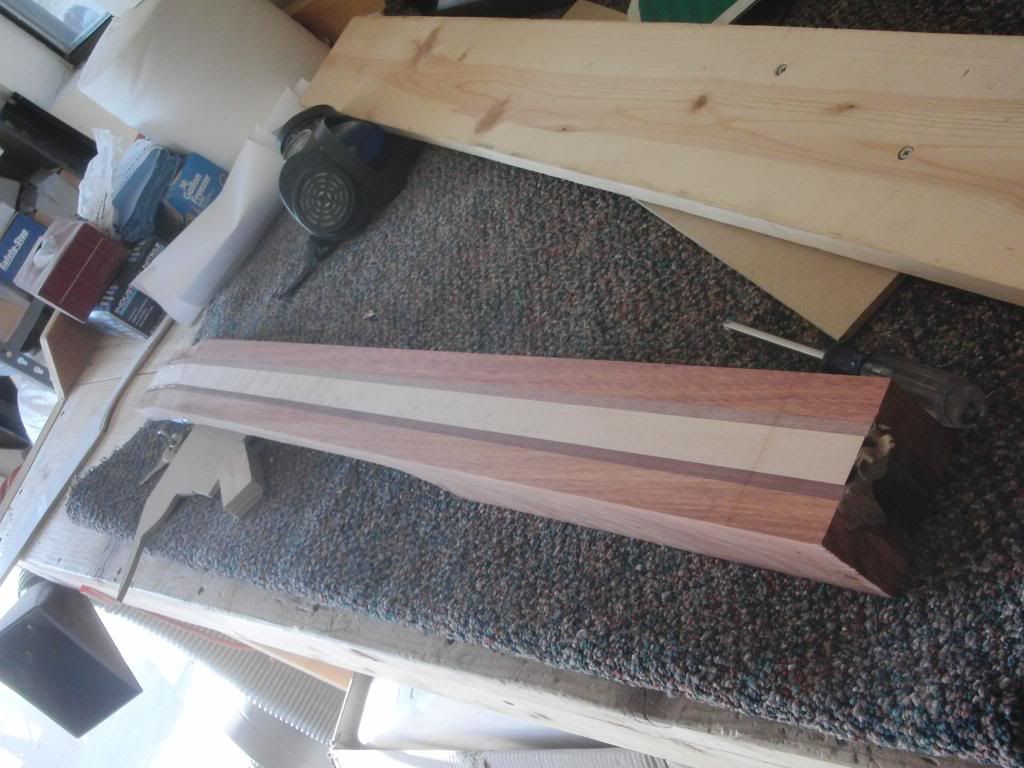
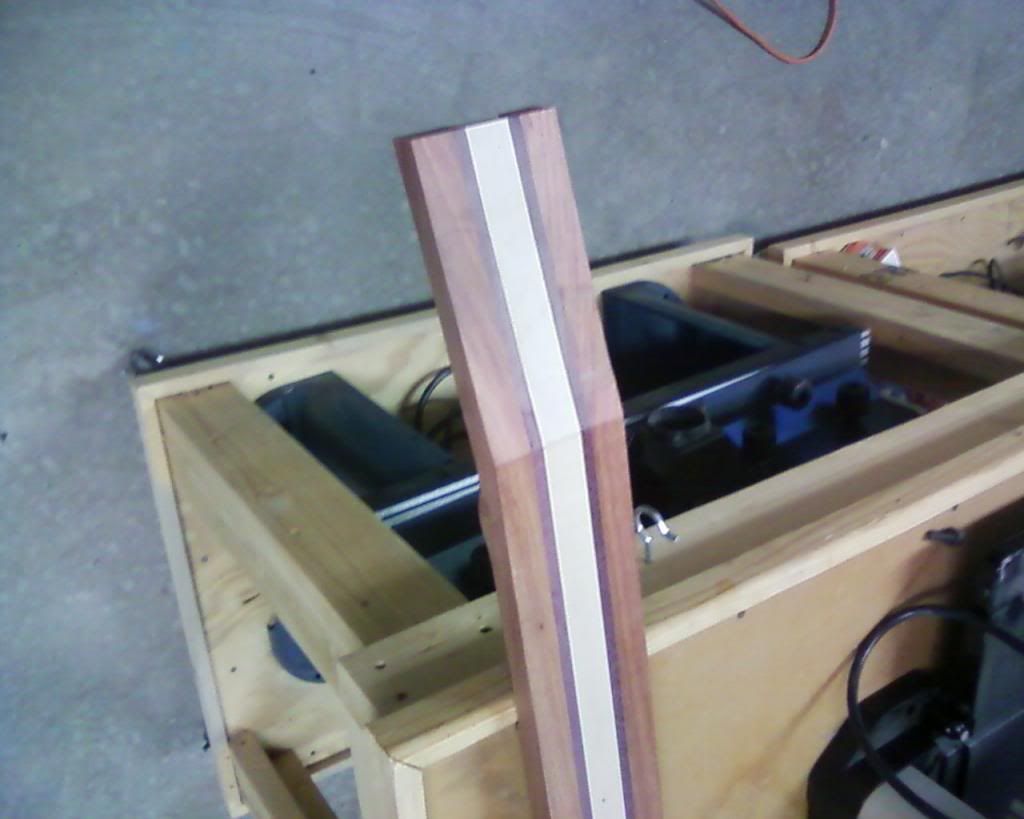
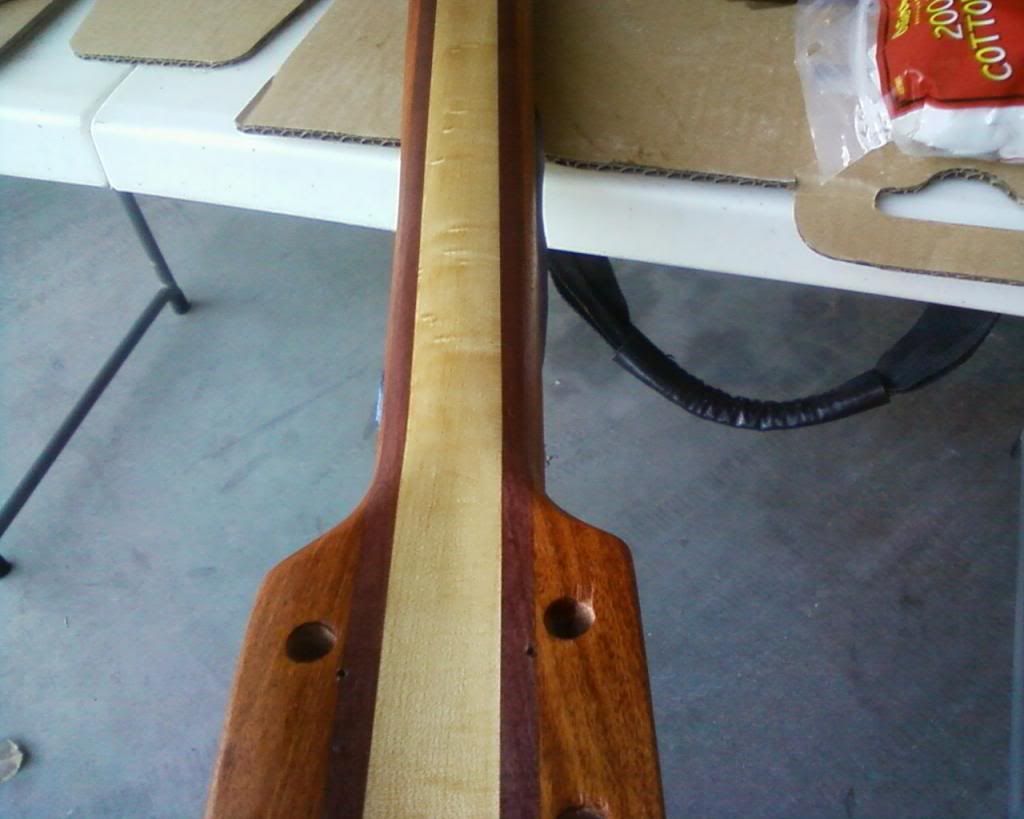
The top of the neck after being jointed
Ready for truss rod slots
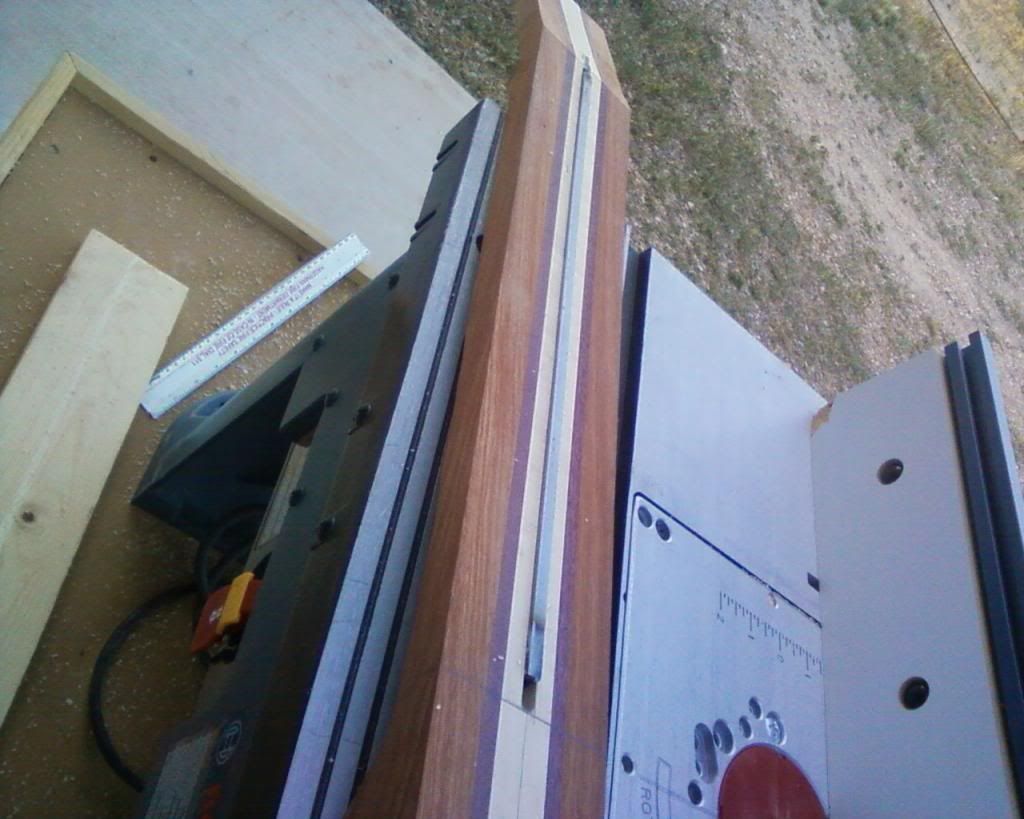
Truss rod slot cut
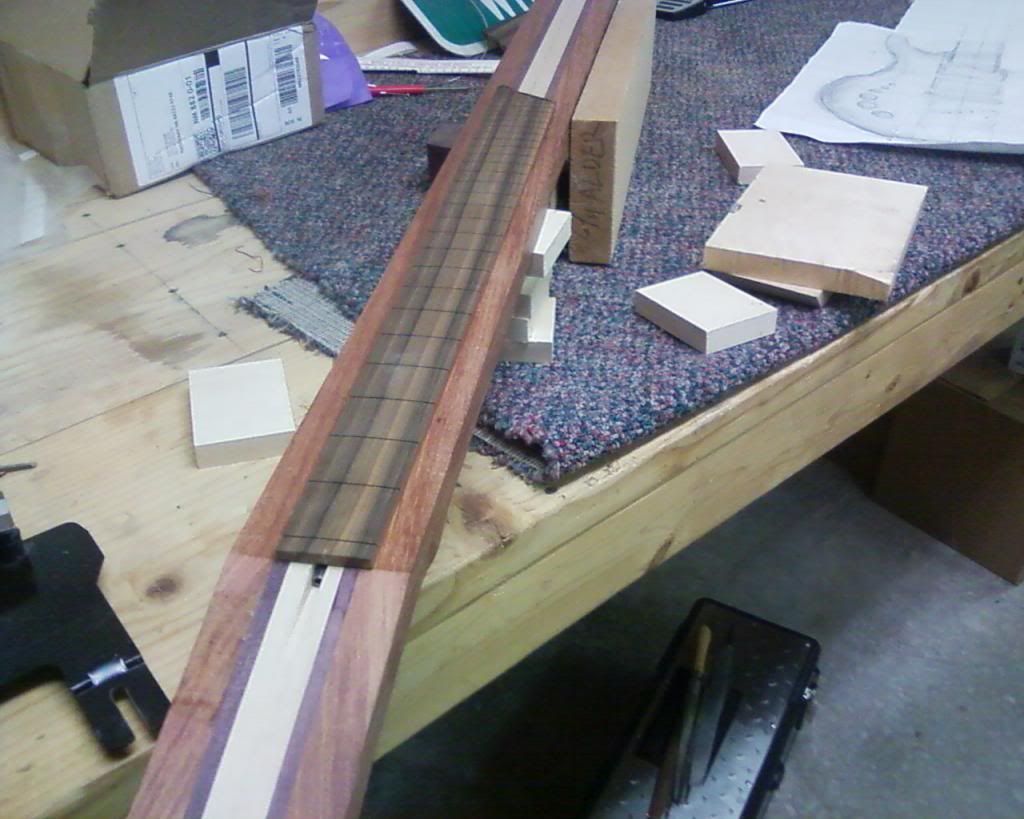
Fretboard being tested for placement
The top piece being created
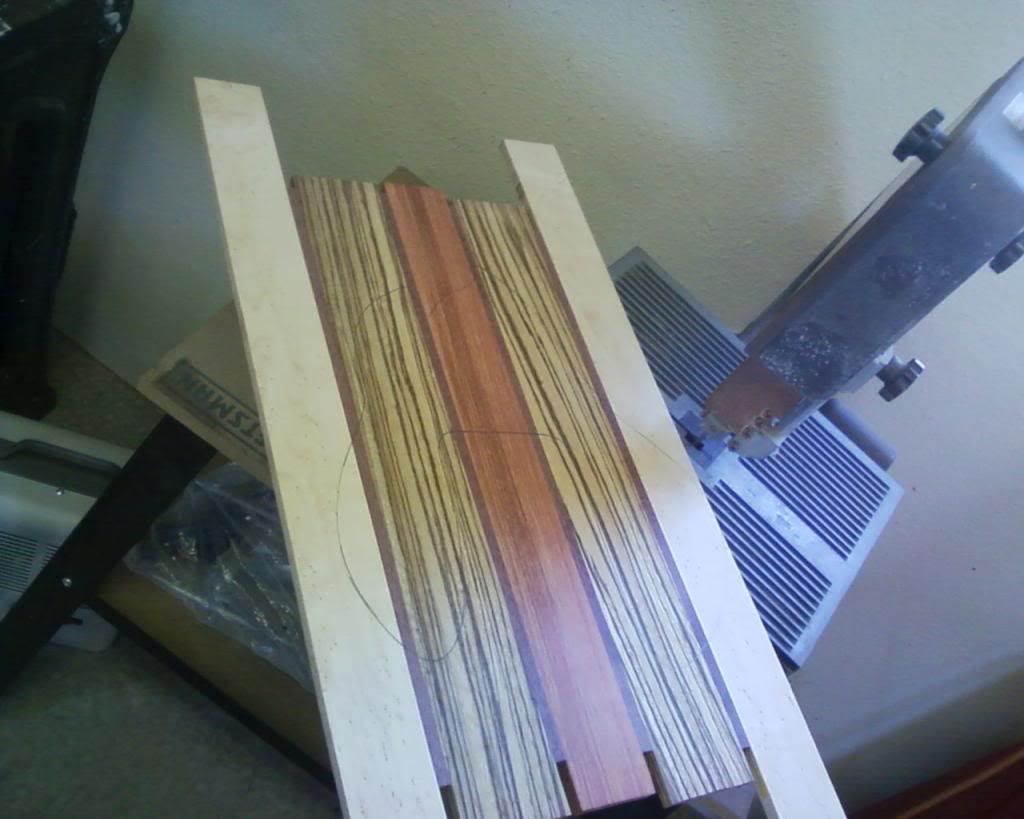
Cutting out the profile
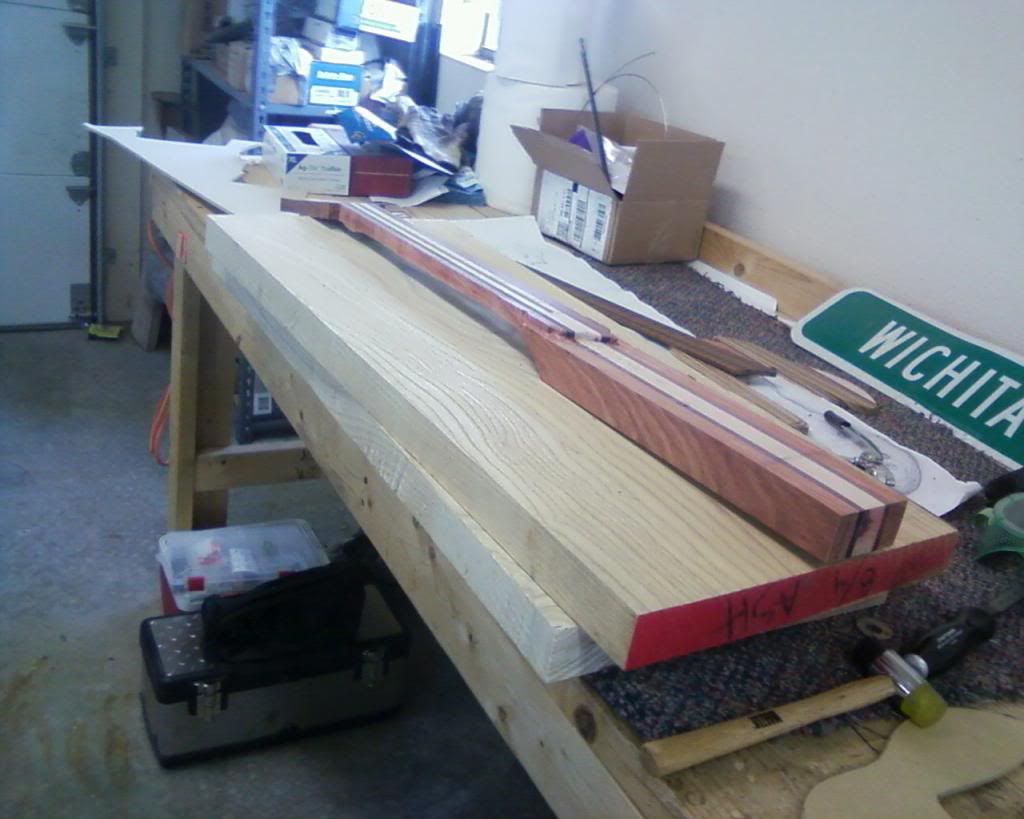
Huge chunk of white ash for the body
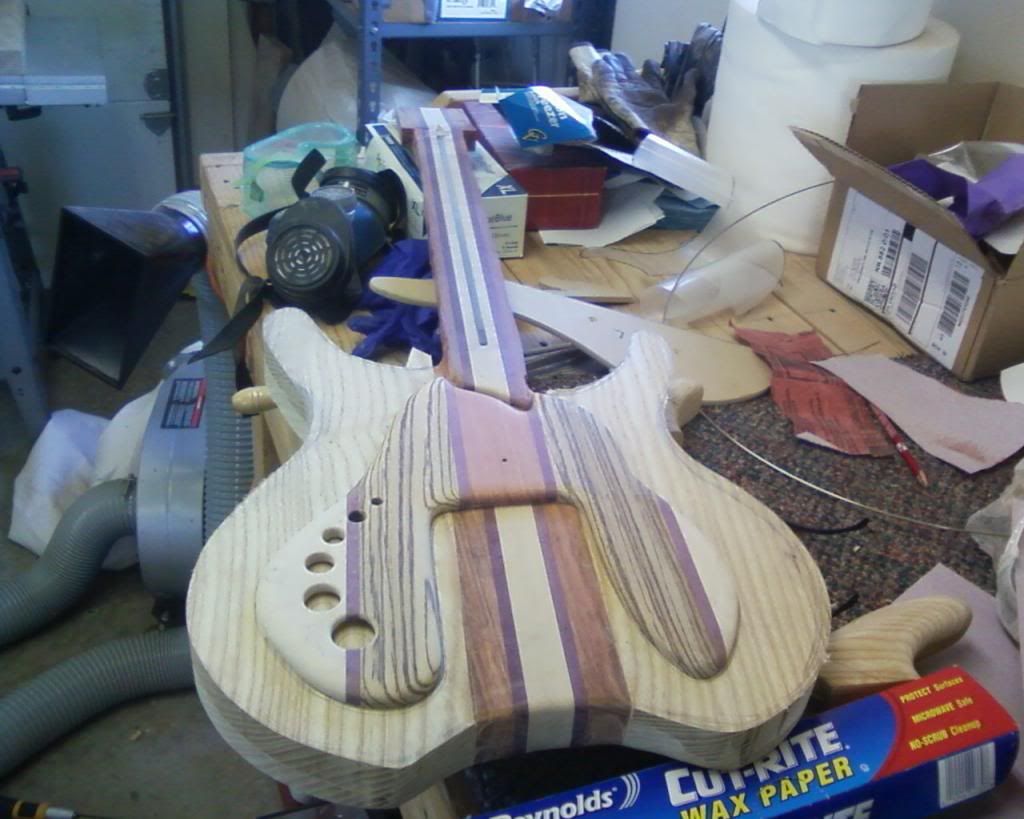
Body sides glued on and roughly shaped
Rounding out edges
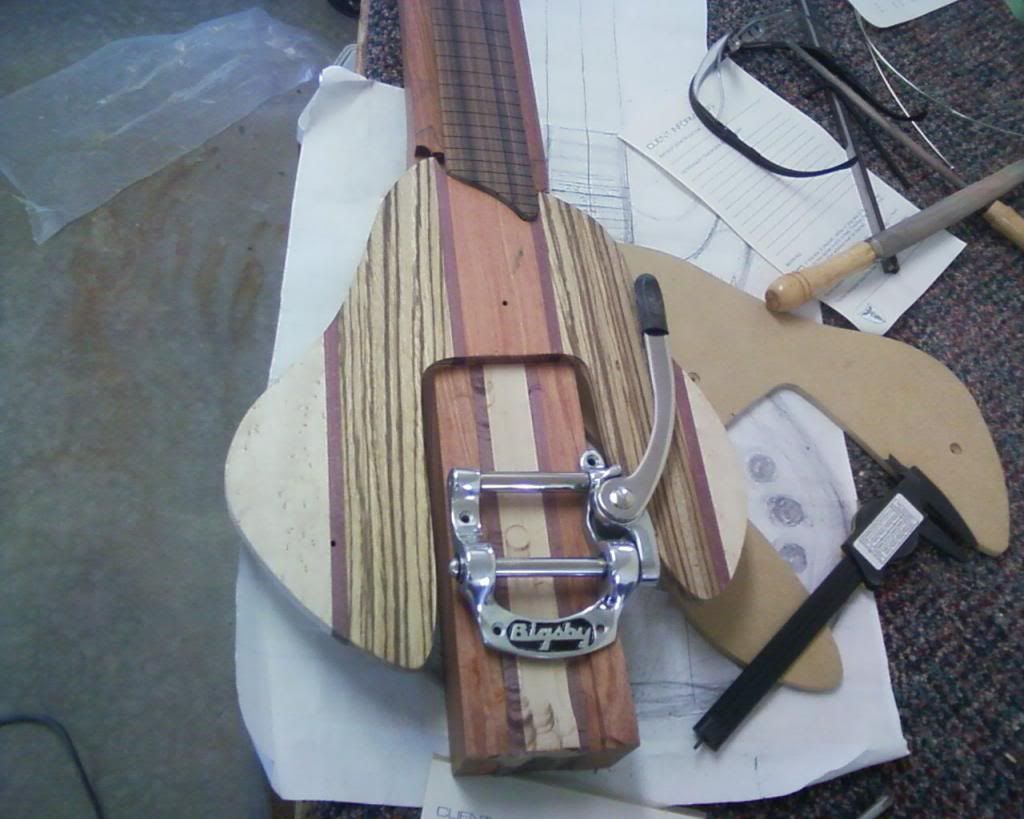
Checking fit for components
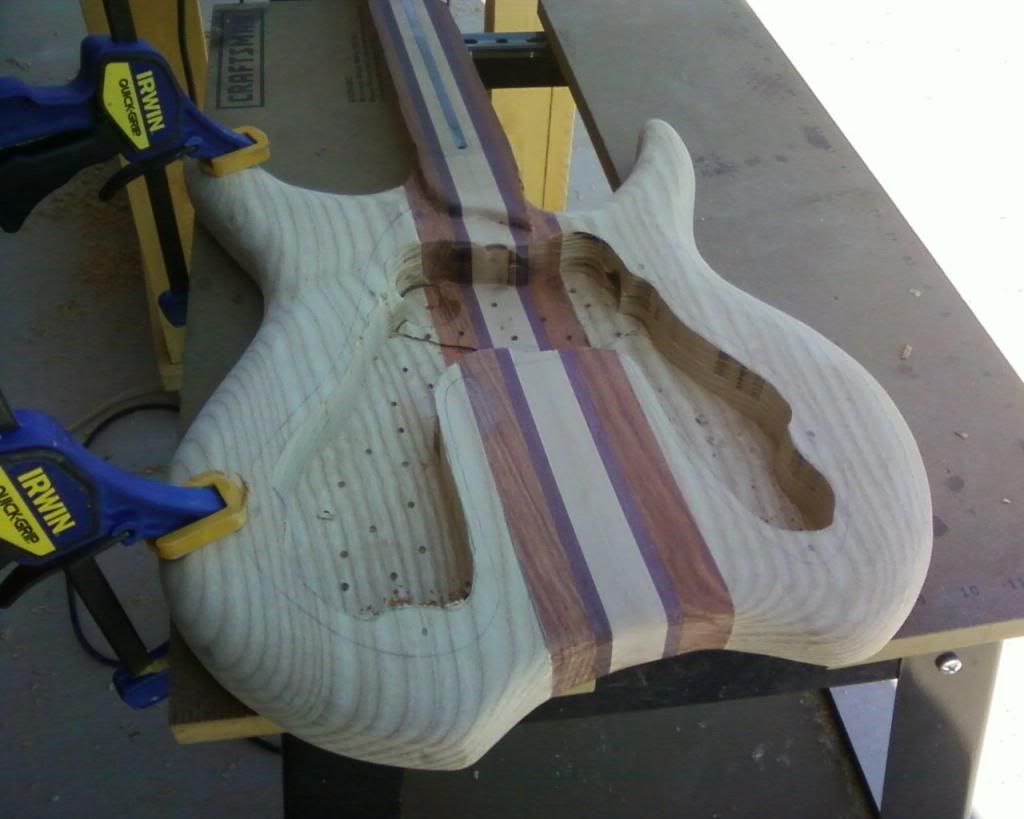
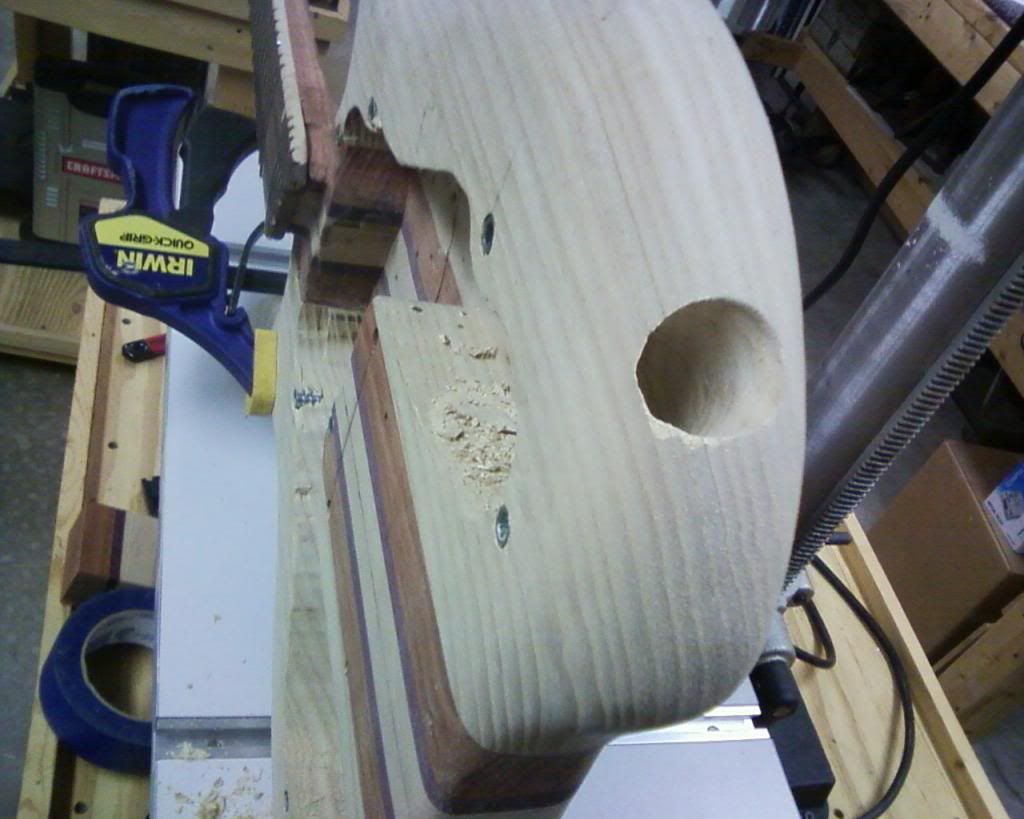
Hollowing out the body chamber
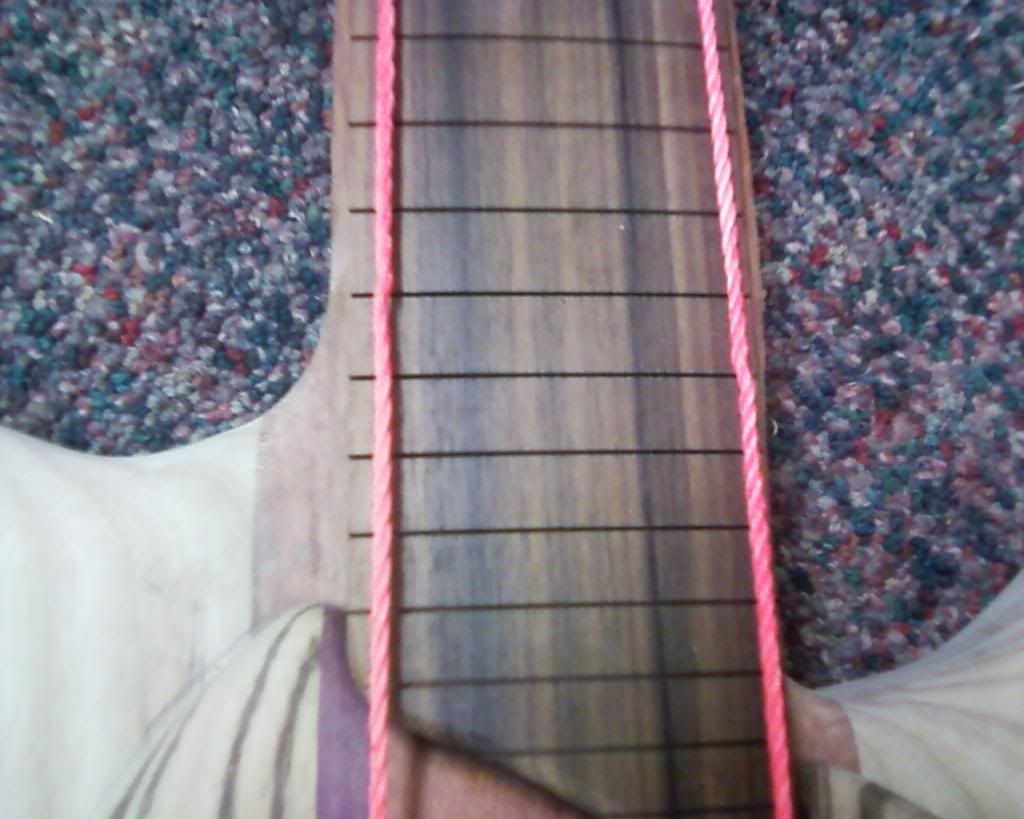
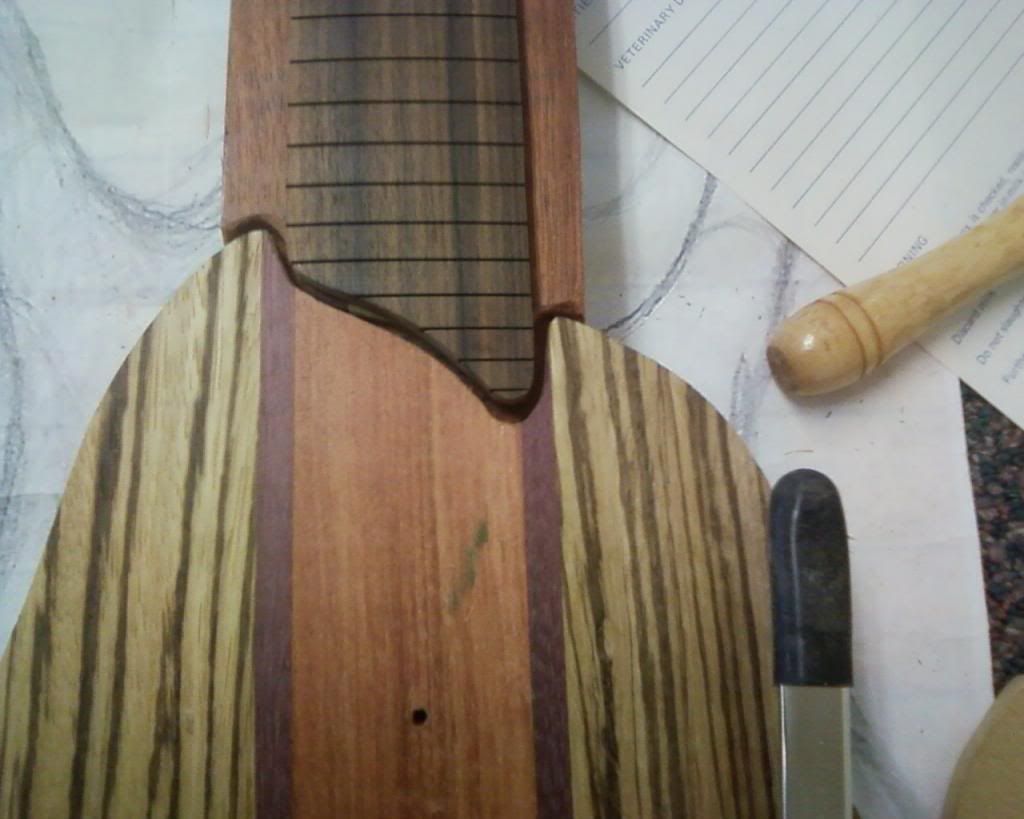
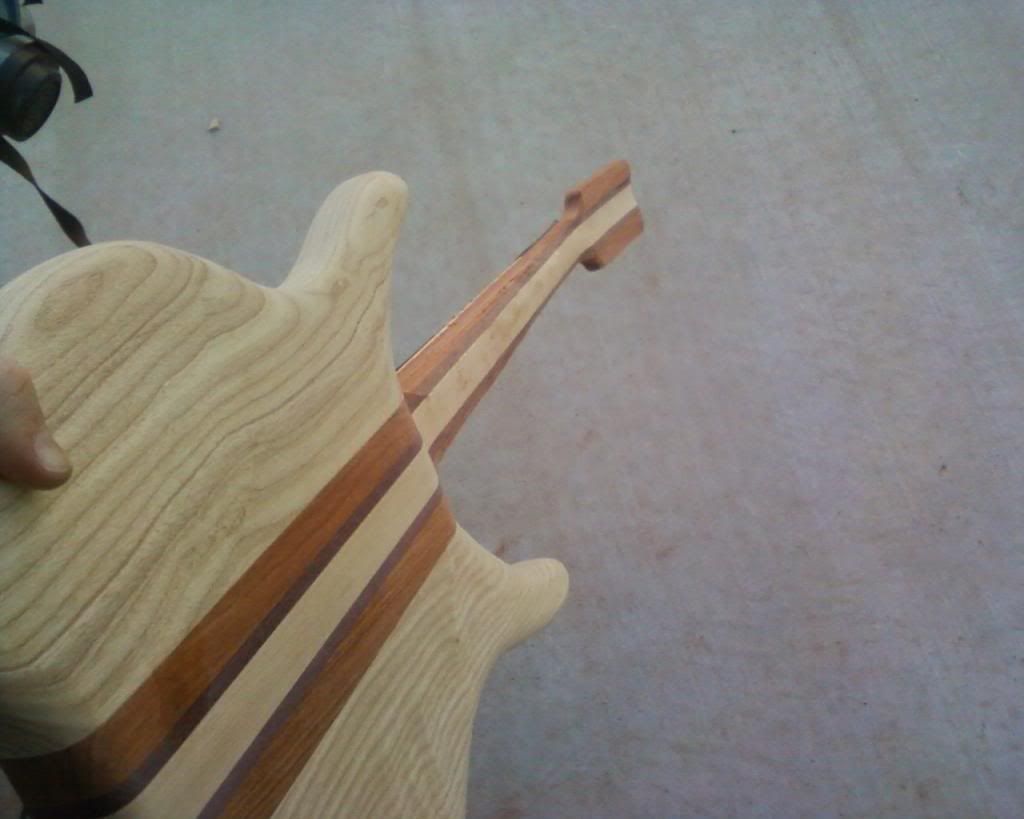
Strings are a little too close to the edge of the fretboard for comfort.
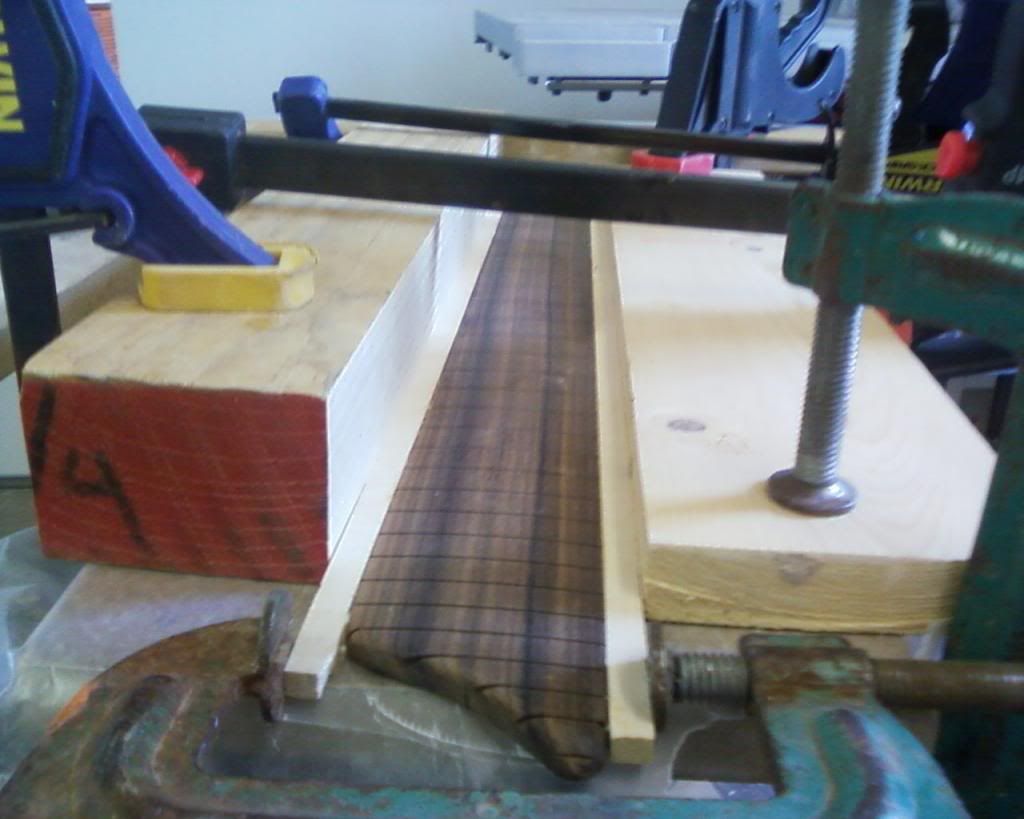
Solution! maple edge strips

Pickup hole cut, and bolts installed
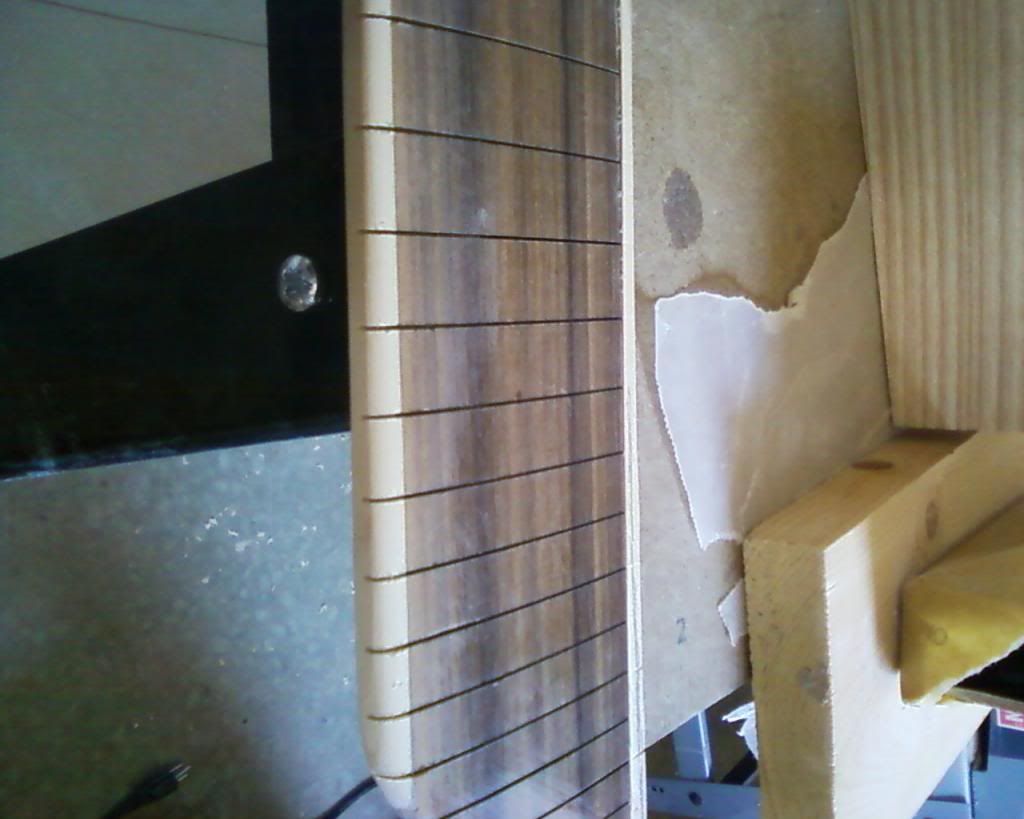
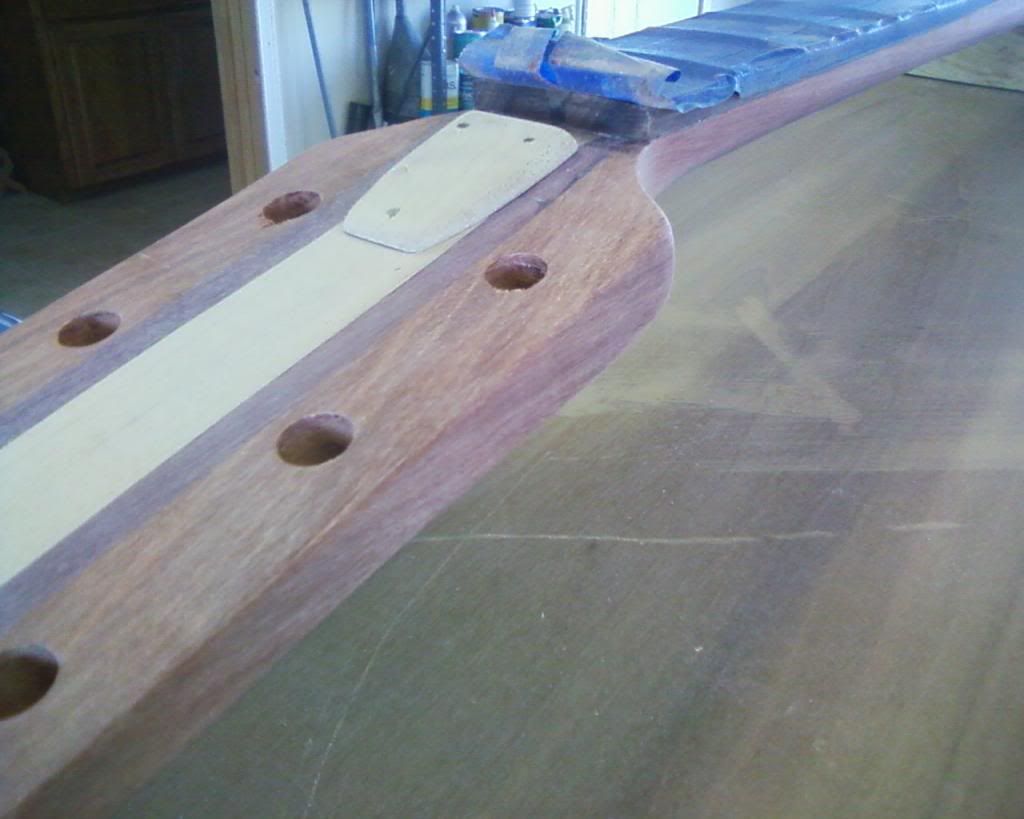
fretboard finished off a little better after gluing side strips on

fret dots being installed
gluing on fretboard
recesses for pots done

pressing in the frets on a drill press
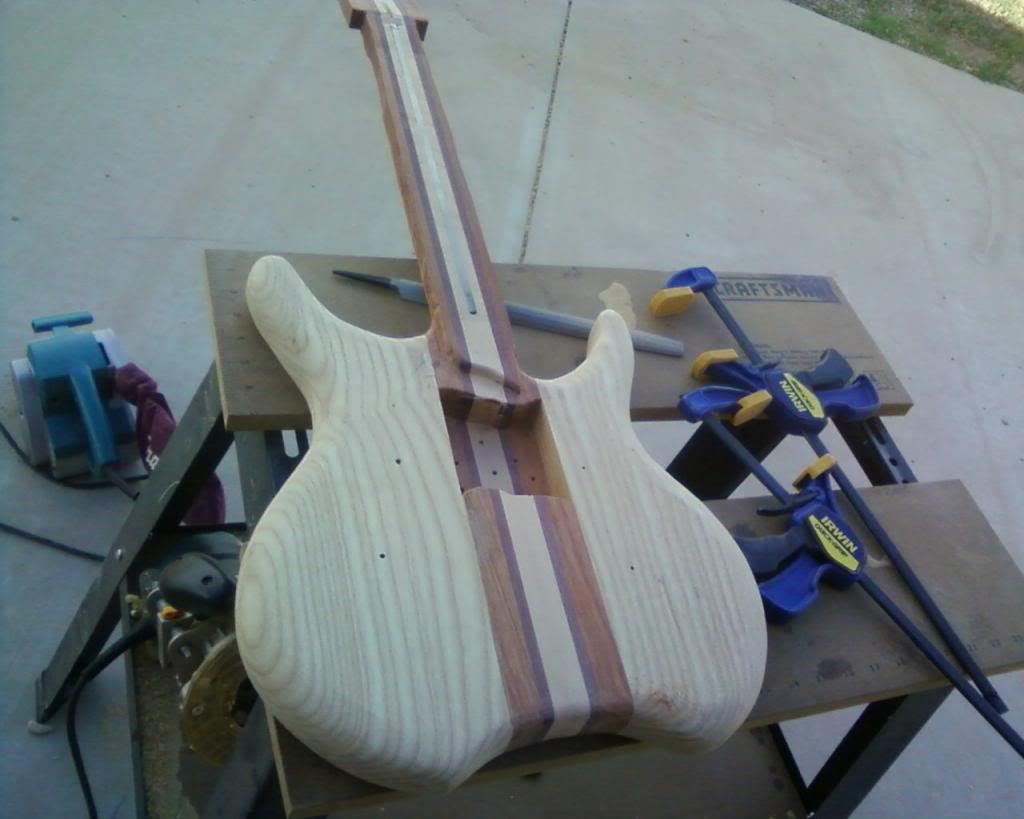
smoothing out the edges
jack hole cut out
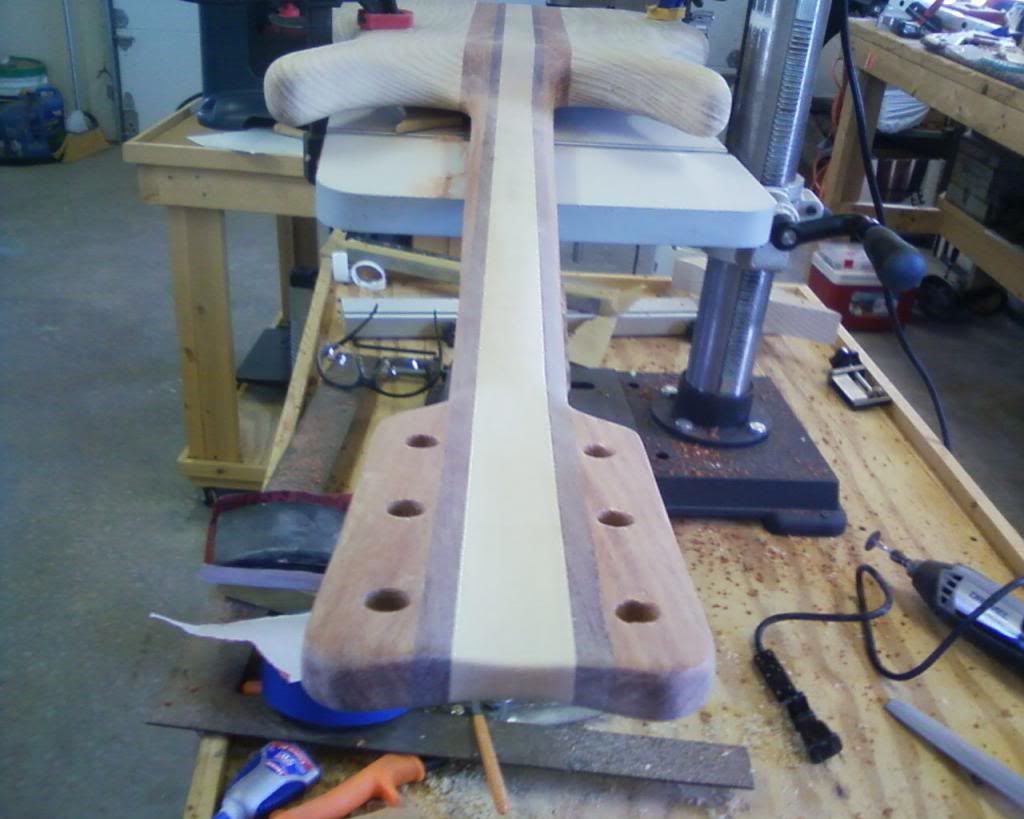
tuner holes drilled out
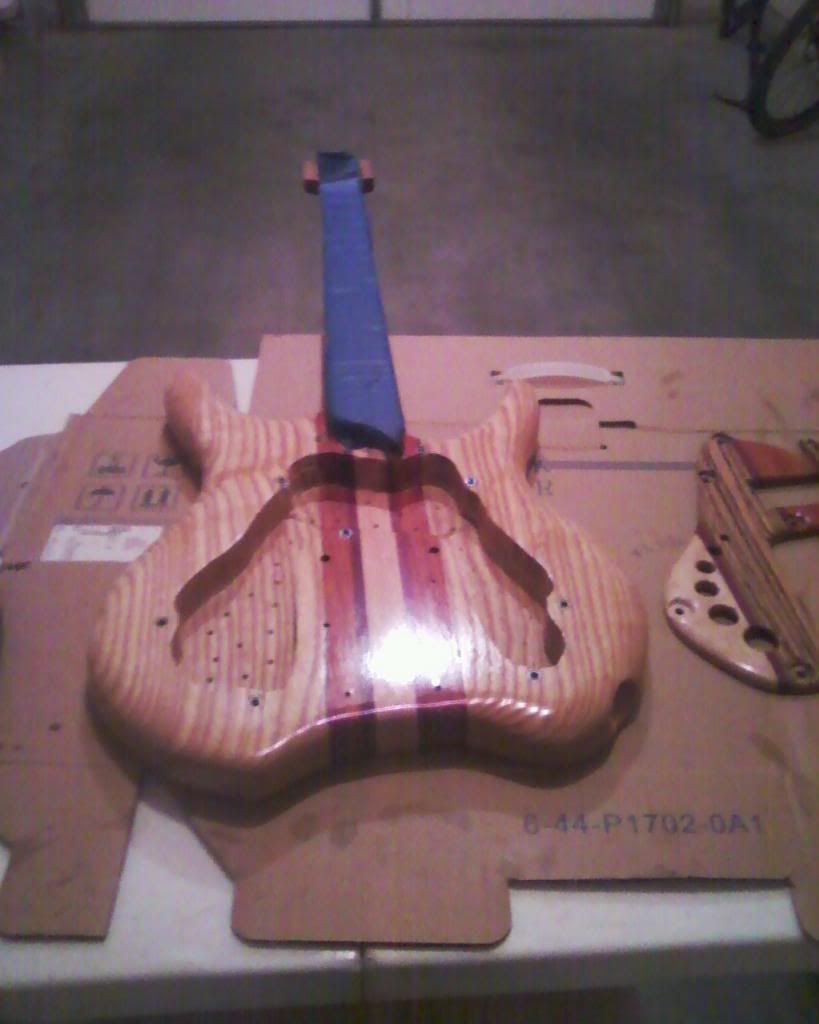
a small mock up of the guitar
almost done finish sanding here
starting Tru-oil coats on the neck
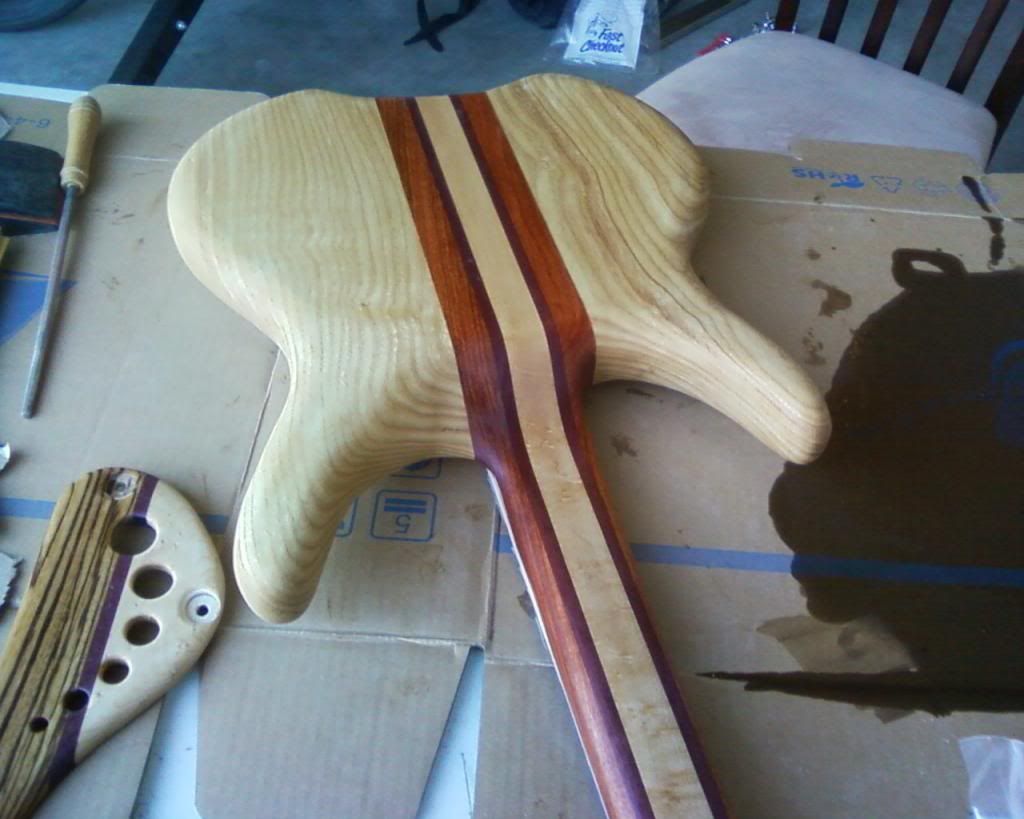
...and body
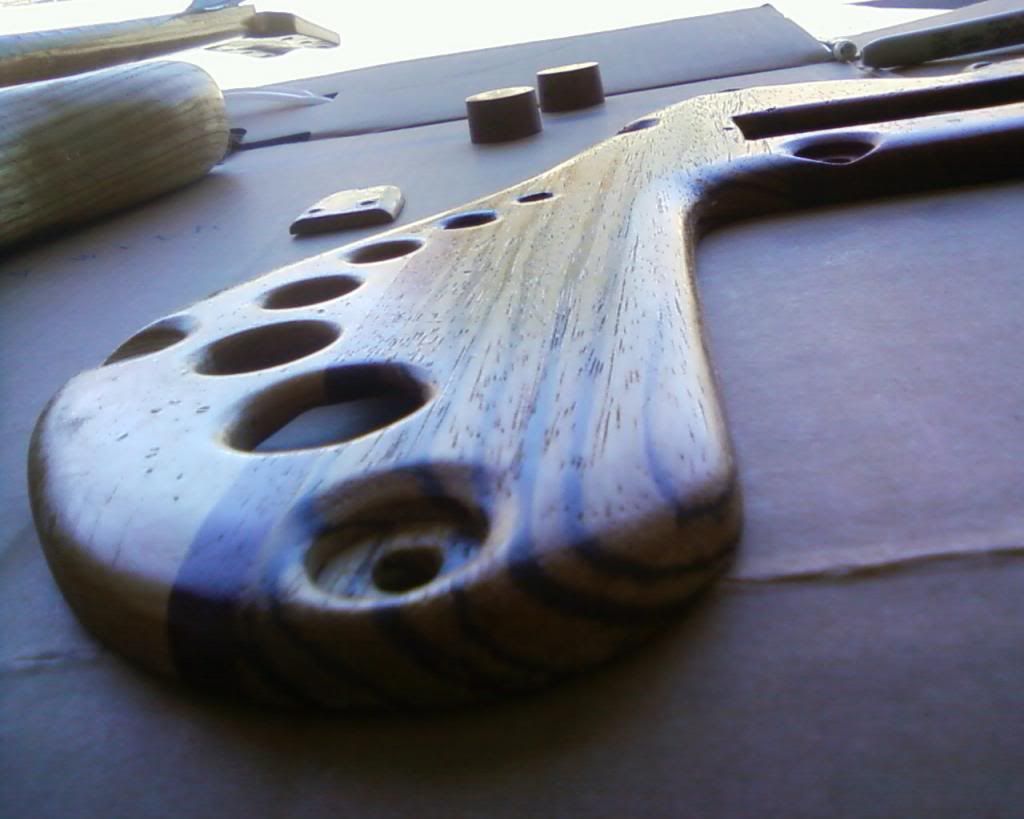
cover plate
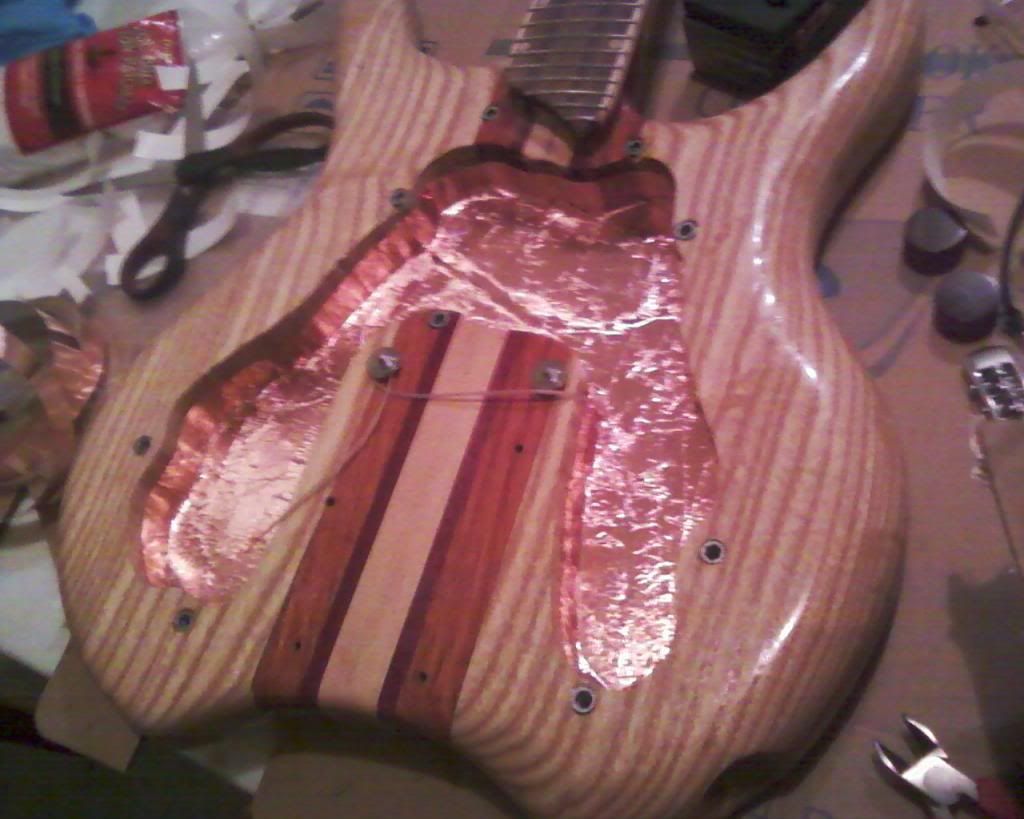
shielding
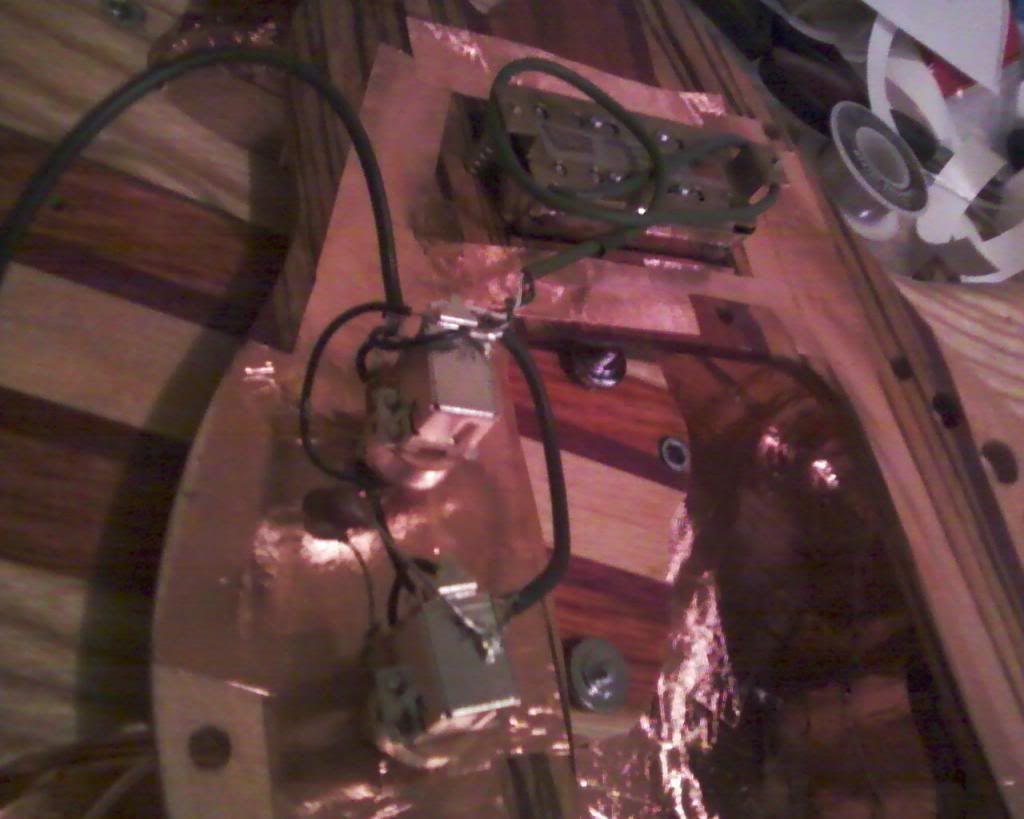
wiring it up
-
I have already built one guitar and posted the results here on the forum, but I have recently started a new one totally from scratch. I have built a rough neck blank from 5 laminated pieces of wood, and tried to plane the top and back side flat, with decent luck. It still seems that the top surface is less than perfectly flat, which needs to be fixed before I can rout a truss rod channel and put on a fretboard. I will be traveling to Wisconsin and staying there for about 3 weeks this June, and was wondering if there are any fellow guitar builders with the tools, such as a jointer, and expertise to help me finish out this neck blank. Please let me know if anyone can help. I will be in the Madison area. I hope this is an appropriate place to post this message too.
Thanks,
Justin
-
That's really looking great! I love the look of the open grained wood on the back. The oil finish really seems to fit this guitar well.
-
Thanks for the responses, I do plan on drawing it out to scale soon and I have since altered the horns a little, because I started to look at them and saw that they didn't quite fit. As far as the back side, I may just do the body wings out of one piece of wood. I am still thinking about my wood selections and I will probably go check out the local lumber store in the next week or two.
Another question, is there any easy way to draw up blueprint style plans if you don't have much experience with CAD or other programs? I suppose I can just take my time and draw it out to scale carefully on a large piece of paper too.
-
I recently finished my first build with a maple/purpleheart iceman design and I am now planning my second build. I have sketched up a few pictures of some preliminary ideas, but I was looking for a few suggestions. I decided that I wanted to do some sort of chambered/semi-hollow body design and include a pattern on the guitar top, similar to an F-hole, but with a different design. In my sketch, the design to replace the F-hole is a series of circles.
Here are the pictures of my sketches:


I am wanting to build a through neck, with some very colorful woods laminated together. The back side will be different contrasting colored woods, with the top being something with a very nice figure, maybe birdseye or flame maple. Does anyone see problems with my design? Or criticisms?...constructive or not haha.
Being fairly inexperienced with guitar building, I have a question as to how the shape of the hollowed out portion of the guitar will effect the sound. I am planning on chambering and hollowing out both sides of the guitar, not just the side with the hole designs.
Any thoughts/suggestions?
-
-
Well after about 20 hours of work between Friday and today, I managed to finish my guitar. Here are a few pics:


And here's a short video of me making some noise with it:
I was quite surprised to have the electronics work perfectly the first time I played it. This was the first guitar wiring job I have ever done, but I just followed the wiring diagram and added the necessary ground connections. The guitar is not perfect, and maybe a tad too heavy, but I like it for my first one. Thanks for the help along the way.
-
I put on 6 coats of the finish in two days this weekend, waiting about 2 hours between coats. I left the neck bare wood and will apply watco teak oil next weekend probably. Here are a few pictures of the finish on the guitar after several coats of ktm-9:


It looks really good in the light but a little dark otherwise. I still have a little work to do before it's all finished but I made some good progress this weekend.
-
I am just about to apply the water based lacquer finish this weekend, but I have a question somebody may be able to help out with. Should I apply the ktm-9 to the whole guitar including the neck? Does anyone have experience with the feel of a water based lacquer finish on the neck? The main concern I have is that the neck will feel too sticky and be too shiny, but I don't have a lot of experience with finishing, so I may be wrong. What would be the best choice to finish this thing?
-
Here are a few more pictures from my progress this weekend:
The guitar after hours of sanding:

The recessed bridge and string-thru locations after sanding:

A view in the shadows after sanding:

Holding the guitar:

I think it is just about ready for the finish next weekend. I am going to apply ktm-9 water based lacquer after a few more finer grit sandings. After I let it dry and harden for a few weeks I think I will be ready to assemble things.
-
Back cavity covers made:

Headstock router template:

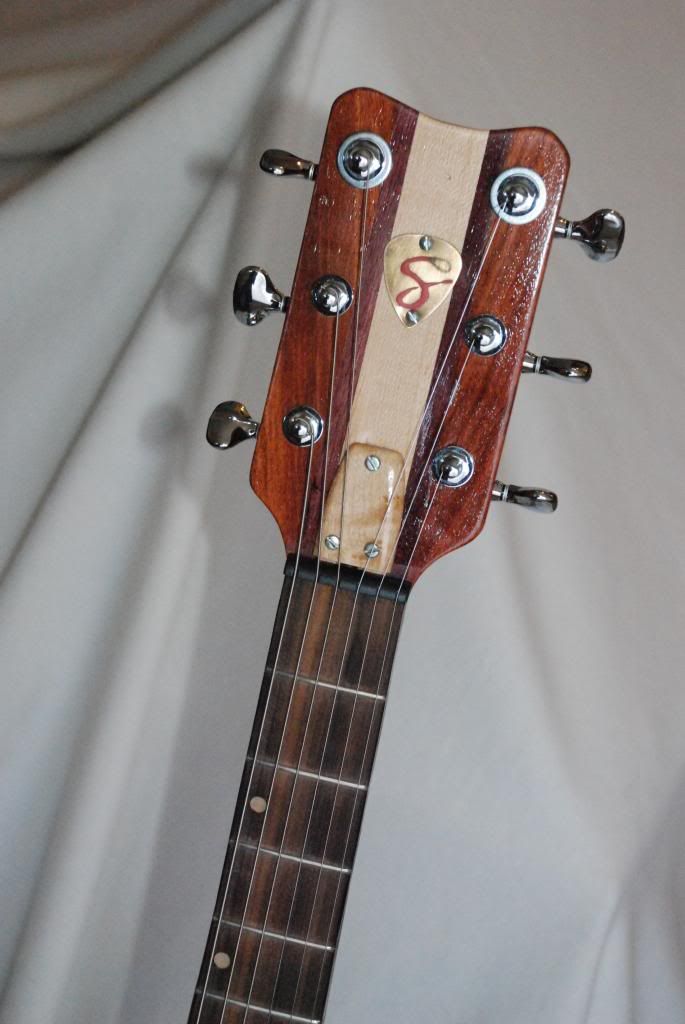
Headstock finished, tuner holes drilled and fitted:

Test fit of tuners:

And finally, the step that I am at right now: Getting the string through holes recessed a little into the body because my break angle of the strings is borderline at around 7-8 degrees from the bridge. It is very rough right now, and I'm still trying to clean it up and make it look nice!

That's all for now, hope you enjoy the pics. I'm a big fan of this forum and have been lurking a long while before I tried to build my own guitar and post on here. I hope to stay involved with the forum throughout my build and hopefully future builds.
Thanks for looking.
-
Roughing out the back cavities:

Routed pickup and bridge cavity

Electronics and controls mockup:

Bridge mock up:

String thru holes drilled:

Retainer ferrules ready to go in:

-
I found some time to upload all my photos to webshots and I just wanted to document my build so far, if anyone is interested.
Being quite inexperienced in guitar building, not necessarily woodworking though, I decided to have my neck built for me and complete the guitar from that point. Here is what I started with: A through neck blank, a big slab of purpleheart wood, and some guitar plans. I soon made a template out of 1/4" MDF to use as a router guide.

I drilled holes in the sides of each of the pieces to connect the pickup and control cavities before I joined them together. Here's an example of one:

I put about 5 dowels in each side to make sure it would be strong. It may have been overkill but I thought it was a good idea:

Gluing it together:

Rough cutting on a bandsaw:

Safe-T Planing the back side to get it to desired thickness:

Starting the router bit with template:

Top part done:

Sanding the back:

Roughing out the pickup cavities:

-
I've also built a guitar out of solid purple heart. If you don't want it to turn brown, use a VU protectant in your finish. After a few hours exposed to light, it will start to loose its purple look.
What kind of finish did you end up using on yours?
-
will be heavy. agreed. in the future, you can hollow out the wings before glue-up to save some weight. I shaved off 2 Lbs from my bass doing it that way.
I've used Watco's Teak oil on purpleheart with nice results. not glossy, but still has a nice 'sheen' to it. It's easy to apply too.
Nice looking build you have going.

That is one cool looking bass! So how long has it been since you finished that and applied the teak oil? I'm sure you are familiar with the big question of whether various finishes will cause purpleheart to turn brown or lose its color over time. Is your bass still holding the color well? Because right now I am considering using an oil finish or a water based lacquer finish.
-
I made a 59 Flying V out of all purple heart, neck included, it weighs in around 11 or 12 pounds. I don't play it standing up much though it does balance well, usually sit down on the couch with it.
I think that will end up being how I play mine haha.
By the way, since you made a guitar out of purpleheart, might I ask what kind of finish you used? And if the purpleheart looks good with it? I'm still contemplating finish choices right now.
-
I worry about your angle on the strings after the bridge.
One thing to always consider is you need at least 8-9 degrees of break angle on a string to get enough downforce to hold it in a nut/bridge/saddle. I think you will end up having to recess the string ferrules and a a path to the bridge.
That thing is going to be really heavy. Coming from a known Destroyer builder I can tell you never build big guitars out of heavy wood....
Other than that looks well enough. Look forward to more progress.
Thanks for the input, I will have to go and check how much of a break angle I have for the strings after the bridge. It's alot easier to fix now than when the guitar is almost done.
Yeah I have come to accept that fact that I built too heavy of a guitar....
There's not alot I can do about it at this point I guess, except learn from the mistake. Hopefully it will still turn out looking good though.
-
In hindsight I probably would not have used purpleheart for the body because of its heavy weight, but this piece was too pretty to pass up. With all the cavities routed out, the guitar is not too terribly heavy.
Specs:
25 1/2" scale length
24 frets
Rio Grande Humbuckers
Schaller Roller TOM Bridge with string-through body design
Schaller locking tuners
Graphtech black nut
Two volume/two tone with coil tap
I ended up keeping no neck angle and recessing the bridge the appropriate amount to account for the action adjustment. I am hoping to still get good results with this method, as I have seen several other guitars like this. For me, this was alot easier than working with the neck angle.
Here is another view showing the bridge recess
Any constructive criticism or comments?
-
I am getting close to being finished with my first guitar build and thought I would share some pictures. The style is taken from the Ibanez iceman but there are some modifications that I made. Here are a few pics.


I would have posted more, but this image posting business is quite painstaking...


exotic double cut chambered guitar
in In Progress and Finished Work
Posted
Thanks! I appreciate it.