


Calum_Barrow
-
Posts
159 -
Joined
-
Last visited
Content Type
Profiles
News and Information
Tutorials
Product Reviews
Supplier Listings
Articles
Guitar Of The Month
Links and Resources
Forums
Gallery
Downloads
Posts posted by Calum_Barrow
-
-
Thanks Dan.
I've just ordered the maple for the 12 string neck from Touchstone (as Craft Supplies STILL don't have any in after like 4 months). Cost almost three times as much, but to be honest, I'm not fussed, as I need the wood and it's been ages. I also ordered the abalone dots for the rosewood board thats going on it

Tomorrow I'll probably make a template for the electronics cavity (got the shape on some tracing paper ready to transfer onto MDF), maybe rout it out, and maybe make the 6 string neck pocket deeper (I realised after I put the bridge on that it's too high).
Calum
-
wow you've really got your skates on with this one now! I think the chambered top on the 12 string is done really neatly..as is all your routing actually! the white binding on the F hole is going to look sharp!
black speed knobs all the way! better watch out when this is done that you don't have me turning up at your door wanting to play it!The chamber is ok, but the bottom of it was really untidy before. I've tided it up a bit now, but I haven't finished yet. And I think my routing is pretty good, considering I'd never even touched one before this project. I'm also pretty chuffed about how well the f-hole looks now that I've bound it (only 0.5mm binding, but it just sets it off IMO)
Thanks for all the support guys! I'll keep you posted with any news and pictures.
Calum
-
Routed out that hole for the 12 volume pot, and I did a little work on the bridge too (bone absolutely STINKS when you're filing and cutting it
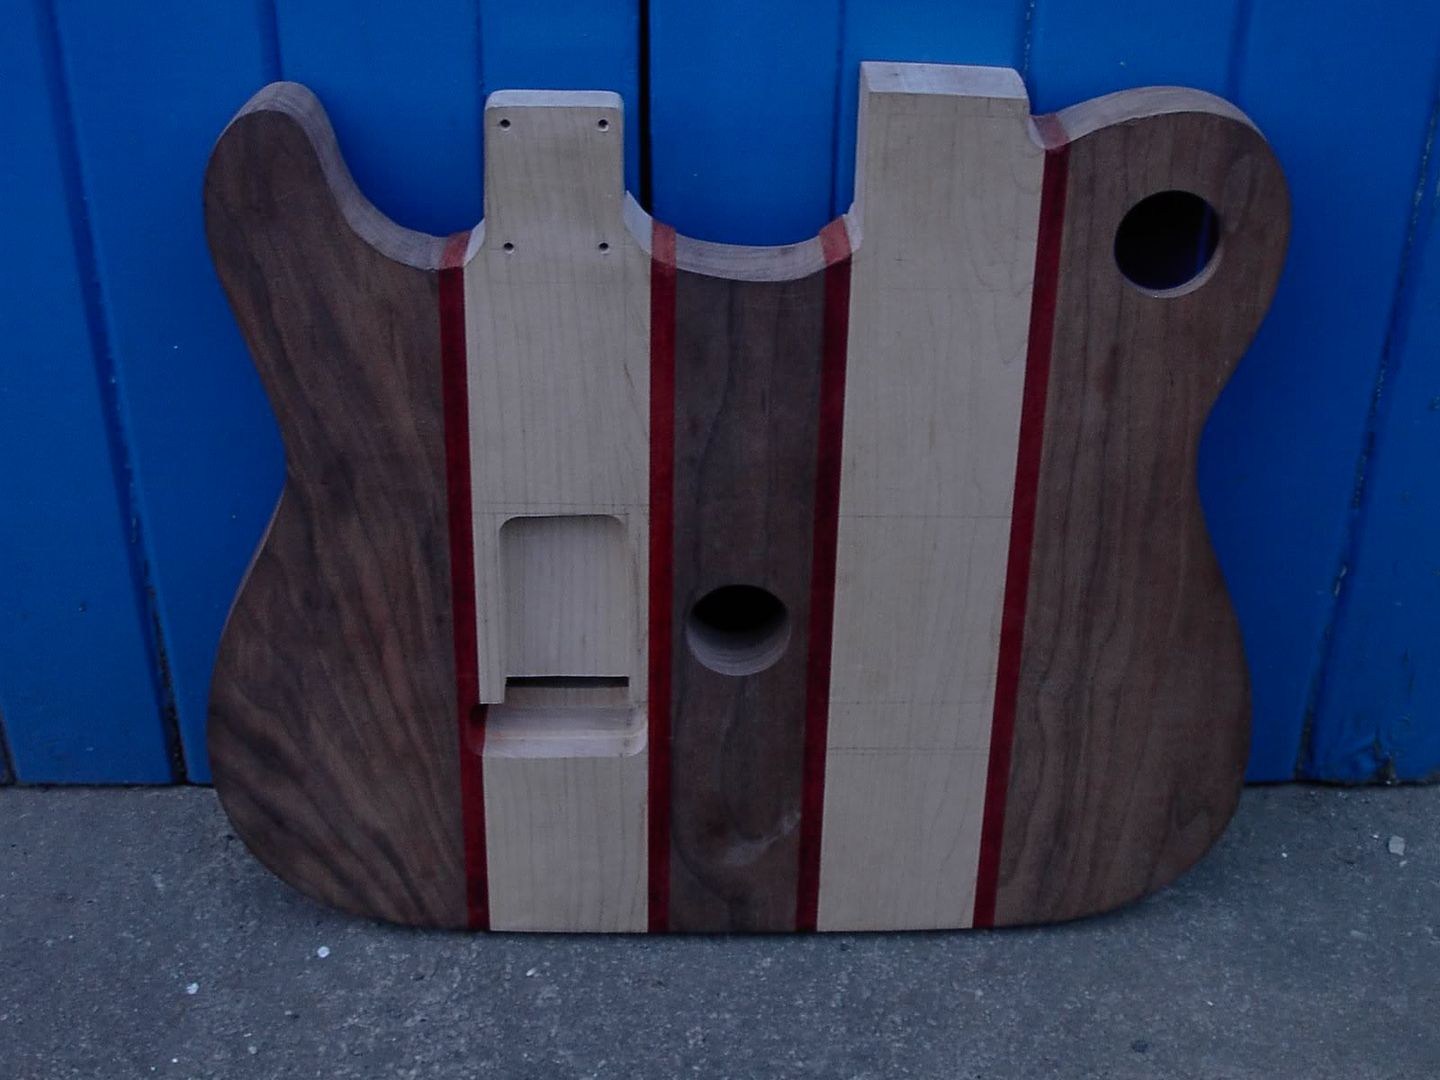
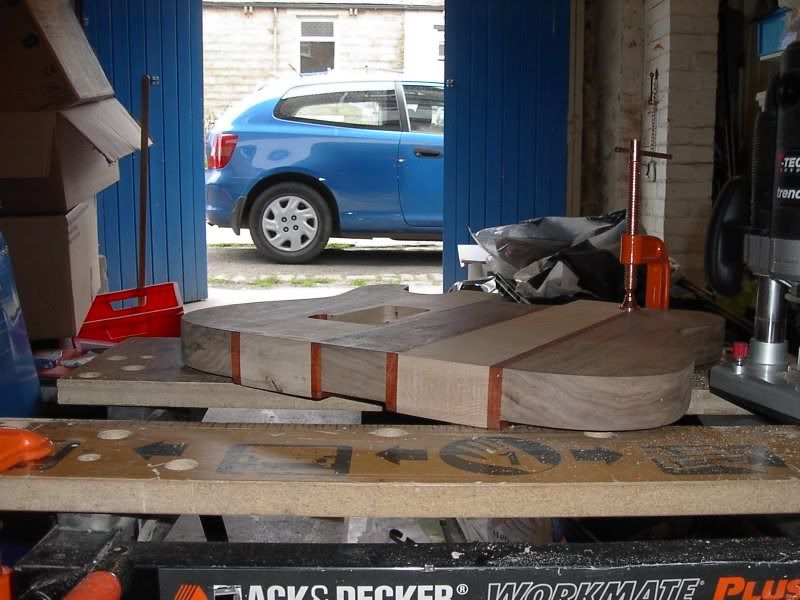
)Body as of now: (not a great photo, as it was going dark, and no, the trem cavity isn't square on the top side)
http://img.photobucket.com/albums/v200/Calum/093.jpg
The side markers (and I've noticed the bandsaw marks on the body; I'll get rid of them later)
http://img.photobucket.com/albums/v200/Calum/097.jpg
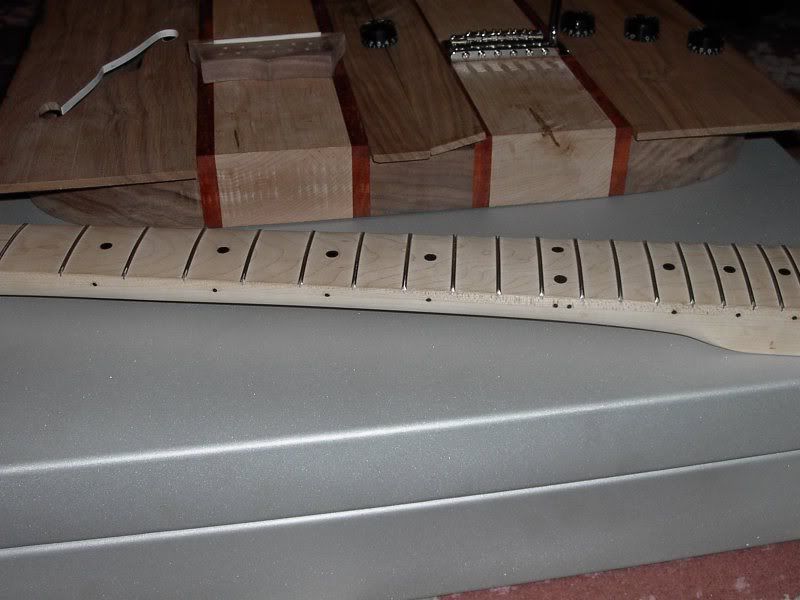
And a simple mockup.
http://img.photobucket.com/albums/v200/Calum/095.jpg
It's getting there..... sort of.
Pickup cavities done. The body has no gone from 9.4lb to 8.4lb, then to 8.0lb and now down to 7.8lb. Hopefully the electronics cavity, the other neck pocket, and all the other bits and bobs should bring it down to about 6.3 (hopefully anyway). I would reccomend the Trend weight loss program to anyone.
http://img.photobucket.com/albums/v200/Calum/098.jpg
F-hole fully bound and drying (it'll be scraped flush after, and it'll look neater too).
http://img.photobucket.com/albums/v200/Calum/100.jpg
I thought my router had almost died halfway through doing the pickup cavities, but it hadn't. It suddenly changed its noise and became less smooth running than before (it sounded as if a bearing had gone or dust and crap had got in to me) It was pretty hot, so I took the top off, and gave it all a good clean and oiled the plunge posts. It's fine now (thank god).
Now and after tea I'm going to get to work on marking out a template for the main electronic cavity.
Calum
-
Yeah axesrus ship really fast, and they've got a massive range too.
And I made the radius sanding block using the jig thats shown somewhere on the tutorial section on here, but it wasn't too effective as mine was half-assed and wasn't consistent. So, what I did was I took a few passes with the router, cut the radiused part of the timber off, and got a new piece of pine. Then at either side of this new piece, i used the router cut piece as a template and drew the profile onto the sides. Then I got out some chisels, sandpaper and a round surform and shaped the block by hand. It works great.
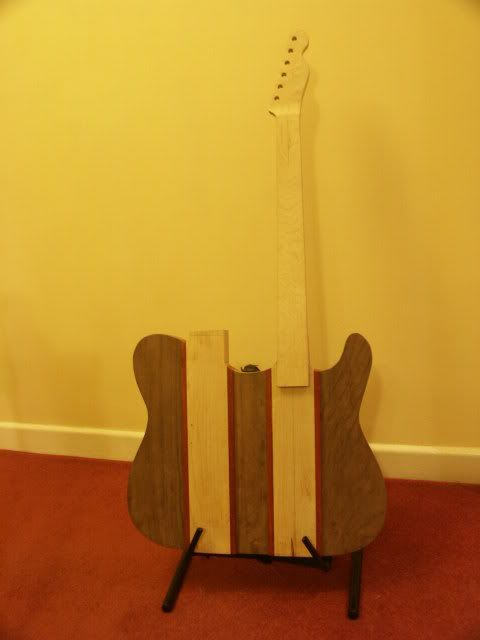
And BTW, I chose that maple from three neck timbers to use because of the nicer grain on it.
Calum
-
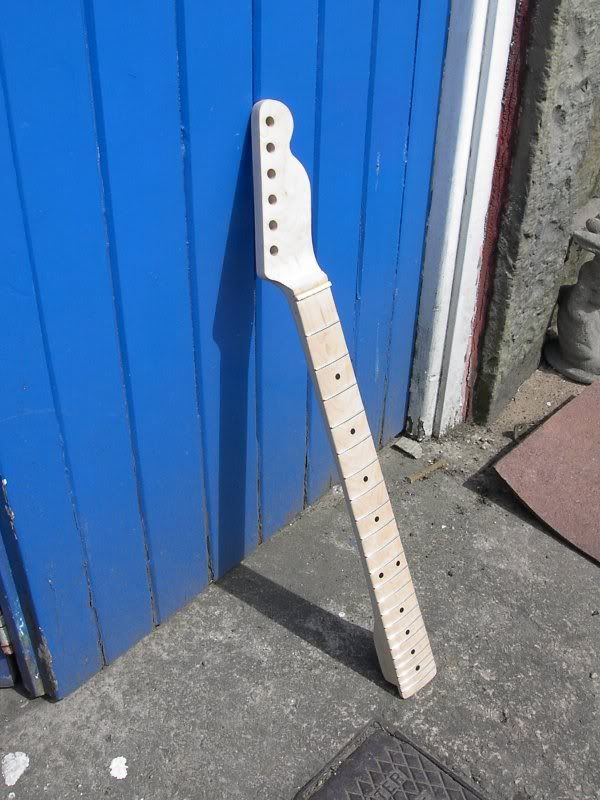
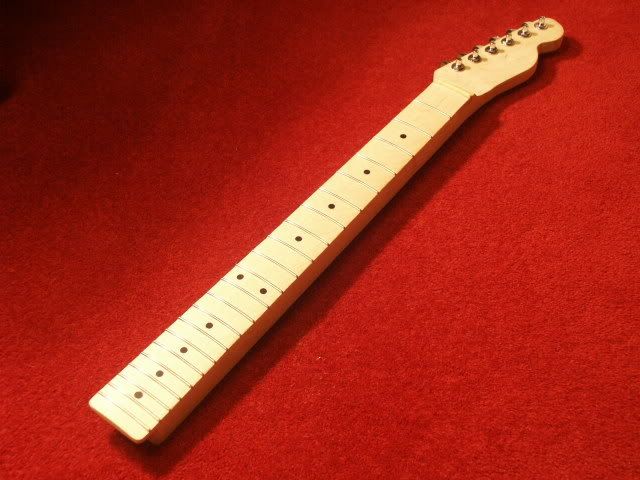
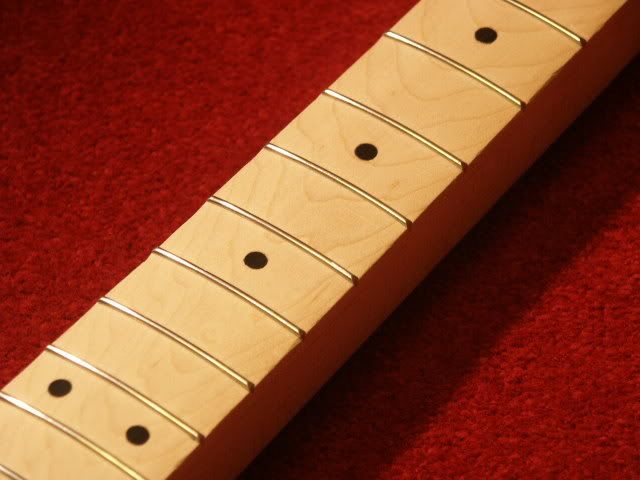
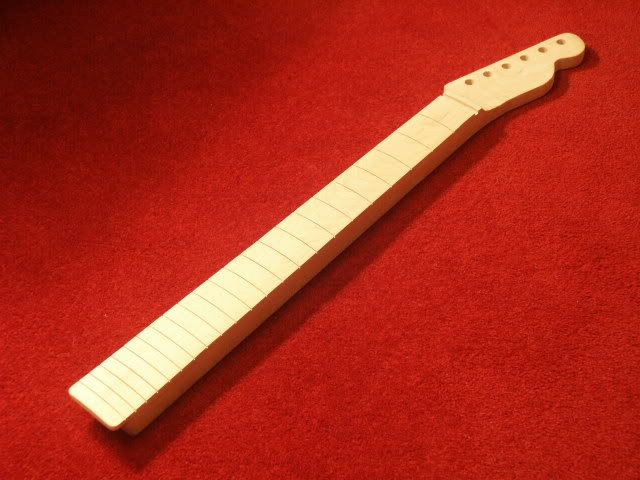
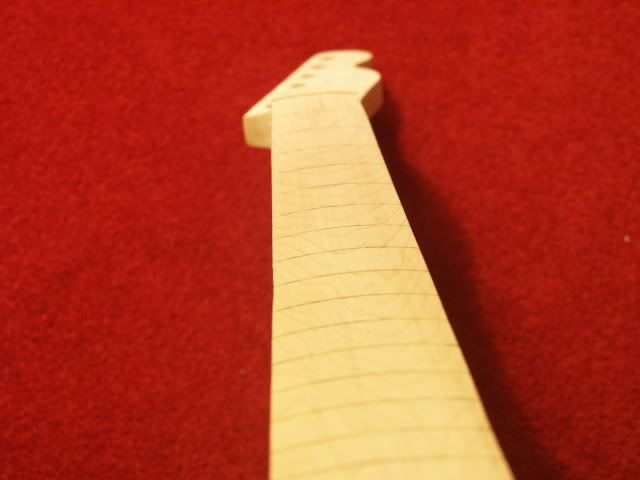
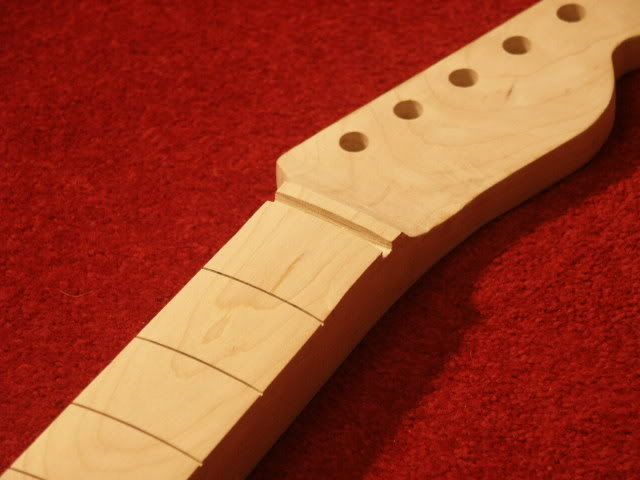
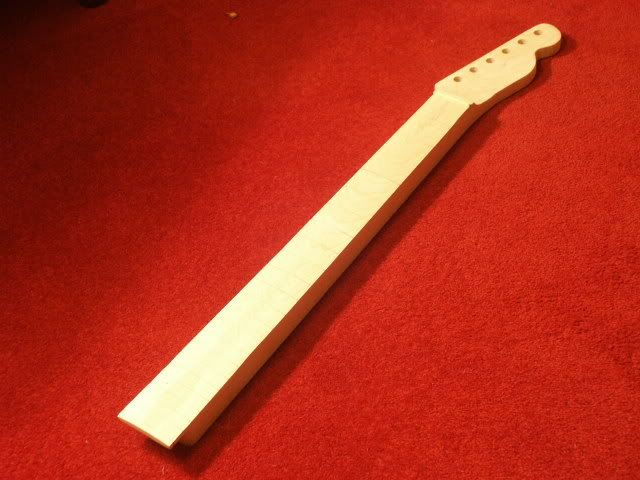
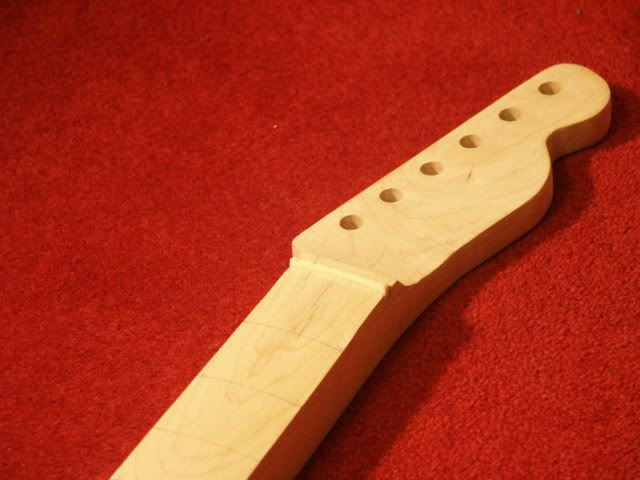
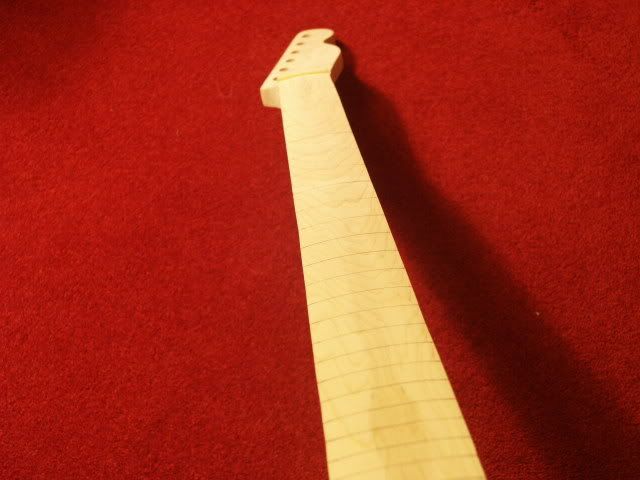
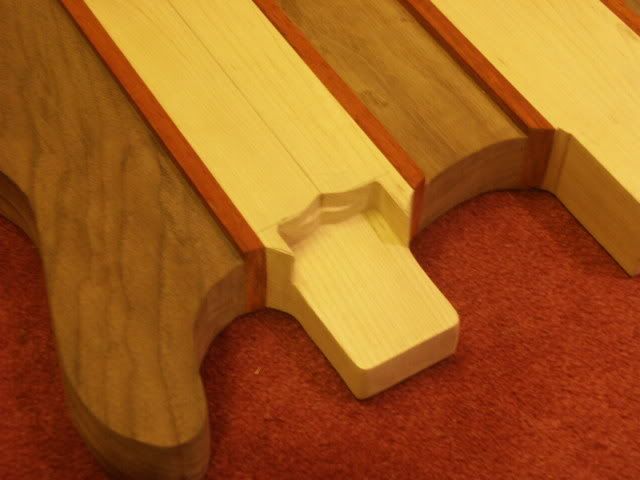
I haven't done any work on the gutiar for ages, and I haven't posted anything on here for even longer still. Anyway, I fixed the frets (just bent them to the right radius; no glue was needed afterall), I finished the back of the neck and I routed out the trem cavity. Also, I started to make the 12 string bridge, but no pics of that yet.
http://img.photobucket.com/albums/v200/Calum/PICT4059.jpg
http://img.photobucket.com/albums/v200/Calum/PICT4062.jpg
http://img.photobucket.com/albums/v200/Calum/PICT4073.jpg
http://img.photobucket.com/albums/v200/Calum/PICT4075.jpg
I'll hopefully be borrowing my friend's pillar drill over the weekend so that I can get on with quite a lot of the drilling I need to do (including installing the side markers on the neck)
Calum
-
I've always wanted to make a metal bodied resonator, but I'll probably end up just buying one. I'll definately be following this one. Was it a laser or plasma cutter? (just wondering)
-
The 11 out of the 22 frets are loose, and when I say loose I mean that the frets are bent to a higher radius and so are too flat. So 11 of them rock from side to side ever so slightly. Not good enough though so they're all being pulled up, bent to a tighter radius and glued in place. I’ll got and get a low melting glue so they can be removed if necessary.
Anyway, here are some pics, even though I’m going to be pulling up the frets afterwards…
http://img.photobucket.com/albums/v200/Calum/PICT4580.jpg
-
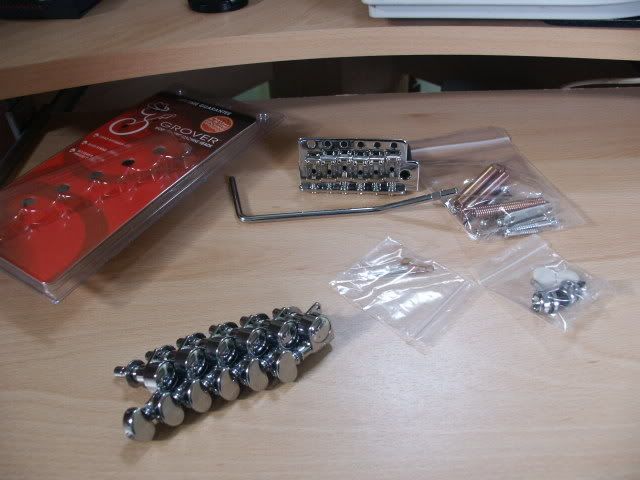
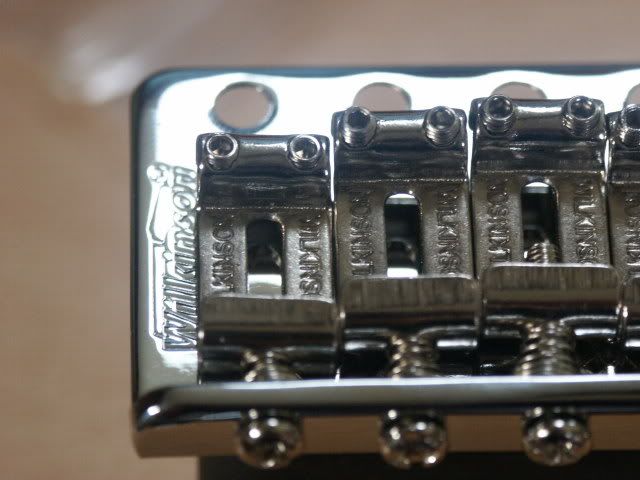
Stuff from Axesrus came today:
Wilkinson Vintage trem
Grover mini locking rotomatics (chrome, to replace the black ones)
4 x .047 caps
Two "modern style" strap buttons that I thought would fit my strap locks, but they don't. No worries though; they'll just sit in my tool box or get sold on ebay.
http://img.photobucket.com/albums/v200/Calum/PICT4565.jpg
http://img.photobucket.com/albums/v200/Calum/PICT4566.jpg
I love this trem from what I've seen of it. I'm glad I bought it rather than staying with a cheap trem off some cheap Strat knockoff (the original tuners were off the same guitar too). Bent metal vintage saddles, full size steel block, compensated string holes, push in trem arm (which is much better than a threaded one IMO). I took off the white tip BTW, cause I prefer them without.
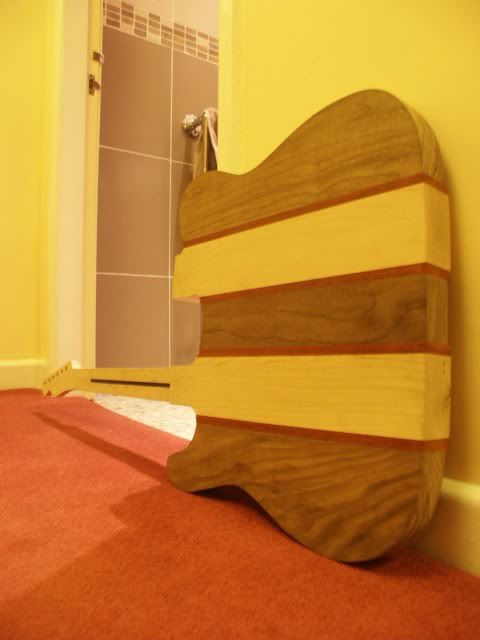
I'm off to the workshop soon to get that walnut top cut and maybe I'll glue two parts of it on.
Calum
-
Nice!
I want one now...
-
Thanks!
Went shopping today and bought:
Mitre box
Needle Files
Epoxy Resin
Sandpaper (in various grits)
2 off. 2400 x 1200mm Polystyrene sheets for the case, one of which broke in half in the car park due to the wind
When I got back I set up the Mitre box and got all the slots cut for the frets. I also ran over the board with some 120.
http://img.photobucket.com/albums/v200/Calum/PICT4555.jpg
http://img.photobucket.com/albums/v200/Calum/PICT4558.jpg
http://img.photobucket.com/albums/v200/Calum/PICT4560.jpg
Calum
-
Made a radius sanding block today by hand, because I couldn't be bothered making a router jig properly. I made one, but it was pretty inconsistent because I didn't make a cradle/box for the block to sit in. Took about 30 mins I would say and I got it just right. Also cut the nut slot today, and shaped the nut to fit. Ain't glued it or anything yet though as i need to go buy some epoxy which I'll go do tomorrow along with some other stuff (such as polystyrene for my case
)Anyway, pics:
http://img.photobucket.com/albums/v200/Calum/PICT4535.jpg
http://img.photobucket.com/albums/v200/Calum/PICT4536.jpg
As you can see, the nut does not match the fingerboard radius, so I'll have to sort that out later.
http://img.photobucket.com/albums/v200/Calum/PICT4542.jpg
Just to give an idea of the radius. In the foreground there's a dirty patch in the middle where it didn't get sanded, but this will probably disappear tomorrow when I do some more sanding after cutting the fret slots.
http://img.photobucket.com/albums/v200/Calum/PICT4544.jpg
Another view of the radius. The sides don't look too straight on here, but that's just the camera angle. That and the fact they aren't actually bang on perfect yet, which will be done when I shape the back of the neck.
I love inset days.
Calum
-
Ain't done anything for a while, but I got the neck pocket for the 6 string routed out. The body is a bit messy in places, but I'll tidy it all up when I've chambered, fitted the top, binded and routed etc.
So far I'm really pleased for a first try, and neck pocket it nice and tight.
http://img.photobucket.com/albums/v200/Calum/PICT4502.jpg
http://img.photobucket.com/albums/v200/Calum/PICT4510.jpg
-
Lookin' really nice. I'm really lovin' that paintjob! groovy or what?
-
Isn't a Microplane just like a Surform in blade design? From what I got up in searches it seems to be. I've got two surforms (flat and round), and I love the things. Great for shaping things.
-
Lookin really nice. I LOVE the colour you've got than mahogany to now. Keep it up!
-
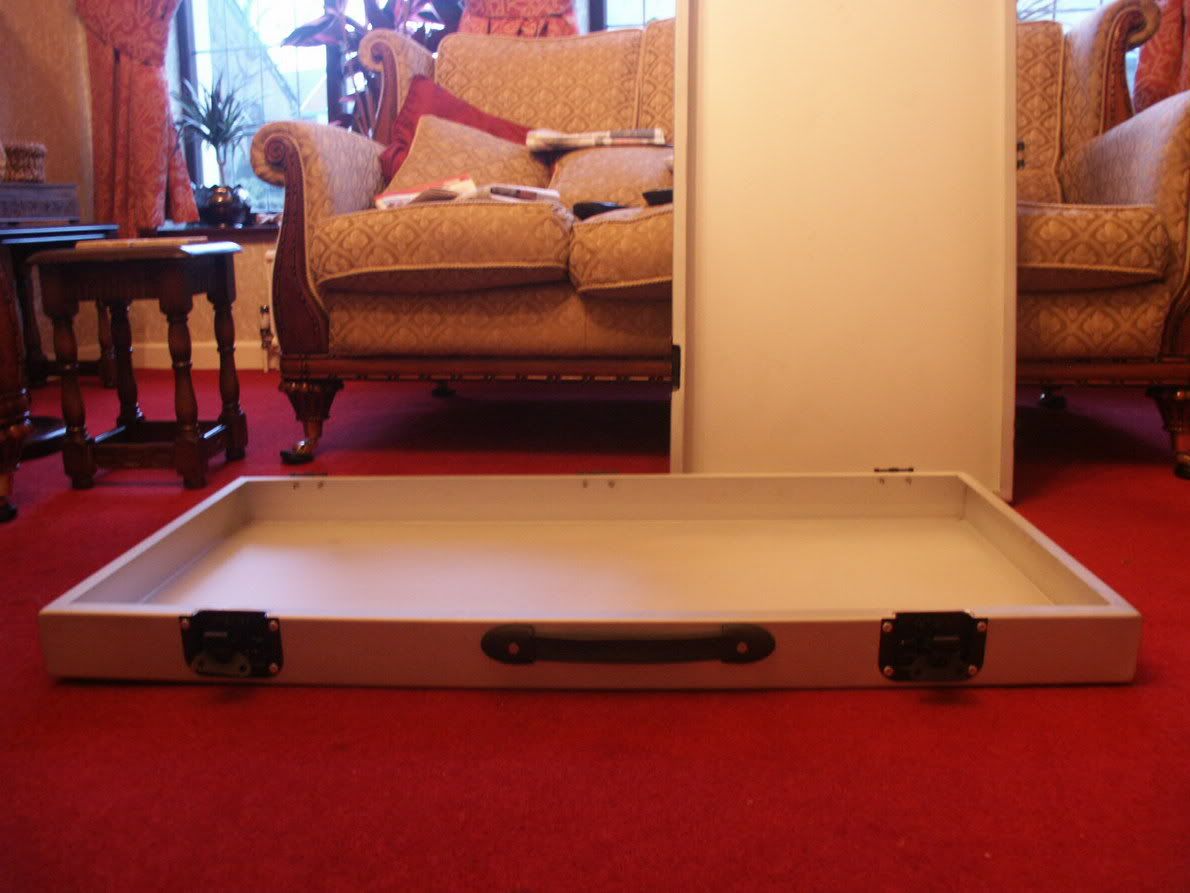
Not too bad actually. It's 2mm thick aluminium. Pretty heavy, but not bad AT ALL for the size and strength of it. I'll weigh it after.
-
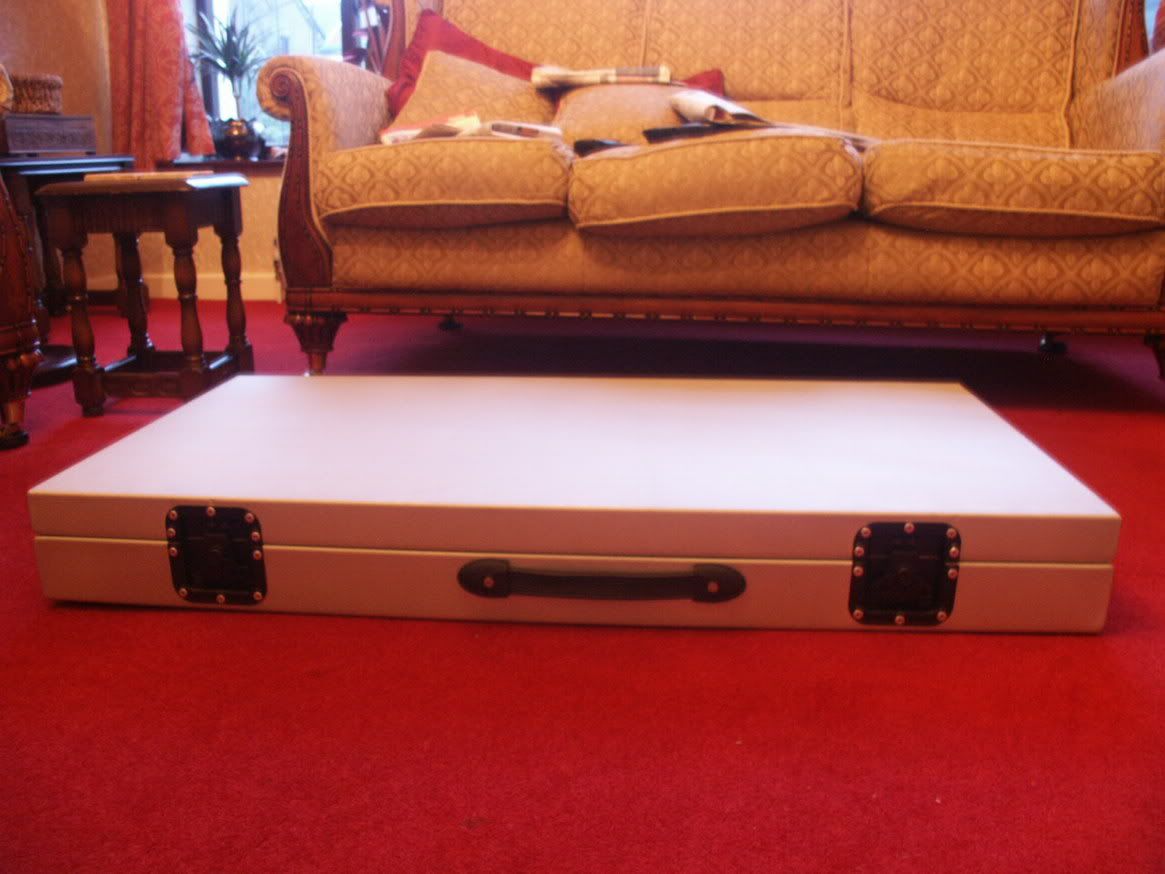
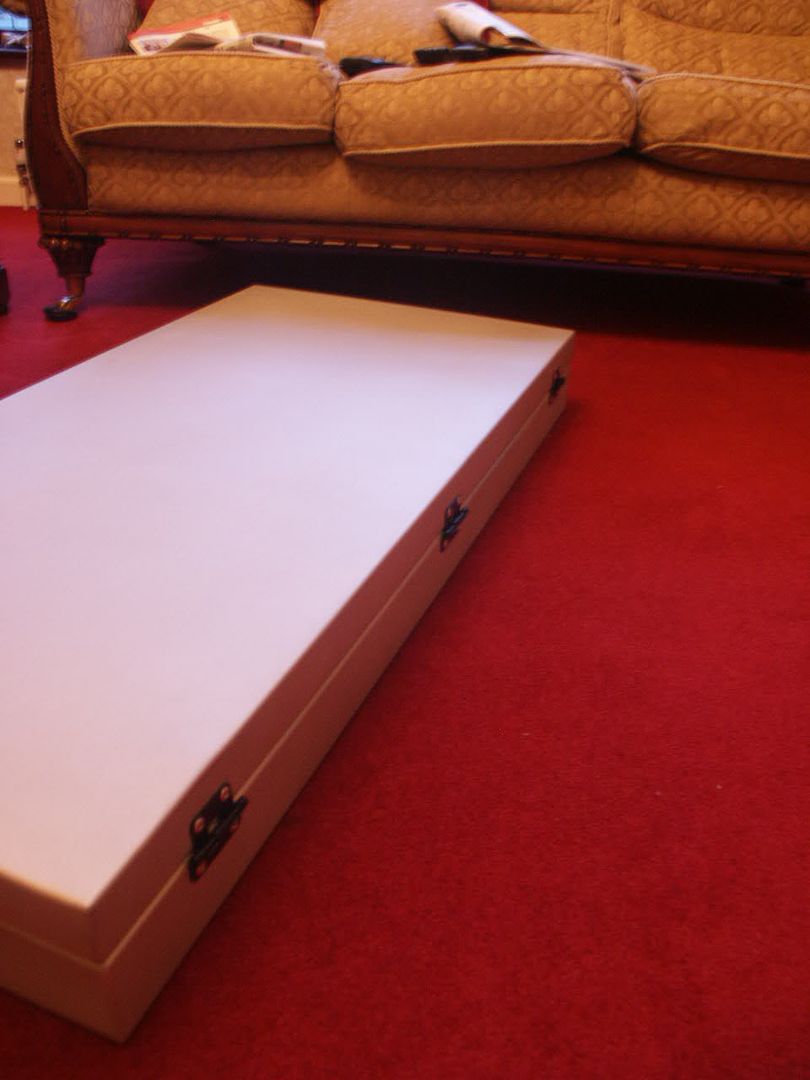
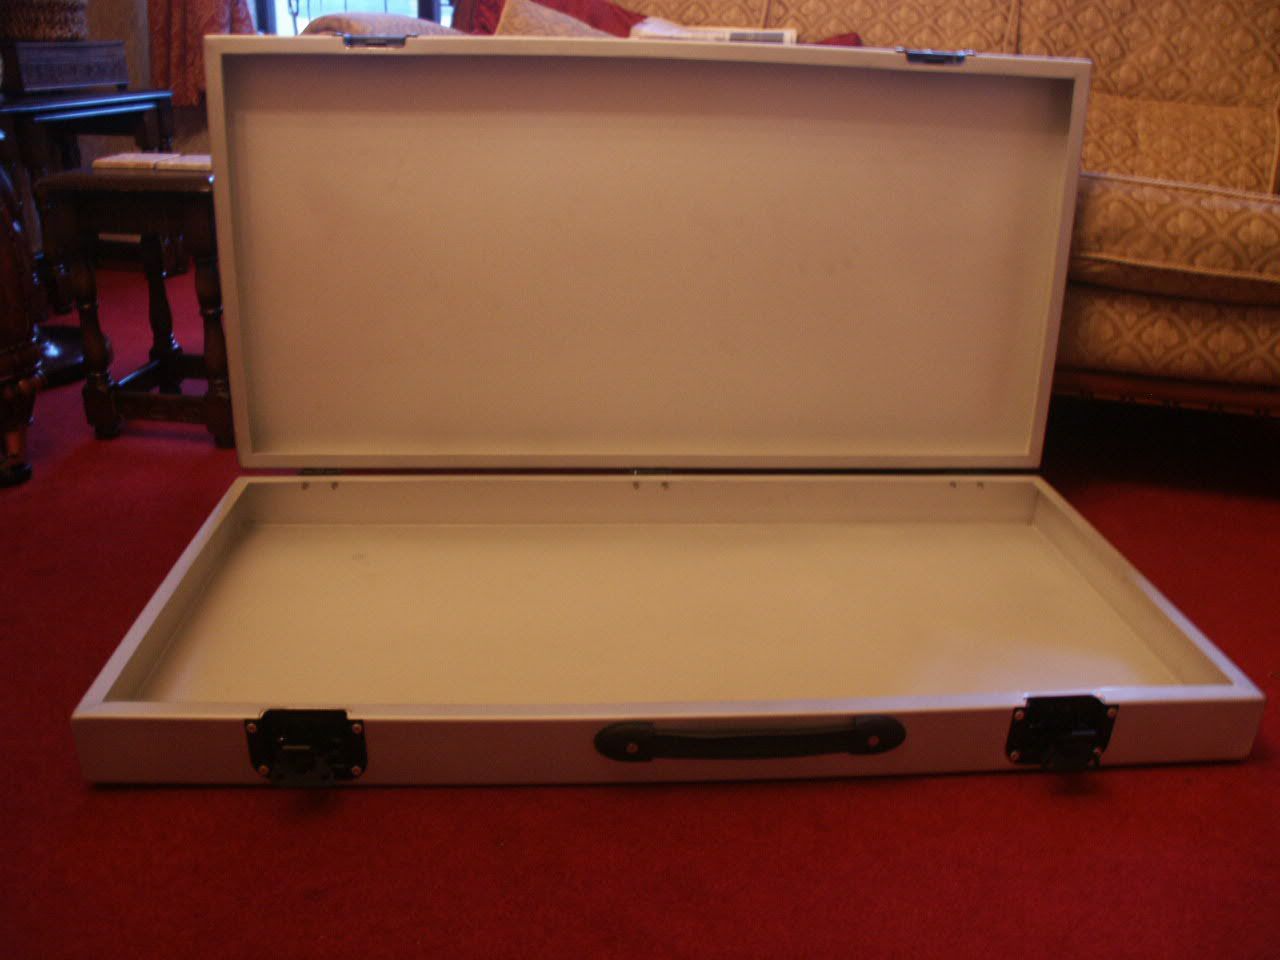
Got the case back today and took some pics for you all. Ain't got the corners on yet as they didn't come, so when they arrive I'm going to nip back to my work placement and rivet them on. So here are some pics of it as it is at the moment.
Case:
http://img.photobucket.com/albums/v200/Calum/PICT4333.jpg
Back:
http://img.photobucket.com/albums/v200/Calum/PICT4339.jpg
Open:
http://img.photobucket.com/albums/v200/Calum/PICT4326.jpg
Open again. Pic taken with flash to give a more realistic colour, but i hate using the flash, so i only took this pic with the flash on.
http://img.photobucket.com/albums/v200/Calum/PICT4320.jpg
Lid off:
http://img.photobucket.com/albums/v200/Calum/PICT4330.jpg
All I need to do now is go to the builders' merchants and get some polystyrene sheets to fill it, and some fur to go on top of that.
-
Nice guitar. Nice specs too, not too different at all from what specs I'd have if I made an acoustic. I want to make an acoustic, but not quite yet.
-
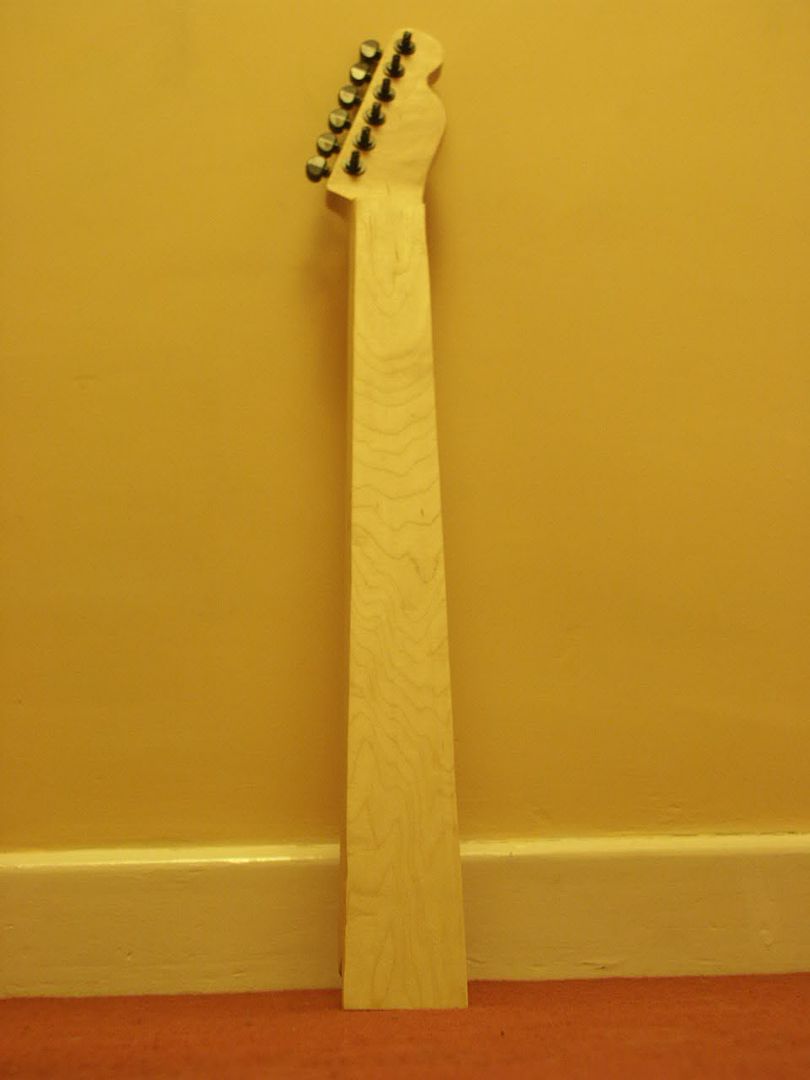
Anyway, got back from work today and decided that I'd unclamp the neck today. Tidied up the sides of the fingerboard so they're straight (couple of little notches at the bottom left of the fretboard, but they can be sorted after) and flush with the side of the neck. Doesn't have to be perfect cause obviously I'm shaping the neck afterwards.
http://img.photobucket.com/albums/v200/Calum/PICT4282.jpg
Check out the grain
http://img.photobucket.com/albums/v200/Calum/PICT4309.jpg
Put the tuners on just for the sake of putting them on to show you how they looked. Not my choice in colour, but they'll do for now.
Tomorrow I'm going to start (and maybe finish) making my jig for my router so I can make some radius sanding blocks. Also, during the week I'm going to chamber one side of the body so that on the weekend I can get onto fitting the top (
), and cutting and binding the f-hole.Until then, that's it!
-
I used a robo sander on my tele headstock and it worked well.
Looks like it worked well too. Mine came out fine too, but using a more conventional, time consuming method. Don't care if it's not perfect; it is hand made afterall.
-
OK, I'm keeping the same neck, i'll porblay get a headstock plate and somehow get it to be curvey like the strat headstocks near the truss rod adjustment.
I did that on mine first by getting most of it off with a fret saw, then using a chisel to get the right radius, just used a sander then to smooth it off. The ideal tool though is a drum sander I would think.
-
Is it just the pic or is it bloody large?
24x11x11
Looks bigger than that. Is it because the knobs are like the same size as BOSS stompbox ones?
EDIT: Really nice job though, definately stands out from other amps.
-
Also, my stuff came today
Where did you order your "stuff"???
Lol, sorry it came from Maplin.
www.maplin.co.uk
-
You might want to considering rolling some beads along the length of the front and back of the case. Doing so will significantly stiffen the overall case and increase its impact resistance. Also, have you thought about what you're going to do with the corners of the case, since you have round amp corners on them? I wasn't quite able to figure out your plan for them from your drawing of the bottom cut out. I see only one option since it appears you've opted for 90 degree edges as opposed to more smooth, radiused edges. You'll probably have to chop just a tad off of the corners to get the caps to fit.
peace,
russ
Yeah I completely forgot about the corners until yesterday. I'm simply cutting 45 degrees off the corner 12mm from each side. It's hard to explain without a diagram. when the sides are folded together, you will se a 12mm equilateral triangle shaped hole on each corner. I'll siimply cover those holes with the corners.
I had thought about extrusion or something, and I'll have plenty of aluminium sheet left to go at if I feel I need to but some round all the edges. I've had 2500x1250mm ordered, of which I'm going to be using 2470x715mm.

Calum's Project
in In Progress and Finished Work
Posted
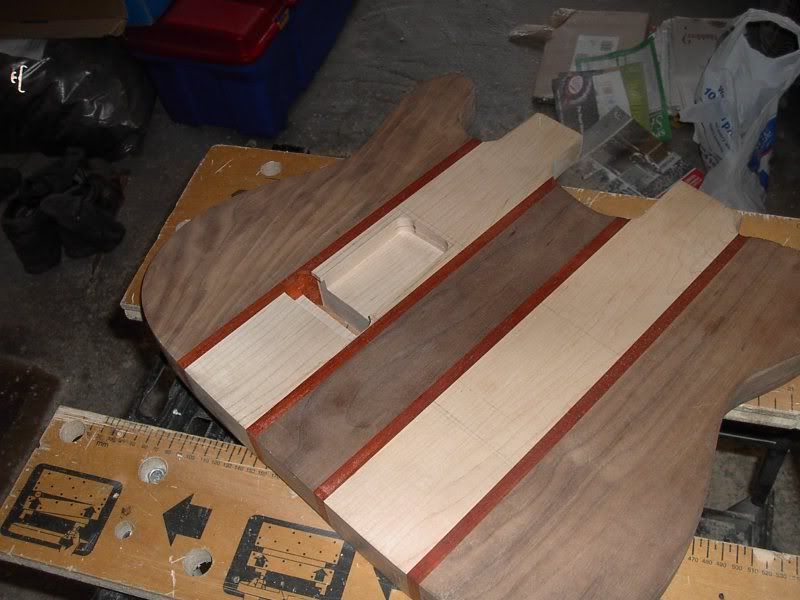
Yesterday I routed out the control cavities (I've split it into two with a spacer for strength), and I finished off the f-hole. I took some pictures but I couldn't post them cause my keyboard broke. However, a new day and a new keyboard, and today I went to Fletcher's (local hardware store) after school and bought a 6mm auger bit (for joining up the cavities), some chrome screws for the control plates and a new zero end foot rule. When I got back I joined up the cavities and rebated two control cavities ready for the covers to be made and fitted.
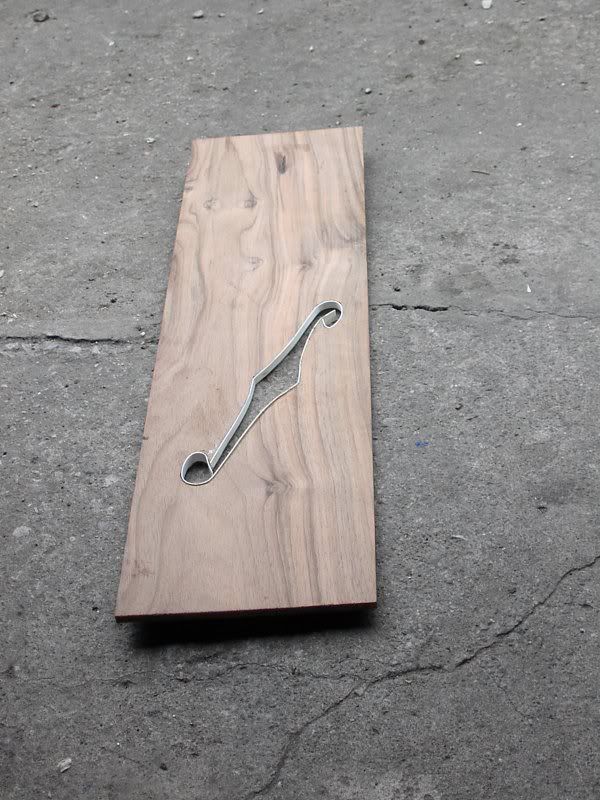
F-hole fully bound, just needs a little glue on the plastic removing here and there.
http://img.photobucket.com/albums/v200/Calum/102.jpg
Front (actually took it today, as the ones I took yesterday were crap)
http://img.photobucket.com/albums/v200/Calum/104.jpg
Two control cavities rebated
http://img.photobucket.com/albums/v200/Calum/103.jpg
Calum