


Calum_Barrow
-
Posts
159 -
Joined
-
Last visited
Content Type
Profiles
News and Information
Tutorials
Product Reviews
Supplier Listings
Articles
Guitar Of The Month
Links and Resources
Forums
Gallery
Downloads
Posts posted by Calum_Barrow
-
-
I really like the Ovation electrics. The Breadwinner is my favourite, and I've always liked them (I LOVE Kleins too). Nice job(s)!
-
Finally got some more time to work on my guitar today. I removed the clamps after like a week of being sat in them
 and planed the back of the guitar so all the laminates are flush with each other. The back isn't finished yet, but it's still really smooth. Haven't touched the front yet, though I may well be doing some routing on the body tomorrow, along with the channel for the skunk stripe on the 6 string neck. I've decided that I'm going to make the 12 string neck and headstock out of one piece rather than using a scarf joint, as my 12 string acoustic's neck is made from one piece, and I thought it would be a good idea given the extra tension. This means I'll have to try and find a 4"x3" piece. I started to mark out some things on the 6 string neck blank today, and I cut off 1/2" off the top to make the fingerboard with (chose the side with the nicest grain). I also took off about 1/8" off the back too so I can get it closer to its final thickness, and it produced another nice veneer to add to my collection As I said, tomorrow I'm going to start by routing the channel for the skunk stripe, then profiling the side of the neck (ie the side of the heel and the set-back headstock). after I've tidied all that up I'll move onto cutting out the headstock.
The back of the body after gluing and planing:
http://img.photobucket.com/albums/v200/Calum/PICT4017.jpg
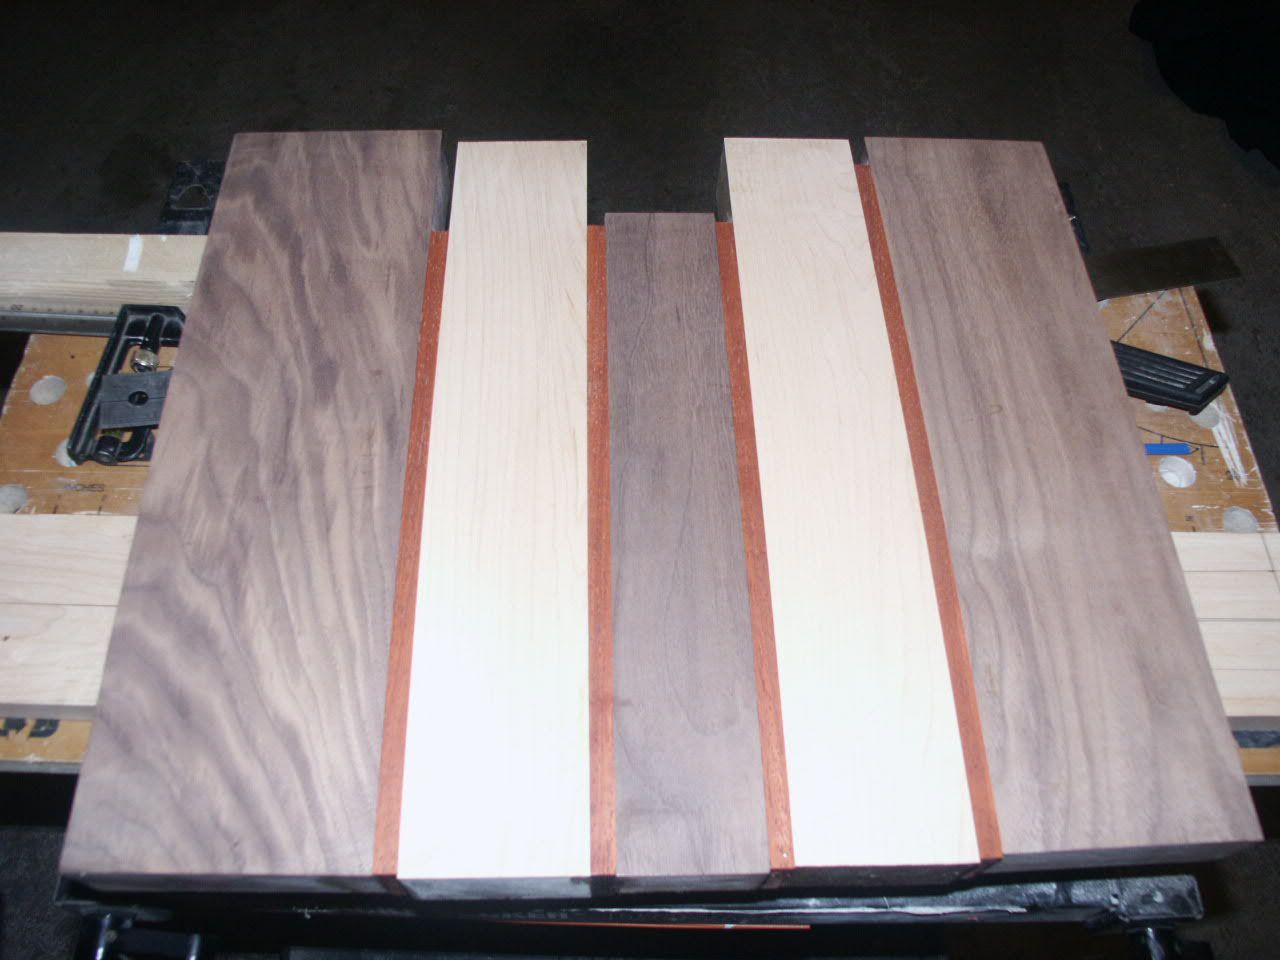
Body blank (The bottom side looks curved, when in actual fact it's straight. It's just because I used a wide camera angle):
http://img.photobucket.com/albums/v200/Calum/PICT4018.jpg
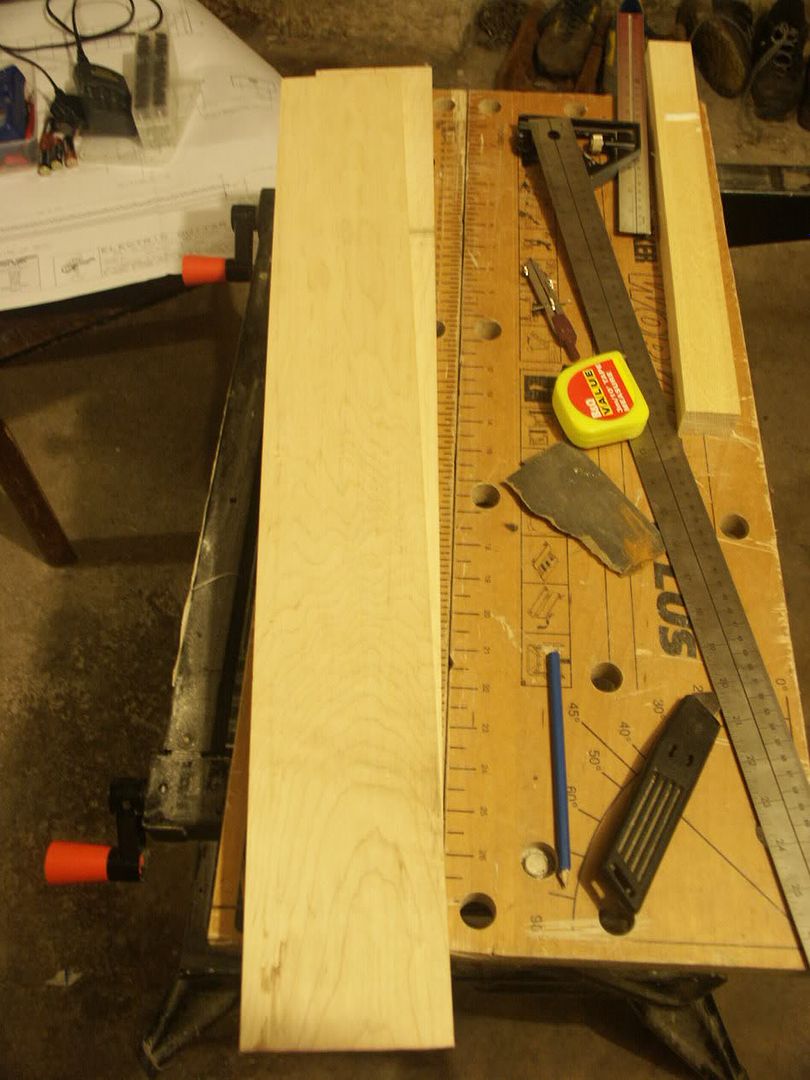
Fingerboard blank (a lot of wood to play with here, and I really like the grain on it)
http://img.photobucket.com/albums/v200/Calum/PICT4012.jpg
That's it 'till tomorrow!
Calum
-
You might even wanna put a thin laminate on the inside to stop it from caving in a little more.
-
It's looking a lot better than it did the last time I looked (when it was still half cut) and even though I don't like the shape, I can't deny you're doing a good job.
-
How about this?
http://cgi.ebay.com/BRAND-NEW-RED-STARFIRE...1QQcmdZViewItem
Just take the bridge and the mount off the top of the neck and you're sorted. You can get measurements for the bridge and such off the body too.
-
They're very sought after things. You could buy a licensed bridge from a Steinberger copy off ebay, and buy it as a donor. Ed Roman has loads of parts, but as we all know he's expensive and even then he doesn't sell them to everyone, Steinberger parts in particular.
-
^ Not really, since all screws are different. Just find one to suit the purpose as tgh said.
-
That's really nice. I like the Alembic style "spike" if you will at the bottom.
-
You should try to avoid uncovered parts touching each other in the guitar, and I'd tape them up if I were you. I don't know which bit you mean by the axle..
-
Last time i spoke to craft supplies about a month ago they told me that they hadnt got much in because they were moving buildings soon and wanted to have less stock for that. I ordered some gorgeous zebrano neck blanks from them.
If you are doing a walnut top on top of a walnut body try adding a veneer of maple or something between them. It can look real classy
I'm gonna be binding the top and bottom of the guitar anyway, so you won't see the join between the two (I'll rebate the top into the body slightly then bind it). I'm starting to like the idea of walnut more than zebrano now anyway, but I better make my mind up by tomorrow, as that's when i'll be ordering the next lot of stuff I need.
-
-
Can't find any Zebrano tops for over here in England (craft supplies is out of stock, and doesnt seem to be getting any in for a while). Because of this, I'm gonna opt for a AAA Walnut top instead, which I suppose will match the rest of the body better. I'll ring up Craft Supplies tomorrow and order it (if they have it in stock that is) along with some other stuff, and it should come on monday or tuesday or something.
-
http://projectguitar.ibforums.com/index.ph...lite=neck+angle
Necks taper because you want strings close at the nut, so you can make chords easily, and spaced put at the bridge, so you can easily hit individual strings cleanly.
I think he means a neck pitch..
The neck pitch makes sure that the strings are close to the fretboard all the way up the neck, and compensate for having a high bridge/saddle.
-
Hey that's looking really nice! Can't wait to see it finished and buffed
-
You've made a nice job of that, though I'm not too sure on the shape of it.
-
Lol, I'm sticking with the 6+6 headstock. RIC do use two 3+3 sets yes, and one set is mounted like a classical guitar usually has them mounted. They're standard tuners though, not the ones that are designed especially for that mounting. The post goes through and isn't supported past the hole just as on a Fender or whatever. Should be making the 12 string neck first, as I've got to buy a maple fingerboard for the 6 string. I thought I had enough to make it as one; obviously not
Doesn't bother me though. -
You should do a RIC style 12 string headstock. They make them look so clean with half of the tuners turned sideways.
Yeah my friend said that too, thing is I've already got the tuners, and I think I like a normal 6+6 one better. Or I could do it like Carvin did...
-
This one's going to be fun to watch!
Only thing I'd suggest: you need a tele-style headstock for the 6-string. And maybe a John 5 style headstock for the 12?
Yeah I'm debating whether to have a Tele or Strat headstock for the 6 string. The 12 string headstock will just be modelled on my old Hohner (well, at the moment that's what it's going to be anyway)
-
If you mirror the DPDT part of the push pull pot it won't actually make any difference, as push/pull pots (or the majority) work by having the middle two lugs as on in both positions, the bottom two on in the bottom position and the top two on in the top position, so flipping them the other way around would not change the way it operates. flipping them vertically however would make it operate the opposite way.
-
That's an awesome design, can't wait to see it "in the flesh"
How thick is that body blank? You may want to get it a little closer to final thickness in parts before glueing up, as it'll be a bitch to do when it's one big wide board unless you've got some specialist kit.
The maple and Padauk are about 2", and the walnut is about 3/8" thinner. The reason for that is the Zebrano top that I couldn't get last time I ordered as they'd run out. I'll glue it first then put the top on afterwards, as I've got to rout out and such before I put the top on. It'll be tricky putting it in the middle, but I'll manage it. I'll probably run it through the planer when I'm done with cutting and gluing the zebrano top to make the maple and padauk flush. Then I'll get on with the binding etc.
EDIT: forgot to say, the zebrano top is supplied 3/8" thick. After planing and sanding on both sides the maple and padauk will still stand proud, but only a little.
-
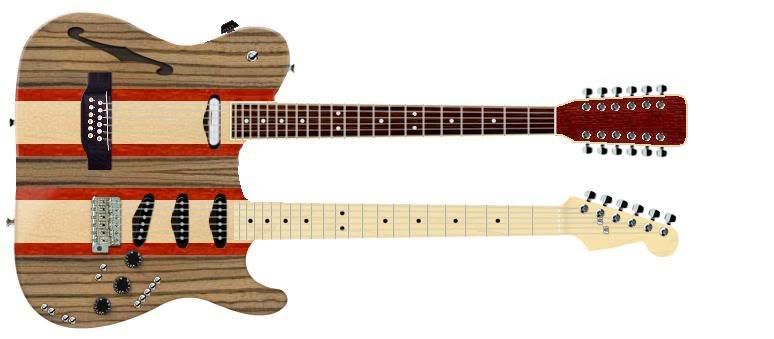
I've drawn up many different designs and have developed them since like March, but I've finally started building.
Body:
Tele style; Walnut, padauk, maple, zebrano
Neck:
Maple w/skunk stripe (ebony) 12 string has rosewood fingerboard, 6 string has maple.
Pickups:
Bareknuckle Apache set and Roland GK-3 in the 6 string
Bareknuckle Yardbird Tele neck pickup and piezo in the 12 string
Wiring:
I'll post the diagram if anyone wants it. It's not complete as I don't know how the piezo or GK-3 kit fit until I get them.
Tuners:
Grover Mini Locking Rotomatics on the 6 string
Stentor open tuners on the 12 string
Bridges:
Some strat tremolo off a Strat knockoff
Ebony 12 string acoustic bridge
Wood prior to cutting and planing:
http://img.photobucket.com/albums/v200/Calum/PICT3875.jpg
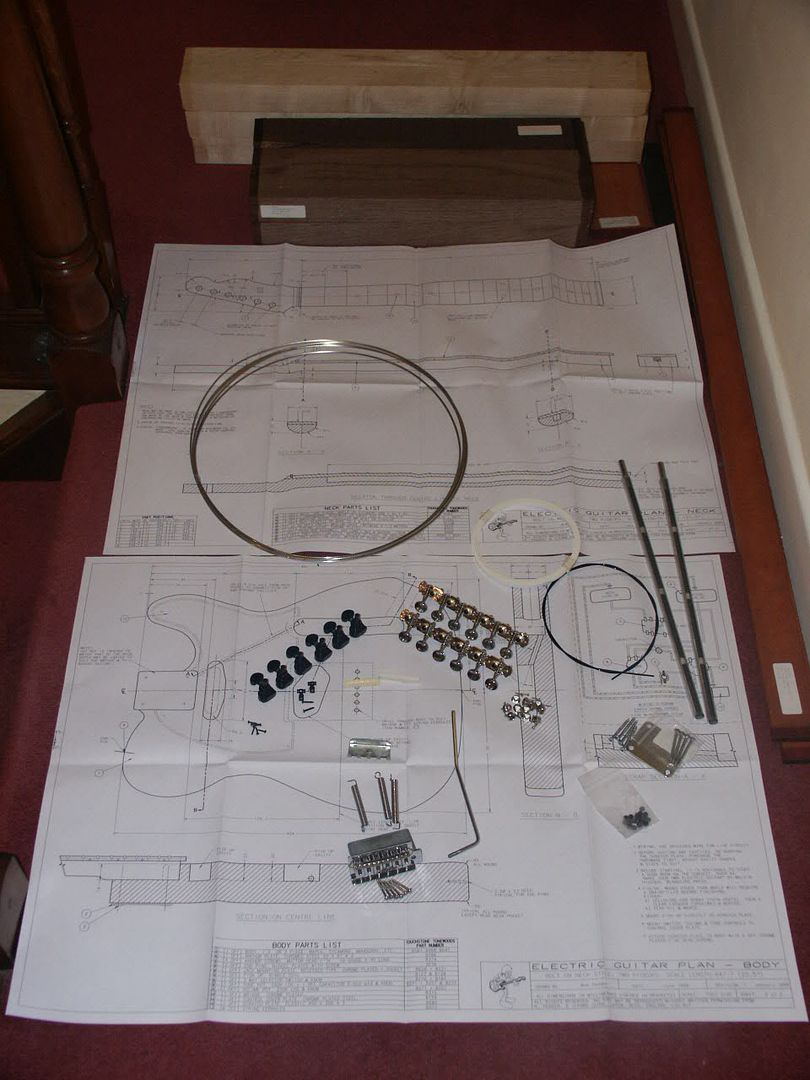
All the parts I have so far:
http://img.photobucket.com/albums/v200/Calum/PICT3970.jpg
Design:
http://img.photobucket.com/albums/v200/Calum/doubleneck6.jpg
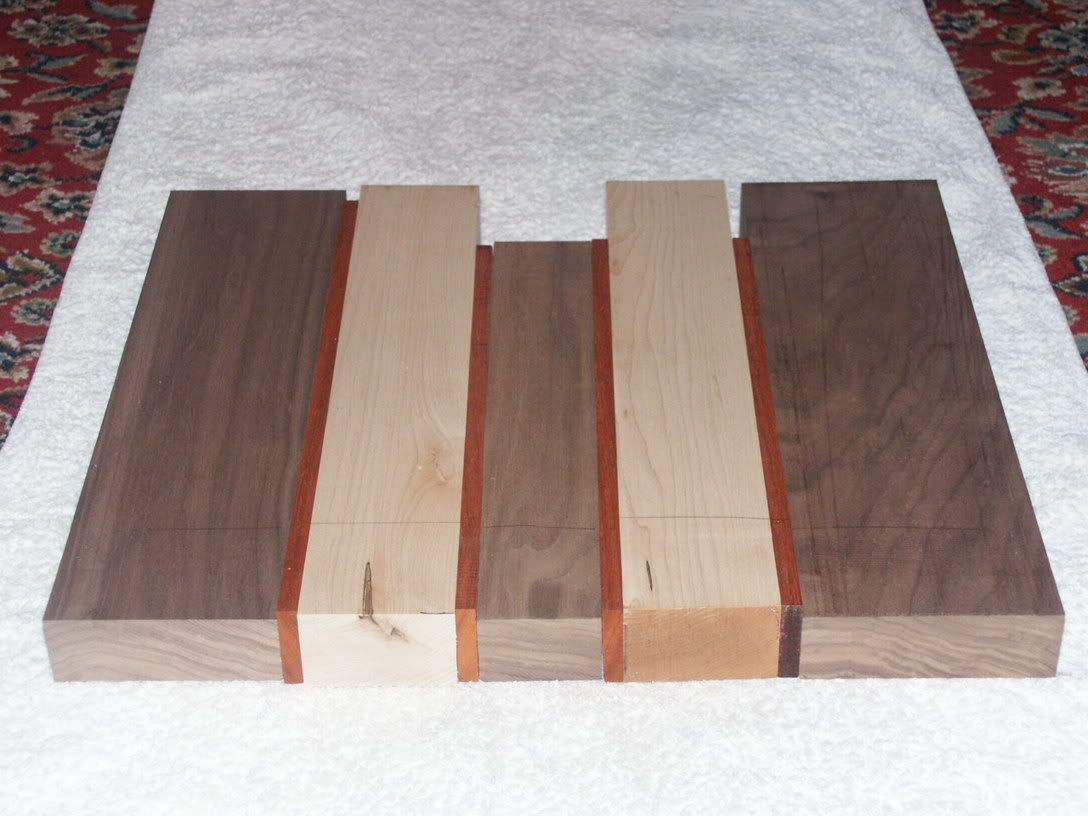
Body laminates ready for gluing:
http://img.photobucket.com/albums/v200/Calum/PICT3982.jpg
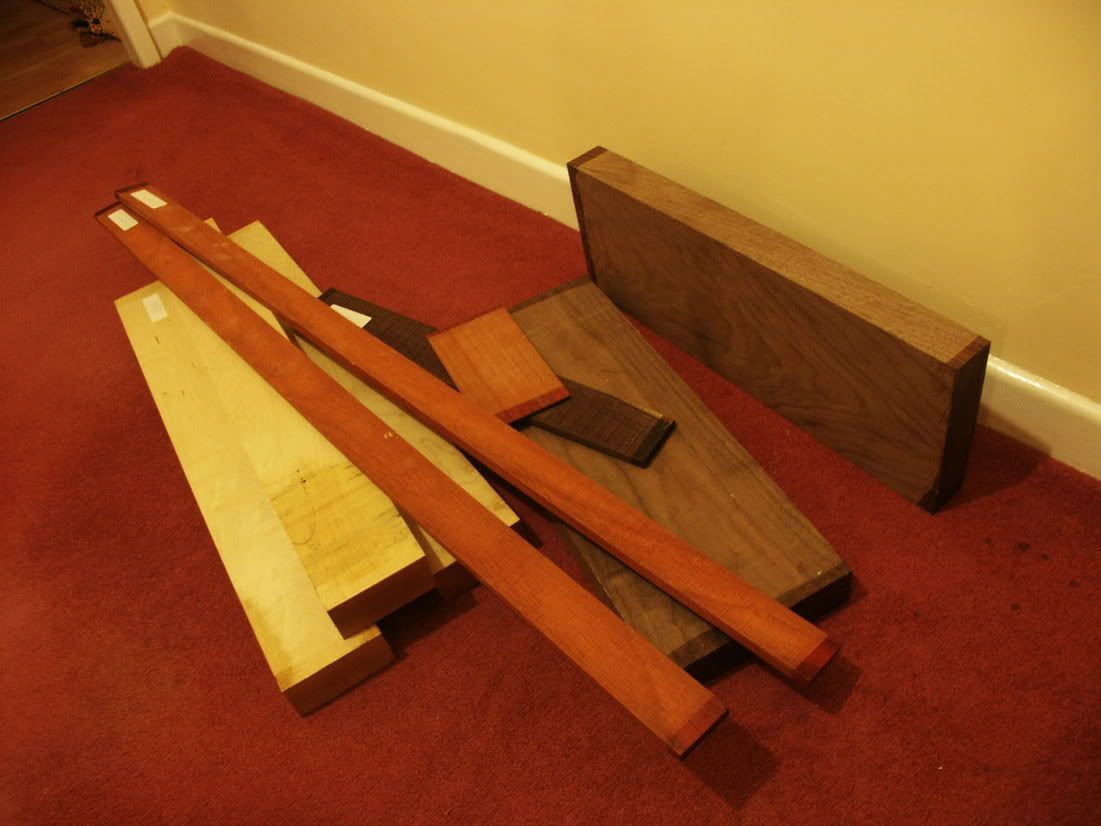
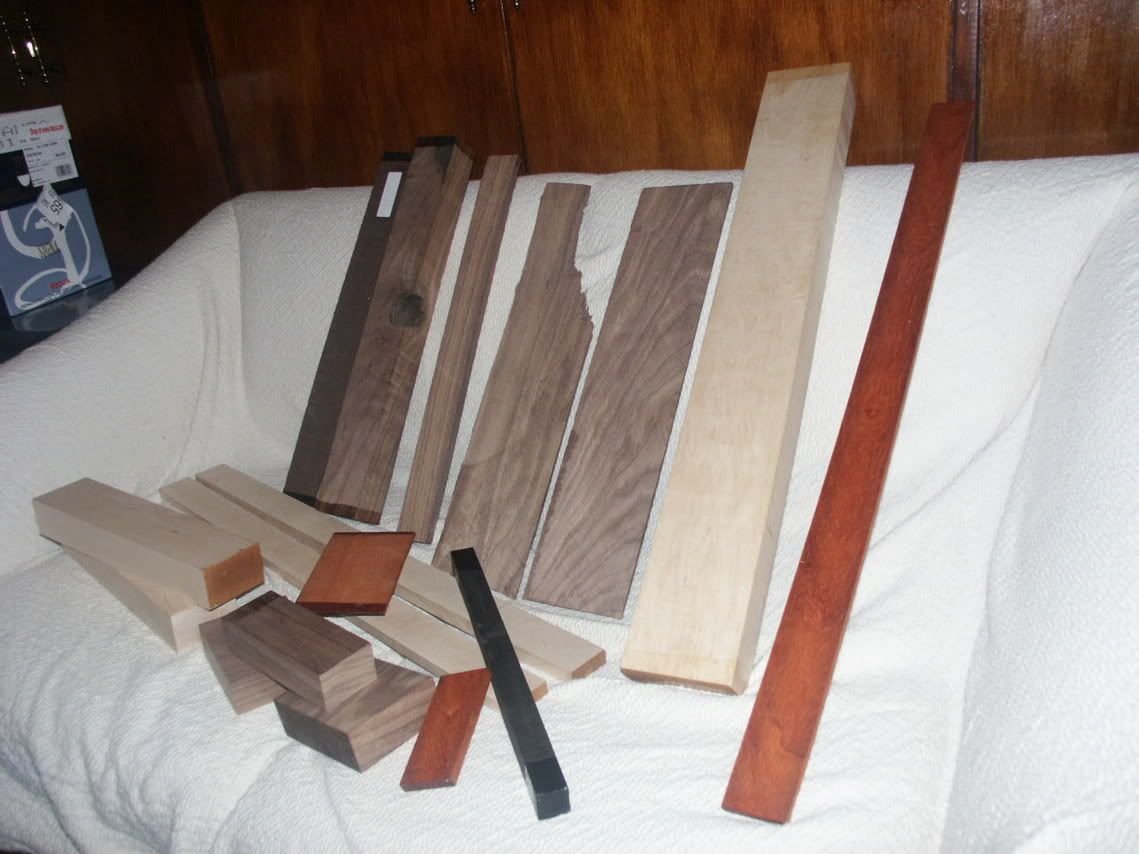
Spare wood (and as yet uncut wood) that'll probably be used again in the project somewhere:
http://img.photobucket.com/albums/v200/Calum/PICT3986.jpg
I know I've kinda started off briefly, so questions are more than welcome.
Calum
-
What are those knobs? just hat knobs or something? I want some for my MOP Les Paul
Nice guitar BTW. Lovin the brushed chrome.
-
I love this thing, and I love the seatbelt idea. I'll be follwing this...
-
Do you want a neck pitch or not? I'd make it with a slightly smaller neck pitch on so its more towards in-line with the body. You can always recess the Floyd Rose if it's too high, but you can't really make it higher if it's too low. Start by making a pocket for the neck and place the bridge on the body. You'll need to do a lot of "dry runs" before you put it all together and set the neck etc. IMO. That's what Id' do anyway, but I'd do a lot of prep as I mentioned.
 and planed the back of the guitar so all the laminates are flush with each other. The back isn't finished yet, but it's still really smooth. Haven't touched the front yet, though I may well be doing some routing on the body tomorrow, along with the channel for the skunk stripe on the 6 string neck. I've decided that I'm going to make the 12 string neck and headstock out of one piece rather than using a scarf joint, as my 12 string acoustic's neck is made from one piece, and I thought it would be a good idea given the extra tension. This means I'll have to try and find a 4"x3" piece. I started to mark out some things on the 6 string neck blank today, and I cut off 1/2" off the top to make the fingerboard with (chose the side with the nicest grain). I also took off about 1/8" off the back too so I can get it closer to its final thickness, and it produced another nice veneer to add to my collection
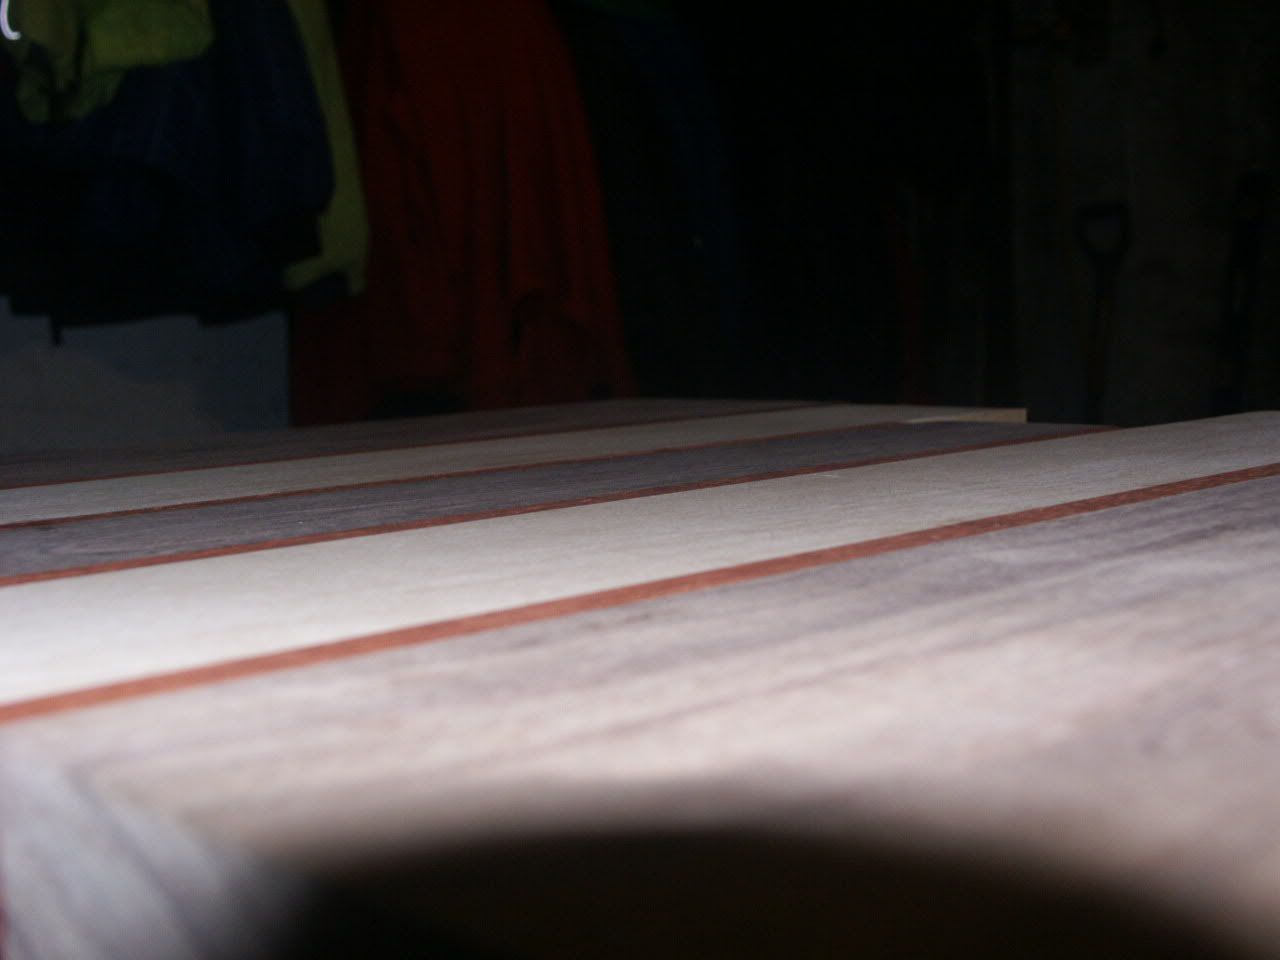
Stevie's Number #1
in In Progress and Finished Work
Posted
That's really good. I'd like to have a go at a relic one day (not that extreme though). However, there's always (more often than not anyway) one thing I don't like about SRV #1 copies - The wrong writing on the pickguard. I like the squarer font he used to keep it more true to the original; and I think it looks better anyway. However, it's still great.