


Kcoogan
-
Posts
22 -
Joined
-
Last visited
Content Type
Profiles
News and Information
Tutorials
Product Reviews
Supplier Listings
Articles
Guitar Of The Month
Links and Resources
Forums
Gallery
Downloads
Posts posted by Kcoogan
-
-
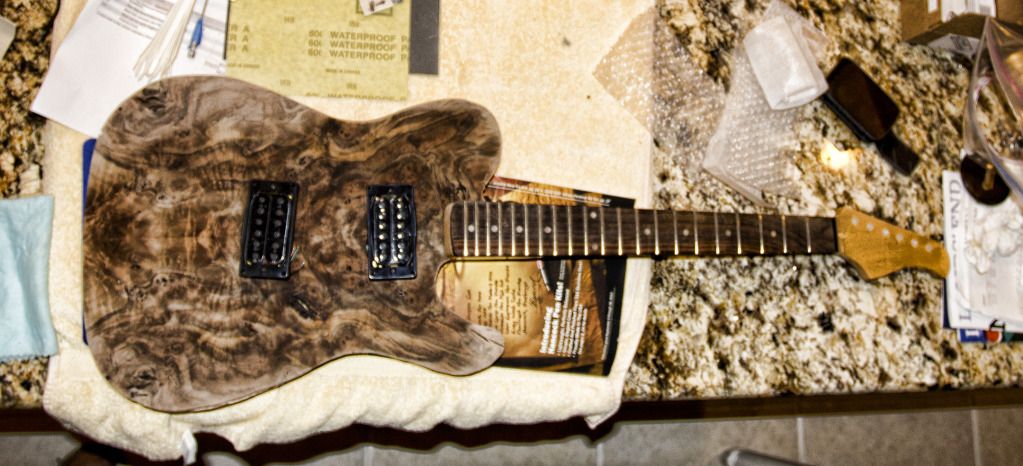
I spent the day doing some clean up and routing the pickups and cavity out.
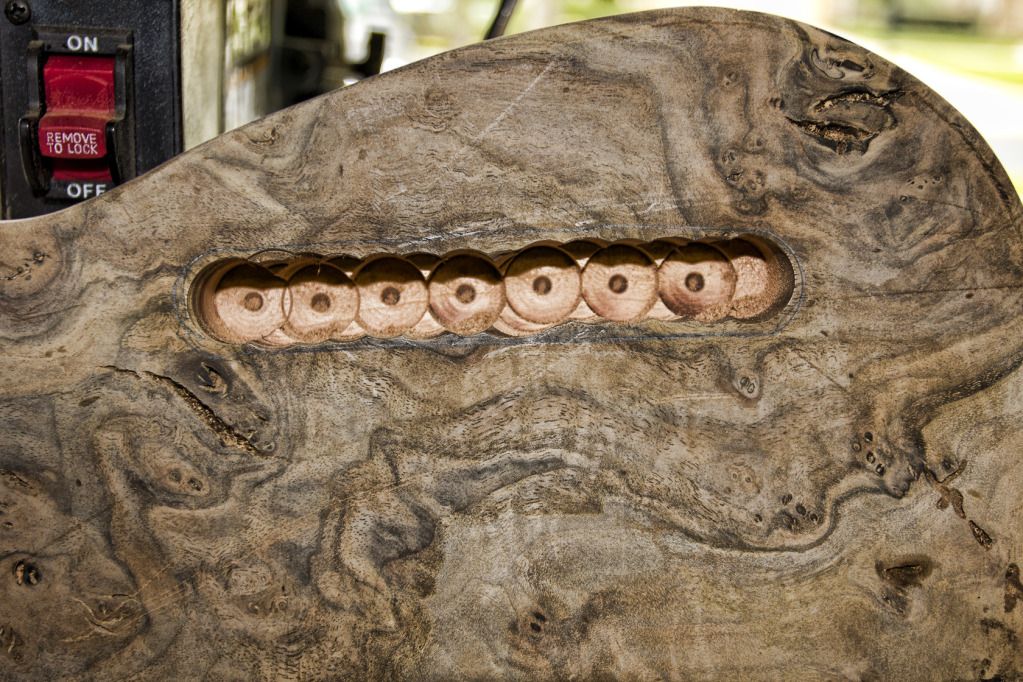
Hogged out the cavity.
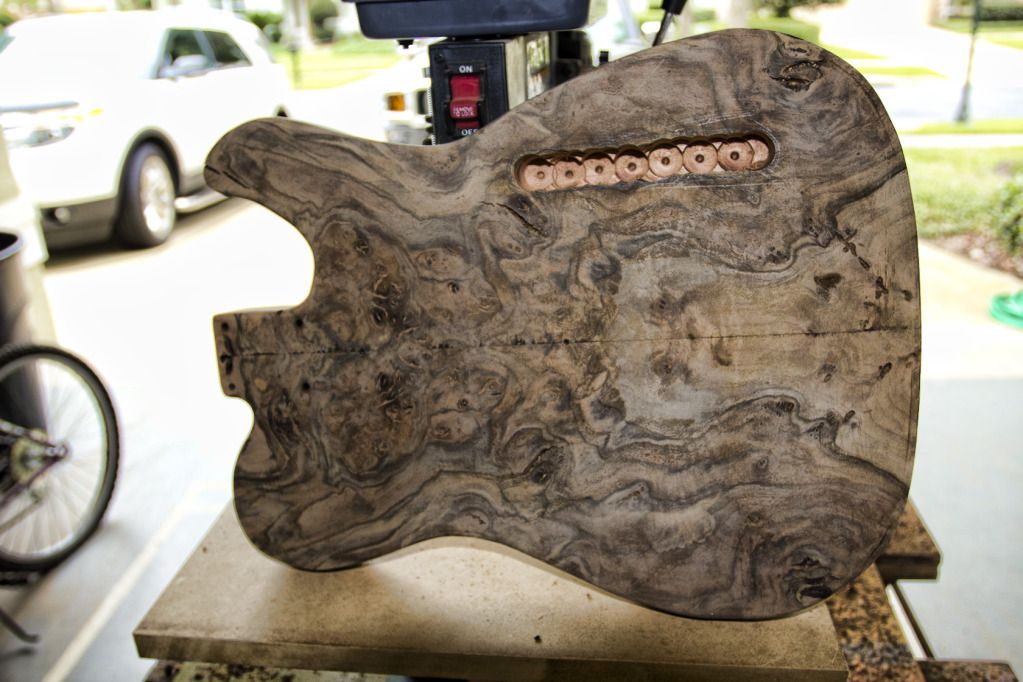
A better look
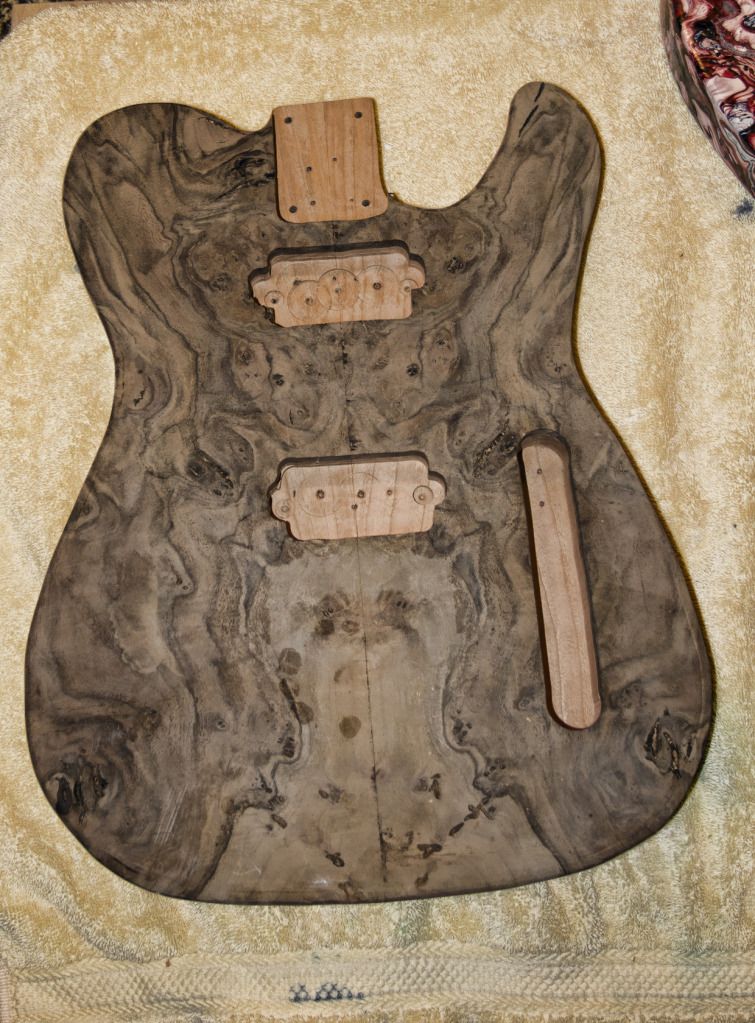
Then on to the pickup cavaties.... all done
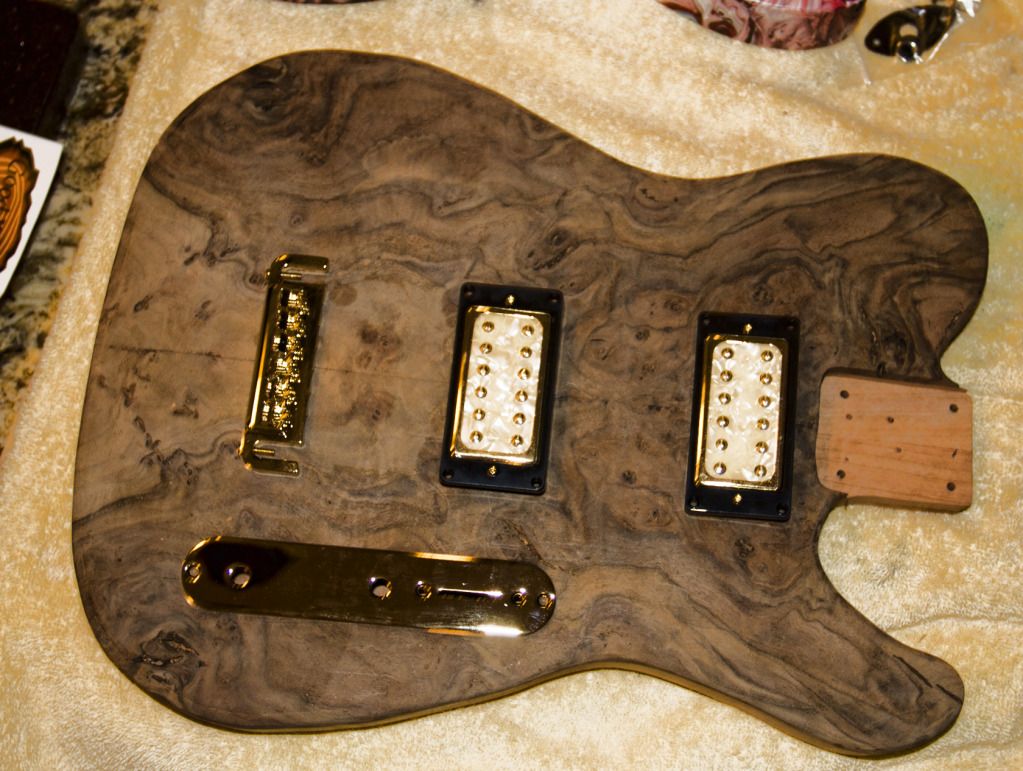
I think I'm liking the gold
Ran into a new problem. While is was drilling the holes for the wires The drill bit broke off in the wood about 4 inches worth....it was a thin bit.
-
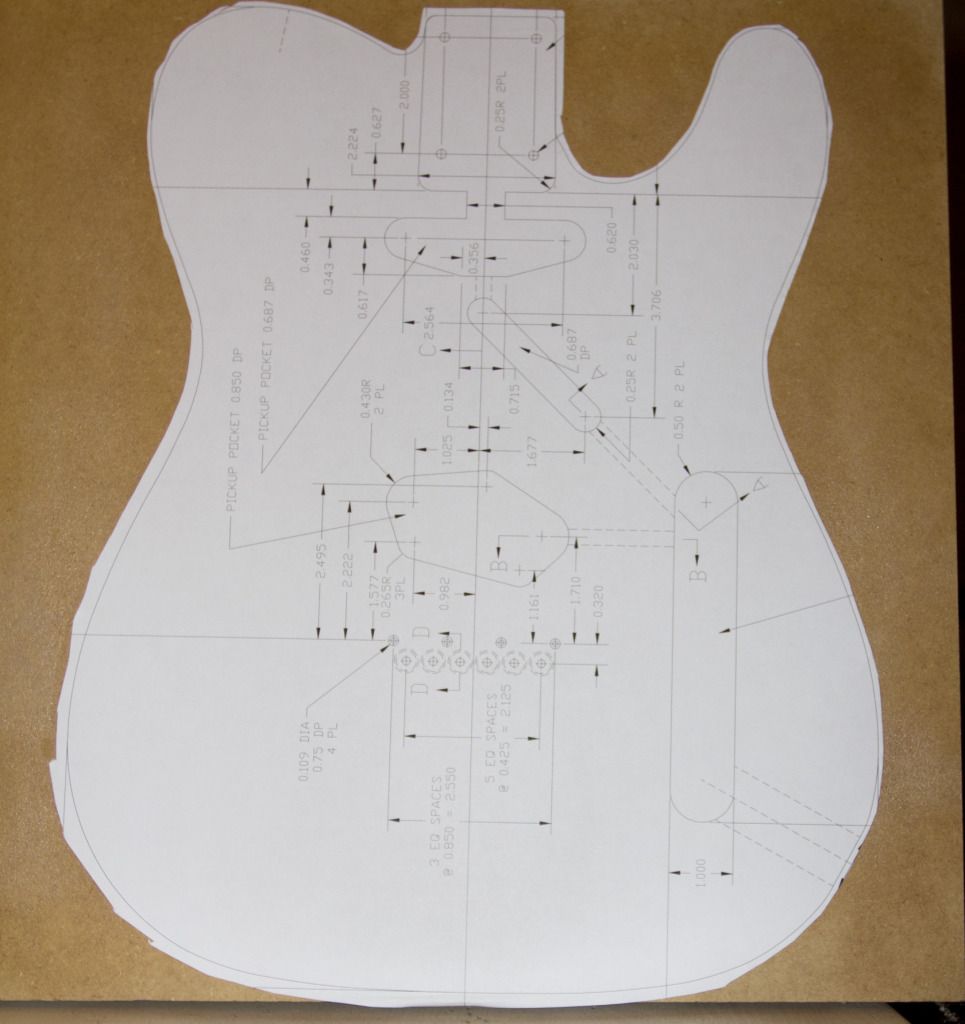
I got this nice piece of Walnut 1/2 thick for a top. This is my first from scratch build so I thought to start with a telecaster. I found a guy here that had some nice cherry for the body. Down loaded a tele plan and made a template.
So I glued up everything....
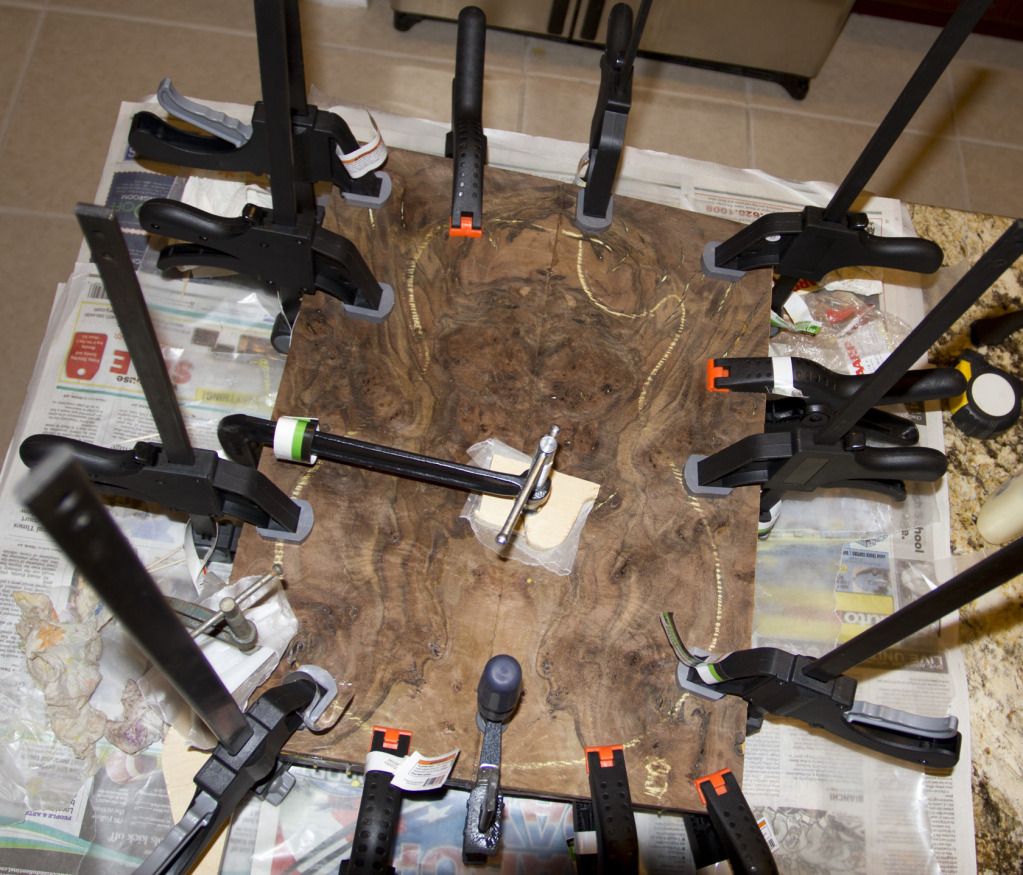
Then cut it out with a small bandsaw...I then routed using my template...I had a minor goof when the lock on my plung router unlocked...so it will be more of a Telecasterish look. Now I need to do some major sanding.
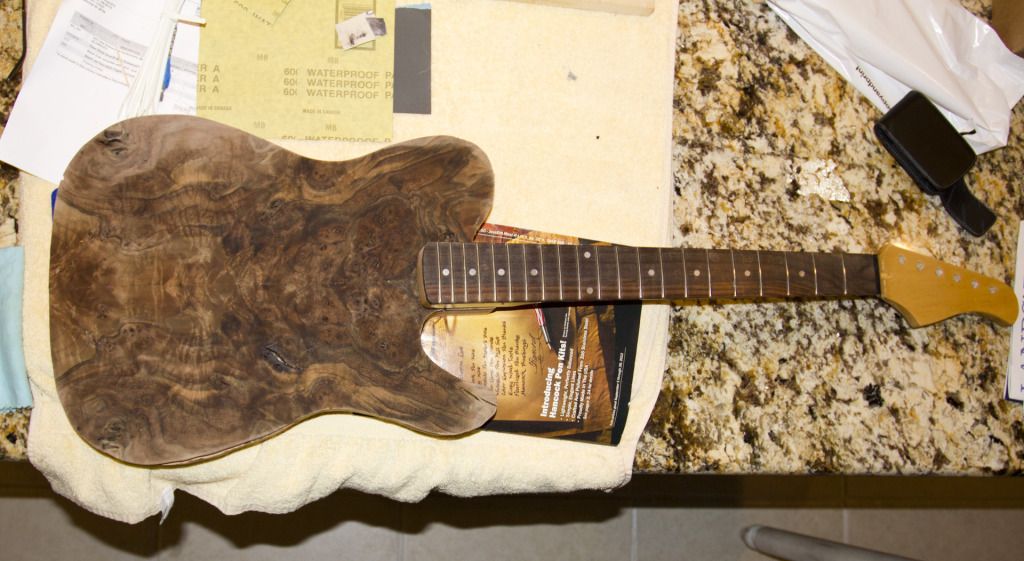
Here is the my two choices for pickups:
Gold
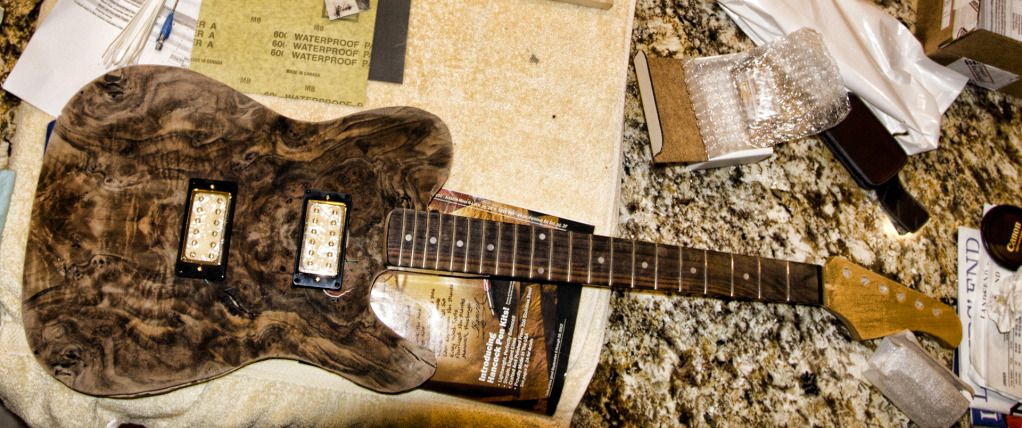
or black
I need to fill the voids. I'm thinking of putting some gold leaf and filling with CA. Not sure if the CA with stain the wood. Should I seal it before or just use CA across the whole top to sort of fill all the grain?
-
That's my dilema: no control cavity. It's all inside the hollow body. And getting those in was a pain in the. So I thought I would take a piece of wire and touch the conrol shafts and the input etc. from the outside and see if that might point me in the right direction. Other wise I have some serious work to do.
-
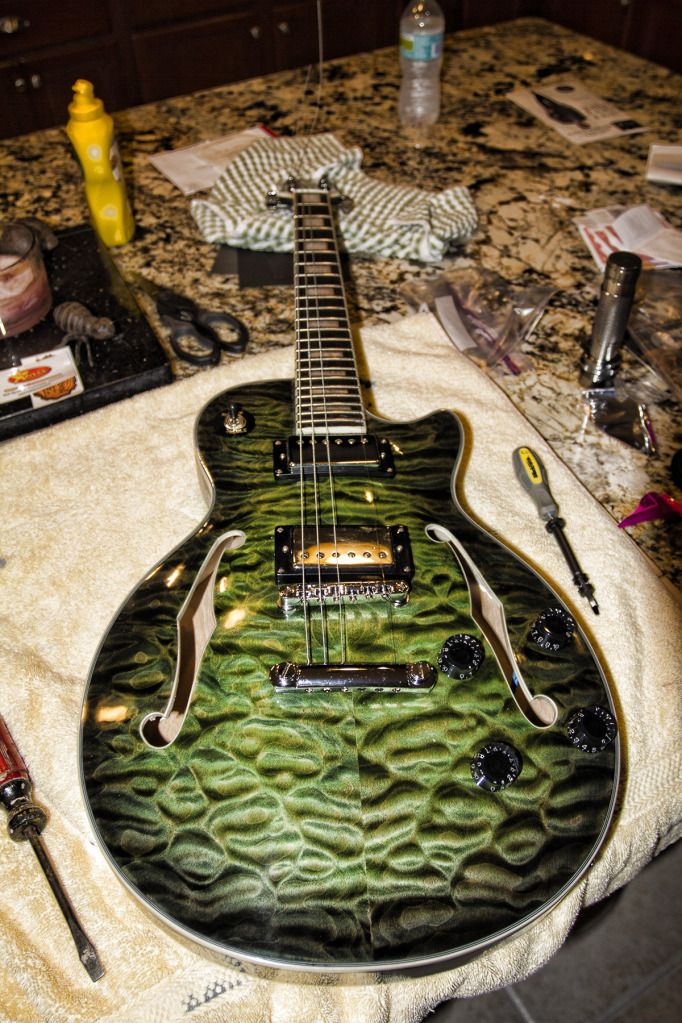
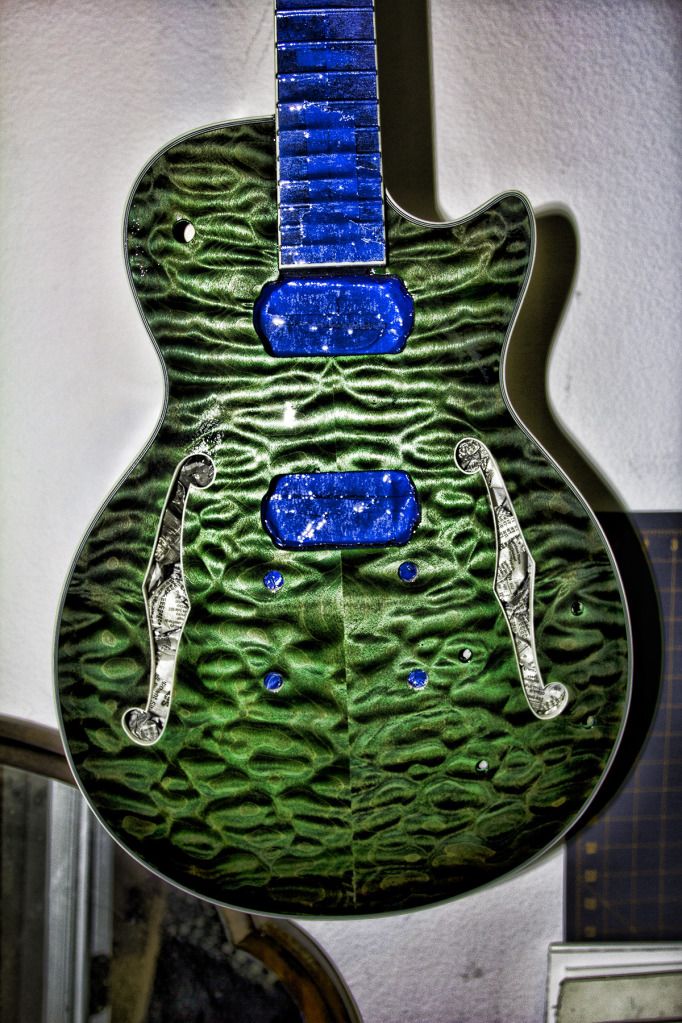
Okay, I've been waiting for the nitro to get hard and now some pictures.
I did some wet sanding...
Some more wet sanding..
Oh did I say I was wet sanding ....
Installed the studs... cracked the nitro....I ended up putting a little soap on the rest to aid in the install. I put some adhesive back sand paper on a the little socket holder for my screw gun. It fit in the holes for the studs so I could sand out the nitro.
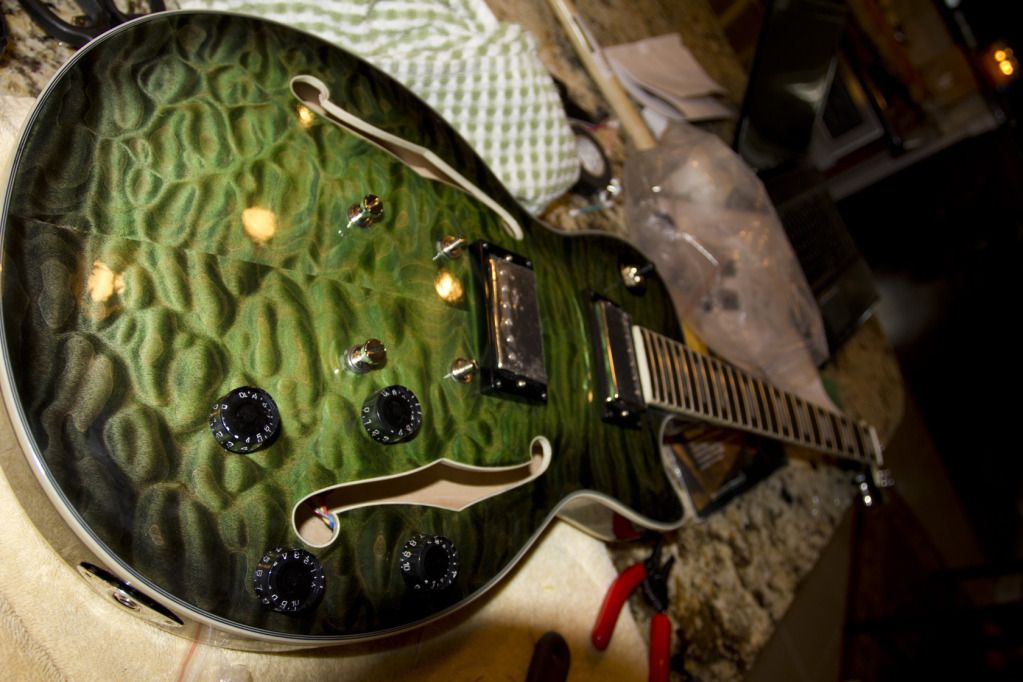
Then on to buffing with a foam wheel using Maquires
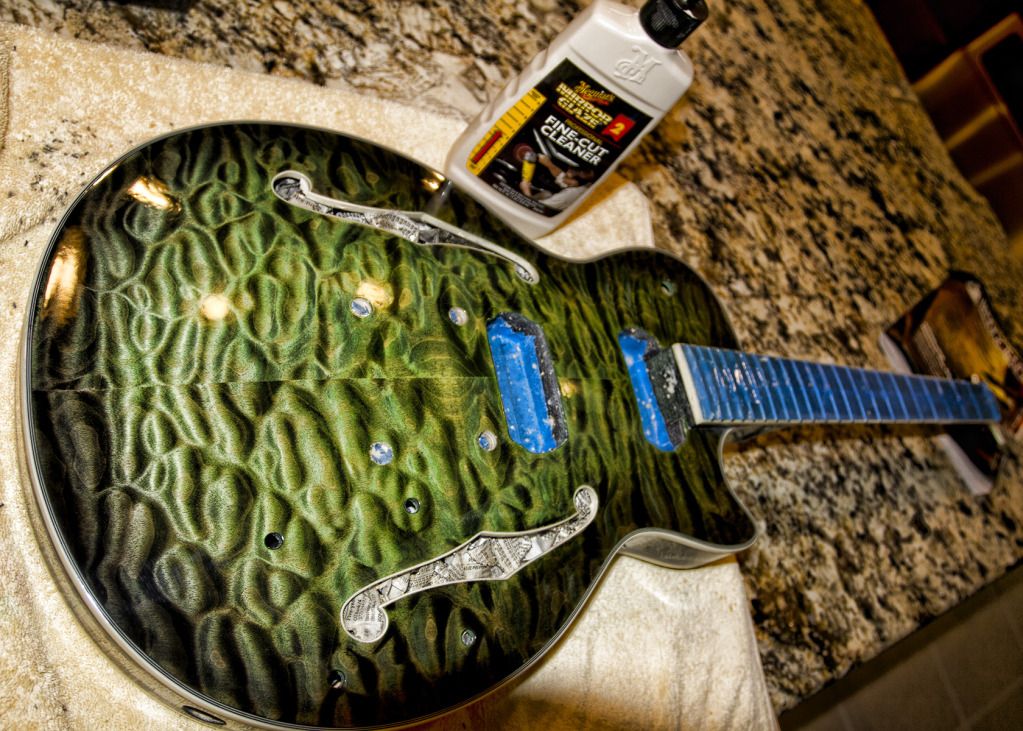
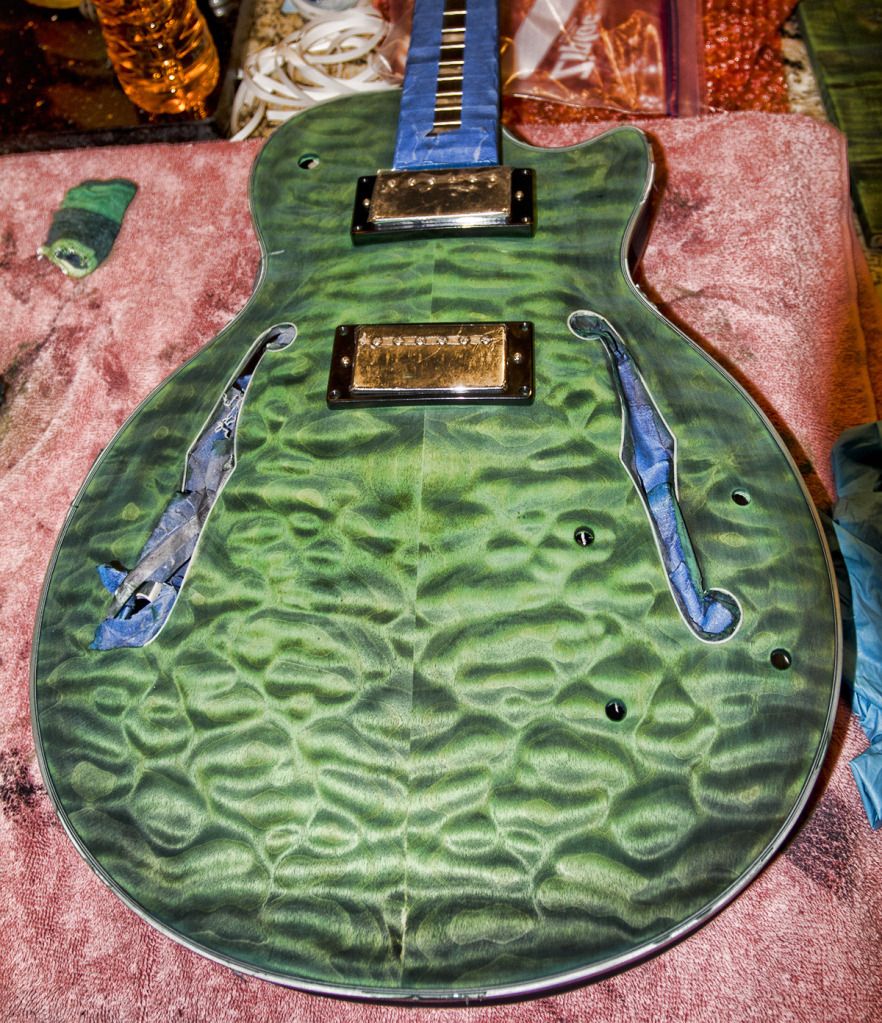
Then it was time to take off the blue tape.
And to soldier up everything. Getting the controls into the holes from the inside was a real pain.
So almost ready..After the swirl out
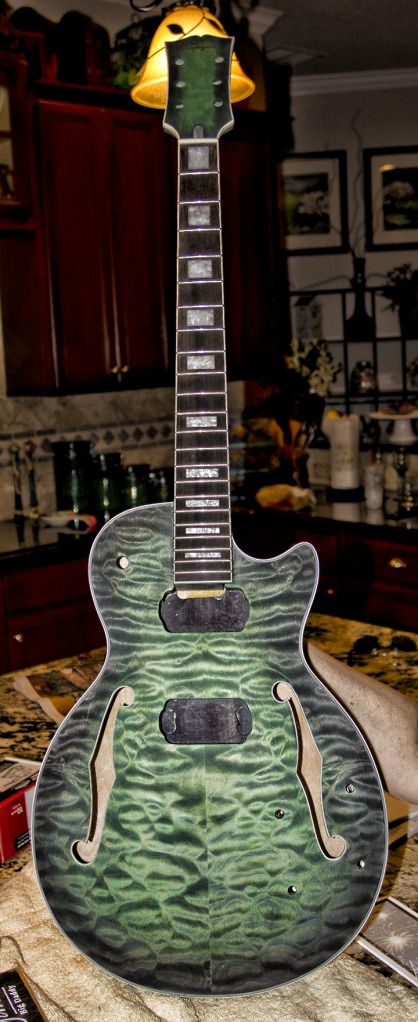
And now for the wiring..all done...
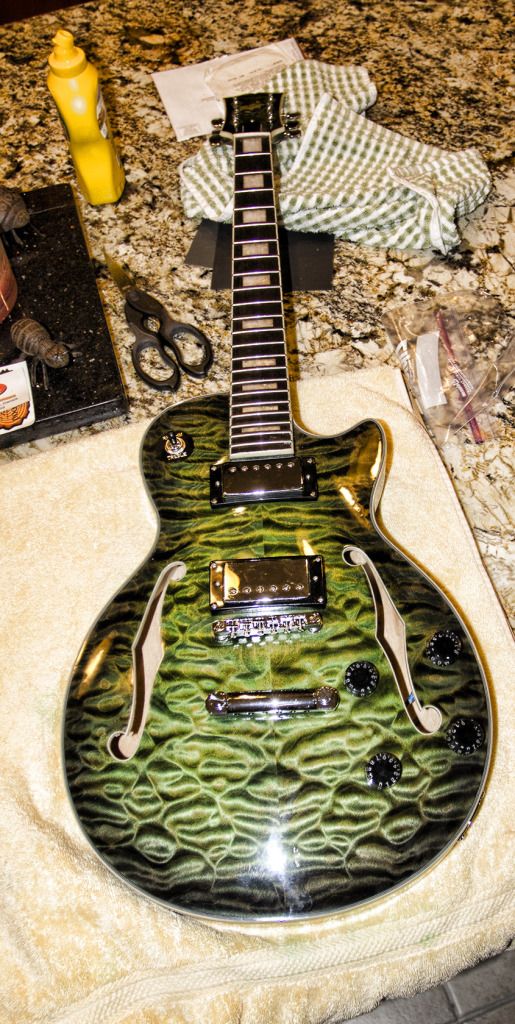
Starting the strings..
All done....
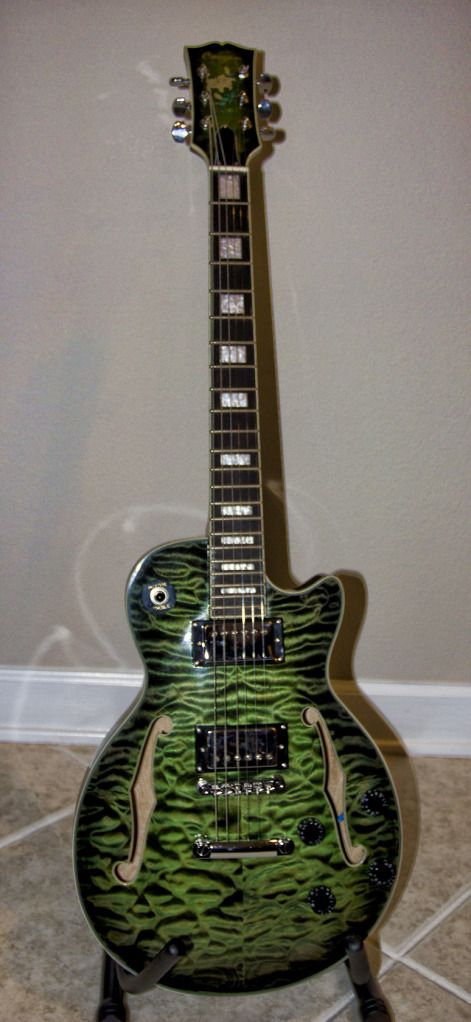
Hooked her up and took her jammin!
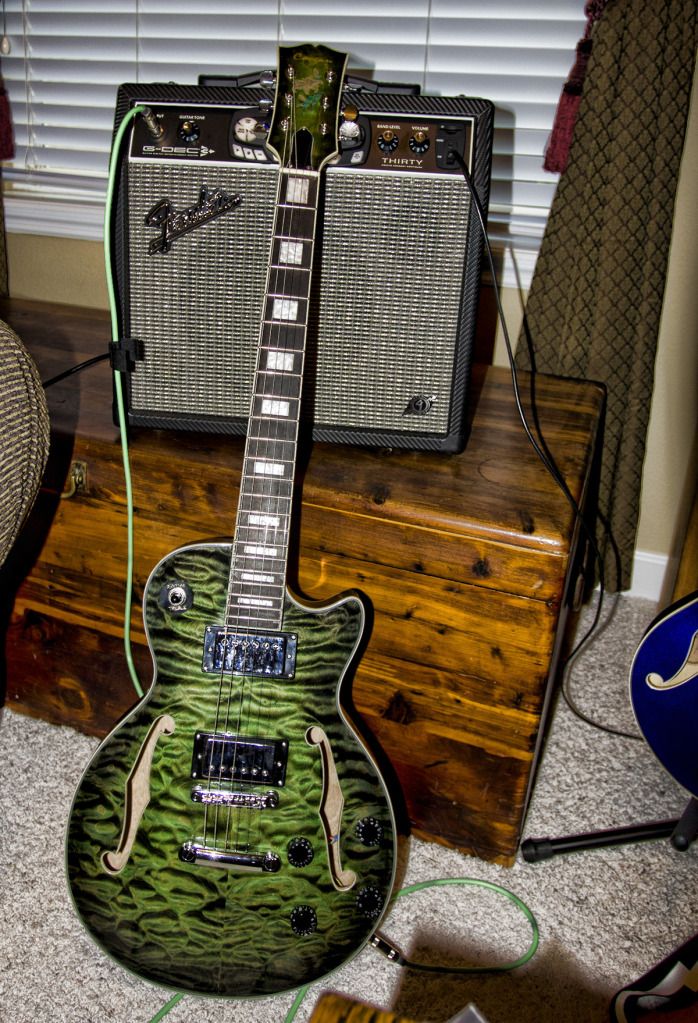
One small problem though...something is wrong with one of the grounds so I get a hum.....Not sure what I will do next. If I touch the strings the hum stops.
-
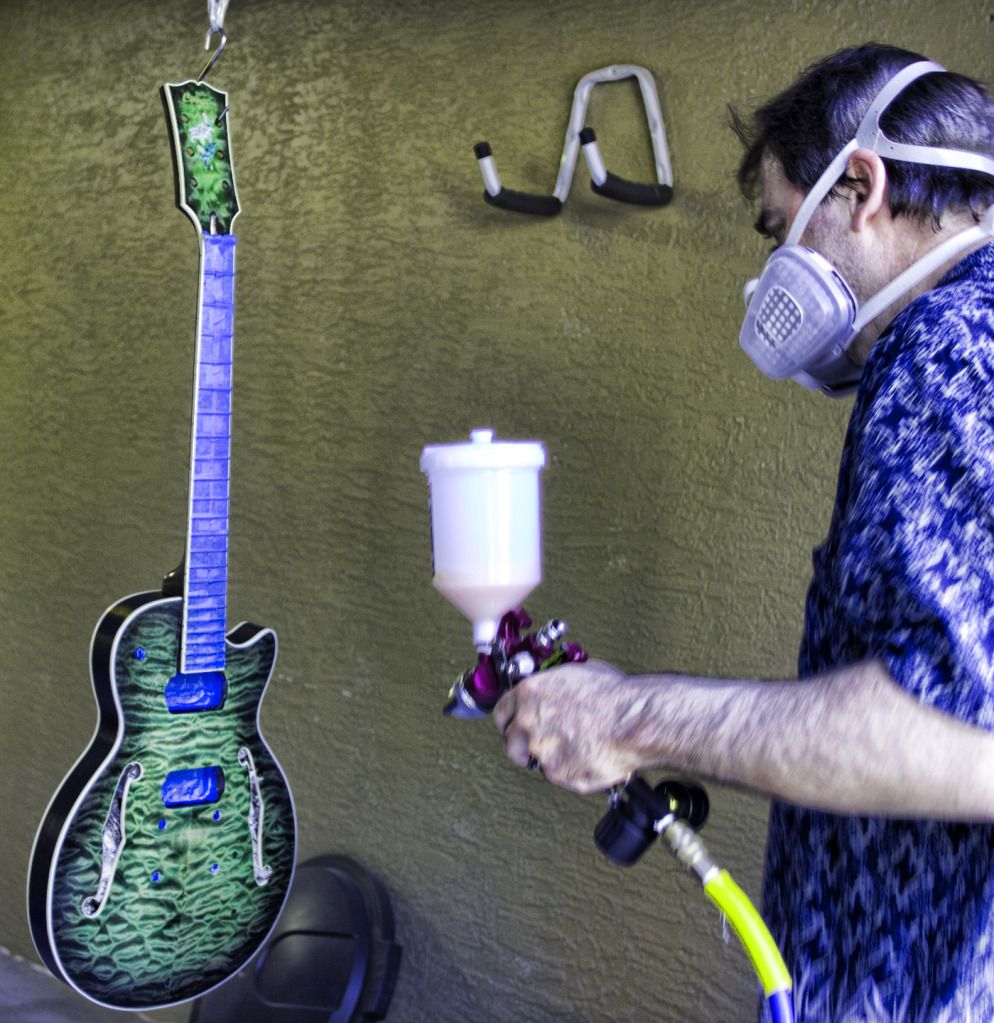
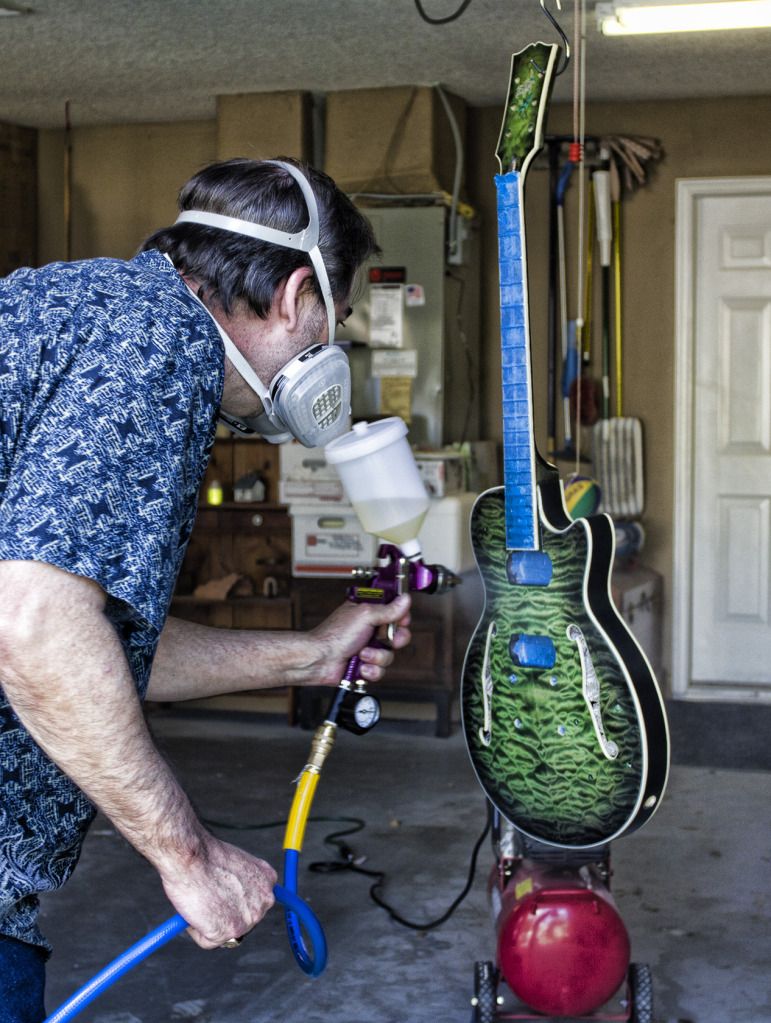
I'm using Deft lacquer. I'm sanding it all with 400 (I have a couple of runs) before shooting with final coats.
-
Three light passes for a coat and three coats a day.....2 hours between coats. I am going to be out for a couple of days so this last coat won't get another pass until three days from now.
-
So when it's time to put the studs in how do I do that without craking the clear coat...is there a way to press them in or maybe a little soap? Any suggestions?
-
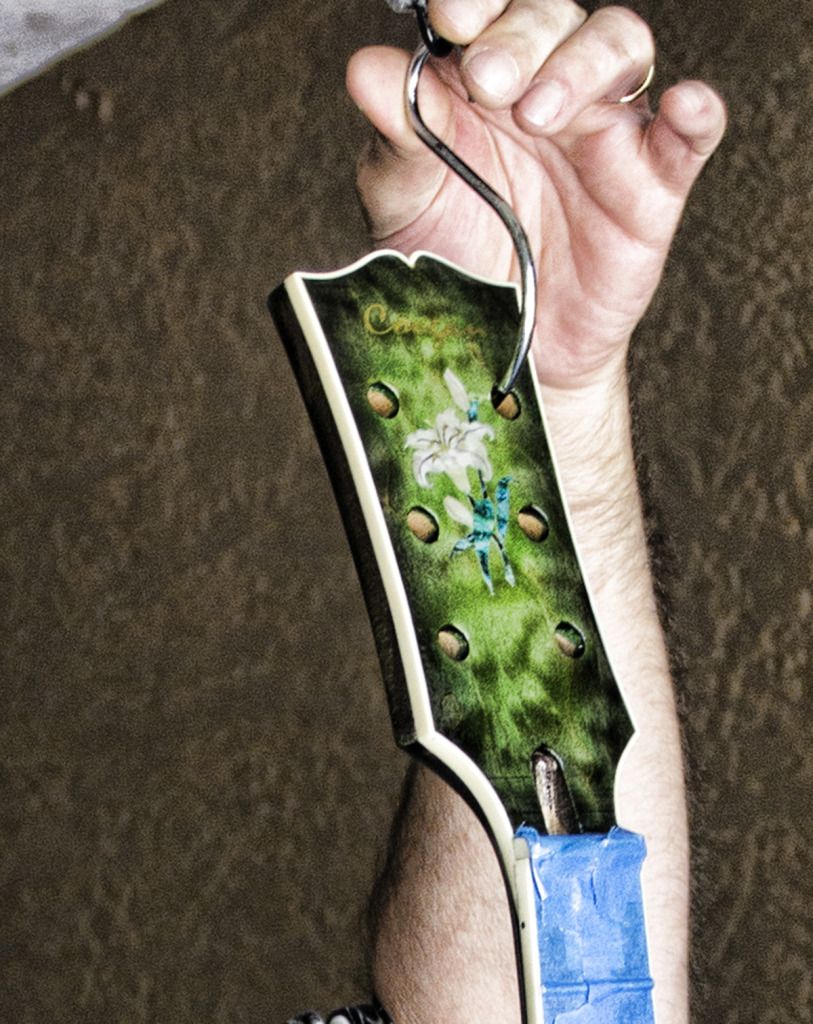
I've haven't posted in a while so here are some photos...drilled for the bridge and tail piece studs. Also, two coats of sealer and then sanded. Two coats of clear then went over the entire guitar with grey pad (steel wool synthetic) then shot two more coats. The head stock decal of the flower is sticking out a bit in spots. Some of the very end pieces...not sure what to do with them yet...and I got a big bugger in the back on the last coat so I will sand that out.

Sealing
Sealed and ready for clear

1st coat of clear

2nd Coat
3rd Coat and it's getting built up now.
4th coat and then I got a blob...on the back...you have to look close...to me it's the size of Jupiter
4th coat on the front and looking pretty good
The peg head has 4 coats but the decal on the flower needs some work...this is a gift for my sister....
I will sand the blob out and shot another coat or two..
-
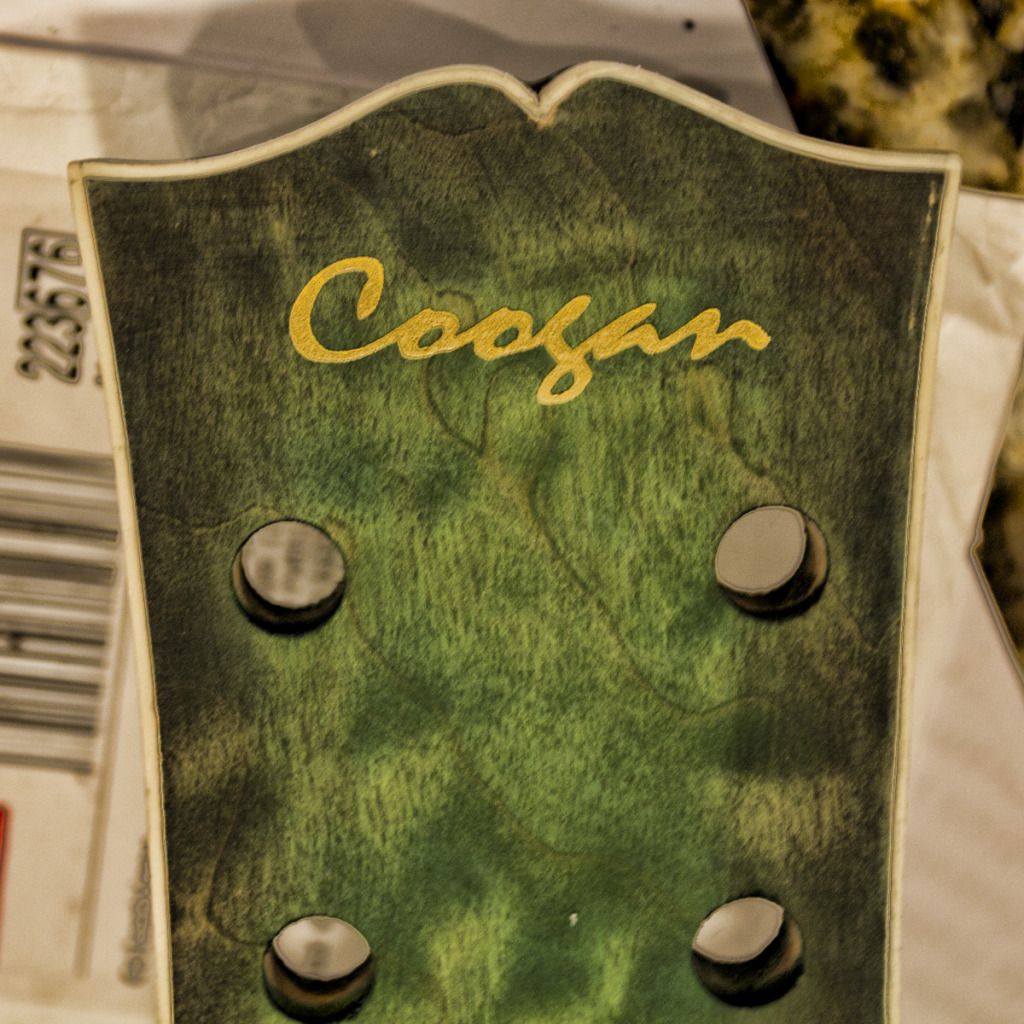
i sprayed some on a scrape piece with decals. I was worried about whether the sealer would make the decal opaque. I seems fine. Now one last little thing to take care of and i will start the sealer coats....
-
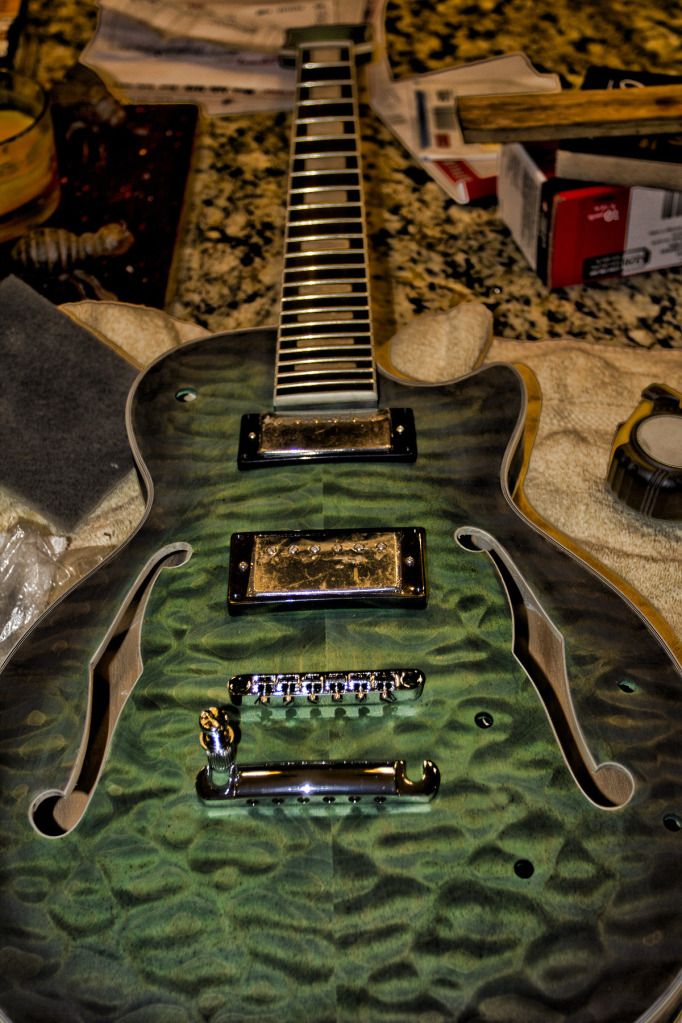
I'm going to experiment on some scrap I'm putting decals on today. I need to drill the holes for the bridge and tail piece. The best I could calculate - locating the bridge 25" on the low e and 24.75 on the high e, from the nut. My Les Paul Smart Wood is at 24.75/24.5 and my two Ibanez ones are 25"/24.75 and the necks on all are exactley the same length. The only difference are the saddles are tweaked about the same. The tailpieces are a little different too. So, Im going to drill 1.75/1.5" back. The slant will follow the bridge.
Some updated photos:
-
I put the decals on the headstock...before I sprayed the sand and seal...Do I need to remove them before I spray??? It's deft lacquer sealer....
-
So got the neck glued up and the gap closed pretty good. Still not sure how to fill. Some people as saying to use epoxy or CA. Some where I say to just use wood glue. So here's the question: when I clear over the filler will it blend with the clear or will you be able to see the fill line?
-
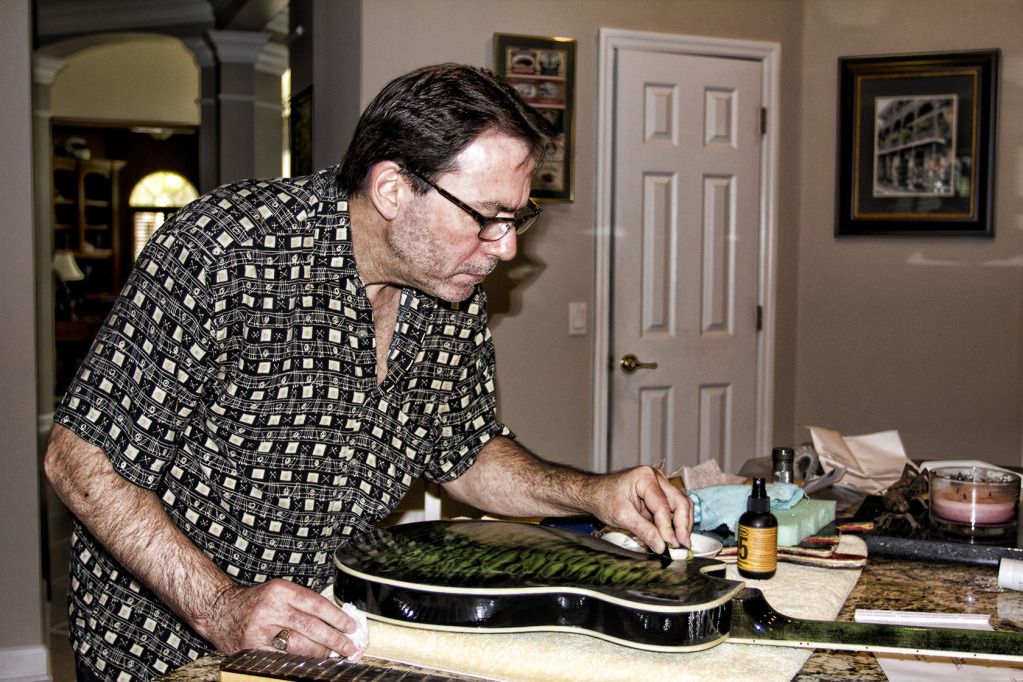
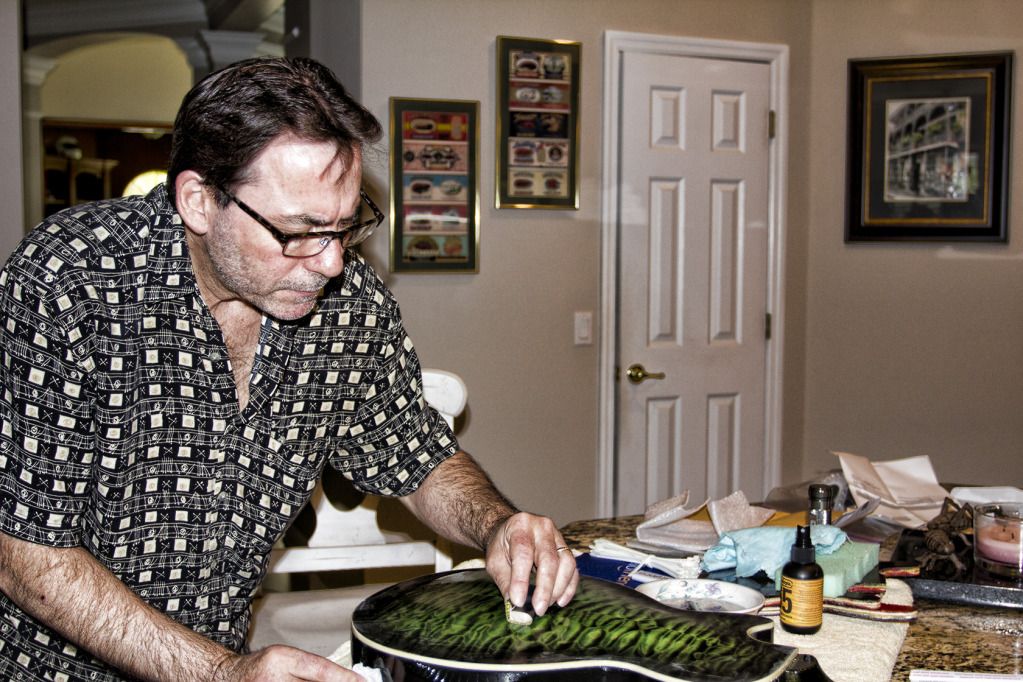
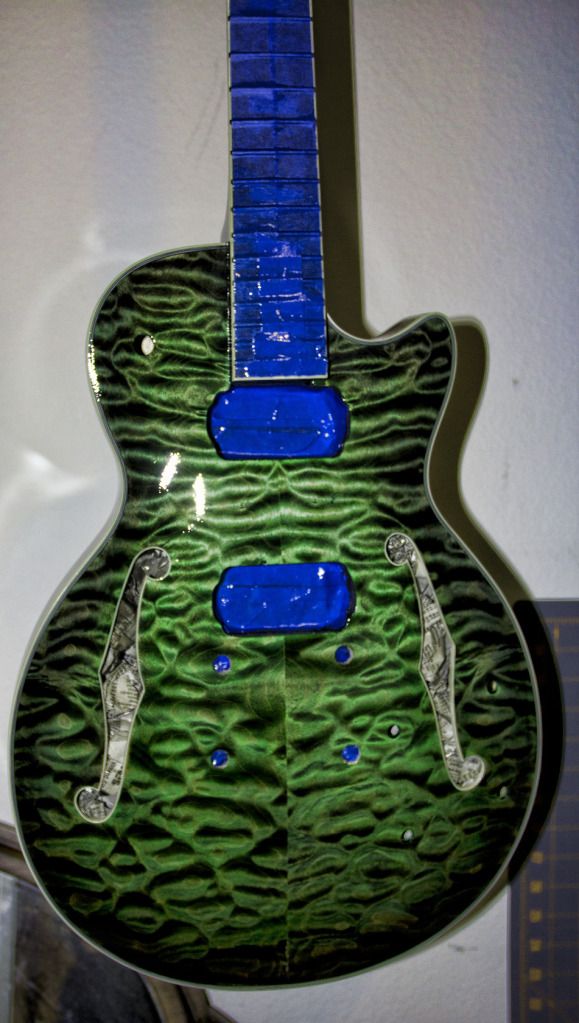
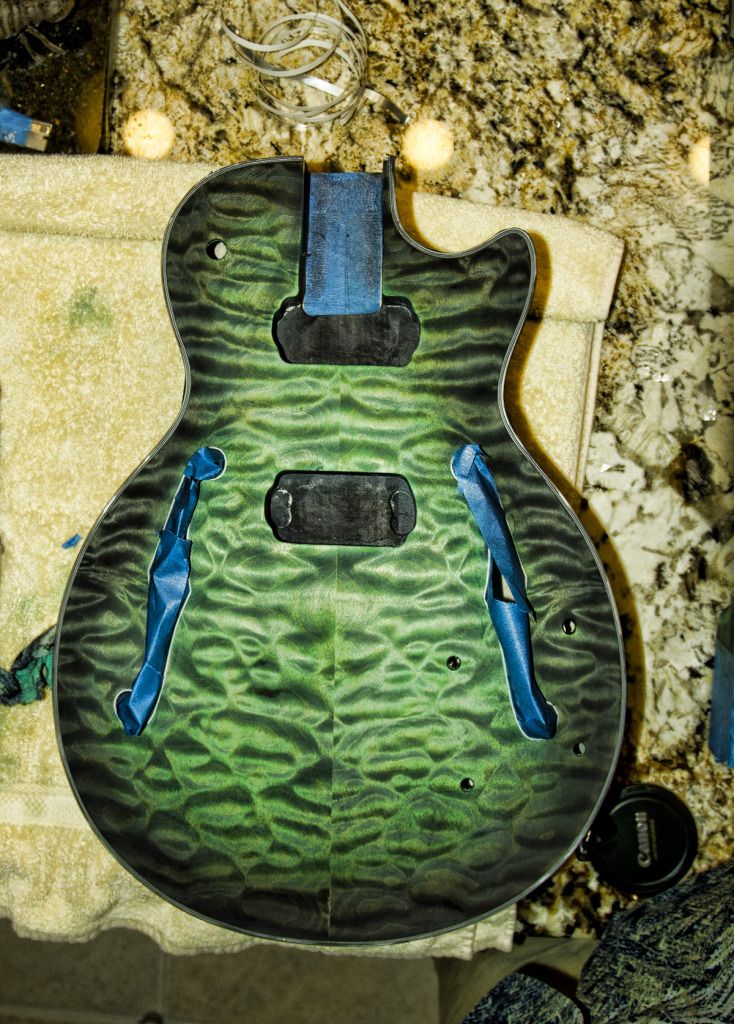
Okay so I added more black for the burst. It looks smoother when wet than in the photos. I need to scrape the bindings. Do I spray the sand and seal over the bindings?
-
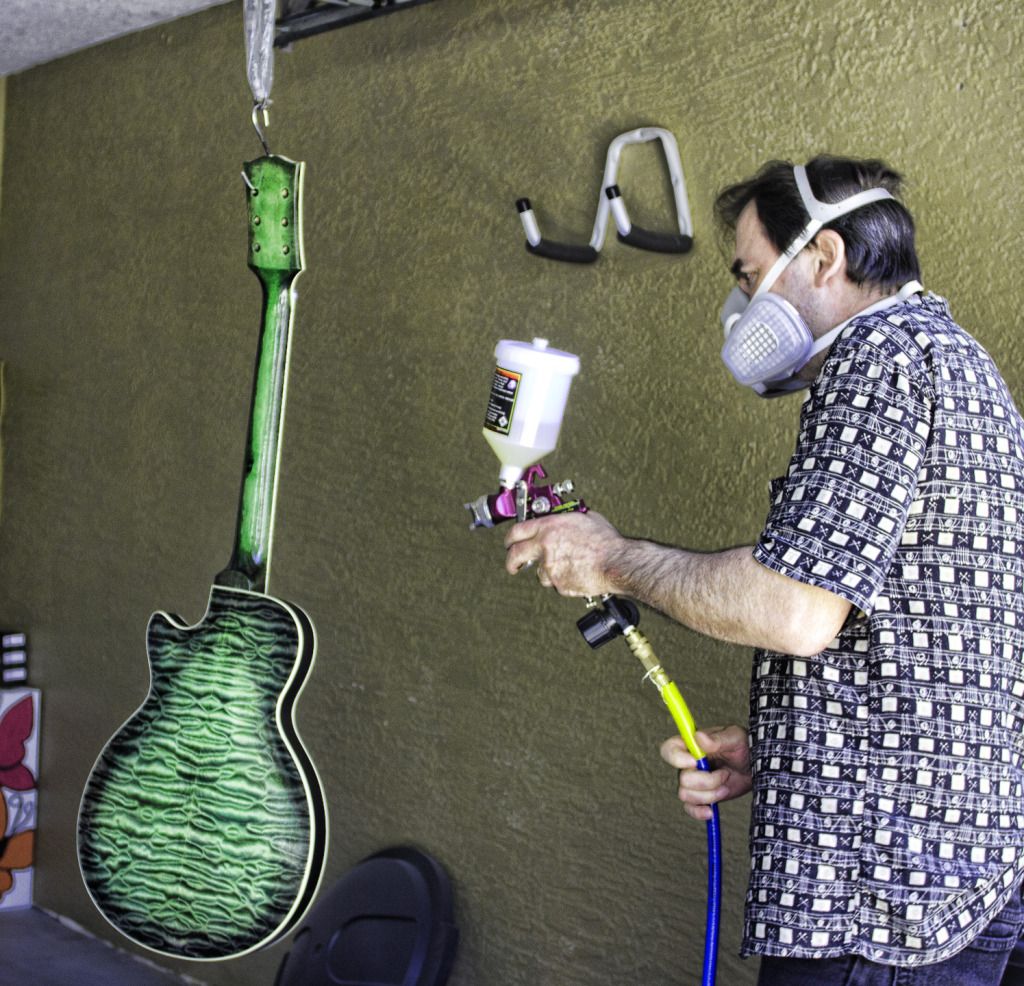
More photos to come. I need to figure out the color shift....
-
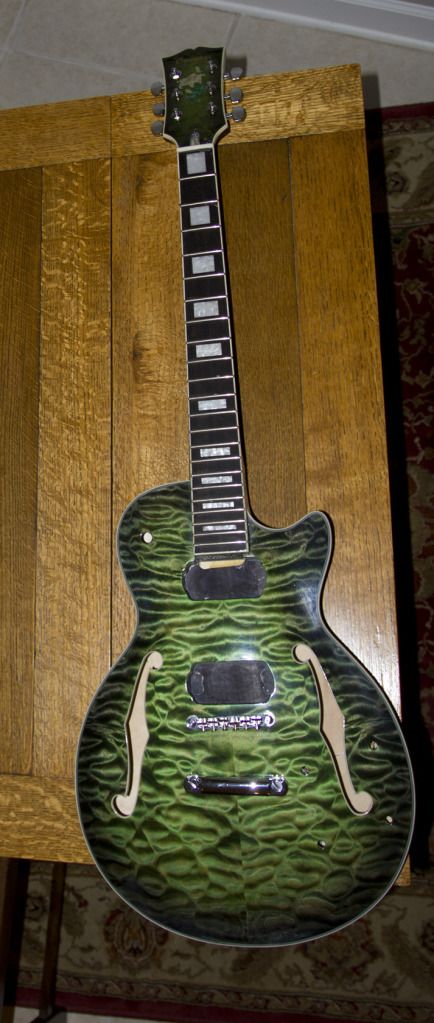
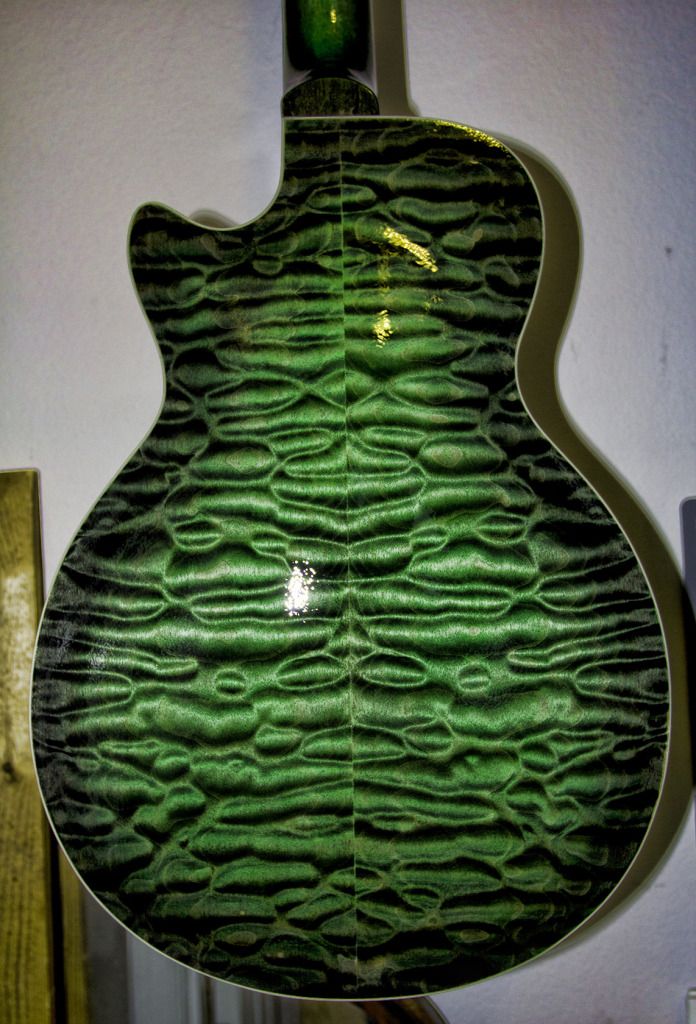
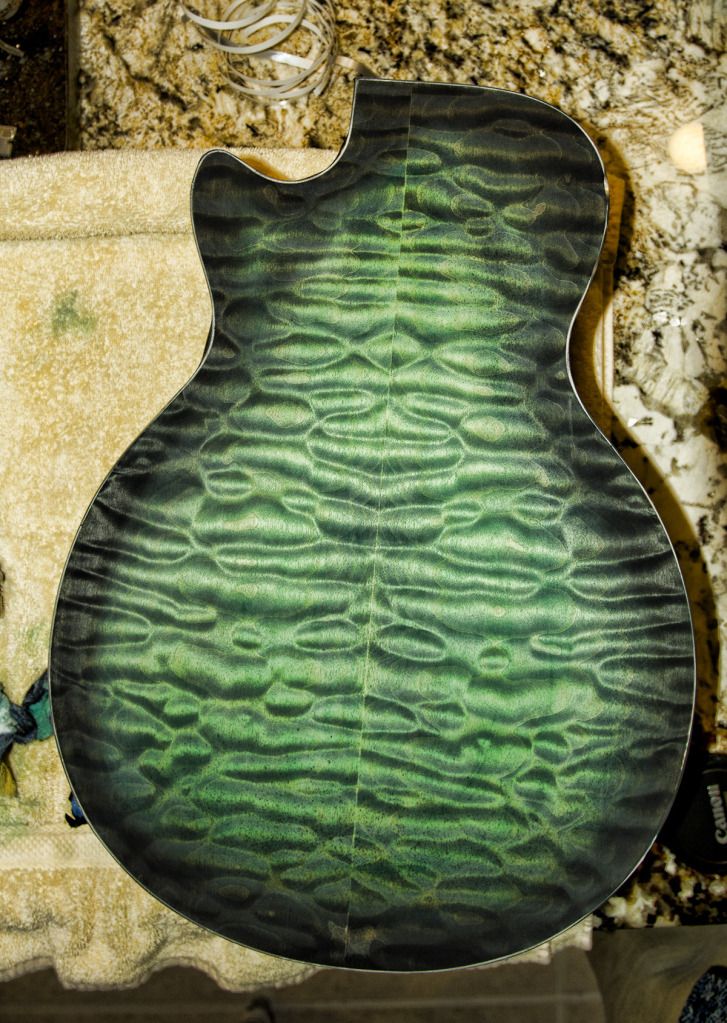
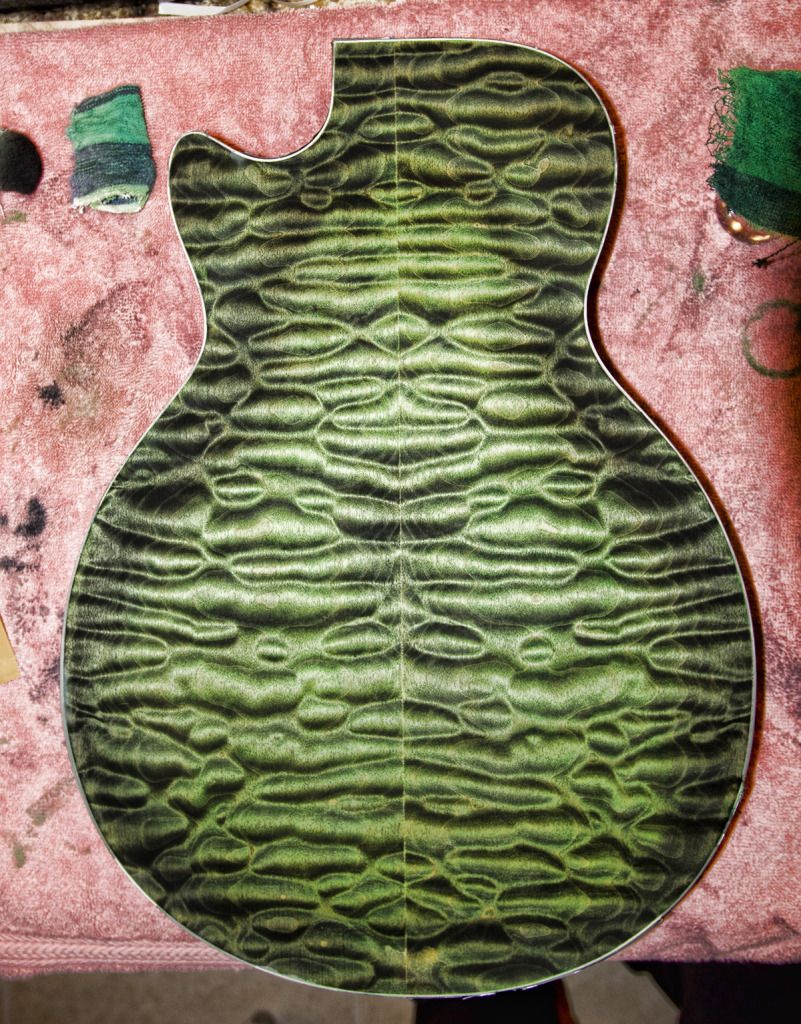
Here is the back.
-
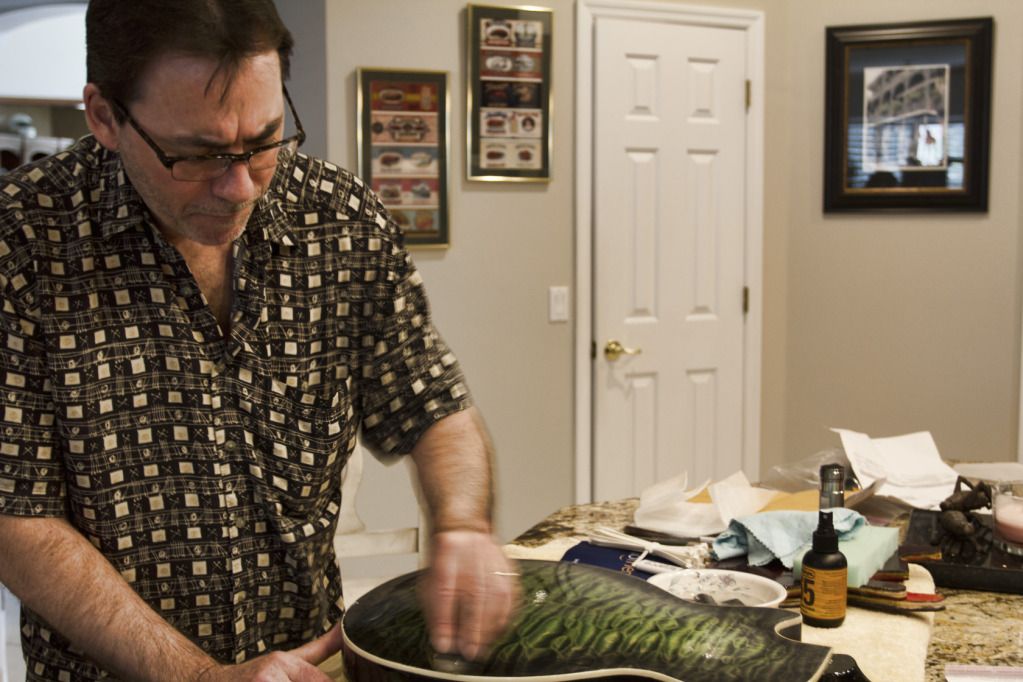
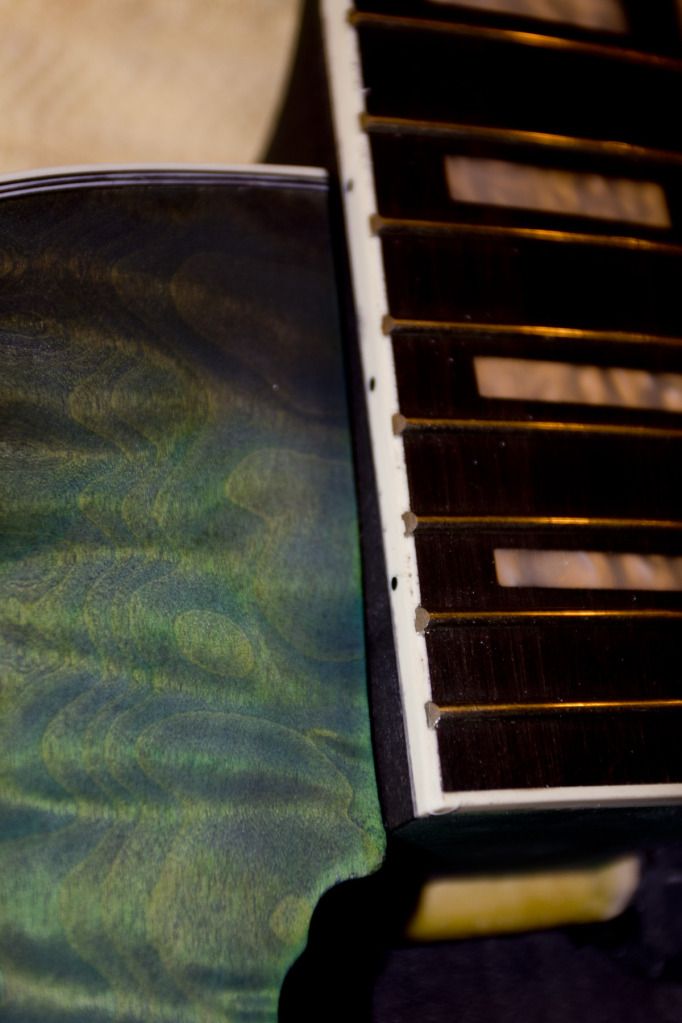
Thanks I got the body sanded and dyed. It's more of an emerald green than the picture shows, I think i might try to do a darker burst around the edges.
-
- I got it al clamped up at the 16th and it got tighter. I took it a part now but will post pics soon. Can I use super clue on this smaller space once it is glue in?
- I got it al clamped up at the 16th and it got tighter. I took it a part now but will post pics soon. Can I use super clue on this smaller space once it is glue in?
-
I'll give that a try thanks. It's a 22 fret neck.
-
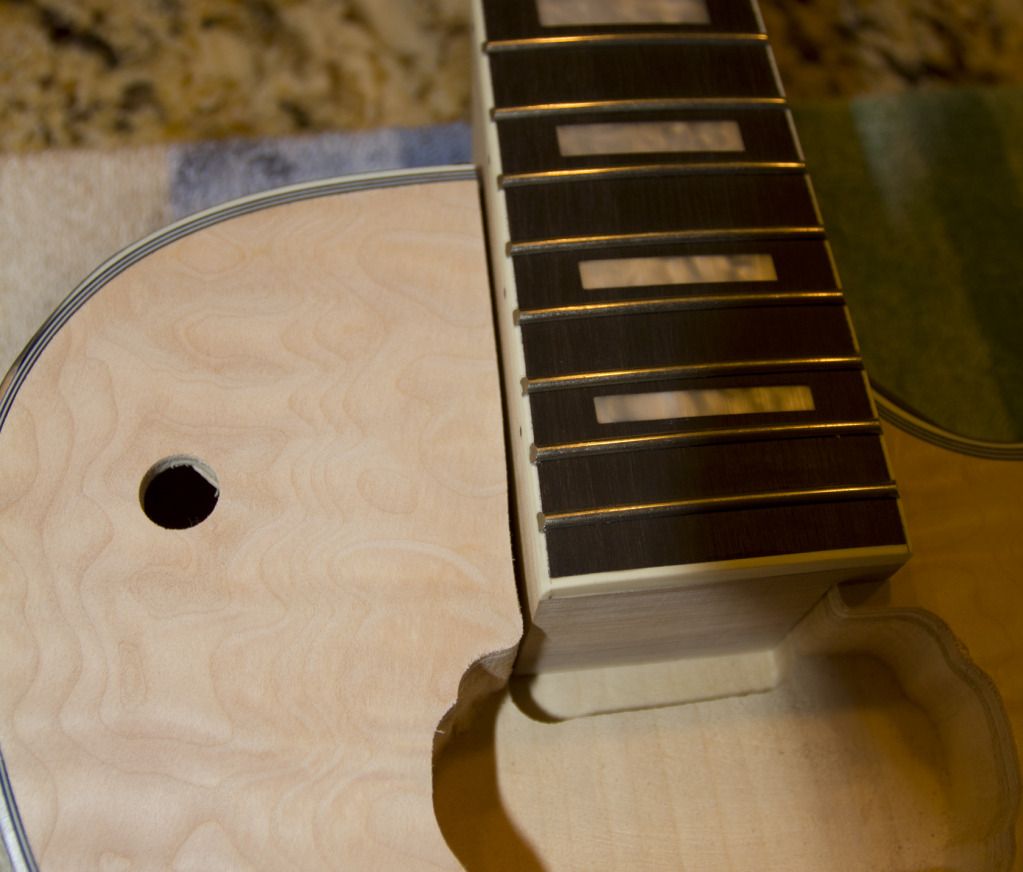
When I move the neck it closes some, How do i make sure heck is square? I could use a square against the body....
-
Here is a shot. I can move the neck to tighten that up a little but I need to make sure it runs straight.
-
My second atempt at doing a build.
Just got my kit and started dry fitting everthing together. Two things to over come. The neck fitting at the body is a little lose with about a 1/8 of an inch gap. So it has a little play from side to side. Any ideas on how to square it. I would have thought maybe to square it by measuring from the last fret to the bridge?? No matter I will end up with a gap to fill. The bridge and tail pieces aren't pre drilled so I need to do those first. Where can I find the distance for the bridge and tail piece holes. I will get some pictures up. The body is a great quilted top and bottom! I am doing this one green for a gift for someone. I will post photos along the way.
Lp Hollow Body
in In Progress and Finished Work
Posted
Thanks. Two things. One if I touch the strings buzz stops....that's why I thought of the groud. I also had to splice the wire from the neck pickup to reach. I put heat shrink on it. I wonder if that is the shield issue?