


Maurits
-
Posts
253 -
Joined
-
Last visited
Content Type
Profiles
News and Information
Tutorials
Product Reviews
Supplier Listings
Articles
Guitar Of The Month
Links and Resources
Forums
Gallery
Downloads
Posts posted by Maurits
-
-
Beautiful as always Daniel, looks like you have a wonderful work place as well.
-
Maurits: Where are you located ??
I live in Oegstgeest, so only a short bike ride away.
And I must say, normally I'm not into inlays on the top of a body too much, but this one and the one on your first build look real good.
-
How did I miss this thread? Looks fantastic, really dig those inlays too.
And I noticed you're located in Leiden, cool to see a builder so close to home.
-
I reckon there's no real wrong way, whichever works for you is good.
-
Cheers guys.
Rich: You're absolutely right, it is a great feeling to see a completed piece. I find that I keep going over to my desk and looking at it.
Rentis: I just saw that pic of you and the trout. That's a great looking fish, did you catch it on a fly? I'm probably going fly fishing in Norway this summer which should be a blast.
Here's a pic of the finished inlay, finished with shellac and tru-oil. Quite happy with how it turned out. Not too many gaps between inlay and the surrounding wood, and the small gaps that are present aren't noticable from a distance greater than 5 cm's.
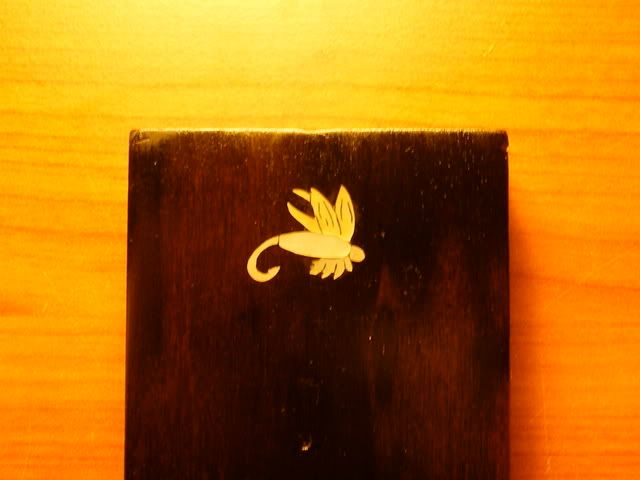
I'm gonna get my hands on a better camera and tripod next week, so a better picture will be posted later.
-
Do you only us a rasp when shaping your necks? (just gathering different peoples opinions/ways of doing things for my build)
What I do is use rasps at the headstock end and the heel end, when those parts are at the required shape you join the two pieces with a spokeshave/drawknife/etc.
-
No worries Daniel

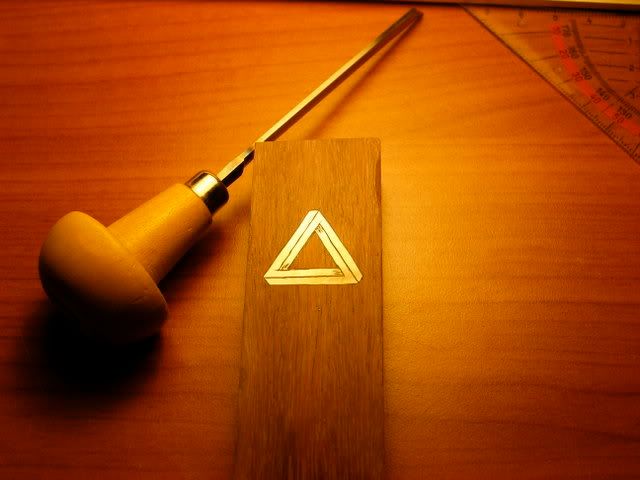
Here's one I've been working on this afternoon/evening. My first multi piece (5 pieces here) inlay.
Materials:
-hook and head - aluminium
-body - MOP
-wings - gold MOP
Here it is before gluing.
Edit: Just noticed how bad the picture is, can't even tell apart the materials. I'll post a better one when it's sanded and engraved.
-
Thanks a lot guys, much appreciated.
It's one piece, which I engraved. Wasn't up to a multi piece one yet. I plan to do one soon though.
Daniel: This isn't my first, it's one of my first, my first was in my bass which was quite scary, taking a router to a nearly completed instrument.
This is my first inlay (apart from some random practice stuff that is). Again one piece, made from aluminium.
-
Still learning to do this stuff properly as you can see, maybe my next one will be a multi piece inlay.
Material is Gold Mother-of-Pearl.
-
Thanks Travis.
Turns out I didn't have enough of a neck angle for a nice low action, so today I recessed the bridge a couple of mm's and it did the trick. Now it plays really well.
-
That looks terrific pukko. Great looking inlays too.
-
Thanks guys, the second one should be done next week, hopefully as soon as Wednesday.
-
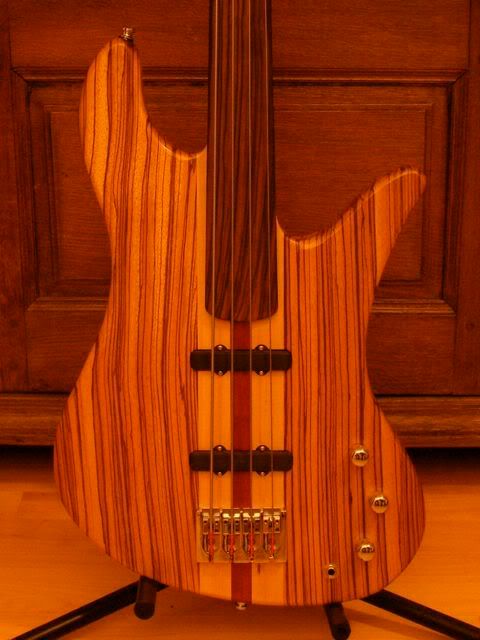
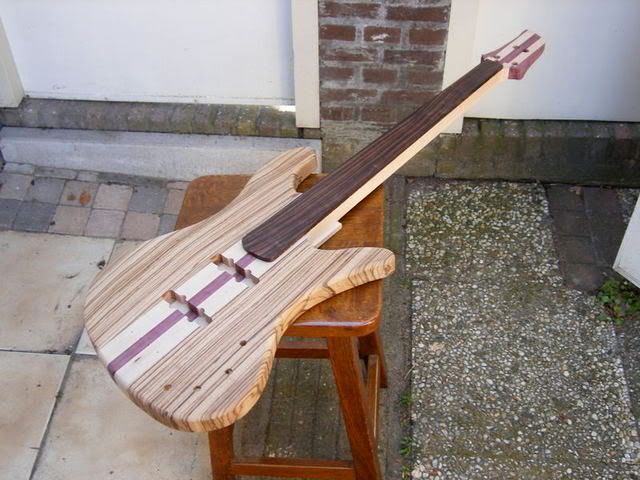
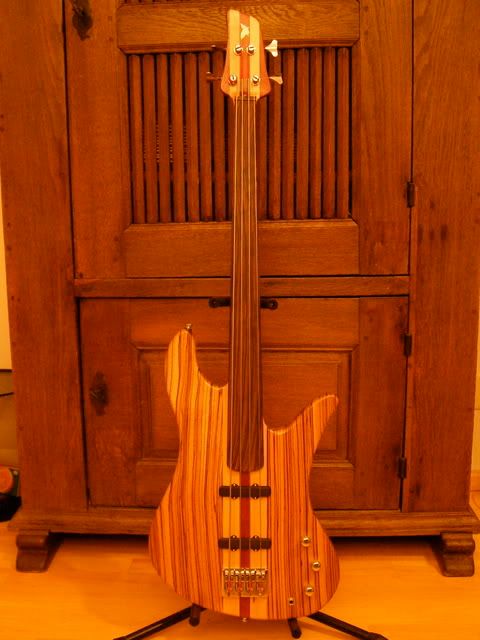
Well, my bass is finally done. Daniel still has to get pickups for his, which we may get this weekend and then his will be up and running in no time too.
I'm very pleased with how it came out, sounds and play pretty darn good. Can't wait to build another as soon as possible.
Here's some pics.
http://i112.photobucket.com/albums/n191/Ne...d/DoneFront.jpg
http://i112.photobucket.com/albums/n191/Ne...neHeadstock.jpg
http://i112.photobucket.com/albums/n191/Ne...neBackClose.jpg
http://i112.photobucket.com/albums/n191/Ne...ed/DoneBack.jpg
-
Thanks guys.
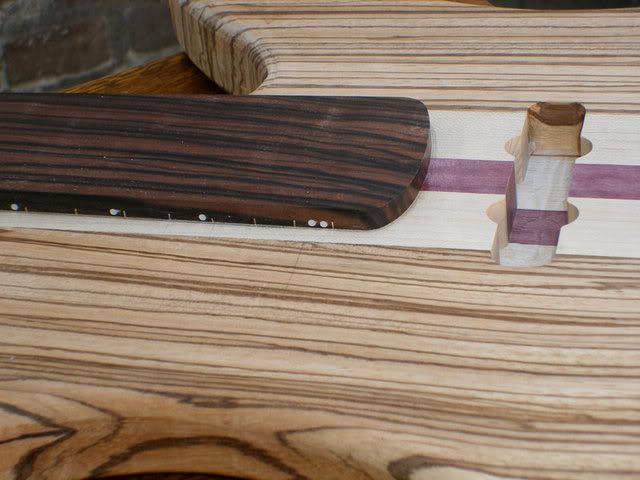
DBM: both of them are fretless actually. The one on the right has fretlines showing on the front, while the one on the left has them showing on the side (otherwise it'd be too hard for me to play it
)Here's a shot of the side of the board of the bass on the left. I saw an Alembic that had the fretlines showing like this and thought it was a great idea.
-
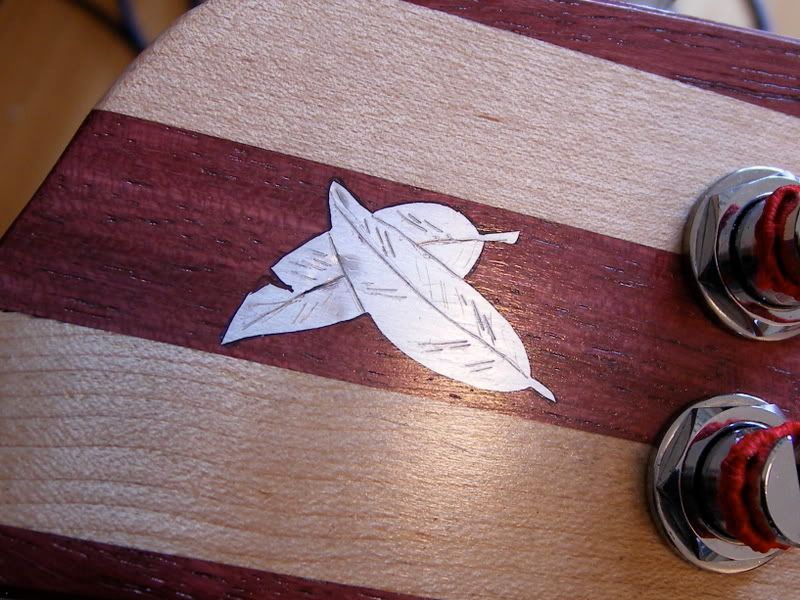
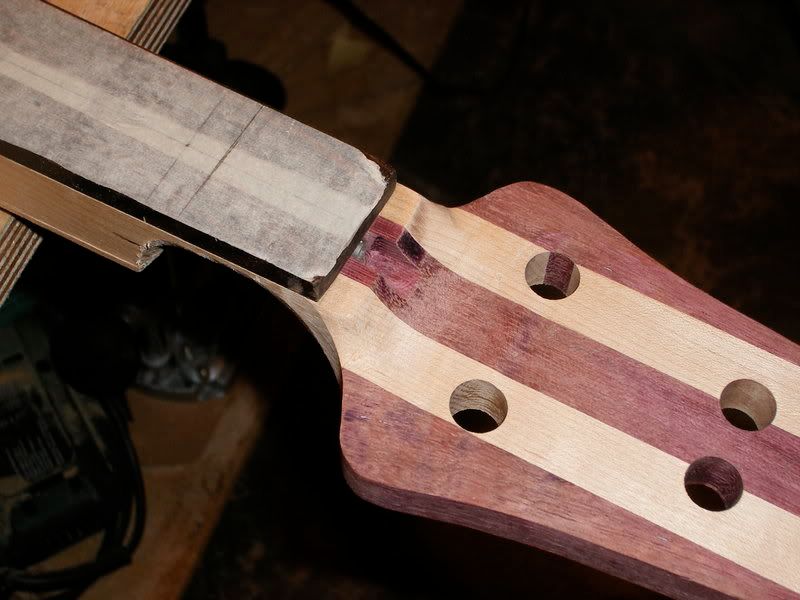
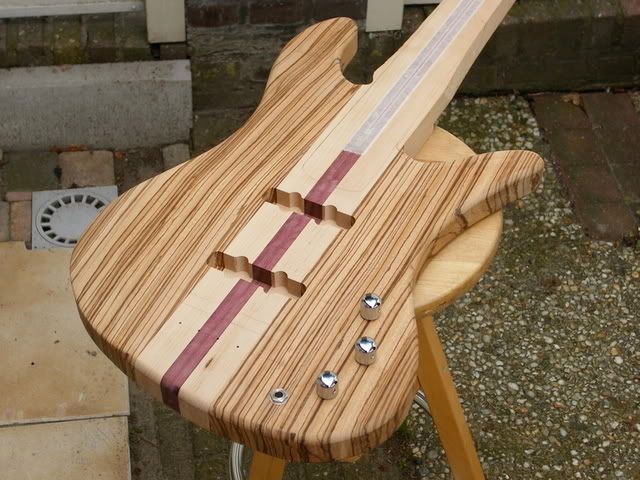
After a long time, we've got more progress on the bass. We're getting there (very) slowly but surely. We did headstock inlays, which were quite nerve racking, sanded it all up to 400 grit and made matching zebrawood (backed with aluminium for strength) covers for the control cavities. Also, today we put the first coat of shellac sanding sealer on the bodies and necks. Next coat is going on tomorrow night. So here's some pics for y'all.
http://i112.photobucket.com/albums/n191/Ne...es/PC020509.jpg
http://i112.photobucket.com/albums/n191/Ne...ay/PC020502.jpg
A nice, artsy pic:
http://i112.photobucket.com/albums/n191/Ne...ay/PC010491.jpg
-
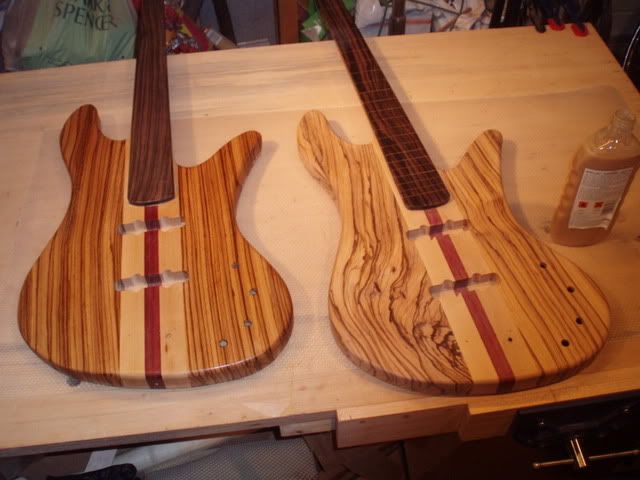
The carving on both the necks is done, they already feel real good. They still need quite a bit of work done to them like sand out the remaining bumps and smooth out the heel and headstock area. The end (or beginning depending on how you look at it) is nigh.
Here's some pics.
Bass 1:
http://i112.photobucket.com/albums/n191/Ne...1carvedneck.jpg
http://i112.photobucket.com/albums/n191/Ne...ss1backbody.jpg
Bass 2:
http://i112.photobucket.com/albums/n191/Ne...2carvedheel.jpg
http://i112.photobucket.com/albums/n191/Ne...bass2carved.jpg
http://i112.photobucket.com/albums/n191/Ne...arvedvolute.jpg
-
Thanks for the compliments guys.
Sadly we don't have a bandsaw at our disposal, but next time I'm definatly going to saw the laminates closer to the final shape before gluing them together. This is only our first build so we've learned quite a bit for the next times. It was quite a pain for the arms.
Travis: For the back of the necks we used assorted rasps and a drum sander (like these: Drum Sanders ) on a hand held drill which worked quite well. For the rest of the neck we'll use a spokeshave and/or drawknife.
BTW Daniel, nice website you've set up for yourself, looks real good. You've got talent man.
-
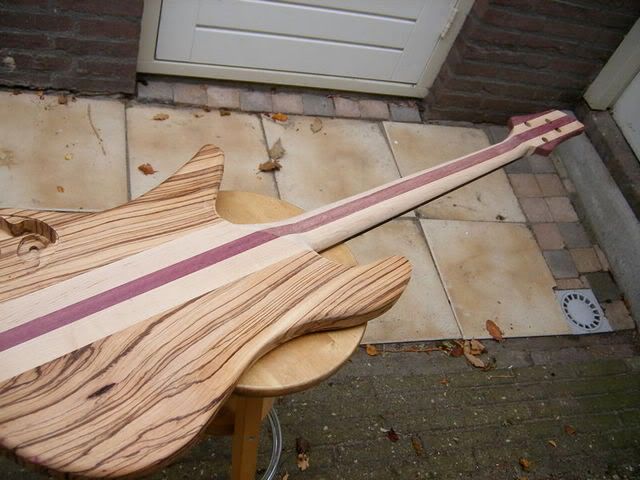
More work done to the basses today. The transition from the nut to the headstock has been carved on both basses, same with the headstock area on the back of the neck. We're both still in the process of carving the heel, which is almost done. So we'll finish that up tomorrow and start (and hopefully finish) the entire length of the necks with spokeshaves and a drawknife.
Pics.
http://i112.photobucket.com/albums/n191/Ne...II/DSCF0299.jpg
http://i112.photobucket.com/albums/n191/Ne...II/DSCF0298.jpg
http://i112.photobucket.com/albums/n191/Ne...II/DSCF0297.jpg
http://i112.photobucket.com/albums/n191/Ne...es/DSCF0292.jpg
-
Thanks bud.
I'm not too worried about it. I rarely play above the 20th fret and when we've carved a nice heel on them the reach is good enough for the few times that I play up there.
-
The fingerboards are now glued on and the necks are routed to the final taper. Next is the shaping of the necks.
Bass II.
-
I agree on the inlays. It isn't as over the top as a lot of custom inlays, which is a good thing in my eyes. Beautiful SG with a very nice color as well.
-
Thank you, that happens to be mine. I wouldn't mind owning the either one of them. We had a hard time choosing who got which one since we didn't really prefer one over the other.
-
Thanks, they fit real nice with the zebrano. At first I thought it would be a bit to busy and wild put they look real good on there.
Today we test fitted the wiring harnesses and we glued on the boards. Both went smoothly. These things are really getting there now.
-
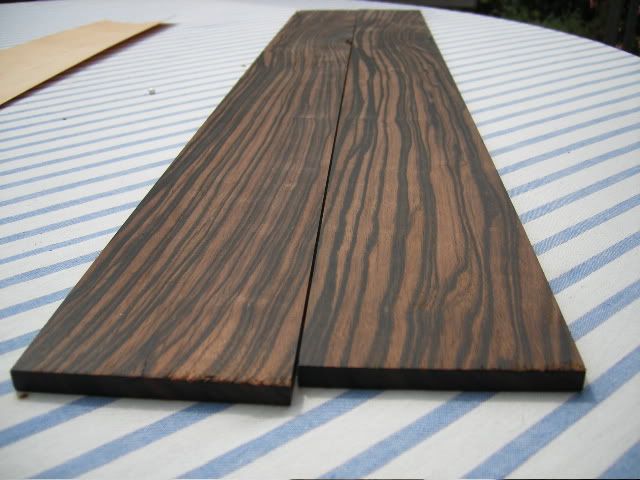
Thanks Travis. For the fingerboards we're using Coromandel (also called Macassar Ebony or Striped Ebony) of which we managed to get some really good looking pieces. They both have fretlines made of maple veneer and side dots inlays (no inlays on the front). There is one difference between the to boards though. Daniels will have the lines showing on the front while we put in the fretlines on the the back of my board, leaving the front completely clean with lines showing on the side of the board. If all goes well we'll be gluing them on today.
http://i112.photobucket.com/albums/n191/Ne...el/DSCF2056.jpg

Little Inlay I've Done
in Inlays and Finishing Chat
Posted
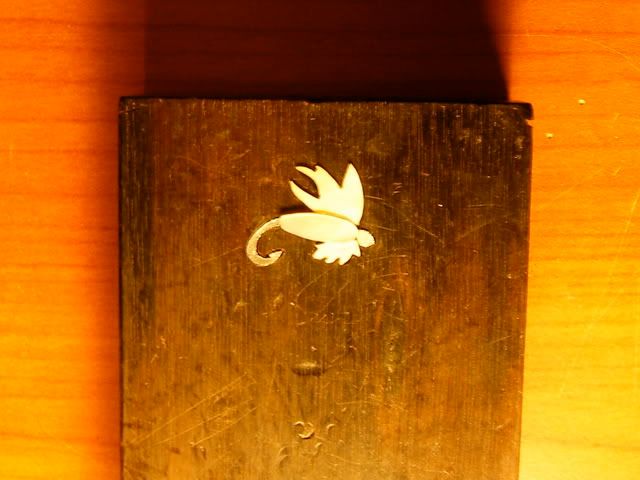
Here's two more inlays I've done since the fly, both trussrod covers.
-Aluminium into ebony, size: approx. 35x18 mm.
Has been shaped a bit better since the photo was taken.
-Gold MOP into ebony, size: approx. 18x18 mm.
Will be put on a Nightengale bass headstock.
http://i7.photobucket.com/albums/y284/Maur...nlay/OmDone.jpg
Both still need to be finished, I'll use tru-oil for this.