


beltjones
-
Posts
146 -
Joined
-
Last visited
-
Days Won
6
Content Type
Profiles
News and Information
Tutorials
Product Reviews
Supplier Listings
Articles
Guitar Of The Month
Links and Resources
Forums
Gallery
Downloads
Posts posted by beltjones
-
-
13 hours ago, curtisa said:
Have you tried sitting with the guitar and 'ghosting' some chord shapes on the fretboard to see how it feels? A few open position chords and maybe a F barre chord in the first position would give you a pretty quick indication how the volute sits against your hand.
Ok, I did that and the volute didn't seem to be in the way at all. I'm going to leave it as is for now.
-
 1
1
-
-
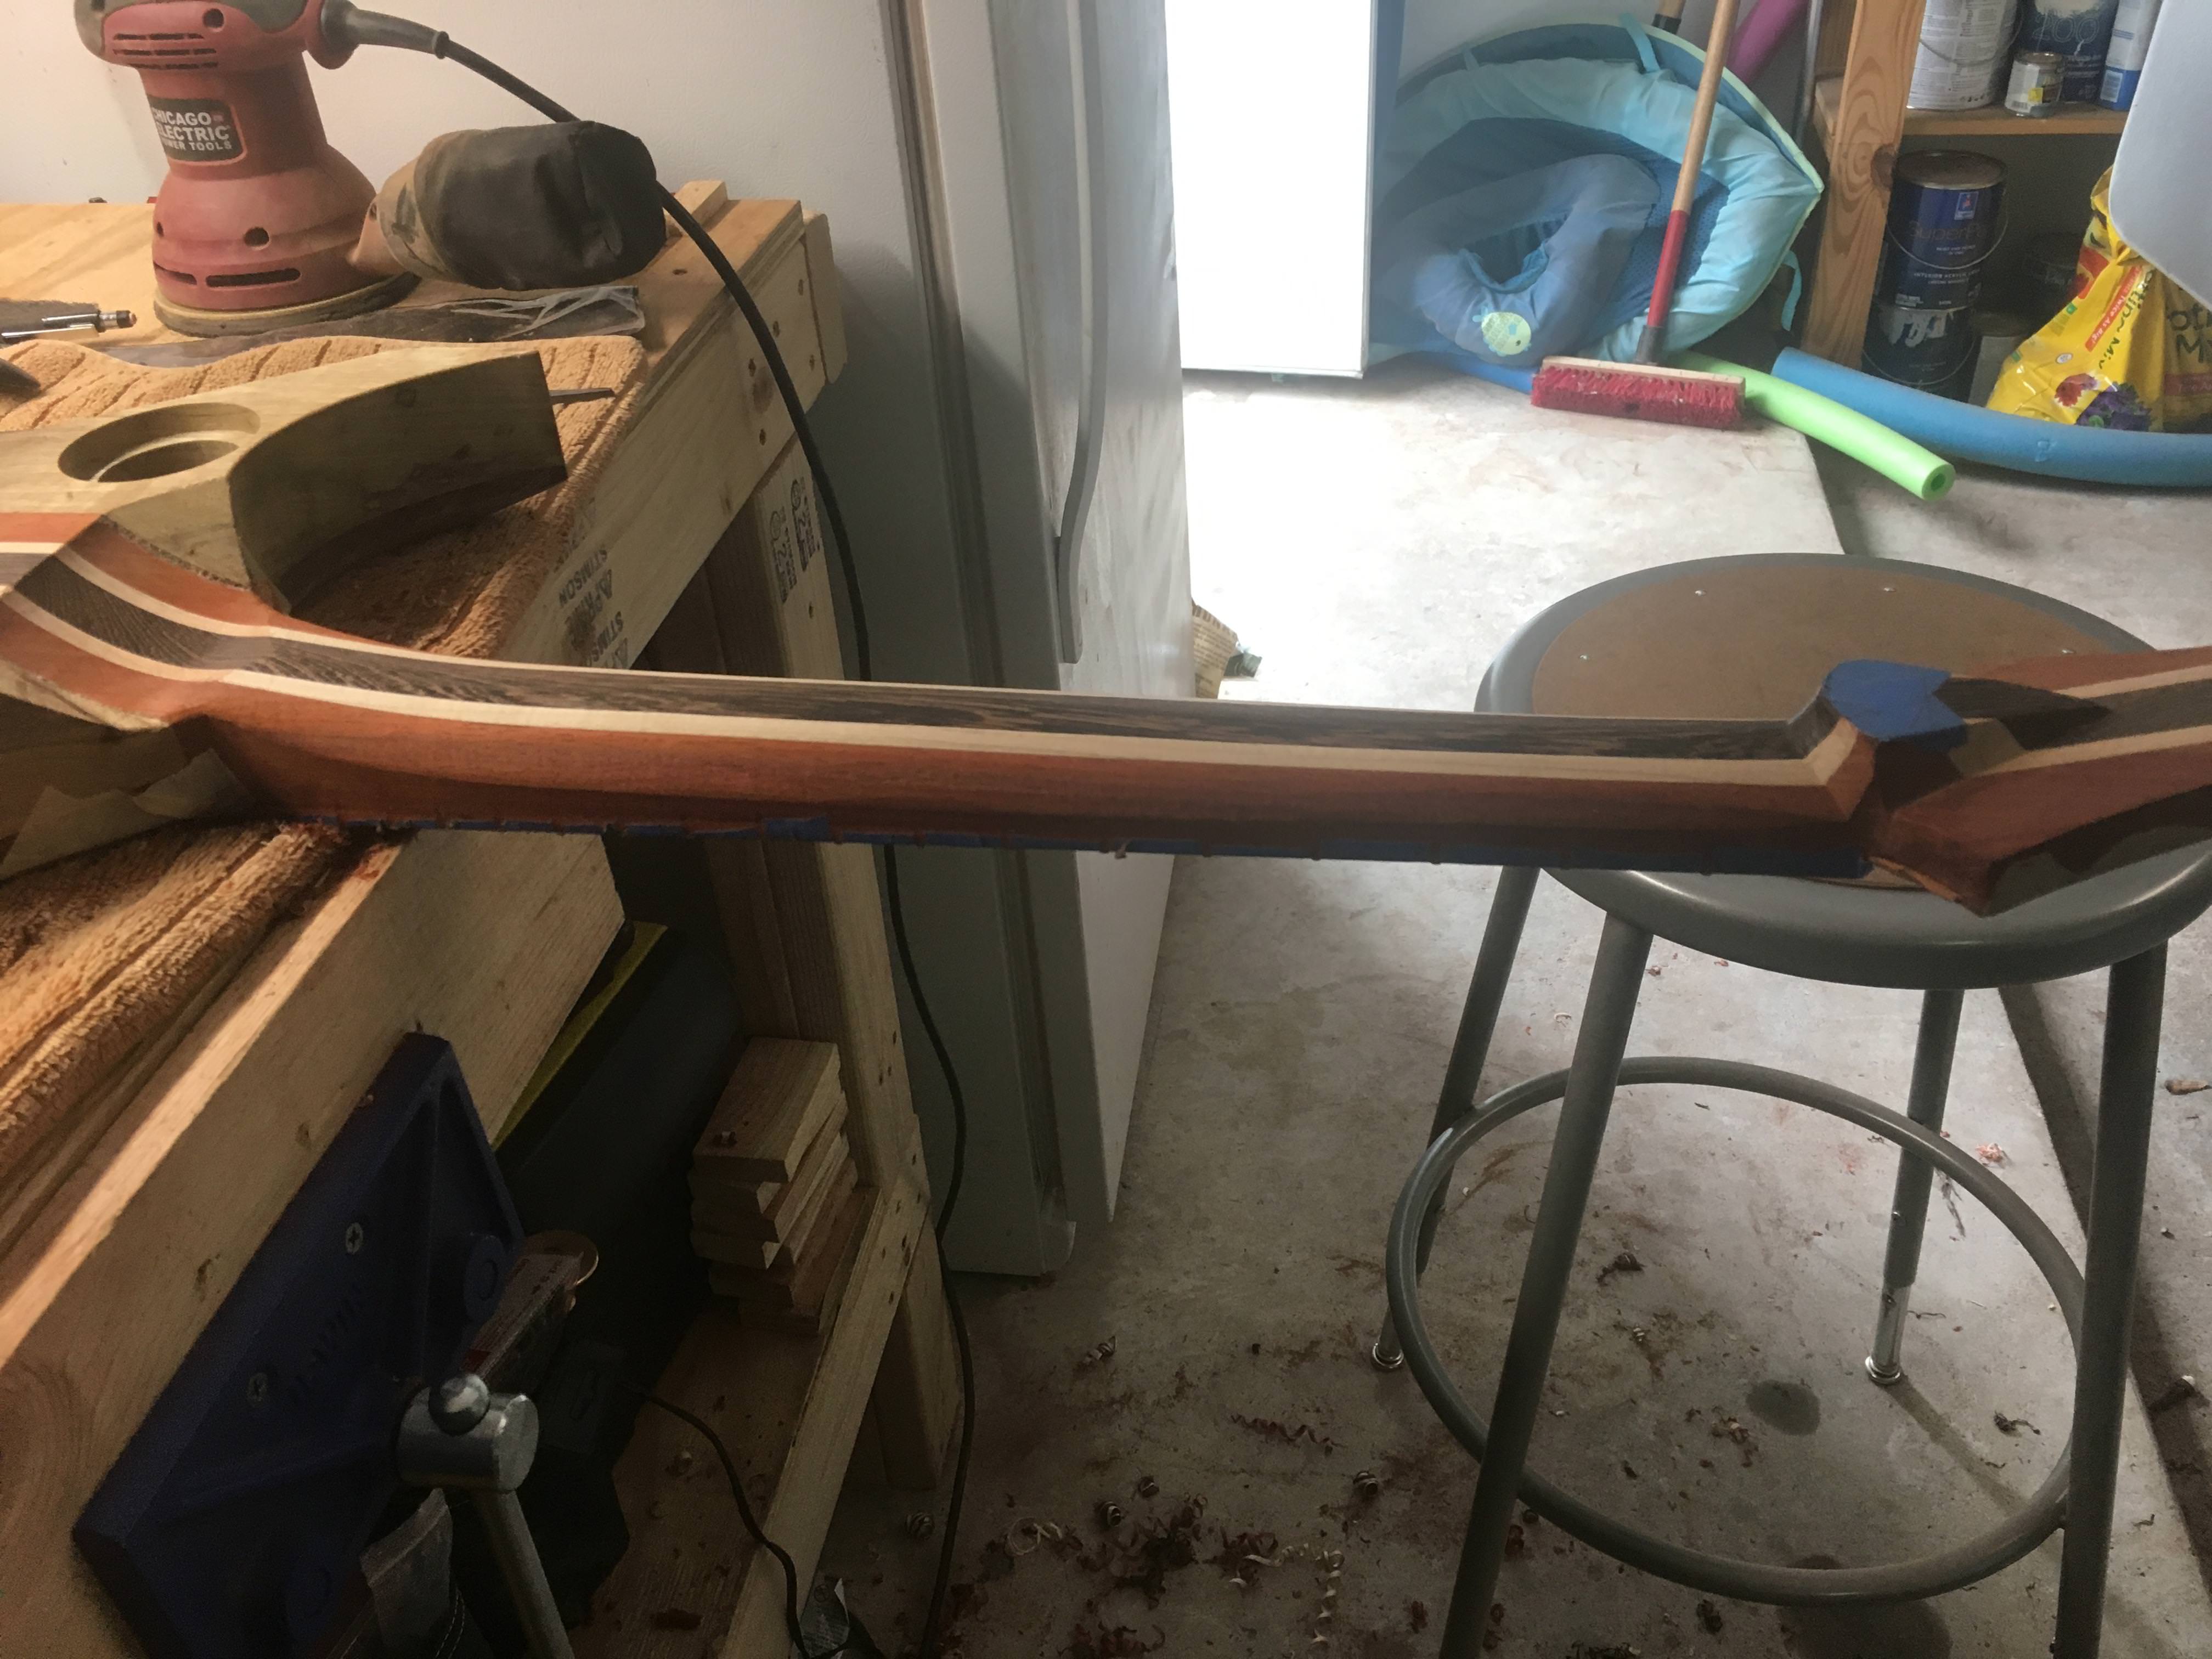
And here's the cleaned up shaped up volute.
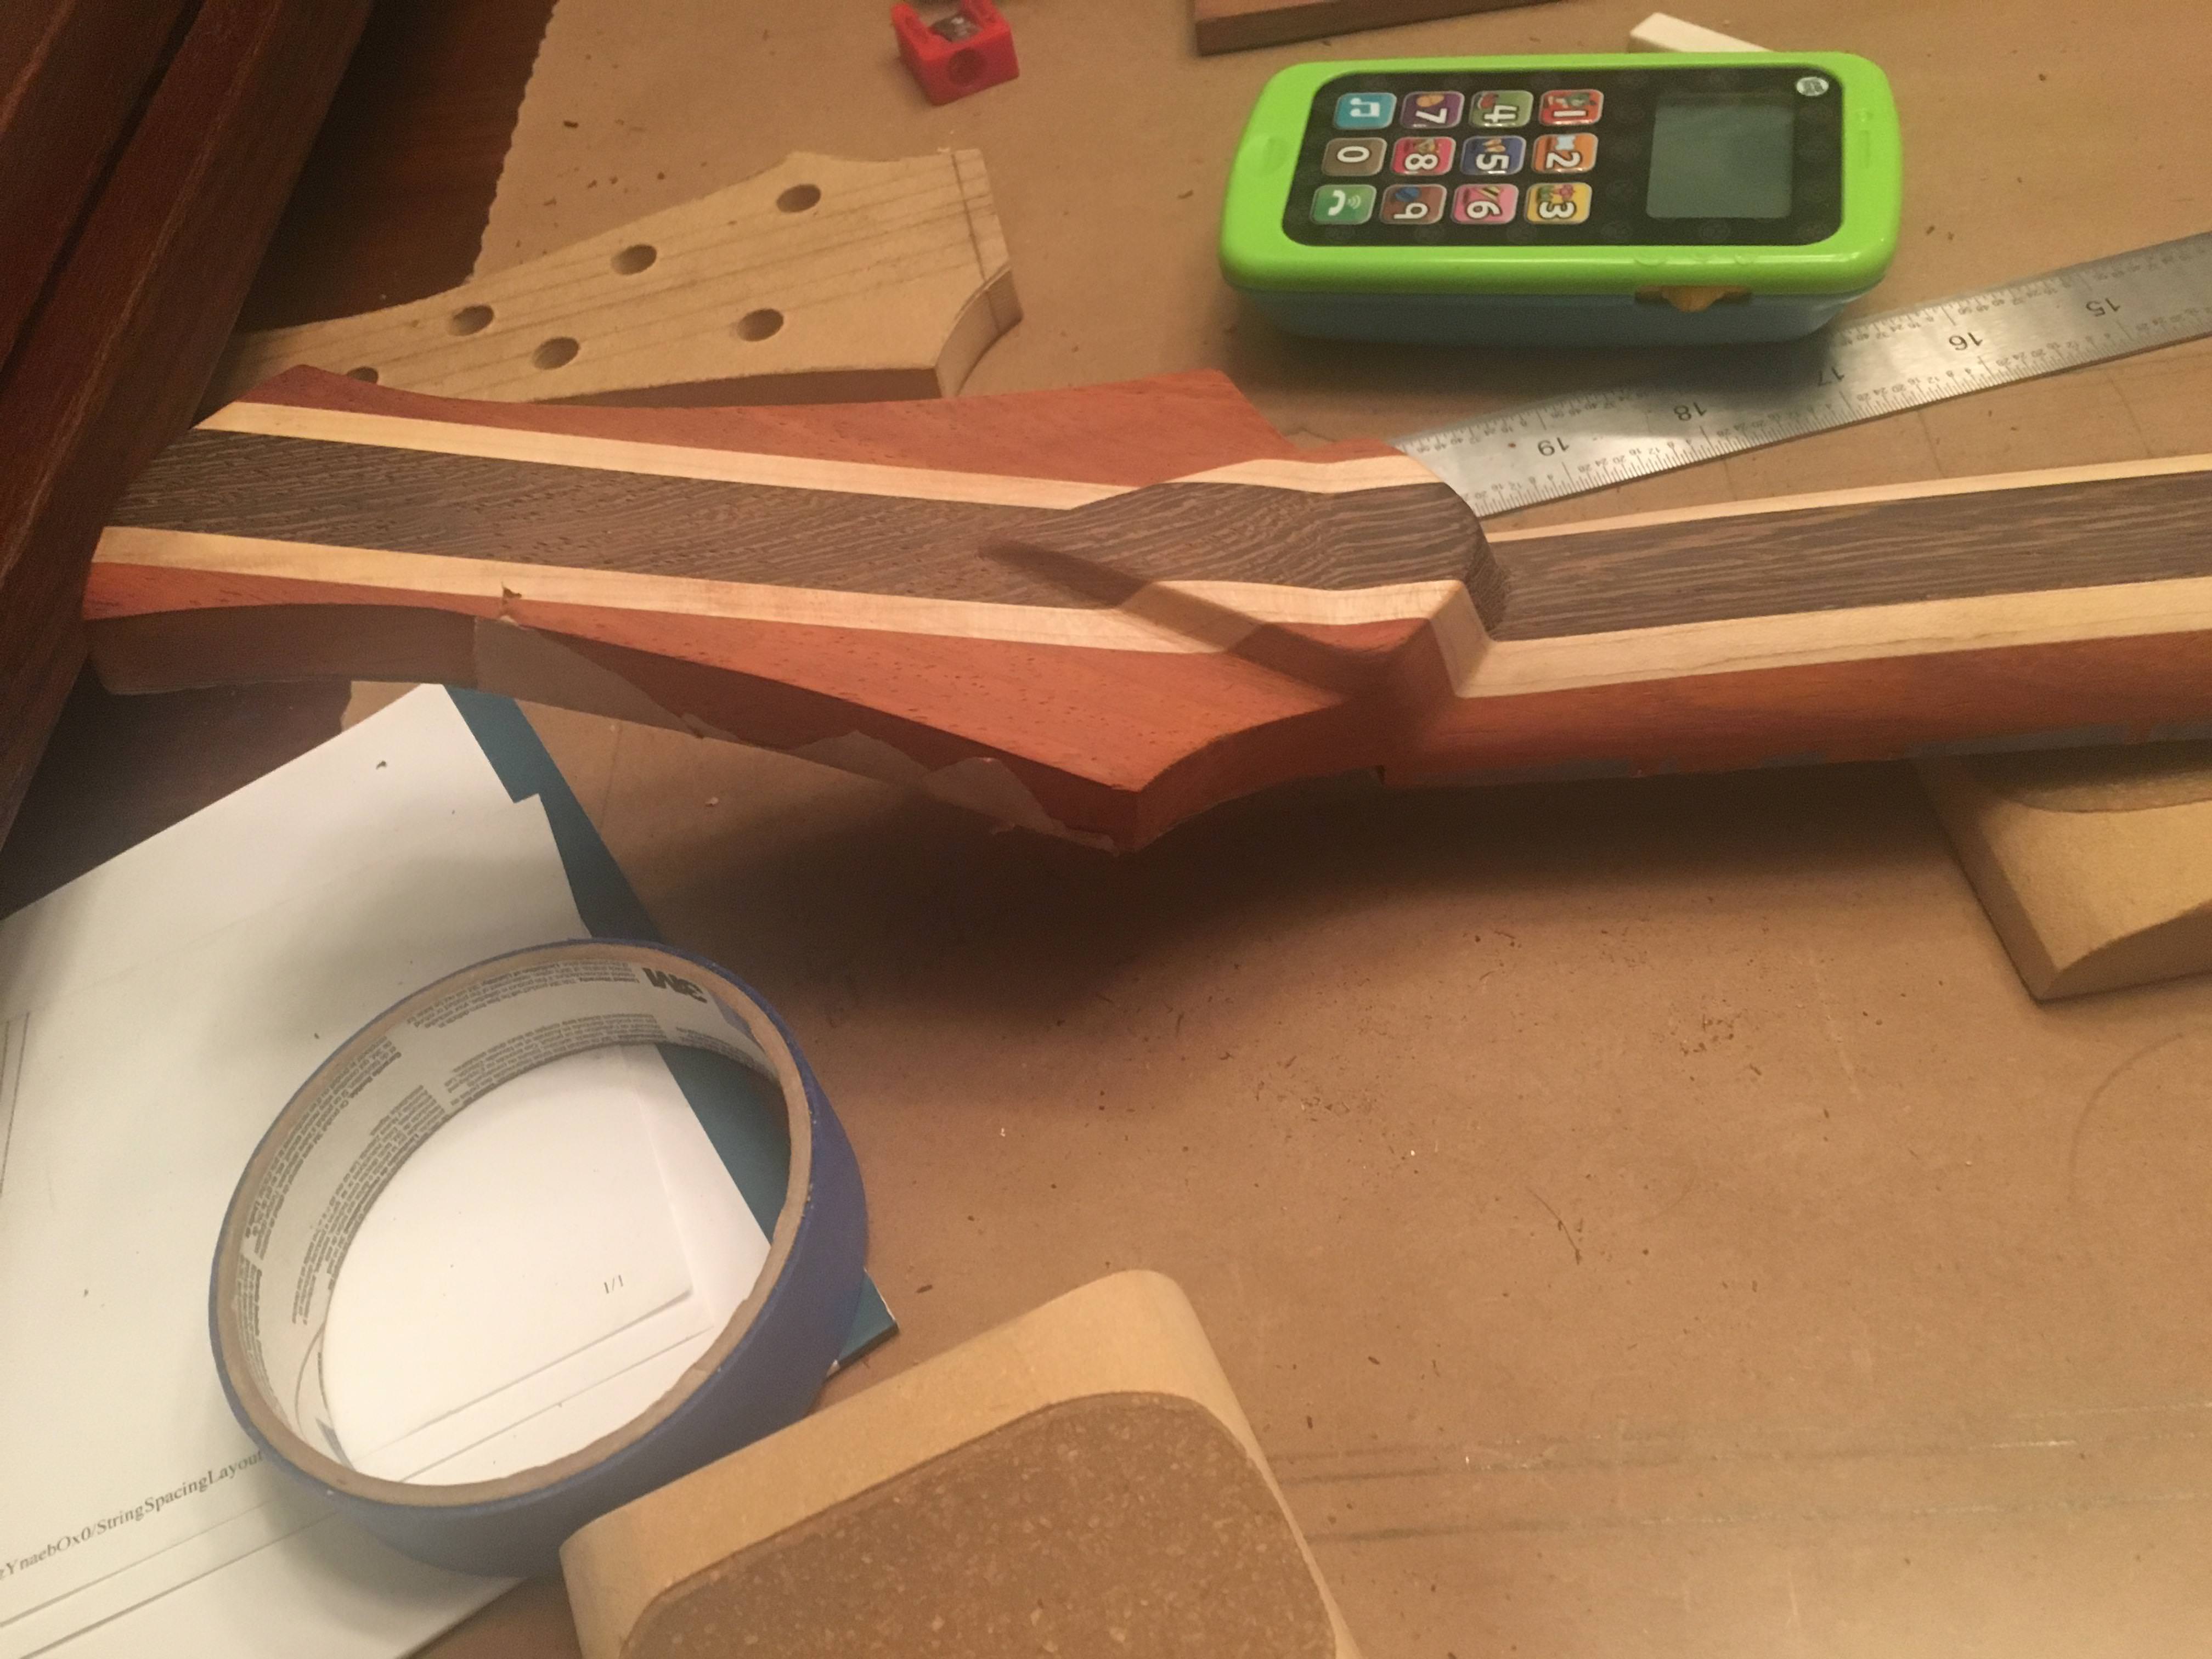 It's still pretty beefy, but I'm going to leave it for now to see what it's like to play with it like that.
-
Ok, at long last the neck carve is complete.
I also gave the volute a bit of a carve, but I didn't get a picture. I will later.
I adjusted the truss rod a tiny amount to flatten out the neck, and I'll let it sit overnight to see if it moves at all before I start flattening, crowning, and dressing the frets.
-
1
-
-
In the KEA 2017 Builds thread Killemall8 (I think that's his handle) has used 8 forum pages to document upwards of 198 guitar builds. I'm on page 9 and haven't finished my first build.
-
Here's what I'm basically doing to carve the neck. I'll pick a spot that's too thick, in this case the 15th fret which is about 1.25" right now (1.000" is the goal), and file away a bit of material, usually about 1/16" to 1/8".
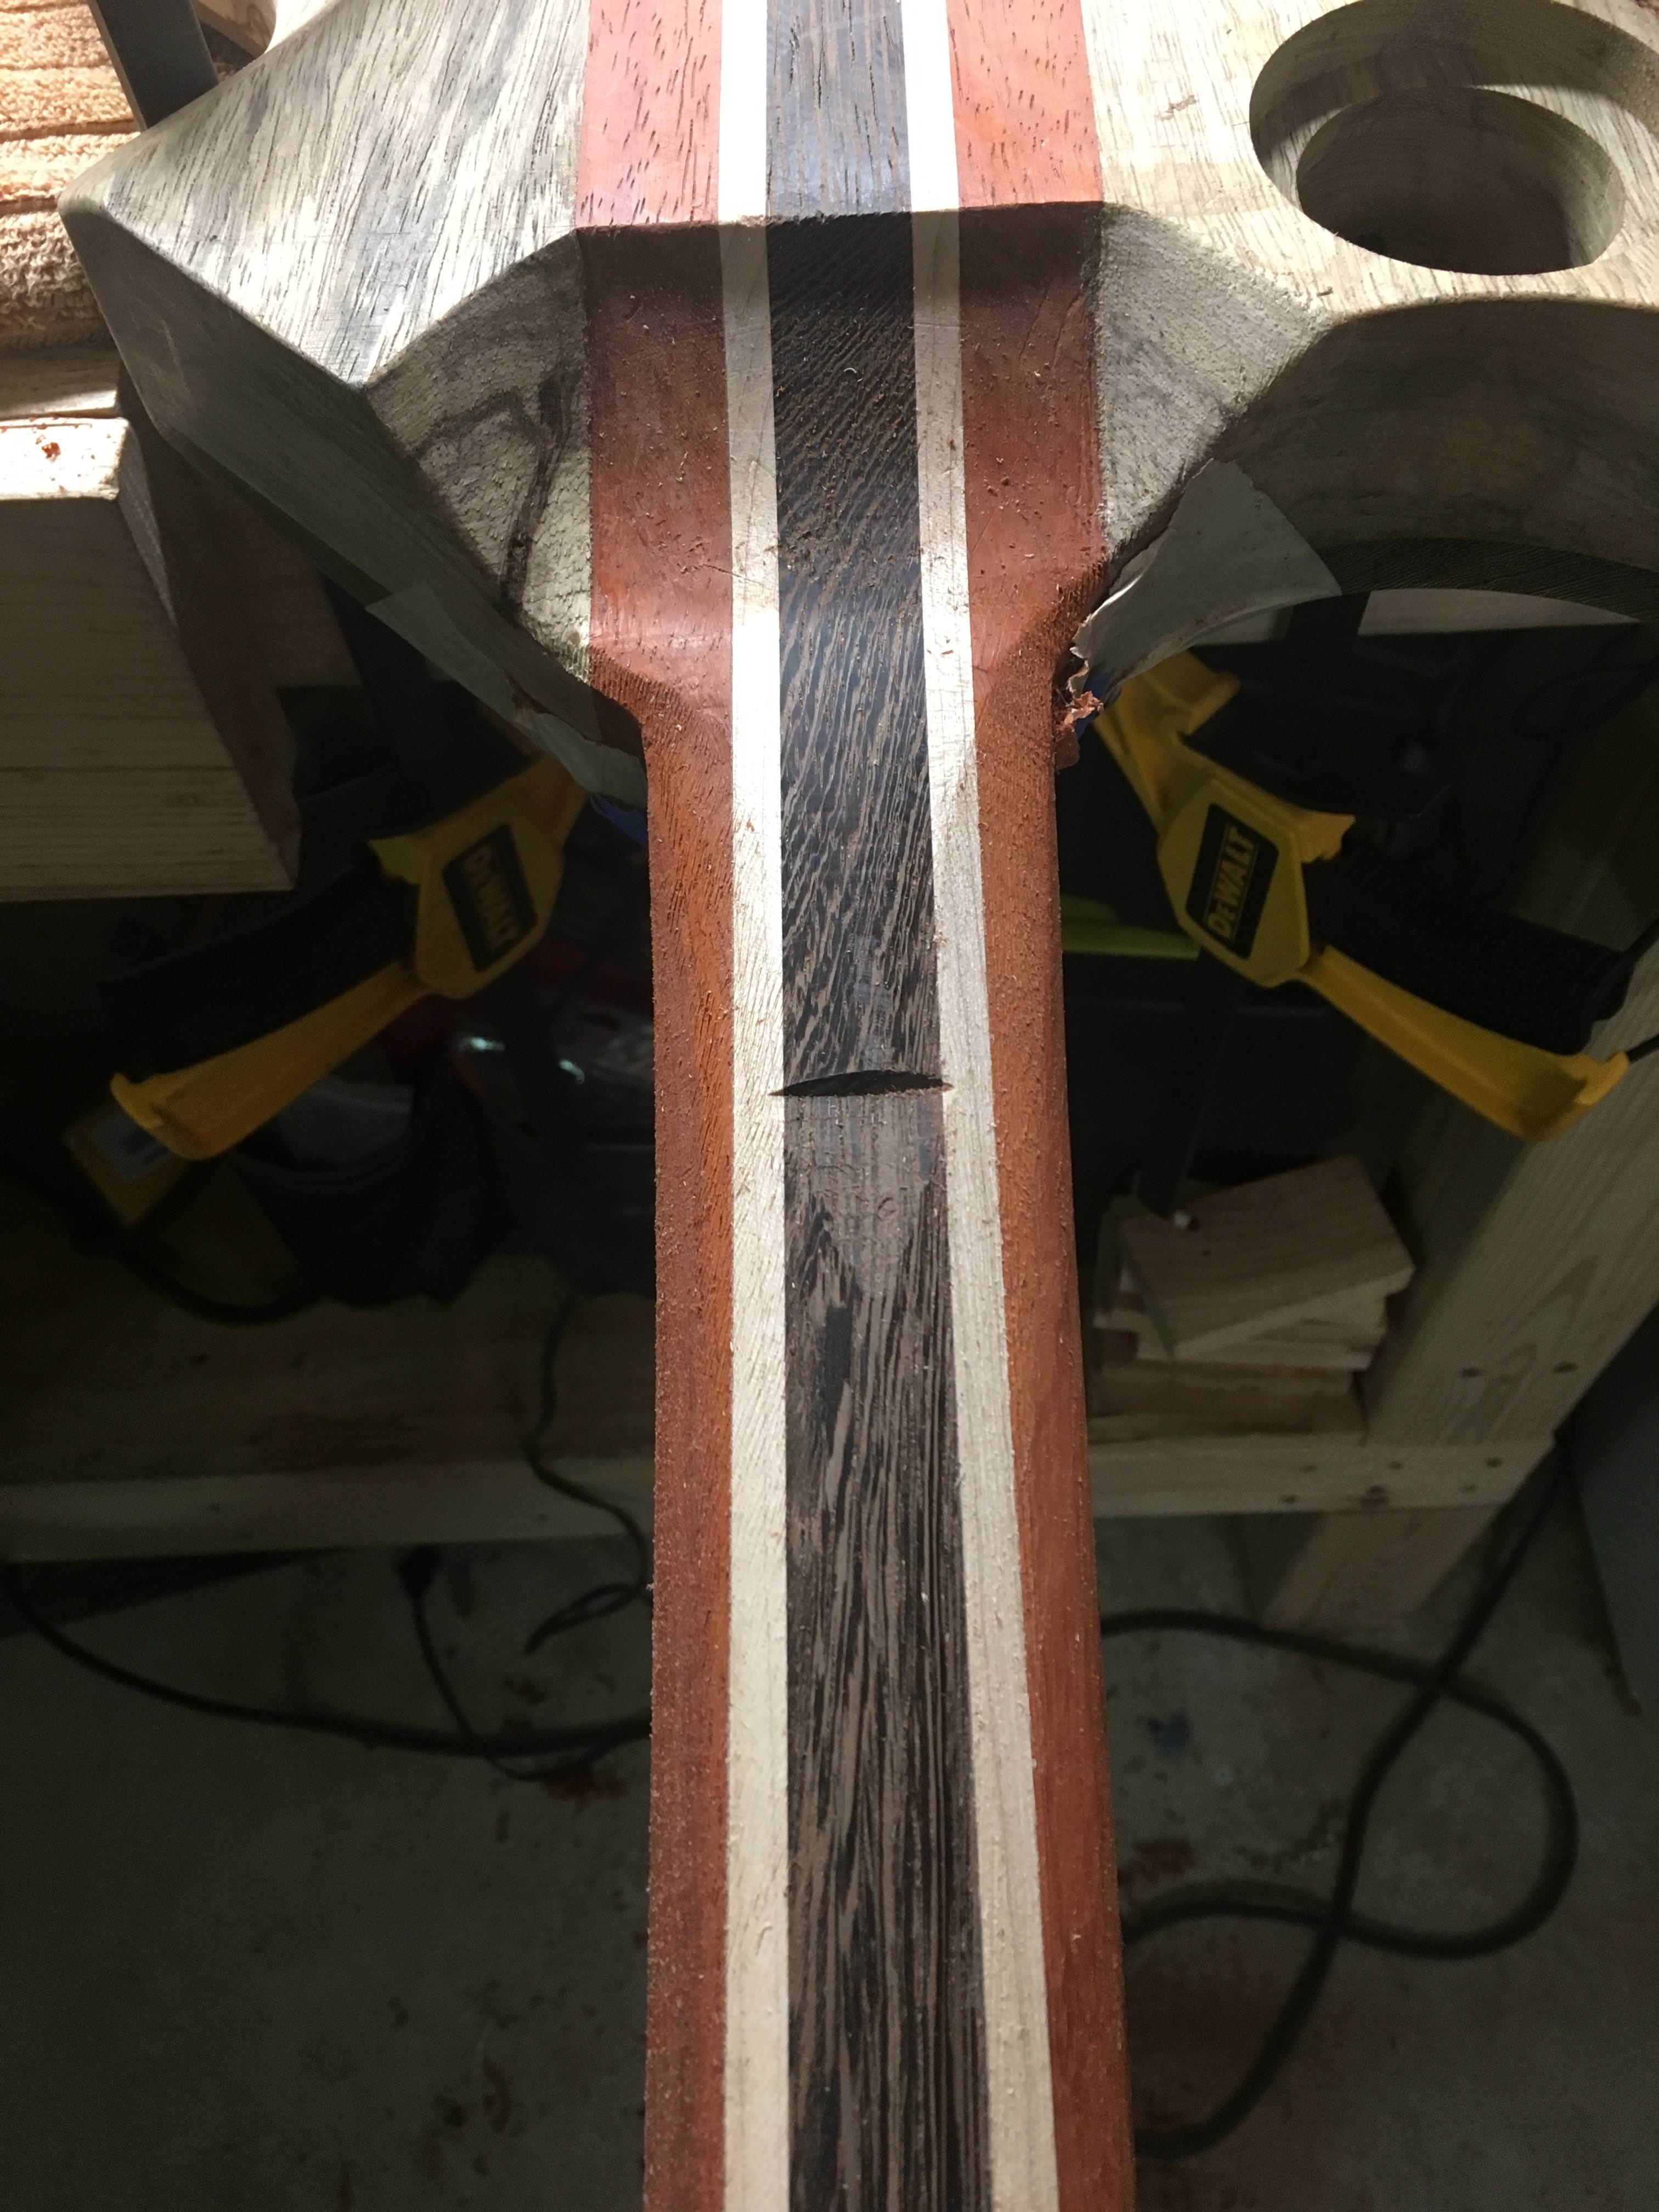
Then I'll blend that spot in to the rest of the neck using files and cabinet scrapers.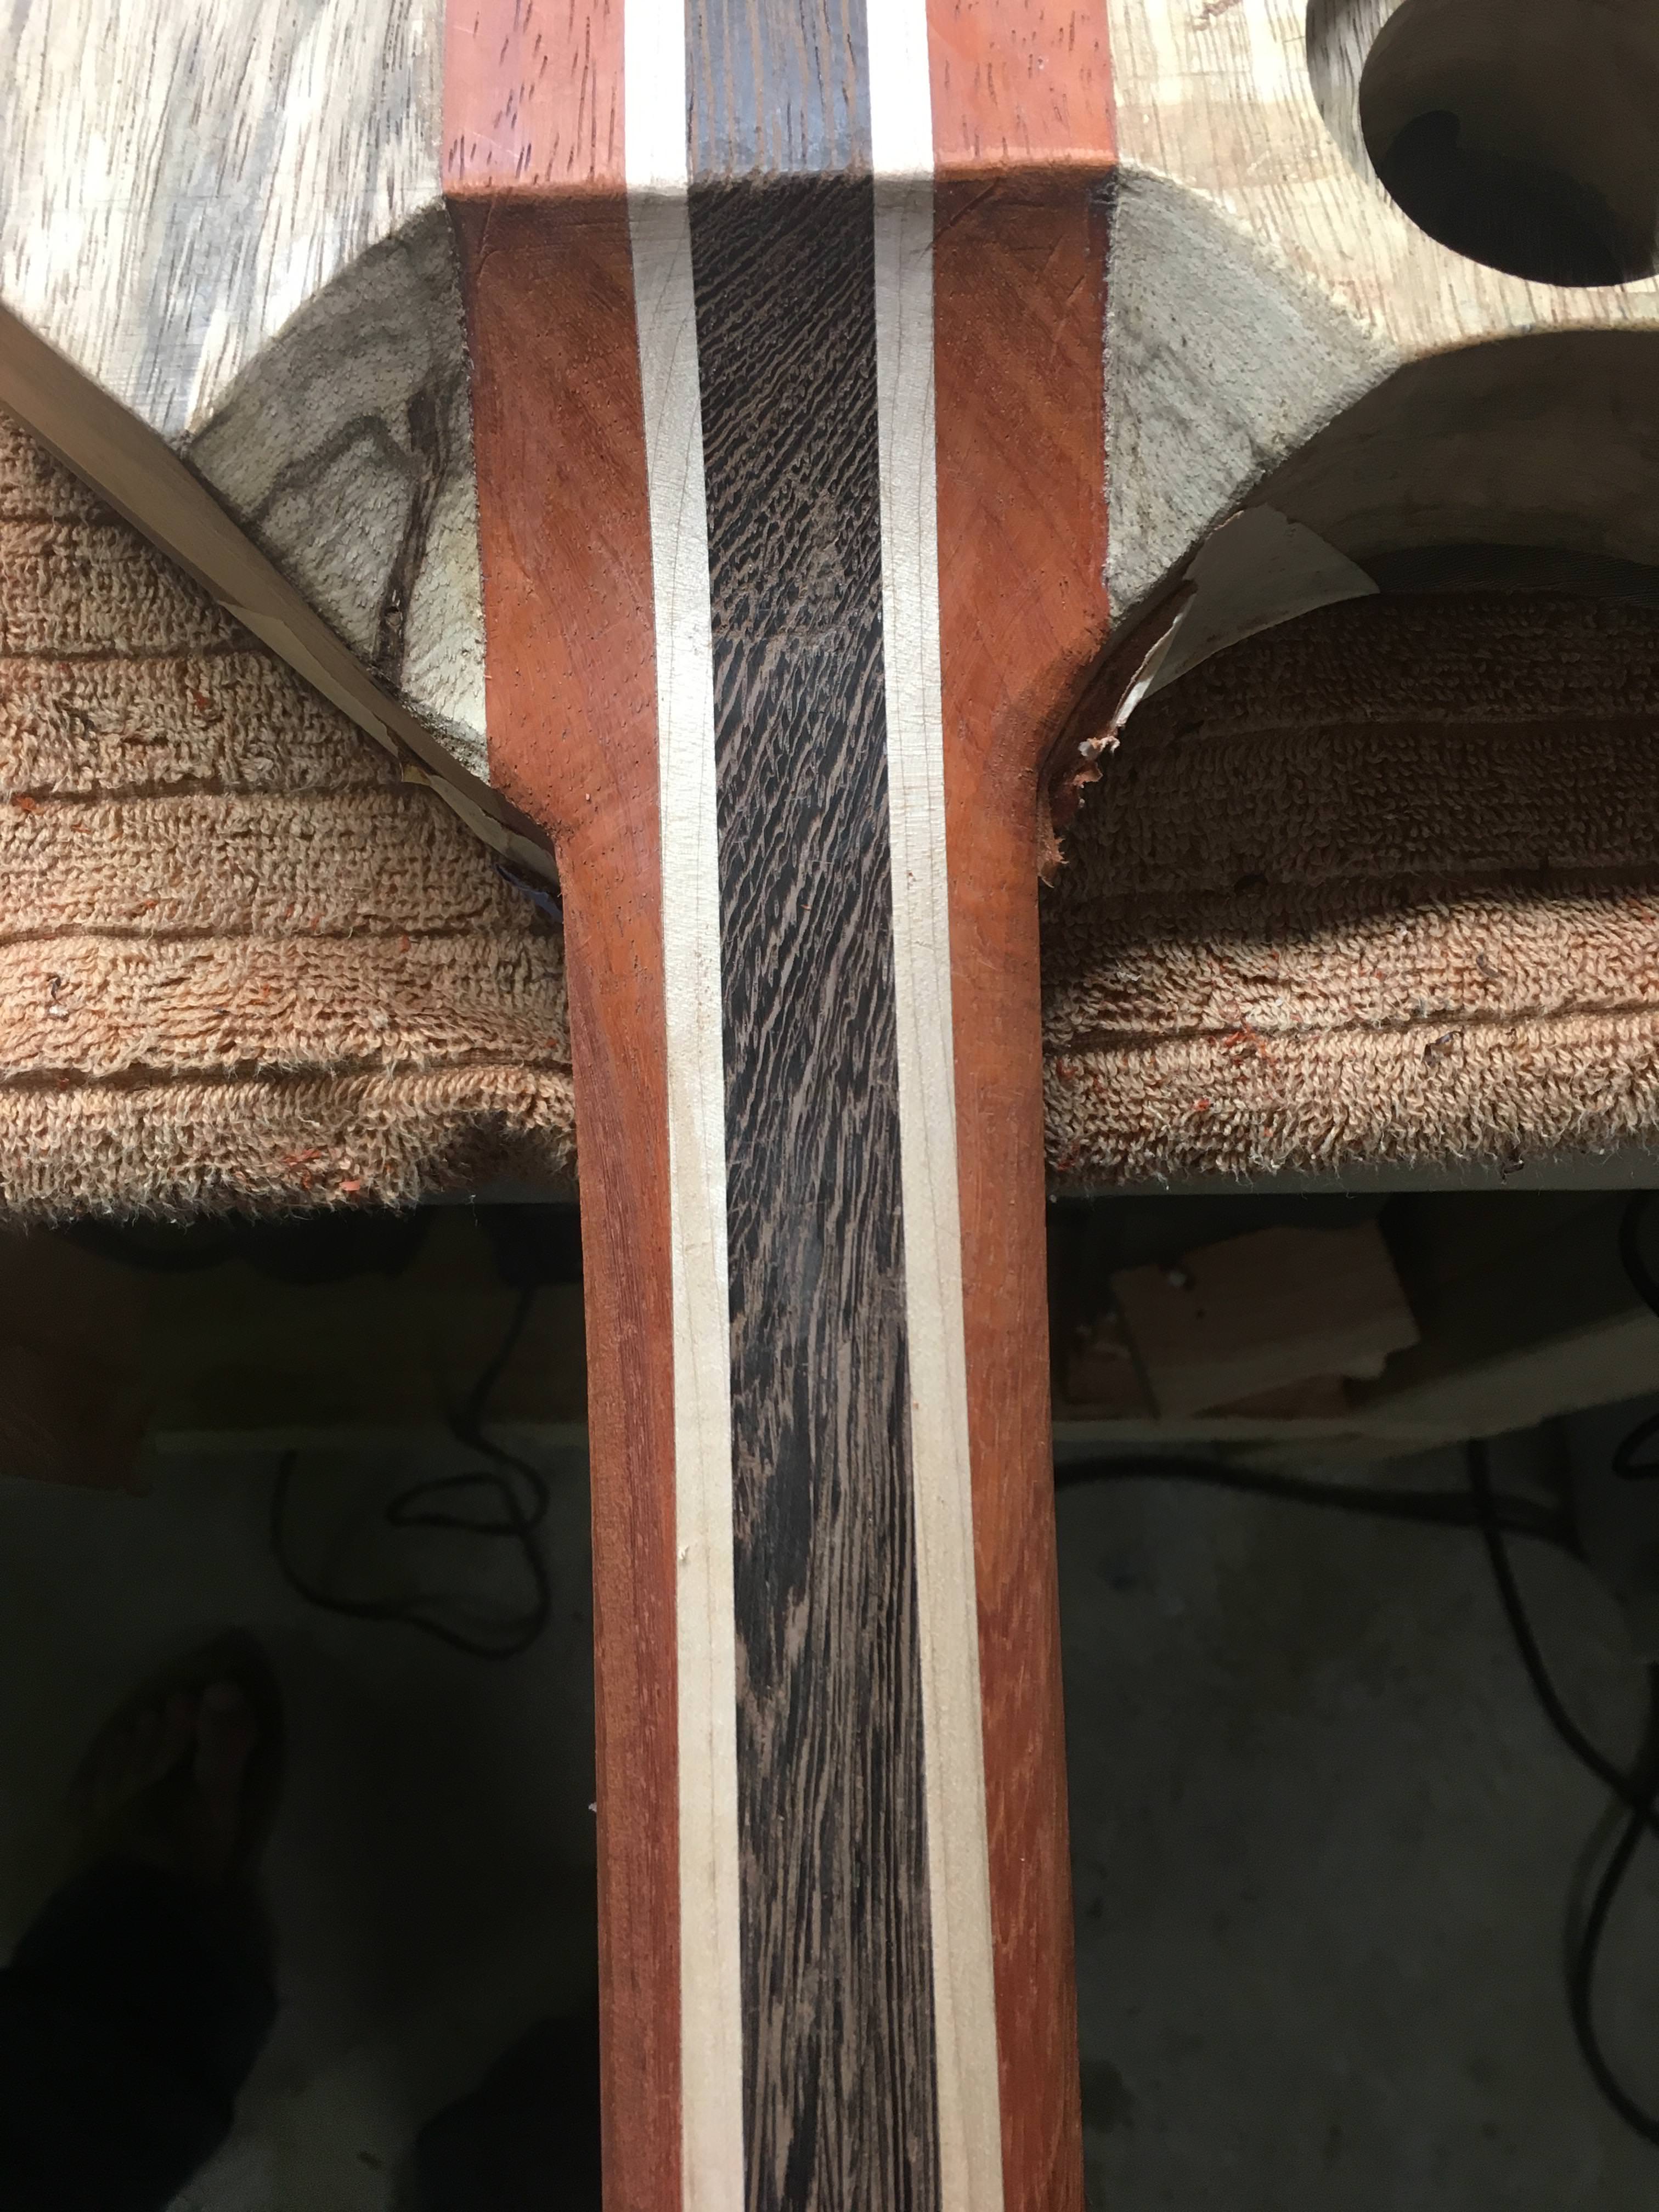
Like I said, it's slow going, but I feel like I'm getting some good experience. -
6 hours ago, Andyjr1515 said:
That's coming on great.
What I find is that it is the side haunch shape that makes the biggest difference to the playing feel as it progresses - where required - from a flat topped D shape to a U to C and even, in my own preference, heading towards a soft V.
For builds for other people, I use a joiners profile gauge and get the owners to give me the shapes of their 'favourite neck'. While all guitars have their own feel, it generally offers at least a familiarity of feel to the player.
Do you have a specific shape you are aiming for?
I want somewhere between a sharp C and a soft V. I had a Dean Timecapsule Z once upon a time that sounded like crap but had a wonderful neck. I don't have profile cutouts for it but I'm shooting for my recollection of what that neck felt like.
-
50 minutes ago, Prostheta said:
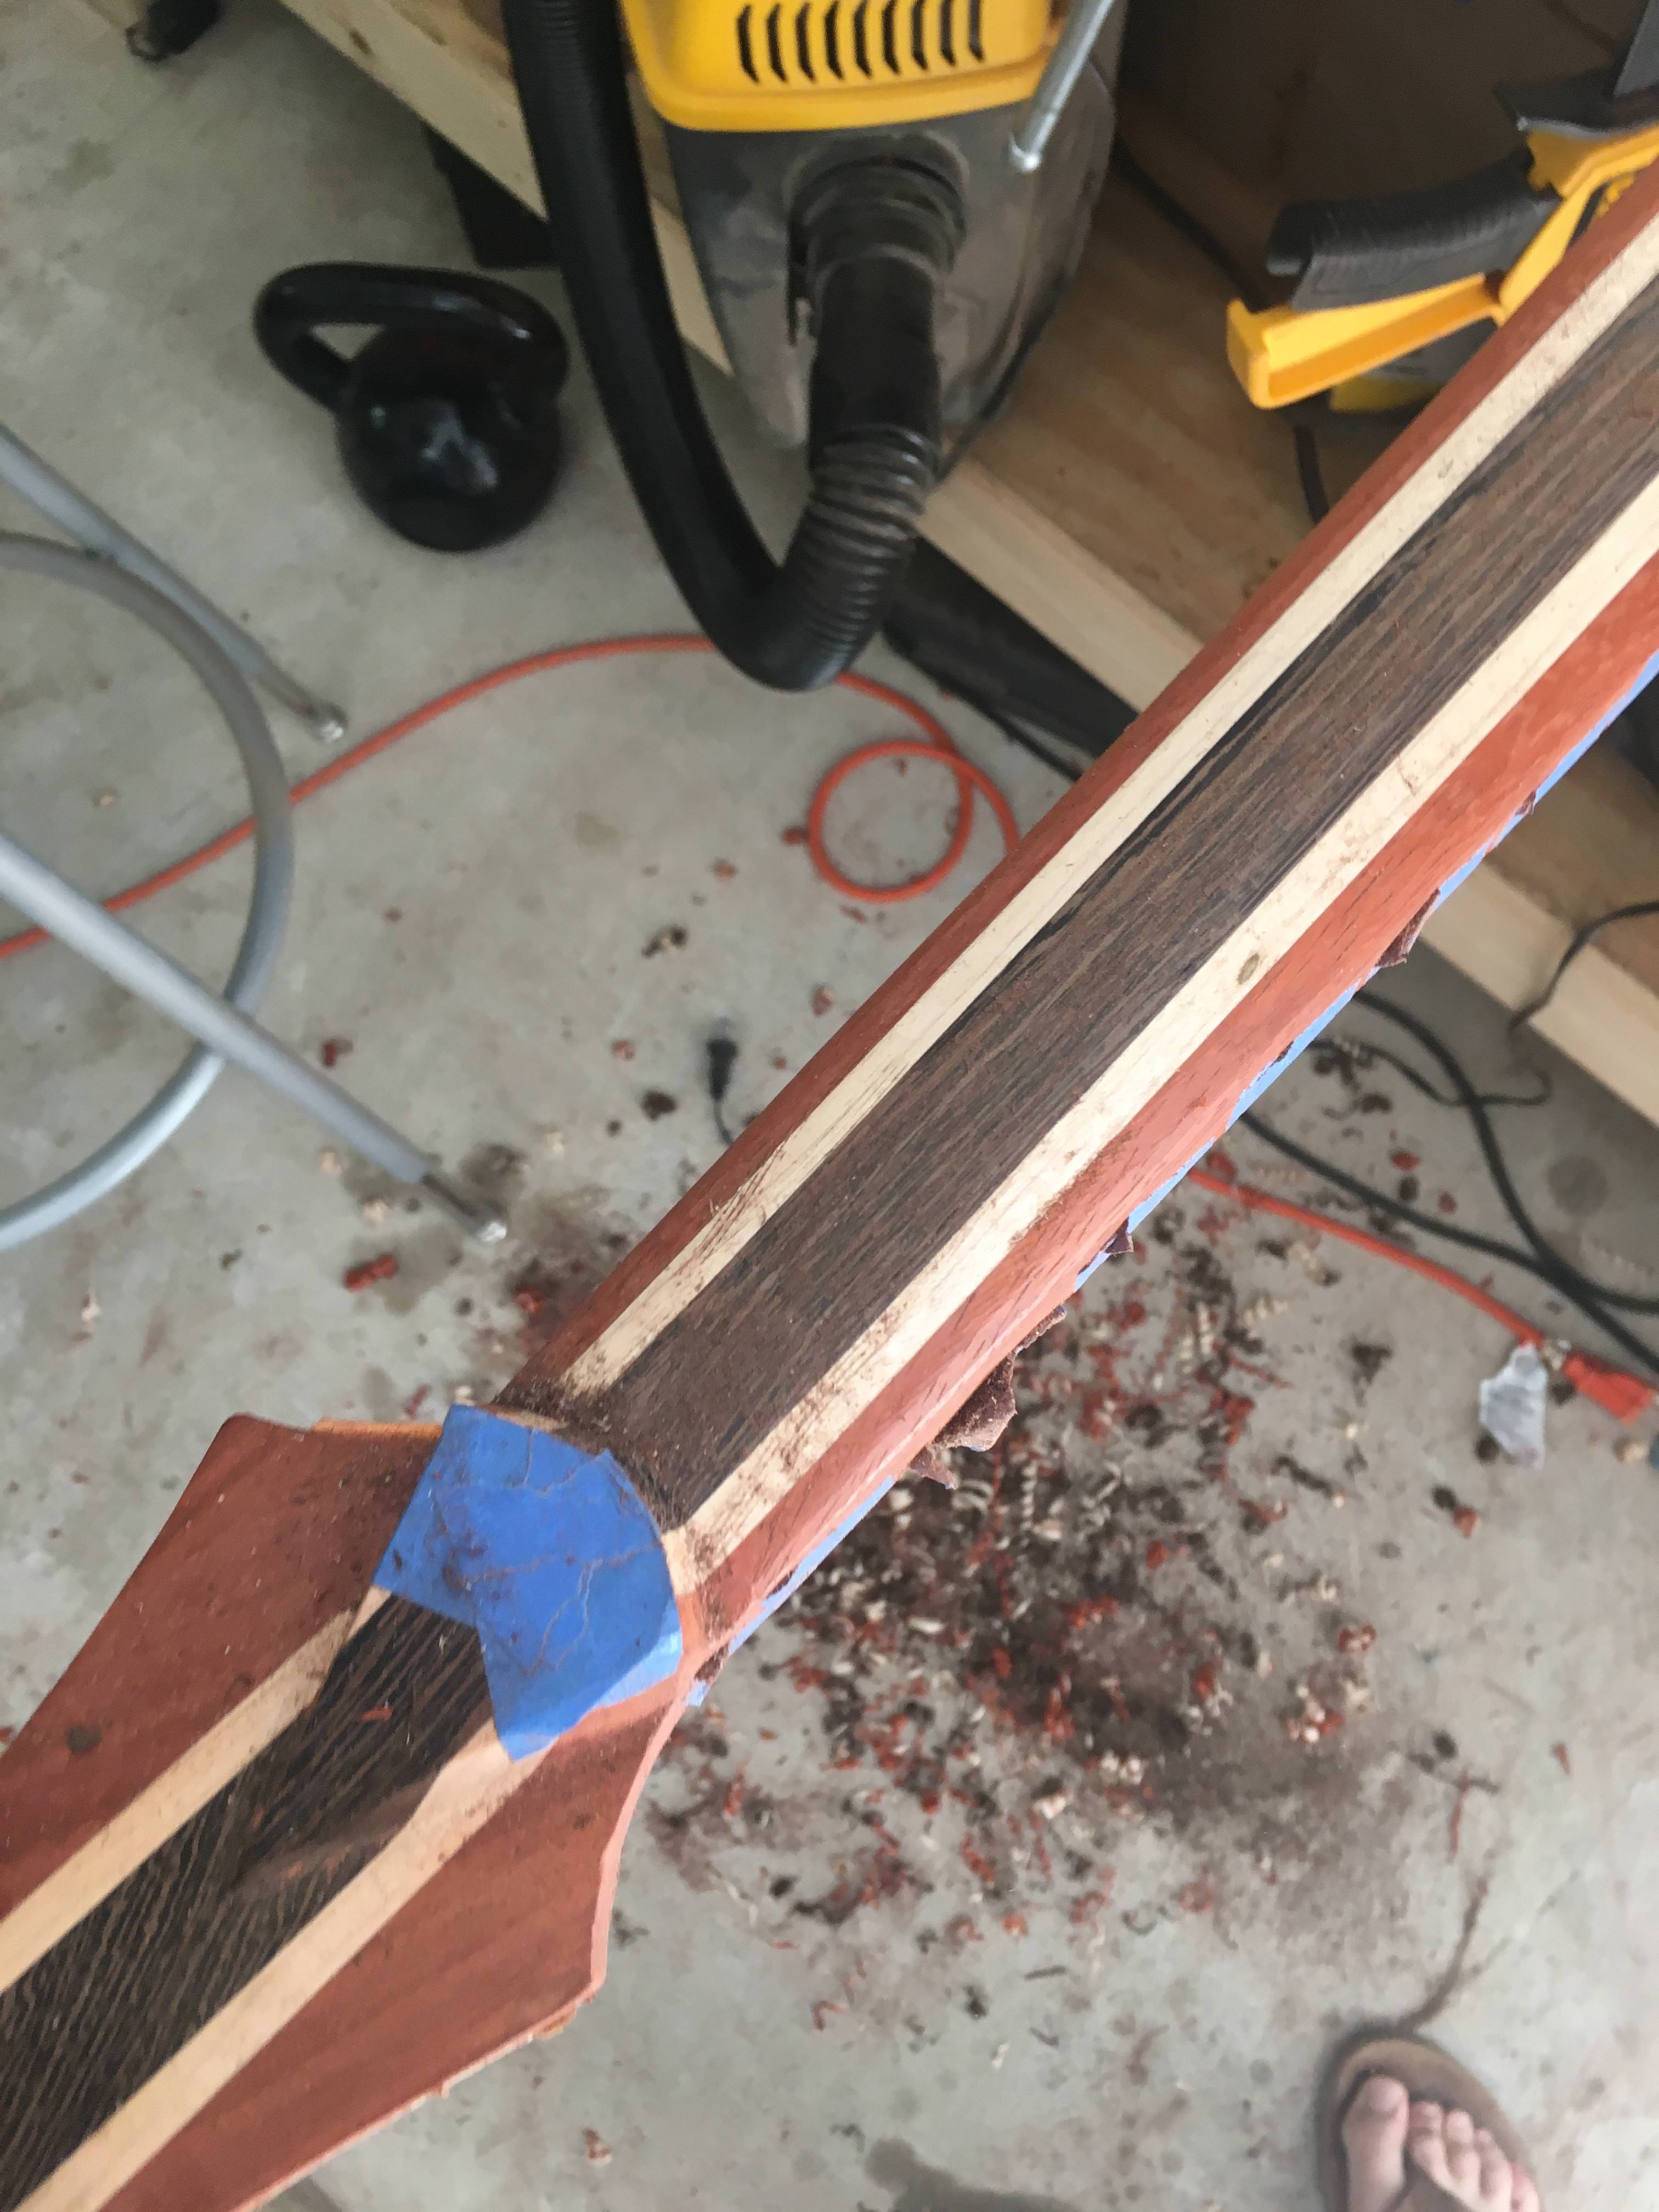
You're approaching the target dimensions carefully which is good. Is the heel transition going to be gradual like that or shaped further still?
I'm definitely going to work on that heel transition. I'm not sure how the final shape will come out, though.
-
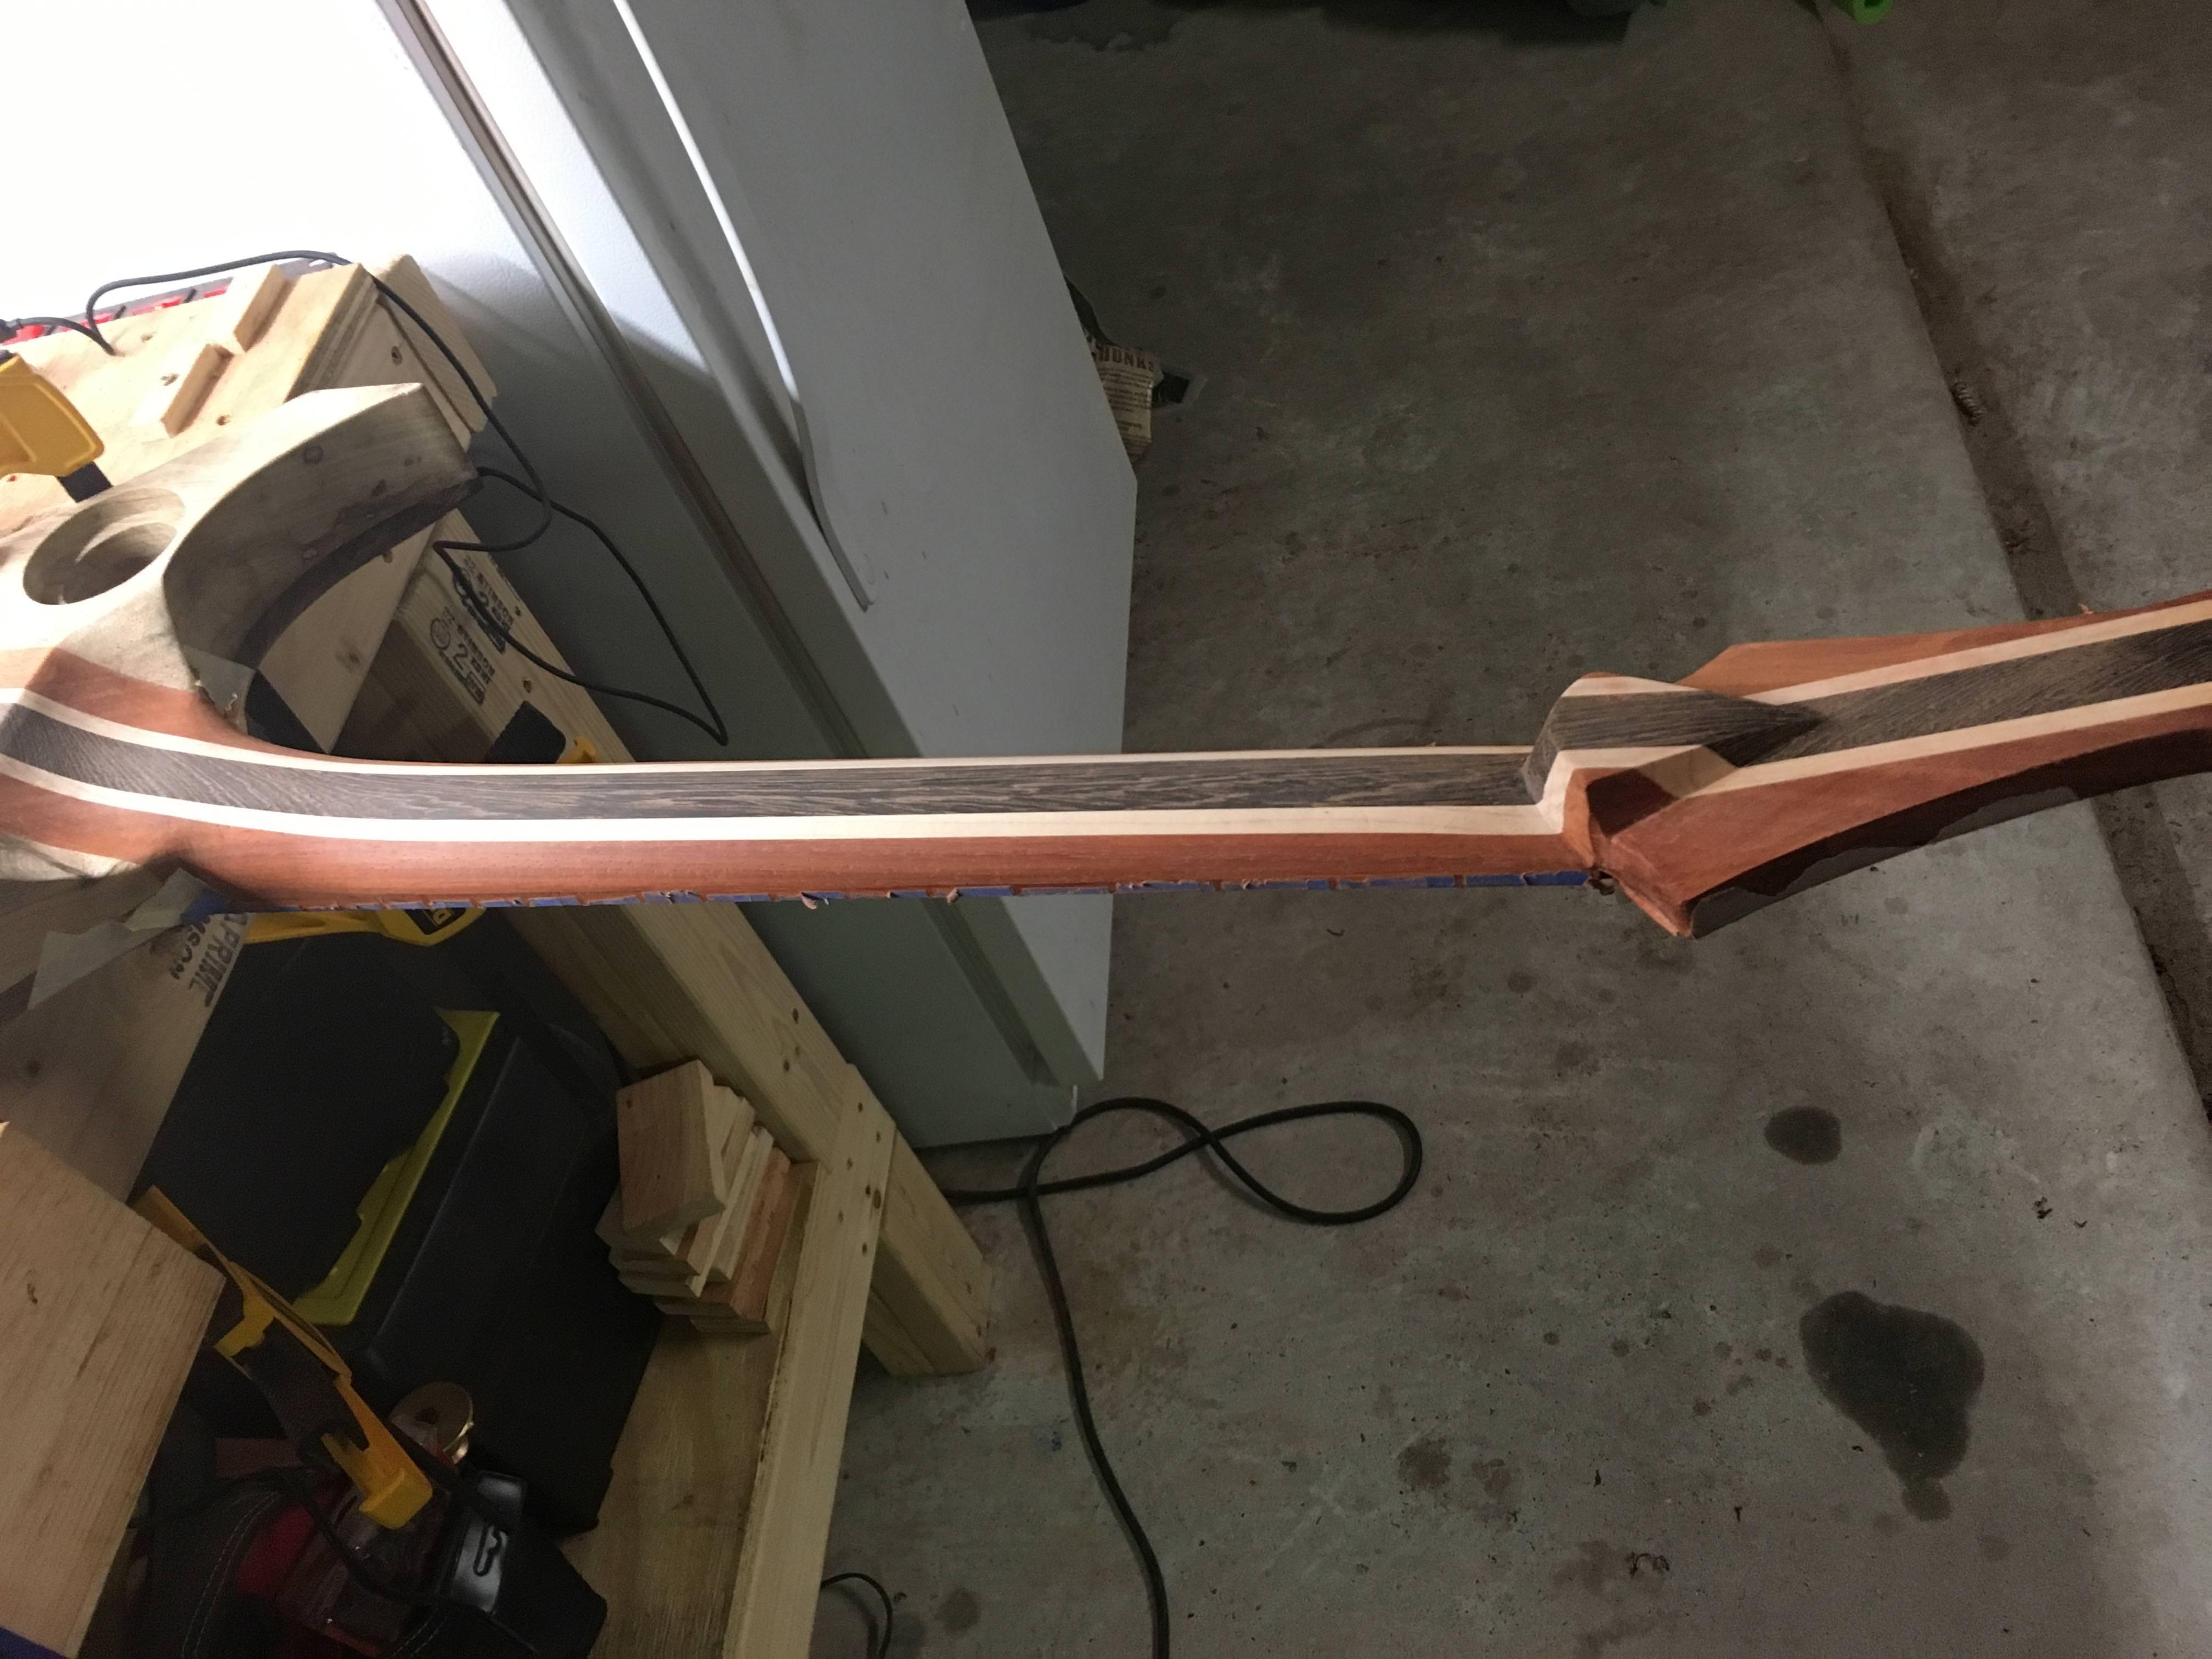
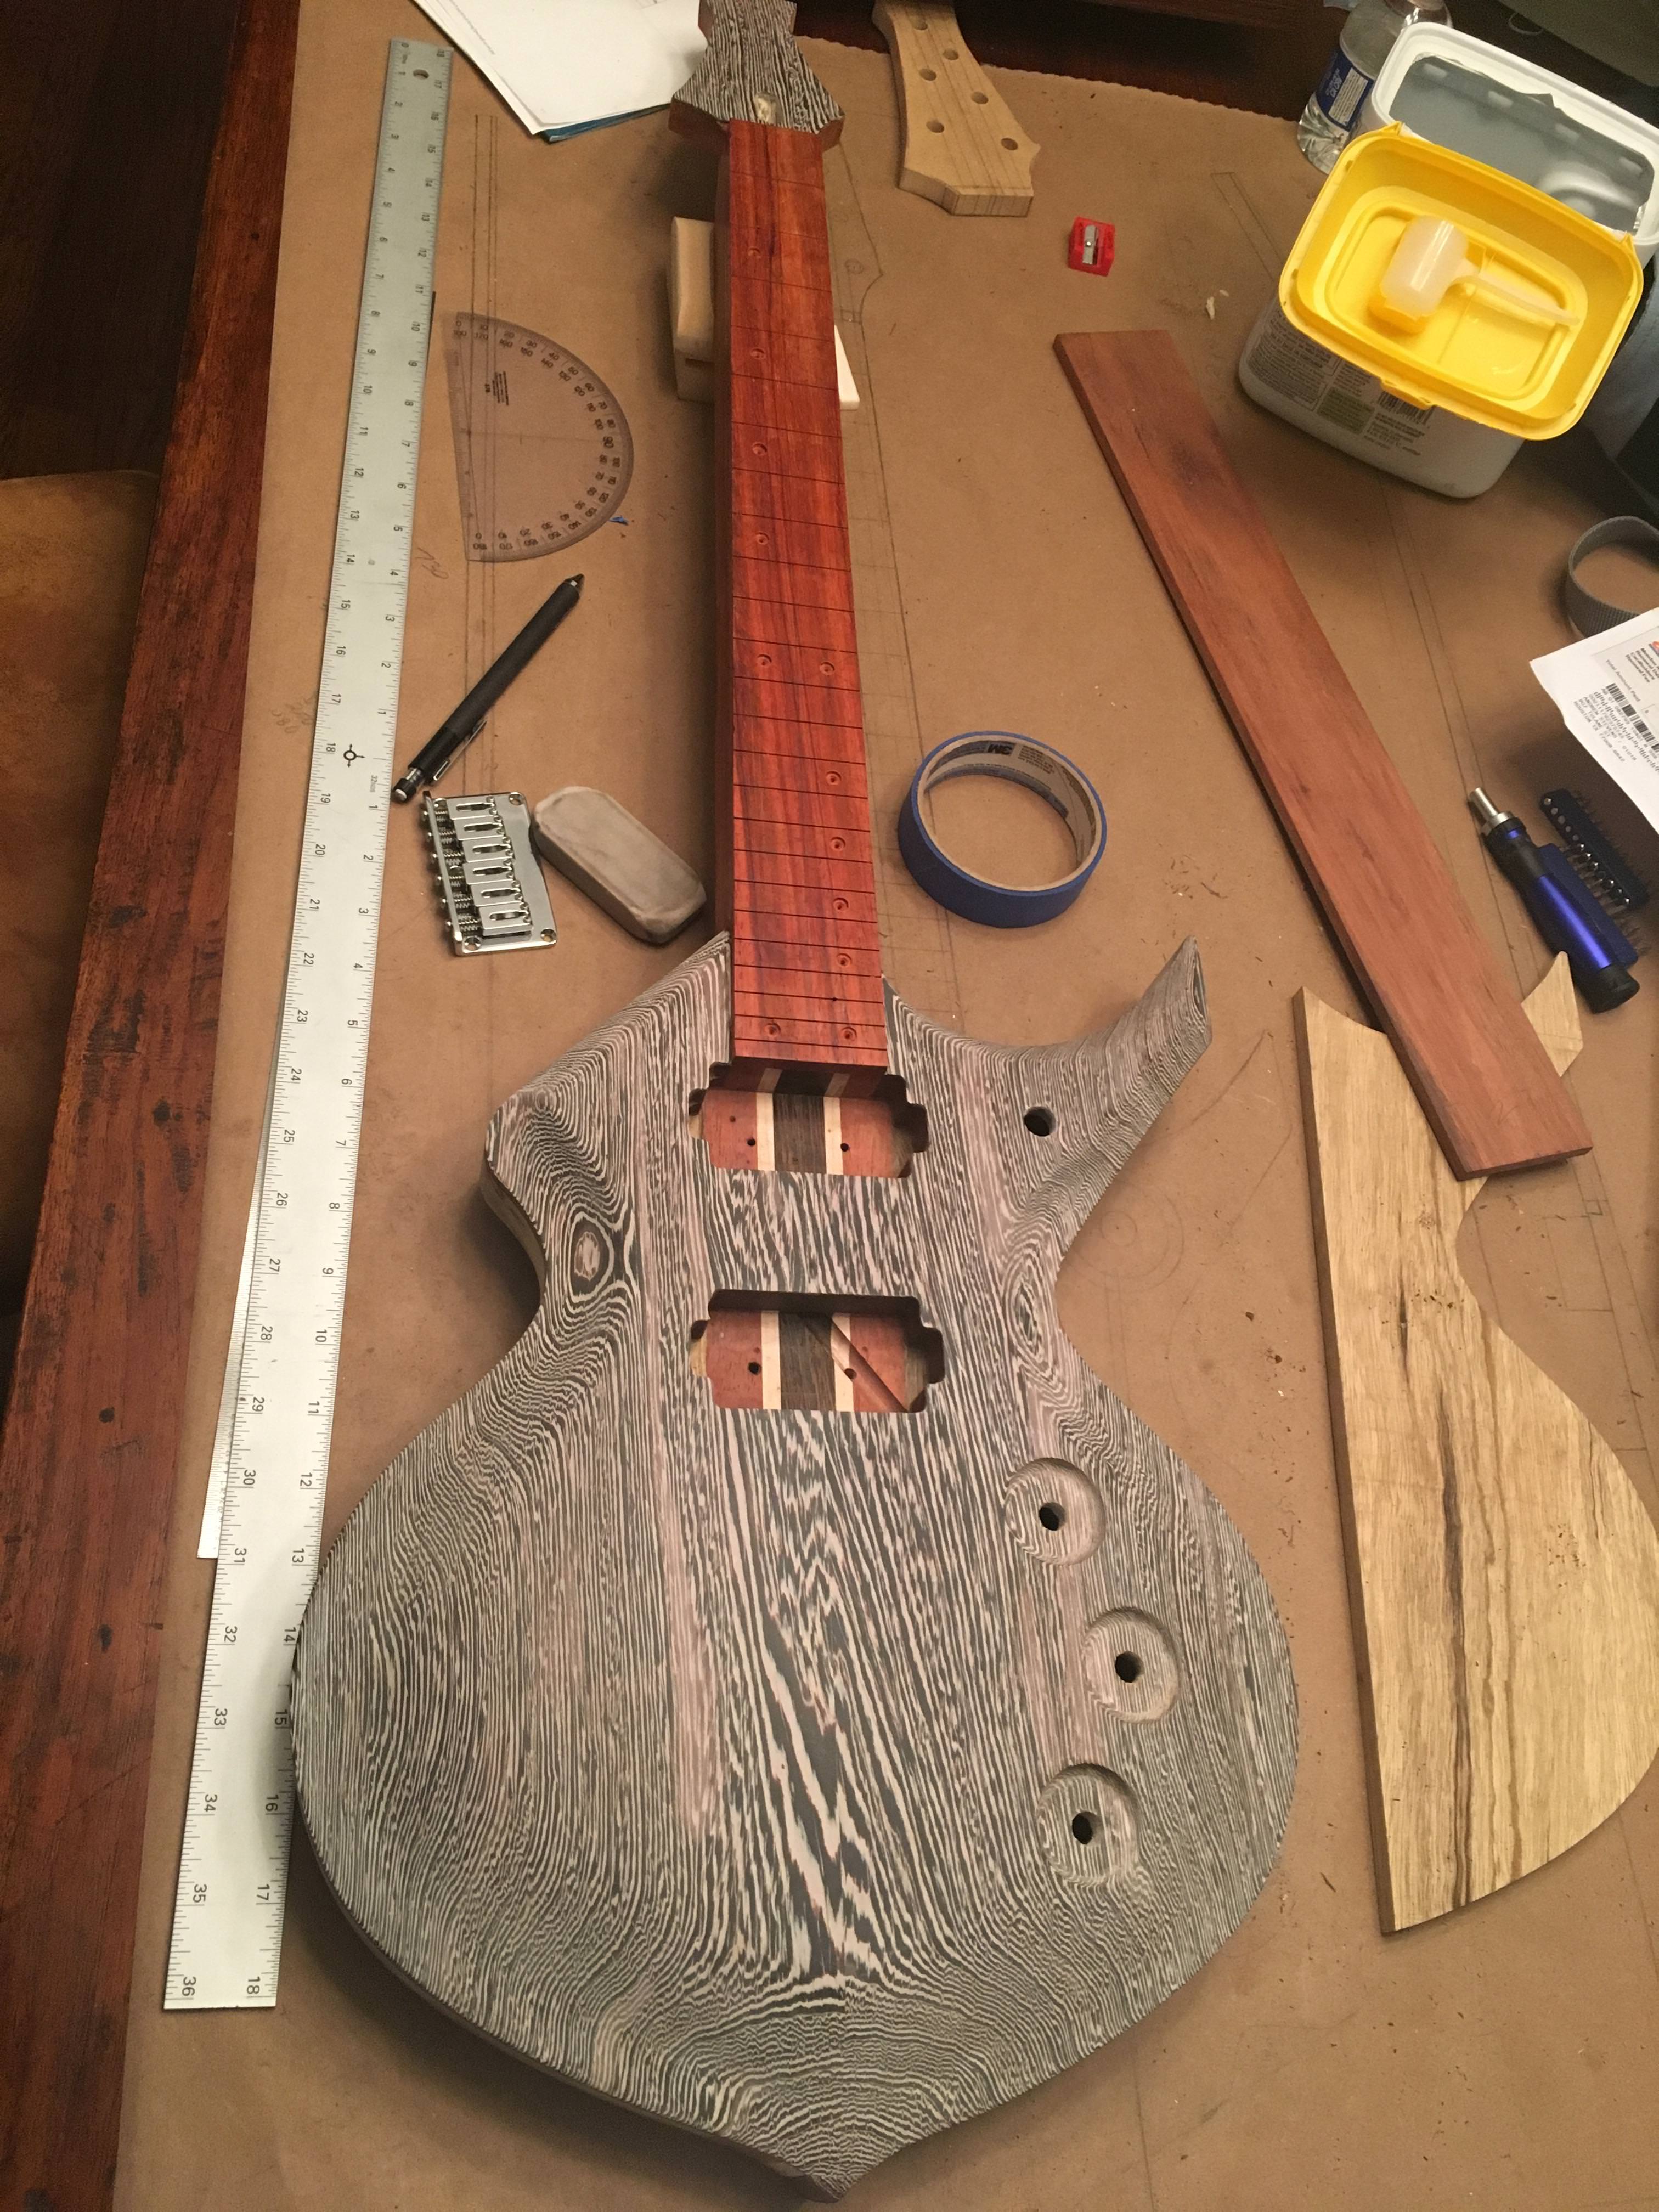
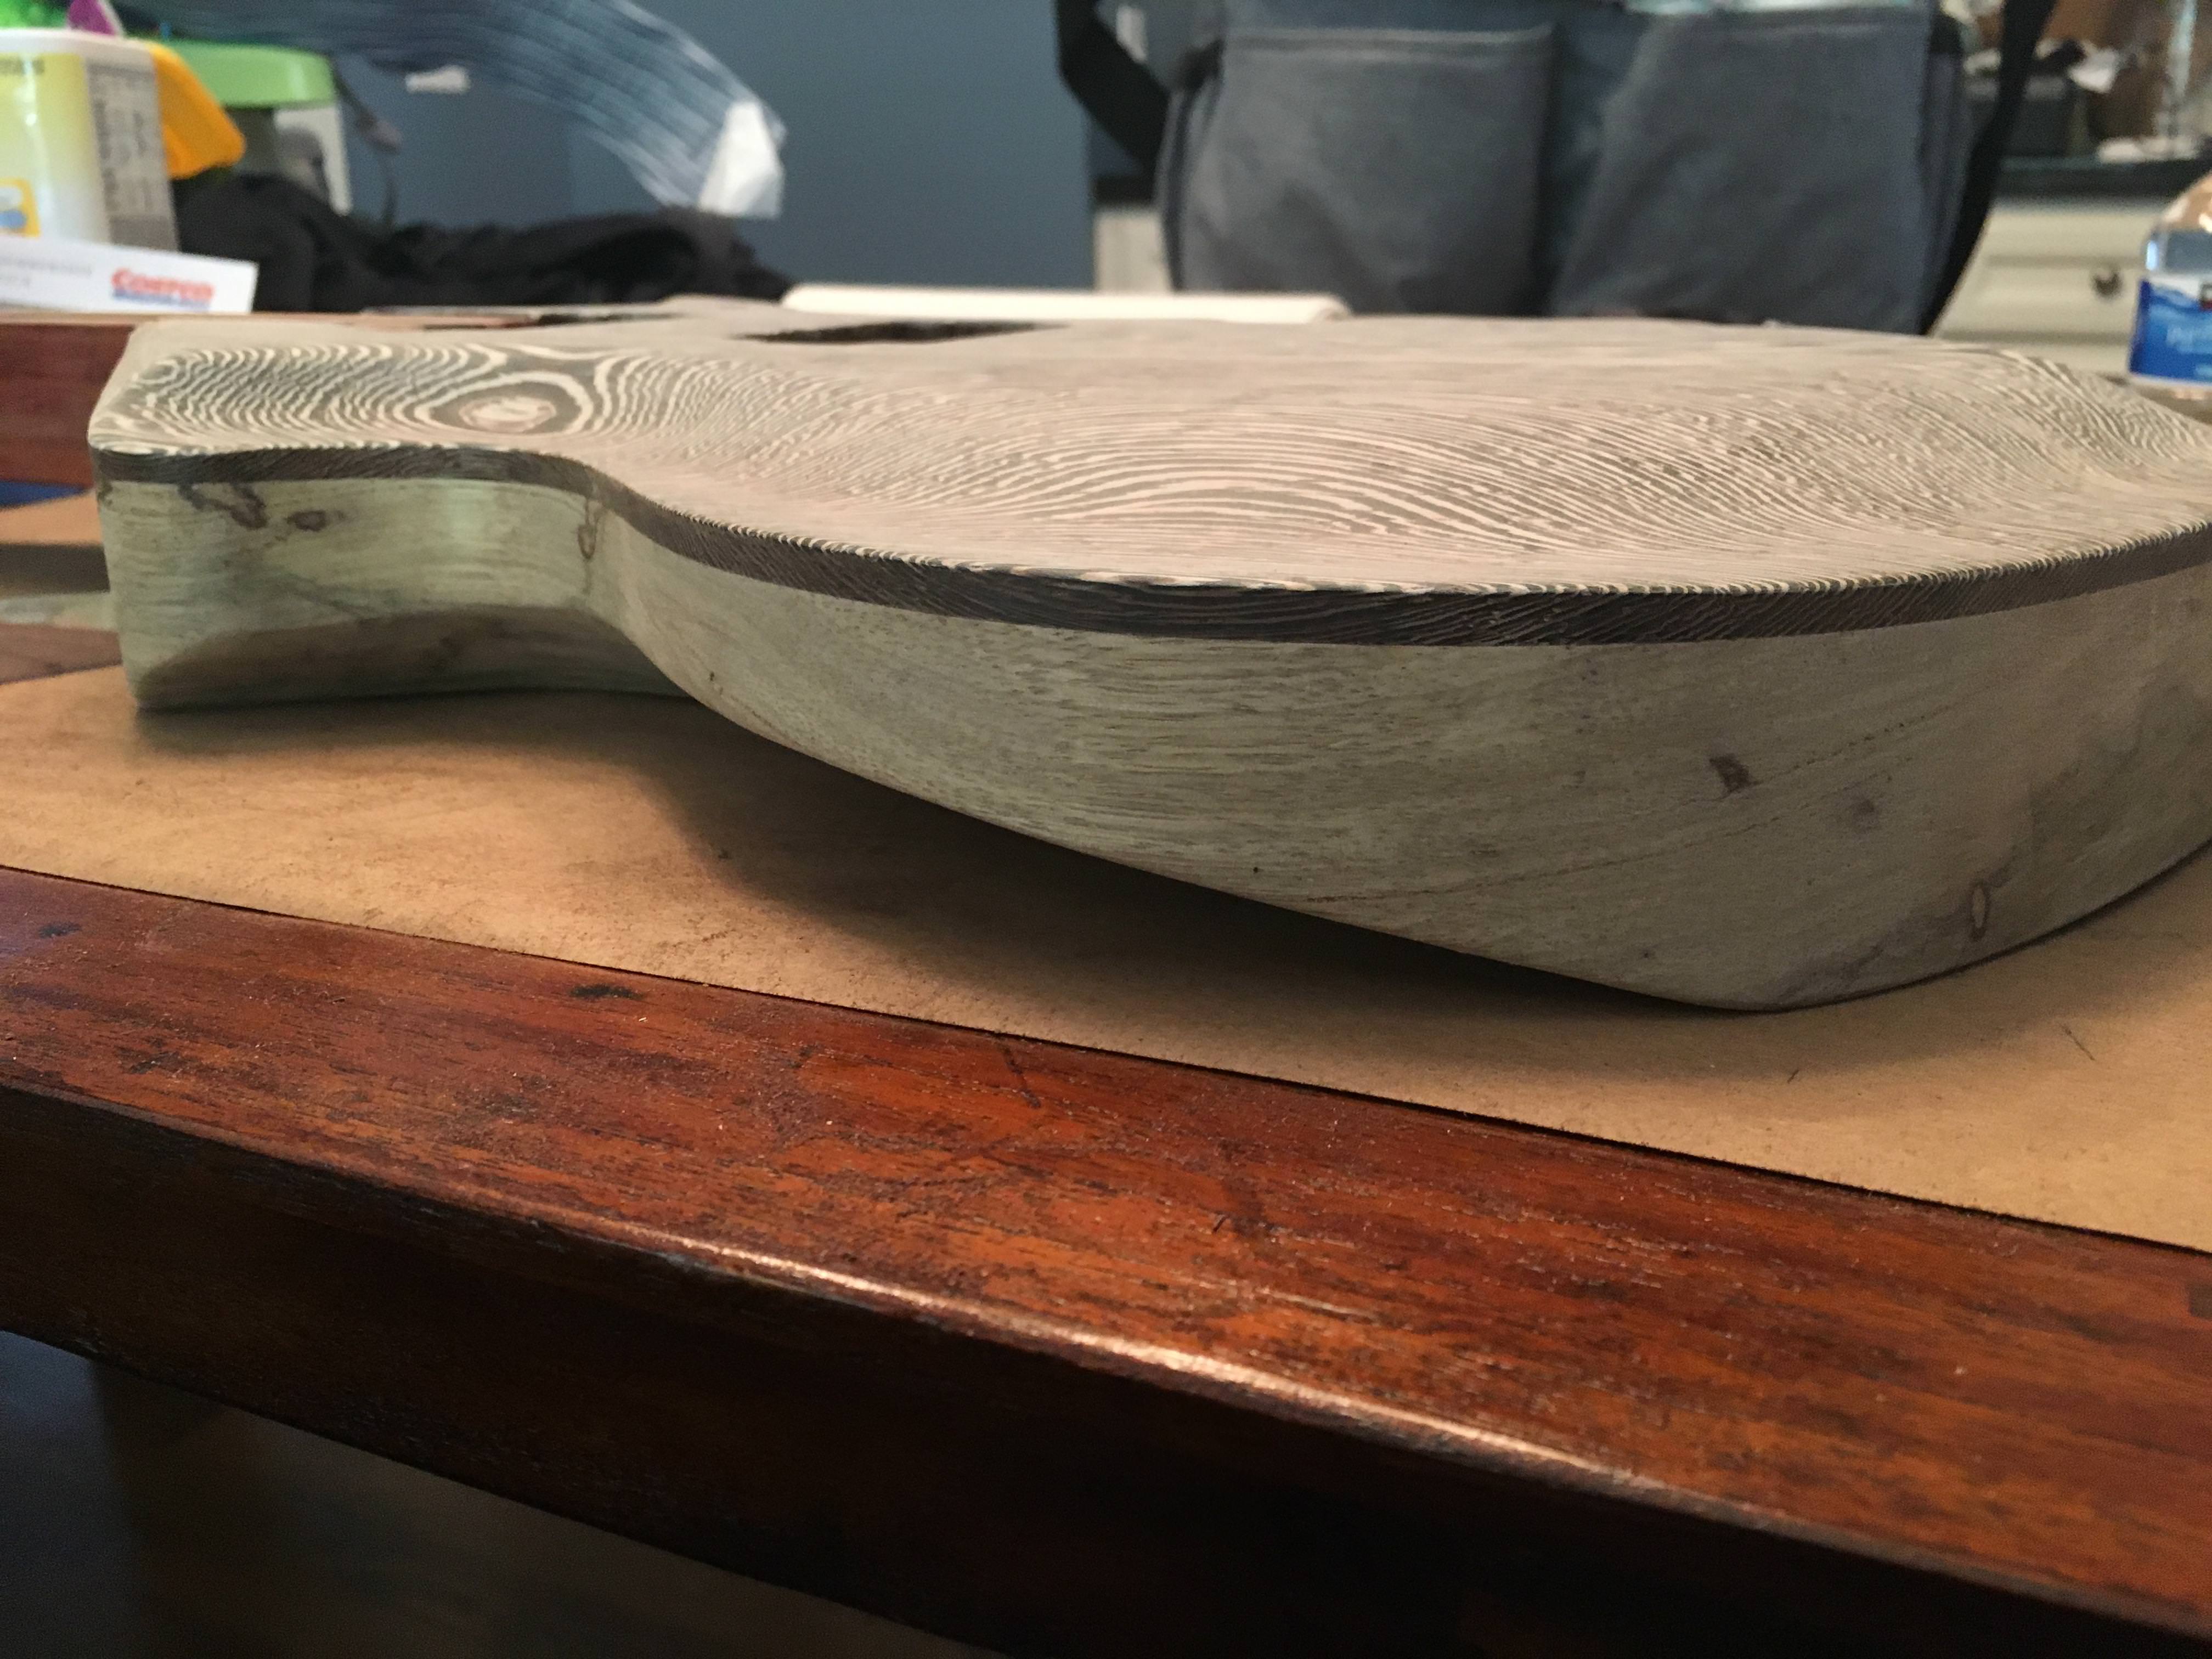
The neck carve is coming along, albeit slowly.
I have some numbers I'm shooting for, ~.830" at first fret, .910" at 12th fret, 1.000" at 15th to 19th.
Right now the first fret is about 1.100" thick, and it goes up from there. I'm basically going slowly, like taking a tenth of an inch of the back of the neck off at the first fret, then blending the rest and getting it to a point where I think it's a nicely shaped neck (but still too thick). So I'm intentionally getting about 10 neck's worth of practice with this one neck (it started out at about 1.75" thick from nut to 19th fret), and hopefully I'll be pretty decent by the time I get down to the final dimensions. Then I'll shape the volute to it's final thickness and work on the back carve where the back of the neck meets the body. -
12 hours ago, Andyjr1515 said:
There's no such thing as taking longer than necessary...always best to creep up on the final shape. It's very easy to take material off and it's pretty impossible to put it back
")
What tools are you using for the carve? Oh, and that's not a trick question - there's no right and wrong. Just interested what other folks use.
")
Thanks for the confirmation on going slow. I'm seeing that this is one of the most satisfying parts of the build so far, so I'm fine with taking my time with it.
I'm using a Japanese saw file, spokeshave, half round file, and card scrapers so far.
-
It's slow going. I'm taking material off near the nut / first fret and then blending the rest of the neck to match. I'm sure I'm taking much longer than necessary, but it's fun and I don't want to mess anything up.
-
The super glue seems to be good enough for now.
My skills as a photographer are terrible, but the neck carve is going well so far.
I've taken about 1/4 lb of material off and I'm just getting started. I might take off a full pound by the time I'm finished, which would put this guitar somewhere south of 10lbs when I'm finished, which would be amazing (and is now also the goal, officially).
-
1
-
-
Oh man, I almost forgot. I hammered the first few frets in before I remembered that I wanted to use a little titebond in each fret slot. At that point I wasn't sure whether to glue the rest of them in, or just keep it consistent. I did the rest sans glue, and then realized that several (like 40%) of the fret ends were a little loose. So I had to mask everything off and seep super glue into the fret ends and then clamp them. I think it's ok now, but next time I won't forget the titebond.
-
2 hours ago, ScottR said:
Are you sure this is your first guitar?

SR
Thanks man.
I've done a couple of parts builds with Warmoth stuff, but that's it. This has been a totally new adventure.
-
I burnished the fretboard to a glassy 2000 grit.

And hammered in frets.
-
2
-
-
Question for the brain trust:
Is it a total rookie move / amateur mistake to skip sanding and, once tuner / bridge holes are drilled and the frets leveled to string it up and see if it plays? Or do you save that until the very end when everything is sanded, polished, and soldered?
-
Fretboard markers and side dots are in and sanded flush. I used black abalone for both. I've sanded the fretboard up to 400 so far, but I'm going to go all the way to 2000 and then use some synthetic steel wool to get an almost mirror-like surface without any finish.

In the meantime, after sanding padauk for about 15 minutes it looks like a few bags of cheetos were detonated in my garage.
-
Oh, lol. Gotcha.
I don't remember where I got the idea for the bleach - it was either on page 200 of this forum while I was going deep, studying everyone's builds, or it was a suggestion for a video to watch on youtube because all I've been watching lately is wordworking stuff.
-
6 hours ago, Andyjr1515 said:
That is sooo different... and in a very good way. Bit of an eye-opener. What made you go for it?
Do you mean what made me choose those woods?
Here in Houston there are a couple of awesome hardwood purveyors. One is about about two miles from my house and they have an incredible selection, but there are no prices marked on anything and you pick a small, mediocre piece of, say, purpleheart and bring it to the owner for pricing and he punches numbers into a ten-key for about 5 minutes and comes back with "That will be $150." The other place has a slightly worse selection, but they have a shorts and off-cuts section where everything is marked with a price. I bought a 4 foot piece of amazing curly maple for $10.50 the other day.
So I basically went to the cheaper place a few times and scavenged the shorts section, where sometimes it's pretty empty, and other times they have interesting stuff. In other words, I used a time-honored approach to choosing materials for this guitar: I went with whatever was cheap and available.
-
The clamps are off.
-
3
-
-
-
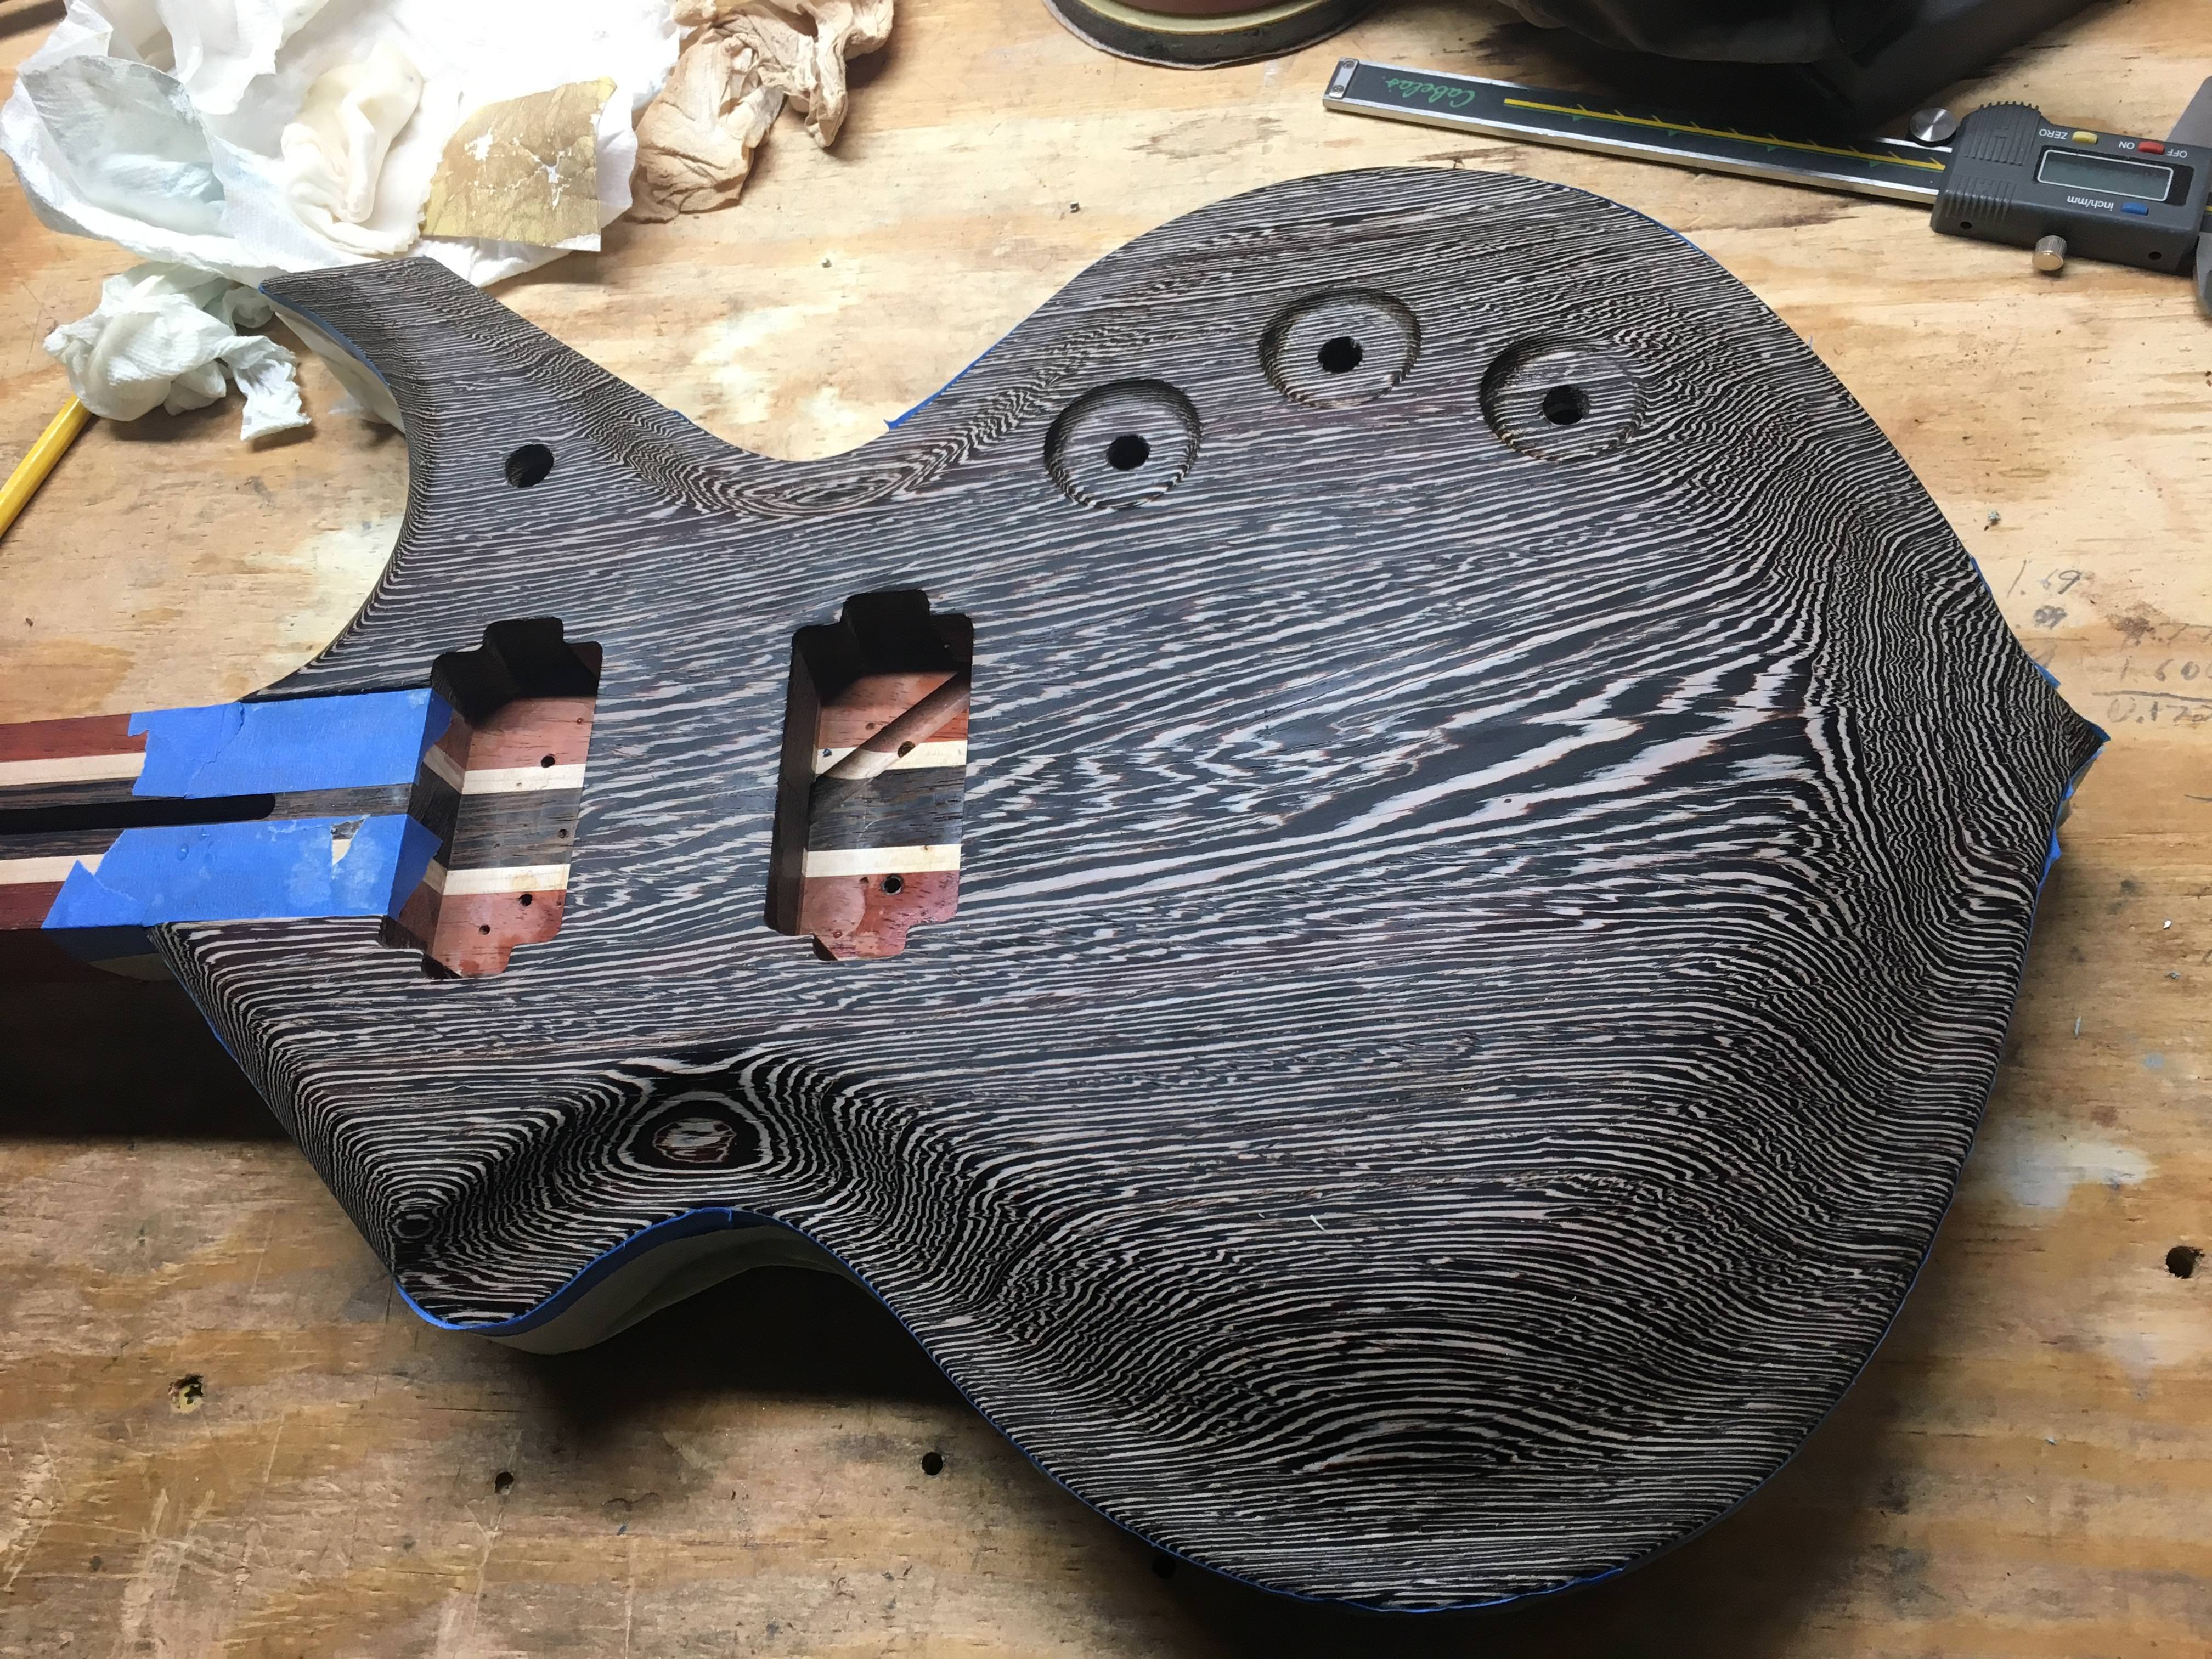
Not a huge difference after bleaching round 3.

Here it is after applying a solution of two parts water, one part vinegar, in order to neutralize any bleach remaining on the wood.
-
1
-
-
12 hours ago, curtisa said:
I'll admit I was a bit 'uh-oh' when I saw the first coat of bleach applied, with the wenge grain completely blacked out, but after it's dried it now looks the part. The darker streaks don't appear to react to the bleach much, but the paler streaks get lightened quite a bit, which amplifies the contrast in the grain patterns.
Keep your scrap offcuts of the wenge to test your finishes with. From what I've seen, wenge tends to become a dark, murky mess under the wrong finishes. It'd be a real kicker if whatever finish you applied to that top undid the work the bleach has done.
Good call on testing on scrap. I already did that before I glued the top, so we should be ok. Still plenty of chances left for me to ruin this whole thing, though.
-
This is after beaching round #2.

And this is how it looks wetted for bleaching round #3.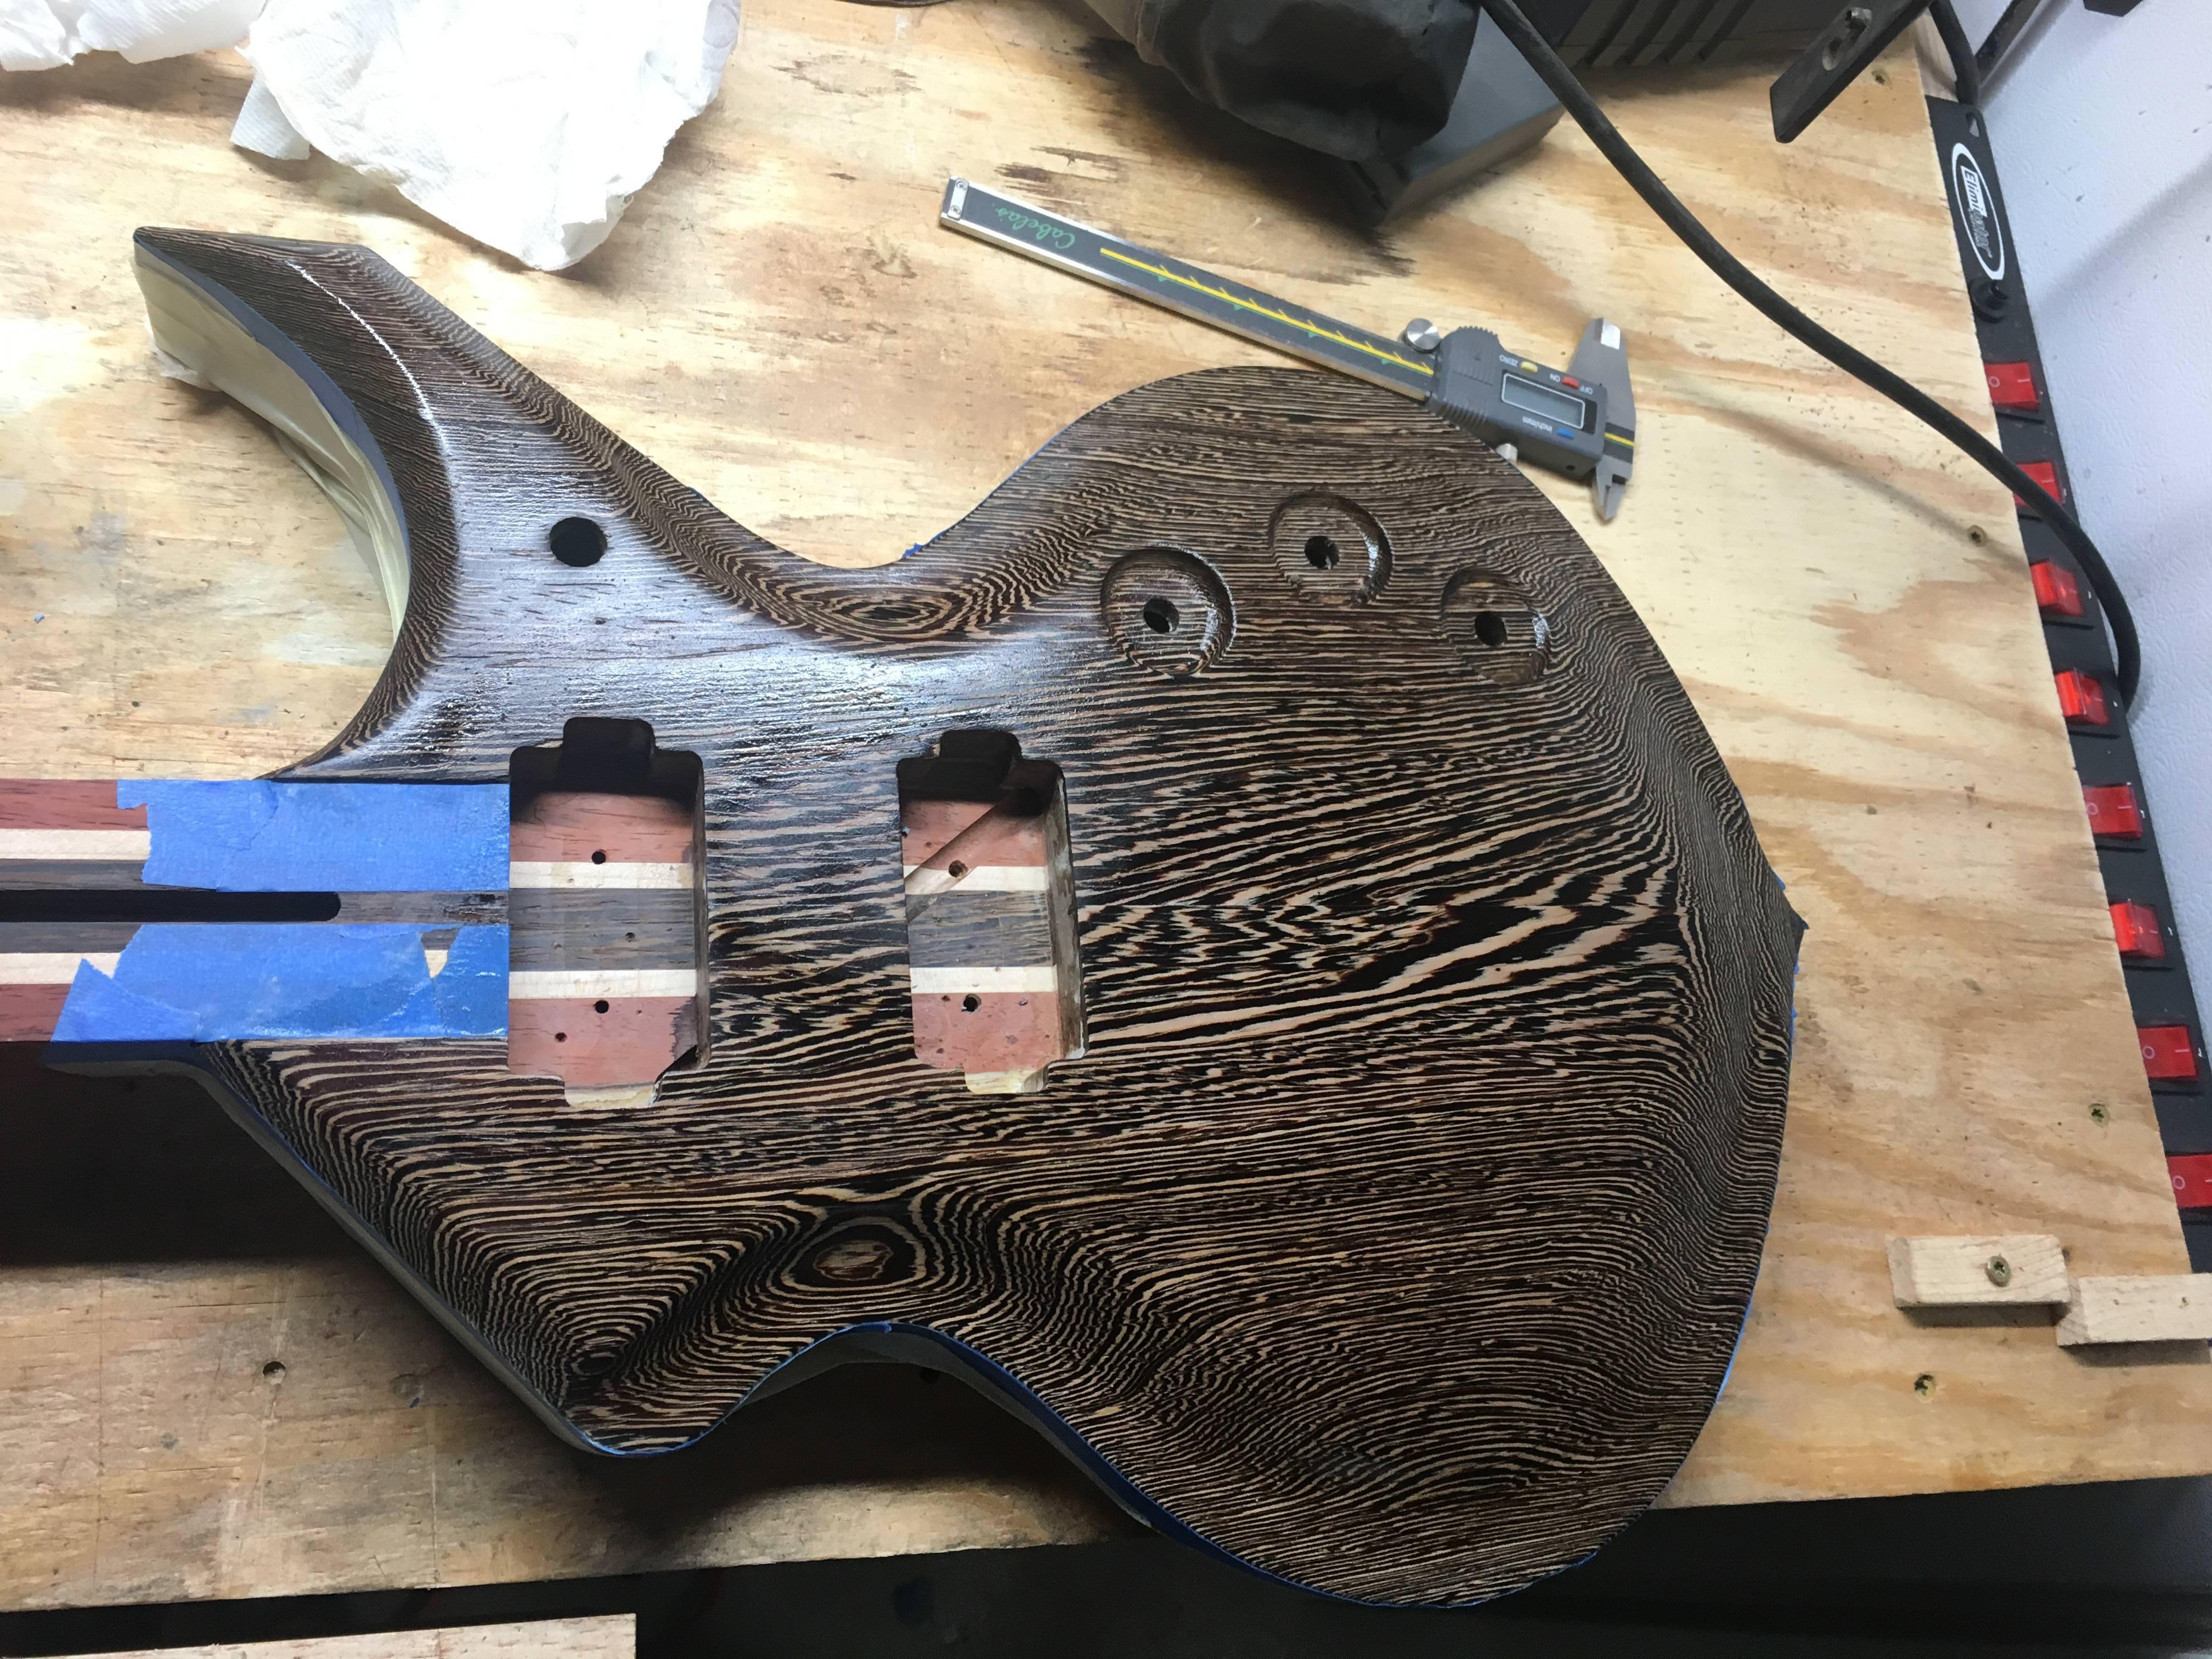
Tomorrow I'll neutralize the bleach with a solution of vinegar and water, and probably glue up the fretboard Monday morning.-
2
-
-
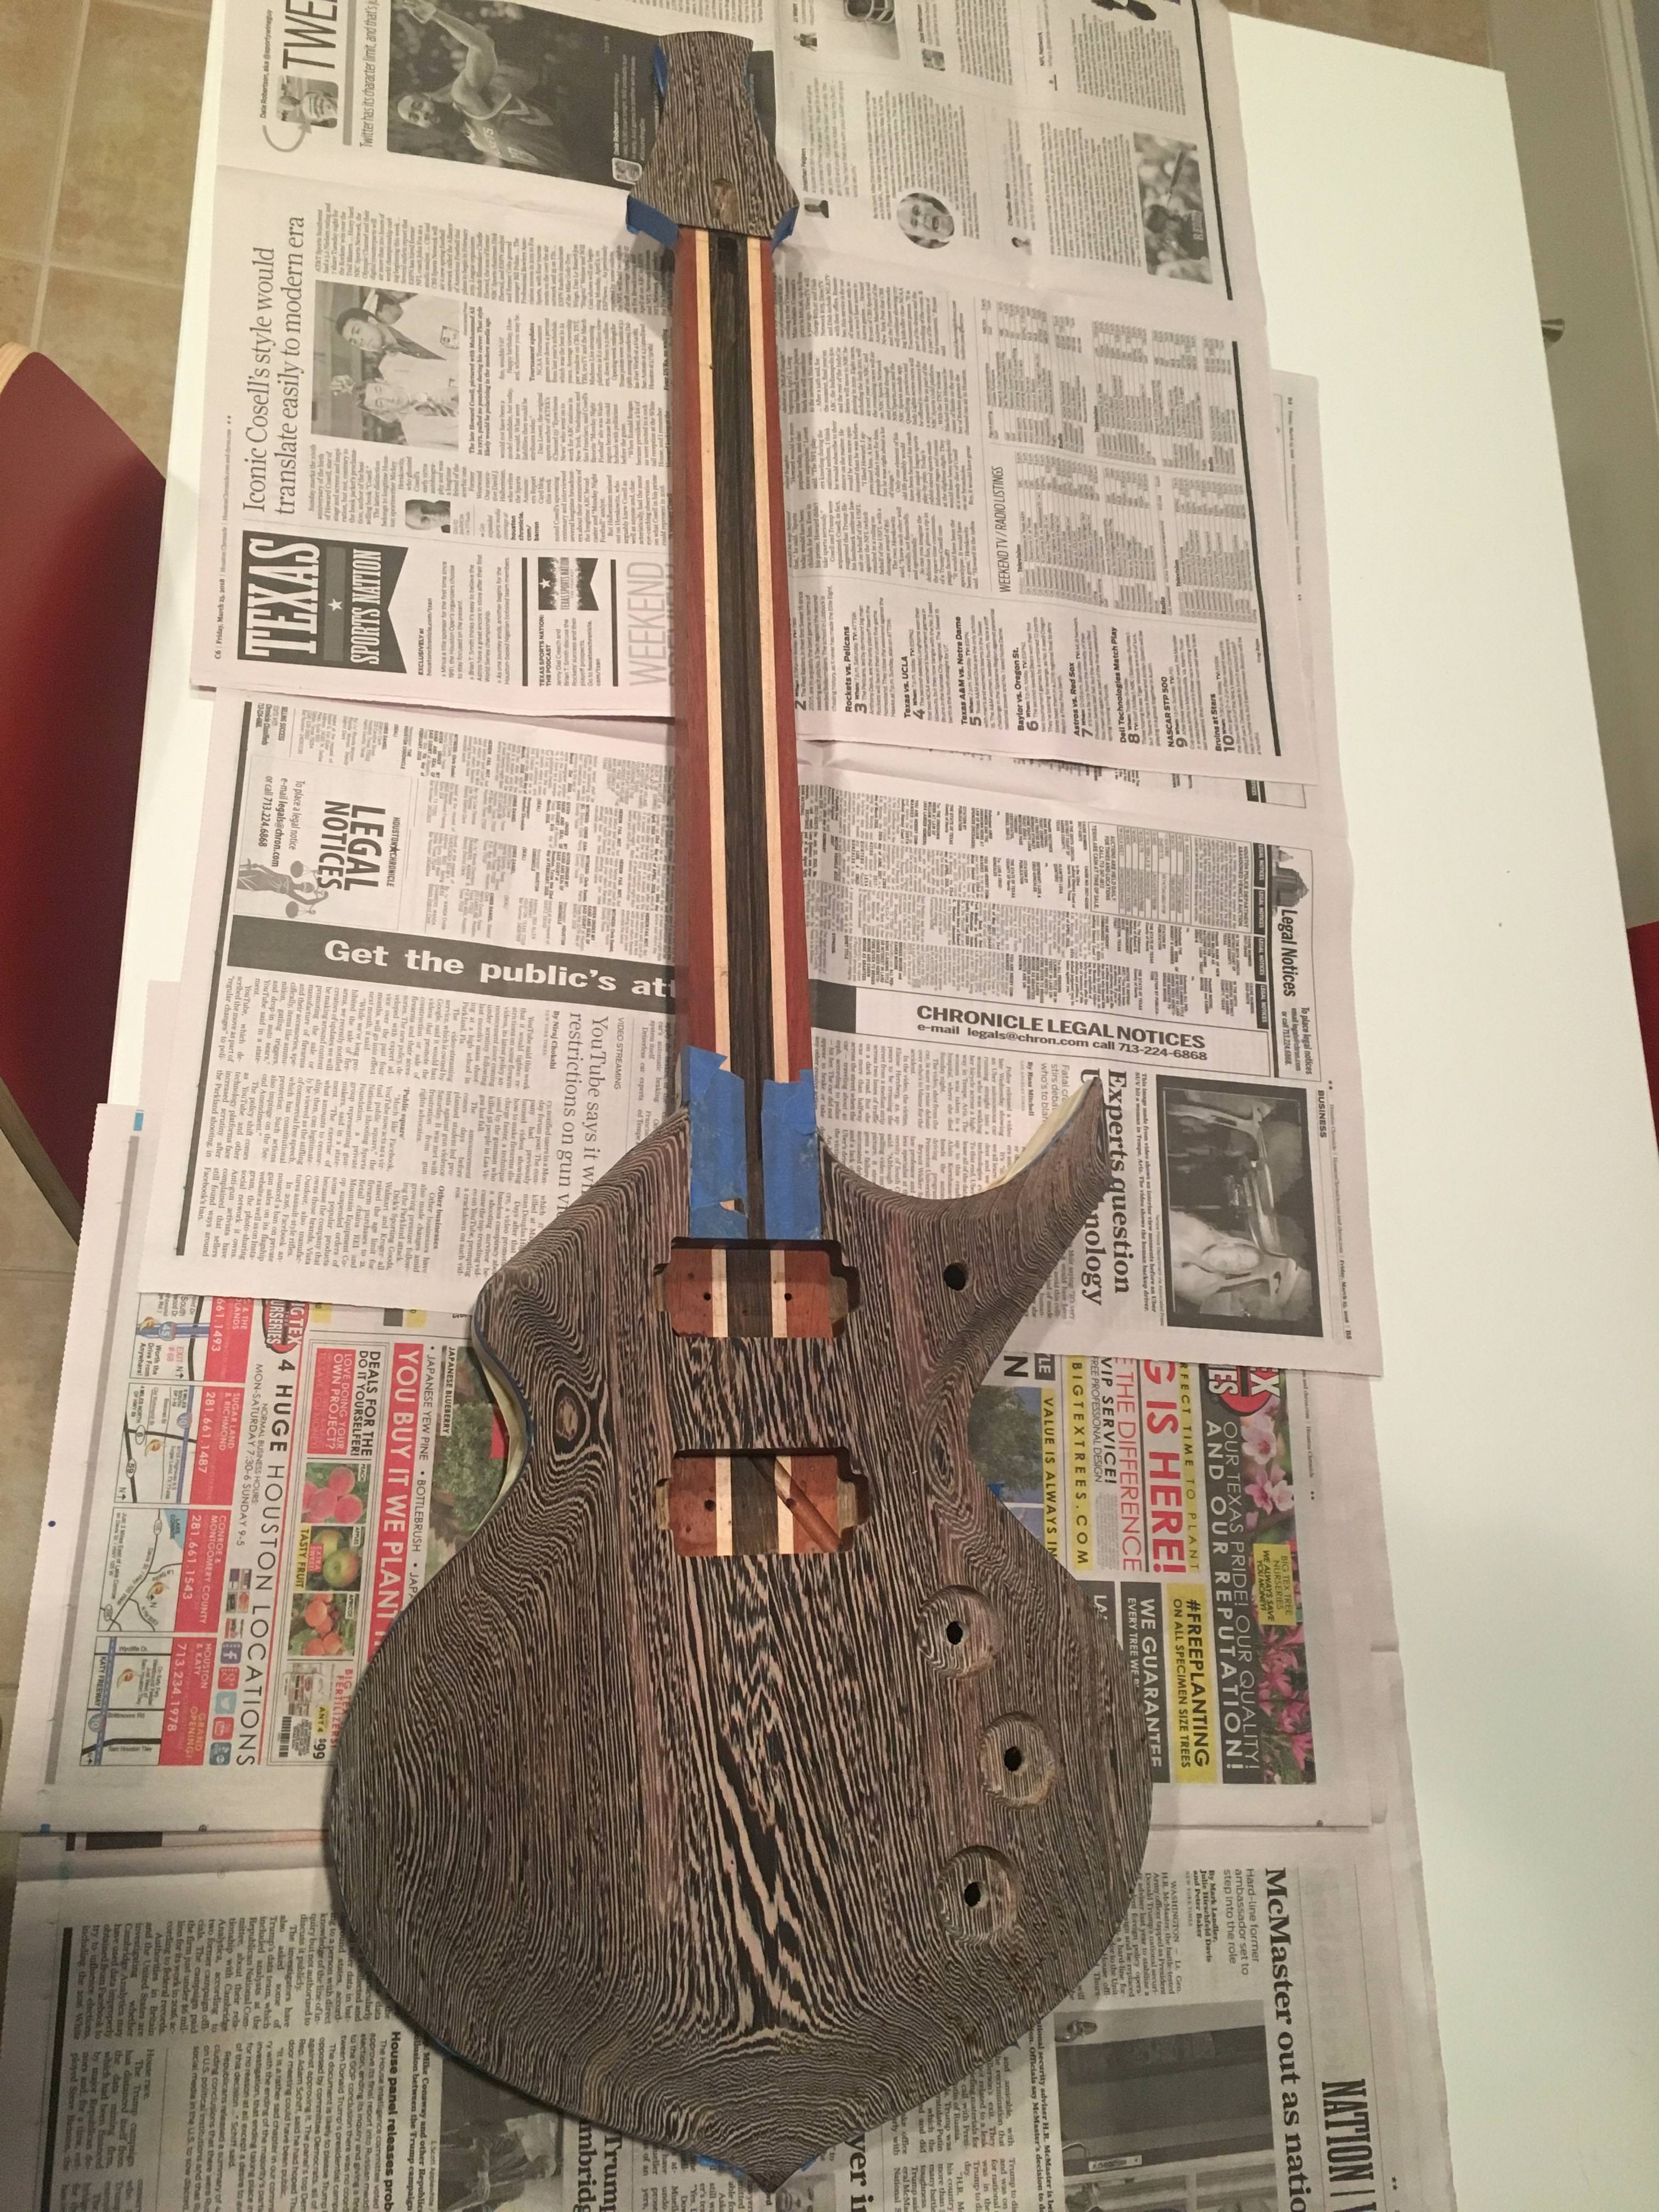
Here it is a few hours after the second coat of bleach.
If I had in mind the final result when I started this, a: I think I'd be done by now, and b: it would be less '70s orange / brown themed.
What I'm actually doing is coming up with ideas as I progress through the build and implementing them if it's not too late, without much forethought as to how it will impact the final result. It's a miracle this thing doesn't have a few f holes and a b bender. I'm not sure where I got the idea to bleach it, but it either came from a youtube video recommendation ("You might like this video featuring this dude bleaching this piece of wood"), or I stole the idea from one of y'all while scrolling through the mountains of threads that have accumulated on this forum over the years.
-
2
-


First Build, so many lessons learned
in In Progress and Finished Work
Posted
A little progress pic for the day. I leveled, crowned, dressed, and polished frets. I still need to clean up some superglue mess here and there, but then I'm ready to make a nut.