


hooglebug
-
Posts
669 -
Joined
-
Last visited
-
Days Won
4
Content Type
Profiles
News and Information
Tutorials
Product Reviews
Supplier Listings
Articles
Guitar Of The Month
Links and Resources
Forums
Gallery
Downloads
Posts posted by hooglebug
-
-
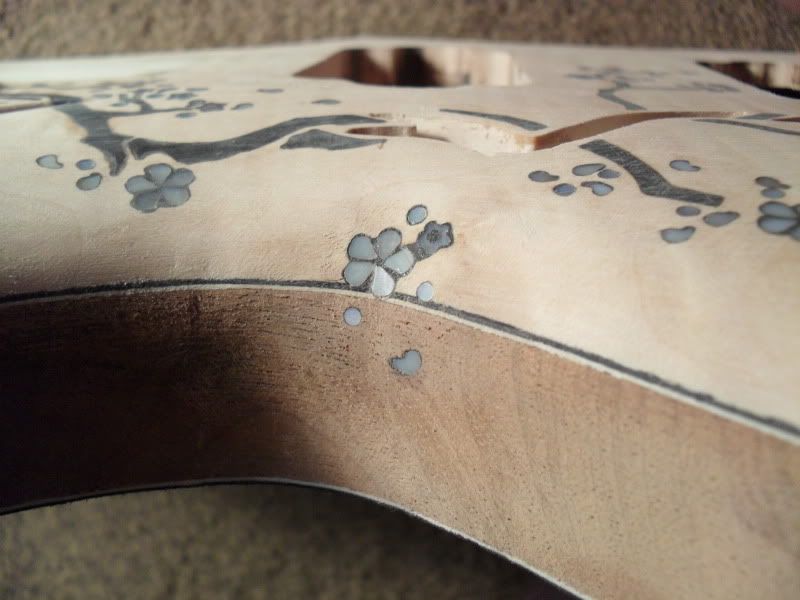
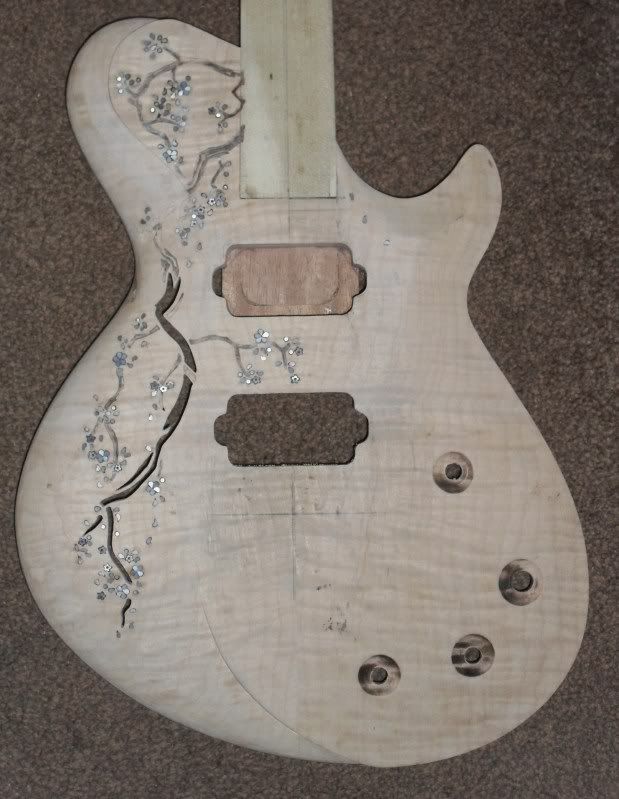
that inlay on the bridge is only layed on top to see what it would look like. that is covering the damage. but im going to see if i can just do a little as im thinking its a bit too much like that. so im going to try to find a way to just use a few petals or flowers to cover it up
-
whilst in the shower i was thinking its maybe a bit too much. i think im going to try do something like i did with the hole. i shall have to experiment tomorrow
-
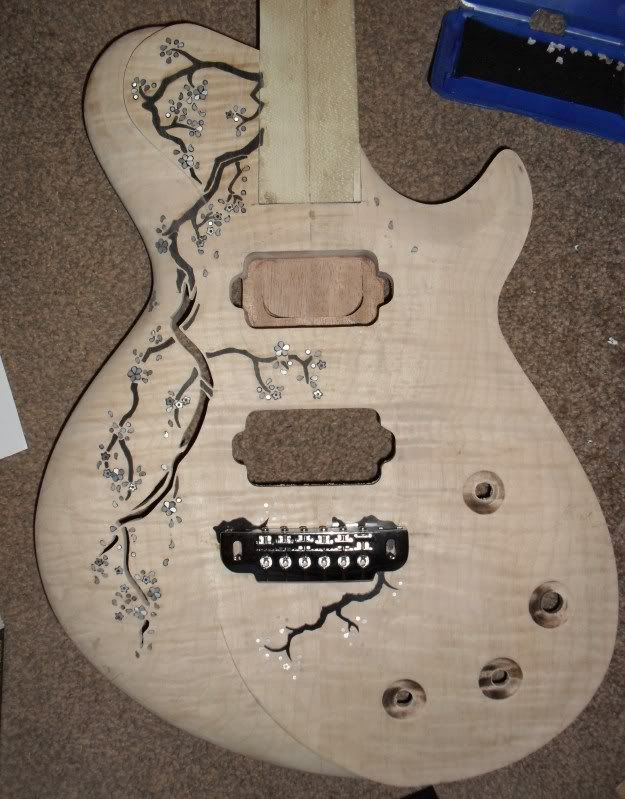
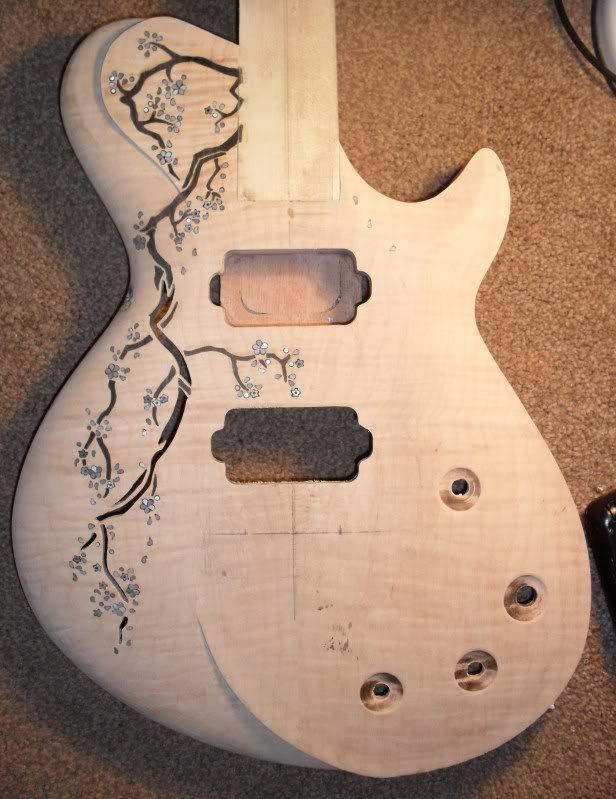
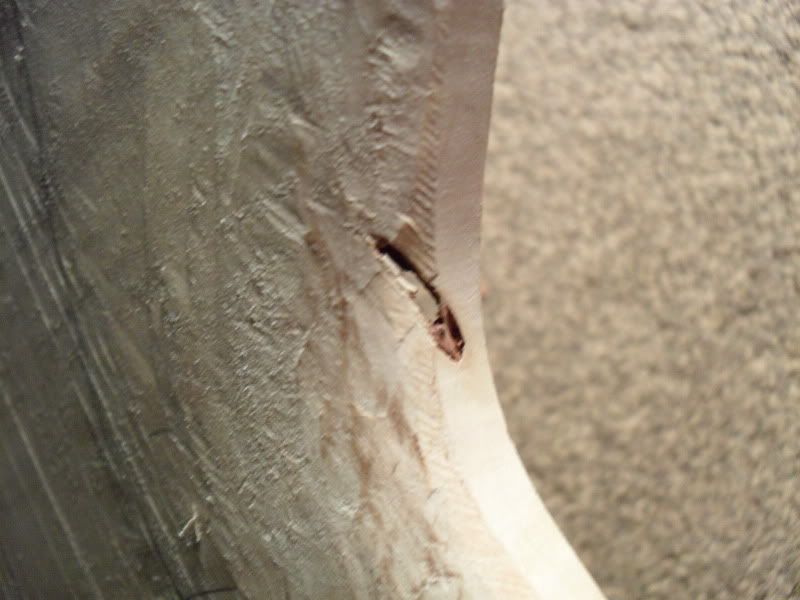
sigh. i knew it was all going too well. drilling for the bridge posts today big chunks of the top ripped off. and of course they only did it on the side that WONT be underneath the bridge. damn it. they'll be sticking out about 3-4mm from the bridge so would be very visible. and i couldnt find the bits that came out either. i thought about cutting some scrap and trying to match it, but once its stained and everything im thinking it would be rather obvious. so i tried to come up with something to cover it.
what do people think?
-
heres the hole cover up
-
yeah it will be blue. unless someone comes in to buy it before its done and wants it different.
i only did a red and a blue mockup
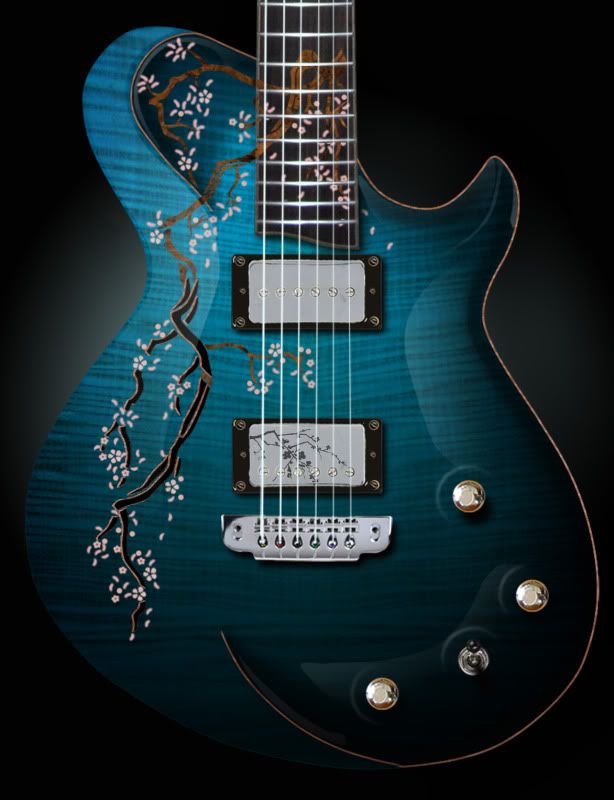
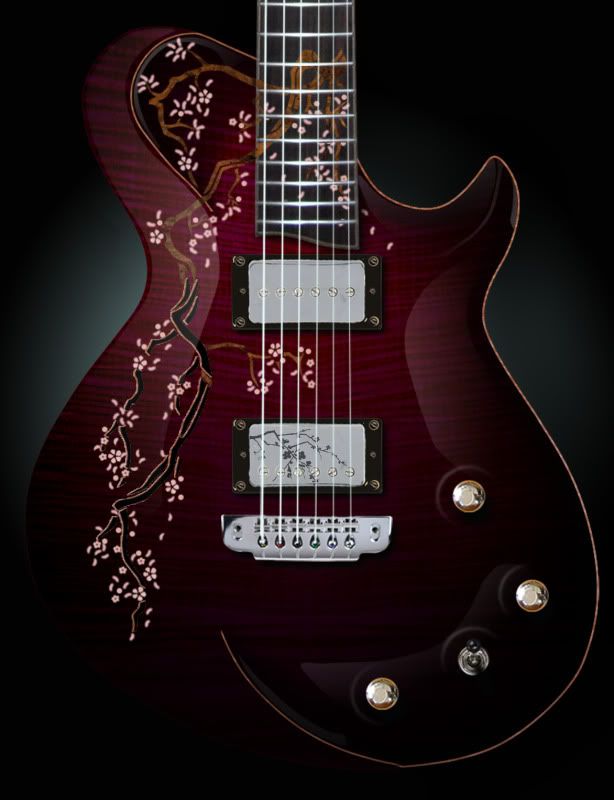
hmmm...i dont know now. i shall have to think long and hard
-
all done. the hole covering is gluing now. i think iv found a good solution to it. i might even keep it for future ones.
-
all done. the hole covering is gluing now. i think iv found a good solution to it. i might even keep it for future ones.
-
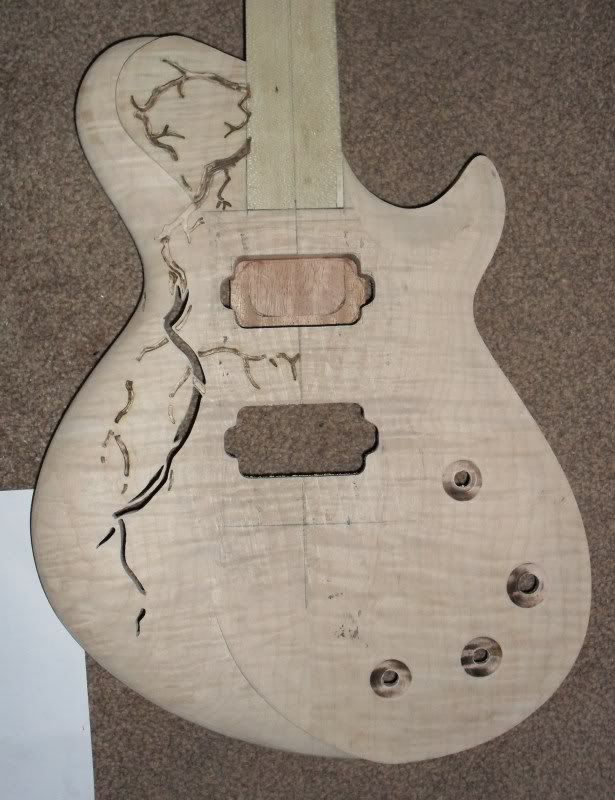
just about to glue in the branches.
-
just about to glue in the branches. going to think of a way to cover the hole as well. i think i have enough petals left!!
-
an hour and a half it took!! my back aches. now for the petals
-
blue. if you look in the inlay section theres a photoshop pic of what it should be like
-
the neck and top are glued onto the body core. had to do this first before doing the body inlay because i cant carve the bass side to final shape till its glued on. tomorrow i shall be getting the inlay started
-
hehe yeah i meant to do it it wasnt some hideous mistake

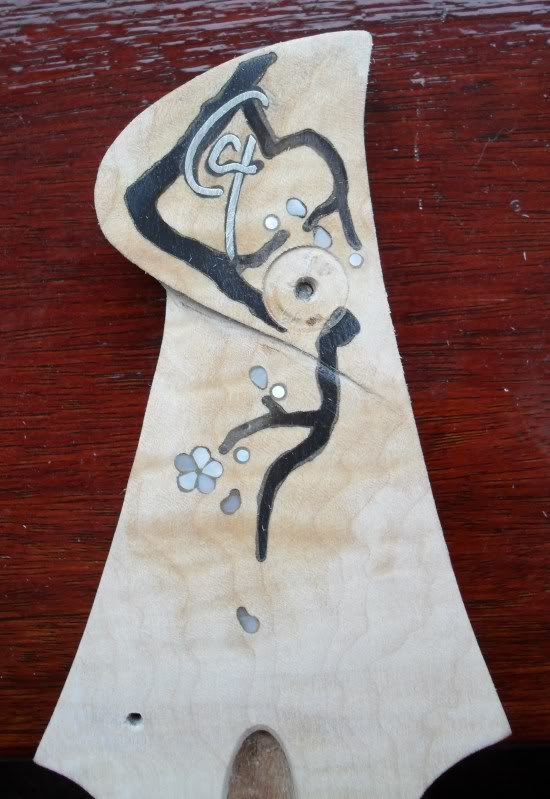
heres the headstock. only sanded to 80 hence all the scratches and rough look. horn makes really coarse dust - when i was sanding the fretboard down there were big grooves all along the length of it. thankfully it stopped doing it past 120
-
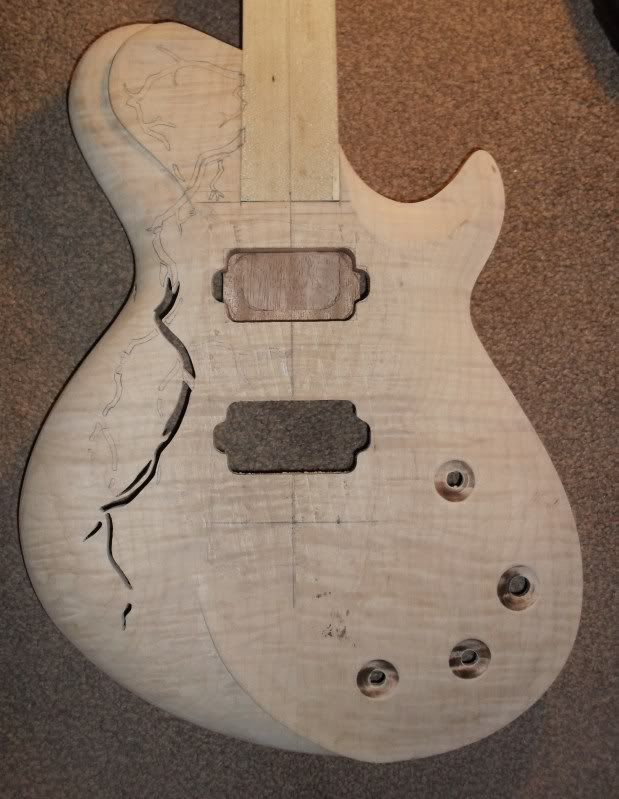
first stage done
-
first stage done
-
-
not the best pic but you get the idea. the branches do stand out a little bit more but next time i think a lighter horn or a different material
-
inclusion i think
-
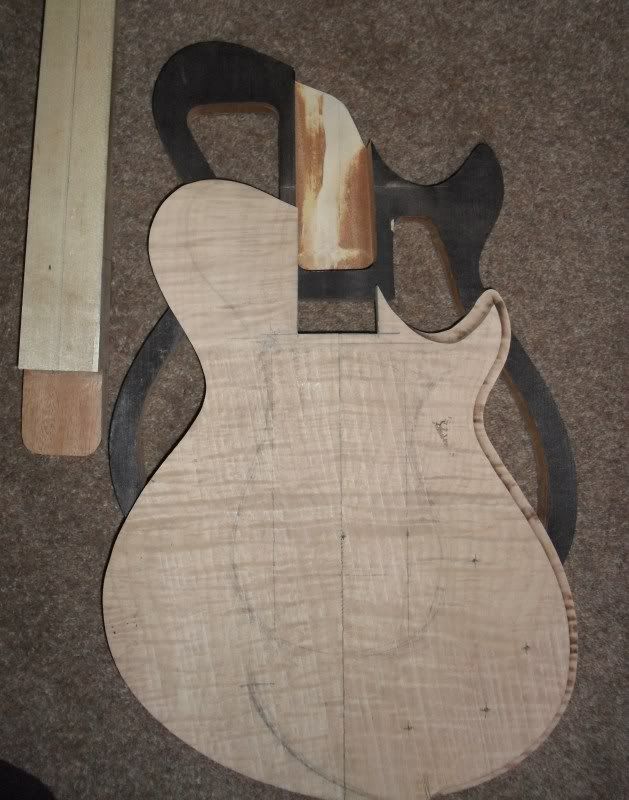
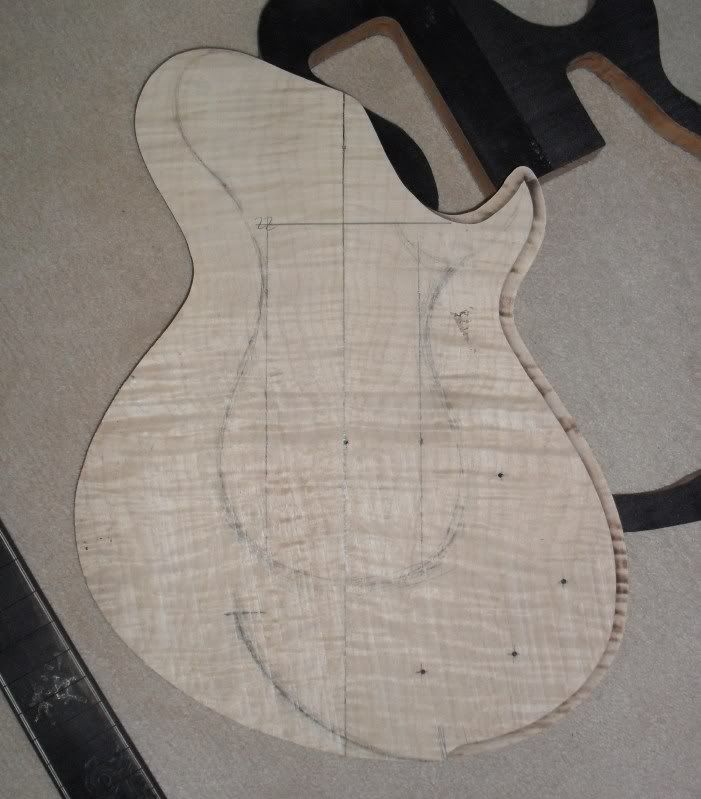
this top has gorgeous 3d figuring.
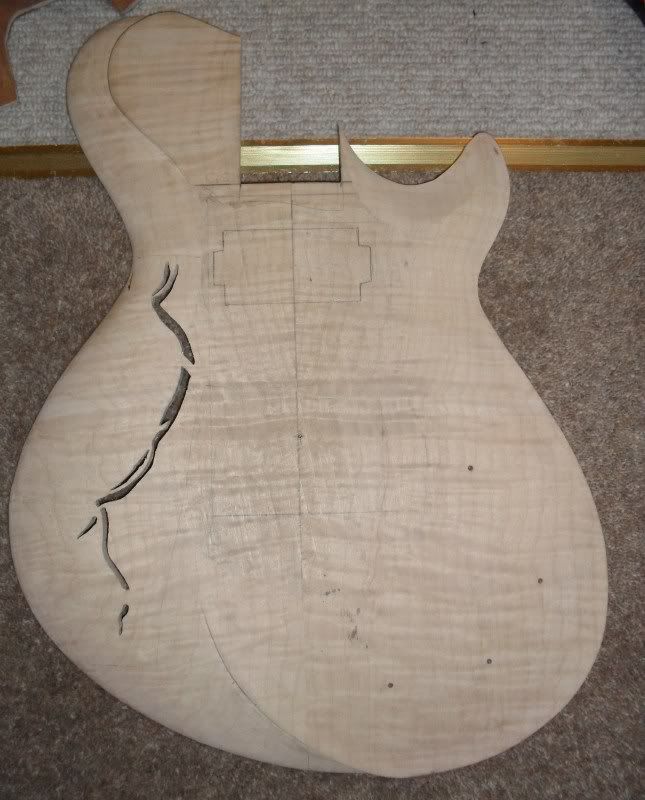
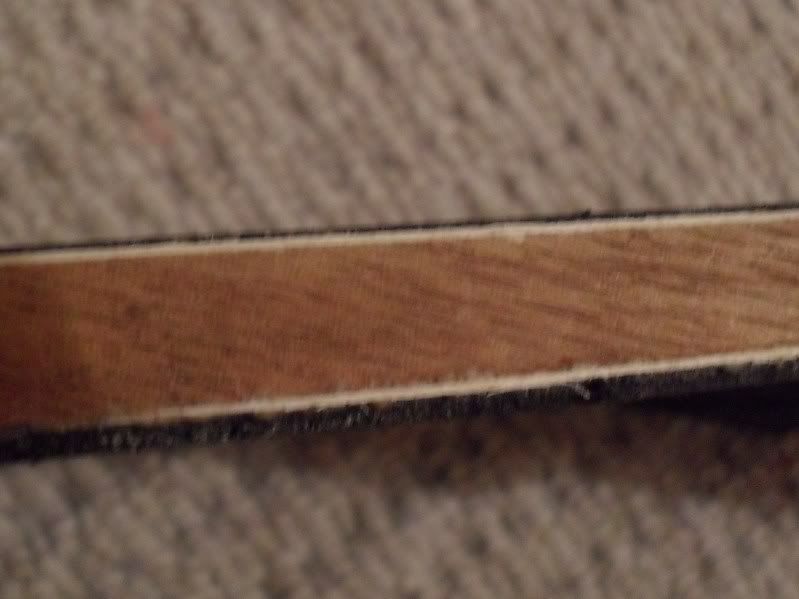
heres the hole. its on the bass side waist area and will be visible looking at it head on once its fully carved. but as the front is covered with inlay anyway it shouldnt be too hard to cover over
-
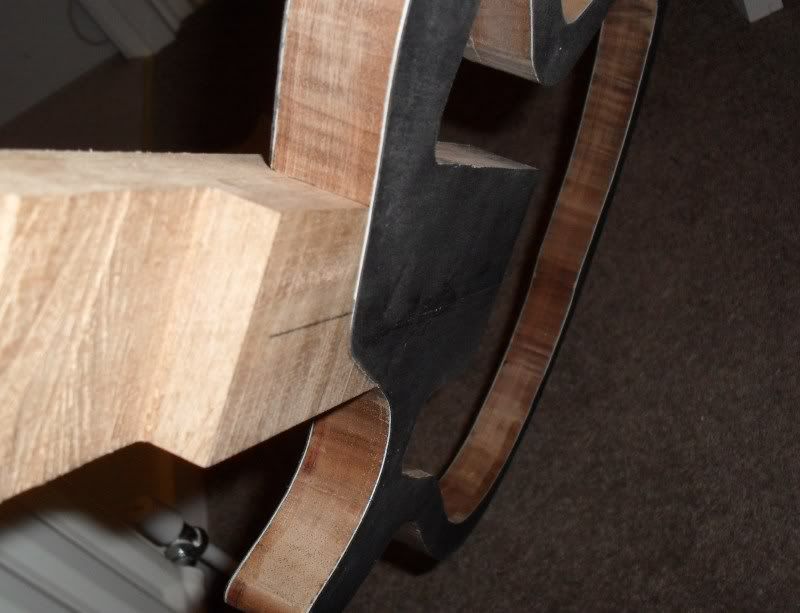
jigsawed most of it away then cleaned it up a bit with the router.
-
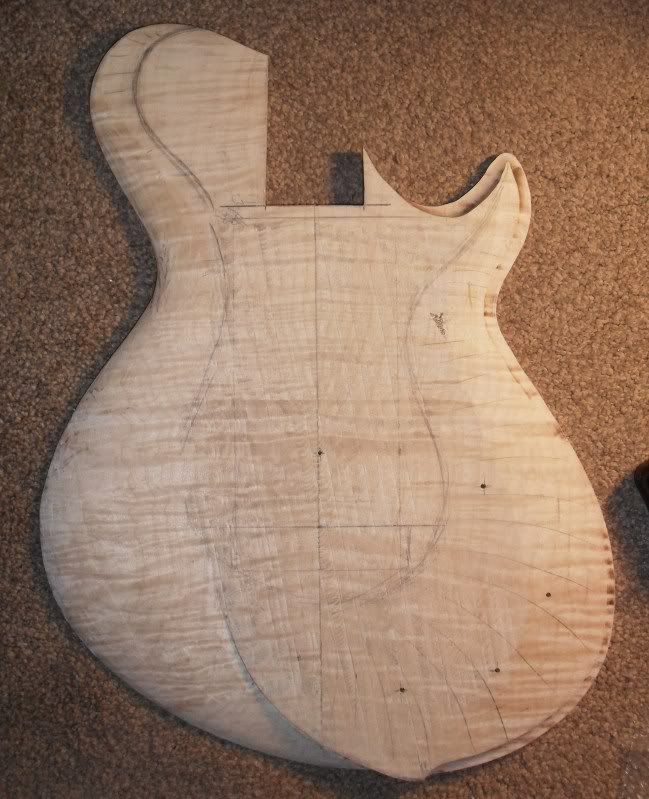
bit more today. got the neck to shape and did the neck pocket
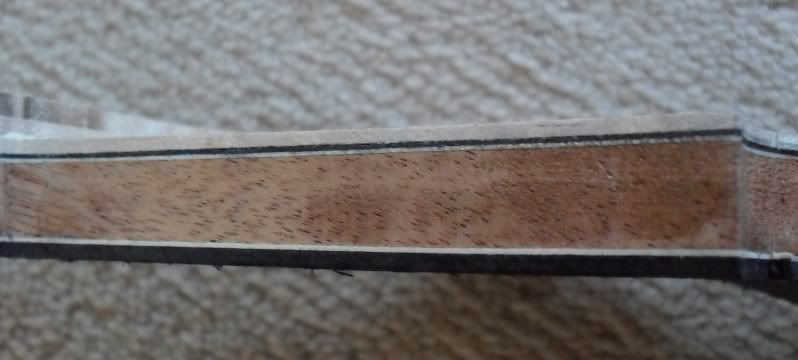
hows that for precise routing!!! thats two 0.6mm thick veneers left on the bottom of that neck pocket
and heres a little teaser of it together
-
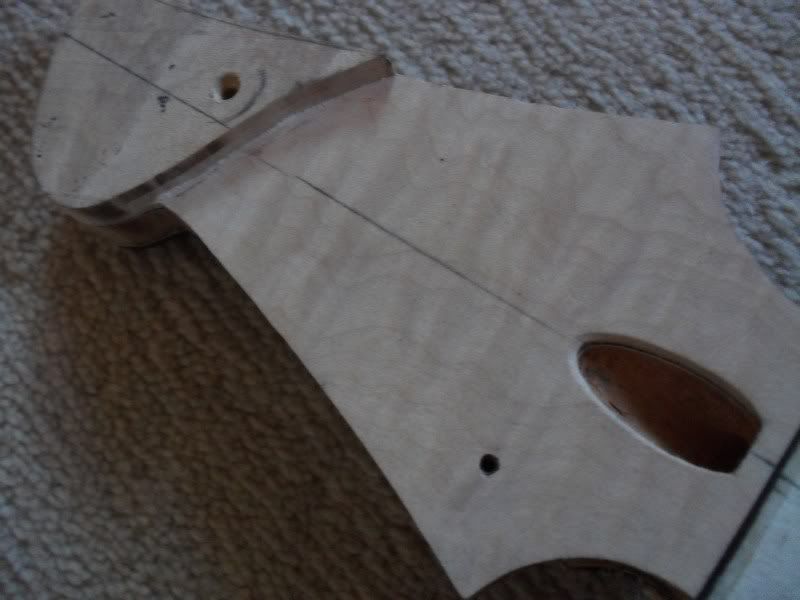
yesterday i rough cut the top and cut out the headstock top and glued it on. it was only after i took the clamps off and turned it over i realised i put the volute too close to the last tuner. so i took the back veneers off and was grumpy.
today i re-cut the back of the headstock so the volute was in the right place, trimmed the headstock top down a bit so the headstock would be the right thickness, then glued the veneers on again.
then i got the top routed to shape, routed the treble side for the fake binding ledge and routed the neck angle on. i also routed the neck heel to the same angle so i can do a flat neck pocket
and heres what it will look like from the side
also, there were some holes in the top wood that i THOUGHT i would get around, and as you can see from the top pic it looks like i did. but on the bass side its still there, and will be seen once i carve it. but i think i have a solution to hide it.
-
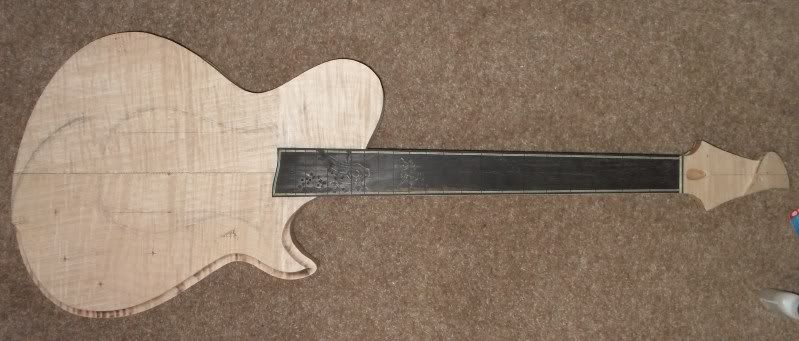
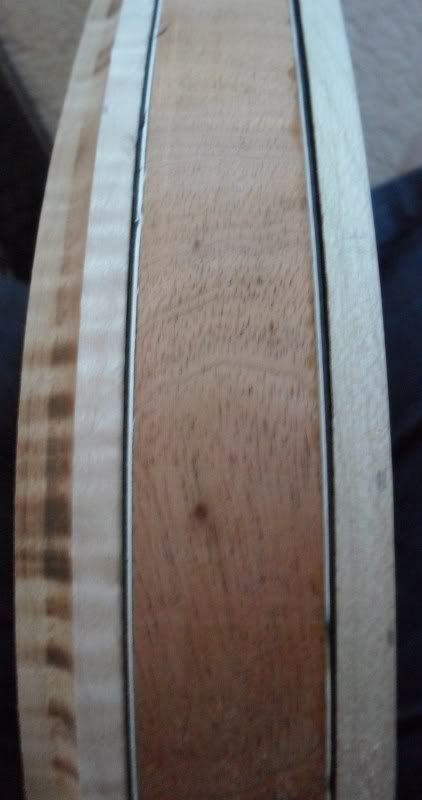
heres the neck so far. theres a maple veneer under the fretboard (which isnt glued on yet - the fretboard that is) and the headstock has maple and black veneers too so it will match the body. the headstock will also get a maple front to match the top. when it finally gets here

-
hehe yeah its photoshop. i used guitarnuts tutorial - never used photoshop before.
anyway!
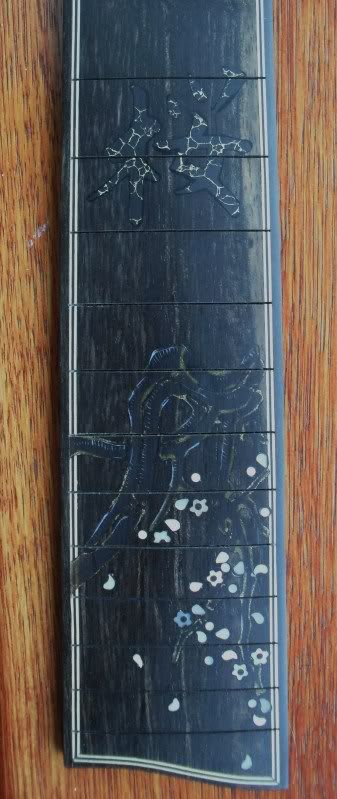
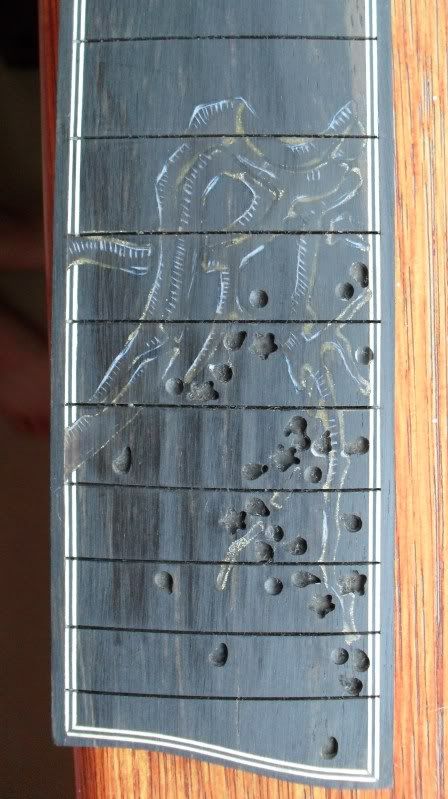
heres the fretboard so far. the horn didnt show up nearly as much as id hoped, so i engraved it a little. the fill is a blue pearl lustre dust/epoxy and brass dust/epoxy. its only sanded to 240 and i stuck a bit of oil on it to bring it out a bit for the pic. the petals will go in as soon as i get my 100 dots

Cherry Blossom
in In Progress and Finished Work
Posted
yeah i thought about that. im going to try just petals for now see what it looks like. and maybe burst it a little under the bridge to help further. i think it will be ok then.