


yelserpdog
-
Posts
8 -
Joined
-
Last visited
Content Type
Profiles
News and Information
Tutorials
Product Reviews
Supplier Listings
Articles
Guitar Of The Month
Links and Resources
Forums
Gallery
Downloads
Posts posted by yelserpdog
-
-
did you clear coat it before sapraying the burst or are you spraying the birst straight onto the fabric? if you're spraying straight onto the fabric maybe its absorbing the paint too much. try clear coating a bit then adding more burst then more clear coat.
if you did clear coat first then i have no idea whats going on
Ahhhhh, that'll be what it is. I didn't put any clearcoat on first. I'll do that then. Cheers mate
-
Hi folks,
Things are progressing slowly. I got told off by the wife as I was using the bin as a table for spraying on and the bin now has a guitar shaped black mark on it!!
Anyway. Strange things are happening. I've now applied about 8 coats to produce the burst. The only problem is that in certain light it doesn't look like there's any burst at all. Have a look at the 2 pictures. In the first one it looks like there's no burst but in the second one it is. Is this normal? Am I doing something wrong???
No burst
Nice burst
http://i3.photobucket.com/albums/y88/yelserpdog/HPIM0375.jpg
Any help greatly appreciated!!
Des
-
That came out really nice. Good work, looking forward to seeing it all put together.
Are those cushions all your own work too?

I buy guitars, my wife buys cushions
I was thinking of covering another guitar in a material similar to those cushions though, kind of like one of those black floral jems.I used a strong PVA glue I got from a DIY shop. It's the shops own brand but it works great.
As for hardware, I'm torn between either chrome or gold. Pickup wise, i've got a Seymour Duncan Broadcaster 57 in the bridge and a DiMarzio Twang king in the neck.
Rock on
-
Here's a picture after a couple of coats. You can see the burst effect starting. It doesn't look very "bursty" on the bottom because of the flash.
-
yeah I really like it too.
how are you going to refind the drill holes after clearing?
and are you putting a pickguard back on?
As there's no clearcoat on it yet, you can still see/feel the holes. I'll mark them so I know where they are before I clearcoat it. I want to put a clear plastic pickguard on it but I can't find one. Does anybody know where to get one??
-
Oooh pretty. I like it, do you have to coat the fabric with lacquer to protect it at all?
Now your uncle has plugged the hole up, how are you going to get the neck pickyp wires into the ctrl cavity?
I'll need to put a few coats of clearcoat on to protect the fabric and give it a shine.
Don't worry, the plug my uncle put in still has a channel to allow wires to pass from the pickup. There's a piece of string currently in there for when I go to wire it up.
-
Hello folks,
This is my first post I think. Anyway, I'm currently working on a Black Paisley telecaster. The original guitar is a 1980 something Jap tele toploader. I wanted a Paisley tele but can't afford one and so I bought some black paisley material and using the tutorials on here started work a couple of weeks ago. I have absolutely no skill whatsoever in these kind of things so don't expect a top notch job!!! So far I've got the fabric onto the guitar and have begun painting (I'm doing a poor man's burst from th tutorial). I'll post some more pics as I go if you're interested.
Here's some pics so far. I haven't taken any painted pics yet as I only started painting yesterday
cheers
Des
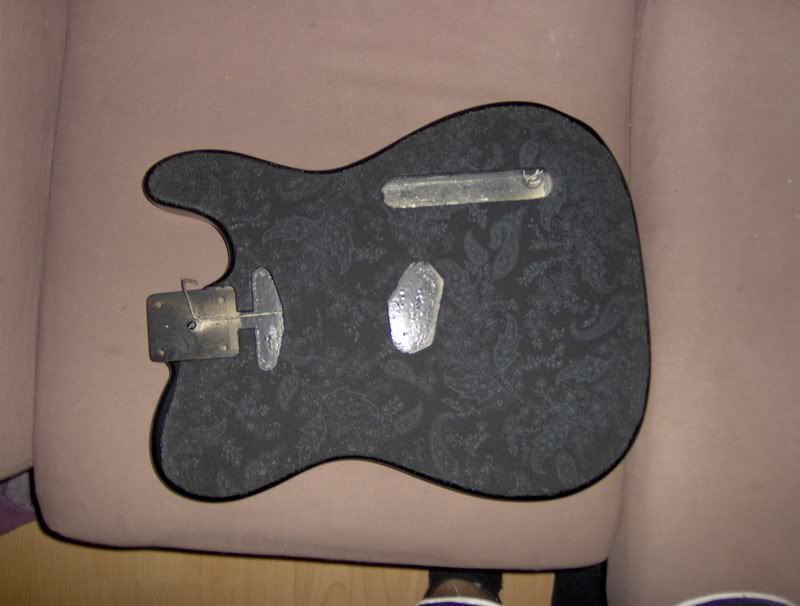
Here's the body with the clear coat sanded down to give the glue something to adhere to. My uncle who's a carpenter plugged up the hole between the neck and bridge pickups.

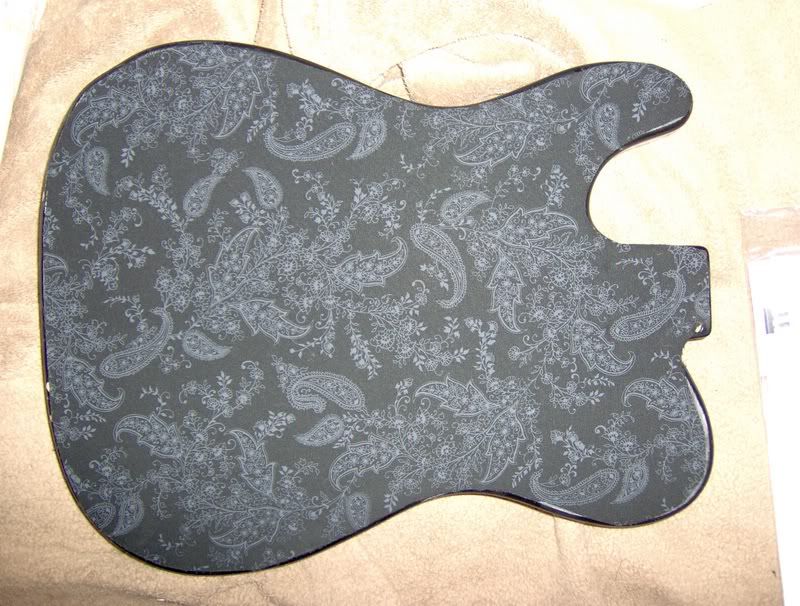
Here's the front of the guitar with the fabric applied
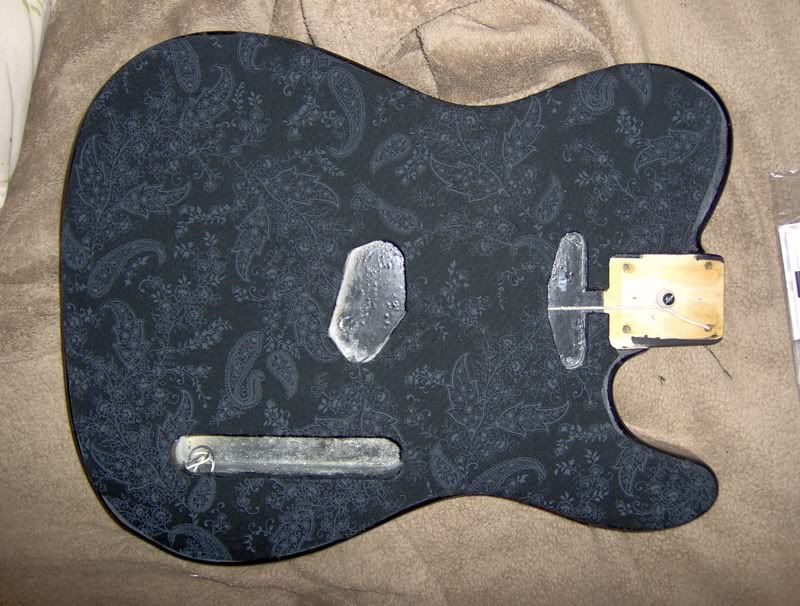
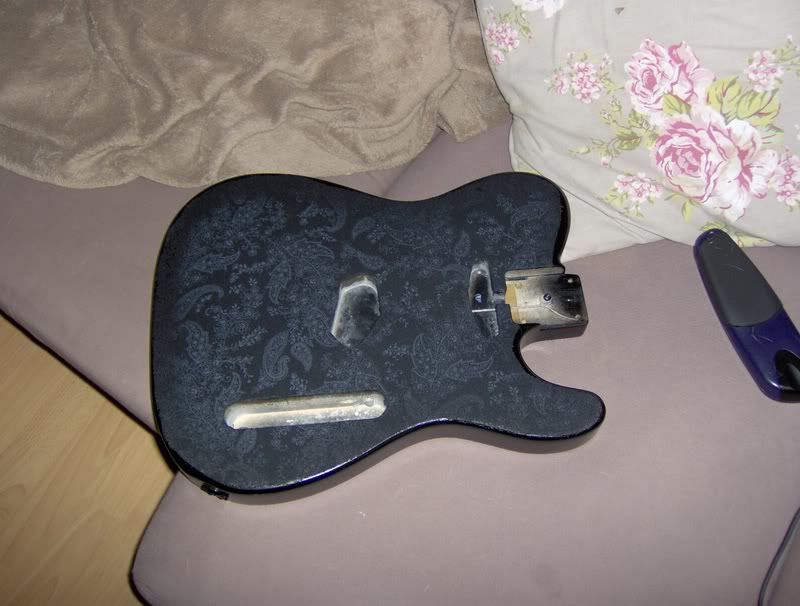
And the back

Black Paisley Tele
in In Progress and Finished Work
Posted
Well, it's taken ages!!!!! To cut a long story short, I screwed up big time and ended up having to strip of the fabric and get some new stuff. Unfortunately the original fabric was no longer available so I had to get a slightly different paisley.
After hours of laquer coats and polishing, it's finally finished. It isn't perfect by a long way but given my complete lack of skills in this area, i'm well pleased. I'm going to replace some of the hardware but for the time being I just want to enjoy it. I thought about sticking on a new neck but the one it is absolutely perfect if a bit worn.
WIth the new fabric applied
WIth the Sunburst done (using the Poor man's burst from this site)
My baby finished!!!