


gpcustomguitars
-
Posts
757 -
Joined
-
Last visited
-
Days Won
23
Content Type
Profiles
News and Information
Tutorials
Product Reviews
Supplier Listings
Articles
Guitar Of The Month
Links and Resources
Forums
Gallery
Downloads
Posts posted by gpcustomguitars
-
-
And yes, we have an clay pocket! I can solve this by changing the shape, leaving it as natural (which I did once before and worked great), or cutting out an plugging it with an piece of maple, but its his call...


While waiting on him to come to see it and decide on a shape, I toyed with some ideas for a pickguard, cause he kinda wants one, and he kinda doesn't at the same time, so i figured to do a big inlay in aluminum which would roughly take the space of the JazzBass pickguard, just suggesting the pickguard. Walnut branches and leaves, since it is wallnut body, and I thought an contrast between dark wallnut and silvery aluminum would be kinda LOTR


-
A friend a mine has a new gig, but needs a flashier guitar than his really beat up Squire Jazz, so he asked me to use the neck, most of the hardware from it and the Precision he has, and he liked a fretless I made out of this material, so...here goes. I need to do this reasonably quickly, because he needs it fast, and I have a new baby coming later this week.
We started out with Jazz Bass shape, to be altered to his wishes. Pups will be Precision split + Jazz bridge, with pan pot and no other controls, but extra space in the electronic cavity if he wants something more down the road. I will eventualy make the new neck for this, and one other bass, probably fretless.
The material is a walnut root, dug out and cut with an chainsaw some years back. Very light.
First, I cut out an generous Jazz outline using an jigsaw. Since this is figured, I want to have as little surface to level as possible.

Then, after little rough handplaning it goes on the overhead router.

The blank is still too thick, ~51mm, but I cleaned the back to draw out the shape again. Since this was under ground, I have to expect surprises, like pockets of clay or voids...

-
 1
1
-
-
Just a few pics of actual spraying. Since it's all rattlecans, the size of this guitar was a problem, so I was kinda shooting away and catching the overspray by moving the guitar. Fiddly, and I would have liked to have some more control, but with some light sanding I got what I wanted, sort of...Any way, this was quick work, 17h orange, 17.30 cherry, 18h sanding. I'll do a coat of clear today or tommorow, and let it dry.

By gpguitars at 2011-12-15

By gpguitars at 2011-12-15

By gpguitars at 2011-12-15

By gpguitars at 2011-12-15

By gpguitars at 2011-12-15
-
And the burst done. Will have to do some touchup work tommorow, but nothing big.

By gpguitars at 2011-12-14
-

After realising I don't really like tobacco burst on a LP, I decided to do an cherry burst, so I bought 1 orange and 1 cherry rattlecan. Well see what will come out of that.
-
Thanks!
Yes, exactly 50% of full size LP. I use the 629mm, so this is 314.5mm.
-
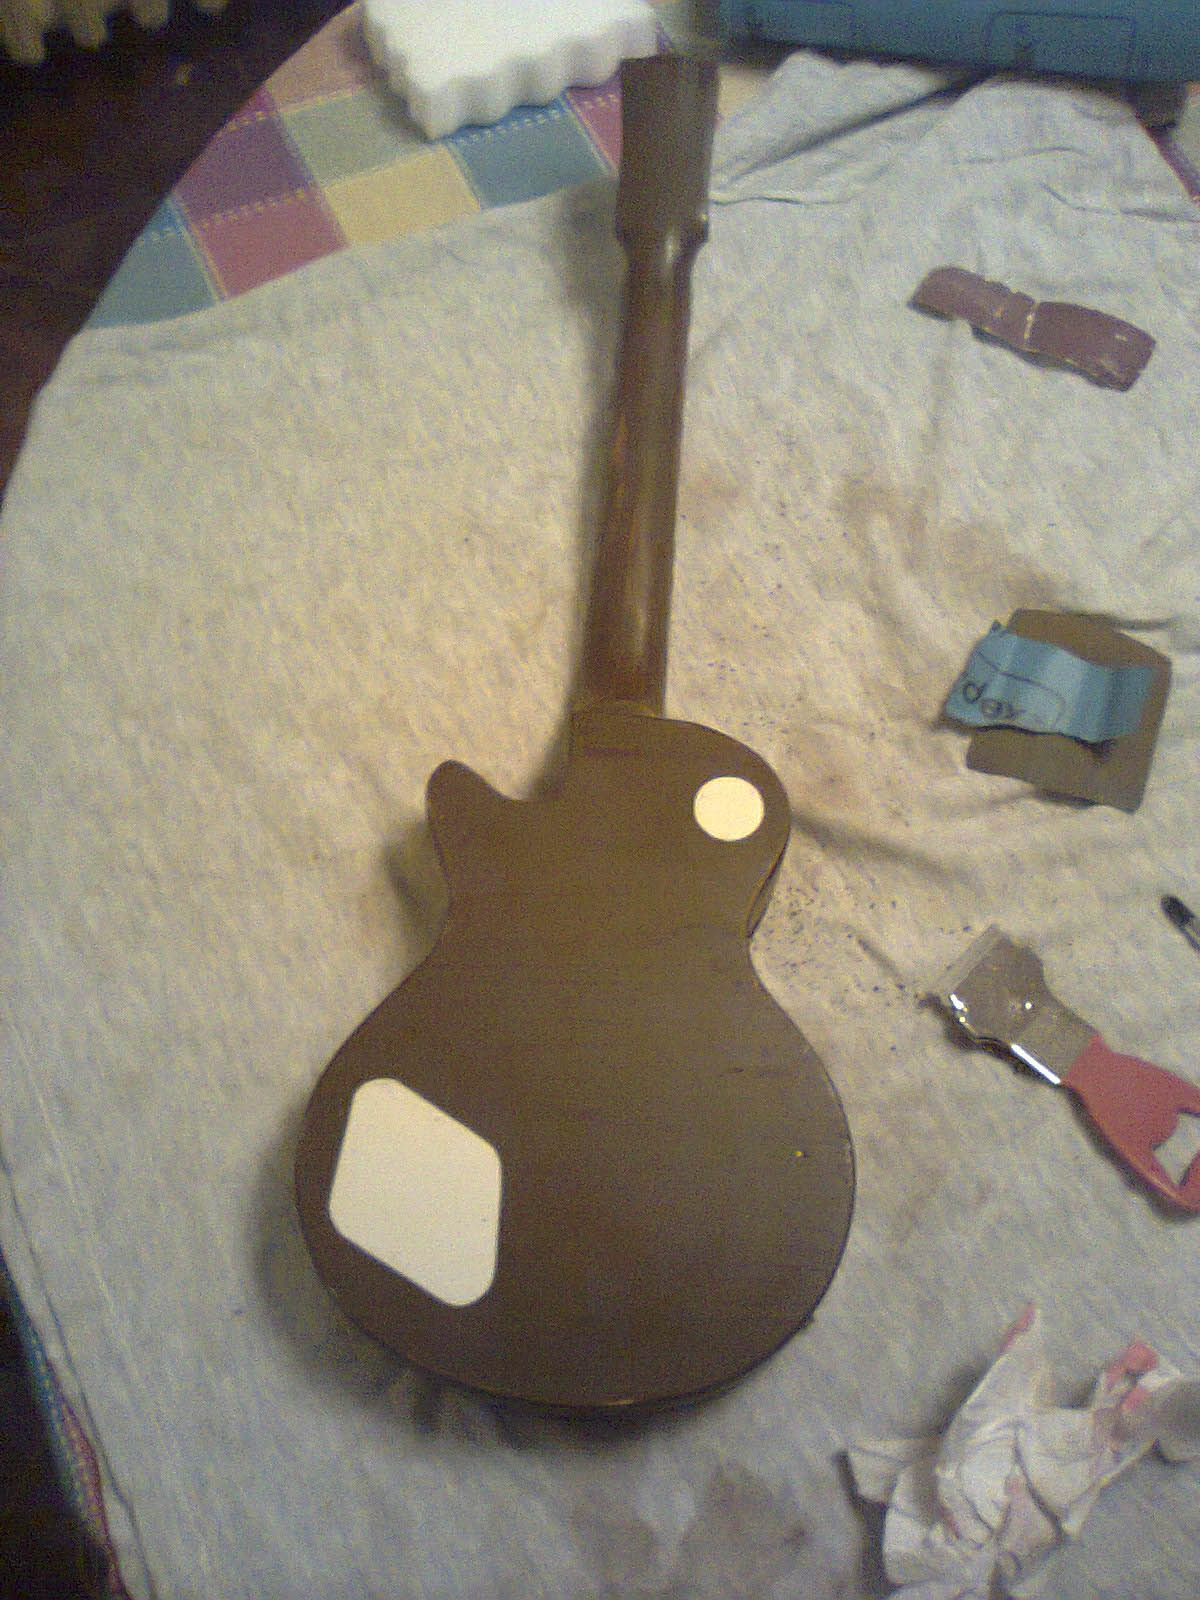
Stenciled my surname on the headstock. Kinda messy for now, but will be fine. Also, I put an clear coat on the top last night, so today I plan to sand it, and add the burst. First layer, orange, second - black. I will smoothen the transitions with some light sanding if needed. After that, 1 or 2 clear coats, and I go back to tuners and assembly.
http://www.samsvojmajstor.com/portal/sites/default/files/fotografija0209.jpg
-
Catching up, less and less time left!
2 coats of brown are on, covers in place.
http://www.samsvojmajstor.com/portal/sites/default/files/fotografija0184.jpg
http://www.samsvojmajstor.com/portal/sites/default/files/fotografija0185_0.jpg
http://www.samsvojmajstor.com/portal/sites/default/files/fotografija0186_0.jpg
http://www.samsvojmajstor.com/portal/sites/default/files/fotografija0187_0.jpg
Masking for the headstock coats (black).
http://www.samsvojmajstor.com/portal/sites/default/files/fotografija0191.jpg
http://www.samsvojmajstor.com/portal/sites/default/files/fotografija0192.jpg
http://www.samsvojmajstor.com/portal/sites/default/files/fotografija0193.jpg
http://www.samsvojmajstor.com/portal/sites/default/files/fotografija0194.jpg
Scraped a bit of paint on the headstock edge, for the faux headstock veneer effect.
http://www.samsvojmajstor.com/portal/sites/default/files/fotografija0195_0.jpg
http://www.samsvojmajstor.com/portal/sites/default/files/fotografija0196.jpg
Prepared a paper stencil for my logo to be handpainted on.
http://www.samsvojmajstor.com/portal/sites/default/files/fotografija0197_0.jpg
TR cover on.
http://www.samsvojmajstor.com/portal/sites/default/files/fotografija0198_0.jpg
http://www.samsvojmajstor.com/portal/sites/default/files/fotografija0199.jpg
Test fitting.
http://www.samsvojmajstor.com/portal/sites/default/files/fotografija0201.jpg
http://www.samsvojmajstor.com/portal/sites/default/files/fotografija0202.jpg
Covers on with little nails posing as screws.
http://www.samsvojmajstor.com/portal/sites/default/files/fotografija0203.jpg
http://www.samsvojmajstor.com/portal/sites/default/files/fotografija0204_2.jpg
http://www.samsvojmajstor.com/portal/sites/default/files/fotografija0205.jpg
http://www.samsvojmajstor.com/portal/sites/default/files/fotografija0206_0.jpg
Yellow base coat for the burst on.
http://www.samsvojmajstor.com/portal/sites/default/files/fotografija0207.jpg
Have to decide what type of burst to do, don't want to buy a few more rattlecans for the small amount of work needed. I have yellow, brown, black. We'll see...
-
Sanded out nicely, with an even dull sheen, so I decided to go on with first color coat.
First, I taped off the usual areas.
http://www.samsvojmajstor.com/portal/sites/default/files/fotografija0180.jpg
http://www.samsvojmajstor.com/portal/sites/default/files/fotografija0181.jpg
And one coat of rosewood brown or something later...
http://www.samsvojmajstor.com/portal/sites/default/files/fotografija0182.jpg
http://www.samsvojmajstor.com/portal/sites/default/files/fotografija0183.jpg
I used acrylic paints, because I found one clear, one black and one brown spray in the shop, so, I just need to buy one yellow. I want the yellow coat transparent, so I'll experiment with shooting from afar and sanding back as needed. Other option is to brush on some dyed thinner on the top and put one clear coat on that. Any thoughts?
-
After some late night sanding and scraping, 2 sealer coats are on. Will sand it tonight, and maybe repeat, maybe go straight to color coats. We'll see. When that's done I'll add the plastic parts that are ready, and then start finishing the other parts.
-
will try that!
Cought a cold, so I'm just sanding the guitar after the filler, and I managed to finish the TR cover. Added the second layer of black plastic from coffee lid with superglue and scraped it to an angle to show the white stripe better. Holes are the same, but probably because of the light or something, one looks a lot bigger. Drilled them using an office pin. Next, I need to shape the tuner bodies and keys, drill & tap them.
http://www.samsvojmajstor.com/portal/sites/default/files/fotografija0176.jpg
http://www.samsvojmajstor.com/portal/sites/default/files/fotografija0177.jpg
http://www.samsvojmajstor.com/portal/sites/default/files/fotografija0178.jpg
-

Thanks guys!
He'll outgrow it in a few months, but that's actually great
, we'll just make a bigger one if he shows some real interest in it. With real pickups even BTW, it's about as big as my mandolin.Prostheta, I'm too shy about my builds as it is, so I would need some serious drinking to enter GOTM
I'll try to turn a burr on a blade tonight, never thought of it, I usually just scrape with...yes, exacto knife replacement blades. They could give me an endorsement or something...
-
Thanks Prostheta! I'm having lots of fun doing it!
BTW, how to glue in a neck in on a toy guitar? With a toy clamp
It worked great, because it fit very snugly already.http://www.samsvojmajstor.com/portal/sites/default/files/fotografija0172_0.jpg
http://www.samsvojmajstor.com/portal/sites/default/files/fotografija0173.jpg
http://www.samsvojmajstor.com/portal/sites/default/files/fotografija0175a_0.jpg
I'm planning to sand it down, fill any cracks or voids, and seal it with one or two coats of nitro, then attach the covers, and start the color coats. The biggest problem so far is that the pine is much softer between the rings so it sorta scalops when sanded. Not a big issue when you sand a larger piece, but on this small stuff it slows everything down.
-
Some more pics!
Glued the nut and the fingerboard binding with superglue.
http://www.samsvojmajstor.com/portal/sites/default/files/fotografija0148.jpg
http://www.samsvojmajstor.com/portal/sites/default/files/fotografija0149_0.jpg
Roughing out the binding with exacto knife.
http://www.samsvojmajstor.com/portal/sites/default/files/fotografija0150.jpg
http://www.samsvojmajstor.com/portal/sites/default/files/fotografija0151.jpg
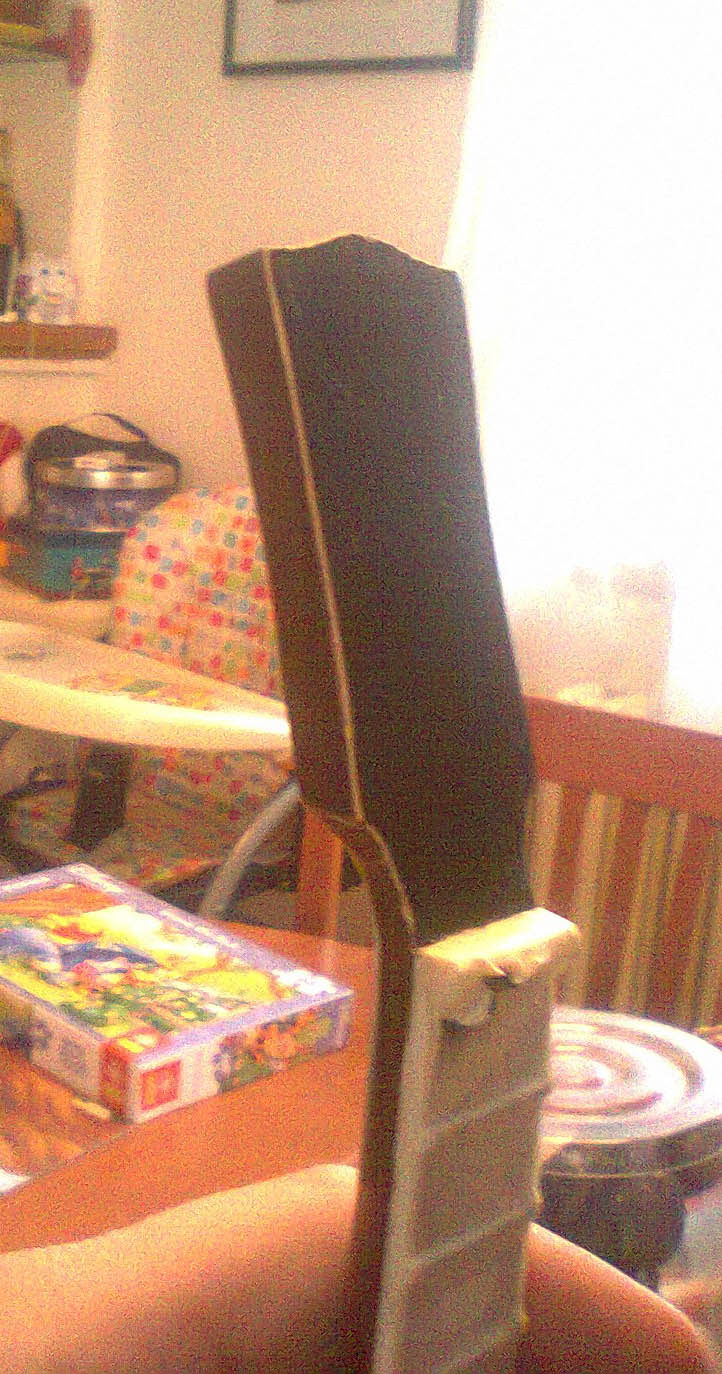
Tapered the neck using a coarse rasp and sandpaper.
http://www.samsvojmajstor.com/portal/sites/default/files/fotografija0159.jpg
Shaped the neck using exacto knife and sandpaper.
http://www.samsvojmajstor.com/portal/sites/default/files/fotografija0160.jpg
http://www.samsvojmajstor.com/portal/sites/default/files/fotografija0161_1.jpg
Starting the tennon with...yes...exacto knife, then fitting the neck.
http://www.samsvojmajstor.com/portal/sites/default/files/fotografija0162_0.jpg
http://www.samsvojmajstor.com/portal/sites/default/files/fotografija0163.jpg
http://www.samsvojmajstor.com/portal/sites/default/files/fotografija0164.jpg
http://www.samsvojmajstor.com/portal/sites/default/files/fotografija0171.jpg
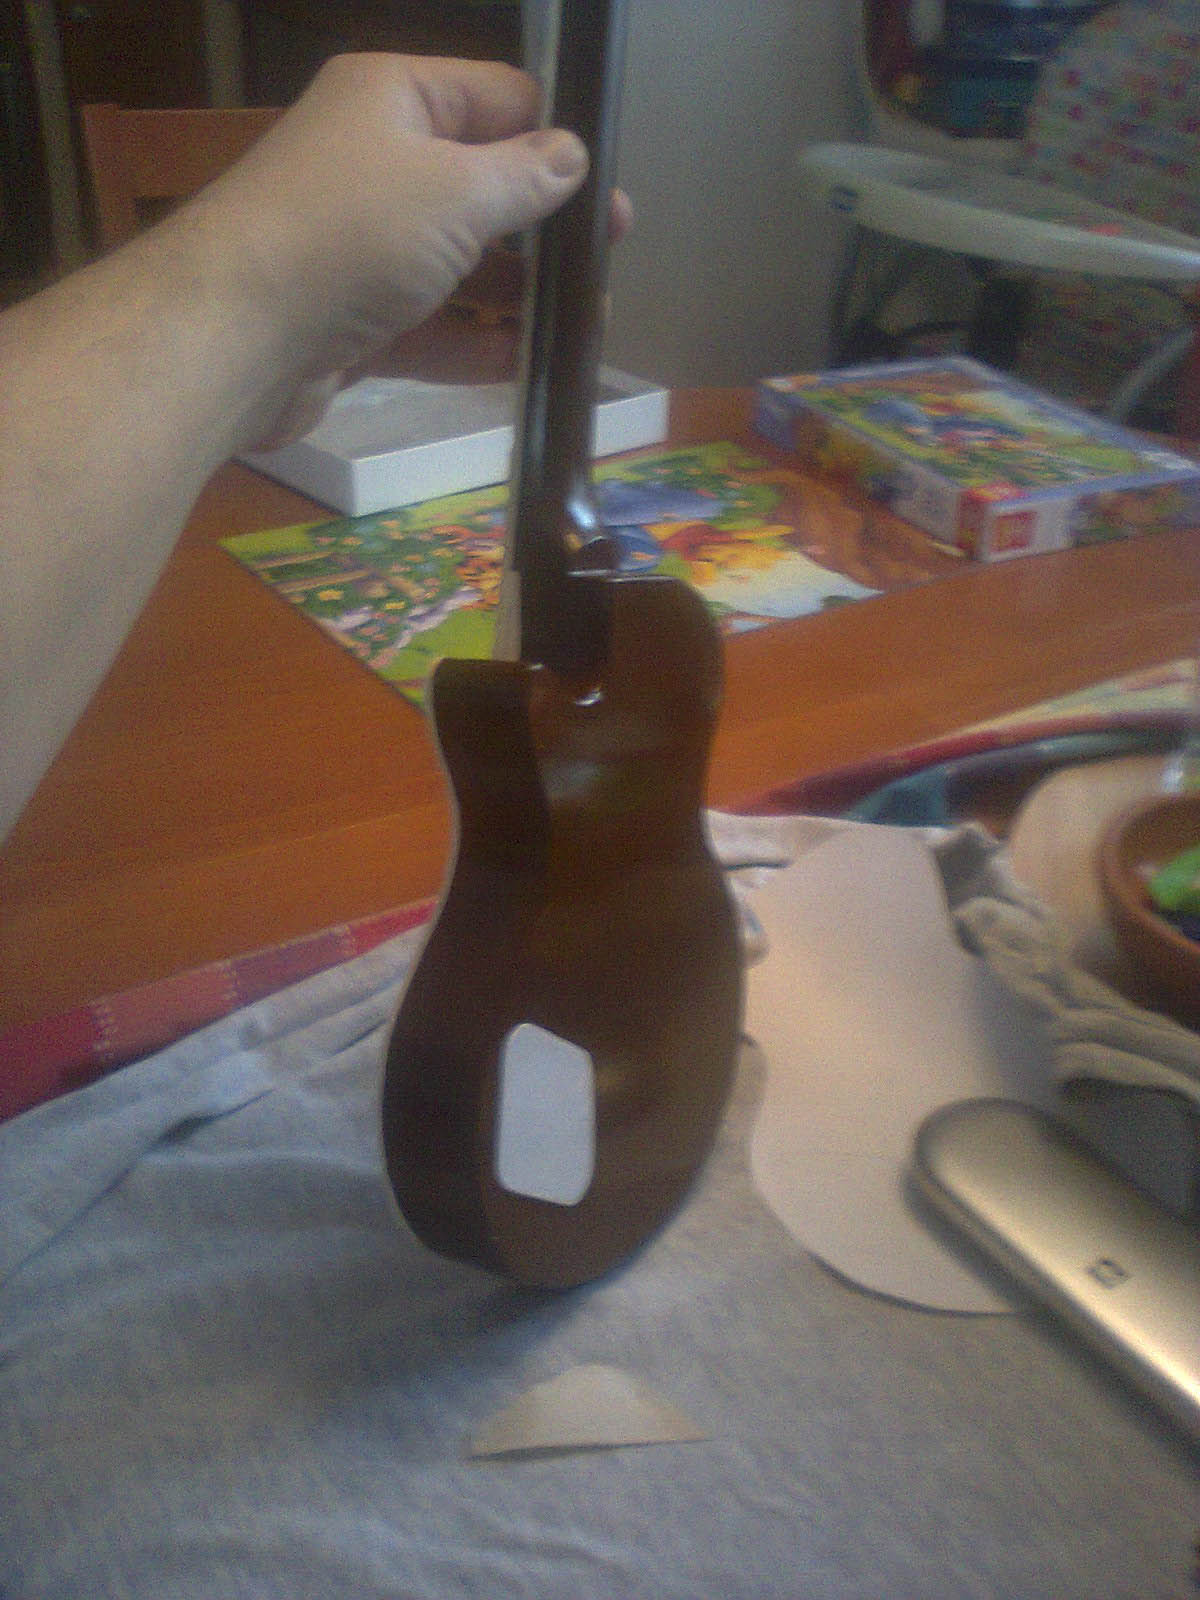
Still not done with fitting the neck, fill finish it today, and glue it in. Then I get back to tiny plastic bits.
-
Frets are in, filed for binding.
http://www.samsvojmajstor.com/portal/sites/default/files/fotografija0144.jpg
Nut in place.
http://www.samsvojmajstor.com/portal/sites/default/files/fotografija0145.jpg
Will have to cut new binding strips, these are not tall enough.
http://www.samsvojmajstor.com/portal/sites/default/files/fotografija0146.jpg
First layer of TR cover. Nescaffe plastic lid (black) looks suspiciously similar to the second layer I need.
http://www.samsvojmajstor.com/portal/sites/default/files/fotografija0147.jpg
Next, neck binding, the neck pocket and shape and fit the neck.
-
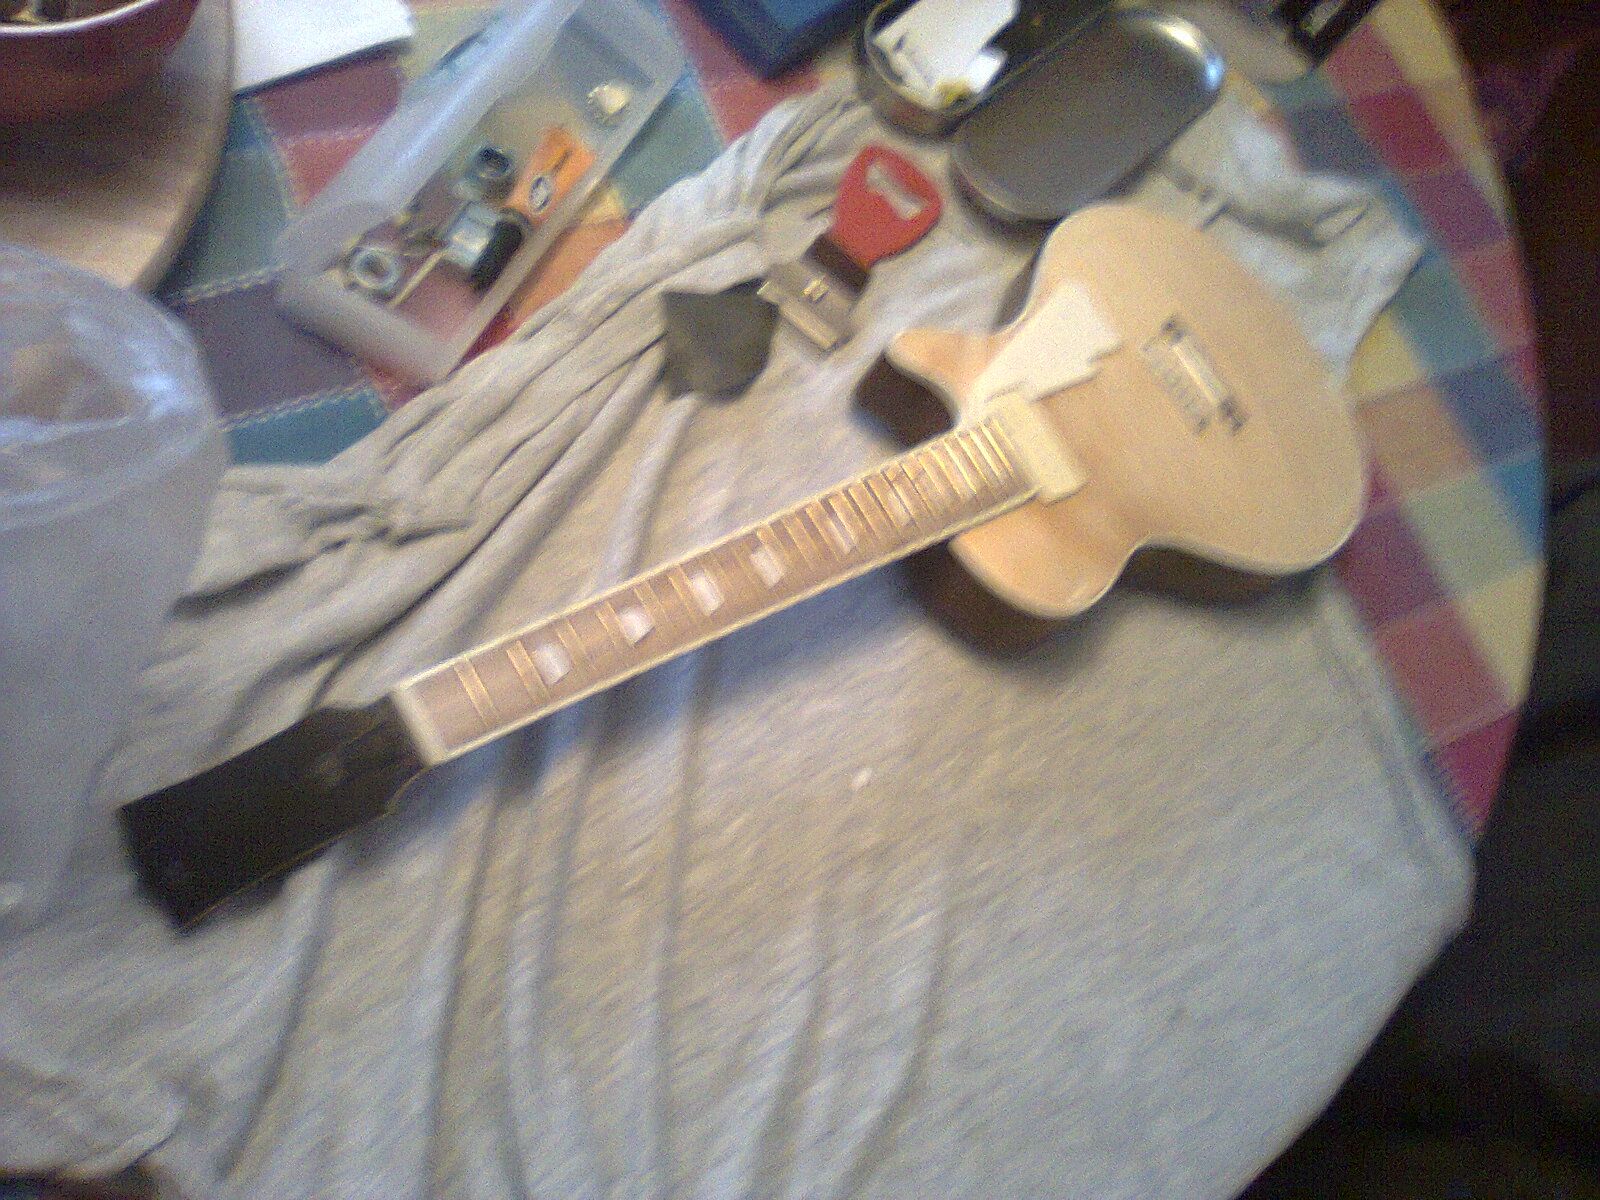
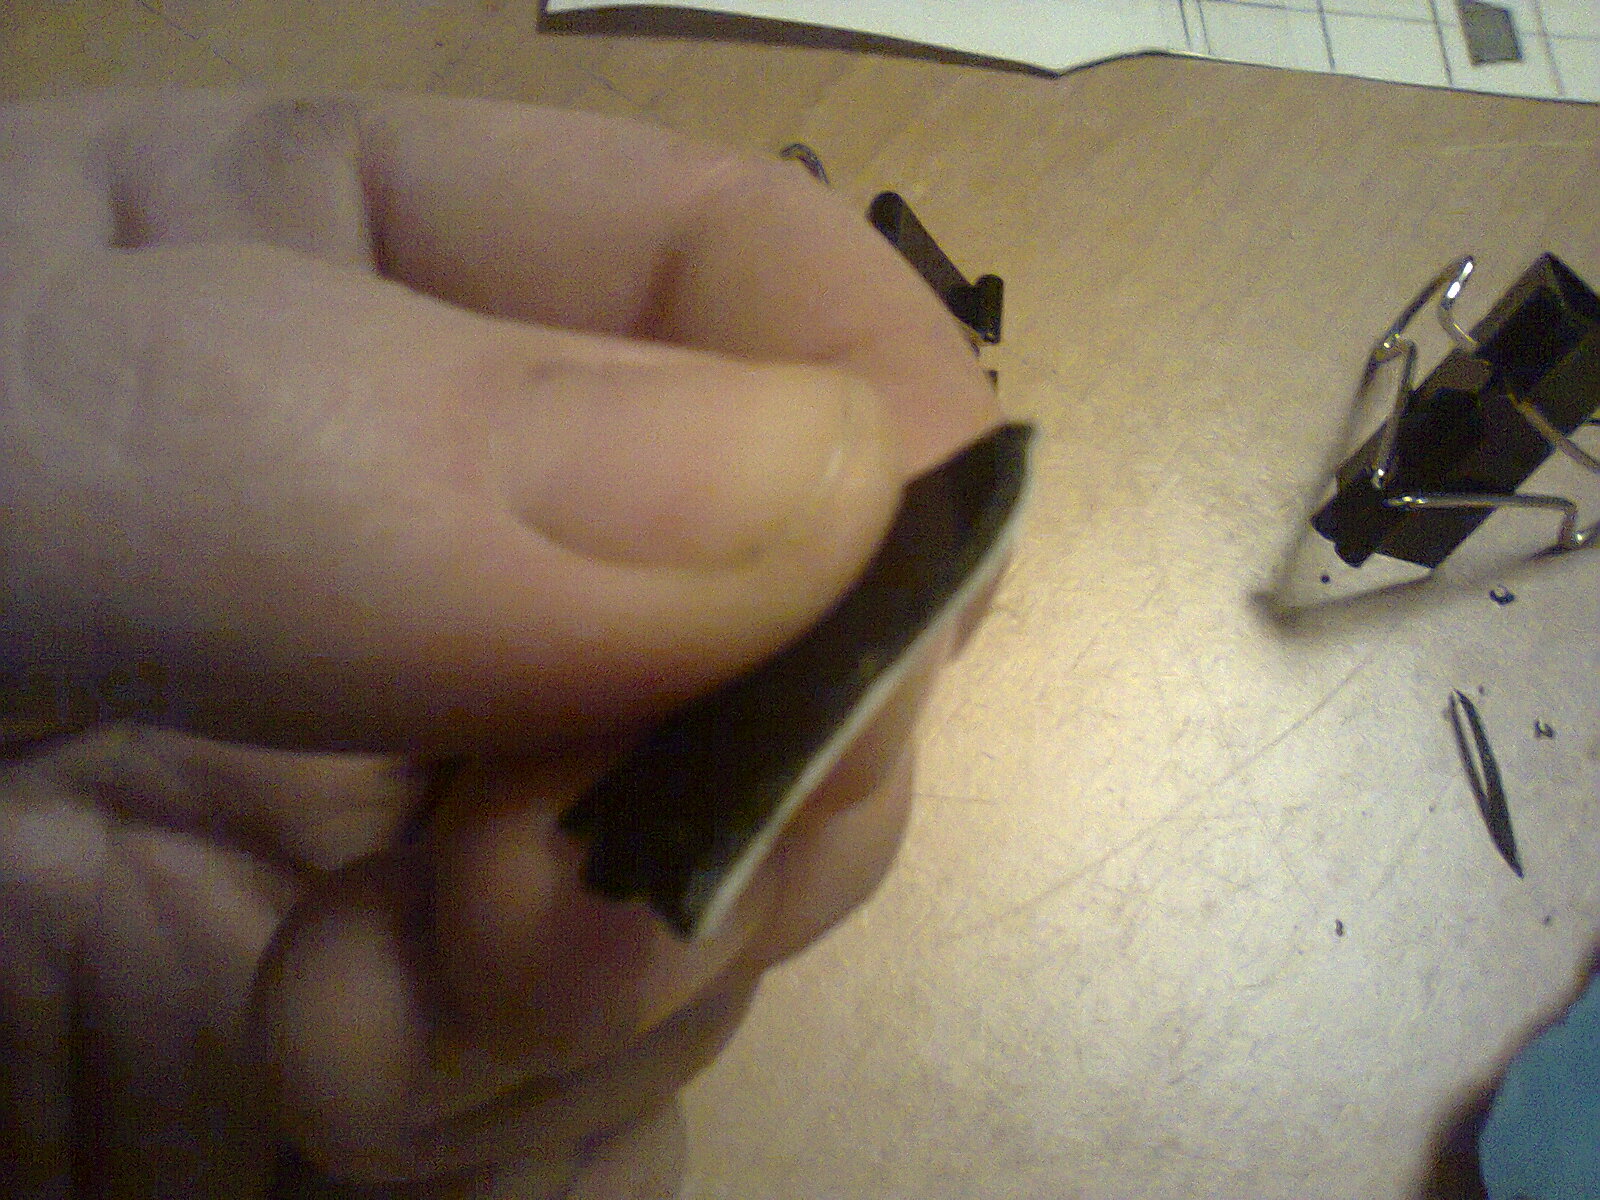
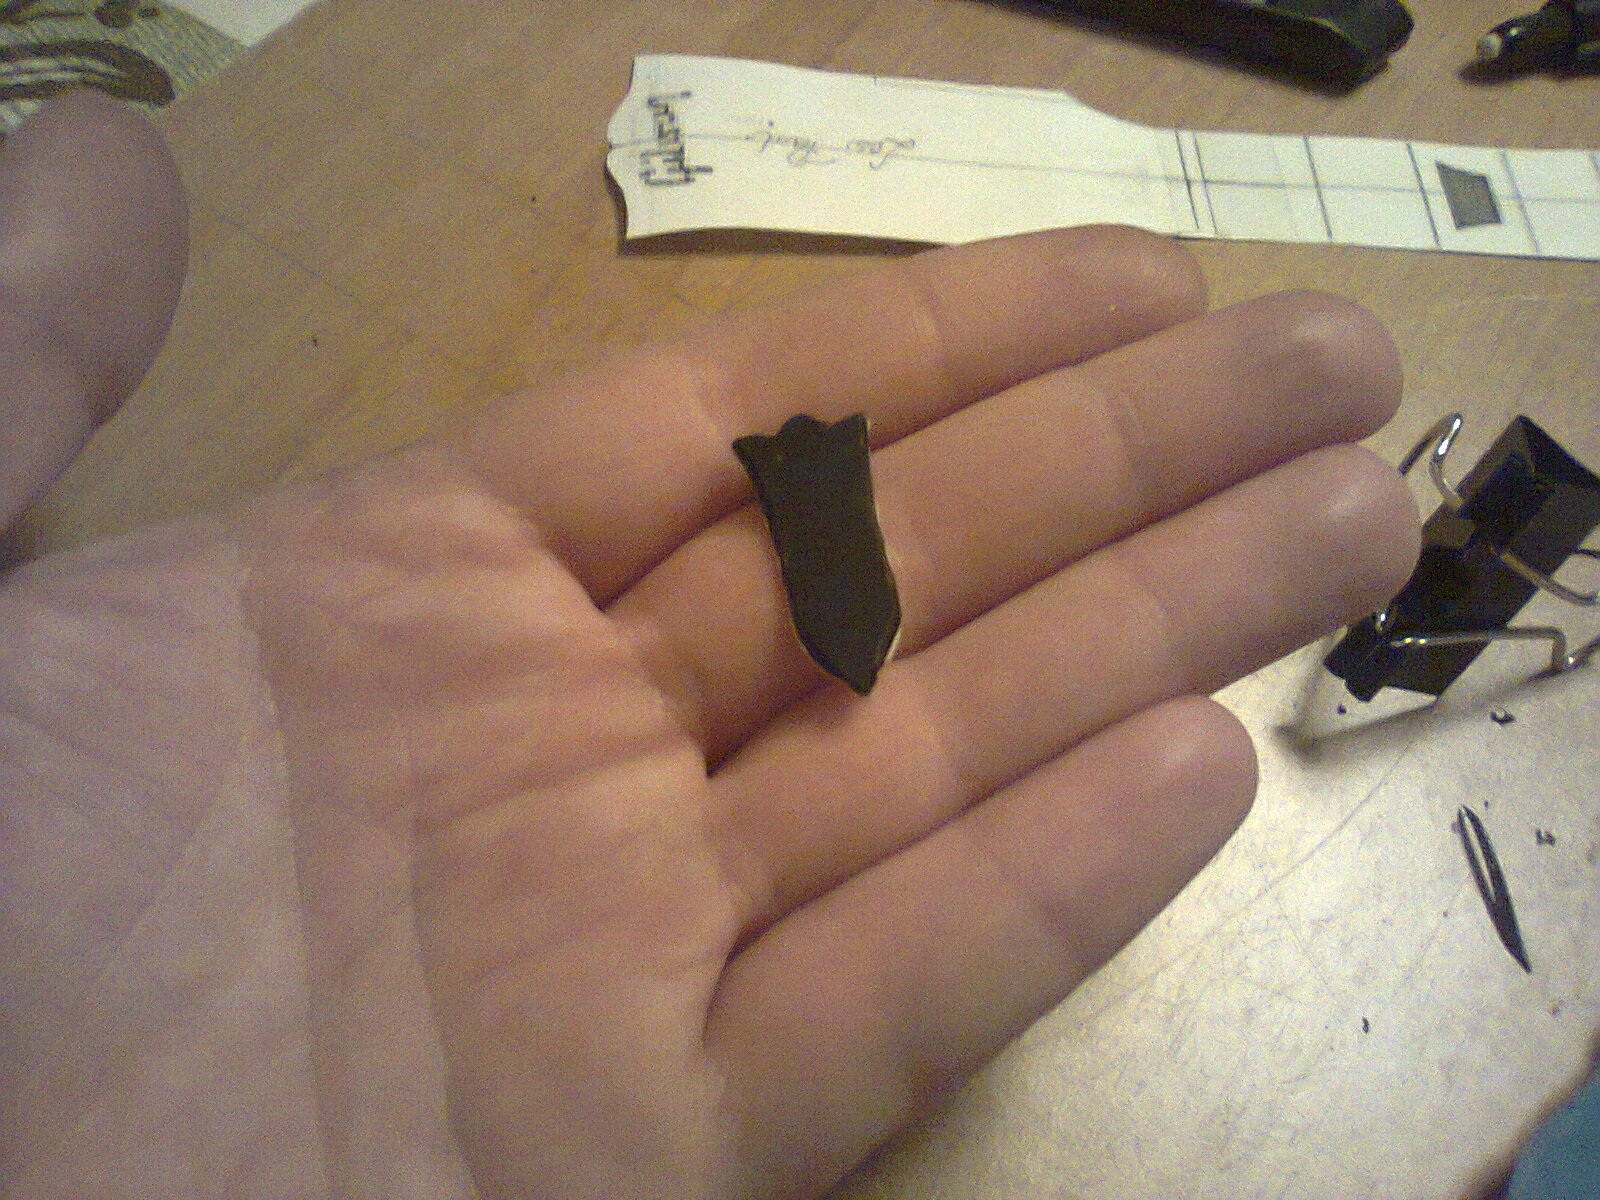
And the inlays done! This was the biggest problem timewise, because it's cold and I couldn't do it in the shop for another few days, and when at home, I can only work real late when everybody is sleeping, so noise is out of the question...
So, this is my kitchen table setup. Dremel was too noisy, so i cut out the inlay cavities by hand, using exacto knives. This little vise works great for this type of work.
http://www.samsvojmajstor.com/portal/sites/default/files/fotografija0138_0.jpg
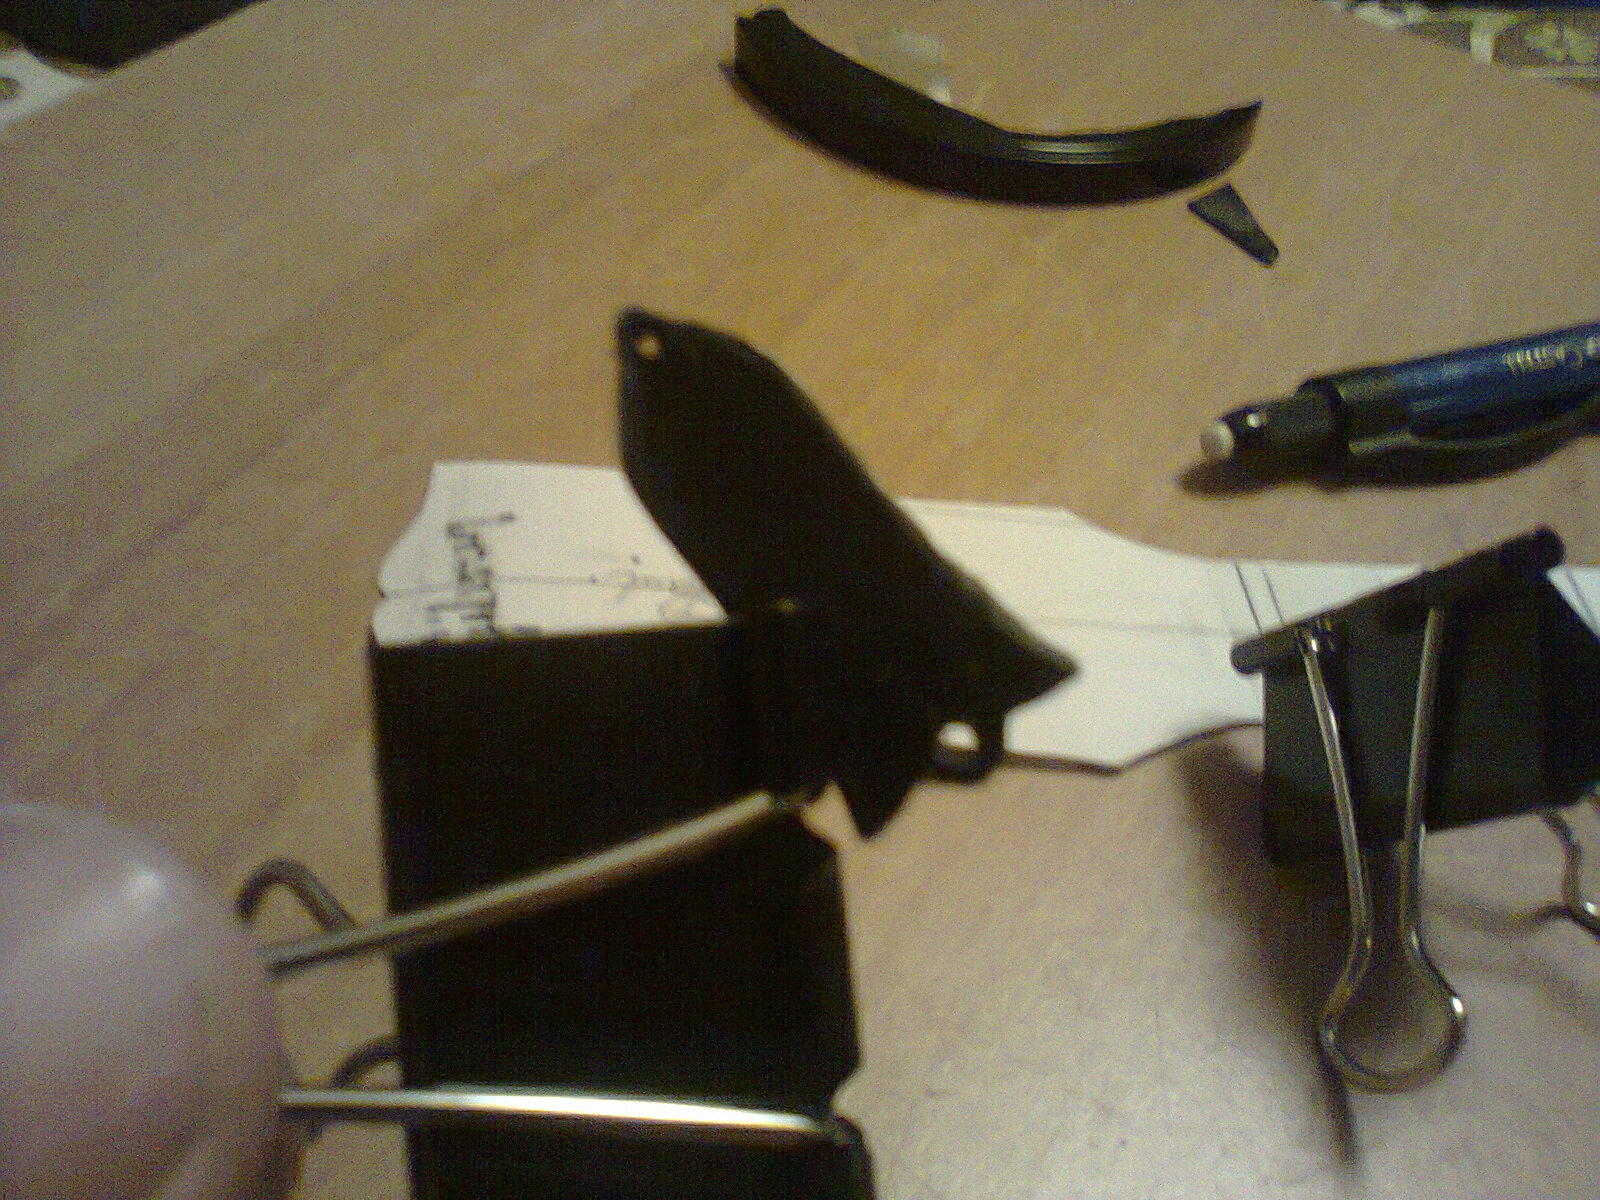
The clamps
http://www.samsvojmajstor.com/portal/sites/default/files/fotografija0139.jpg
And done!
http://www.samsvojmajstor.com/portal/sites/default/files/fotografija0140_0.jpg
http://www.samsvojmajstor.com/portal/sites/default/files/fotografija0141_0.jpg
http://www.samsvojmajstor.com/portal/sites/default/files/fotografija0142_0.jpg
Prior to this I profiled the neck with rasp and sanding drum.
http://www.samsvojmajstor.com/portal/sites/default/files/fotografija0143.jpg
No coffee was harmed while making these pictures.
-
Thanks guys!
I hope to do the inlays today, too cold in the shop until I finish everything, and I didn't get the right moment to mess up the dinning table
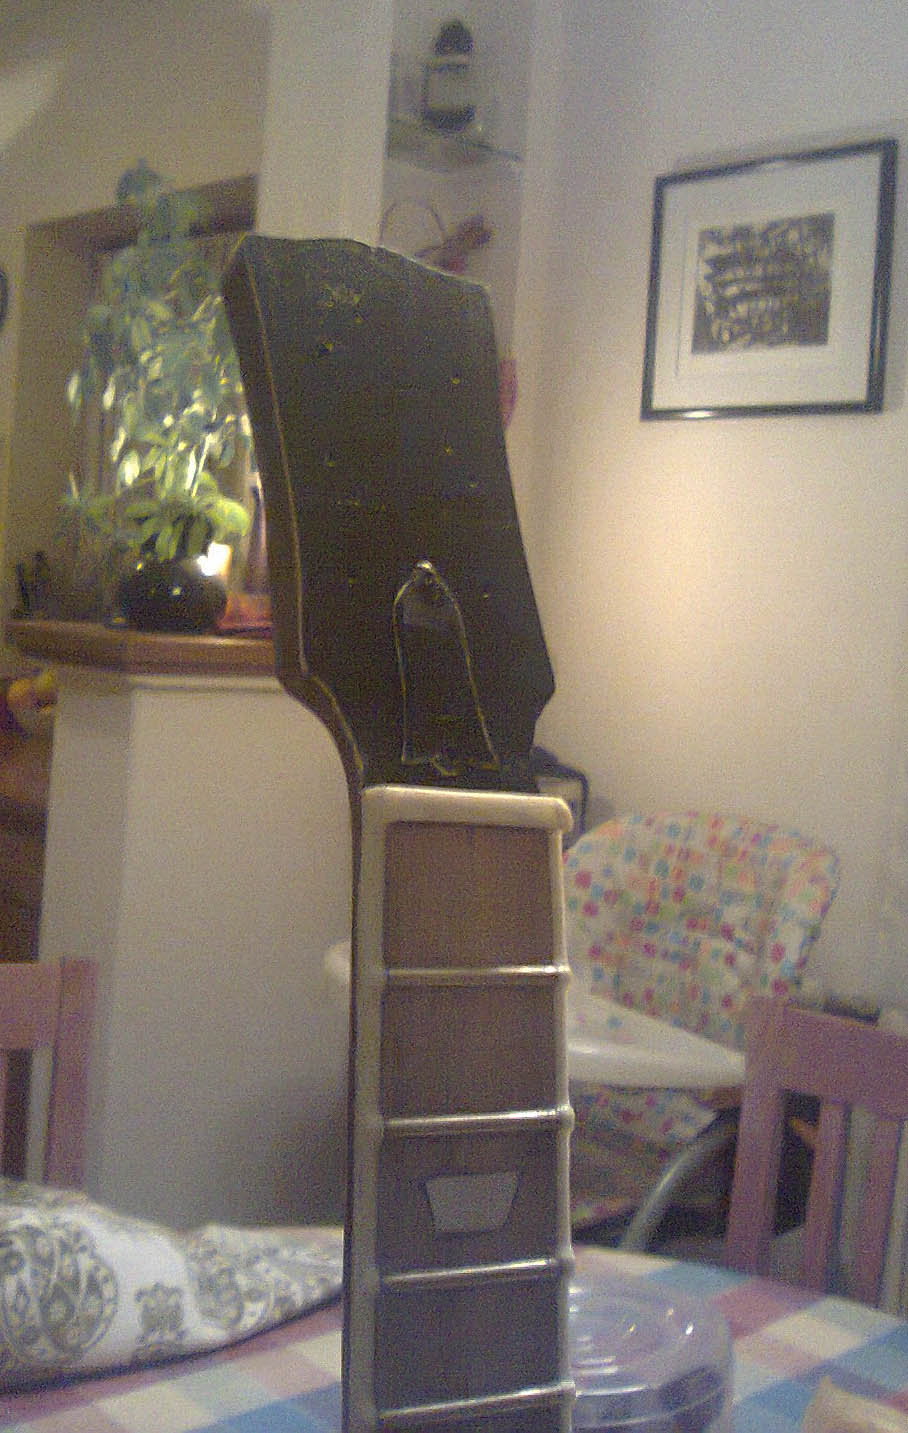
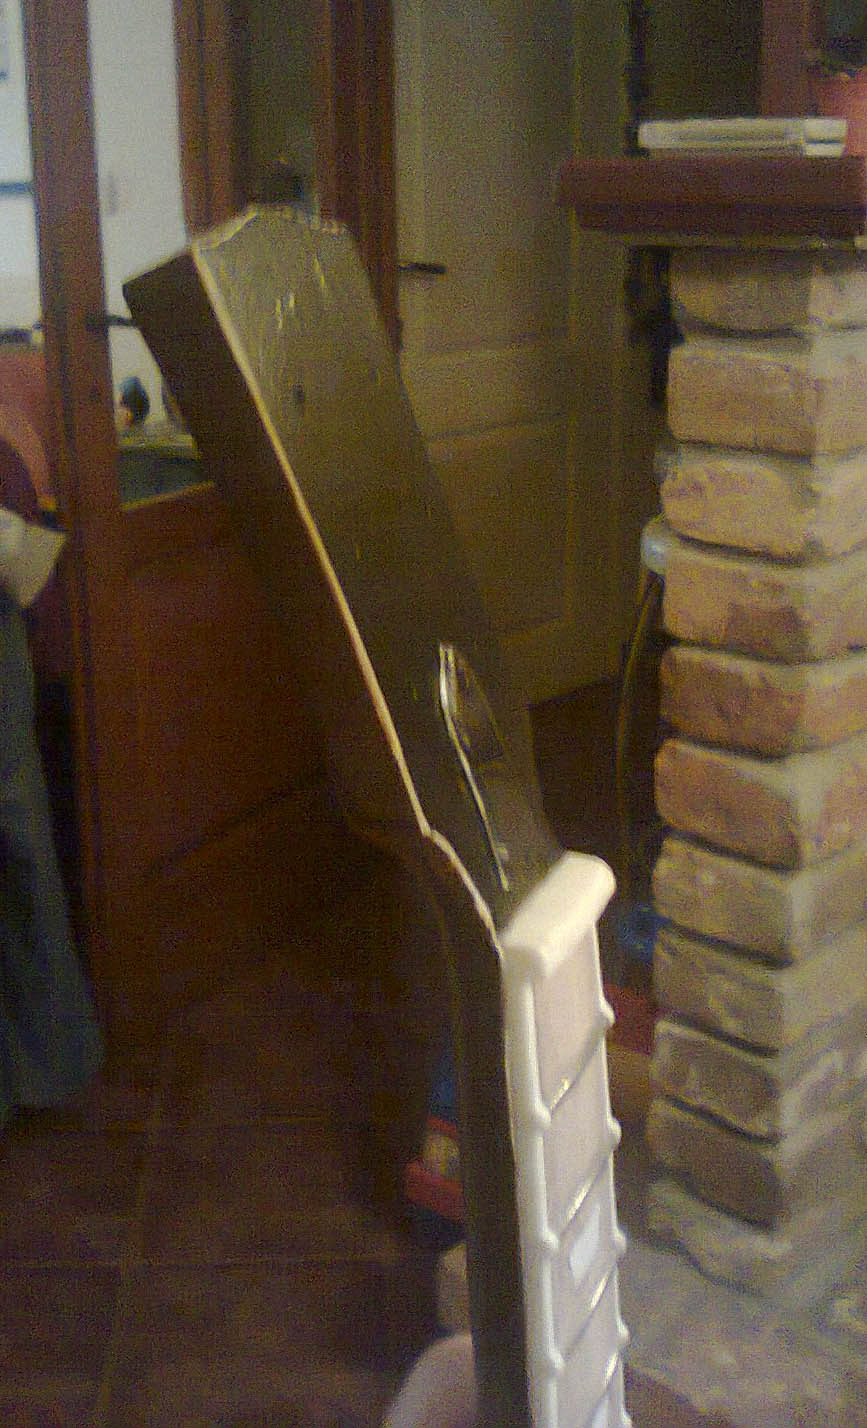
It's real cold here, will have to think up some way to warm the shop up fast, my wood stove is a bit slow for the small amounts of shop time I can squeeze in. I have an pile of unfinished projects to prove it http://www.samsvojmajstor.com/portal/sites/default/files/fotografija0136.jpg
http://www.samsvojmajstor.com/portal/sites/default/files/fotografija0137.jpg
Regarding the tuners I'm planning them in 2 similar ways, will see which one wins.
-
Some more work done over the weekend, not much, but I still got enough time I think.
First, roughly cut pieces were shaped by file and sandpaper.
http://www.samsvojmajstor.com/portal/sites/default/files/fotografija0126.jpg
Then, I decided to thread the abr posts. Still have to file the tops, I just cut off the extra length.
http://www.samsvojmajstor.com/portal/sites/default/files/fotografija0127.jpg
Tuner pieces roughly cut. The stainless nails will serve as axles for the keystones to turn (without doing anything).
http://www.samsvojmajstor.com/portal/sites/default/files/fotografija0128.jpg
Added the saddles made of abs scraps.
http://www.samsvojmajstor.com/portal/sites/default/files/fotografija0129.jpg
And the pile of parts.
http://www.samsvojmajstor.com/portal/sites/default/files/fotografija0130.jpg
http://www.samsvojmajstor.com/portal/sites/default/files/fotografija0131.jpg
-
Thanks!!!
Shaped ABR with a rasp some more, and turned two...thingies I had in the parts bin in the drill press so they fit the bridge. They need some shortening, and I'm thinking about threading the lower side to be hight adjustable. We'll see if it's worth it...
http://www.samsvojmajstor.com/portal/sites/default/files/dscn3007.jpg
BTW I COULDN'T make an better pic, tried about 10 times and this one is the best...should stick with my phone, it does better job.
-
Drilled and cut aluminum stock with dremel, will shape it later today.
http://www.samsvojmajstor.com/portal/sites/default/files/fotografija0124.jpg
First mockup. Parts are very rough, but shows some promise.
http://www.samsvojmajstor.com/portal/sites/default/files/fotografija0125.jpg
-
I can also fit the tuner bodies on the same piece.
http://www.samsvojmajstor.com/portal/sites/default/files/fotografija01191.jpg
Then, making the tuner key button blanks out of abs and cutting them out with exacto knife. Will shape them with sandpaper some more, and drill for the axis.
http://www.samsvojmajstor.com/portal/sites/default/files/fotografija0120.jpg
http://www.samsvojmajstor.com/portal/sites/default/files/fotografija0121.jpg
http://www.samsvojmajstor.com/portal/sites/default/files/fotografija0122.jpg
http://www.samsvojmajstor.com/portal/sites/default/files/fotografija0123.jpg
-
I decided to do the whole thing - ABR + ST. When drawn on stock, doesn't look like too much work. I'll make the saddles out of abs strips, superglue them to the ABR body, and spray it lightly. Hopefully, it'll work just fine.
http://www.samsvojmajstor.com/portal/sites/default/files/fotografija0117.jpg
-
I'll have to make one out of aluminum stock. Actually, I'm preparing to mark it out as I'm typing this. Still, I have an dilemma - to do a just a wraparound bridge (quicker and easier) or to make an ABR too? Won't be making fine tuning bits anyway, but something that looks reasonably close.
The tuning keys will also be improvised, I have a simple 2-washer idea for holding the strings in tune.
-
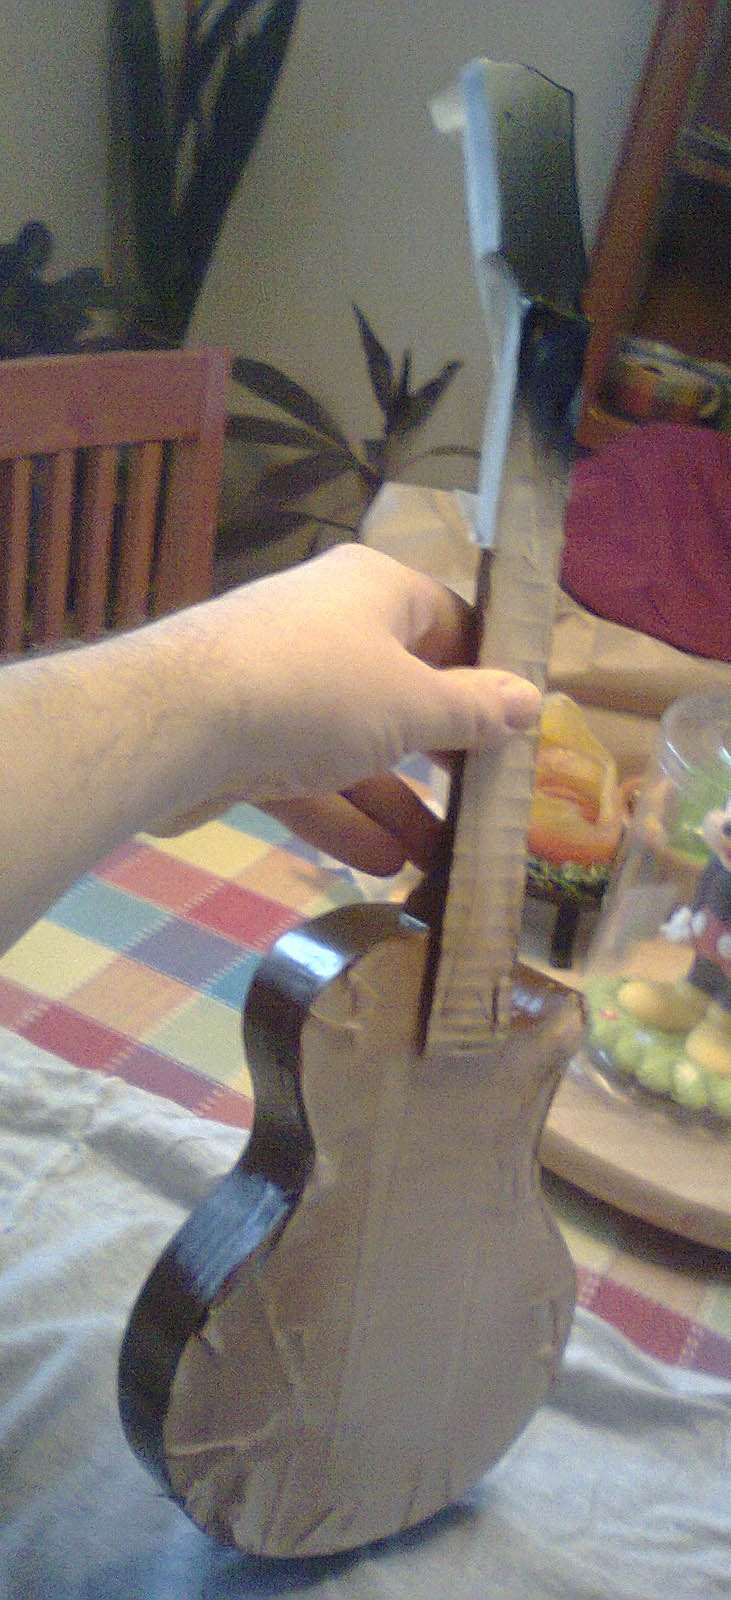
First, I drew up a cardboard template for the fret slots, inlay and all the plastic bits. The plastic stuff was made by taping the paper tape over some misc stuff I had around, and cut out with scissors.
http://www.samsvojmajstor.com/portal/sites/default/files/fotografija0105.jpg
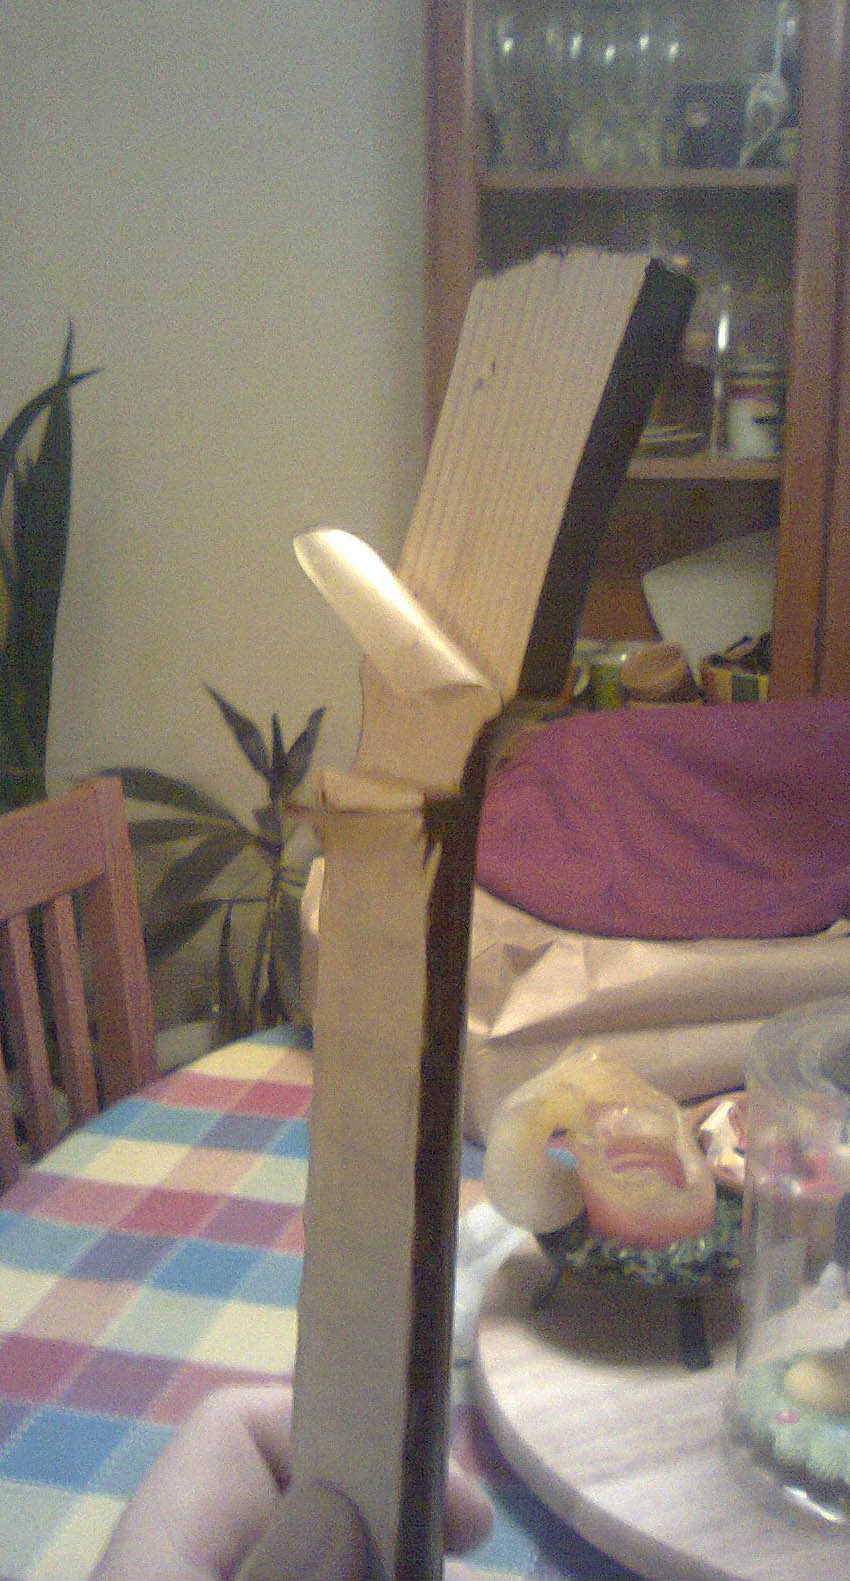
Then the headstock was shaped, it took about 2 mins - this small stuff gets done so fast...
http://www.samsvojmajstor.com/portal/sites/default/files/fotografija0106.jpg
Made some cuts to lead the saw, and cut out the binding for the fretboard.
http://www.samsvojmajstor.com/portal/sites/default/files/fotografija0107.jpg
http://www.samsvojmajstor.com/portal/sites/default/files/fotografija0108.jpg
http://www.samsvojmajstor.com/portal/sites/default/files/fotografija0109.jpg
Fret slots sawn.
http://www.samsvojmajstor.com/portal/sites/default/files/fotografija0110.jpg
Will glue the binding like this, just letting it straighten for now.
http://www.samsvojmajstor.com/portal/sites/default/files/fotografija0112.jpg
Bound the end of fboard, also, laminated the nut out of 2 pieces of binding.
http://www.samsvojmajstor.com/portal/sites/default/files/fotografija0113.jpg
Neck so far - ready for fine sanding to 12 in radius, inlay, fretting.
http://www.samsvojmajstor.com/portal/sites/default/files/fotografija0114.jpg
http://www.samsvojmajstor.com/portal/sites/default/files/fotografija0115.jpg
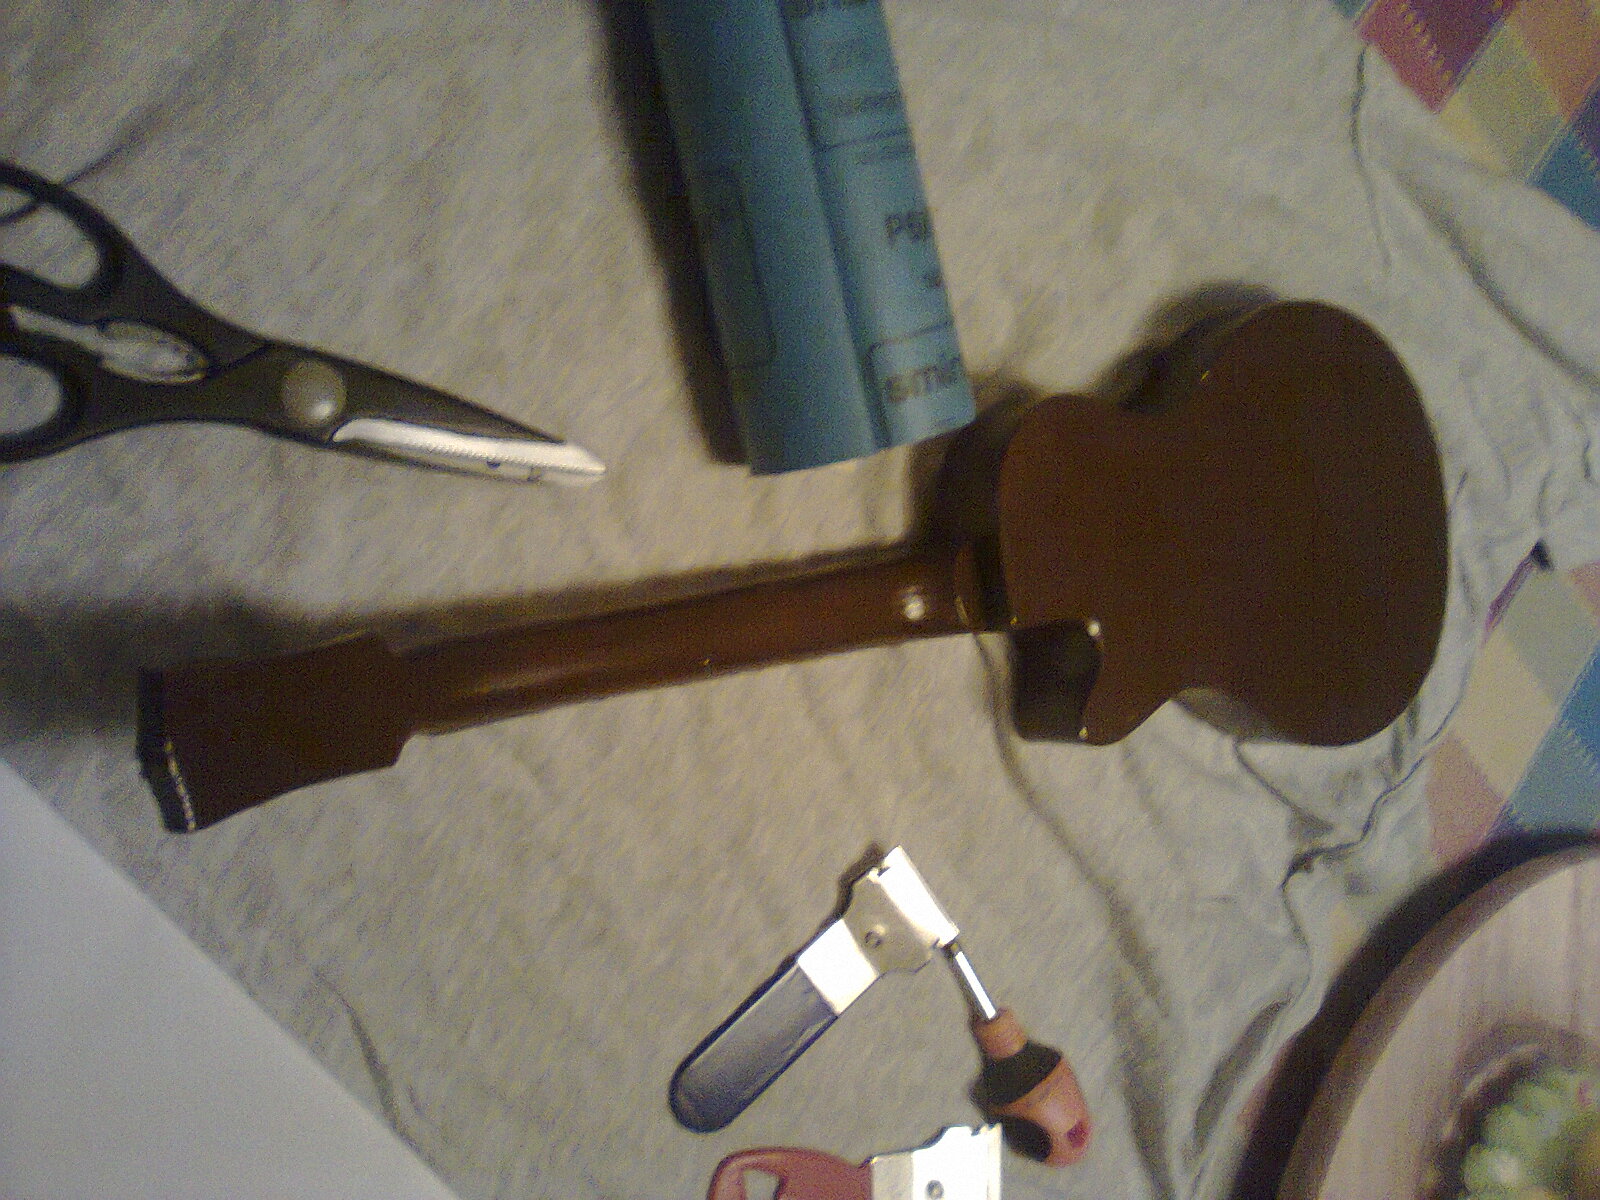
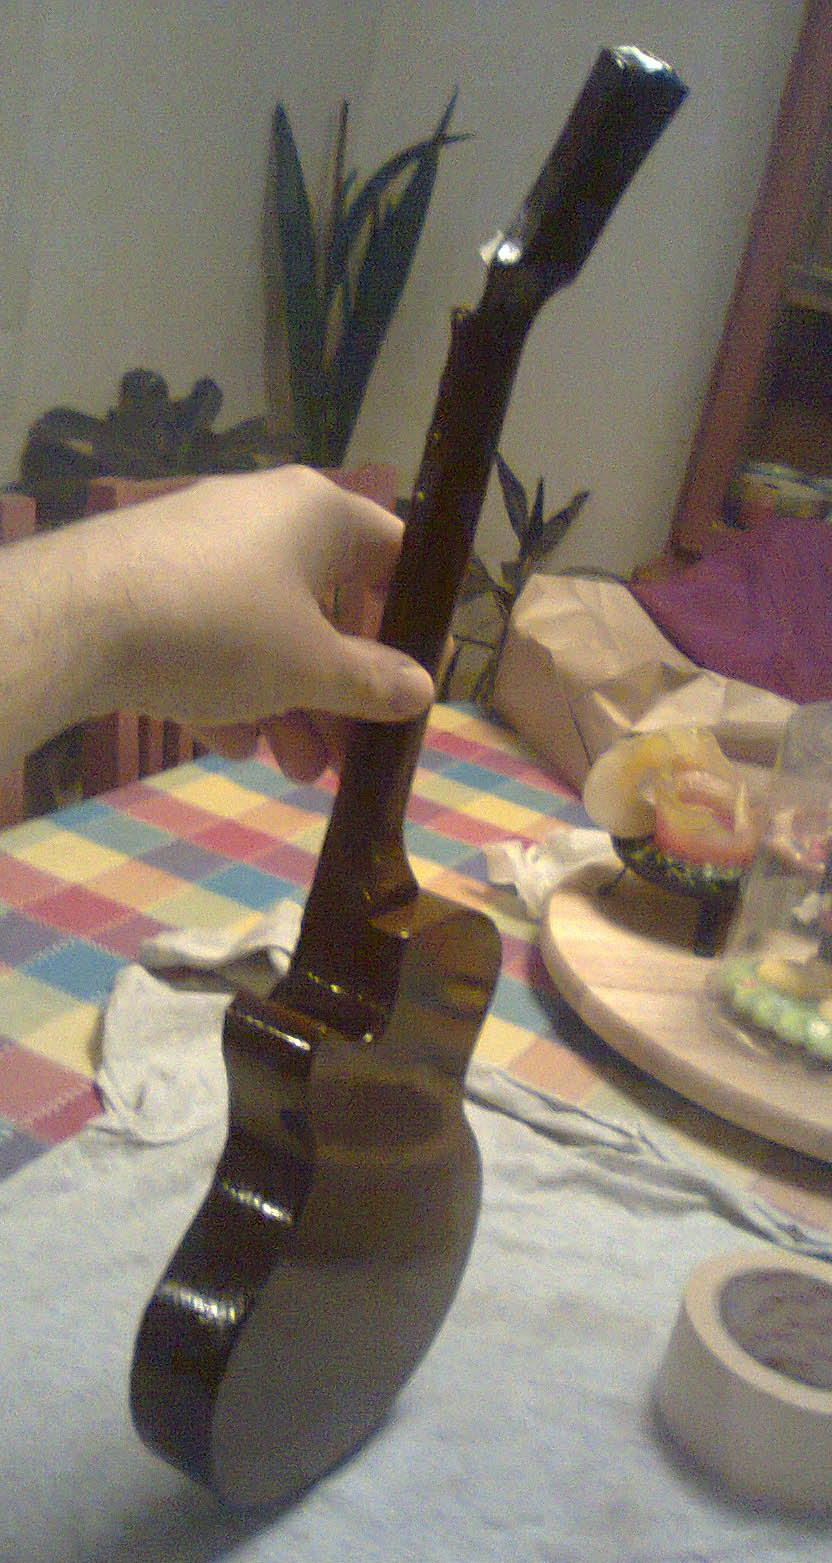
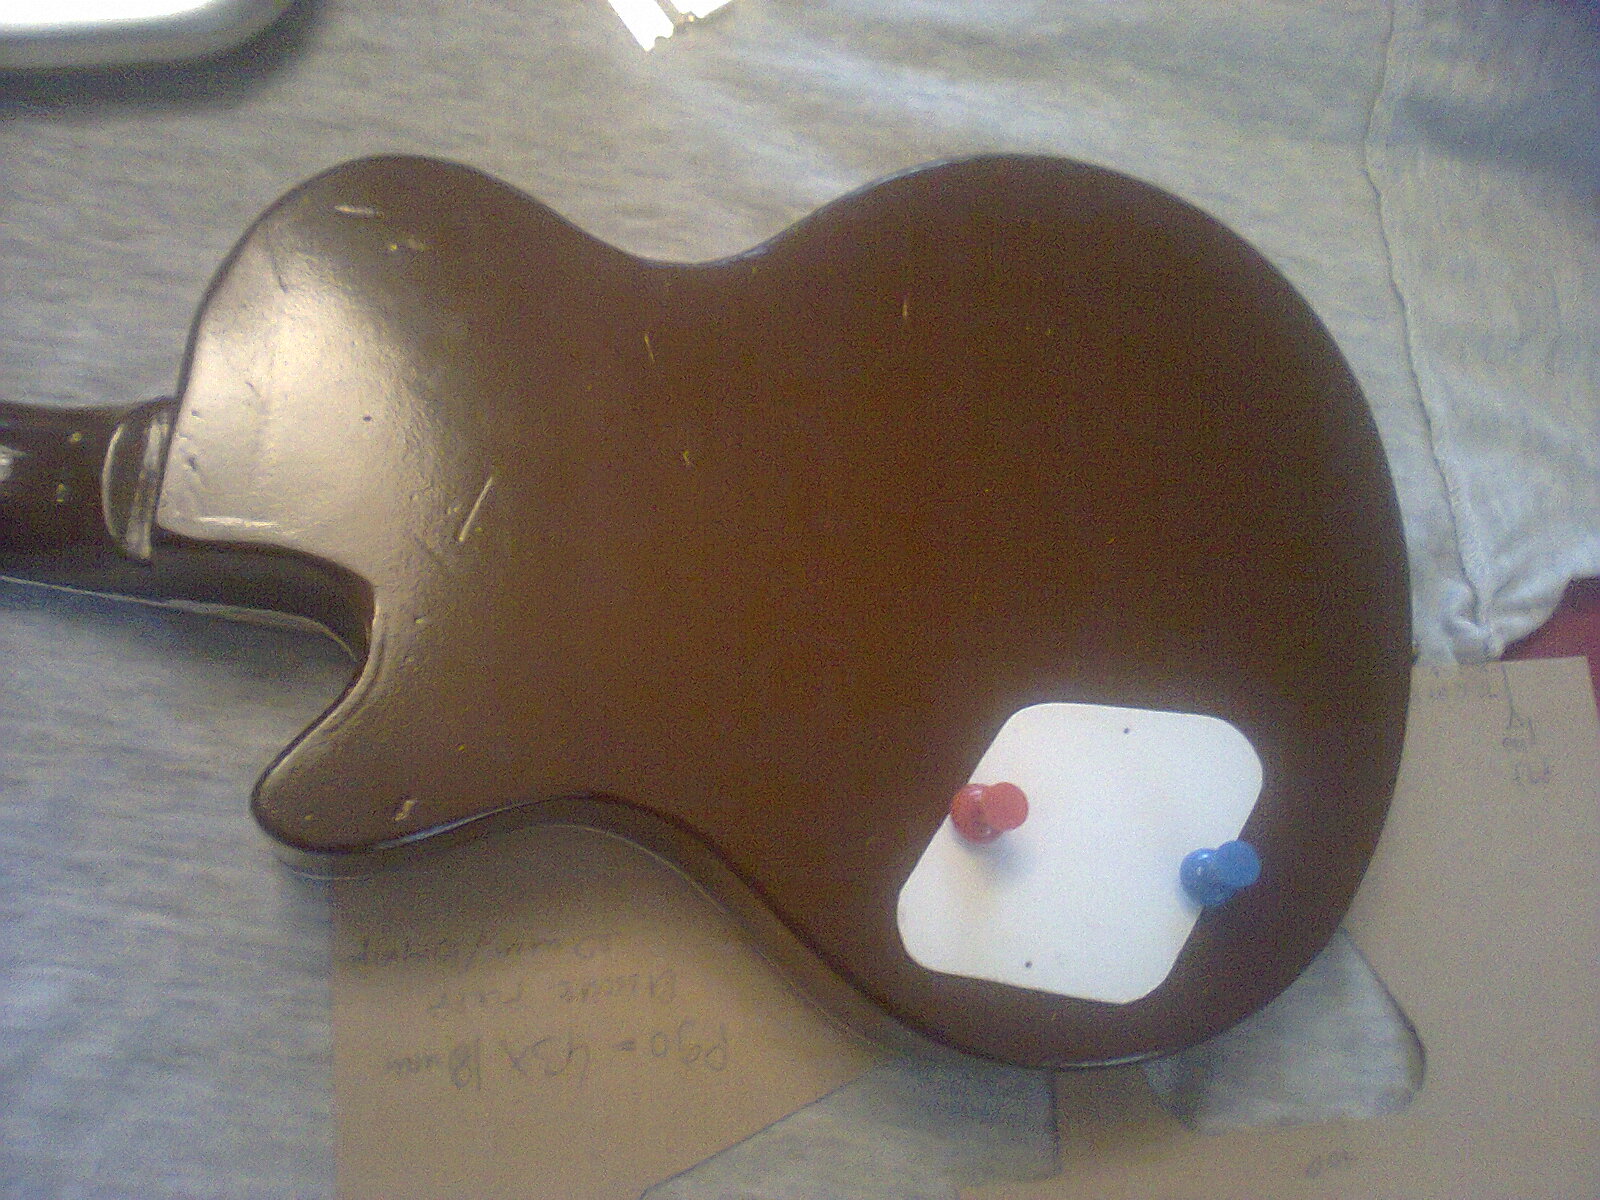
And bound the body...it was full moon that day which makes me a little nuts, so in one session I managed to get tearout, burn the bearing on the binding router bit, glue myself to the guitar like i never did before and crack a router collet. Anyway, no real harm done, this was an easy fix with some filler, and it will get an subtle sunburst.
http://www.samsvojmajstor.com/portal/sites/default/files/fotografija0116.jpg
I plan to string it with nylon for safety, I found really small fretwire, and will improvise tuners with some nuts and washers, so it can be tuned to an open chord. So basically not a ~real~ guitar, but pretty much playable. If he shows real interest in it, we'll make an 3/4 sized one after a while.


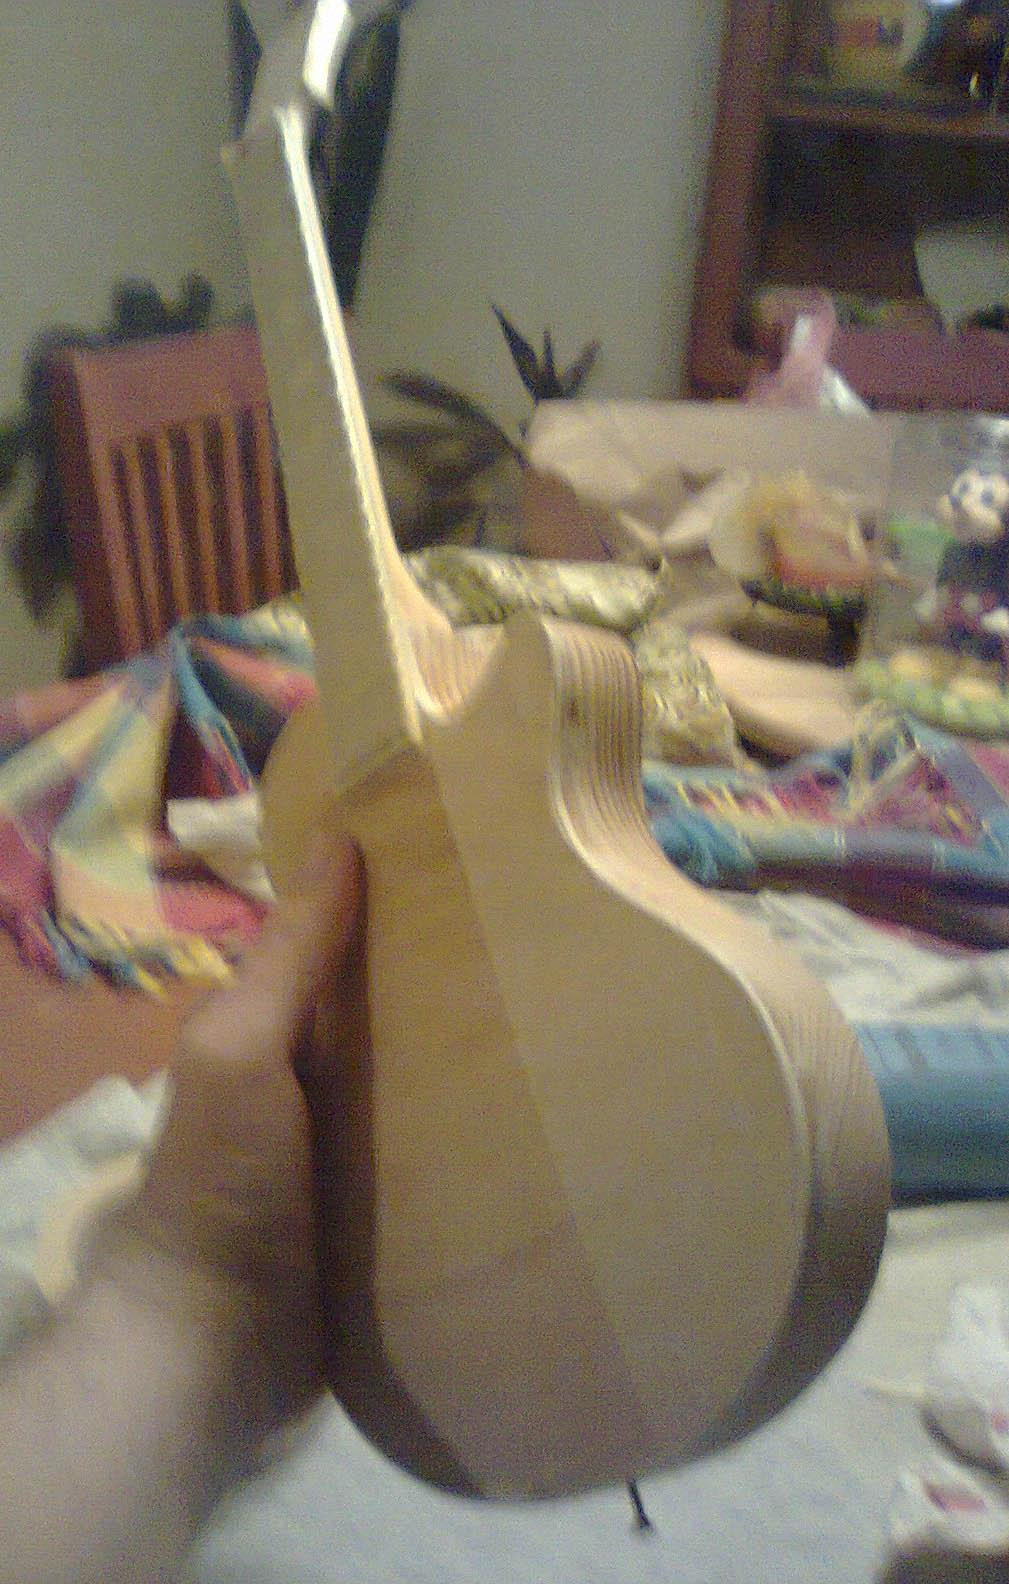
Custom Walnut Bass
in In Progress and Finished Work
Posted
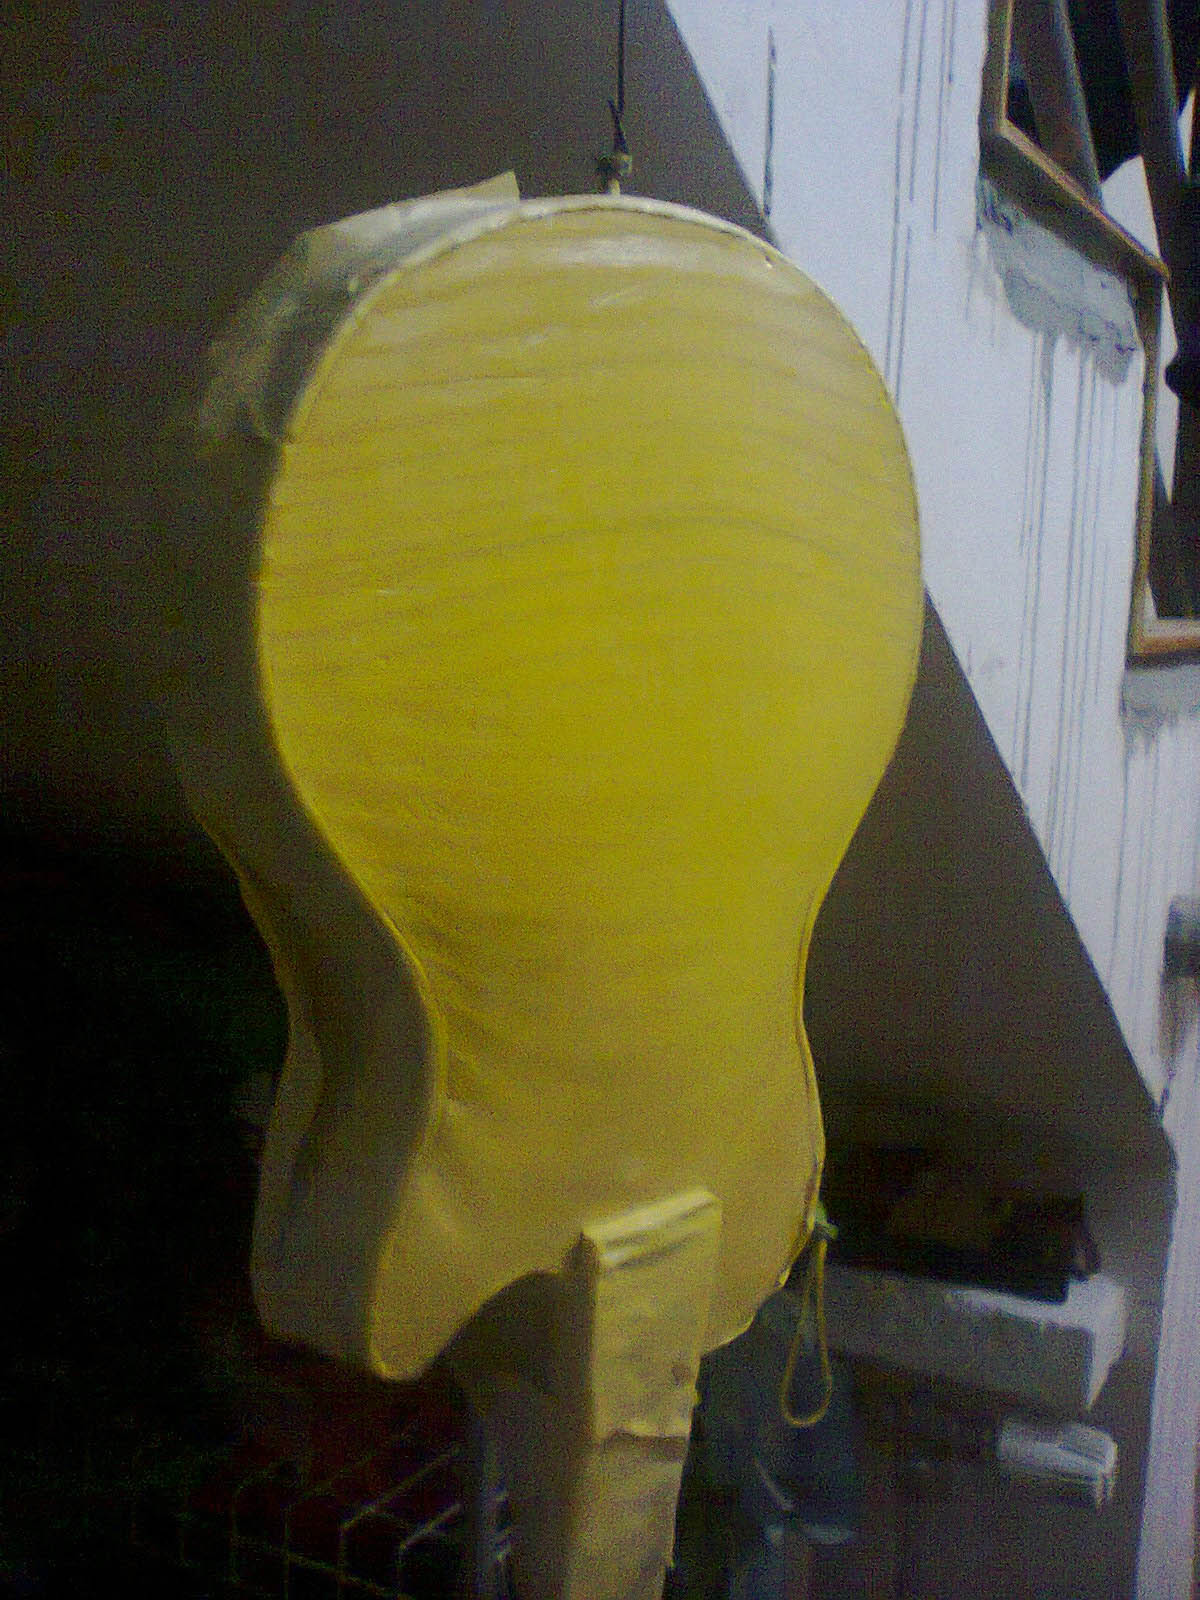
A sneak peek at the back figure
But when he came to see it, he decided no inlay (doesn't mean I wont do it on another piece, just for the hell of it ), and changed the shape a lot. It also solves the void problem completely.
It will have a top radius and completely rounded sides like an Warwick, and I'll probably freehand most of it on the overhead router, since I don't have the time or the space to do an radius jig just for this...
We'll see how it goes...