


andyt
-
Posts
213 -
Joined
-
Last visited
-
Days Won
2
Content Type
Profiles
News and Information
Tutorials
Product Reviews
Supplier Listings
Articles
Guitar Of The Month
Links and Resources
Forums
Gallery
Downloads
Posts posted by andyt
-
-
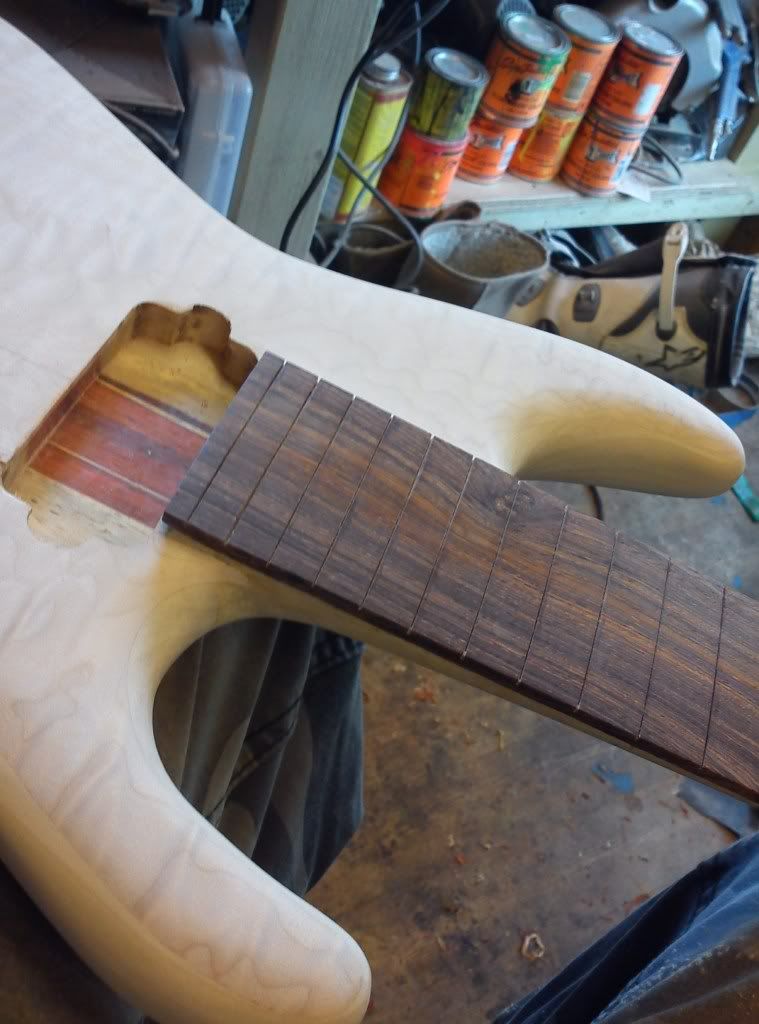
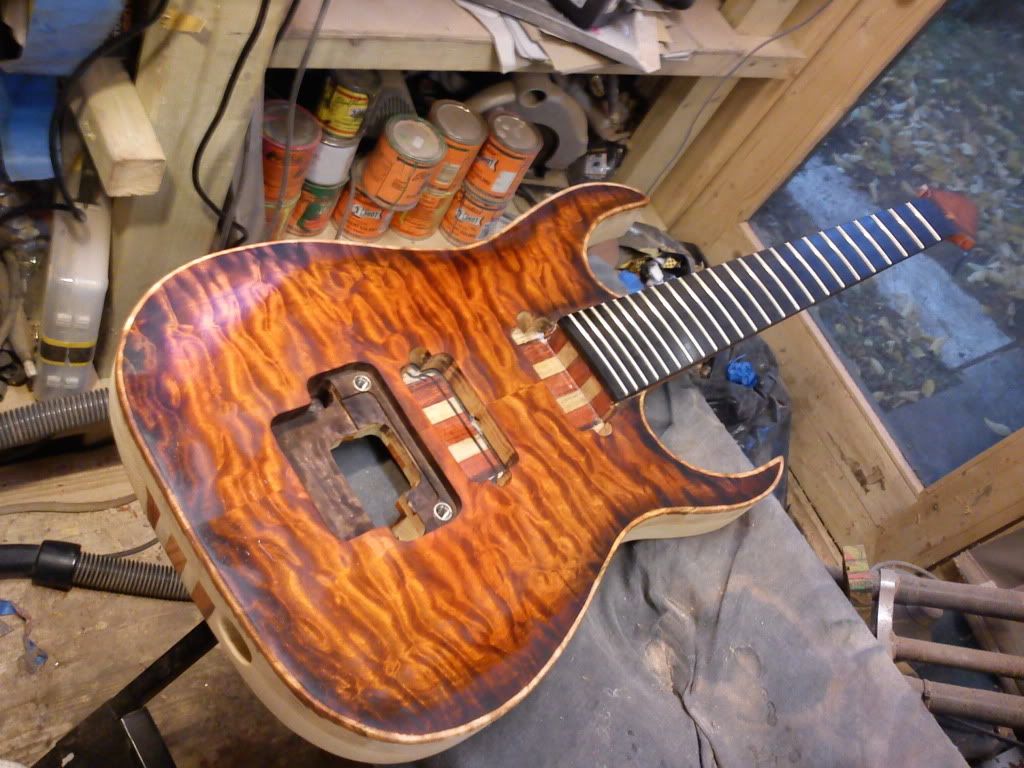
Sad half thickness top
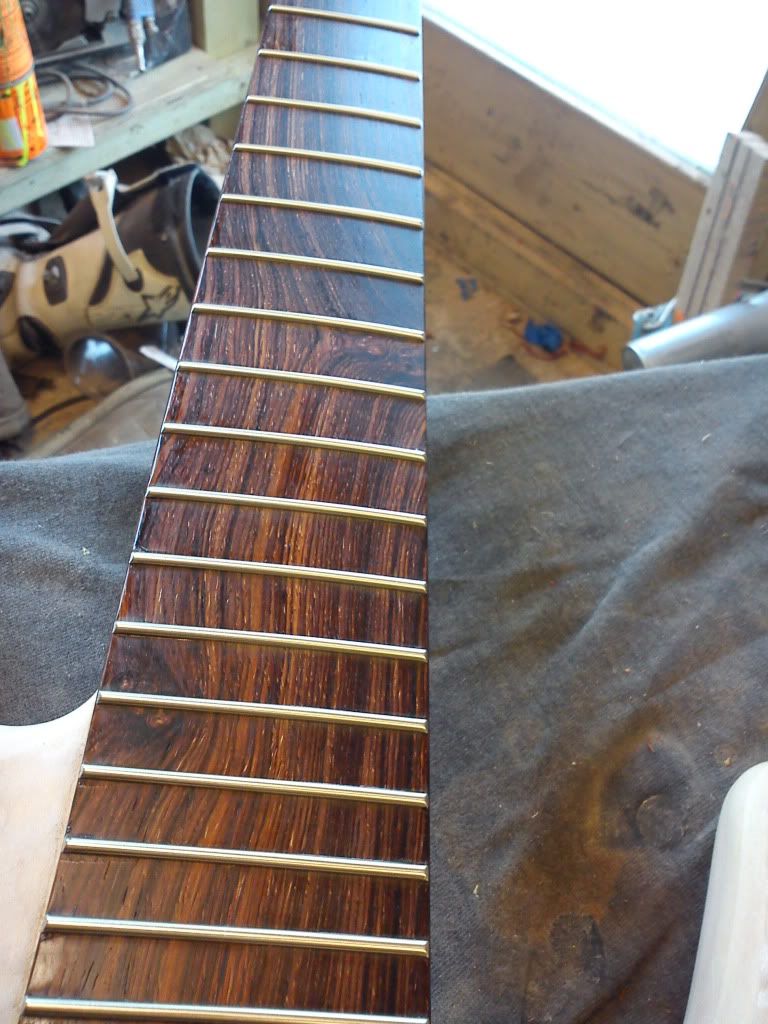
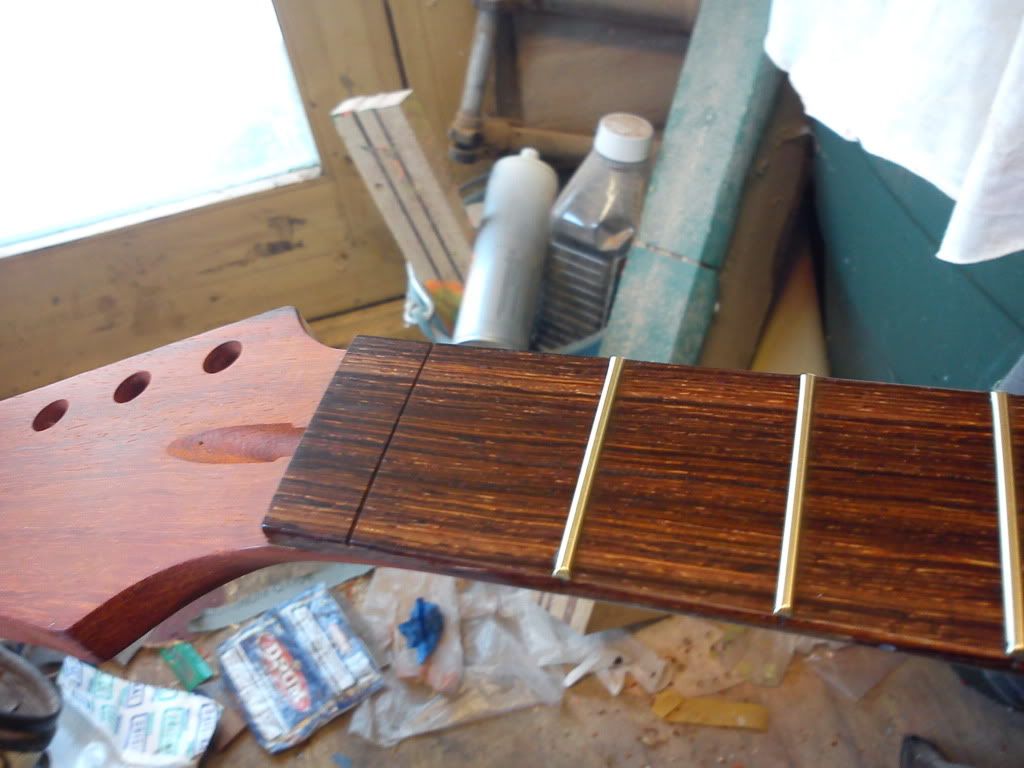
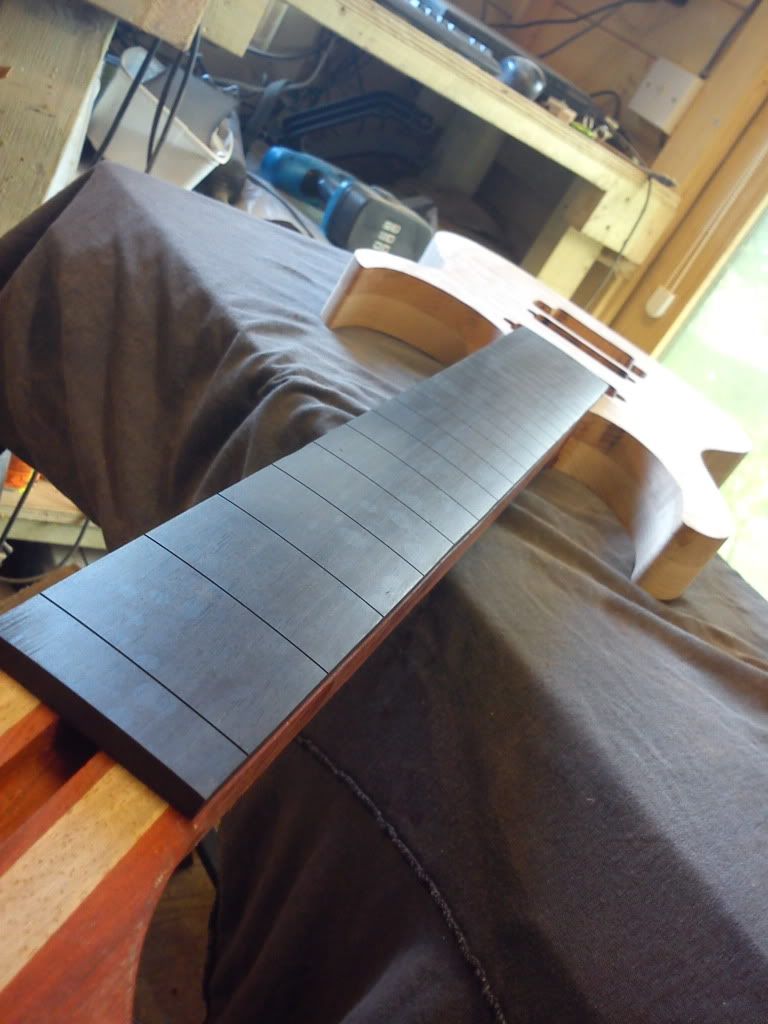
Got the frets bashed in today
OMG its a hardtail I'm going to have to make a nut
-
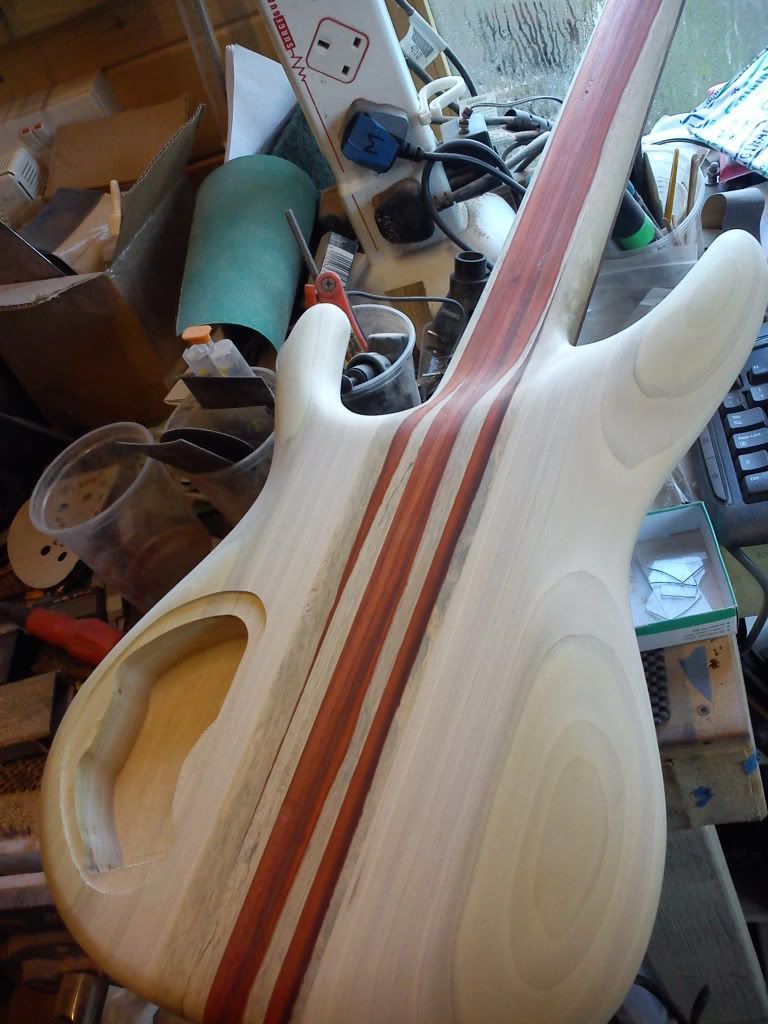
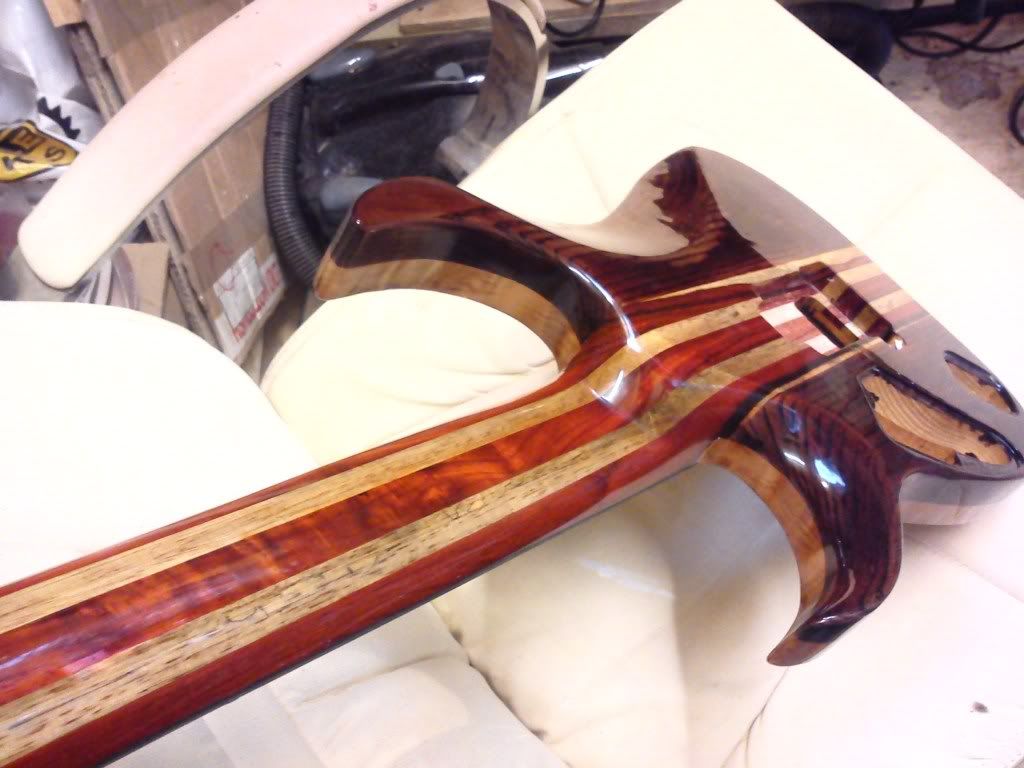
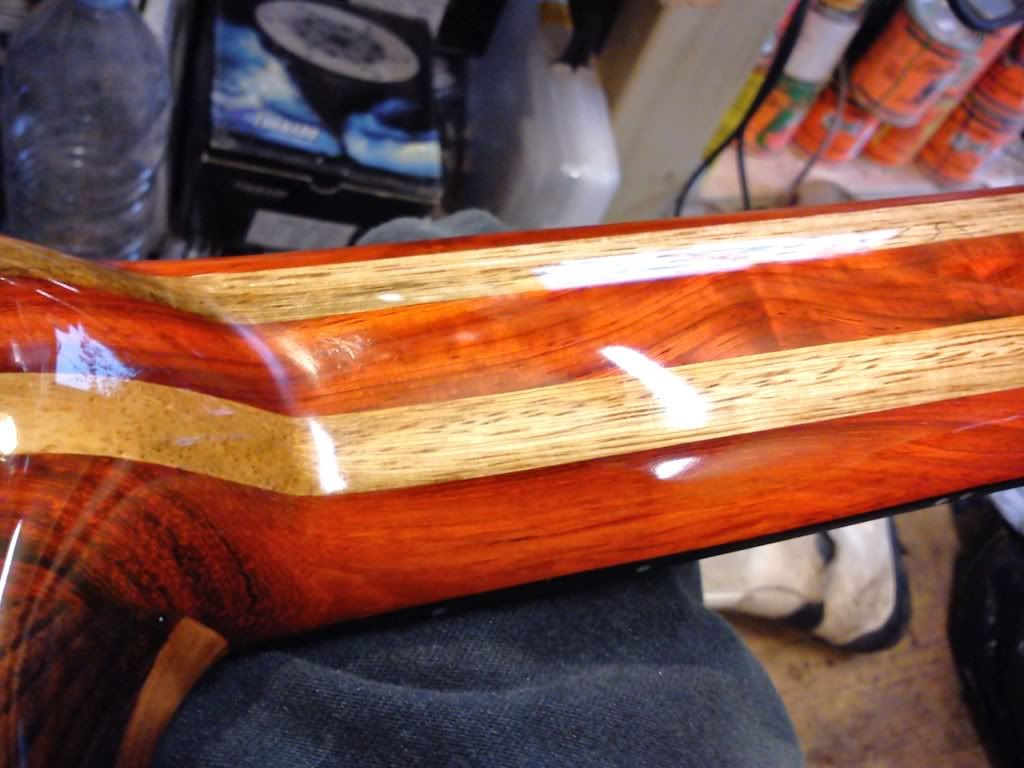
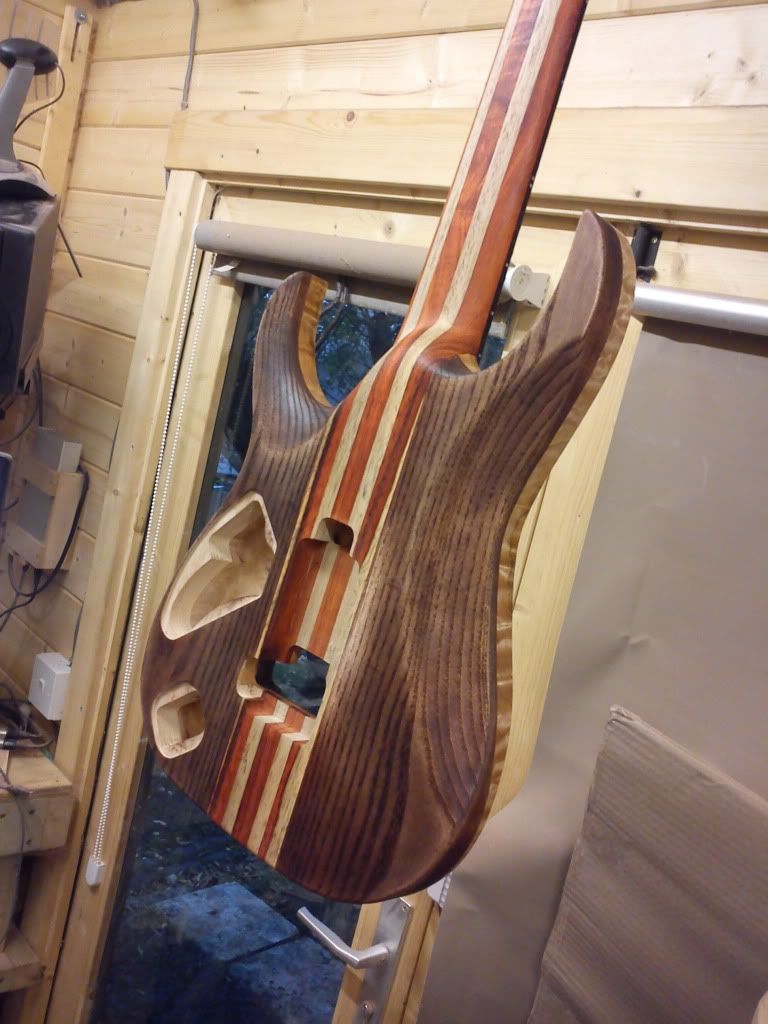
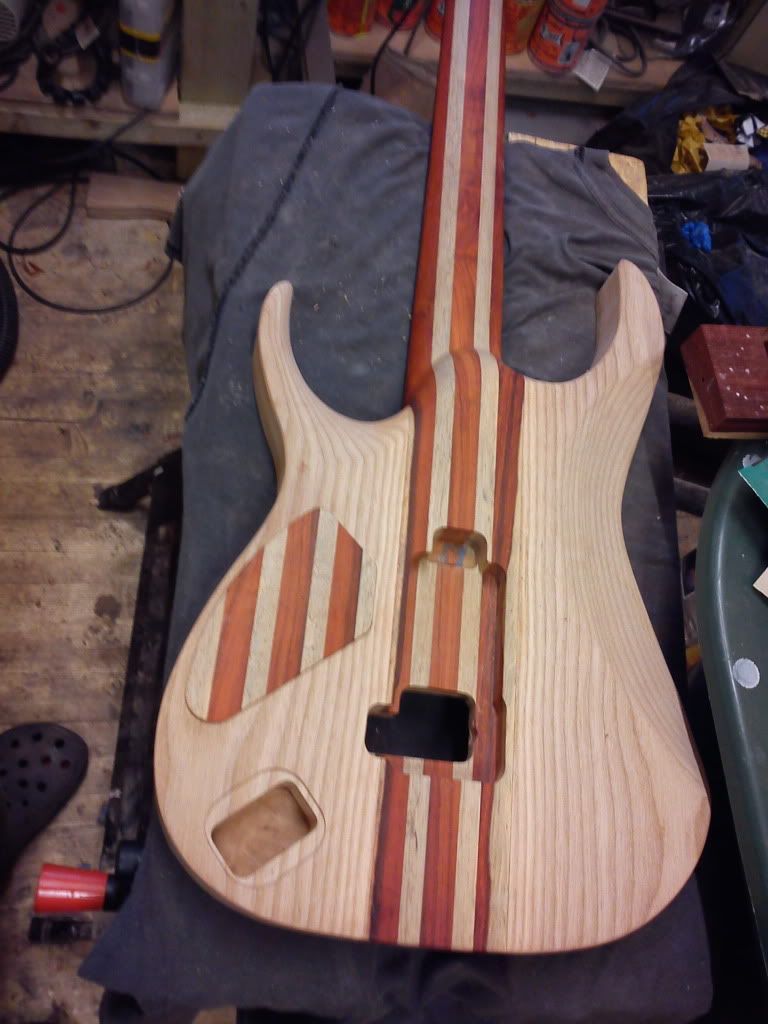
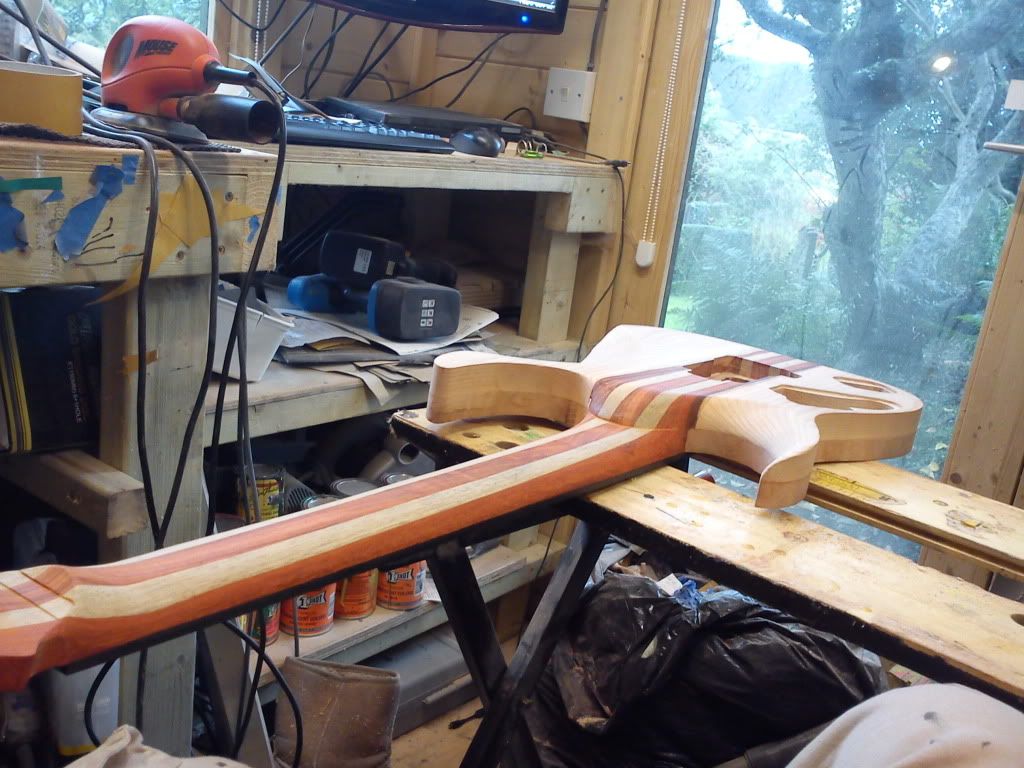
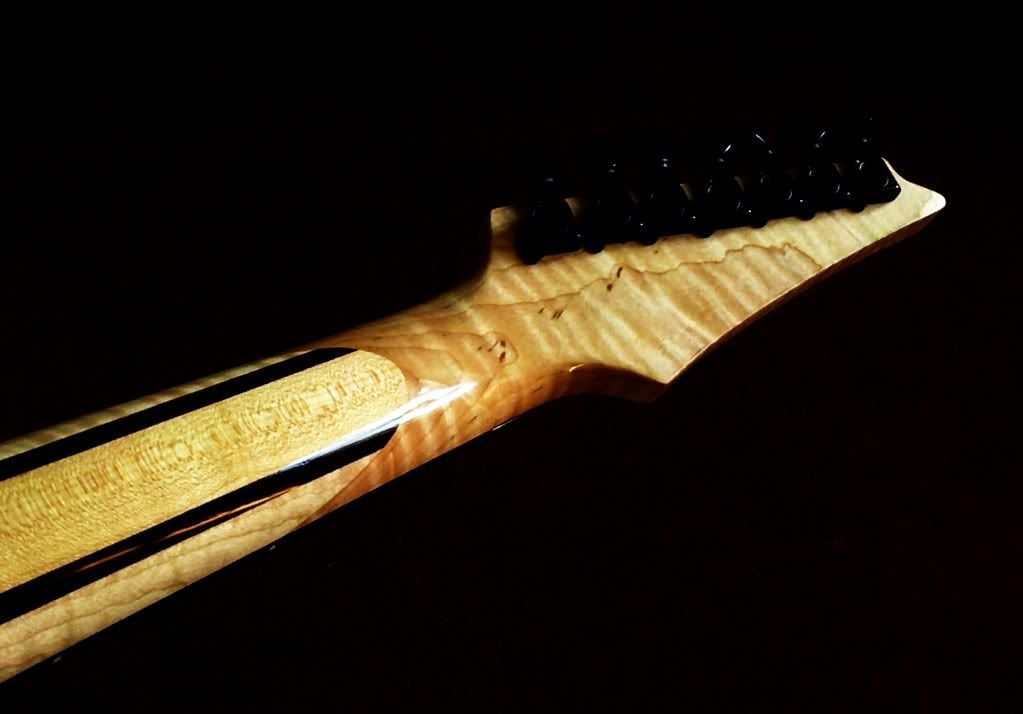
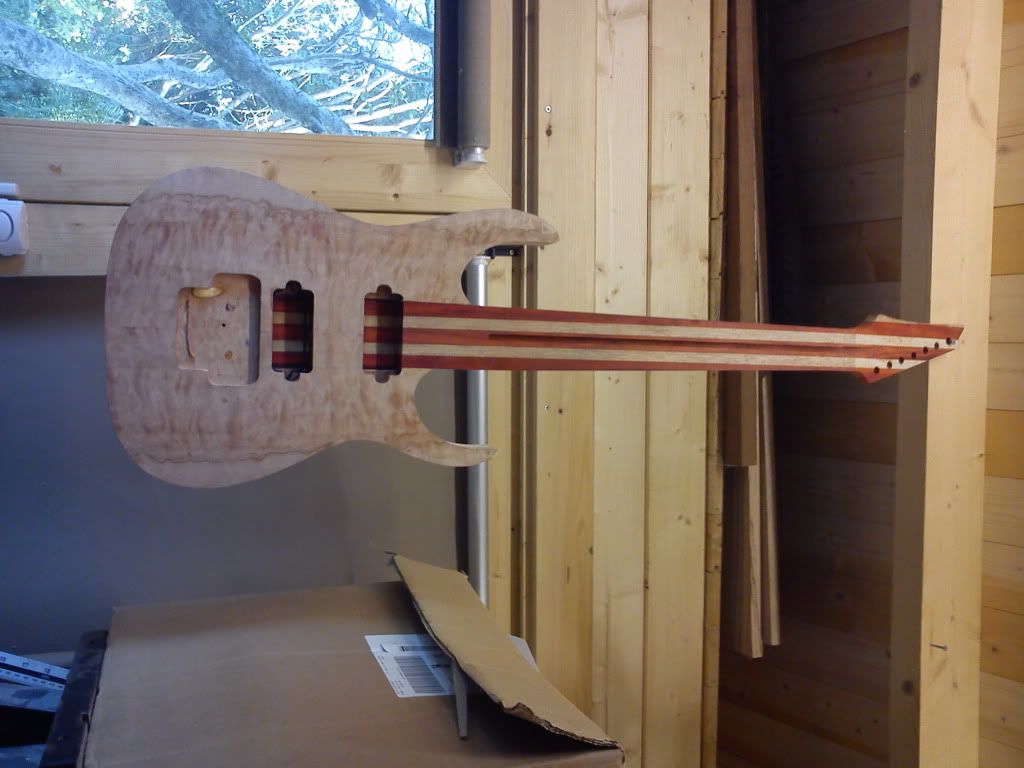
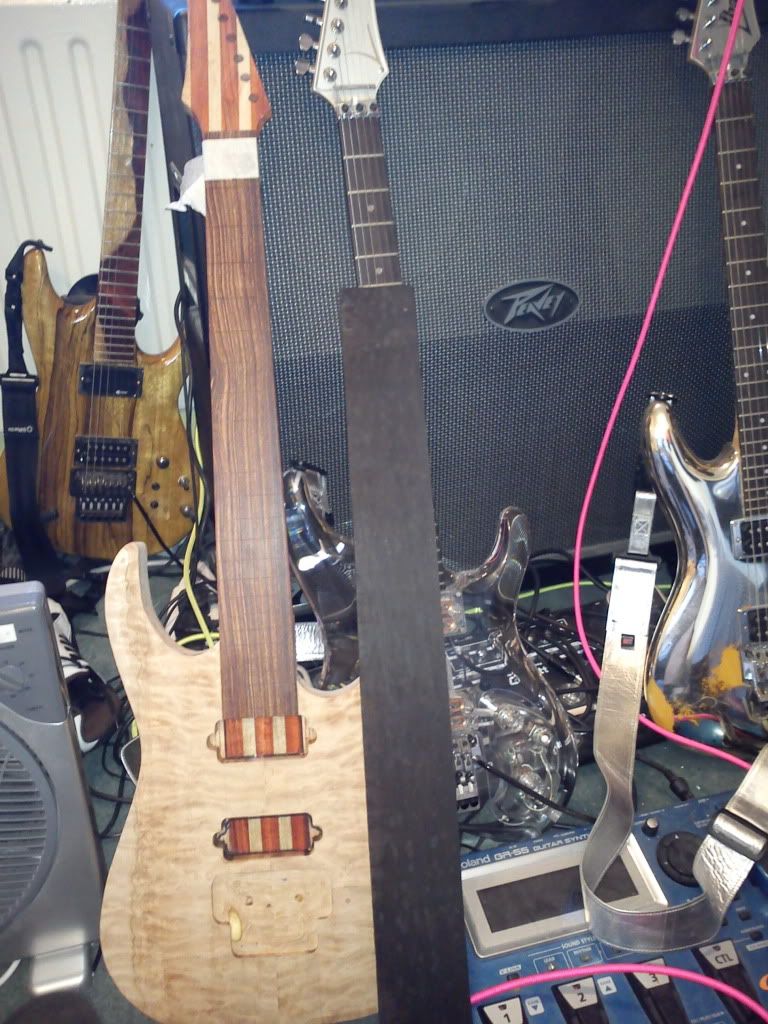
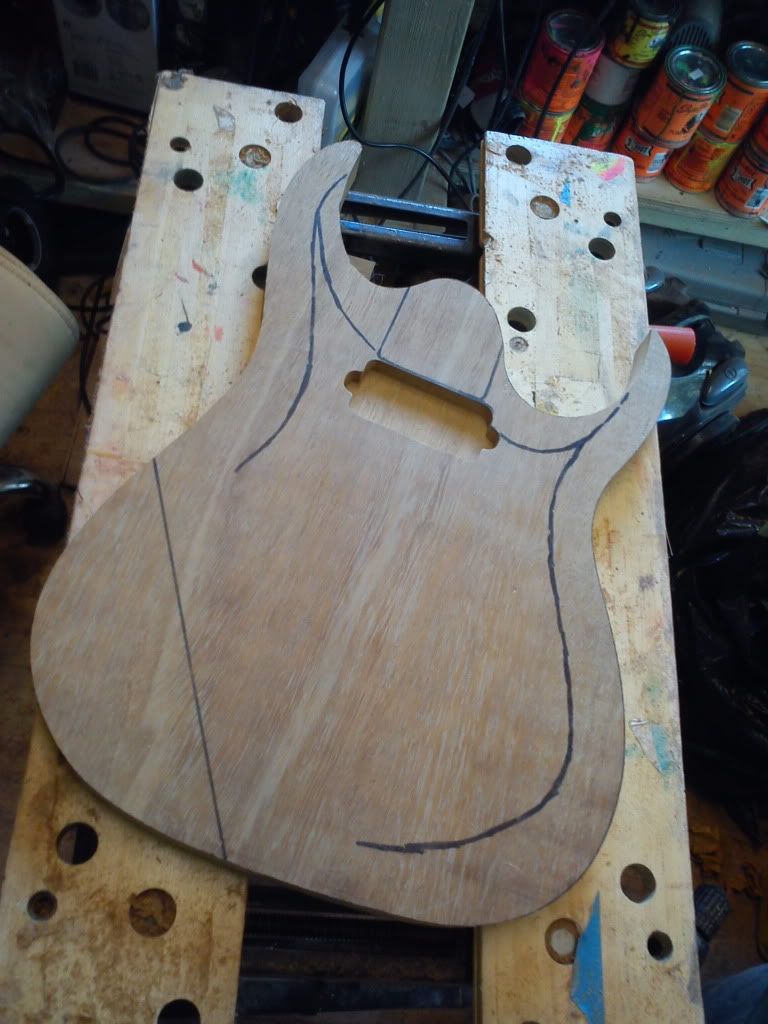
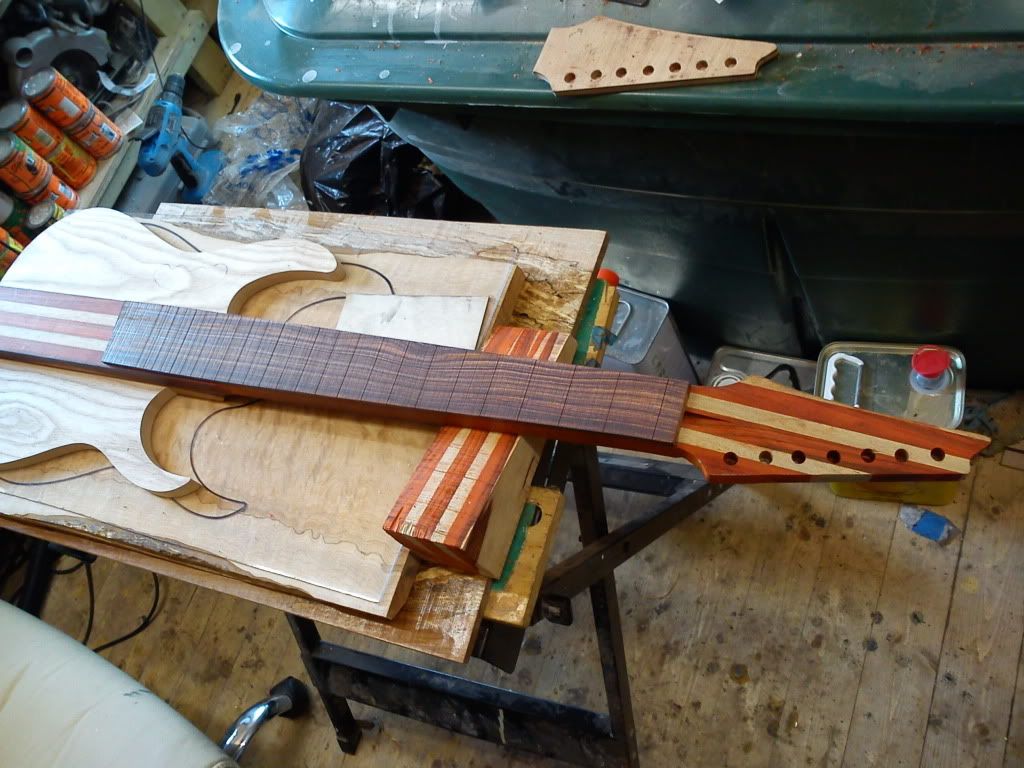
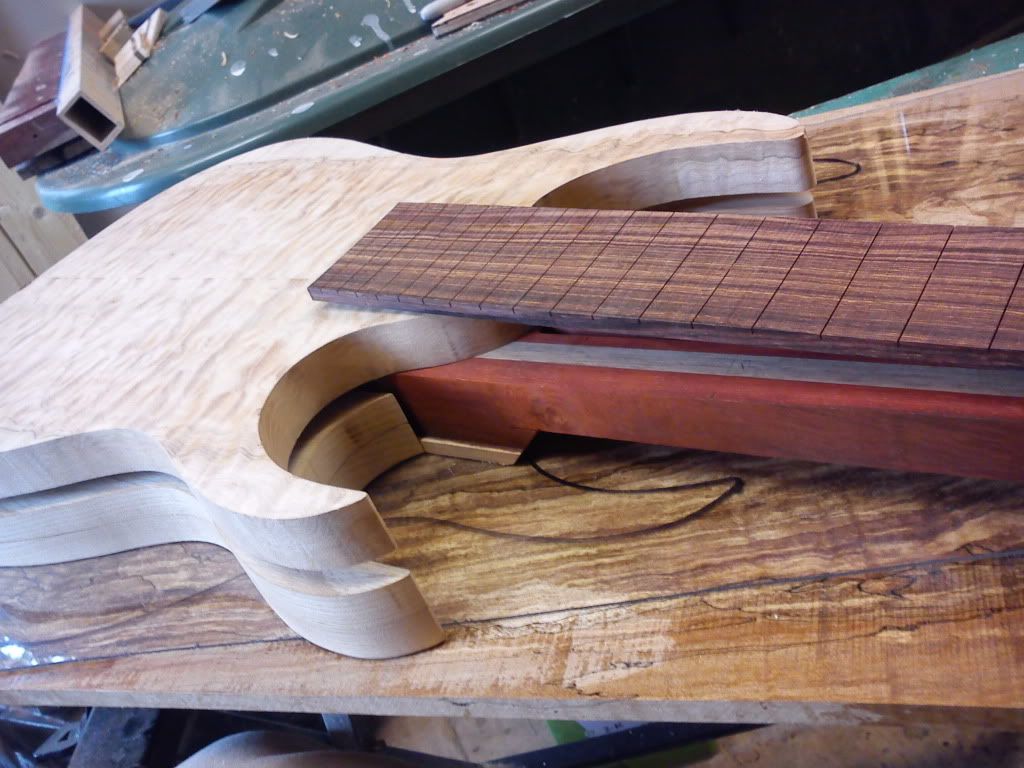
Started this one last week before the 'dawn of the new ice age' with a paduk glueup leftover. Long enough for a neckthru with a scarfed headstock. Lime wings, quit top
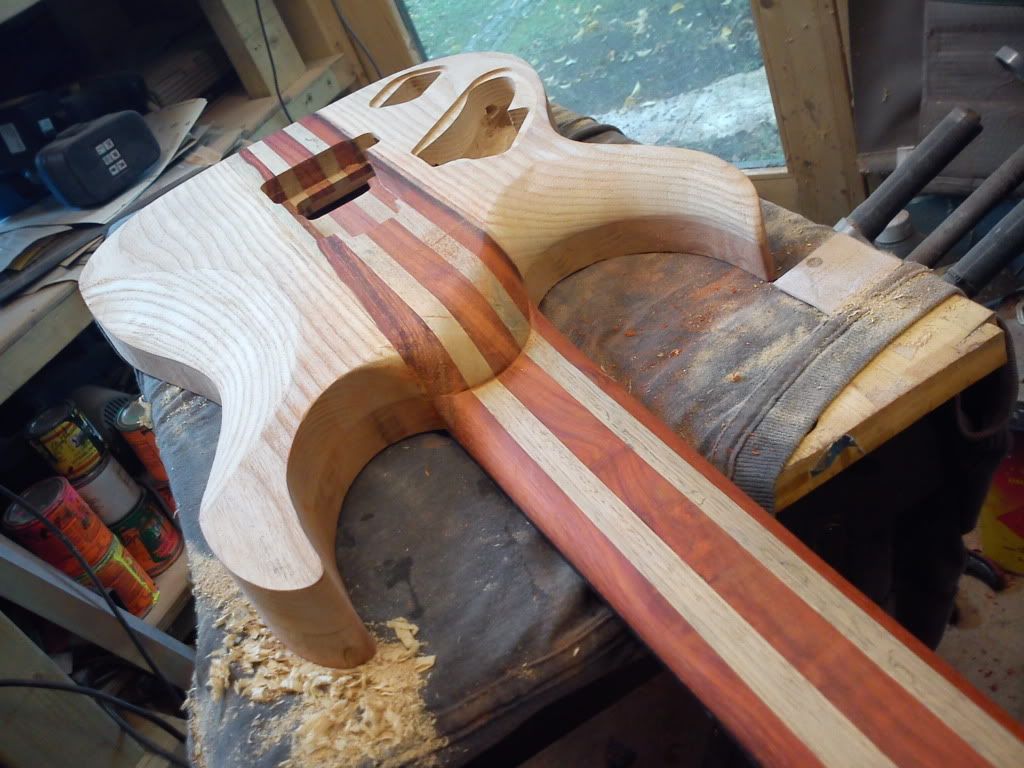
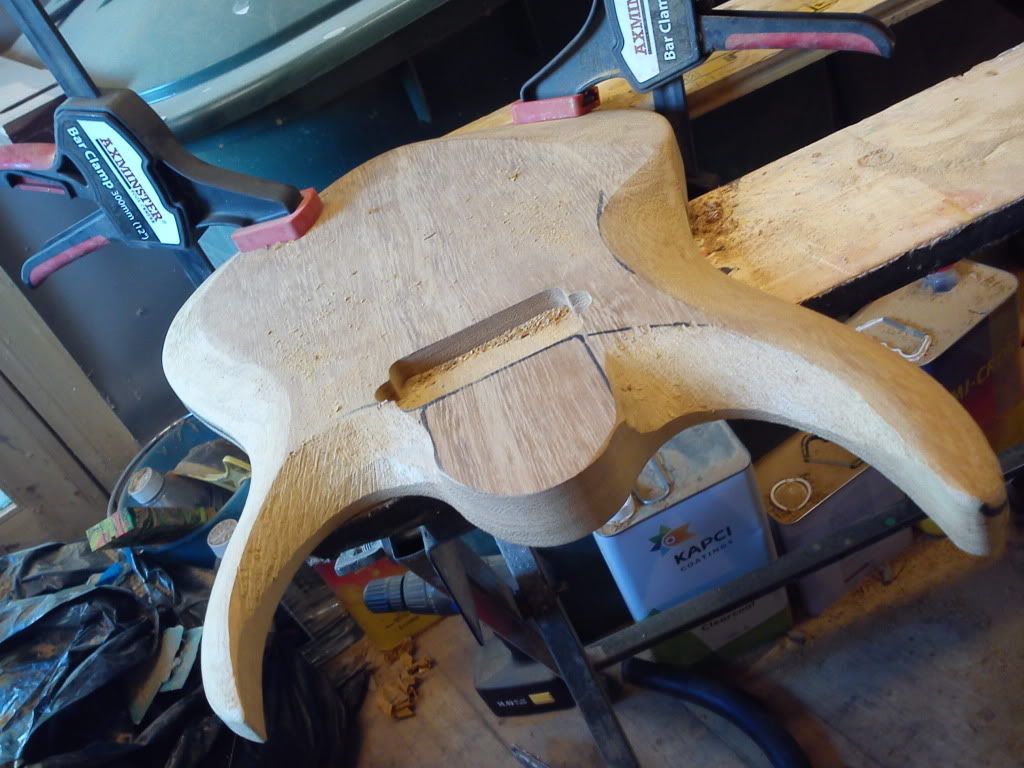
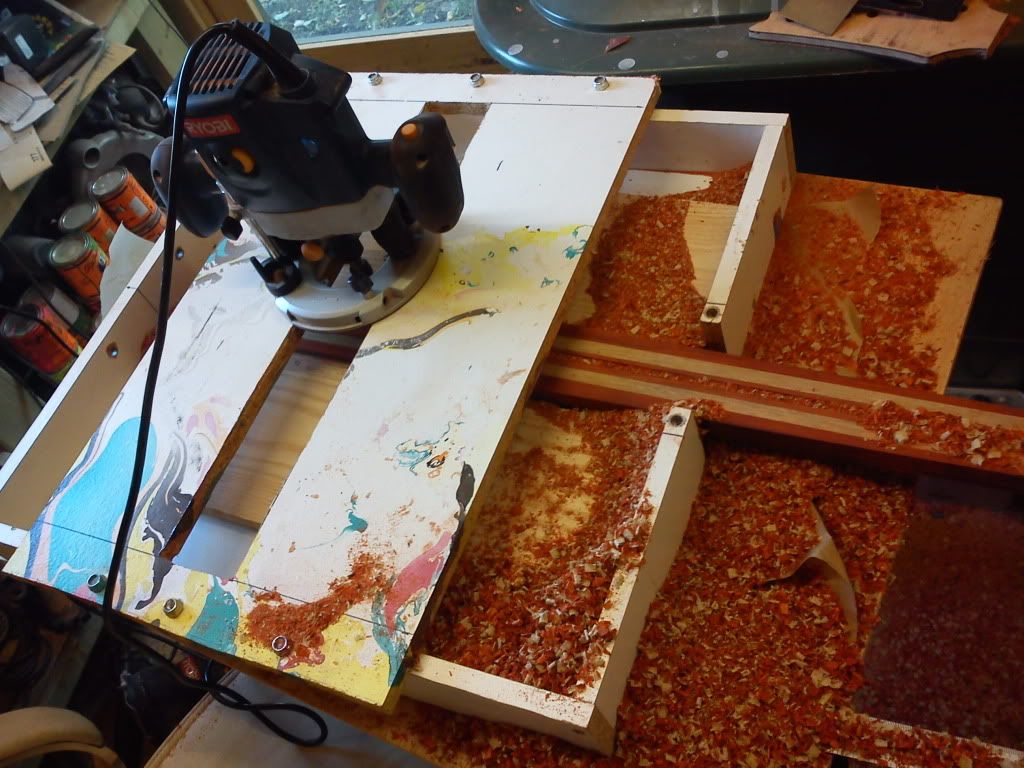
Route down the heal
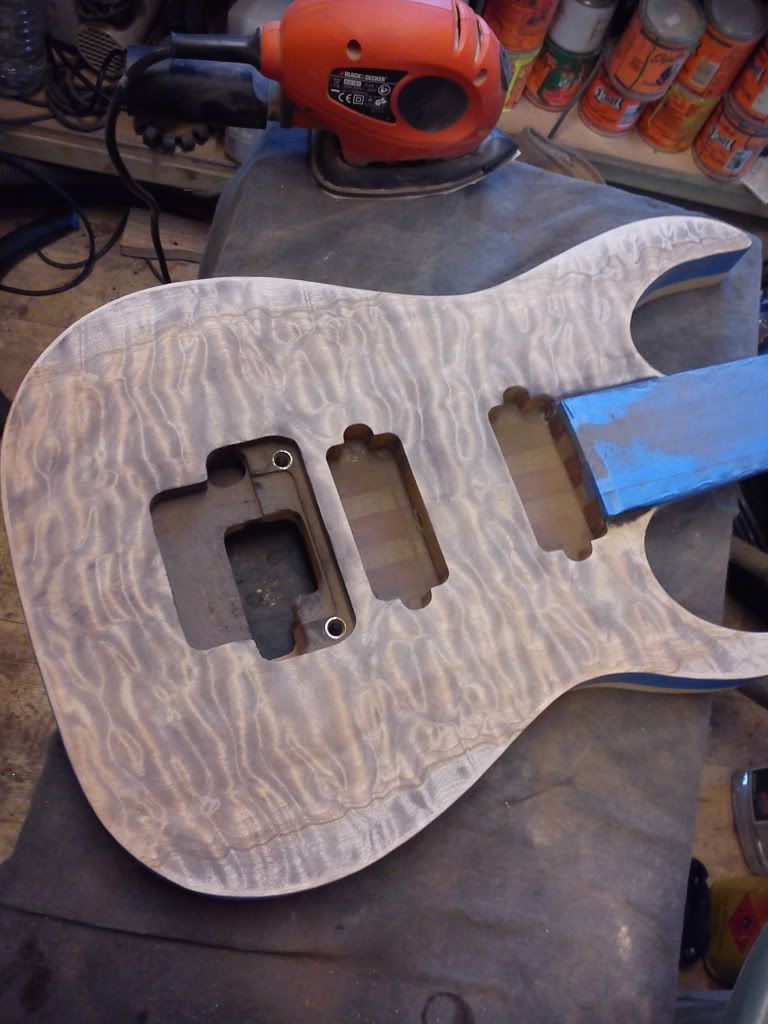
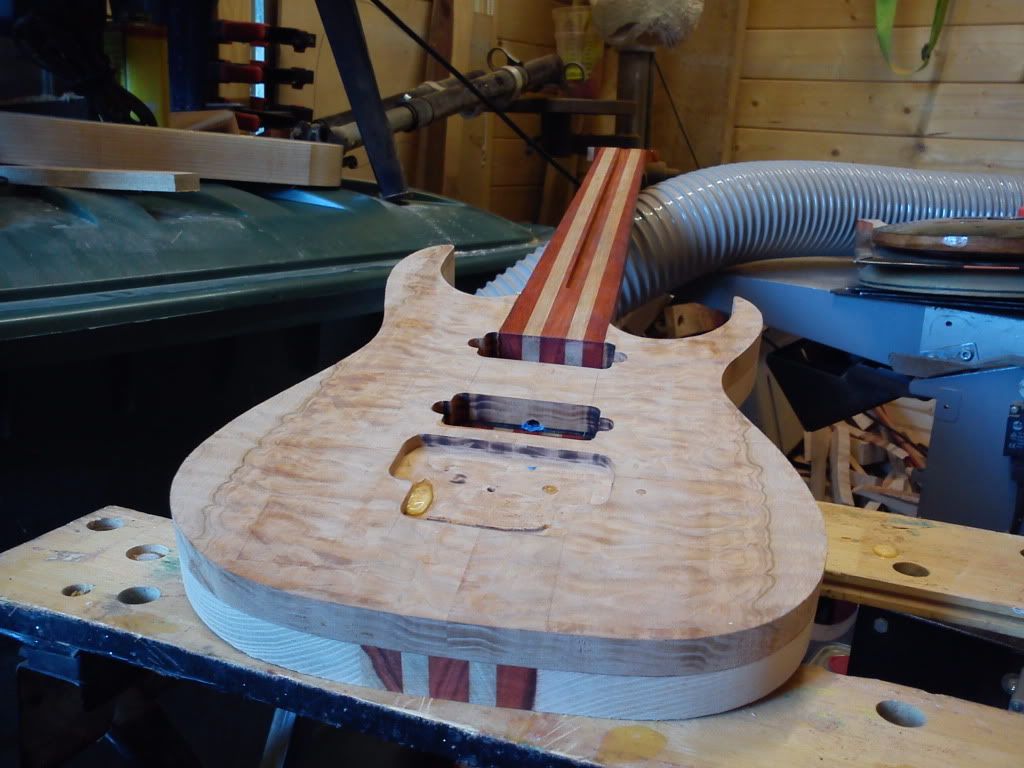
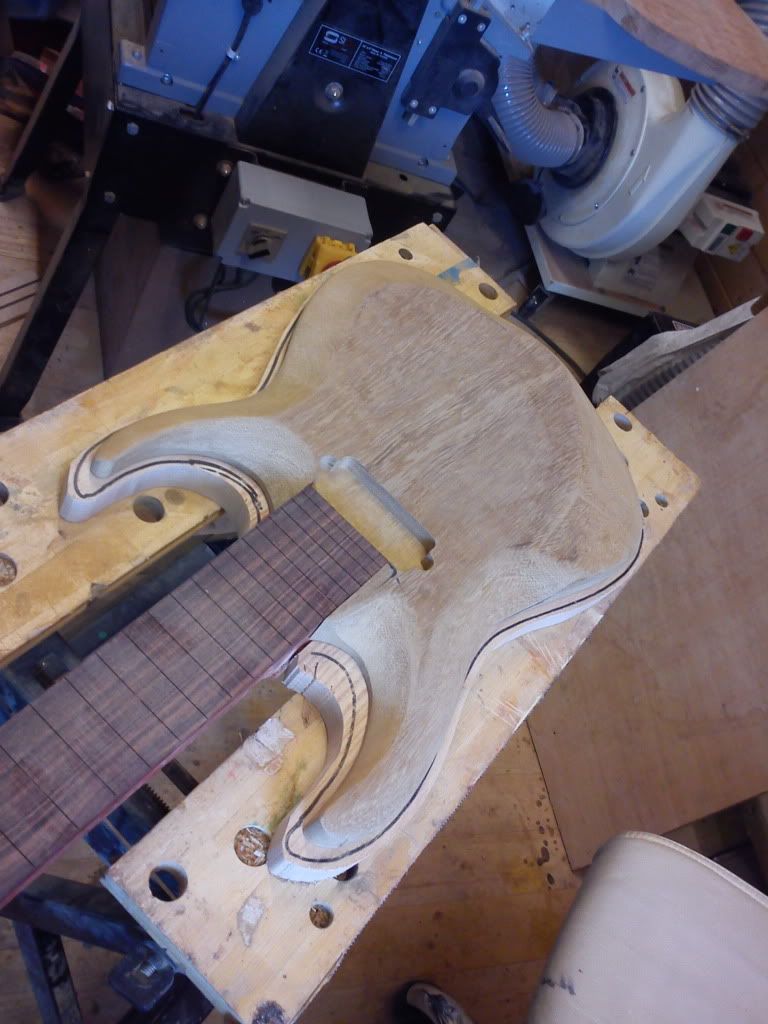
Getting the body contours sanded
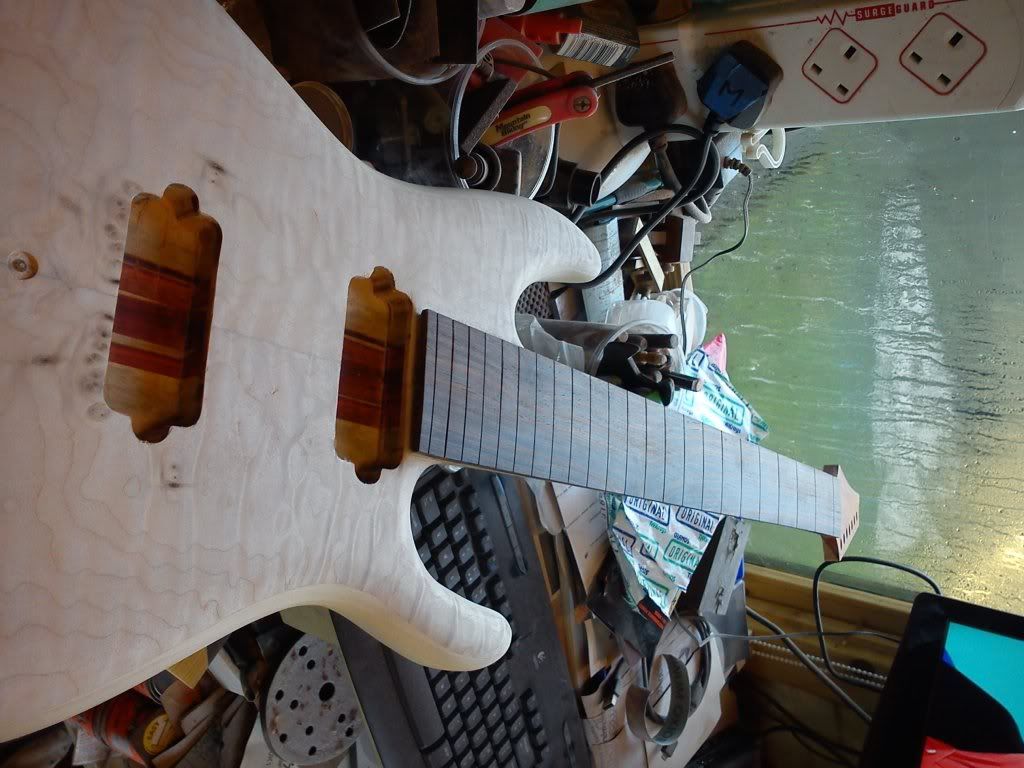
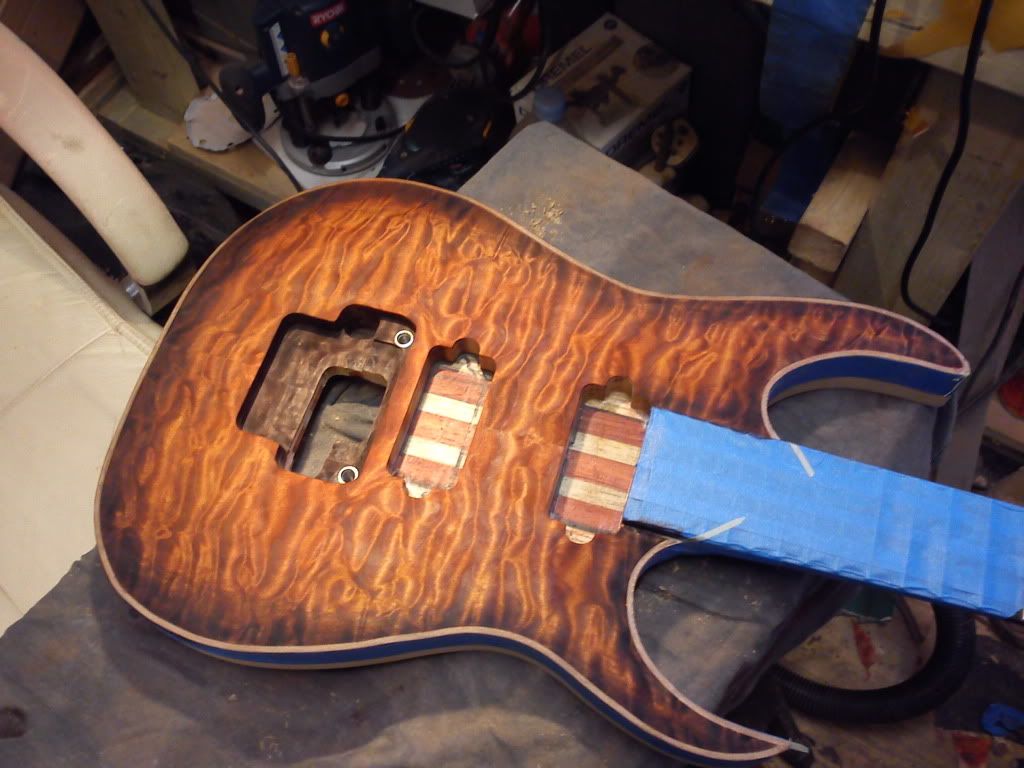
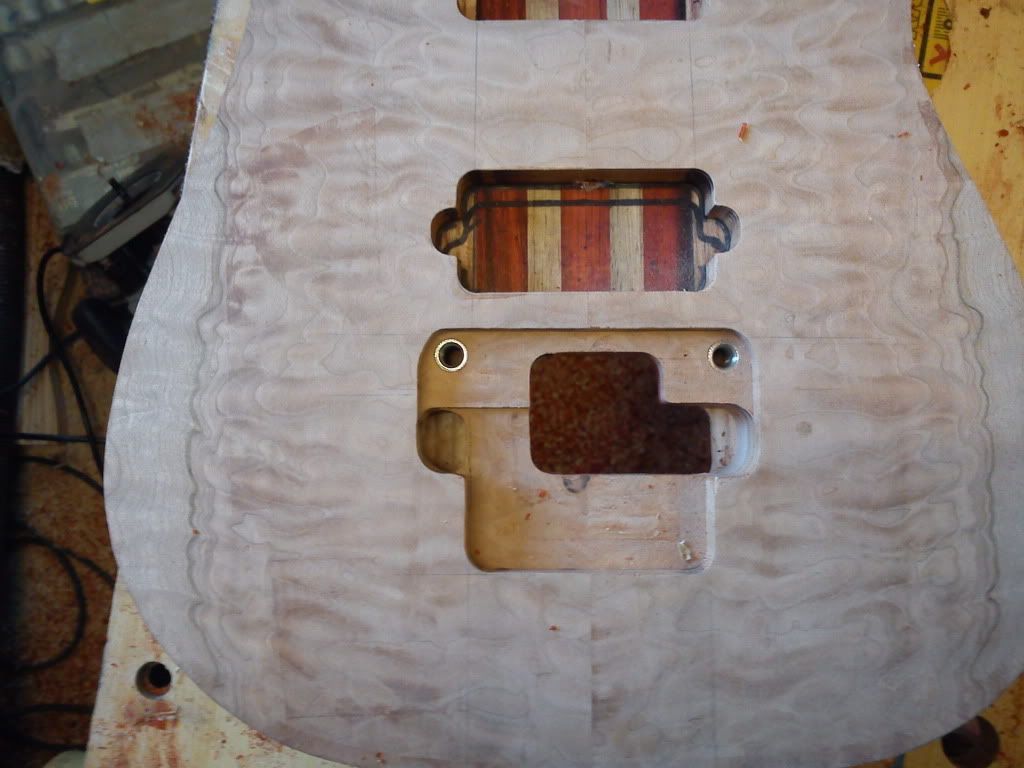
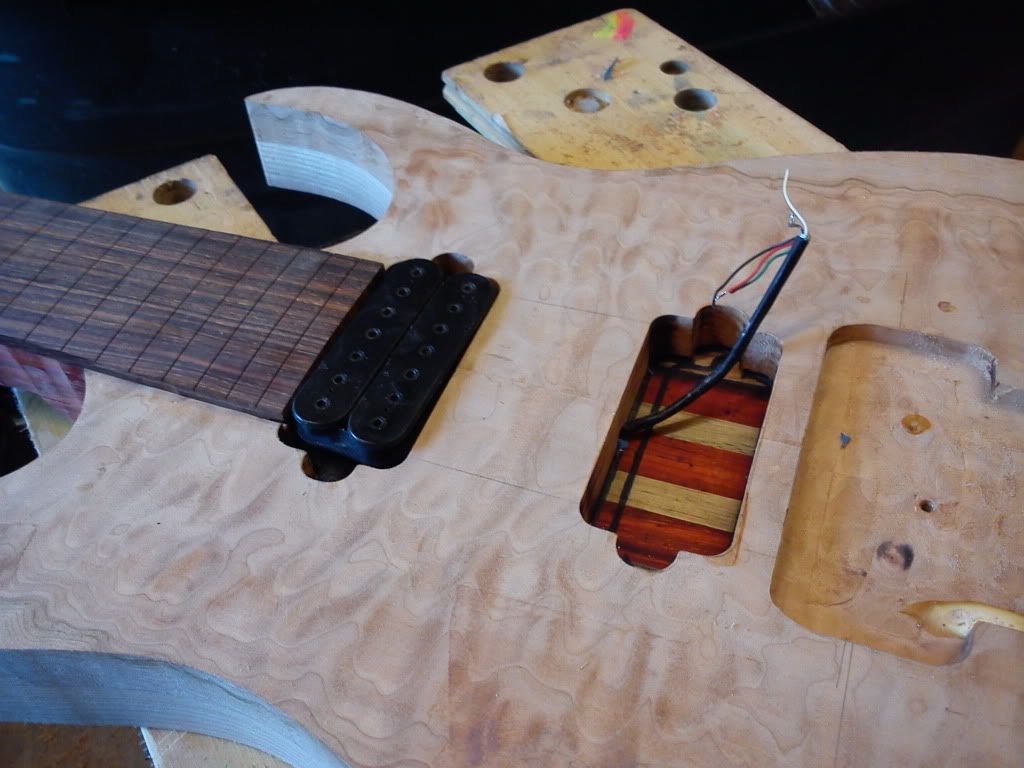
Made a massive ballsup routing the pickups, due to random different pickup routes on the template started routing inbetween the two, wasn't even in the right place to make it a '3 pickup special' so had to thickness down the quilt top by about half its thickness. Cocobolo board glued on
-
Random post - I've not tried it on a guitar, but now I've got a spray gun I thought I'd have a go refurbing my dinged up summer wheels last week as they were off the car. Just 2k Matt black, no clear, got half a tin left so might try on a body, The paint went on a lot smoother than the clearcoats I've done so far with the gun.

-
Thanks all for you comments
Andy, any tips on achieving the burst with dyes? I've seen elsewhere that keeping the wood a little wet helps the blending.
Johnny, nothing special, just put a bit on at a time & rub it in circular motion inwards to try to blend it
-
Is a different colour everytime I take a pic of it, phones, cameras etc
-
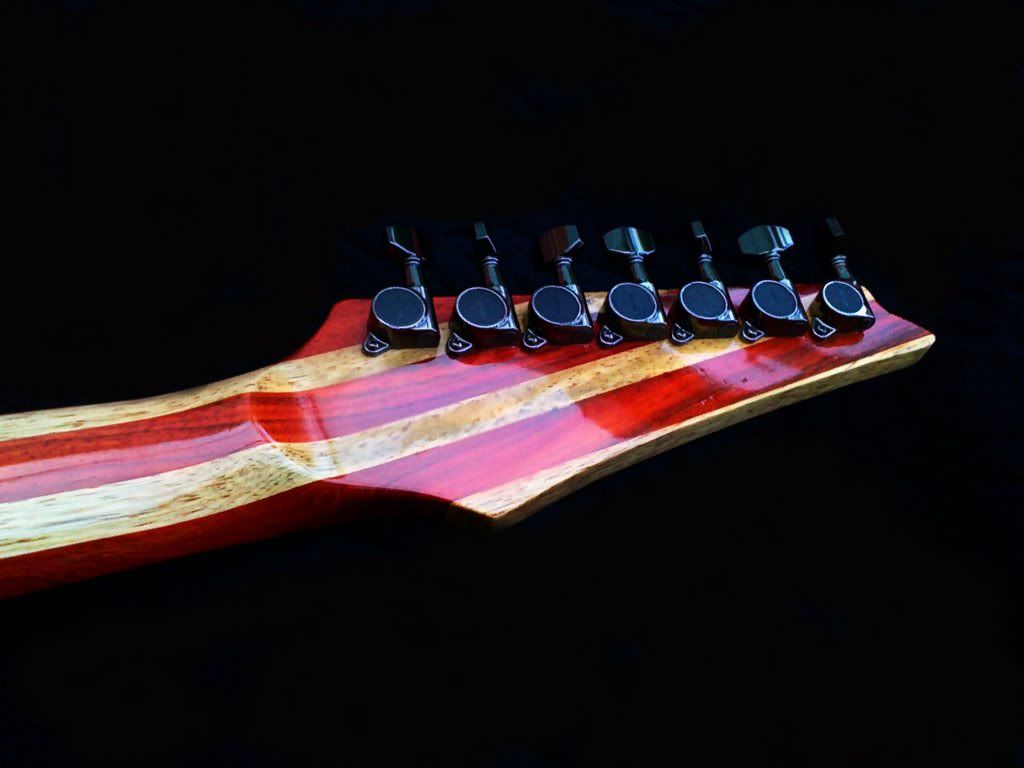
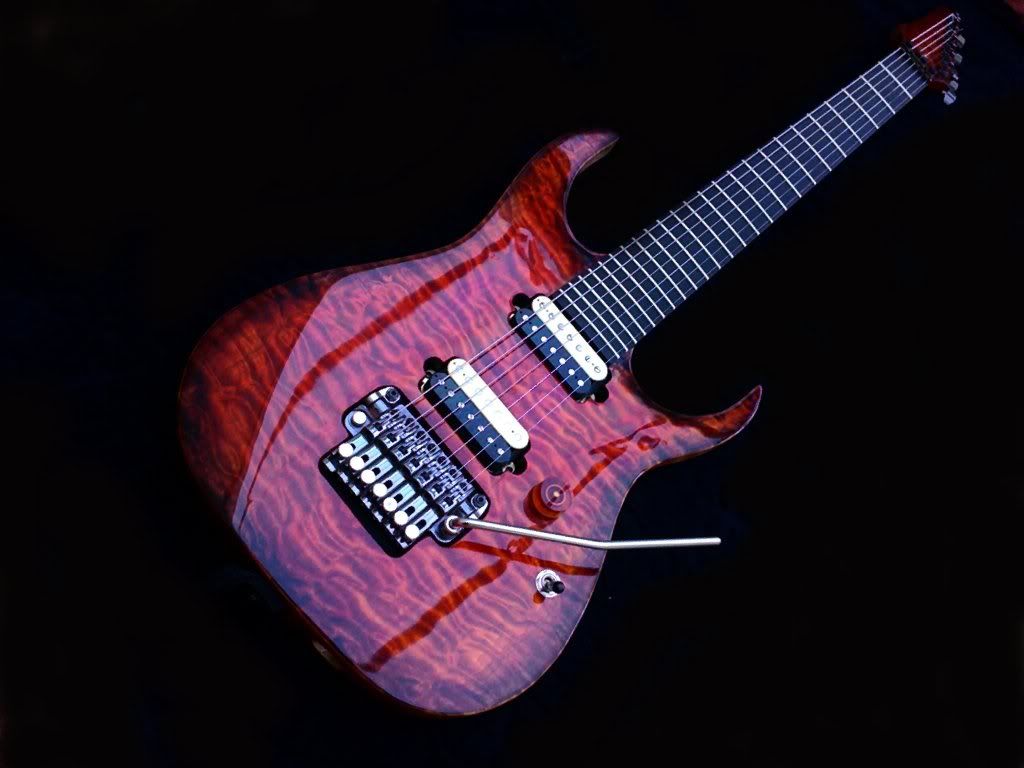
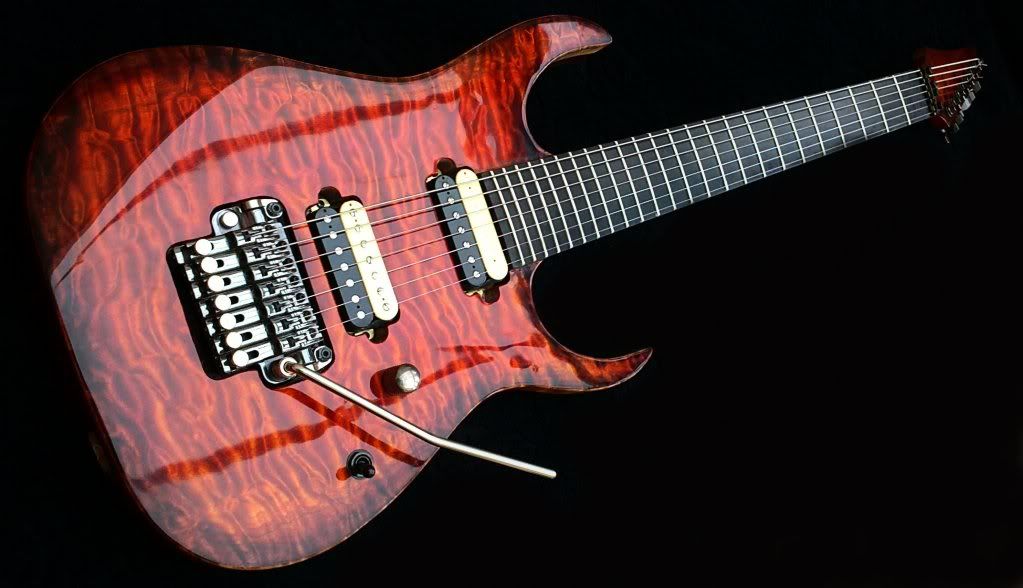
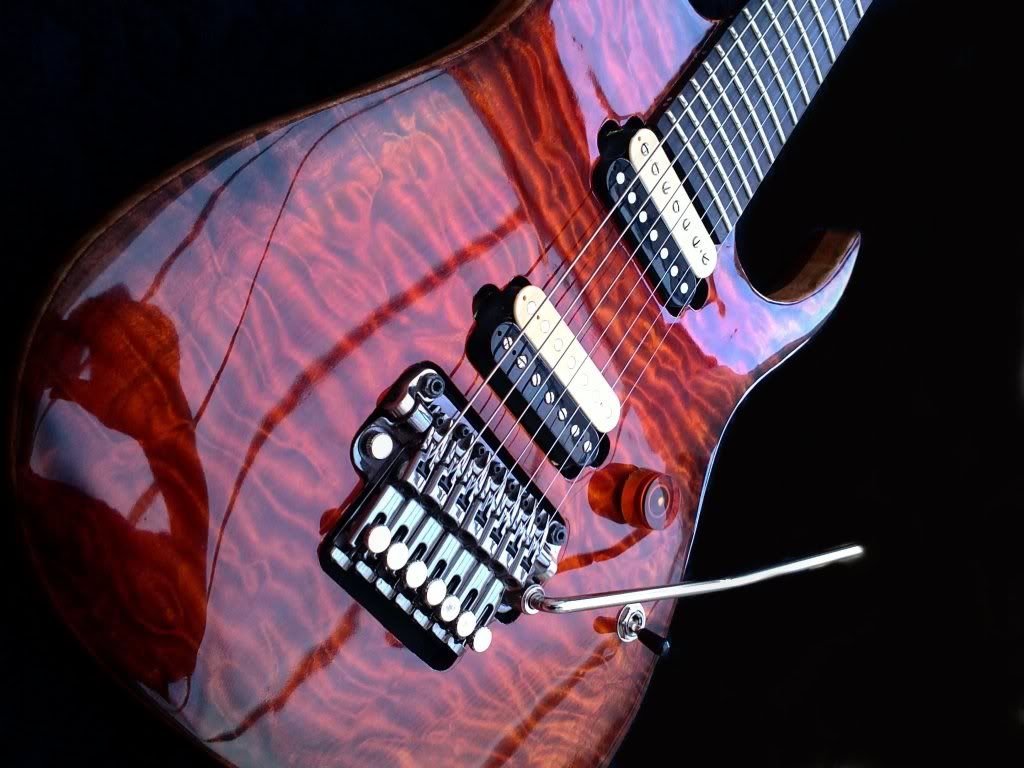
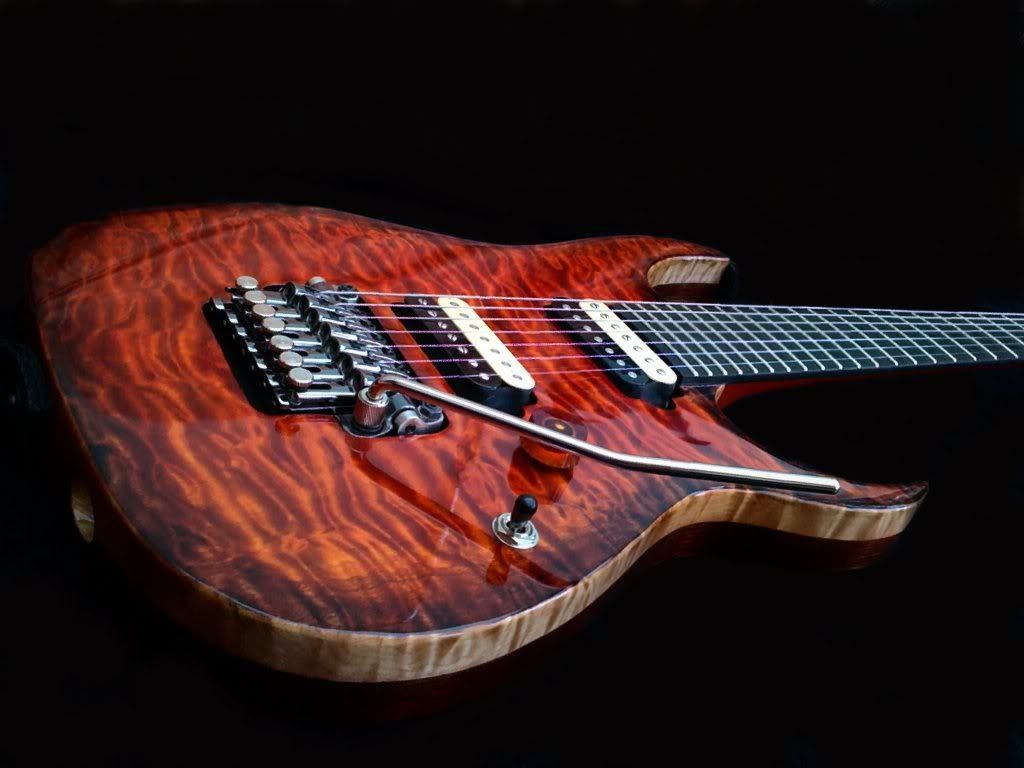
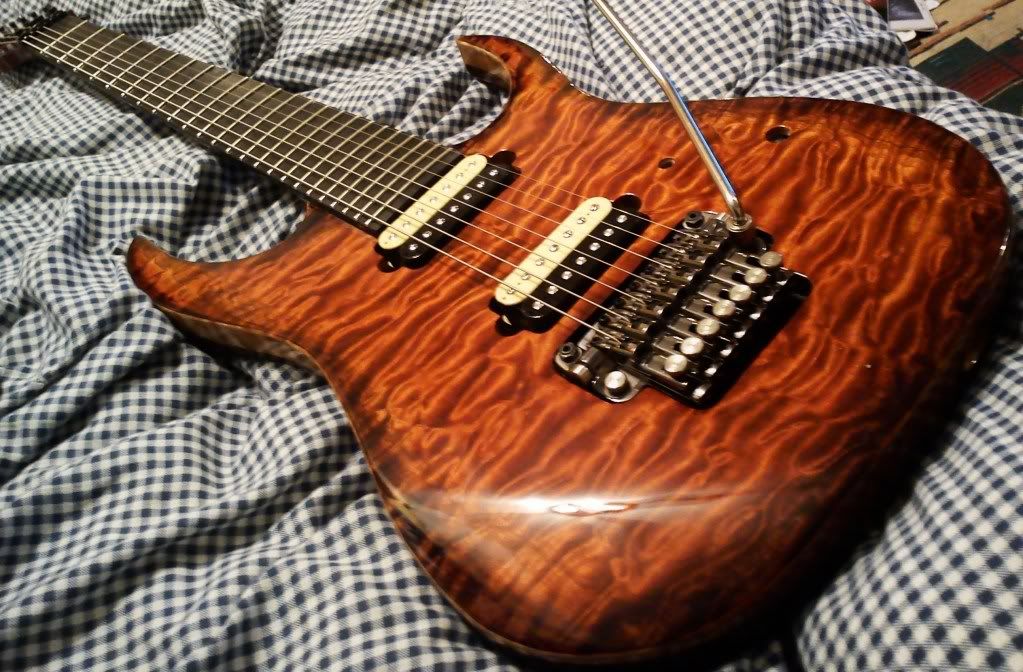
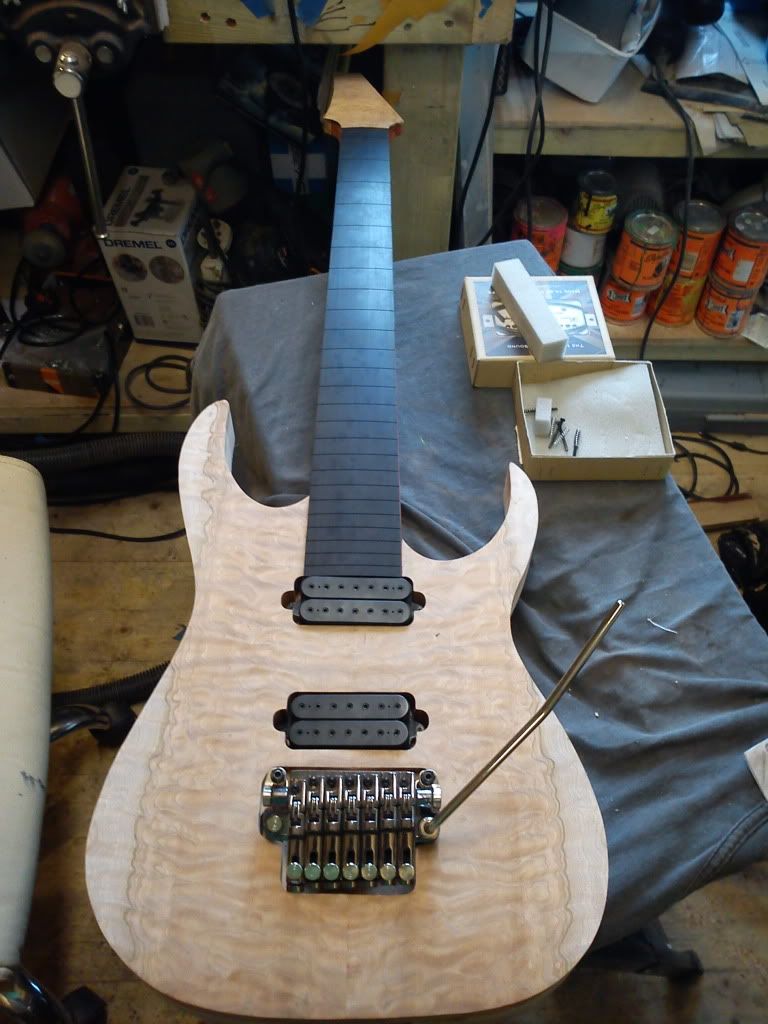
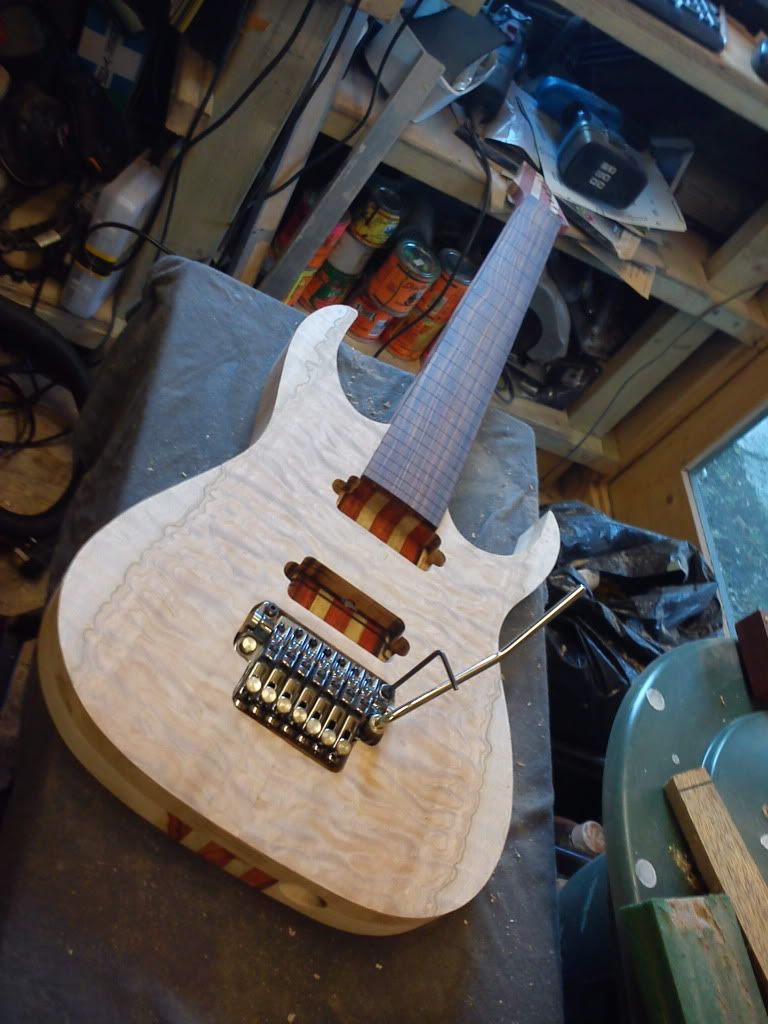
Long Neck 7
Couldn't think of a decent name.. wired this one up yesterday
27" Paduk neck
Ebony board
Ash back
Maple top
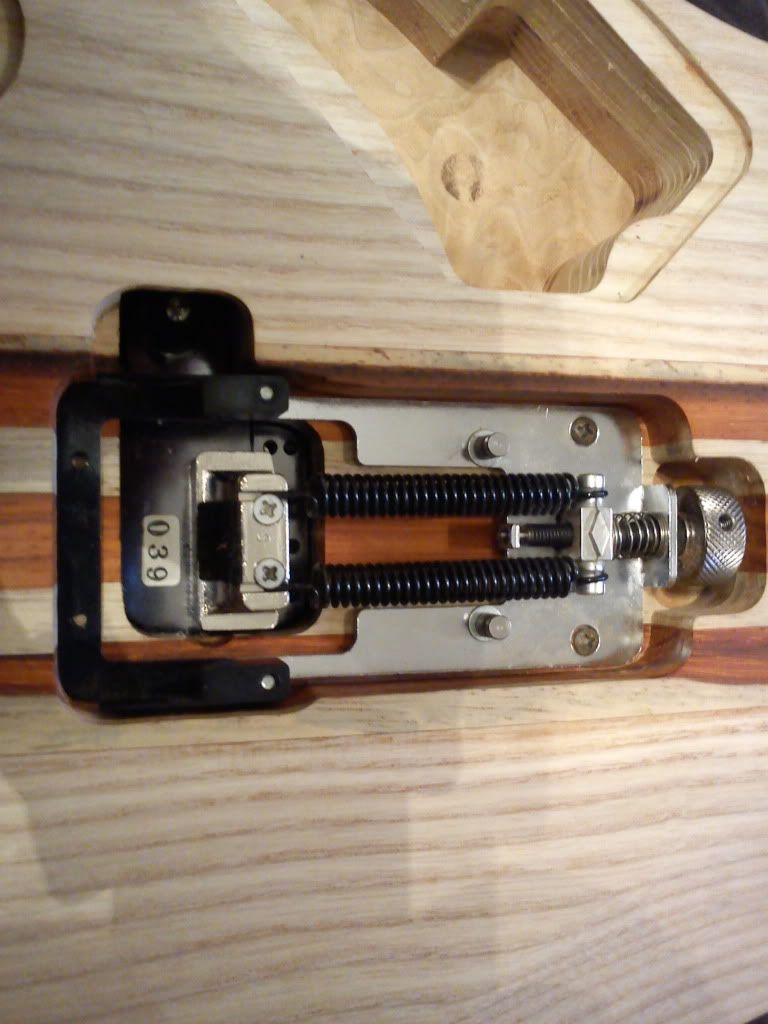
ZR trem & cosmo hardware
Chguitars humbuckers
build thread
http://projectguitar...showtopic=45827
Youtube vid
-
Despite sealing the top a bit the 1st clear coats bleed the dye into the maple so scraped the whole thing off and started again,
-
First thing I saw were the post inserts for the trem. A few long bolts would have both masked them off and provided a great pair of mounting points!

Had some bolts but they weren't quite long enough to attach anything to without being too close to the top of the guitar. The bandsaw cutoff gave good access to the top + had to spray while it wasn't raining. I like to give the posts some clear overspray it fills the threads up a little and stops the post rattling like using plumbers tape

-
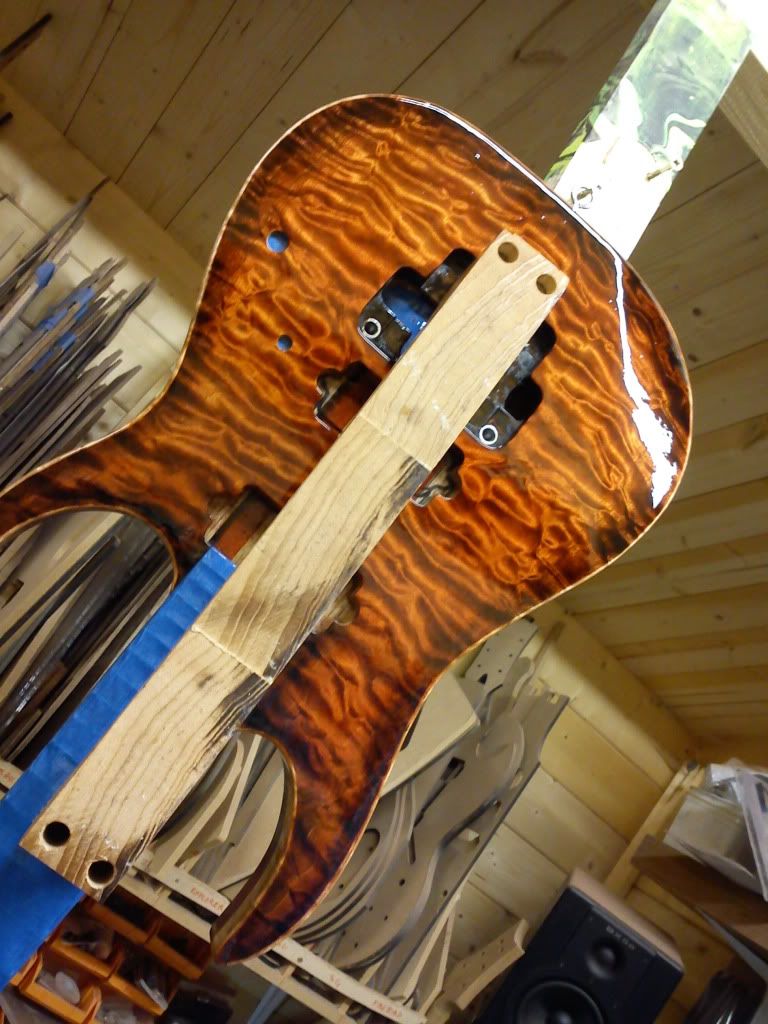
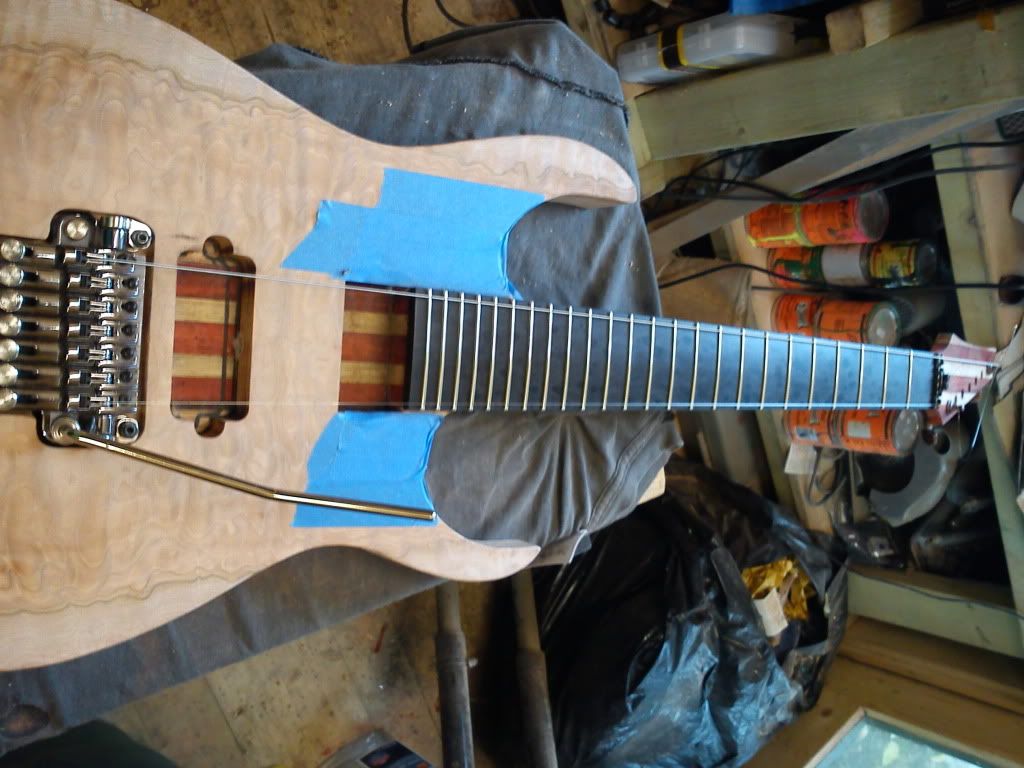
Sun came out for a couple of hours today so sprayed. Had to think how to hold the guitar when the only thing taped up was the fretboard. Used an offcut or a body blank as a handle screwed into trem cavity.
-
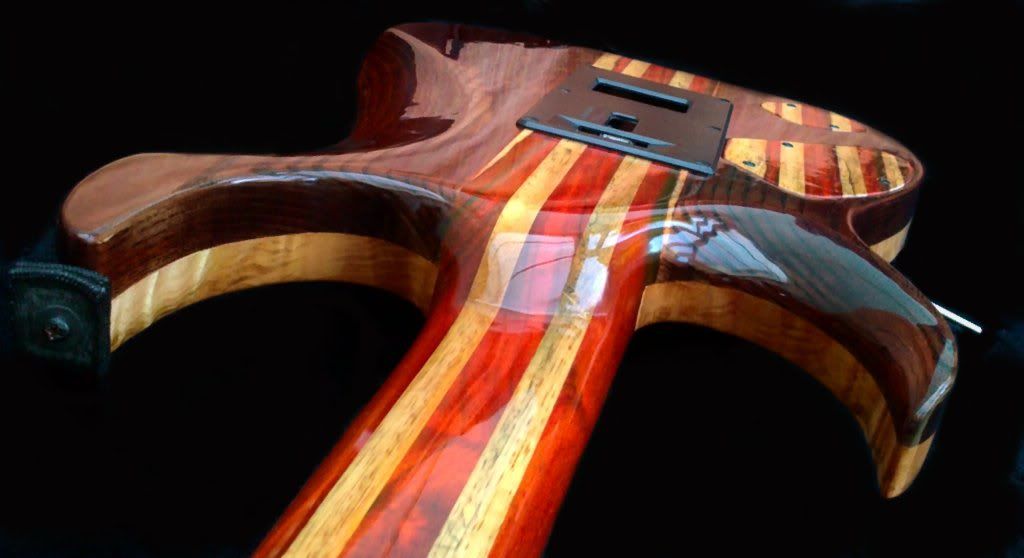
Gave the back some dye and a rubdown
-
Cheers all
Good call and it's gorgeous. I'm assuming you airbrushed on the brown dye burst?
SR
No just rubbed in on, might have to get an airbrush - never tried one
Gave the top a quick spray to seal in the maple before I do anything to the back on Fri, then the rain came pouring down so had to stop
Thought I'd string it up to check out
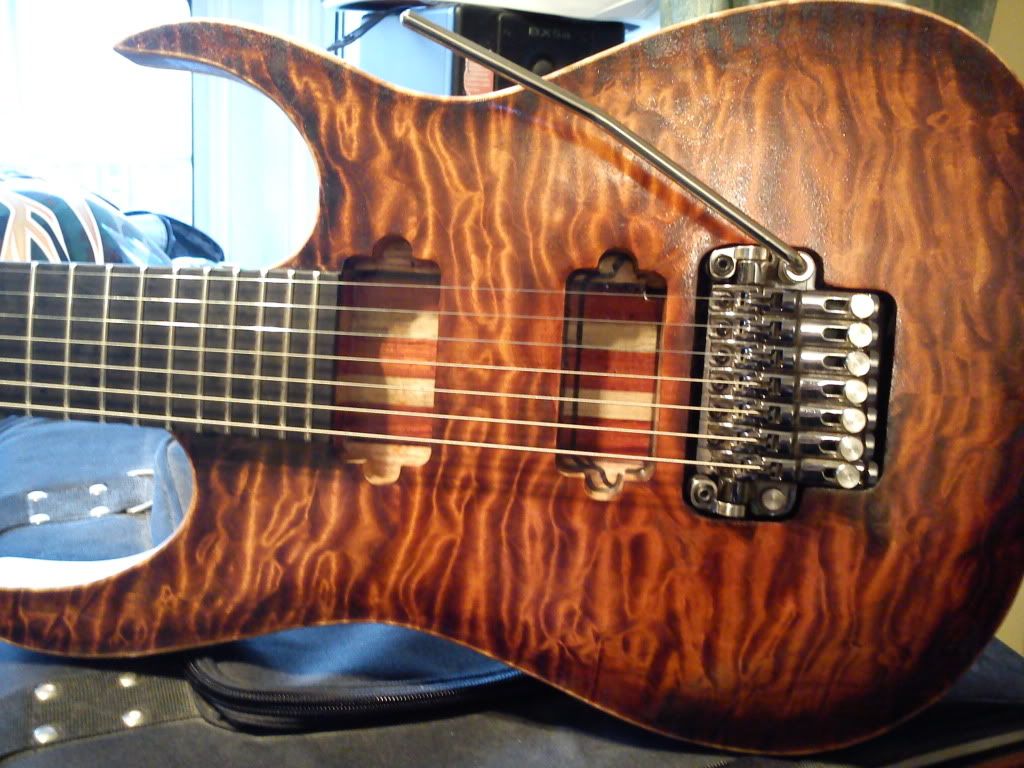
Forgot how easy ZR's are with the thumbwheel tension
-
What'd really be neat is if you made a ZR cover to go along with the stripes of the neck
Don't know, I'm thinking trying to match up the neck & the covers..& the back plate might look off
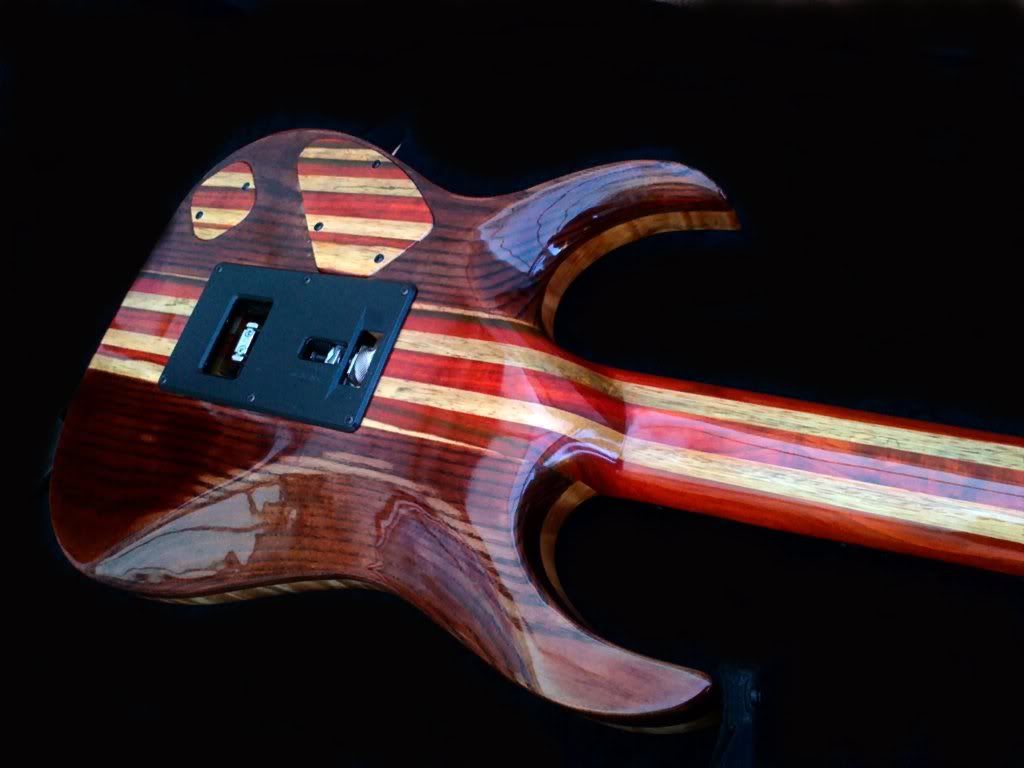
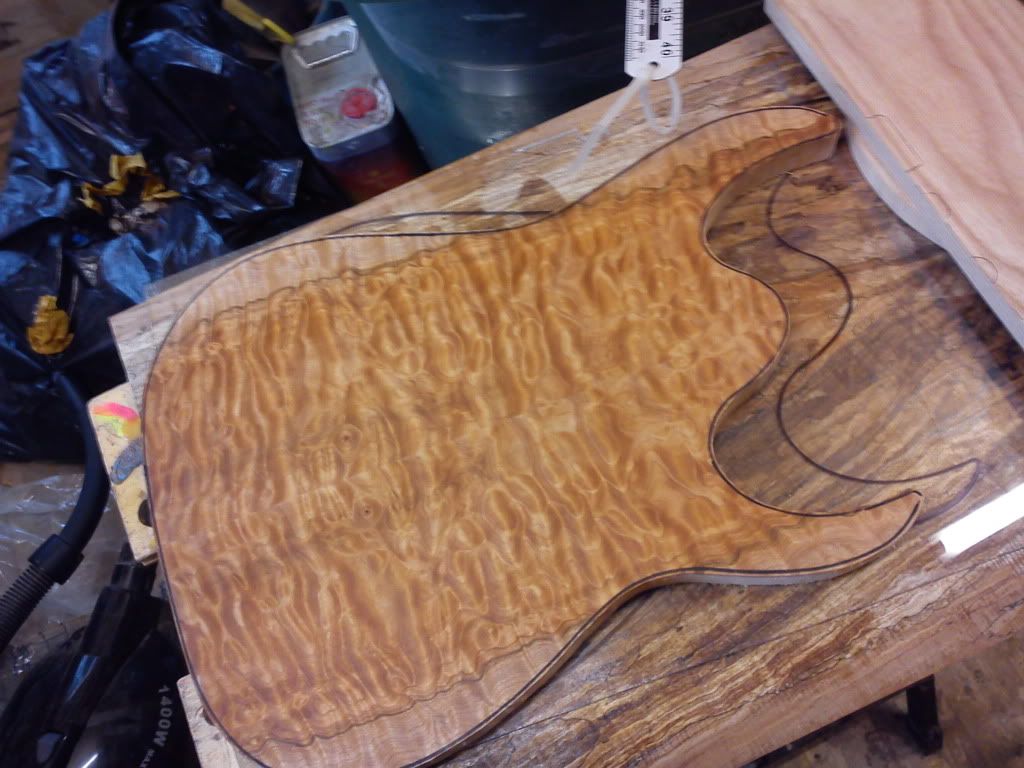
Sat around trying to decide what colour & finally just got on with it. Needed to be something to go with the Paduk
Brown sandback
Coat of orange, then straight on top with yellow
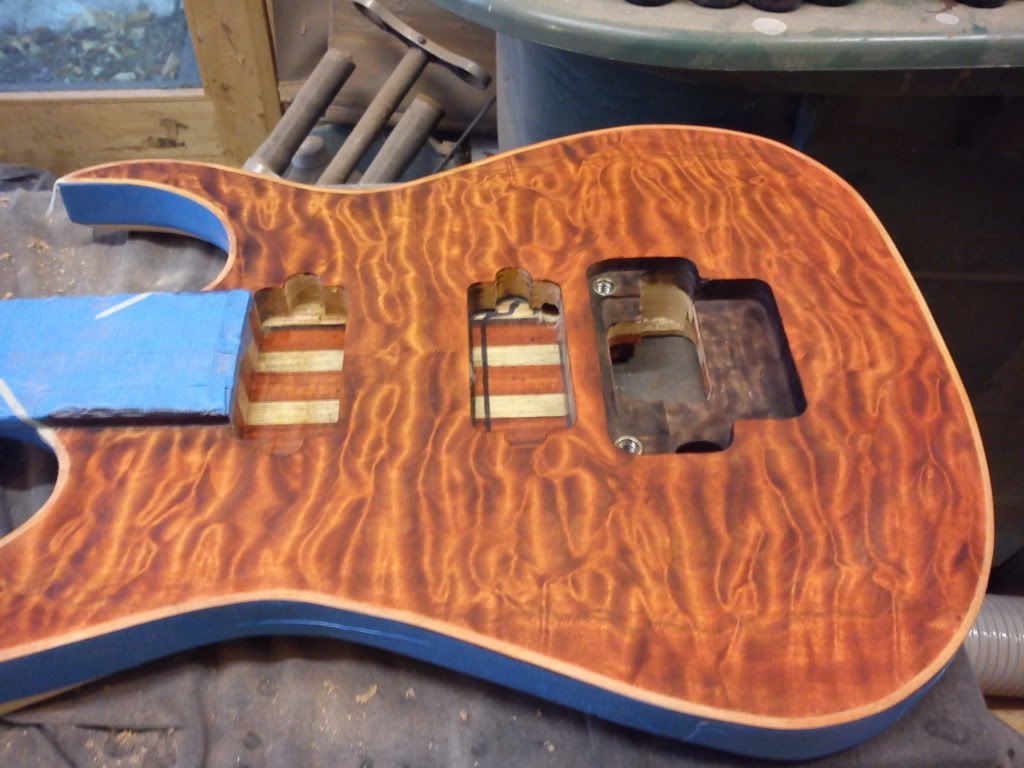
More brown for a burst
-
Fretted today, strung up to test
& started roughing out a plate for the headstock

not sure about the backplate, might just go plastic to match the ZR cover
-
Loving it, keep the pics coming
-
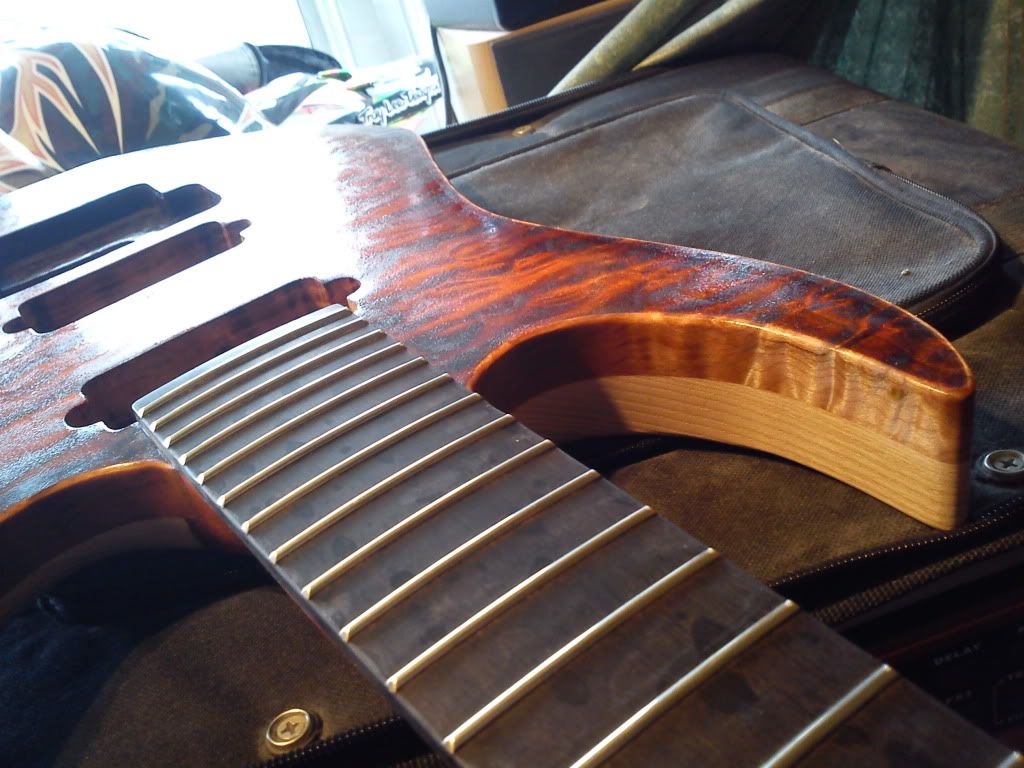
Shinto action
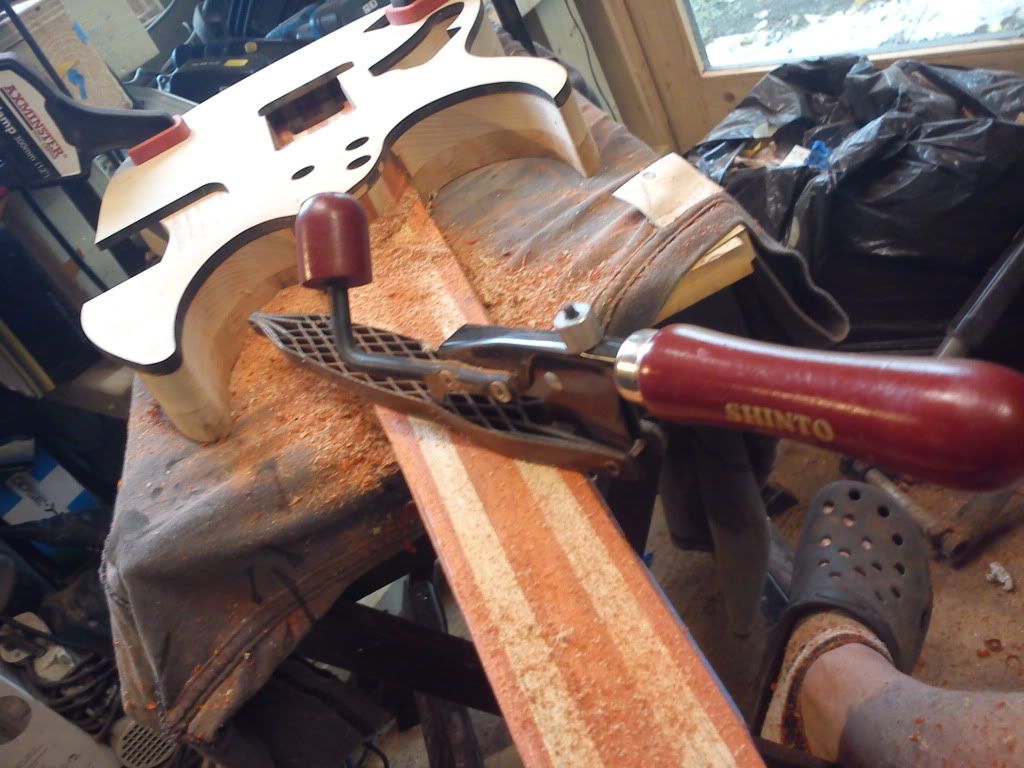
Not going for a massive no heal cutaway, as the maple top is so thick I'm leaving a bit more wood there. Roughed out neck shape, belly cut and cutaway
-
Made up the ebony board
pearl dots
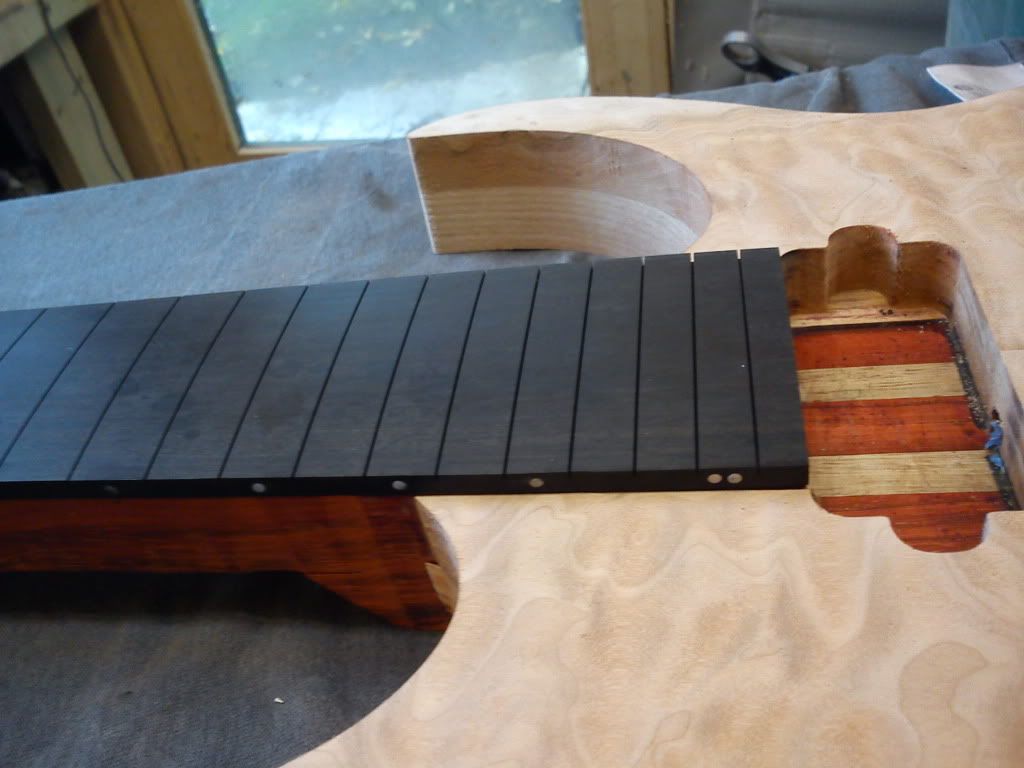
Check pickup wires fit
before gluing the board on
-
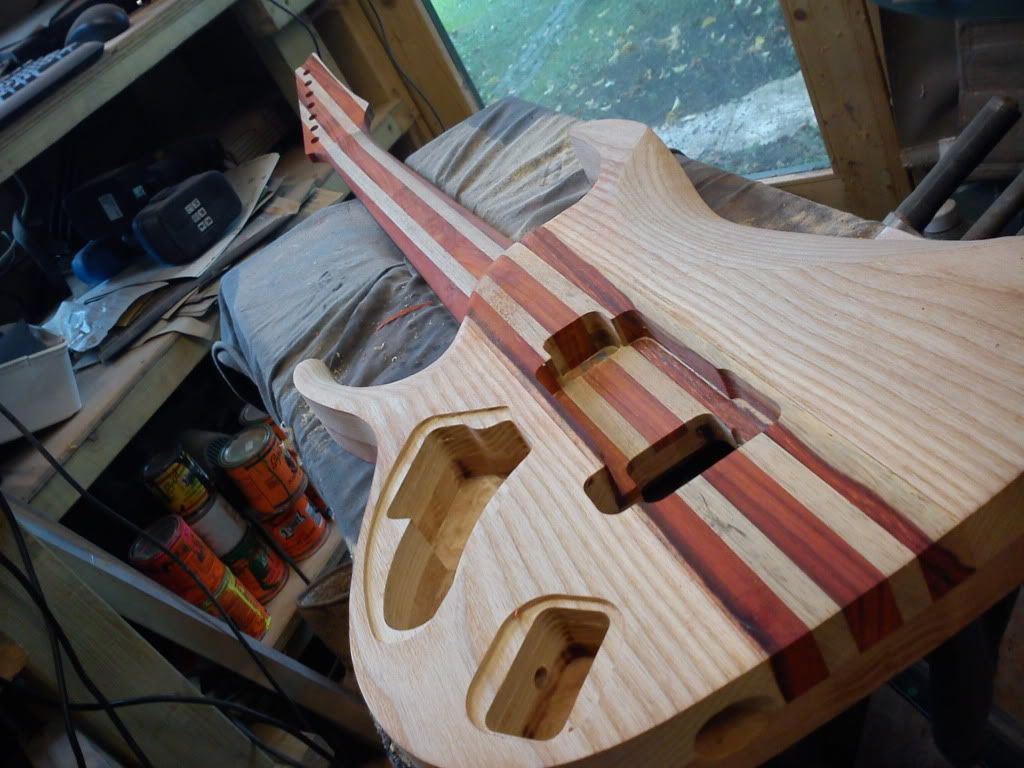
ZR route & posts in
Jem jack socket
control route
and a quick test fit
-
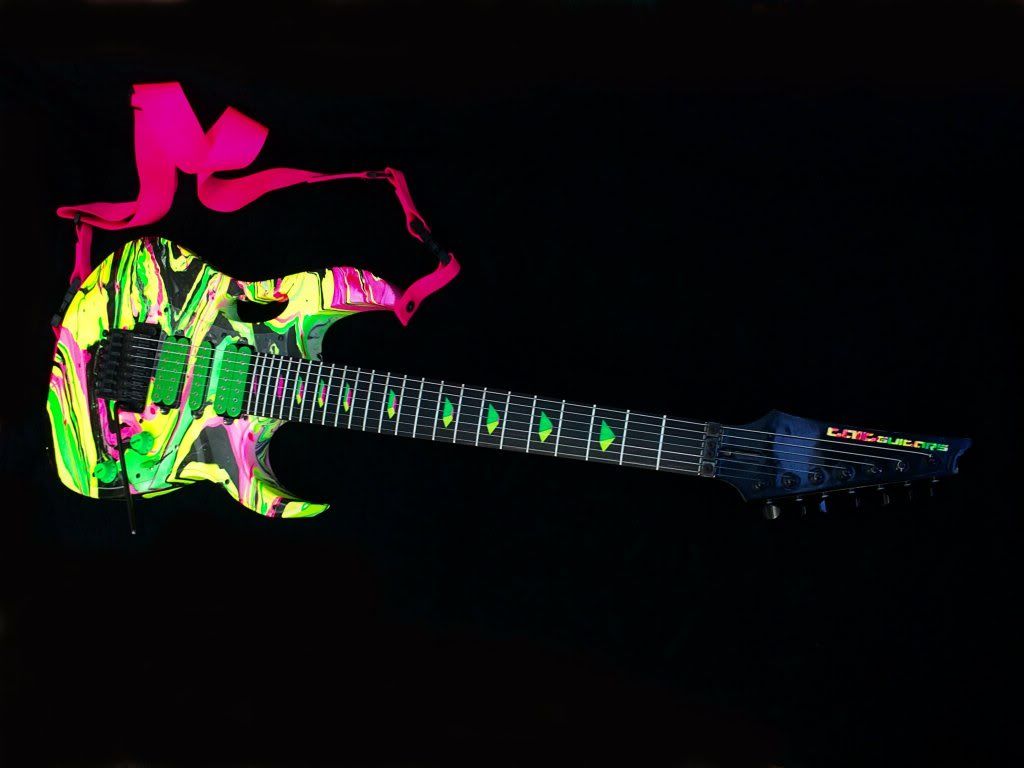
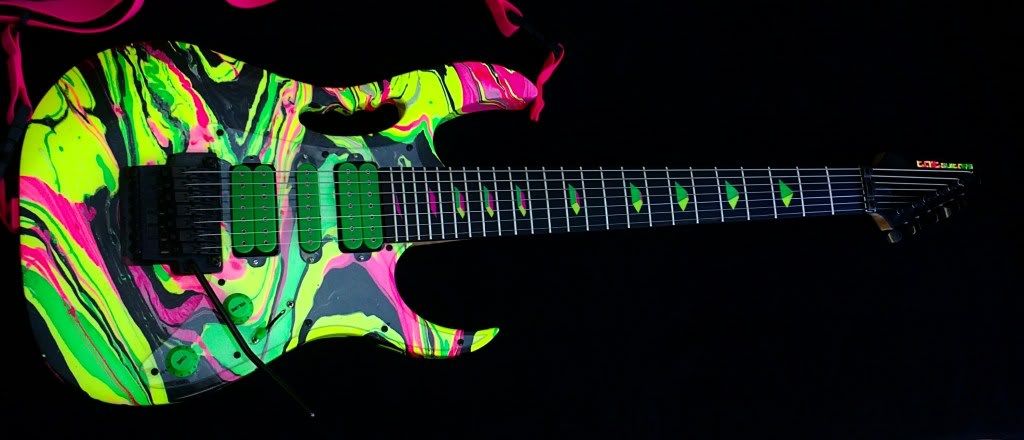
P&W
Swirled basswood body
5piece flame maple and wenge neck with flame scarfed headstock & swirled logo
Ebony board, Sintoms jumbo fretwire
2k finish body & neck
Edge Pro trem, Dimarzio Blaze 2 pickups
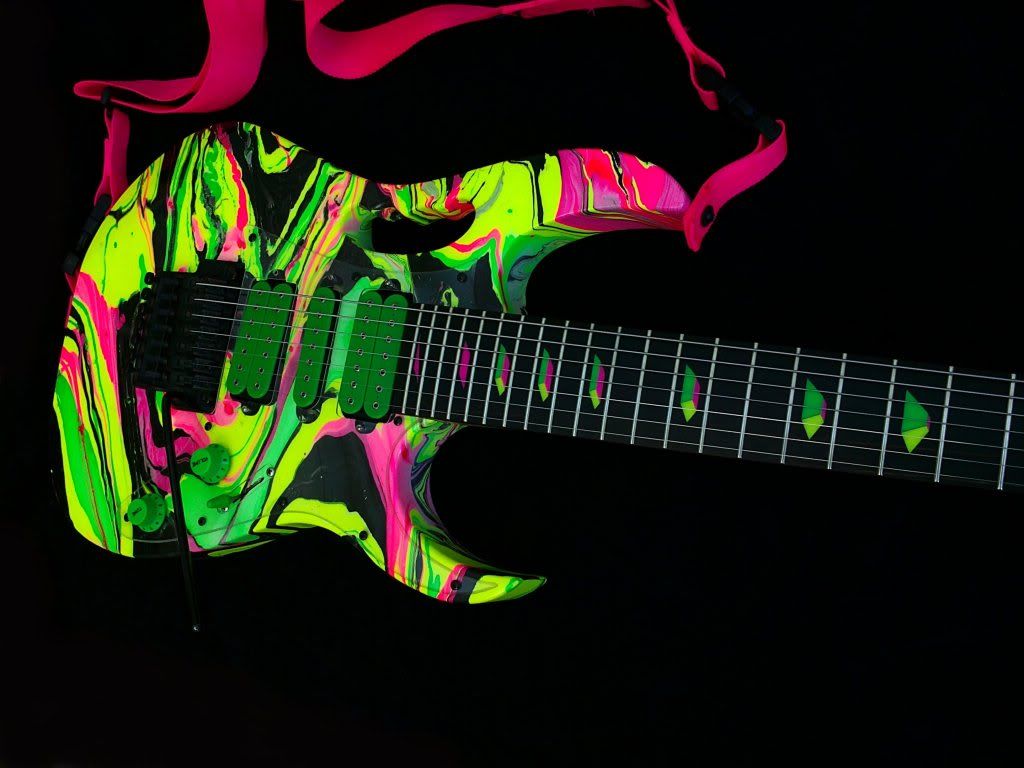
How it was swirled thread
-
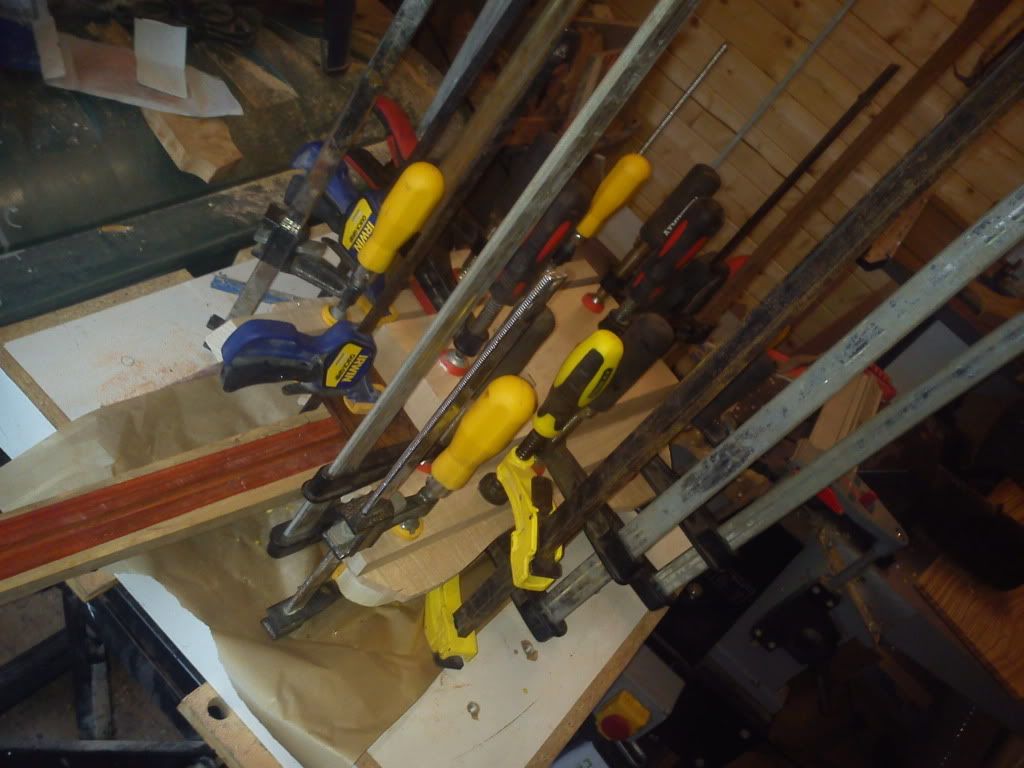
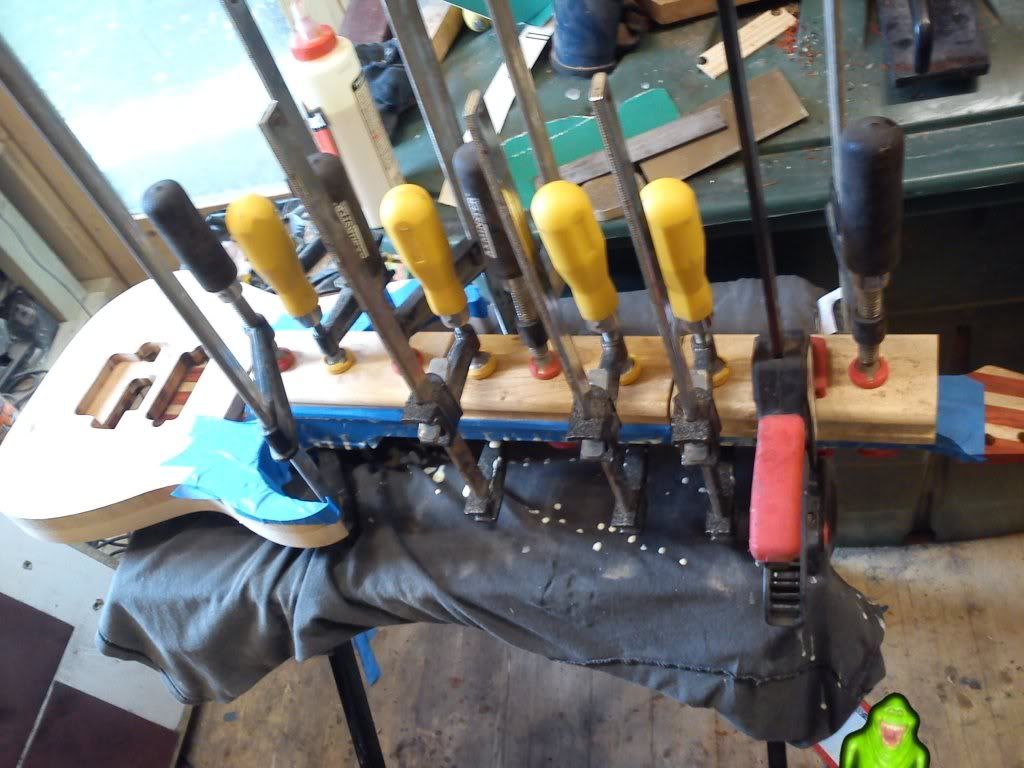
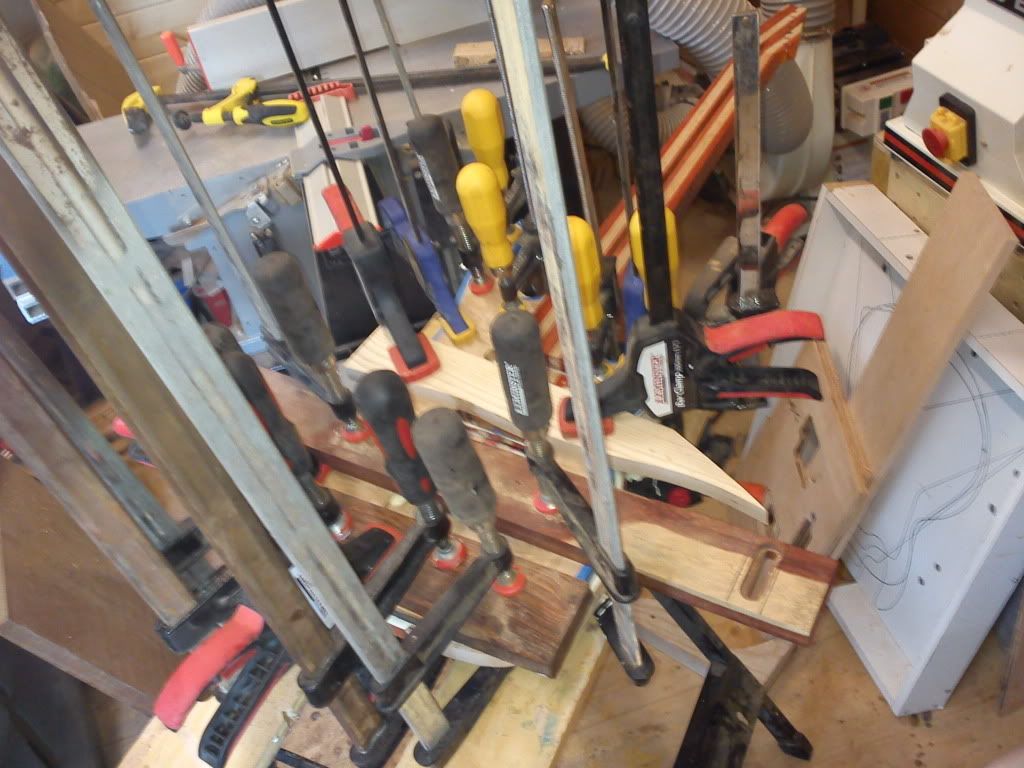
Ha...that pic looks like a poltergeist is levitating your clamps..
put down the pipe Wes!
Out of the clamps & trimed it down
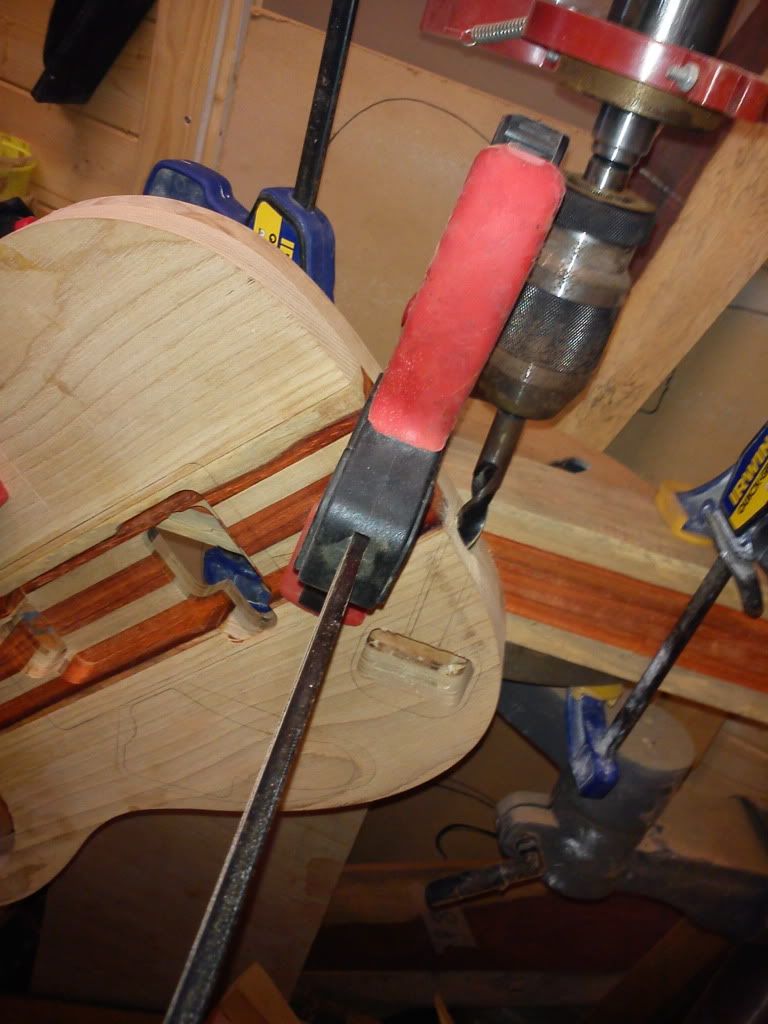
Thankfully remembered to drill a wiring channel before gluing - 1st neckthru and all.
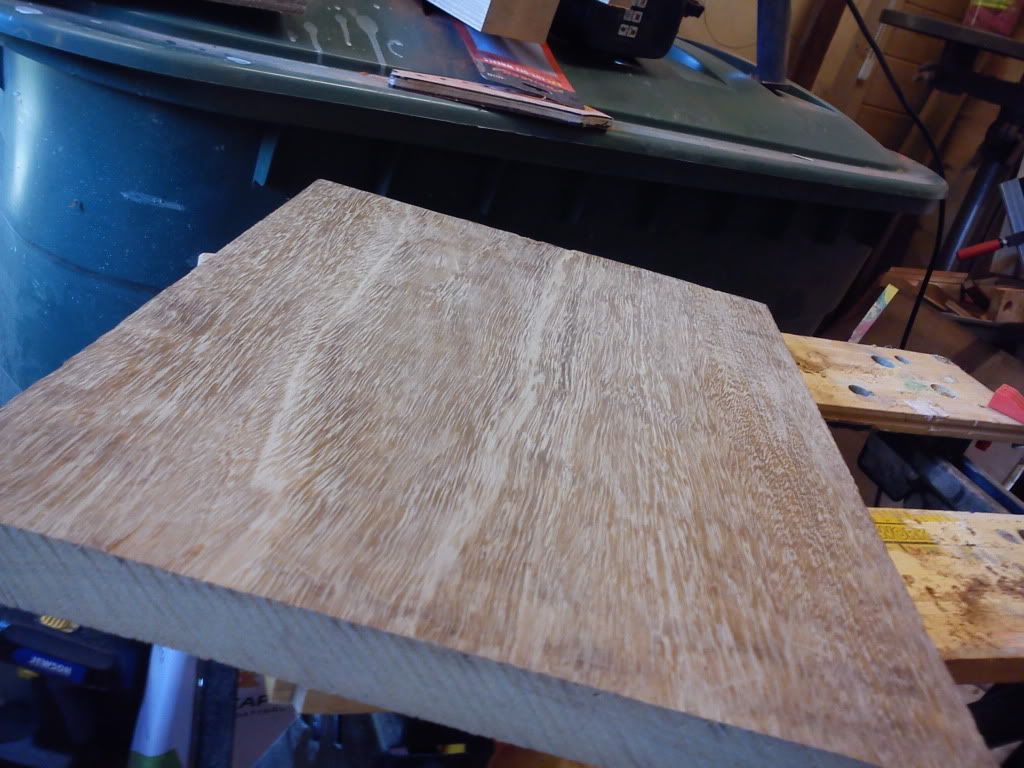
Postie turned up this morning with 2 big bits of ebony, will cut one up and see if I prefer black or brown..
-
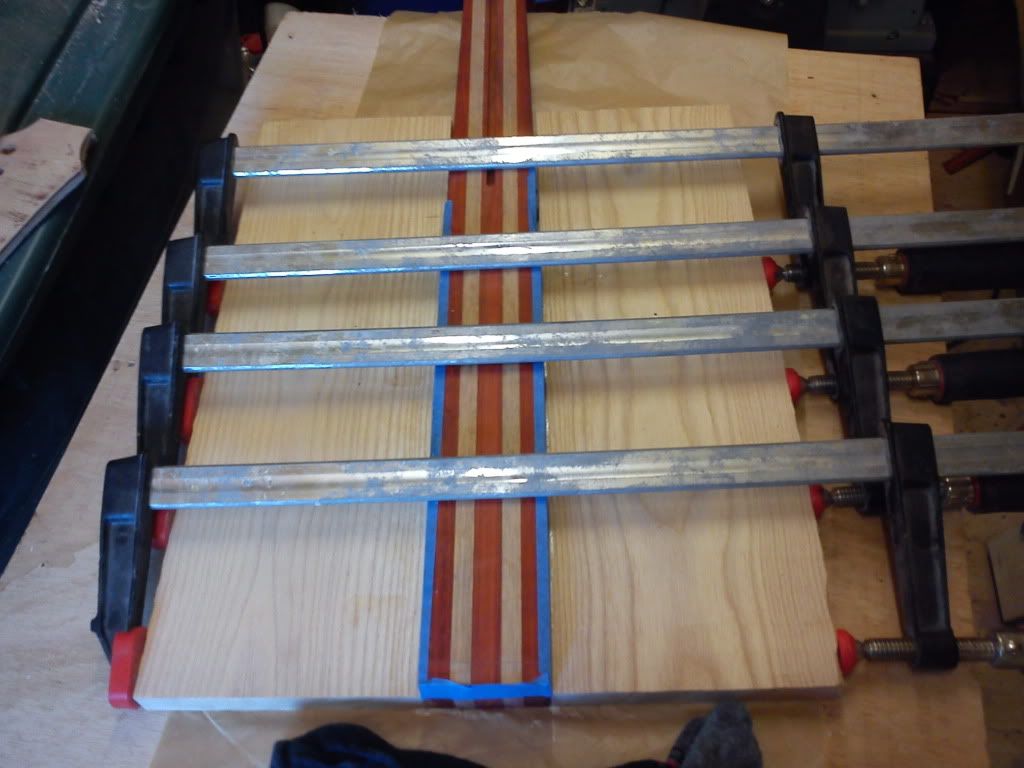
ready for glue
all the clamps
-
Though I do a test carve to see if I like it, something different from a RGA
First time I've ever used a hand plane as it was too big for the planer.

10 mins with an angle grinder, then a rasp for the places it can't quite reach
-
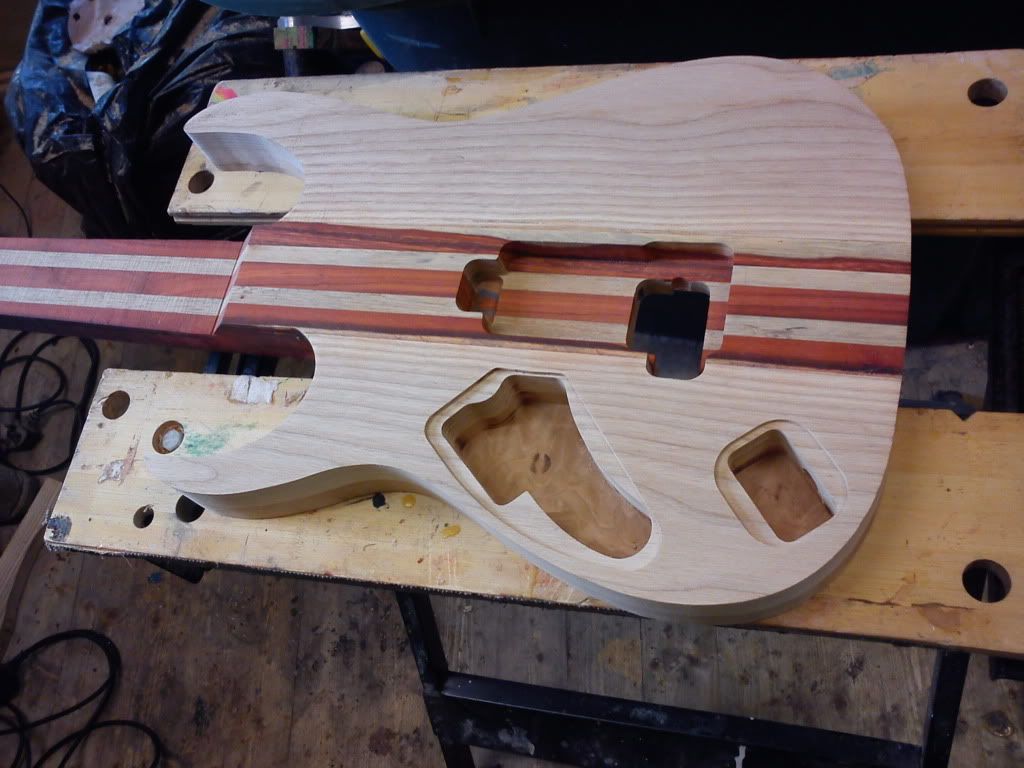
Glued the ash wings on
Then thicknessed down the middle of the neck blank to make room for the top
& cut the neck pocket to fit
-
Cheers for the spalt advice quys, got a load of thin CA coming from ebay, also waiting for some ebony to turn up, found some cocobolo in the shed so cut it up for a 27" board
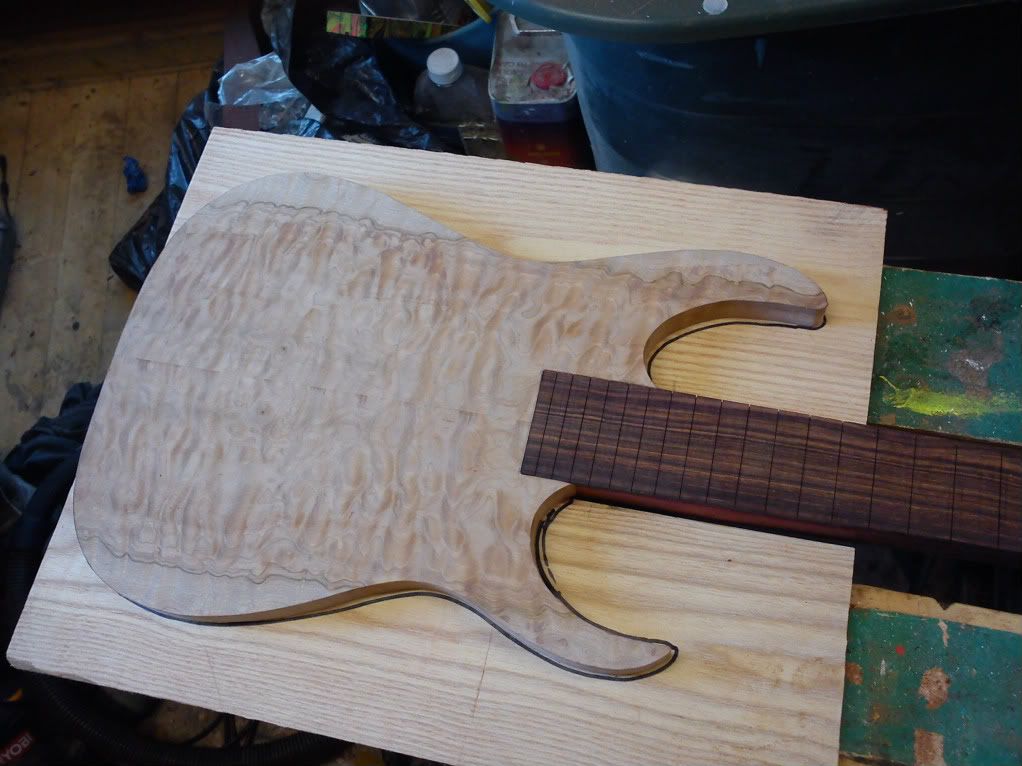
& cut out the maple
-
Unfortunately the CA will soak in at different rates depending on how punky the wood is. The softest areas will soak in the most and the more stable areas not so much. If you have really soft areas it will soak in so much that you will likely never sand through it. The parts of the wood that are more normal can be sanded back to fresh wood. You need to stabilize the punky areas before you carve it, or they'll just crumble on you. Then you can shape the top and stabilize the whole thing after rough sanding.
SR
Cheers Scott, just what I was looking for, thanks

Neckthru Js
in In Progress and Finished Work
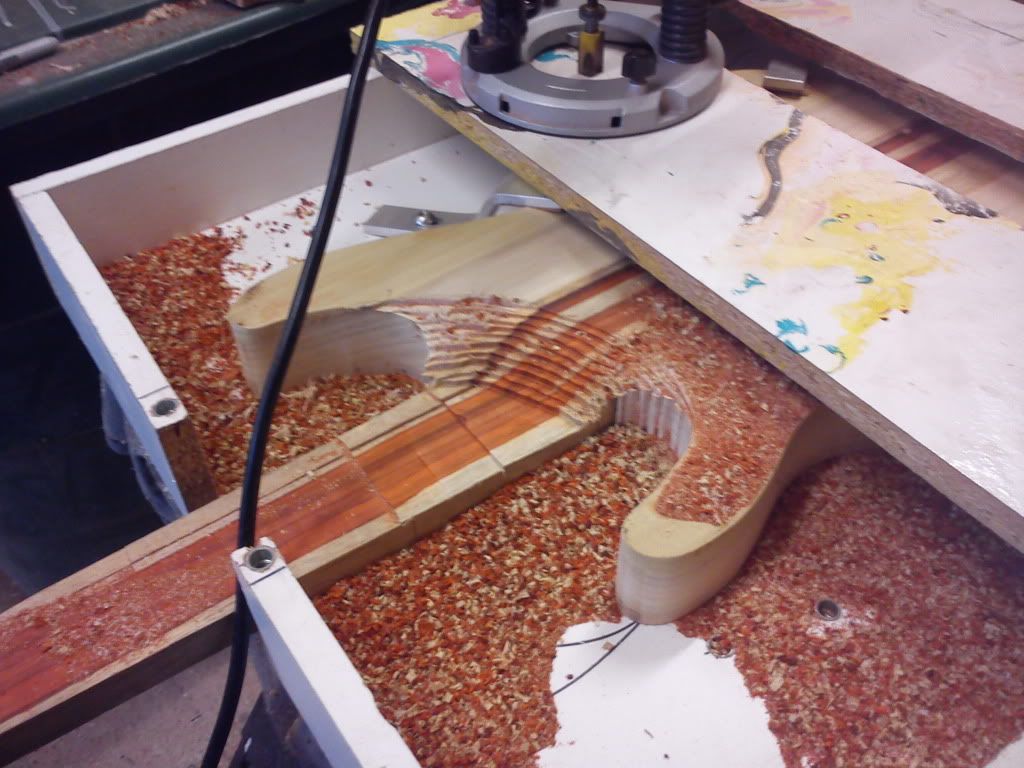
Posted
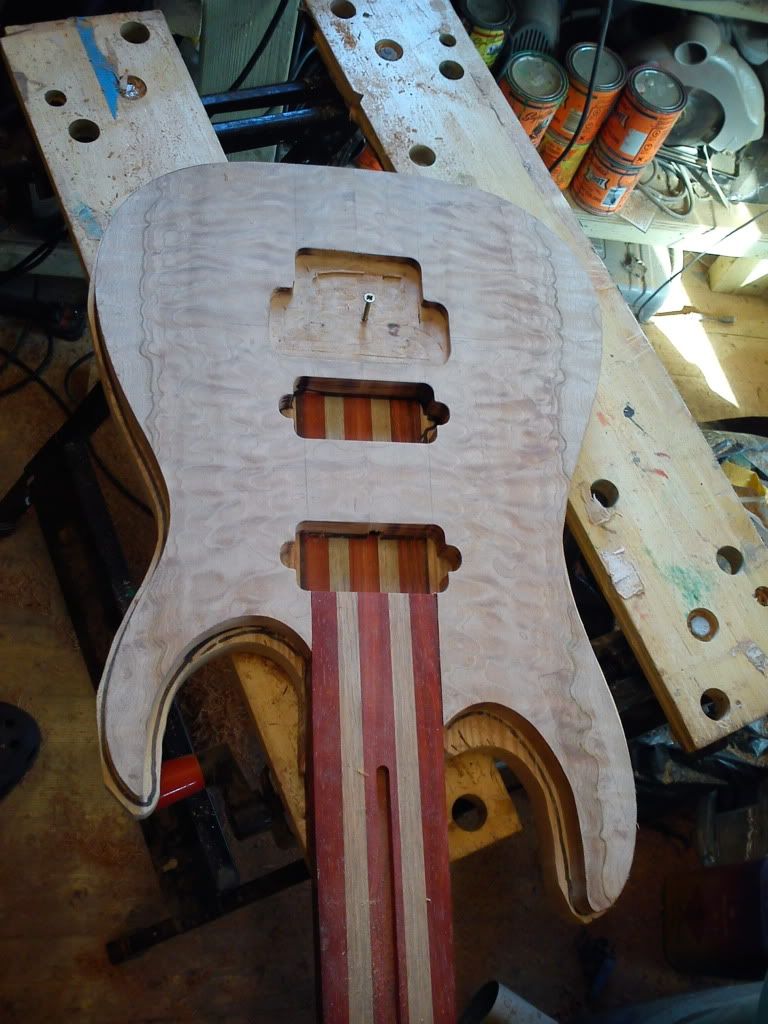
Hopefully, I like the randomness of the paduk wood/sap rather than straight lines
I thought the router was the easy way? - took 3 mins freehand routing the heal, then hit it with an anglegrinder
Don't know why I made it a 7, I've got loads of 6 string trems but no 7's