


blinkknot
-
Posts
23 -
Joined
-
Last visited
Content Type
Profiles
News and Information
Tutorials
Product Reviews
Supplier Listings
Articles
Guitar Of The Month
Links and Resources
Forums
Gallery
Downloads
Posts posted by blinkknot
-
-
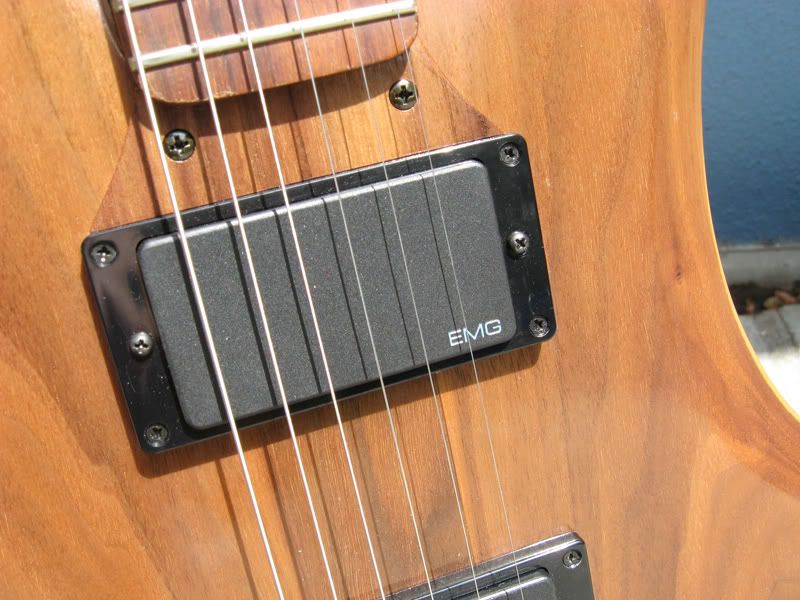
So over the weekend i wanted to play a bit on my guitar with the newly installed emgs 60/81.
Started playing with the 60 and it was clear and warm as always.
When i switched over to the 81 the 'volume was almost all the way down' so i turned the know up full volume and still just a faint sound was coming from the pickup when i played. turned it all the way down, still a faint sound coming from the pickup when i played... the volume knob had no effect.
baffled i took it to the pros on monday. checked all the wiring and everything that could be checked. Everything was fine. by this time the 81 was completely dead. We unplugged the the 60 and plugged it into the 81 jack and it worked 100%. did the same with the 81 and plugged it into the 60's jack, once again, no sound. the 81 was dead.
i just want to know if it is possible for the pickup to overheat or something, cause its still under guarantee and im getting a new one and i dont want it to happen again?

-
Awesome! I love it!
How is the playability with the lower horn?
its a bit tight, but its playable. Not a HUGE problem. When you try and shred on the lower notes thats when it starts to hassle, but still, not a biggy.
-
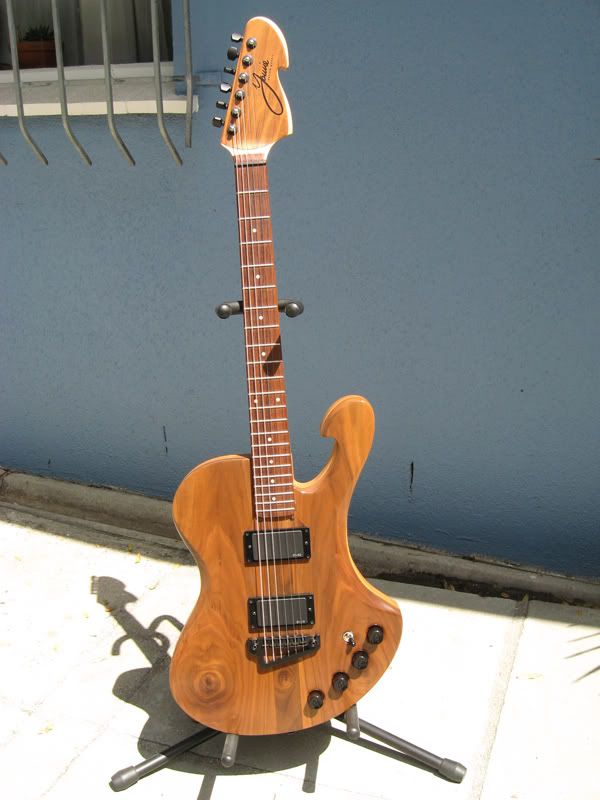
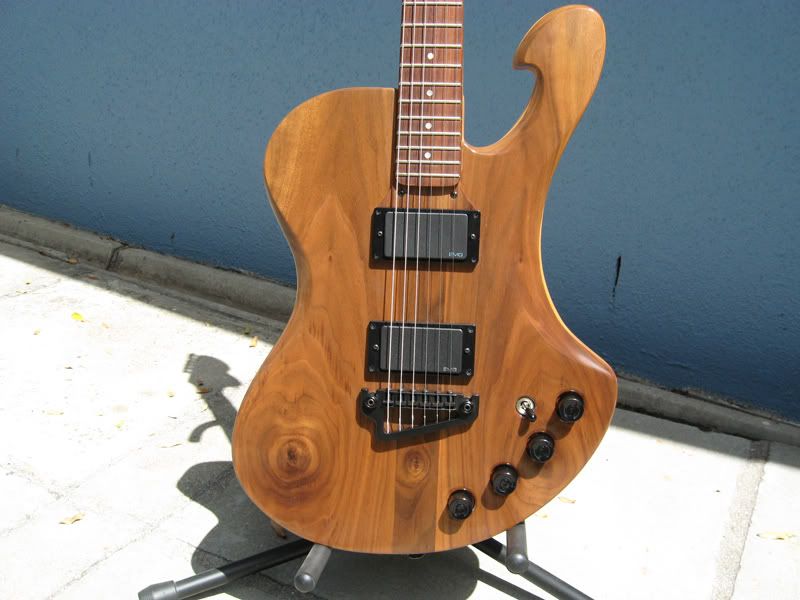
At last... its done!
thanks for all the great advise and help.
-
Hey blinkknot how are you going with it?
If you read the preceeding discussion, you can see that you have a choice of two fixes,
A. Build up the neck pocket with a tapered shim or shim composite and sink the bridge
or
B. Put an insert in the pocket and reroute an angle with ~ a 2 mm lift
Both are good techniques that will give you a good looking and playing guitar. If you go with plan A, a really simple shim method is use about 3 pieces of thin hardwood veneer in a step arrangement. You can try a step at a time until you get the angle right and you can sand a smooth ramp or even use epoxy to fill in the steps to get good traction between the neck and the pocket.
Sinking your baby grand bridge,
would need some careful planning, check how much clearence you will need to feed in the strings. Good luck with it
wow thanks for all the advice... i went with A in the end. it looks right now.
i still had some veneer left which is 1mm thick so i filled the whole pocket with a piece and the ontop of that with half a piece of veneer. this gave me the right angle... i hope. ill post some pics once i bolted the neck back on.
i wanted to stay away of doing anything to the finish. thats why i skipped sinking the bridge
-
Great stuff!
Ill give it a go over the weekend, pretty sure ill get it right... i just have to -
urm.... so i ran into my first big issue and im not sure how to fix it...

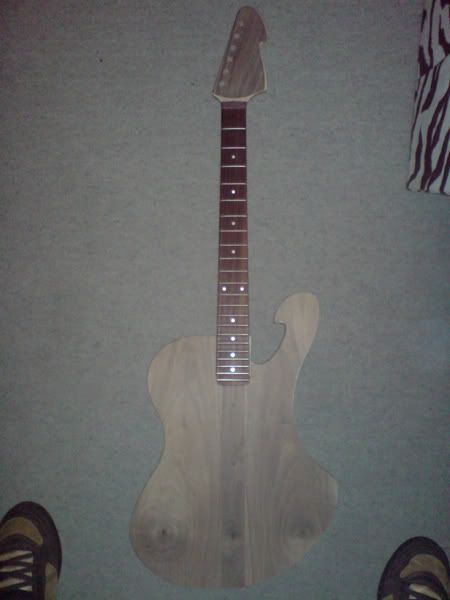
the bridge is set at its lowest and the string is way to far from the fretboard... only thing i can think of is the neck angle? if you look at the light wood of the guitar neck that sticking out. its thinner at the bottom as it is at the end...
please help!
-
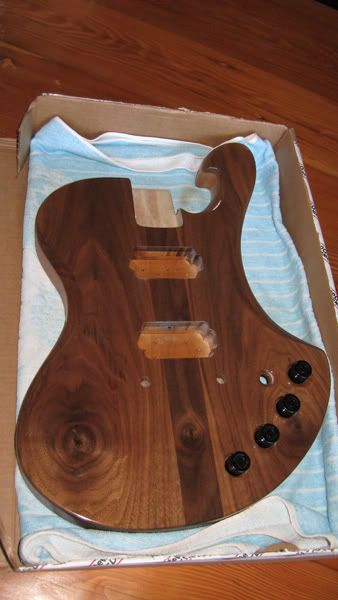
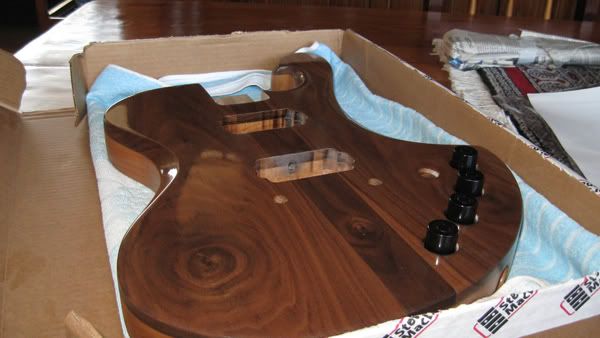
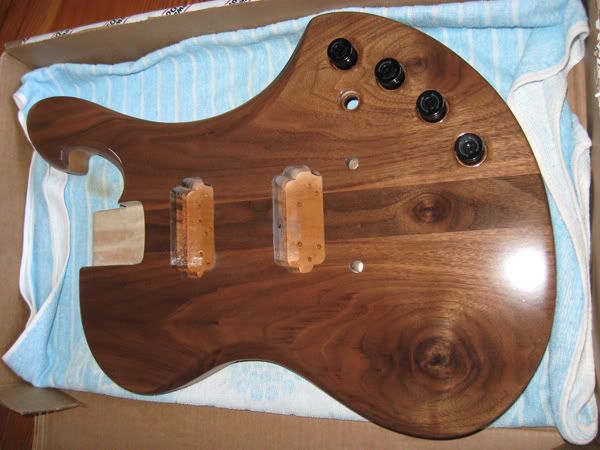
Hey Hey, the end is near... body finished and ready for the neck.

http://i205.photobucket.com/albums/bb212/b...odyspray003.jpg
http://i205.photobucket.com/albums/bb212/b...odyspray004.jpg
http://i205.photobucket.com/albums/bb212/b...odyspray005.jpg
-
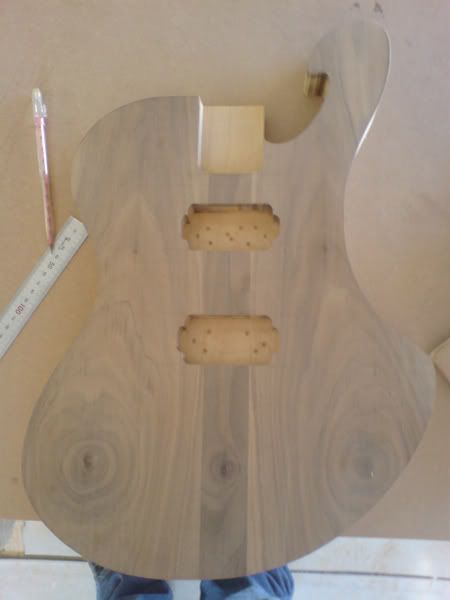
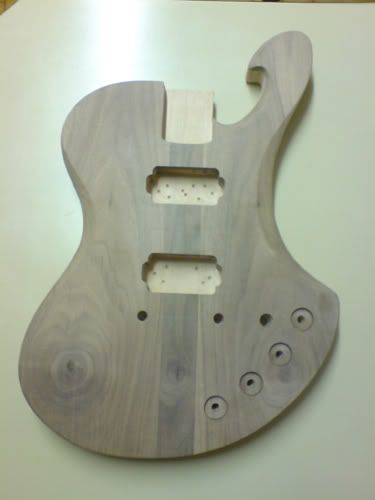
Dude... That control cavity is HUGE! Sorry if I missed it, but are you using active pups? That would explain the massive cavity - battery space. Otherwise, what's the deal?
Spot on. EMG 60 and 81. Another reason is that this is my first build and im planning on wiring it myself and i dont want to work in small cramped space.
-
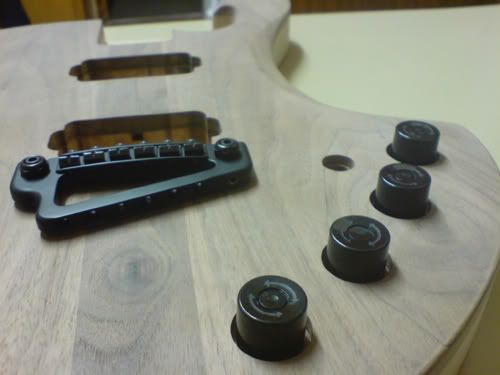
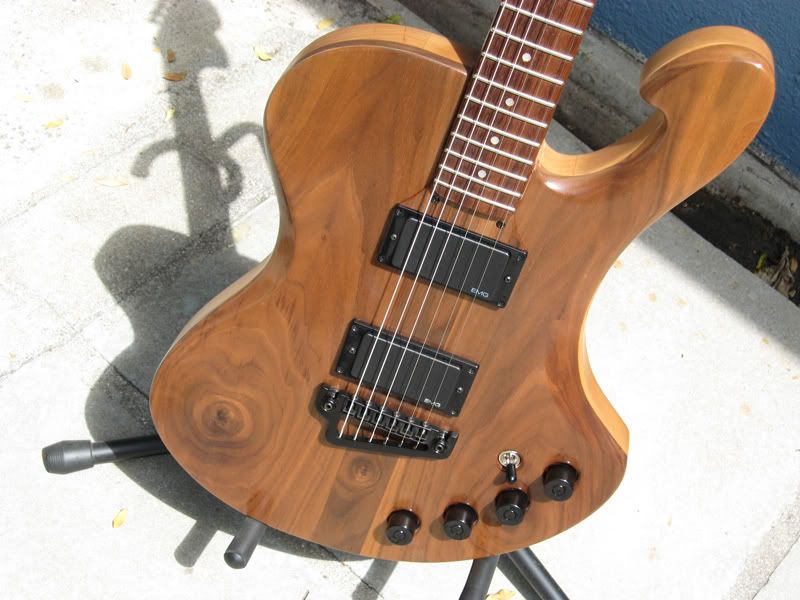
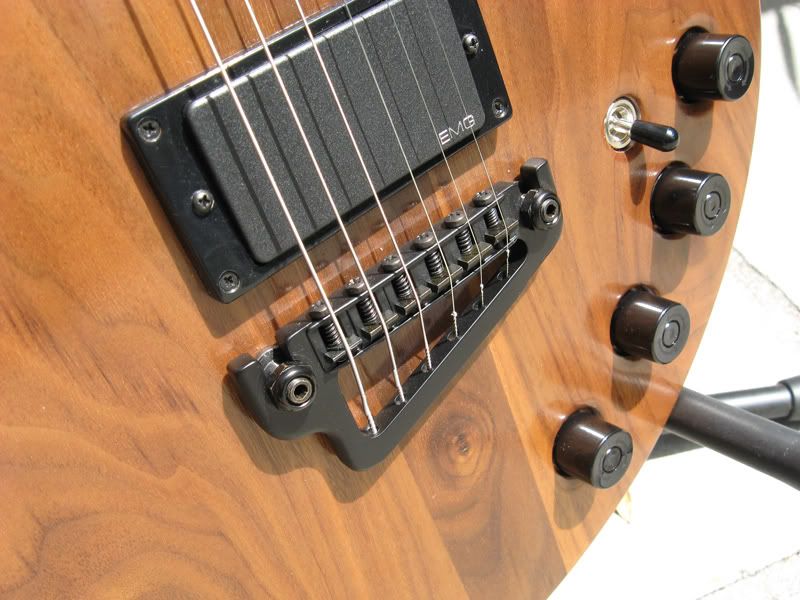
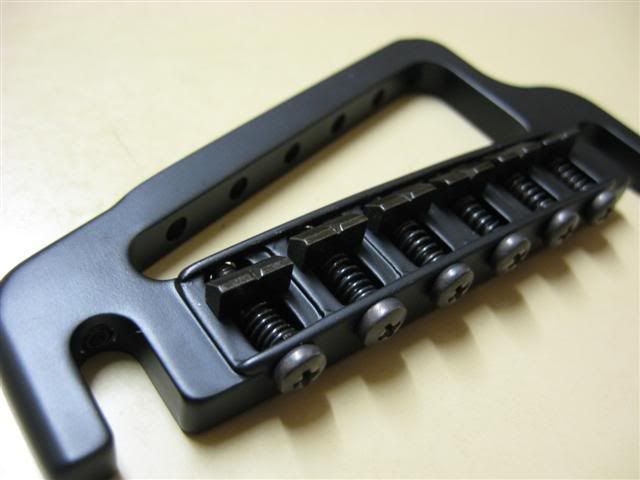
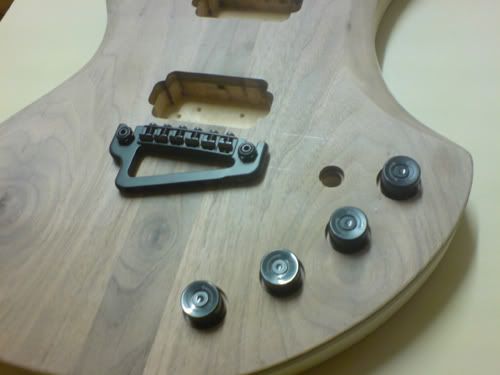
Looking good. What type of bridge is that? I like the look of it.
its the Hipshot Baby Grand bridge.
-
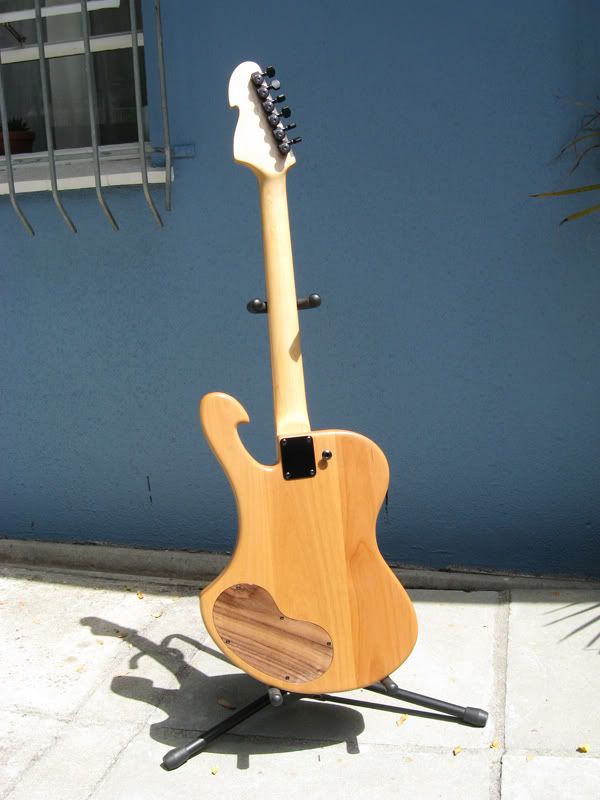
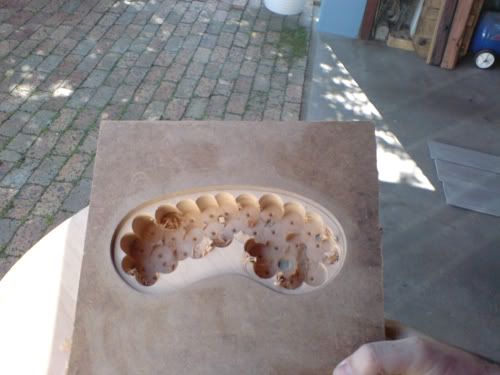
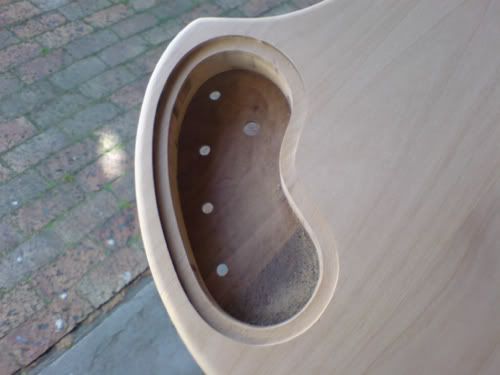
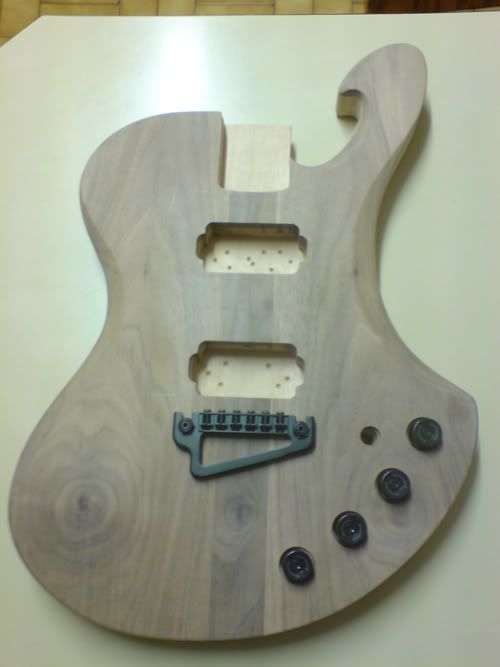
Made the cavity at the back over the weekend.
-
-
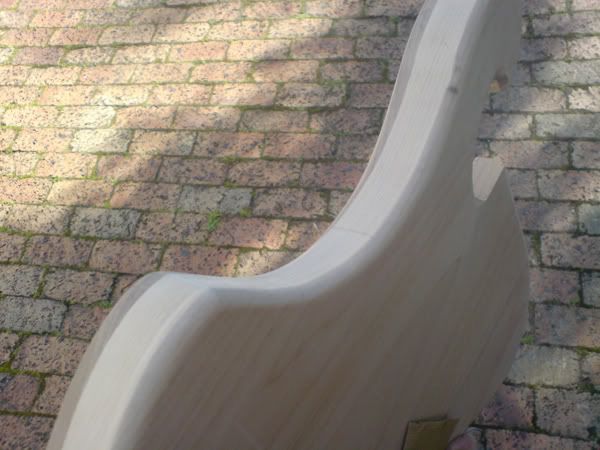
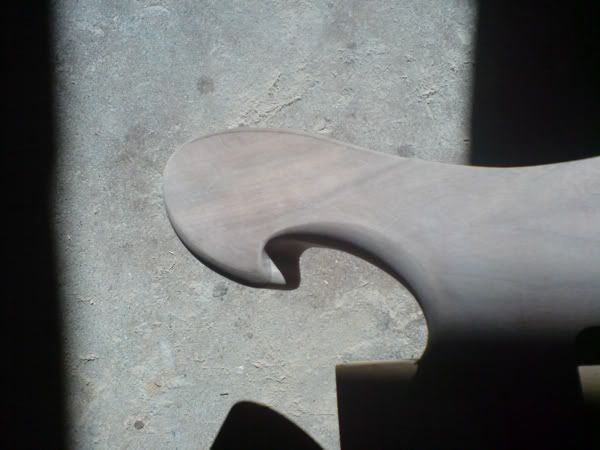
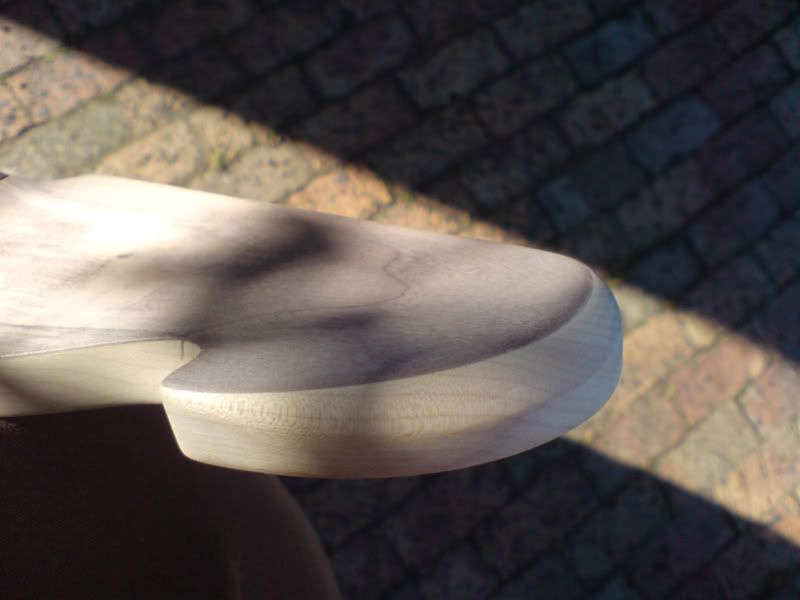
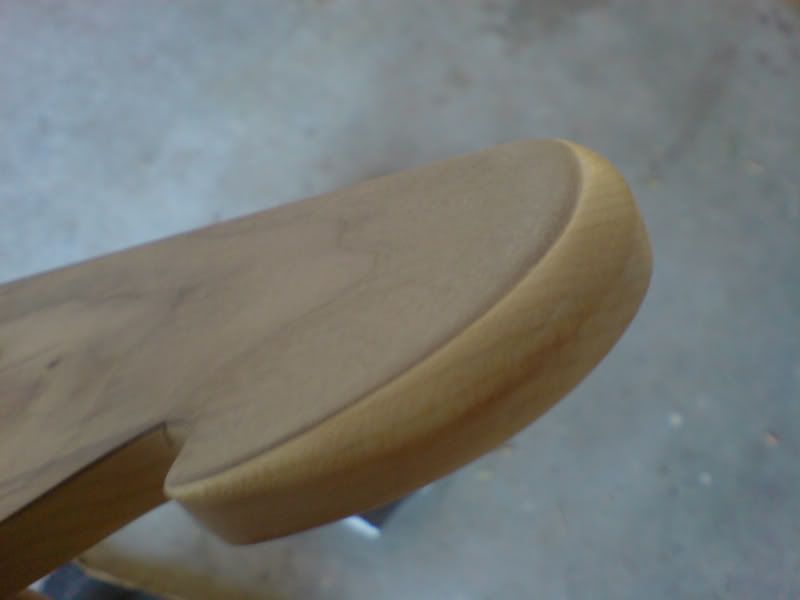
Now.... can you match the exposed-veneer-line technique you have on the headstock, with the bottom horn? Realyl round over and sculpt back the edge to get the white line of the body wood to show when looking flat at the body? That would seriously tie the whole design together.
MAN this is getting better and better.
thats what i have in mind, my arm just gets a bit numb after 3 or so hours of sanding... hopefully this weekend ill be able to get alder to show.
-
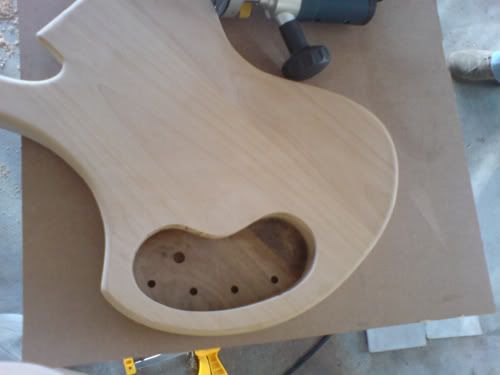
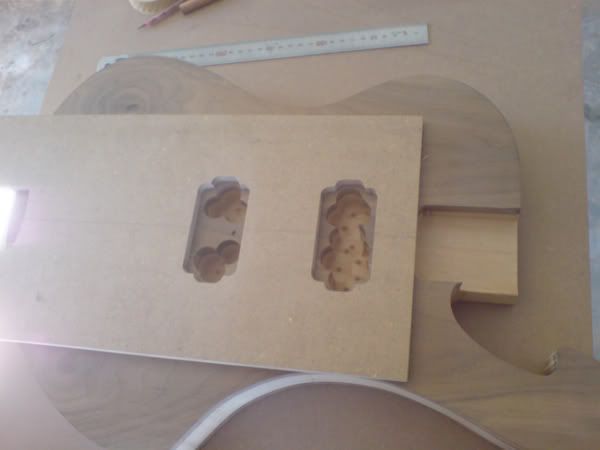
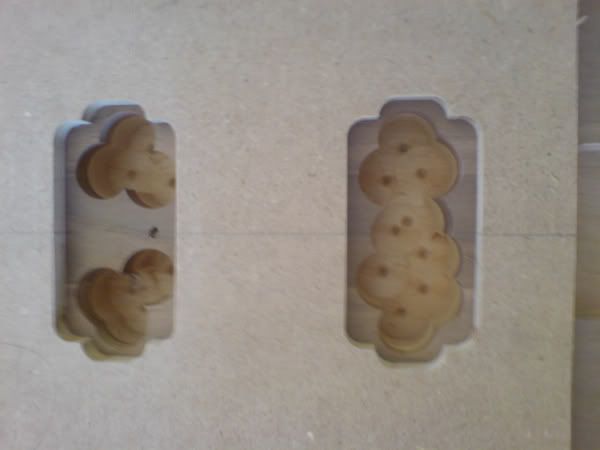
Made the pickup cavities and rounded the edges.
-
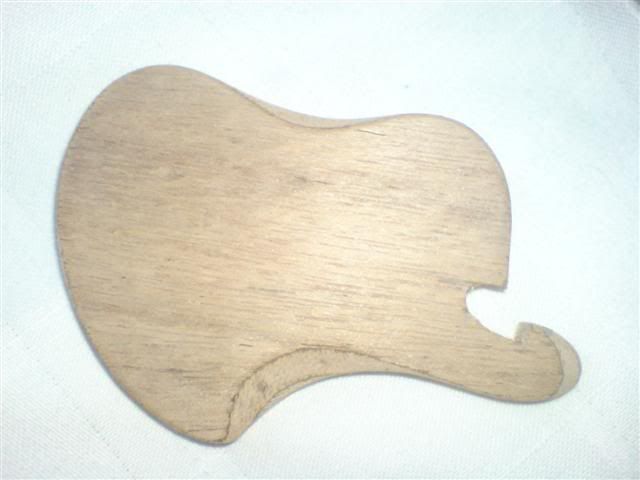
i think metalhead is right - that horn would be more practical if it left more room for access I picked it up and i have a plan B (which i learned is a good thing to have when building a guitar) ... i really like it though and I hope that the right cut-away options will minimize restrictions.
-
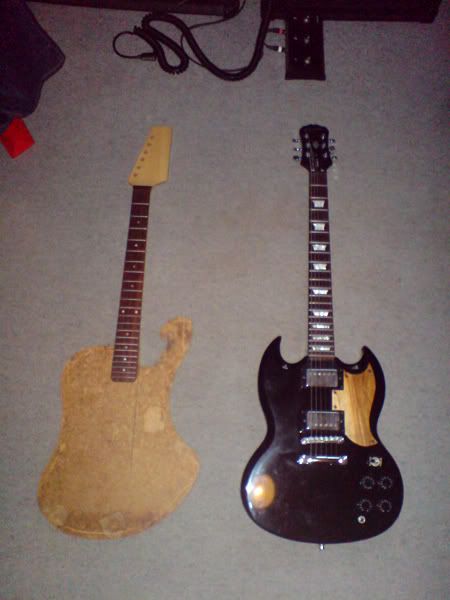
finally got to shape the body. still a lot of sanding that needs to be done though.
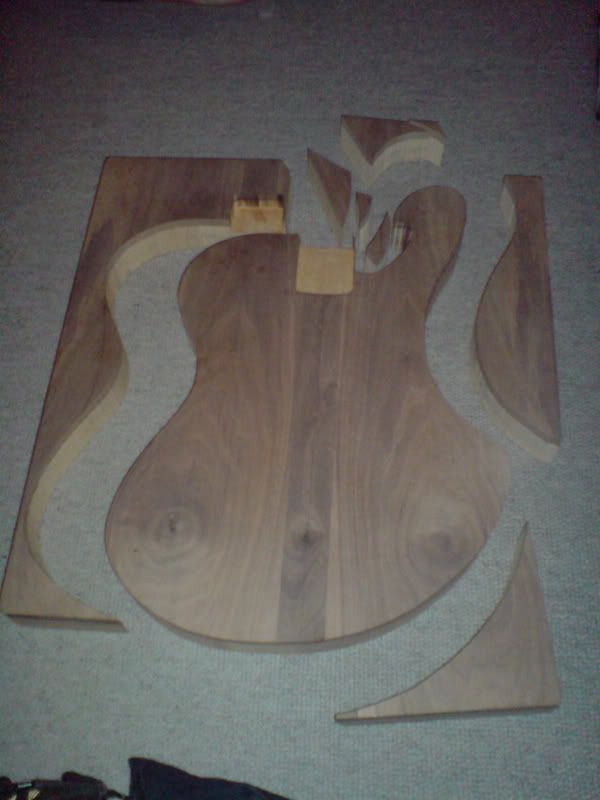
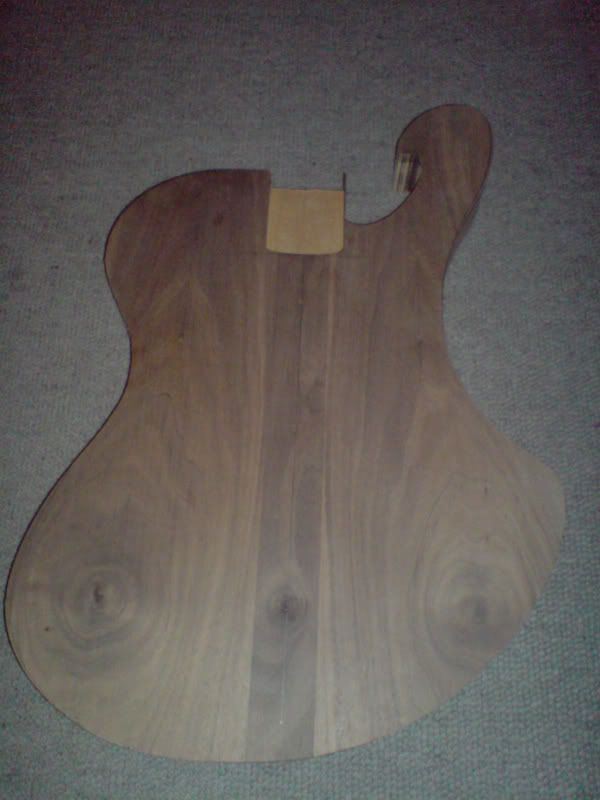

-
Glad everybody went for no.2. that was the original idea.
quick beginner question : Should i router the neck and pickup cavities before or after i cut out the shape of the guitar?
-
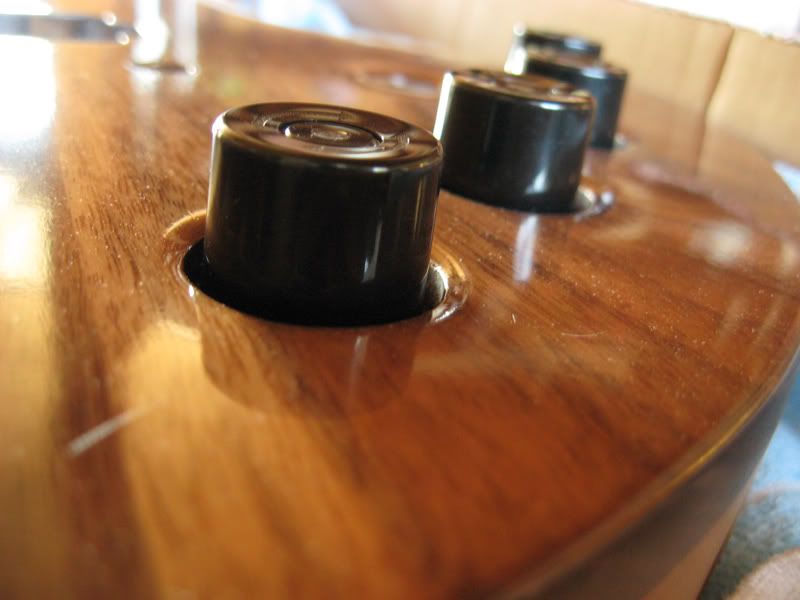
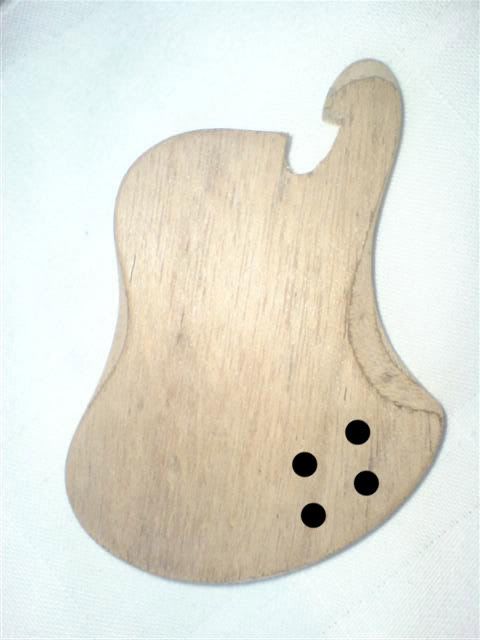
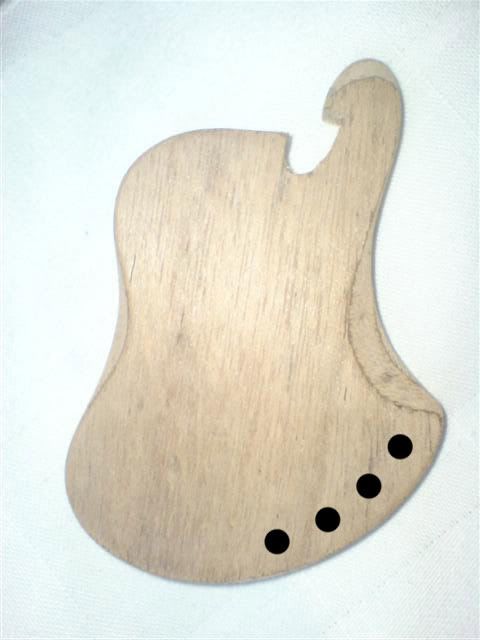
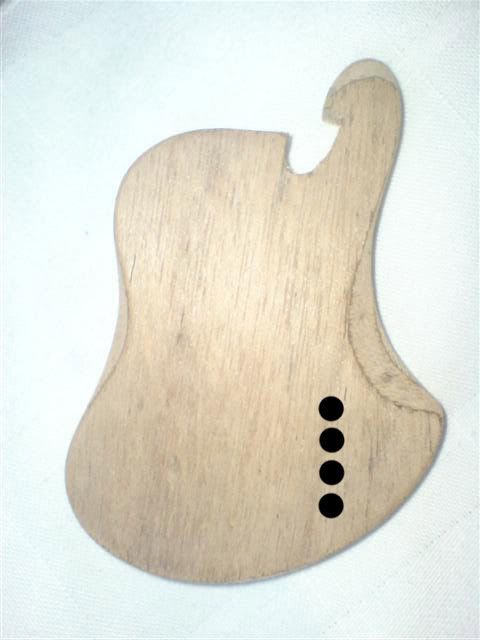
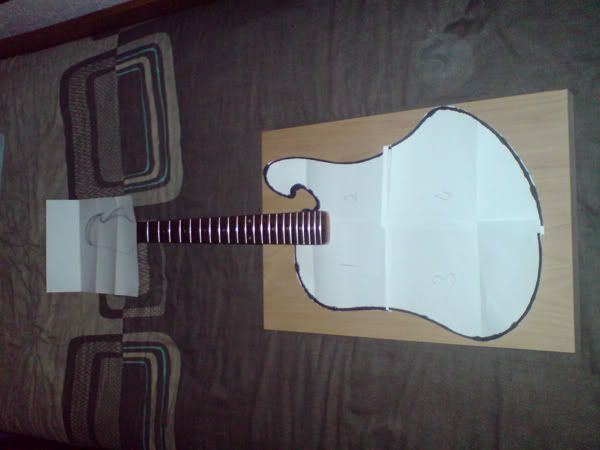
i need opinions or even new ideas where to place the volume and tone pots.
even if just say 1, 2 or 3 it would be great...
1
2
3
-
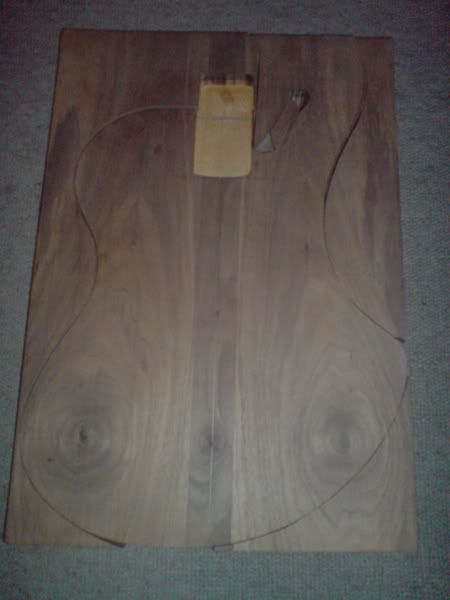
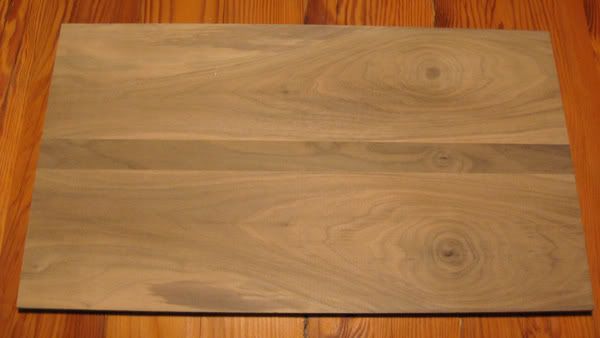
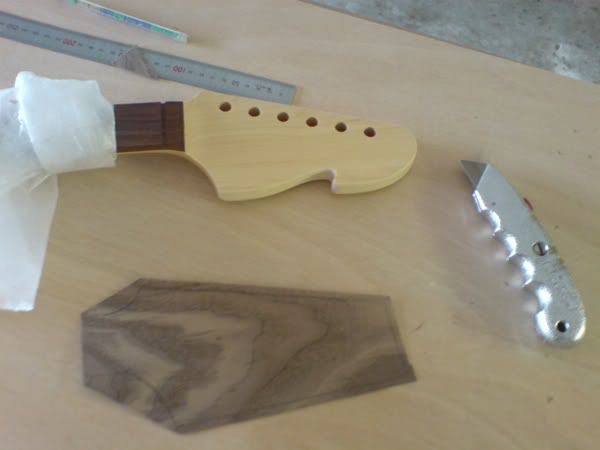
i got the walnut im going to use as the top wood yesterday.
-
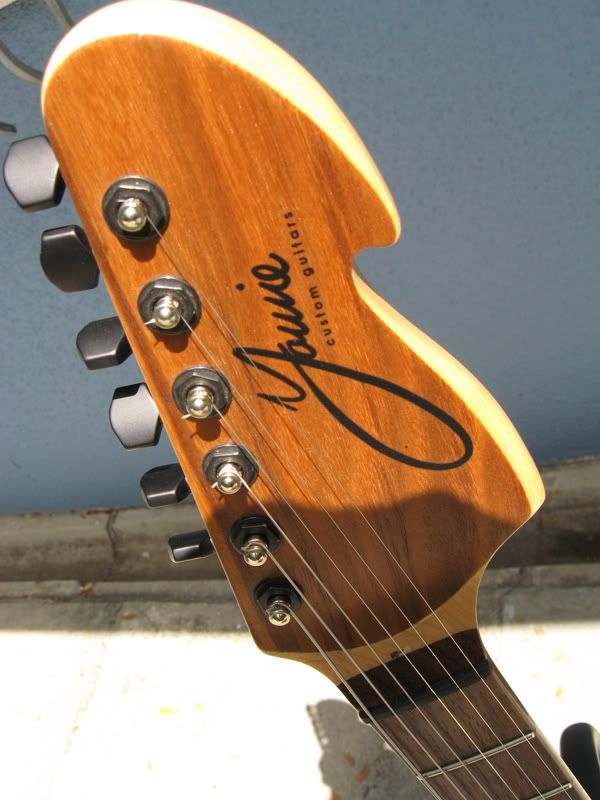
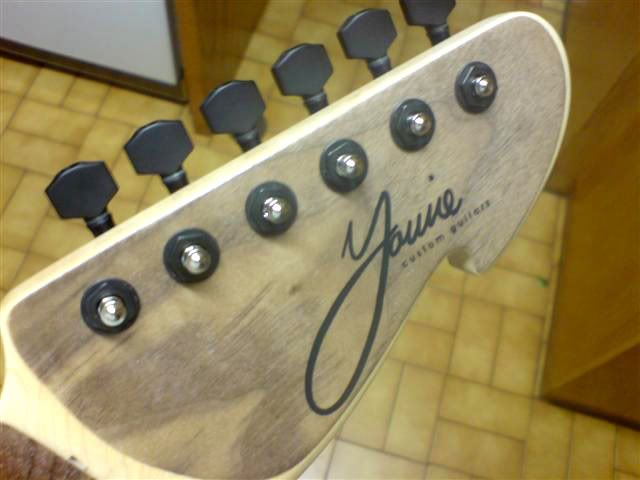
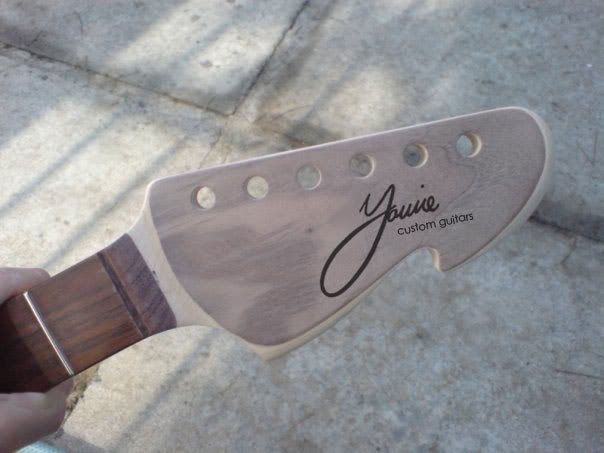
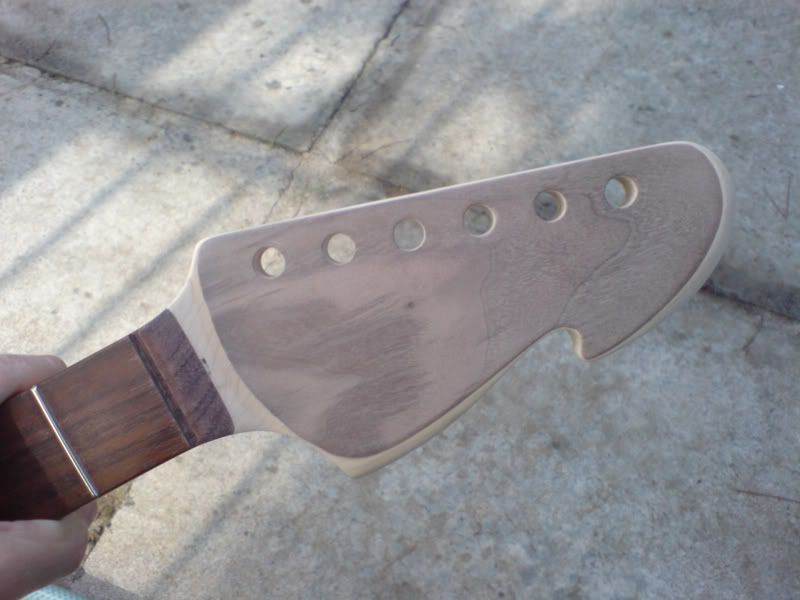
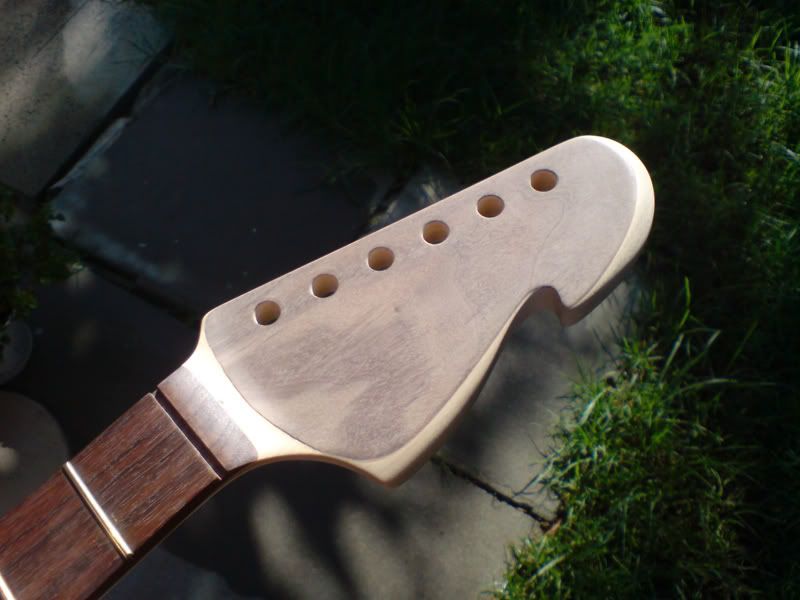
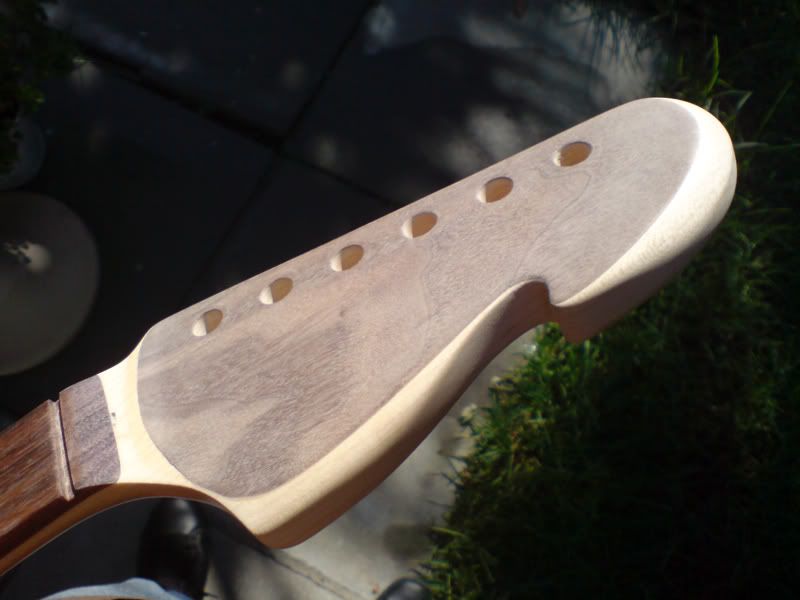
Did some work over the weekend. I added the tuners and applied the logo to the headstock.
-
I wonder why nobody thought of carving the headstock before. It's one of those things that seem so obvious once it's done.
Looks good to me too.
I just had an idea, why not also create a logo or some embellishment on the headstock by carving a design right through the middle of the veneer to show the lighter wood underneath - like the old traffolite labels were done.
i thought about that. i even found out if i could laser-etch the logo into the headstock. but i have decided to go with the whole water-slide decal approach.
this is what i have in mind. for me its more about the grain of the wood - dont want to spoil that.
*photoshop
-
haha... thats what im trying to do.
here some more pics of the headstock seeing that you love me so much
-
i started in January working on this guitar. ordering everyting from stewmac as i go on.
made a miniture - probably the size of 2 zippos
first shipment from stewmac
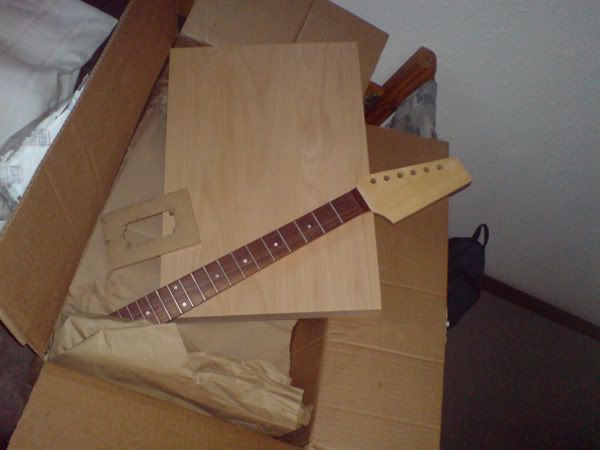
paper cut-out design
hardboard template
headstock design (most work ive done so far on the guitar)

received my 2nd shipment from stewmac yesterday (01 july 08)

Post Your First Build.
in In Progress and Finished Work
Posted
Wow, some nice ones here. mine was a life changing experience, much more respect for guitars...