


XBIGJIMX
-
Posts
124 -
Joined
-
Last visited
Content Type
Profiles
News and Information
Tutorials
Product Reviews
Supplier Listings
Articles
Guitar Of The Month
Links and Resources
Forums
Gallery
Downloads
Posts posted by XBIGJIMX
-
-
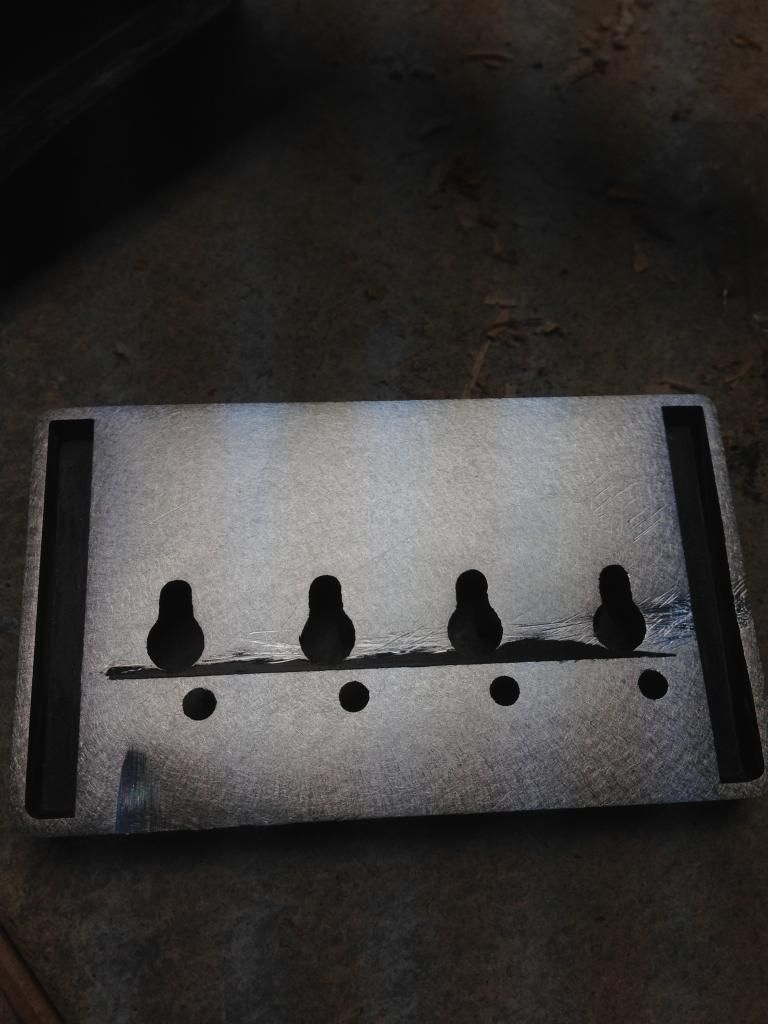
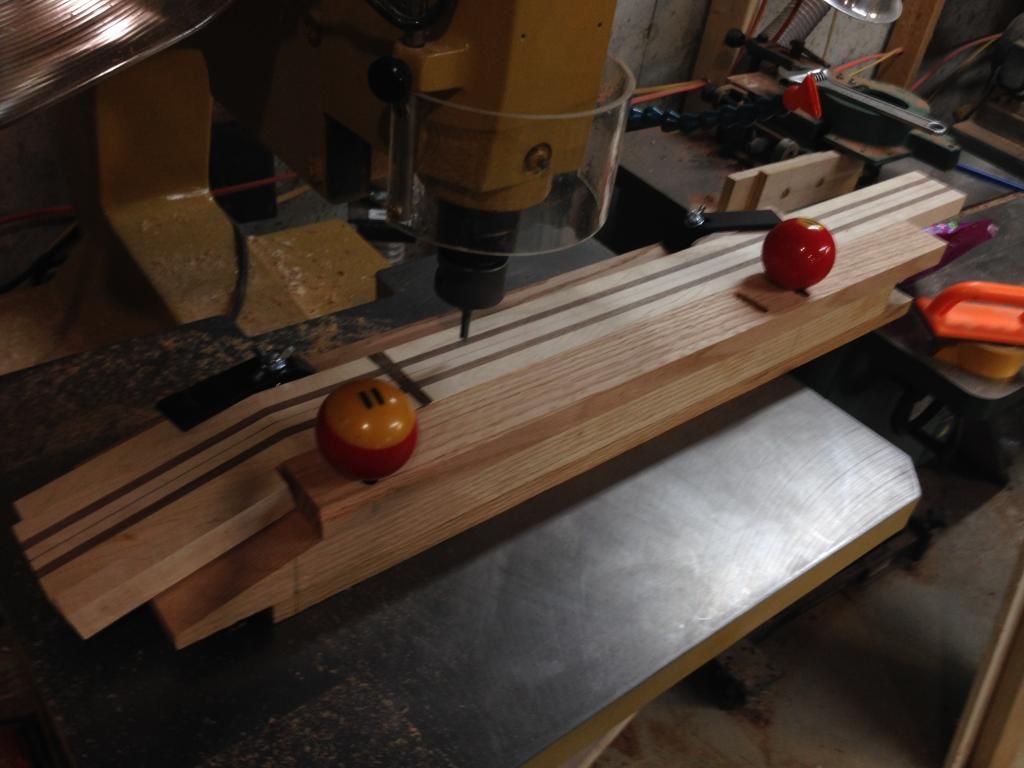
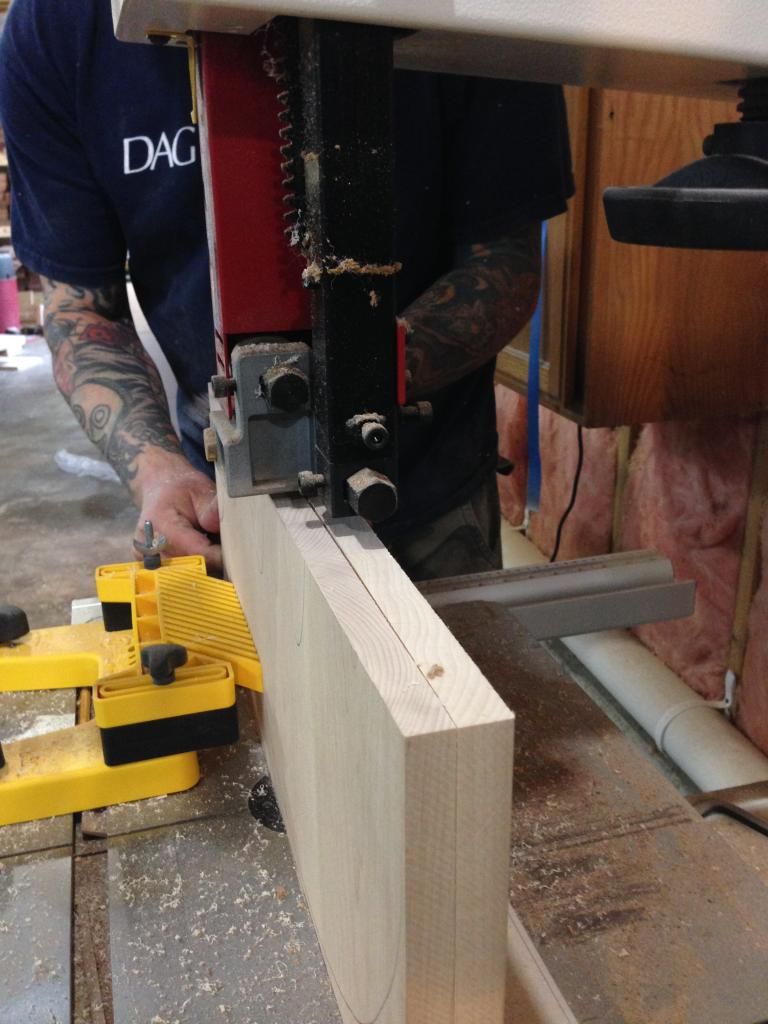
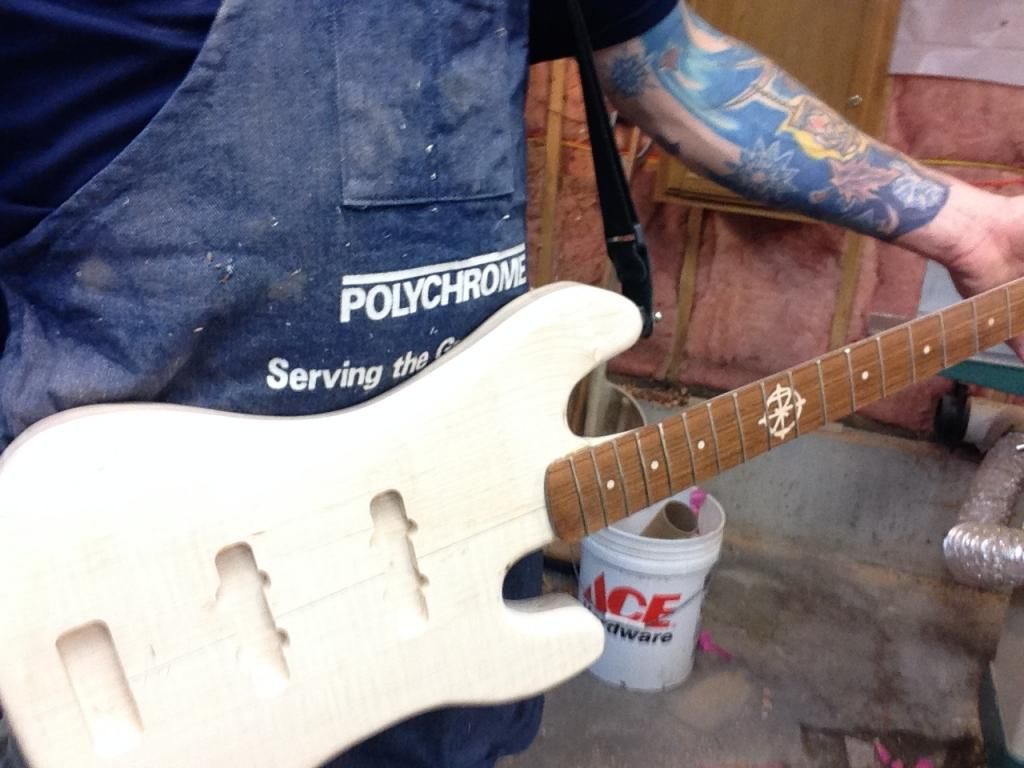
Now i did a bridge mod. When I switched the pins in my acoustic to brass it made a night and day difference so i want to incorporate that into these so I added an extra route under the bridge and flattened the bottom of the bridge so the re would be more surface contact. then added a chunk of brass to the bridge
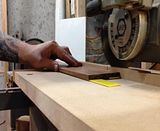
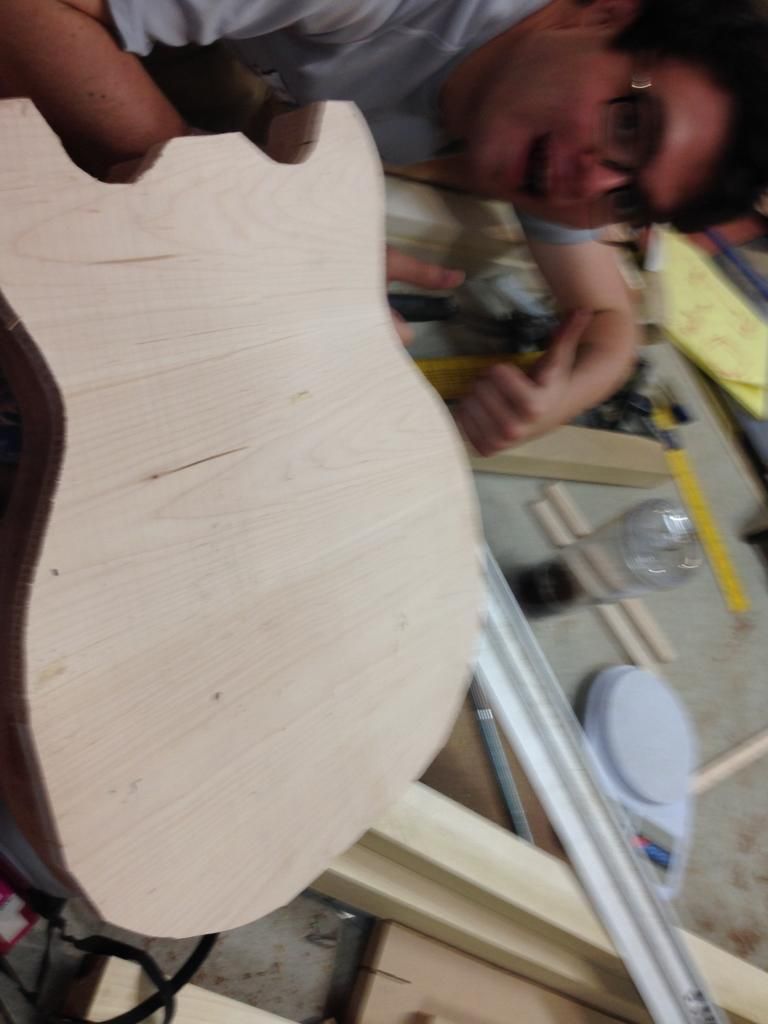
after the pick up routes and neck attached time to shape the neck. Now I love me a good card scraper and stew mac sells the ultimate scraper that is hallow ground which is just fancy talk for a hockey skate blade behold the best scraper ever
Video in action
http://i167.photobucket.com/albums/u144/XBIGJIMX/th_IMG_3392_zps731962b4.mp4
now along with this a carved the curves
-
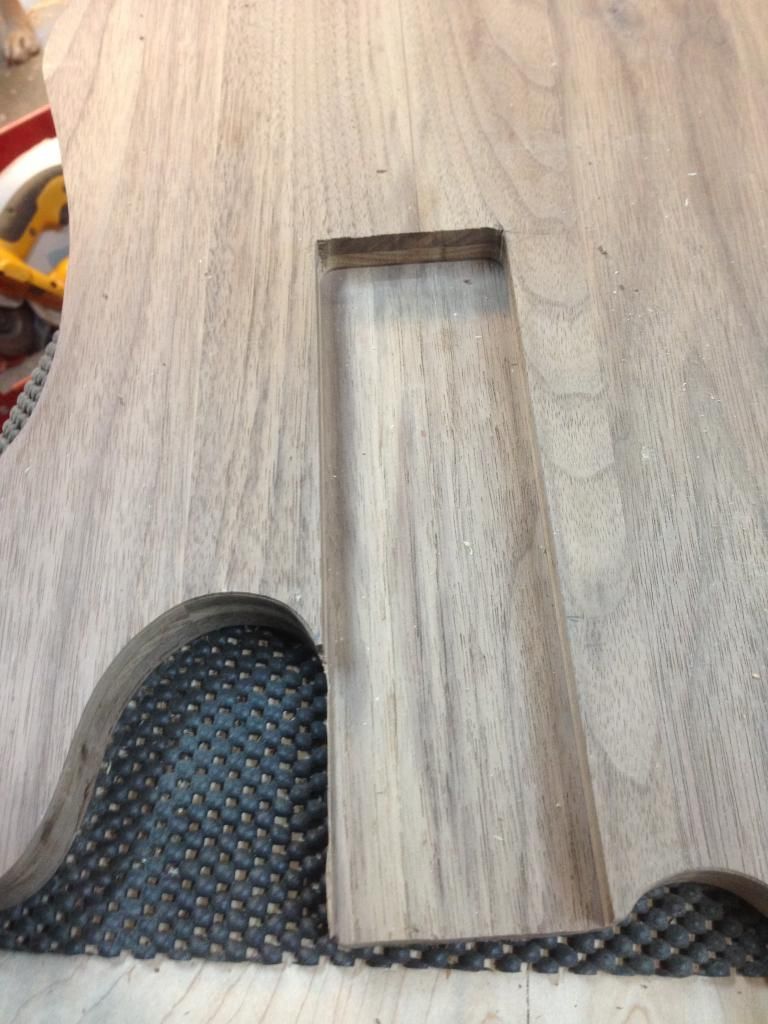
Next we cut the neckpocket template and the actual neck pocket
http://i167.photobucket.com/albums/u144/XBIGJIMX/th_IMG_3362_zps3805aacc.mp4
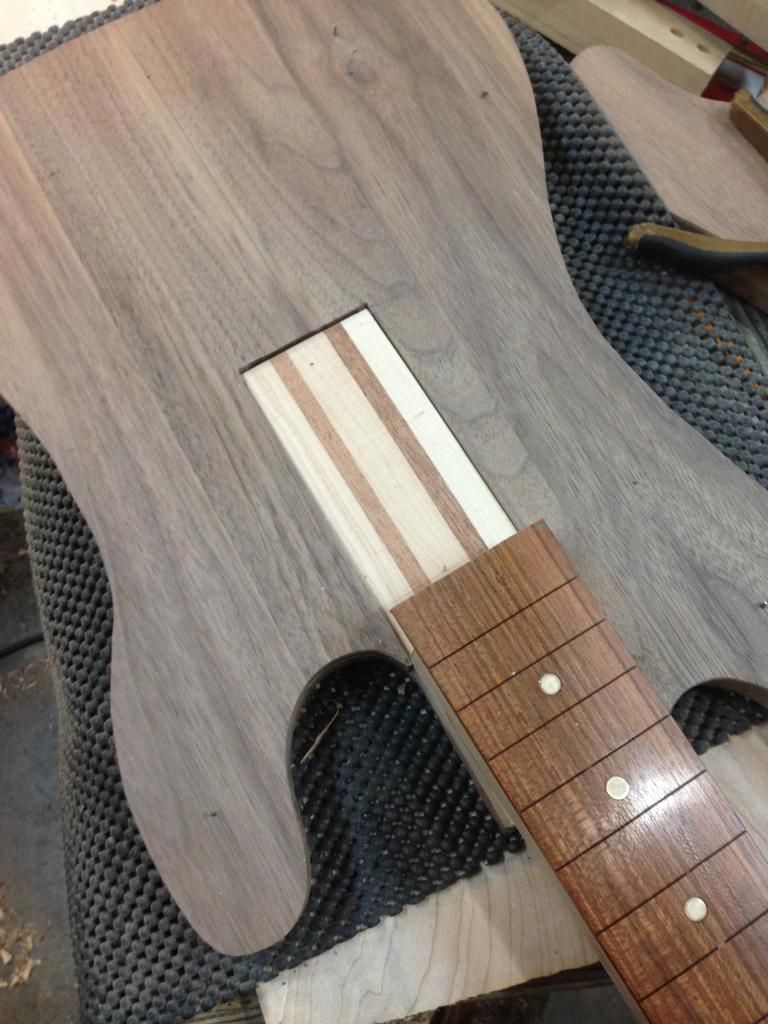
I went and cut the maple caps next to hide the long neck joint
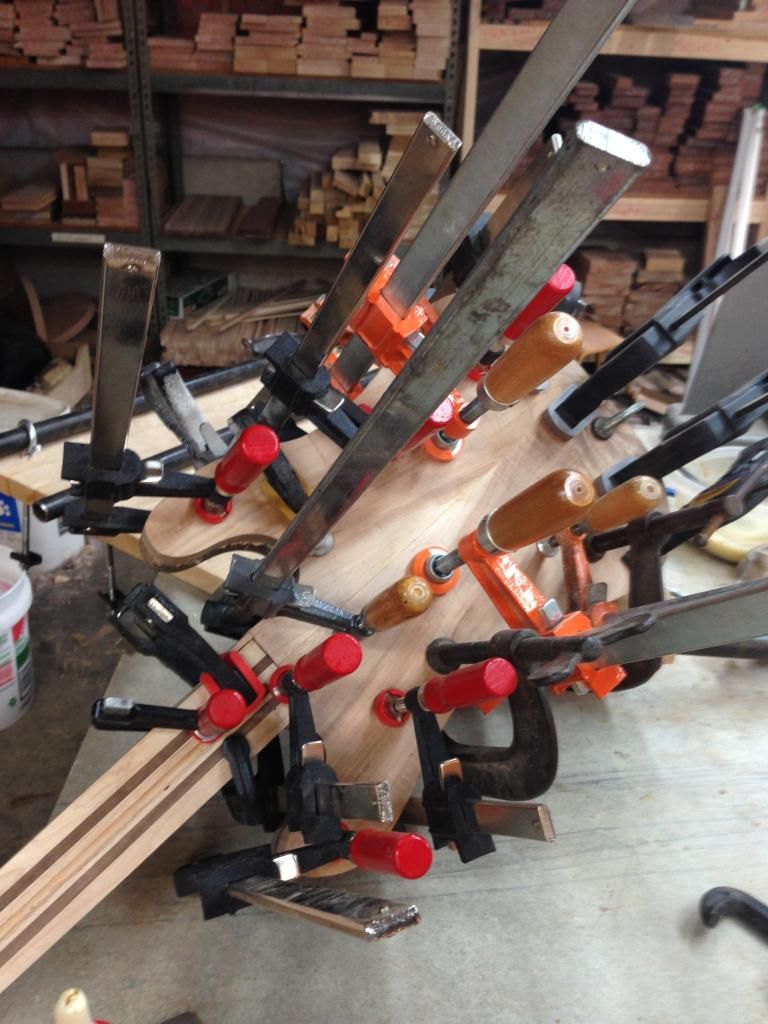
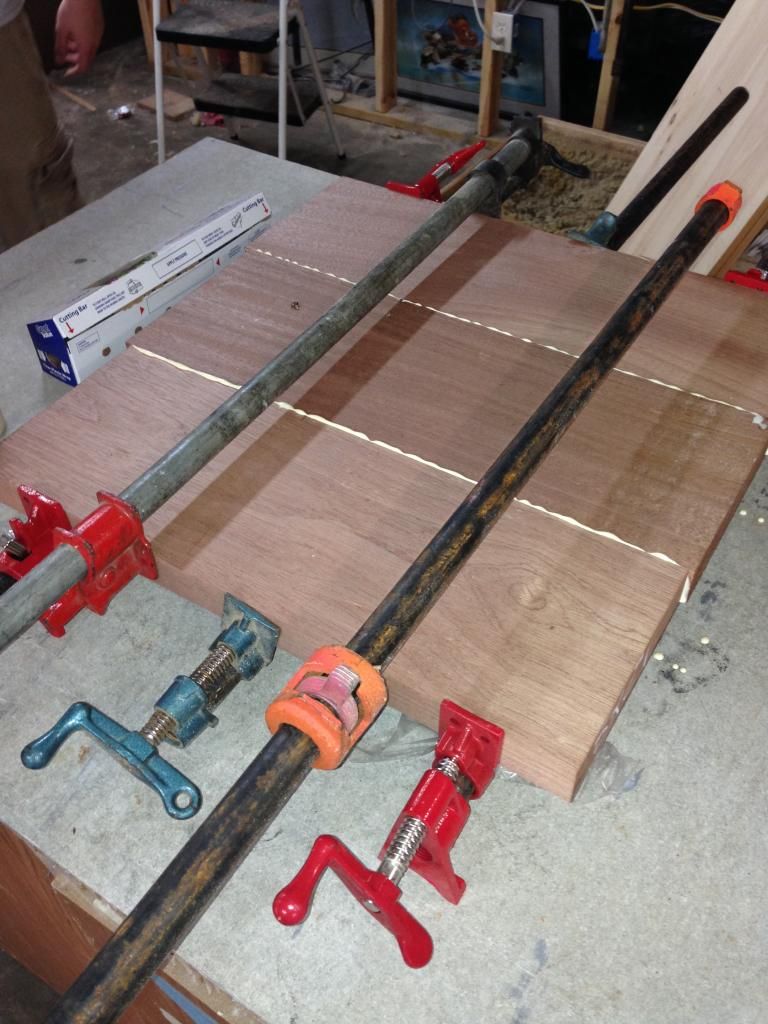
ahh the mess
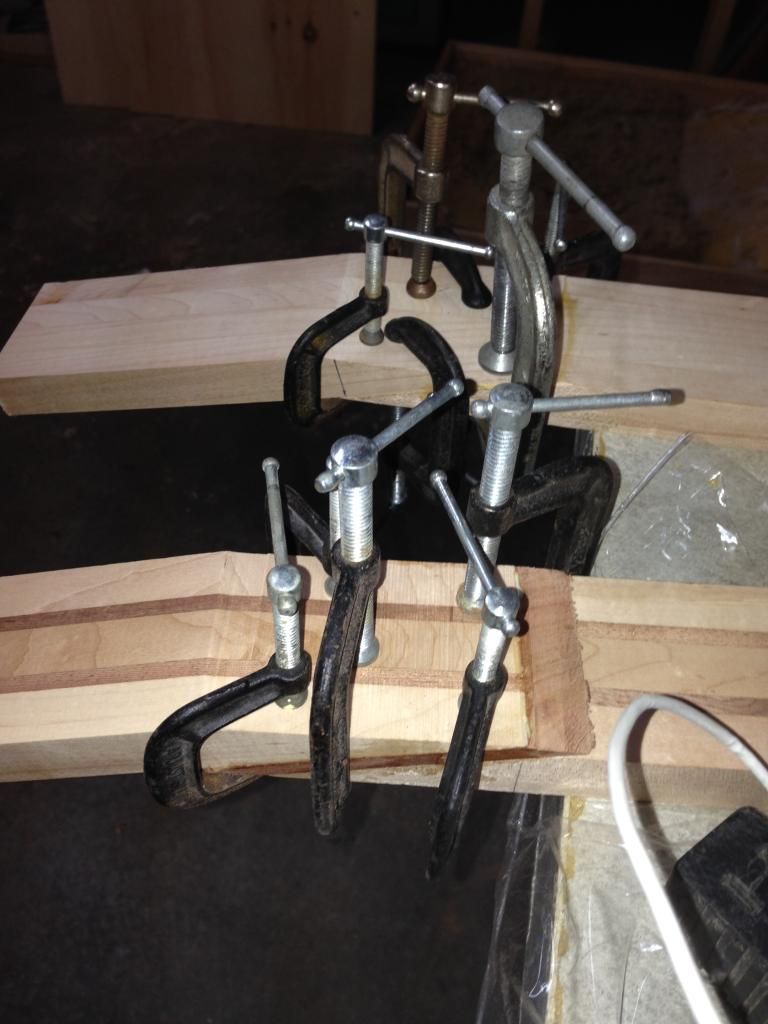
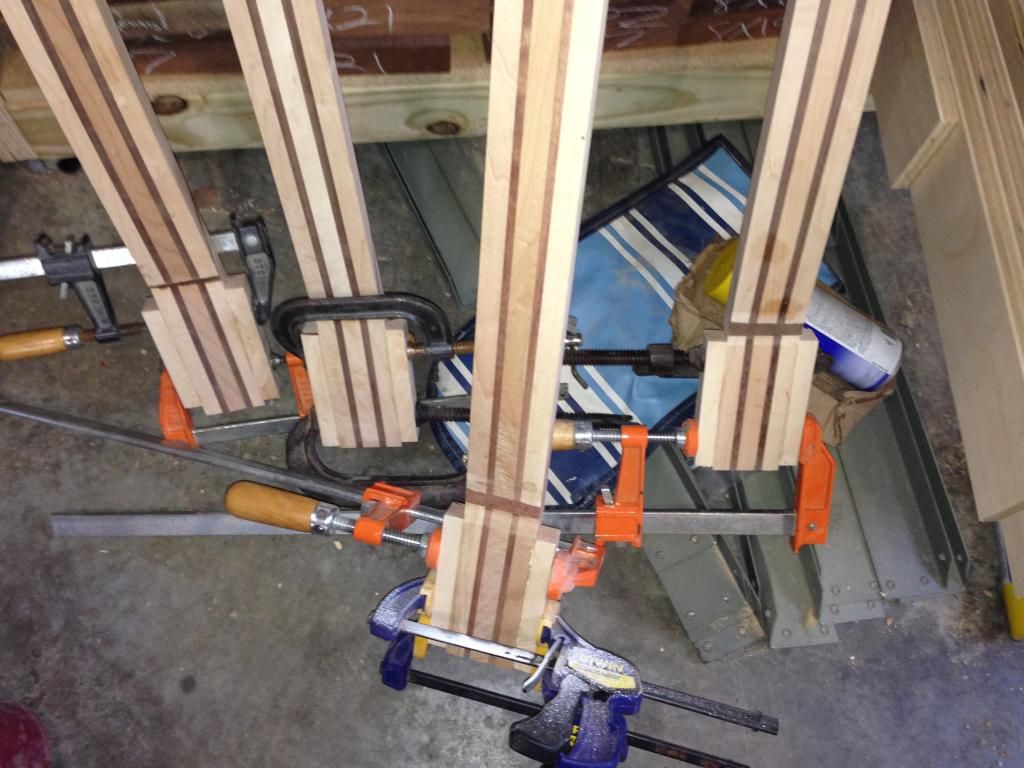
I need more clamps
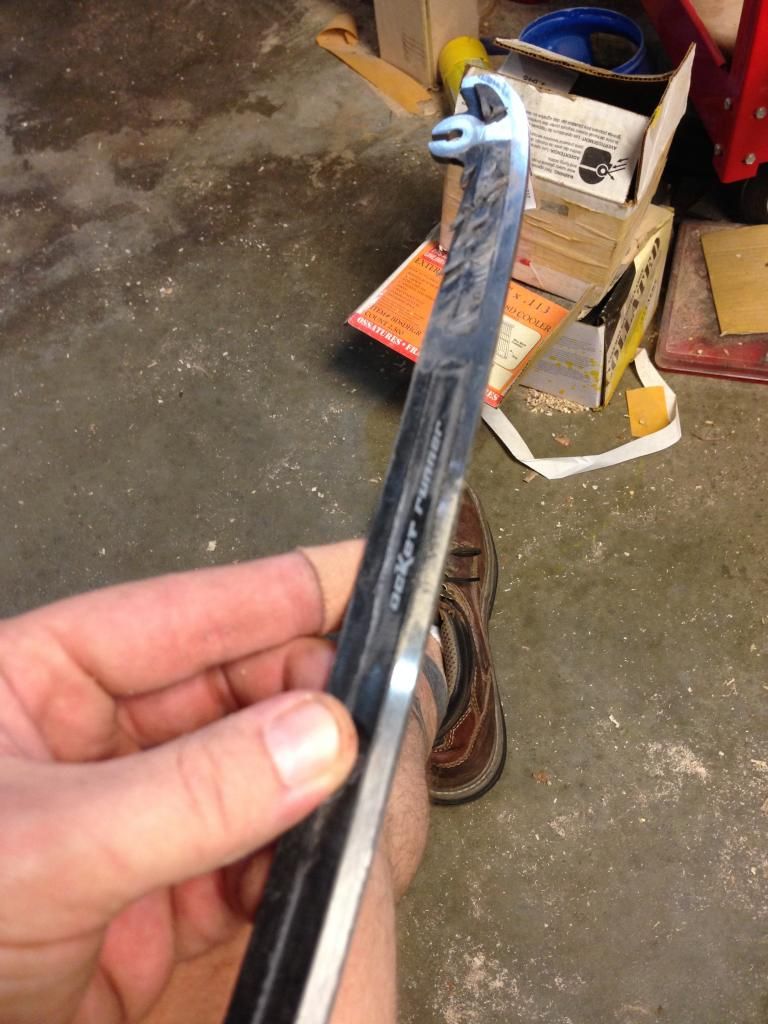
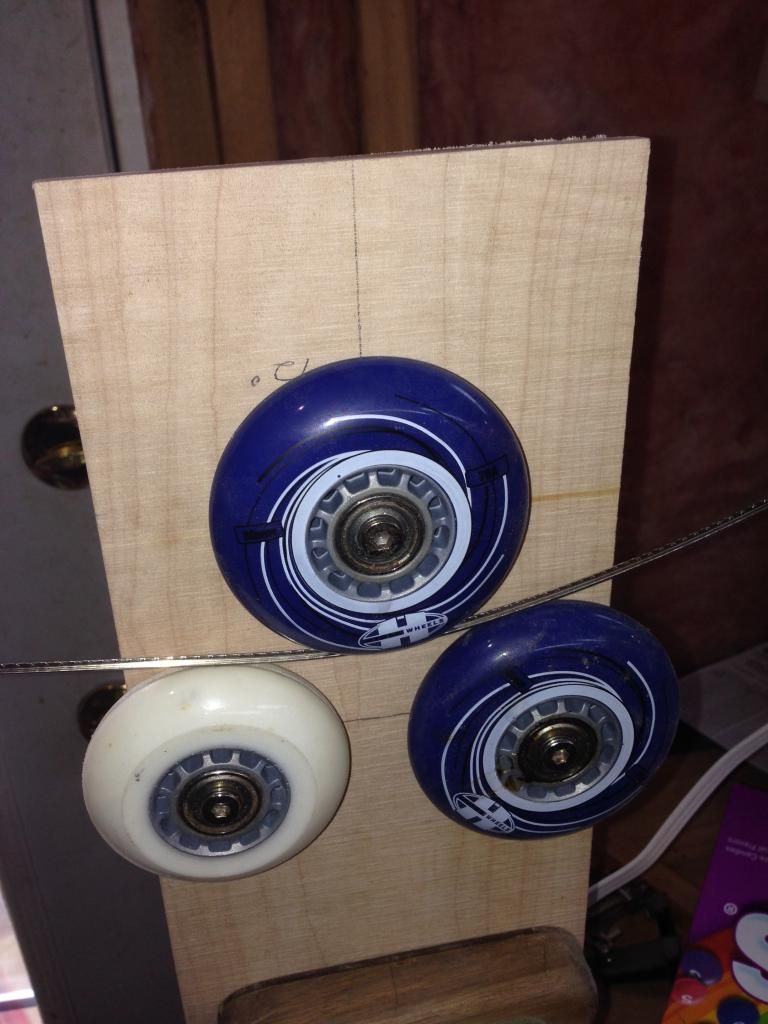
A quick break where I turned a roller blade into a fret bender. cost $0

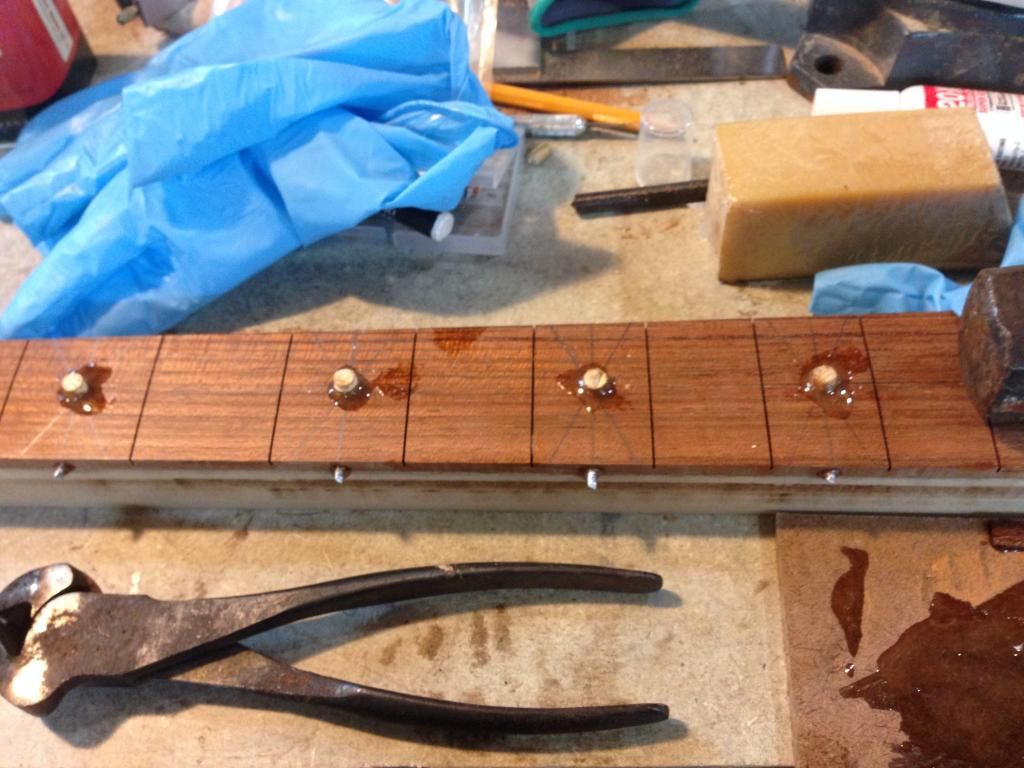
next i pressed in the frets
now heres a tip the really thin super glue will drip right through the fret slot and if you hit it with activator it will glue your finger to the fret board
-
Well true believers it has been a few and let say i have been busy. So this what we call a photo dump with some one liners thrown in if you have any questions ask cause there is alot going on in the last few weeks. So with ...and way we go.
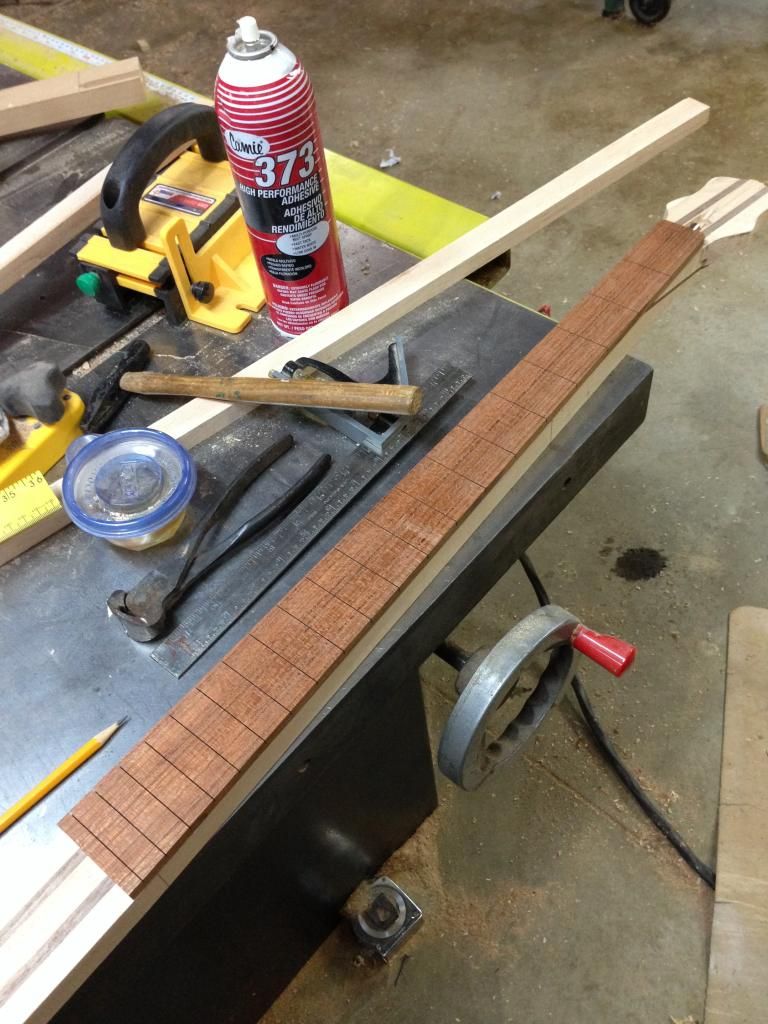
First off we need some fretting templates so with 3 dollar yard stick and some files
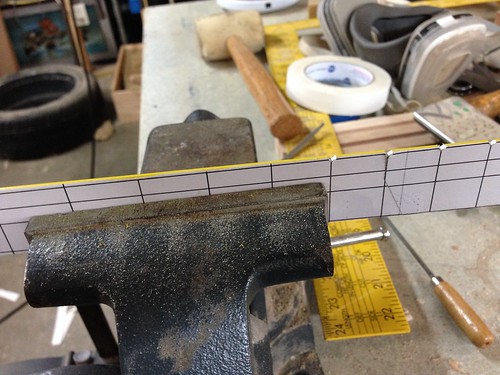
Untitled by XBIGJIMX, on FlickrPicking a fret board
Cutting fret slots

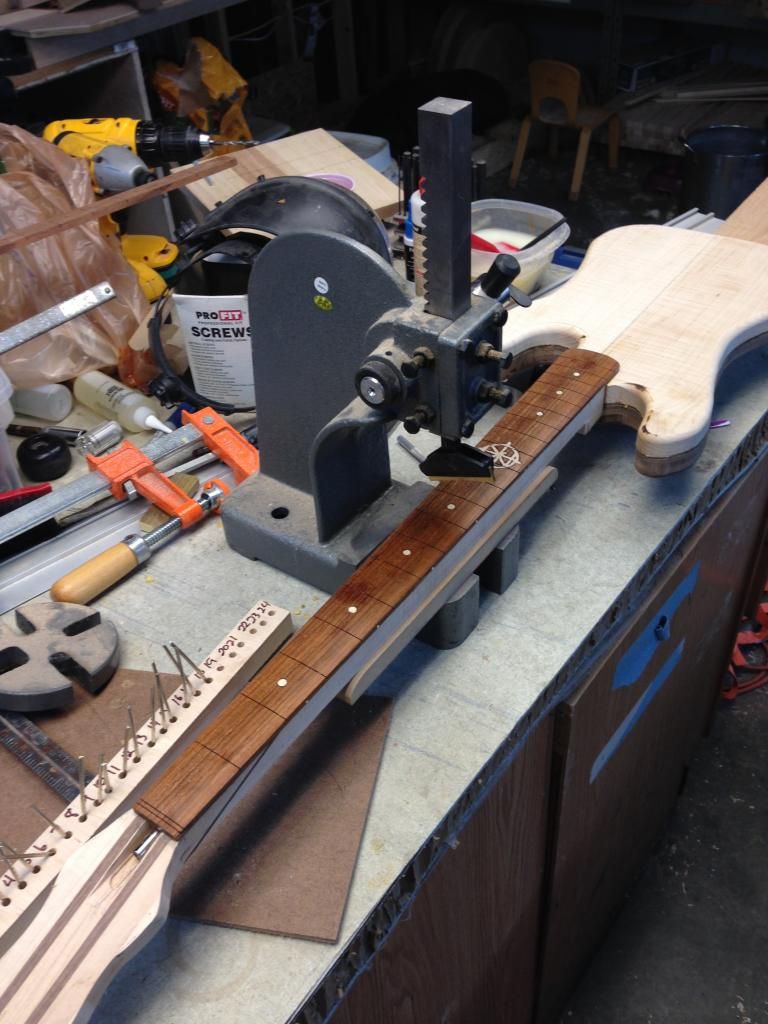
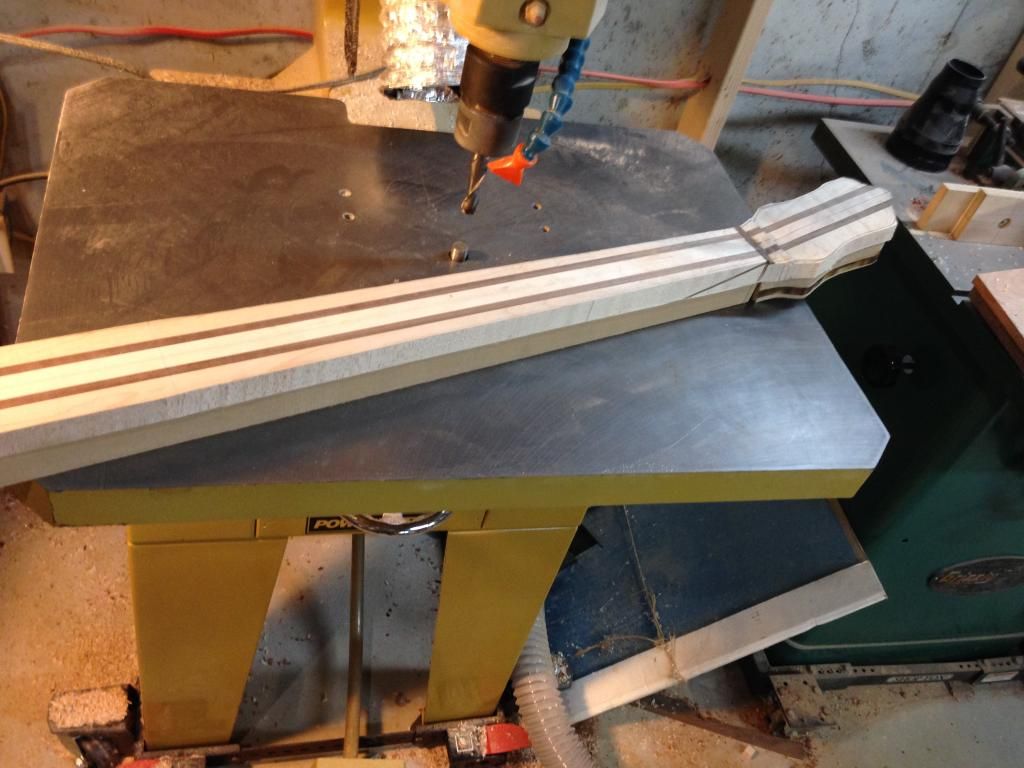
Untitled by XBIGJIMX, on FlickrThen off to the shaper to cut out the fret board and a test fit
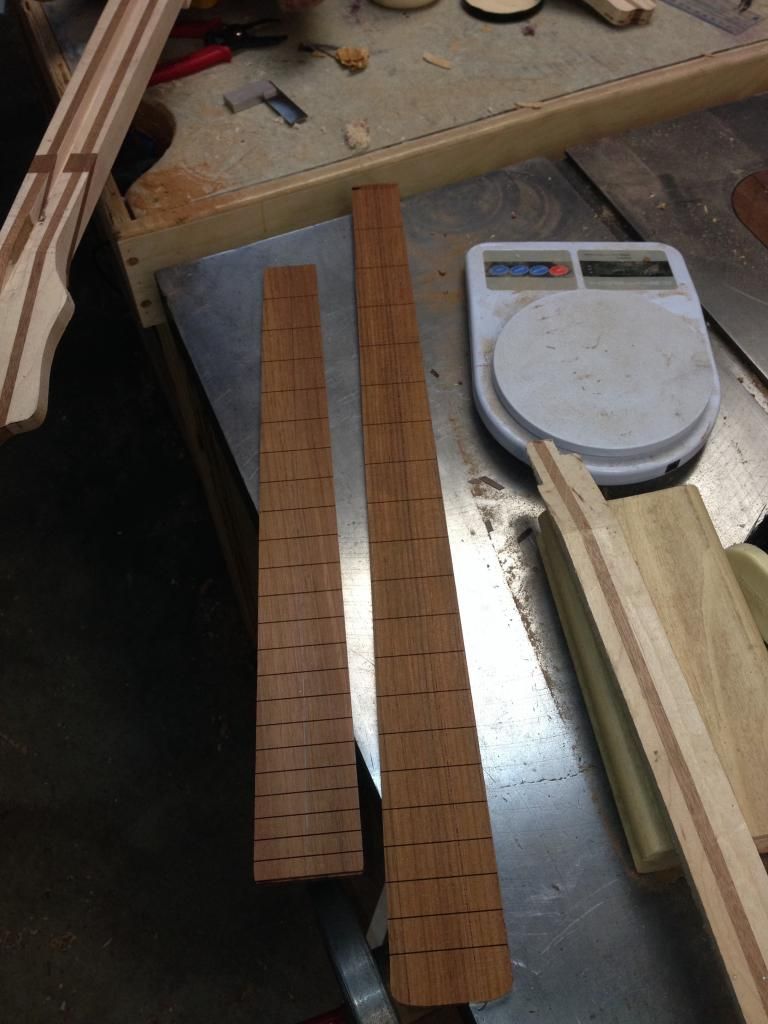
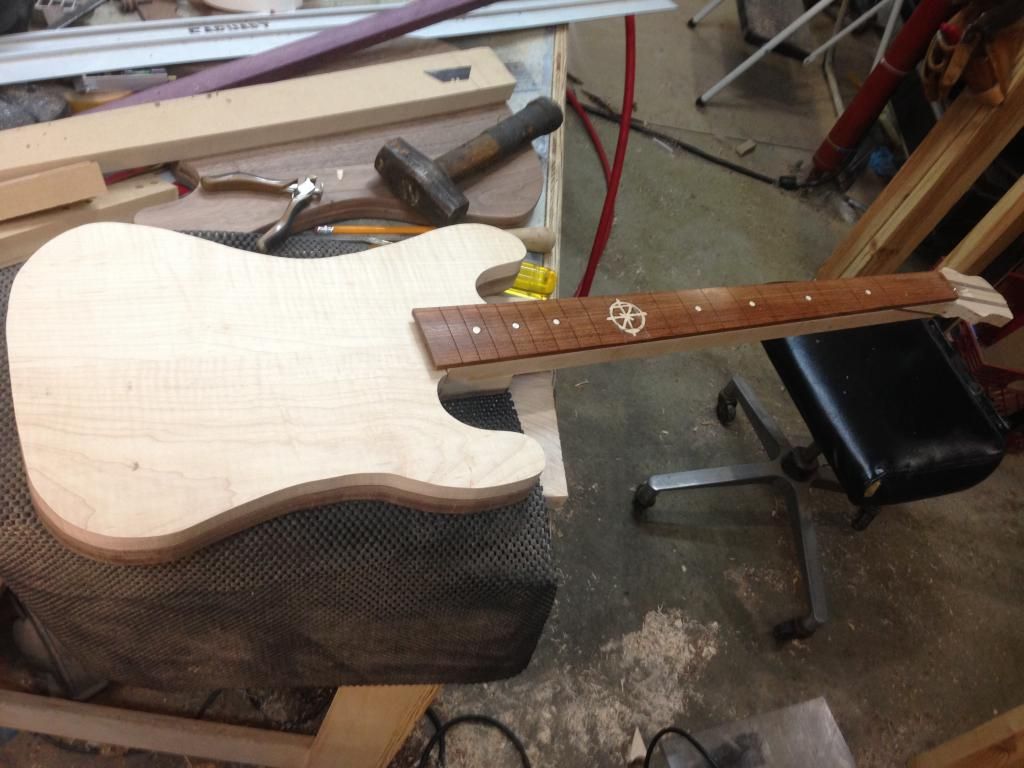
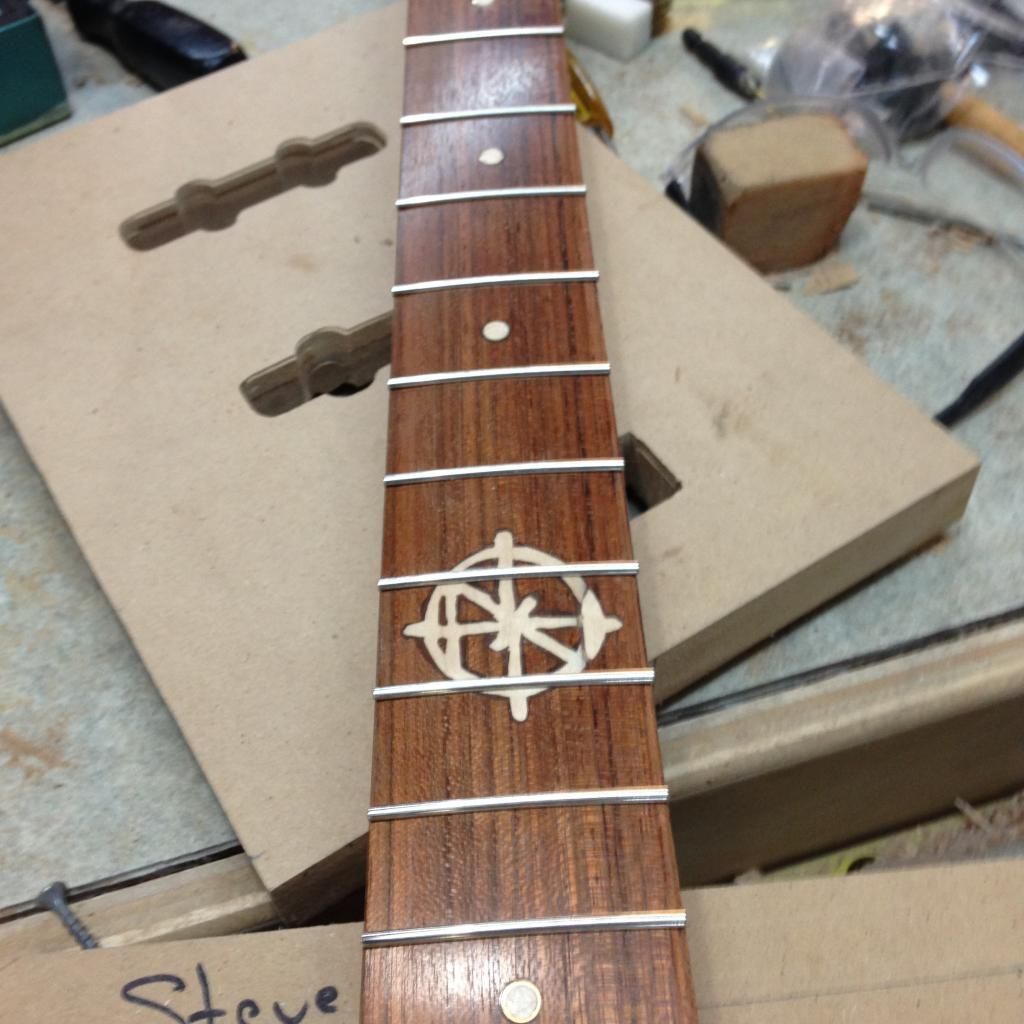
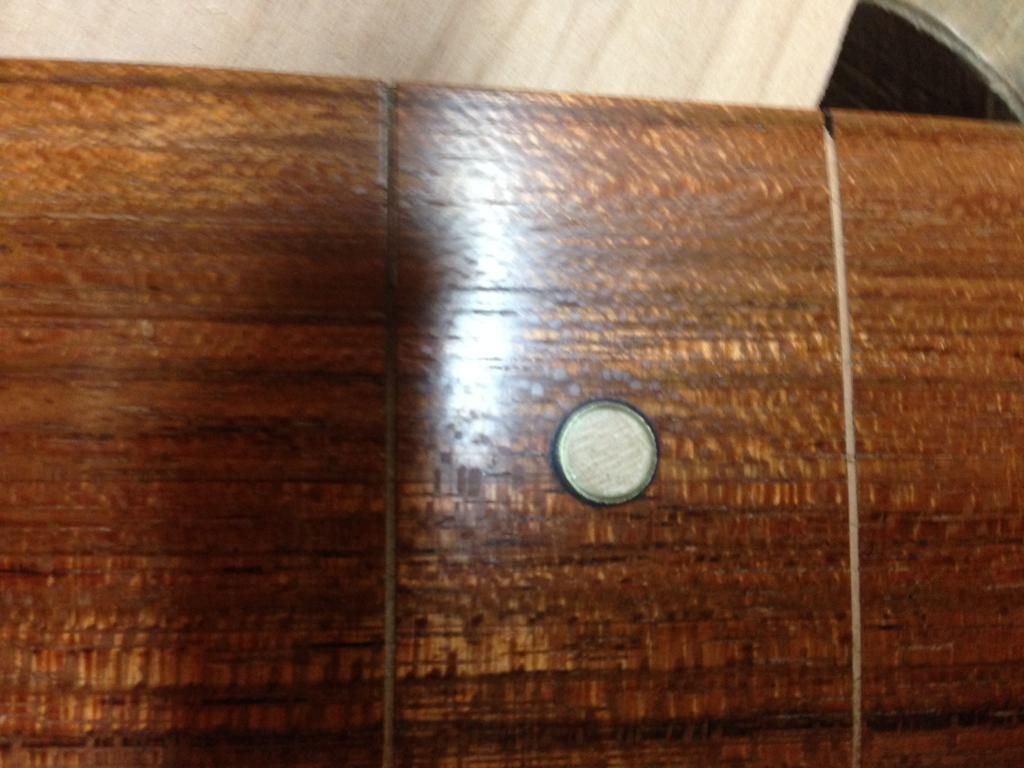
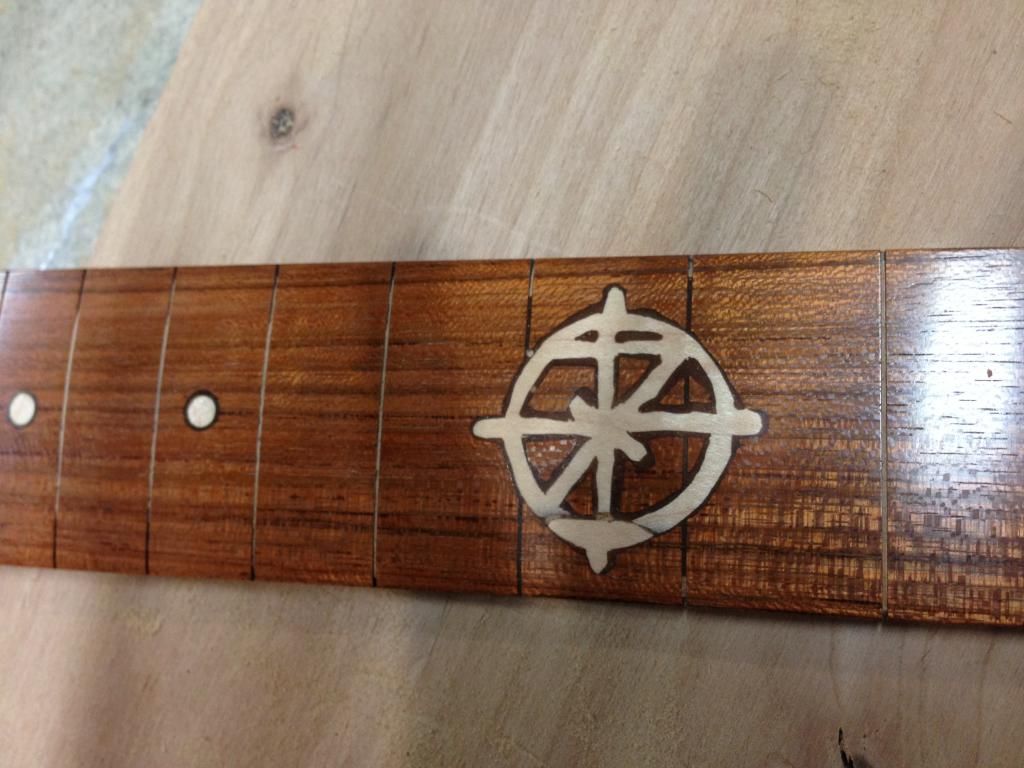
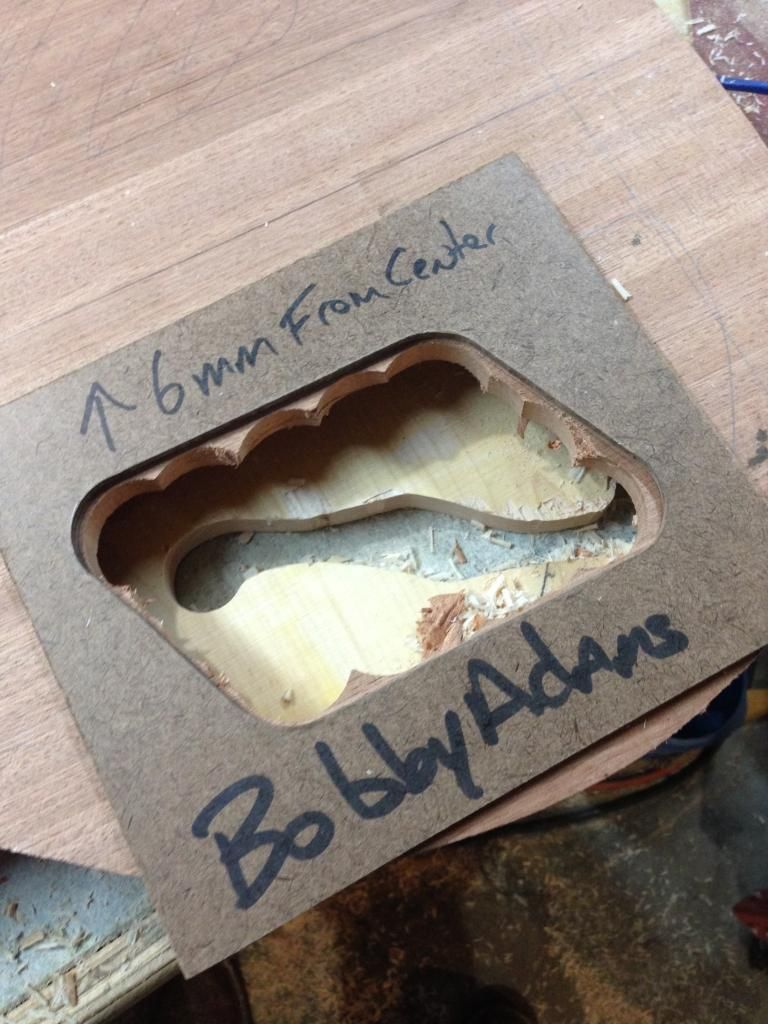
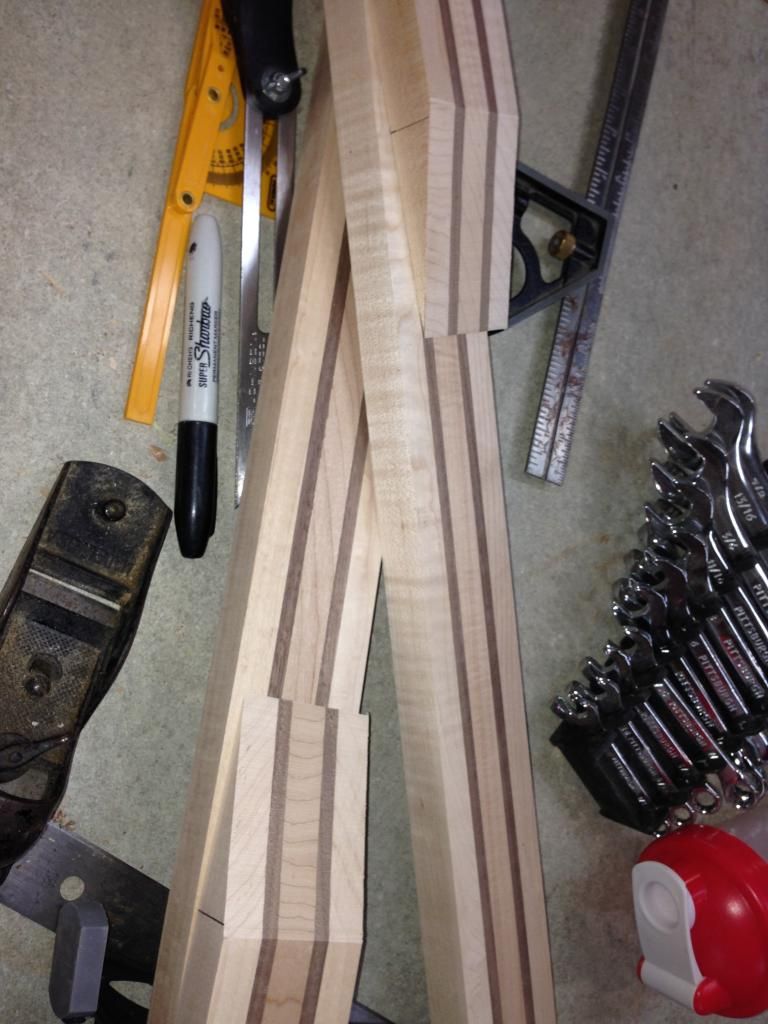
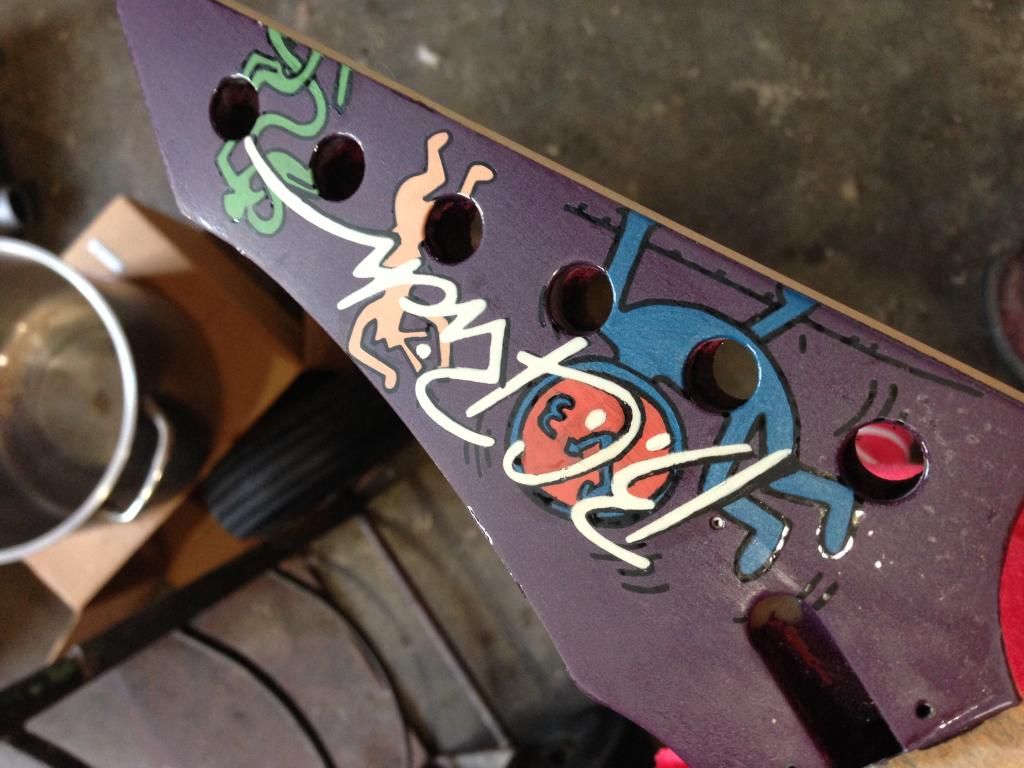
Untitled by XBIGJIMX, on FlickrAdding inlays and dots. For the dots they are a combo of brass, maple, and black resin
-
brb got fix links
-
I built my for free, I turned an old roller blade into mine
-
 2
2
-
-
Well in the past week have done a little of everything as usual. Had to do a rebuild of a neck do to a slip of a template. So I ordereded some good 2 way tape so this would not be a repeat. I trimmed out on the band saw and then off to to the pin router
Take 2 was much better by the 4th one i had it down.
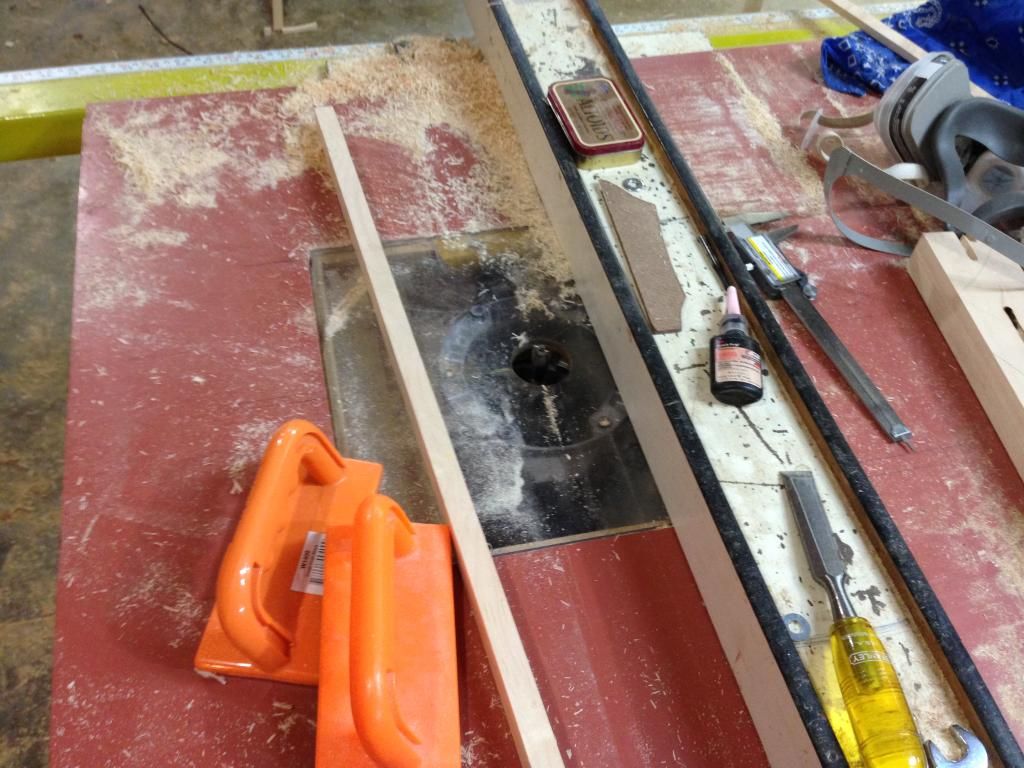
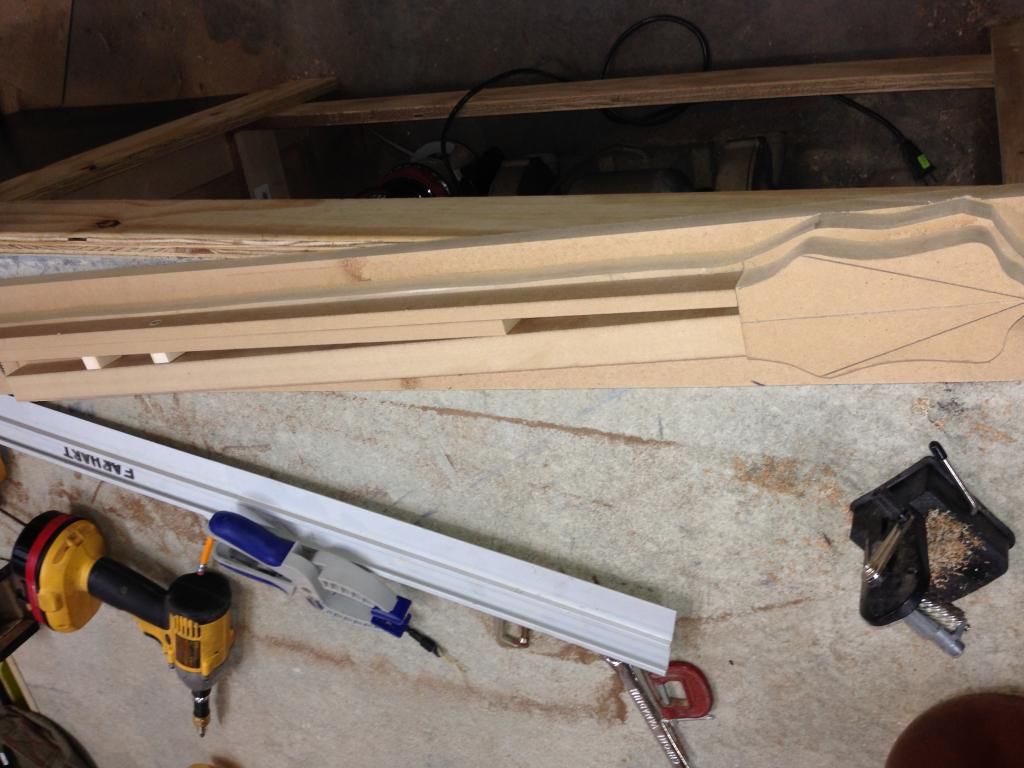
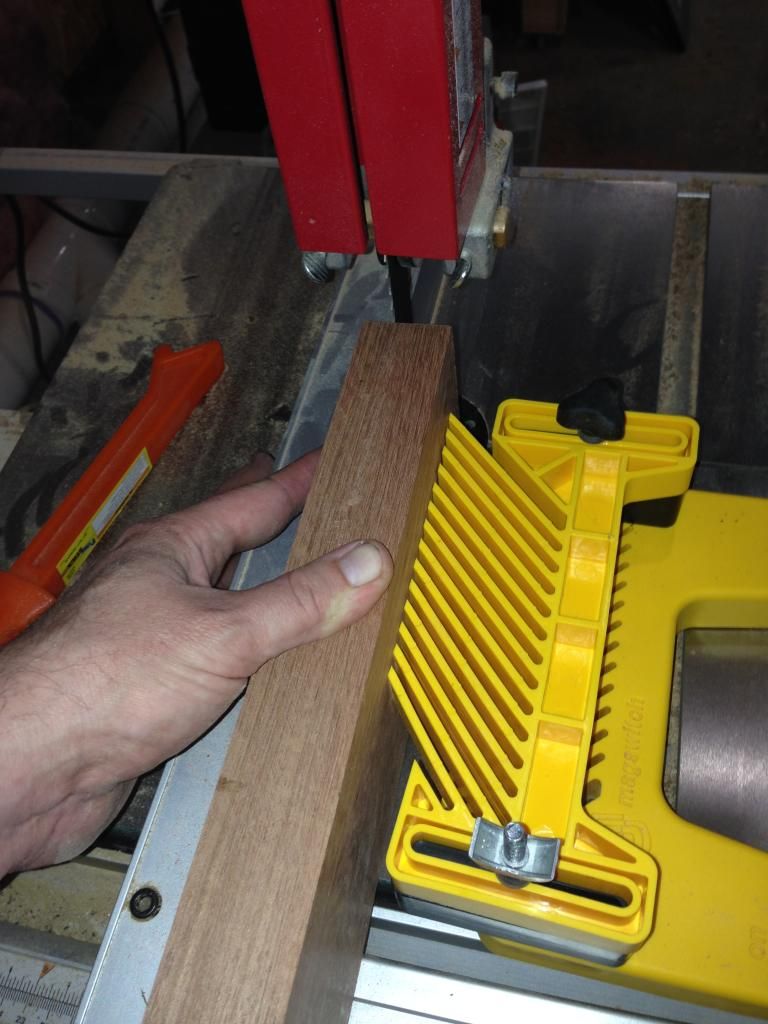
Now I needed to slot fret boards next. Now with my DIY ethic would not allow me to drop the cash on the template from stew mac. So let make one.
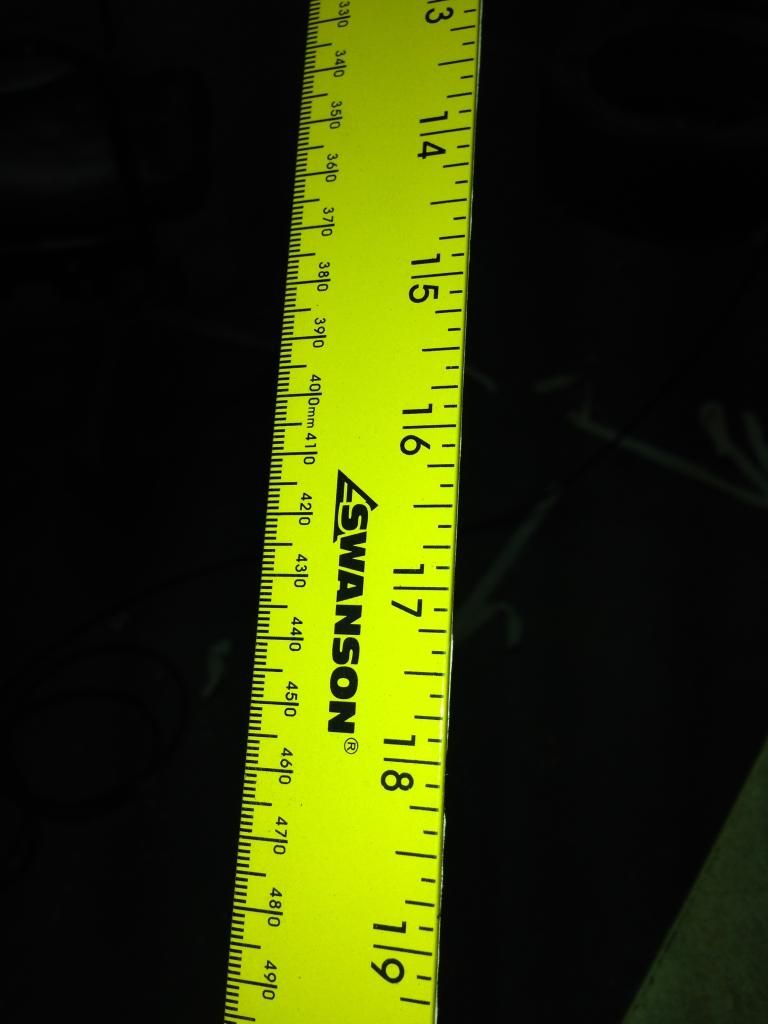
step one get a aluminum yard stick from lowes $3
I printed out the fret template (thanks internet!) and some contact cement and a file , lets get in the grove

Now I had to make 2 shots at this the first one i went to deep with the file. I checked it to my fender jazz and it was dead on . So it works just like th estew mac ones
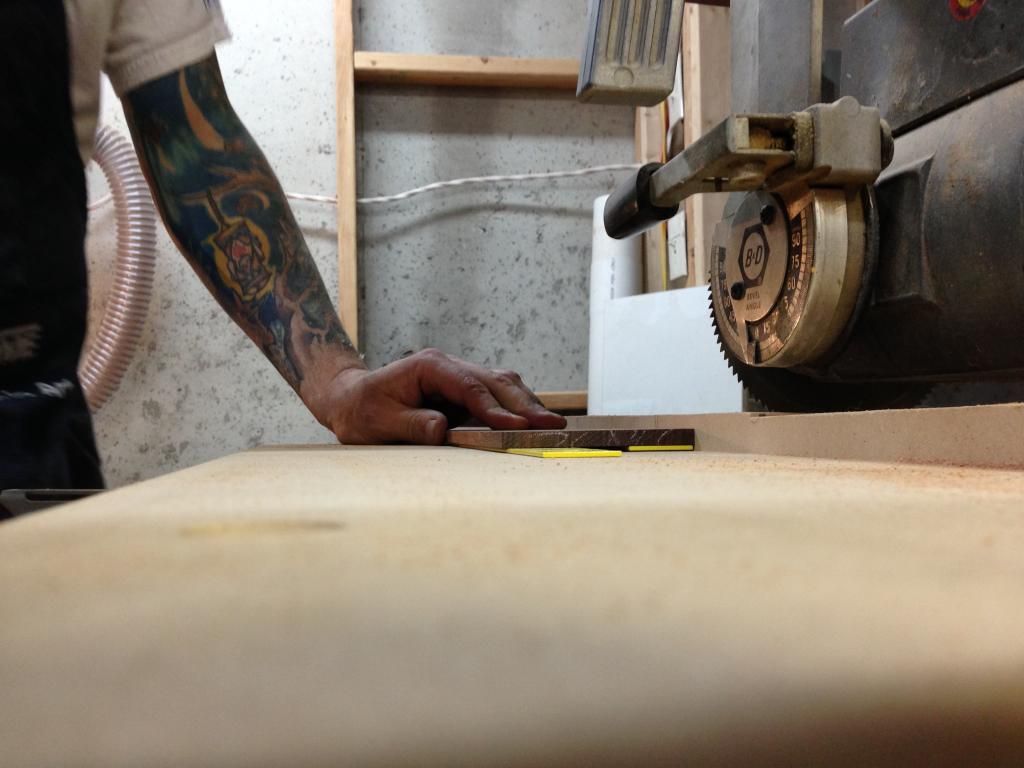
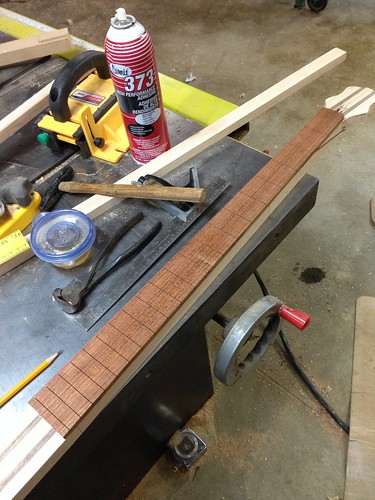
I also had to put together my fretting saw station. I had the blade since xmas and the saw was older than me and is perfect for cutting fret boards
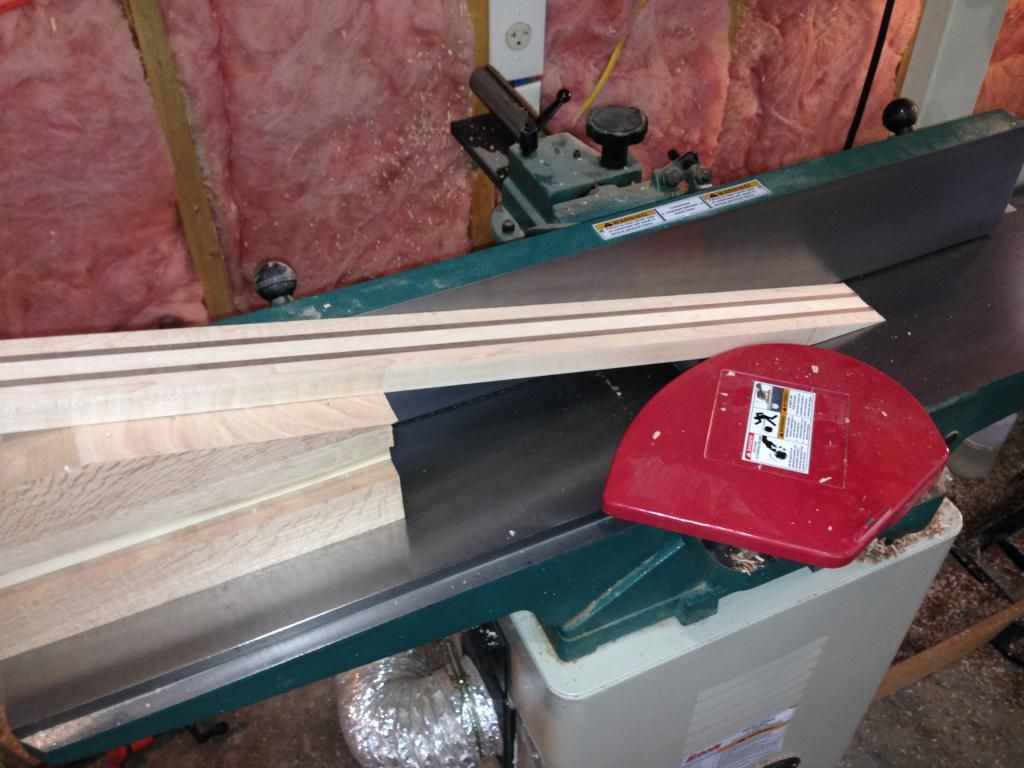
Now a little test fit after running the fret board over the shaper
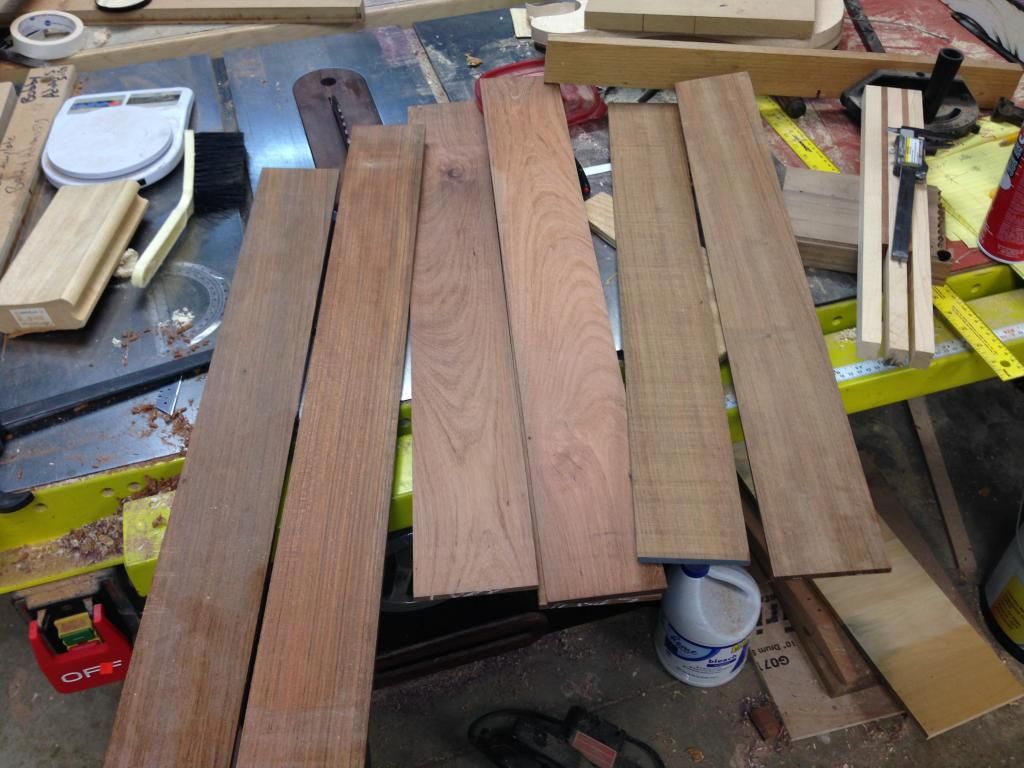
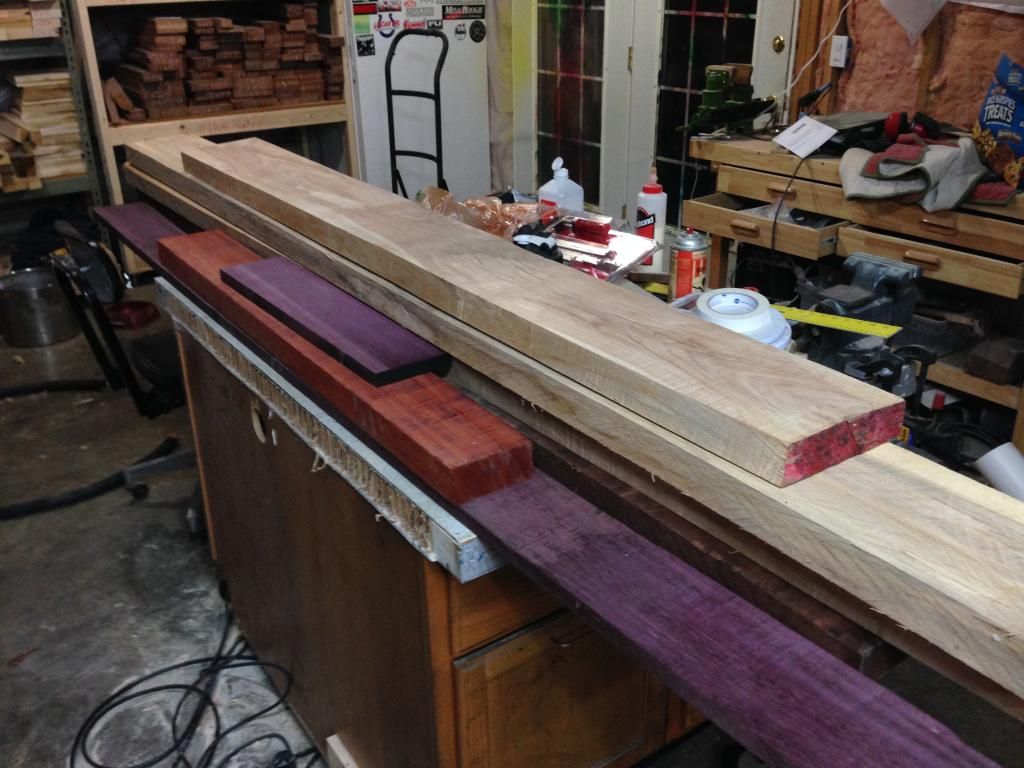
I also made a lumber run I got (from top to bottom) curly maple, spalted maple, curly maple , African Mahogany and the other pile purpleheart, paduk and purple heart. Mind you this is the most i have ever spent on lumber it kind of hurt hahahah
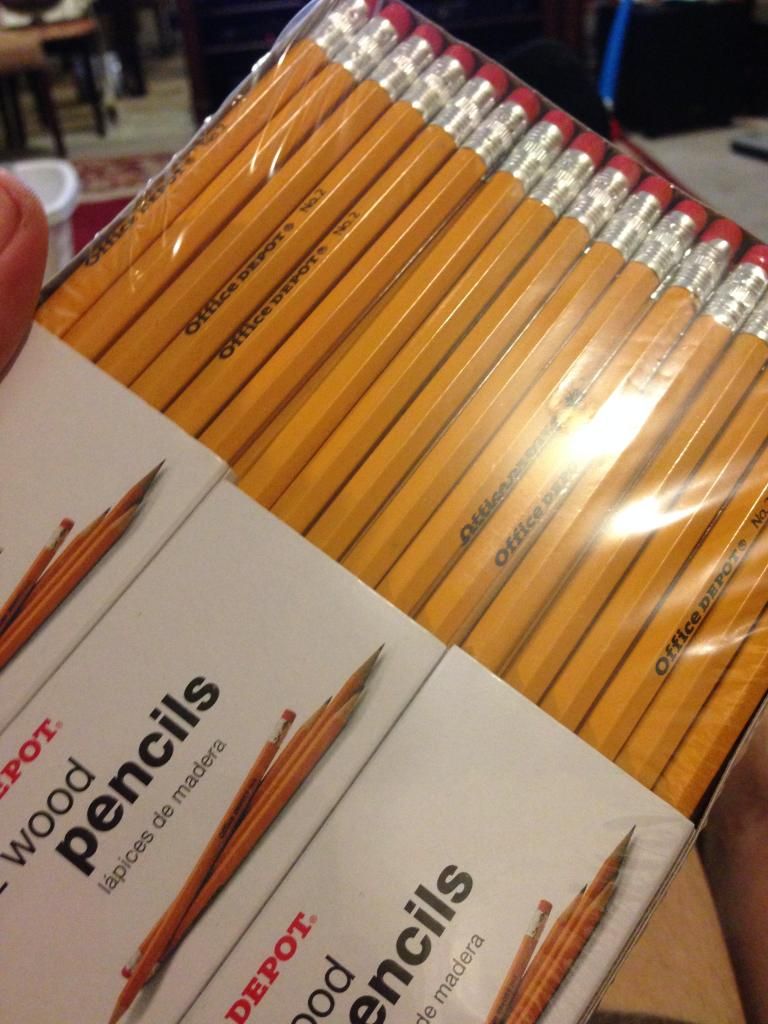
Also am i the only one who looses pencils every 3 seconds? So I had to make a stop at office depot
-
I've been meaning to ask, what made you decide to run the top grain sideways? It will certainly be a unique look.
SR
it was totally done from a " it's what i had on hand" situation. They asked for a painted finish so it won't be seen. Although I am starting to dig it.
-
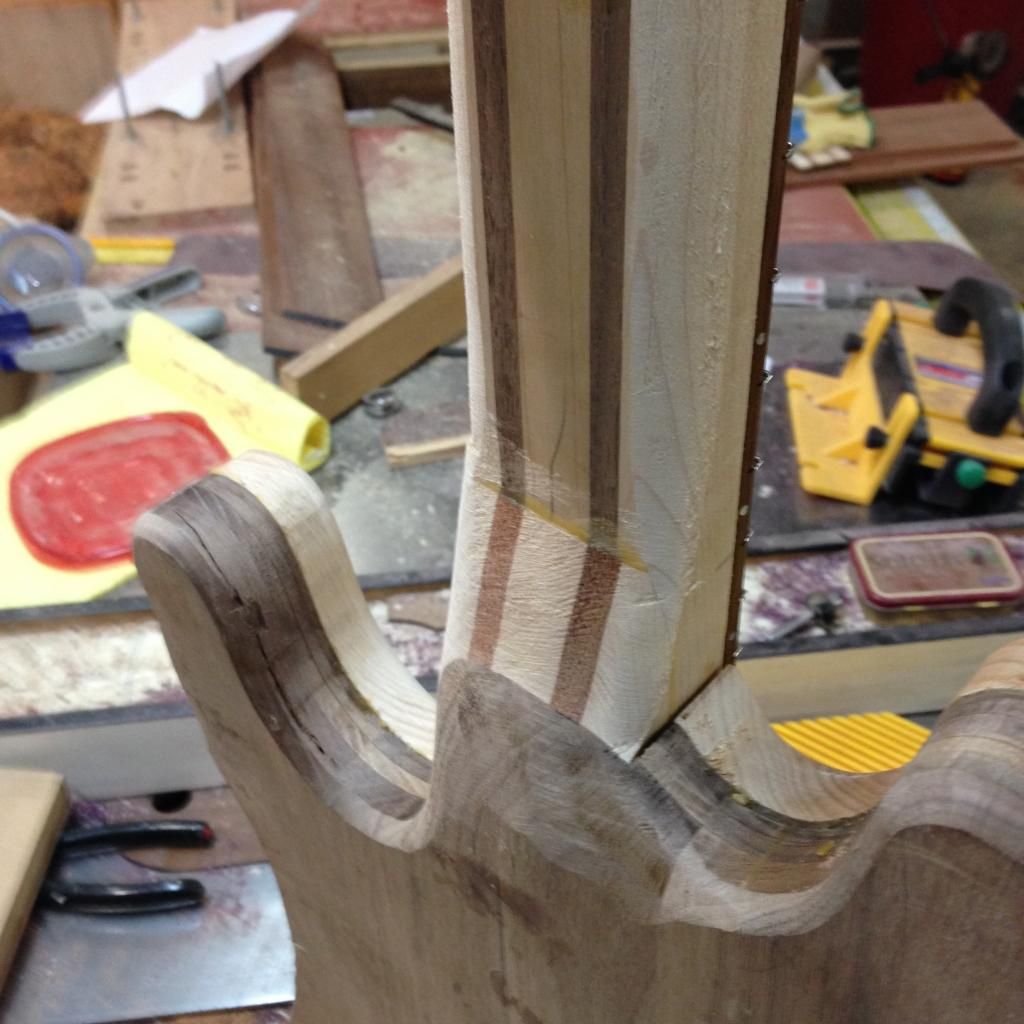
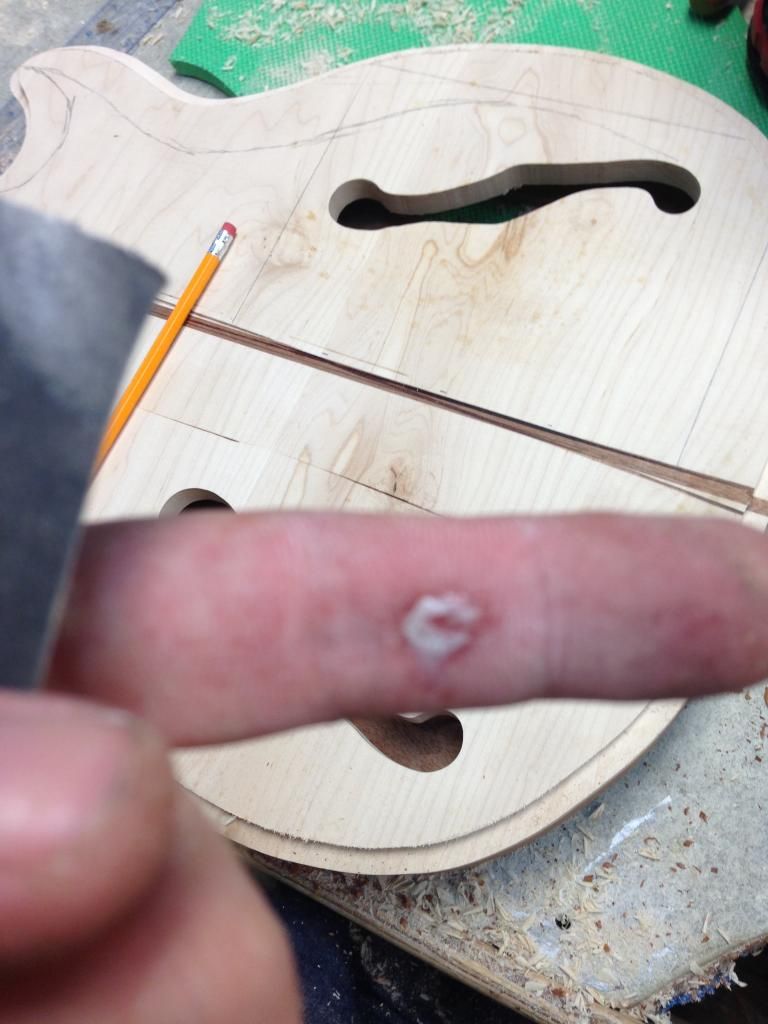
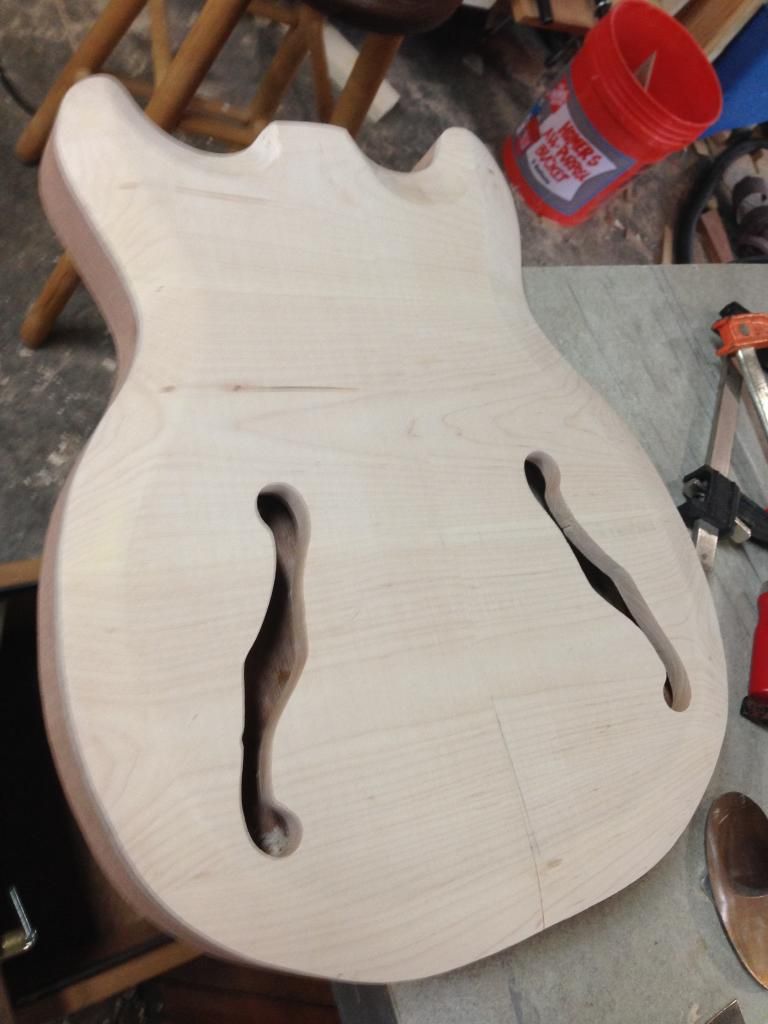
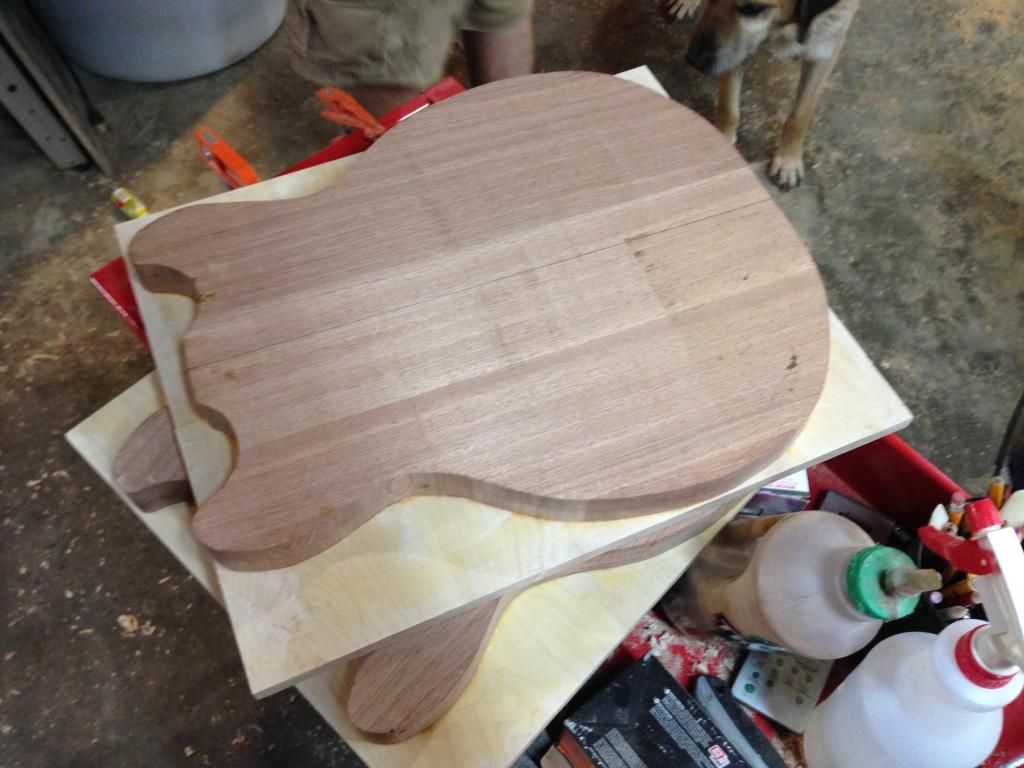
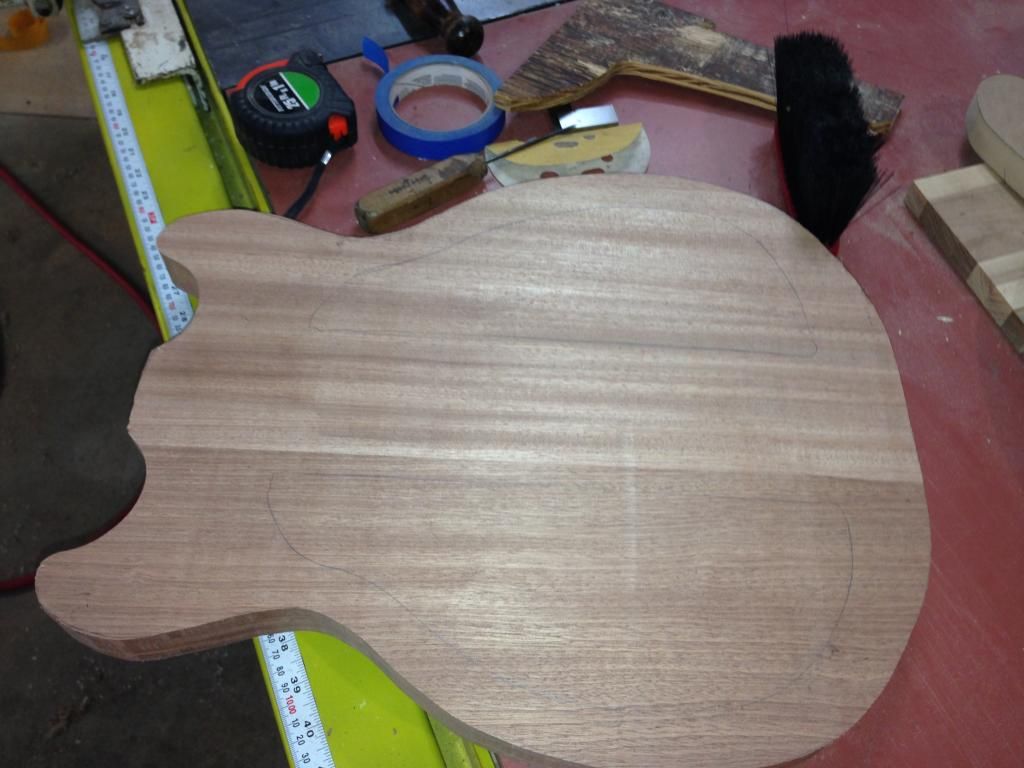
Started the day routing out the f holes and cleaning up the control cavity.
Then it gets to the fun part the carve. Started with the pencil lines
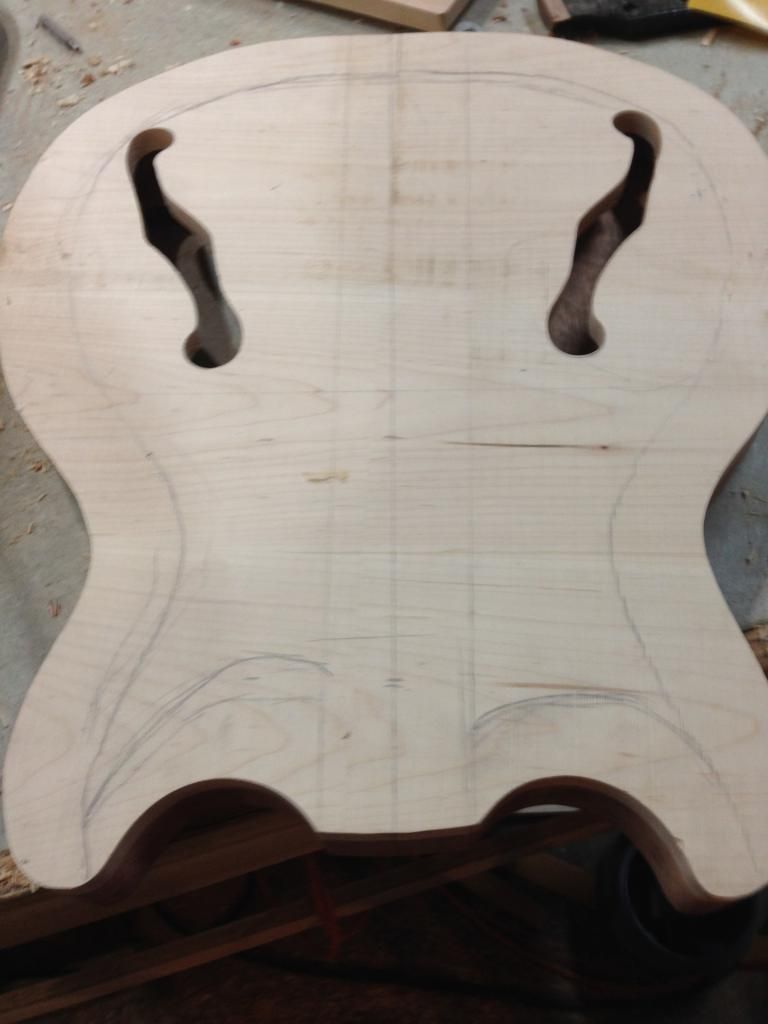
Went ahead and took basicly a route for a binding to knock some of the wood out and give me a finish line
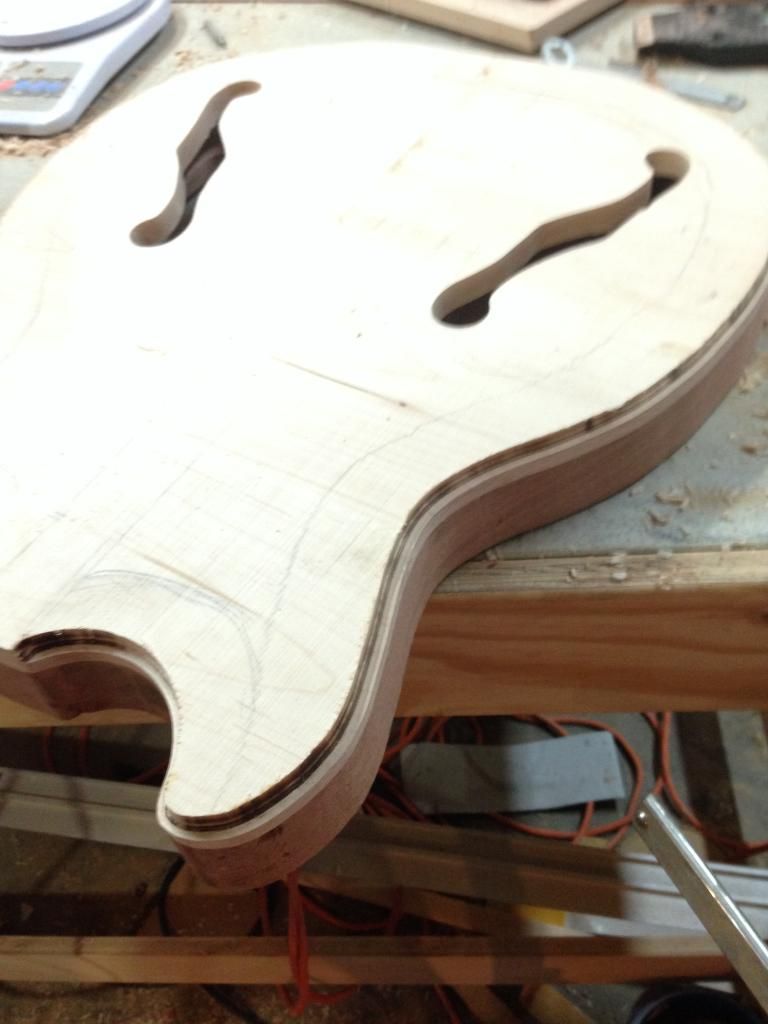
Then with a hammer and chisel i started knocking out chunks and then used a power grinder to get it close.
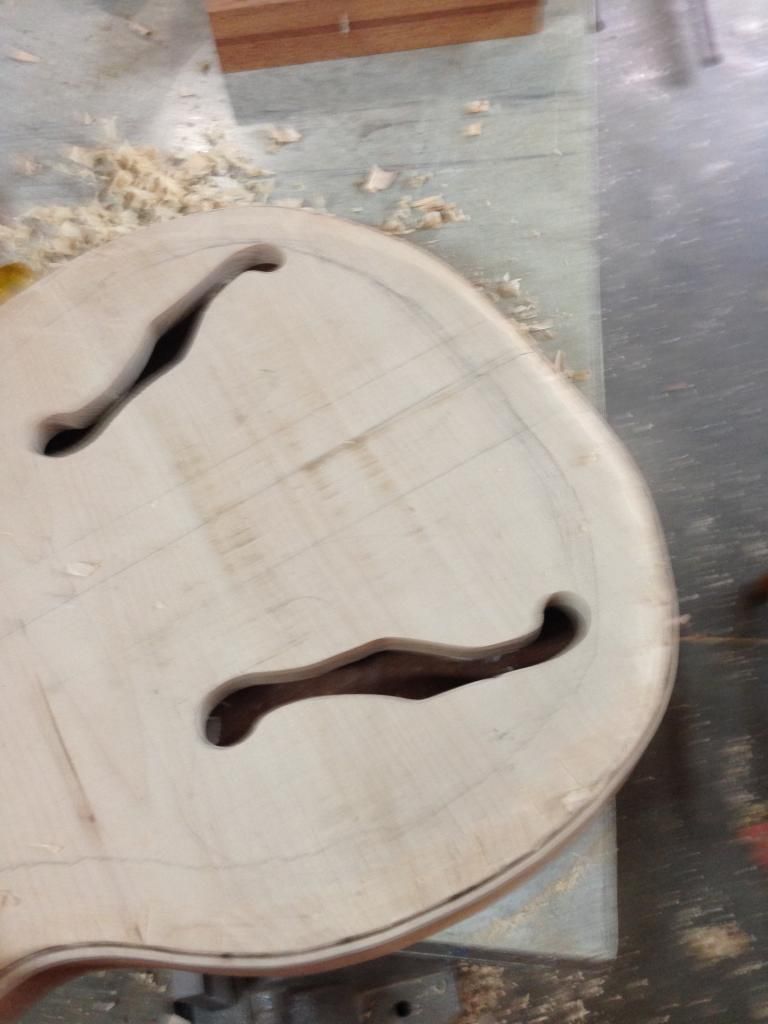
I then took a cabinet scraper to clean it up and some 100 grit to give it some smoothness
-
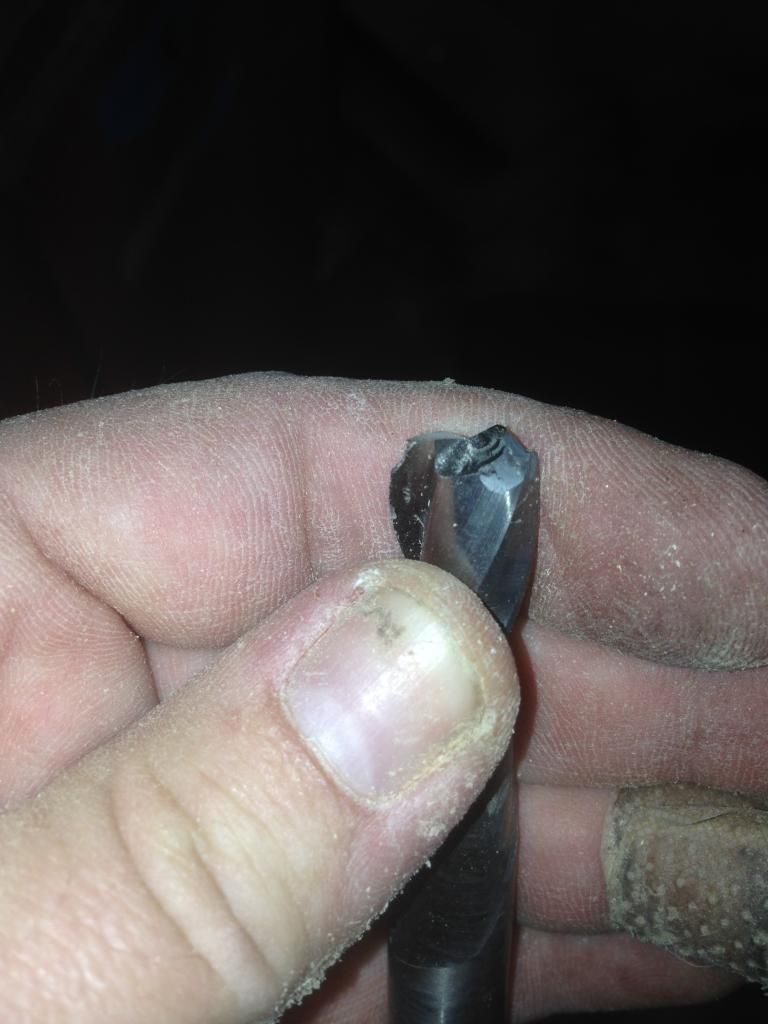
Ever have one of the those days in the shop where everything breaks ? Yep had one of those days I mean seriously how do you explode a solid carbide bit after 20 minutes of use?
That is so going back to woodcraft .
Then we had the issue of crappy 2 way tape and one shot neck blank. SO i spent the rest of the day running to wood craft and making a dozen neck blanks ( I am so not back tracking to fix screw ups, grab a new blank)
So the next day i worked on making my template for my f holes and hogging out the back control cavity. I am so not going to try to put the electronics though the f holes. When your on tour and need to do a repair no one wants to mess with that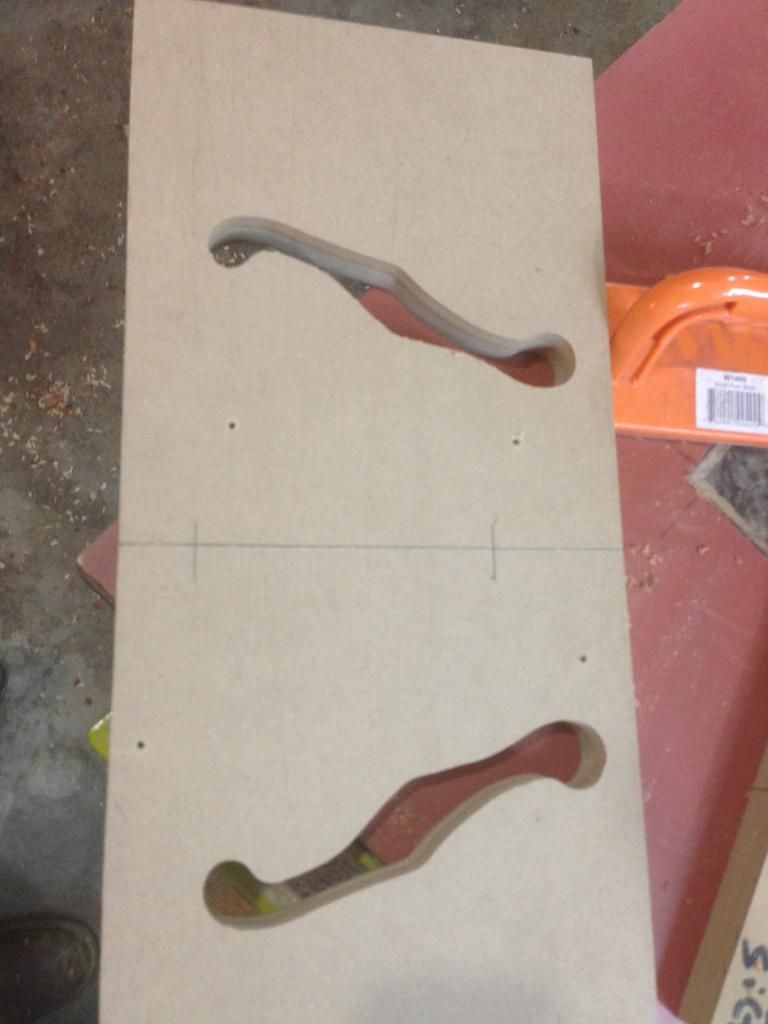
-
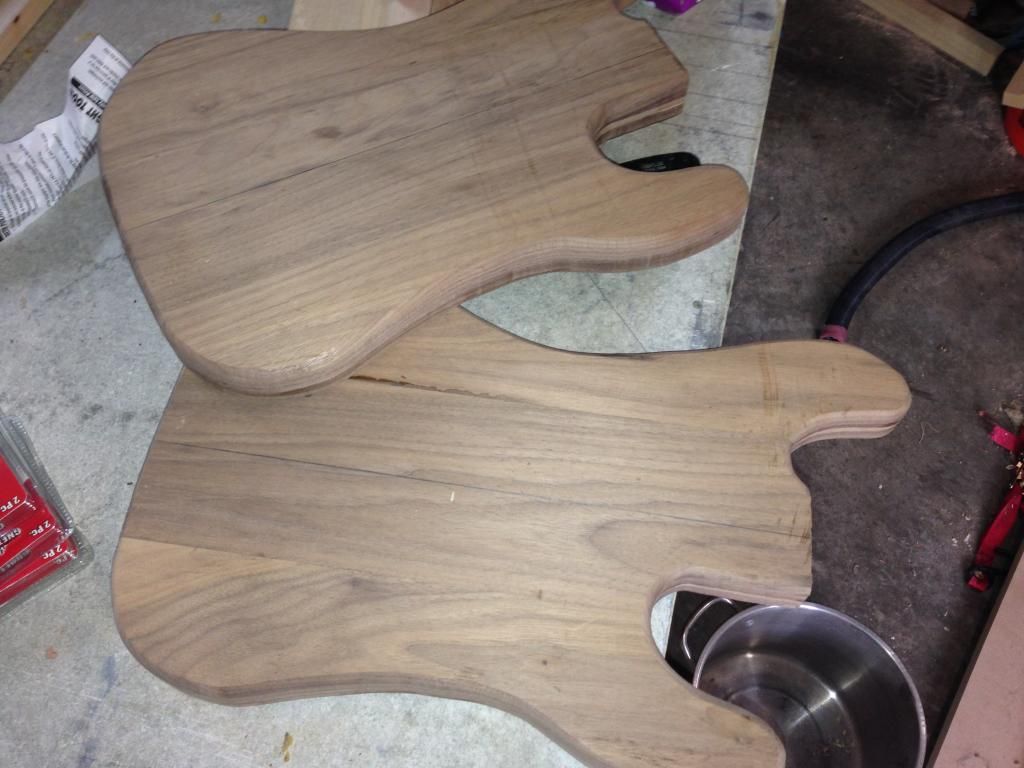
Well today we worked on the bodies after pulling them out of the clamps we had the great looking model

After a quick trim on the band saw and a photo op with the intern
Now off to test the pin router
Now cut out
Now i have to backtrack I totally over engineered the truss rod jig it was a little over thought. Cause i did not have a router table. I am like well let sick one on the table saw ...where is my circular saw
This was much easier so I got the truss rods put in
-
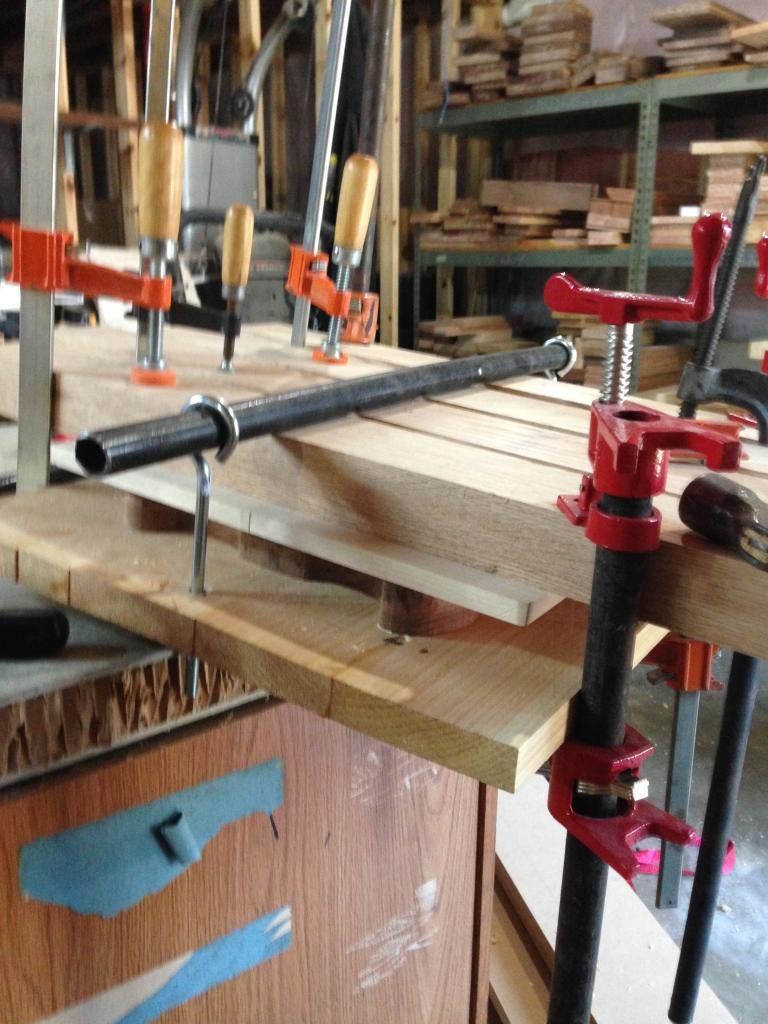
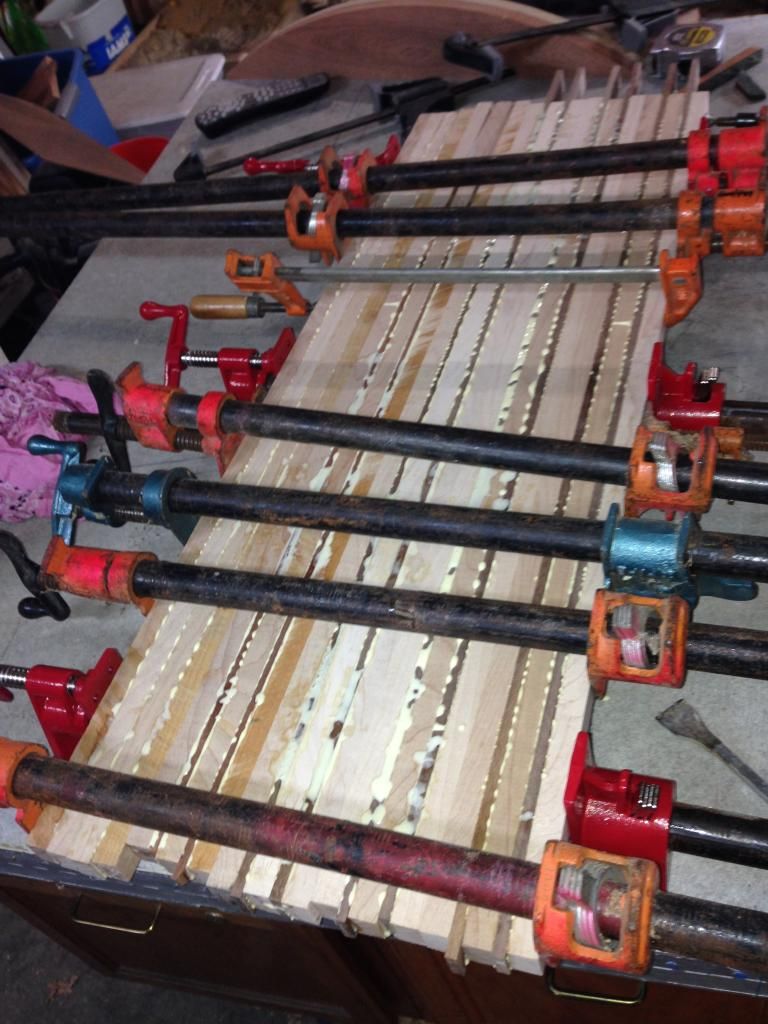
A quick Sunday morning top glue up.
The spread
Here is the first version of the body clamp, version 2 will have more cross pipes. Basiclly I use an impact to tighten the down bolt pulling the pipe into Oak cross bars making a nice joint. THis works for keeping body blanks glue ups level as well
-
I am betting a lot of folks here (myself included) do not yet have an out feed table to clutter up. Nice looking shop you have built for yourself. I am starting to get a bit jealous.

I had to something with that old pool table
-
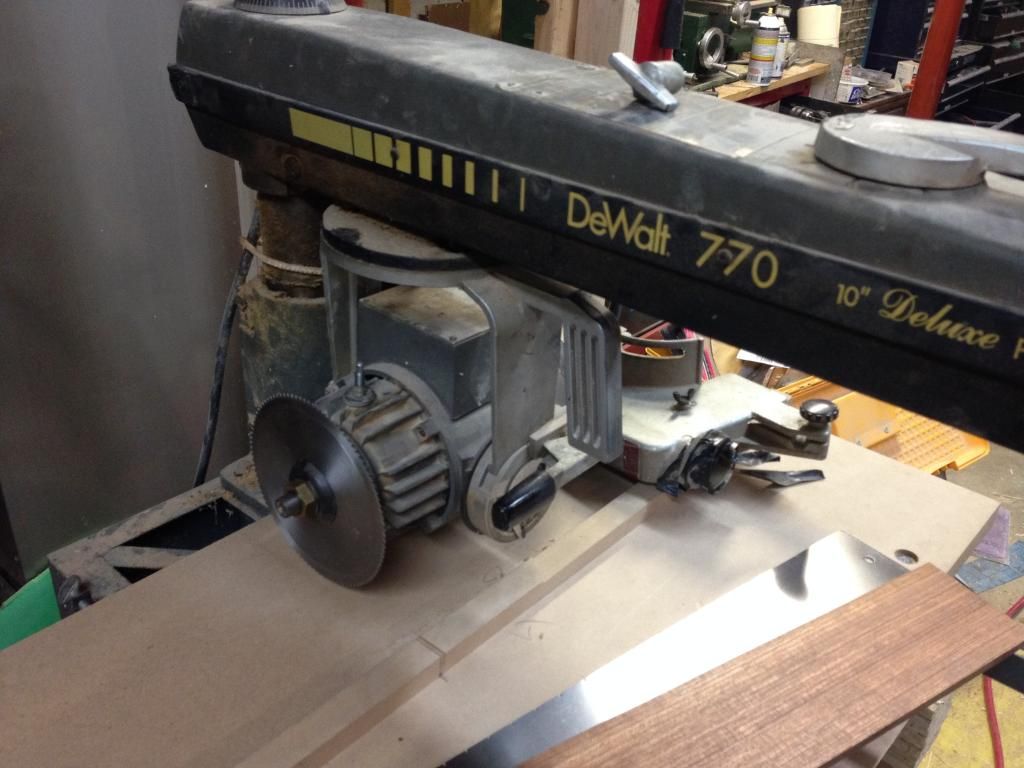
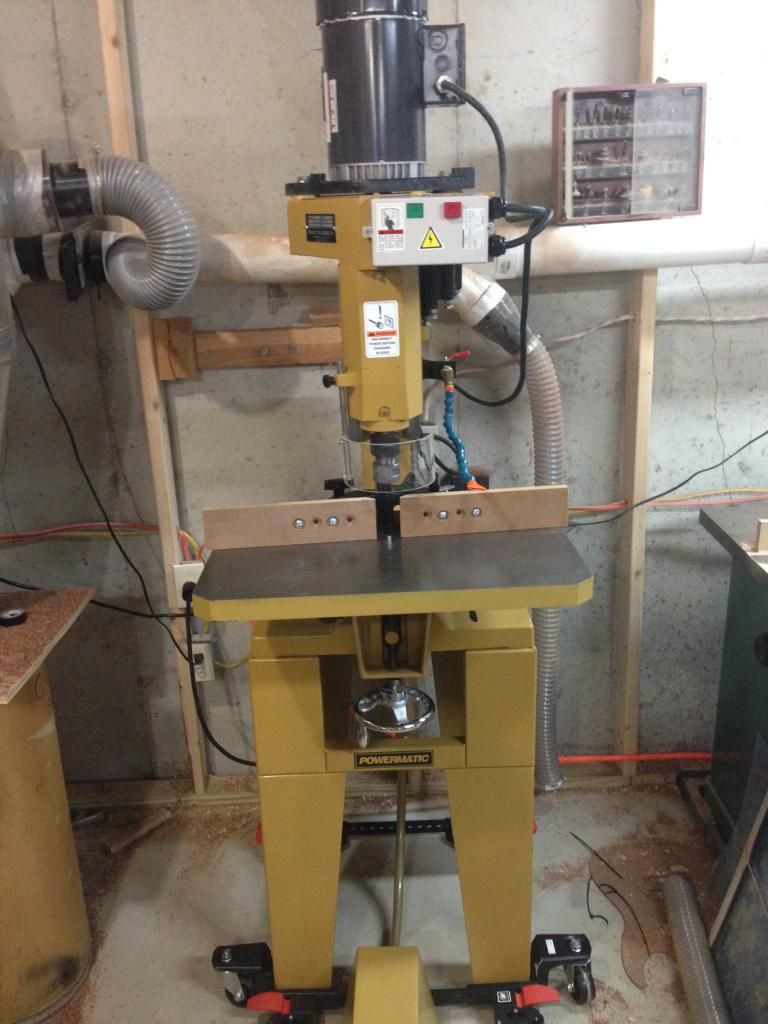
Well true believers since we last spoke this was added to the shop
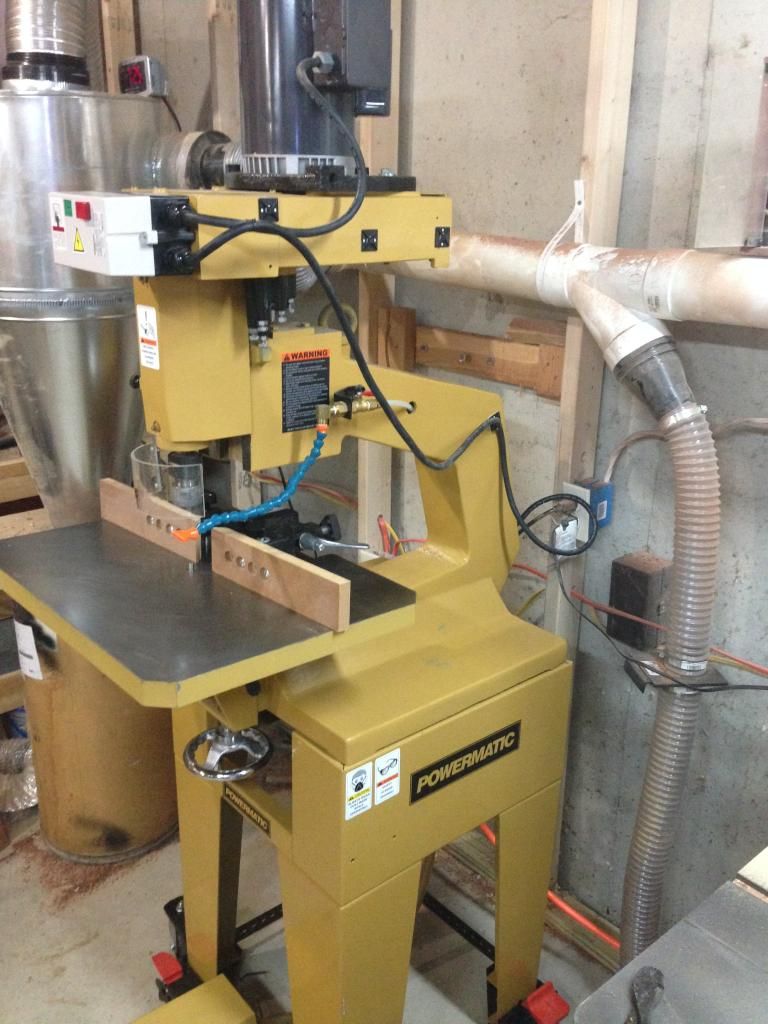
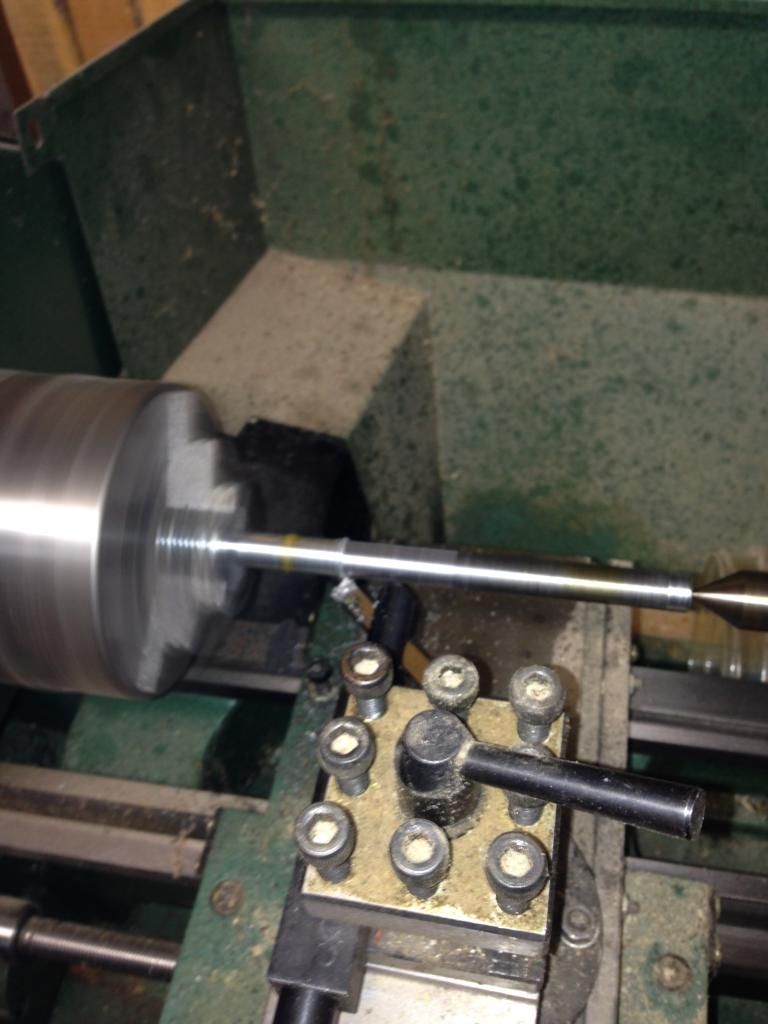
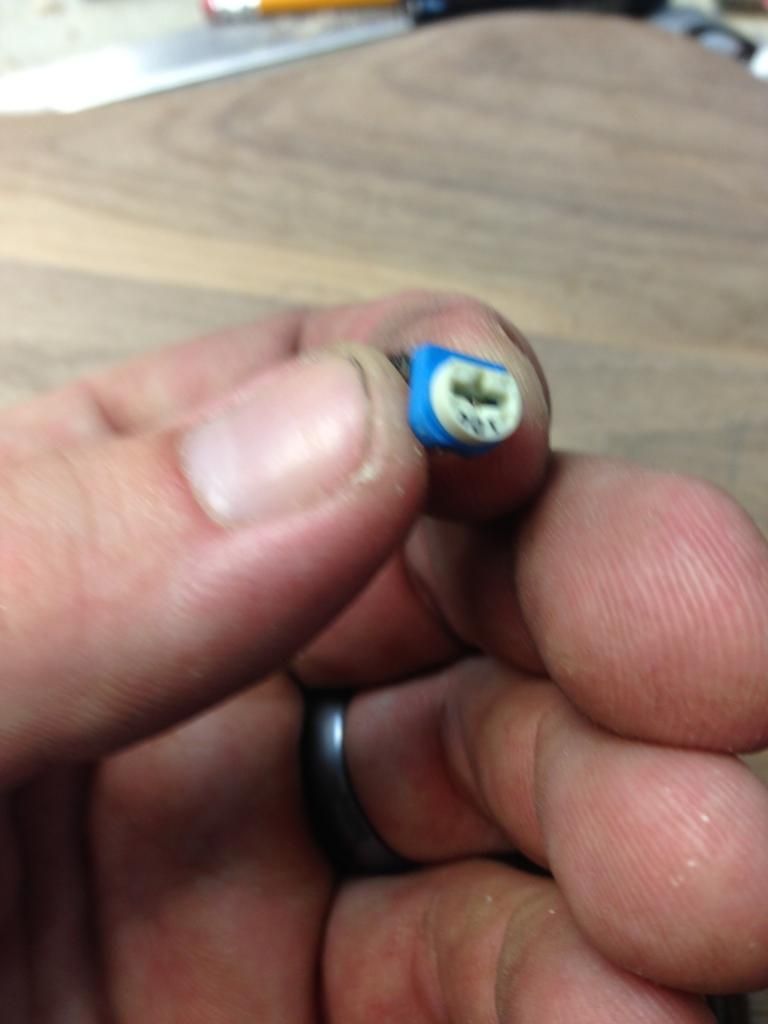
It is the one thing i have been drooling over since I started buying machines. Hard to tell it was used ( truth be told idont think he used it much.) So i got some bits for it 1/2 shank size ( my first 1/2 shank I feel like such an adult now) SO i got 1/2 and 3/8 straight bit. But of course it came with 4 pins....None of the 1/2 or 3/8. Well I know finding parts would not be easy so it's off to get some round bar and turn these bad boys
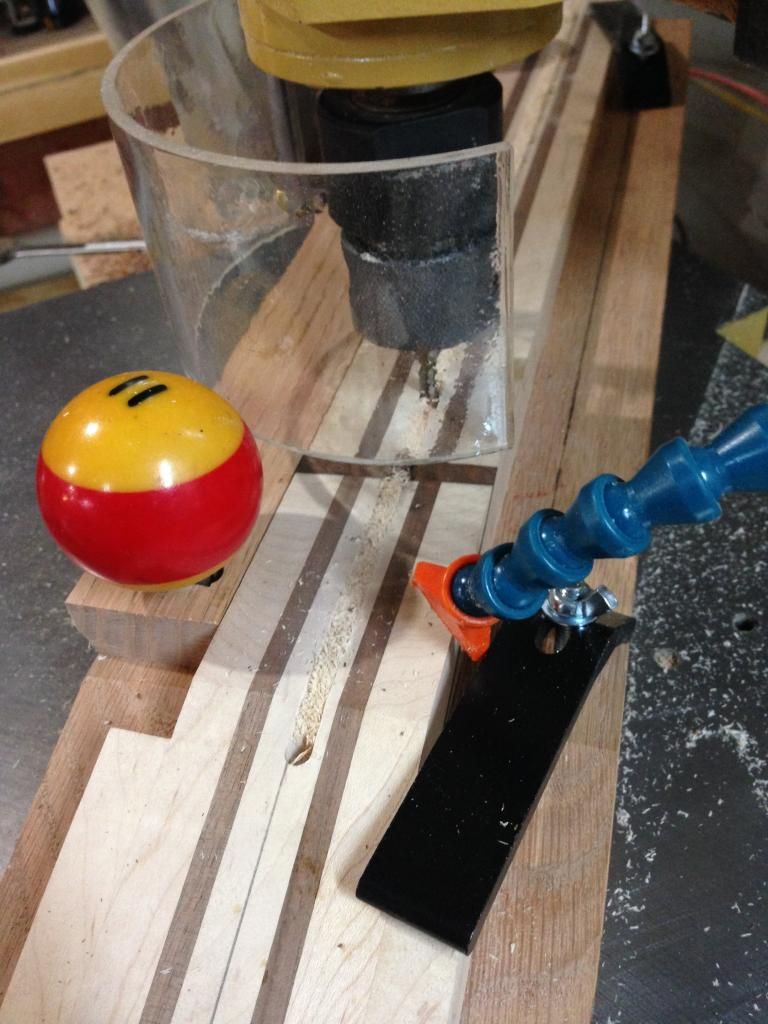
Also I am thoroughly convinced that Luthier is Latin for I make lots of jigs and templates. Cause I needed to route out the truss rod slots and I wanted to make it accurate and repeatable so I made a jig!
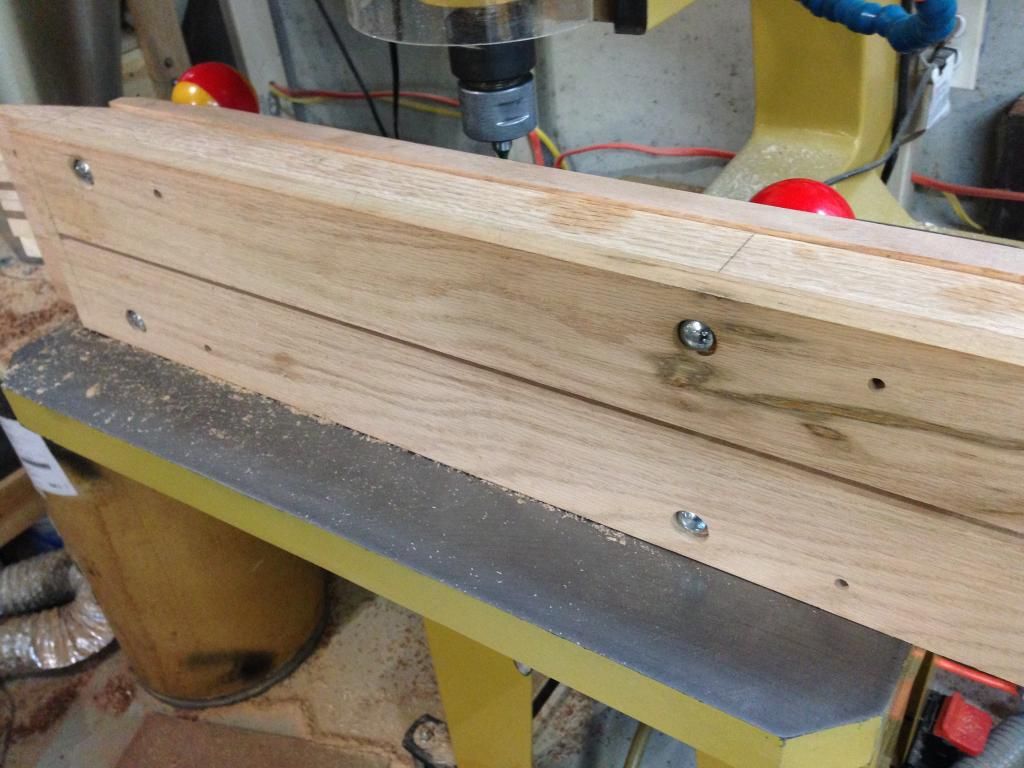
The first layer has the truss rod pin guide I wanted to be able to switch this out for different sizes (bass and guitar). The Middle layer has the center lines and holds the neck. The part with the pool ball nuts is a guide to lay the neck down fast and the then the clamps
The under side
This is it running in action
After that I needed to resaw the maple tops for the guitars. Now this was my first resaw and i have realized resawing is much easier with a 1" blade
Then gluing up the tops
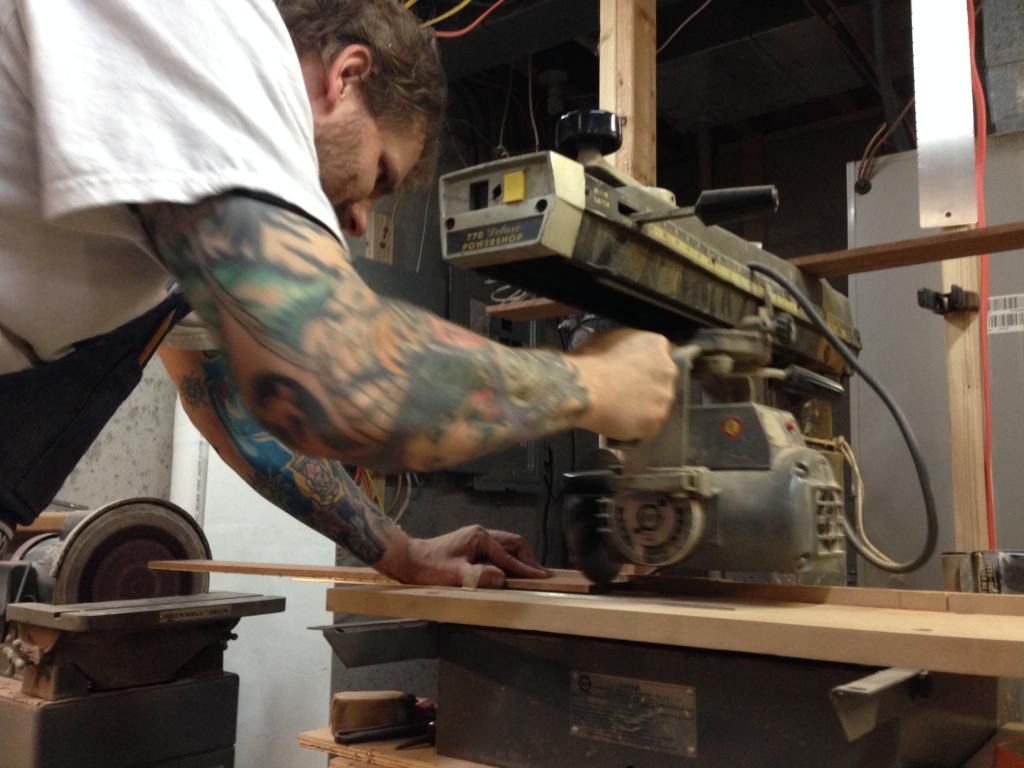
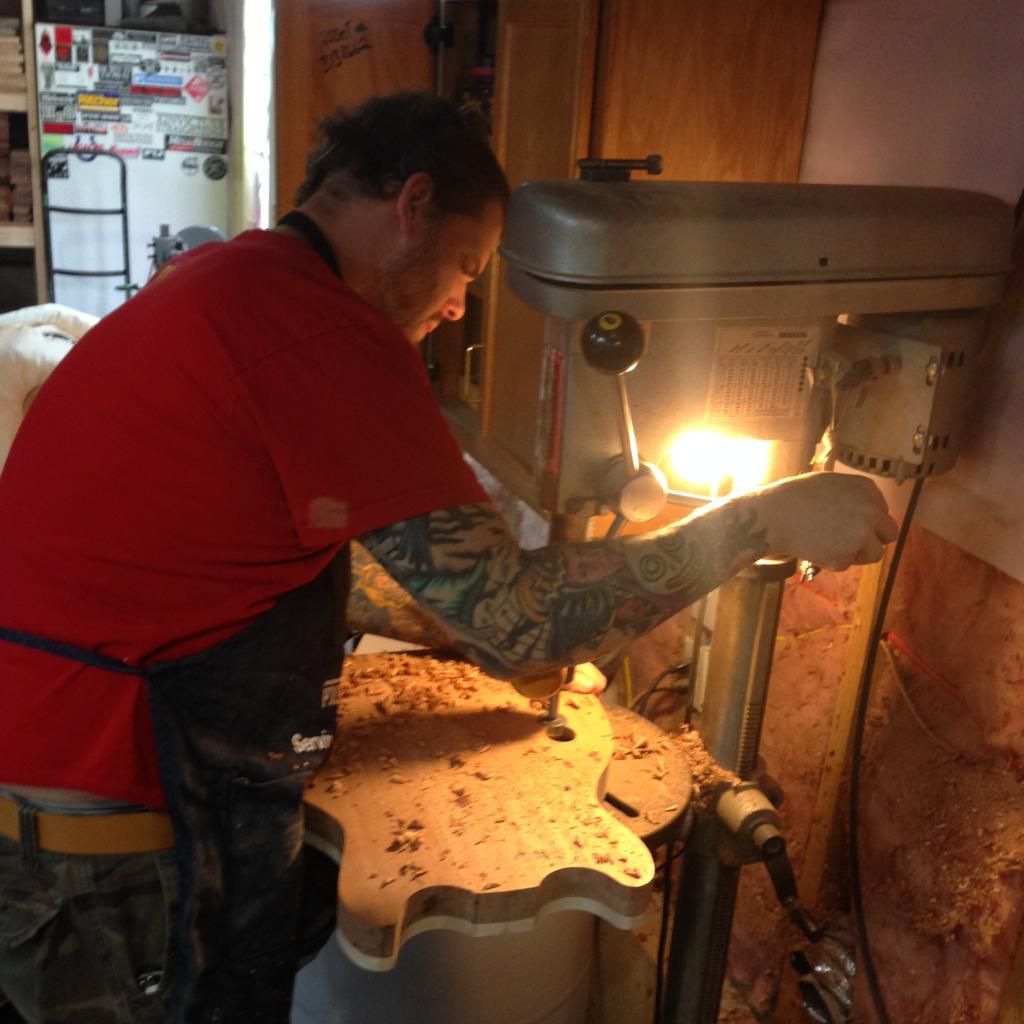
Now in between all this I had to do something quiet while the grandkids were taking naps so I got my fret saw set up going. My uncle gave me his old radial arm saw when he passed. The problem is it does not have the get up and go it used to so its not good for cross cutting but it works great for fret slotting
And does anybody else's outfeed table look this bad
-
<<-- jealous. That's a hell of a steal. Congrats. Care to elaborate how you got it?
It was scored on Ebay. The guy listed it for $450 on Craigslist and he put it on Ebay as well trying to see what would go first. The first time he listed it he canceled it early and relisted it instead or paying to put a reserve on it (which was his mistake) So when he relisted I bid it up to $200 so it had some money on it. Well I guess he did not read the fine print Ebay will not let you cancel an auction if there is less then 12 hours for any reason. So it went to the end. At the last minute I upped my bid to $451 ( i would of paid the $450 for it easy) And it got snipped up to $280. So I paid immediately and made arrangements to pick it up . When I talked to him I could tell he was not a happy camper. The thing was this guy was LOADED and the $170 he lost could not of mattered that much I just don't think he liked that he had not "won the game" basically. I will say this it was the hardest thing to get into my shop
Shaping work is a balance of two opposing forces - that of the cutter and that of the workpiece. Ideally all work should be mounted on a heavy mobile sled with a pin router. Wonderful score. You'll have great fun making templates. Either that or you'll get sick of making templates for one-off jobs ;-)
I am convinced Luthier is Latin for I make lots of jigs and templates
-
All the above took me about a week. The jointer and the bandsaw defiantly move things along, I managed to pick up alot of Craig's list deals so I outfitted the shop very fast.
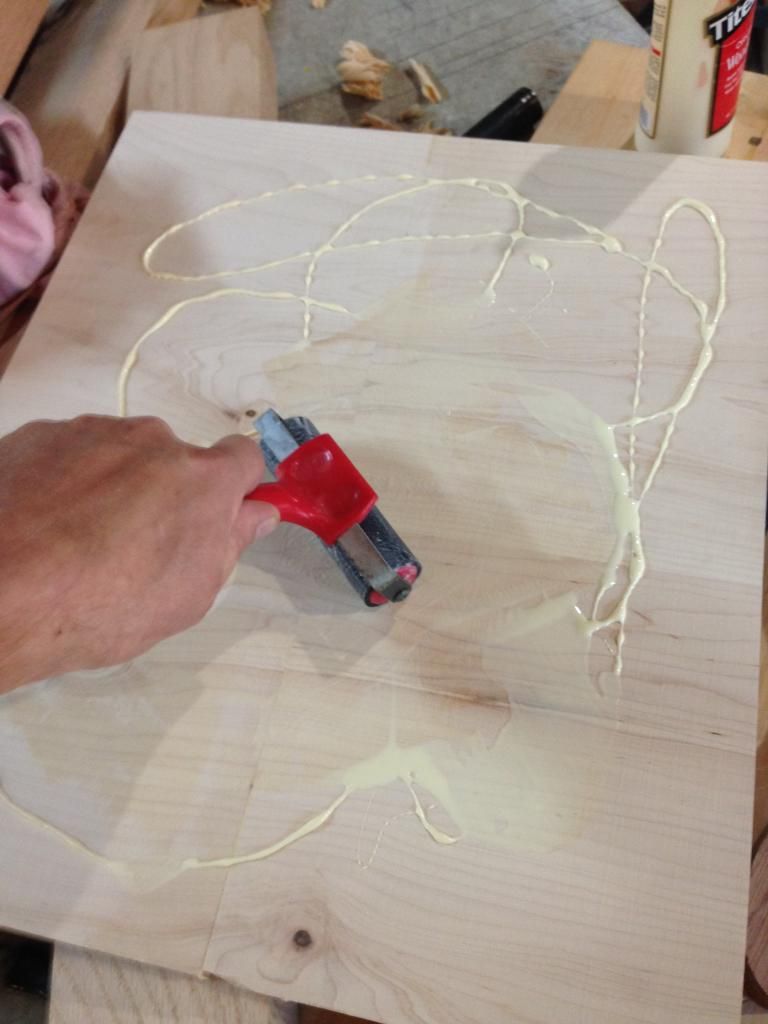
Yes they are Tightbond 1 when i do them i do one neck get the glue down and touch them together in a rough spot then do the next and so on. Then put the clamping pressure on. My trick to doing it all at once is using a Ink Brayer roller. I picked it up at hobbyloby for $5 you just put a beed of glue down and zipppp with the roller perfect glue layer. Then you can put the roller in a tupperware of water and its good til the next time.
-
For the guitars we are going for a chambered body with sound holes, will this work? hellif I know but we are going to see what happens. So the out line
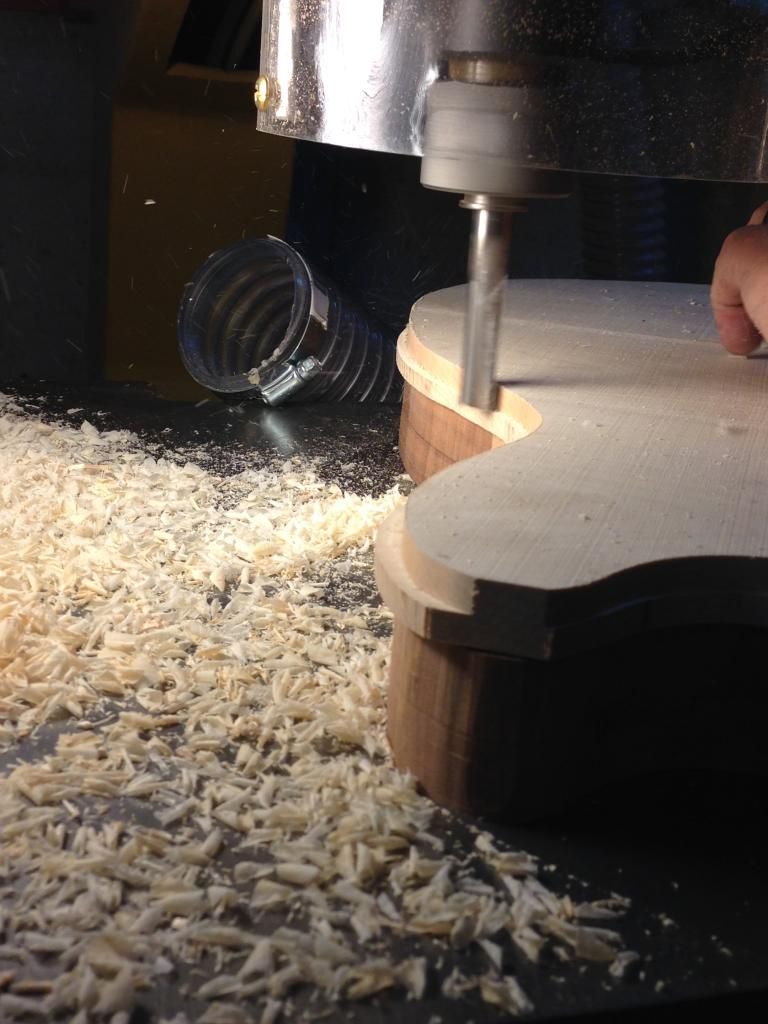
Hogging out the material with my helpers /intern ( my sons friend want to learn some wood working so he shows up everyday to help)
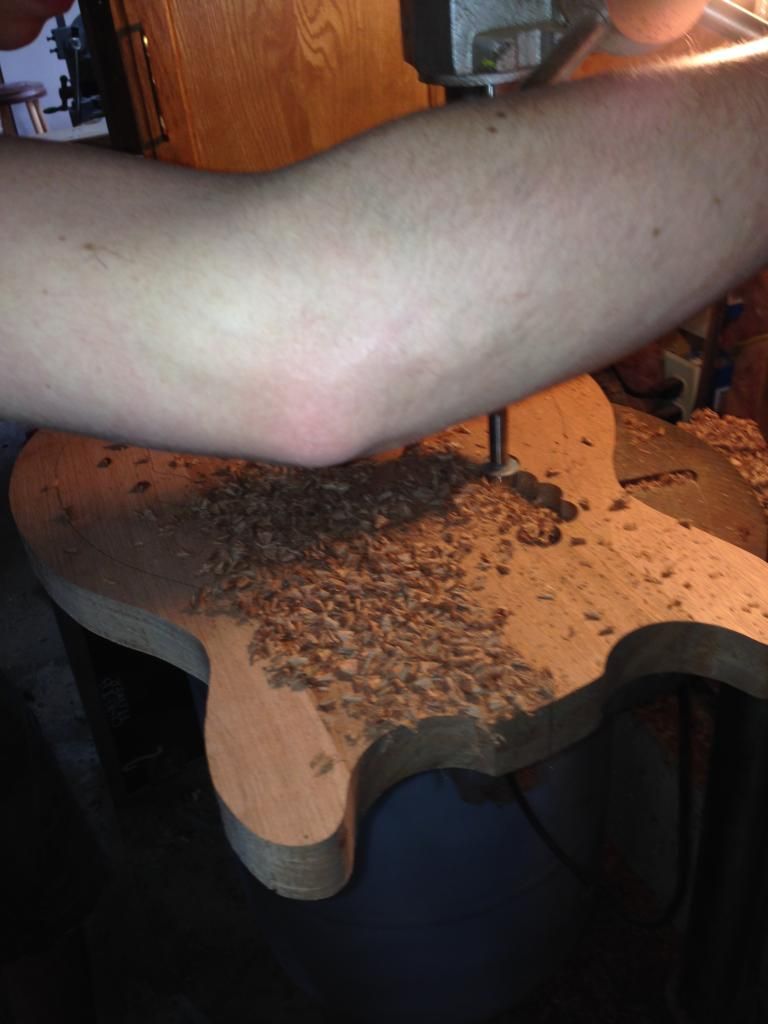
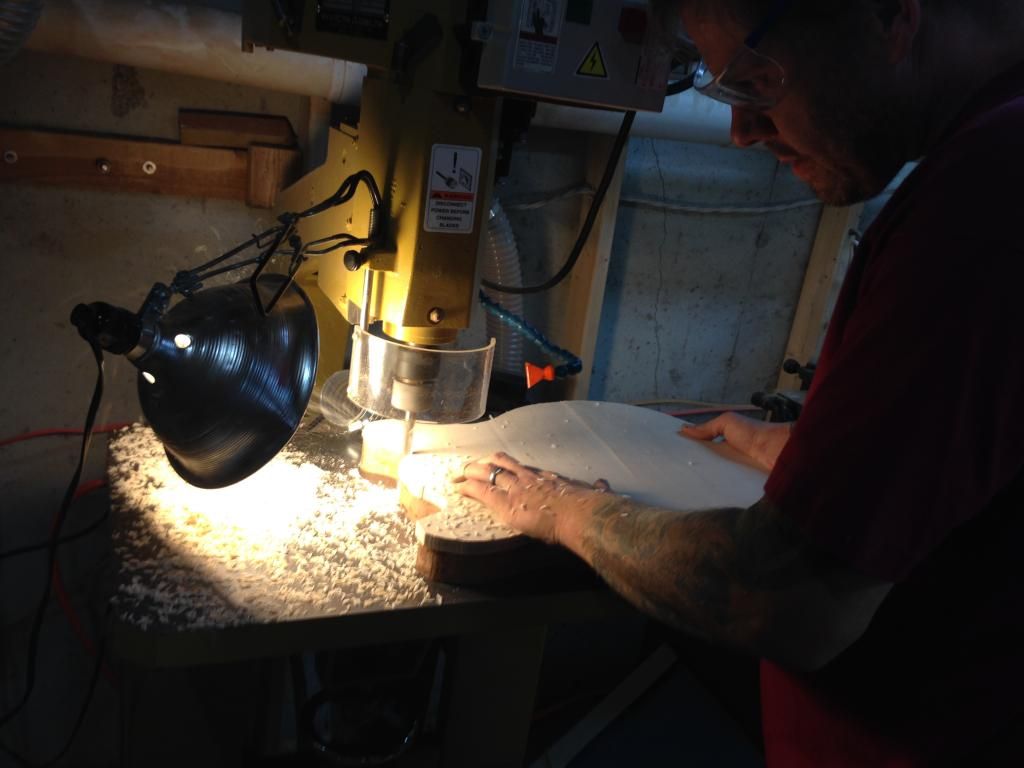
Oh the freaking mess, i need to get the drill press some dust control
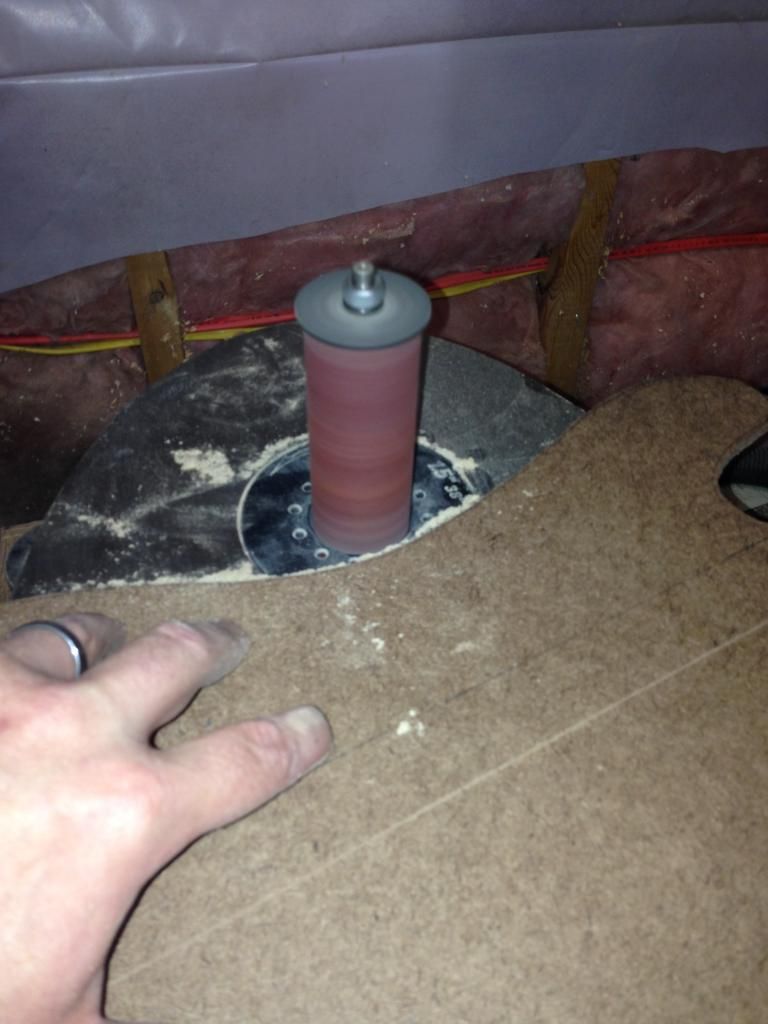
Cleaning it up via the old shop smith pin router
here is the finished route out , my intern colored outside the lines a bit if you will on the drill no mater you wont see with the top glued on
As you can see i have the neck template on there as well. I made that while he was working on hogging out the bodies
I set the start and end and put on a straight edge then went to the router and shaper to get the template
Really isn't the music choice the important thing
and safety selfie of combing your hair is over rated

Well that the past weeks work for the most part to be continued
-
Wow, jatoba bodies. Hard, heavy, and tough as an old cinder block. And very midrangy warm sounding. I love it for a neck.....and will be watching intently to see how it works as a body wood.
SR
I very curious as well when i knocked on them they had such a good ring to them. I am chambering/hollow bodyish them because he requested a smaller more solid feeling 335
-
while the necks are drying will throw a round round over on the bass bodies
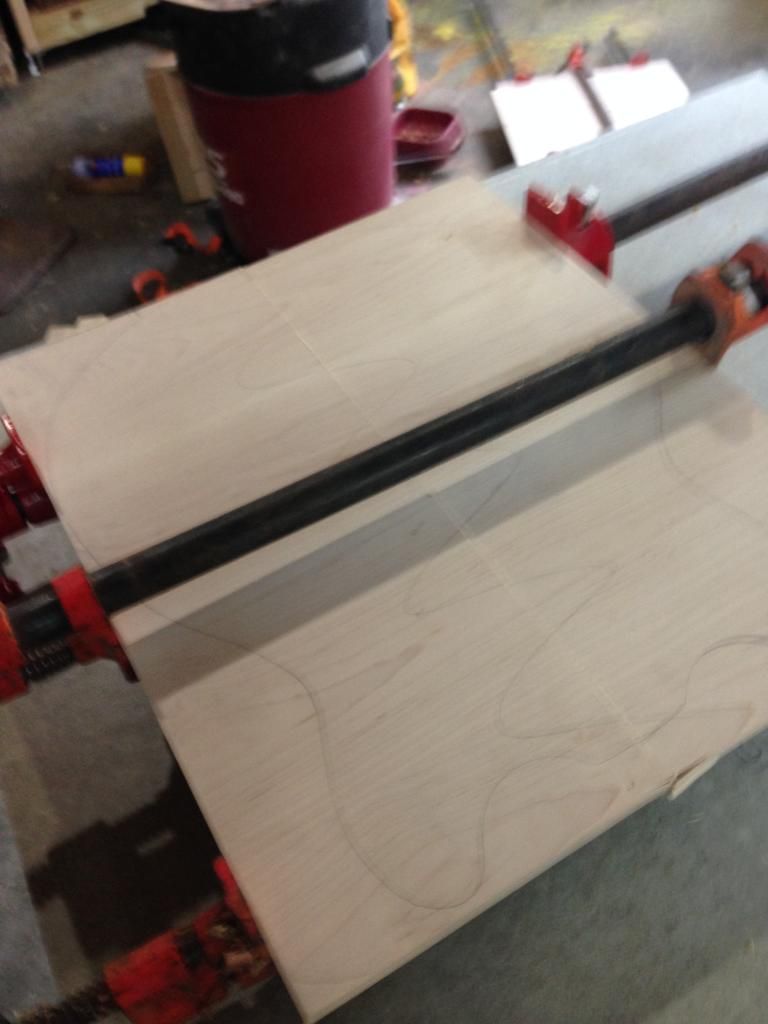
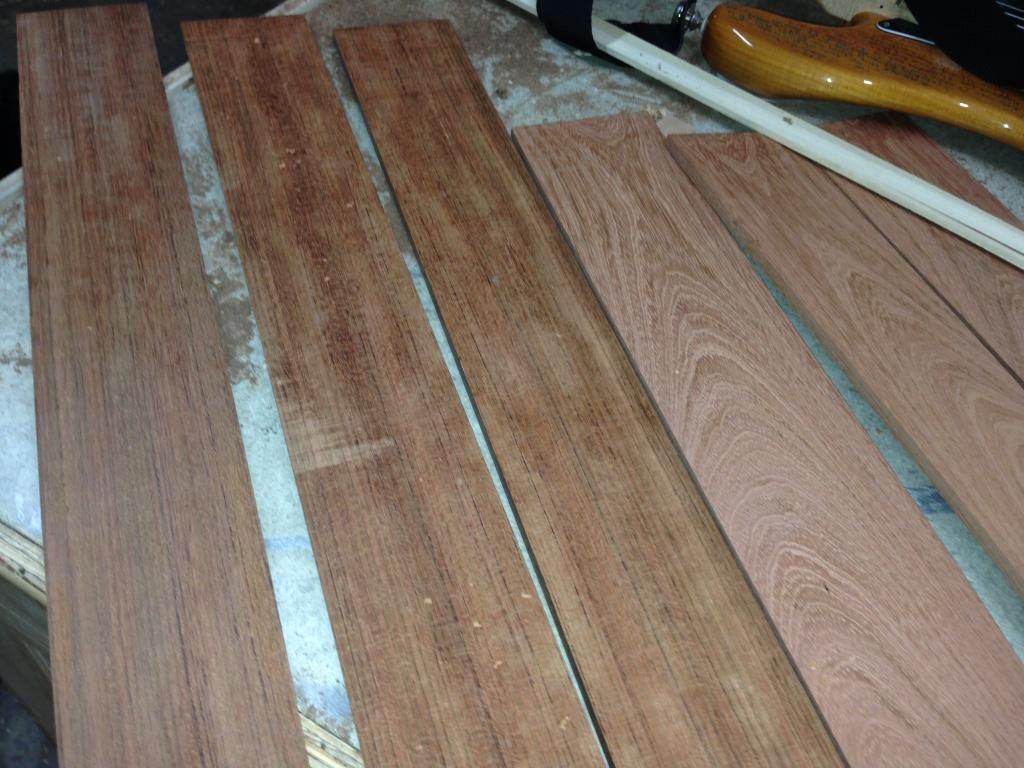
And let us make some fret boards . I started with slicing some Jatoba up
Then a few passes though the thickness sander
Fresh of the presses ...fret boards
After that i took the blanks out of the clamps and squared them up
And on to the scarf joints , I cut them of at 13 degrees on the band saw. Then i made a support jig to clean ou the glue face on the jointer
i glued a strip of the matching wood fot a little color before gluing them up
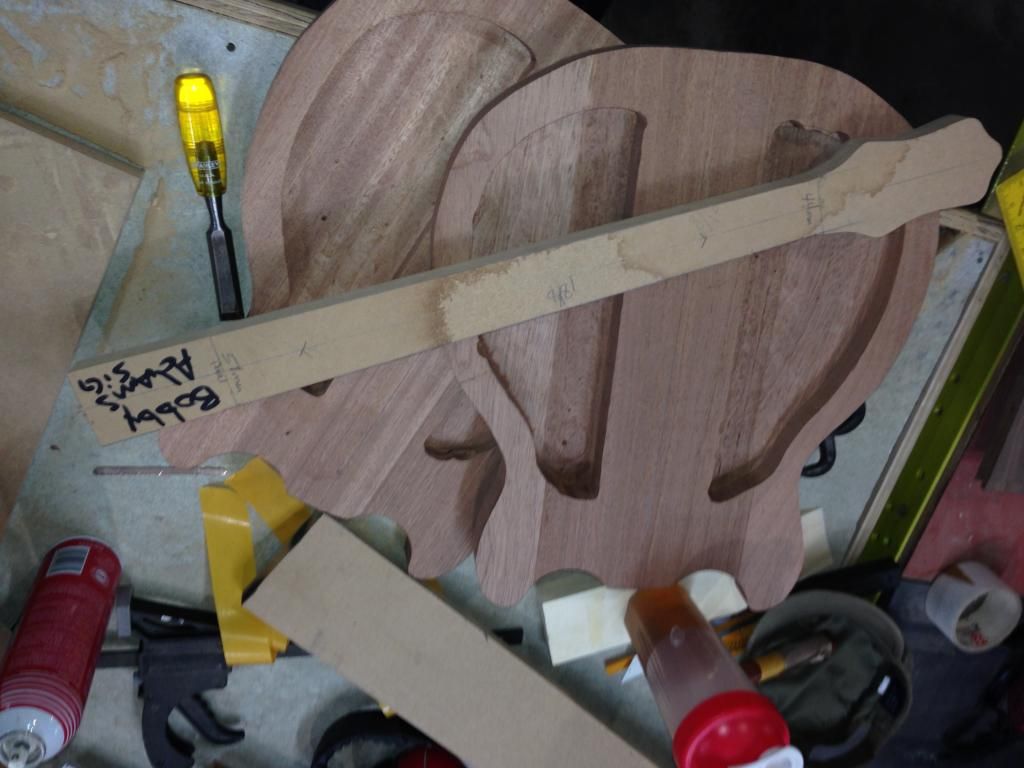
After drying i cleaned up the faces and added the headstock wings
-
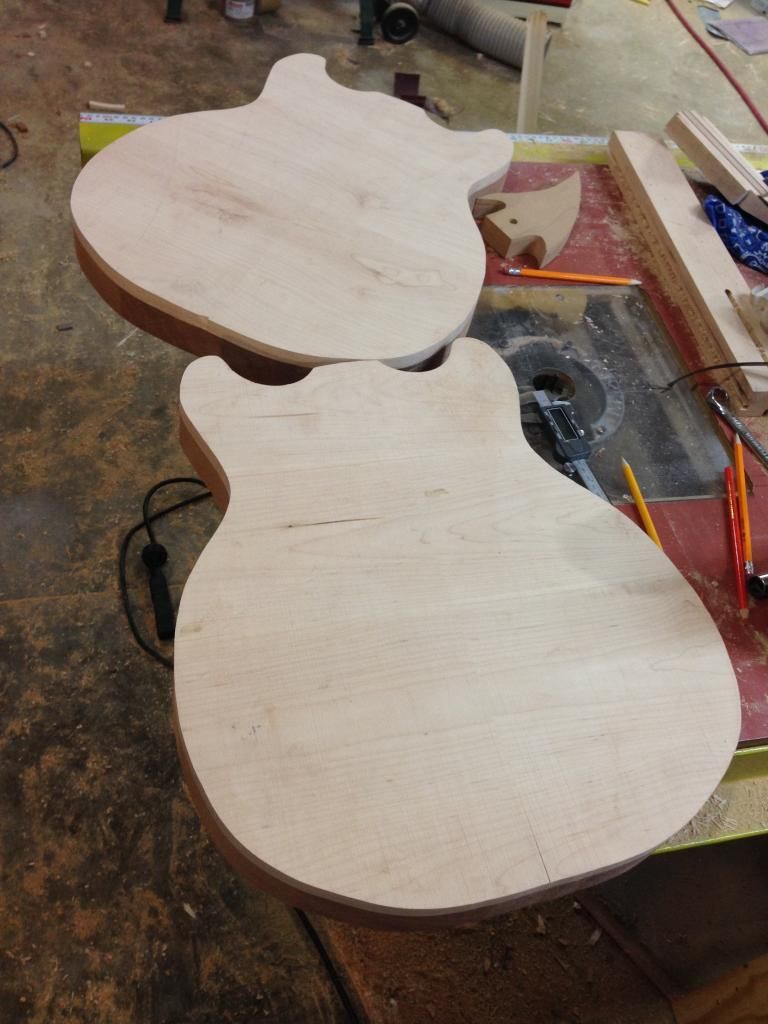
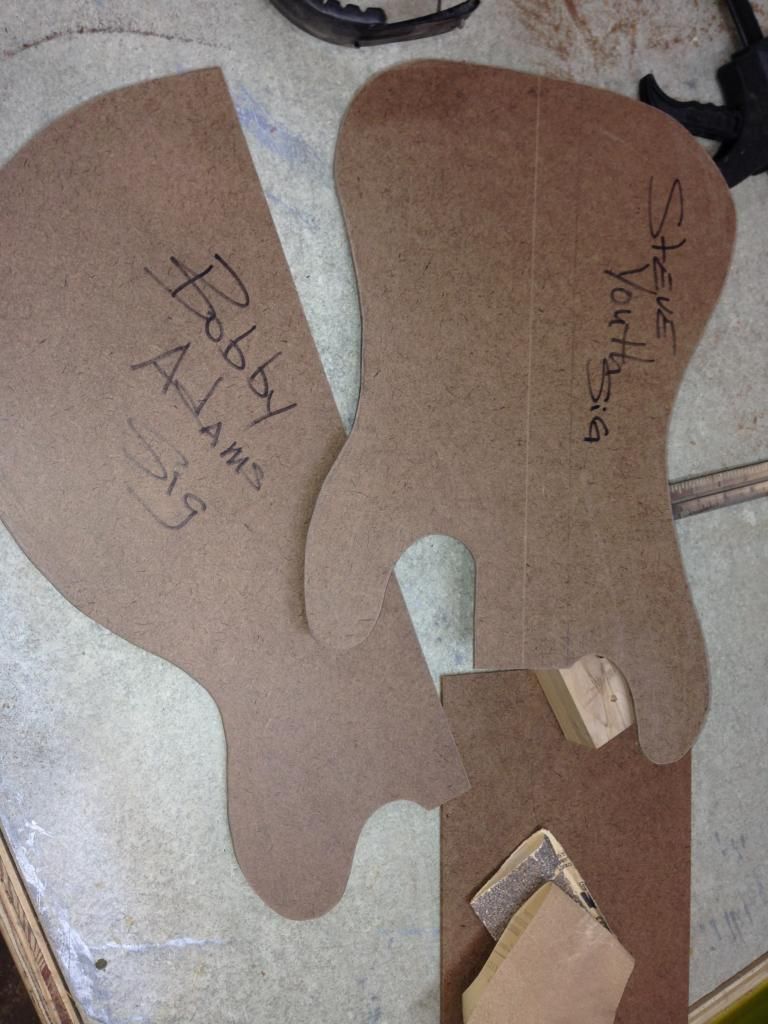
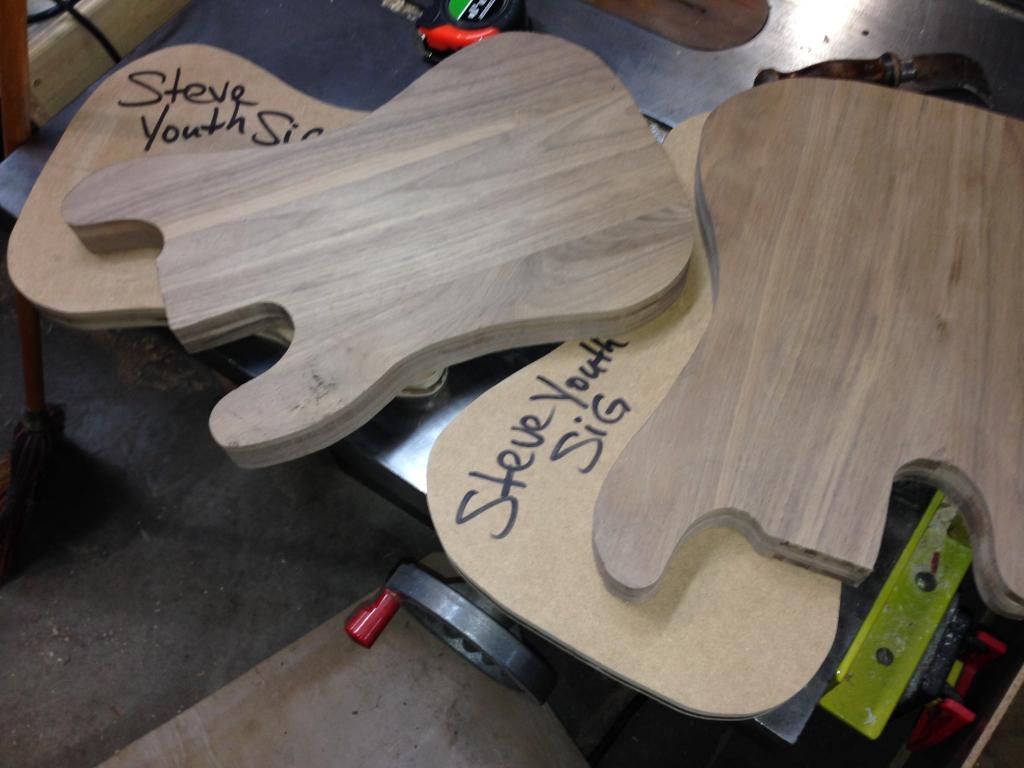
Well for an inaugural for the shop, I am designing and building 2 pairs of signature guitars for the band 7 Seconds, ( old punk/ hardcore band just youtube, or wikipedia them) So i got with them and asked all the fun questions of what they were looking for and wanted (as well as what they hated) . SO i drew up some designs and got there go ahead and made the start templates
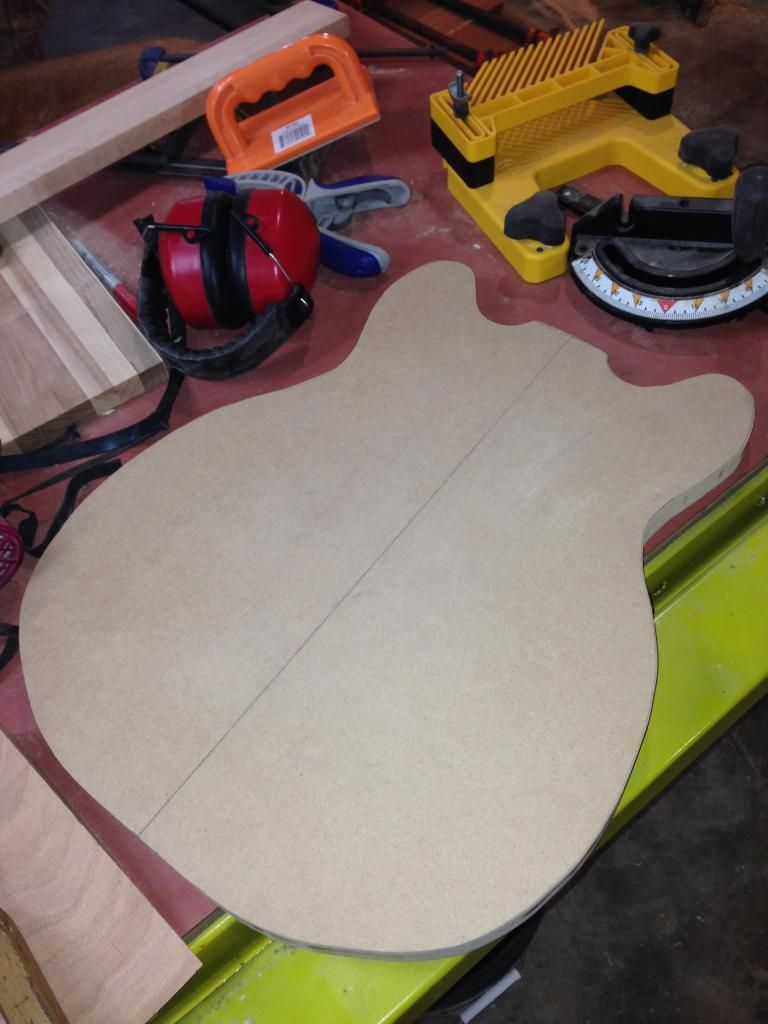
Which was then transferred to 3/4 MDF using the shaper
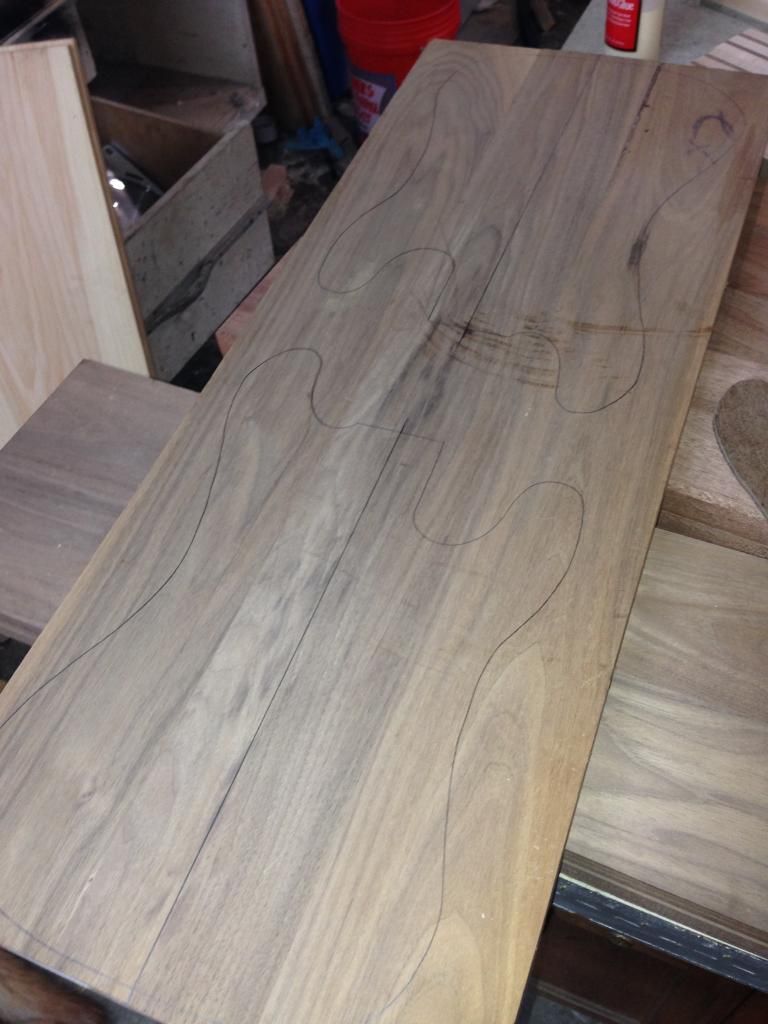
The bodies of the Basses will be walnut and the Guitars will Jatoba with maple tops SO we got the glue up of body blanks
Band sawed out the bodies and then off to the shaper to put the templates to use
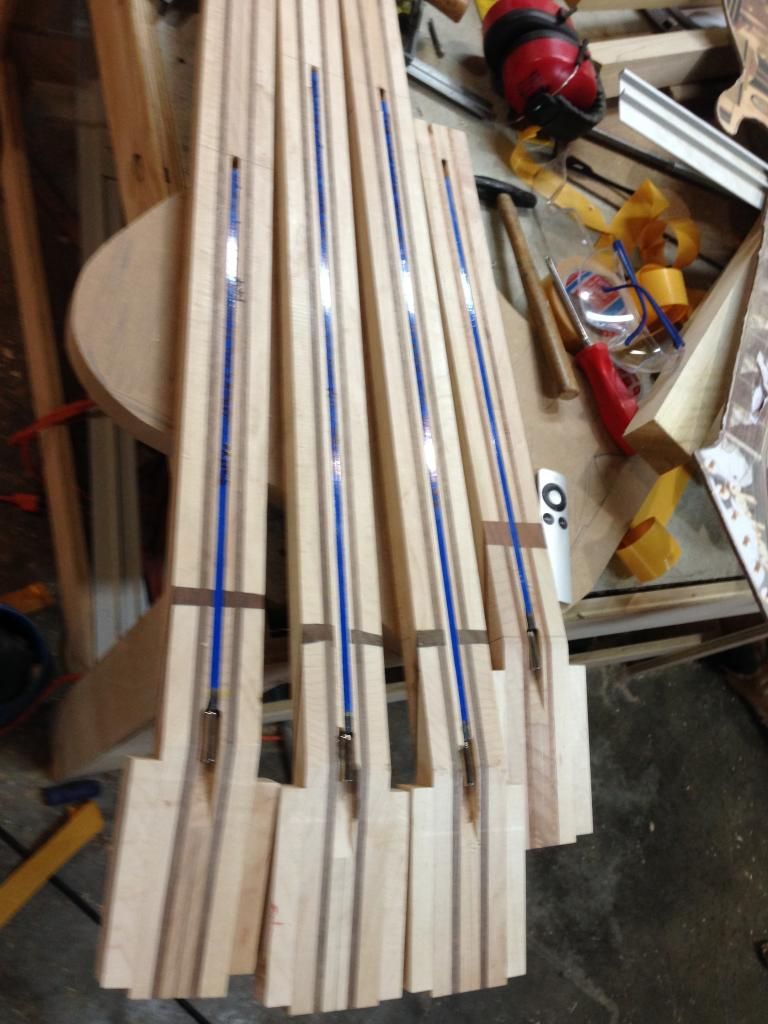
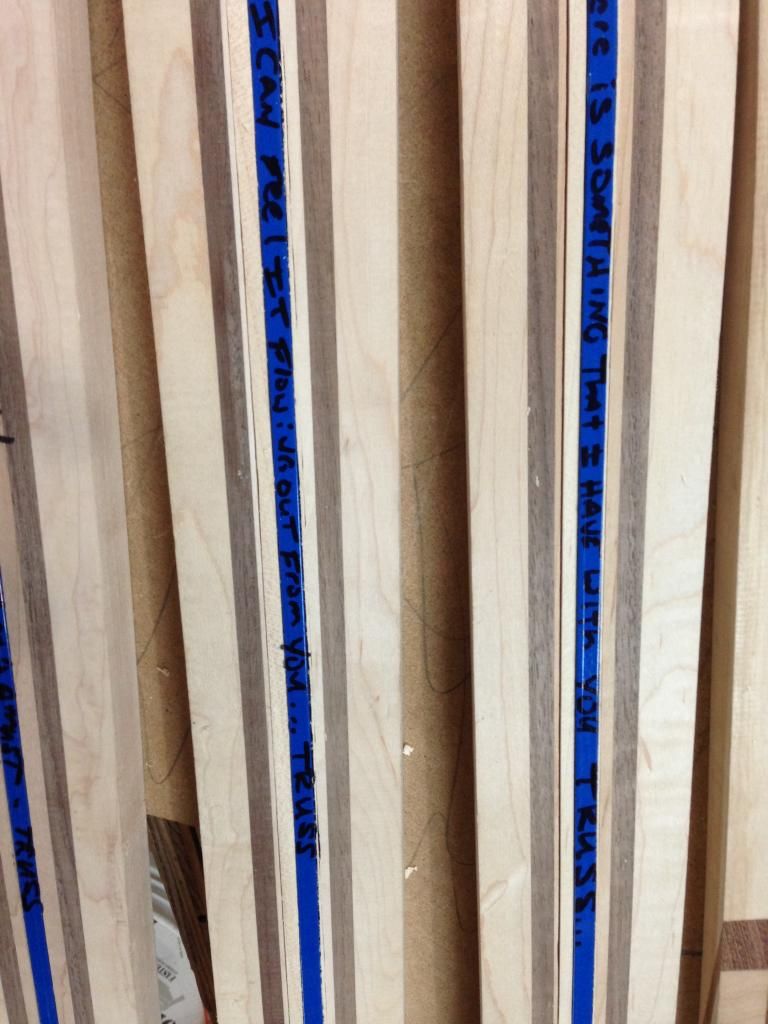
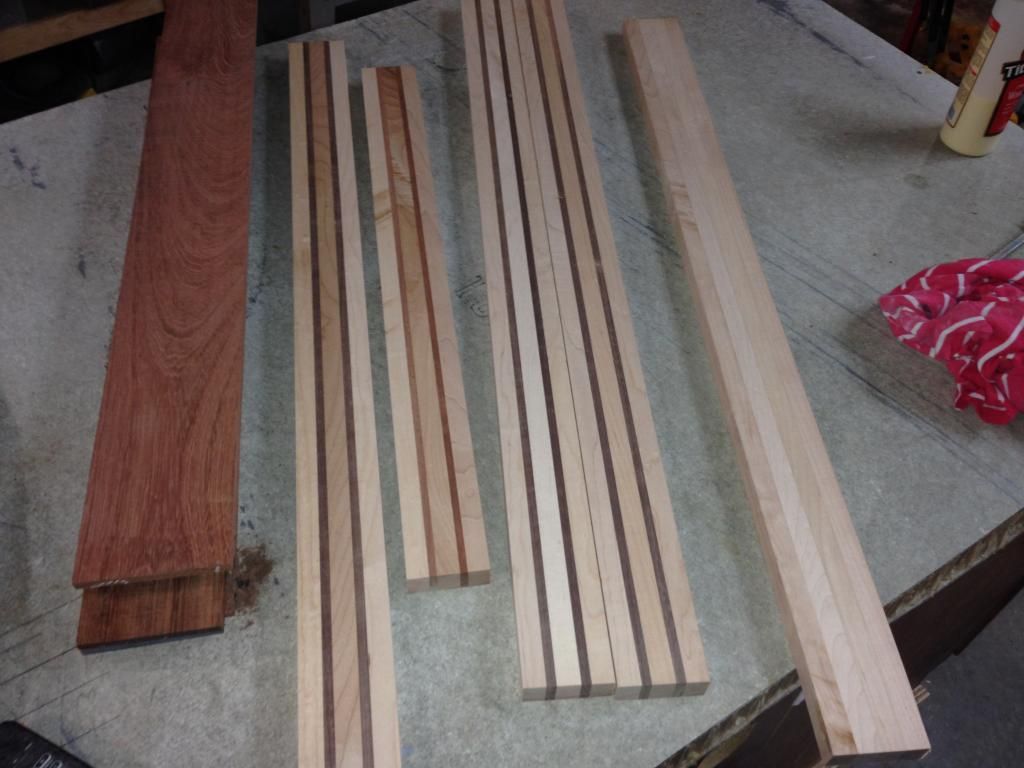
Glued up some neck blanks all 5 ply 3 maple 2 walnut except one which has Jatoba. as well as a test blank 4 maple
-
I am the total opposite i like to know the blade stays in one spot so i know where not to put my hands but its just personal preference

-
I think i Stole it! this thing looks and sounds brand new
PIN ROUTER!!!
-
Crikey. That place is really working out for you, plus that buffing wheel has just proven itself. This week is obviously a good week for you eh?
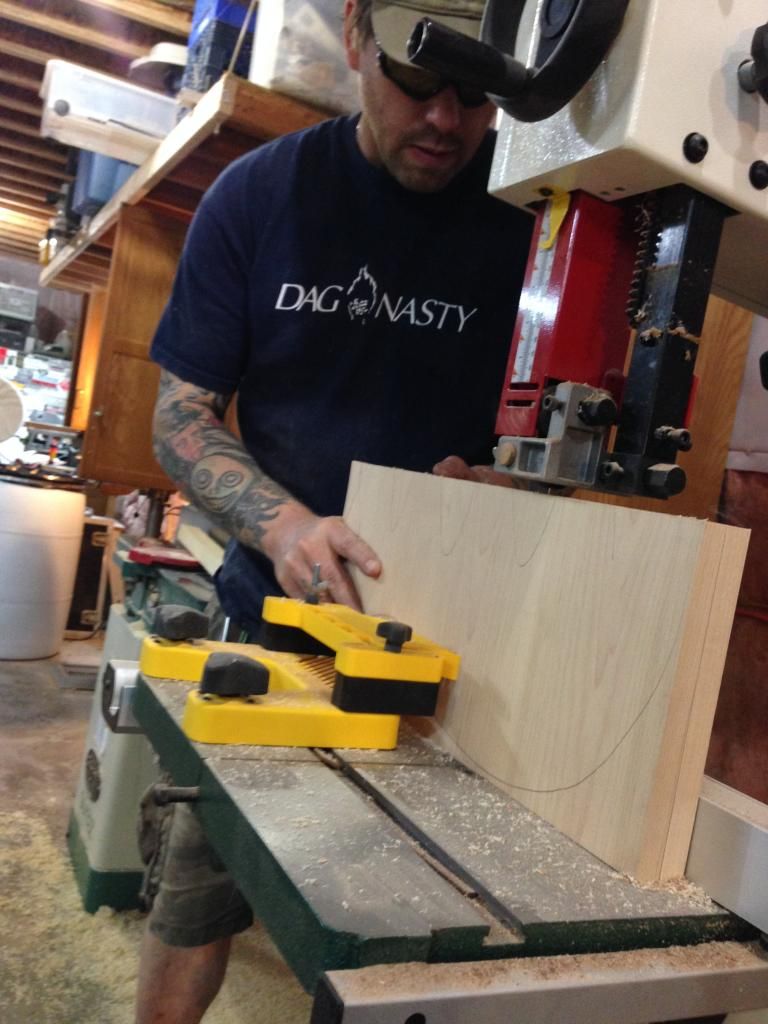
It totally is I have been getting to put in about 6-8 hours a day in the shop so i have been getting tons done. I started a 4 Guitar build yesterday
-
The ending!!!
Wet sanding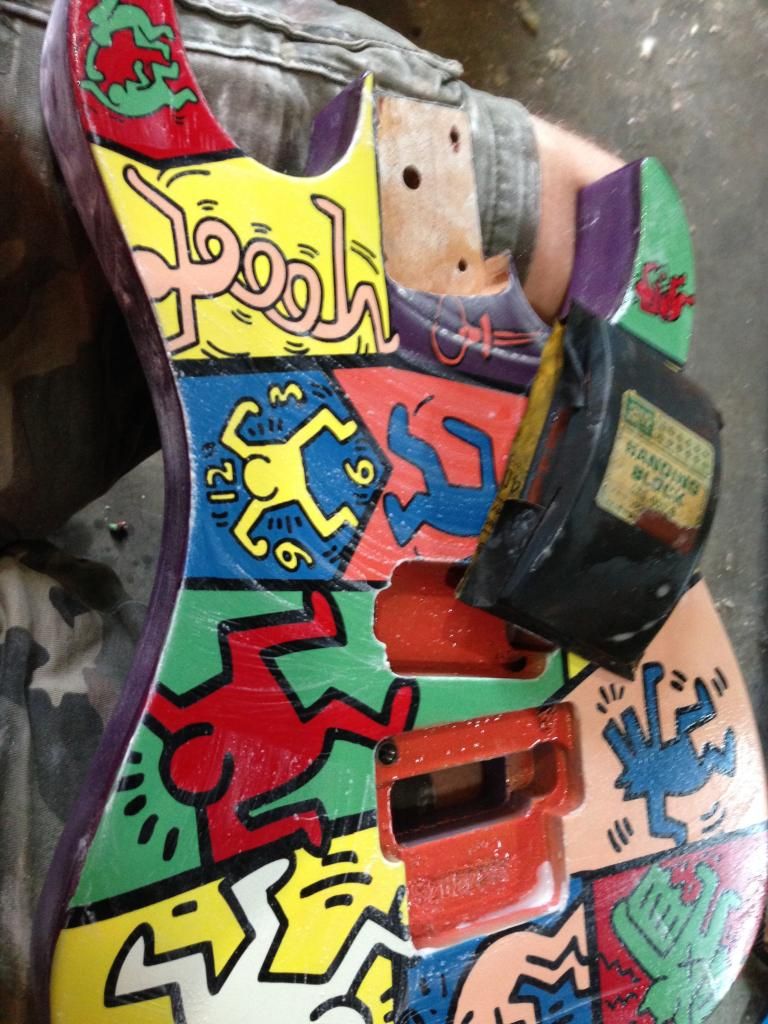
THen some time on the buffing wheel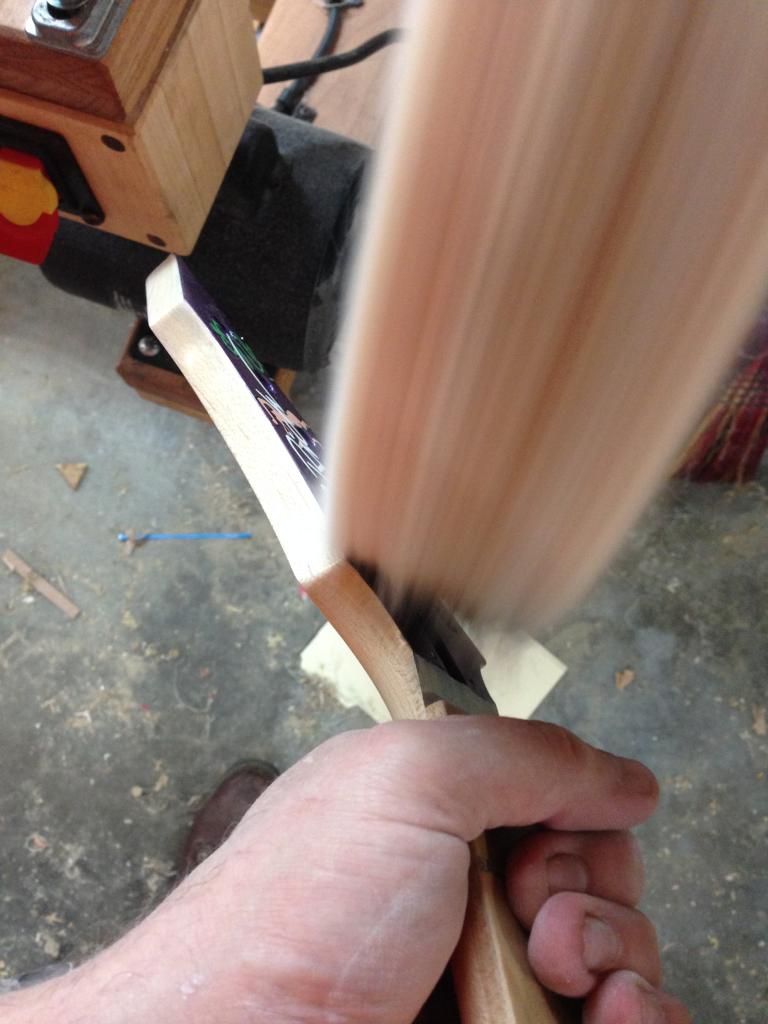
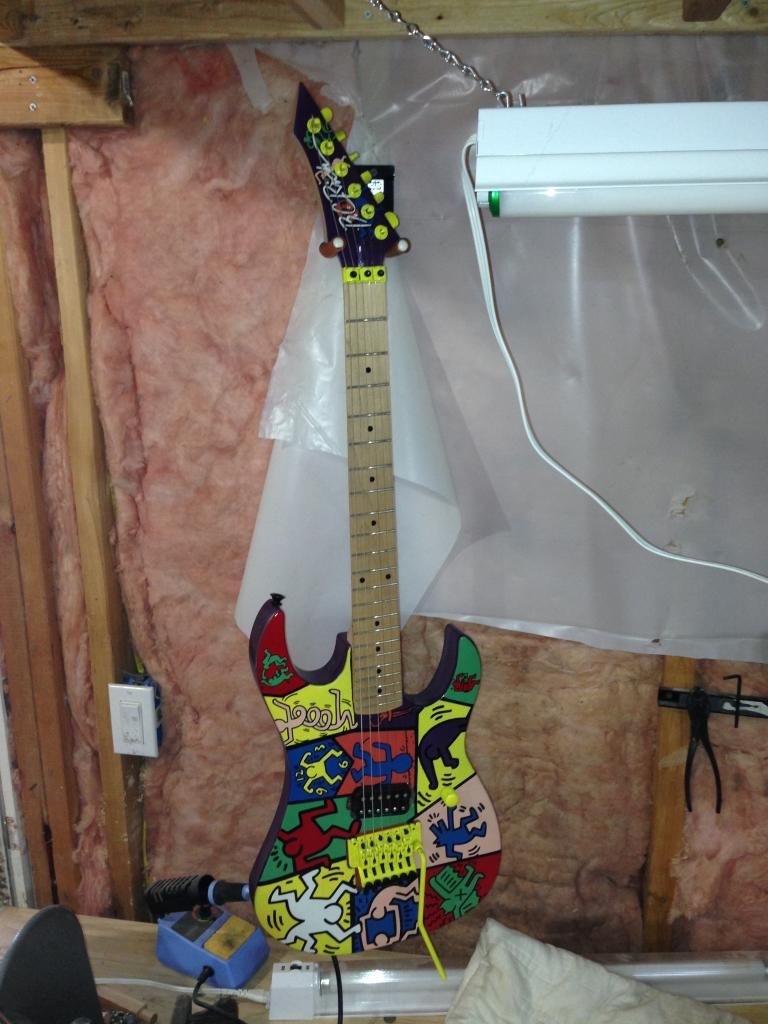
Then assembly!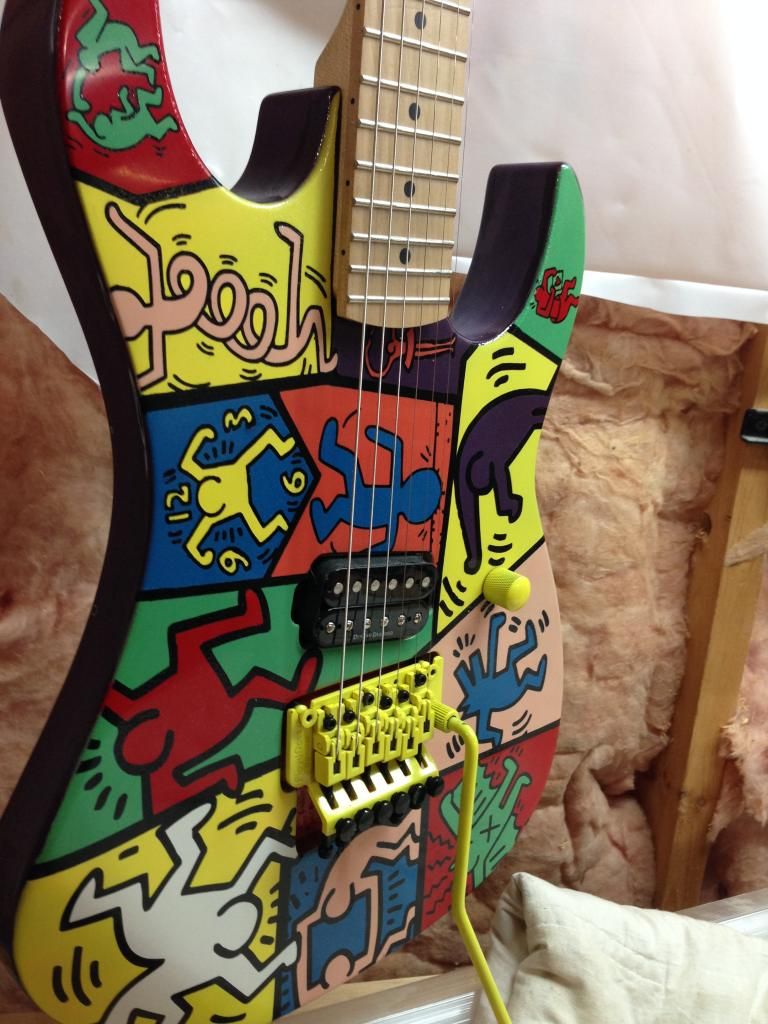
Updated logo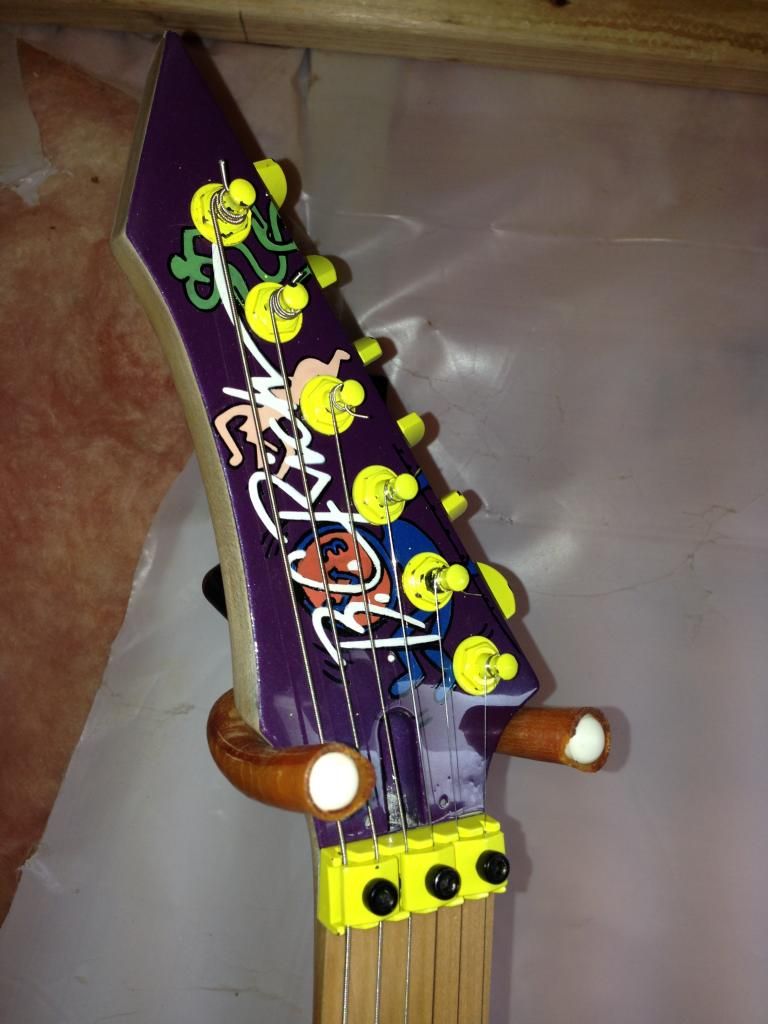
-
No doubt that 2+10 is ridiculous unless there was some serious damage. Think the ref was "talked to" before the game.


4 guitar build for 7 Seconds in 3,2,...1
in In Progress and Finished Work
Posted
A few carve shots
Here are after some carving and smoothing
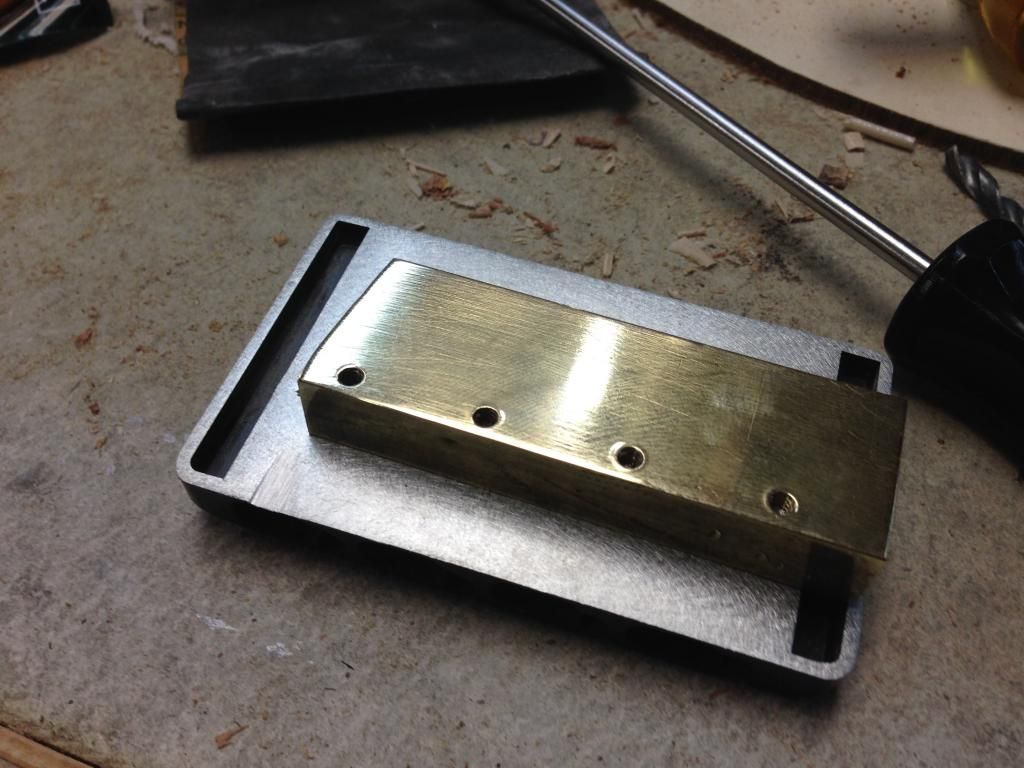
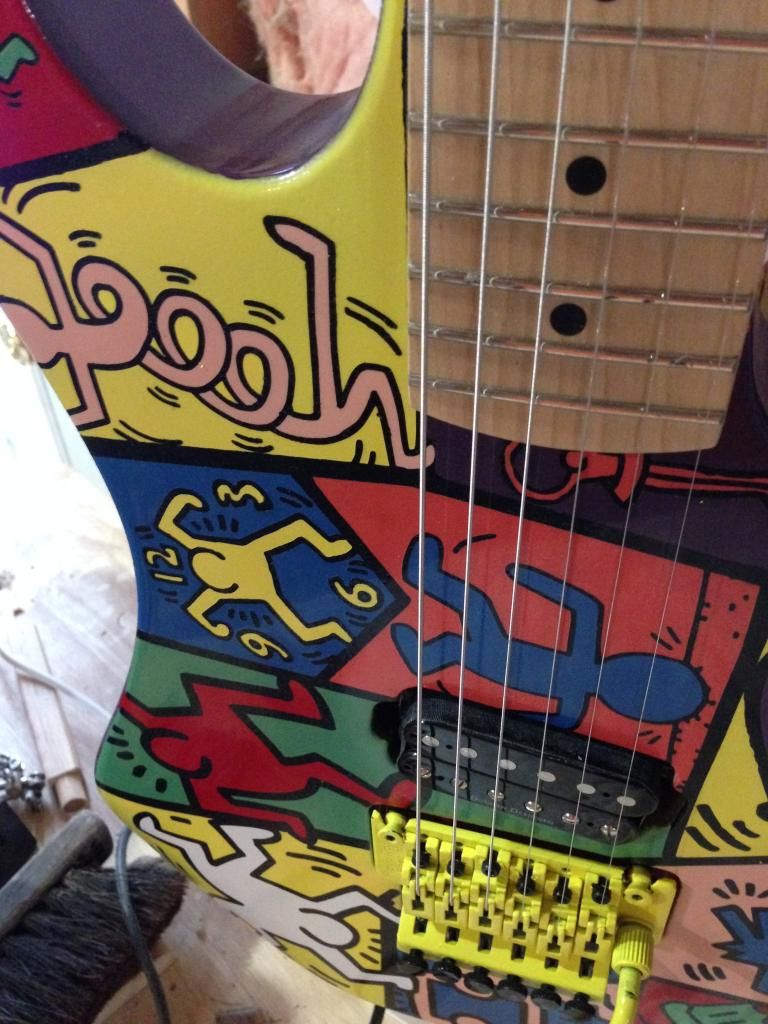
And the pick ups brass under bridge installed
Know where are those pick ups at oh yeah heres the box
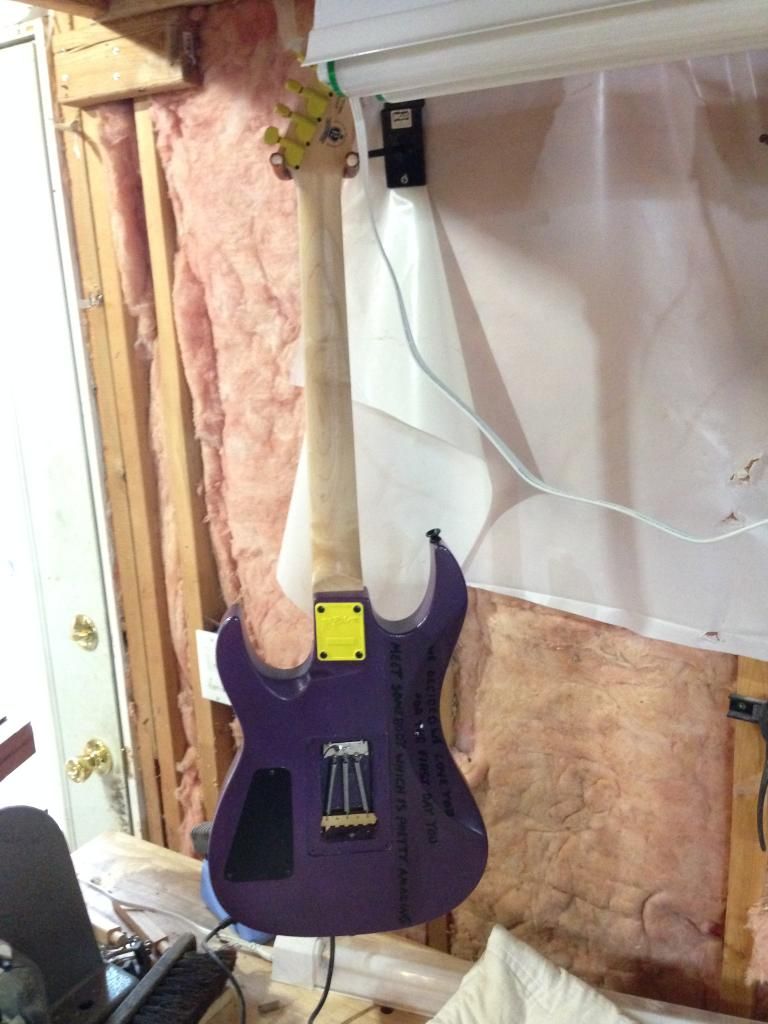
checking balance
Now if you noticed there is no hole for volume or tone. Thats cause there is none. He always has issues of sweating out basses so he requested no volume and we will seal the wire holes with silicone to make them water tight. So I am usoing these bad boys as the volume sets