


Diffidentia
-
Posts
83 -
Joined
-
Last visited
-
Days Won
1
Content Type
Profiles
News and Information
Tutorials
Product Reviews
Supplier Listings
Articles
Guitar Of The Month
Links and Resources
Forums
Gallery
Downloads
Posts posted by Diffidentia
-
-
You know that deep down inside this one is yelling "TRANS BLACK AND GOLD HARDWARE!"

-
The trick to the wookiee is going to be continuing the fire look... not sure what the answer will be outside nitro and polish (ughh)
Gold hardware, perhaps? I seem to remember you being fond of that kind of "guitar bling"
-
That top is pure class! Volcanic!
-
As far as I know Schaller also make the original Floyd Rose trems, so that should probably mean they are interchangeable.
-
 1
1
-
-

A sneak peak at your neighbor's house?
The cover is looking good, though. If the rest is up to the same standard it's going to be a shiiiiby guitar. -
Looks faaan-tastic!

-
Thanks again for the advice. That did the trick!
Thus far I've filled the holes with epoxy and done 5 or 6 wipes of Danish oil. I'll try to get a few pics up the coming days.
Right now I've got to wait a week or so to get things moving again as we're doing some work at the shop. It sucks to stop when you're in the groove but these were things that had to be done to have the shop ready for the start of the school year.
-
-
Nice idea! I think I'll copy that next time I make a neck
-
Looks awesome already! If it comes even close to that bass it'll be marvelous!
-
Thanks for the advice. I was thinking that the epoxy would keep the danish oil from penetrating the wood. That's why I planned to use oil first
-
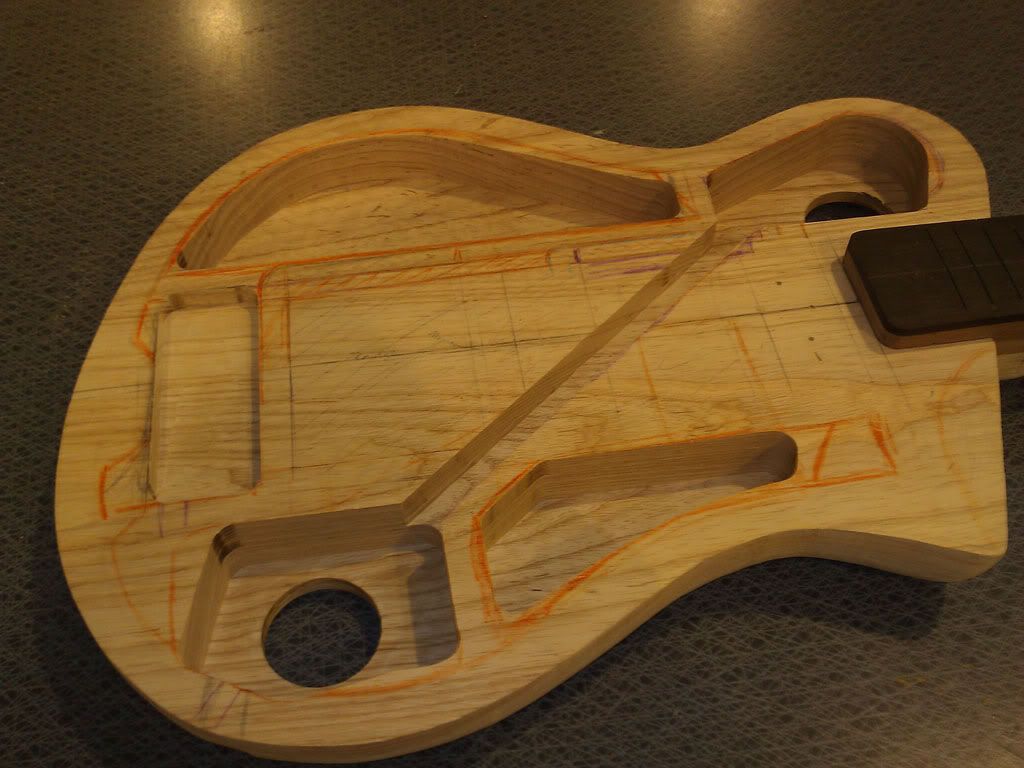
Here's a look at the chambering. I could have taken out a bit more, but quite frankly I didn't dare.
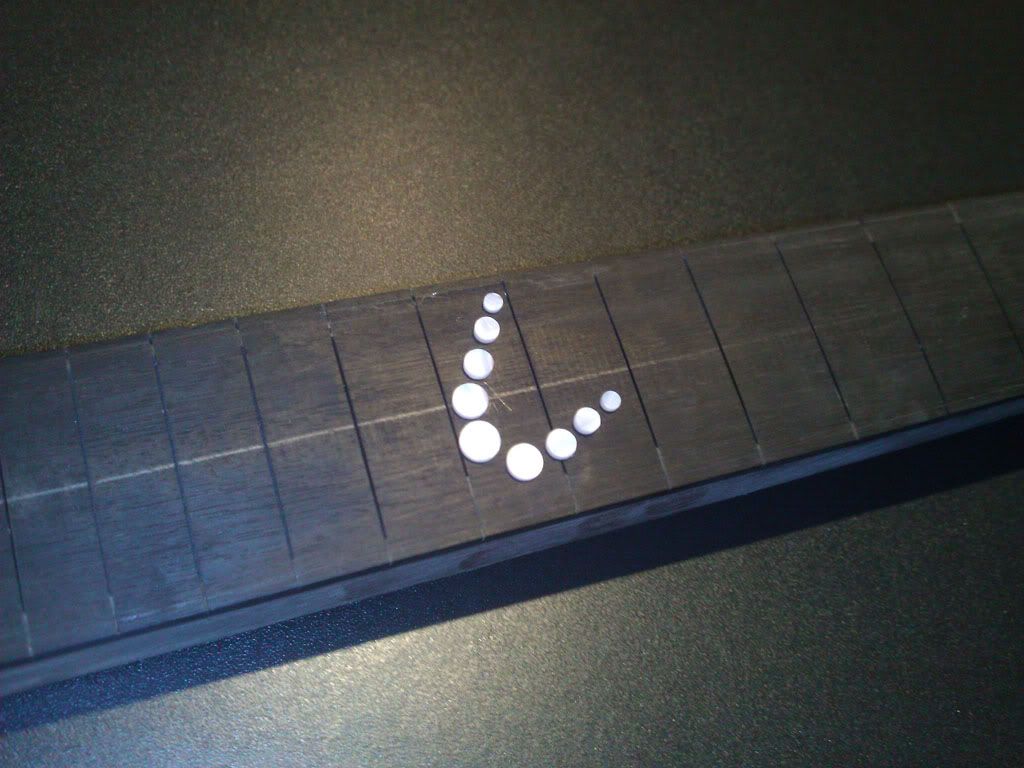
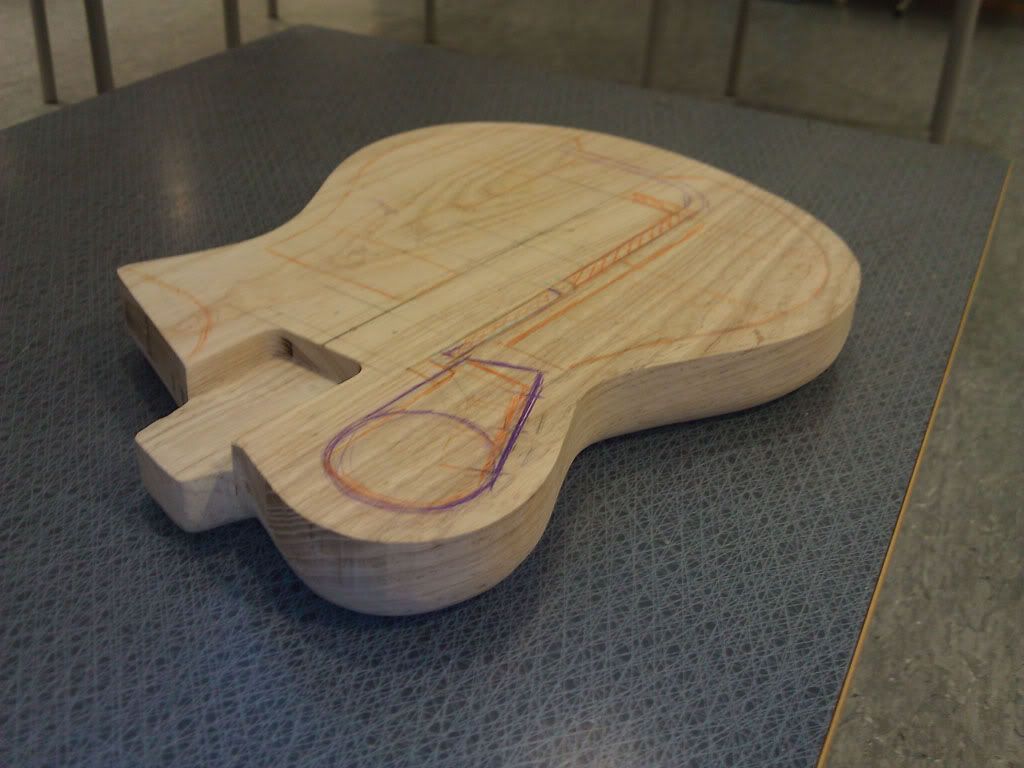
Planning the inlay
Neck work...
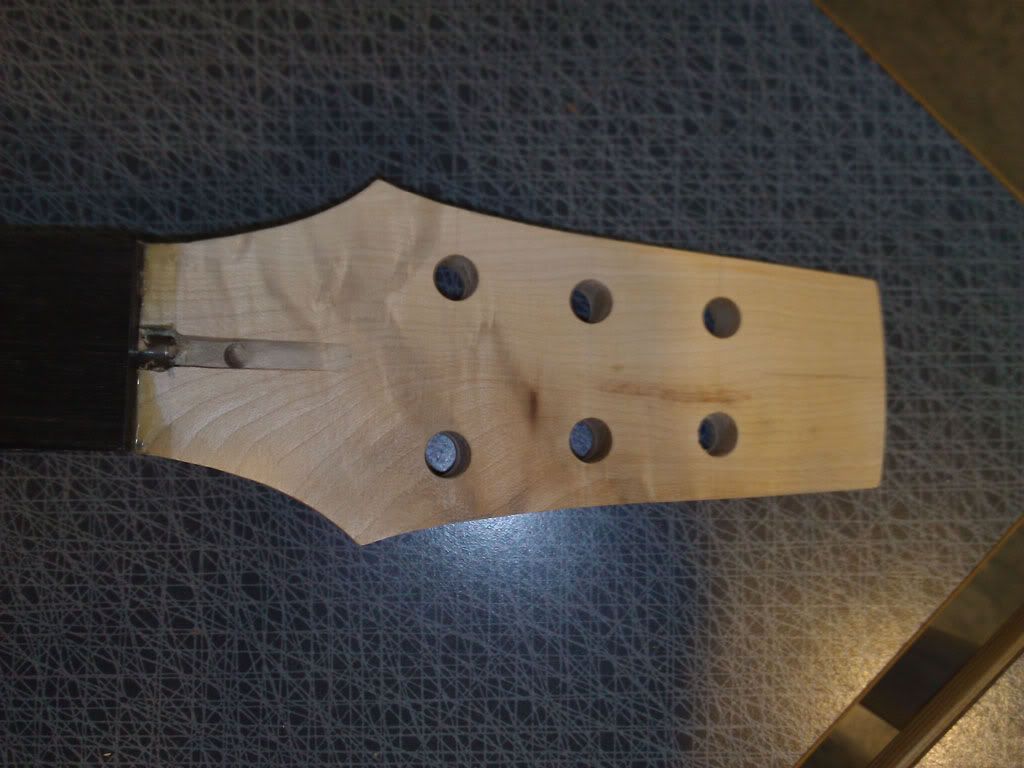
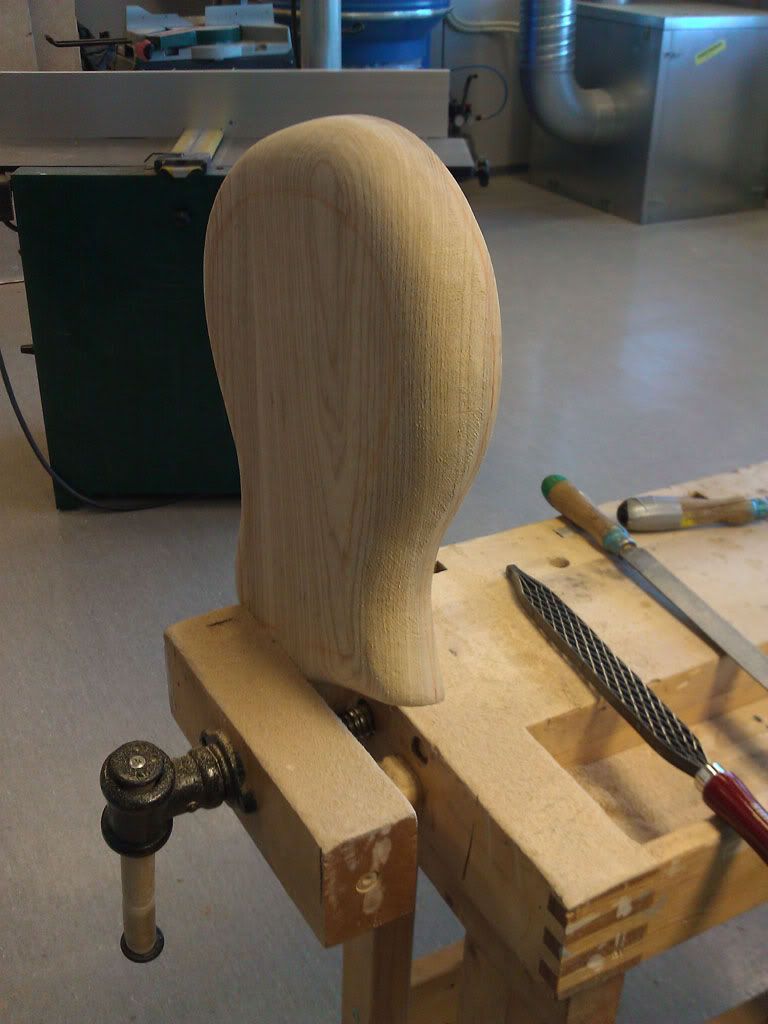
Headstock. I wanted something simple and just went for the first thing that came to me
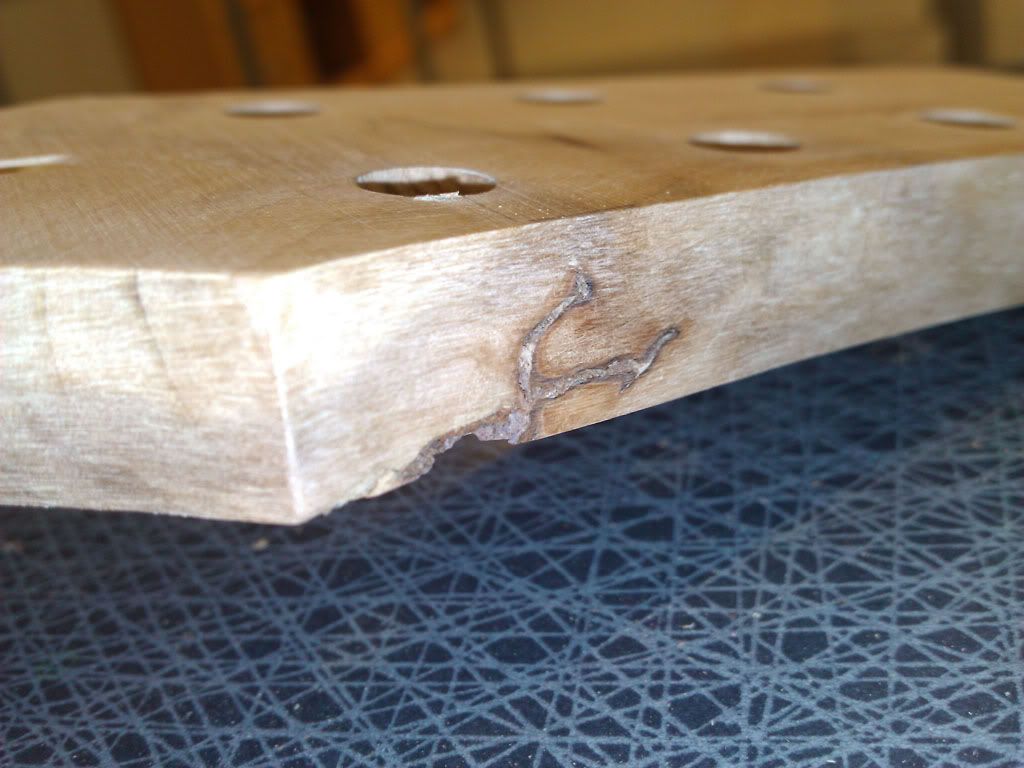
As I mentioned, the neck was somewhat of a "scrap build" which means I have to find solutions things like this. I'm planning to fill this with clear epoxy after I've finished the neck in Danish oil.
-
More progress...
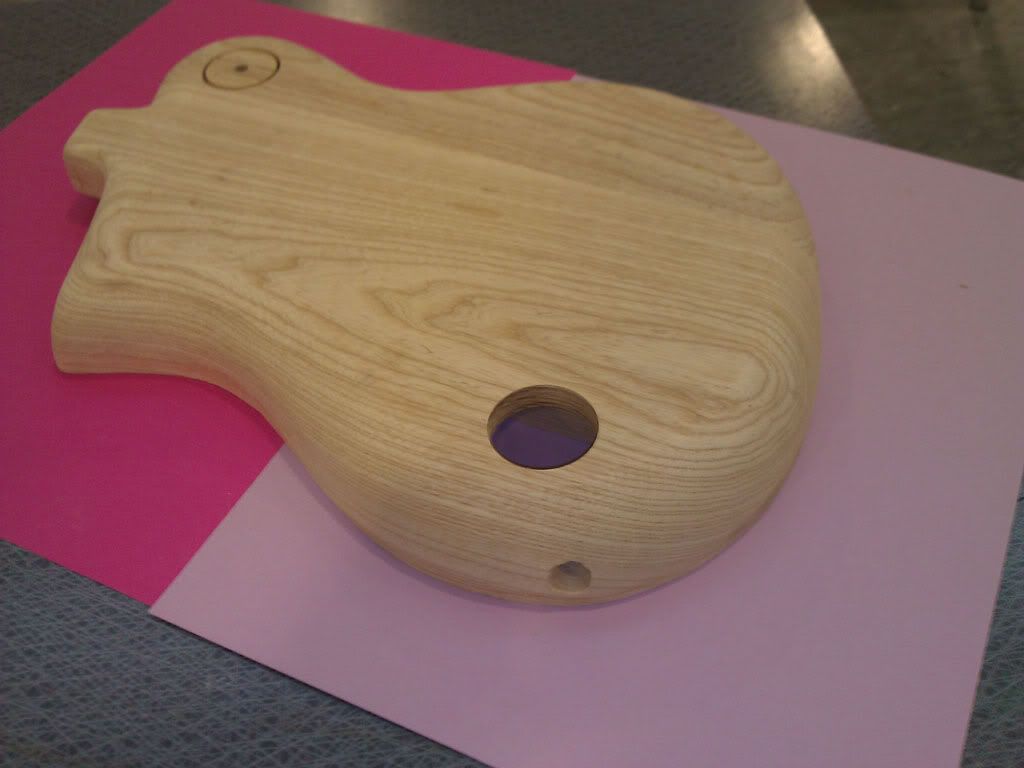
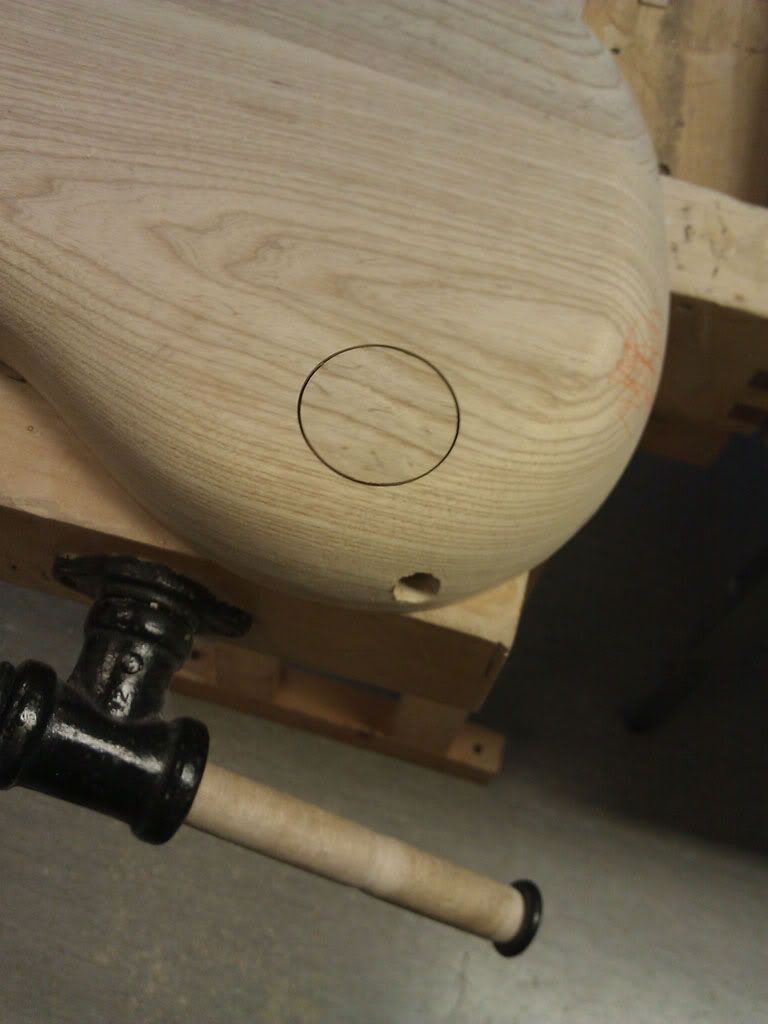
Th rear after the initial roundover. You also see where the access to the jack and electronics cavities will be. I'll have to come back to the jack hole though. I've got a plan to do something a bit different there. You'll see
Another shot with the same manly background
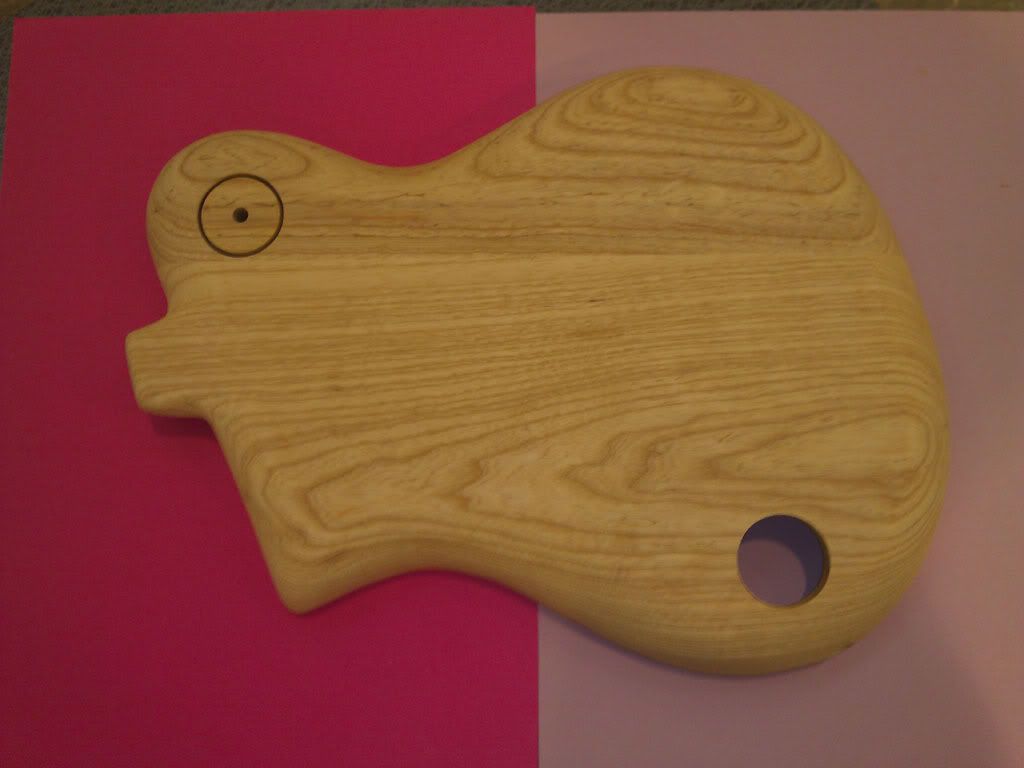
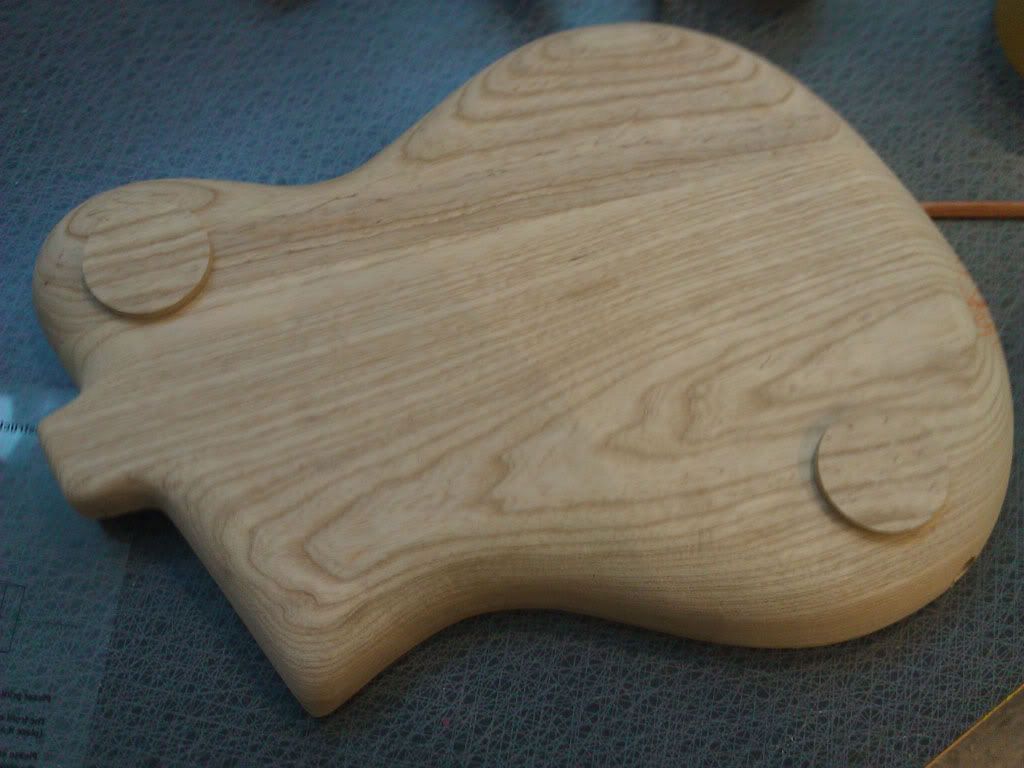
And here's how I made the cavity covers. I was darn proud of myself then
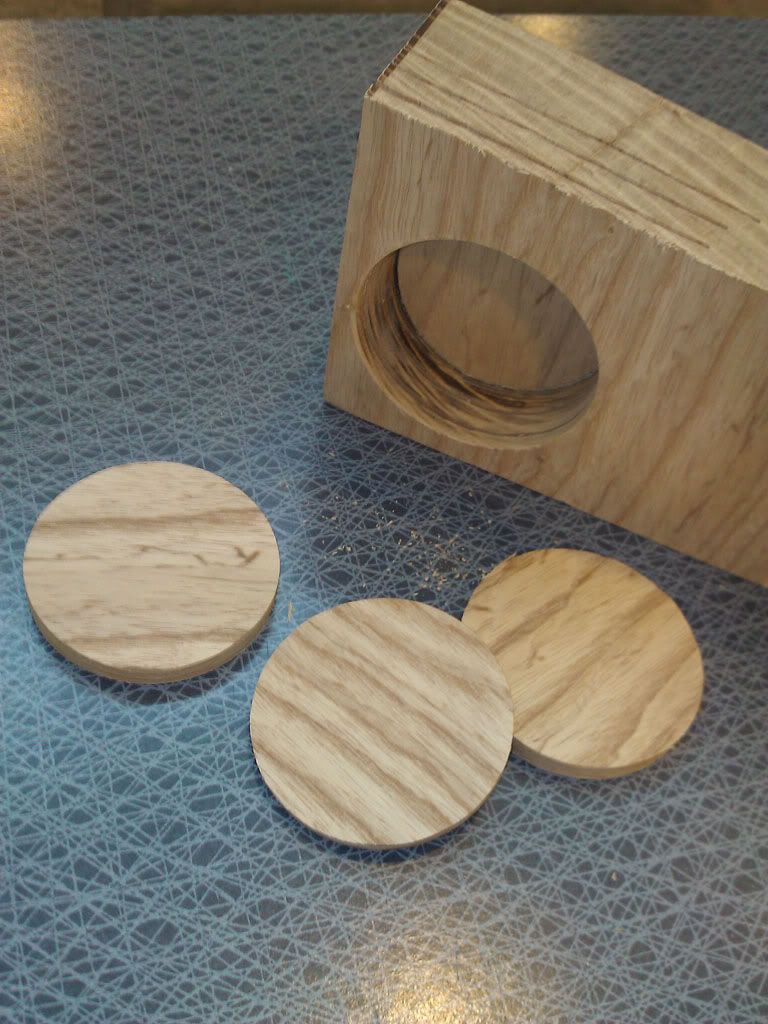
Trying to match the covers with the grain of the body
Routing for the cavity covers. I realized after routing both covers, trying to center them around the existing holes, that I would have had a much easier time doing it the other way around; Routing first the drilling the holes. Next time...
The results
-
That's original looking. The lower bout looks like it will make it pretty comfortable to play seated. Was that the goal? How much are you hollowing it out?
I'm hollowing out as much as I dare. I'll post photos as soon as I have a minute by the PC.
As for the intention behind the design; I didn't have much in mind other than to find an interresting tale on the single cut that also seemed playable. For this particular guitar I also wanted to add an acoustic "feel" to the mix, thouh the P90s will spoil that somewhat. Maybe if I really like the design I'll make a piezo-only version sometime. I also have an archtop-ish and carved top (a la Les Paul) planned. Again, if I like the outcome of this one....
Holy crap your workshop leaves me in awe!
For some reason this seems really much more elegant then the drawing portrays
I hope it comes out well!Thanks! "My shop" is in fact the woodshop at the school I work at. Since I have part of the day to day responsibility for the shop I also have access to it the rest of the year. Sadly the financial state of the Norwegian schools have meant tha the shop has been left a bit to itself, having to make do without the necessary upgrades and maintenance. So right now a few to many of the tool are blunt and pretty useless. However the bandsaw, planer and the drill presses are fit for fight
-
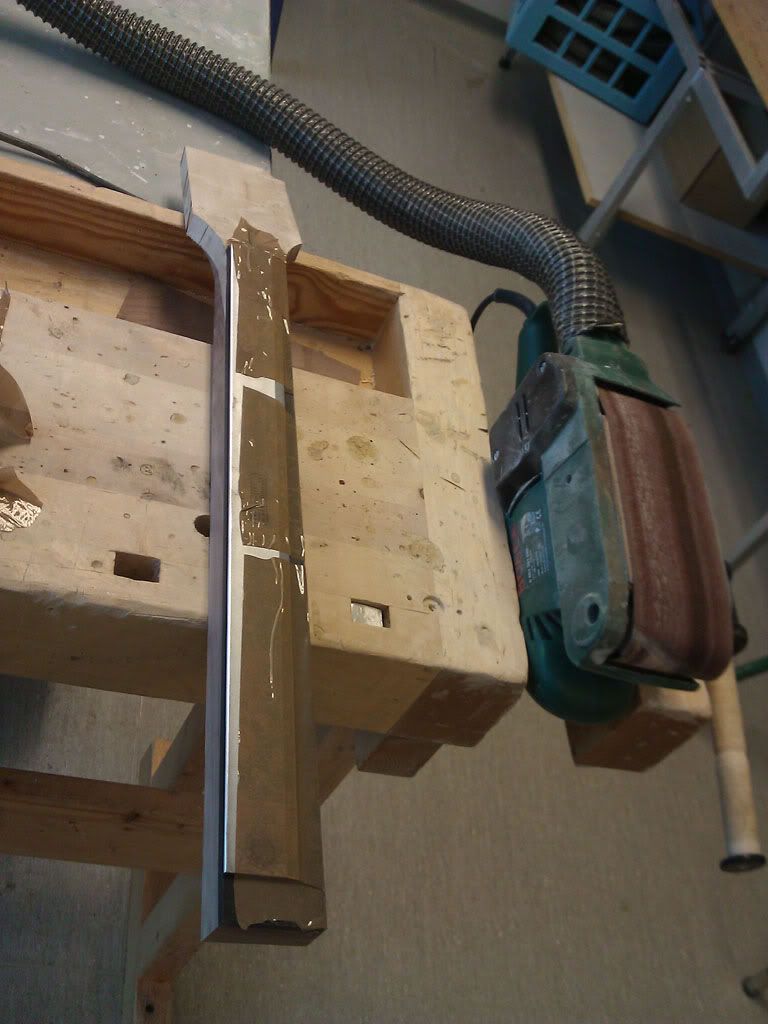
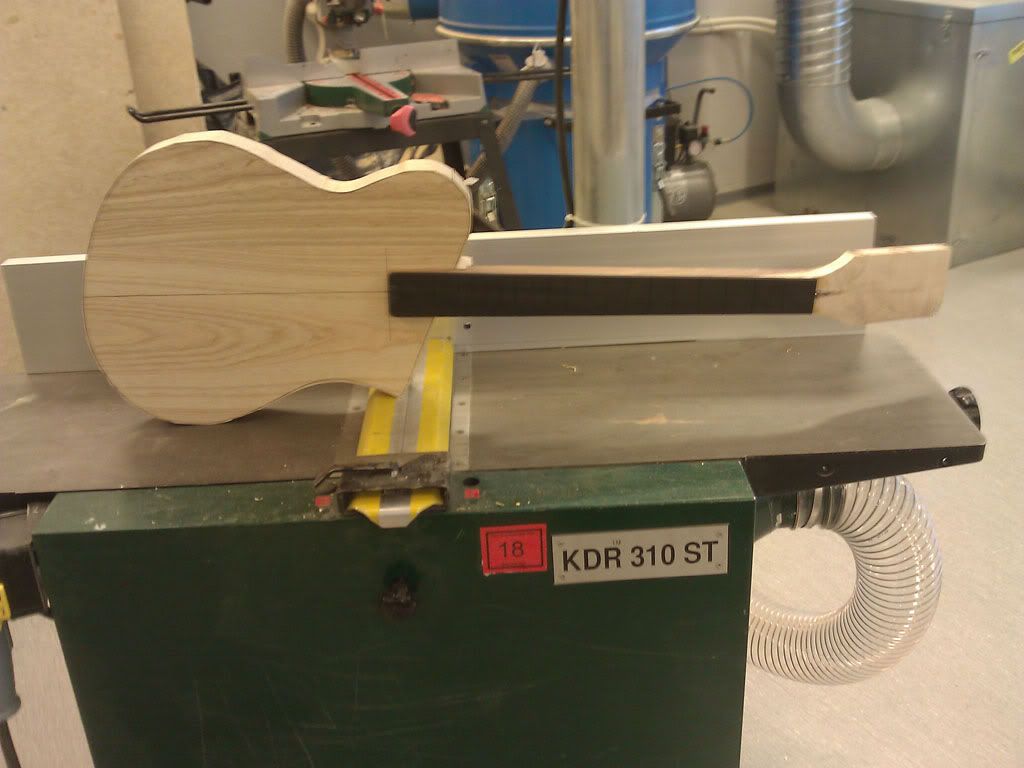
By now I had routed the body down to size and started rounding off the back using a Shinto rasp.
And then it was time to rout the cavities.
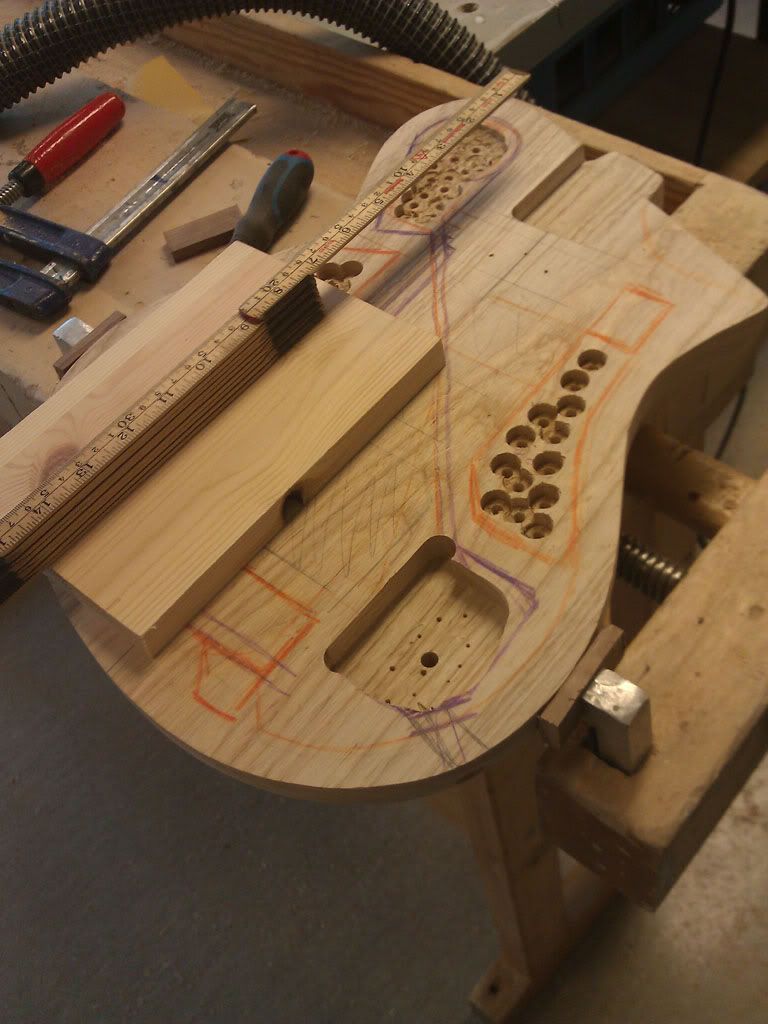
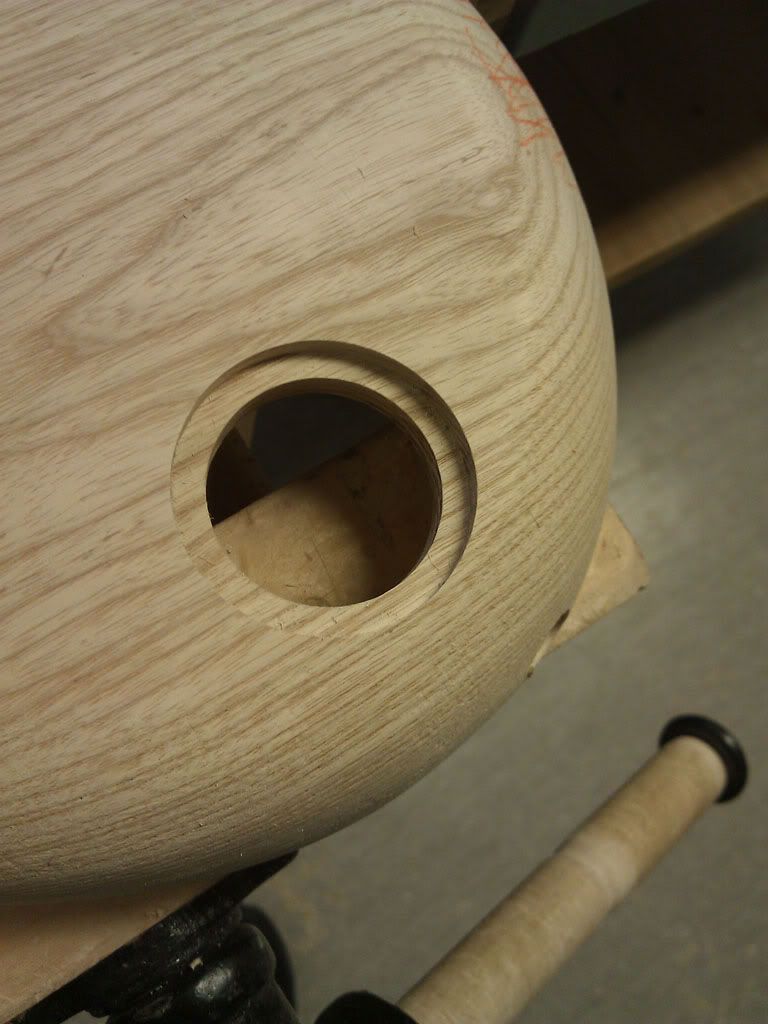
The bottom cavity will be for the jack only, while the rest of the electronics will be fitted at the top. The two knobs and switch will be on the topside slightly "countersunk" (if that makes sense).
-
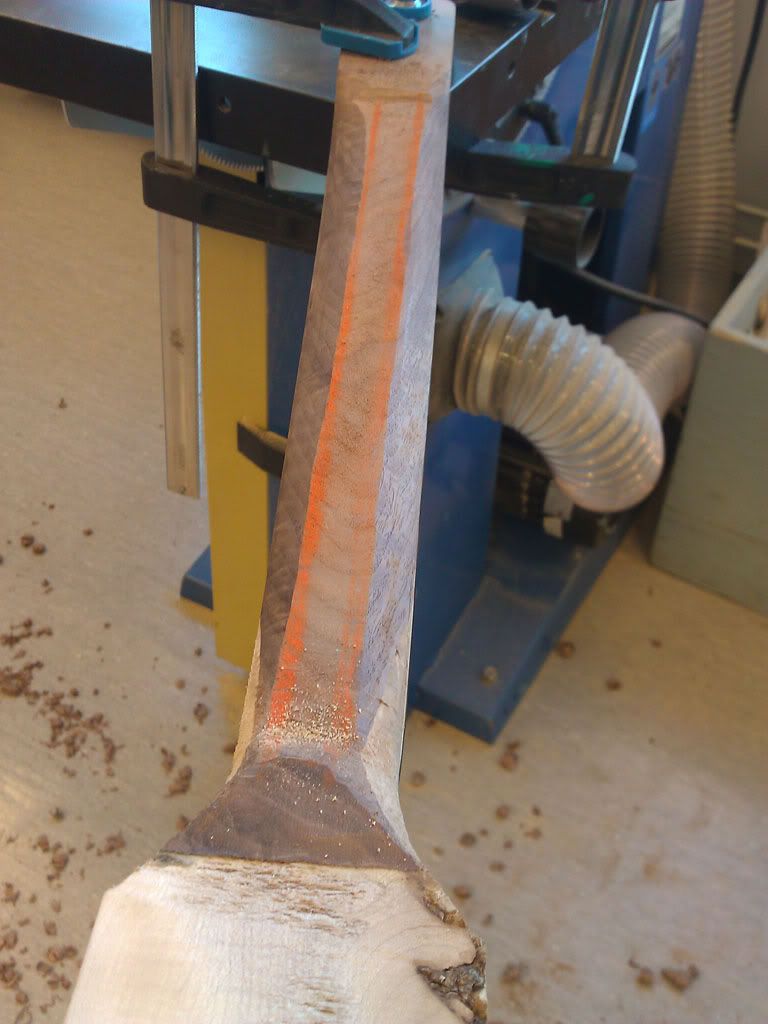
Sanding the neck to size - or so I thought...
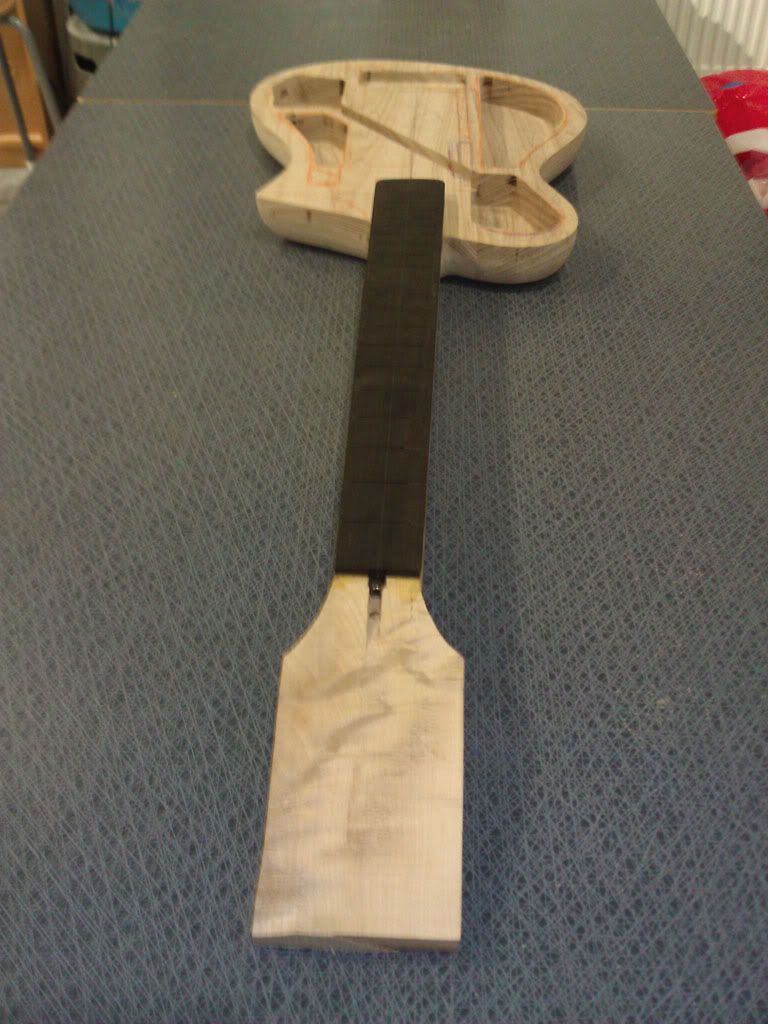
Routing the neck pocket... the first time
After
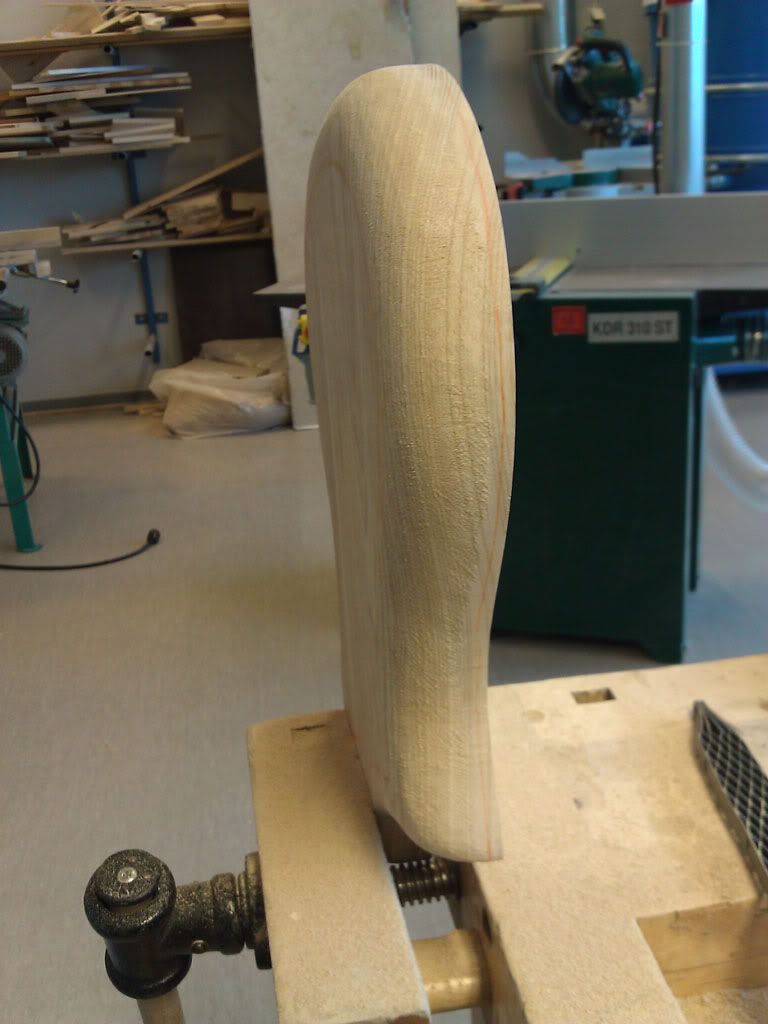
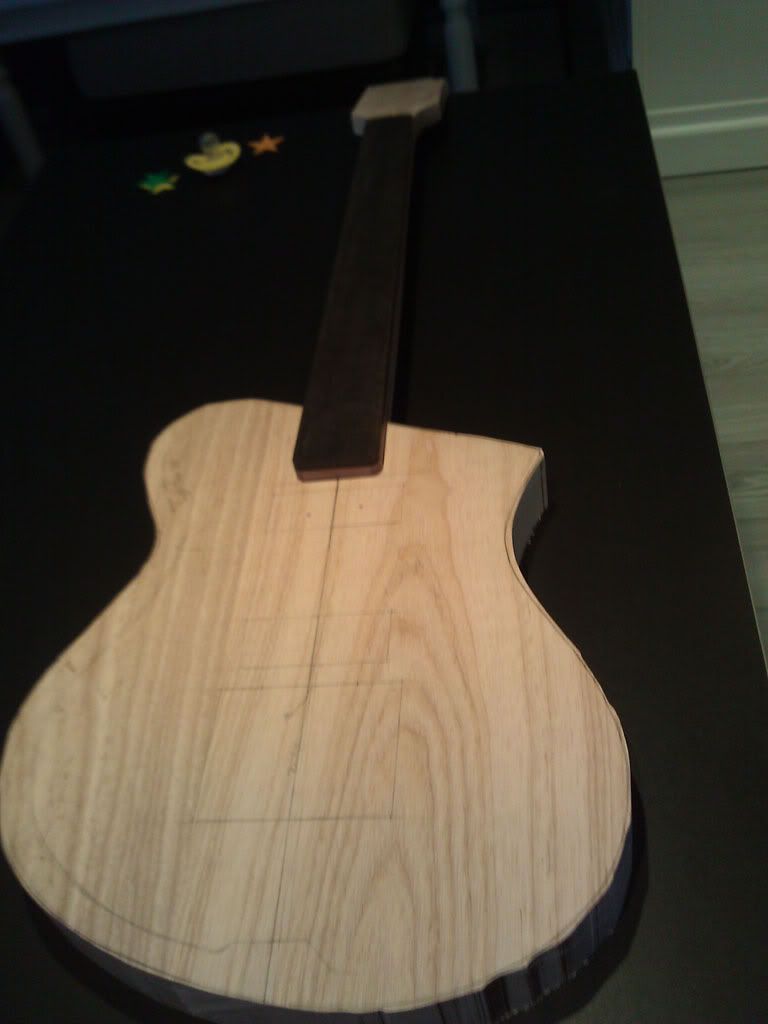
Neck fitted. It looks a bit on the skinny side, doesn't it?
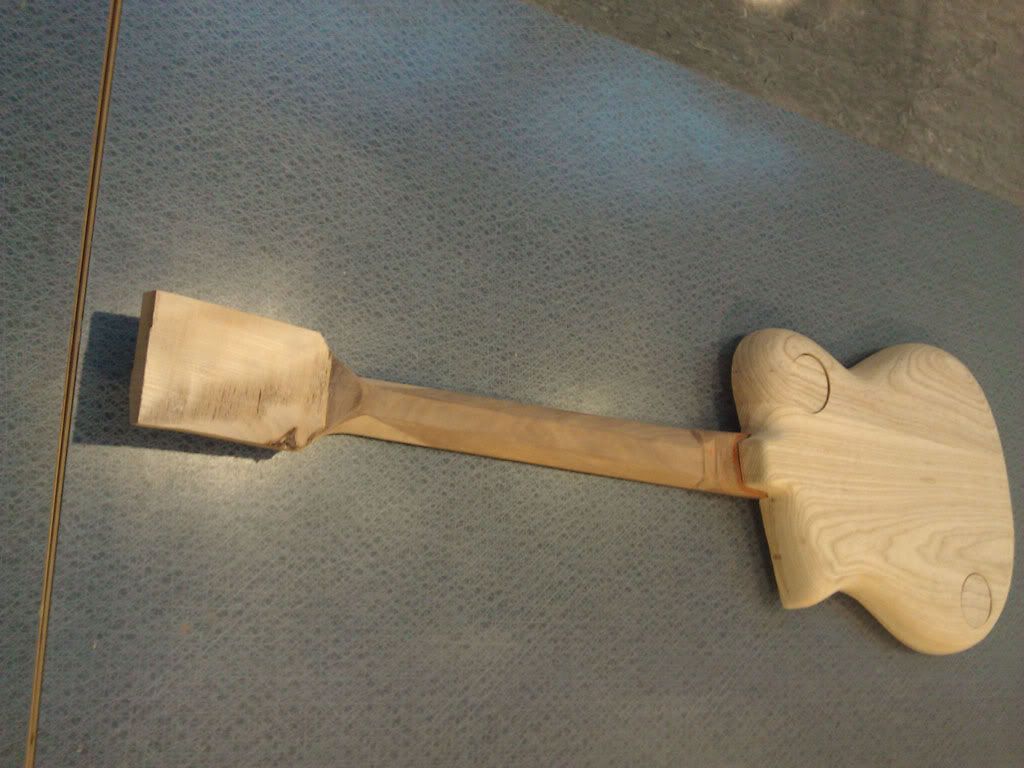
Lying in this position on the kitchen bench I found out just how much the neck lacked in width. I was awoken at 5AM by the little one in the house, and after getting her to sleep I wasn't able to find any rest. I just kept going over and over how I could make such a stupid mistake (twice) and how best to fix it. Since I didn't have any decent wood lying around to make a new neck I decided to try to salvage this one and rather make a new one at a later stage. So at 6AM I drove down to the shop and found the offcuts from when i sawed off most of the excess and sanded those and glued on the neck. Not perfect by ant standard, but it'll do for now.
-
Since I've been busy enjoying my vacation/building, I've been working on this build for a few weeks, but I haven't had the time to post anything. So prepare for some photo spamming. I apologize on beforehand...
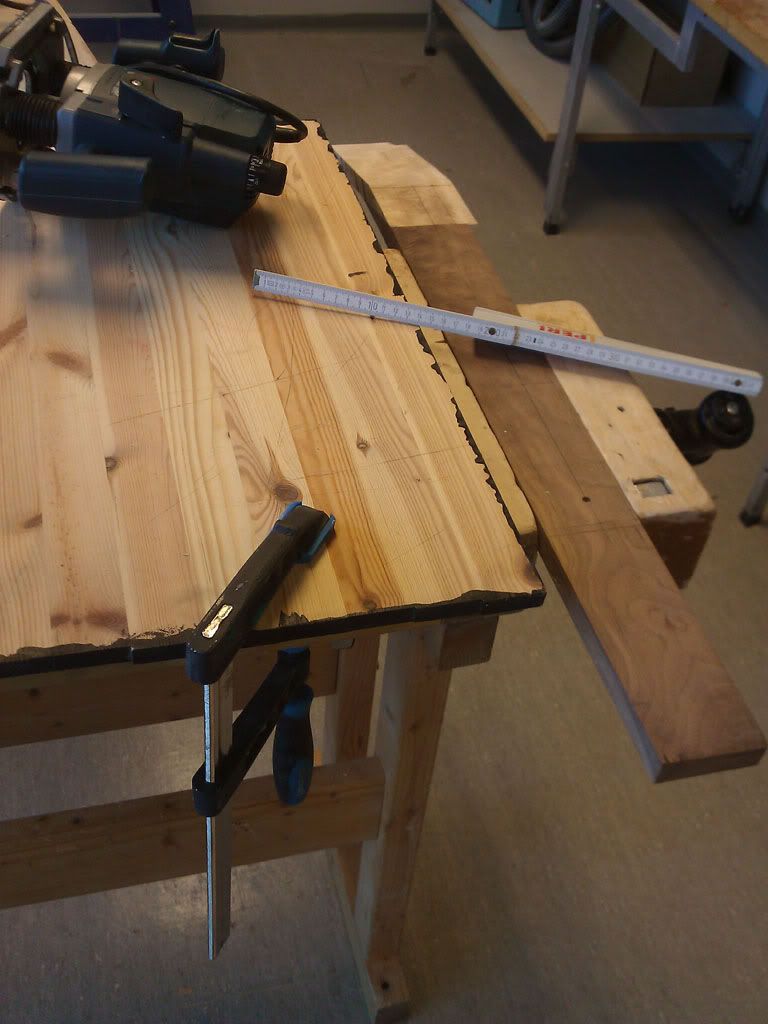
The wood
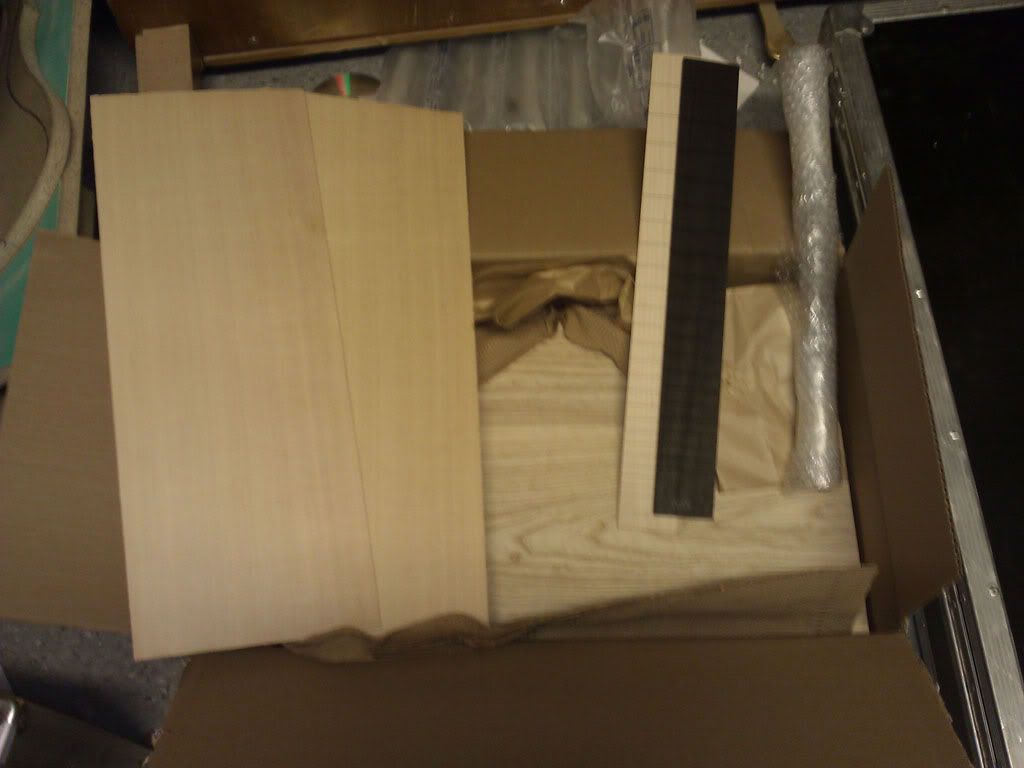
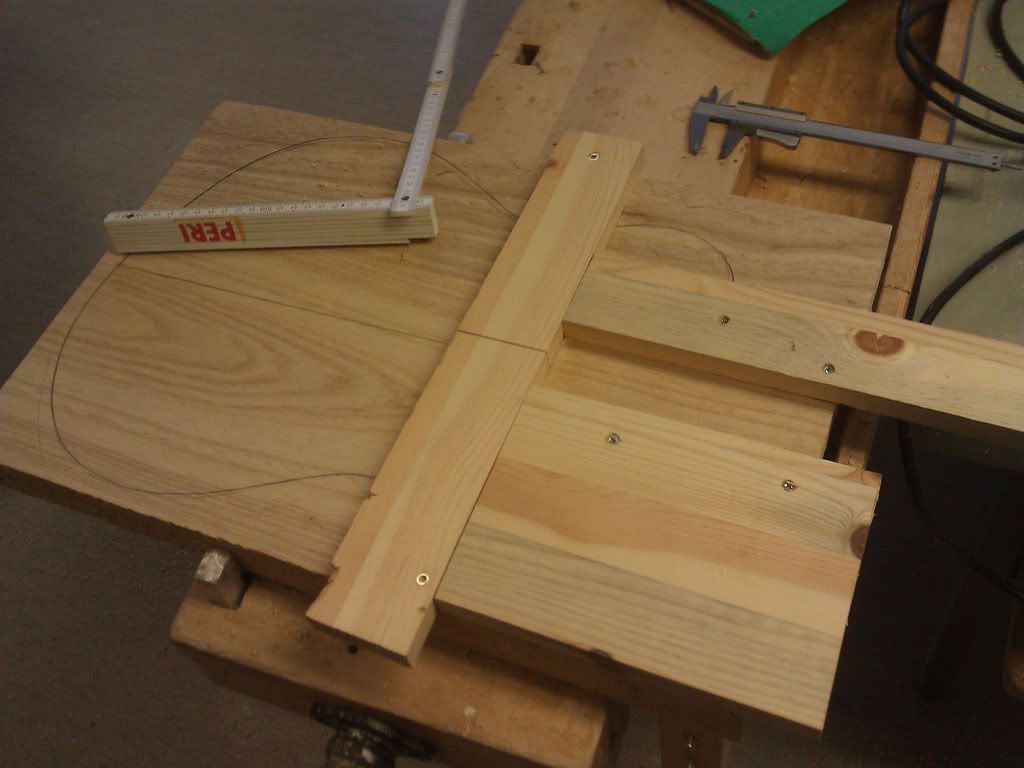
More wood and a body template
Preparing to rout the truss rod channel
Gluing the fretboard on
-
Time has come for build #3. I'm probably not the first, nor the last, but once I finished my first guitar I had to start on my second and third. For the second one I was given some Hard Maple which gave me the opportunity to try out a few things that I didn't do the first time around. Most important of those: Building a neck.
The neck came out really well... if not for a minor fault: It's to thin at the body end

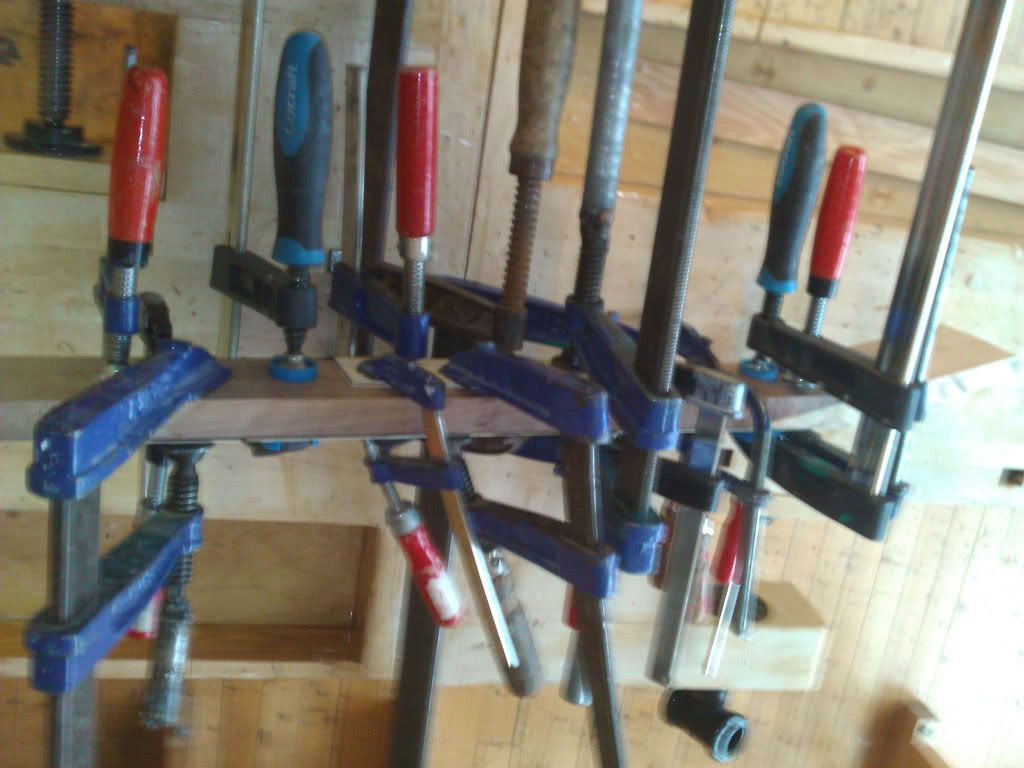
Fortunately I came across a piece of wood lying around that I could use for a new neck. I not sure what kind of wood it is, but I'm guessing Walnut. Anyhow, along with a friend who wants to try to build a guitar too, I set out to try another neck... and a guitar to match.
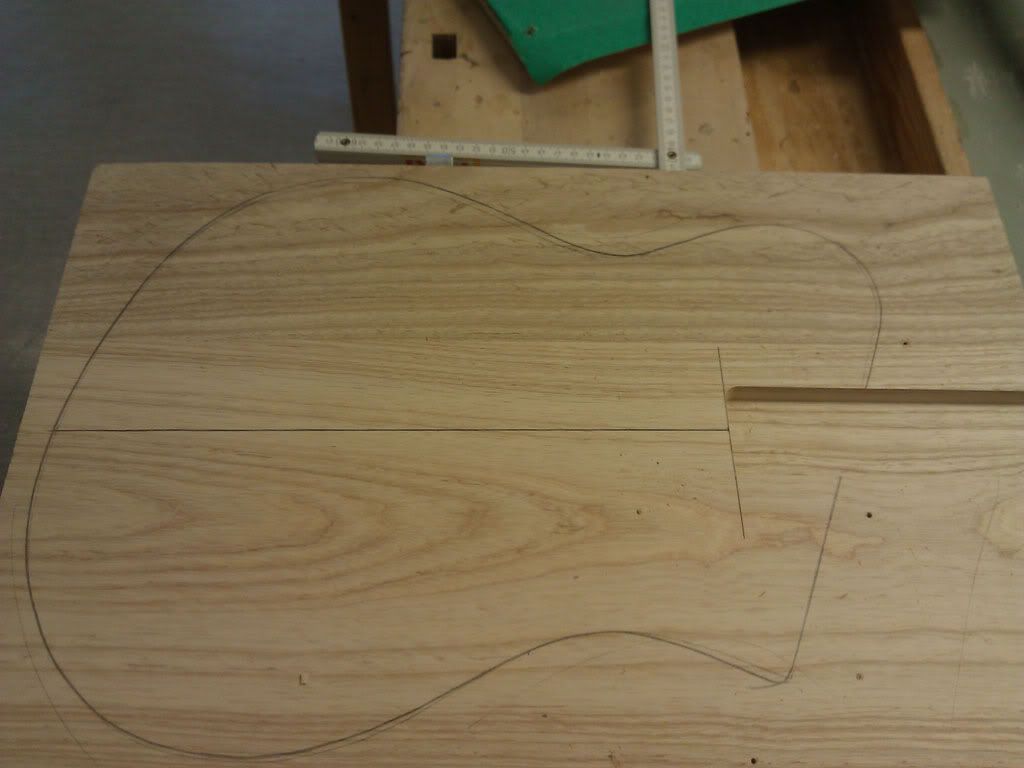
I'm going to use a design I've had lying around for a while (ever since the staff meeting where I drew it). It's more or less a single-cut...
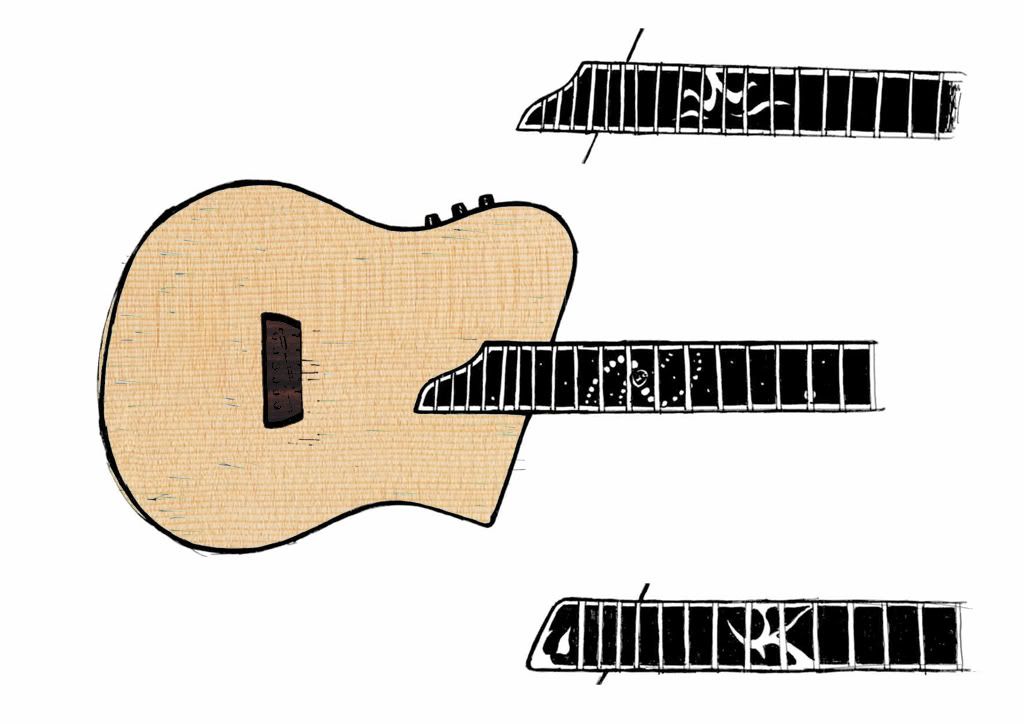
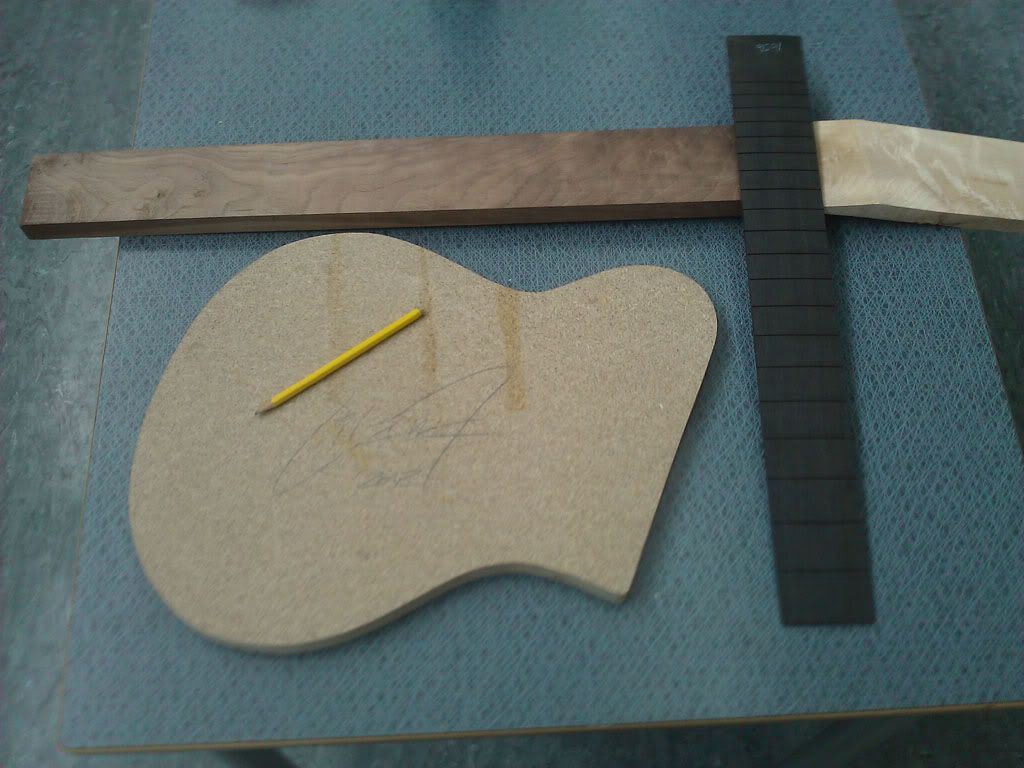
The specs
Construction: Michael Bolt-on
Neck woods: Walnut (?) / Maple
Fretboard: Ebony
Body wood: Swamp Ash core / Sitka Spruce top
Tuners: Gotoh
Pickups: P90s - probably BKP Supremassive
Bridge: Schaller Hannes
-
It's so glossy my eyes hurt
Great work Scott! I too love the back, and the f-hole that I initially didn't take to has really grown on me!
-
Looking sharp as always, RAD. I'm loving the colors on this one; the contrast in the neck lams, the scroll saw magic with the control plate... Good stuff!
-
1
-
-
For the contrast go with the wenge.
-
Wonderful! Want to send it to Norway? I'll pay the shipping
-
Most excellent! Now I just wish that I had som figured maple and half of your skills

-
Loving the shape! Personally I would have gone for a slightly less pointy treble horn, but I get what you're aiming for


Project Fast LP
in In Progress and Finished Work
Posted
On a more serious note: I'd love to see a lemon drop on that one. Given there's a little yellow tint in the limba, it would be nice to reflect that in the top.