


sdshirtman
-
Posts
646 -
Joined
-
Last visited
-
Days Won
23
Content Type
Profiles
News and Information
Tutorials
Product Reviews
Supplier Listings
Articles
Guitar Of The Month
Links and Resources
Forums
Gallery
Downloads
Posts posted by sdshirtman
-
-
I think this solution was a little out of the norm but it worked great so I moved on to gluing it up.
We'll see what we have tomorrow.
My fret markers and wire should arrive tomorrow along with some other stew mac goodies that should let me start working on the neck again.
I hope to get most of that done and get the body cut out this weekend. I'm thinking I should get my neck pocket and neck angle down before I start contouring the back of my neck.
-
Thanks Guitarnut. I did some measuring today and I think I can leave 4.5mm reasonably easily. If anyone else would like to chime in here I'd like to hear when anyone else has to say on the subject.
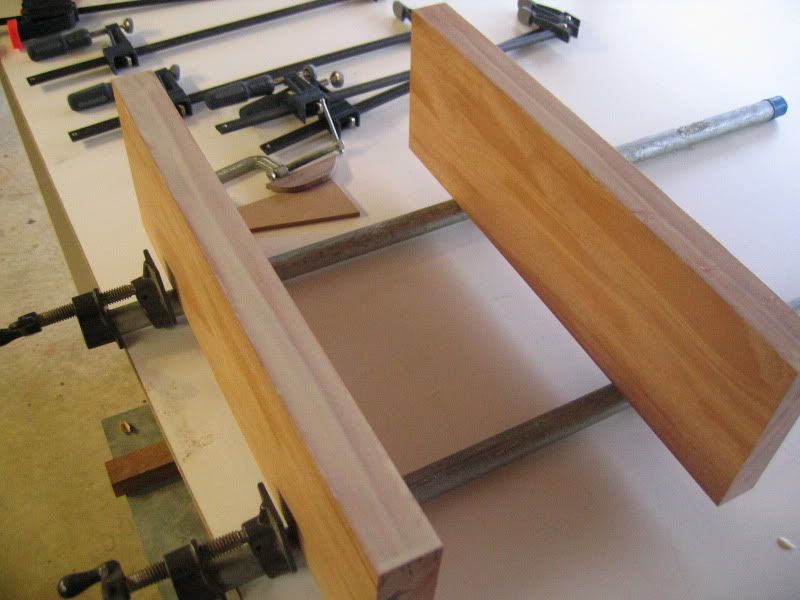
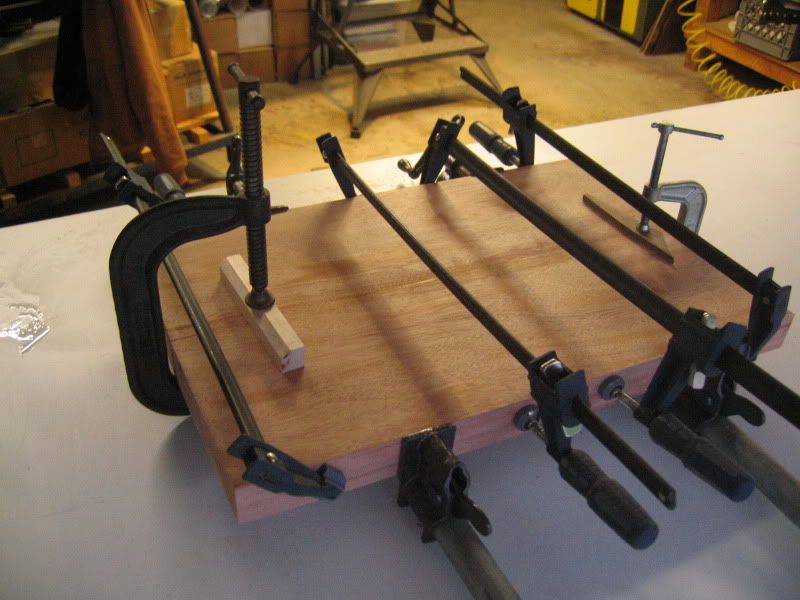
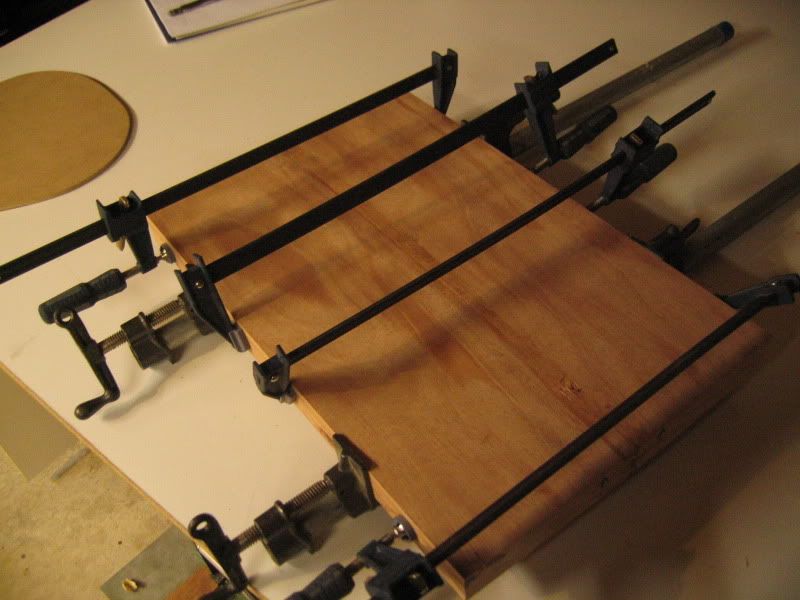
A little more progress was made today. I cut my body blank and got it ready to glue up. A simple task if you own a jointer. But I dont. I figured I could use my table saw to get a straight enough edge to glue up but after reading through some post here and I little real world trial and error I realized I couldn't. I tried to flatten out the edges to be bonded by using my planed 2.4 with 60 grit on it but it didnt work well. It sanded flat but not flat enough. I'm sure all the experienced builders reading this probably find that amusing.
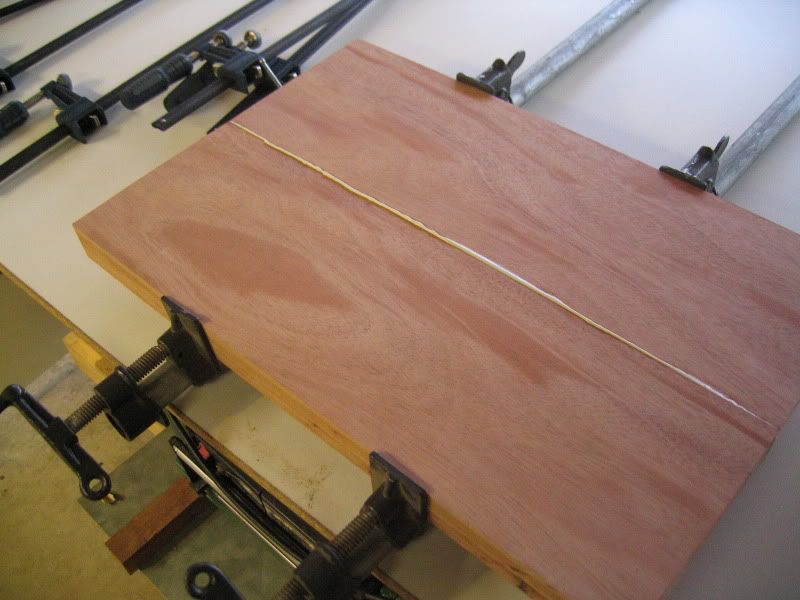
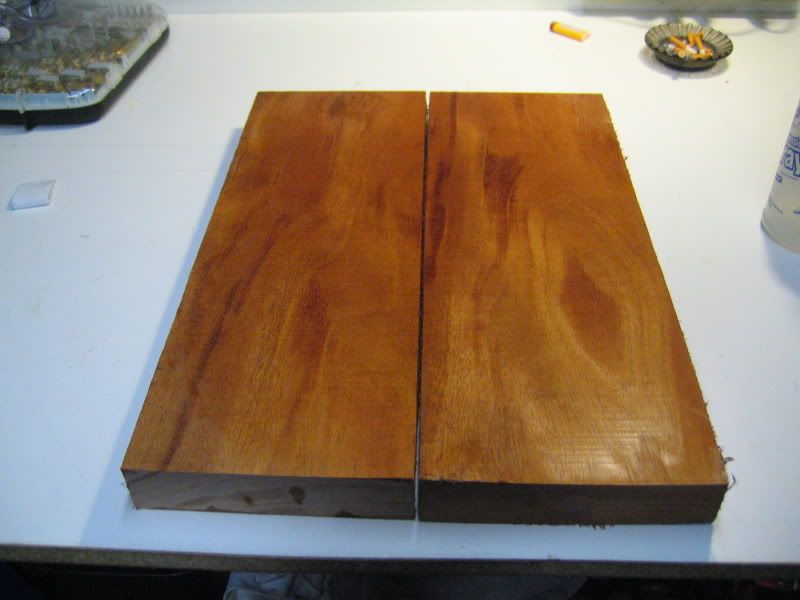
Here is the wood I'm using for the body. Its a crazy grain pattern and I like it.
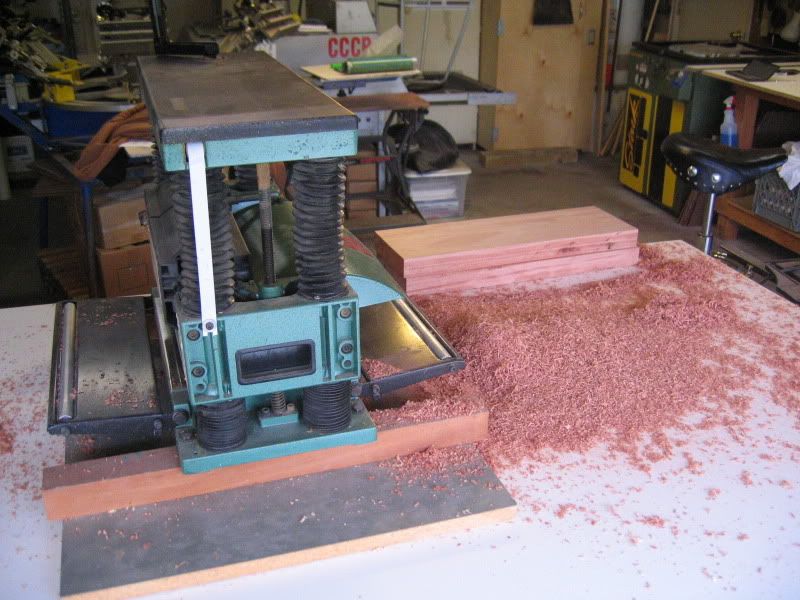
I got to really try out my newly acquired planer today. It worked great and I didnt have any problems.
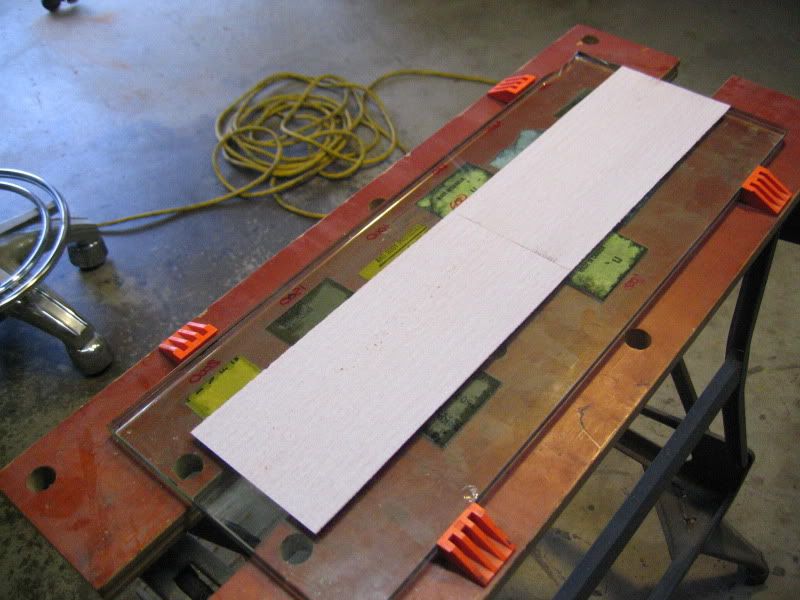
So back to making my gluing surfaces suitably flat without a jointer. I thought I could use the 2x4 sanding black I planed with 60 grit on it to sand the sides flat. It didnt work well. I could rock the edges a small amount plus I could see slights gaps with a light in the back.
The flattest thing I have in my garage shop is my 9/16" thick plate glass I use to glue wetsand paper on for sharpening my chisels and gouges.
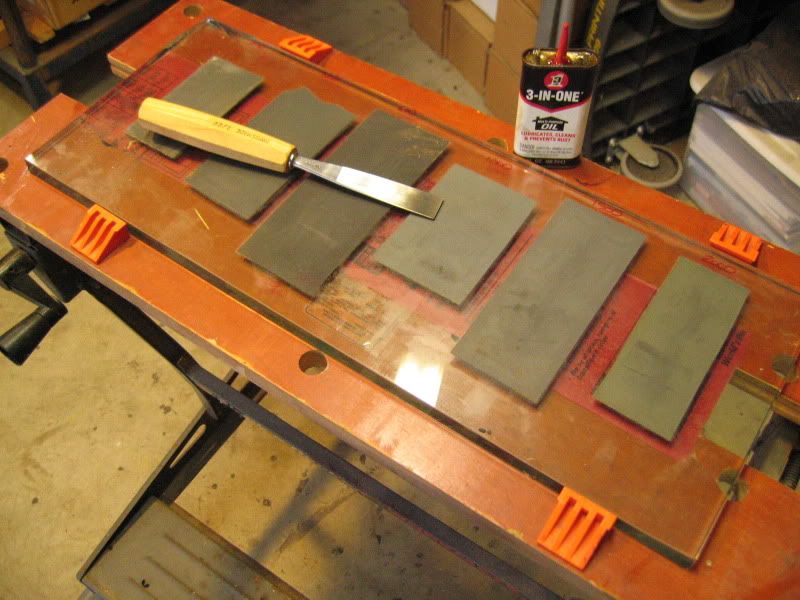
Its dead flat so I cleaned the back and stuck some 120 grit sandpaper to it and clamped it into my workmate and started slowly sanding the edges.
-
Thanks for the encouraging words Drak. I'm not sure about the teaching but you never know. Right now it seems I'm making mistakes left and right. I'm going to list them here as a warning to others so they replicate the same flounders.
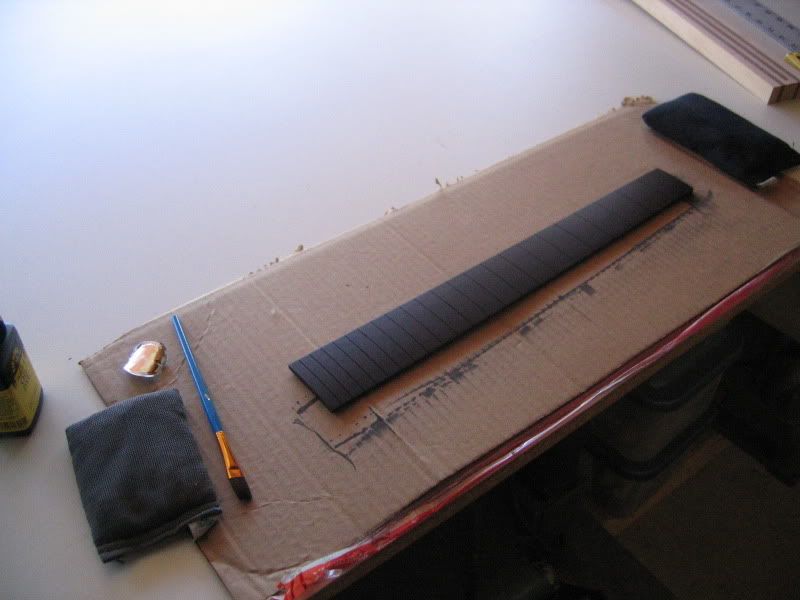
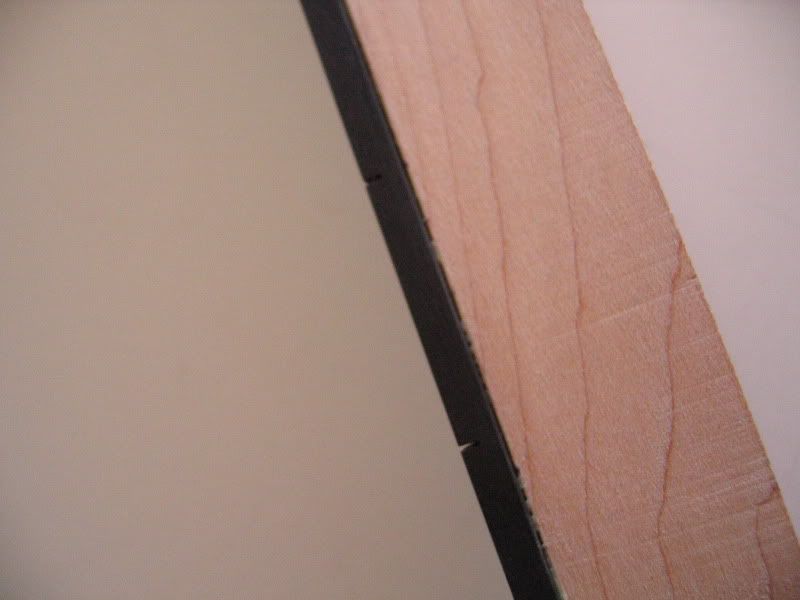
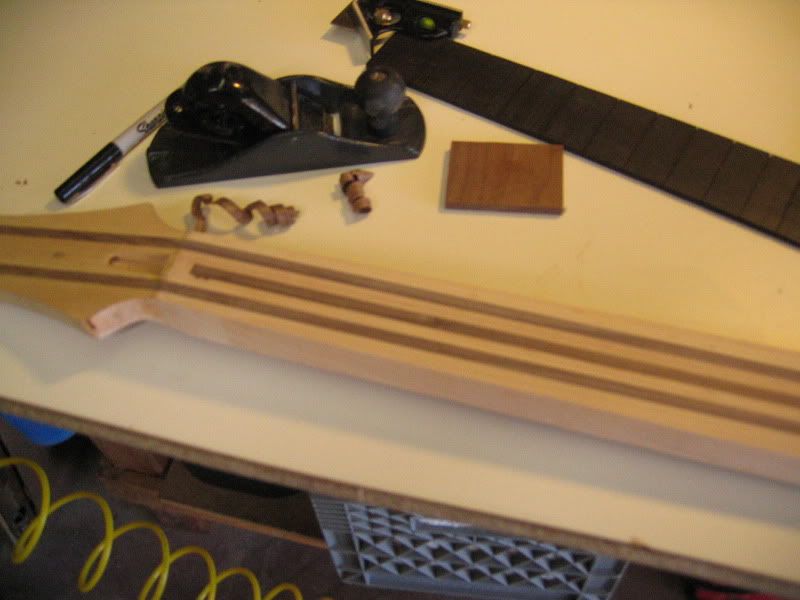
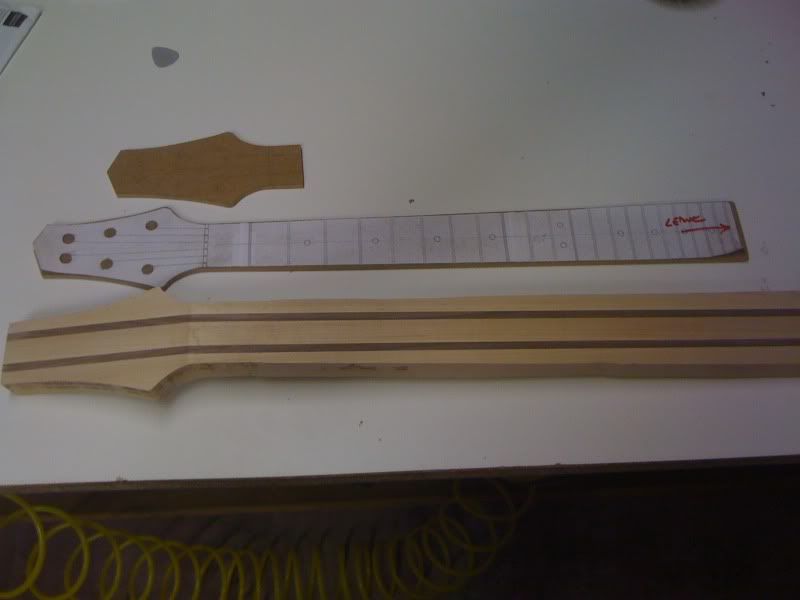
I'm using an ebony fretboard on my first build because I just love ebony fretboards. I figure I've spent enough money on this that an extra 15 bucks isnt going to kill me.
I decided to dye my ebony fretboard before I glued it up so I wouldnt risk any bleeding onto the maple.
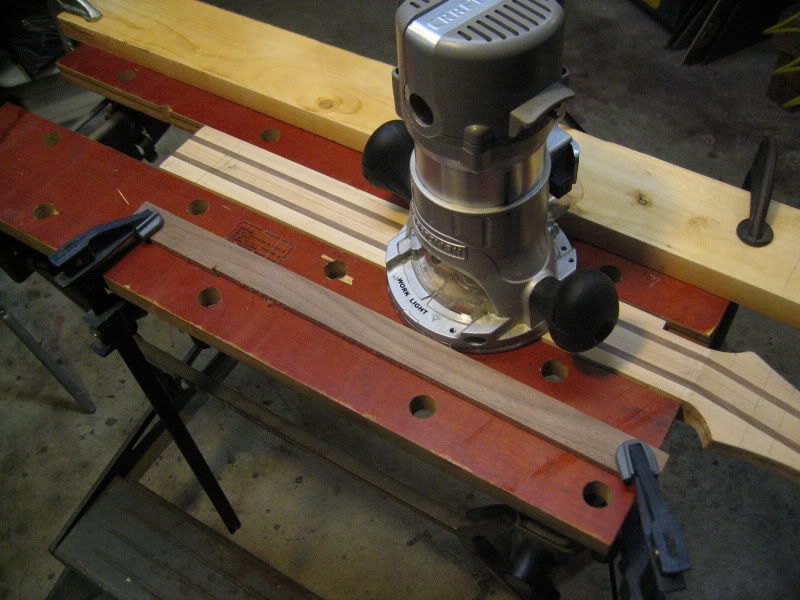
Not pictured here was the routing of the neck template. I did a few test routs and experienced some burning. I figured out I was trying to rout too much wood and wasn't being aggressive enough when I did push the wood through the router. In the end the final rout left only an eighth inch section of burn in the headstock and I can sand that out.
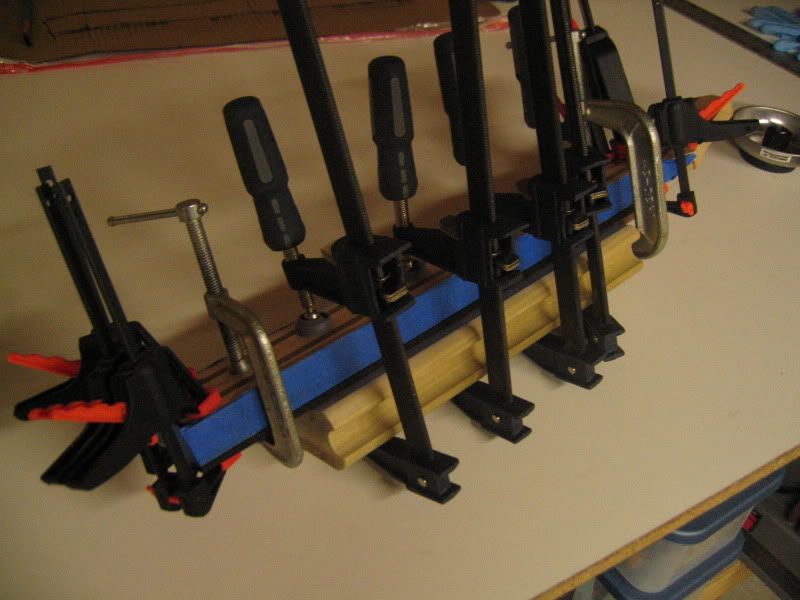
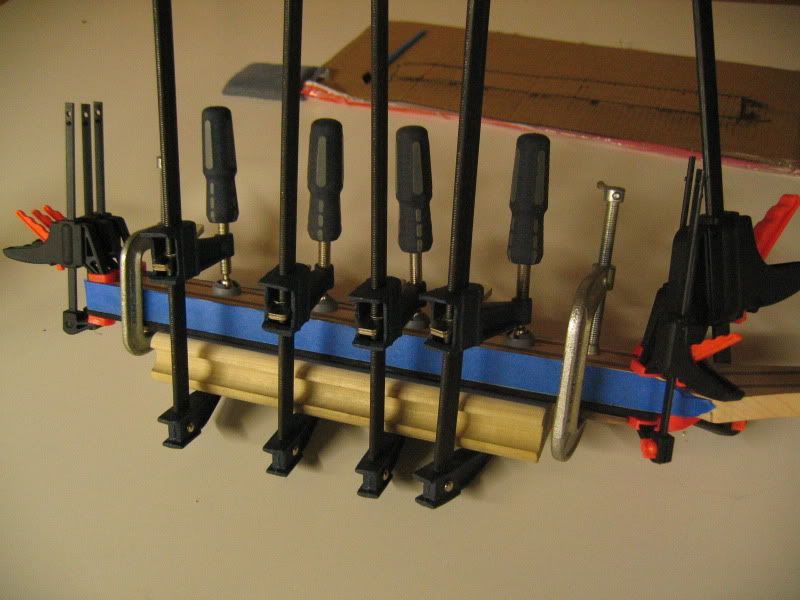
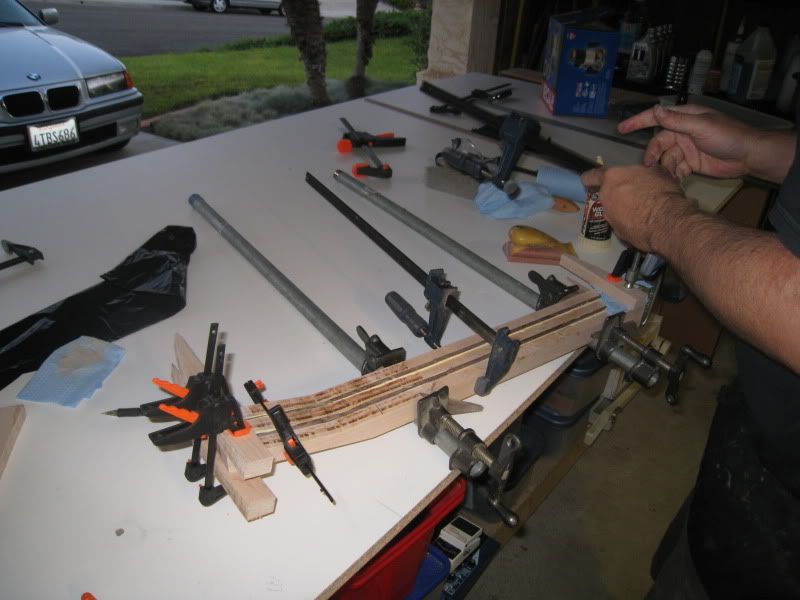
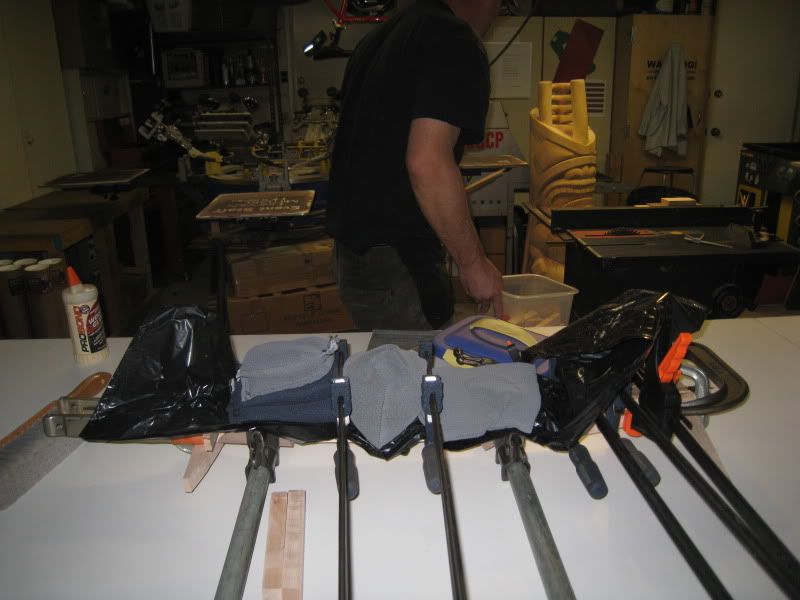
Fast forward to that morning. I glued up my fretboard at 1 AM the night of July fourth so I could work on it the next day. My wife warned me not to because I had a pretty thick wine buzz from the days festivities but I insisted I was coherent enough to pull it off and moved forward. I used my radius block as a caul to help clamp it. I also taped off the sides to avoid any glue squeeze out getting on the sides of the maple. This was redundant since I still have some sanding to do on the sides. I allowed myself about an eighth inch wiggle room on my template to compensate for sanding and imperfections later.
The next afternoon I unclamped it. I was satisfied with the bond but there were a few issues. First issue was that I should have put some tape on the face of the fretboard. There were a few marks left on the fretboard from the residual spray glue on the sanding block. But nothing that wont come out when I resand it after installing the fret markers. I might have to re-dye the top a tad though.
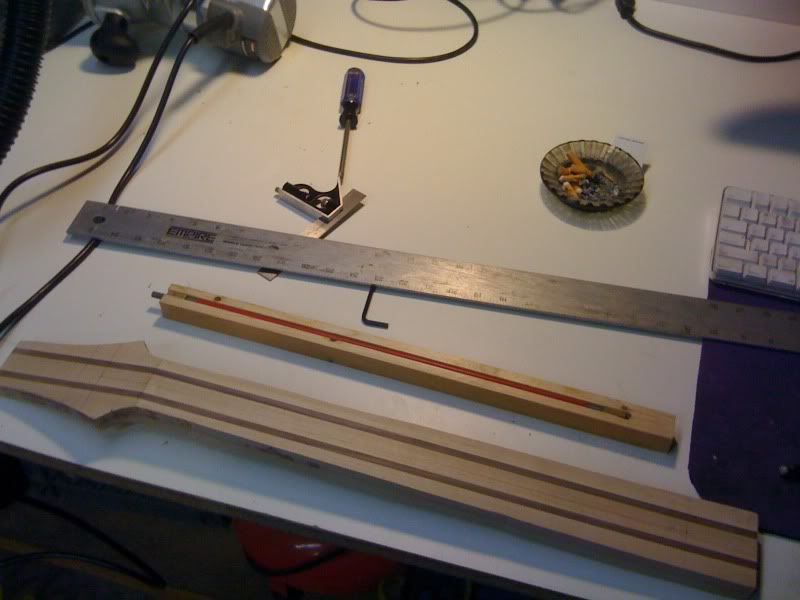
The other issue was that I had some hairline gaps on the left side. They look pretty bad in these pictures because I haven't planed the fretboard flush with the maple.
When I did I only had maybe a half inch of very thin gaps left. But they were still there.
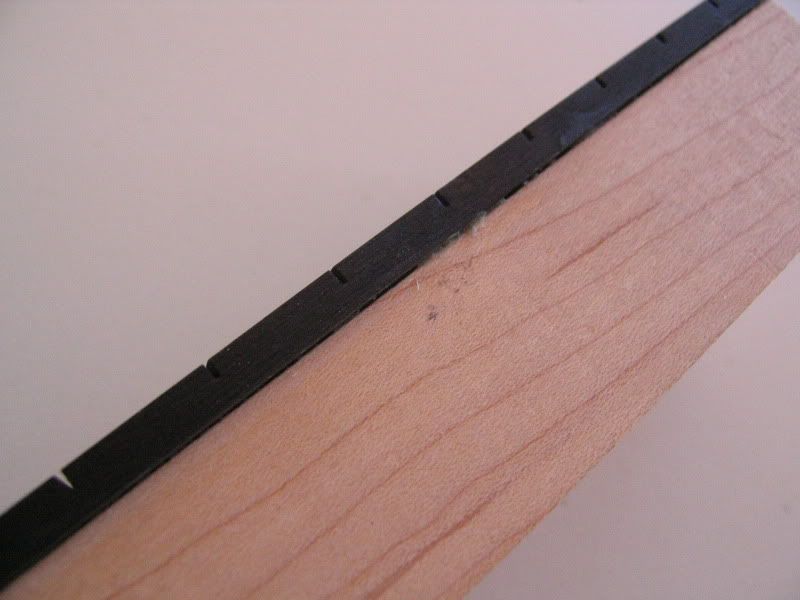
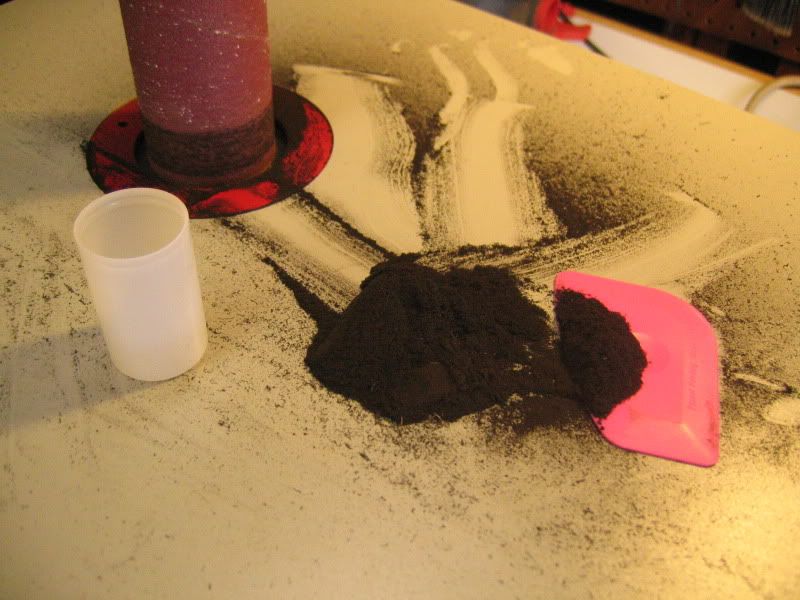
I fixed this by filling the small gaps with the ebony dust I collected when cutting down and sanding my fretboard prior to gluing.
I'm glad I saved my dust. I found a tip here to just fill it with the dust and run a small bead of cyanate over it. It sucked right in and filled it beautifully.
Save your ebony dust!
Here is the final result.
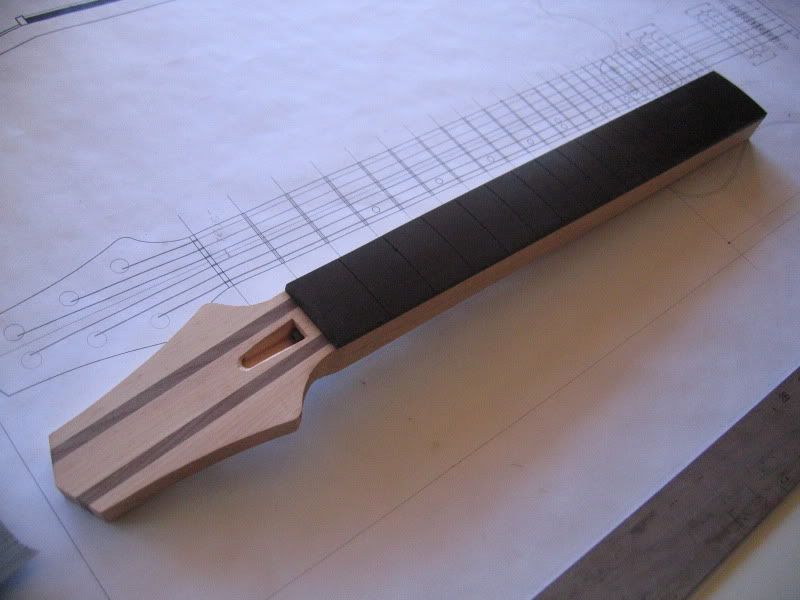
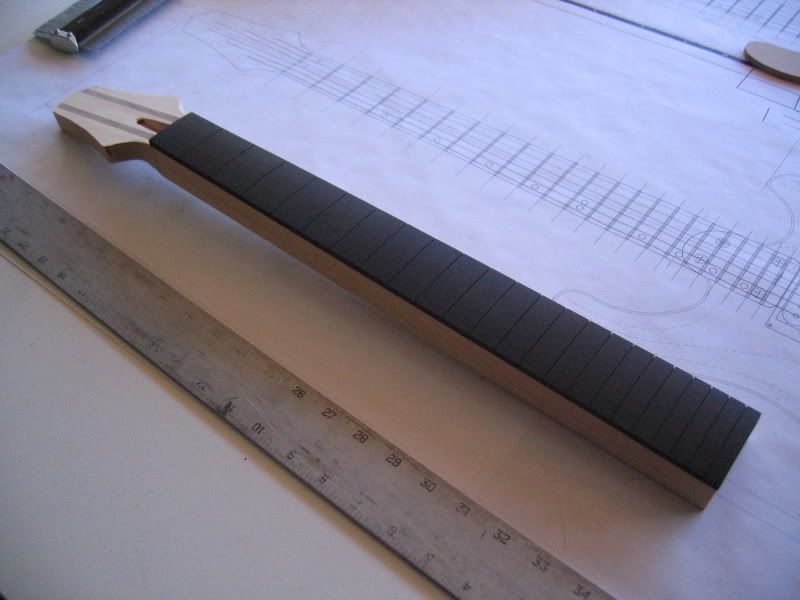
Overall I'm pretty happy with the way things are going but I still have some things I'd do differently. One is that I cut off the excess 4" of wood by the 22nd fret prematurely and now I wish it was still there so I could use it to clamp to my workbench while I shape the back of the neck.
Speaking of carving the back of the neck. I have a question for you guys. How much wood should I leave on the neck between the back and the trussrod?
I picture myself finishing this thing and stringing it up for the first time and watching the truss burst through the back of the neck the first time I make and adjustment. I really dont want that to happen.
Any advice on this would be valued.
I'm up to date so thats about it for now. I'm stalled until Friday when my stuff comes in from Stewmac. I had to order more fretwire as the 4" I ordered was going to be 2 or 3 frets short. Again I'm learning valuable lessons here. But thats the whole purpose of this first build. I also ordered a neck support caul for when I do the fretwork. Its cheap and I figured it would be good to have. I also ordered a 12" radius fret press insert for the fret press they sell. I plan on just using it to set over the frets when I install them to spread out the force hammer blows when seating the frets. Make sense?
I also completely forgot to order my pearl fret markers first time around with SM which should arrive Friday. Installing those is my next step before I do frets I think. I'm still debating on if I should install them traditionally down the center, do them to the side like I designed or just do the 12th fret on the face with full side markers. I'll have to make a decision soon. I'm leaning on the traditional layout.
I didnt order a crowning file although I wanted to as well as the safety planer so I could make a peg head veneer out of some scrap mahogany. But thats more then I can afford at the moment and there are more important tools to acquire in the mean time. Plus there is an ebay auction with one right now for just that. I might have to dust off my ebay sniping software. I'm also still searching for a used drill press and need to purchase at least one good forsner bit. A band saw would be nice too but I don't really have room for it right now. For this one I plan on using my hand held jigsaw.
Thanks for looks and again and advice of the thickness between the back of the neck and the truss would be appreciated.
-
Test fit on the truss. You can see here where I munched the headstock with the drill boring the pilot hole of the truss. Most likely I'm going to veneer this anyways.
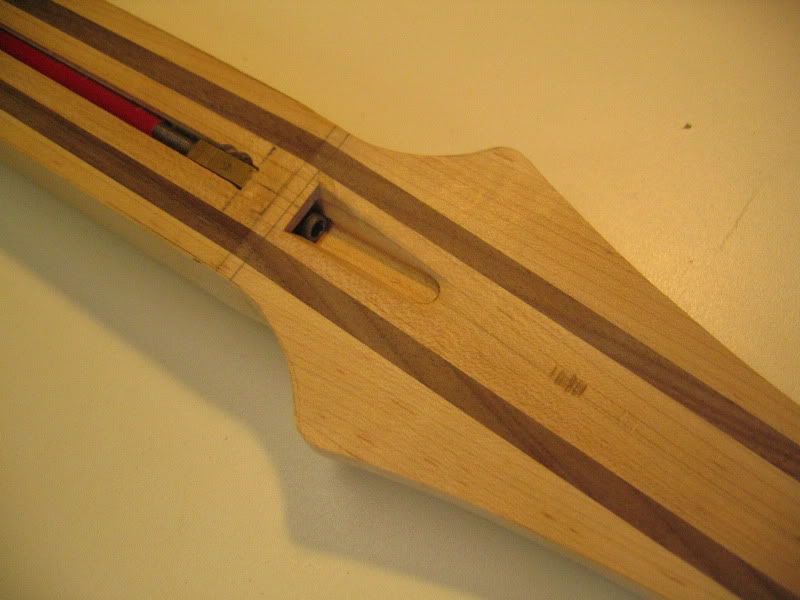
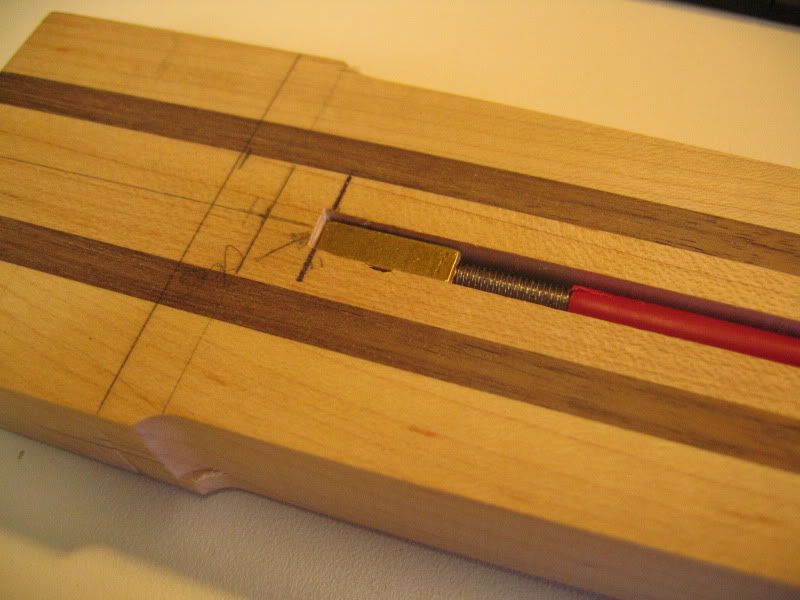
I routed the truss just a hair lower then I needed to so that I could place a small strip over it and I wouldnt have to worry about getting any glue in the truss cavity when installing the fretboard. Steps that were probably unnecessary, but I did it anyways.

I'll post some more tomorrow. Its pretty late and I have to get up and work sometime tomorrow.
-
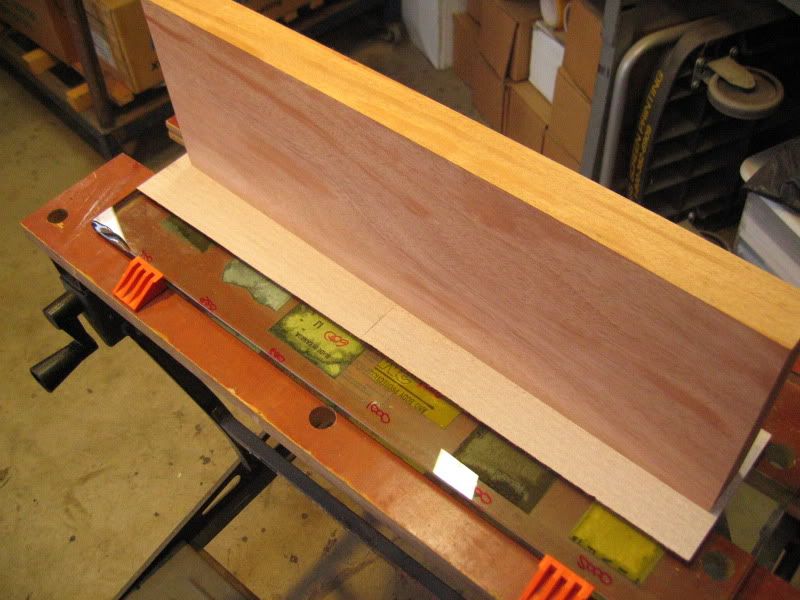
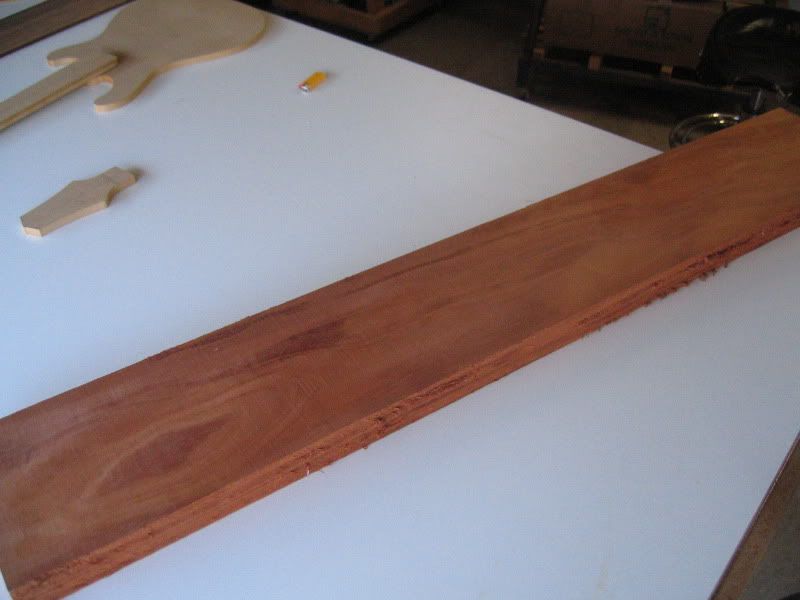
Here is my mahogany body blank.
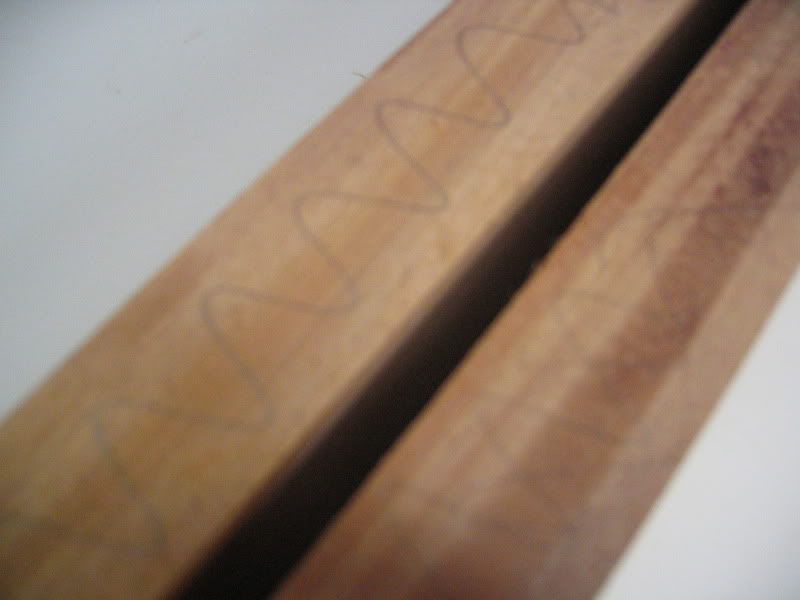
I'm doing a laminate neck and dont have a band saw yet so I cut each piece out before I glued it.
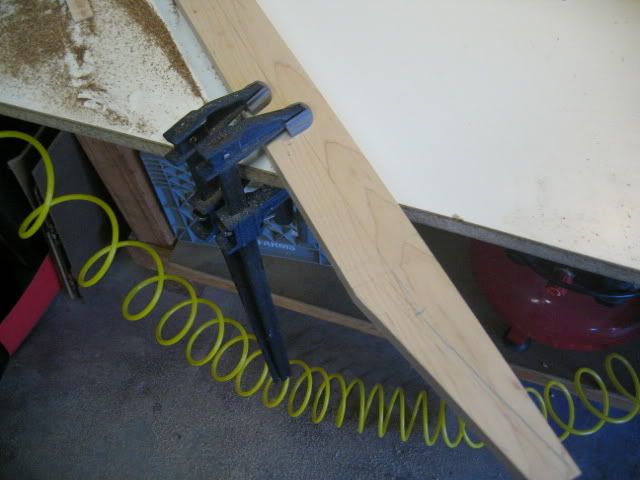
Gluing this up for the first time was interesting. The pieces started slipping pretty badly and I had to clamp on the ends to keep em straight.
Thats 50 lbs of lead shot dive weights stacked on top in a lame attempt to control the slipping.
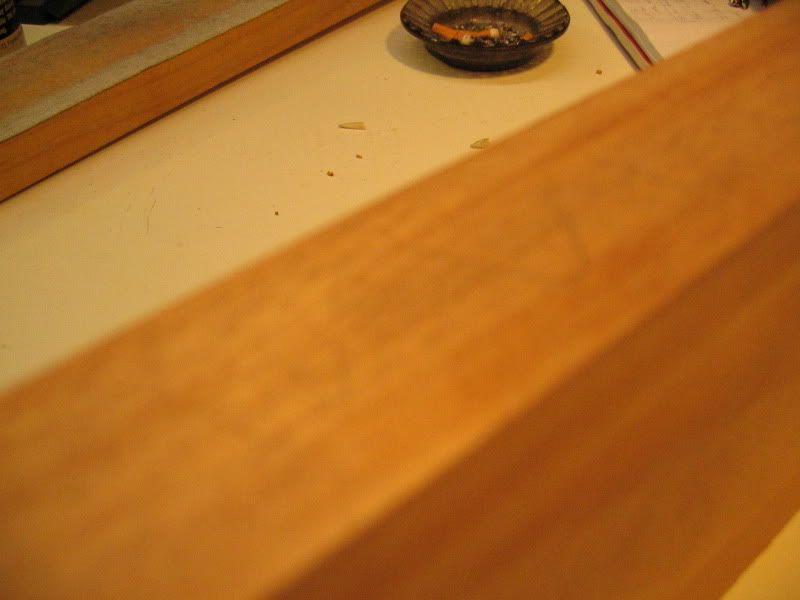
I have a big picture gap here but it came out pretty solid. I used a ryobi hand plane to even it out and then switched to a hand held for most of the rest.
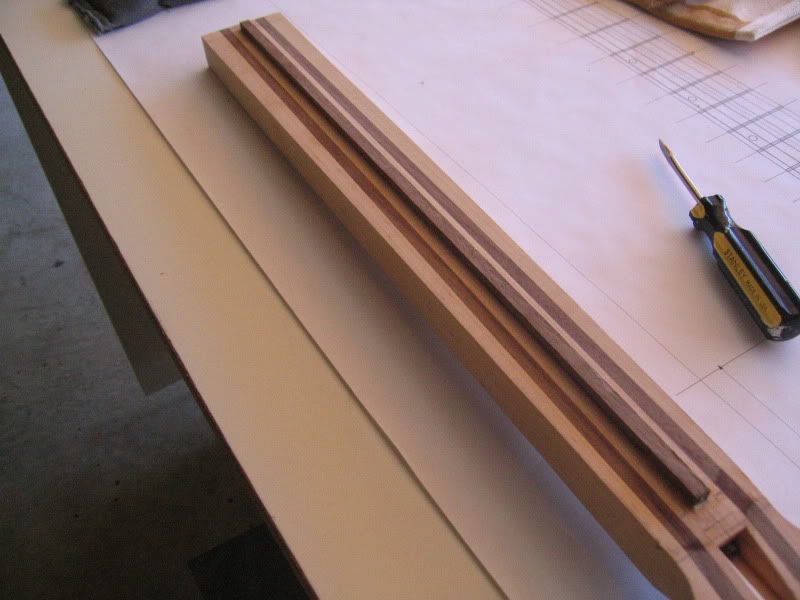
The headstock was thinned using a Japanese pullsaw which worked great. I have a 2x4 I planed flat and used that as a large sanding block with some 60 grit on top to straighten out the neck before I routed it.
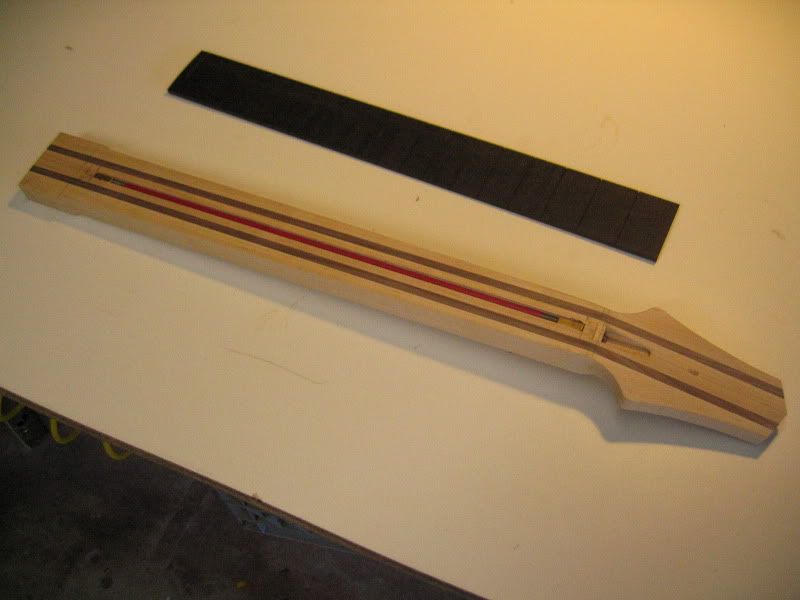
Here is the result.

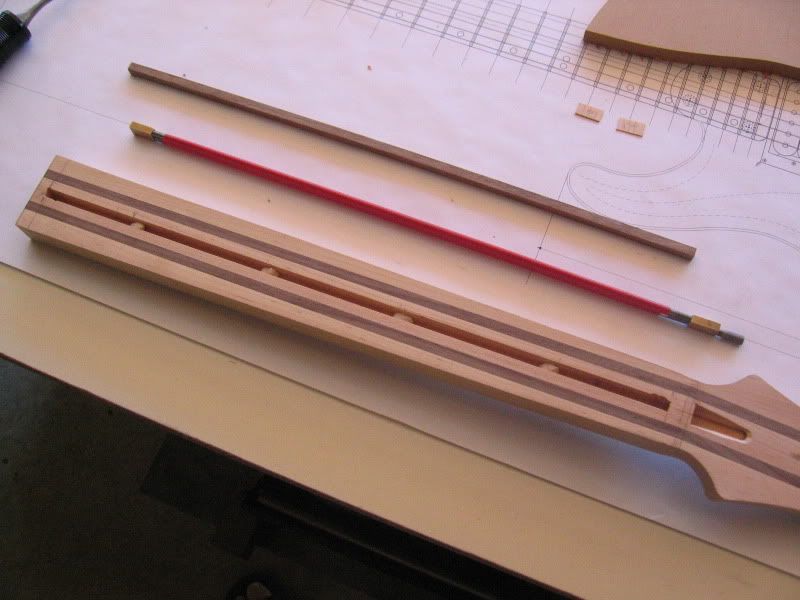
I got my truss rod in and did a test route on a piece of scrap.
It occurred to me that I glued on the wings of the headstock and trimmed the sides of the neck a bit prematurely which just created more work for me down the road as far as routing the truss pocket. Lesson learned. I wont do that again. A simple temporary fence on my workmate was the answer.
It wasn't perfect but I'm OK with the result.
-
This build is being continued Here
-
OK so I introduced myself and posted the beginning of this build in the guitar and bass chat area but it should have been posted here. So that being said I'll continue this build here.
The beginning was started here :Begining
I stopped for a week or so to pick up and read "build your own guitar" by Hiscock. Great book and I'm glad I stopped my build until I read it. I'm still referring to it as well as searching through this site. Speaking of this site I've spent an inordinate amount of time reading through the threads here. Some of you guys have some absolutely beautiful builds and serious talent.
Anyways, moving forward I'm having some second thoughts about some of my design aspects. One of which is how I plan on doing a bolt on neck to a prs style body shape. I havent really seen it done too much. I really like the way my Ibanez S series is bolted on so that's what I incorporated into my plans. I figure in the long run doing it this way might keep me out of too much trouble as opposed to a set neck. Then again after seeing how cool some of these PRS builds have come out I want to do it the set neck way. But I've already started so I'll just have to wait I guess. This first build is supposed to be simple learning process with mistakes mixed in.
I've been trying to take good pictures but have missed a few opportunities because I've been into what I'm doing.
So here they are and not necessarily in order.
Here are the printed plans. I took them to Fed Ex and had them printed out after several failed attempts to tile them on my printer. They were always off my a percent or two. I think it cost me 7 dollars.
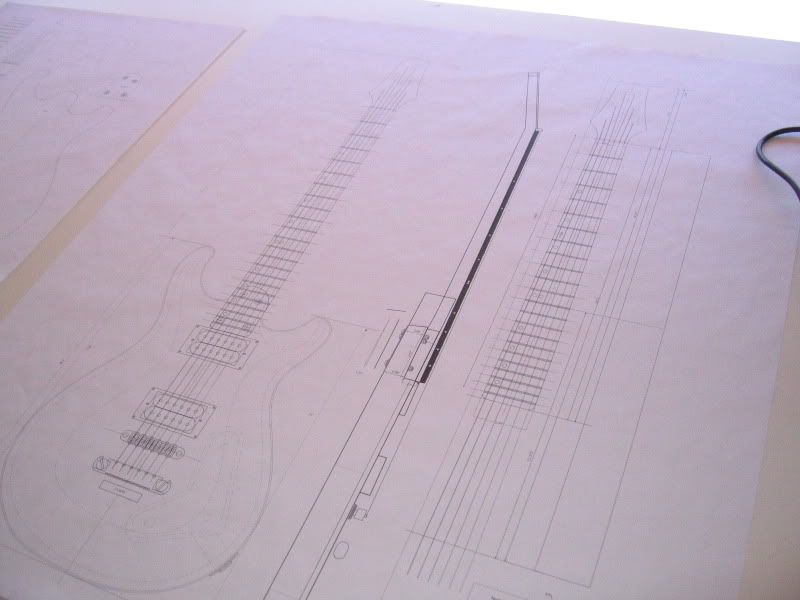
The second sheet was for me to cut out for my templates.
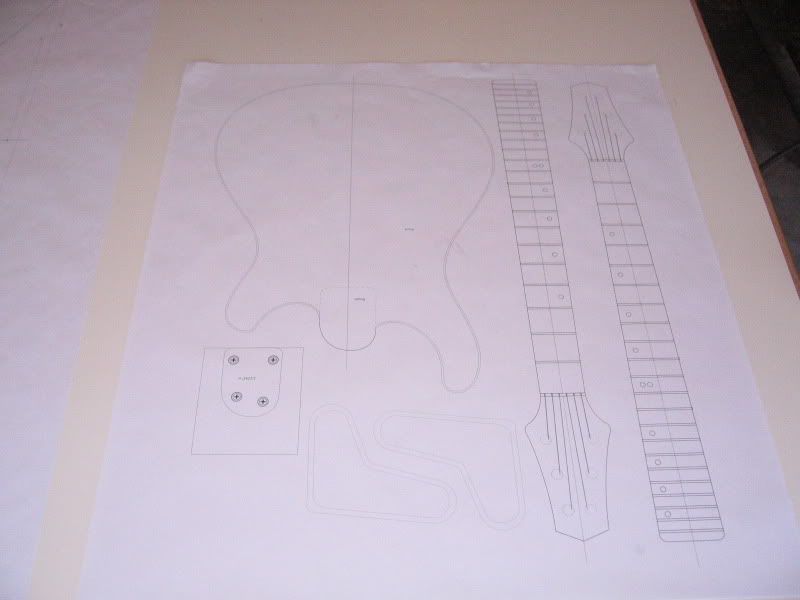
My first 1/4' templates finished.
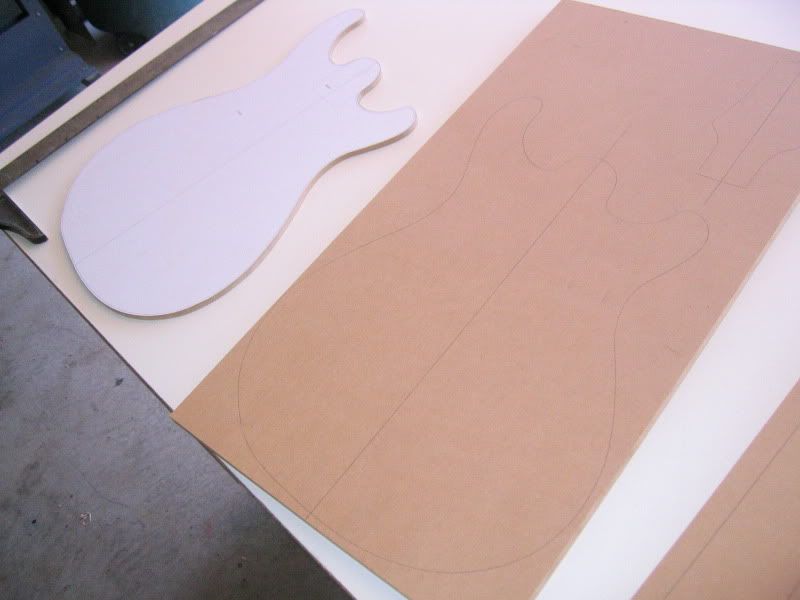
My final body and neck templates. I still have to do my pickup and cavity templates.

-
I'm pretty new here but I think you can get the hammer at harbor freight for about 8 bucks, the fret puller for a buck ( I just bought two) and the file for another buck (the one in the picture doesn't appear to have rounded corners).
you'll have to grind or file the tip of the puller to get a nice flush end that will grab the fret correctly.
-
No one so far?
-
I'm off to a slow start . I've been spending tons of time browsing through this site picking up ideas and techniques. I've also been revising and thinking about my design. I decided to purchase Melvyn Hiscock's book on guitar making to help educate myself. I still think I'm going to keep it simple for the fist project. I purchases some mahogany for the body and also some more maple for the neck.
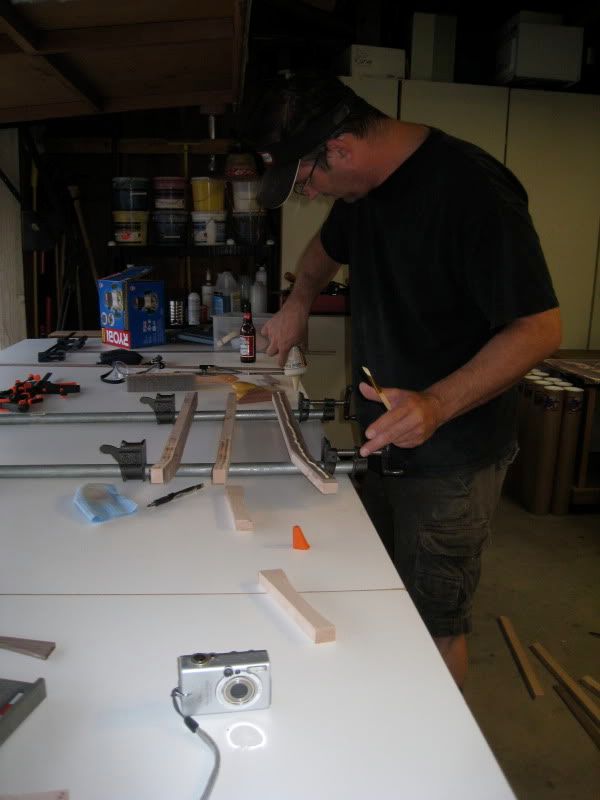
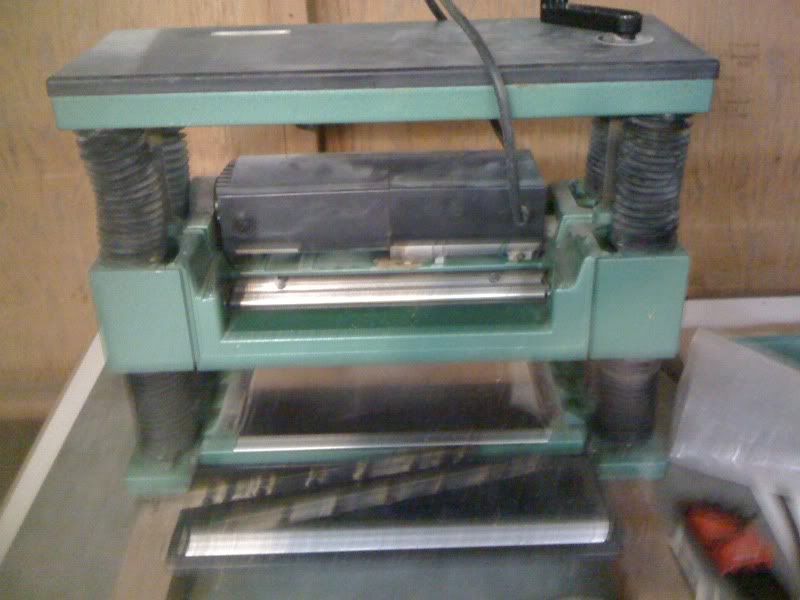
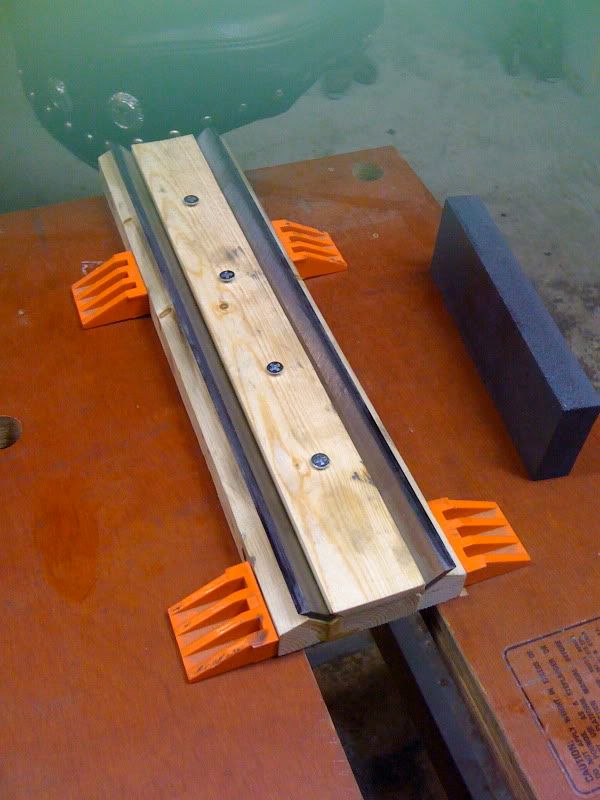
I've been looking at used tools on craigslist and found some bargains. I found a craftsman table saw for $20 that works good. It needed a new blade but that was cheap enough and now its running great. I also snagged a almost new spindle sander for $30 and a 12" grizzly planer for $75 last week. The installed blades on the planer were dull and had some minor nicks but it also came with a set of just slightly used spares. I found a tutorial on how to make a jig to hold the blades for honing and spent several hours sharpening both sets. I couldnt salvage the installed ones but I got the spare set razor sharp. I spent some time setting up the machine and now its working great.
Here is the planer. Sorry for the terrible iphone pictures.
Here is the jig I made to hone the blades.
I also picked up a 1 3/4 hp router with 1/2 and 1/4 bit capabilities along with a routing table.
Now the bad part is I think I screwed myself on my neck already. Not completely but I created a lot more work for myself. I made a template for the neck and headstock the other day. They came out nicely. I was doing some fiddling around Saturday and traced out the template onto my neck. I made a large sanding block out of a 2x4 that I ran through the planer to flatten out the top of the neck as i'm not doing a scarf joint. I used some 60 grit to start with and got the top of the neck looking nice. Half way through this I started thinking that less wood on the sides would be more conducive to removing material faster so I roughly cut out the neck pattern leaving about 1/8th to 1/2" around the sides. Later on as I was sanding the top of the neck flat it dawned on the that I screwed myself on routing my truss rod channel. I think it can still be done but I'm going to have to make some sort of jig to do it. I'm wondering if I should just stop there and start from scratch after I receive my book and read through it.
I'm thinking more education and planning are in order.
Here is a picture of what I have so far. If anyone has any advice on how to route this neck accurately with out building a complicated jig let me know.
-
Ok so I'm ramping up my tool collection to start my first build and I have a few questions.
I've researched some template router bits and purchased a 1/2 inch x 1' long bit with a bearing at the tip.
Here is the link:
Diablo 1/2" x 1' flush trim bit.
I'm also considering purchasing one of these top bearing bits. One from Stew mac or the one from Home depot.
Links
or the #0693
I'm thinking the correct one to buy is the stew mac bit because its going to allow me to take multiple shallow passes as opposed to the 1" which will force me to take an inch of material at a time. This is correct is it not?
My other question is about buying a spoke shave for shaping my neck. I've been carving Tiki's for a few years and have a very good quality and very sharp 8" draw knife that I use for that purpose. I've seen some videos of people on youtube using this method and would rather not spend the money if I dont have to. I've done some test on a spare piece of maple and it seems to work nicely. You guys think I should just stick with this for the time being or would I be better off using a spoke shave. Would I have more control?
-
The bolt on neck is a good idea imho, if ya screw up donw the road on the body the neck is safe. i would stick with a flat top thats one less thing to go wrong also the, There is nothing wrong with a tom but remember you have to do one of two things angle the neck or recess it into the body. i think a recess is fine on a flat top but i dont like them on a carved top (but thats me and my opinion agian) and as far as a cap unless your fairly experenced in wood working i would say wait on that agian there agian is one more thing to screw you up. my best advise keep the first one as simple as possible and focus on makeing a playalble guitar then work your way twards the pretty stuff. if ya look through the in progress section you will find a ton of threads with unfinished guitars where the builder got in over there head and a simple mistake killed the project and then you never hear from them agian because they ended up with a piece of fire wood and gave up on building.
Thats kind of what I was thinking. Keep it simple for the fist one. I can already see some mistakes I've made on my neck that will end up costing me time and effort. The problem being that when I made my neck I did a tilt back headstock out of the same piece. Its pretty thick and will have to be taken down quite a bit.
I'll go with your advice and go with a solid mahogany body flat top. I'm thinking it would look nice with the maple binding and finish the thing naturally.
I'll try to get some progress pictures up soon.
-
Hello.This is my first post and I'd like to introduce my self here.
I've been thinking of building a guitar for years and finally told myself that I've done enough research and now is the time. I'm not getting any younger.
I have high hopes for the first build but I'm sure I'll screw it up somehow before I'm done. I have some plans I've drawn up in Illustrator and I've gotten as far as glueing up the neck. Its a maple-Walnut stripe-maple-walnut-maple. Its going to be a bolt on since I think that would be best for my first.
I'm on the fence on what I should do for the body. I want to do a double cut in the PRS shape but I'm debating on whether or not to do an arch top or not. Again I'm thinking that a flat top would be best for my first. I'm also debating my choice of body woods. I would like to do a mahogany /maple cap but dont want to spend a bunch of money on a figured cap just to screw it up. So I'd like to ask what you guys think about just using some standard maple for the top. It wouldnt look as nice but would be much more economical. The other option would just be to do a solid mahogany body with maybe some maple or binding.
I have tons of questions but I'll leave this first post simple. If anyone can offer any basic advice to a complete green horn I would appreciate it.
Thanks in advance.
My Inaugural Guitar Construction.
in In Progress and Finished Work
Posted · Edited by sdshirtman
Thanks for the input MuffinPunch. Determining the thickness I can leave behind the truss and the neck pocket/angle are going to be the only things that worry me at this point of the build I think.
I did get to to some more work but I didnt take very good pictures. The body was cut out with a hand held jig saw today and routed clean. I only had very small 1/2 inch section of tear out while doing the bottom half of the body routing. I think it will fill no problem.
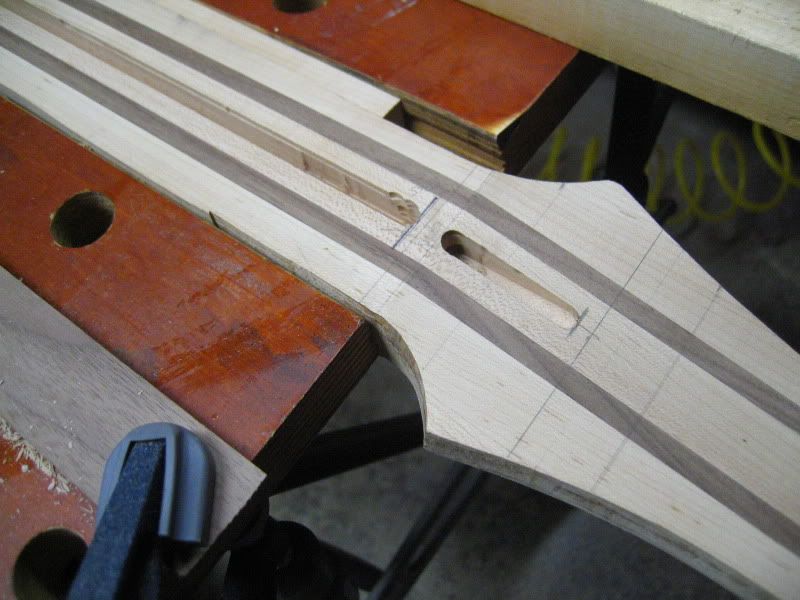
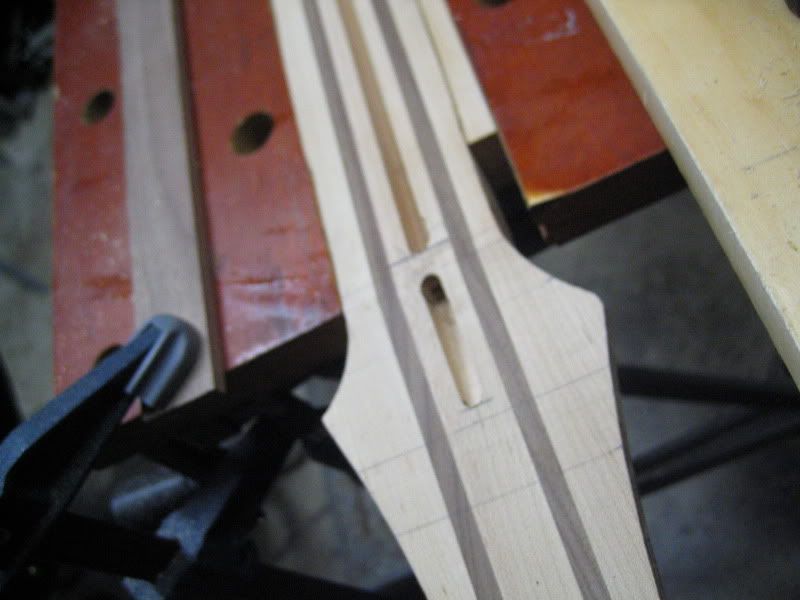
I got my fret wire & markers in today. I installed the side markers this evening. I did a couple practice runs with drilling the holes on a scrap piece then got to installing them on the neck. Everything went smooth until one of them popped out of the tweezers I was using and vanished.
This was a problem as I ordered 11 of them to make sure I had an extra one in case I lost one and had already lost one somehow earlier in the day. It was either try and find it or wait until I could order another and have it delivered. So I decided to get on my hands and knees and search the garage floor with a flashlight. After 15 minutes of this I was about to give up and then suddenly found it. It was one of those hell yes moments. Its the little things that make you happy sometimes.
I'm sure this is old hat to some of you experienced builders but I'm pretty stoked doing it for the first time.
Its starting to look kinda like a guitar now.
Thats about it for now. If anyone else can chime in on the neck carve question I'd be grateful.