


sdshirtman
-
Posts
646 -
Joined
-
Last visited
-
Days Won
23
Content Type
Profiles
News and Information
Tutorials
Product Reviews
Supplier Listings
Articles
Guitar Of The Month
Links and Resources
Forums
Gallery
Downloads
Posts posted by sdshirtman
-
-
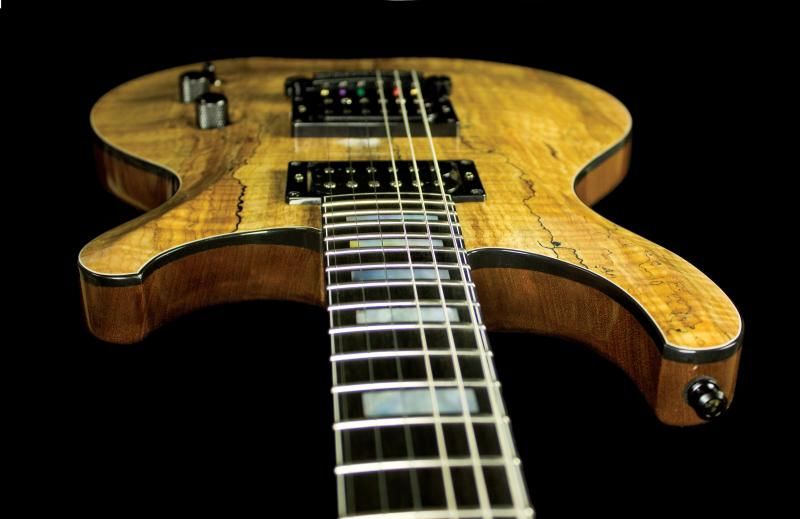
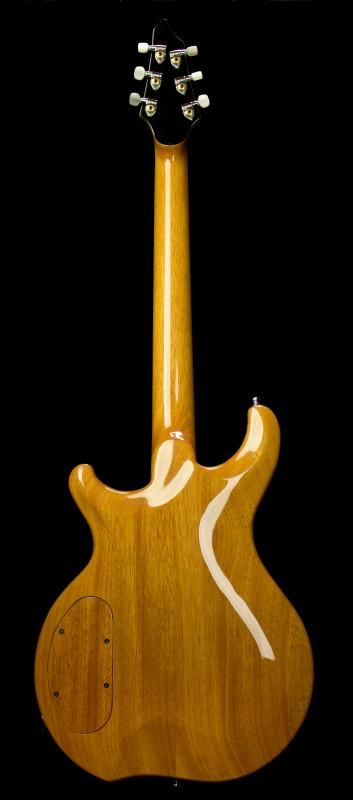
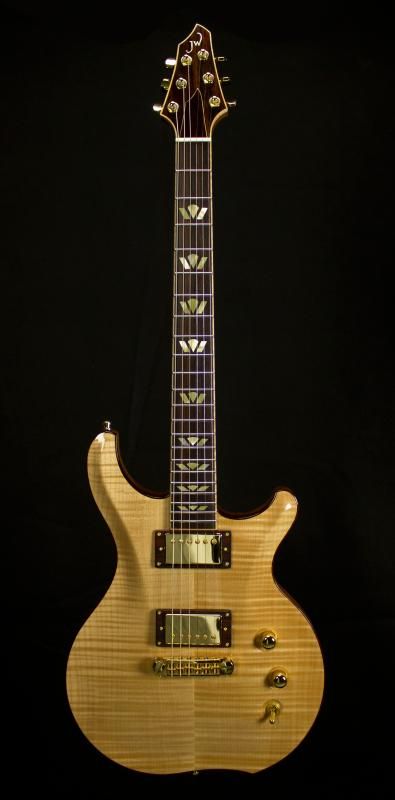
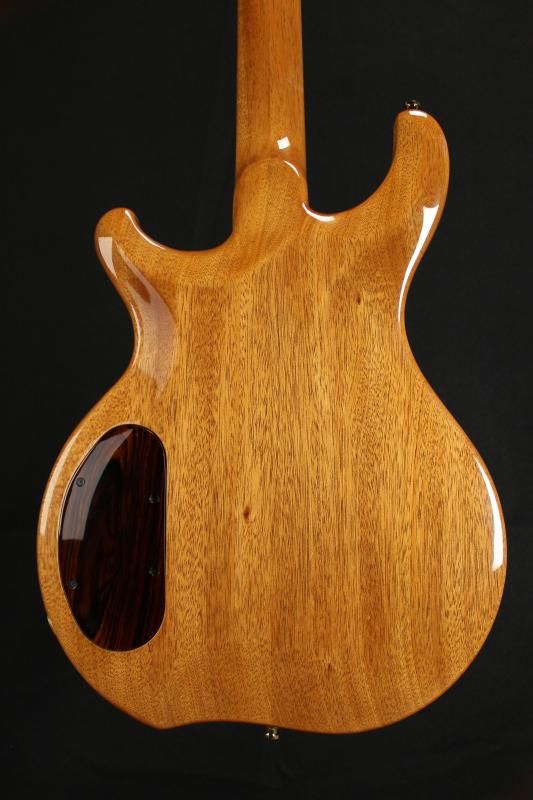
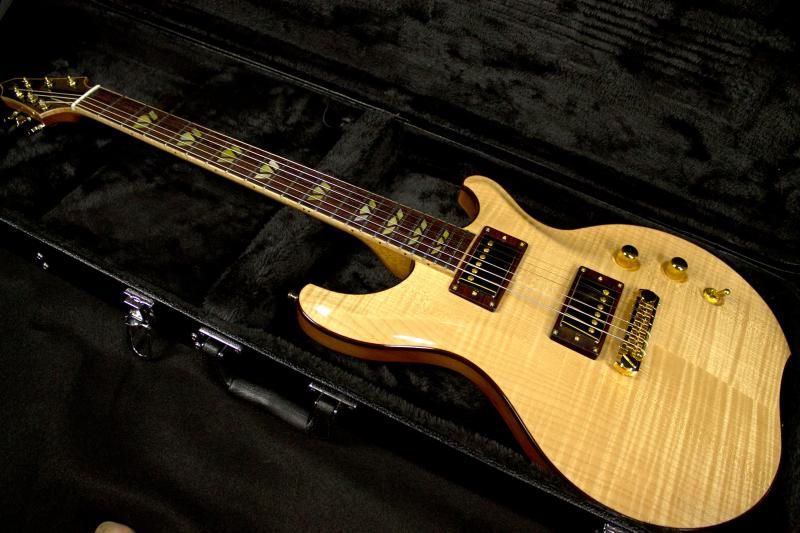
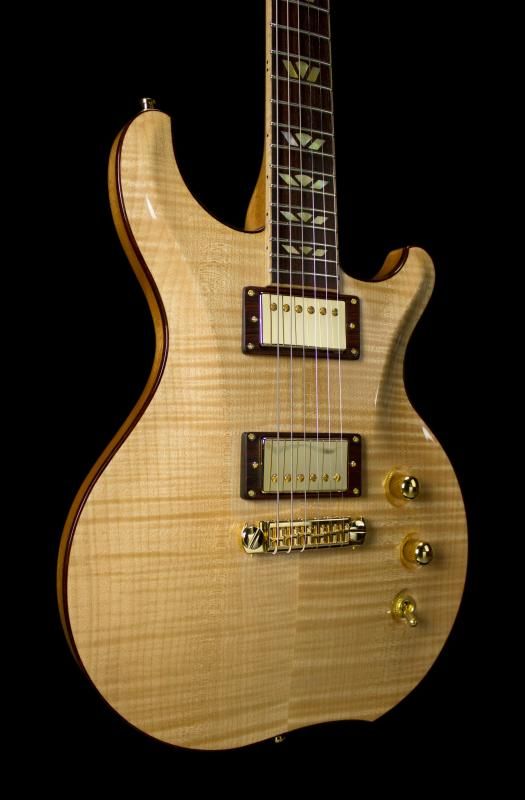
On the computer today so here's some pics of the completed builds I left out.
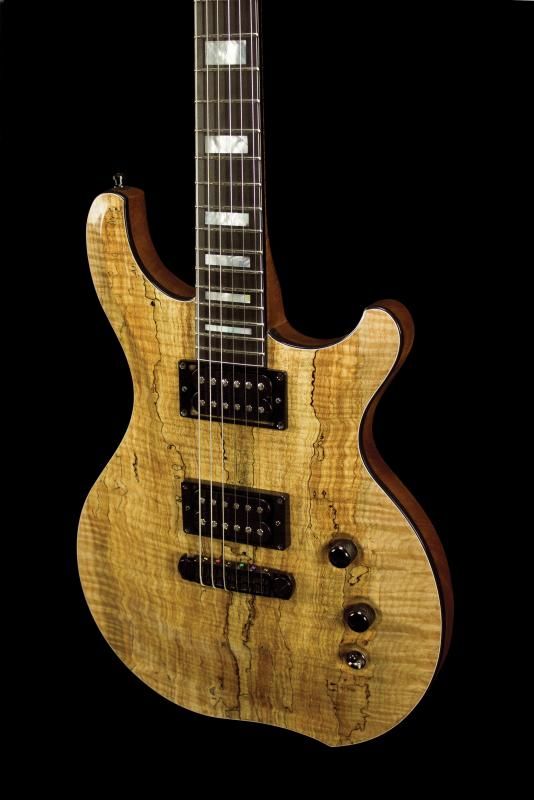
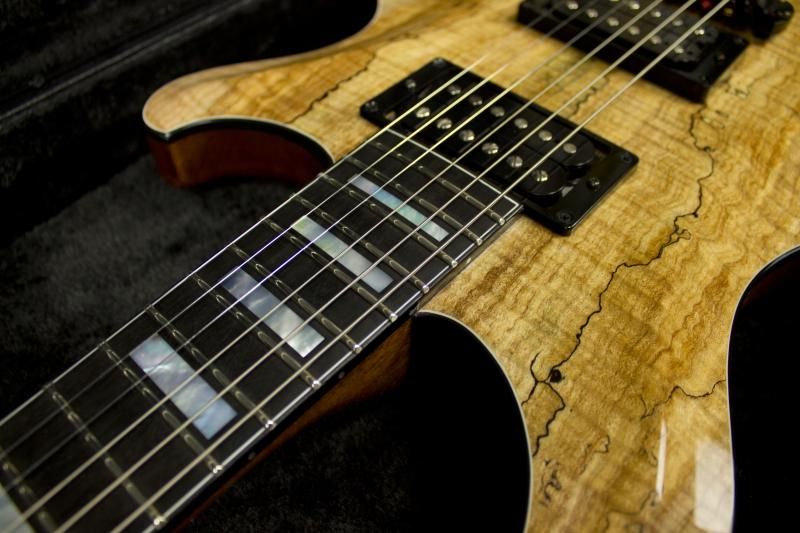
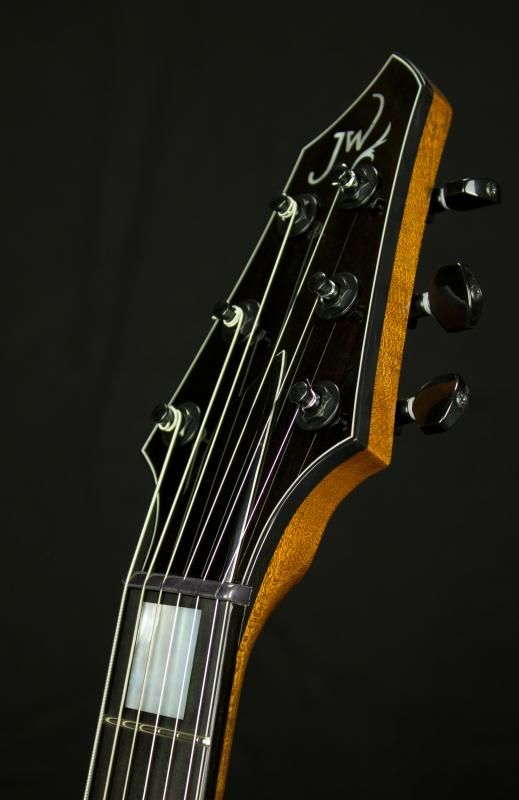
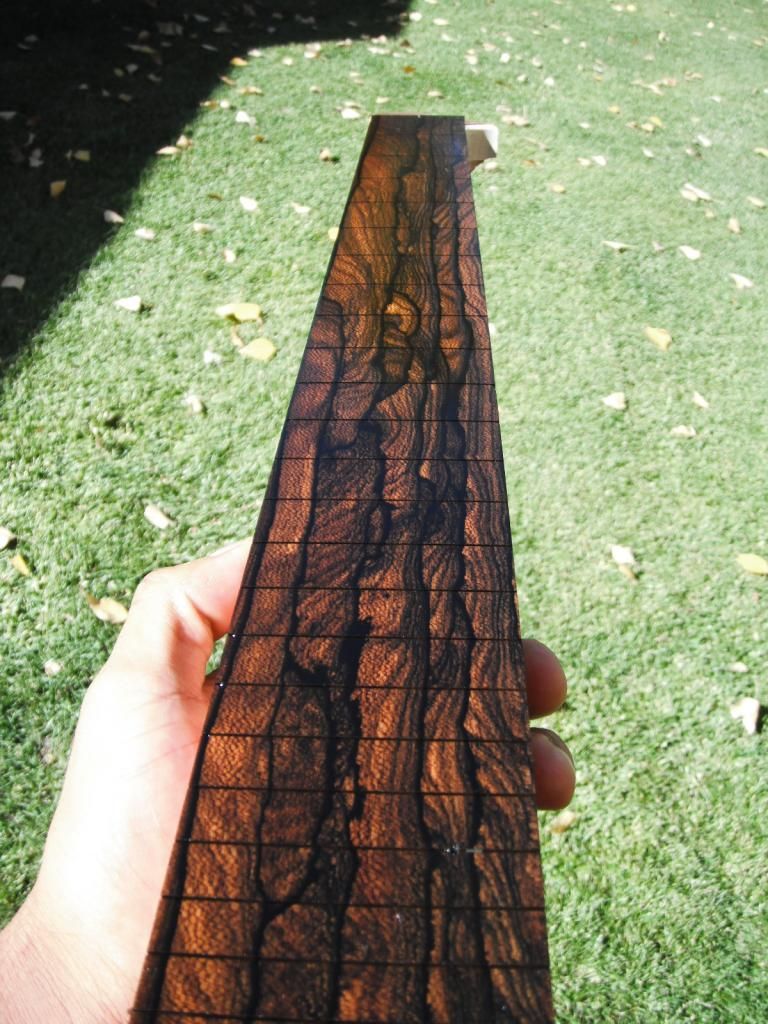
Heres the spalted carve top I did. I now know why I was warned against doing a carve top with this stuff. Boy was this a pain in the ass but with some persistence and the right piece (and a lot of wood hardener) its possible. Its also the first one I've ever done with all black hardware. I may or may not have mentioned it in an earlier post but the nut is bone that sat in a bucket of black trans tint for a week.

And the blue one.

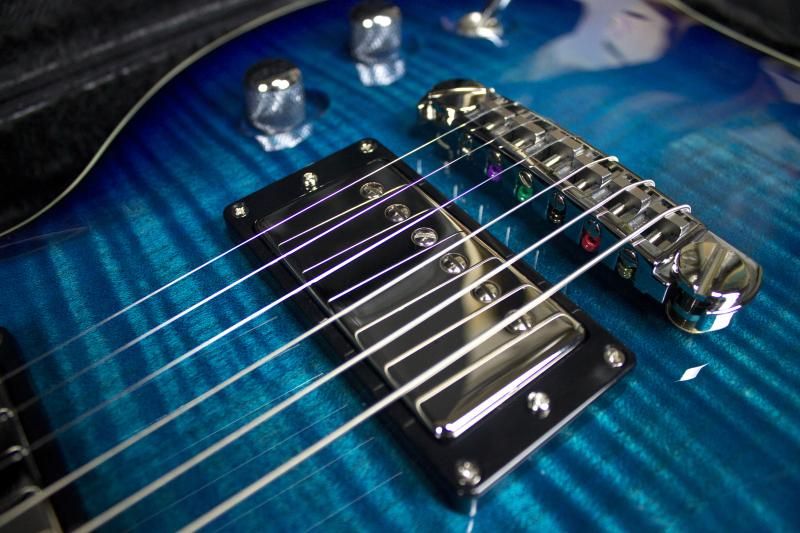
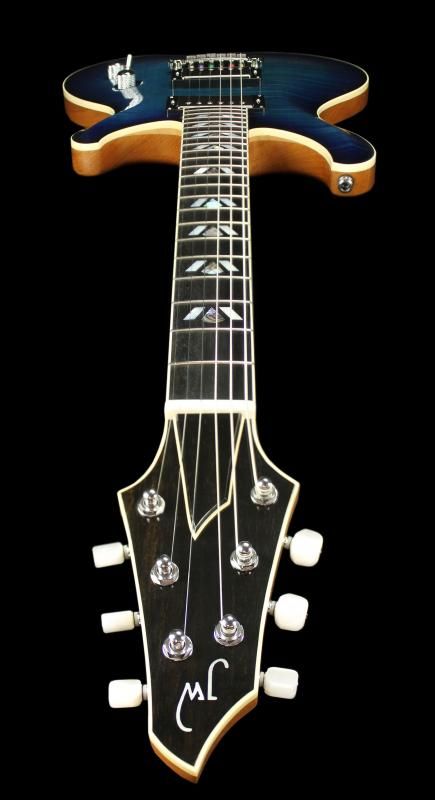
And there it is. Geetars.

-
 1
1
-
-
Did you mix the trans-tint med. brown in with your grain filler? I presume you are using a mahogany tint filler. One other question, did you seal the stained wood before applying the grain filler?
Thanks.
I used med- brown with a few drops of black in the grain filler. No sealer.
-
Never even heard of "chair glue" but after some google time it looks intriguing
"It will soak into the end grain of wood, swell the wood and then freeze the wood in the swollen state as it cures. A film of dry glue lines the wood cells, preventing contraction. The glue can penetrate the narrowest of cracks. "
I can see where this could come in handy.
-
Killem, Everyone has their own idea of ideal action. Do you have a way of accurately measuring the action at the 12th on the low and high E string? I'm wanting to get an idea of how low of action you're trying to get and where it is now. I shoot for string height of between .078 - .074 on the low at the 12th and between .060 - .063 on the high E. If I go much lower than .074/.060 then I start to compromise low action vs. some buzz. As for relief, I'm sure you probably already know this but you do want a touch relief to allow your strings to roll. That should take a bit of the buzz. I'm with Curtisa and set my relief around .009 - .012.
Also, are you using brand new strings? I always find brand spanking new strings a PITA to set up with. I like to play em for a little bit and let em sit on the guitar for a few days and settle in before starting to really dial in the setup.
And by the way, if you dont have a way of accurately measuring string height I would suggest picking up that string height gauge that LMI sells. Its less than $40 and worth its weight in gold.
-
Dang man. Your work looks like a better high end PRS type. Awesome work.
Thanks Killem. Thats a pretty nice compliment.
John:
I like what you did with the flame maple top guitar. What tint/colored grain filler did you use for the neck, back and sides? The contrast between the top and remainder of the guitar is gorgeous.
Thank you. Go to post #58 on this thread. It shows the color of filler I used on this one. The mahogany on that one was pretty light so I used a thin wash of trans-tint mahogany brown to slightly increase the contrast between the maple and the mahogany.
-
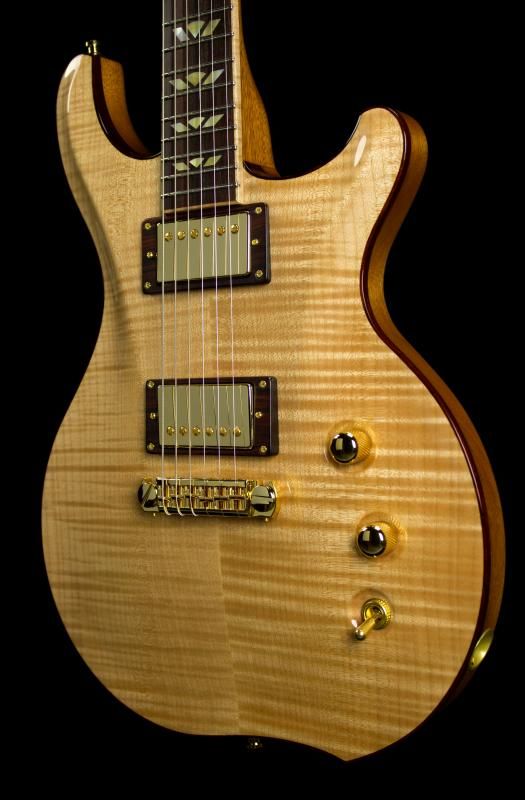
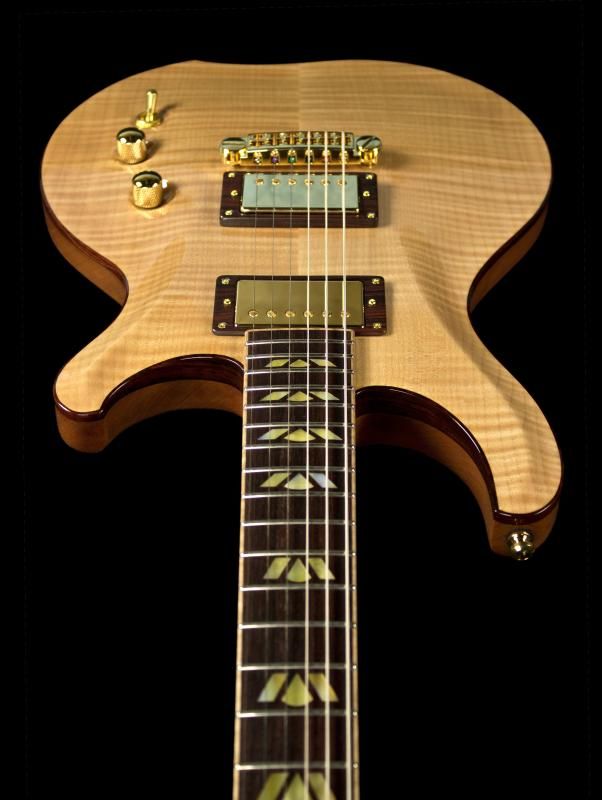
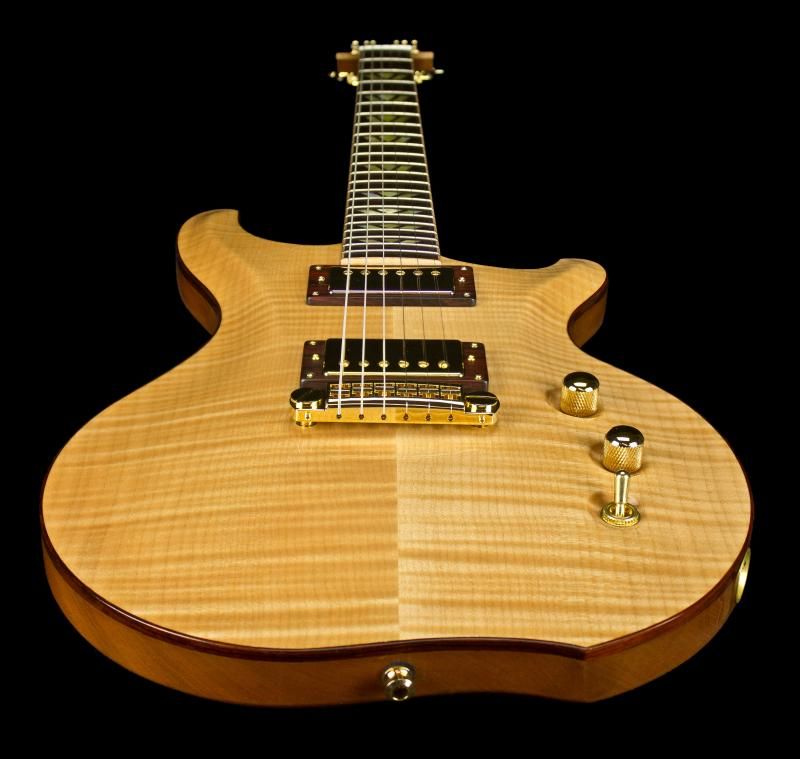
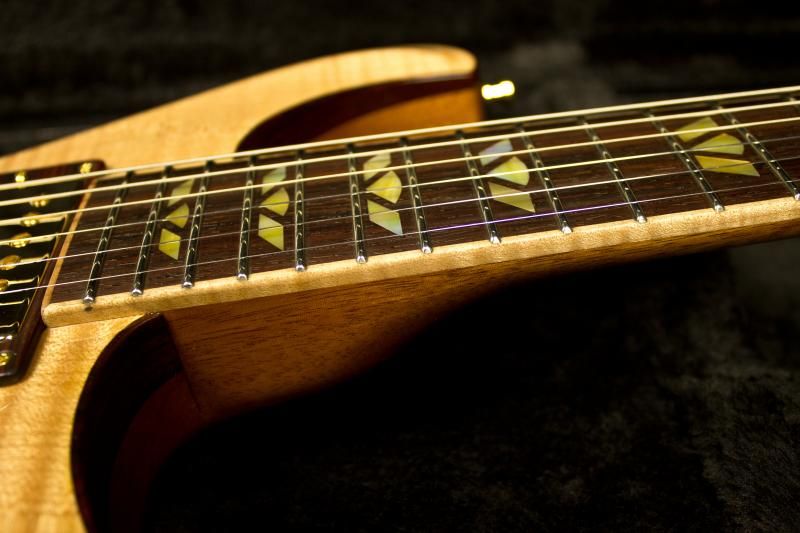
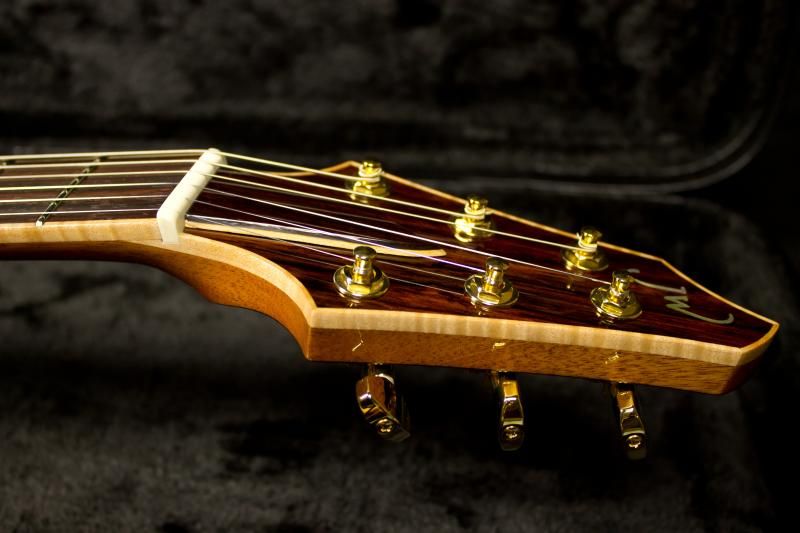
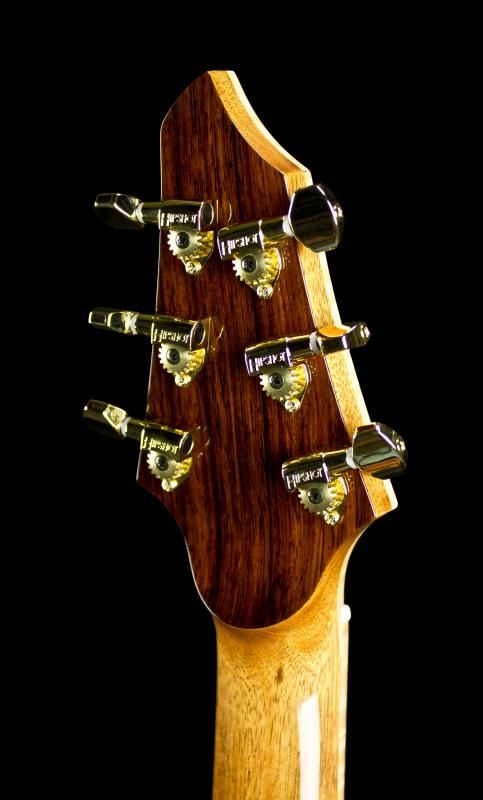
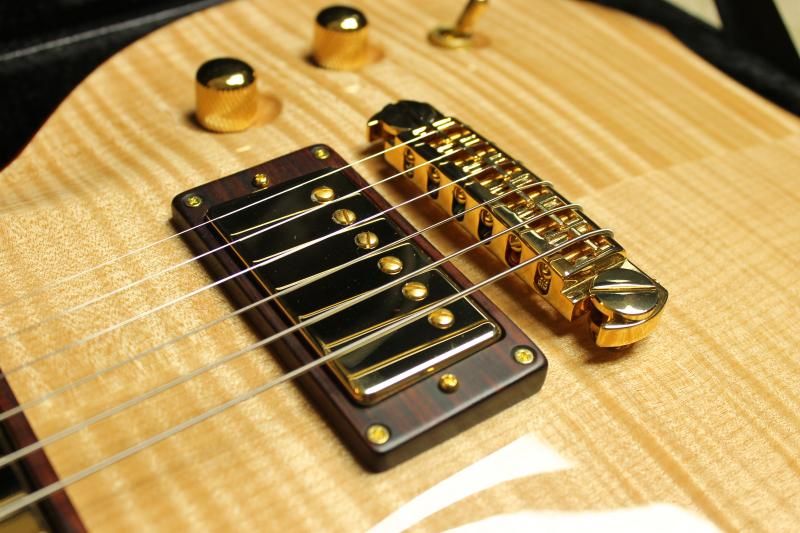
A close friend has named this one "Goldie". Kinda cheesy but she's stuck with it now.
I'd been saving a piece of South American mahogany I found as well as a nice piece of cocobolo I acquired a while ago for a build that had a simple natural finish. This was originally going to have nickel hardware on it but I felt gold would do it more justice. Here is the end result.
Specs are: Matching mahogany body/neck
Cocobolo truss cover, fretboard, cavity cover, headstock veneer (both sides) and body binding.
Neck has med fretwire, gold and white MOP and is bound in figured maple and a bone nut.
Tone pros AVG2 bridge and hipshot open back tuners.
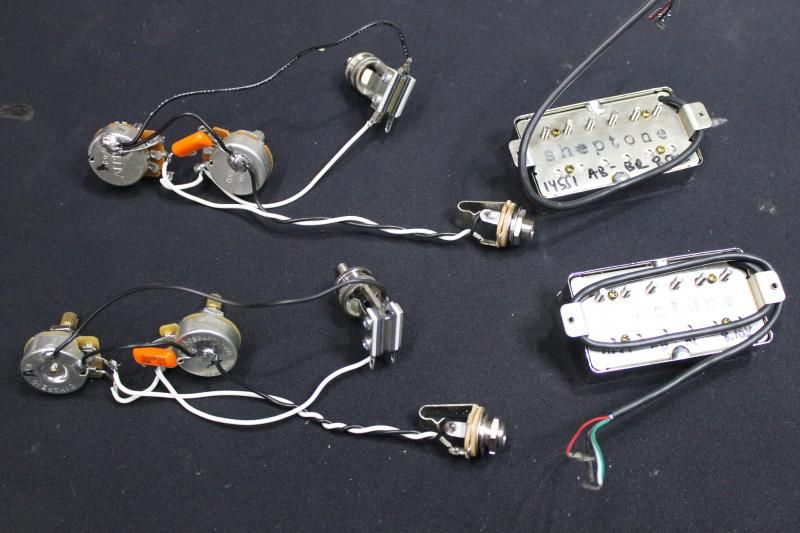
Pickups are Sheptone custom AB's with a simple volume, tone and three way.
Finished in Mohawk nitrocellulose lacquer.
-
It looks like the bottom side goes all the way to the nut slot. Why not do both for uniformity?
And by the way, you always seem to find the nicest pieces of timber for your builds. That one is just sick.
-
Thanks Scott. I might have to do that.
*crickets*
-
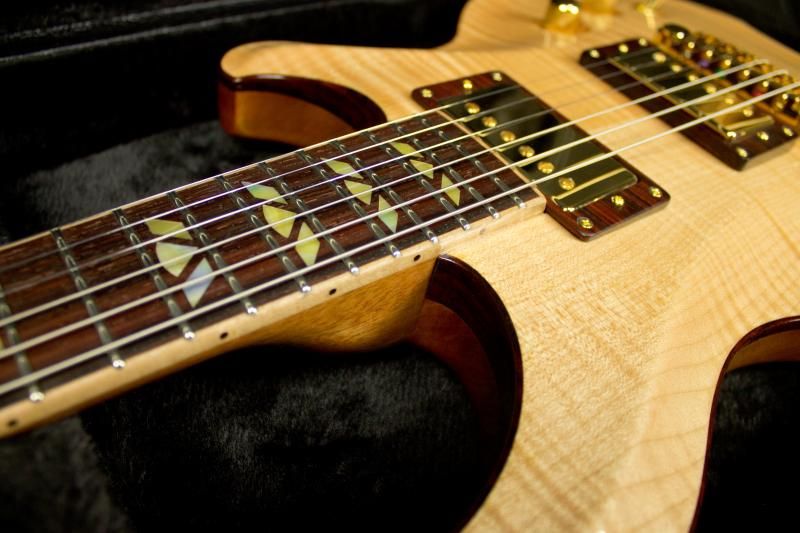
Been a busy weekend. Heres an installment of eye candy.
-
1
-
-
A guy I played with years ago convinced his parents to shell out for a brand new set neck Charvel. Beautiful guitar. The day he received it we were playing in his practice space which was in the guest house at his parents place. He let me try it out and I played a few songs on it. When I was done I went to hand it back to him. I lifted it up and over my shoulder and around my head and in doing so pushed the headstock right into the running ceiling fan.
It made this nice *tunk* sound and left a huge ding as well as bending the hell out of one of the tuning keys. Needless to say he wasnt pleased.Dont beat yourself up about it too much. **** happens. You cant put the milk back in the cow now. You're doing the right thing by repairing it.
-
2
-
-
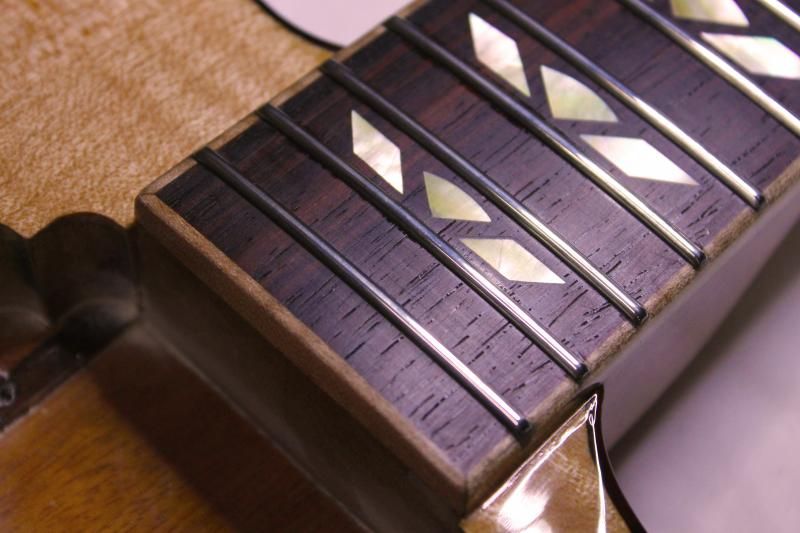
Here is a sneak peek of the 7 string fretboard.
Want
-
I just raided my SD card so here's a photo filled lunch update.
I've had this chunk of marble I bought for leveling frets sitting around for months. Since it was time to level frets I finally got around to slicing it up on the tile saw. It took over an hour to get cut but it yielded 3 nice 2" x 3/4" x 18" pieces. The weight of the stone allows you to just scrub without any pressure. It works the charm.
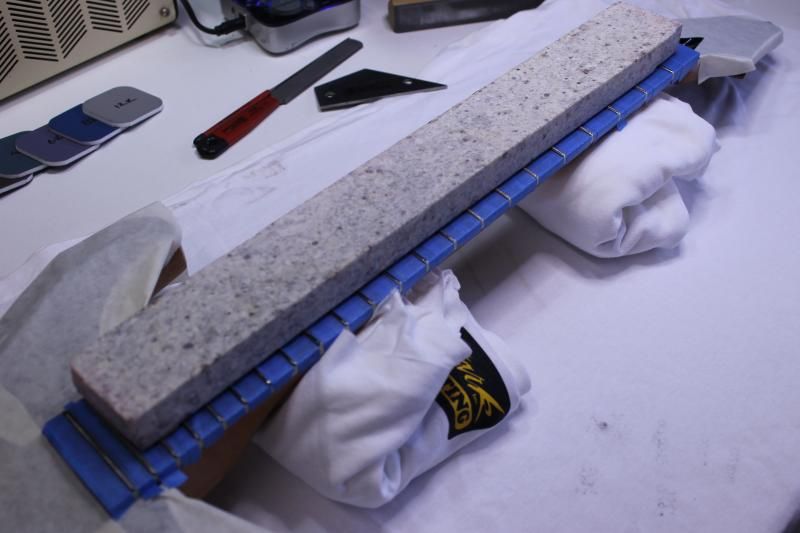
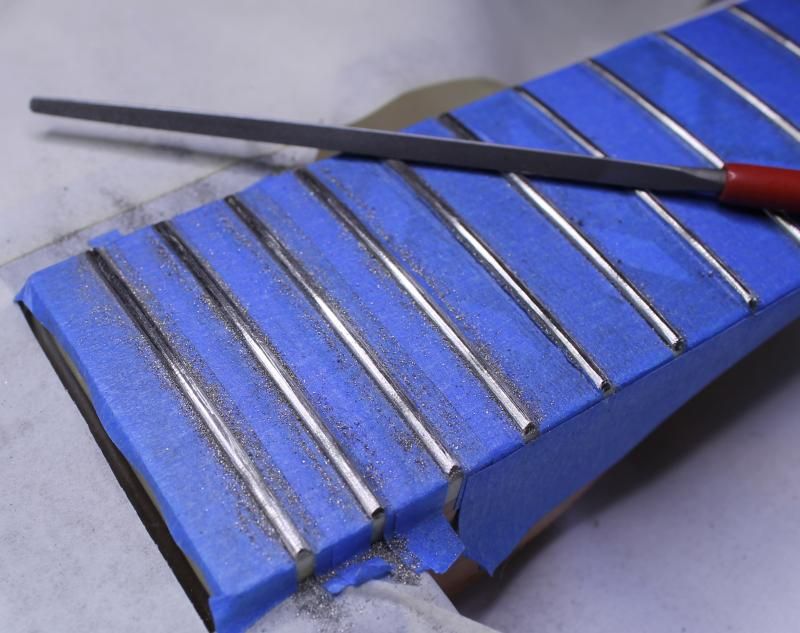
Ahh the joys of crowning.
As I said earlier I had some lacquer chip off the edge of the fretboard. To fix properly I sanded it down and reshot it. I ended up buying a single action airbrush for the job.
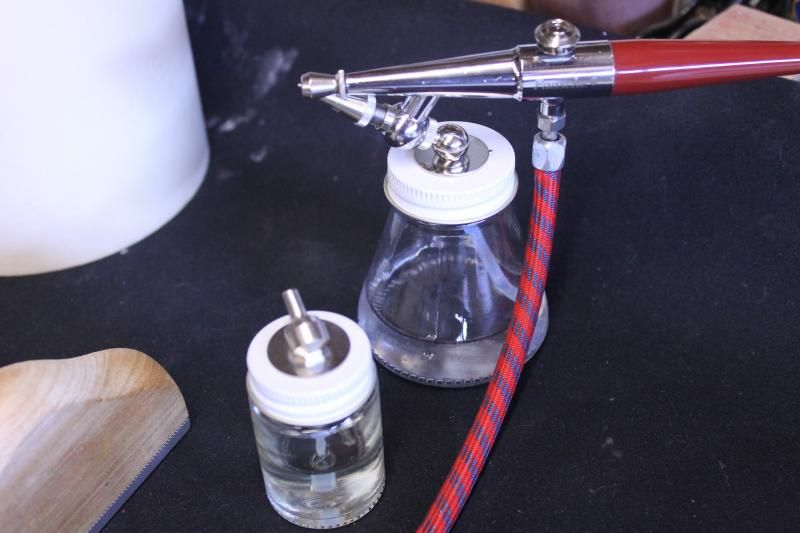
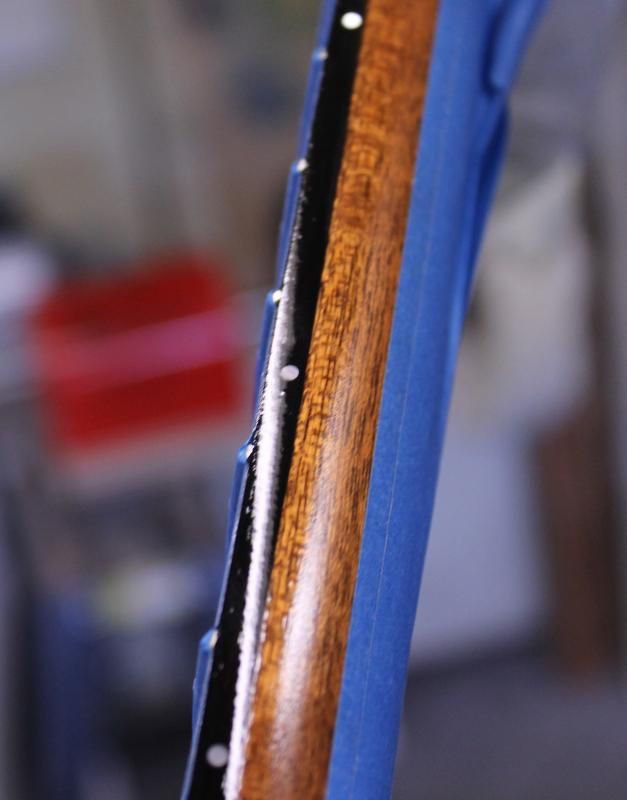
This part on the opposite side needed quite a lot of coats to bring to the same level as the existing finish. It will be sanded down in the next few days.
Nice new shiny frets.
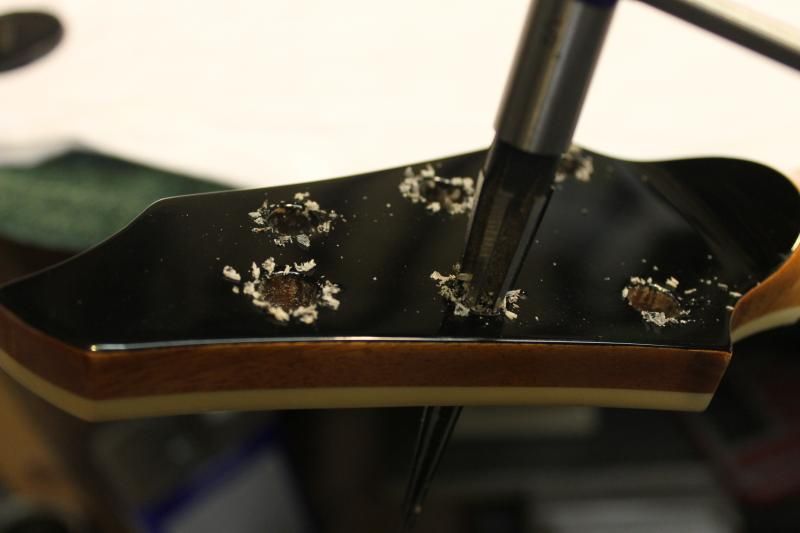
Clearing out the muck.
No mas push pulls for now. Going for simple harnesses now. I took this before I noticed the error. Can anyone catch it?
I should have some guitar pornography in the next week. Here's a sneak peek at some golden goodness.
And thats all for today. Carry on.
-
1
-
-
Back from Page 13 and 16. Great stuff and now I see how the board end looks in context. Look nice n clean. I guess I never noticed before. I forgot about that sick top on page 13. Looks like the cross section of a piece of flesh viewed through a medical slide. I can never find awesome pieces of timber like that suitable for carve tops.
-
I'm a sucker for wood binding. I'm curious to see how the end of the fretboard looks with the pickup ring in place. Very cool build.
-
Well its nice to know I'm not alone.
It's not so much the simple stuff like basic bucker wiring. It's when I start screwing with push pull pots and the like.
-
1
-
-
Man, i cant tell you how many times i have had something like that happen. The most recent being an explorer i had spent almost a year refinishing over and over. I had a buyer for it and it was pretty much done. I masked off the back area to re rout the control cavity cover recess of finish and when i took the masking tape off it took a 4" long chunk of clear coat with it. Biggest pain ever. I gave up and painted it after that.
Those guitars look pretty dang awesome though.
Thanks Bro. A years worth of refinishing would drive me nuts. I have pretty decent patience but it has its limits. After a year of refinishing I think I would have turned it into a boomerang.
BTW am I the only one here who absolutely hates wiring? Its my Achilles heel for sure. Not my favorite part of building.
-
First time I've seen a scarf cut like that. Clever.
That truss rod is interesting. Who makes it?
-
Congrats on your win.
"I'm well into my 2nd build"
Careful. Building is addictive.
-
1
-
-
Thanks for the info. That makes a lot sense and is a very pragmatic approach. Is that kind of a standard practice? For me I think that leaving that small bit to be beveled would hinder the method that I use to bevel my frets. Partly because I kind of roll the edges of my board before I apply finish. I'd be afraid of doing the roll with lacquer applied in fear of damaging it.
Either way I have to come up with a better method that eliminates the possibility of that happening again. ANyone else want to reveal how they handle this?
-
Really sorry to hear all that. At least your bank should reverse the charges because of the lost card.
-
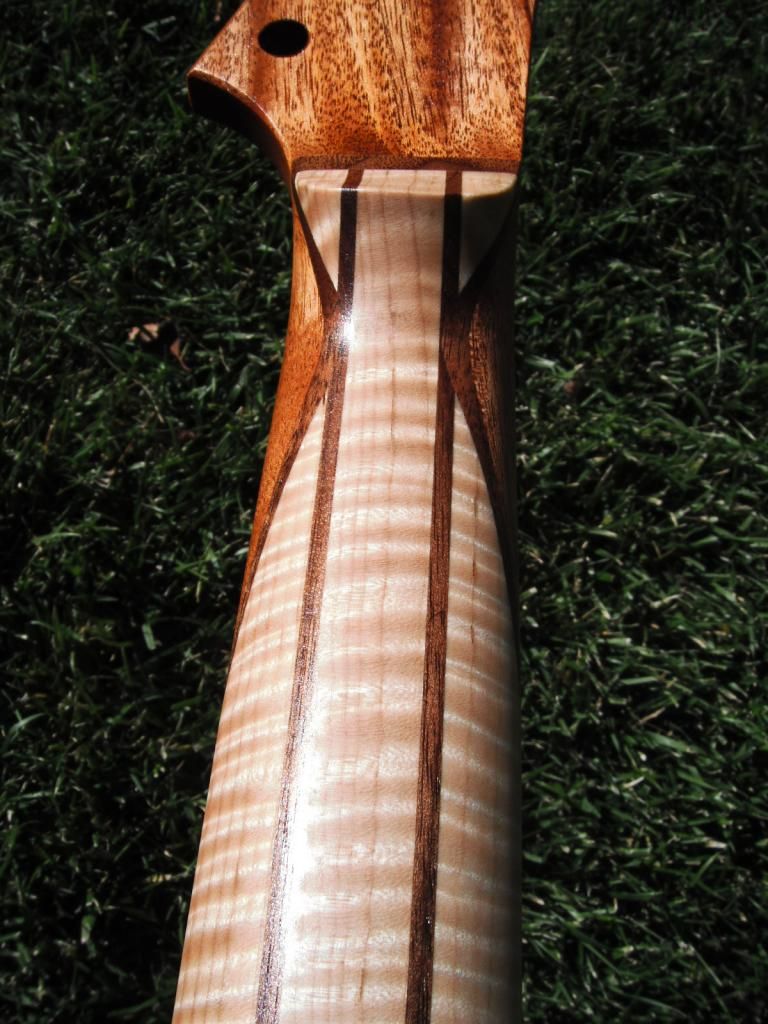
All three pieces sanded and buffed.
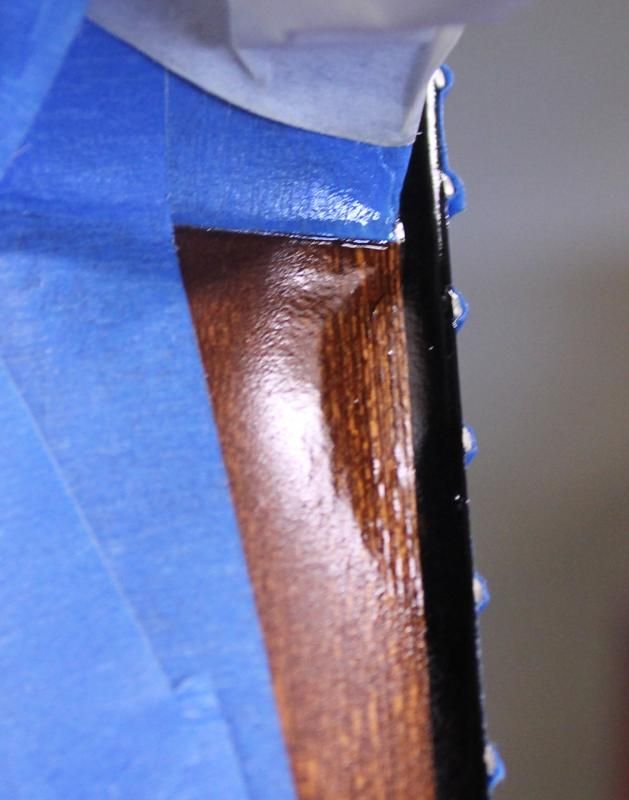
I was leveling/polishing frets last night. While finishing up and removing the tape protecting the fretboard I peeled a sizable chip off the side of the neck.
 You'll have to forgive the sin of not taking pictures of it but I wasnt really in the mood. But I did miss a good opportunity to document the fix. I'm not so upset that it happened as much as I am about the extra time its going to take to cure the touch up. I was so close to installing the hardware on that one. (It happened to the spalt)
I'll try and document the second stage of the repair. *Sigh*
-
The way the body grain matched up in the center is beautiful. You dont need me to tell you how nice the top looks. You already know. This is going to be a stunner.
-
And this is what happens when you try something different. I thought i measured it right to get the scarf right below the volute, but i still mismeasured. Looks kinda cool though.
This is a bad ass miscalculation.I'm thinking if you could replicate the same thing with the addition of a veneer on the back of the head stock it would look incredible. Just MHO.
-
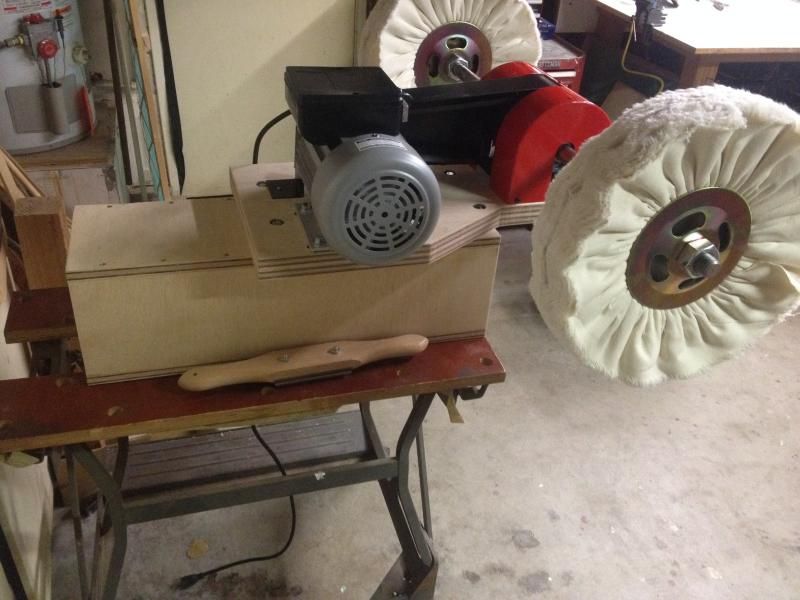
Thanks Scott. I got my question answered so I edited my original post. I was having trouble setting up my new buffer. So yeah, I coughed up and bought a SM buffer. I was going to try and save some cash and build my own. That was until I calculated everything out. In the end the SM package was only $75 more than building my own out of comparable parts. Home made came to $577 vs the SM version at $654. That figure included a rake, buffs, compounds and all the shipping. The two most expensive parts for the home made version were going to be a good 3' x 1" machined shaft at $150 and a 3/4 HP motor at around $160. To me $75 was worth saving all the time and headaches of assembling everything from scratch. That and I get a cover for the belt and pulley wheels with the SM version. I'm happy with the investment.
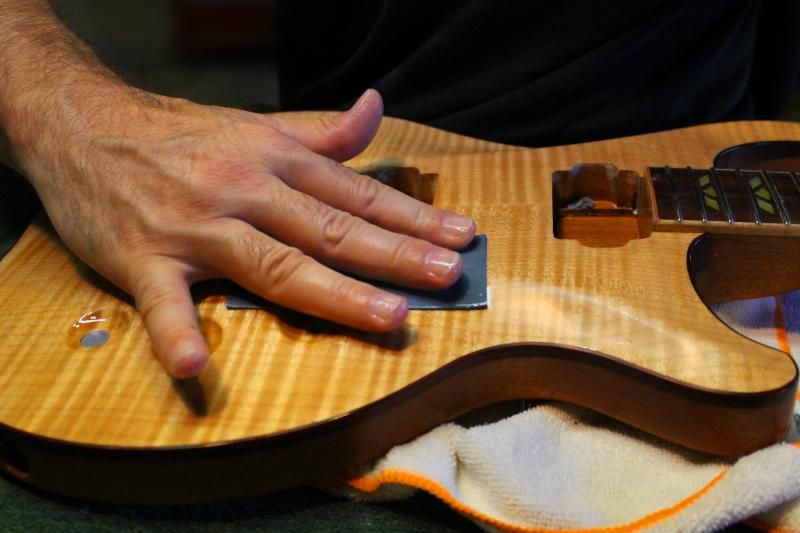
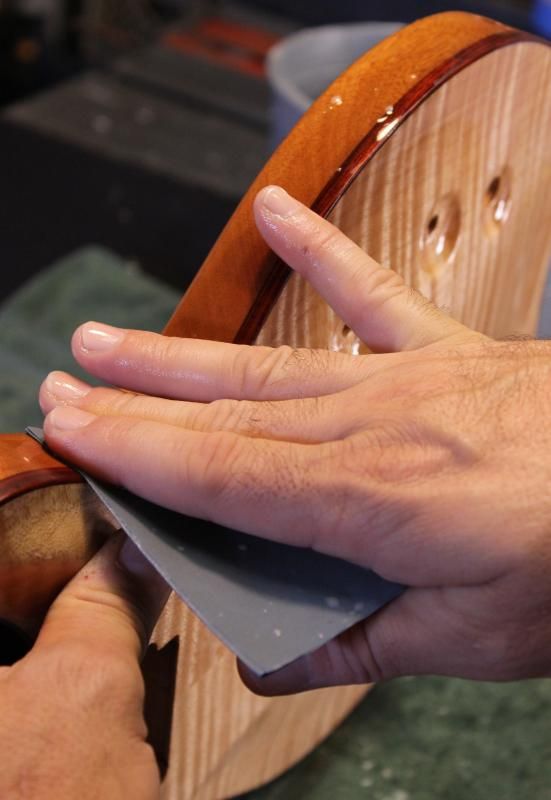
So heres some wet sanding pics my Daughter took Sunday. Because everyone likes pictures right?


 You'll have to forgive the sin of not taking pictures of it but I wasnt really in the mood. But I did miss a good opportunity to document the fix. I'm not so upset that it happened as much as I am about the extra time its going to take to cure the touch up. I was so close to installing the hardware on that one. (It happened to the spalt)
A complete newbie to all this, just wanting to say hi :)
in Site Feedback, Issue Reporting and Test area
Posted
Greetings Rob and welcome to the forum.