


piedpiperX2000
-
Posts
119 -
Joined
-
Last visited
Content Type
Profiles
News and Information
Tutorials
Product Reviews
Supplier Listings
Articles
Guitar Of The Month
Links and Resources
Forums
Gallery
Downloads
Posts posted by piedpiperX2000
-
-
kk i thought so, i chose to put the bass side higher because it followed the contours of the neck and the headstock so it just made sense, I'm fairly sure that there's no physical conditioning from having one side close than the other so =]
and I'm a security guard, and I work second shift alot so most of the time i'm at work i'm sitting at a desk (the one in most of the photos lol) with nothing to do for 8 hours.
New tailpiece design tonight then
-
Yup, I think I'm either going to cut an insert to the exact perimeter of the cavity and glue it flush to the bottom of the back for the cover to rest on or just glue inserts in 3 or 4 places with screw holes, either way it will work and look nice! Promise
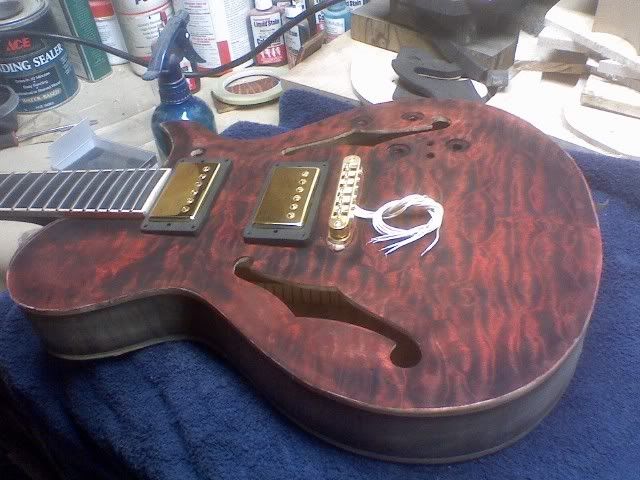
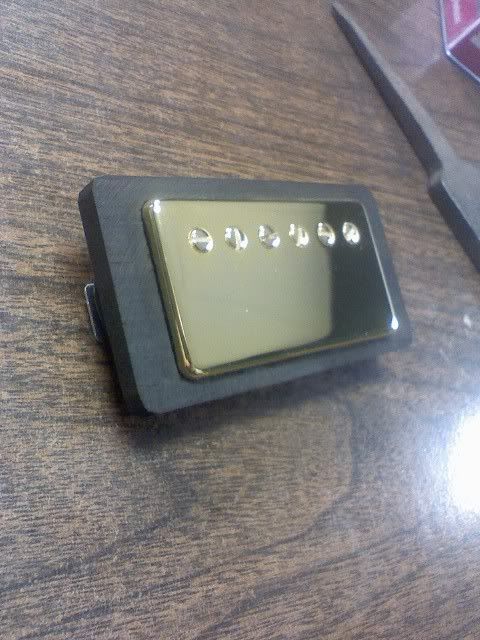
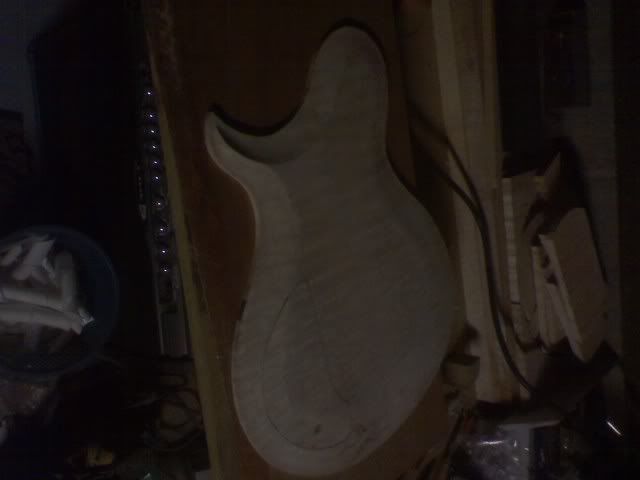
I'm taking it to work tonight so hopefully I'll scrape all the binding perfectly clean, or close to it. I have a tailpiece for it but I think it might be JUST a hair too small for this build what do you think?
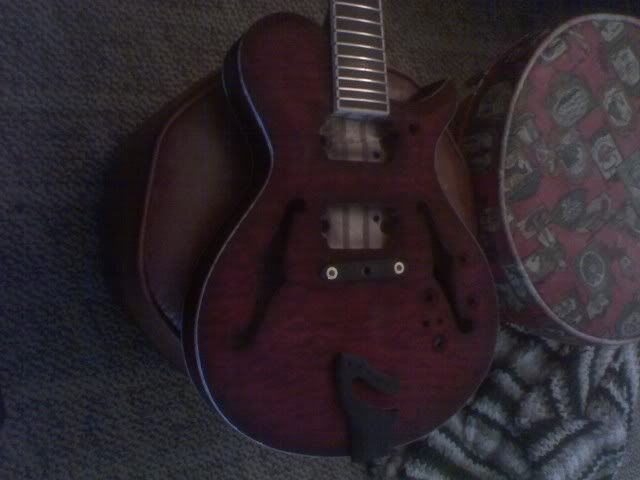
dark pic but you get the idea
PS: I'm definitely clear coating it with high gloss =] I'm sorry. It IS going to be my guitar hehe
-
Absolutely beautiful! I love this build in every aspect, it's very clean and classy! Wonderful job dude
-
=] =] =] <3 thanks Mex and Ryan and everyone else!
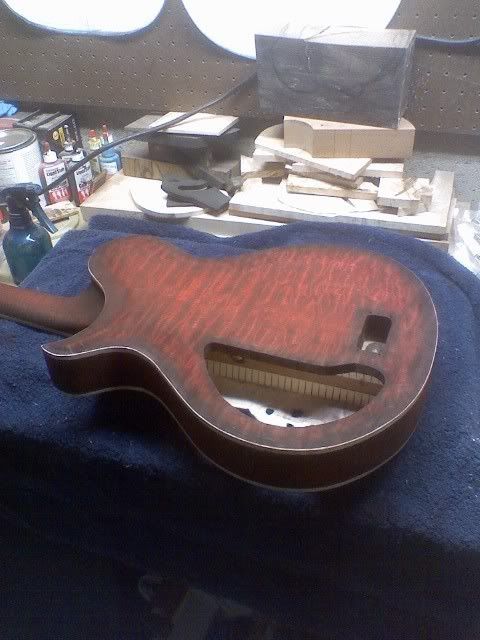
I decided to do red, I resanded and dyed the entire thing to get the dye more even, there were some blotchy spots that needed to be fixed, I sprayed a light burst around everything I wanted to and finally pulled off the binding tape to reveal a slightly messy line! It's going to take alot of timely work to clean it up to standards unless someone else has an easier way that they know of to clean up the binding lines
Happy Building - Josh
-
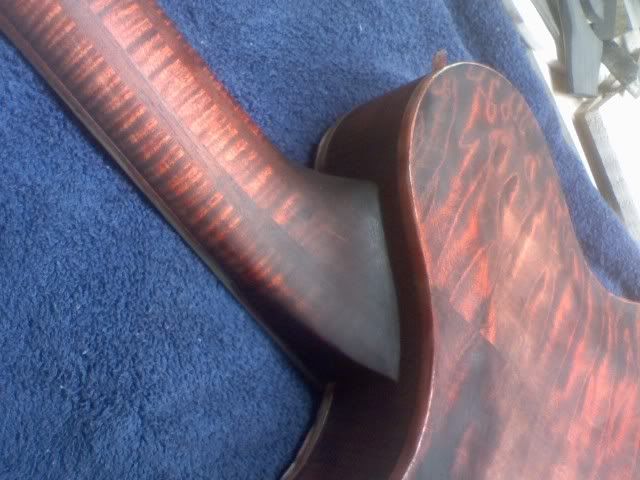
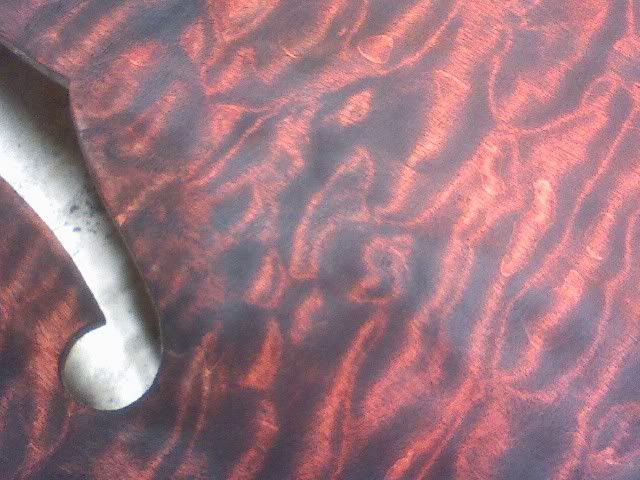
At first I was against the deep red dye thought, but in the process of dying tigereye, I've stopped at the red stage because it looked way too good hah, Let me know what you guys think of keeping it red with a SLIGHT thin black burst around the edges and binding
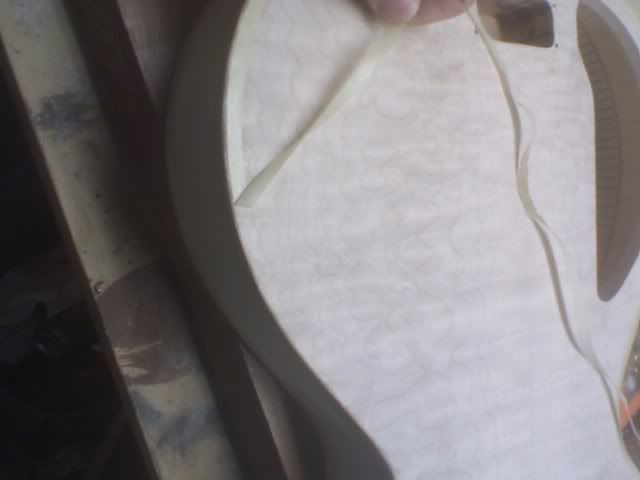
pulling tape off before dying
Dyed black, and sanded down after

After red dye, 80% red 20% orange
at work, i ride around on a golfcart, and of course i bring my guitar with me everywhere I go
http://s27.photobucket.com/albums/c162/pie...=0518081205.flv
what do ya think? Red or TigerEye
-
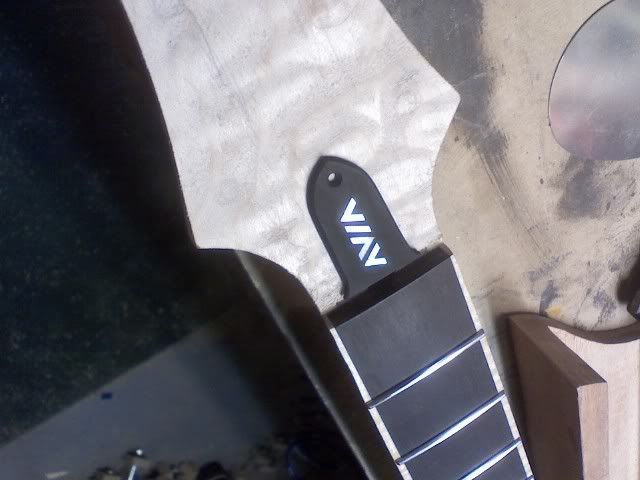
that's a cool idea tho! using AVIA on 7th which isn't typical like 12th fret I just can't make anything in my head that fits the feel of my build *shrugs shoulders*
-
it gives me some ideas! But I'm drunk so i just get confused and over think every idea so right now I'm going clean =] until i wake up tomorrow I'll think about things ha... =] kk
-
hey if you can think of something that would look clean and fitting I would LOVe it! I just can't think of anything; I can do alot even tho the frets are installed, ebony is SO forgiving its easy to correct any mistakes. peace dude! - Josh Sorry for getting you caught haha =] I know how it is =] =] =]
woots, dying tomorrow =]
-
Yup, tonight so far I've finished the pickup rings and holes, drilled everything I need to drill, drilled and fitted tuners, routed battery box on the back. I'm currently masking off the binding and putting lacquer where the natural binding will be getting it ready for dying tomorrow morning! Yup it's going to be tiger eye all around, a I'm gnd I don't THINKoing to do any inlays, it looks so clean with nothing, if you can think of anything fairly simple I'm up for options, I'd like to avoid just putting "AVIA" on the 12th just for avoiding exact reiteration of the logo.
Thanks dude!
EDIT: I"m slightly drunk so mesh together any slurred or mistyped words kkthx.
-
Nothing too updated, just final sanded before dye hopefully tomorrow
word sucka
-
Xanthus, sorry I just read your thread I somehow totally missed it the first time I read through! In that last picture you can vaguely see the picup cavity routes. It goes RIGHT to the edge but it stays within the neck pocket mahogony.
About adjusting the neck, after I tested the bolt method the result was a perfectly fitting VERY tight and solid joint! So I decided to use NO glue at all and I'm happy with this choice, minus the neck laminates, which are running parallel throughout the neck minimizing any potential tone dampening, its all wood to wood contacts throughout the neck through the body!
I'm currently working on the tailpiece which will, again, be directly bolted, and mounted with wood connecting to the inner neck pocket that's running through the body of the guitar! The end result will hopefully be a very natural, open, fluidly vibrant tone!
-
I'm sorry I meant it's comparable in thickness to the new McCarty Archtop II beh, ha.. my bad

-
Top glued all controls rough drilled, got some final sanding, and tuner holes to drill and we're ready for finishing!
-
It's 2 1/4 thick at the side and 2 3/4 thick at the bridge hehe, from what I read the PRS is 2 3/4 at side and 4" at the bridge. I'm talkin bout the NEW Hollowbody II heh
-
You got it spot on =] I wanted to put two vol two tones, with the piezo controls on the front. I dont remember if I said it or not but I'm installing an LRBaggs Piezo TOM bridge. I'm not sure what you meant by battery on the top? Good call heh
-
*NOTE: There's a bunch of new pics at the end of the last page, page 5 *
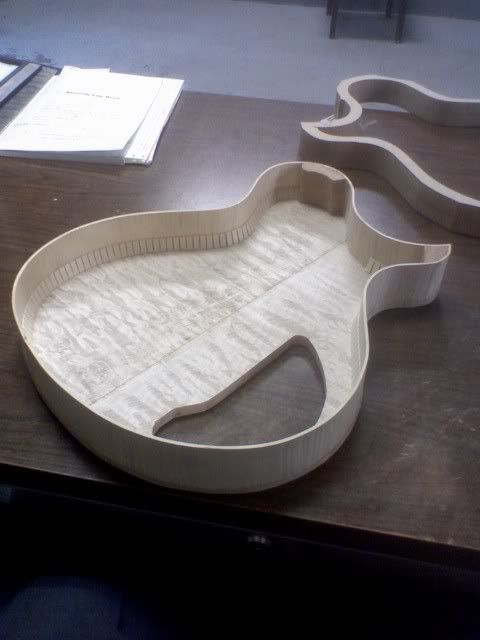
Angle grinder to grind the inside of the top hehe, it's mostly for asthetics to be honest I dont want this to be TOO acoustic then theres feedback problems that come into play that I'm trying to avoid to some extent. I dont have any pictures unfortunately, it's actually a pretty rough cut I have to go back over it to get it exact.
I made it overall nice and thick =] Slightly thinner than the new PRS hollow
All the new pics are still ROUGH obviously nothing is sanded flush or ready for finishing yet
night
-
Thanks =]
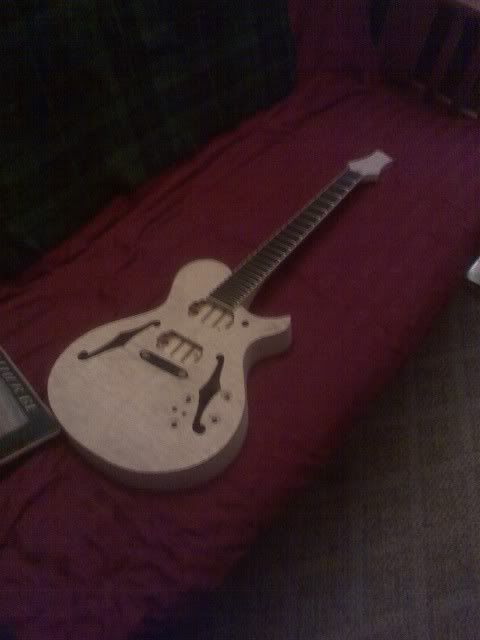
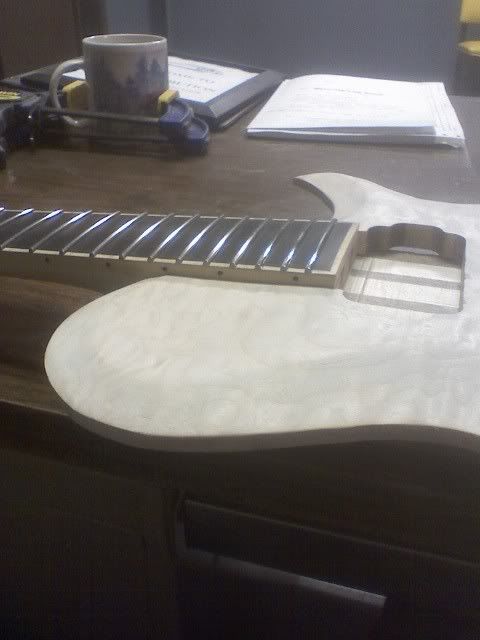
Got some more done at work today
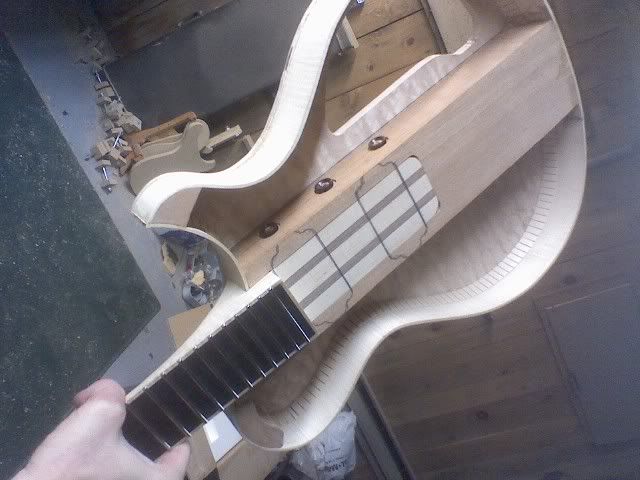
Top isn't glued on in this pic just tossed it on to confirm alignment

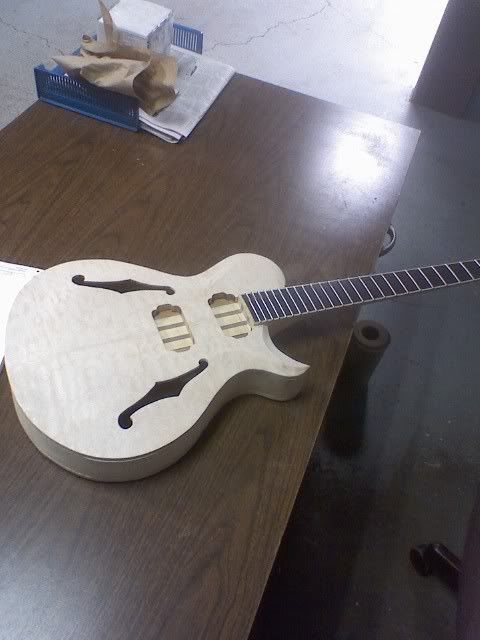
Again, top isn't on yet I need to decide on knob placement and battery compartment placement, which I wanted to hide inside but it's looking like it's going to have to be on the outside somewhere beh.. oh well.
Anyways tis all for now, night! - Josh
-
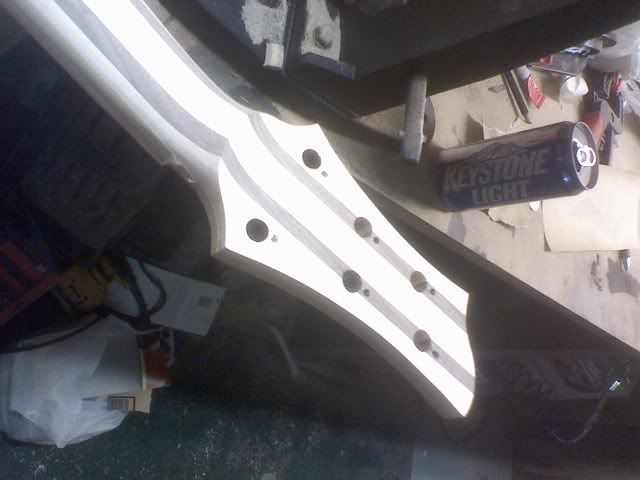
Thanks Kenny, you too! I took the smallest drill bit I could find a did a series of small holes following the rough sketch of the cavity that was drawn on the back; assembled the scroll saw blade back inside the hole and kinda free handed the cut. What sucks is theres no room for error at all, one flinch or movement and the cut looks like crapp and the evenness and uniformness of the cover is gone.
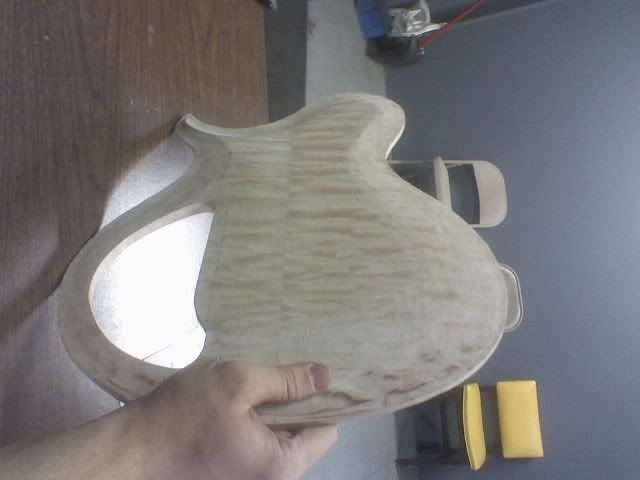
I carved the top something like this,
-drew perimeter lines
-made drill holes around for depth markers
-free hand routed a 1/4 edge around the guitar
-angle grinder with flap sander for general carve
-scraper to smooth out carves and bumps
-sanded
Happy Mothers Day hehe
-
bored at work again today did some finish sanding to top and bottom plus neck angle match on top thats pretty much it. Hopefully I'll start assembly within a couple days
Happy Building! - Josh
-
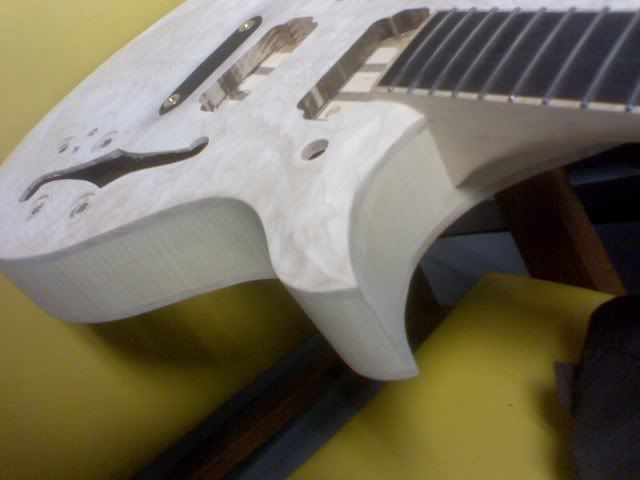
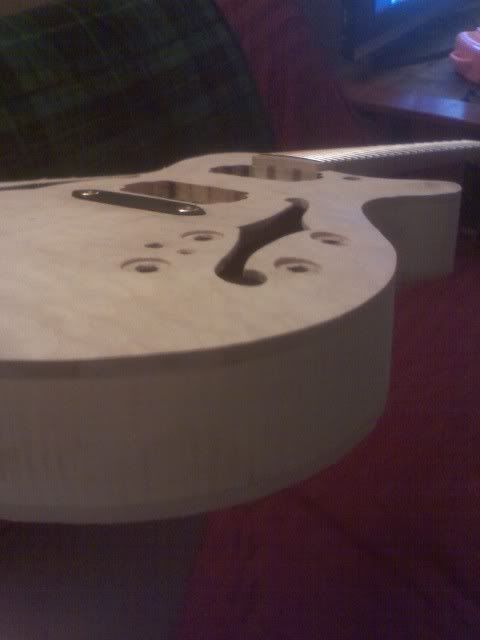
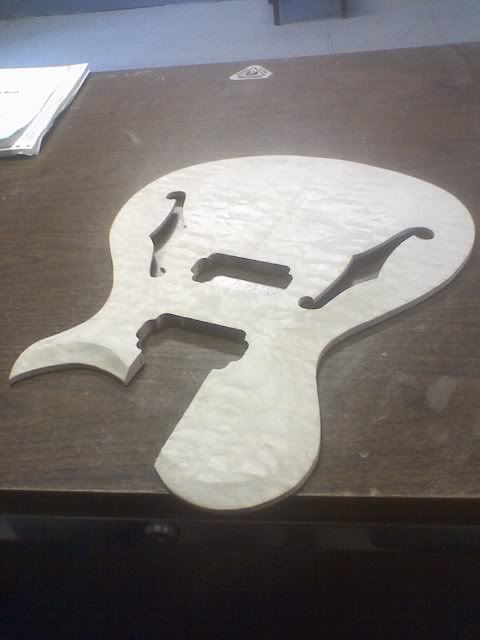
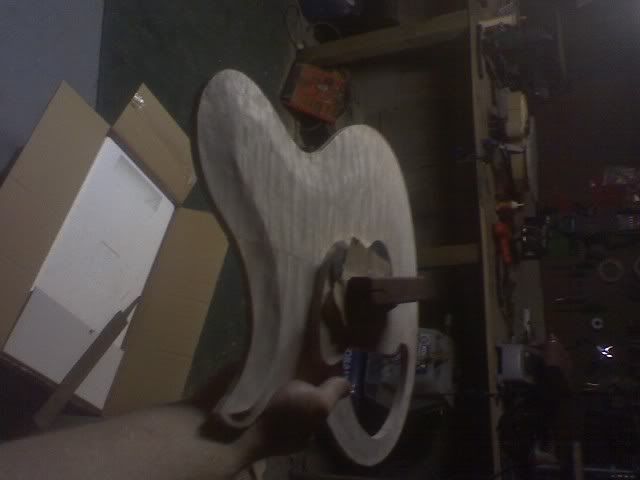
Top carve done; Once I finish the under-carve on the top and bottom all I need to do is just decide on knob and battery placement and I can start the assembly process, finally! woots =]
Top cut out routed and ready for carving

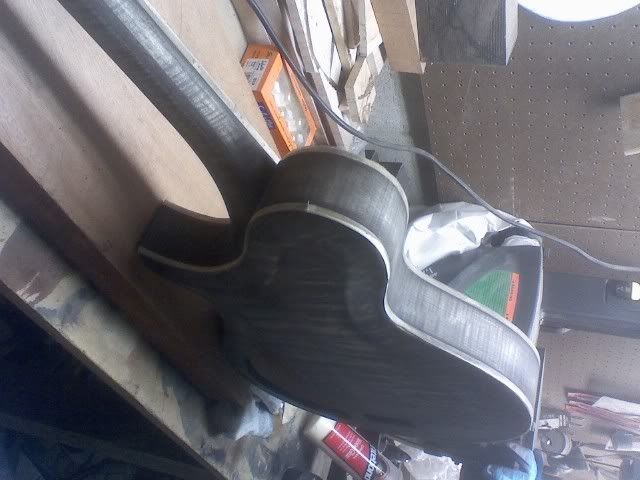
Back Carved
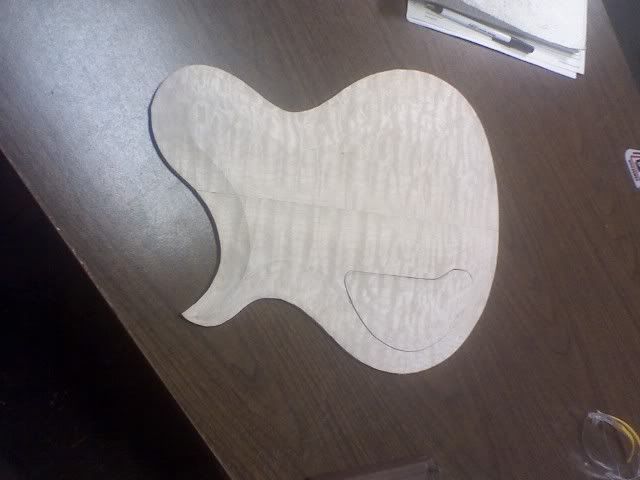
Pickup Rings Made
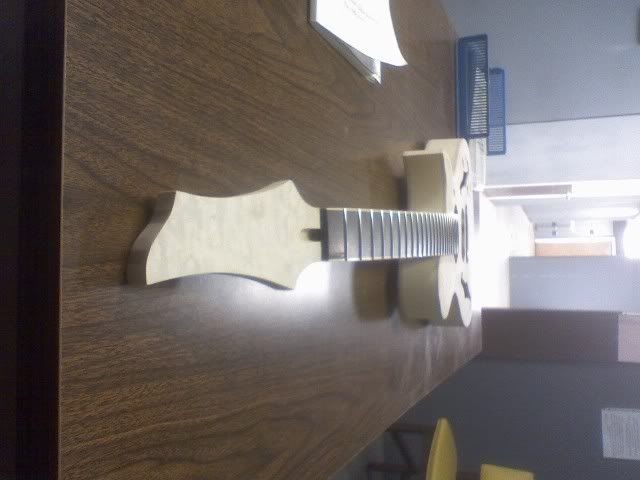
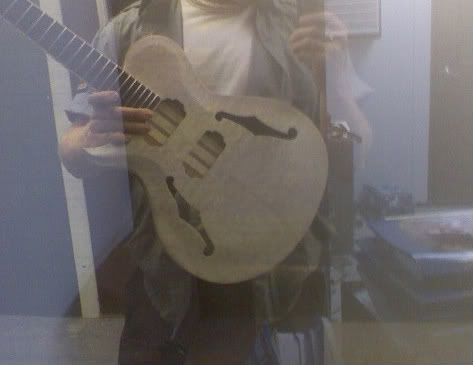
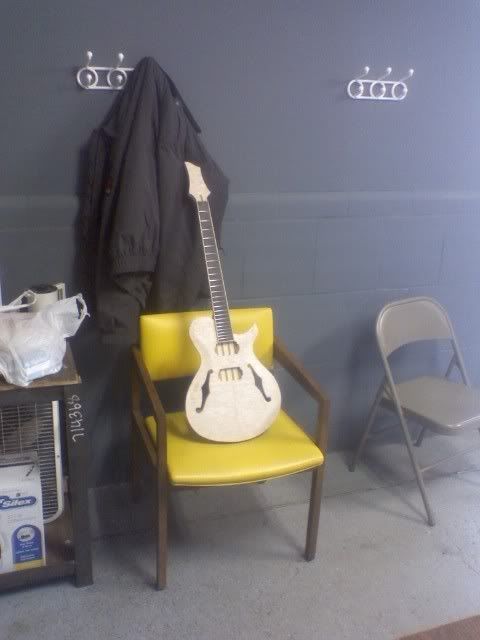
Turned out blurry but it gives you an idea of how thick it will be, roughly as thick as the new PRS hollowbody
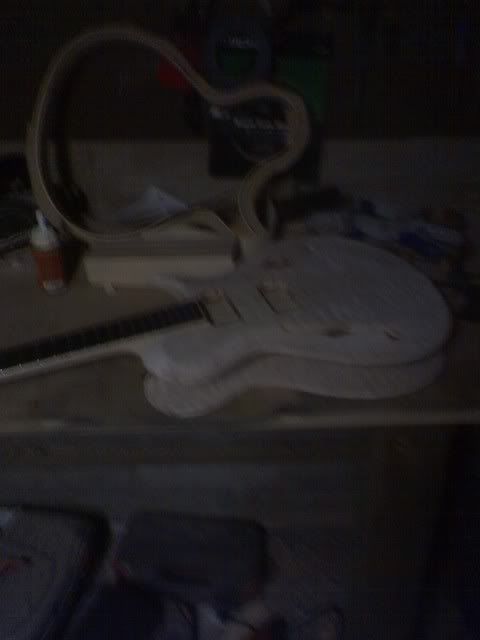
I can't wait to start finishing, WORD!!!!
-
Truss cover
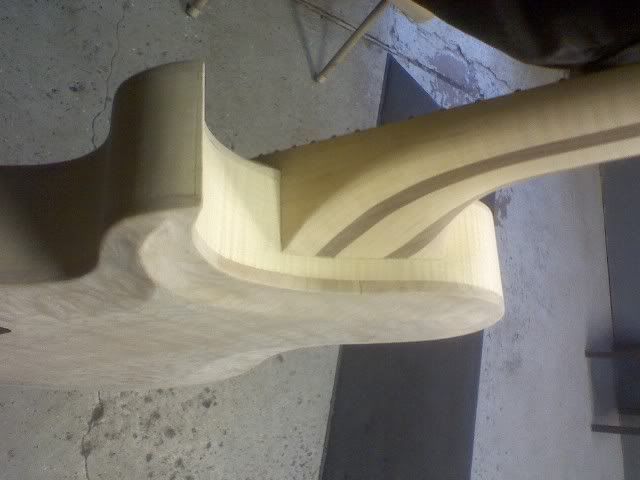
I have the back carved I was wondering how I would carve the indent around the perimeter of the contour. If it's just using my scraper I probably wont do it hah because scrapers hurt my hand after 5 hours =] I didn't know if there was some sort of tool or jig or something that would aid in a uniform negative perimeter contour.
It still needs some small bumps scraped out and sanded but I have the general contours scraped. I used an angle grinder for the basic angles and scraped everything else clean and smooth
night! - Josh
-
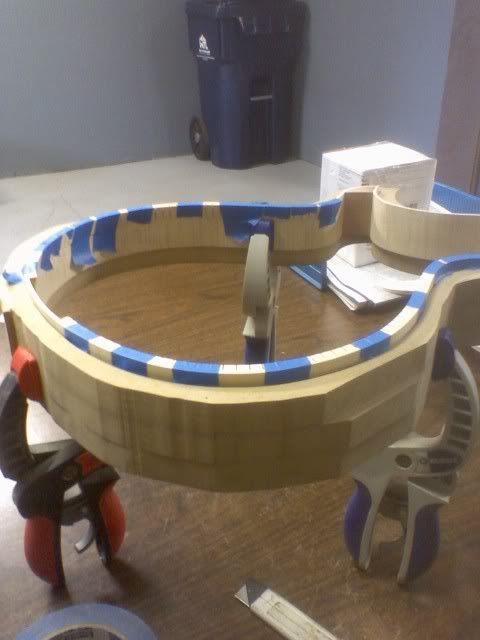
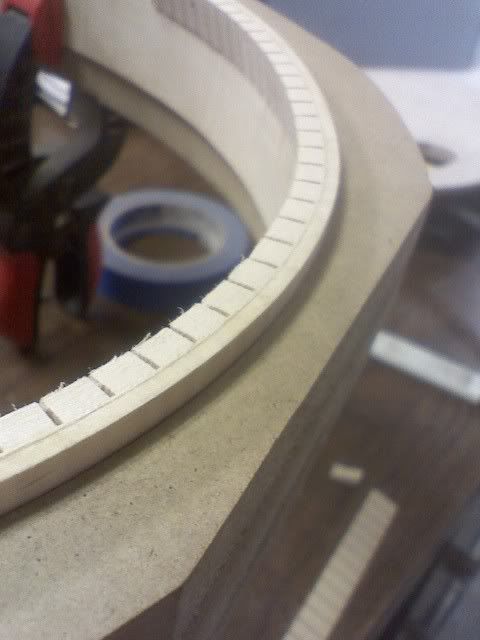
quick update, I'll soon be posting alot of progress, all the supports and neck pocket it ready and glued in, i'm currently carving the back and top. Posting pics soon!
Happy Building, - Josh
-
so ya finally took the big leap!! =] =] Yeah I'd go for making it all yourself! Most definitely you'll be so much more proud of your project once you're done with it plus the learning experience is alot of the reason for doing everything yourself. Take your time, don't do anything if you don't think it will come out like you expect! I dunno where you're located at but I have a bandsaw/belt sander/router/planer/scrollsaw etc etc all the major stuff you'd need.. if yer close O_o if not I'd gladly help you out with anything I can MINUS finishing ha that takes way too long =]
peace dude, good luck!
-
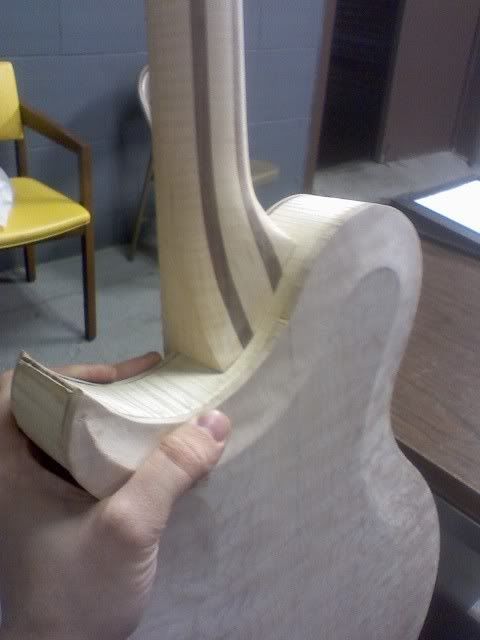
i LOVE that bottom horn, it's something minimal but imo it adds alot to the "classiness" level of the design, lookin good!

Avia Hh-1000 #001 Build
in In Progress and Finished Work
Posted · Edited by piedpiperX2000
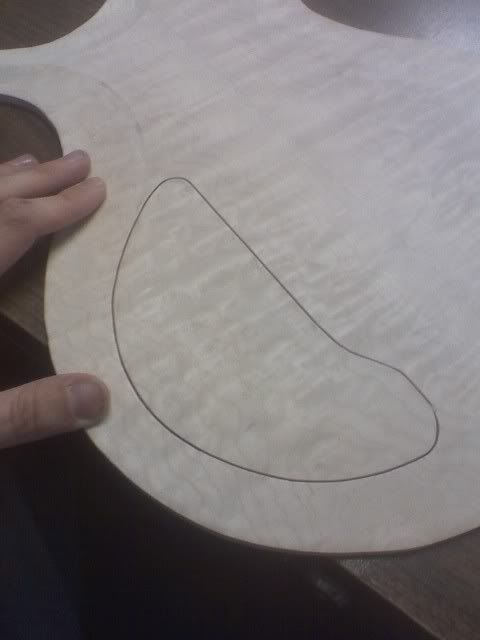
Those look good! I wanted to make my own tho.
Made it a little bigger and an inch or two longer!
No big update just still scraping bindings perfect beh.. takes so much time
yup its ebony!