


jaycee
-
Posts
650 -
Joined
-
Last visited
-
Days Won
1
Content Type
Profiles
News and Information
Tutorials
Product Reviews
Supplier Listings
Articles
Guitar Of The Month
Links and Resources
Forums
Gallery
Downloads
Posts posted by jaycee
-
-
Not been able to work on this due to illness, but I am getting better, so I am happy to get back into this build.
Fitted the saddles, and I couldn't resist a quick mock up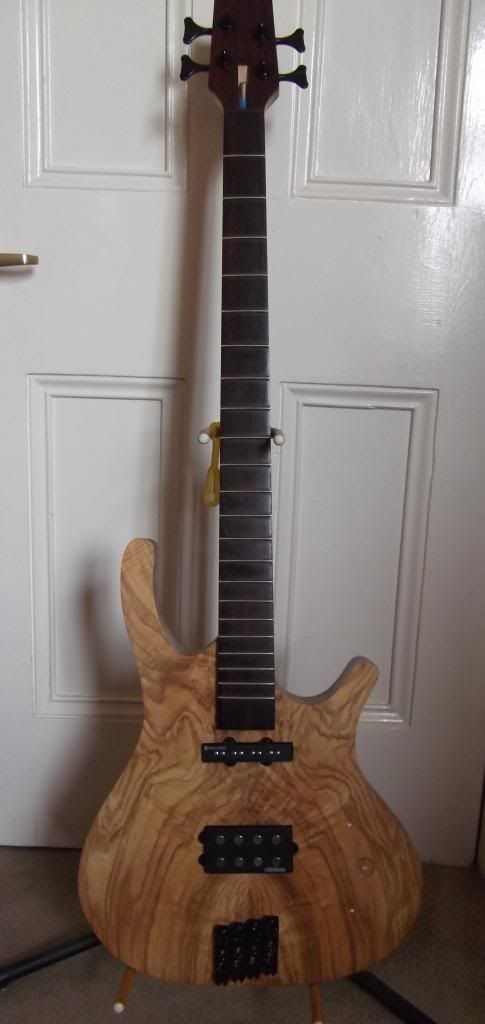
-
From a science point of view there will be a difference.
From an audio point of view no difference.
-
I have built both. In my opinion building an acoustic takes more woodworking experience than an electric does. I was fortunate to get a body with sides off ebay so that meant no bending or bending equipment was needed.
Also mine was a 12 string which negated the radiussing of the soundboard due to the pressure of the 12 strings.
-
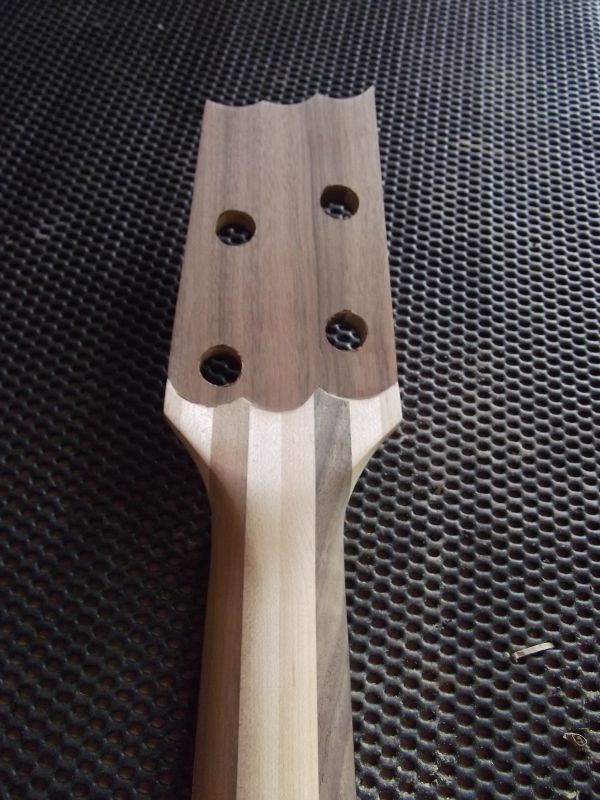
This is something I have been thinking of. If the neck lams' are symmetrical with the harder woods being on the outside I can't see any reason why it won't work.
-
I had wiped the coco' with lighter fluid and varnished twice prior to using the Acetone.
I used the Acetone on the headstock and side of the fretboard, it took 50ml, which is 2 fl. oz and rubbed in the shellac, which was dry within minutes. Will varnish over the Shellac after 24 hours, so far so good.
The lighter fluid worked on the fretboard which has a danish oil finish.
-
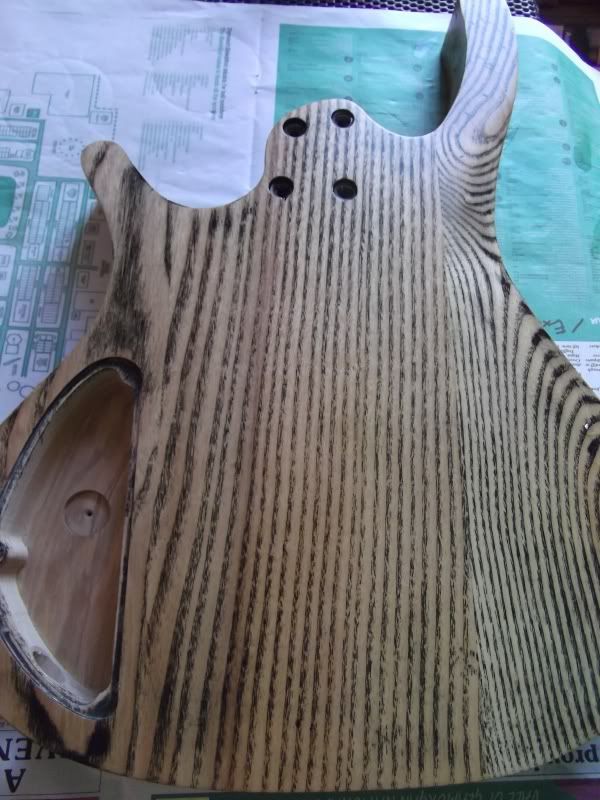
I'm liking this, some nice colouring on the wood.
-
Coco is one of the most oily woods there are, and it's a royal PITA to finish. BUT... if you get it right, it's well worth the effort. The big thing is sealing in all those oils. If you don't, they'll come to the surface and screw up whatever finish is put on. Oil finishes are meant to penetrate into the wood. They won't work with coco, so don't waste any more time/effort/product trying to make it work.
1) Get off everything you have on there right now and start with a "clean" surface.
2) THOROUGHLY clean the coco with acetone. This will take away all of the surface oils and just enough from below the surface to let you seal the rest in.
3) Seal the coco with shellac. It's the only thing that will cure and seal in the oils. As a bonus, shellac sticks to everything, so whatever finish you put over it will work... except oil. If you want a more natural looking & feeling surface, you'll need to lightly sand the shellac and just put on a 2nd or 3rd coat.
Before I read this post, I used lighter fluid and varnished over the top, which cured to a certain extent but is still very soft after 24 hours. Will get some acetone and Shellac over the weekend. Let you know how it goes. Thanks
-
I just bought a pyrography set this week, so I am trying that out. takes a bit of getting used to tho'. I burns well on Ash, Spruce and Obeche but the Coco is a bit trickier, lots of smoke due to the oils I think.
Once i get a bit more proficient it's something that I will consider.
-
I normally use water slide decal with a varnish on top, with enough layers to have a smooth finish. This time however the varnish is not taking to the Coco' because of it's oily nature, what do you recommend I use instead apart from inlays (as I don't have any inlaying equipment).
I will be finishing the headstock with Danish oil.
I was thinking of a permanent marker and writing the name on.
-
Love this. Not sure if I missed it in the thread but is this a standard shaped superstrat or did you modify the shape?
It's loosely based on the Ibanez RG, but a lot of the curves have been reworked. The upper and lower horns are thinner, the "waist" (for want of a better term...) is narrower and cuts in closer to the pickups giving the body bigger "hips", and the shape of the curve around the bridge-end is more eliptical, similar to the Ibanez S or Yamaha Pacifica.
Thanks going, going to give that a go.
-
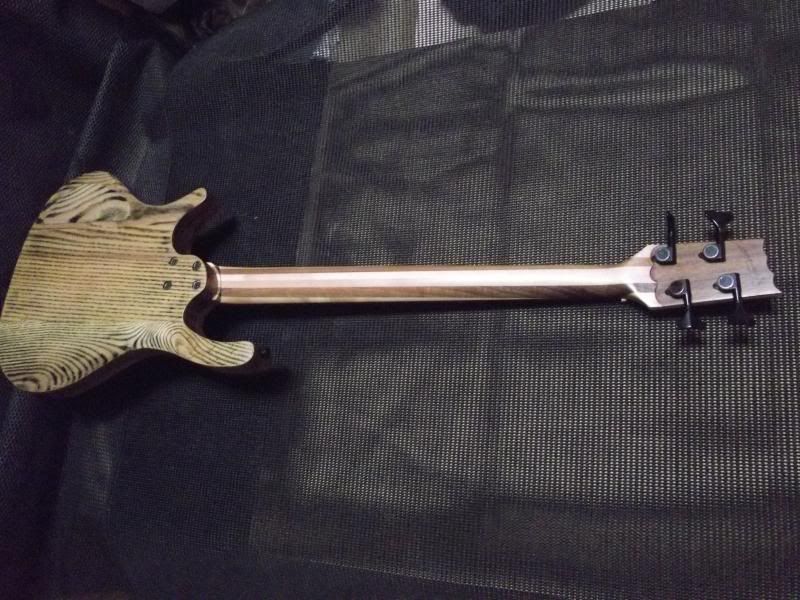
Put a 1.75mm thick Walnut veneer on back of the headstock, making it just over 14mm thick
-
Love this. Not sure if I missed it in the thread but is this a standard shaped superstrat or did you modify the shape?
-
When I saw Scott's build thread earlier in the month I was convinced it would have my vote .
All 4 could have walked away with it this month.
Curtisa.....SY6 Superstrat - "Deep Earth"
Stunning! I love natural guitars. Just went back and read your build thread, great save on the horn. A pic of the back would have been nice, I love the shape, and the finish is very nice. The only things I would add would be a marker at the twelfth and a name just in the recess on the headstock. You got my vote
ScottR.....B.B.Red
I thought you were going to get my vote but alas not. This should be framed and put in an art gallery. Great carve on the back taking in the cavity cover.
SEARLS - Ceylon Blue Quilt top SS6
The "build it out of unused material" is something I plan on doing. Nothing negative to say about this another great build. Pic of the back perhaps.
Shad Peters.... Buckeye Carved top Vixen
Much the same as Searl's . The Buckeye looks superb, in another month yes, but not this one.
-
First coats of varnish

The top popped out beautifully.
-
 1
1
-
-
Before the Acrylic paint was applied
This should fill the grain nicely
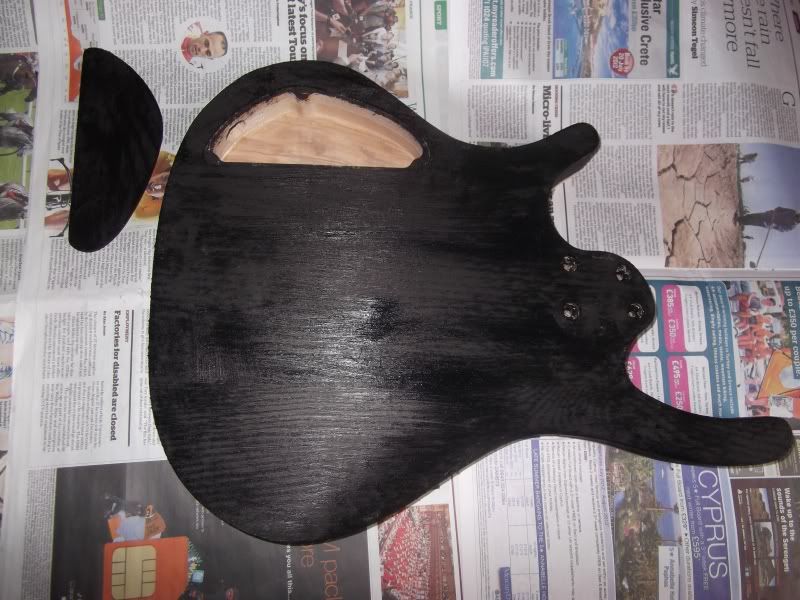
The after pic' to follow...
-
great work. The inlays are excellent, so good in fact that I think you should have left the 11th and 12th fret off and told the customer to play alternative notes

-
1
-
-
Cool shape. Going through these threads makes me realize I need more clamps. Lots more clamps

You'll never hear a guitar builder say that they have to many clamps.
The top is very nice
-
The cavity cover may be down to the wood. I used the same template on 2 different builds and 2 different woods one cover was tight whilst the other was a little loose. The build is looking good.
-
I think it would look good if the cross bar was the same height as the humbucker or even a bit wider so that the hb sits within it.
-
I am loving this already. I have thought of doing something similar with various woods on the top creating a picture or design.
Are you going to make the whole design and then glue, or glue a piece and then get the adjacent pieces to fit before the next piece is glued?
-
Thanks guys.
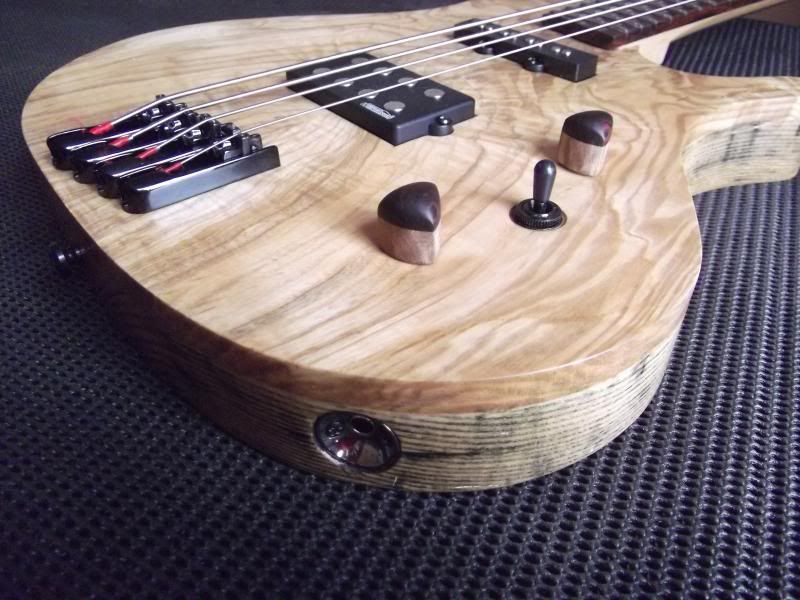
Buttons! Well control knobs really
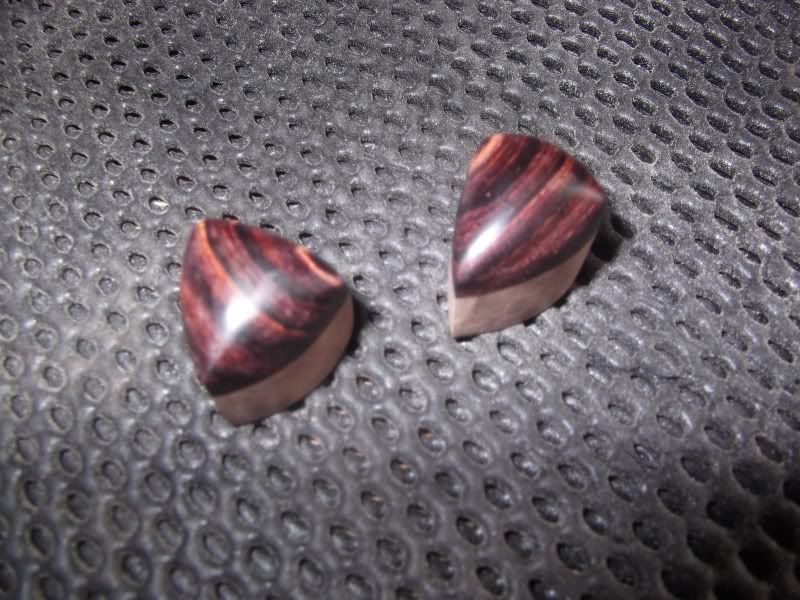
Coco top and Olive Ash base
The Olive top seems to be quite high when tapped so it will be interesting.
-
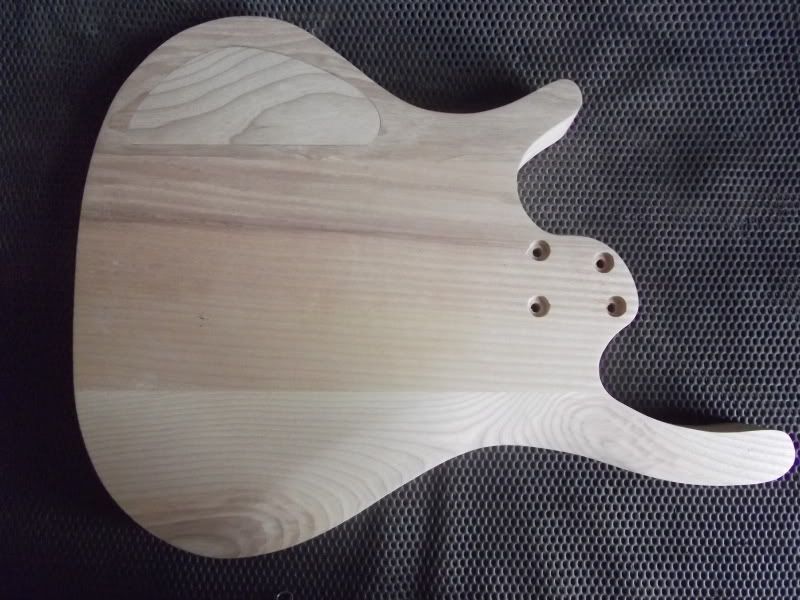
Love the body shape. It seems like one can get away with more interesting shapes for basses without it looking strange.
So far everything looks very clean and precise. It's a shame you couldn't get that knot in the fingerboard to be at the 12th fret though

Thanks.
The closest I could get it was at the 13th, it would have been great if it was at the 12th.
-
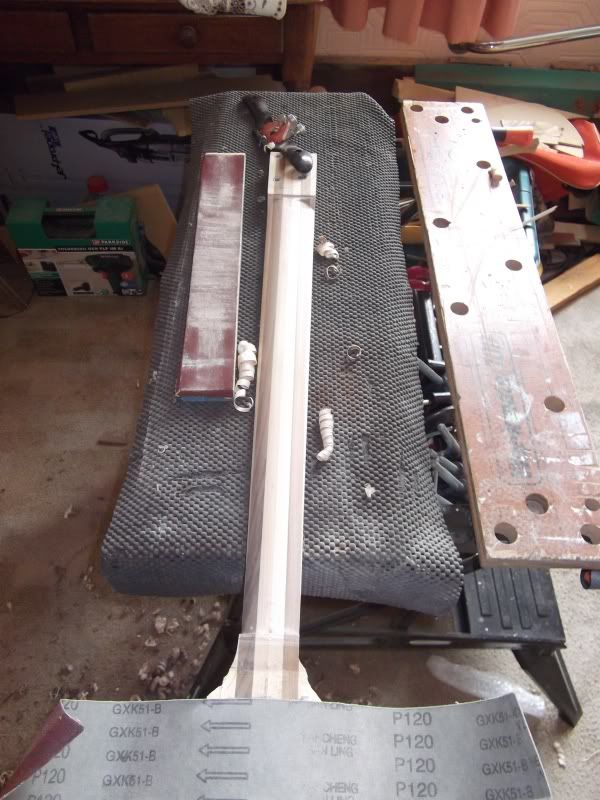
Got a bit more work done on the neck.
After I carve the profile at the headstock and heel I use the spokeshave to remove most of the stock, then mark the neck with a pencil and sand with the sanding stick. This will get the neck nice and flat, taking out any high spots. If any more profiling needs to be done, which by this time is minimal I use the sanding stick like a rasp so not much comes off, then finish off with the sanding belt shoeshine fashion, and along the length.
-
All the routes done. Quick mock up.
The top is quite a bit heavier than the Ash I have used on the back. Needs sharp tools to work it, but it does cut well.
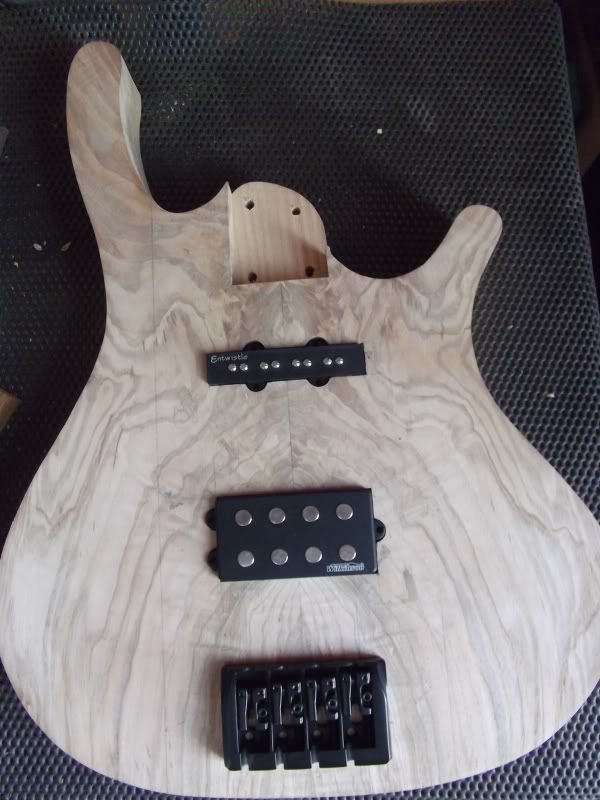


Figured Olive Ash Bass
in In Progress and Finished Work
Posted
Finally got this build completed!!!
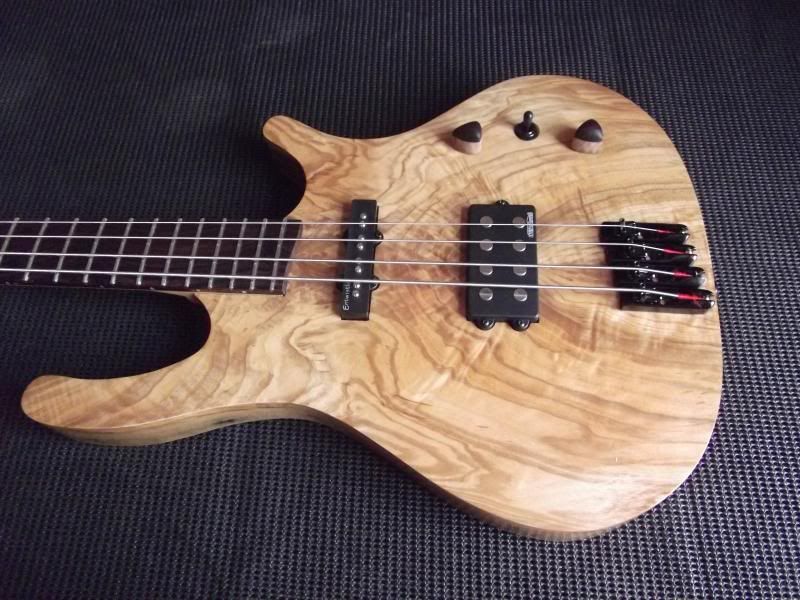
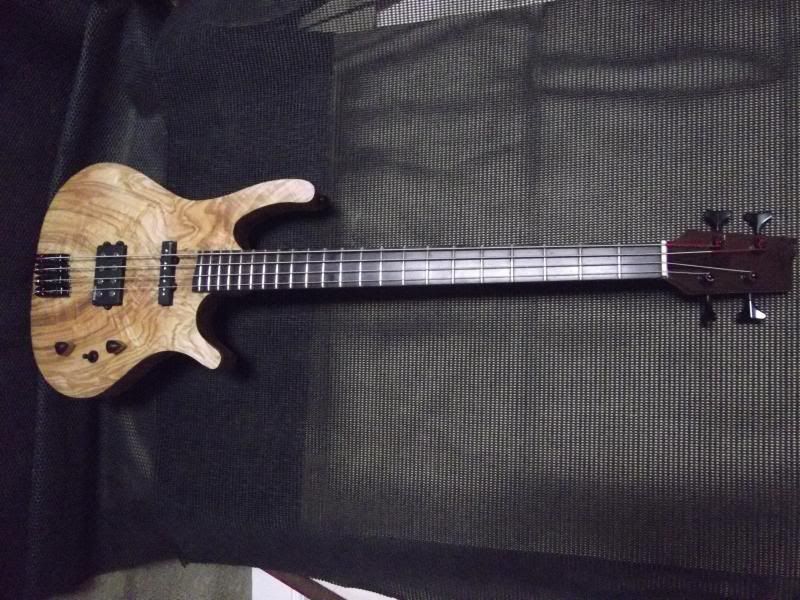
Sounds great, the Entwistle (neck pickup) punches well above it's weight considering it's price and is nice and crisp with clear tones, whilst the Wilkinson MM is not dissimilar but more of a full bodied sound.
This is the second time I have used the Entwistle and Wilkinson in my Bass builds albeit the previous Wilkinson was a P90 style and they don't disappoint.