


jaycee
-
Posts
650 -
Joined
-
Last visited
-
Days Won
1
Content Type
Profiles
News and Information
Tutorials
Product Reviews
Supplier Listings
Articles
Guitar Of The Month
Links and Resources
Forums
Gallery
Downloads
Posts posted by jaycee
-
-
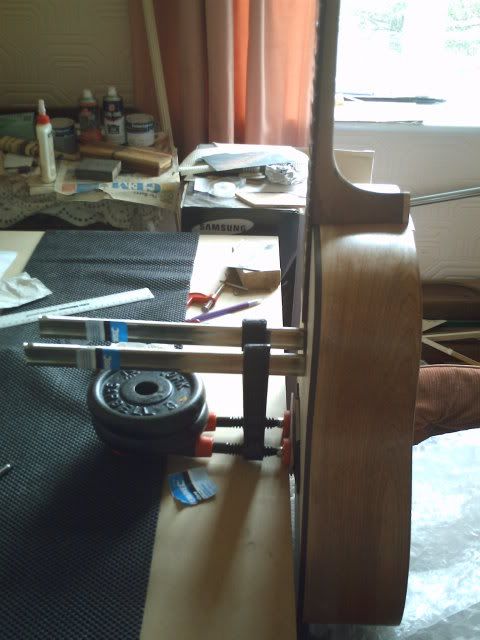
Here is the bridge being glued on. Those clamps are heavy and I didn't want to put the top under to much pressure, so I devised this to solve the problem
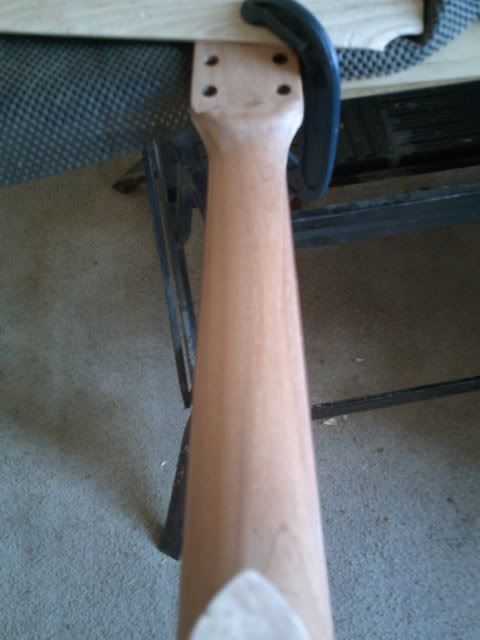
The neck is very nice, I have sanded it 120, 180, 240 and it feels very smooth I may go to 320 before getting either Danish oil on it, or some satin varnish which is what is going on the top.
-
There's a plus to warped wood: once it's warped, it usually won't warp anymore.
Still be carefull as this is not allways the case. I have had timber that had a twist / warp in it and ran it through the planer until it was dead flat only to find a while later it had returned.
Some wood will twist because it has to, you may have a piece of 6x3 for example with a twist in it, only the twist hasn't shown up because there is to much wood preventing it from twisting, once some of the stock is removed the pressure from the twist is greater than that from the wood and so it will twist to a point and stop, then the whole process will happen again until the piece has twisted up to the point where it doesn't want to move anymore.
-
Ok now comes another scary bit. After measuring and checking from various points, double checking my measurements, then double checking my double checking I transferred the position to a piece of A4 as mentioned in my last post.
I then sanded down the top wiping away all traces of the bridge position so I had a clean top to work it all out again today. happily both measurements matched up.
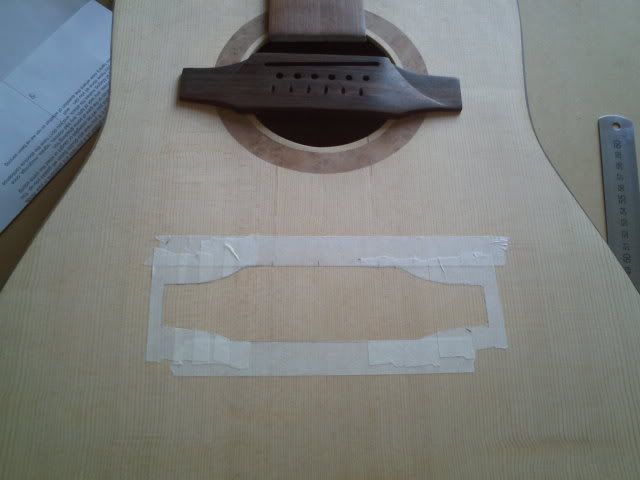
The bridge will sit in the cut out and be glued hopefully tommorrow.
-
Just updated my 12 string thread in the progress section
-
The end is nigh, at least for this build anyway, finally got the frets in at the second attempt. I used a different type of ca glue this time and it went off within 20secs resulting in the frets not sitting well on the board, so they all came out. So the second timeI decided to go the cumpiano way and use a slither of AR glue on the tang and that worked well.
The bridge isn't glued on just placed in it's correct position, which took about 15 minutes to set up after checking the placement from various points and making micro adjustments.
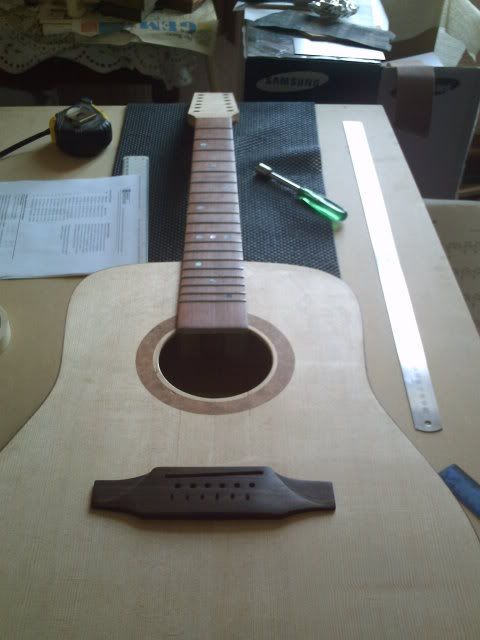
The next step is to tidy up the string grooves on the bridge and take it through the grits. And the machine heads are on order. I'm getting excited about this now, i've given myself until the end of May to finish it.
-
Nice one 'Veng I love it. It's amazing what you can do with a crap design, and a little imagination.
And I saw the whale right away
-
As was mentioned, asbestos is only an issue if it gets airborne. I'd probably give it a nice wet coat, (or two), of white paint to both seal it off and brighten up the work area.
I was thinking the very thing before I read this post, better be safe than sorry.
-
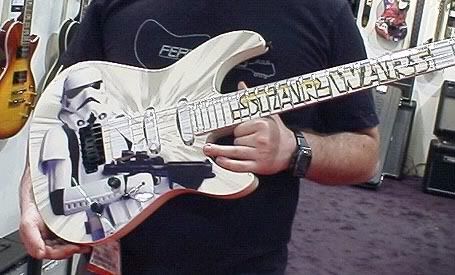
I am sure that Mitch is being modest but check out his Entry for Mays GoTM.
Something that I do, is go to a local joiners shop ( I find Saturday mornings good for them) and they usually have stuff suitable hanging around. I have got timber off them and they can run it through the thicknesser as well if needed.
-
-
You cannot put Steel strings in a classical, unless it has a truss rod. Full Stop, period, end of conversation.
It will bow over time and be ruined as Wez says,
-
I've used a slightly reground toenail clippers since 1976, when I learned of it from its inventor, Paul Dwyer, who then ran the refurb dept. at At. Louis Music Supply. I've never found anything to work as well as this.
I think this is another for the "strange/unusual tools" thread
-
Thats what I do T J .
You can put some abrasive paper onto the top with doublesided sticky tape and sand the bottom of the bridge by moving it up and downd the board as oppossed to side to side, this motion will then mirror the two surfaces to be glued with the minimum of pressure in order to have a tight joint.
-
Thanks SP all is becoming less cloudy now
-
Can a switched pot dpdt act as a volume and tone control for the same pickup?
-
A scraper comes in handy, and some sanding belts which should be cut to make one long piece so you can sand the back of the neck shoeshine fashion.
Don't be worried about using a rasp for the initial profileing, it is very easy to control the amount that needs to be taken off, and it cleans up very easilly. I wish I had used it on the first neck I did.
-
Like this one
-
I like the gold and the blue, a nice build
-
There are so many Strat's out there, non fender parts etc that getting the right sized body to fit your hardware is unlikely in my opinion.
Regarding the gap in the neck pocket, get some veneers and build the sides up then re cut where neccessary. As the body is being painted then if there are any small gaps you can fill them in later.
-
As far as I can tell your drawing shows two different types of wood that have been cut from the stock in different ways. Pic A the wood is quarter sawn, whereas in pic B the wood is flat sawn.
So either way should be ok
-
I just fretted my 12 string and pulled them all out the following day using that method. Fortunately I bevelled the edges of the slot after I slotted so there was no tear out.
The fret job was pants, the more I looked at it the worse it got. I couldn't understand how it was so bad, this would have been my 5th full fret job and it was getting better each time. At first I thought the fret wire was different sizes, but on closer inspection after I pulled them they all look the same size. I used a depth gauge on the saw so all of them should have been good or all bad.
The only thing I can come up with is that the superglue dried on some of them before the fret was seated properly.
Whilst were on the subject, how difficult would it be to radius a fret onto an 18" radiused board as it is being installed. I usually get pre-radiused but the guy in my local shop can't get it anymore but he has plenty of straight wire .
-
For some local help join Here
-
I went back through the grits again starting at 320 and here is the result
The finished polished board
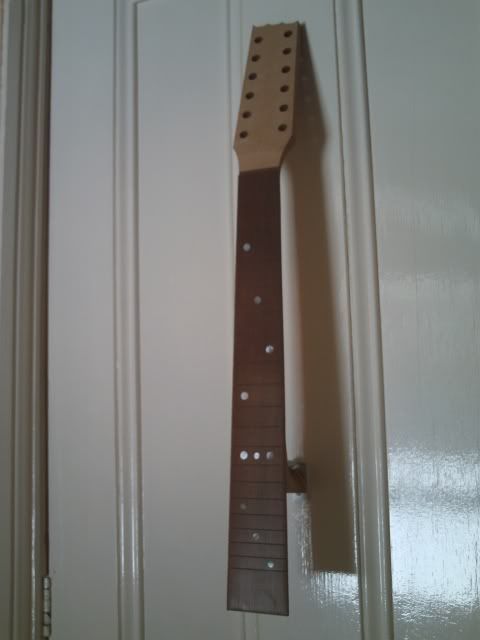
I am allways suprised by the amount of reflection you get on wood just using sandpaper.
I started off with 80 grit to radius the board to 18" then went through the grits, 120, 240, 320, 400, 600, 800, 1000, 1200 and 1500. After 400 you are more or less starting the polishing process as very little material comes off. I found a big difference between the 400 and the 600. At 400 the fret slots could be filled with sawdust quite easilly but at 600 it would have taken at least twice the time.
The next stage is to apply rustins Danish oil and then put the frets in.
-
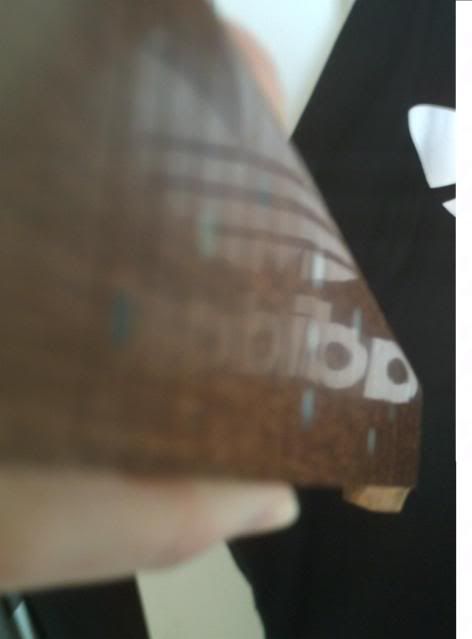
I still my 12 string on the go. The bridge is almost done, and I thought the fretboard was polished ready for the frets, until my mate saw a dull spot the size of a fingerprint just below the 2nd fret. So it's back through the grits again stating at 320 and this time a more thorough check before moving up to the next grit.
-
I just checked out you vids and there's some nice work going on there, and I love the colour.
I noticed you cut the recess' out after the veneer had been glues for 4 hours, ignore what it says on the can regarding drying time and working time and give it 24 hours before you remove clamps or weights, (unless the intructions say more time than 24 hrs is needed) Some glues will set in a few hours and can be workable, but they do need that bit extra to cure, and generally 24 hours is a good period for this to happen.
Truss Rod Rattle
in Solidbody Guitar and Bass Chat
Posted
Or if your in the UK Cling Film