


RestorationAD
-
Posts
5,345 -
Joined
-
Last visited
-
Days Won
67
Content Type
Profiles
News and Information
Tutorials
Product Reviews
Supplier Listings
Articles
Guitar Of The Month
Links and Resources
Forums
Gallery
Downloads
Posts posted by RestorationAD
-
-
Fret work is rough on the hands. I am usually sore the day after a fret job. I guess because I don't like to use pliers to fit the fret wire. I run it through my fret bender then shape by hand. I have found pliers kink the wire and make high spots.
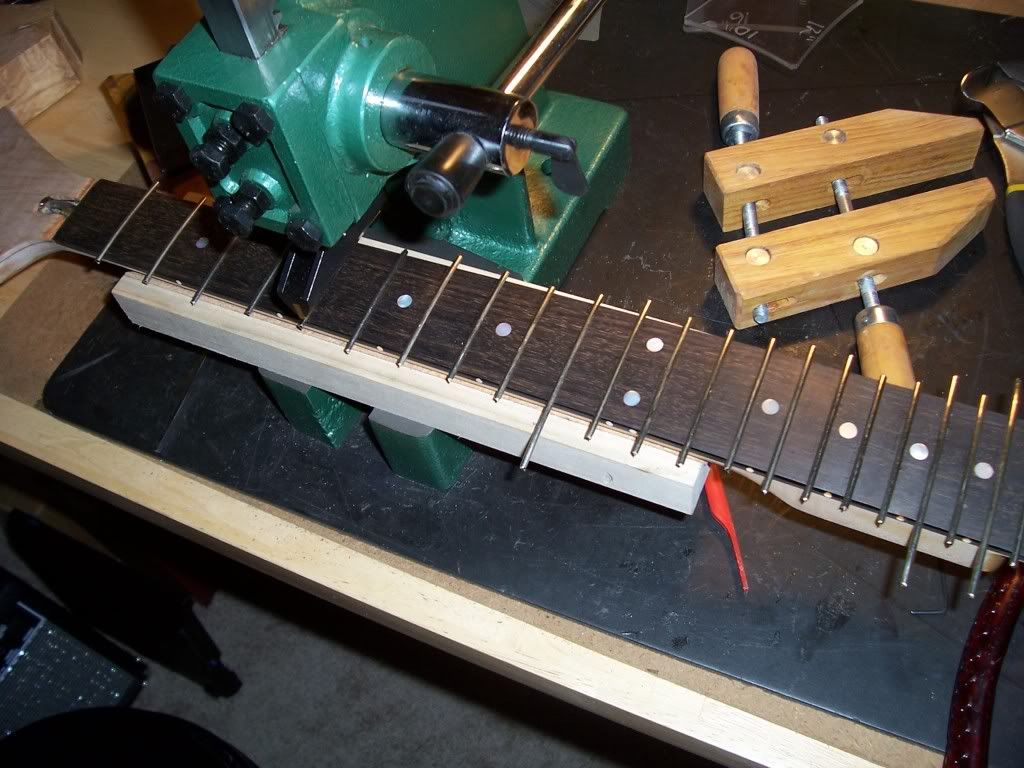
Notes on Fret Pressing:
Make sure the fret is square before pressing it in. I wasn't able to use a hammer because is was 1:00 in the morning but I took extra time to make sure that I had everything square.
Make sure the curve of the fret matches the fret board exactly.
14" Radius on the fret board and the 12" radius insert will leave the middle of the fret sticking up if it is over bent. It happened on the first fret I pressed in. I ended up going back with a 16" radius insert and pressing the middle down.

Obviously if I had a 14" radius insert ($4.45 at StewMac) this might have been avoided but It will happen on compound radius fret boards also.
Support the neck. Either make a neck support or buy the one from StewMac. I also ended up needing some spacers to press the frets into the transition from the heal to the block part of the neck.
I learned 2 techniques when I worked as a Luthier. The hammer-in technique and the epoxy glue-in method. I am not a fan of the hammer in technique. I liked the glue-in technique but it was messy and unforgiving of poor fitting frets. The press in method is superior to all however it requires the fit of a glue-in and the technique from a hammer in (sort of...)
One other thing I am not a fan of is nipping fret ends with end cutters. I usually saw the fret ends off with a razor saw or a dremel. It is too easy to unseat a fret with a pair of end-nippers.
I will try a steeper fret end on this neck and see how it feels. I have always felt that 35 degrees was too lax but tradition has kept me from changing it. I am not doing hemispherical ends on this neck as it is too much work.
-
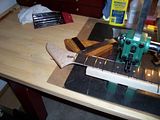
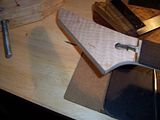
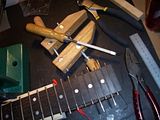
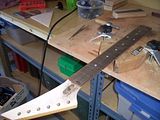
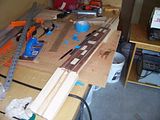
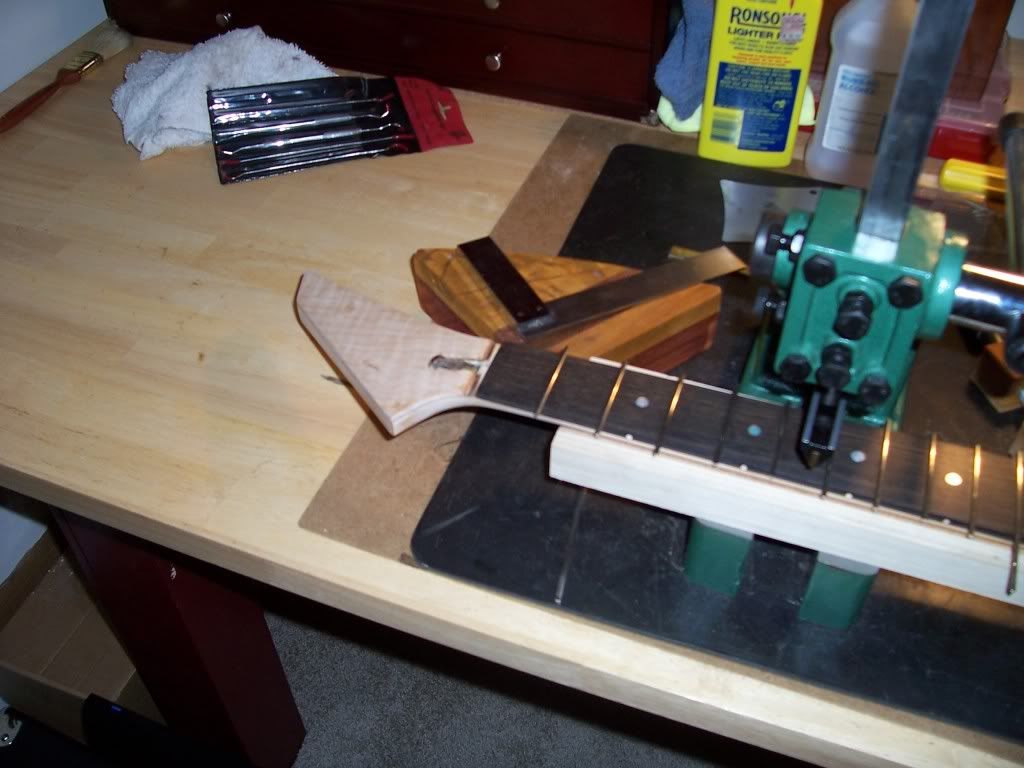
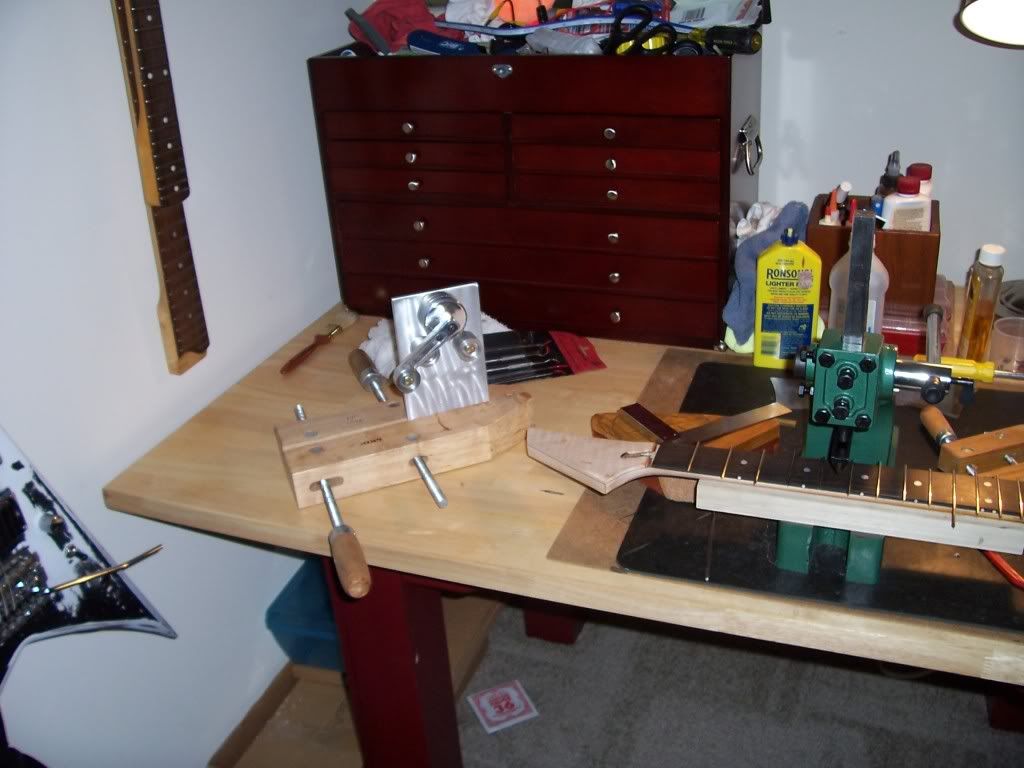
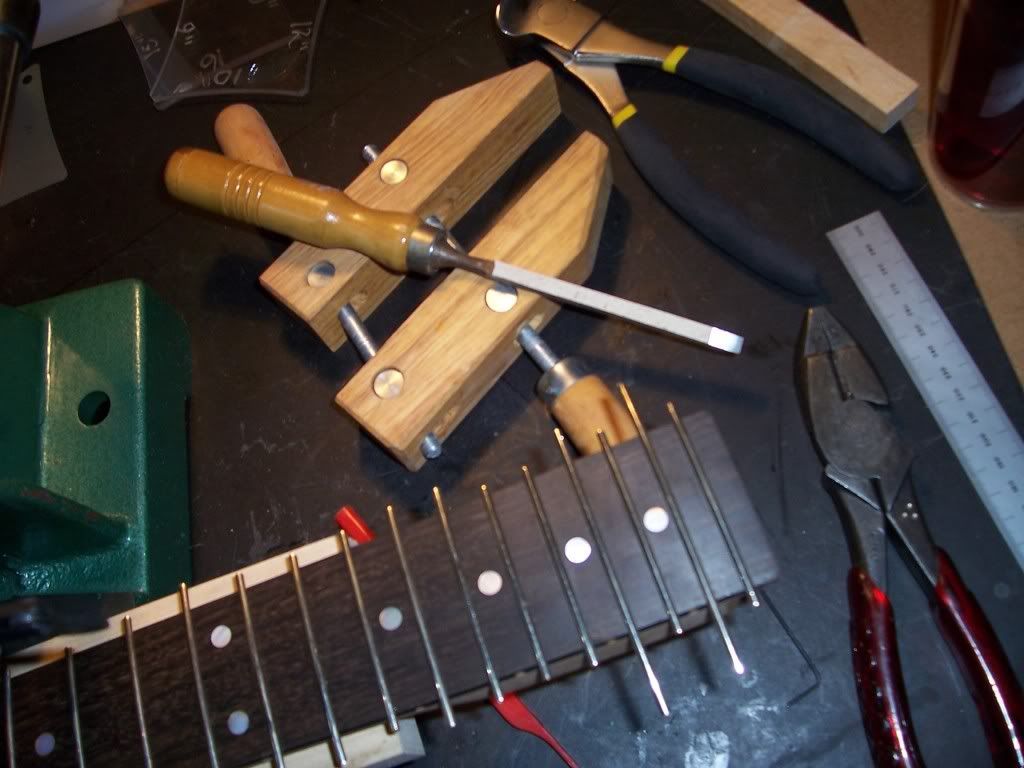
Got the headstock plate trimmed up and installed the frets.

Seated the nut with my small chisel with some 120Grit Klingspore stickm sandpaper on one side
-
I managed to get a really nice tearout on the maple top while trimming it... router bits are mean.
-
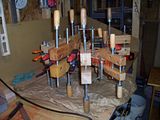
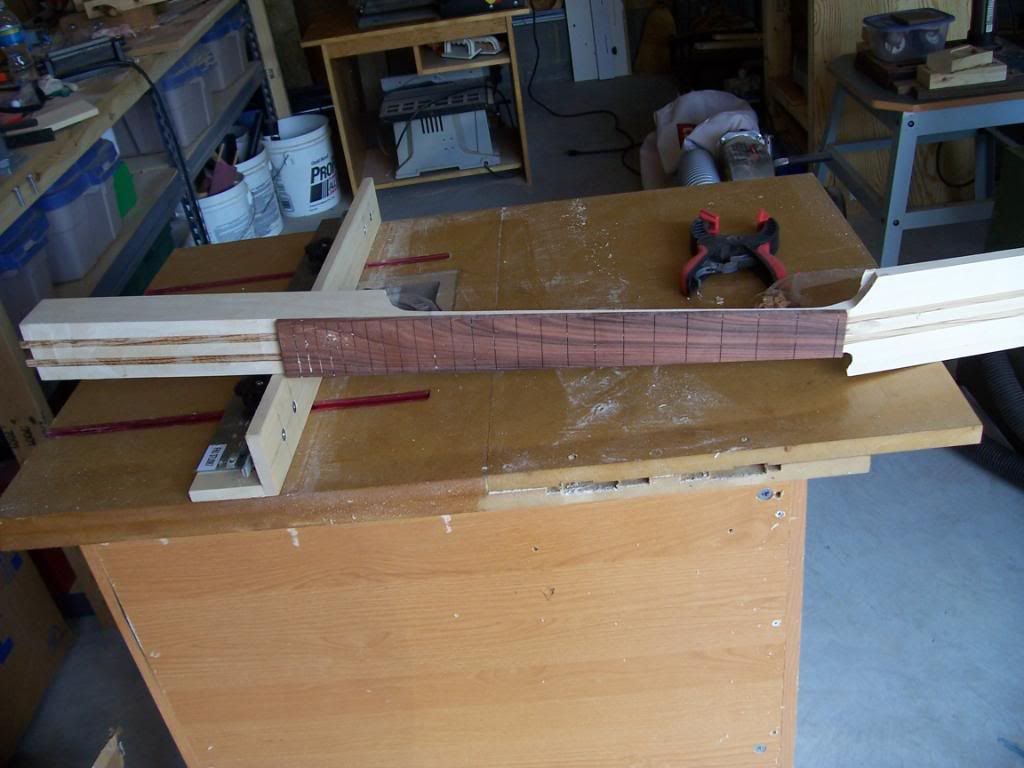
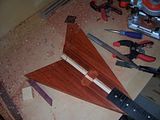
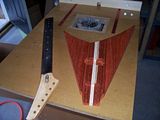
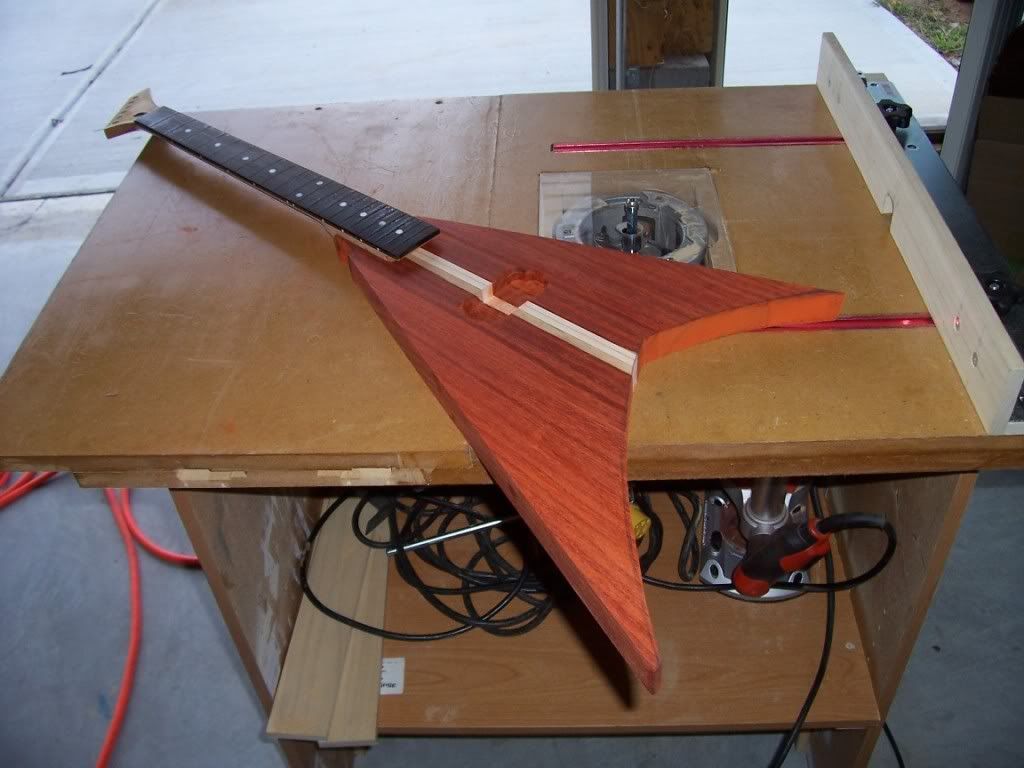
More progress on the V. I have dressed the fretboard on the old Chandler neck and glued on the new Flamed headplate and the Walnut veneer
I managed to glue the maple drop-top w/ the walnut veneer on but I am telling you this is a pain in the arse... I have to read some tutorials on glueing drop tops up. I suck at it. I used 2 screws in the pickup cavity to stop it moving but had a real issue with clamping. Since I did it all in one shot I assume the answer is to glue the plate together then glue it to the body. <I will try to remeber this lesson>
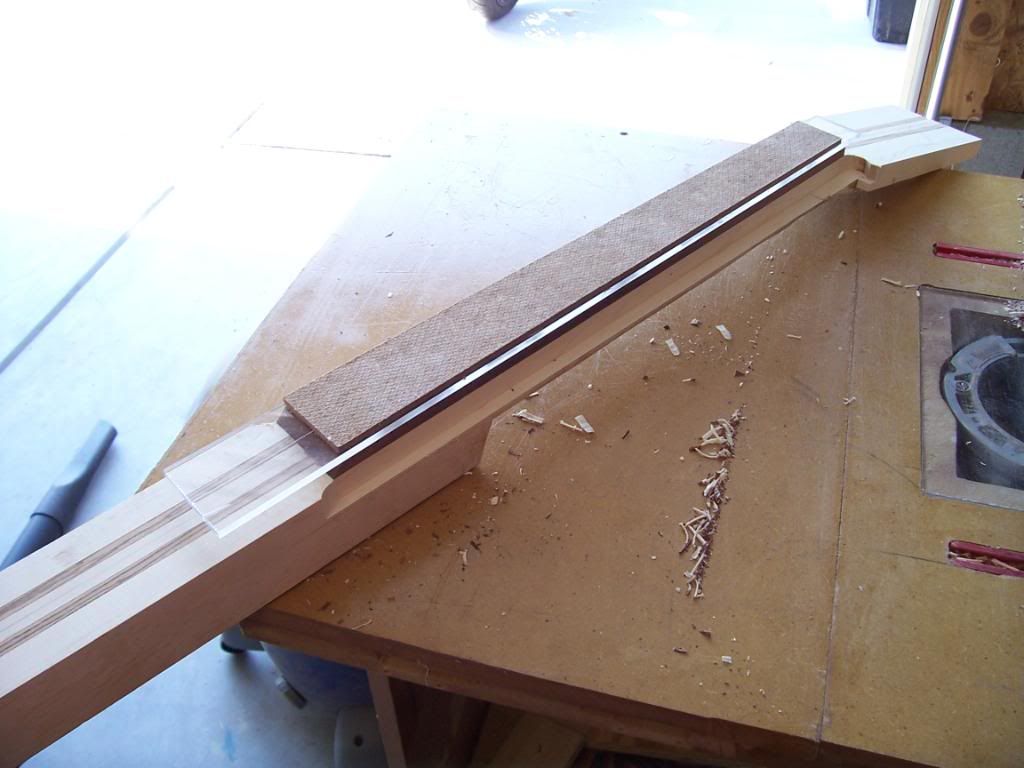
I also worked on shaping my neck for the other guitar ... Made a really nice plexiglass neck template and used my router table and the delta joiner planer to get some real work done...
-
+1 on the straight 16" Radius
<opinion>
I have played most of radius available and none play as well as my 93 RG470. It has an 1 11/16" - 2 3/4" with a 16" radius and a super slim Wizard Neck. A neck is a total package and as long as it is comfortable I say use what you like. Hell that is why we build guitars....
</opinion>
-
Good deal! Nothing beats factory fresh... So you went directly to Sperzel?
-
it was time for a test fit to see if it all worked... for the most part it did other than one piddly little detail. The bloody 0.062" low E string will not fit through the locking sperzel tuner post. after trying every tuner in teh house it seems it will fit most tuner posts except the sperzel and schaller locking tuners. I have ordered some mini-grovers instead. anyway, glad i did a test fit!!
Please check this out before trying as I do not want to be responsible for damage to your Sperzel!
I drilled the things out on my 2 of my Parker Flies to accept the .056 I was running as a low E years ago. They used to use a ball bearing to lock the string so if you screw the lock all the way out you might get the size you need....
-
Todays progress... still have 1/8" flame maple top to go...

-
We have a lot of 8 string builders on the Forum. 8 strings are harder to build because there are so few to copy, however the same laws of physics apply to them.... I have played the Ibanez 8 string and was not impressed with the scale length. I think we have some great builders on the site that can give us all great guidlines for several different types of 8 strings
Prostheta has offered up some info on how he builds them and I am starting a thread (per his request to keep all the info in.)
Per Prostheta:
'''I work out my neck measurements by formula so I guess it depends on your neck specifics as I would recommend making them to what your preference is. Widthwise, the neck is 56mm at the zero fret and about 67.5mm at the 12th fret as I measure it with the calipers. The string spacing is 74mm string-to-string at the bridge and 49.5mm at the zero fret. I work out the fretboard dimensions using those plus 3mm either side for string overhang. The neck thickness is 21mm in the middle of the first fret and 23mm in the middle of the 12th fret.'''
We all agree that Wenge is awesome. And I have been converted to Padauk as my main back wood.
I will post my measurements for my 8 when I get them figured out.
-
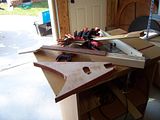
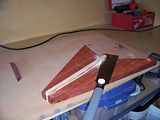
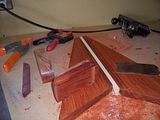
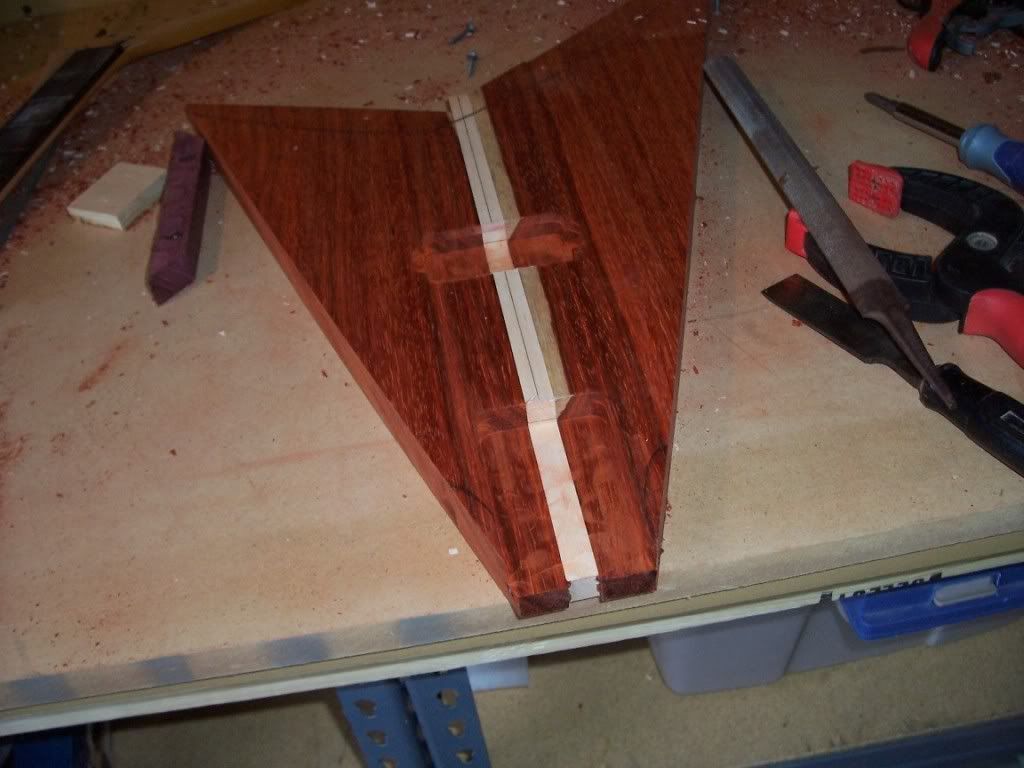
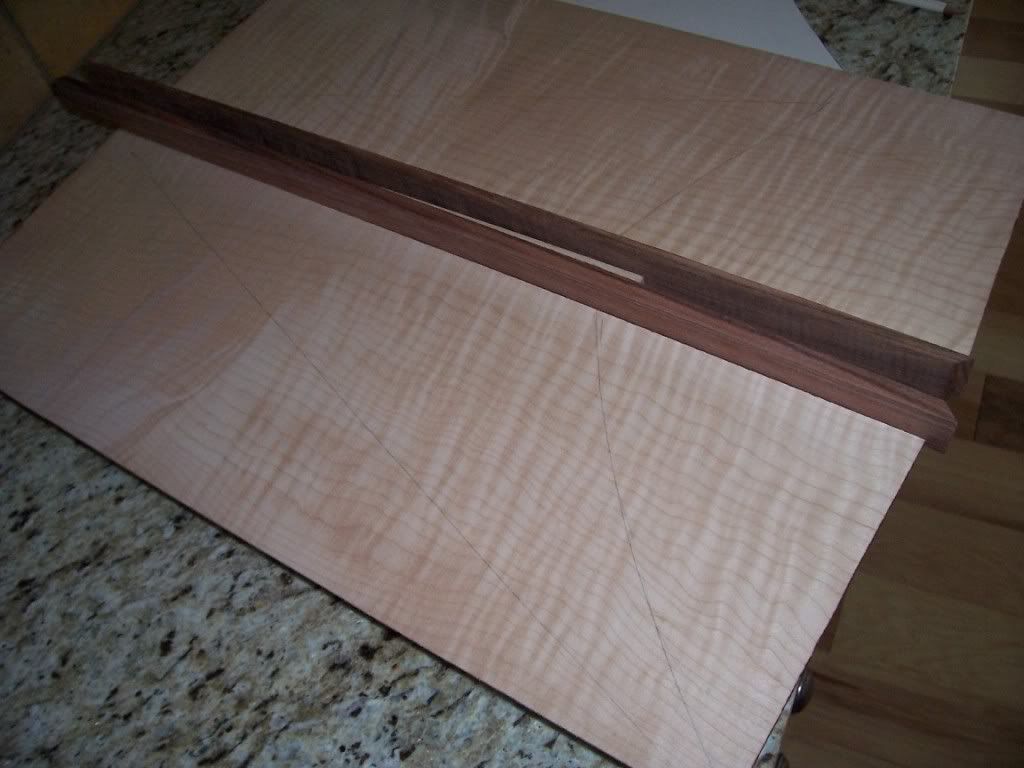
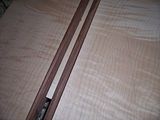
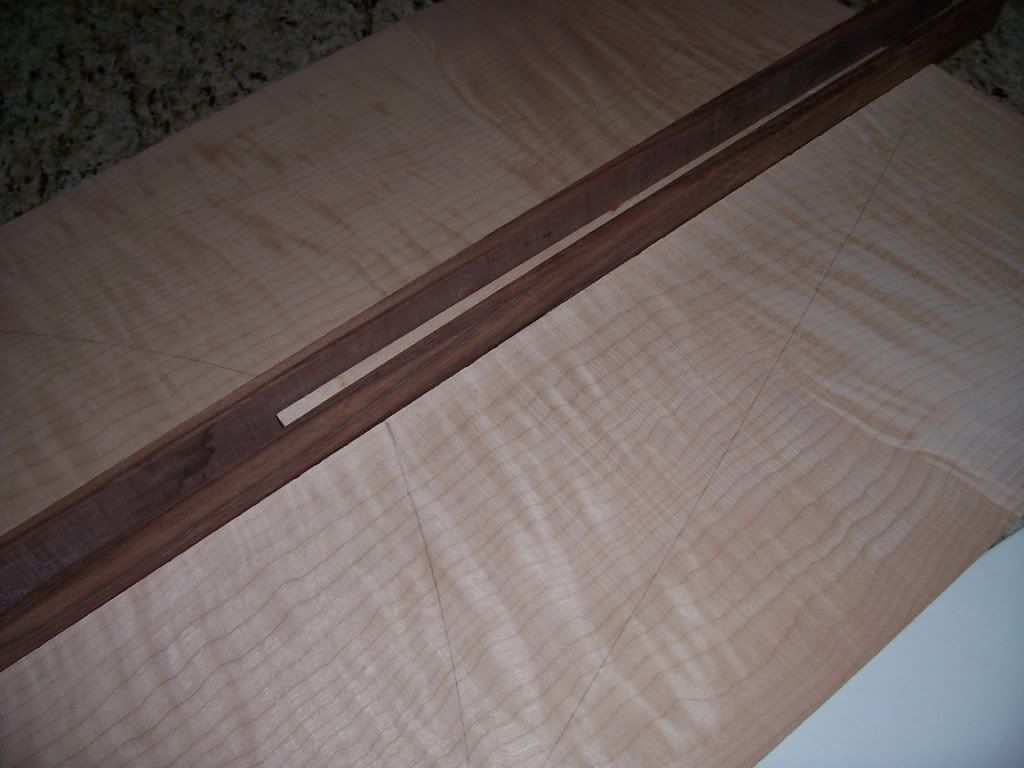
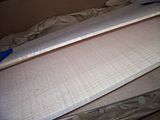
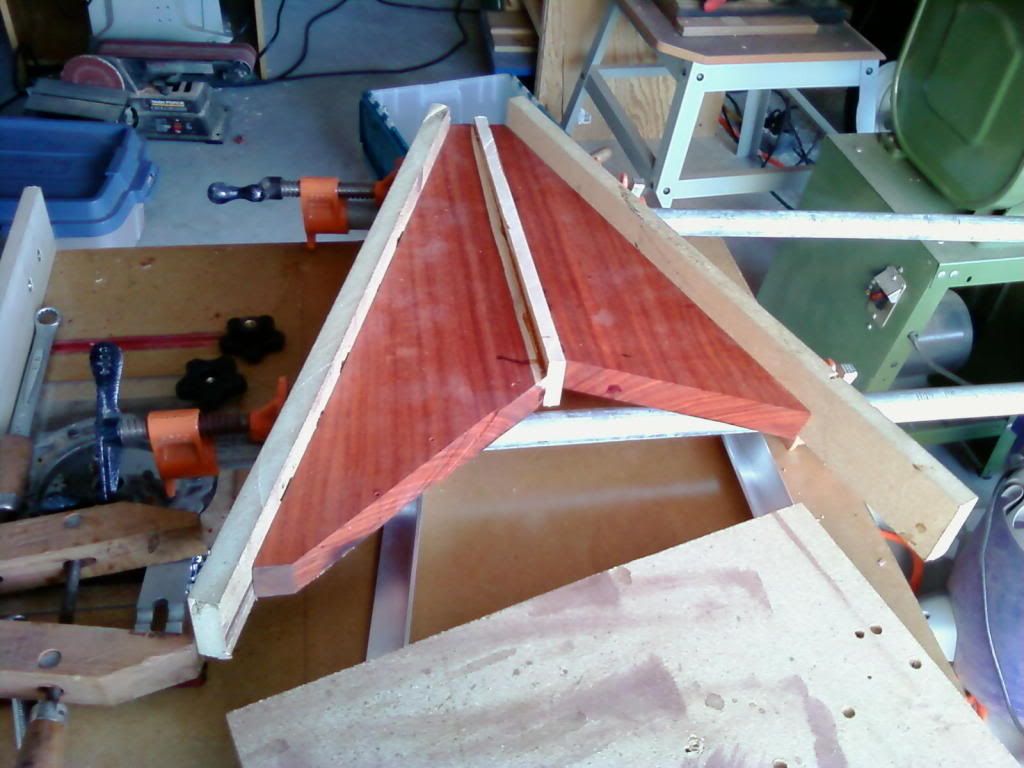
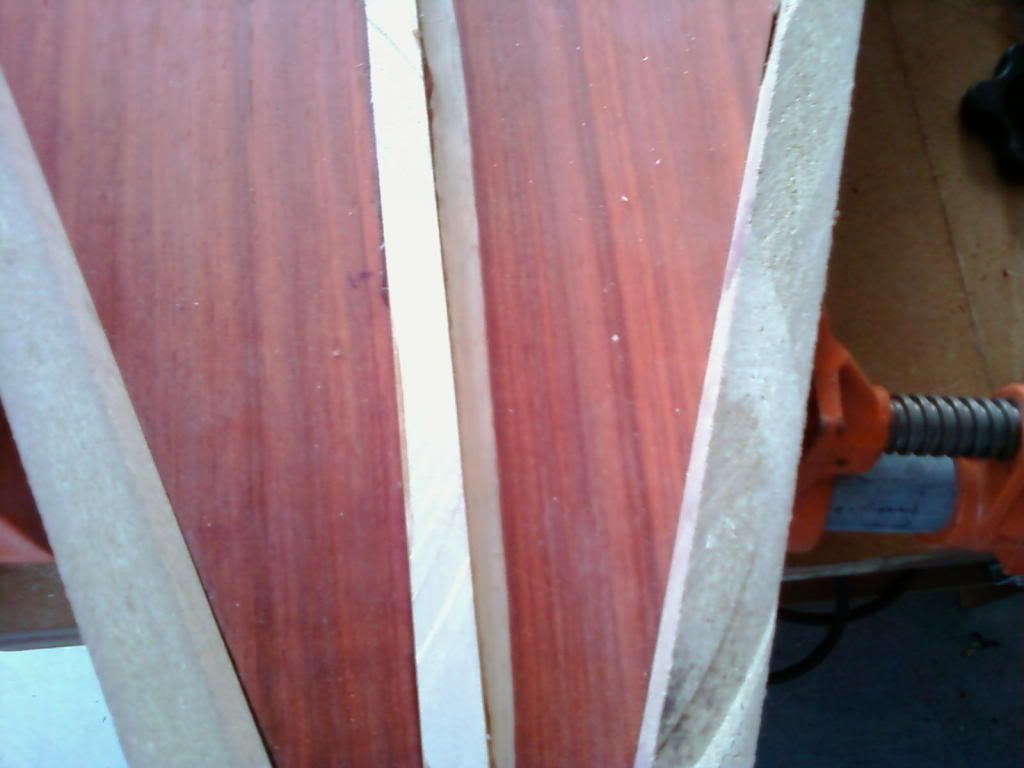
Looks like the tops are not quite big enough for a V. However I planed for this
 . My choices are to angle the pieces and cover the top completely. I doubt this is my plan as it will waste a lot of usable pieces. I think the plan will be to add a set of Morado (Pau Ferro) strips to the middle of the guitar top and use the left overs for other projects including a matching head plate for the neck.
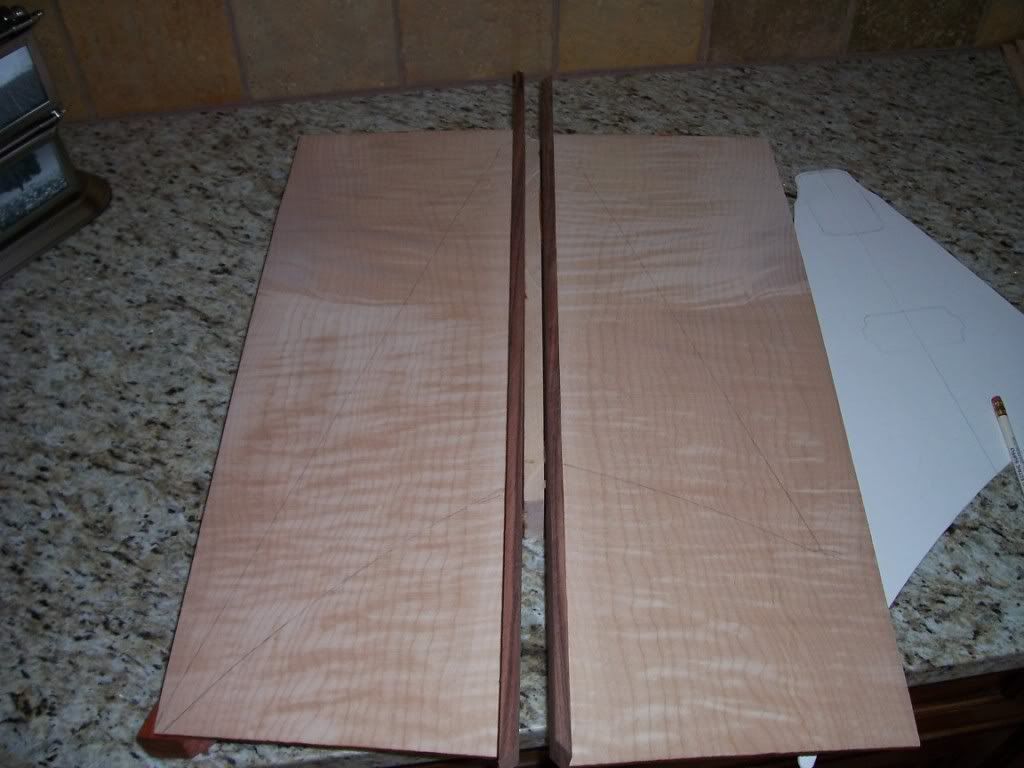
-
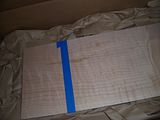
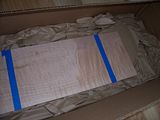
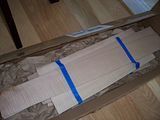
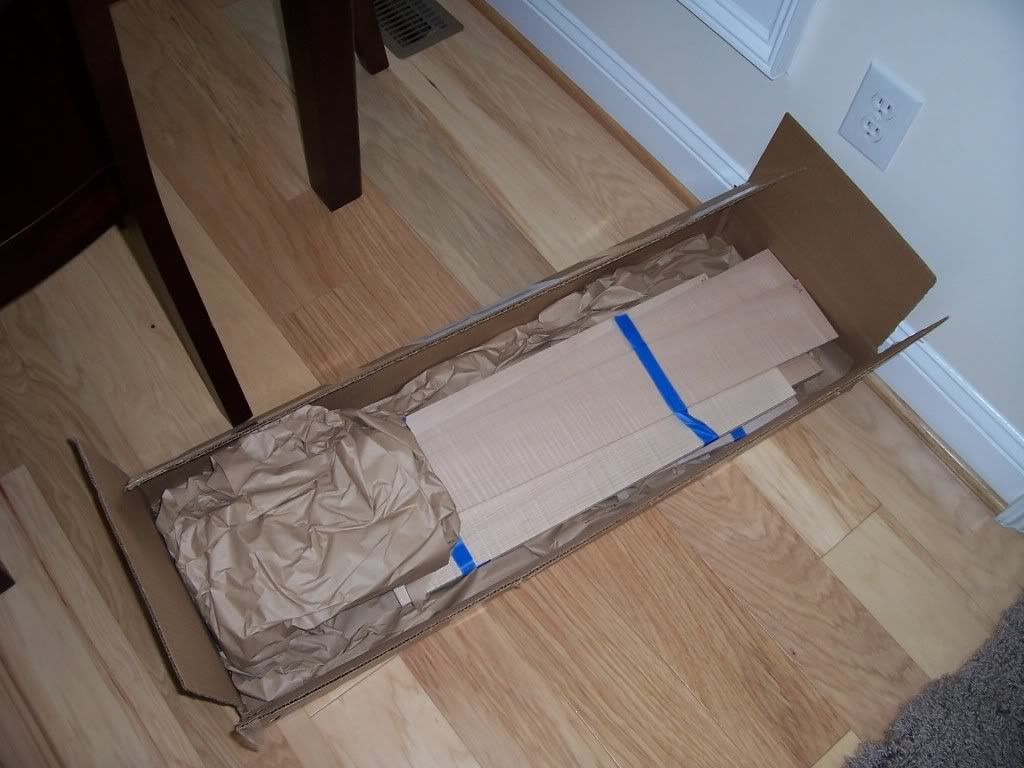
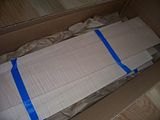
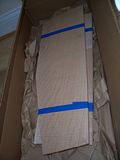
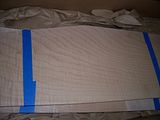
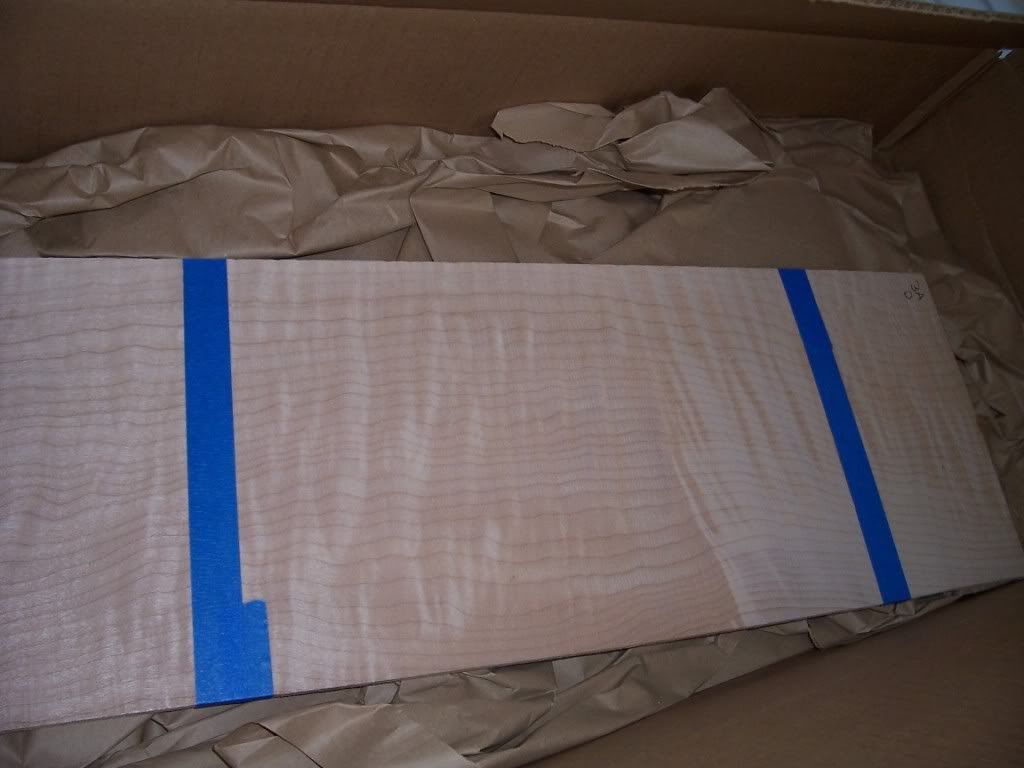
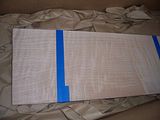
Got the tops I ordered from North Ridge Hardwoods today. It was in great shape, no damage, for a reasonable price. Thanks Luke. The tops look really nice. I specifically asked or seconds because I am not going to use all of the wood. I got upgraded flame with defects that are small enough I can work around them. When I get a real important project I will use the Master Grade tops. I also ordered an archtop back and side set. I will be using it for headstock plates and neck lams.
-

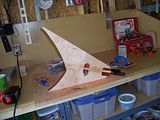
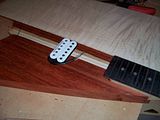
routed the neck pocket, finished shaping the body. i also carved the back like a collen arch top
That is RAD! +1 nice work.
-
If someone already said this then +1 to it.
When restoring the crown to your fret make sure you keep the crown centered on the fret for intonation reasons.
Since I use a triangle file with the edges ground and polished it takes a bit of a roll in your wrist so achieving consistency is through practice. I also use a piece of rosewood with a rounded slot to hold my 400 grit sand paper when I start the polish stages.
-
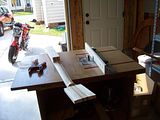
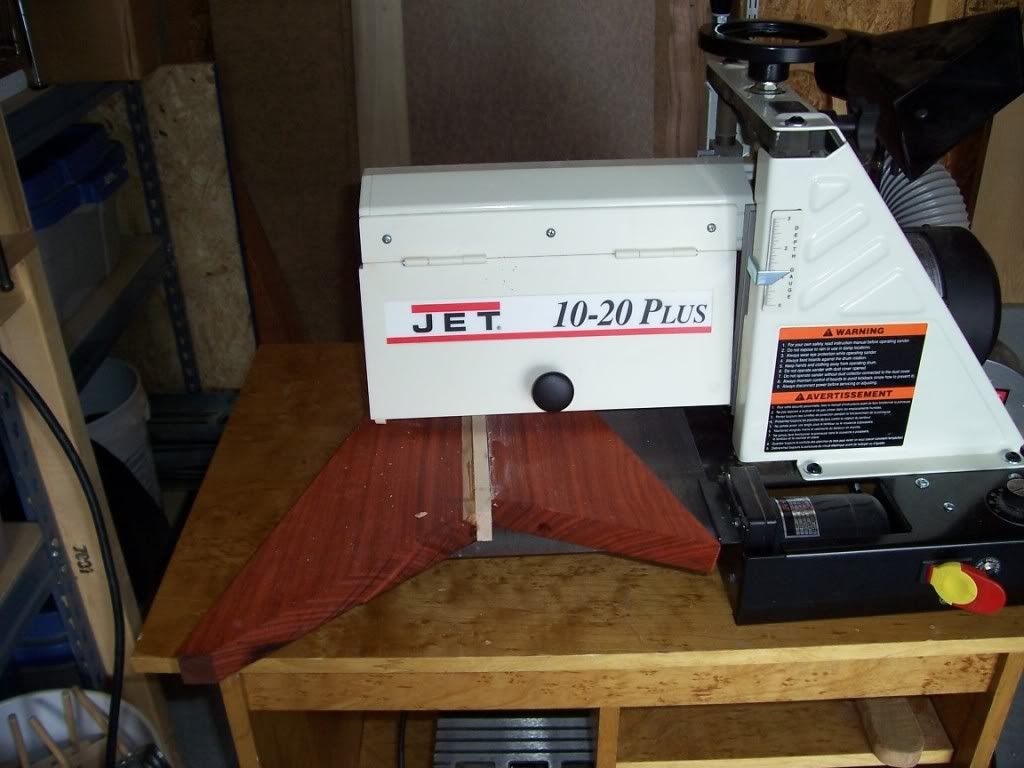
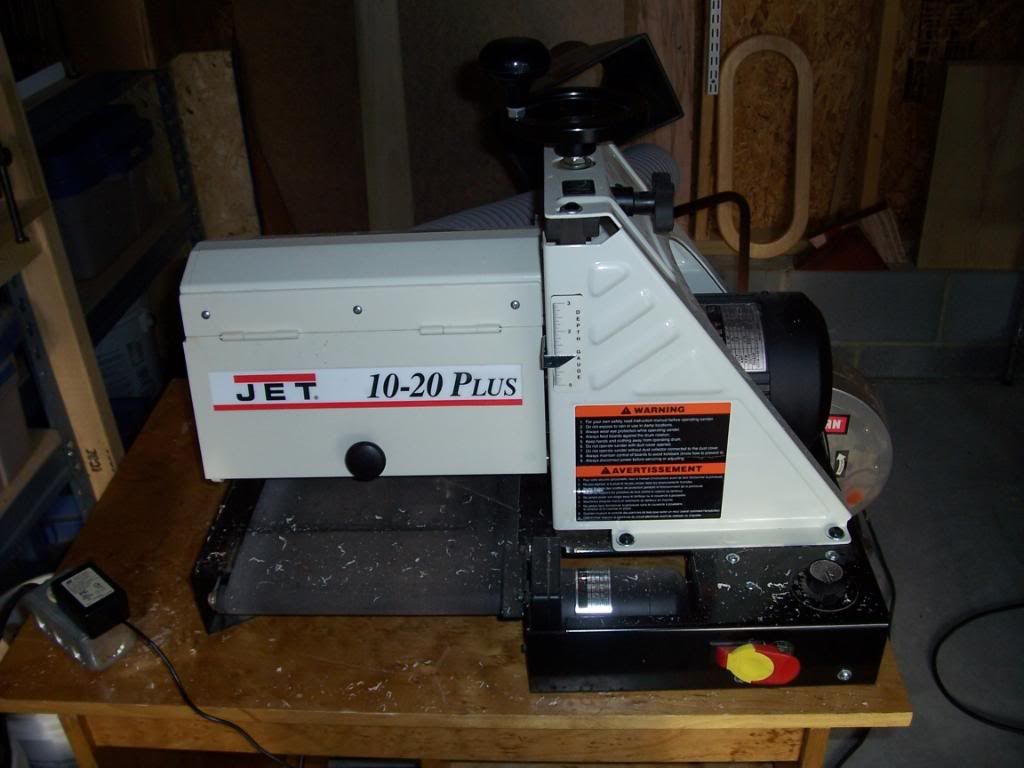
Drum Sander
-
This is making it easier to build stuff.... we should all own one. I saved this one from making wooden wedding invitations for $300.00. It is great.
-
pics are broked
Fixed... moved to photobucket
-
+1 black knobs
-
What type of paint did you use? I promise not to laugh....
-
That green is sick... I had 3 guitars that color in the 80's. So officially I am old as now it is back in style 20 years later.
-
I use a bench plane for the sides and a ... gasp ( body grinder ) for the inside (back) of the V.
-
Wow. That is a lot of sanding. Time for a template and a router.
Make your template from 1/4" hardboard (I usually use 1/4" lexan when I can get it) and use it to clean up those edges.
-
I really wanted to build an 8 string.... The real issue is that I have owned 3 7 strings and played 2 8 strings since I started and honestly.... I don't like them. But I will consider it.
-
Ok. I know this project got derailed... but I have a new house , new shop and I am firing my projects back up after the whole "Moving thing"
The original stuff for this is bailed on. I am building a Vigier Marilyn clone with the neck now.
I do have a Randy Rhoads V going on now. And will start a super secret V project shortly.
The RRV:
1989 Chandler Neck - refretted and new head plate
Paduck Wings
Maple center stripe
Flame maple top.
Fixed Bridge - Chrome hardware - Strings through the body
Here are a few shots of the RRV
-
If you need flamed maple call these guys.
http://www.northridgehardwoods.com
360-988-0313
North Ridge Hardwoods
Luke out at Northridge Hardwoods is really helpful. If you need anything send him an email and he can help


 . My choices are to angle the pieces and cover the top completely. I doubt this is my plan as it will waste a lot of usable pieces. I think the plan will be to add a set of Morado (Pau Ferro) strips to the middle of the guitar top and use the left overs for other projects including a matching head plate for the neck.


How Much Money Have You Spent On Tools So Far.
in Tools and Shop Chat
Posted · Edited by RestorationAD
++++1 on the 10K.
For years I got buy with a task force belt sander and scroll saw, one black n decker router, a black n decker electric planer (hand held), and an electric drill. I only had three chisels until a few years ago.
However I am older, make more money, and am far lazier now. Craigslist and gifts have supplemented my shop. If you need big power tools go to craigslist.
So I now have lots of cool stuff... do I need it. prolly not. do I use it. oh yeah. And I laugh every time something that used to take hours gets done in minutes.
PS. I think I have contributed significantly to Dan Earlewine's retirement fund