


Galaga_Mike
-
Posts
117 -
Joined
-
Last visited
Content Type
Profiles
News and Information
Tutorials
Product Reviews
Supplier Listings
Articles
Guitar Of The Month
Links and Resources
Forums
Gallery
Downloads
Posts posted by Galaga_Mike
-
-
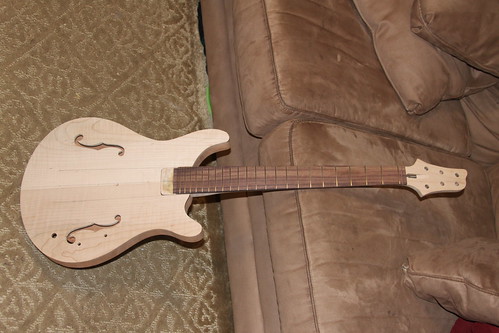
I rounded the edges of the body, sanded it down to 220 and glued in the neck. No turning back now.
-
Thanks! That means a lot coming from an experienced build like you.
-
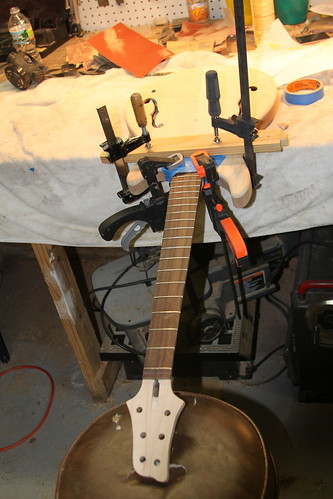
First neck fitting tonight. It is very, very tight. I had to really wedge it in there. I think the glue will lubricate it a little bit and make it go together smoother. Anyway, I'm very glad I redid the neck pocket.
I missed the center line of the guitar by about 2-3mm at the bridge, but if that's the worst mistake I make I'll be thrilled.
-
Some updates. I got the neck pretty much finished with the tuner holes drilled. I then routed the neck pocket and immediately realized that it was looser than I would like (about 1-2 mm of slop). Posted in the solid body section and got a great suggestion to glue in a block and reroute. Did the reroute today with about 5 layers of tape on the template and it's much better. A little more sanding and the neck should wedge in there very nicely.

-
So I haven't quite found the answer to this question anywhere.
When TOM bridges are set, it seems that people typically angle the bridge by making the bass side about 2-3 mm longer than the scale. Is it okay to do this with a roller bridge? I know it's only a small angle, but the rollers will not be perpendicular to the strings. I'm probably over thinking this.
Thanks,
Mike
-
-
Wes, thanks for stopping me from disaster.
PaulieMC, I like your suggestion a lot, I don't know why I didn't think of that. The glue is drying on the shims right now.
-
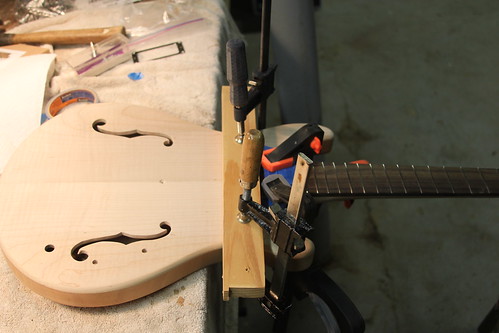
So I'm halfway through a build and everything is great until I routed the neck pocket with no taper, so the neck is tight at the tenon but has about 1-2mm of slop at the edge of the body. This is my first set neck.
I'm thinking of mixing some sawdust in with Titebond and just gluing it up. Is there a big problem with this? Otherwise I could make a really, really thin shim, but it seems difficult to make a shim that small. It's not a huge gap, but it's enough to be annoying. I mostly care about the joint being solid (I can live with a 1mm thick glue line).
Any thoughts? Thanks.
-
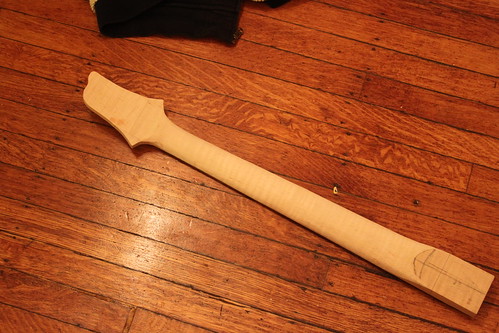
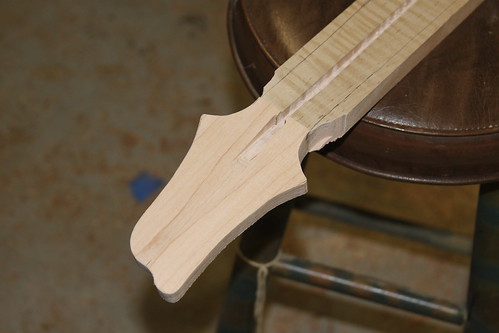
I got the neck rough carved. I like the profile a lot. It's a medium thickness but fits the hand very well.
-
It's refreshing to see a fun project that results in a unique guitar without concentrating on perfection.
-
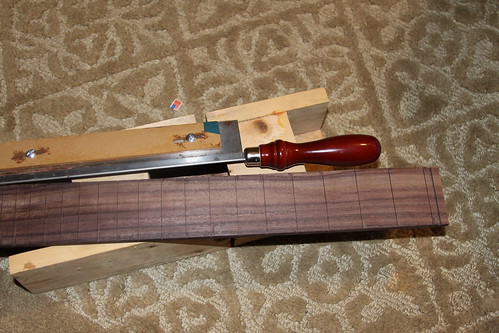
Got the frets pressed. This was my first experience pressing instead of hammering. I'm sold, it went very smoothly.
-
Just to fill in the gaps on some of the advice here, "scrap wood" could be Poplar bought from Home Depot. It's relatively inexpensive, and it gets you familiar with working with hardwood. Alternatively, you can buy relatively cheap maple of eBay or at a local lumber mill. Good luck, and read, read, read! Read these In Progress builds from start to finish and understand every step.
-
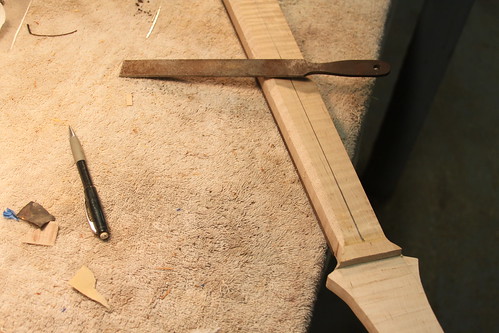
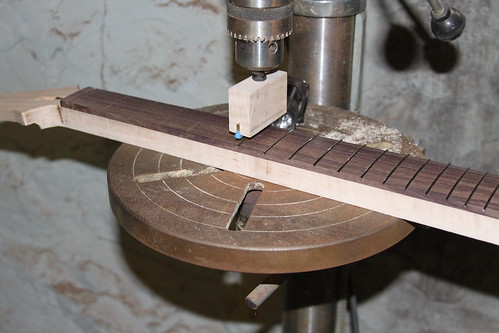
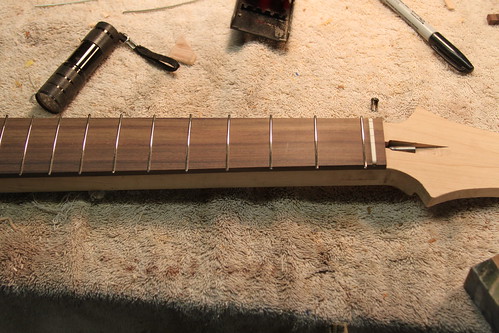
Fretboard radiused. I always worry about the sanding block rotating so I set up a little guide with 2x4's.
-
Glued the fretboard on today and also sanded the sides of the body with my new sanding drums. Love it.

-
Headstock thinned down and shaped. I made the headstock slightly too thin, so I may need to put an extra washer on the tuners.
-
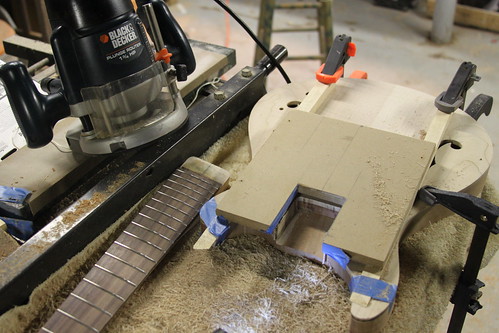
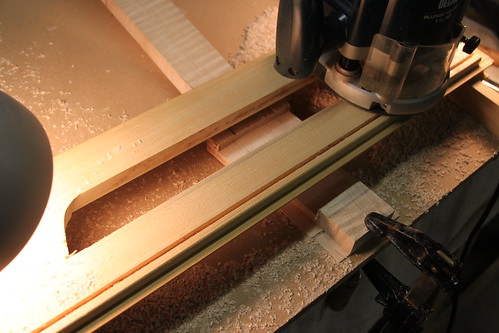
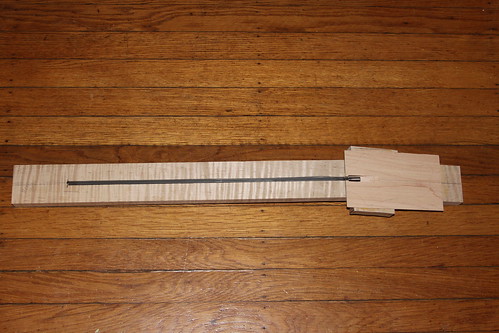
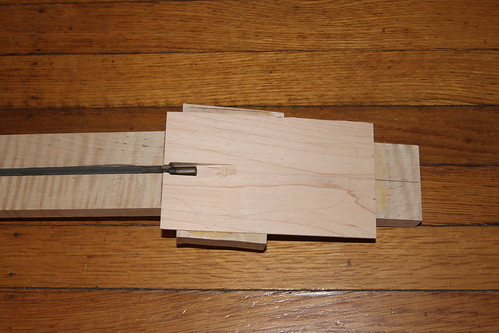
It took a really long time to figure out a safe jig for routing the truss rod slot. Finally got something that worked. Also got the headstock ears and veneer put on.
-
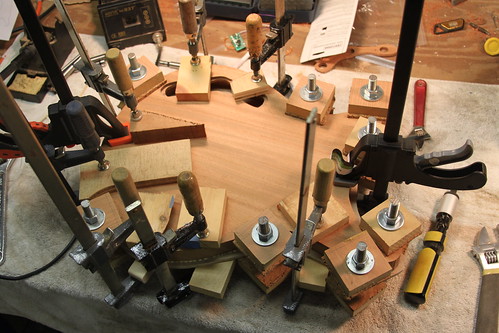
Finally made a little more progress. Spent way too long making an insert for the cavity cover and embedding magnets. Glued the top on tonight. I'm worried that I didn't put on enough glue, but we'll find out soon.
-
Years ago I built a sustainer based on PSW's tireless work. I wrote up a tutorial, which youmshould be able to find here. Just search for sustainer tutorial. Good luck! I still love playing mine.
-
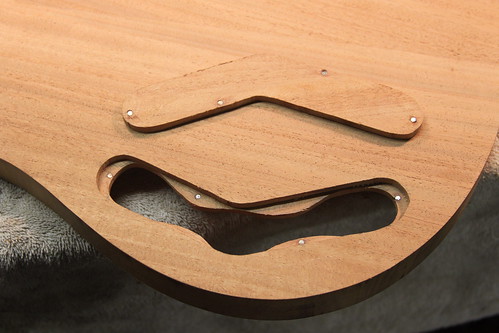
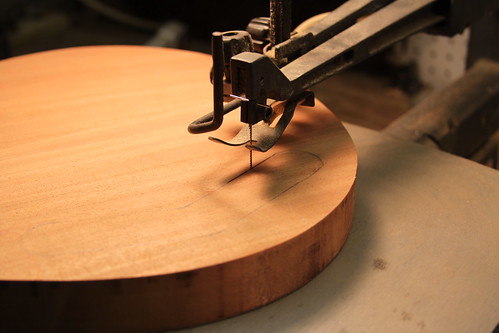
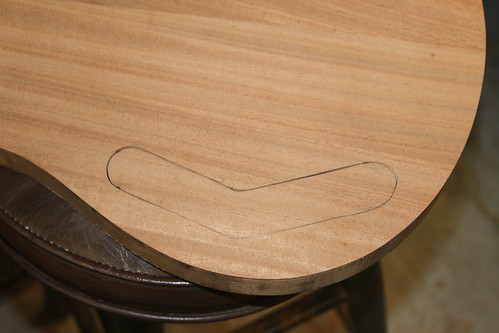
I always liked those grain matched cavity covers that people do, so I bought a scroll saw off of craigslist and went to work. I cut the initial slot with a MultiMax (one of those vibrating plunge saws). I got a few burn marks from the scroll saw blade, but with a little sanding I think it will be good.
-
To clarify, that is a B, not a smiley face with shades. Thanks for taking the initiative, emoticons.
-
I've made a few guitars using my Stew Mac 8" sanding beam and I see the huge benefit of using a longer beam. This would level and radius the board/frets at the same time. Their aluminum one is very nice but I would need to refinance my house to buy it.
I started thinking about ways of making one. I am familiar with the method of gluing together MDF layers, but that seems messy and inaccurate. Does anyone have any experience or comments one:
A) Using a 3D printer to make a long radiused sanding beam.
or
 Using a small CNC milling machine to cut one out of hardwood. I'm not sure of the tool marks and cleanup would make this impractical.
 -
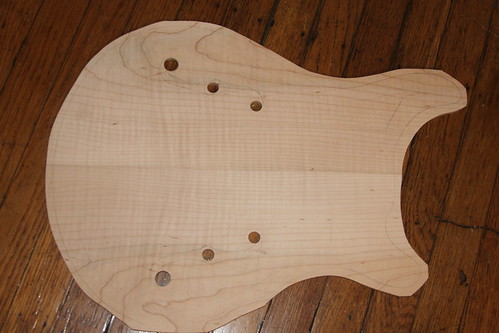
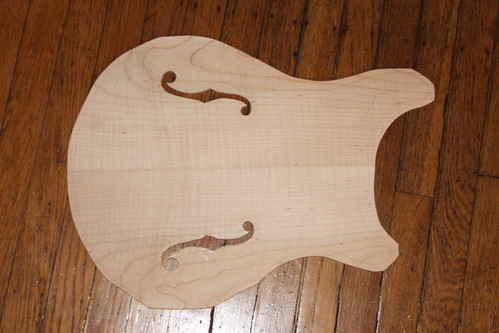
Made some progress tonight. I got the maple top planed with my router jig and cut the F-holes. I ended up using Forstner bits for the ends then very carefully using a scroll saw. I still need to do some detail sanding on the inside walls, but I'm very happy with the results and glad to be done with that part.
Extra bonus: taking these flash photos has shown me that this maple has a decent figure to it. I thought it was very plain until now.
-
Fret slots sawed. Used the table saw to put a slot for a fender style nut to align the strings on the zero fret.
I'm also practicing f-holes. I'm glad I did, because they are looking pretty rough. Hopefully I'll be ready for the real thing after a couple more trials.
-
Beautiful guitar. Love everything about it, very tasteful.
Can I ask how you cut out your f-hole? I'm in the middle of a similar build and it looks like yours turned out very clean.
 Using a small CNC milling machine to cut one out of hardwood. I'm not sure of the tool marks and cleanup would make this impractical.
Build 4 - Semihollow Prs Shape
in In Progress and Finished Work
Posted
Okay, I may have a problem that I need advice on.
I checked my neck angle before I glued it up and it looked good. I wonder if the neck did not quite seat perfectly because the angle is now slightly too low. It may be okay, but it looks like I'll have to bottom out the bridge to get decently low action. My guess is that once there is relief in the neck it will need to go any lower, so this may be a problem.
So I'm thinking this is a good time for a recessed bridge. Any suggestions/comments? I want to make sure I have some margin for adjustment in the future, and I think a recessed bridge is the best way to get that.
In the photo below I propped up the bridge to where it would be without recessing. The action would be about right, but again, I couldn't go any lower.
Thanks in advance.
Mike