


t1r12003
-
Posts
270 -
Joined
-
Last visited
-
Days Won
3
Content Type
Profiles
News and Information
Tutorials
Product Reviews
Supplier Listings
Articles
Guitar Of The Month
Links and Resources
Forums
Gallery
Downloads
Posts posted by t1r12003
-
-
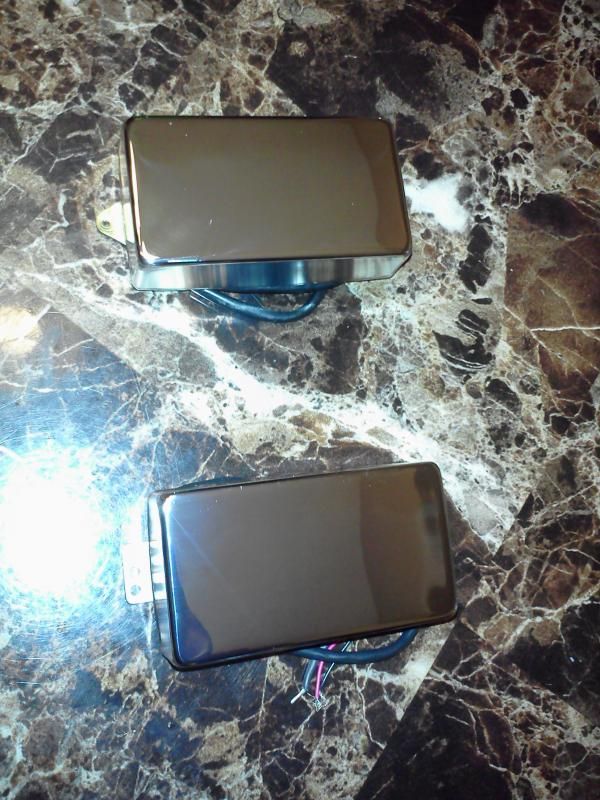
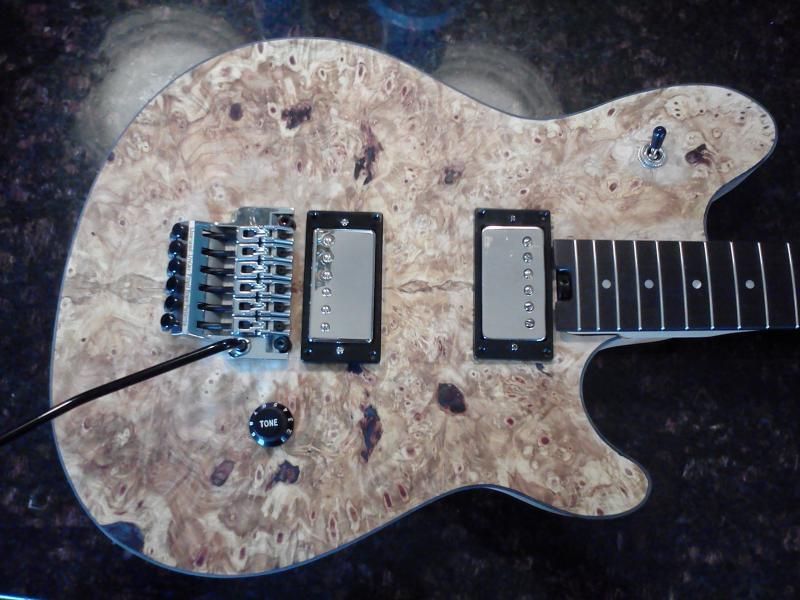
I have these two humbuckers that don't match that I'd like to use. Dimarzio zebra PAF Pro and a Carvin PAF type pickup. What to do.......

OOOOOOOOHHHHHHHHH.....Solid chrome covers.......
-
Looks great dispite the sinking finish. I'm still debating on stain or natural. The yellow adds some nice tones. Thanks for sharing.
-
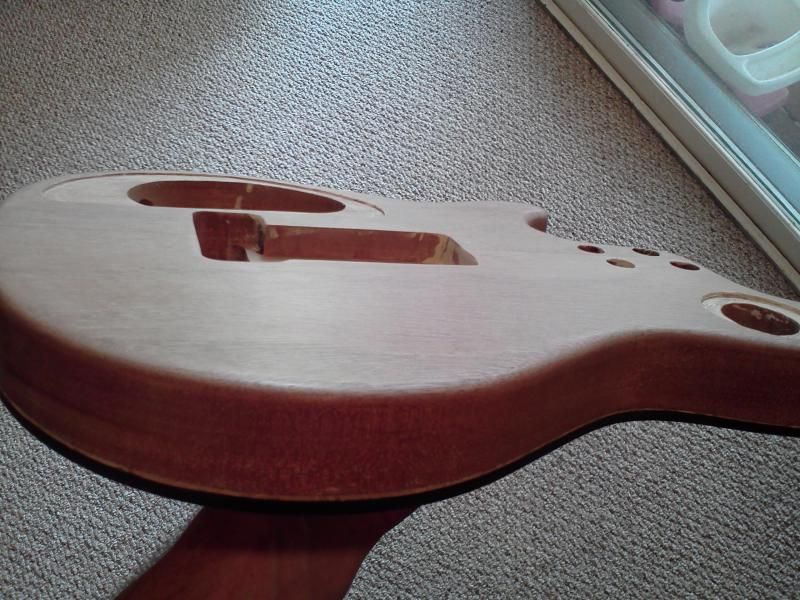
Last bit of work this morning before heading off on a 3 day work trip. Routed the neck pocket and rounded the back edges.
Looks dull with no naptha...
Nice and snug

-
Killemall8, that's beautiful. What was your staining and finishing process?
-
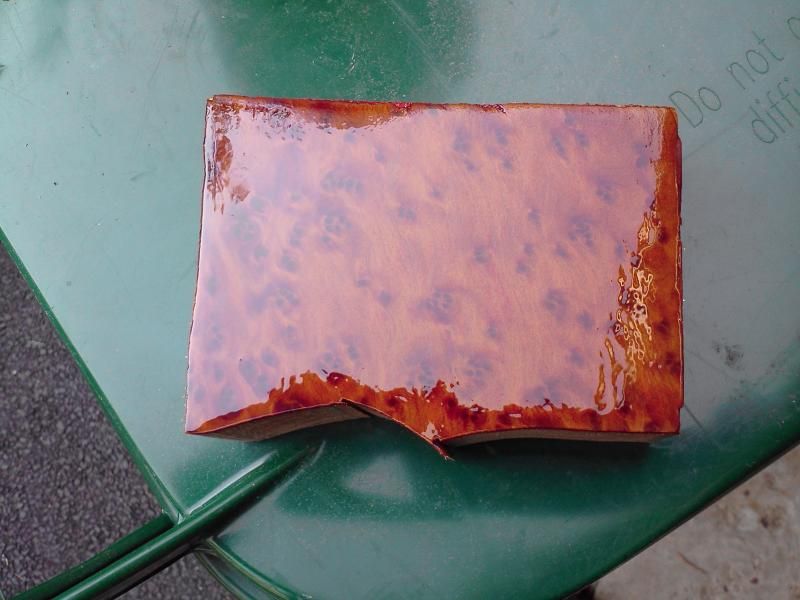
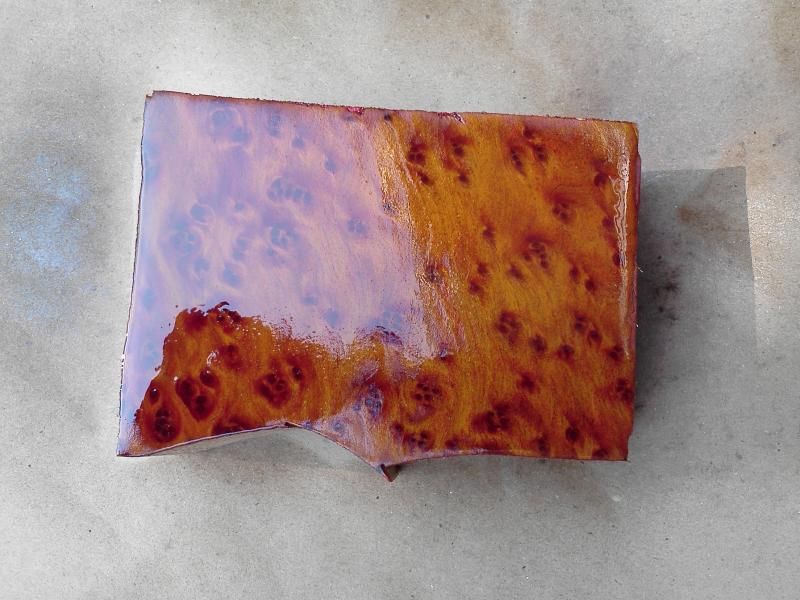
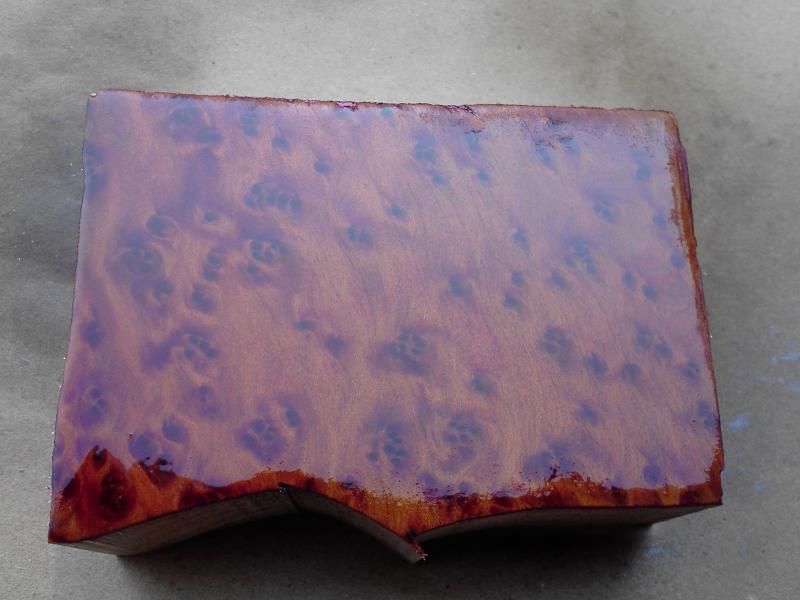
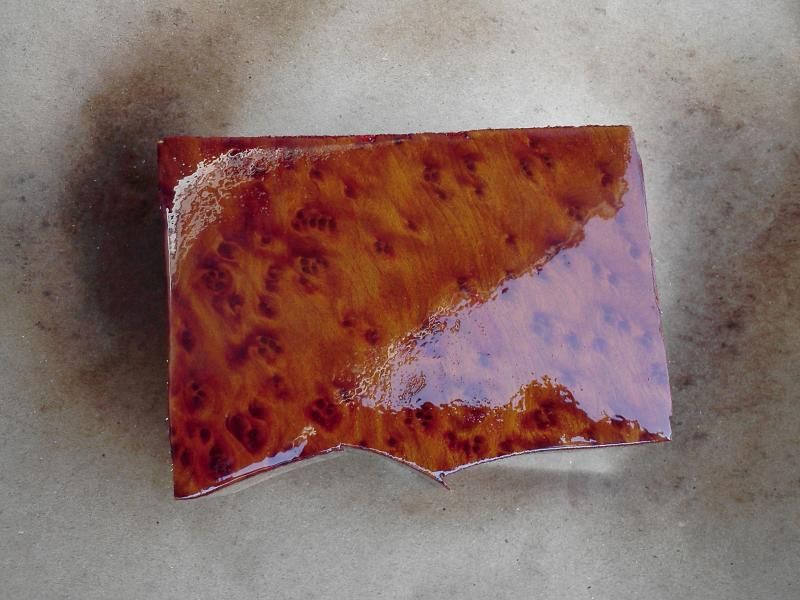
Another test piece. Started with black, sanded back, then yellow. Got some better light for this pic. Not a dramatic difference in the other test piece, but since redwood has natural red and brown, it makes up for not using it.
-
Just a heads up, unless you really seal the crap out of that redwood, it will sink into it forever. It is like a sponge. Even after epoxy and 2k clear, it still sunk into the shape of the grain on my last guitar.
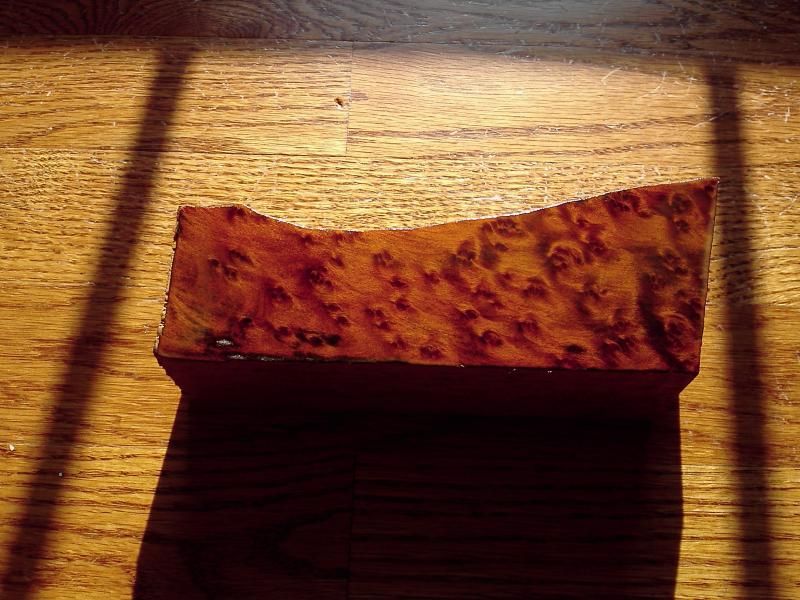
Thanks, I'll keep that in mind and spend plenty of time sealing it. I just finished a buckeye burl top project and it was the same way.
-
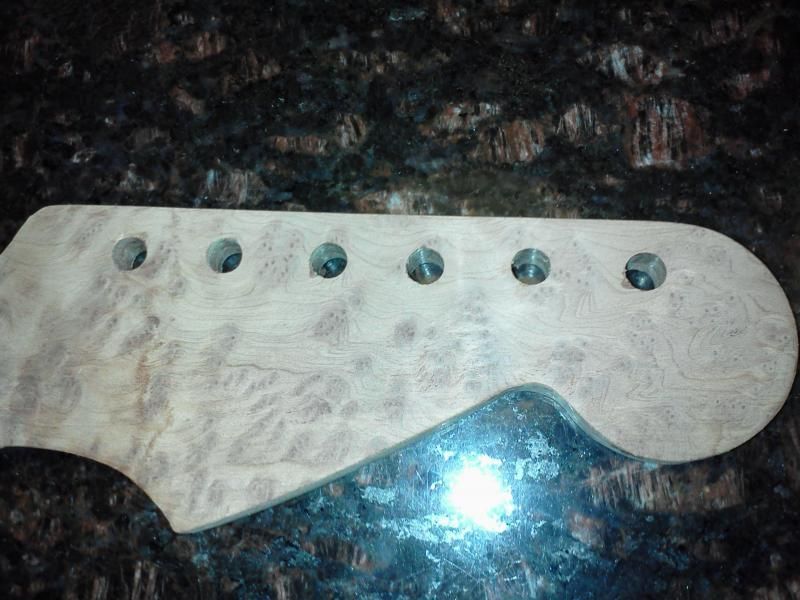
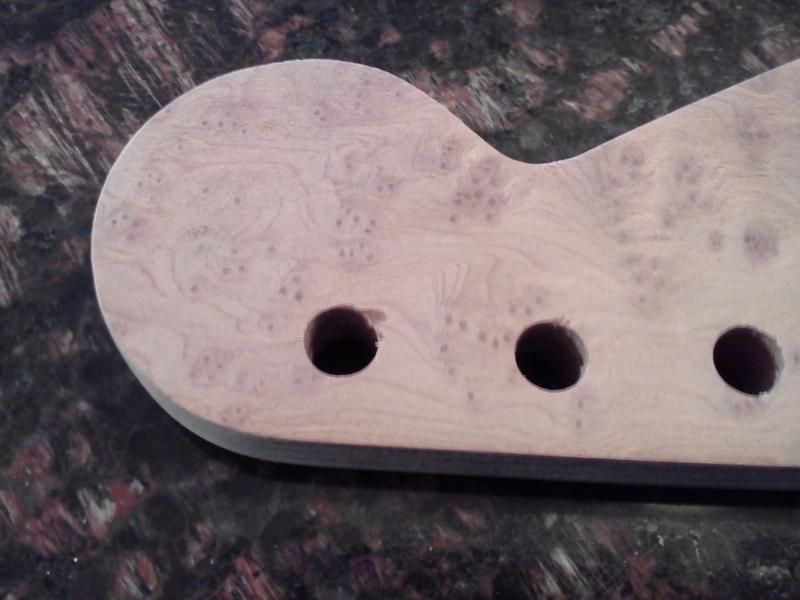
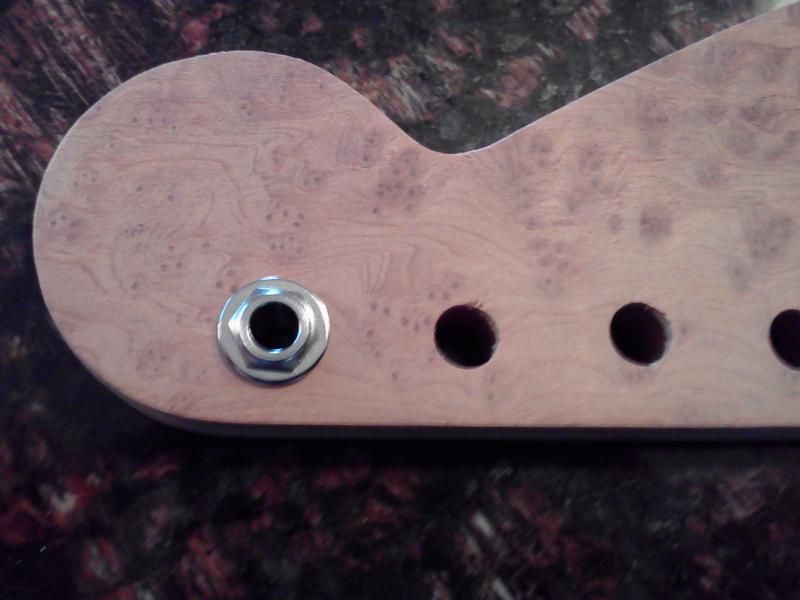
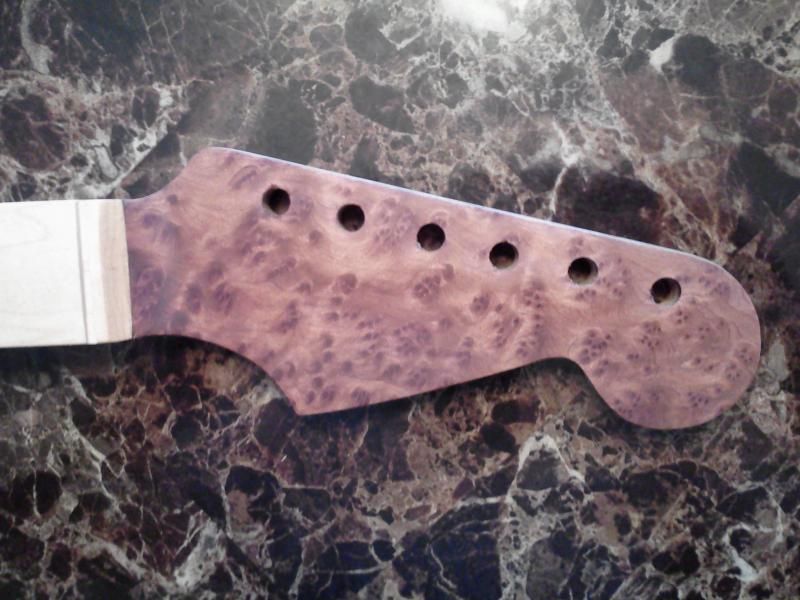
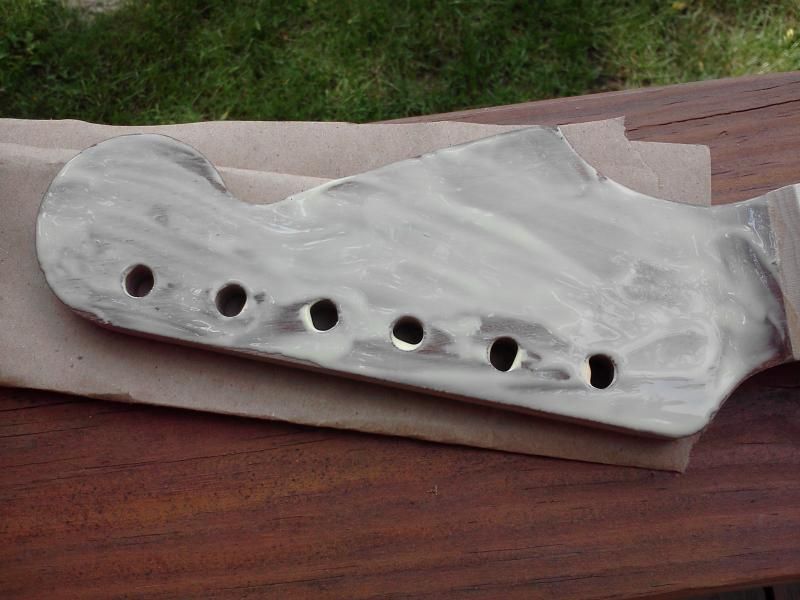
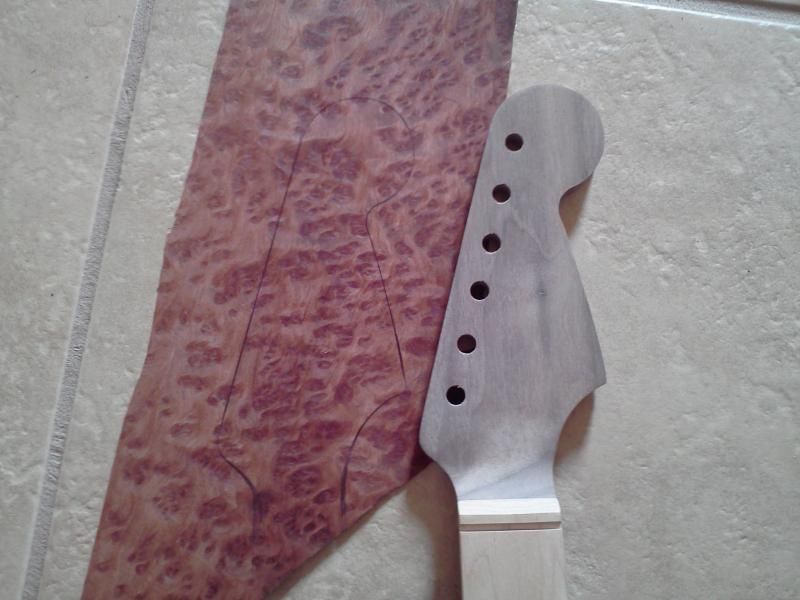
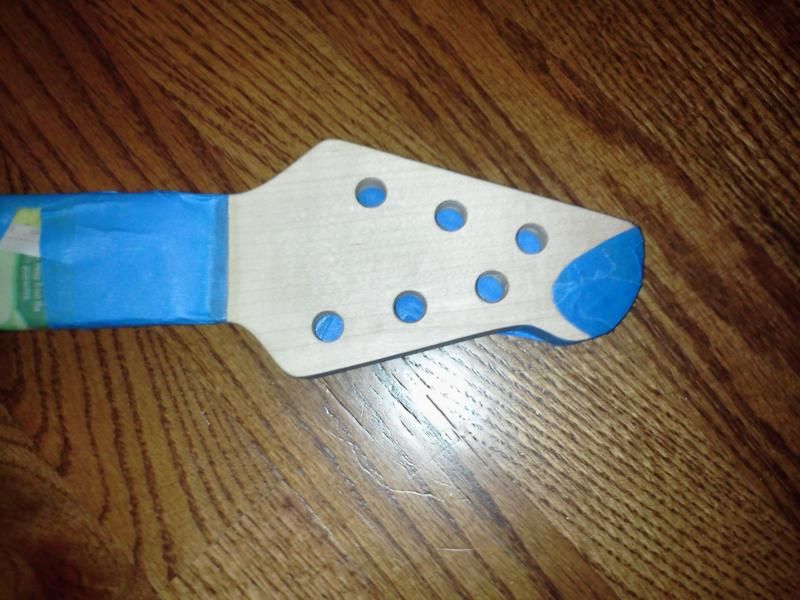
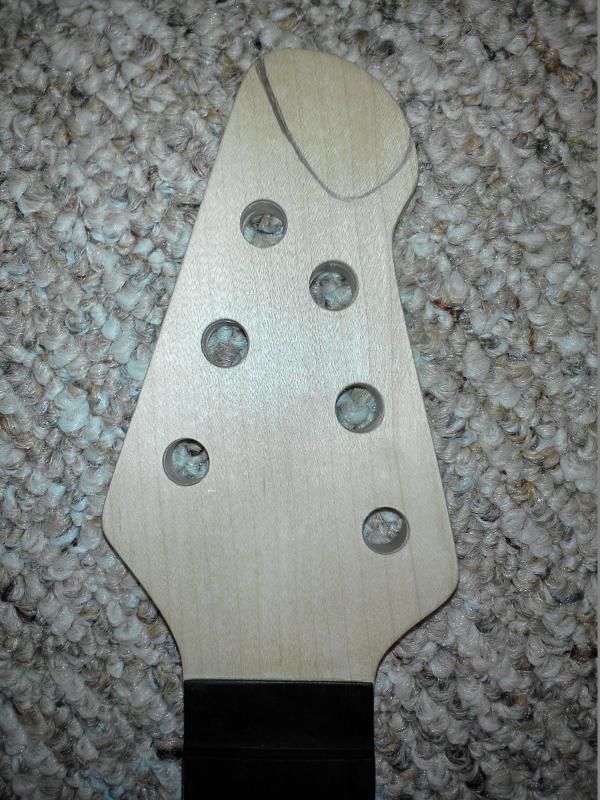
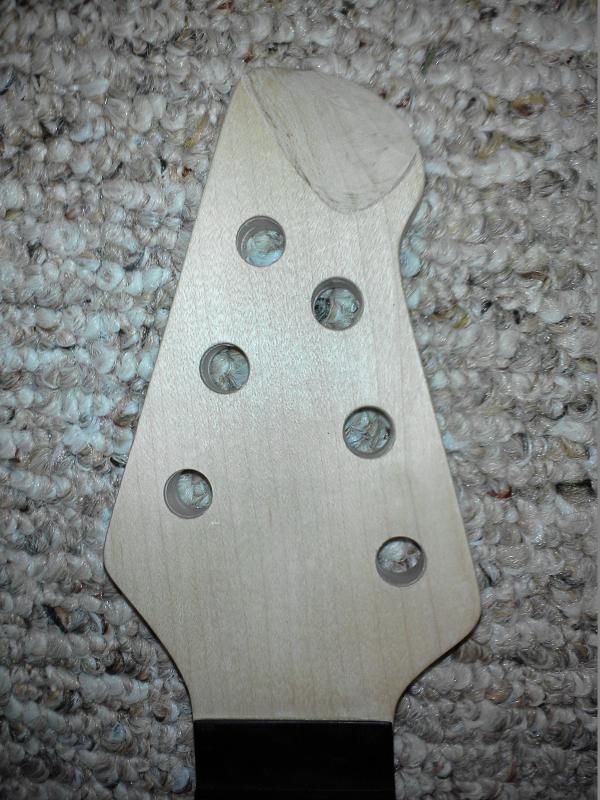
Drilled out the tuner holes. I backed the veneer headstock with a thin piece of poplar on top of a 2x6, then clamped it down to minimize tear out. I got a little bit on a couple holes, but once the tuner and washers are put on, it covers that up.
-
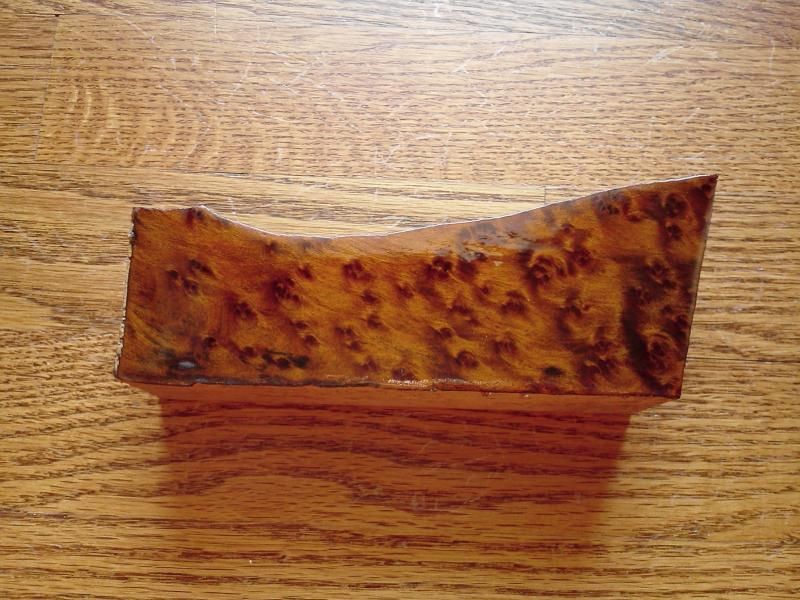
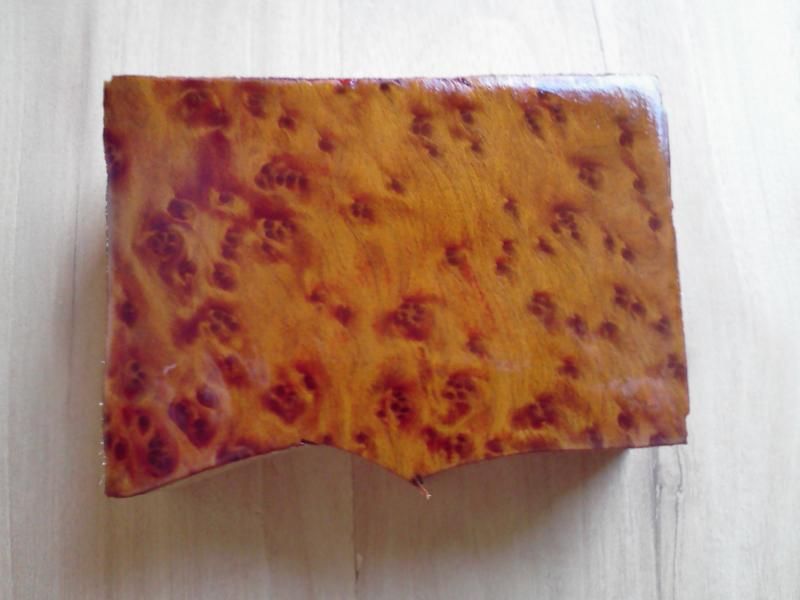
Took a scrap piece and tested some stain. One layer of red, sanded back, then layer of yellow, sanded back, then a second layer of yellow. Glossed it up with some cheap poly spray to get an idea and took a few pics from different angles and degrees of light.
-
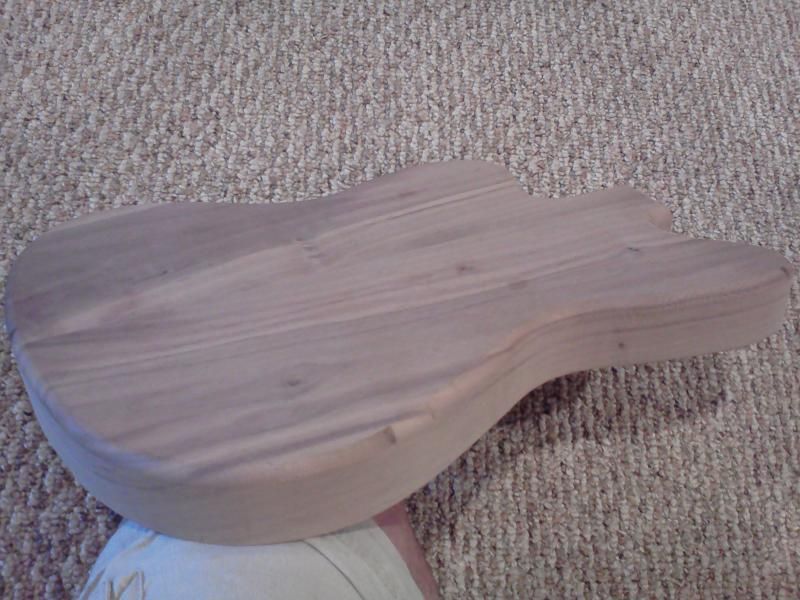
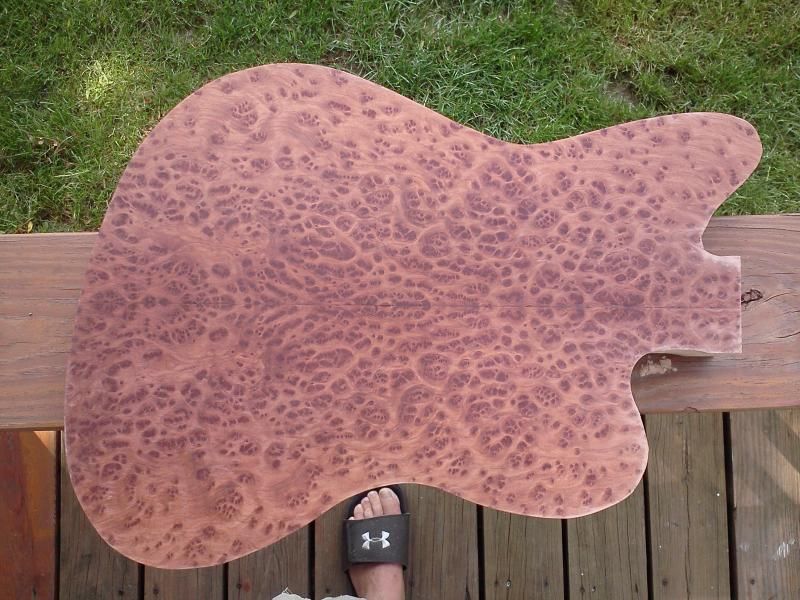
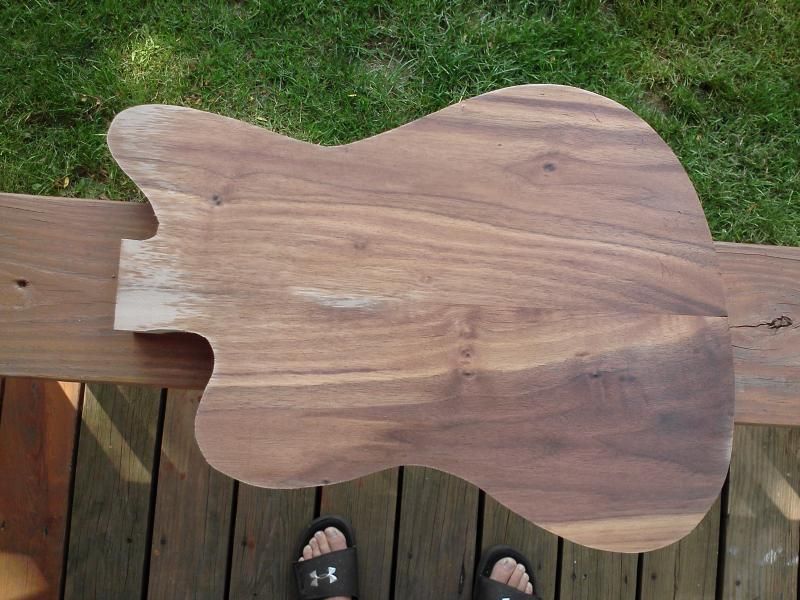
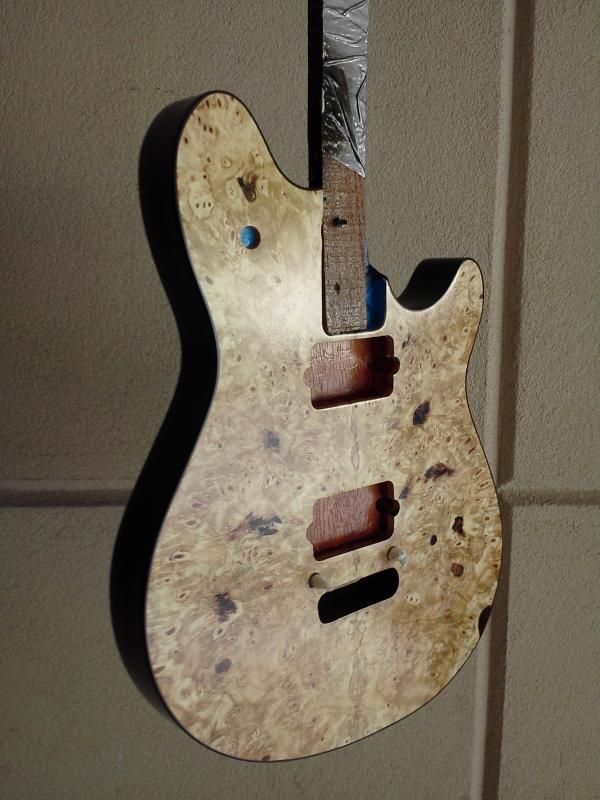
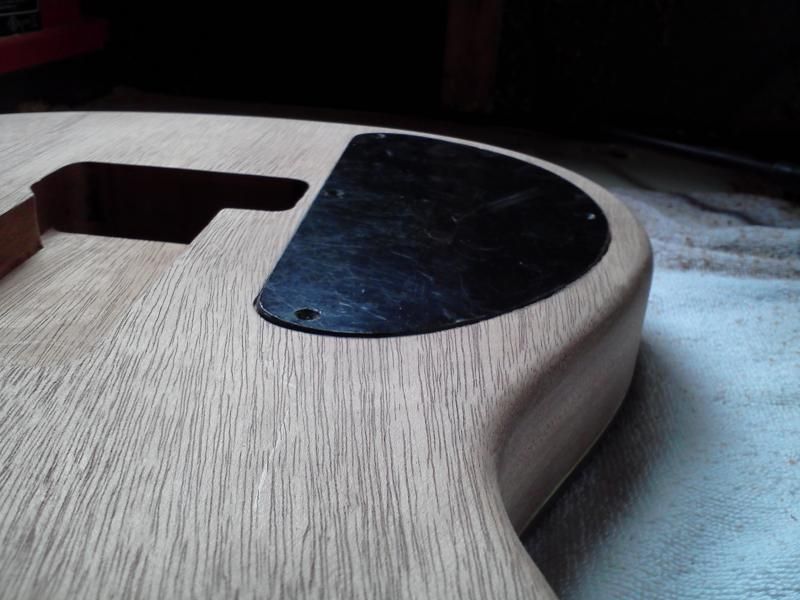
Cut the body out on the band saw, then sanded the edges fairly smooth. Still need to clean up a couple spots and then work on the neck pocket, but it's looking good. I didn't cut the headstock veneer perfectly, so I'll need to clean up the edge close to the nut and create a nice straight line.
-
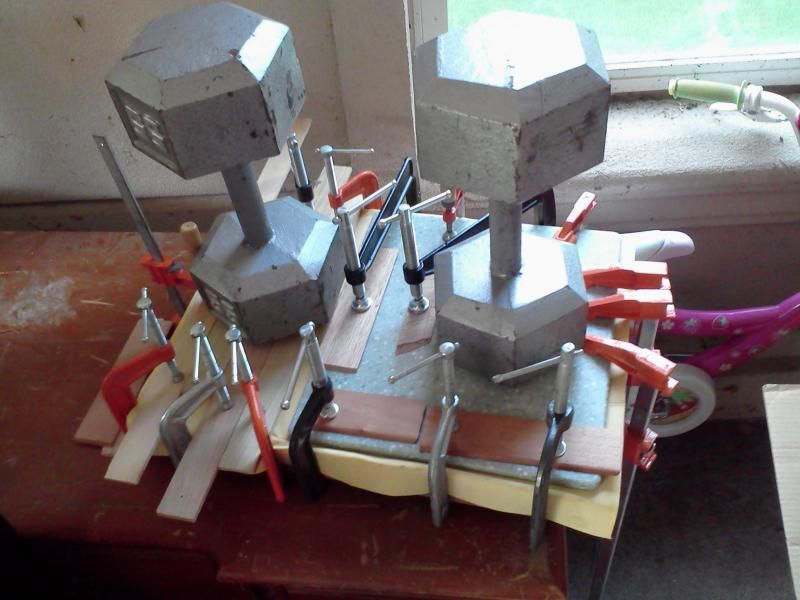
I soaked the headstock veneer in water overnight, then taped it to a rubber drum from my spindle sander to create the curve. Worked perfectly. Then I used the drum to clamp the curved veneer to the headstock along with some flat wood scraps. Clamped up the headstock and body and glued them up.


-
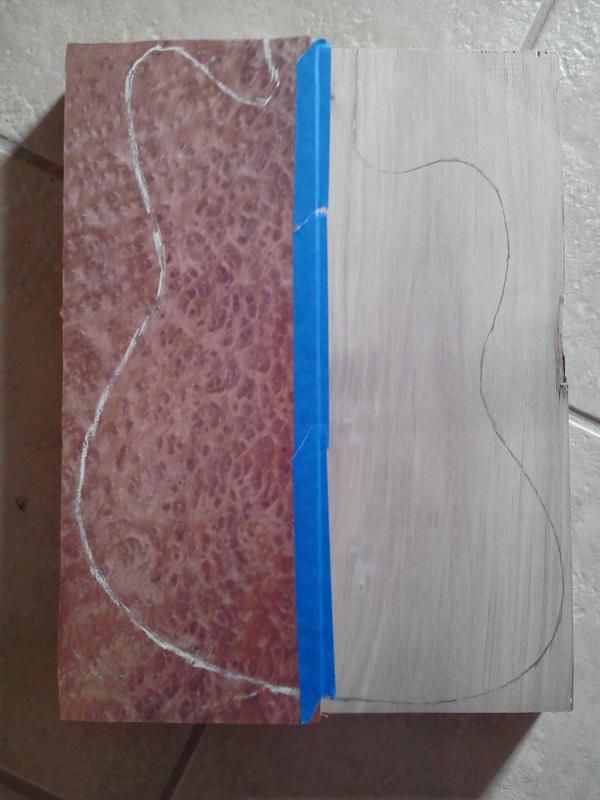
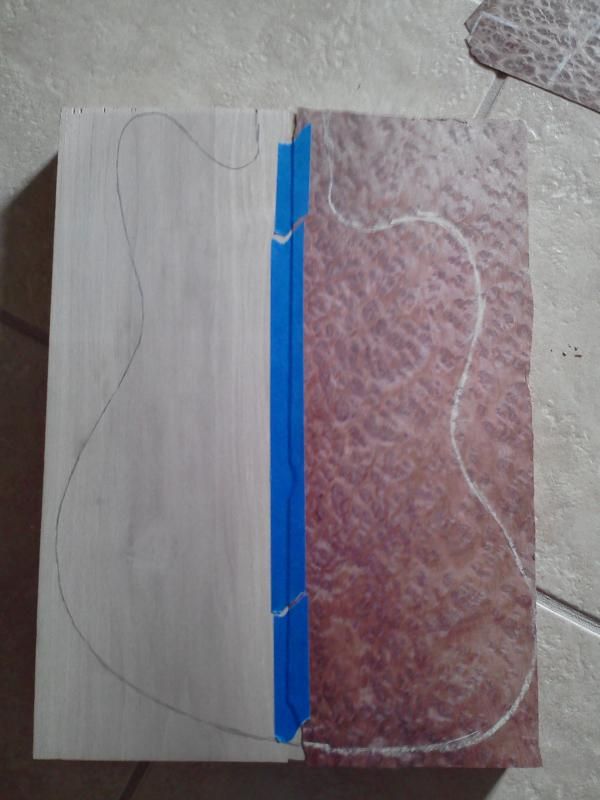
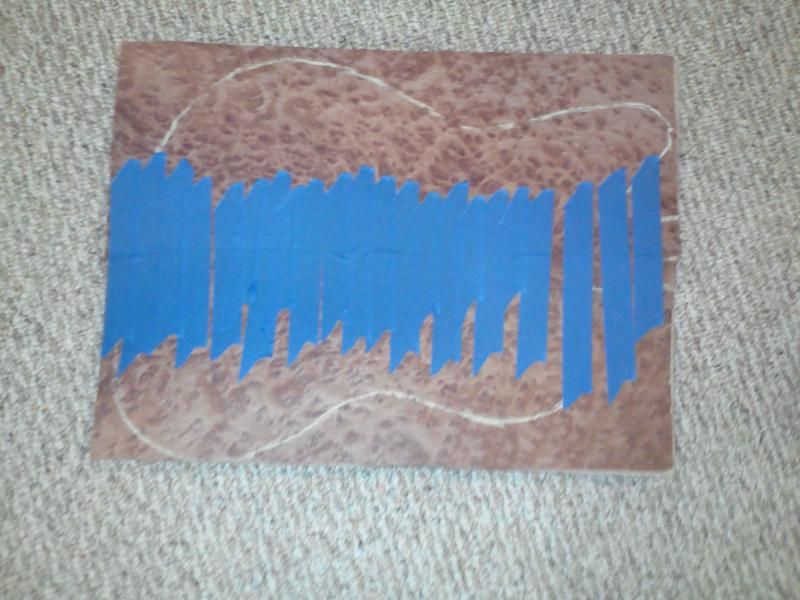
Taping up the veneer to glue to the body blank. Also using a spare piece for the headstock.
-
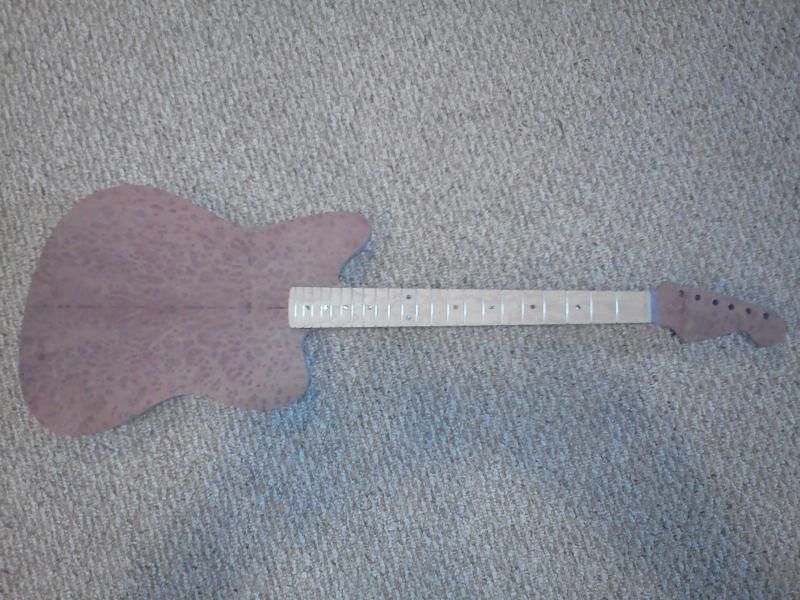
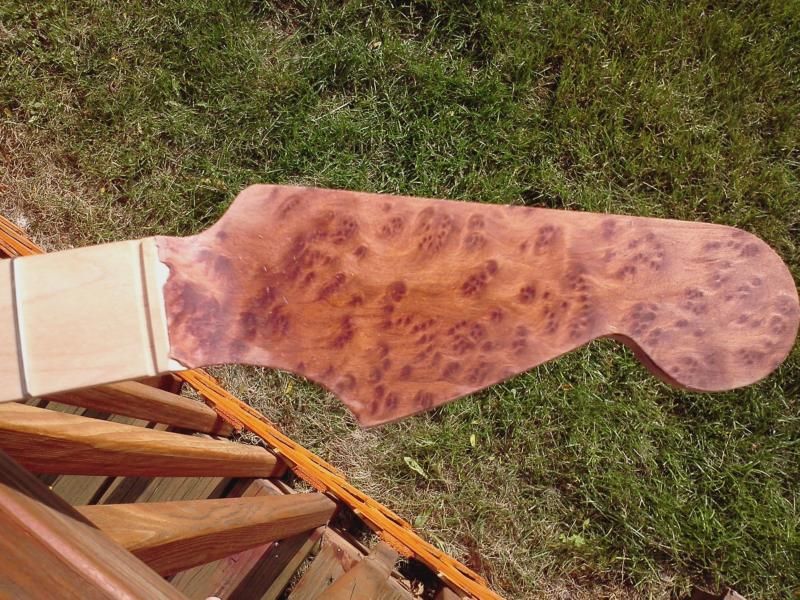
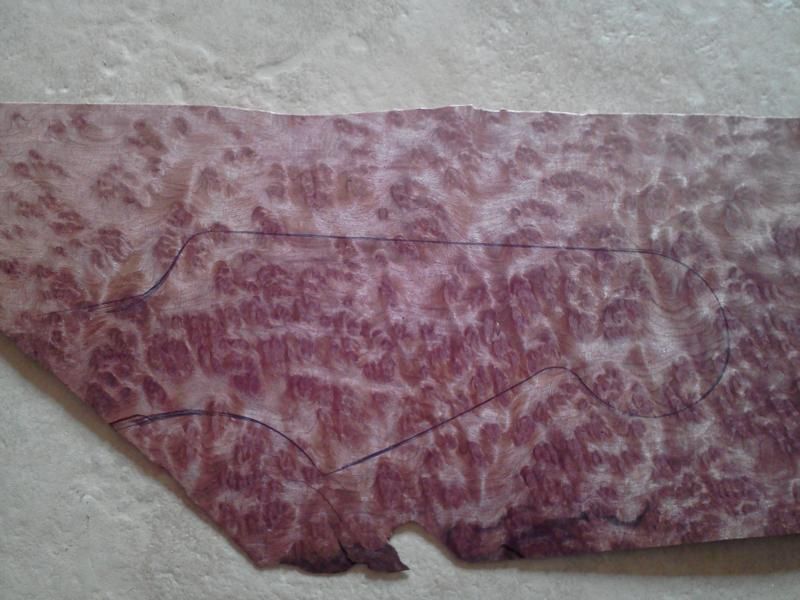
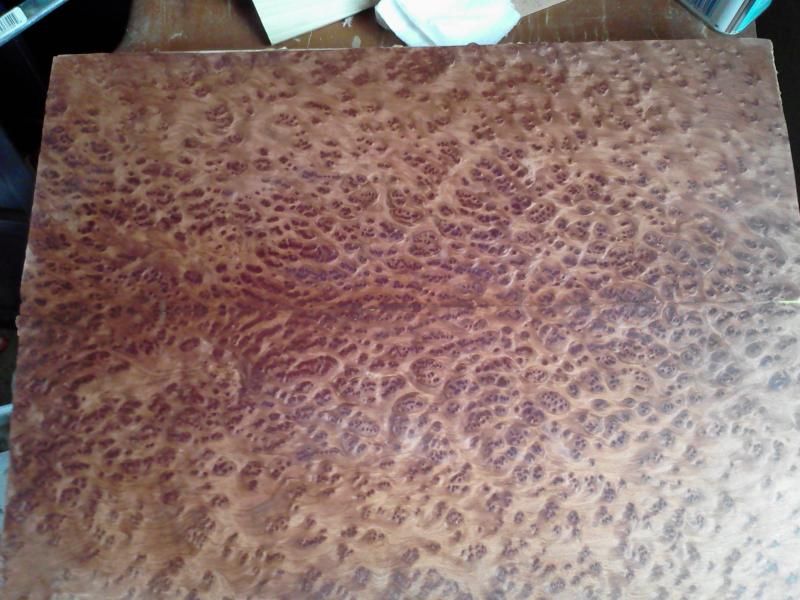
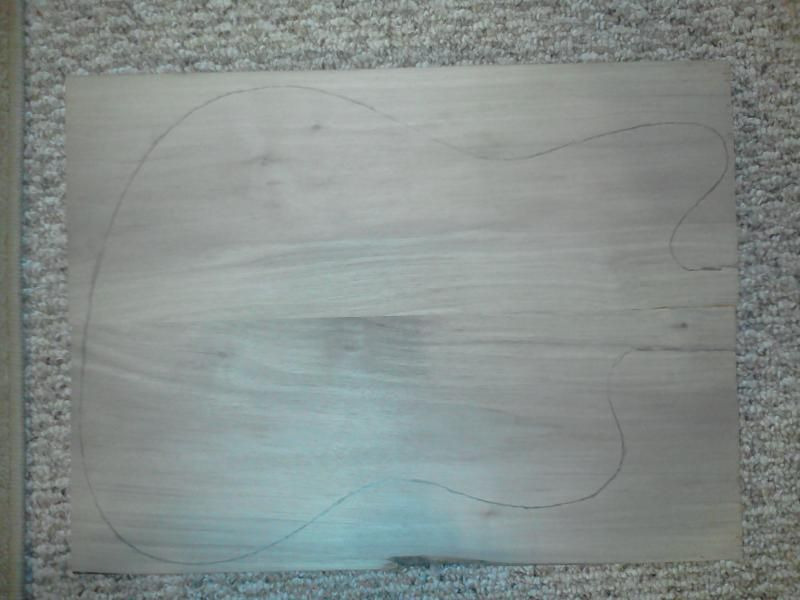
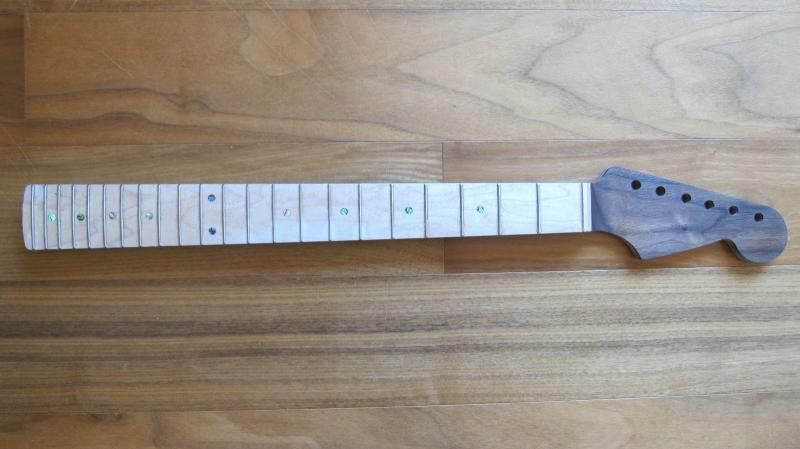
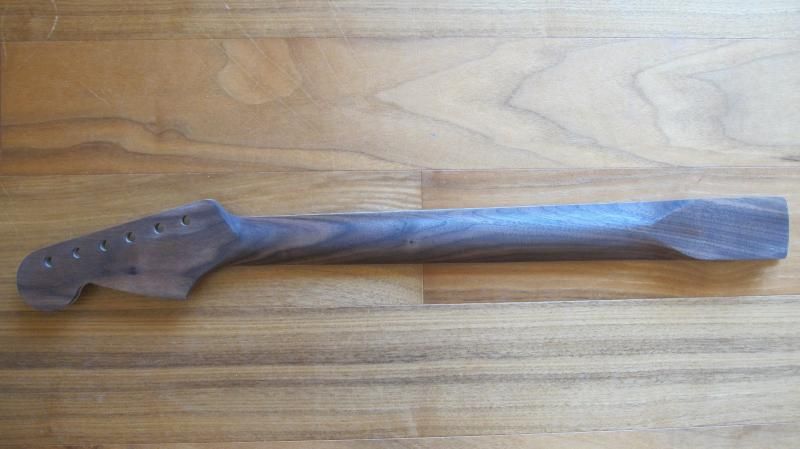
Started a new project. Scored an amazing laced redwood veneer. Never used black walnut as a body wood, so I'm going with that. Also, found a walnut neck to pair up with the body, as I've not attempted making my own necks yet.
-
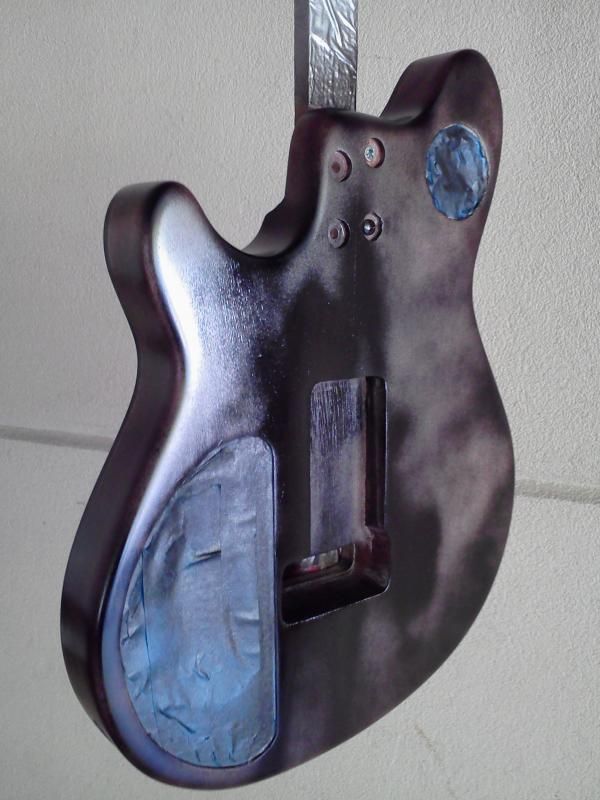
All finished up spraying. In total, one can of sealer on the whole body, one can black lacquer on sides and back, one can clear on the top and a second can of clear for the whole body.
I'll let it cure for 6 weeks then wet sand. Hardest part is the waiting game.
-
Couple more shots. On my 2nd can of clear now.
-
Top shot after a few coats of clear. Didn't catch a good shine, but it's starting to look better.
-
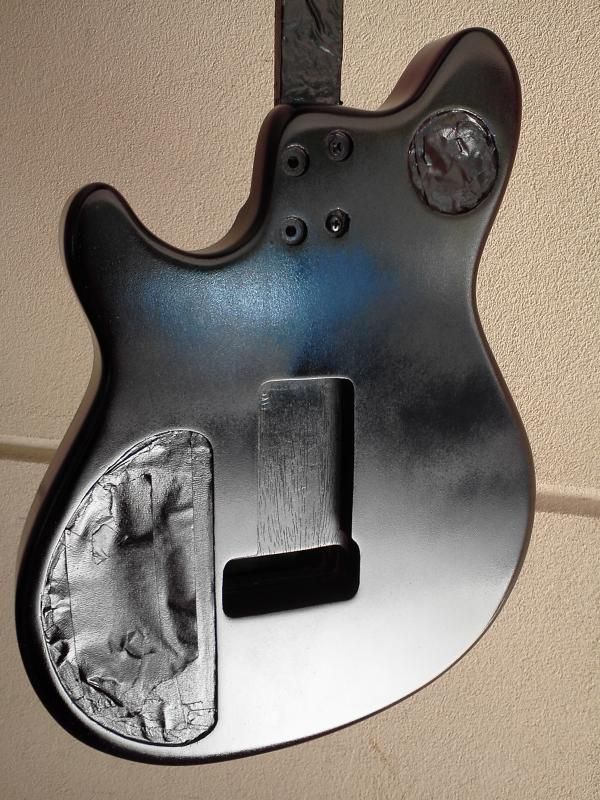
Progress pics. Body after one coat of black lacquer, then after 5 coats. Headstock shot shows a scratch, which looks way worse in this pic because it caught the light, however I will wet sand it back a bit and hit it again with another layer of color before clearing.
-
Sanded back the body with 400, wiped down and repeated. Back and sides look great, super smooth. The burl top showed quite a few pinholes that still haven't soaked up enough super glue. Went back over all those spot and flooded them again. I'll let the superglue cure and sand smooth again and see where I'm at.
-
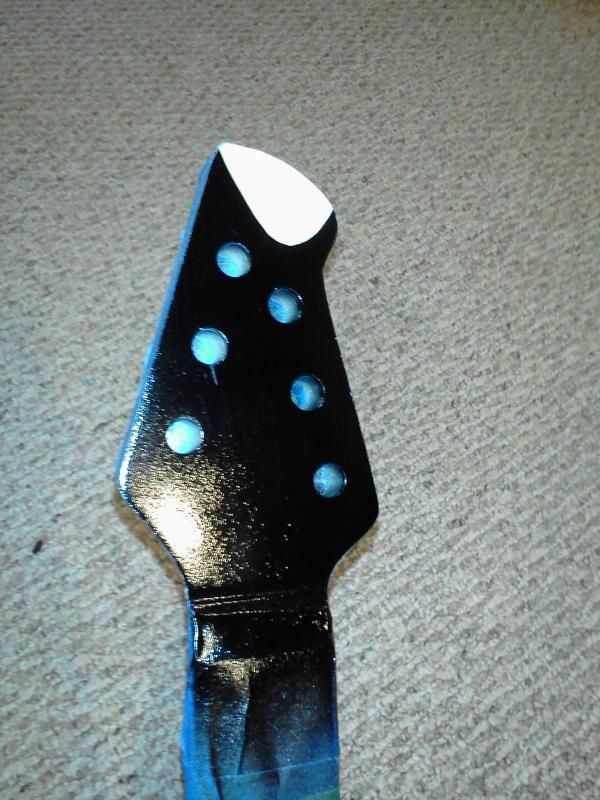
Finish sanded the cutout and also got rid of the little nics on the edge of the headstock. All taped up and ready for sealer and color.
-
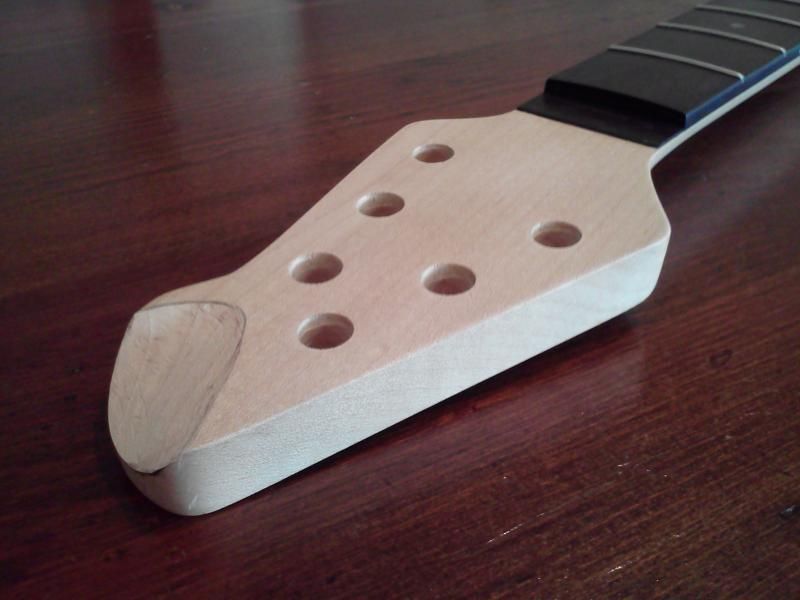
Got 4 coats of sanding sealer sprayed this afternoon. Grain is starting to pop out more on top. Also, starting carving the headstock cutout.
-
Multiple rounds of grain filler and sanding back with 220, 400 and 600 grit paper. All grain filled. I went with a natural maple that I already had on my shelf, as the back and sides are getting sprayed with black lacquer anyway.
-
I know, I can't believe I started this back in Sept 2012. 2 years in the works. Life has a funny way of getting in the way of projects.
-
Well, it's been a long time, but I finally got back to this project.
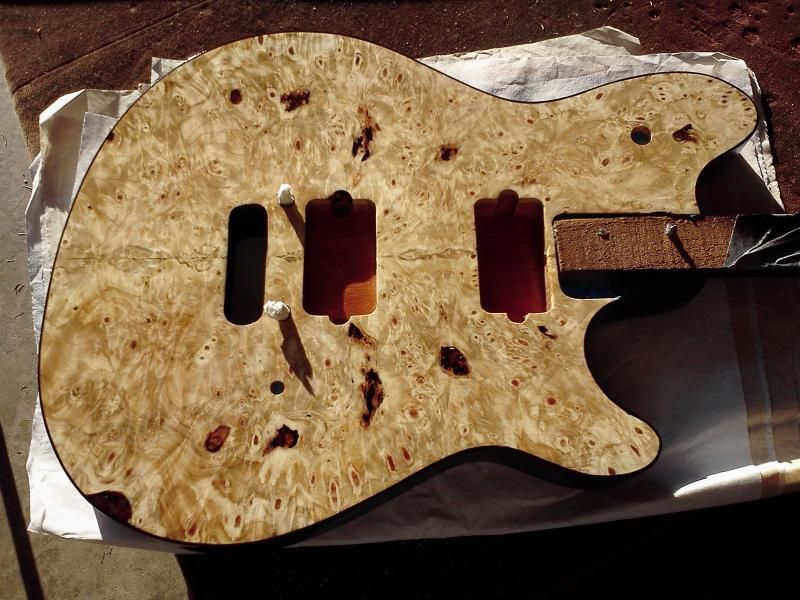
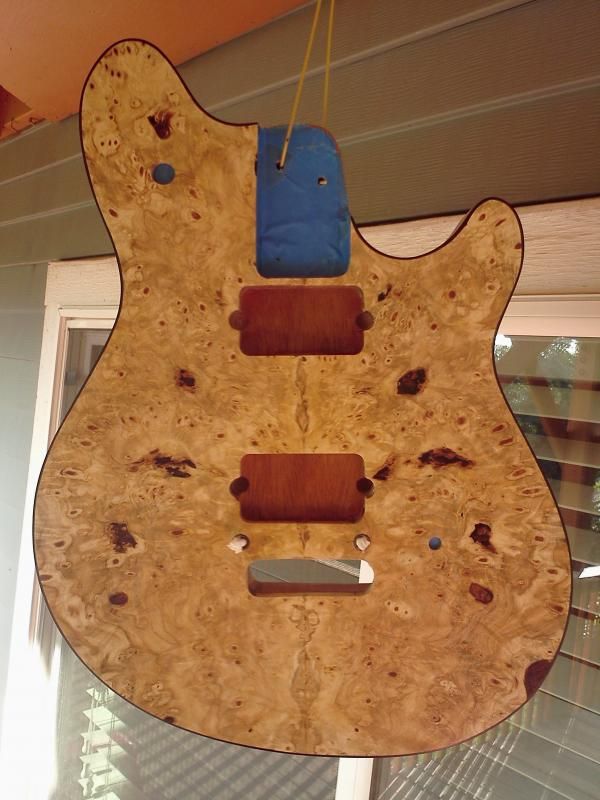
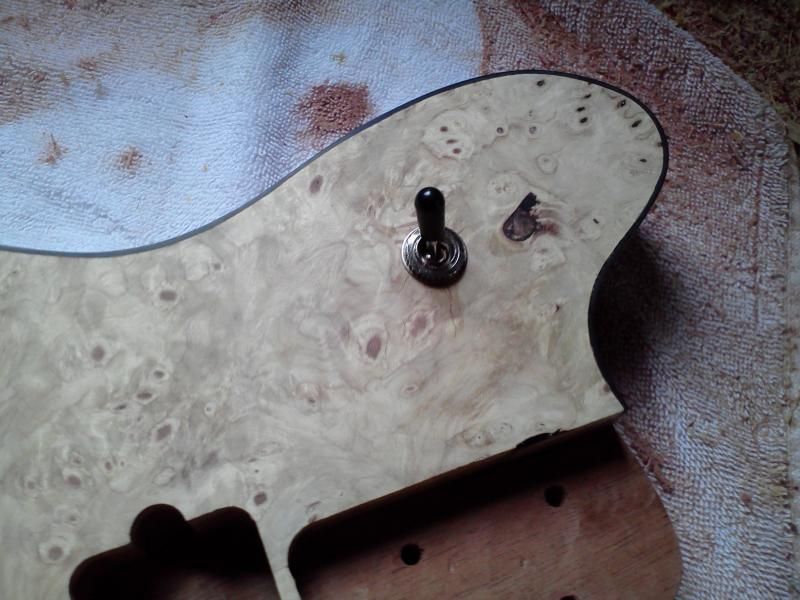
More pore filling of the buckeye burl top with super glue to make sure there are no holes or voids anywhere.
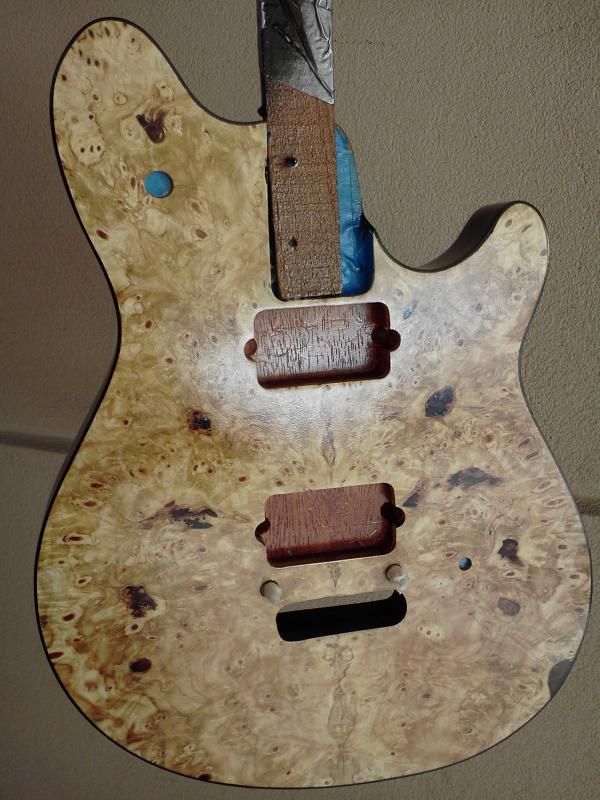
Routed and drilled holes for the 3-way switch, trem posts, and volume knob.
Next up is final sanding of the body, then grain filling the mahogany to prepare for spraying the back and sides black and clear coating the top.
-
 1
1
-
-
The alternative to dyeing is to shoot a tinted lacquer. That would avoid issues with dye not taking to areas sealed with CA anyway. Does your Maple need it though? I am not one for using dyes on figured woods as they tend to flatten the natural chatoyance/movement of the figure. Great for "popping" figure by darkening exposed end grain.
You might still want to fill the pores of the Mahogany with CA however it can be quite unforgiving when sanding, second only to sanding epoxy. There are plenty of grain fillers out there that are easier and less poisonous to work with than large amounts of CA flashing off over a large surface burning your nasal and eye tissues with the fumes....
Apologies if I missed the point of what you are doing. Kind of sidetracked.
No worries. CA (super glue) to seal the natural burl, no stain. Regular mahogany grain filler for sides and back.
-
It's still sitting here almost done, like 20 other almost-finished projects, haha!
Yes, the first coat of whatever type of finish you're using seals the pores of the wood up against any following coats and at that point, the wood is sealed.
There is no special product that seals wood pores better than another, it's just the first coat of whatever it may happen to be.
The primary purpose of sanding sealer (which I think is a little silly myself, but others quite like it), is to make sanding easier by adding soap to the lacquer, which, btw, makes the laquer softer overall if used to excessive amounts. That's it. I myself never found straight-up lacquer that hard to sand, so I never use it.
Remember if you're going to wipe the whole surface with CA to fill up the soft spots AND you're going to dye it that you really need to sand it back really well so you don't get blobby spots where the dye couldn't get through the CA glue and get straight to the wood, which it needs to do.
Sweet build, I love it.
Thanks for the tips. Before I started with CA glue, I made the decision it would be natural.


Laced Redwood Jazzmaster
in In Progress and Finished Work
Posted
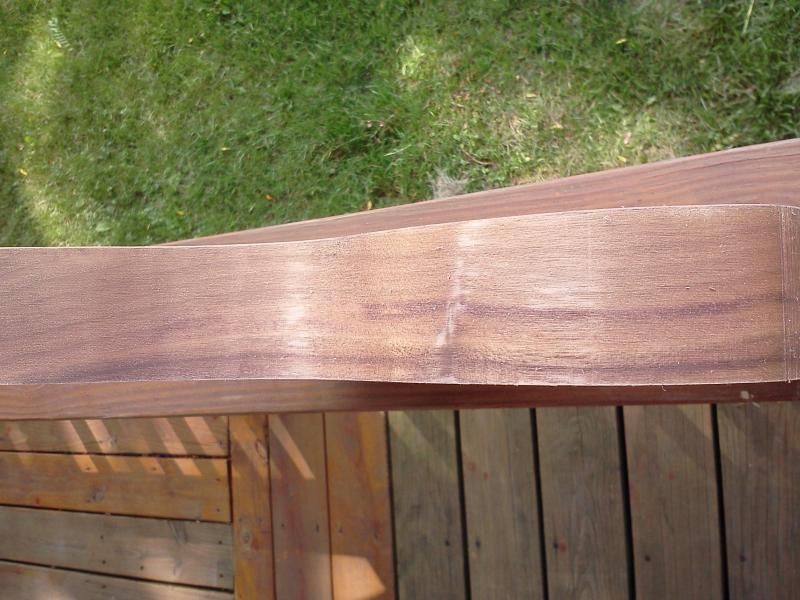
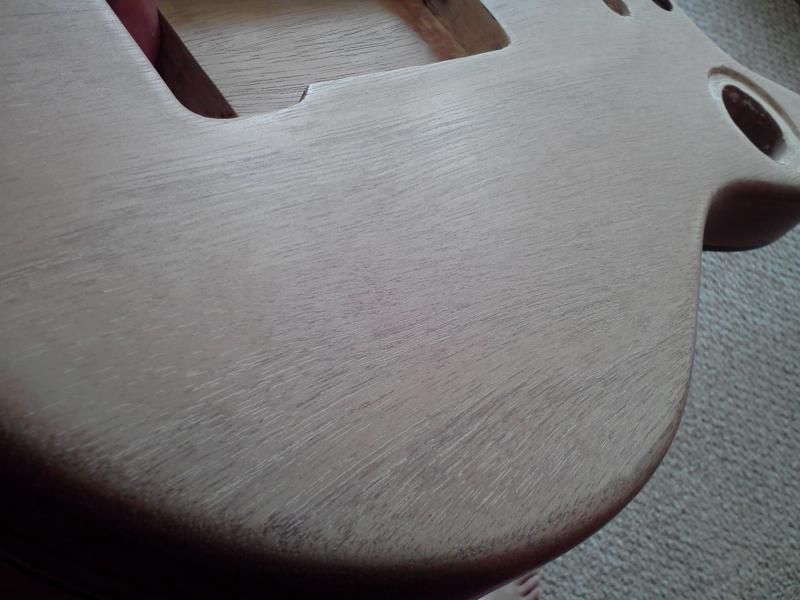
Yeah, there was seepage in the center line, but not too much. I just haven't taken the time to sand the glue spots out yet, but when wet you don't see them. The top looks so good natural wiped with Naptha, I'm still not certain I'm doing a stain at all. The test pieces I used with red, brown and yellow and the black and yellow piece are subtle.