


demonx
-
Posts
1,803 -
Joined
-
Last visited
-
Days Won
63
Content Type
Profiles
News and Information
Tutorials
Product Reviews
Supplier Listings
Articles
Guitar Of The Month
Links and Resources
Forums
Gallery
Downloads
Posts posted by demonx
-
-
It does look good like that. I want to do a Swirl, not same as this, but in theory I just want to have the swirl up front fading to a solid color from the edges back, kinda like what you did here.
Kinda like this?? But swirl rather than flames
This was one of my earlier airbrush attempts. It was meant to be layered flames with shadow to fake height. I was not happy with the finish so it never got cleared. I wiped it all off with thinners and gave it a sand. It then became the Baphomet warlock.

-
Thanks Prostheta - The store was a challenge for me as I'd never done anything like that. Was kind of like improvise and adapt.
Thanks Anthony - Appreciate that. I'm not confident at all with the airbrush so to hear someone say that my "I winged it" paint job is the best camo they've seen makes me feel good. Thankyou. I even surprised myself when it turned out like what I had imagined!
Thanks Maiden69 - originally I planned to have complete coverage front and rear camo, but I decided that'd be way overkill and went with this, however most front only gfx stop at the bevel (easier to airbrush), mine goes over the bevel to the side but the bust kind of hides that.
Thanks Westhemann - thats exactly how I planned it! I wanted a guitar that Old School '80s Max Cavelera would want to play - but with my personal edge to it.
The build was meant to be for me as my personal guitar but I've already had a local guitarist from a regular gigging band say he wants to buy it just from seeing the pics and having played the "groges" guitar I built. He's the lead guitarist in the band that the Groges plays rythem in, so that's a massive compliment and I'd be a fool not to give up the guitar and have another one on stage reguarly.
Spelling Bee Mod - Thanks to you too for getting my back! Cheers!
-
You should be able to see the headstock in this quick vid:
-
I'm at work at the moment. Later on I'll post a quick video walk around where you can see the whole thing fresh off the gun.
-
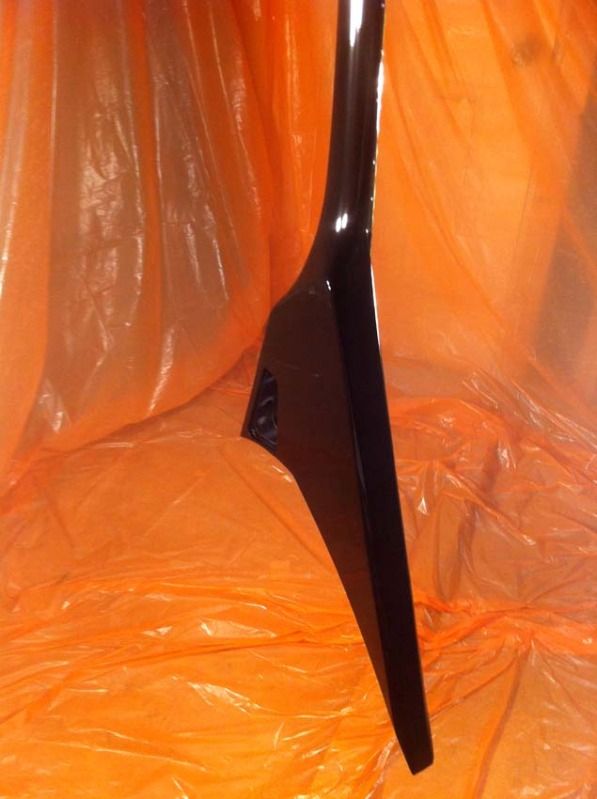
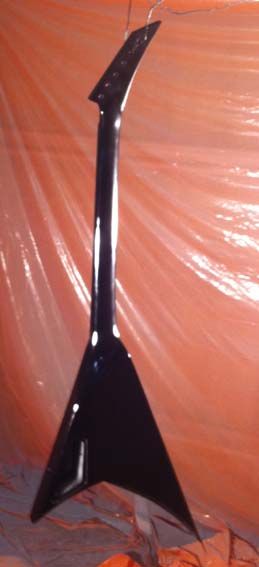
Bring on the clear! Spraying today - PPG Deltron D800
Before clearing I noticed a few little marks on the back of the guitar where it must have been scratched while I ws airbrushing, so I touched up the paint today with the airbrush and the rest is in the pics:
-
I just rushed this through and I'm off to work now!
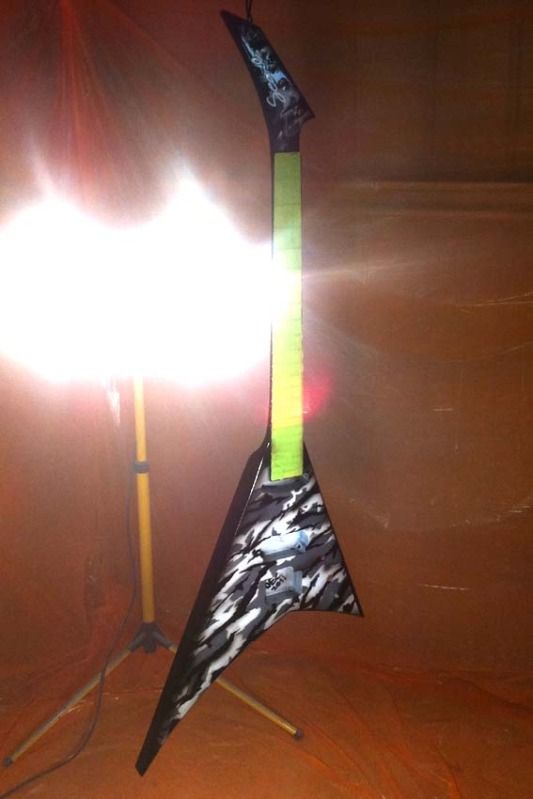
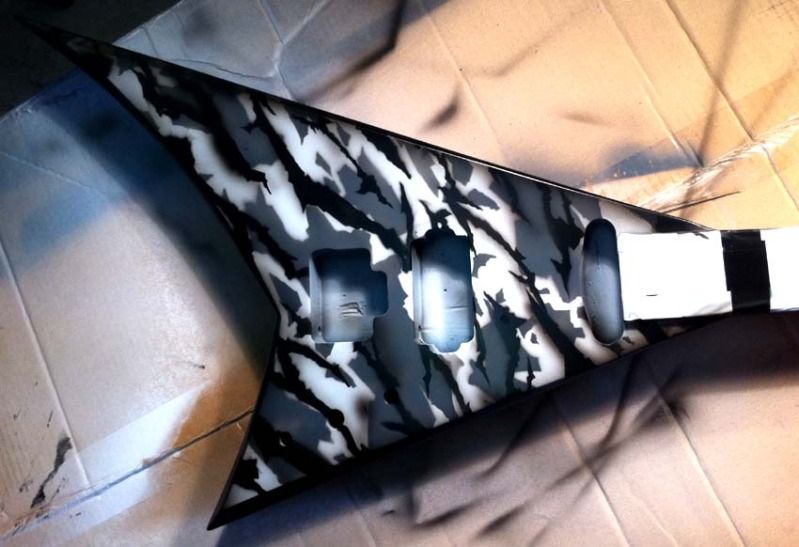
Urban camo with a slight black burst around the edges and some smoky haze around the camo to soften it up a bit.
-
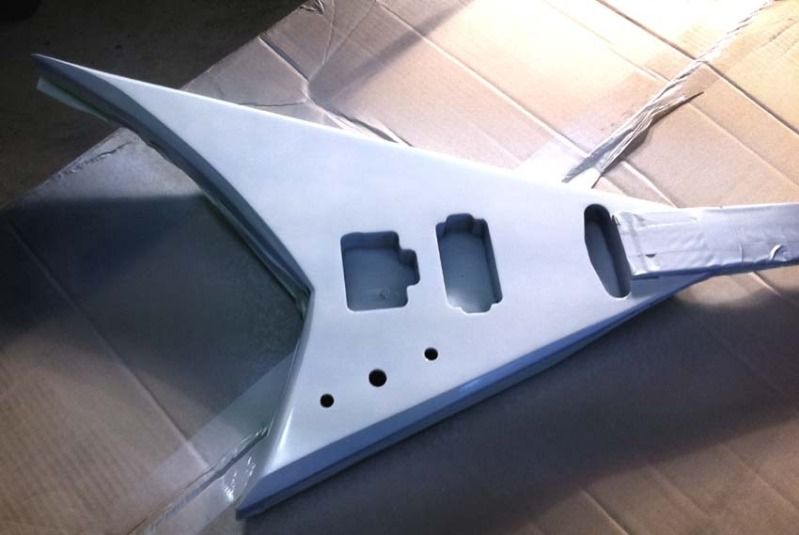
White base coat on the front of body and headstock. It's sitting under heat lamps ready to start airbrushing the camo but I just got a "call in" from work so I wont be able to do any more on it today. Tomorrow...
-
Looking really good! Lots of detail work there.
-
OUR SOULS: it'll be a white to black urban camo. I've wanted a guitar that color for years and after painting the Groges superstrat I've had it in the back of my head to do something for myself
-
Heres todays pic progress:
Primer final block sand:
First stage of the color process:
I mentioned earlier I had a grand airbrushing idea for this - well my mood has changed since then, i'll still be airbrushing it but the grafhics will be way more down to earth and simple. I'm doing a paint job "for me" that I've wanted for years!
-
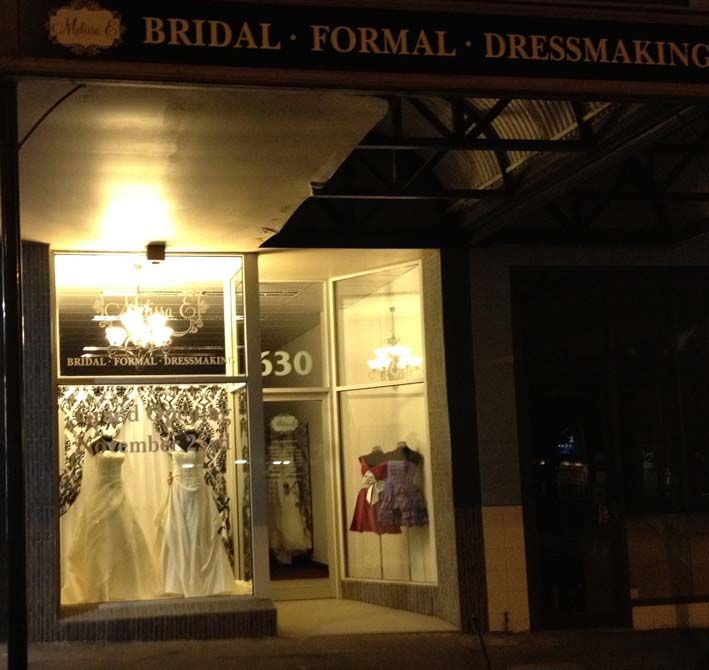
Front of shop at night:
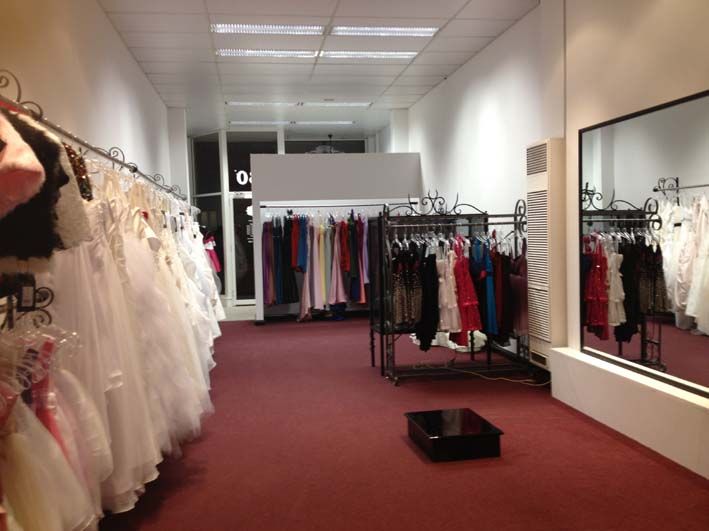
Front entrance of shop and front counter (a lot more decorated since this pic)

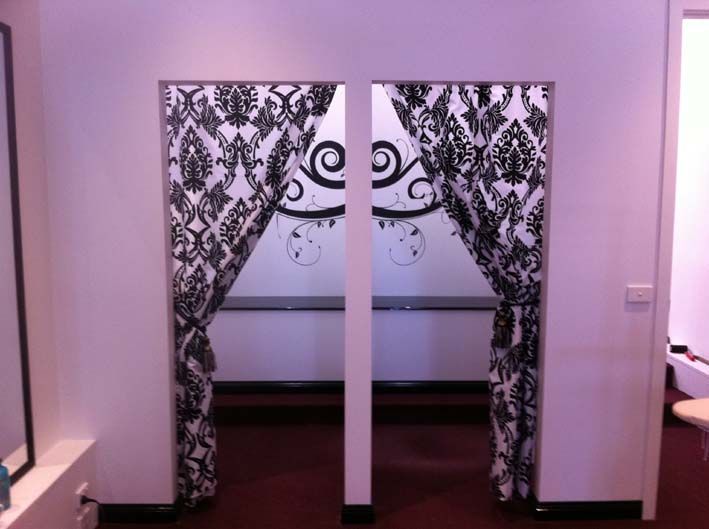
Finished change rooms:
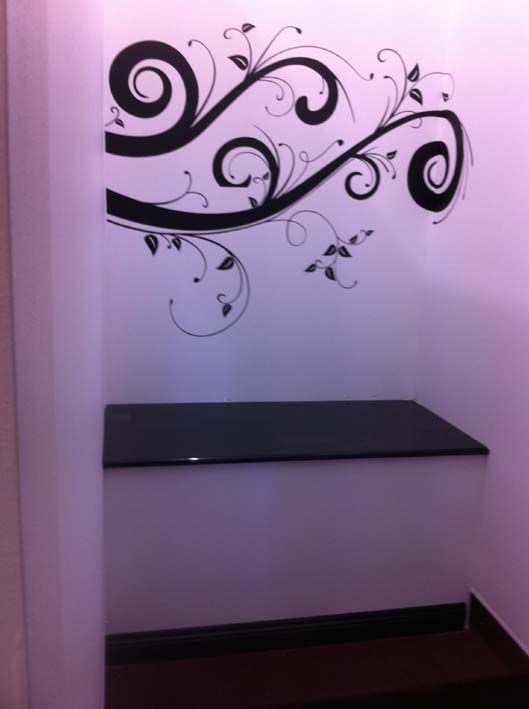
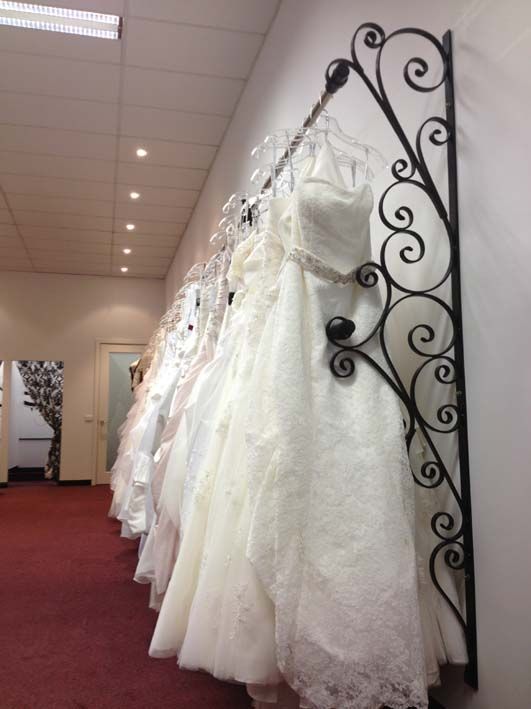
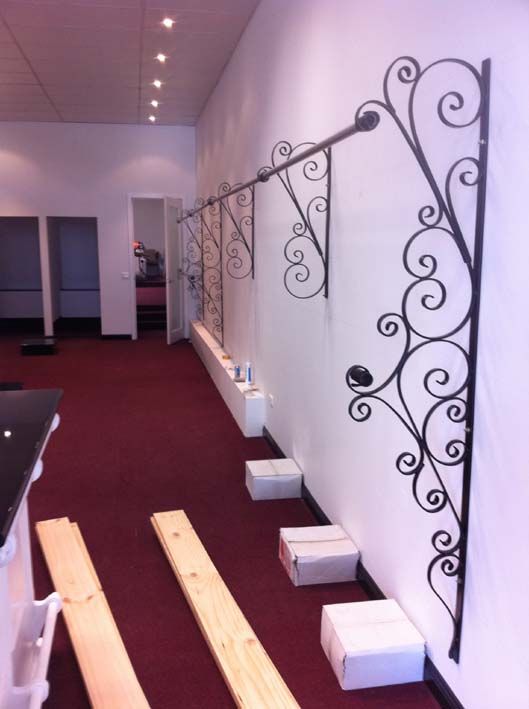
Wall rack stocked up:
In the rear (which is actaully the front of the shop) you can see the dividing wall from the earlier shot is now finished:
so yeah - I hope I can be excused for being slow on the build since I did all this on the side of working 40 hrs a week in a factory and trying to build two guitars!
Cheers guys!
-
and some MOD edited your original thread title to correct the spelling anyways
Wudn't me
Wudn't accusin', although reading it back, by capitalizing 'mod' I made it look accusatory. My bad.
and yeah, post some progress so this thread goes back on track. See what happens when you build slow?

Tell me about it!
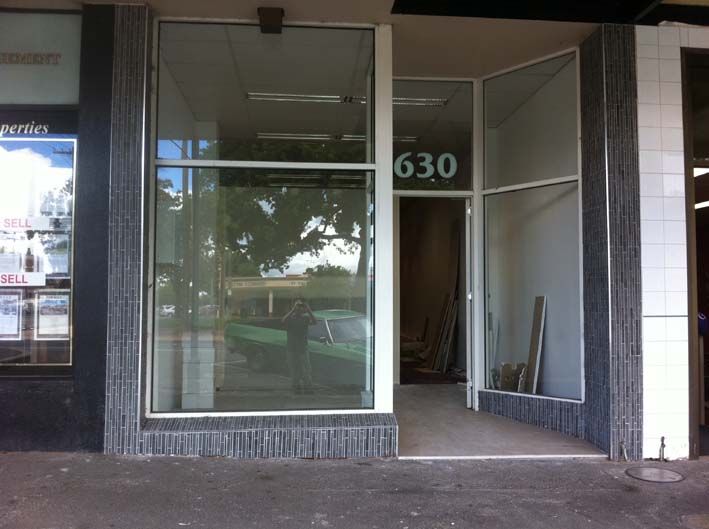
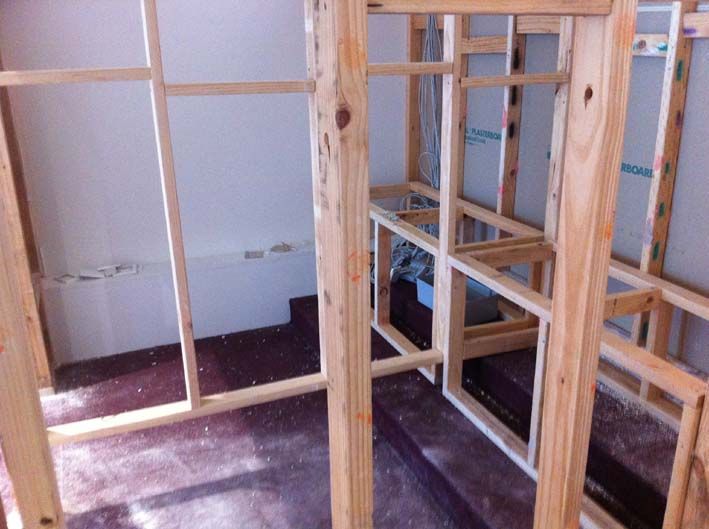
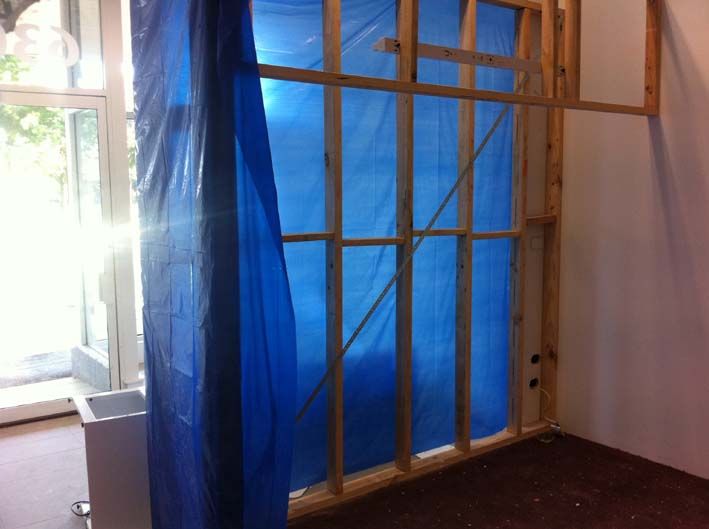
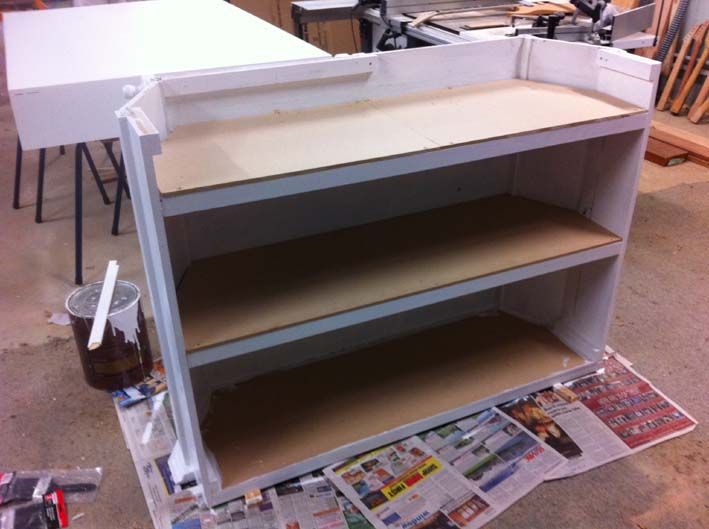
I had two builds underway at the same time (this and the 7 string SS) when my other half decided lease a building and volunteer my services to turn it into a retail store. When I saw it, she'd leased a office complex, so I had to strip the place, a complete demolition back to empty shell, build new walls and all internal structures, rebuild a front counted she purchased off ebay but it turned out to be a chipboard piece of shite that was left out in the rain - so i had to pretty much make her a new one, build timber furnature for the shop, paint the whole place, make curtain rails and shop window platforms and pretty much do everything except the plastering and electrical. Oh - add wall decals and painting second hand cabinets and installing wall racks that were handmade by a blacksmith along with installing a digital security system and a million other things!
Long story short I've been flat out for the last couple months and I'm sorry, these builds were put on the back burned and the thread de-railed! I accept full responsibility!
Heres a few pics:
The front during the demolition/build stage. The reflection is me and my work ute!
Change rooms during construction (using second hand timber from the demolition to cut costs)
One of the dividing walls with inbuilt rack:
Wall rack installed and the skirting boards painted and installed:
Reconstruction of the front counter:
-
You might have a customer already!
Can't wait to see them
-
There's always the "heal" vs "heel" spelling bee quiz. We're all guilty here!
Hopefully I'll have some pic updates for this thread by the weekend
-
Prostheta: thankyou. Great post.
-
Seems this thread has turned into a Spelling Bee !!! hahahahhaa
-
That is a bloody beautiful guitar mate...
Love it!
-
Very nice!
Clean precise work. Simple/not in your face yet very tasteful.
-
Speaking of sanding, I'm surprised you left that spot by the treble cutaway.
The rest of the guitar looks so professional.
That was a screw up where I slipped when using the bandsaw roughing it out. It's sanded but the cut is deeper than I was willing to sand back, the fact it stands out now doesn't bother me as when I spray the burst, it'll be invisible - covered by black.
-
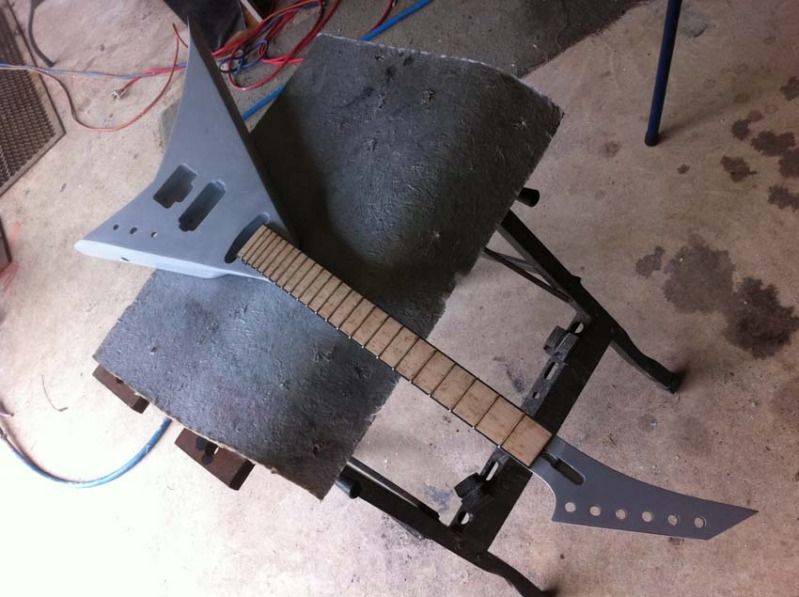
Today I got a chance to get stuck back into the Rhoads.
Block sanded the entire thing with a bit of help from the pup:
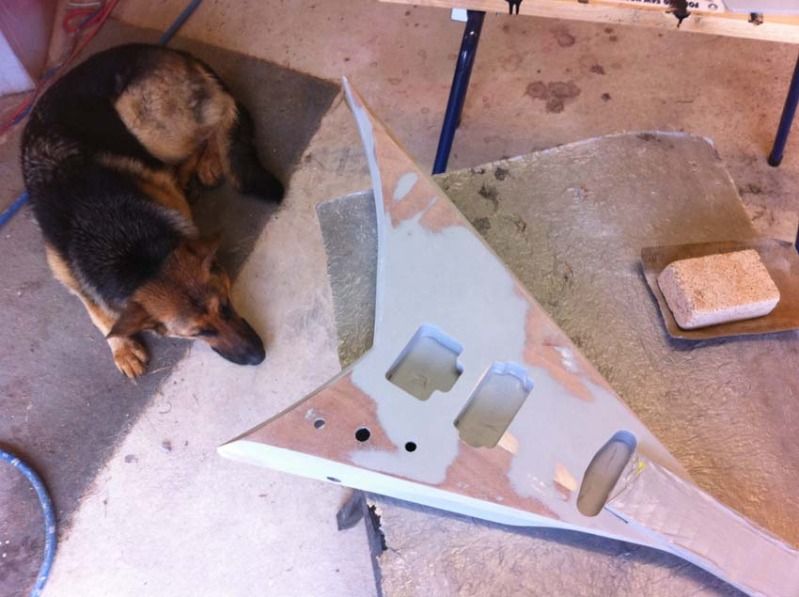
Resprayed the primer:
Hopefully it'll block back nicely and I'll be able to post some color pics soon!
-
My guess is the router would tear apart the binding.
Sorry - you'll just have to do it like everyone else!
-
What finish product are you shooting?
Keep on posting!
This is just a cheap ("Spartan" is the brand) Automotive 2k that I use on transparent guitars as a primer and grain filler before spraying candies or final good quality clear.
It is definitely not what I'd reccomend as a great clear. I only use this because its cheap and I sand most of it away. It sprays horrible. It's thin and runny, even if I under thin it. It's just an all round cheap clear but it does what I use it for! I spray it on extra thick, not worrying about runs or anything as it all gets sanded.
-
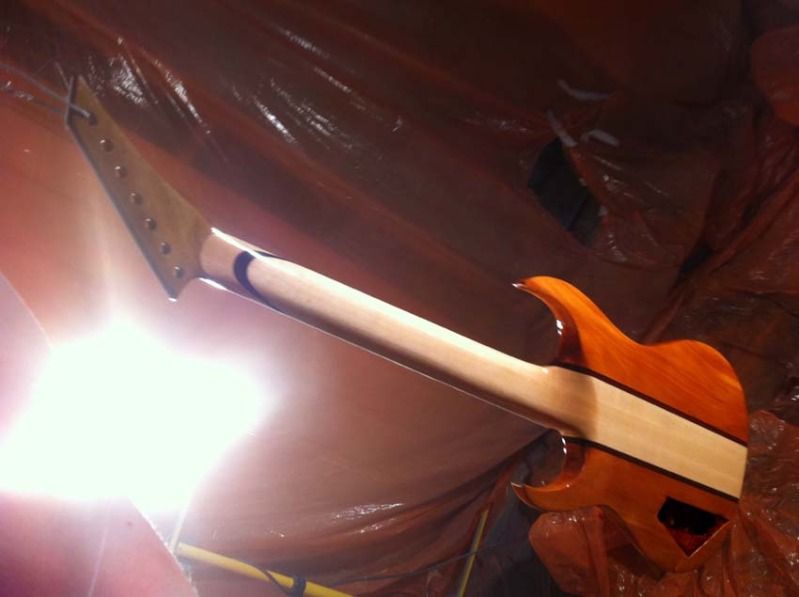
I did an experiment with this one. Instead of using a straight bit for the nut (which is wider than the rest of the rod), I used a round-nosed bit. Specifically, it was a core box bit, but I'm sure any round one would do fine. I really like the way it came out.
Ive thought about doing that but never actually done the deed. Looks great. Next time I'll follow your lead!
-
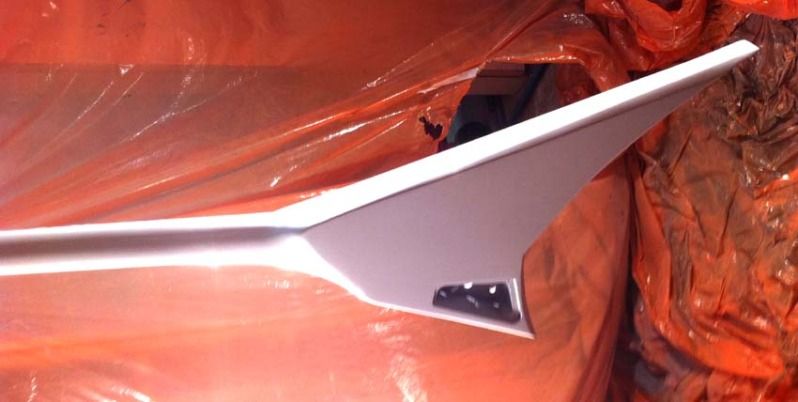
All final sanding done, managed to find the time today to shoot some clear primer coats:
The Mahogany "popped" quite nicely!

Searls - 7 String Superstrat
in In Progress and Finished Work
Posted
Ive been out block sanding the clear getting it ready for the next clear shoot, but I cannot do that until the Rhoads is able to be moved from my spray room.
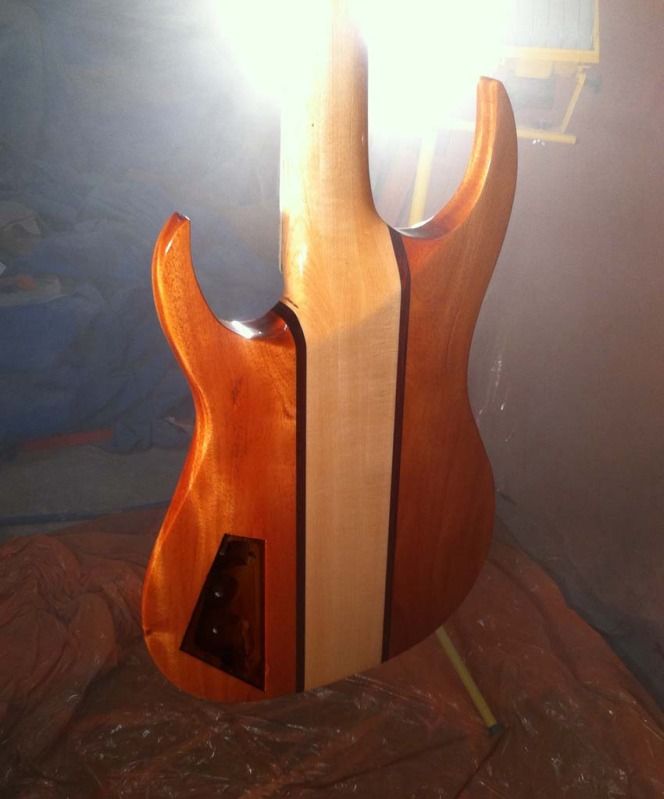
Sooo... in the meantime I've been playing with PPG candy dyes and come up with my own color. It's a trial and error mix of red, yellow and violet PPG candy concentrate dye, then mixed into a Basecoat blender to make a 2k automotive Transparent Candy which I can add thinner to.
You can see what I came up with here wiped over a piece of mahogany to testthe wing color and the thin strip of timber is a bit of maple to resemble the neck. I reckon that'll look sweet once its cleared!