


demonx
-
Posts
1,803 -
Joined
-
Last visited
-
Days Won
63
Content Type
Profiles
News and Information
Tutorials
Product Reviews
Supplier Listings
Articles
Guitar Of The Month
Links and Resources
Forums
Gallery
Downloads
Posts posted by demonx
-
-
Ok, thanks. I've often thought of doing that but never committed due to not knowing if it would or wouldn't be in the way
Nice build.
-
I'm curious what the output jack is like in that position - if it's in the way at all?
-
I saw the lmi temps and wondered if they'd fit the stewmac box.
I've never ordered from lmi. I once requested a shipping total from them and it's because of that I've stayed clear of them. It was for one five dollar length of plastic binding and they wanted forty bucks to post it!
I've used your fretfind site to do the math, it seems that a 27" scale is simply a 25.5" with extra fret at the start and a 26.5" is a 25.5" with extra fret at the start. Im hoping it's really that simple!
Before I cut the board I'll do some more checking into it but it looks right on fretfind.
I wish I had a 26.5 and 27 in front of me to lay the other scales over the top of
-
RAD:
while checking out your fretfind link the thought occured to me that if I used the 34" in that method then I'd only get 21 frets and have to manually workout the last 3 or 4, BUT, then I applied the same logic using the 34" and checked the data on the site and I can use a 25.5" scale and add a fret at the beginning and still get extremely close to 27"
Thanks for the site. It's very very helpful.
-
Rad:
Using the bass template like that is pure genius. I wouldn't have thought of that!
I'll measure it up later when I'm in the workshop but I reckon you're spot on.. I've got a bass 34" hanging on the wall.
I knew I wouldn't regret asking this here!
Thanks heaps!
-
Can anyone reccomend a supplier for Fret Slot Templates that will fit the Stewmac fret slot mitre box in 26.5" and 27" scales?
I'm having difficulty finding some.
Thanks
Allan
-
Eddie - it prob is a rude question, like asking a woman her weight, but I'd love to know the answer too!
Just looking at that burst again, the figure and burst on yours looks much better than the pic you're trying to replicate!
-
Loving that burst, very pretty. Simply oozes class!
-
Looks excellent so far, great vision!
That scroll is going to be a pain in the rear to paint, cut and polish!
Will look great though!
-
Wish I had someone showing me this stuff at 12!
Lucky girl. Even luckier to get that nice looking flamed neck! Should look good
-
I just used epoxy on my ebony board.It's a new thing for me.What I did was I got a box of those blue powder free rubber gloves and I rubbed the epoxy(24 hour T88) onto the board very sparingly...just rubbed it in with my fingers..Then I took an old bandana and rubbed off any leftover excess.It left a very thin,very nice looking coating which seemed to penetrate well without running all over into places I didn't want it.
Interesting... I've got a maple board on a current project I've been wondering whether to clear or oil, maybe epoxy might be worth a shot
-
Thanks, appreciate it - the different headstock is not everyone's taste but I like it.
I've never seen it done like this before either, it's something I come up with one night while "day dreaming" at work.
Im trying to be original, same as my scarf joints are a bit different to others.
Not too many ways to be original in lutherie these days!
-
I can assure you the save wasn't by choice!
If the guitar was for someone other than myself I'd have pulled the board and fixed evrything to spec including installing an extended shim and new board, but since this ones just for me to have a 7 string player laying around I just worked with it.
I also just realised I forgot to post a rear pic, so here it is:
-
Chin up, we've all been there.
-
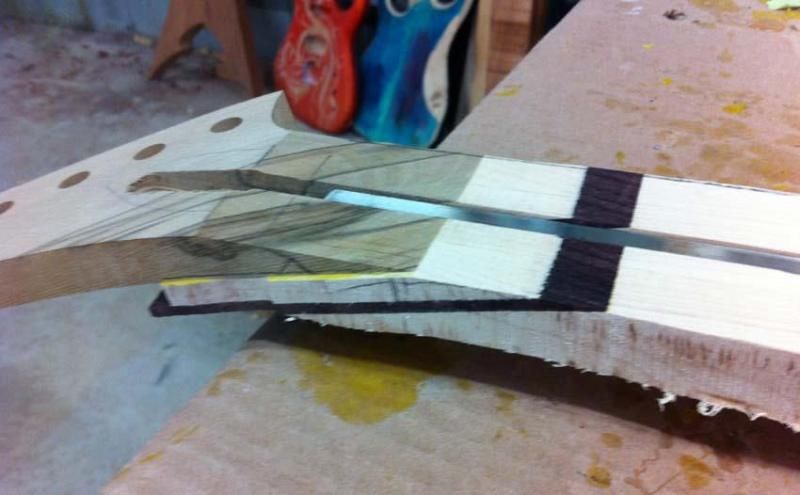
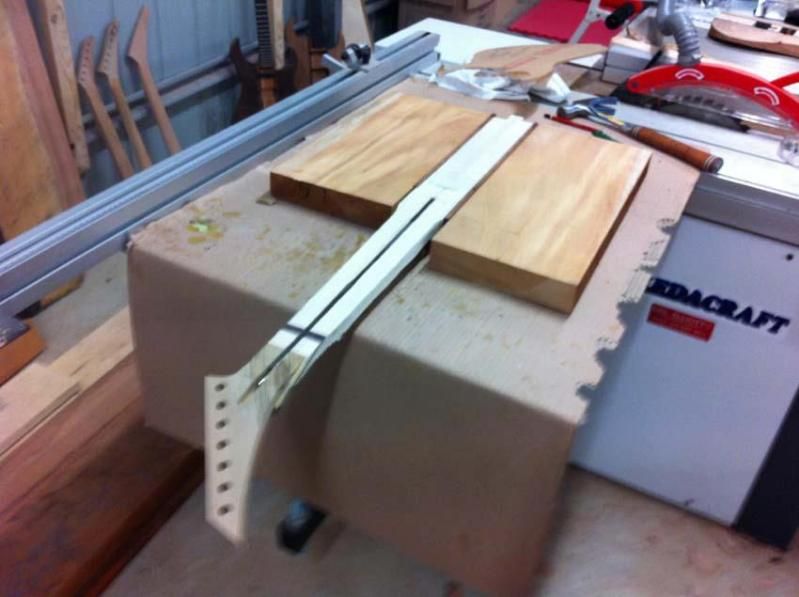
Building guitars doesnt always go as planned!
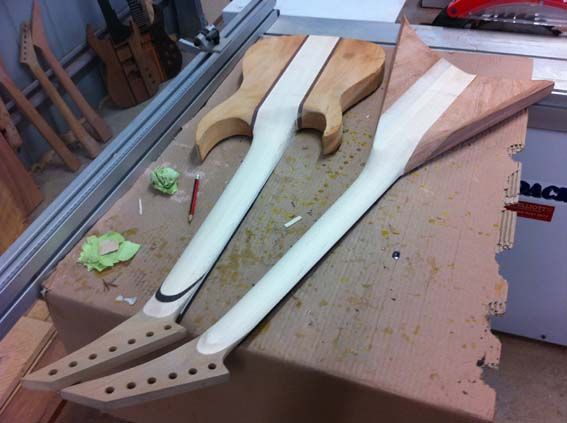
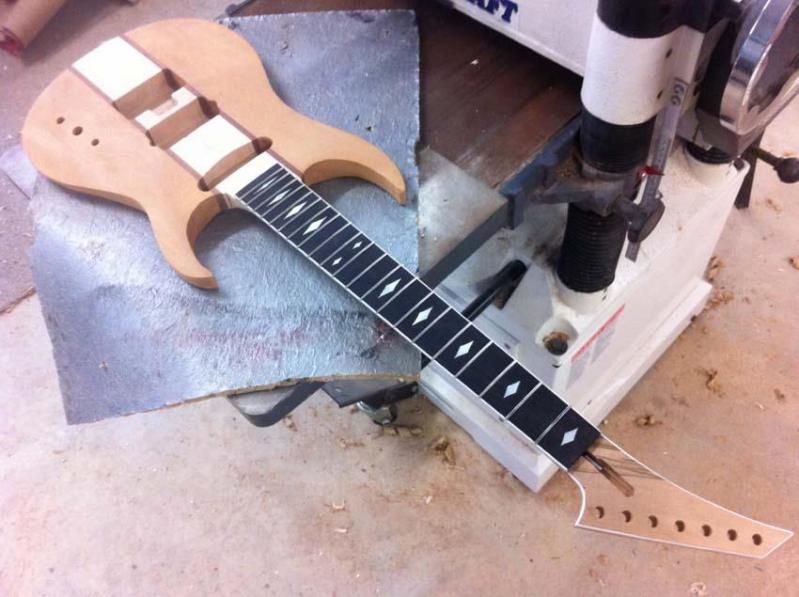
This was meant to be a rest day - I got bored and decided to radius and fret the 7 string. This one had a bit more board overhang than what I'd normally do, so I shoved a chisel underneath for a bit of support. Apparently it wasn't enough.
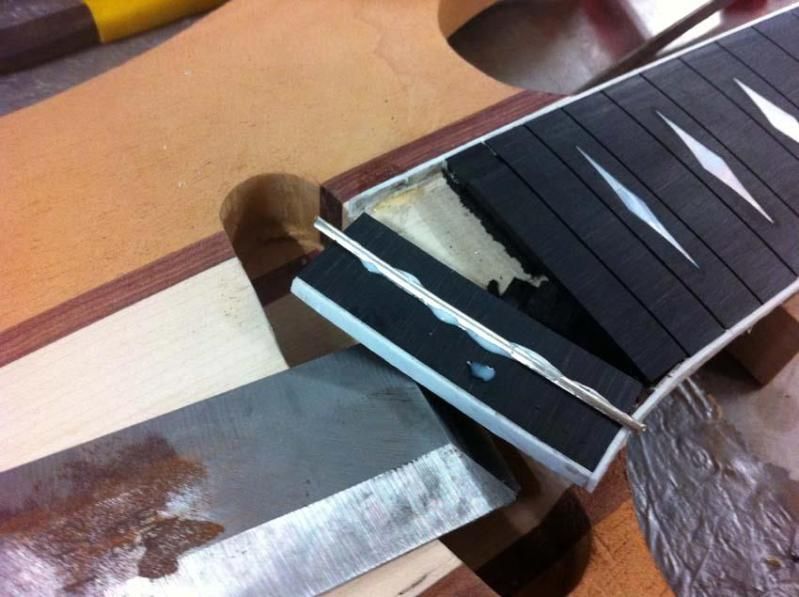
The fix - I've cut it back to a 21 fret, chiseled and cleaned up the shim area and glued a new strip of binding to the end.
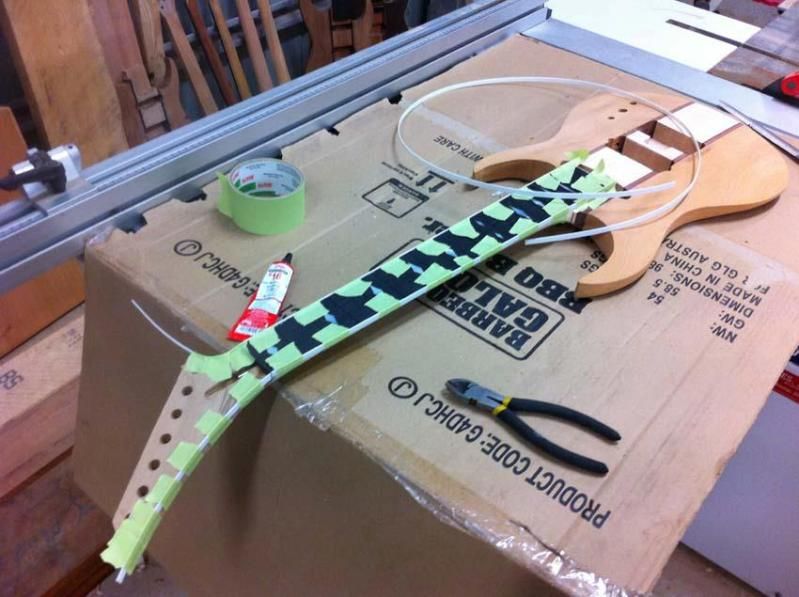
More pics to come when I get time to do more work!
-
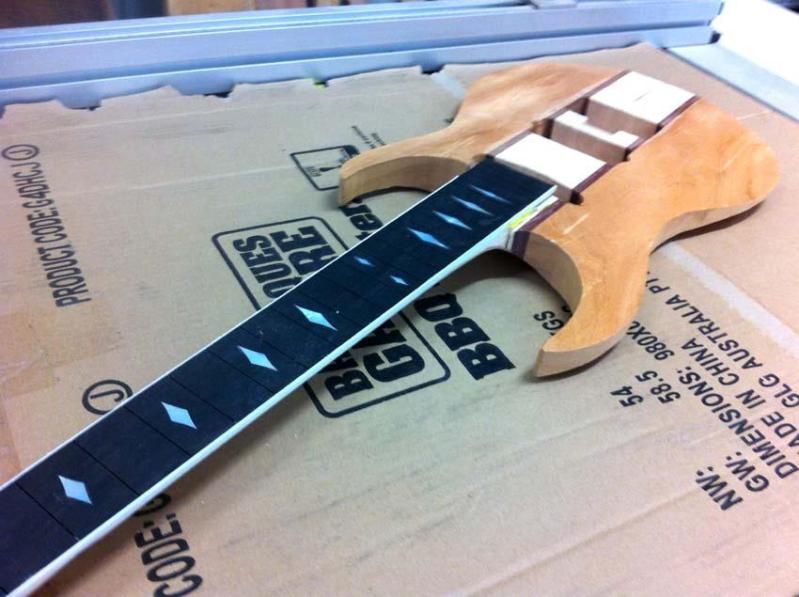
SUPERSTRAT - 7 string
Mahogany body
Maple Neckthru
Ebony board with white binding
Mother of Pearl large diamond inlays
Reverse Sasafrass headstock
Kahler Trem
Grover Tuners
Bridge p/up - Bareknuckle Painkiller
Neck p/up - Custom order Bareknuckle single
-----------------------------------------------------------------------------------------------------------------------
I really thought I was clever when I started this guitar as I had not seen anyone put sections of timber into a scarf joint. After being on this site a while heaps of people are doing it! Don't feel so special now!
-
I just use a cheap 2k automotive clear, spray a heap of coats, leave it for a week or more, sand it back and repeat until it's flat.
Sometimes it'll seal on the first spray session, sometimes it takes a couple. It's harder than simply using a grain sealer, but it means I'm not mixing as many products and it's what I'm used to.
-
i dont think it has any thing to do with the compound or sand paper looks like some contamination under the finish maybe silicon, oil or even solvents that got traped under a cured top coat. solvents do that when you put too much finish on too fast the lower layers didnt have time to relise there solvents.
I agree. Some sort of contamination under the coat. What a pain in the butt.
-
Looks cool! I'd love to try something like that.
Shame they dont have more variety as they all look very generic, but theres a few there I could use.
Thanks for posting!
-
I like how snug you've got that pickup! Good work!
-
It looks even better in action,if that's possible
Thanks mate - I was so stoked when I saw the pics.
It's the first guitar I've made for anyone other than myself, plus it's one I really liked as it was to my tastes.
I liked it so much I suggested I'd buy it back from him at full price if he wasn't happy - I didn't get to buy it back!
I guess it's every builders dream to see them up on stage. Feels awesome.
-
I know this is an old thread but rather than starting a new one just to post a pic I thought I'd just add to it.
I've been given a few live pics of the "Groges" guitar I built a few months ago from various gigs, heres one taken last weekend at the Bendigoat Metal Festival, theres more on my facebook page.
Makes me proud to see my work out there being used on stage!

-
I started to place an order but their shipping is WAY excessive - as in $35.00 post for two sheets.
I'll pass.
-
Sdshirtman: the finish is block sanded to 2000 and polished with a buffer. If you look at the pics you'll notice it's marblizer with candy over the top. It's a paint effect. There's no "ripples", it's like glass
Guitar Of The Month For December
in Guitar Of The Month entry/poll archive
Posted
Hitone got my vote.
If they were all lined up it would be the first I'd pick up to play.
Good work though to each build.