


demonx
-
Posts
1,803 -
Joined
-
Last visited
-
Days Won
63
Content Type
Profiles
News and Information
Tutorials
Product Reviews
Supplier Listings
Articles
Guitar Of The Month
Links and Resources
Forums
Gallery
Downloads
Posts posted by demonx
-
-
He's a pure metal player - he's late 30's and says he never uses vol or tone, I guess if he's playing guitar for 20 something years without he knows he wont want one!
The switch is a on off toggle switch with a momentary function.
I should also mention - the dots you see in the pics, it was starting to rain so I had to rush the pics real fast before packing up!
-
GROGES SIGNATURE SPEC
www.facebook.com/searlsguitars
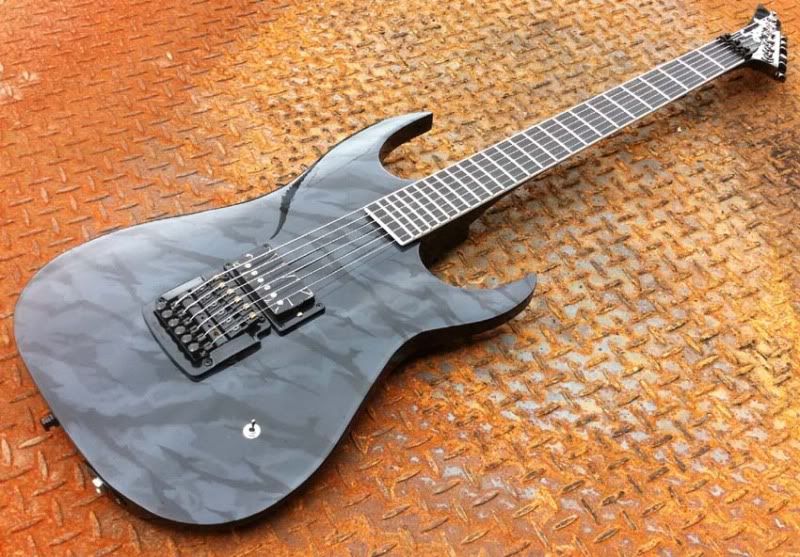
This is the first guitar I was ever "comissioned" to build. It's for Groges, the second guitarist in "Order Of Torment"
Specs:
Purpose built for pure metal - tuned to B. Guage 11-54
Mahogany Superstrat with carved front and back
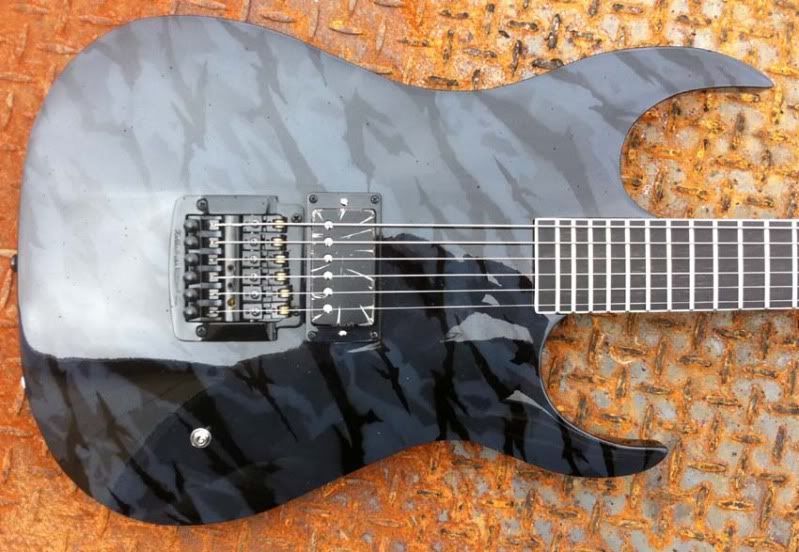
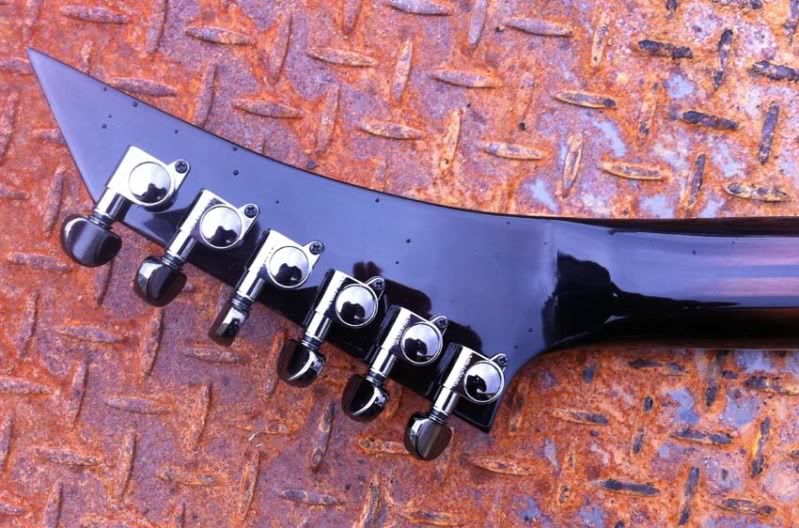
Painted black but not "plain" black was his request, then I came up with this "black camo" idea and he went for it - so I had a bit of fun with the airbrush!
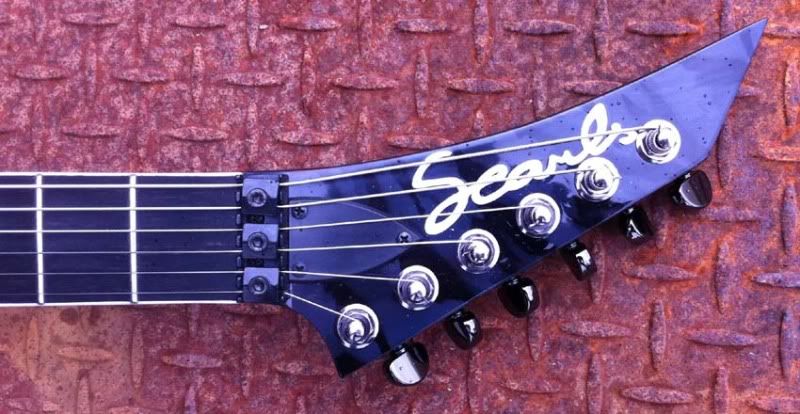
Matching headstock paint
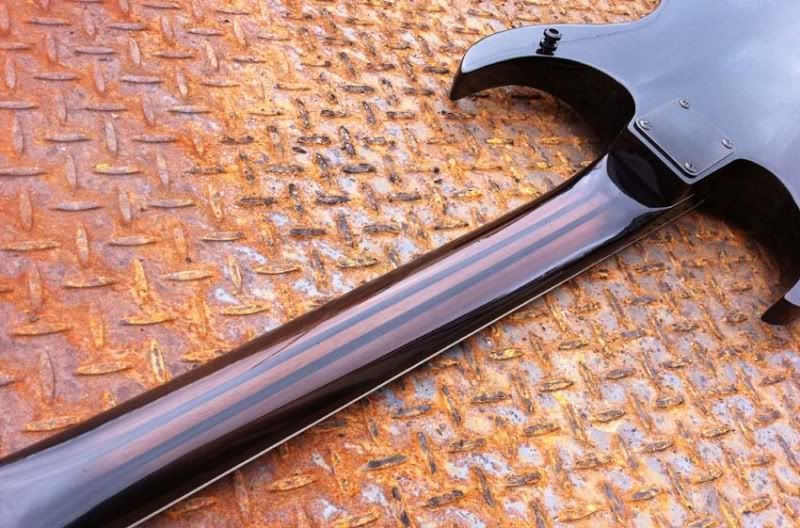
Tobacco burst paint on rear of neck
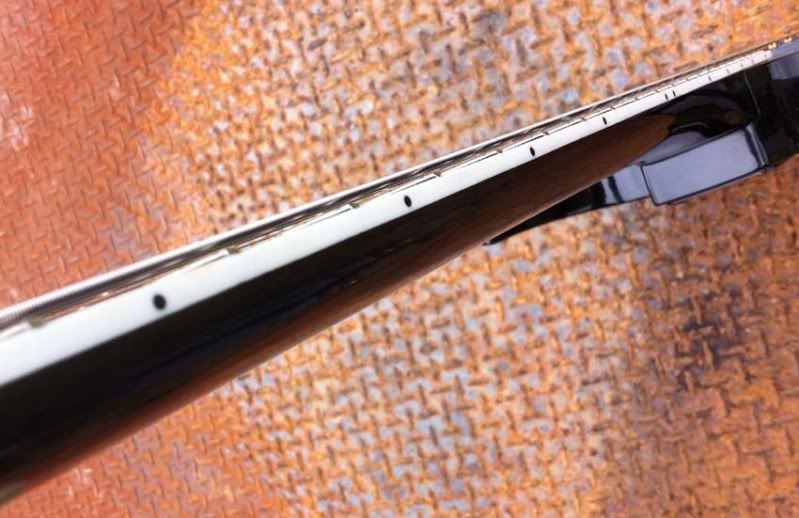
5pc Mahogany neck with ebony stripes (thin and fast - 19mm thick - including board - at the first fret)
Bound Ebony board with no inlay
Kahler Trem with fixed bridge locking ability
Bareknuckle Painkiller Battleworn Black
Hardwired pickup with killswitch
16" radius
Dunlop 6150 fretwire
25.5" scale
Strap locks
Finished with PPG 2k automotive paints

-
http://www.facebook.com/pages/Order-Of-Torment/190602317619267
http://www.myspace.com/orderoftorment
Order of Torment is an Aussie metal band that hass been building a fierce reputation on the Aussie Metal circuit for several years.
Groges, one of their two guitarists has asked me to build a special guitar for him to his exact needs. Lets just say this thing is purpose built for metal!
Specs:
Purpose built for pure metal - tuned to B. Guage 11-54
Mahogany Superstrat with carved front and back
Painted black but not "plain" black was his request, then I came up with this "black camo" idea and he went for it - so I had a bit of fun with the airbrush!
Matching headstock paint
Tobacco burst paint on rear of neck
5pc Mahogany neck with ebony stripes (thin and fast - 19mm thick - including board - at the first fret)
Bound Ebony board with no inlay
Kahler Trem with fixed bridge locking ability
Bareknuckle Painkiller Battleworn Black
Hardwired pickup with killswitch
16" radius
Dunlop 6150 fretwire
25.5" scale
Strap locks
Finished with PPG 2k automotive paints
And heres thew pics! (build pics and so forth are on my facebook page, www.facebook.com/searlsguitars
Heres my completed pics from the last build. I hope to have some live shots soon as the new owner will be playing at a Metal festival in a fortnight.

-
I've never been a firebird fan, or a fan of that headstock etc
But you made it yours, different and owned it all the way.
Looks sweet! Good work, looks like you pulled it off quite well!
-
I have been freehanding frets for years - but once I bought a preshaped file from ebay I've never bothered to freehand again.
There are pro's/con's of each, but it comes down to personal preference.
The reason I prefer the preshaped fret file is because each fret is exact to shape as the others, whereas freehand, I don't care how much of a fret guru anyone pretends to be - they are not as exact as if they were done using preshaped.
-
I think what the guy meant is hot to take off the old one and install a floyd.
Basicly in a nut shell theres a fair amount of work involved, most of it in routing and setting up the appropriate templates.
What you have to do is to first of all work out if you need to route a recess for the floyd plate. Chances are you will have to.
You will also have to route out a cavity for the floyd body to fit into, which will go all the way through the guitar.
You'll also have to understand how and in which position to mount the bridge to make sure the scale is kept true. Once you drill those post holes you'll want them to be perfect.
-
I am wanting to mess around with different styles of electronics for an electric guitar and one concept I thought of was to have a panel at the top horn (similar to accoustic/electrics have) thus eliminating the chunky knobs etc on the face of the guitar.
Has anyone seen this done before?
Are there any drop in systems available?
Has anyone got any other concept ideas that could eliminate knobs/switches on the face of the guitar?
The main problems I can foresee with what I've described is for people who ride the tone a lot (like me) when switching from lead to rythem, also the same problem with pickup selection
Hopefully you guys have lots more ideas than I do
Thanks in advance.
Allan.
-
Nailbomb?
Mose simple but I think they were pretty good. Definately a Max brainchild.
-
Put a new fretboard on and have overhang.
Yes it is possible if you dont mind te overhang.
I recently did this with a BCR neck. I also chaned the scale (which means you also have to change everything to do with the body as well.
-
I actually lay the inlay just under the surface so that whey I rub back my epoxy it has a layer over the top over the inaly.
As cSuttle mentionen above, it really brings out the color of the shell. Makes it look more three dimensional as well.
-
Thanks for the input.
I ordered a file similar to the one in the guide rather than making one.
This should definately make things a bit easier! It also gave me an excuse to pick up a few other odds and ends that I've been meaning to order.
-
This is a thing that I hate doing, and it's really anoying if I accidentally file out of line and take a chunk out of the fingerboard.
Has anyone got any hints or tips to make this an easier task with a neat finish?
Thanks in advance.
-
Band Saw - no smaller that 14"
-
If you are dying/staining the fingerboard before you install - then when you plane the edges of the fingerboard to shape it to the neck, you will then have to redye the edges.
Better to tape off the neck and then dye AFTER the install. I know that sucks, but thats the way I've had to do it fot the same reason. I also dont like to shape the fingerboard until after its installed.
-
I have been playing around with an Australian Made product called "Glass Coat".
So far I have had nothing but success. It can be used for sealing wood, I now use it for all my inlay work, this stuff is awesome.
It however has a 24 touch dry and 2 weeks full cure time and it is very runny liquid even when mixed for several minutes, so you have to do a lot of trial work to get the jyst of how to use it.
-
I order heaps of stuff from overseas and one thing I have found with customs is they seem to make up the rules as they go along and you can't argue with them or they just send your stuff back.
I think your order will most likely not be picked up by customs, but make sure that it is under AU$1000 including post, cause if its not, you will need to go through a customs broker, which adds approx AU$400 in fees.
I learnt that the hard way.
-
1992 is correct.
BCR stopped using the "F" serial numbers when HHI took over in November of 2000.
Here is a rough example of how to tell the "F" serials.
F7XXXXX (1997)
F8XXXXX (1998)
F9XXXXX(1999)
F0XXXXX (2000)
-
To put an EMG into a normal slot there doesn't need to be too much taken out.
The few times I have done this for a client I have simply used a wood chisel.
Carefully line it up, give it a hit and pull away the excess.
-
Beautiful top. I'm tempted to do a tele now.
-
I just got a book called Pearl Inlay by James E. Patterson for Christmas that has a section on making your own dots. He talks about using steel shaft the size of the dot you want and using a drill press. You attach a rough piece of your inlay material to the bottom of the steel with CA or Epoxy and use sandpaper attached to a piece of wood and gently apply pressure to the inlay material as it spins using the drill press. Pop off after inlay is round. Protect yourself from breathing the dust as it's unhealthy.
Good Luck!
Jeff
Thanks for that, that info helps a lot.

-
I added a quilted maple veneer to a maple/mahogany body. It cost me only AU$40.00 for the timber and it looks awesome.
One thing to be aware of when using a veneer is that if the body has curves, you cannot bend the veneer over the curves unless you have a vacuum seal set up, and even then it can be fairly dodgy.
So take that into consideration.
-
If you do not have a template and if you do not know how to measure the scale and position the template, then I'd suggest taking it to a shop and getting it done professionally, cause you'll ruin the guitar irreparibly.
-
I'm not real familiar with the term Golden Ash, but I do know that Northern Hard Ash and Swamp Ash both have been used to build guitars.
The varieties that I know of are Golden, Silver, Swamp, Northern.
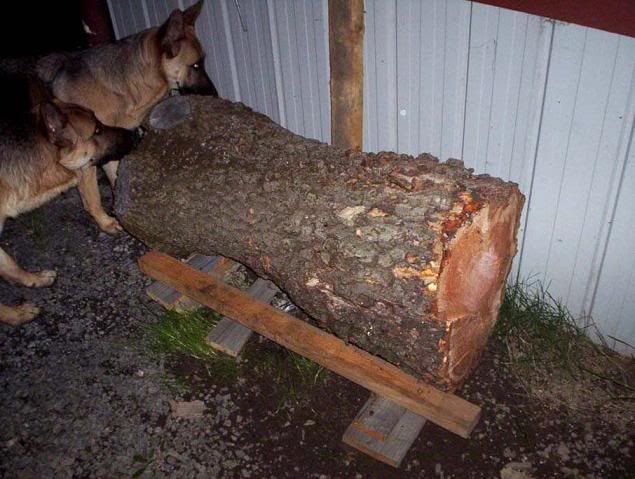
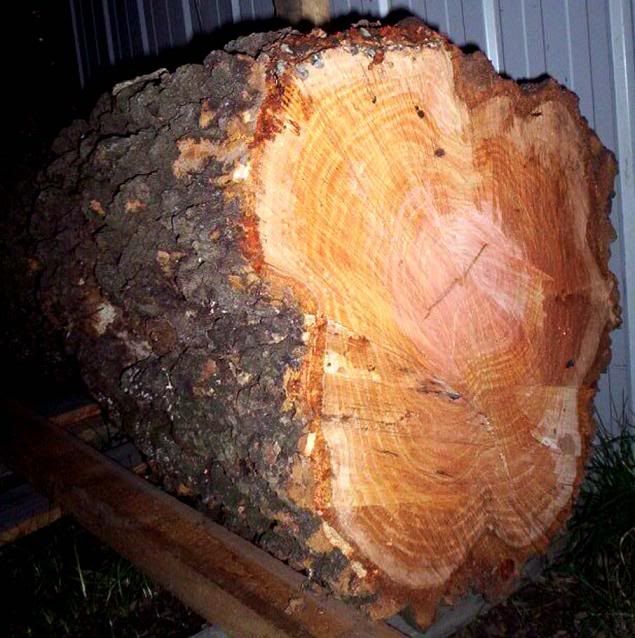
Here is a stup of "Golden Ash" that I have here and want to get milled.
As you can tell from te size, it's a very old tree from the house where I grew up, so it would be interesting to have a guitar made from a tree I used to climb while I was a Kid. (I'm getting close to 30 now)
-
I have the opportunity to get a large quantity of golden ash planks, but I was wondering if anyone here has ever used it as opposed to other varieties.
I have spent ages searching the net and come up with nothing guitar wise.
Thanks.

Groges Signature Spec Superstrat
in In Progress and Finished Work
Posted
Hahahah... thanks for the positive comments!
Well, the DIY is like this, I got some black and white 2k paint, mixed them till I was happy with the shades, grabbed my airbrush, laid down the lightest of the three colors as a solid over the whole face, then airbrushed the middle of the three, then laid down the black. Theres progress pics of this paint job in my facebook page.