


SwedishLuthier
-
Posts
2,147 -
Joined
-
Last visited
-
Days Won
17
Content Type
Profiles
News and Information
Tutorials
Product Reviews
Supplier Listings
Articles
Guitar Of The Month
Links and Resources
Forums
Gallery
Downloads
Posts posted by SwedishLuthier
-
-
Thanks again!
Next up is the back of the neck profiling, but first I need to angel the head part so that the string locks doesn't get too hard to engage
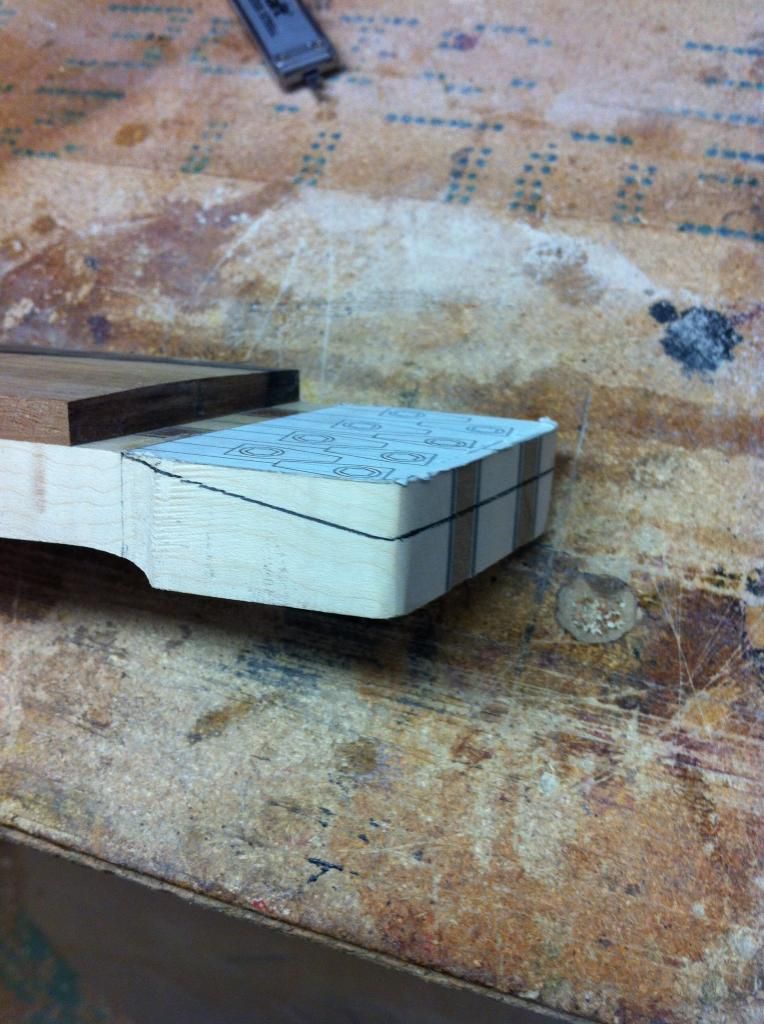
I make a makeshift protection for the nut shelf
clamp the neck blank up, and have a go at it with rasps and files
and this is what you get (mockup with nut)
-
OK, the rod from Gitarrdelar need to be put in between a separate fretboard and a neck blank. So you need to either slice a bit of the neck blank or find a flame maple fretboard. I did a quick search and only found flame maple board blanks available with Perry Ormsby in oz land... He's a semi regular here under the moniker rhoades56 so you can shoot him a PM and ask. Some years ago, when I started building there were ample supply of flame maple fretboard blanks.
1" is generally too thin to slice off a fretboard if you also take in account that you need to clean up the surfaces that is being glued and that the saw blade, however thin it might be, eats away a bit of the wood.
-
Have a look at "no 2" in Curtisas first link:

That kan be done with a one piece neck.
Now to another question at hand: This is your first guitar, right? To do that build with a one piece neck and a traditional one-way truss rod takes for some serious planing, lots of jigs and requires (IMHO) quite a bit of experience. After almost 20 years of building guitarist that concept still scares me enough to keep me away from that. Add to that the extra step of making this a double action truss rod, I think that is too much for a first build. Have you really got the skills and understanding to get this done in a good way (please don't get me wrong, not trying to put you down here)? My sincere suggestion is that you question yourself why you want the one piece solution. Is it because you want a flame maple neck and fretboard look? If so you can get a separate flame maple fretboard and separate neck blank and use the much simpler solution with the truss rod sandwiched between those.
Pros with two-pice solution
- Straight rout for the rod
- no curved jig for routing the back of the neck needed
- no jigs needed for drilling holes as body and head end
- ready available truss rods
- Easier to do an angled head supported by the fret board
Cons with two-piece solution
- visible joint between neck and fret board
- no visible skunk stripe at back of neck
So mostly ascetics here... For a first build there will be so many obstacles to get around anyway. I therefore suggest to keep as much as possible, as simple as possible and that you considering being willing to compromise a bit with the ascetics to be sure that you really get to the goal line and make a fully functional. nicely playing guitar. For a first guitar that is maybe a more realistic goal that to produce the guitar of your dreams.
EDIT: I see that you are in Sweden. I'm in Stockholm and might be able to lend a hand if you are somewhere near me.
-
Lastly a bit of work on the neck. I thinned it out to final thickness and taper with the Wagner Safe-T and some different thickness blocks under the neck to create the right taper (sorry, no in progress pics of that...)
And cleaned up with some sanding
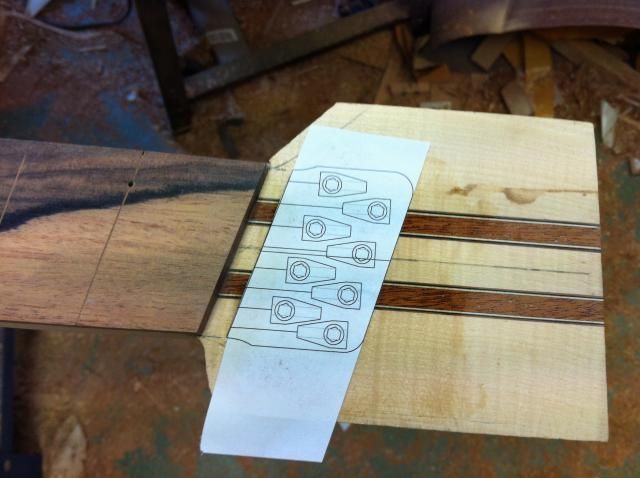
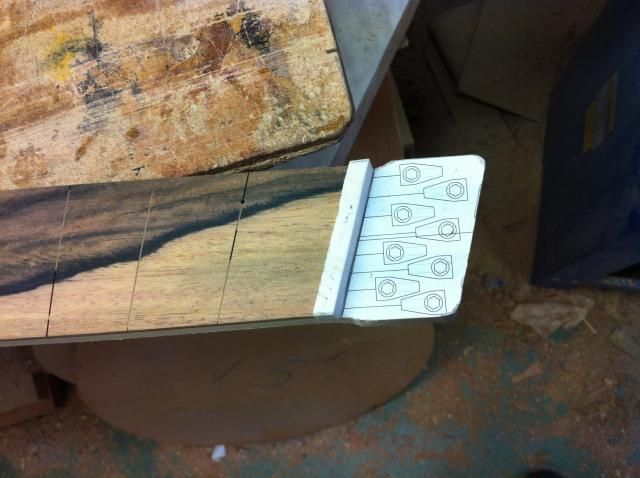
Printed the template for the EndurNeck on paper and taped it to the neck
And had the shape transferred to the wood
as this is *very* different from what I normally do I will have to reinvent my methods here.
-
This is a bit of a "magic" moment for me every time I can attach the neck to the body for the first time. Its like it's becoming an instrument in that moment.
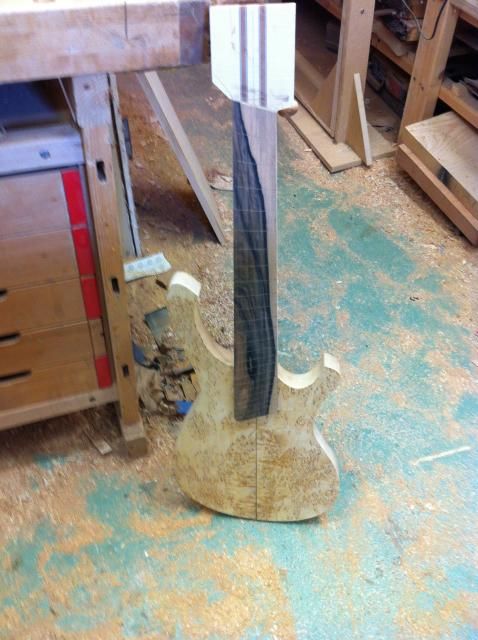
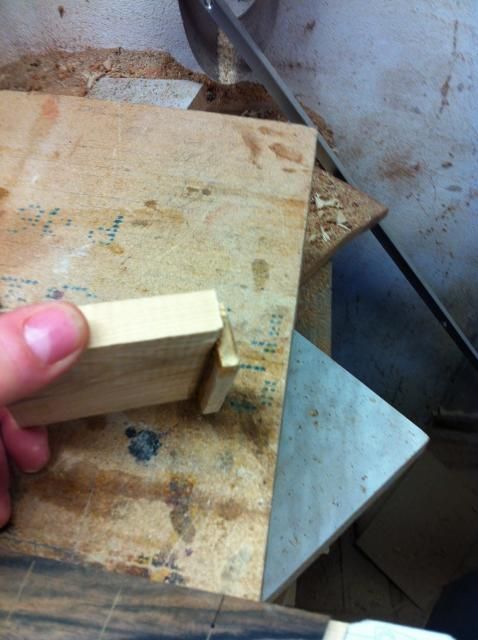
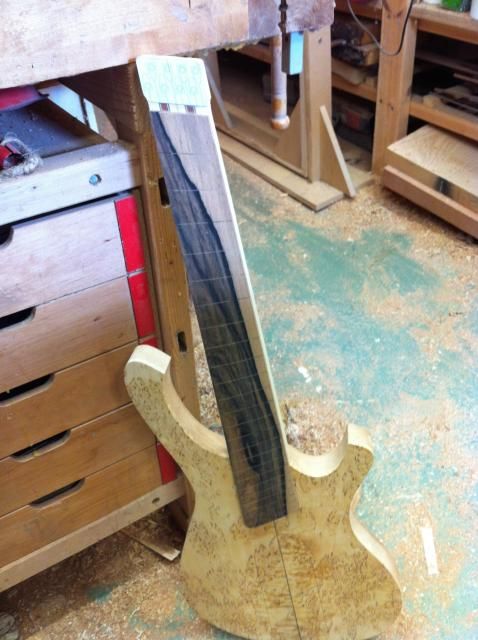
Looking very strange with that "head". Let's remedy that. I glue on the template
A bit of band sawing, sanding and mocking up with the nut blank and we have this
Now it looks much better
-
 1
1
-
-
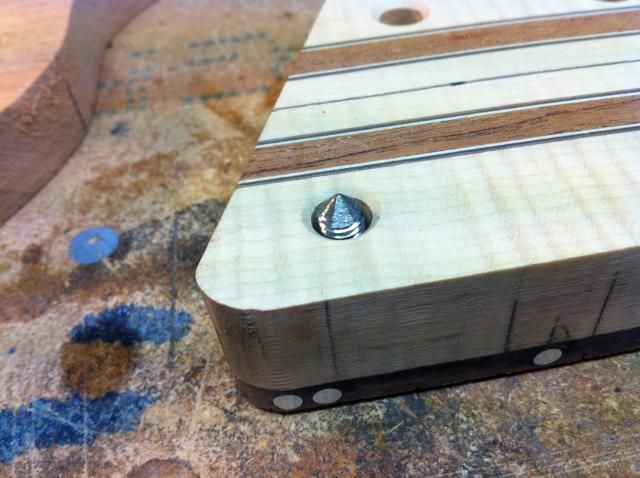
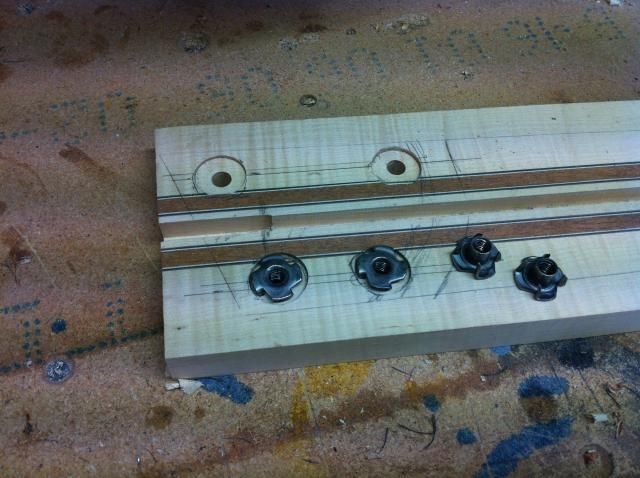
I drill the holes first from the top to back with small pilot drills
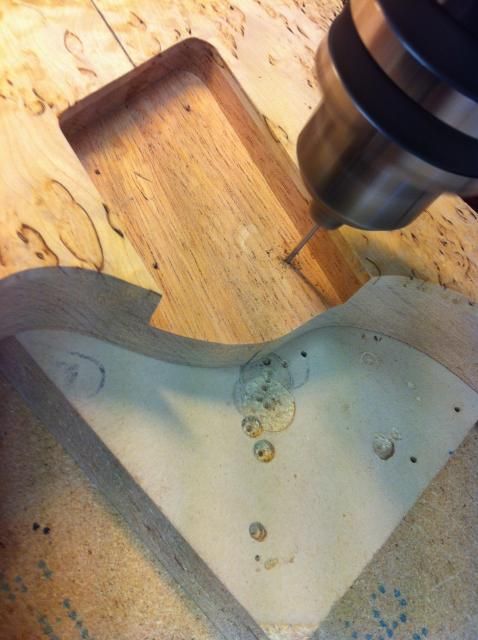
Then drill from the back with the appropriate brill bit to fit my bushings
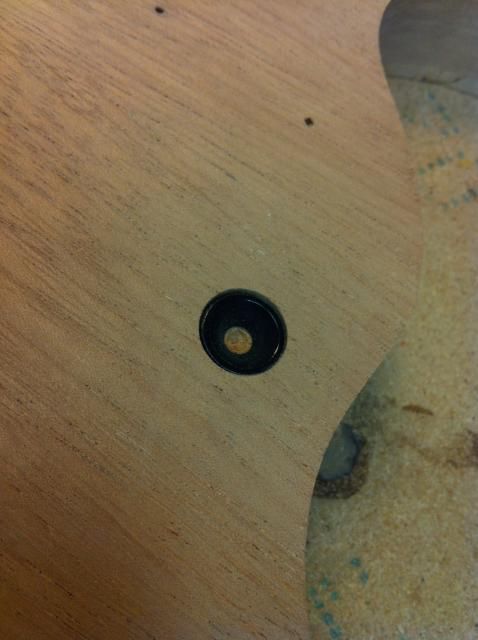
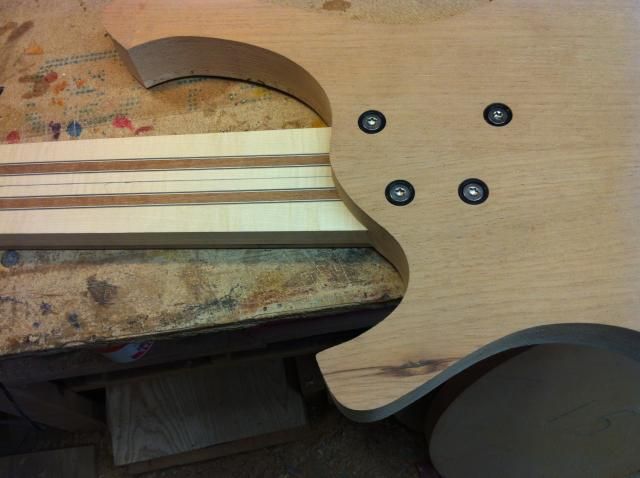
And of cause use a bigger bit to make room for the screws. All four of them in place
-
Now how to locate the holes in the body to match the holes already drilled in the neck. The tool:
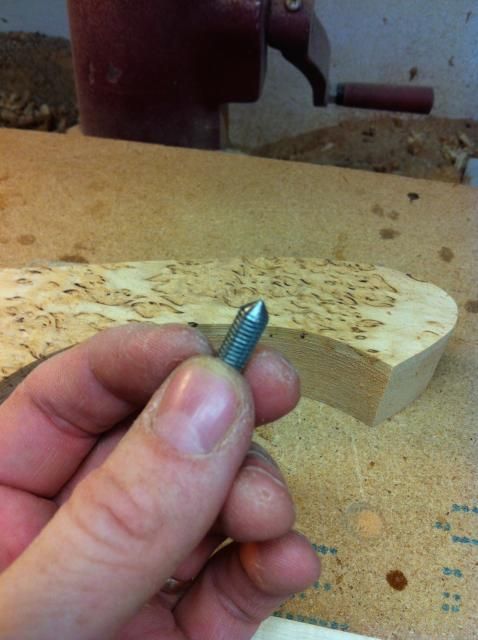
In the threaded bushing
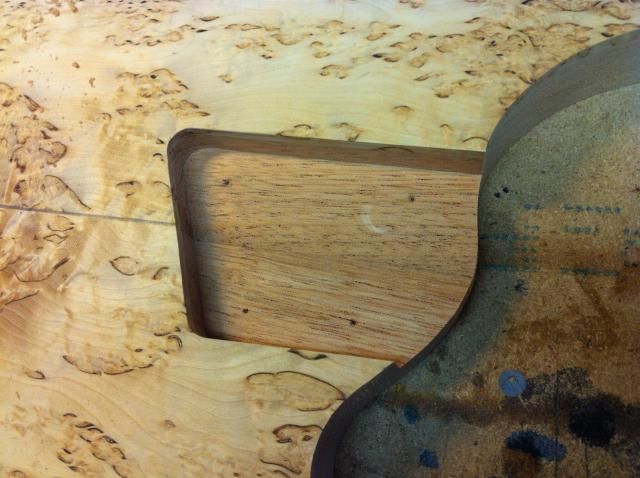
Press the neck down in the neck pocket and you got some nice markings
-
The Myka neck pocket jigg that Chris built and still have on sale. Great tool!
Neck pocket routed

A good fit
-
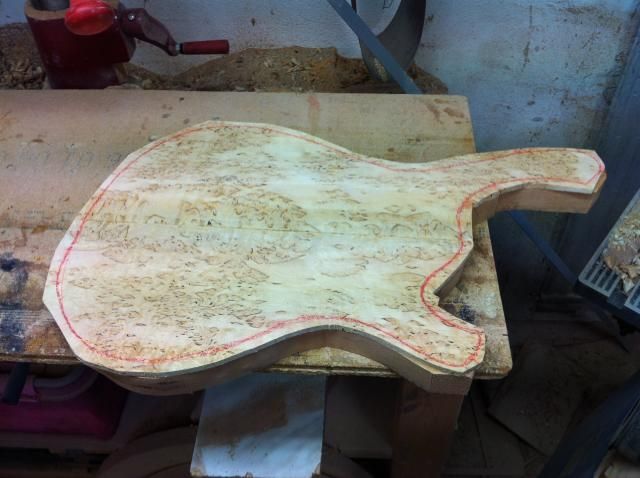
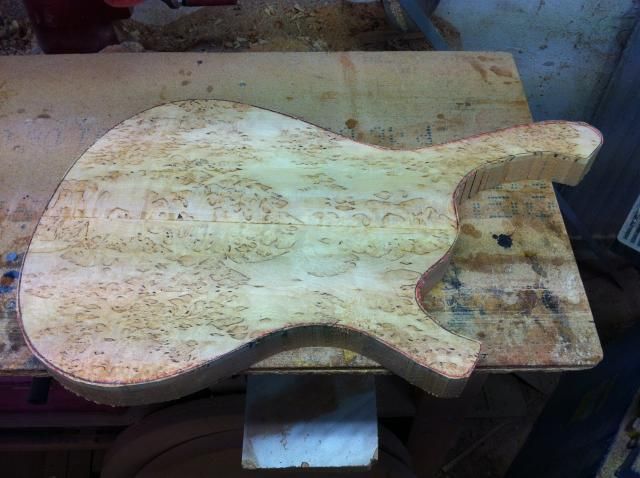
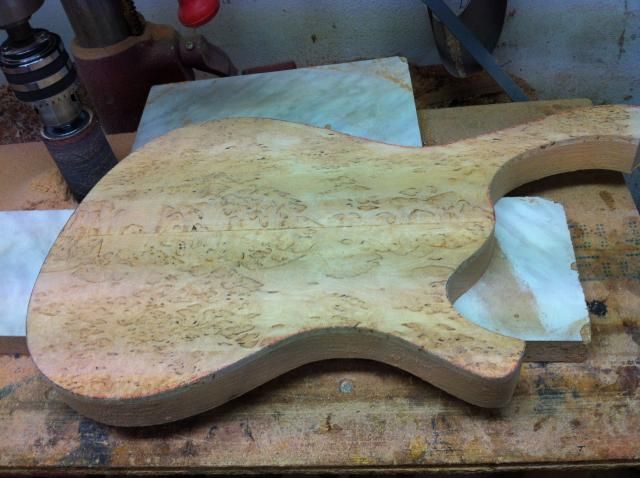
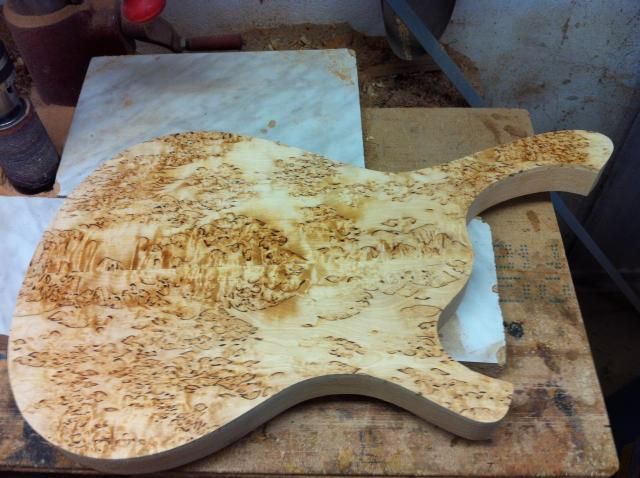
Body cleaned up, from out of the clamps via band sawing to sanded with robo sander and top sanded smooth and wetted with naphtha
-
I totally forgot that I had some spalted Masur Birch to ping to you Peter! Yipes. The stuff I have is far softer than the "normal" Birch because of the spalting.
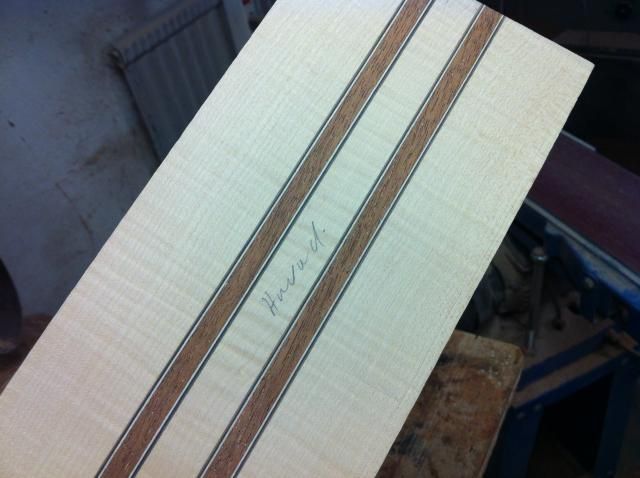
Love that neck blank. Pinstripes are always a classy touch.
Thanks, I had also totally forgot about that. Well you'll have to bring those and yourself over to Stockholm some time!
Wow, awesome work!
Such a very nice top and fretboard. Looking forward for more pictures.
Thanks!
Dang you and your easy access to masur birch!!!! Gorgeous!
Chris
Thanks! Thats one of the few benefits from living in cold scandinavia...
-
Nice little vacuum thingy. Do you place it in an oven all together or do you heat the plastic with a hat gun? Or I might just say +1 to Chris...
-
Love the top resawing setup

Yeah, less is more, or something like that.
-
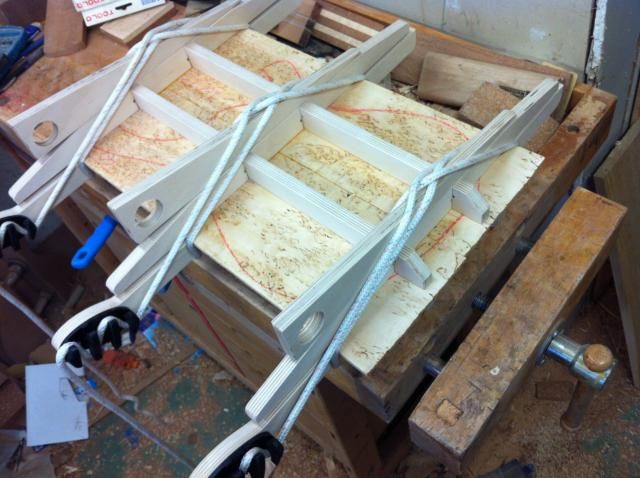
Fast forward in time (about two hours for the glue in the top joint to dry). I band saw the top to rough size and shape and sand the gluing surface completely flat.
Titebond! Looks a bit like a christmas gingerbread...
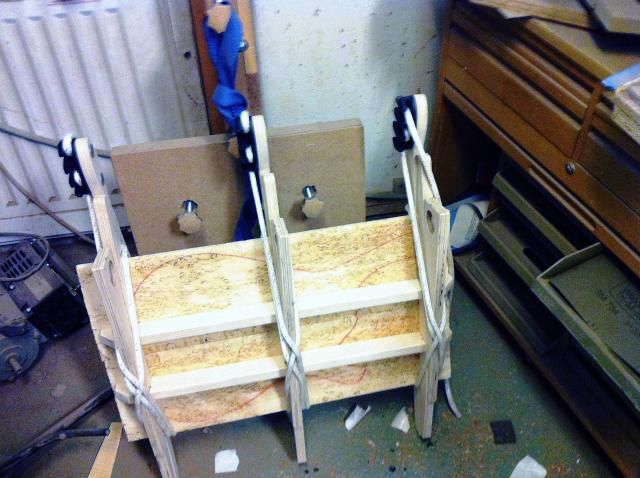
and lots of clamps
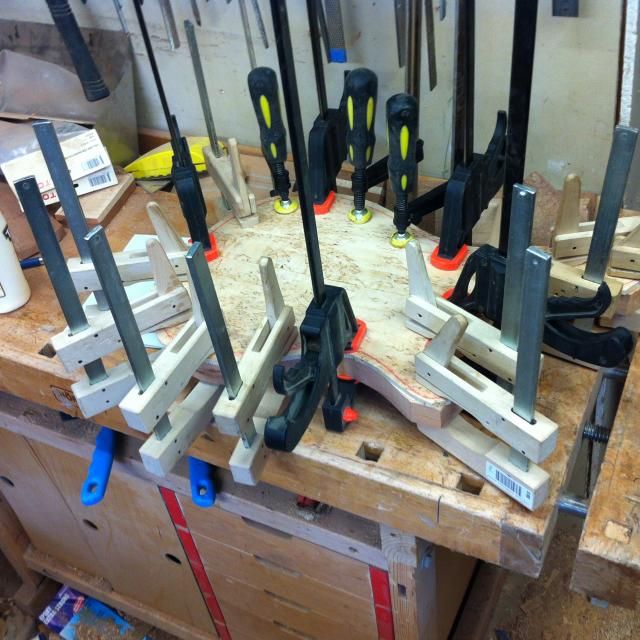
Now that has to cure over night. Next step is to sand the top to final thickness, levelness and smoothness (lots of "-ness" there). Then sit back and wait for the hardware to arrive.
-
And then its time for fret markers. The customer only wants side markers as the fretboard looks so nice. A center finder ruler is great for finding the right spot
A simple makeshift jig for drilling all holes in a straight line

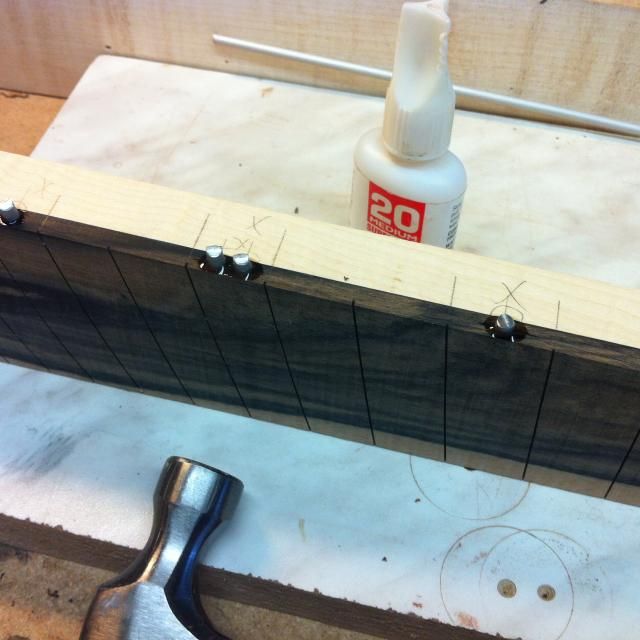
I'm using 4mm aluminium dots. I cut those from a rod, glue them in with super glue and use a small hammer to tap them in place
-
A bit more work done
I glue the top with a new toy, the LMI Plate Joining jig.
I will write a review of this tool when I'm done testing it but I can give away the biggest benefit compared to my old method of clamping batons to the work bench and gluing the tops there: I can put the workpiece away while curing and free up the space on my bench for other work
-
Oh, my bad, Striped ebony, not mahogany! I don't think I would trust mahogany to hold the frets in and certainly not to stand up to the wear and tear of long time fretboard action.
-
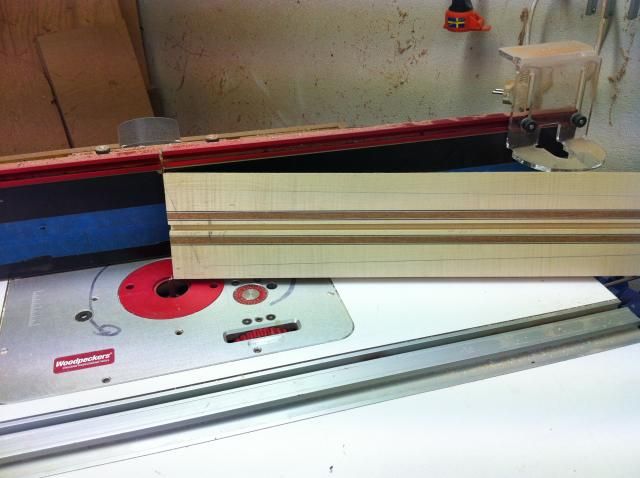
A quick trip to the band saw to remove most of the excess
And another trip to the router table to clean everything up

-
1
-
-
Caulk in the truss rod slot to stop any vibrations. Tape to make sure I don't get caulk on the wood as that will stop the wood from adhering.
Press the truss rod in, remove excess caulk, remove tape
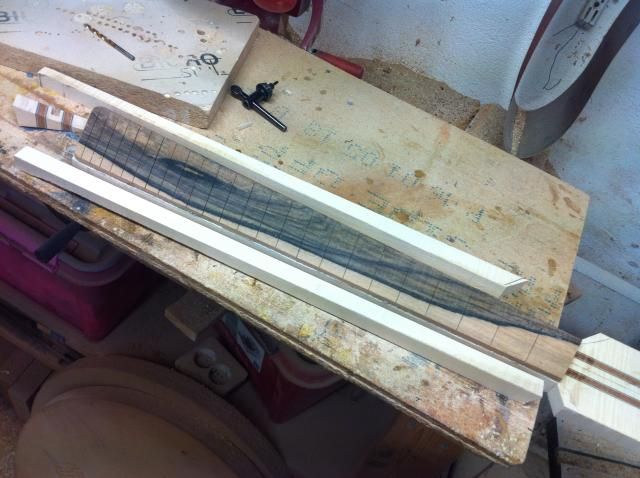
Now the freeboard is being glued to the neck blank in the usual fashion, using small nails in the fet slots as guides
I use a LMII aluminum beam as clamping caul. This is after all the clamps have been removed.
I always use epoxy for fretboards as I don't want to have any water there that can potentially cup the fretboard.
-
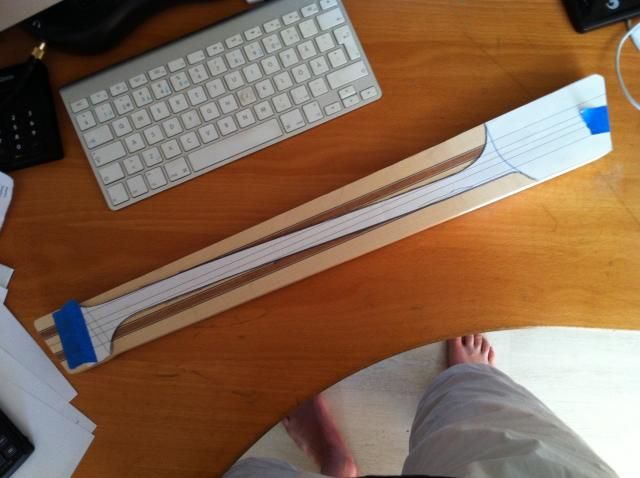
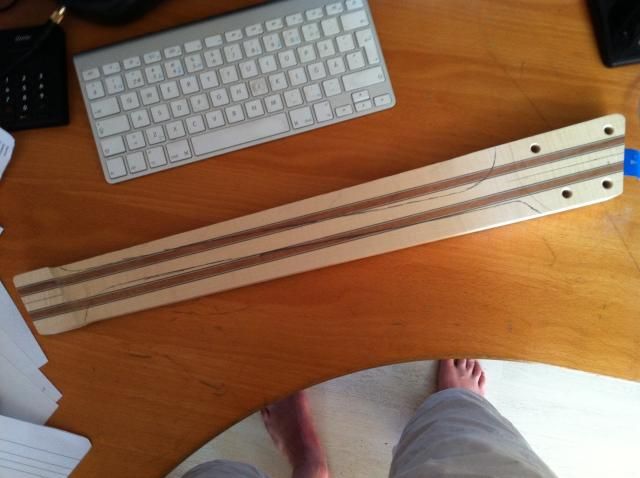
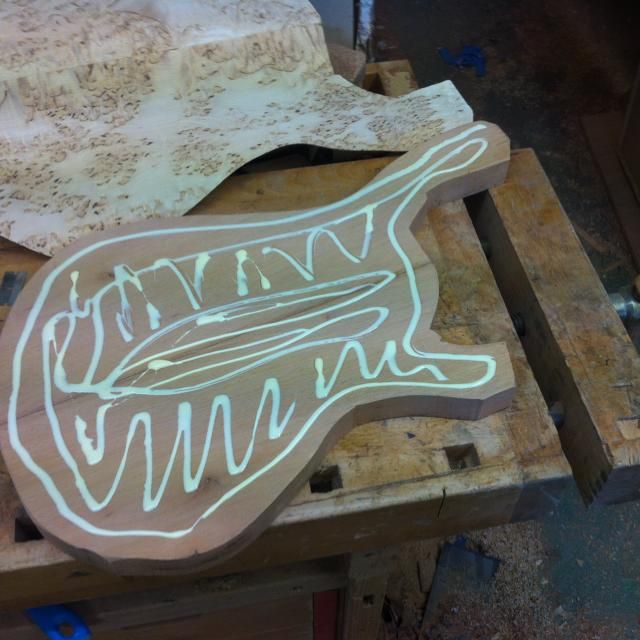
I mark the outline of the body on the neck blank
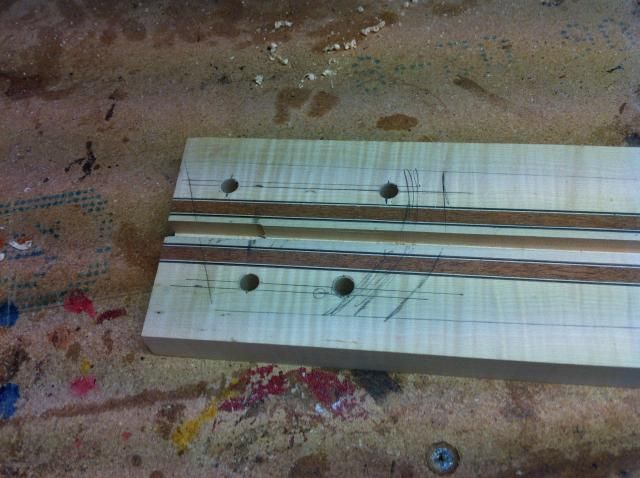
I drill and use a forester bit to make divits for the hardware to rest inside
A bit of cleaning up on the other side. That Festool count sink (is that the right name) gotta be the best in the word. It centers perfectly and always leave a totally smooth bevel.
-
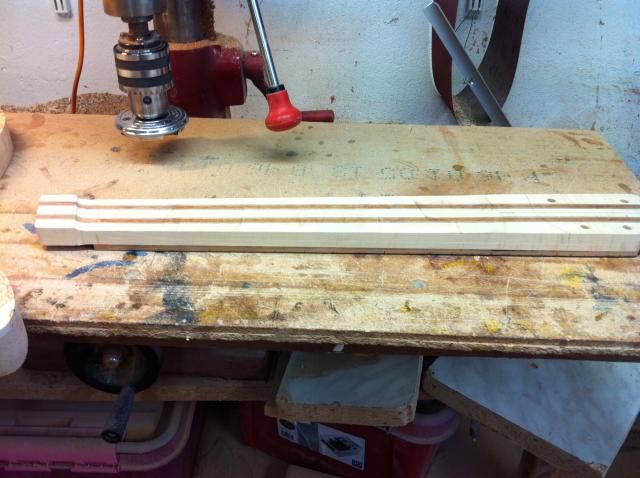
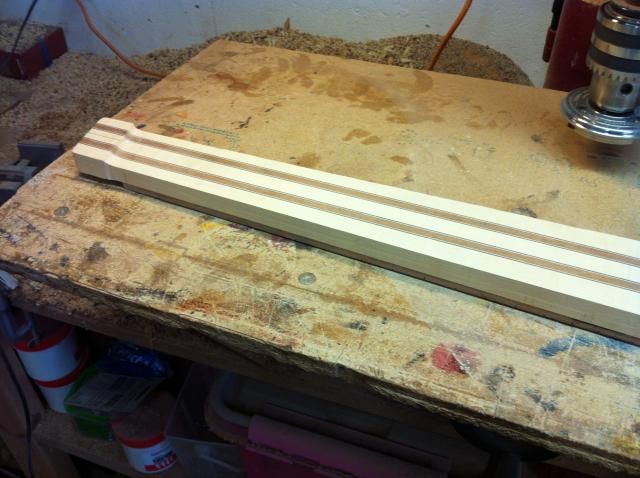
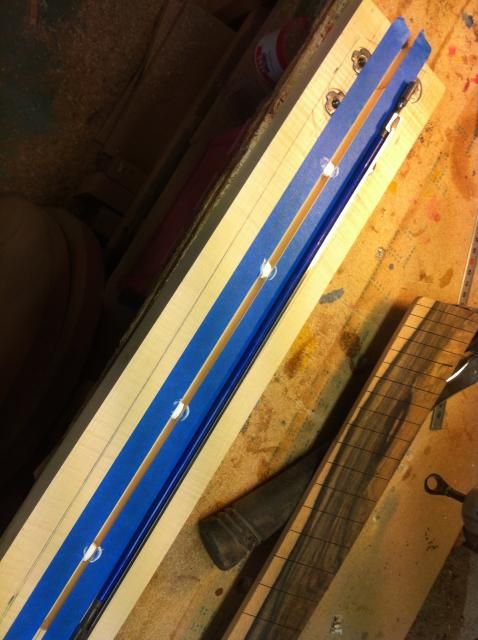
OH, this is how I made the neck blank (totally forgot to share that):
I glue thin maple and walnut veneers, 0.5mm thick to 0.5mm thick graphite, one on each side.
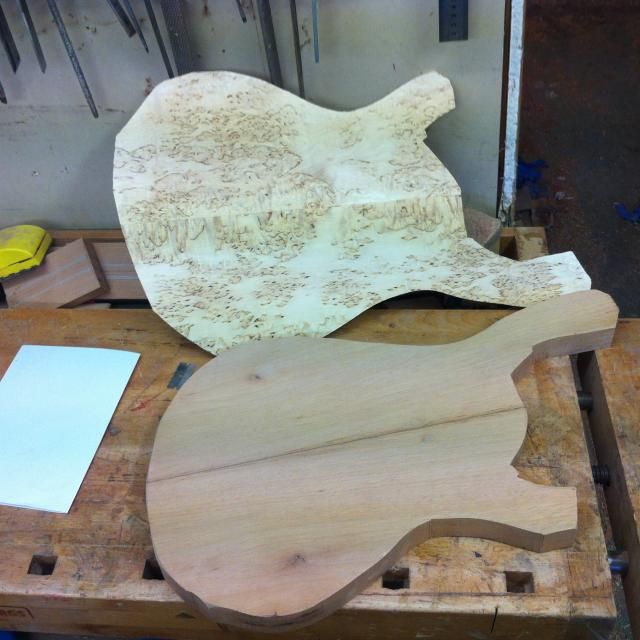
This is the mahogany used. I almost feel bad using a flame mahogany for this...
I then glue the thin laminates to the mahogany. The square steel tubes are used as clamping cauls throughout the process to ensure perfecty straight pieces.
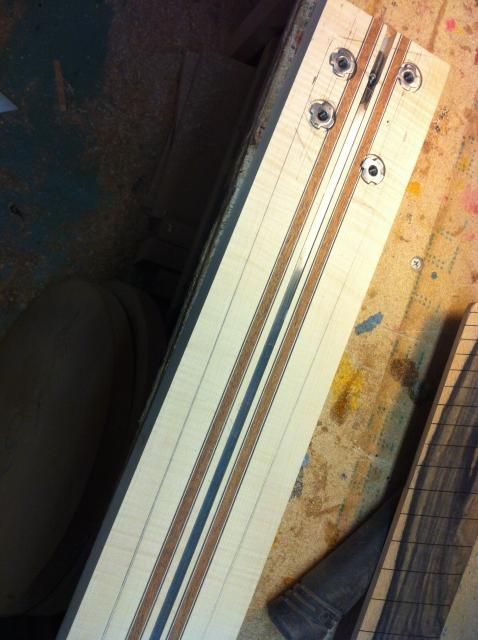
I now have pre-fab stringers with thin brown, thin black, thin white, 5mm brown, thin white, thin black and finally thin brown color. Two of those get laminated between flame maple.
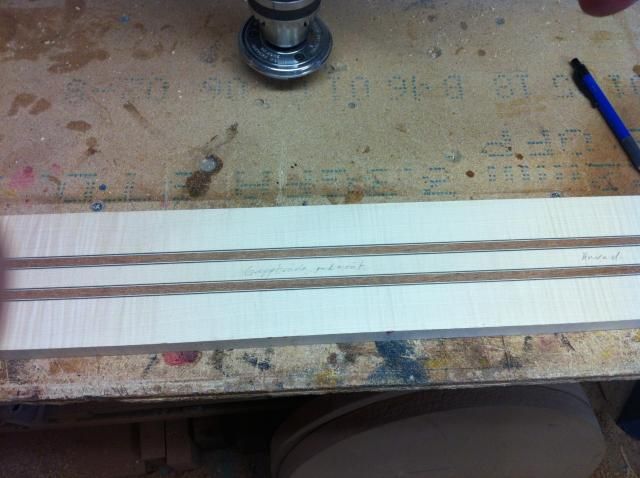
the walnut didn't became as visible as I had hoped, but I think it turned out pretty good anyway.
-
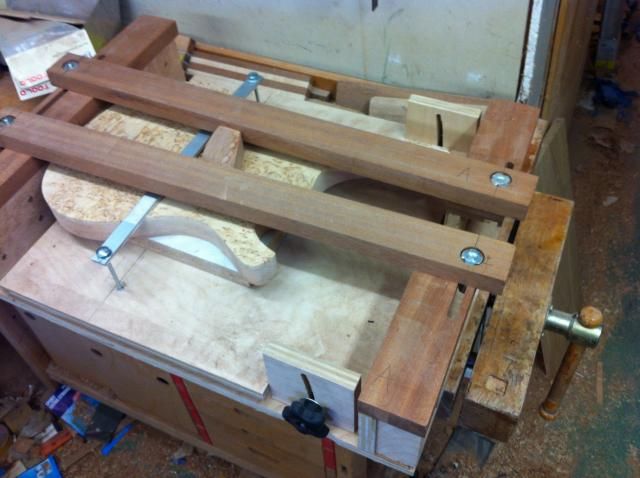
As I have more compound radius fretboards coming up I decided it was finally time to build a radius jig. I opted for the on-top-of-the-router-table-version. As it was the first test I did a very "ghetto" style hinge.That will be upgraded before next use.
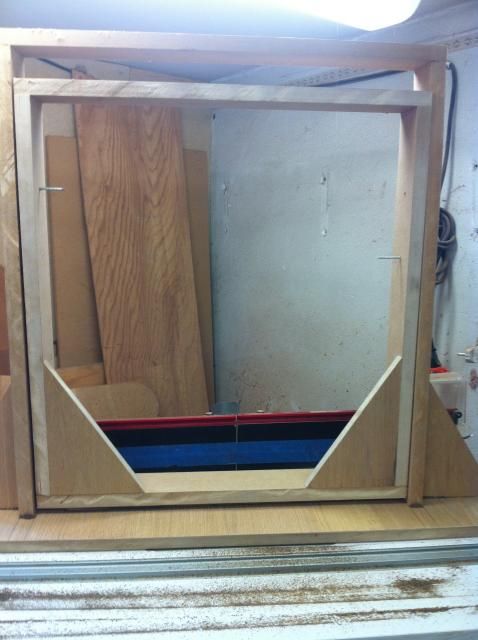
16-20" radius done in a few minutes. On the other hand it took me three hours to build the jig...
Here you can see how the bit sits inside a tube that steers the jig.
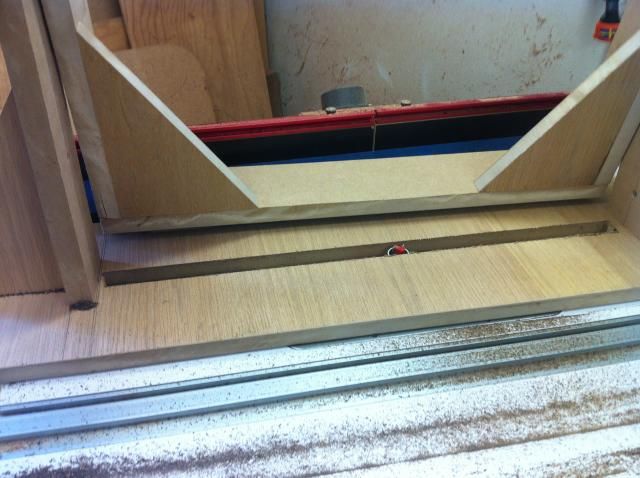
The surface of the fretboard is a bit rough, bit I don't think it takes more than a few minutes of sanding to clean this up.
-
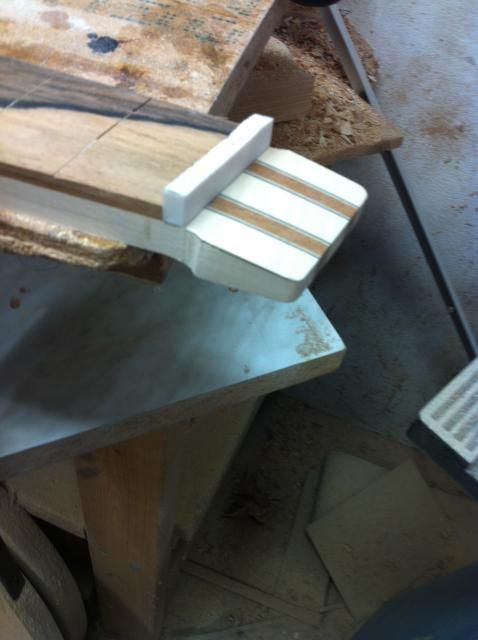
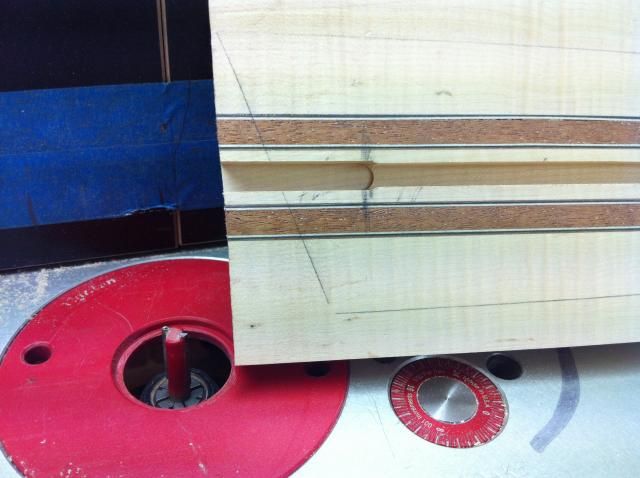
Fret board cornea rounded over
I use the router table, a flush trim bit and a template with a 16mm radius
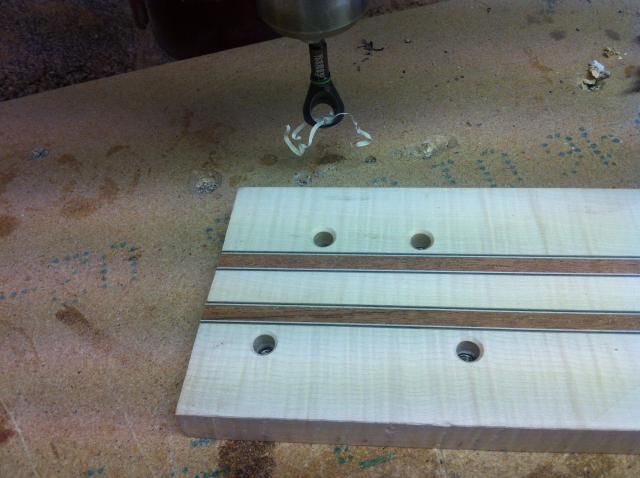
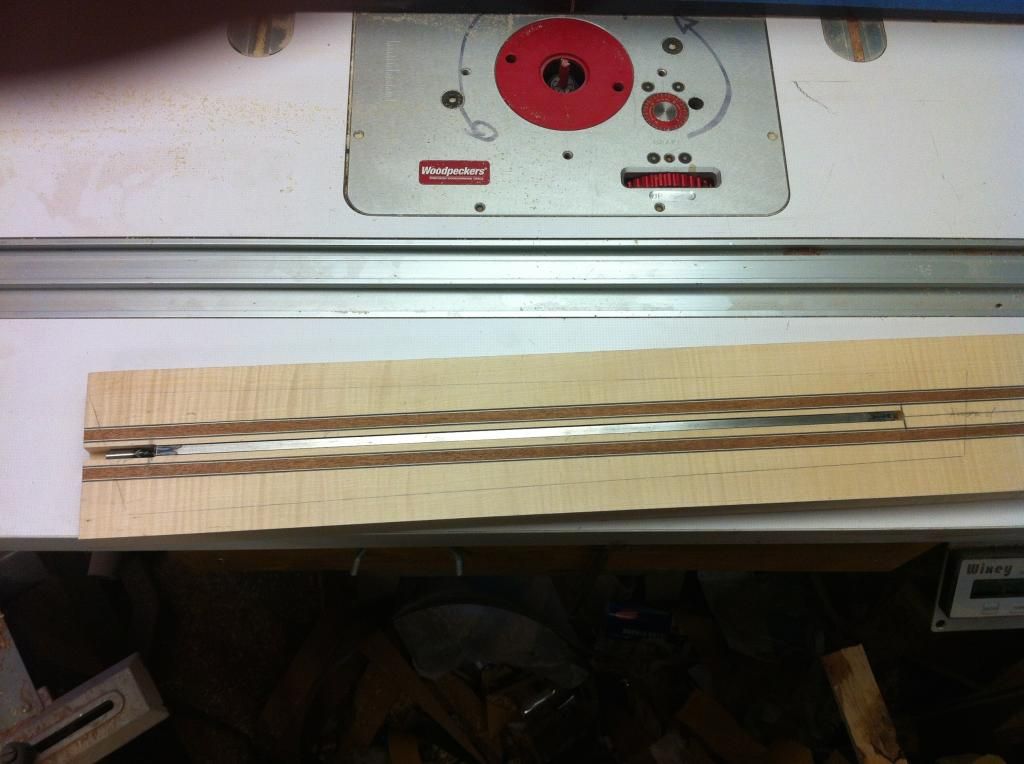
I rout for the truss rod on the router table, first the narrower 6mm rout all along the truss rod length.
and then a 8 mm bit for the adjustment nut of the trussrod
a nice and tight fit
-
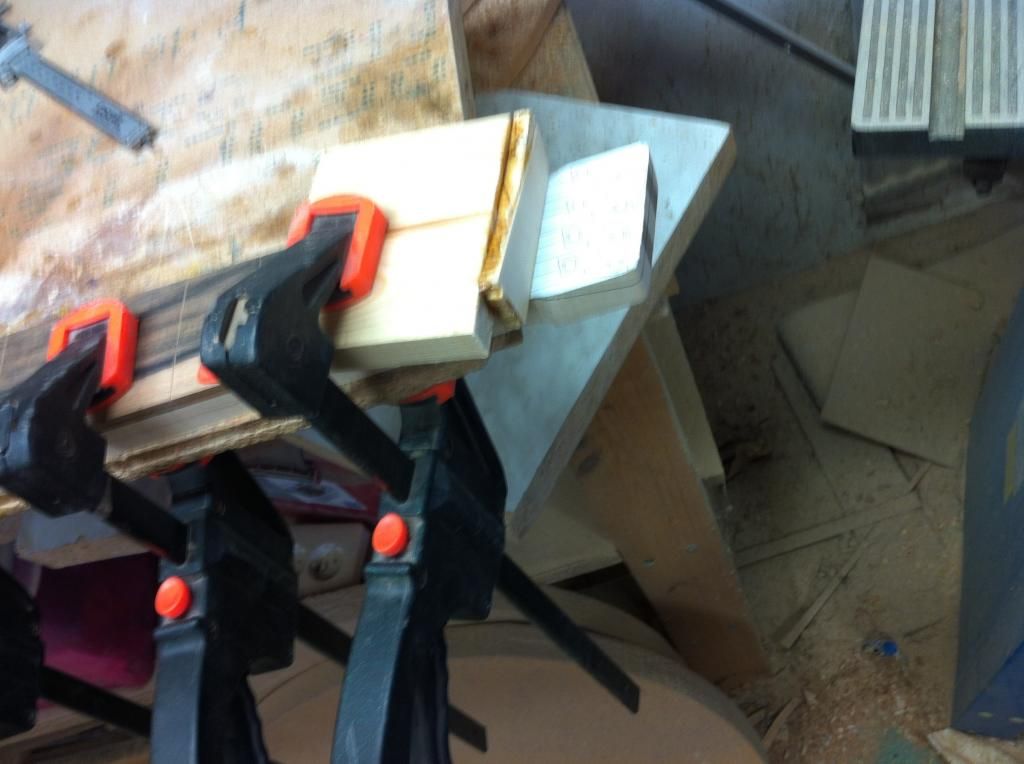
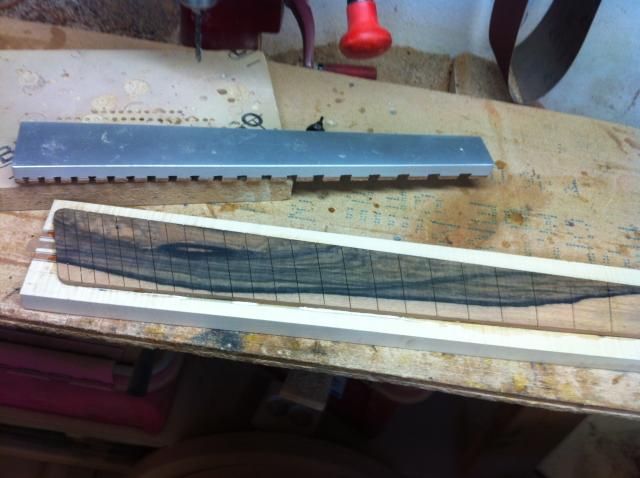
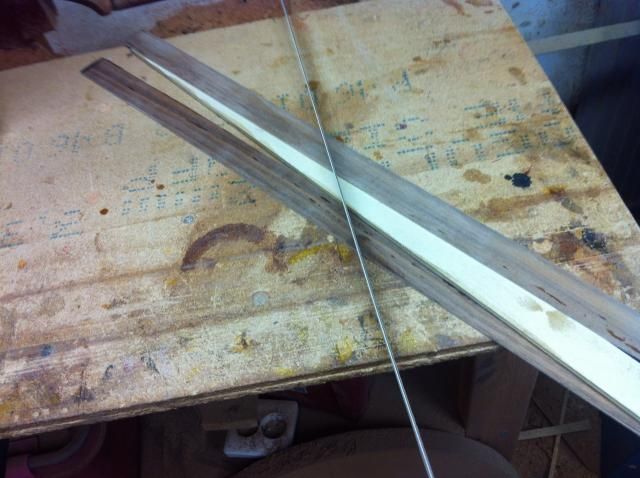
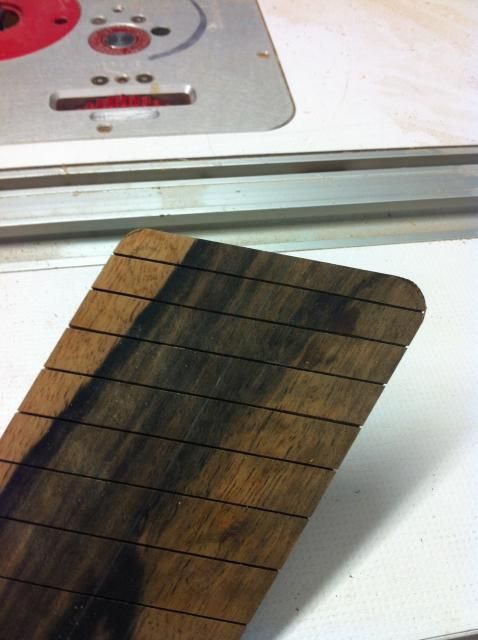
Cutting of the excess 1
Cutting of the excess 2
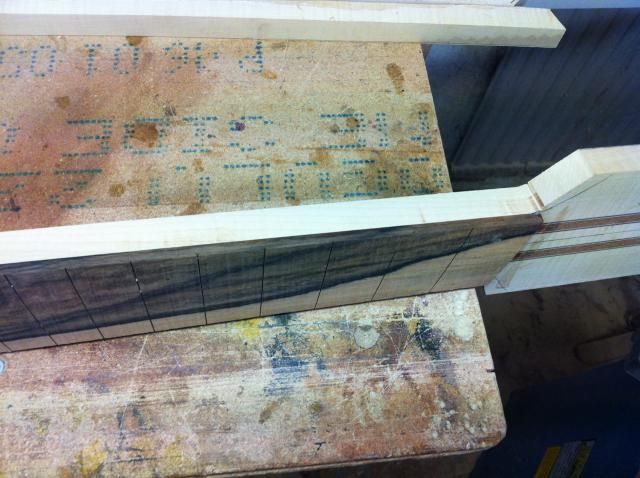
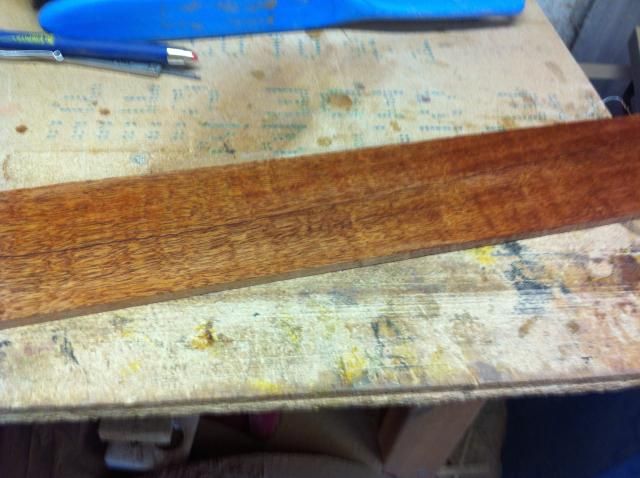
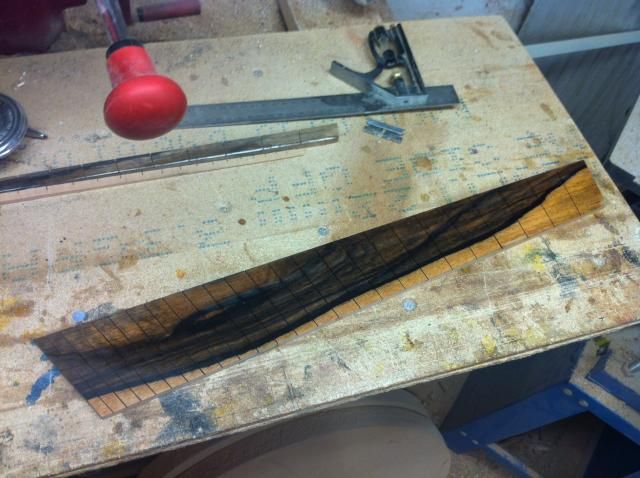
A bit of cleaning up on the belt sander and you can see what fretboard the customer chose
-
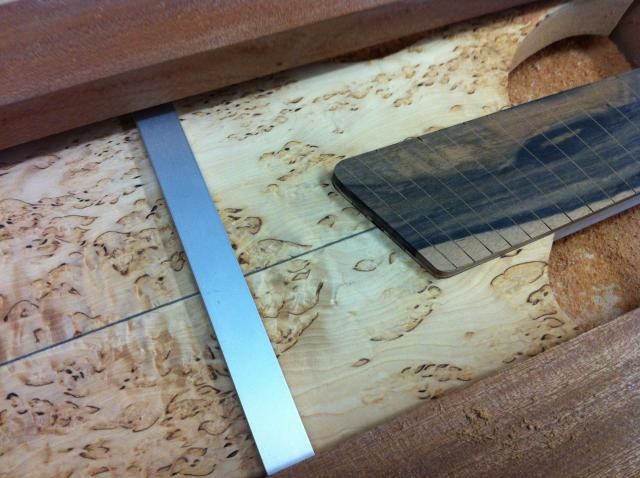
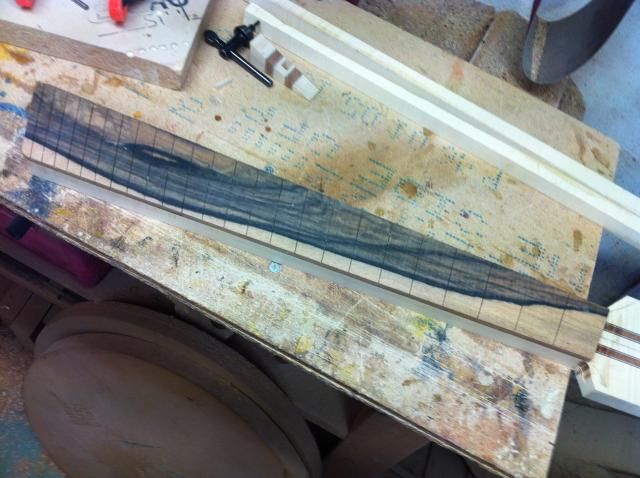
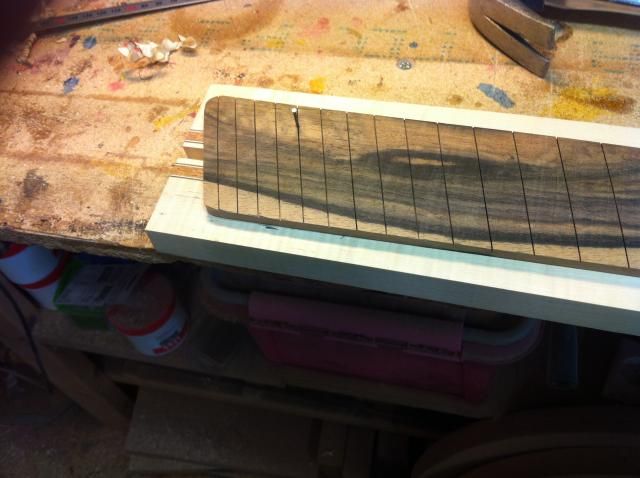
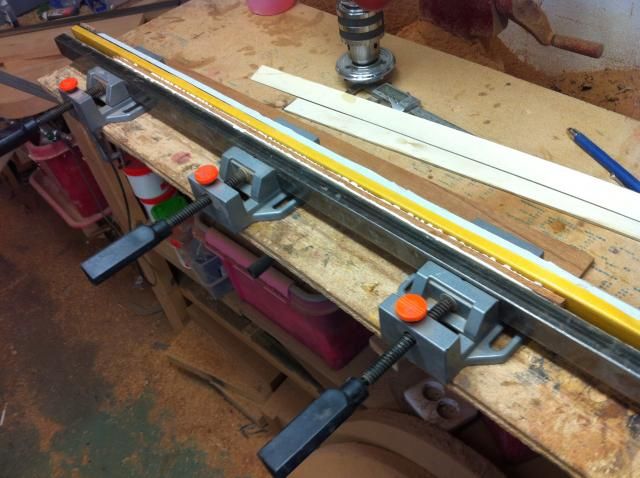
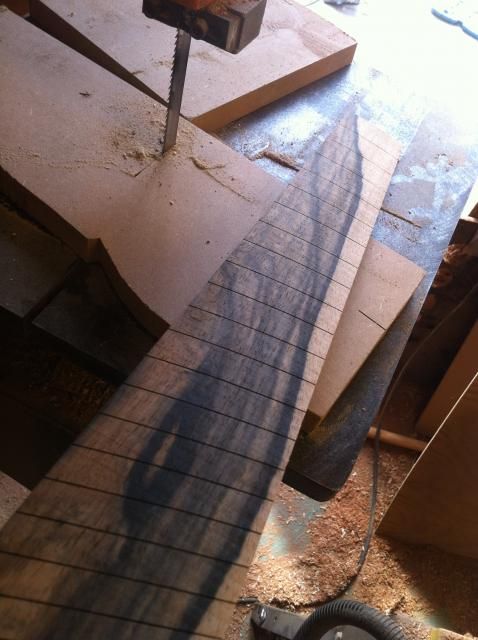
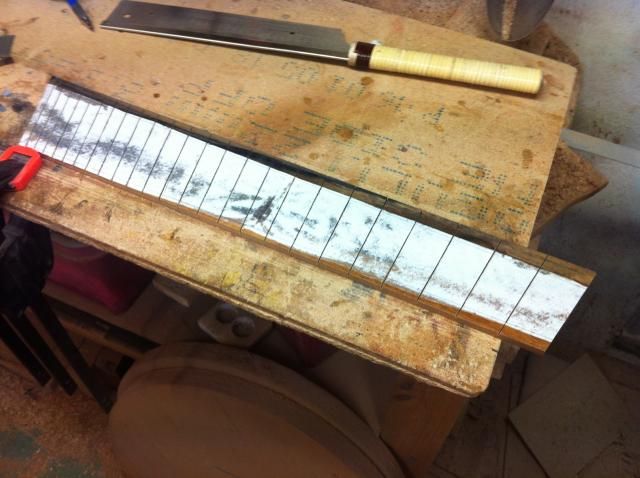
Starting to work on the fretboard. For custom compound scales I print the CAD and glue it to the board
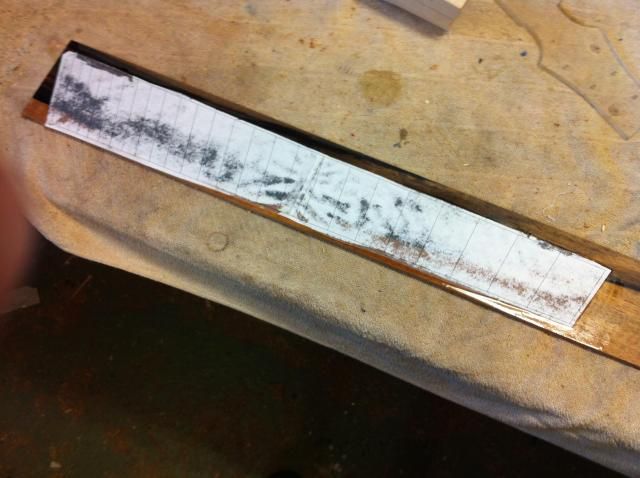
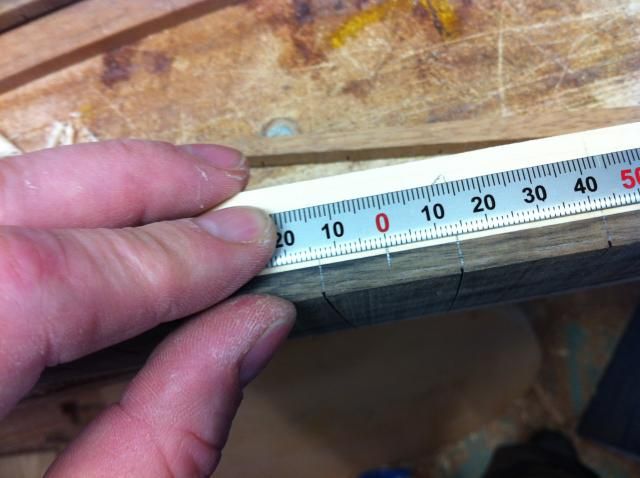
Clamp the board to a table, clamp a steel ruler right up to the printed line, score the wood with a sharp knife.
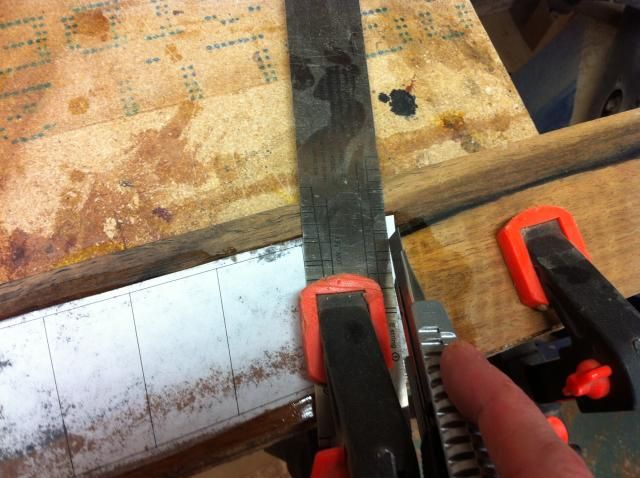
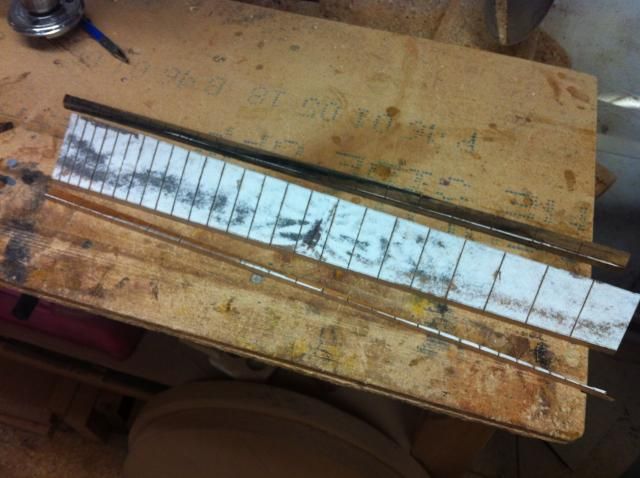
I then continue with to a thin saw. This saw is thinner than the fret saw, so thin that it tracks the knife cut good but wide enough to give the fret saw enough guidance later on
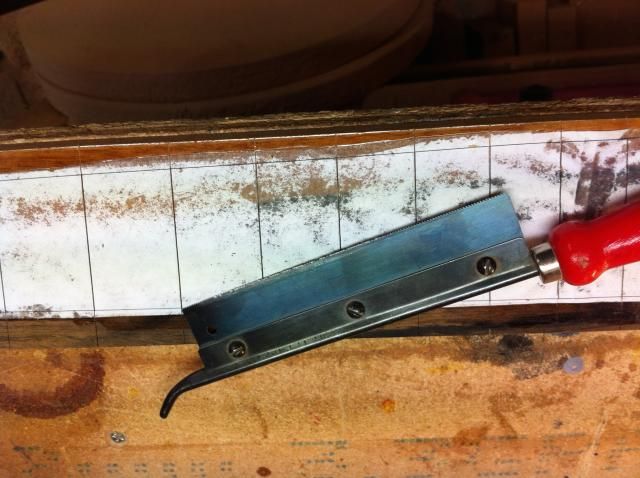
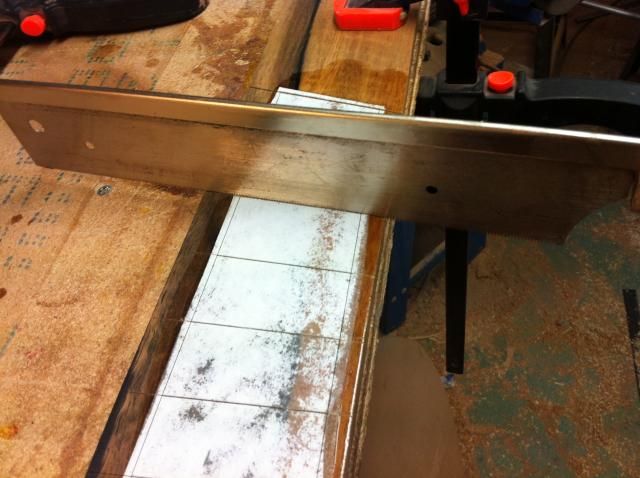
And then it's time for the fret saw


NorthStar 8-string headless
in In Progress and Finished Work
Posted
Two boring picks of neck shaping, simple before
and after shots
Instead of my usual use of spokes shaves and shoeshine sanding motion I hade to use rasps and files and sanding blocks and make sure I followed the lines. Quite hard as the surfaces are to be smooth and that the angle along the neck changes with the S-curve. I got it accurate in the end.
Test-mounted the string locks and the neck is more or less ready for finish sanding (apart from fretting of cause)