


Muzz
-
Posts
1,435 -
Joined
-
Last visited
-
Days Won
45
Content Type
Profiles
News and Information
Tutorials
Product Reviews
Supplier Listings
Articles
Guitar Of The Month
Links and Resources
Forums
Gallery
Downloads
Posts posted by Muzz
-
-
Fantastic
 the tele based guitar especially looks so good, love the headstock.
 -
Thanks guys, so good to know I am not the only one, if I can get an hour free tomorrow I will catch the bus to the guitar parts shop and pick one up. They have a box of spare parts there that Wez would love, they are really reliced and ready to go on a suitable project.
i prefer distressed... or FUBARed to reliced - unless its restoration. you will notice i dont do accurate replicas of vintage guitars as quite frankly it bores me to death, doing it... although i will get to play another bravewood fender relic with original 57 v neck next weekend (my forth bravewood experience and they always impress more than i think they should) and i appreciate the art a lot - just not what i am after doing
generally my supply of proper vintage parts comes from people who want proper vintage parts on a guitar, sometimes because they have planned a project around that proper vintage part. although i did do the same thing for myself when i managed to get my 70's wide range humbucker for a bargain price so i understand that philosophy
i am the same type of builder - i aim to order everything up front, still not sure its ever worked out that way... i normally forget things like nut material and jack plates - i keep loads in but never have the right type :?
Yep, I can understand that, I think there is a lot of art and skill in making a reproduction, and I really enjoy seeing other people do it, but I think I'll leave that to the experts, I like starting without knowing exactly what the end product is going to look like too much. A project I have always thought about is finding a really cool rescued part with history, something like an old Bigsby trem and using that to build a project guitar around. My second guitar project fantasy is to find a beautiful piece of wood at a second hand shop, so it was great to live that vicariously through Our Souls inc's Shaka Zulu project.
Thought I would chuck out a few more thoughts on fretboard clamping, and hope more people realise not to put clamps directly on the fretboard when they are gluing and use a clamping board to evenly distribute the pressure, so they do not make hills and valleys in their fretboard causing lumps that then have to get ground off their frets.

Here is a close up of aerated rubber that takes a few seconds to mold to shape, especially good for radiused fretboards to evenly distribute the pressure. You can get aerated rubber stickers for putting on furniture feet, they work a treat on clamping boards.

And you only need 5-6 clamps down the middle, not 36 all over the place
Put the holes in the scratch plate, I used a hand countersink, clamped the plate onto the guitar and went round drilling the holes and putting the screws in.

A few were out by a fraction of a mm, plugged with hardwood toothpicks, re-drilled, all OK. Marked out pickup routes.

-
Here is the finishing touch, the engraved TR cover:
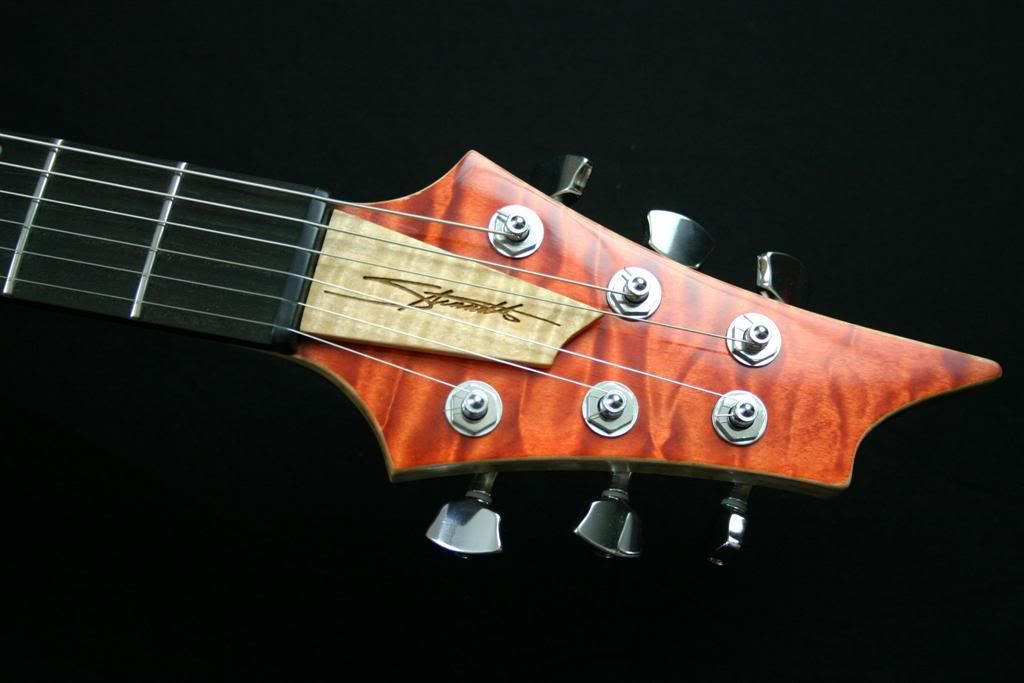
And a shot of the completed guitar:
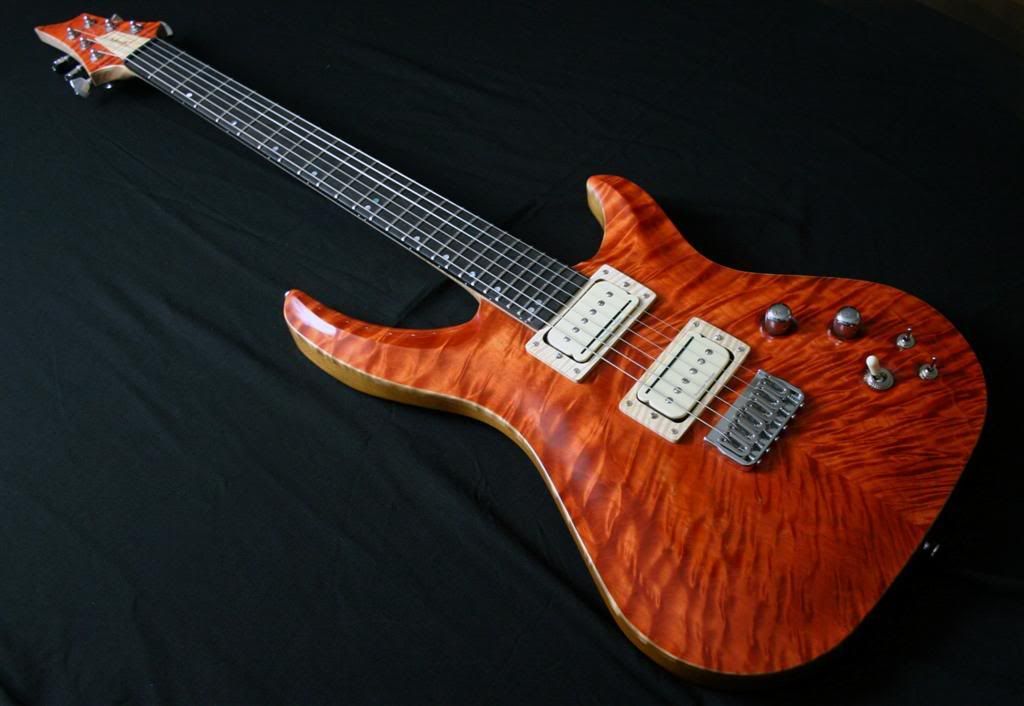
I should have a nice series of photos together pretty soon.
Props dude
-
I should point out that the two photos above are of the mdf practice model, not the ash body. Even so it doesn't matter the router gash is where the tummy tuck is going, check out the huge gash also in the mdf body's trem block hole.
Or did you know that and were disappointed that I am not going to drop the guitar on my foot?
-
Thanks guys, so good to know I am not the only one, if I can get an hour free tomorrow I will catch the bus to the guitar parts shop and pick one up. They have a box of spare parts there that Wez would love, they are really reliced and ready to go on a suitable project.
The back of the guitar will be rounded over, kind of like this,

Must remember not to put the router down too hard and then start rounding over without checking the bit depth, or this will happen

The front is going to keep the sharp edge, must also remember not to drop on foot
Looking forward to routing the pup holes on the weekend, have a great one.
-
Hey RestorationAD, Sometime try this technique for gluing on a fretboard,
Get 5 clamps, get a piece of flat inflexible timber, ~20 mm thick the same area as your fretboard or a bit bigger and put pads of medium density rubber (furniture foot pads are perfect) down the sides. Then put this clamping board on your glued fret board and evenly space your clamps along the middle of the board, like in this post
the pressure will be evenly distributed over the fretboard to neck join by the clamping board, your glue join will be pristine, your fretboard will be so perfectly flat that you won't even have to level your frets.
So many people do it but when you clamp directly on your flexible fretboard, you are putting hotspots of pressure on the board that put valleys hundreds of micrometres deep in your fret board and push up hills around them. Try clamping an 8 mm thick piece of perspex and look at it with a pair of polaroid sunglasses and you will see the uneven spots of pressure. The more clamps you put on, the more valleys and hills you create.
All the best with this project the wood looks fantastic.
-
I've been working on this off and on since January. Thought I should finally post it here and get some feedback. I am pleased so far...no major mishaps, but lots of things to do differently next time! If you hate it, please tell me why. Thanks.
I can't tell you why, coz I def don't hate it, it's looking great
. And you remembered the oval output jack holder, rub it in why don't ya? -
Tinkering

and realizing that I have forgotten to order an oval output jack plate, I envy people who can buy all the parts in one go
-
Some pics fer ya Muzz!!
Hey SB, those photos are AWESOME
thanks for sharing them. So it was a great night, those guys sure know how to put on a show. Hope they played some songs from Sonic BOOM I routed out the bucker hole

Next stage is to put the holes around the perimeter and screw the plate to the body

and mark out the pickup routes. I think I am going to do the counter-sinking by hand rather than use a power drill, it is very easy to overdo it on 2mm of plastic. I decided to go with Gibson style/size scratchplate screws in stainless steel rather than Fender style in chrome.

-
Please tell me you jointed those pieces before gluing...
Yeah, I don't have a jointer, but I planed them as flat as possible.
You can use your router to get a perfect join, just put a straight edge along your wood and run along it with a pattern following bit, as low as it will go

Then flip the wood over and run along the straight edge you have routed with a bit with a roller on the bottom,

Then repeat for other piece of wood, your join line will be razor thin. If the join you have doesn't look perfect, yes, I think Hizodge is right cracking it open is the way to go, good luck with it.
-
Man, I was liking this so much until you put the pickguard on it... Now i hate it. It makes it look like those super cheap ibanez guitars that come in those beginner kits. Well bugger off then killemall, coz your really gonna hate whats coming up
Found an old plate template that had a good single coil outline on it a

and used that to cut the space in the present plate, started spacing out where the knobs are going to go

Made an outline for the humbucker, this is an easy technique

and finished the template

Hey I am really missing Moth, I hope she sorts the drama out and comes back to the forum.
-
Yep, great tip with the socket, I am adding that to my list.
-
I am digging this project, you could restore this to a really beautiful and valuable instrument. Good luck with it
-
Is that the final shape of the insides of the cutaways, near the neck pocket? They look REALLY wide and cumbersome to play around.
On the top there is going to be a bit taken away, the bottom may or may not, still deciding on that one. As it is restriction on the pinky starts at fret 23, and both fret 23 and 24 can be played with the ring finger without any problem.
You have to do it blue man. then it will win GOTM, koz geets win GOTM on acount of bein blueI definitely like the blue stain on the ash better than the red, it looks rust coloured on that wood, I guess the 'cherry red' stain needs some red in the wood to really work. I am getting some non stained bits in the grain though. I am hoping grain filling solves that problem.
 mine wont!! hehe.
and ponyo!!!!!! yay!!!!!
Your blue guitar is a winner anyway you look at it, ponyo is such a great movie, loved the bit when the mum is driving home in the storm, so surreal.
I used this bit to put a slope on the edges of the plate

and used the technique explained at Stew Mac, put the plate up on a template with anti wobble scrap around it

Inserts in the trem cut out and neck so they don't get slopped.
and did a bit of routing around

-
Fantastic, love the look of the swirls.
-
Here's the two colours on ash offcuts

I finished shaping the scratchplate, it needed a sliver taken of the bottom of the forward horn

So I rasped and sanded the template then shaved the plate

While listening to Shadows Fall, love 'Redemption' and 'Another Hero Lost'

-
I got a start on the scratchplate template and the plate itself. Straight edges first, I used the trem template on the rear and used the guitar as a template fro the neck pocket route.

The template isn't complete but I got a start on the plate. I made a sandwich of mdf on either side of the plate blank.

And routed down until I could see the plastic was cut right through.

Plate so far

-
Cool guitar, I like the the shape and the way the blue goes with the natural timber colour : )
-
good solid advice.
As for drill bits - Rodman bits have no equal in my eyes. One bit can do steel , masonry , GLASS , tile and more. I absolutely love them , too bad I only have them at work and not home where I build..........
Wow, glass is something I have never drilled into before, I must check those drill bits out.
My stains arrived this week

I'll try them out soon.
I made a template for the single coil, I used this pic as a guide

For the edges, I drilled an 18 mm hole with a spade bit in mdf and cut the piece in half

Positioned edges and routed out the shape

-
No. 1 looks like the hook and blade that is used for removing surgical stitches, that might be a good thing, but no. 2 looks cool.
-
Hey, a guitar that looks like a rock solid player with mojo and history, love it
-
Angled neck,
angled neck,
angled neck
-
1-2m is huge.
Ooops typo "mm" is what i was goin for.....
I'm not touching the crack, but I think I am going to enjoy watching this project
-
Hey Chops, glad to see did the opposite of stuff it up, now it's even phatter
 the tele based guitar especially looks so good, love the headstock.
Pointy Stick
in In Progress and Finished Work
Posted
Single coil space route