


JGTay
-
Posts
329 -
Joined
-
Last visited
-
Days Won
18
Content Type
Profiles
News and Information
Tutorials
Product Reviews
Supplier Listings
Articles
Guitar Of The Month
Links and Resources
Forums
Gallery
Downloads
Posts posted by JGTay
-
-
On 7/11/2023 at 10:23 PM, mistermikev said:
nice... been a while since I checked this thread... and right at the end there you went blue. i like it. very nice work.
Thanks Mike. Dan's choice of colour and it works very well.
-
 1
1
-
-
On 7/11/2023 at 9:35 PM, ScottR said:
Sorry this is so late.......but damn that came out nice! Love the color. And even more that Dan went home with a smile!
No worries Scott, thank you for the kind comments. Still waiting for Dan to send over some recordings, think he is too busy enjoying it.

-
And it has gone. Dan is heading home with it, a big smile on his face.

He is very happy and will send me some recordings next week, once he has finished his thesis and has time to have a good play around with it.
-
1
-
-
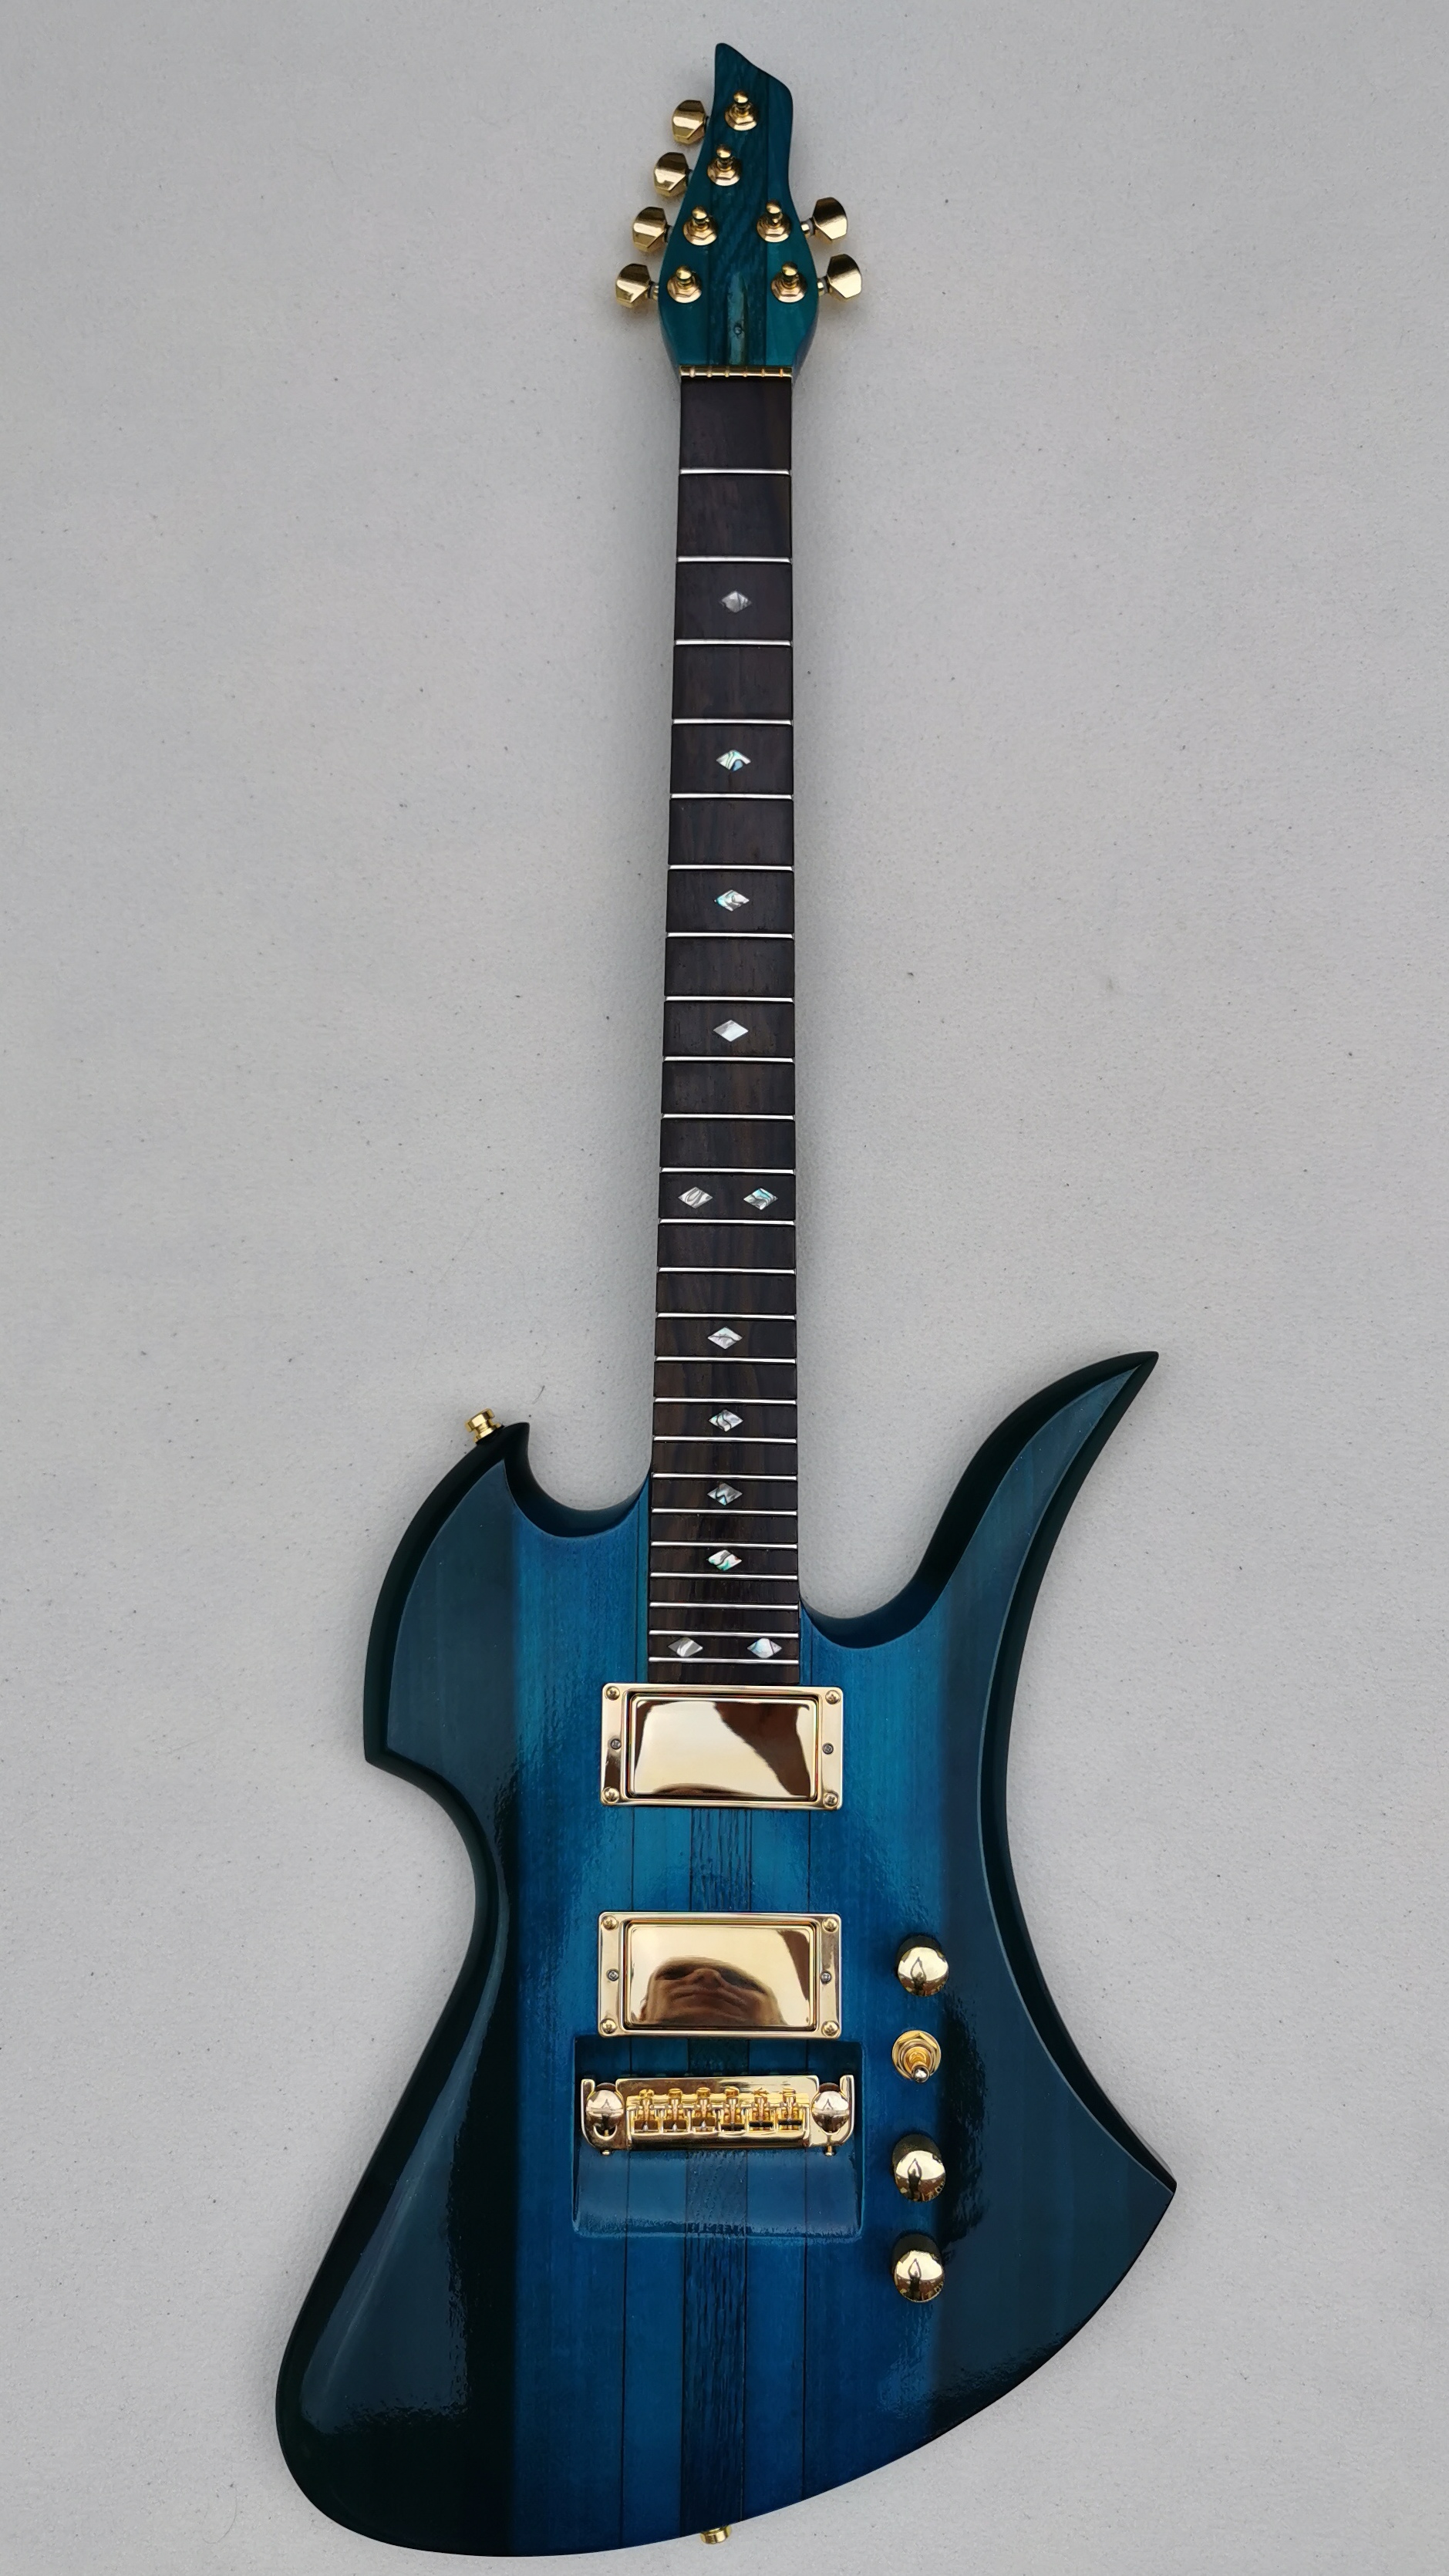
Dan dropped off the strings and cover earlier. All strung up and truss rod cover in place, he decided to do the cover black, but said he may do it the same colour as the guitar at a later date. Just waiting for Dan to come back from his in-laws and test it out.
Still need to cut the excess strings off. Was losing the light for the pic.

-
3
-
-
Dan still has the truss rod cover, must remember to tell him to bring it along next week.
-
Dan dropped the guitar off last week and I set to work on getting it finished this weekend. Gave it a good polish before getting started.
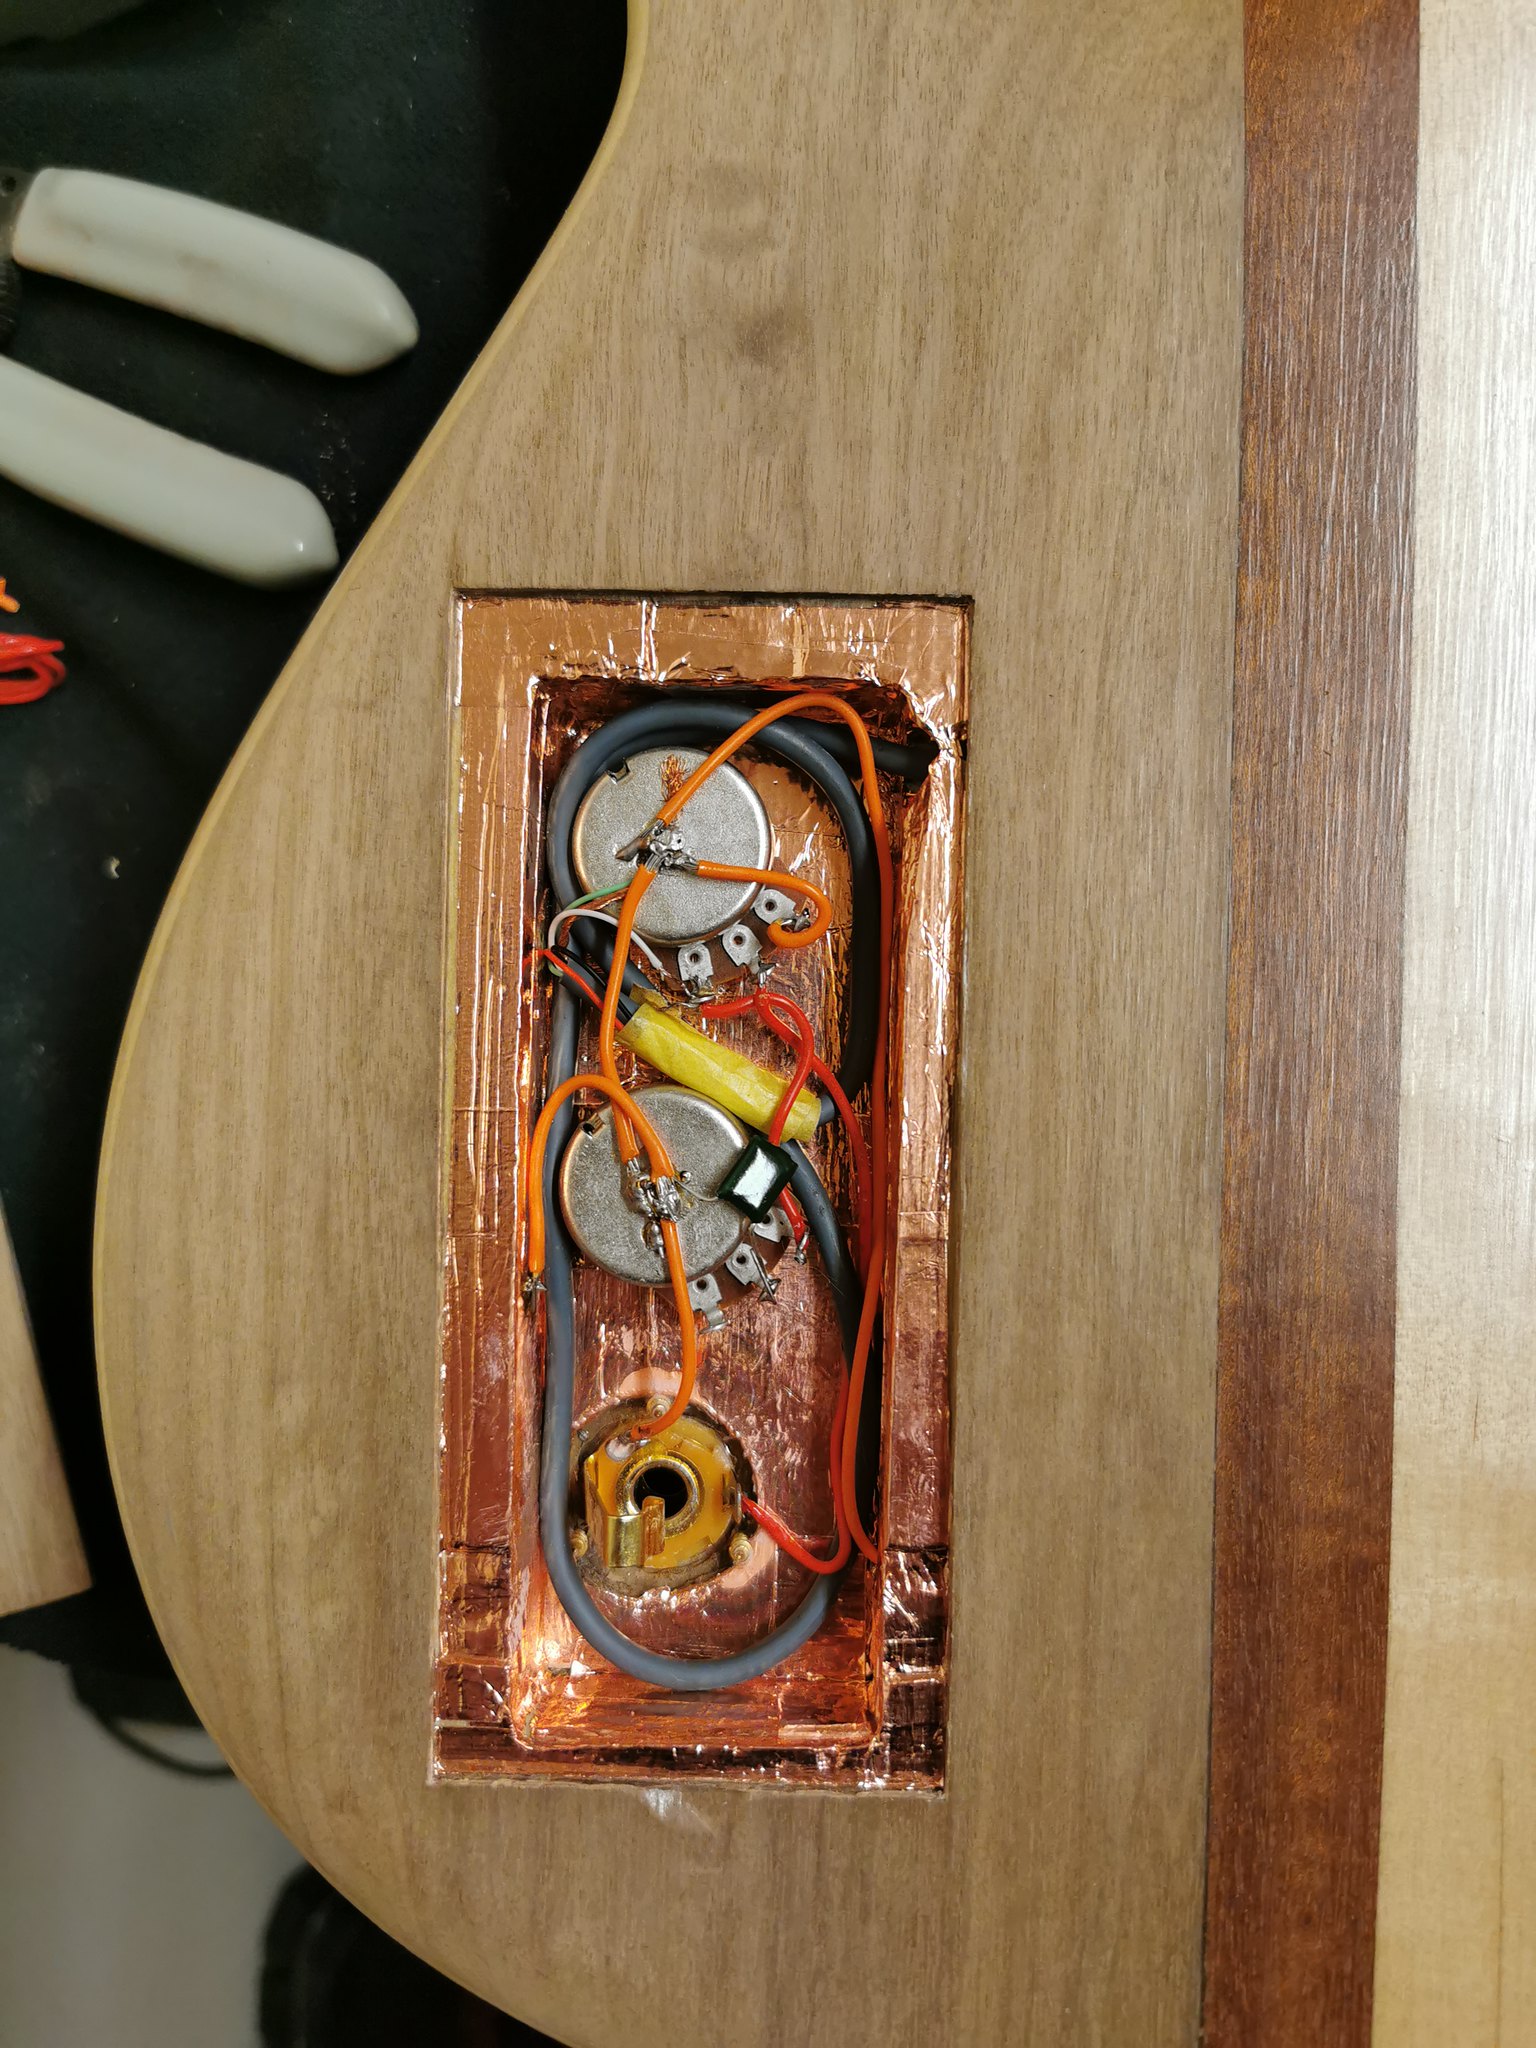
Copper shielding done.

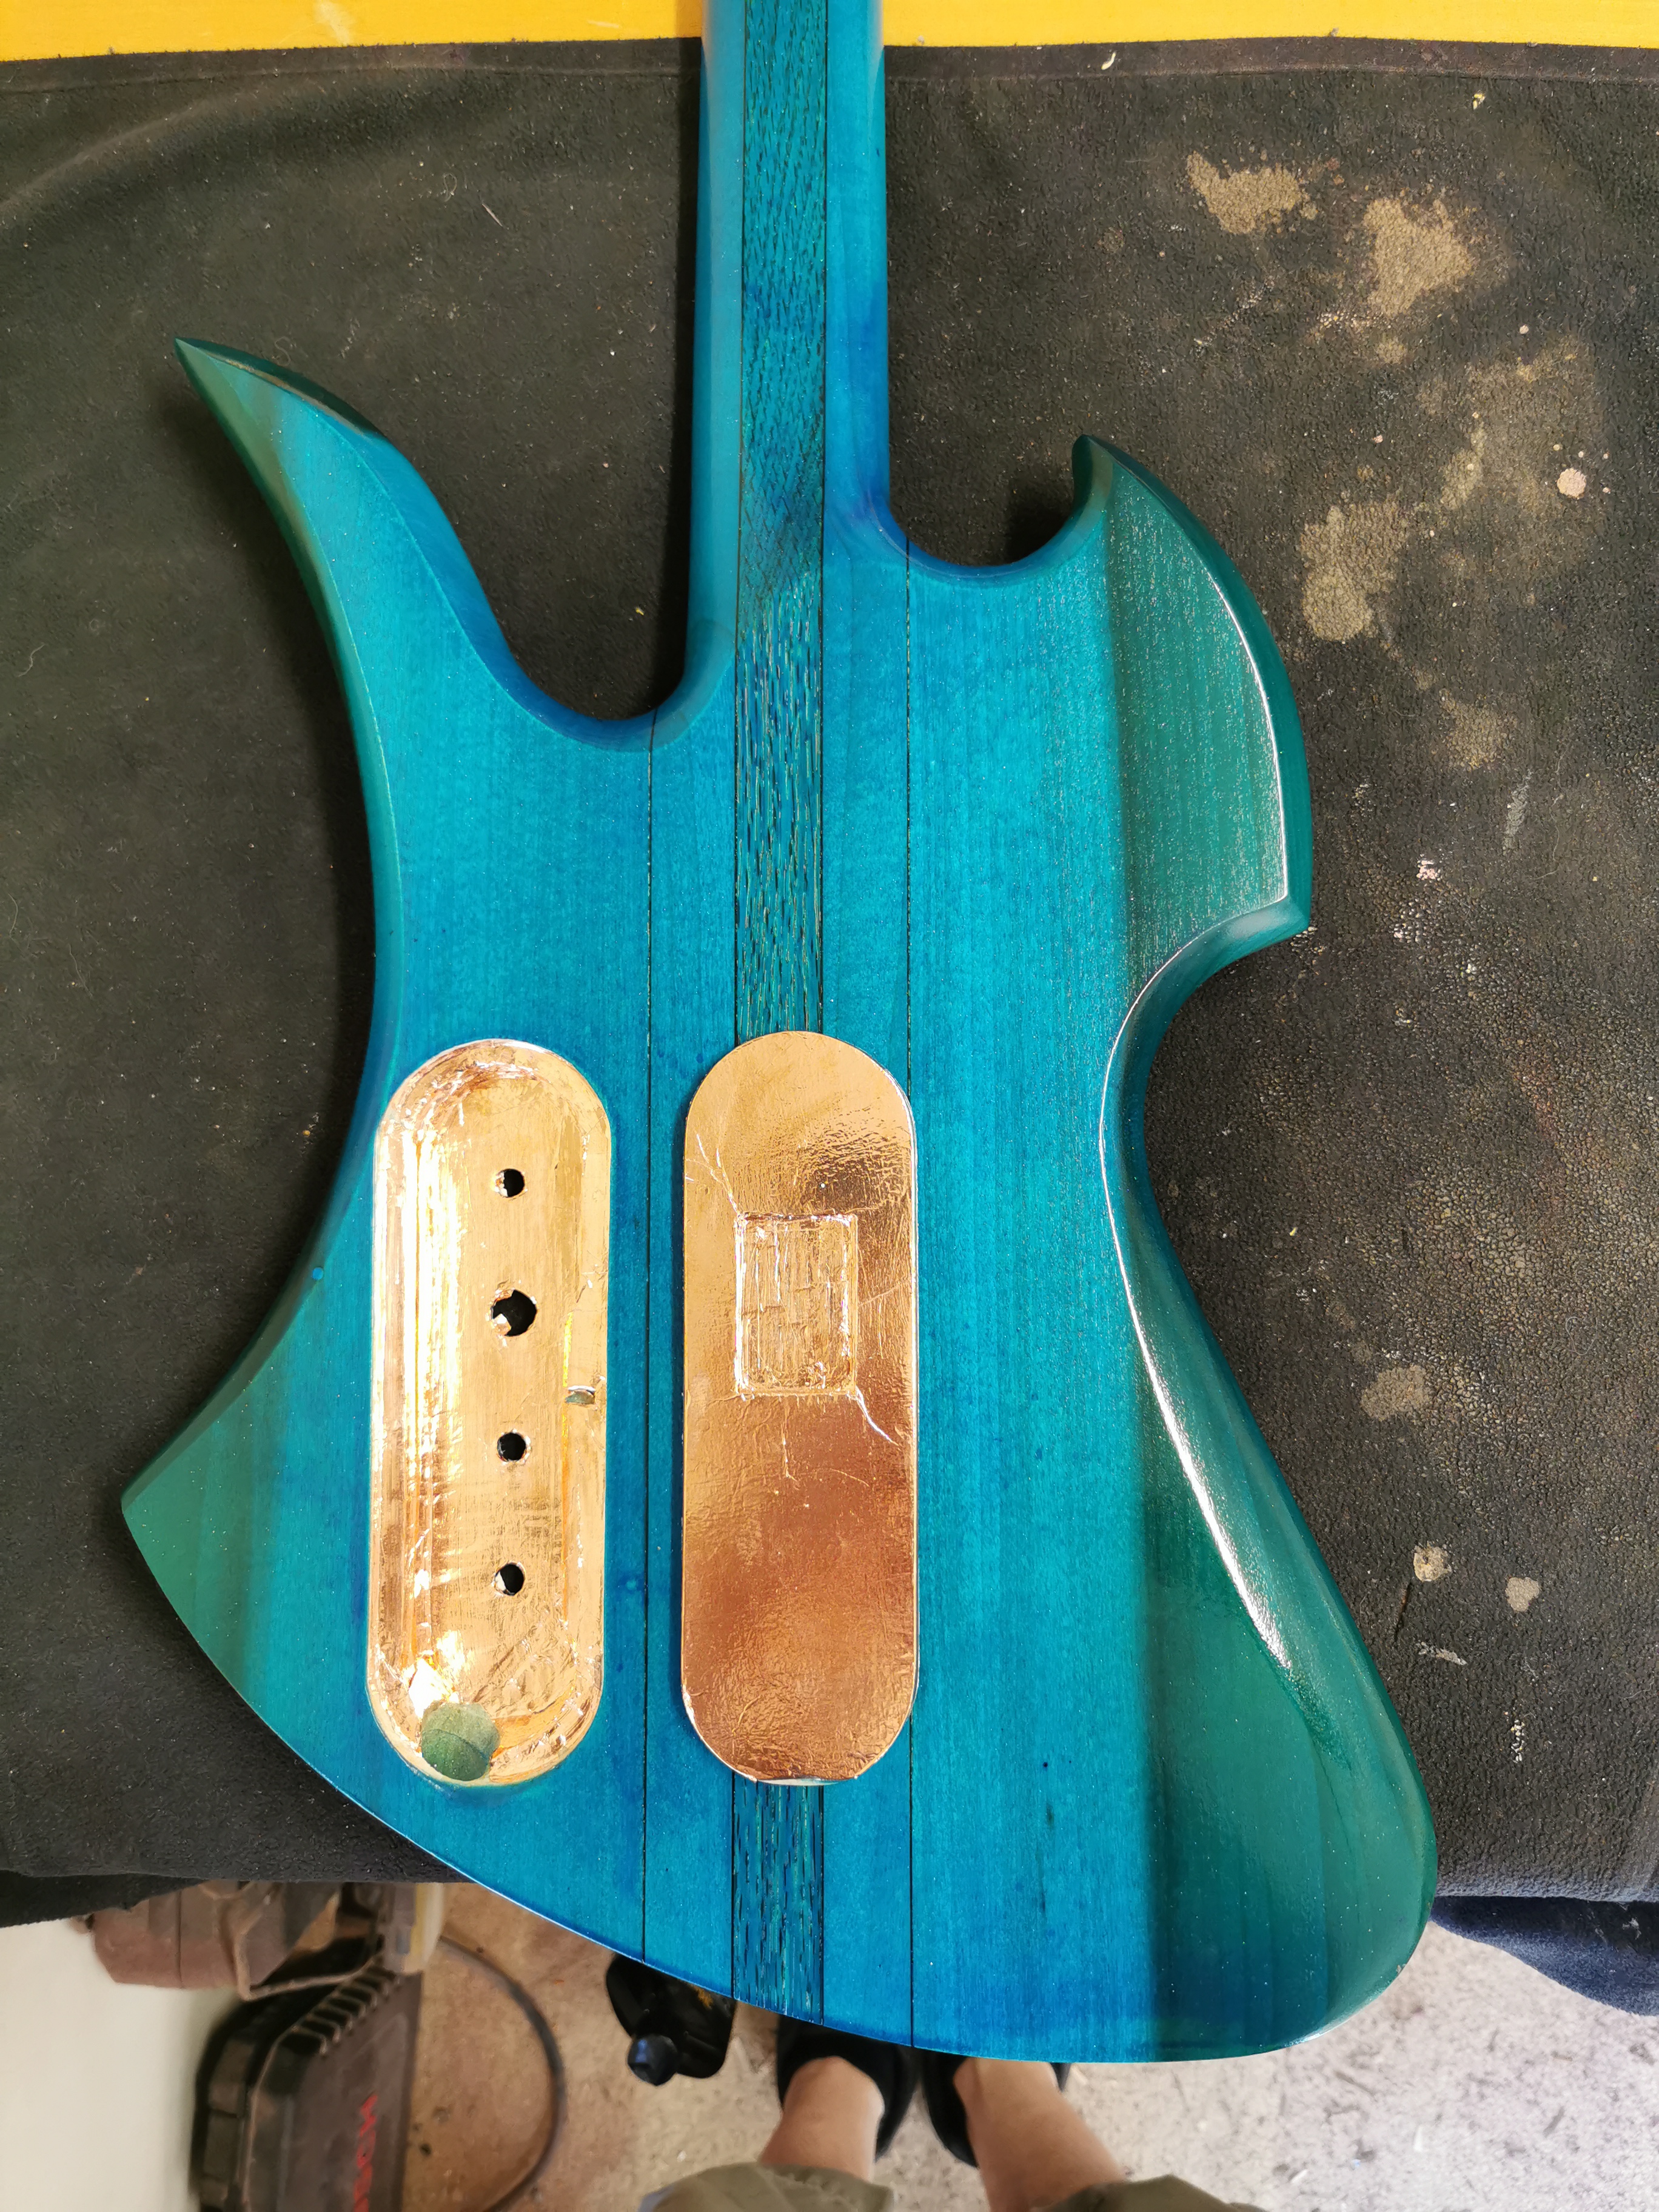
Then moved onto the electrics.

Everything tightened up and pickups screwed in place.
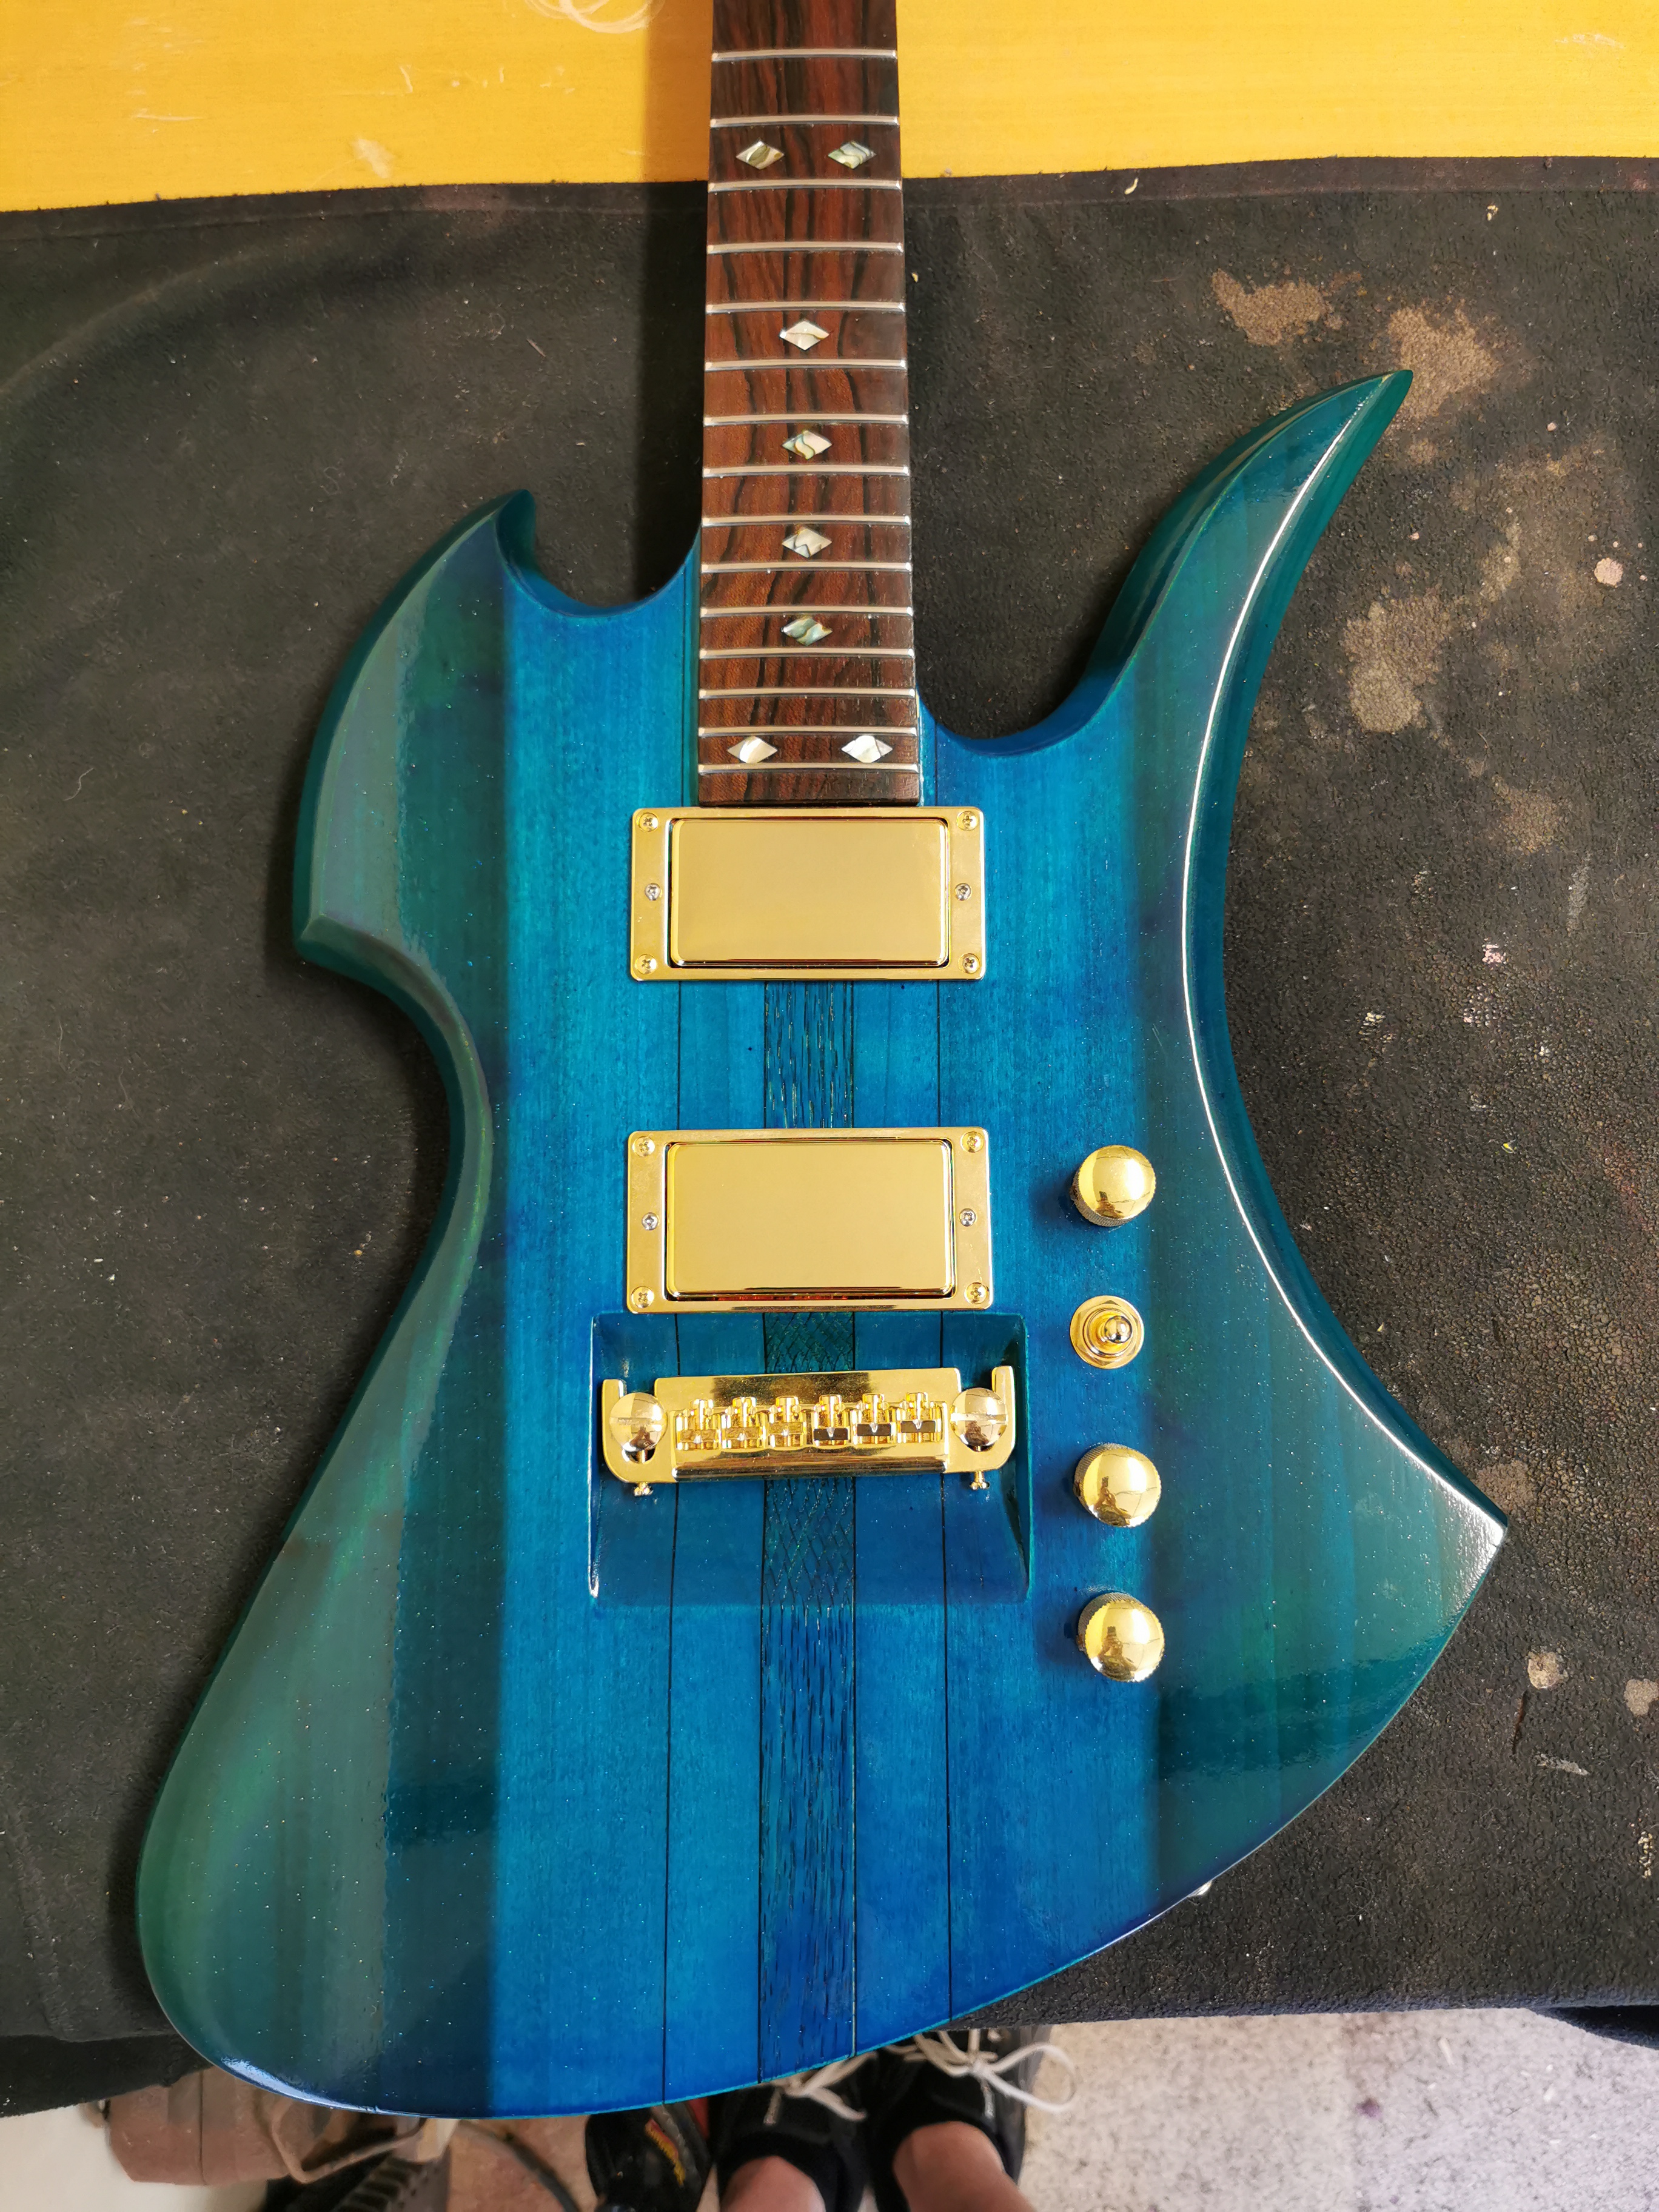
Put the tuners and strap locks on, then took some glamour shots. No strings yet, Dan is bringing them next week when he comes to collect it.


Looking forward to getting it strung up next week and getting Dan to test it out.
")
-
2
-
-
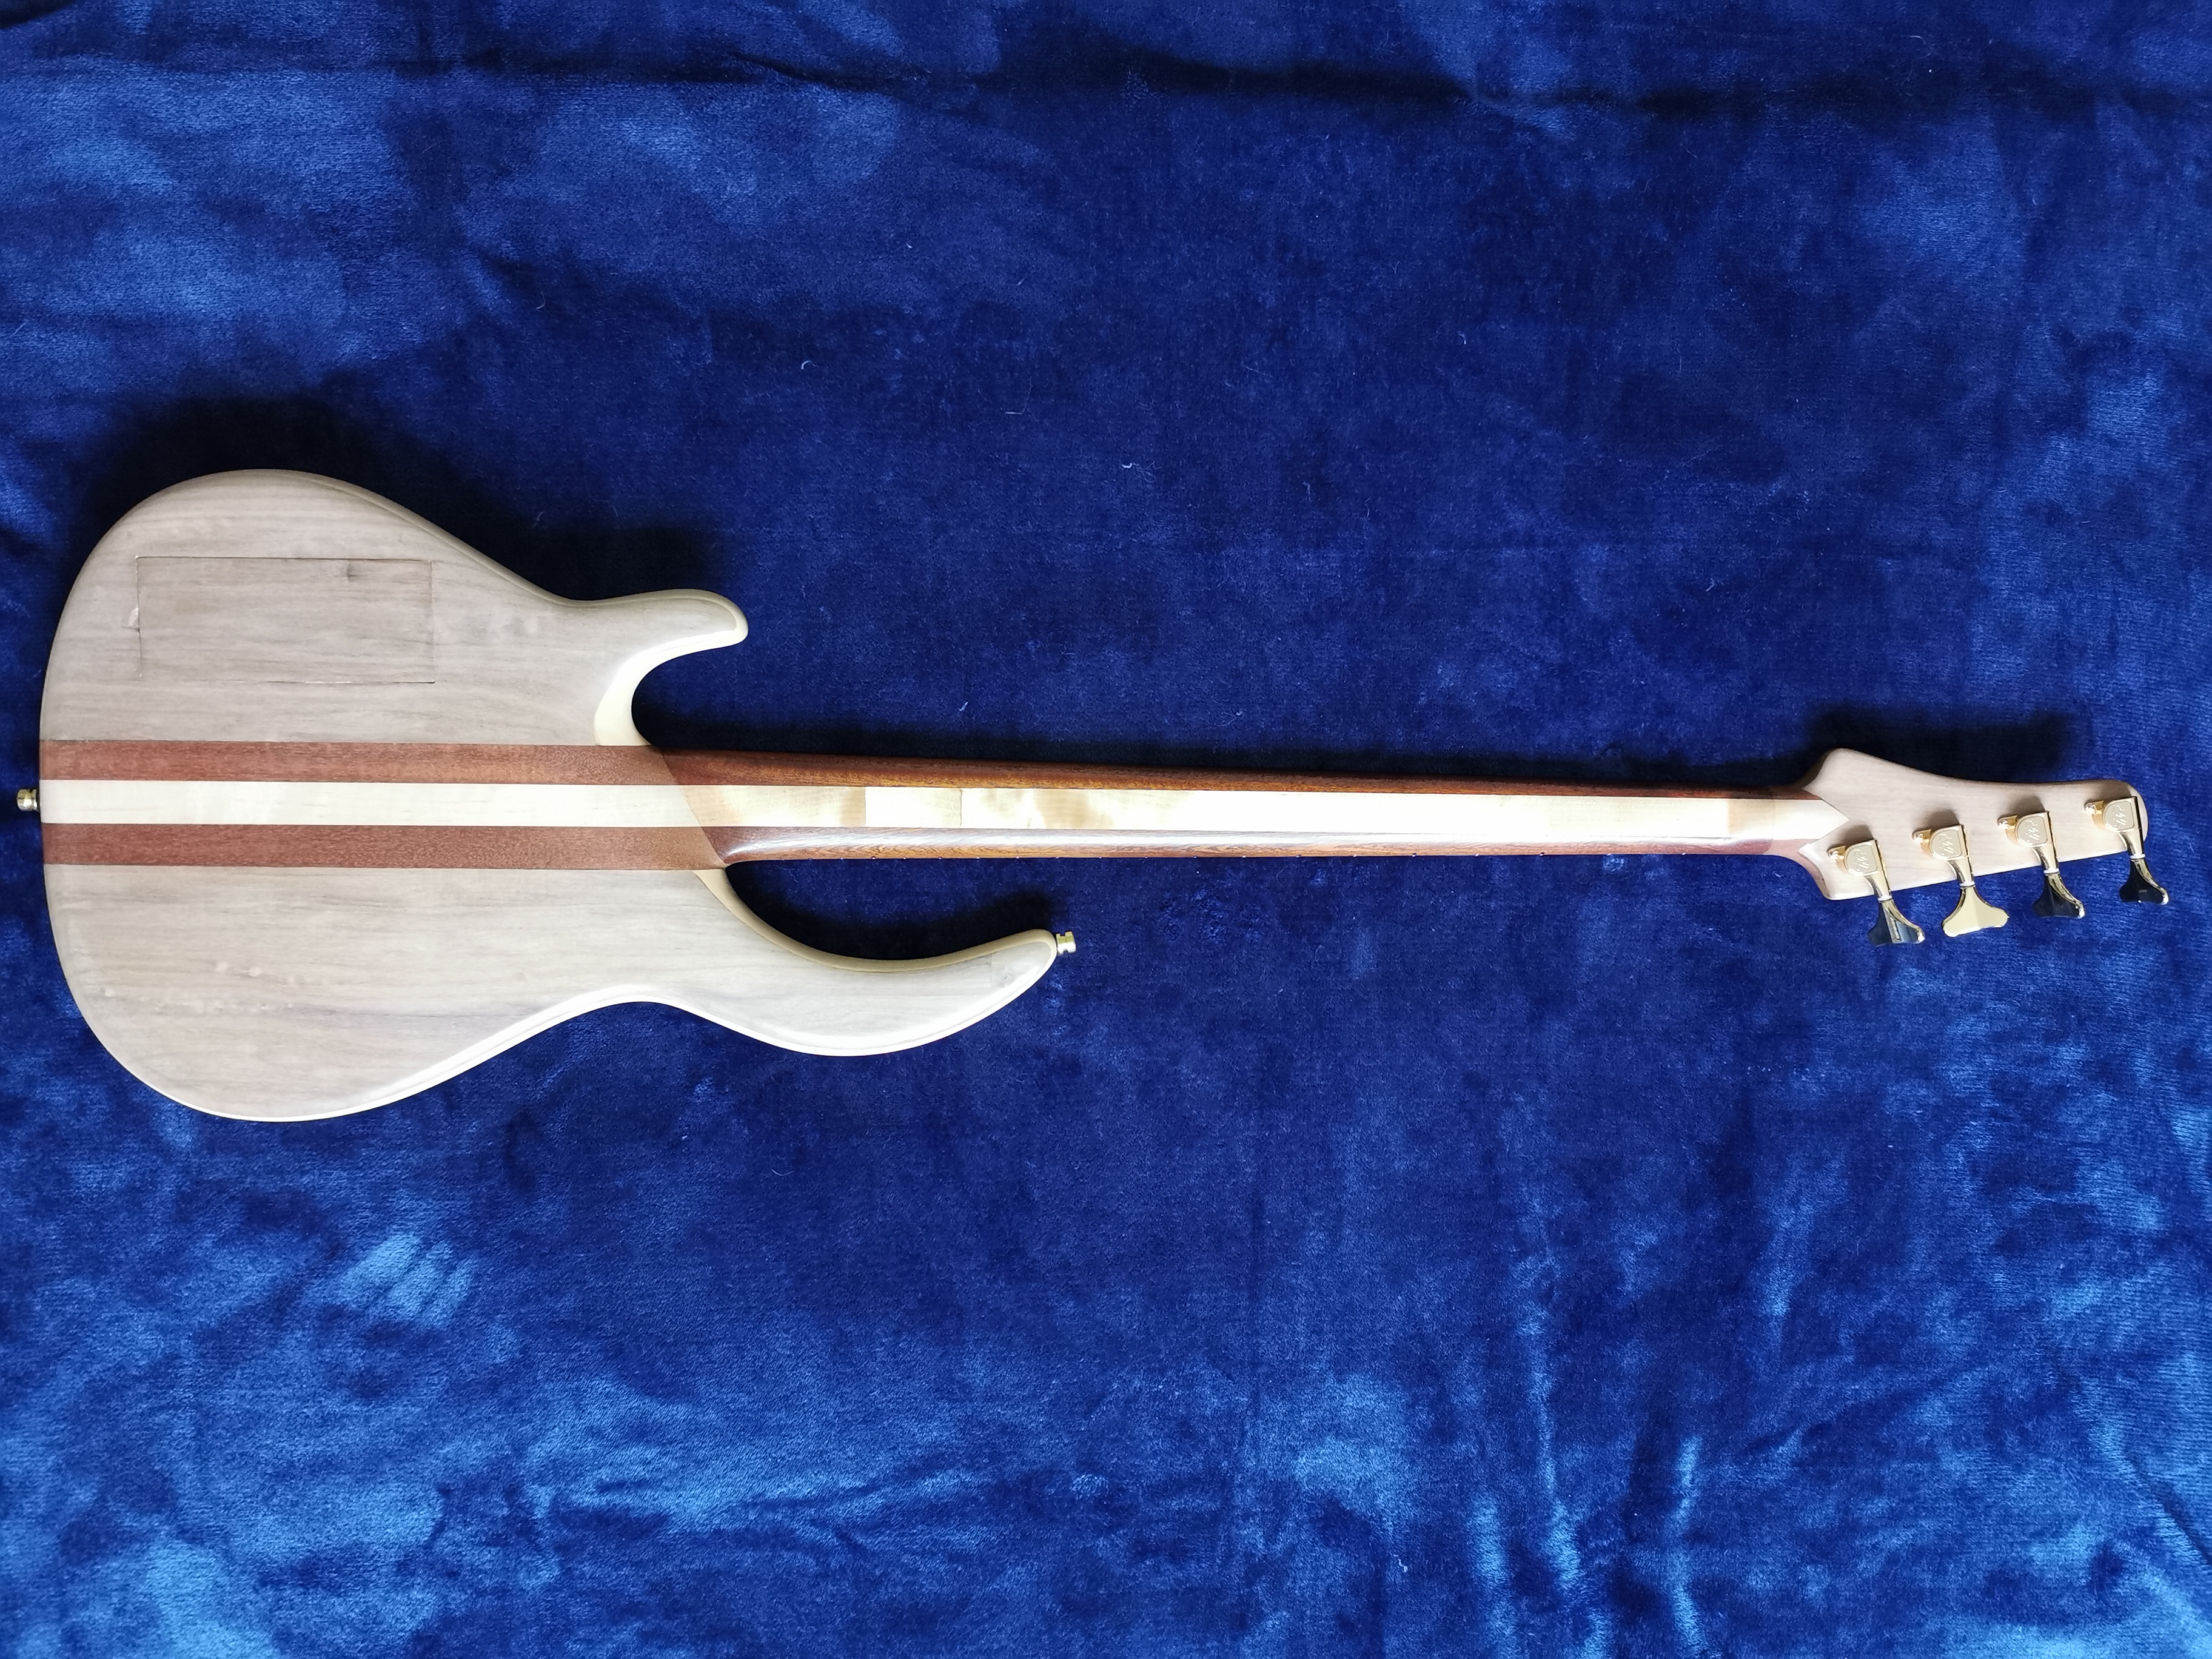
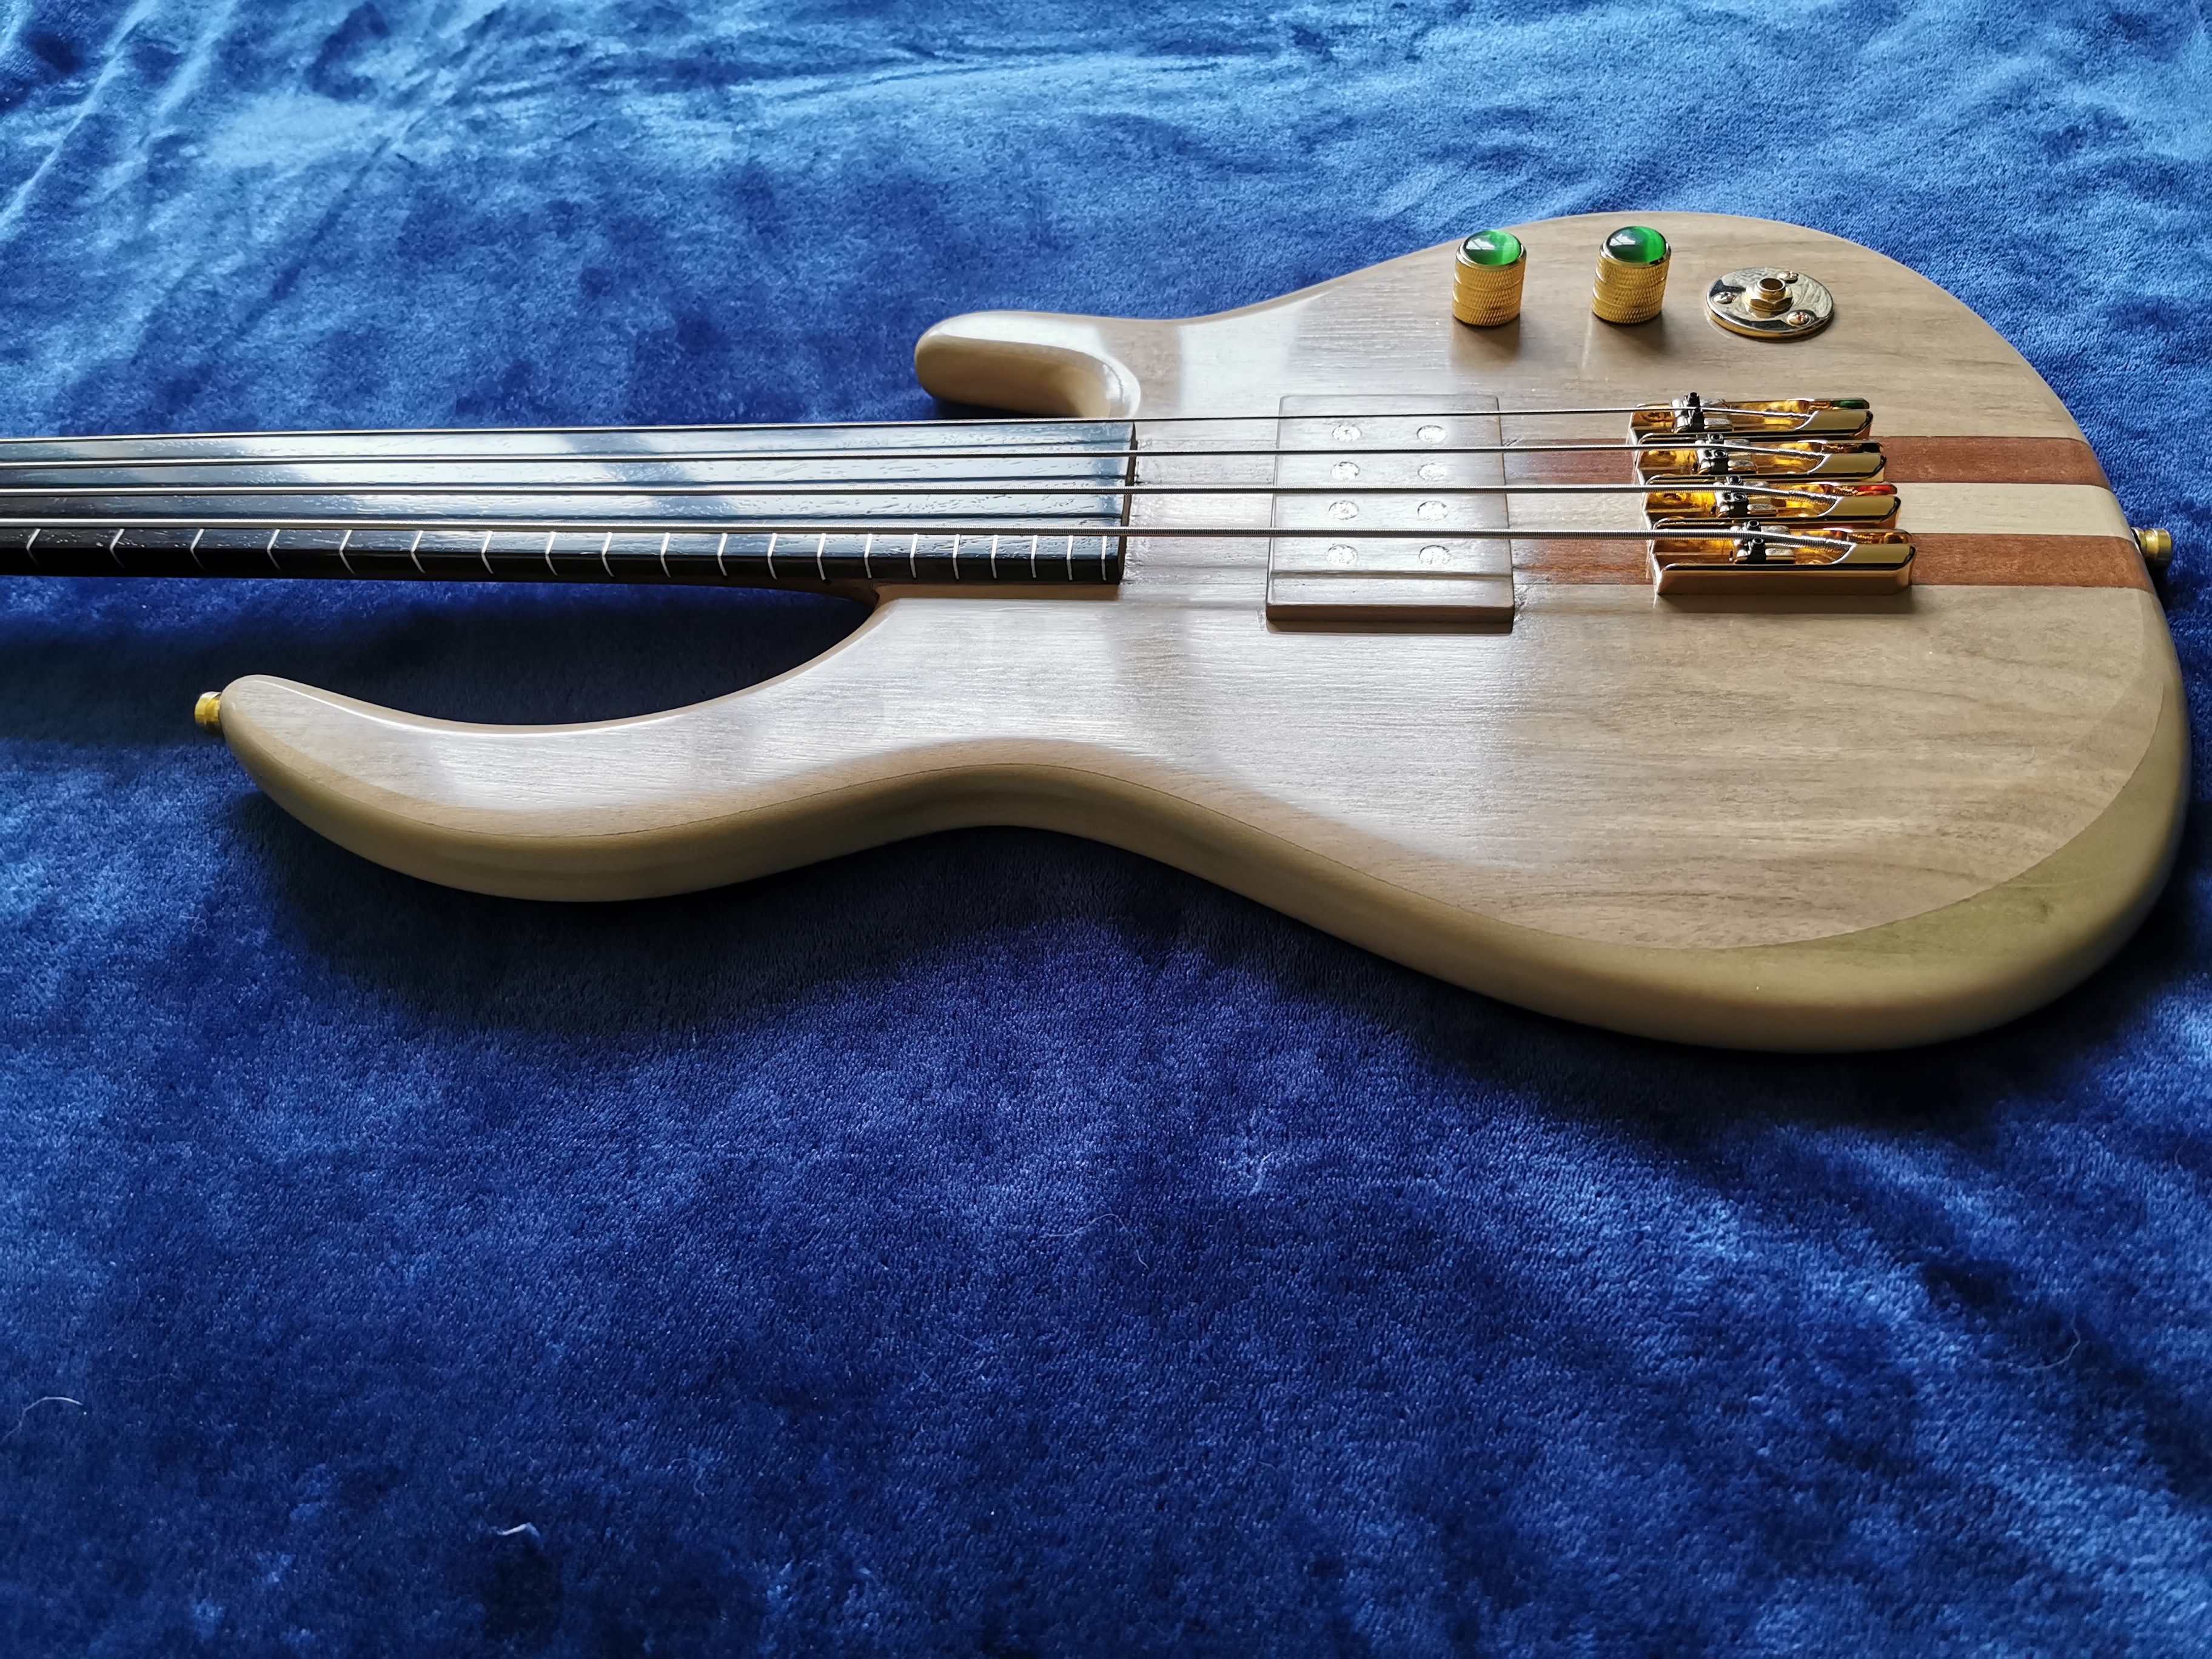
Lightweight fretless bass.
Woods and materials used:
Leadwood fretboard
Mahogany and Beech through neck
Walnut and poplar body wings
Aluminium fret position markers
Scale length and other configuration details:
30" Scale length
12" Fretboard radius
Danish Oil finish on back of neck and fretboard, and clear varnish on the body
5.771 lbs. or 2.618 kg total weightElectronics, pickups, etc.:
1 volume, 1 tone (500k Pots)
Sprague Orange Drop cap .022uF
Fully hand wound humbucker pickup with neodymium magnetsOther hardware:
Wilkinson Machine heads 17:1 Gear ratio
Individual Bass Bridge/ Saddles from Northwest Guitars
Is this your first build, fifth or five-hundredth?
This is my 9th build
A bit of information on your own background as a builder helps give context to your build.
After my wife told me I couldn't buy anymore guitars, I took up the 'hobby' of building my own with the hand tools I had available. She is now telling me to slow down on builds for myself!
Was it built in the garage, at school, work or in your own shop?
Built in my workshop
A summary of the build's history. Was it built for yourself, friend/family or a client? Did you design the instrument and its specifications or was it built to spec?
Built for myself after building the Mockingbird bass, finding I really enjoyed playing bass and deciding I wanted to try fretless. I wanted to make it lightweight as I had been having some shoulder issues and aimed for around 6.5 lbs. Had a nice surprise at the final weight. The shape changed throughout the build, didn't really have anything in mind and just allowed it to become what it is.
Build thread -


Thanks for looking.
-
3
-
-
Just realised, I didn't post the final pics of this. Sorry for the delay.
Really pleased with how it has come out, loving fretless bass.
-
2
-
-
This weekends updates.
After measuring up and marking out, started getting the neck/fretboard shape done.

Then moved on to the radius, started yesterday afternoon and finally finished sanded up through the grades this morning. Leadwood is painful doing the radius by hand.
Cleaned up with white spirit. Some really nice grain patterns.

Have gone with a thicker fretboard on this build as the strings were closer to the body than I wanted on the last fretless. it is around 11mm in the centre.
Next I moved onto getting the neck thickness trimmed.

That was as far as I got. Tools down until next weekend.
-
2
-
-
3 hours ago, Bizman62 said:
By looking at the pictures it seems the noisiest tool in your workshop is the hoover!
I do have a few power tools, but they don't get plugged in very often. Much prefer the safety/accuracy of my hand tools.

-
1
-
-
A few updates from the past couple of weekends.
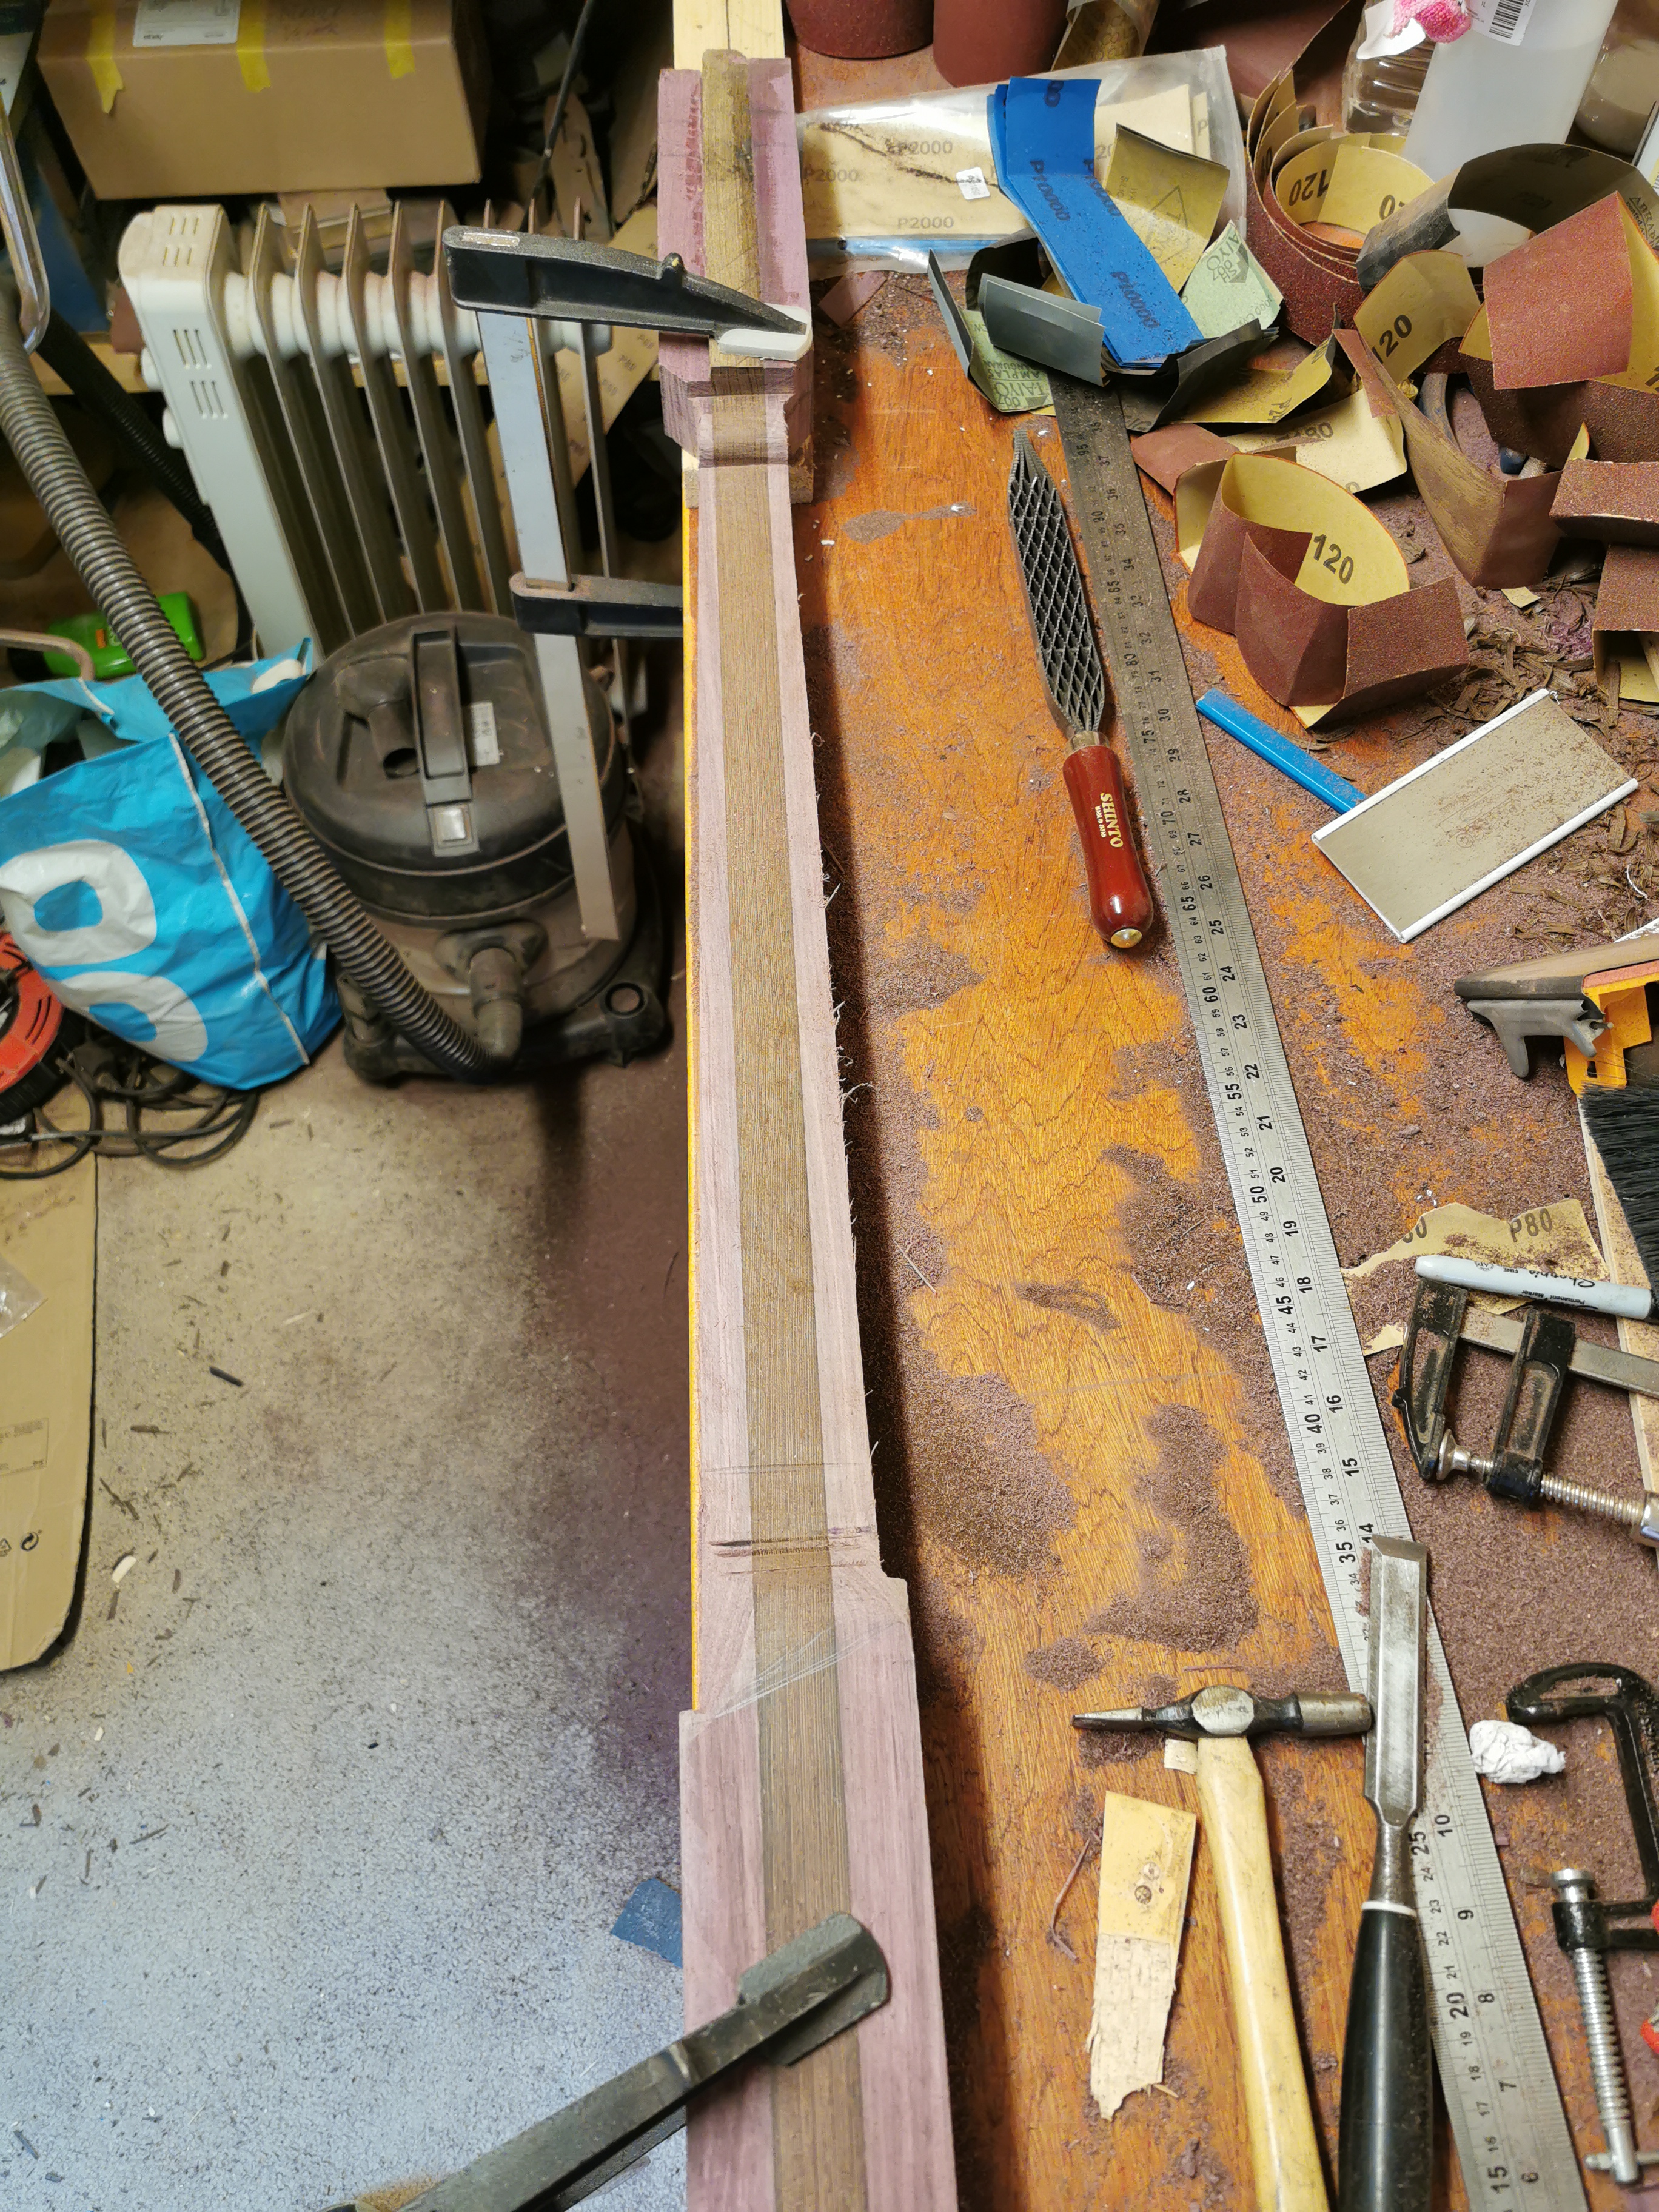
After prepping the neck laminates, they were glued up and then I cut the headstock angle.

I then removed some of the excess from the back, leaving the headstock thickness full so I can do it in one piece.


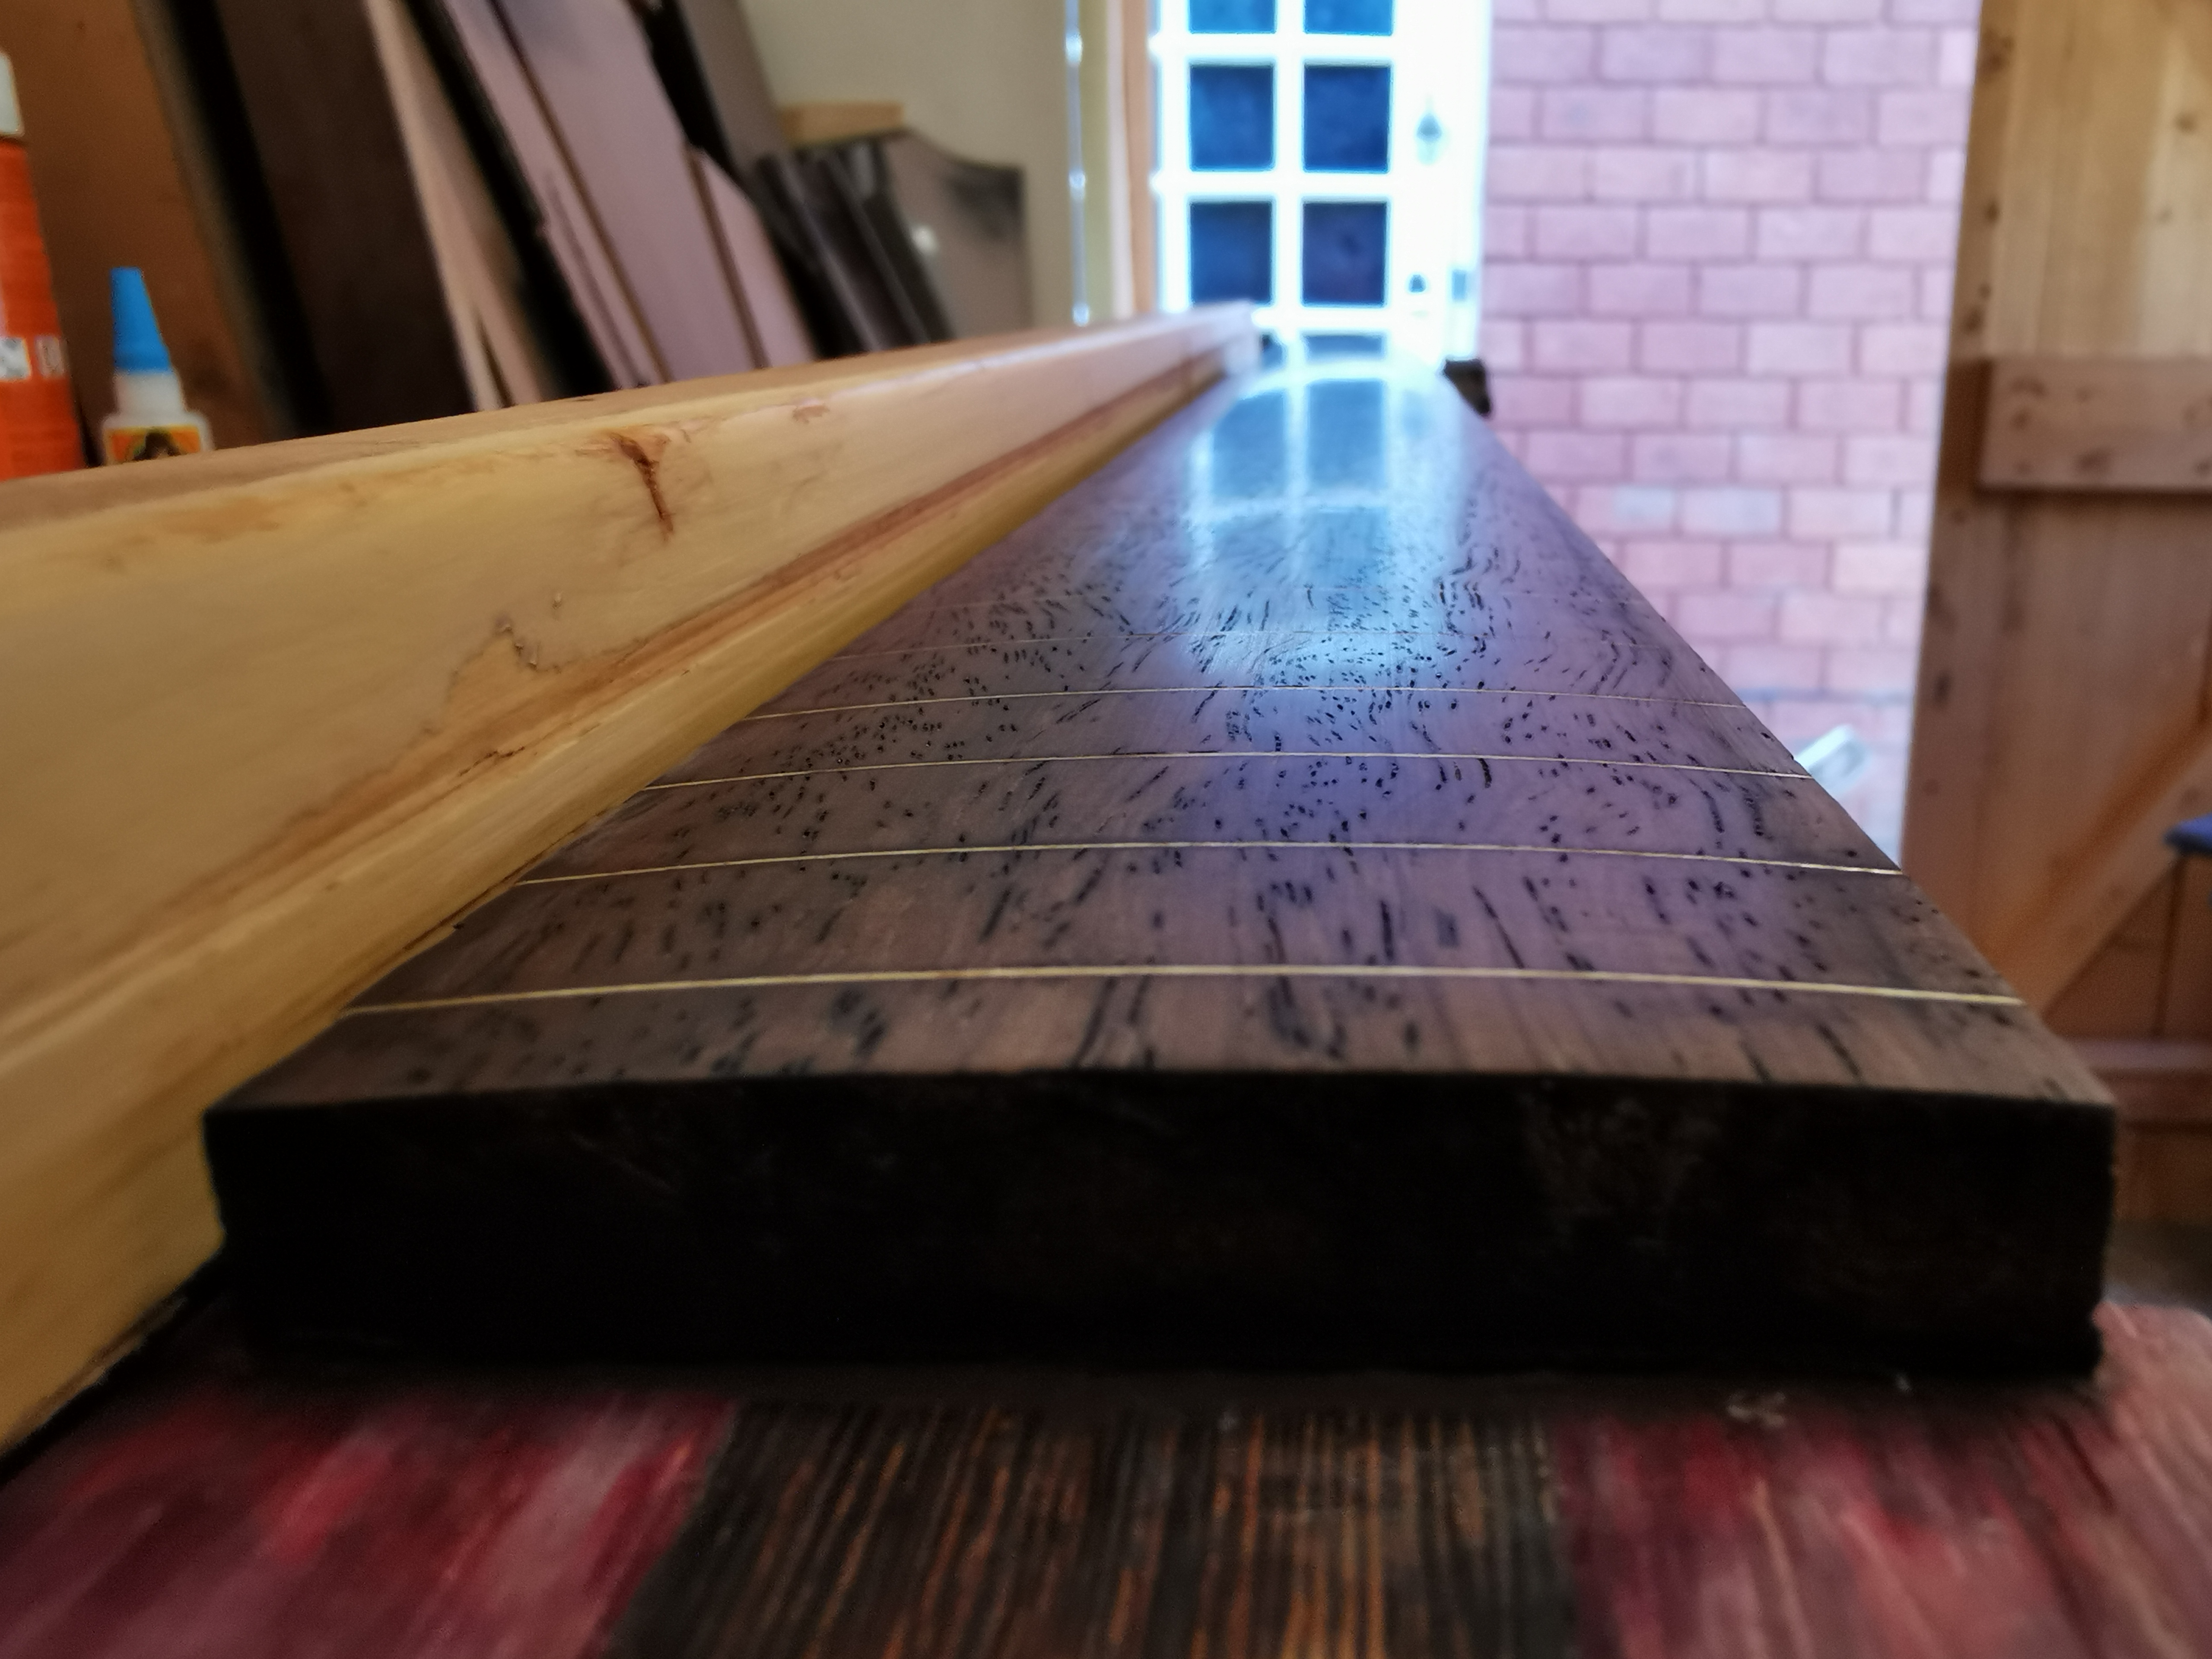
Next up was the fretboard. It had a slight twist/bend at one end (which is now the nut end), so I drew a centre line, marked out the nut, strings, fretboard edge and the fret positions to make sure everything was correct, before cutting the fret slots and gluing in maple veneer for the lined fretboard.

Then I moved on to chiselling out the truss rod channel. This was part way through and testing to see how much more needed removing. (please excuse the sweat drips... it was very warm!!)
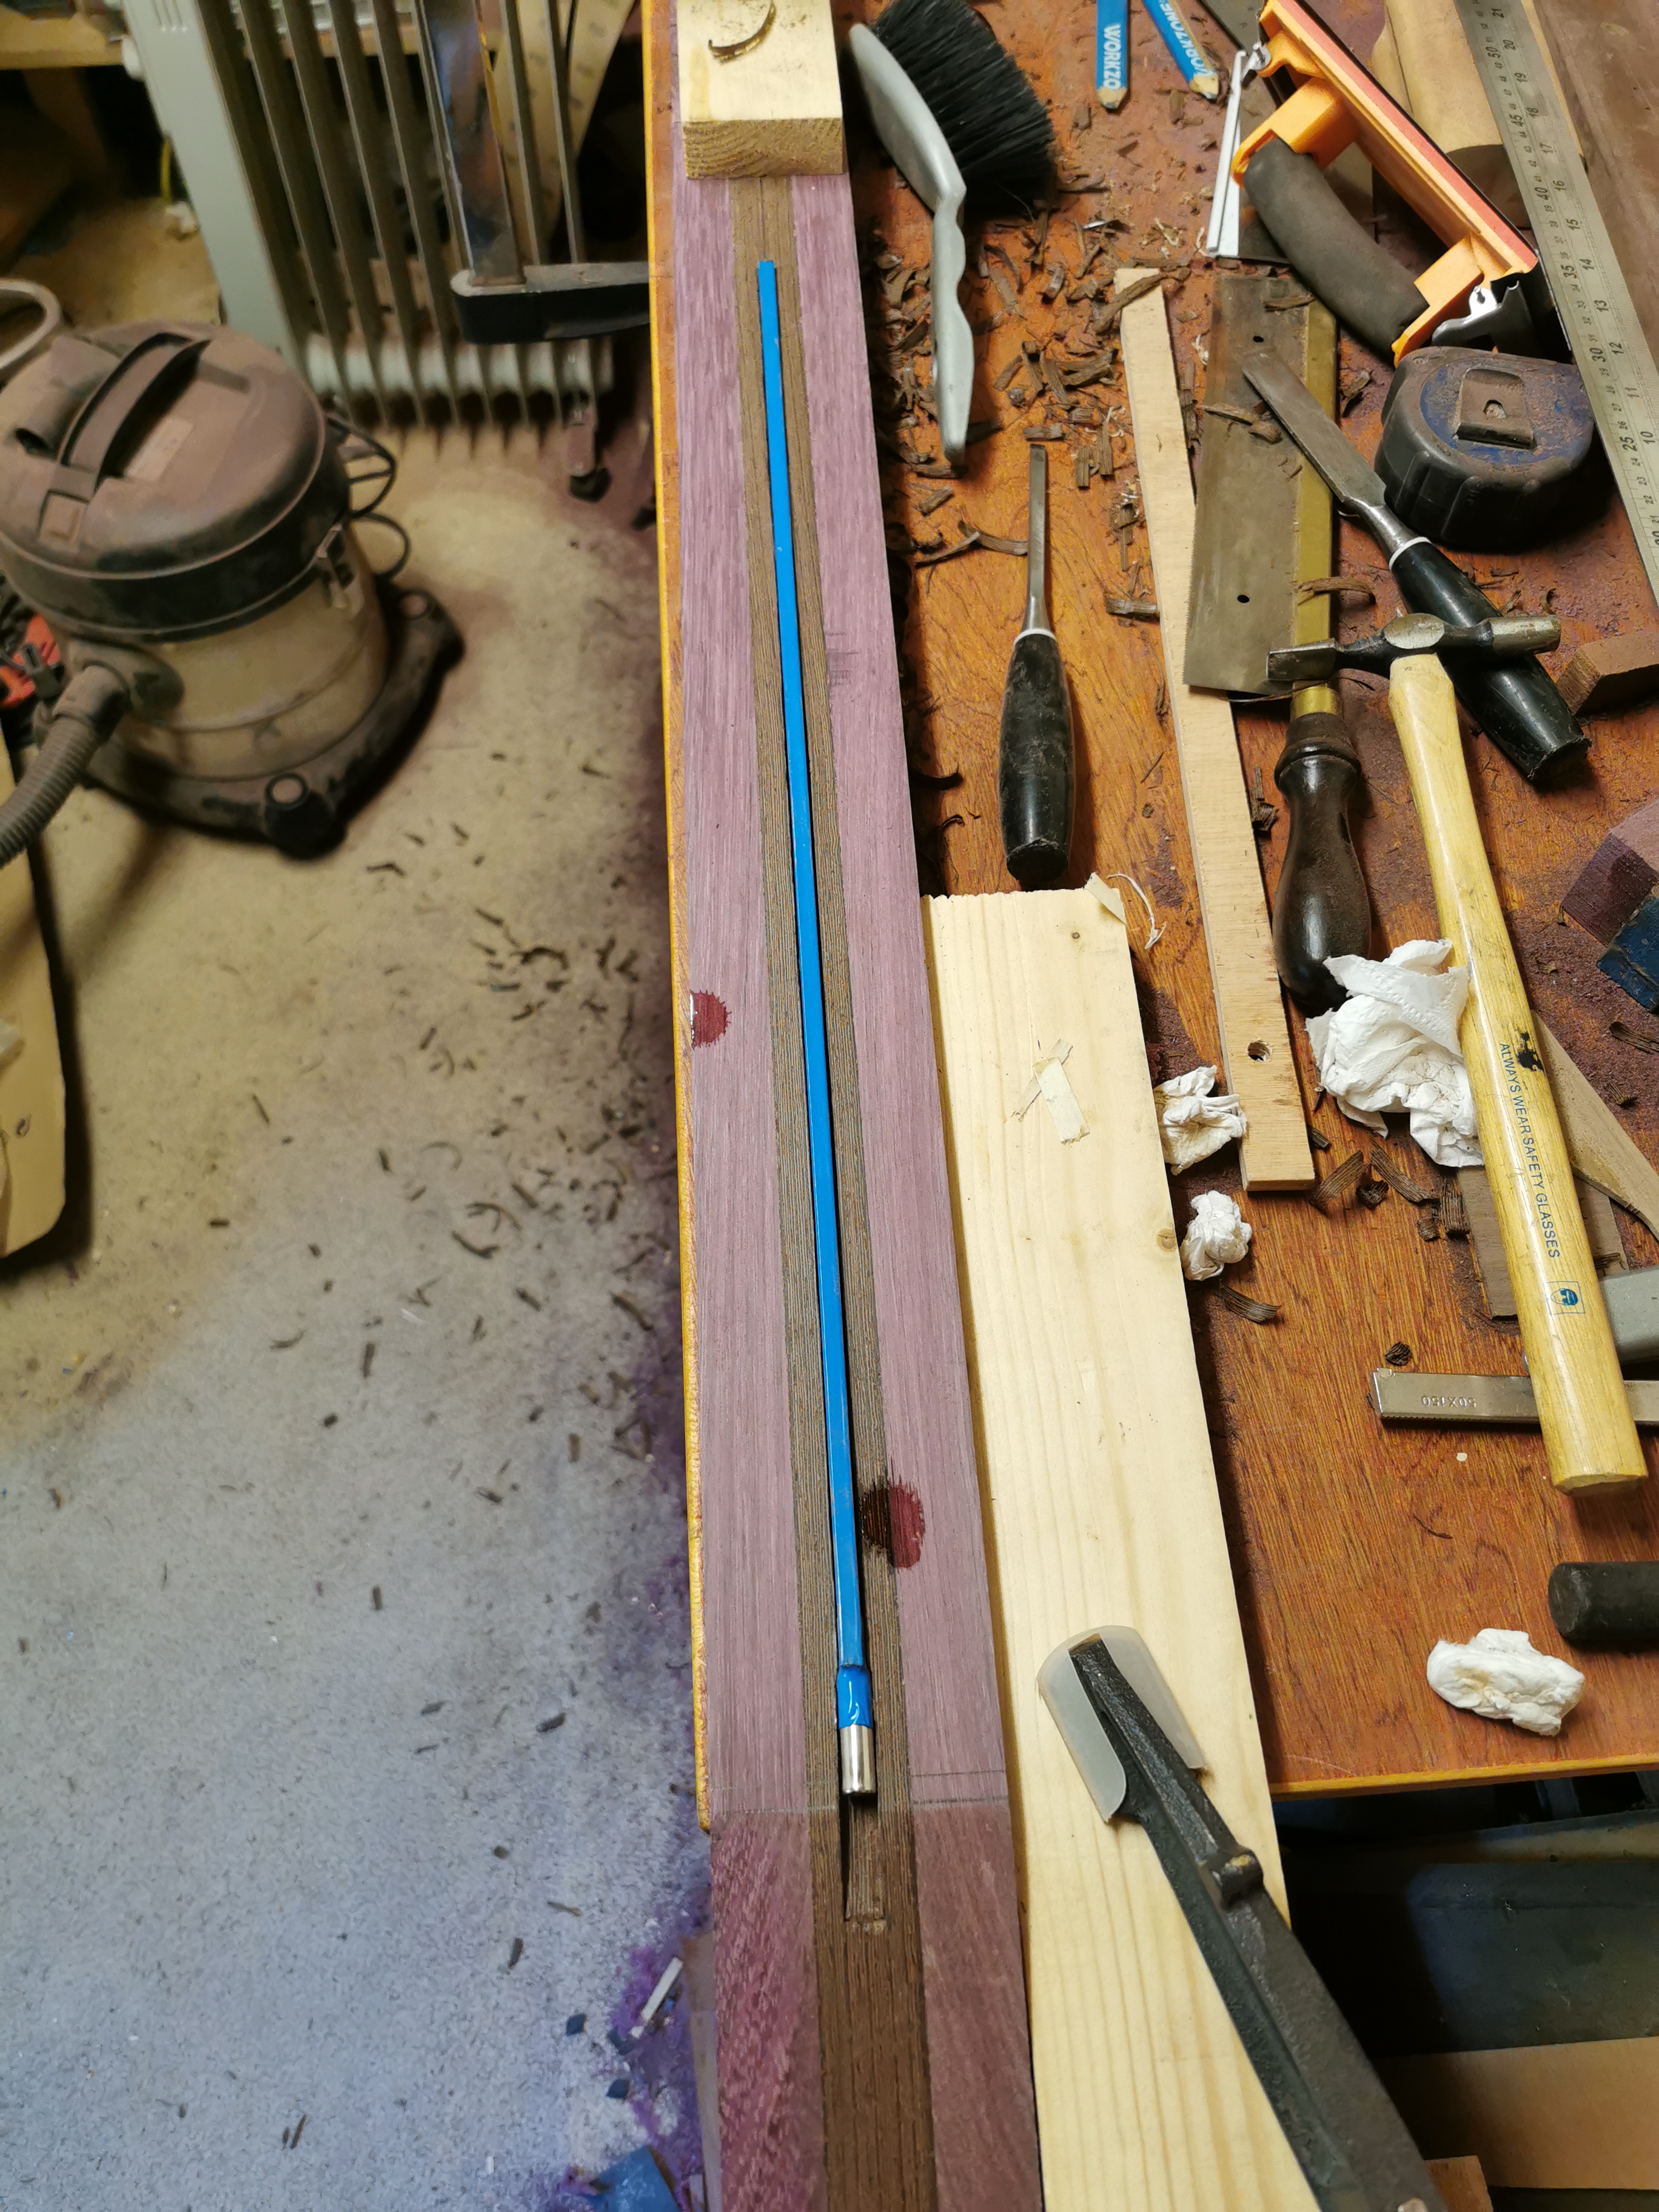
Finally to the correct depth and level all the way along.
And with the truss rod in place.
I then marked out and cut to depth for the positions of the humbuckers, but didn't take pics. Haven't removed the wood yet, need to be careful they come out as full pieces as I will hopefully be utilising them when making the pickups.
Next was gluing the fretboard in place. Usually I would cut the fret slots after this point, but with the twist/bend I needed to make sure everything was lined up perfectly. I clamped it in place first and drilled through on the outside edges that will be removed so I could use nail pins to hold it in place and keep it lined up when gluing. Then masking tape over the truss rod and cut to size, before gluing and clamping the fretboard in place.

Once it had dried it was out of the clamps and lined up with the wings to see how it was all looking.

That was where I got up to on Saturday, was hoping to get some more done Sunday, but didn't get any time. So will get back to it next weekend.
-
3
-
-
A few updates sent through from Dan.
Colour coat done.
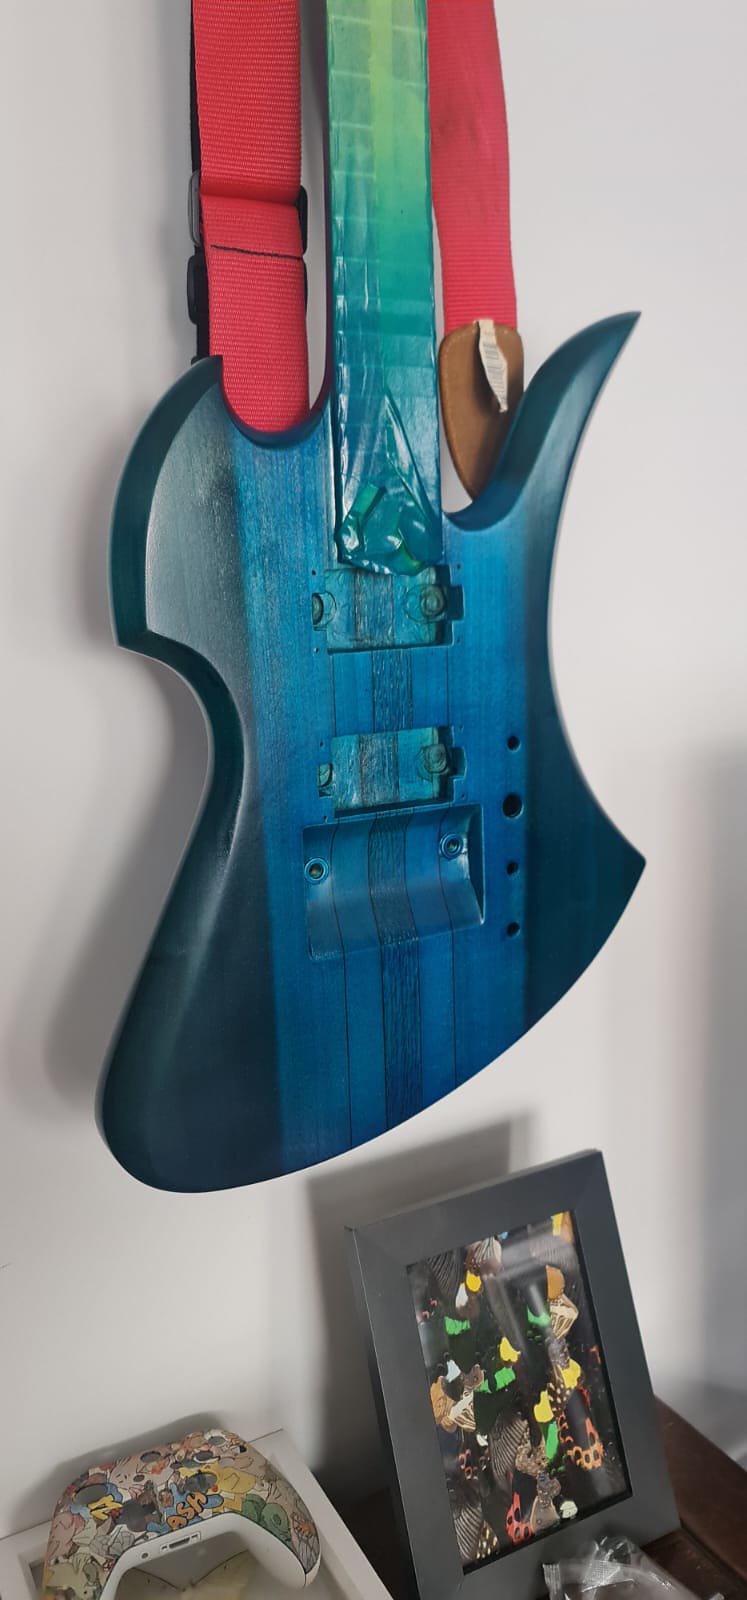
And then the clear coats with buff and polish.


Will get it all setup when he drops it off. Looking forward to seeing it in person.
-
Dan hadn't been for a visit as I have been out of action for the past couple of weeks with covid, finally got negative tests the past couple of days.
So today he came round to test it out, he is really pleased with it, loves the neck shape and is very happy with everything. I have removed all the hardware and he has taken it home to get started on the prep work for the paint job.
He will be sending through progress pics and keeping me updated.
-
1
-
-
1 hour ago, Bizman62 said:
You should be. That's a pretty instrument with lots to love.
Thanks Biz, really appreciate it.
-
Have managed to get the side dots done, also the fretboard is oiled and cleaned up. Will need a polish up once the paint job is done, but very happy with how it is looking.
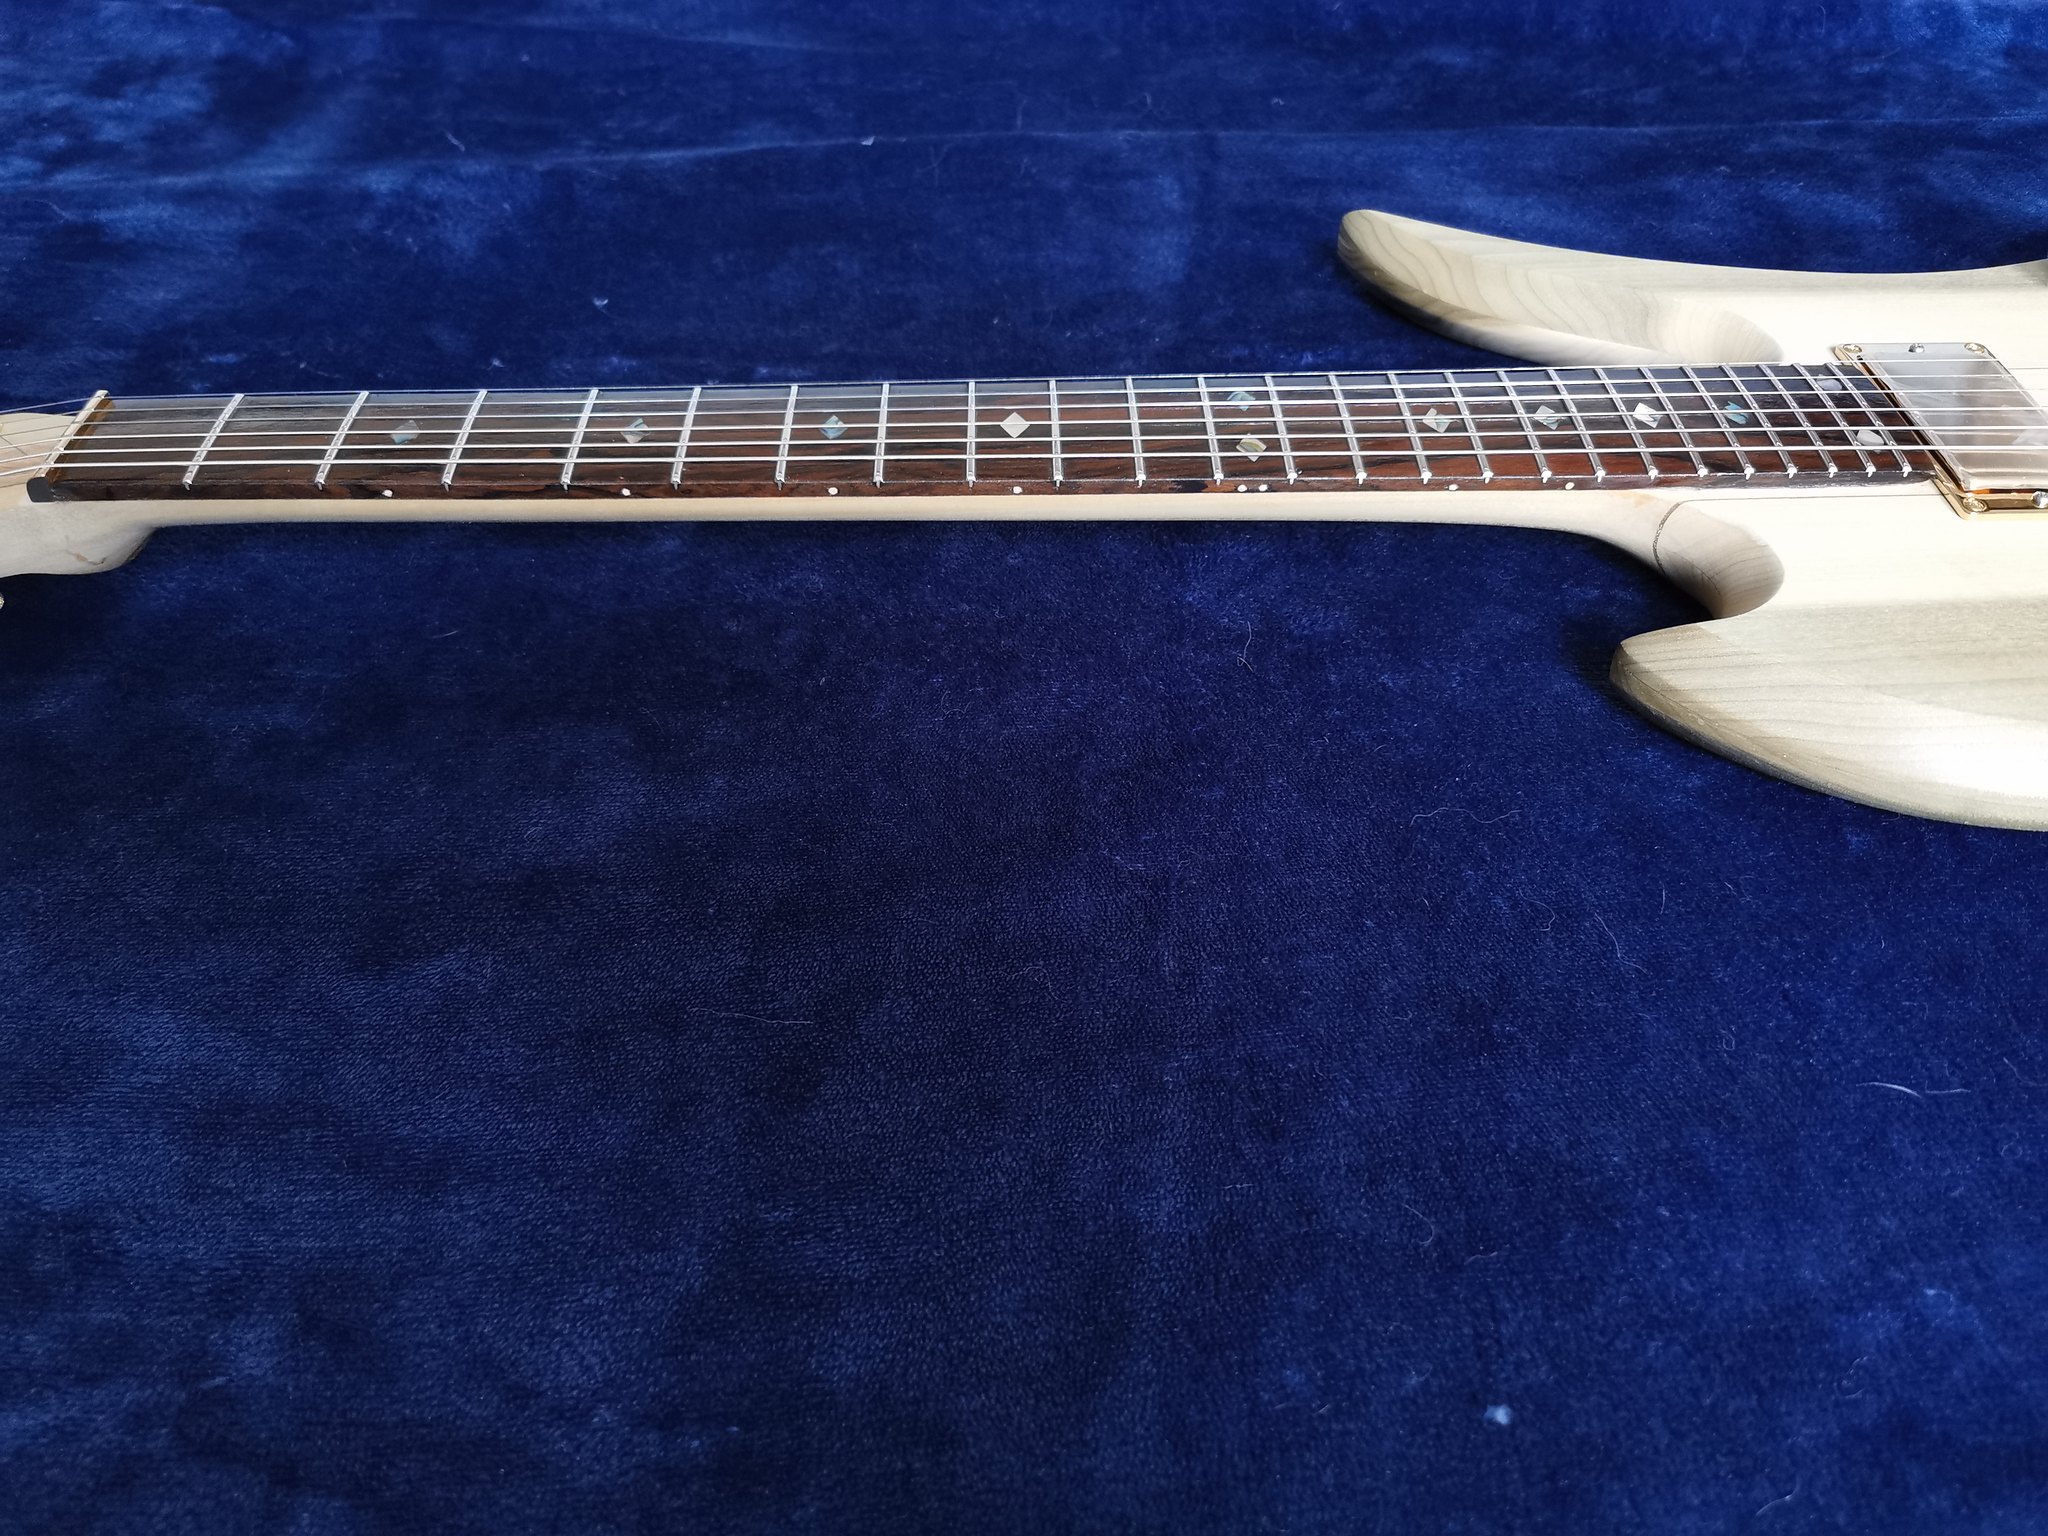

Ready for Dan to test on Sunday, if he is happy I can take off the parts and he can take it away with him for the finishing.
-
4
-
-
13 minutes ago, Bizman62 said:
So it's not going to mimic the Gretsch G6138?
That would definitely make things easier, but no.
-
- Popular Post
- Popular Post
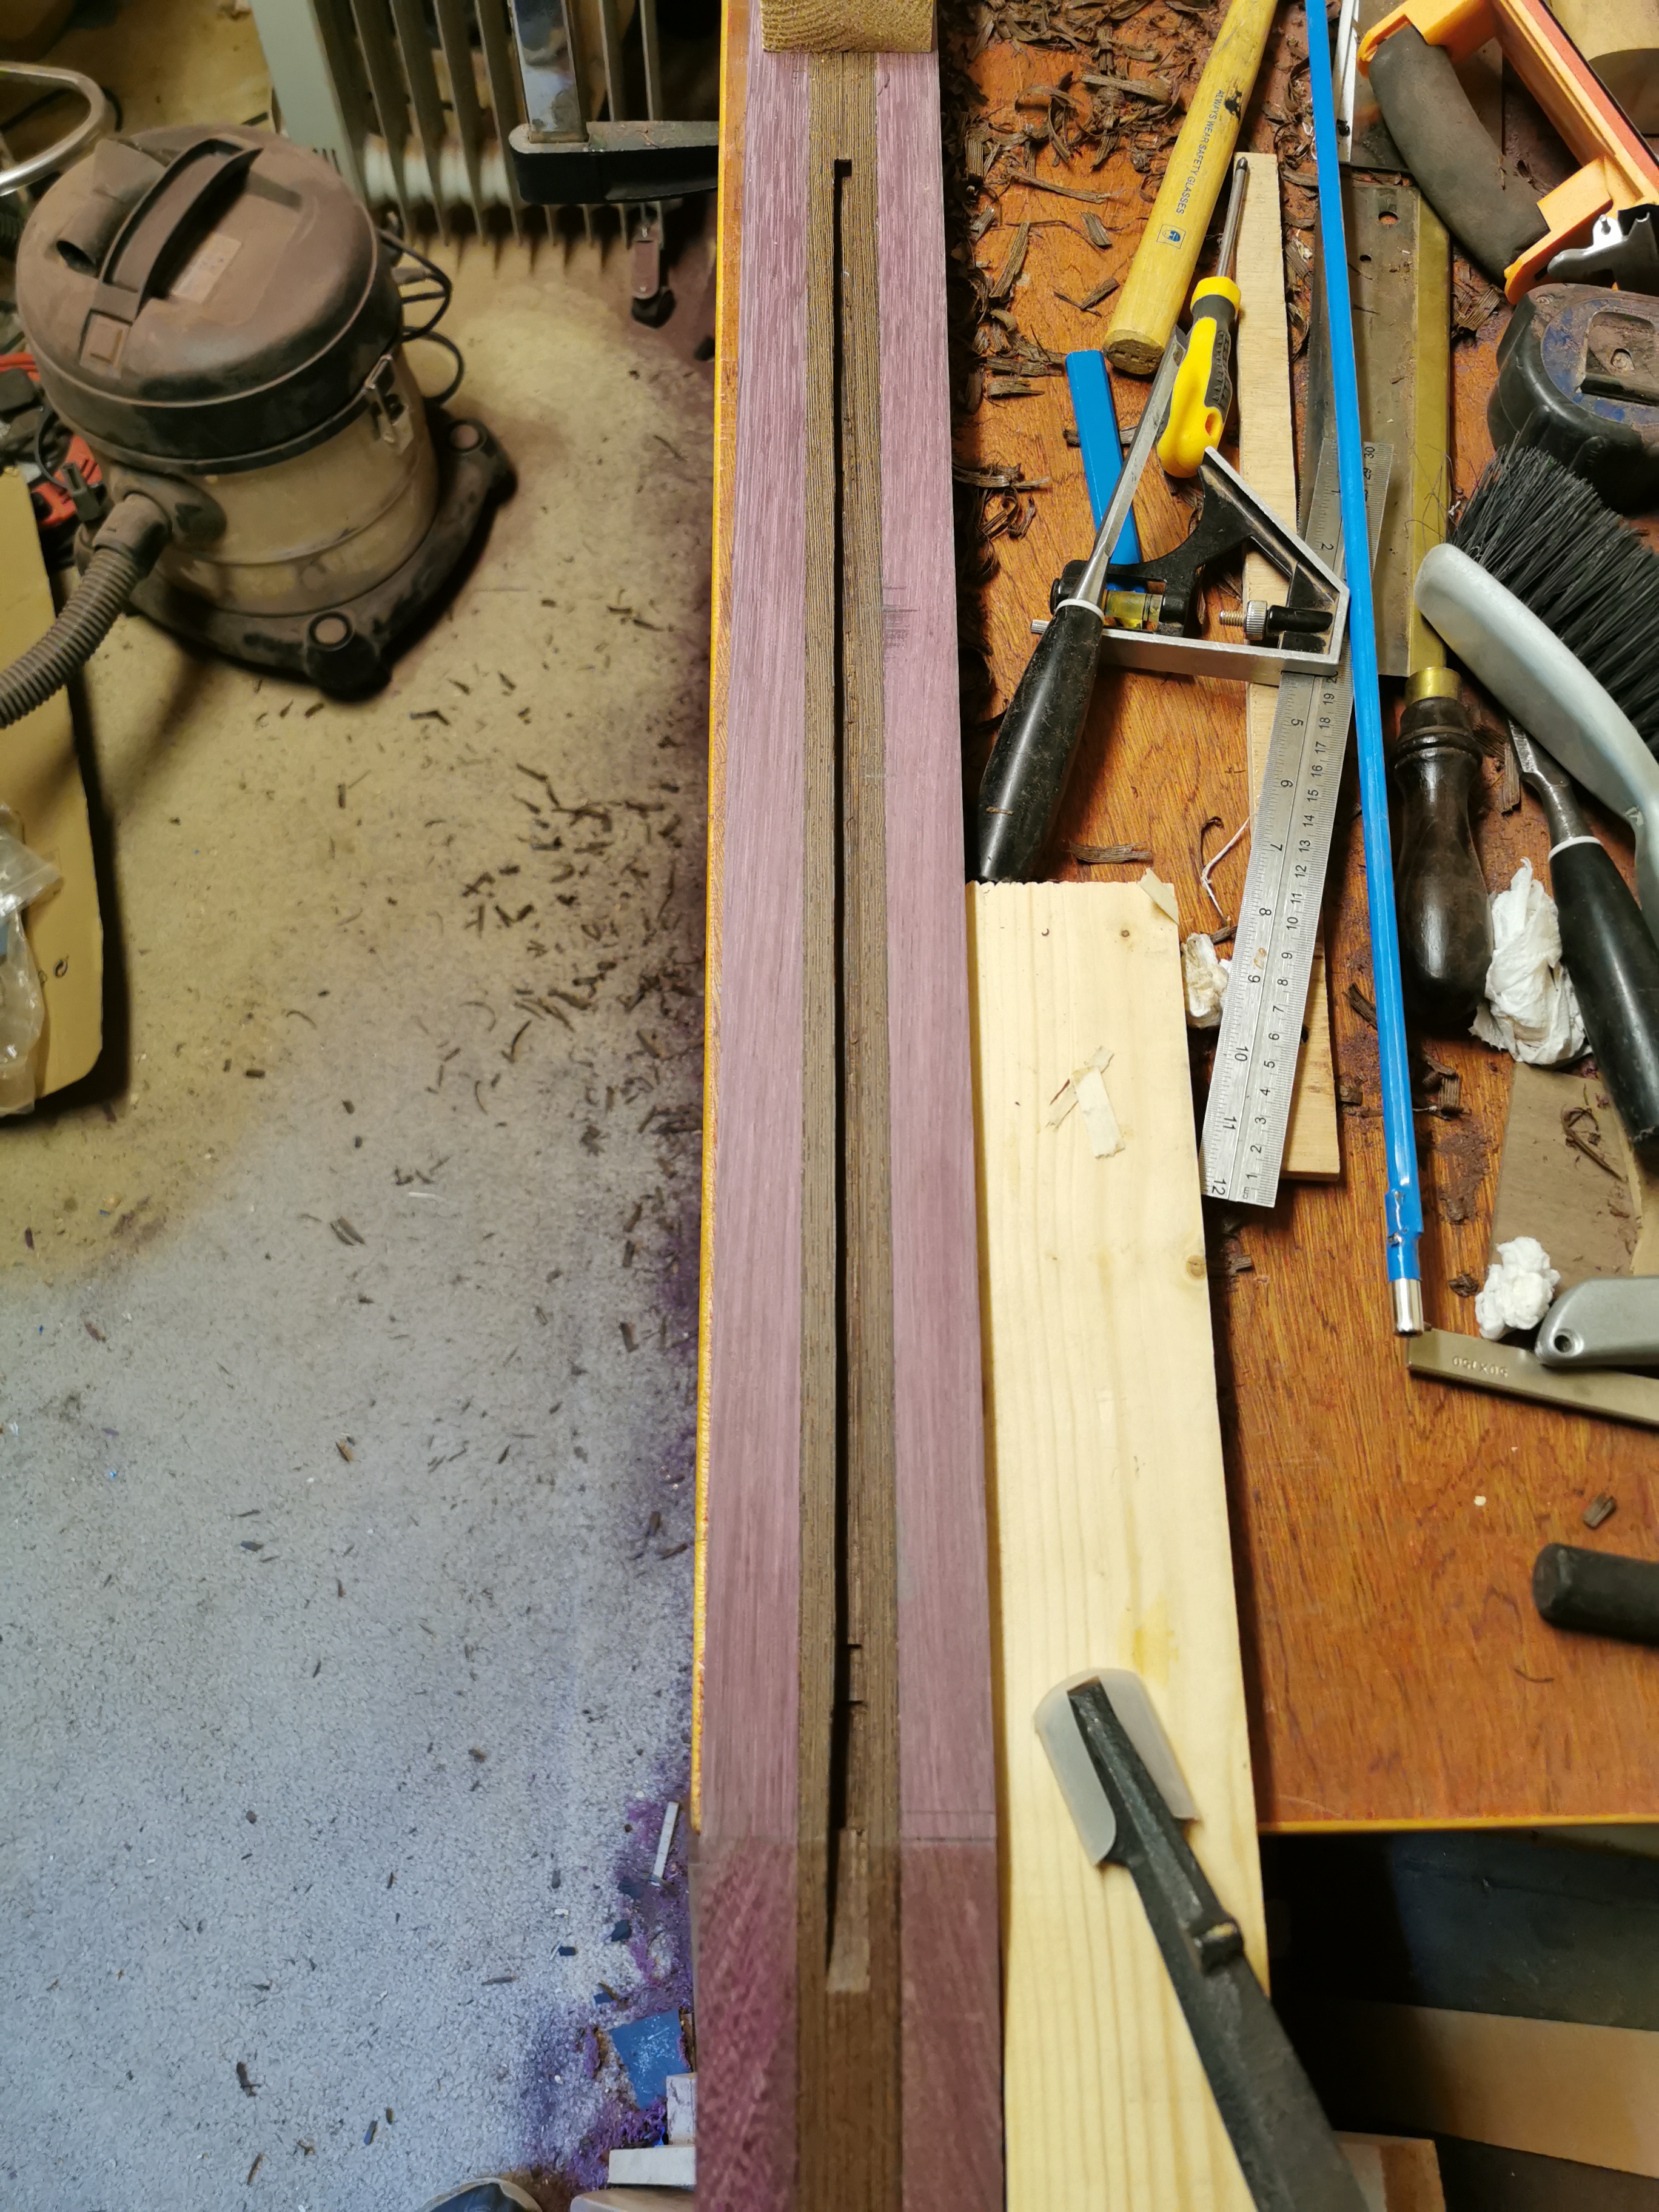
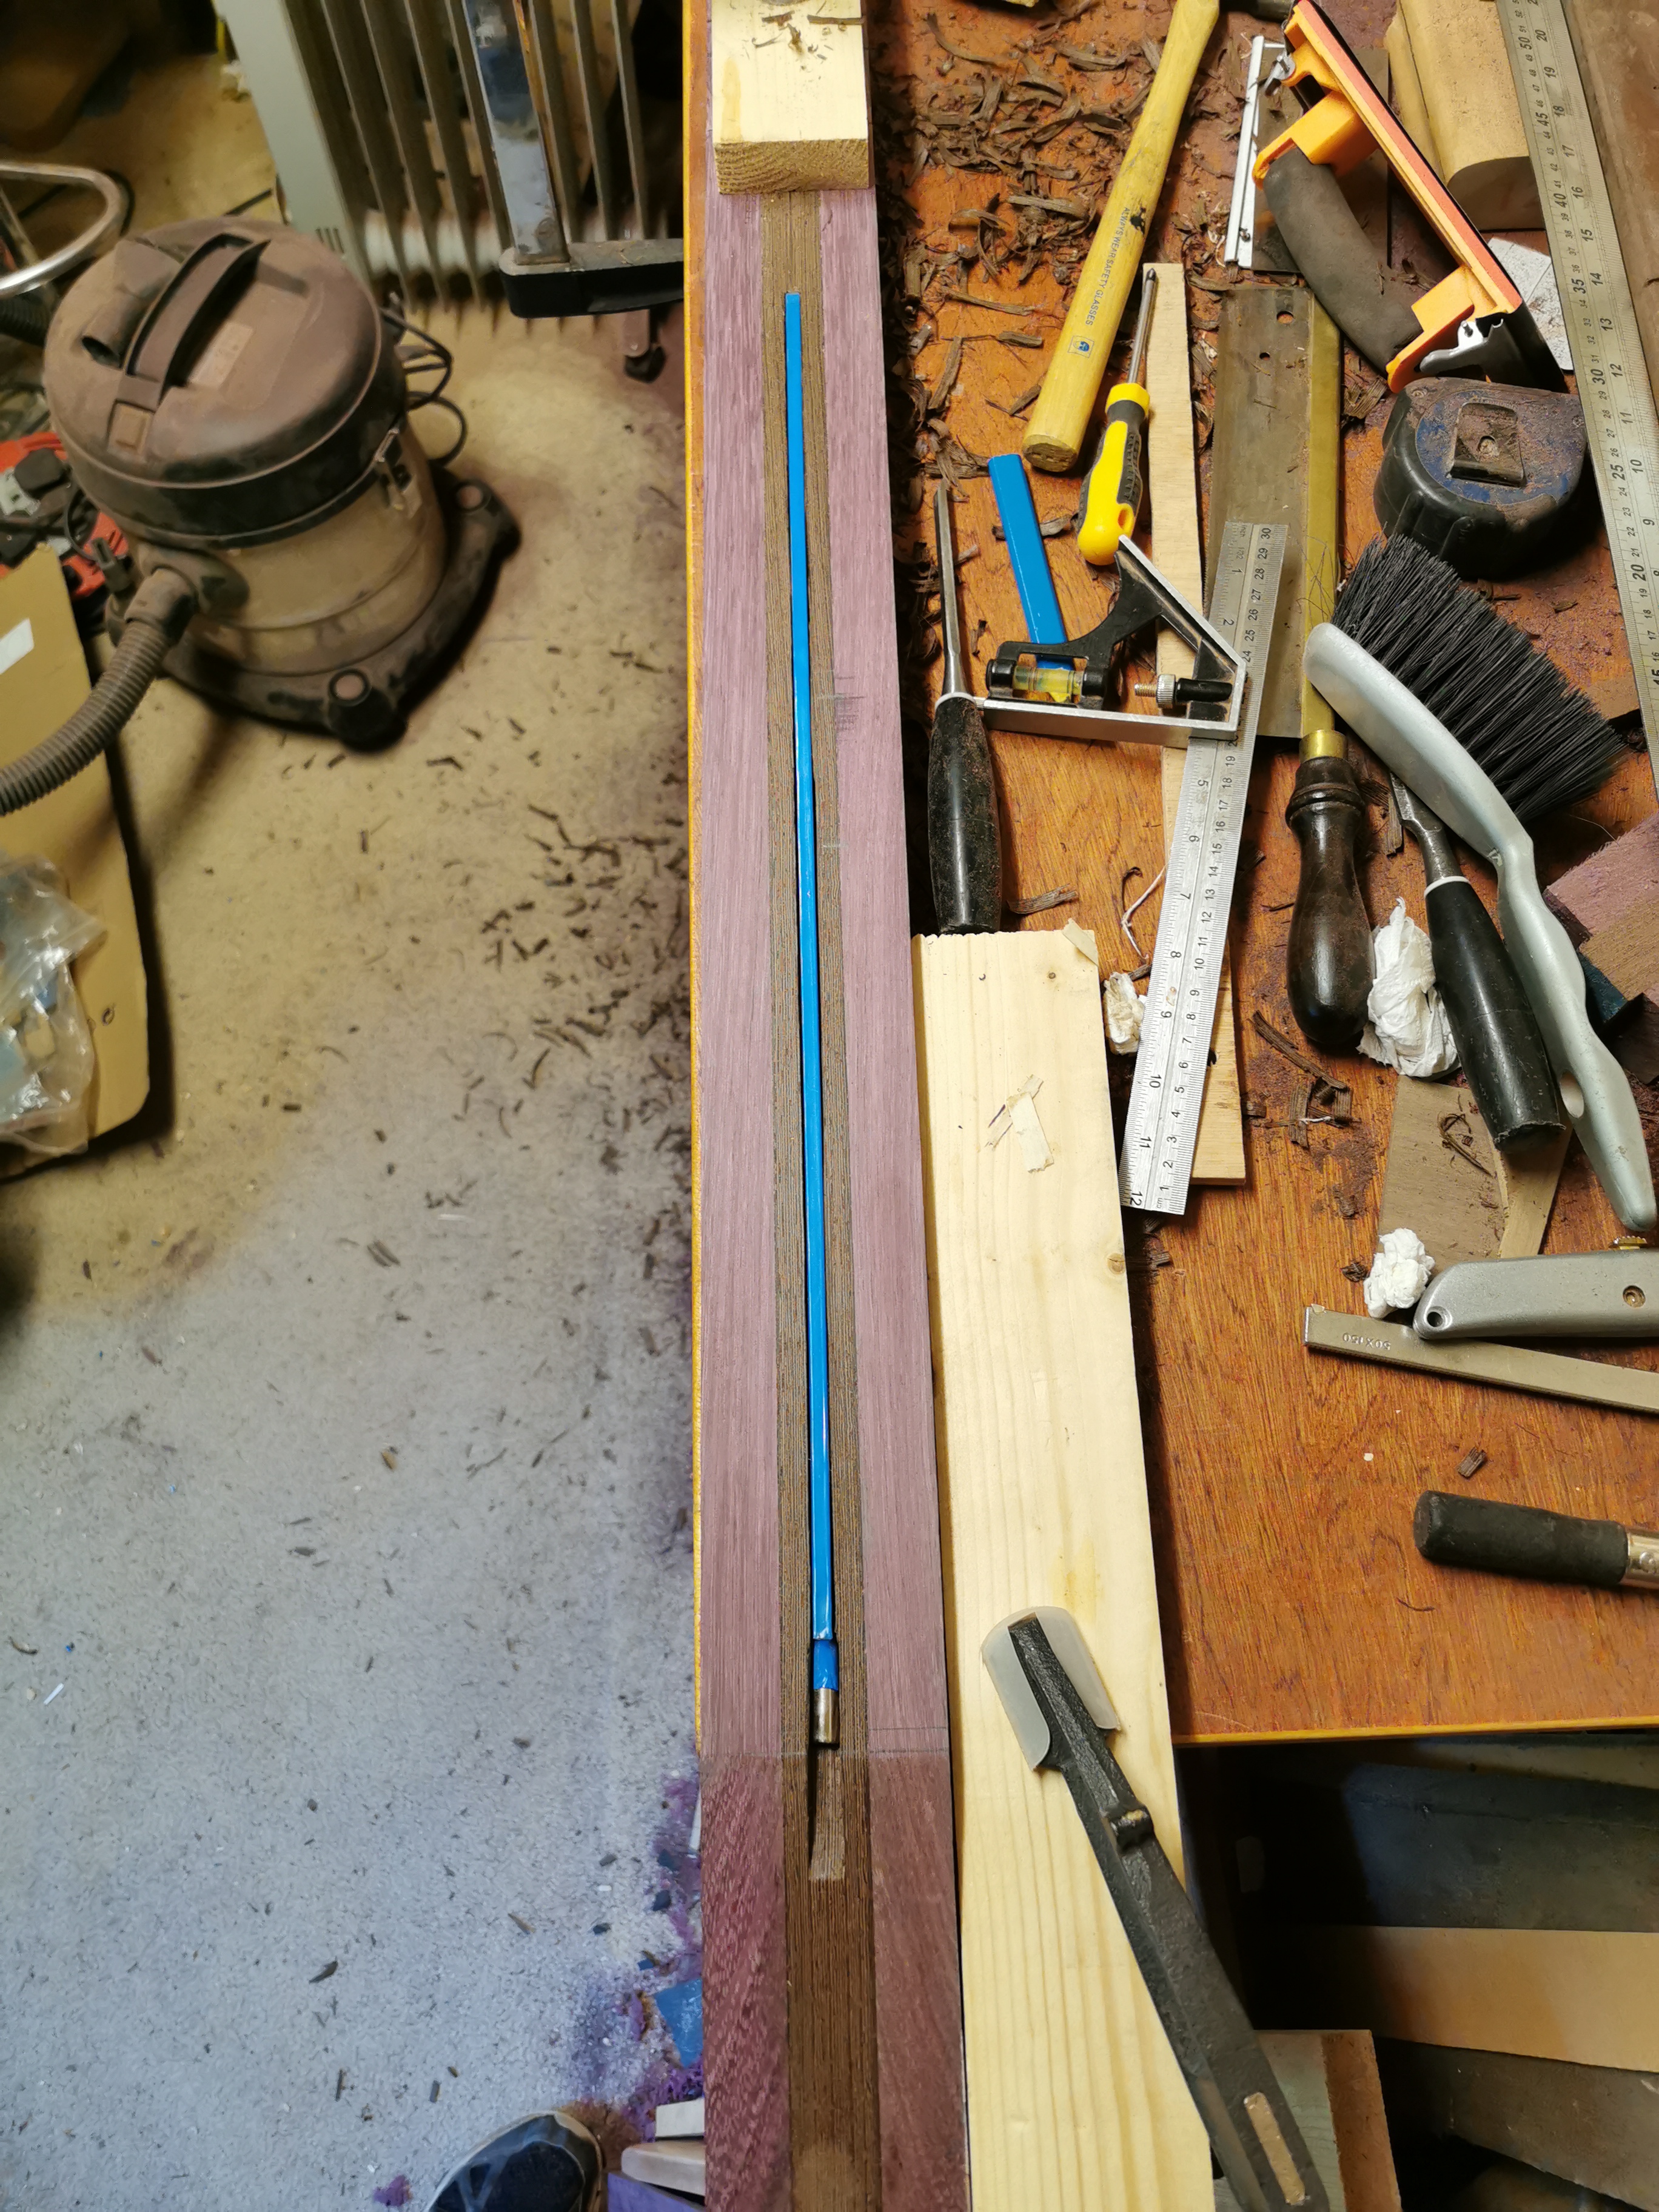
Still got two builds to complete and the wood for the next build has arrived.

Through neck consisting of Purpleheart and Wenge, fretboard is Leadwood (Combretum imberbe) and wings are Cherry.
Still got to decide on the shape, but going with 34" Scale and fretless. Can't decide on 4 or 5 string, still got time to work it out. Will fully hand wind a couple of humbuckers for this as well.
-
6
-
On 4/14/2023 at 9:15 PM, Bizman62 said:
It looks so much better when inlaid, doesn't it!
Makes a big difference. Really pleased with how this is coming along.
-
Got round to ordering the parts for this one.
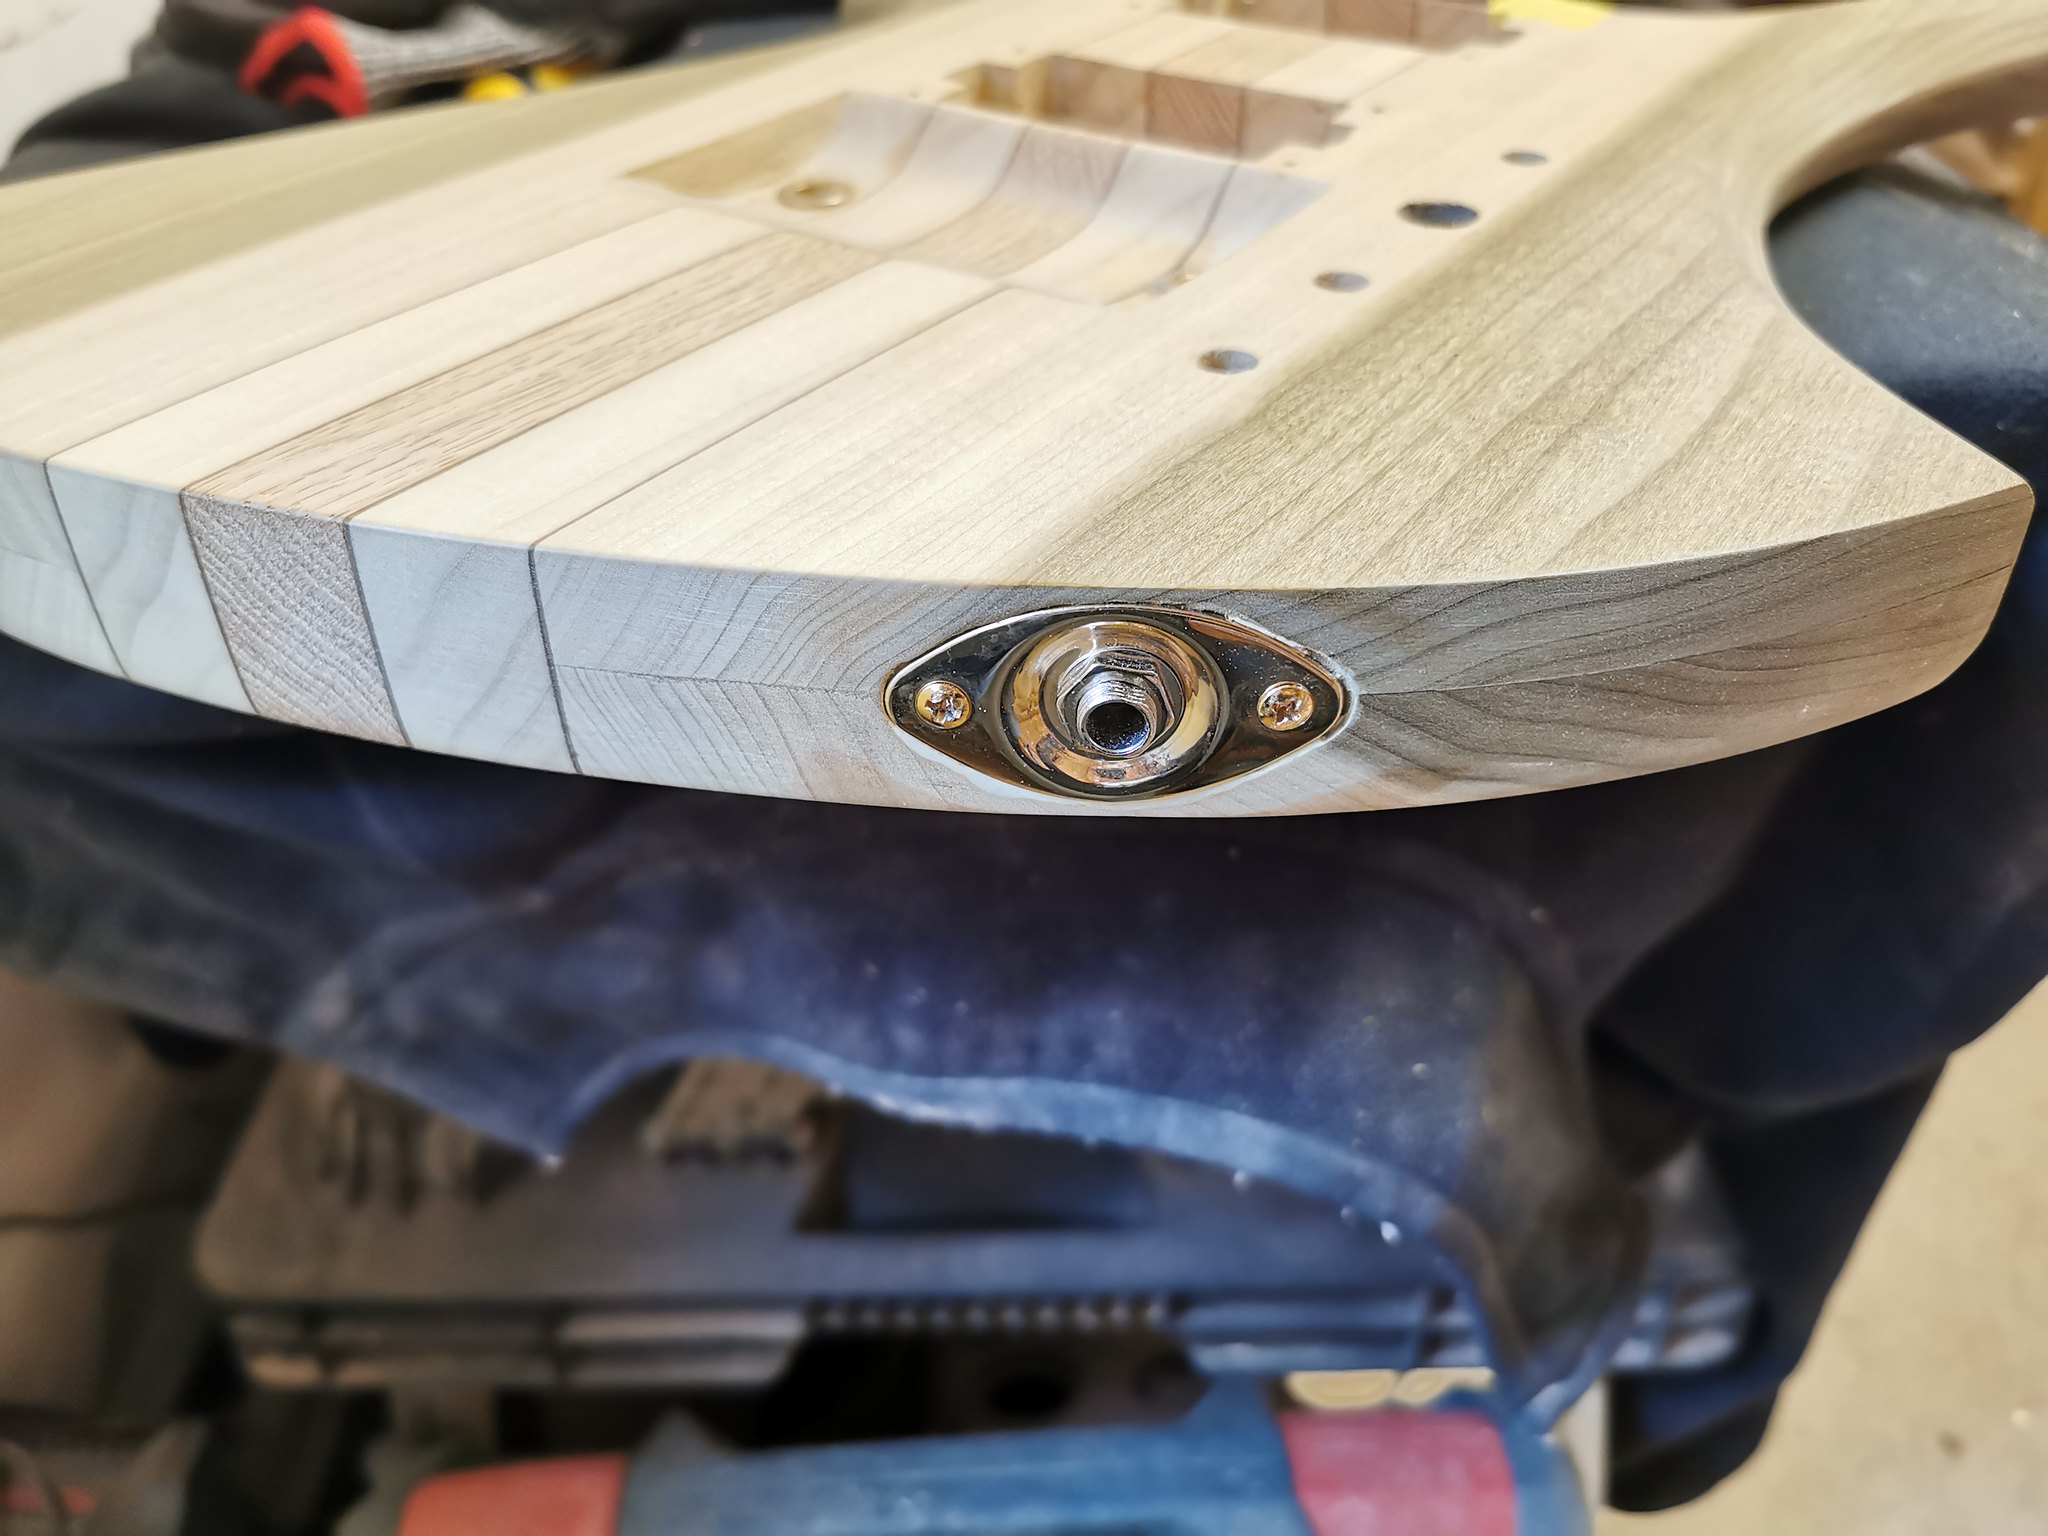
Jack plate in, needs a bit of cleaning up around the edges, had some tear out whilst chiselling it out. Done a bit of filling, but it needs a bit more.
Next up was a test fit of all the hardware. The knobs are just to test how it looks, Dan said he is going to make some for it.

Then it was on with the rounding of the fret ends and a clean and polish of the frets.


Have started oiling the fretboard, avoiding the frets, but they will probably need a quick clean up afterwards. Will see how it goes.
Need to get it all ready for when Dan visits a week on Sunday to do a test it to make sure everything is right for him. If he is happy, he should be able to take it away to do the paint job.
-
1
-
-
2 hours ago, Bizman62 said:
I see a ladies' ankle boot there...

Now you've gone and done it... I will only be able to see that with this build now.

-
 1
1
-
-
Congrats on GOTM. Very nice build.

-
1
-
-
10 hours ago, mistermikev said:
nice job. very light - that's never easy for me. love the pickup cover and overall style.
Thanks Mike.
 Had aimed for around the 6.5 lbs mark at the start, so the final weigh in surprised me.
-
1
-
-
16 hours ago, Andyjr1515 said:
Absolutely splendid build and result. Well done @JGTay Bravo!
13 hours ago, ScottR said:Thank you both, it really means a lot to me, you have both been the biggest inspirations on my builds and the reason I push myself further each time.
-
2
-
-
- Popular Post
It is 'bass'ically finished...
Need to do some final minor tweaks and give it a bit of a polish, but had a play with it on Rocksmith tonight. Very happy with it.
The final steps from weekend and a couple of evenings this week -
Shielding of pickup cavity

And the control cavity

Cover, which I had to cut a square out of in order for the jack to have enough room. Hadn't really accounted for it, so quite lucky in the end.

In with the hardware and soldering done.
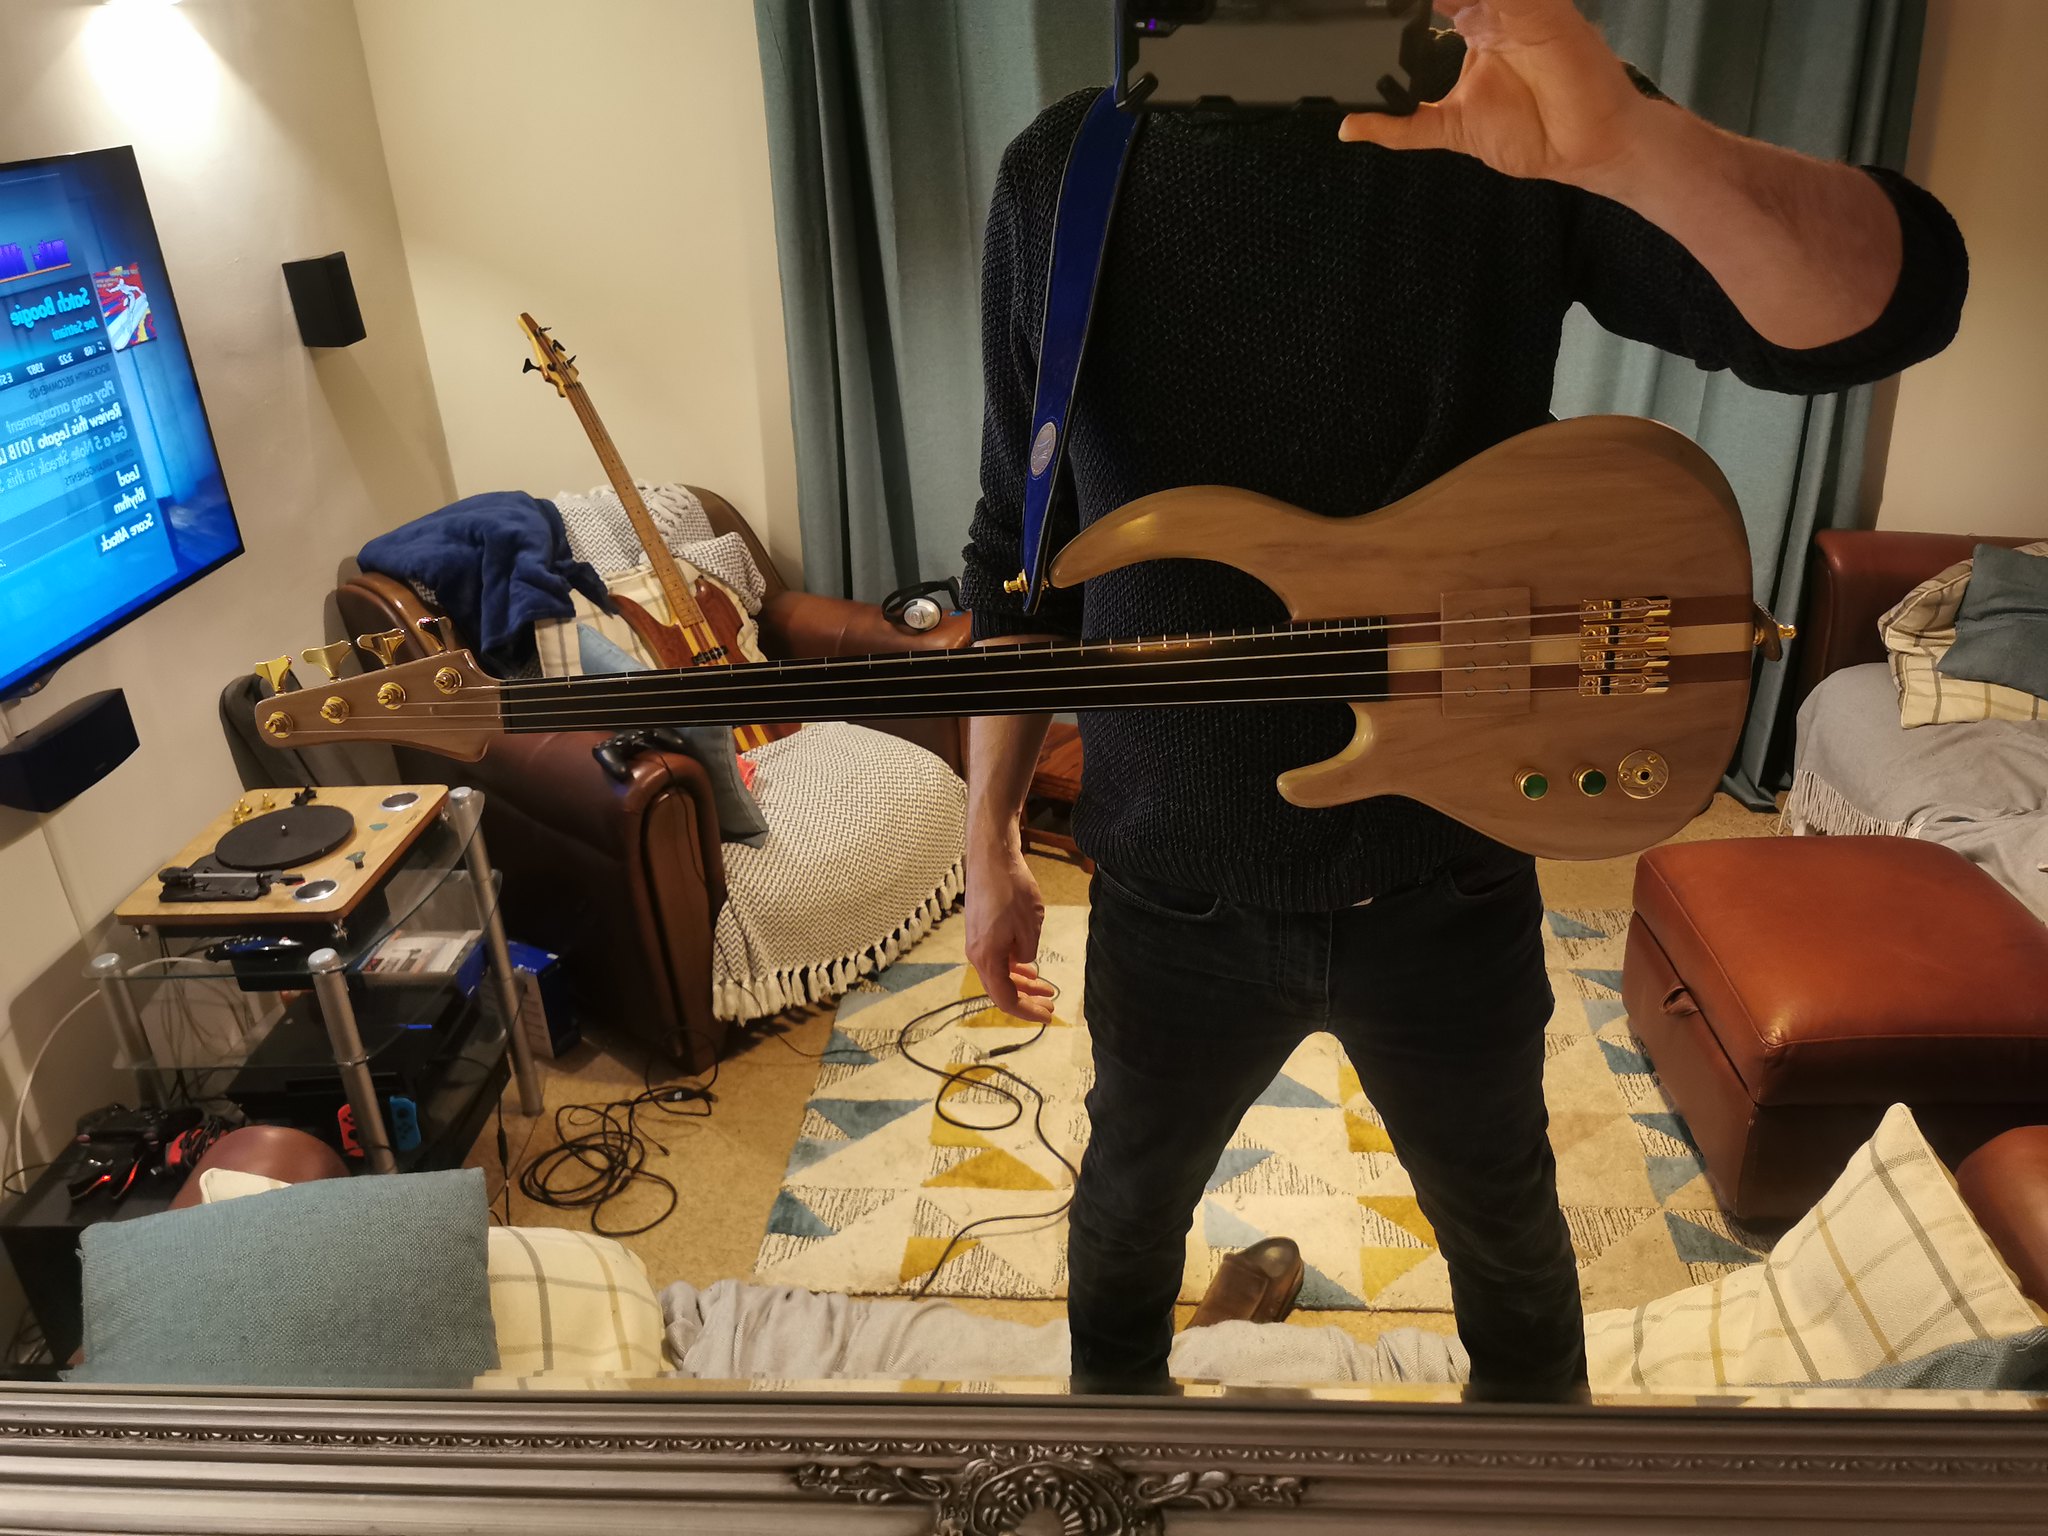
Then a copy of @Andyjr1515 no neck dive pics.
")
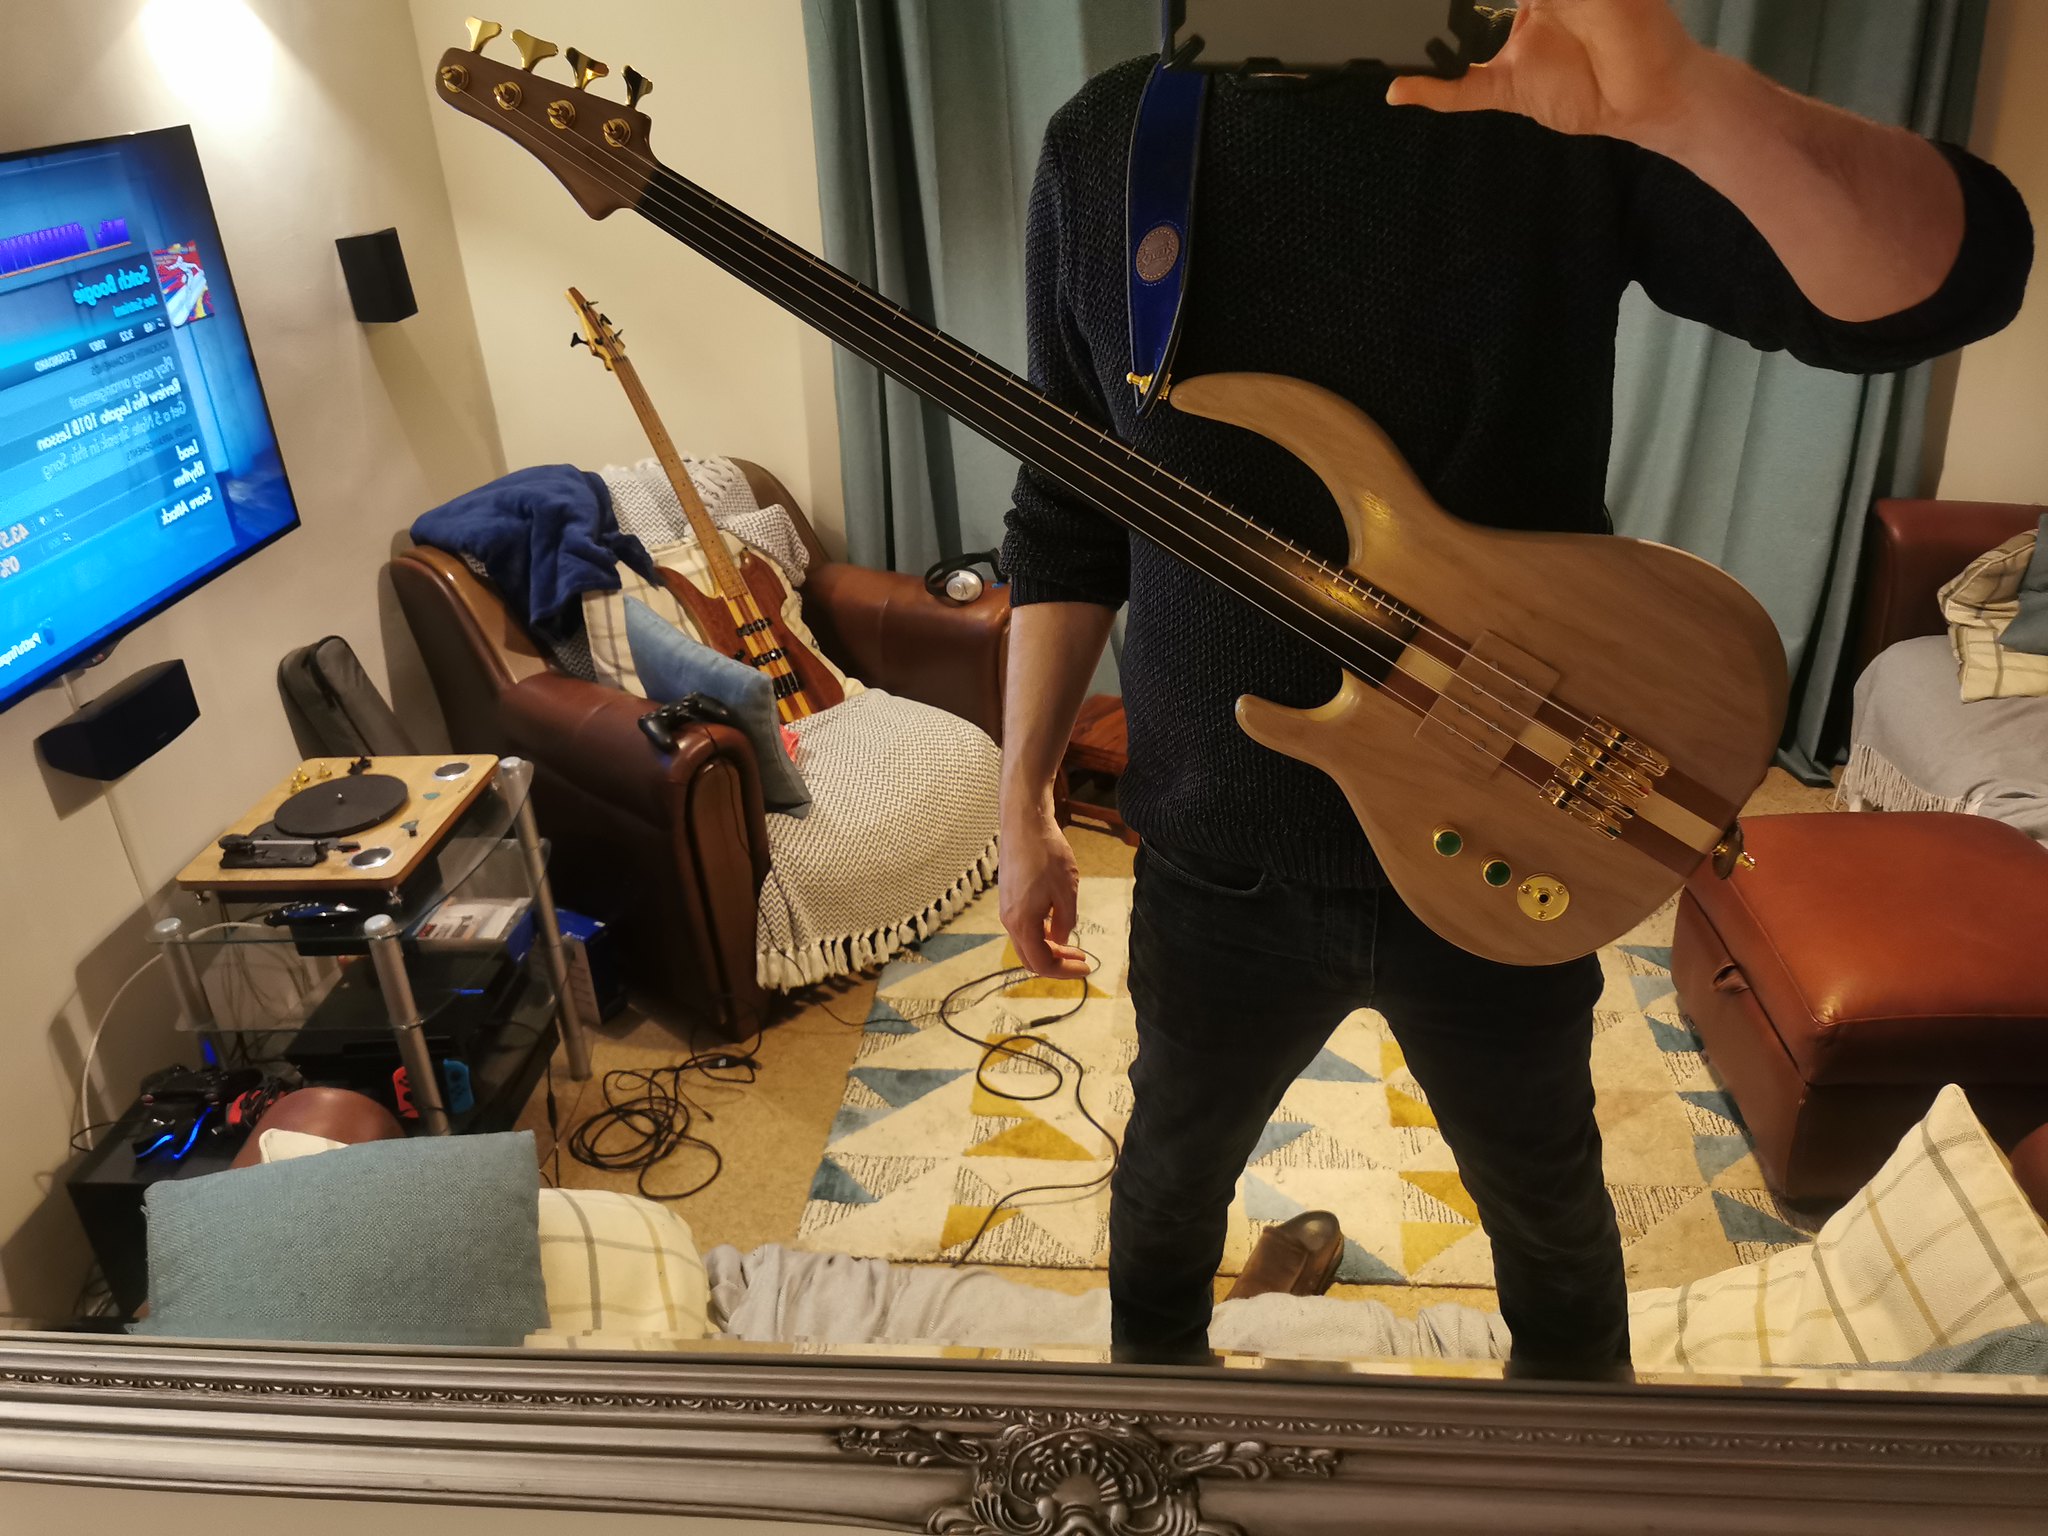
The final weigh in...

5.771 lbs. or 2.618 kg if it's easier.
And finally a full frontal pic...


Will take some glamour shots once the final bits are done.
-
5


"Fish On" Fretless Bass Project
in In Progress and Finished Work
Posted
https://www.notreble.com/buzz/2023/09/18/bass-of-the-week-mister-mikev-fish-on-bass/
Congrats @mistermikev
