


JGTay
-
Posts
329 -
Joined
-
Last visited
-
Days Won
18
Content Type
Profiles
News and Information
Tutorials
Product Reviews
Supplier Listings
Articles
Guitar Of The Month
Links and Resources
Forums
Gallery
Downloads
Posts posted by JGTay
-
-
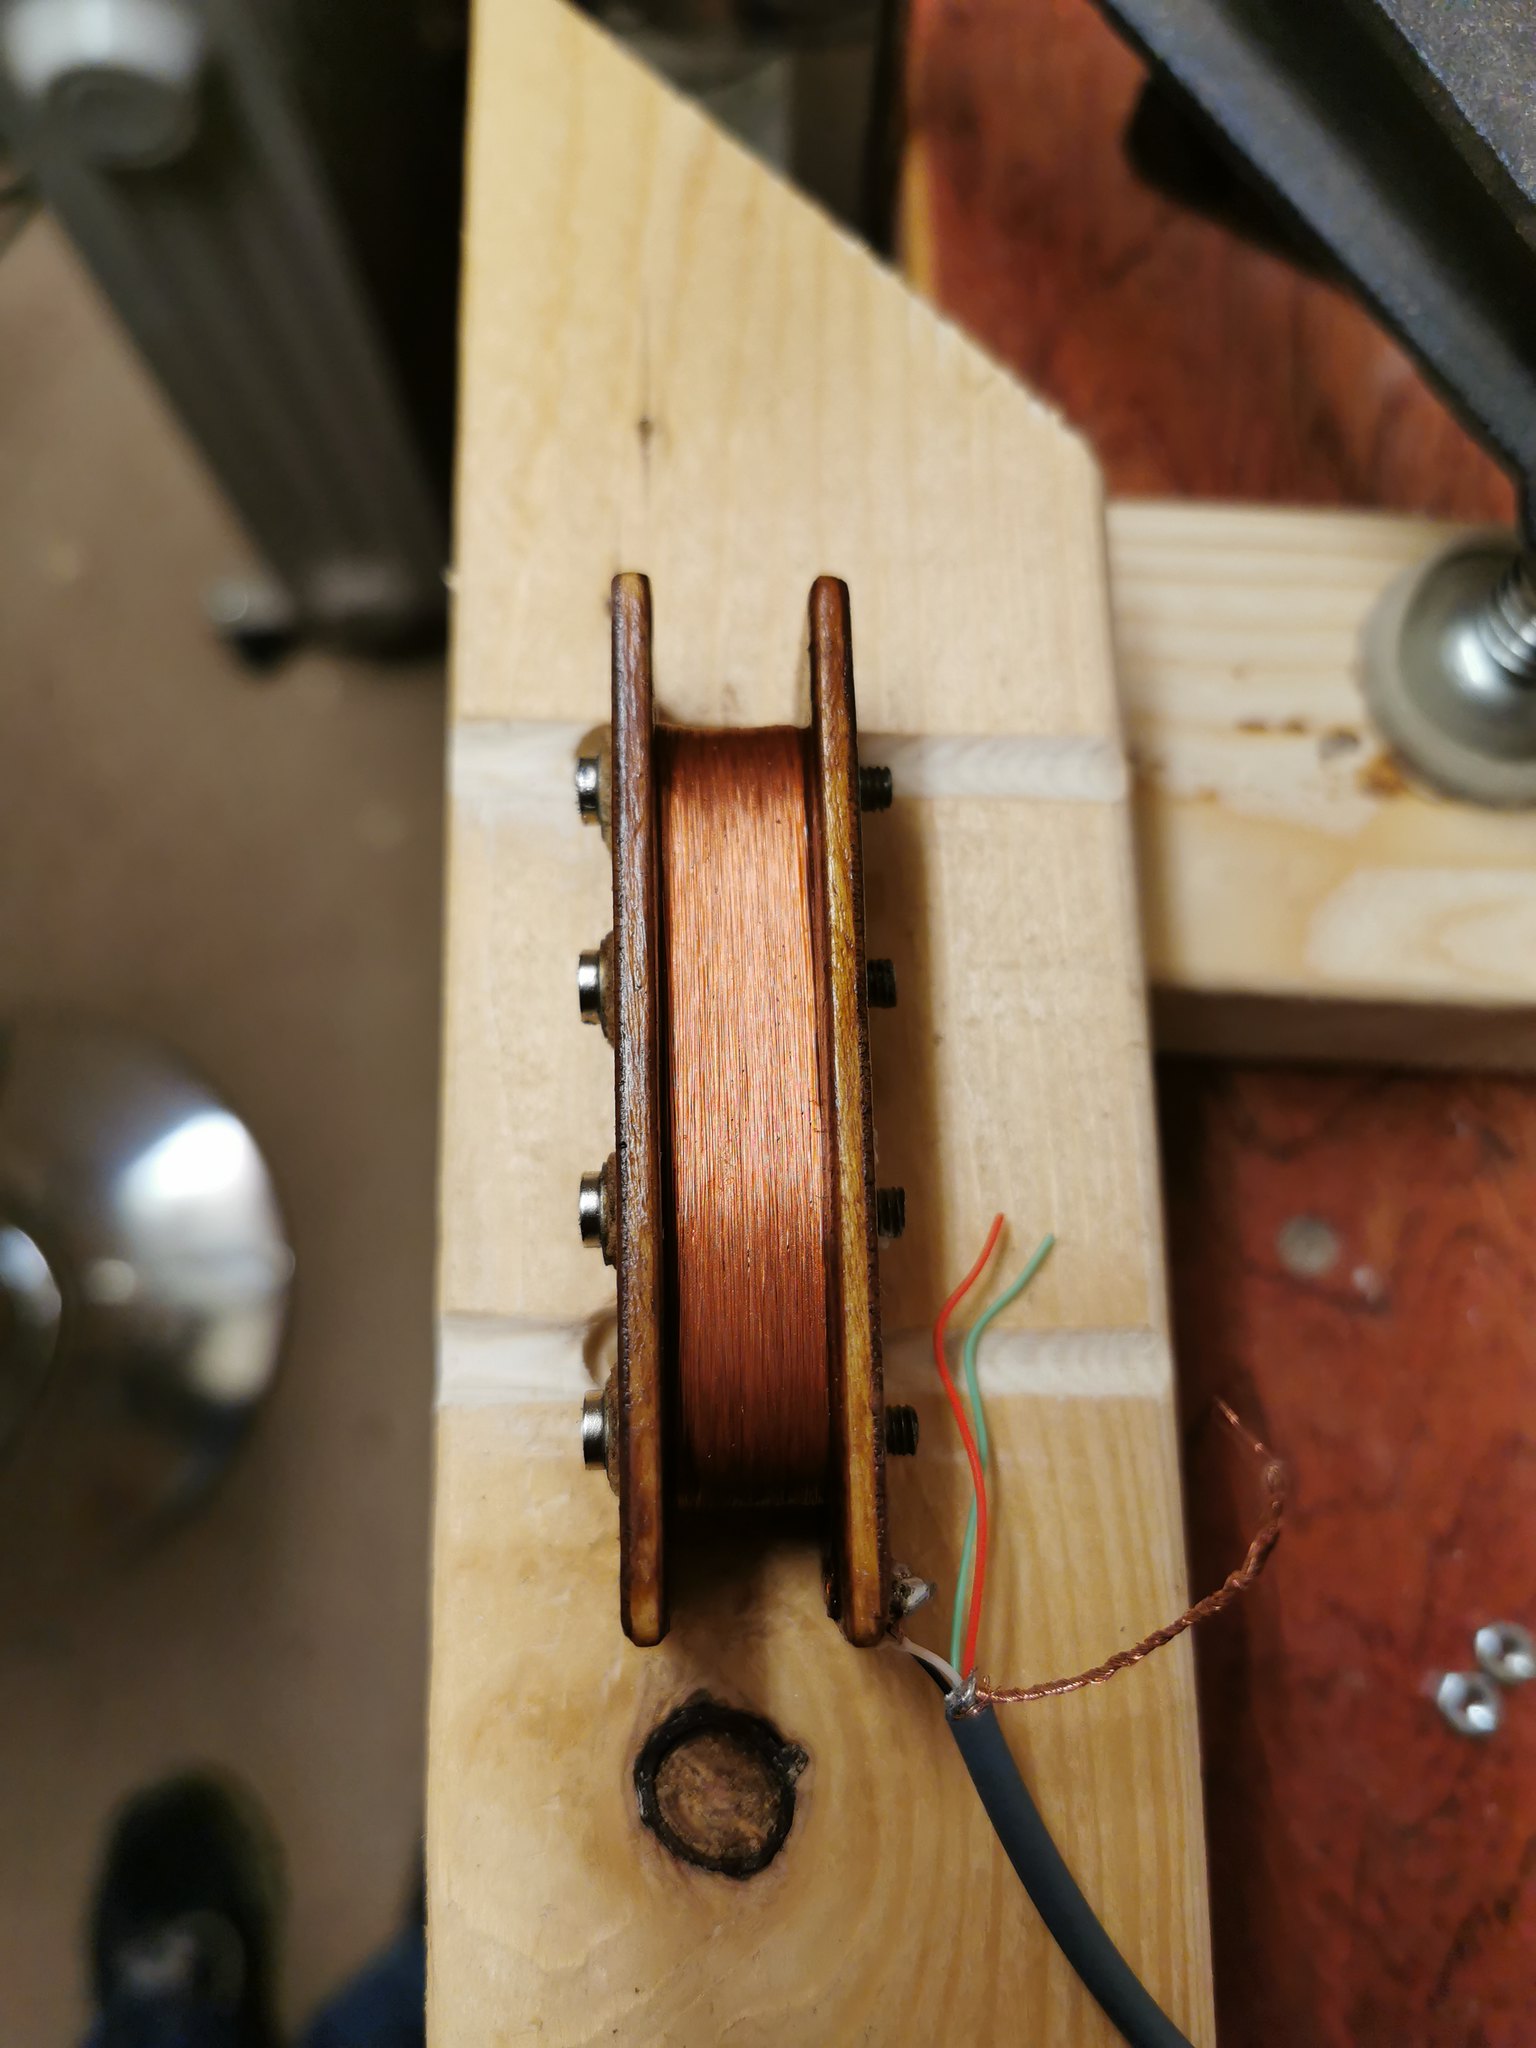
Finished the pickup this afternoon. Did 8000 winds on the second coil, joined the bobbins together and wired it up for testing. Very happy with the sound and output.
")
North coil clockwise, south coil counter clockwise and the magnets in reverse polarity on each coil to enable the hum cancellation.

Not too worried about how it looks as I will be making a cover/surround out of the walnut. The magnets aren't glued in place as I want to get some slightly bigger ones, either 8mm or 10mm. The main thing was getting it made so that I could pre-cut the cavity to size before gluing on the body wings.
-
 1
1
-
-
@henrim I do find all this interesting, and definitely not an interference on the thread.

I believe a few manufacturers do it that way, Seymour Duncan to name one, but I think the traditional/original way was to do opposite winds. I think it helps with coil splitting and keeping the hum cancelling (I may be totally wrong). It is definitely beneficial to know which method has been used when mixing different pickups.
There is so much information available and I have only skimmed the surface so far.
Depending on how this goes, I may do more research on the subject and continue making pickups for my future builds. There is a whole host of information on different types of winds that I haven't really got into yet.
-
1
-
-
This is one of the sites I used for research - https://www.stringkingworks.co.uk/single-post/2019/11/28/humbuckers-polarity-and-phase
There are others I read, but this one is good and to the point.
-
@Bizman62 The bottom of the bobbin has the threads of the bolts coming though and I use threaded sleeves on the two outer ones to hold it in position whilst winding. Nice idea though.
I have made the second bobbin and got the first 1000 winds on, took the first couple of hundred to get the rhythm going, but it is easier now.
@henrim Thanks
 . Yes, for hum cancellation it needs to be opposite wind and the magnet polarity needs to be opposite as well. Had to do a bit of research to understand it.
-
Finished the first coil of the humbucker this afternoon, did 7000 winds in total and then wired it up to test the output. Works well.
Managed to keep it looking quite neat, very pleased.


Will make the bobbin for the second coil tomorrow and possibly get started on the winds if I have time. Managed to get a good technique going clockwise, will be strange doing a counter clockwise wind now.

-
1
-
-
As Henrim says, it looks very close to the angled fret ends. Personally I would fill the holes and redo the bridge position.
You could then put both E strings on and position the bridge central to how the strings run.
-
Few updates.
The 42 AWG wire arrived on Saturday, had a couple of hours free over the weekend so made the first pickup bobbin and then this afternoon started the wind by hand... got to 40 winds and snap... start again... managed just over 100 winds and snap again. Realised that my skin was too rough and the wire kept snagging on it, so asked the wife for some moisturiser and started over. Success
Managed to do 4000 winds before having to stop for the day, but the moisturiser is working great, getting the right amount of tension in the wire and it flows through the fingers easily. I have also been varnishing the winds at certain intervals, getting plenty on and letting it soak in and then turning the bobbin and doing the same from the other side before continuing the winds, shouldn't be any need for wax potting at the end.


Had a few deliveries today as well - Fretboard, double action truss rod and some walnut boards.
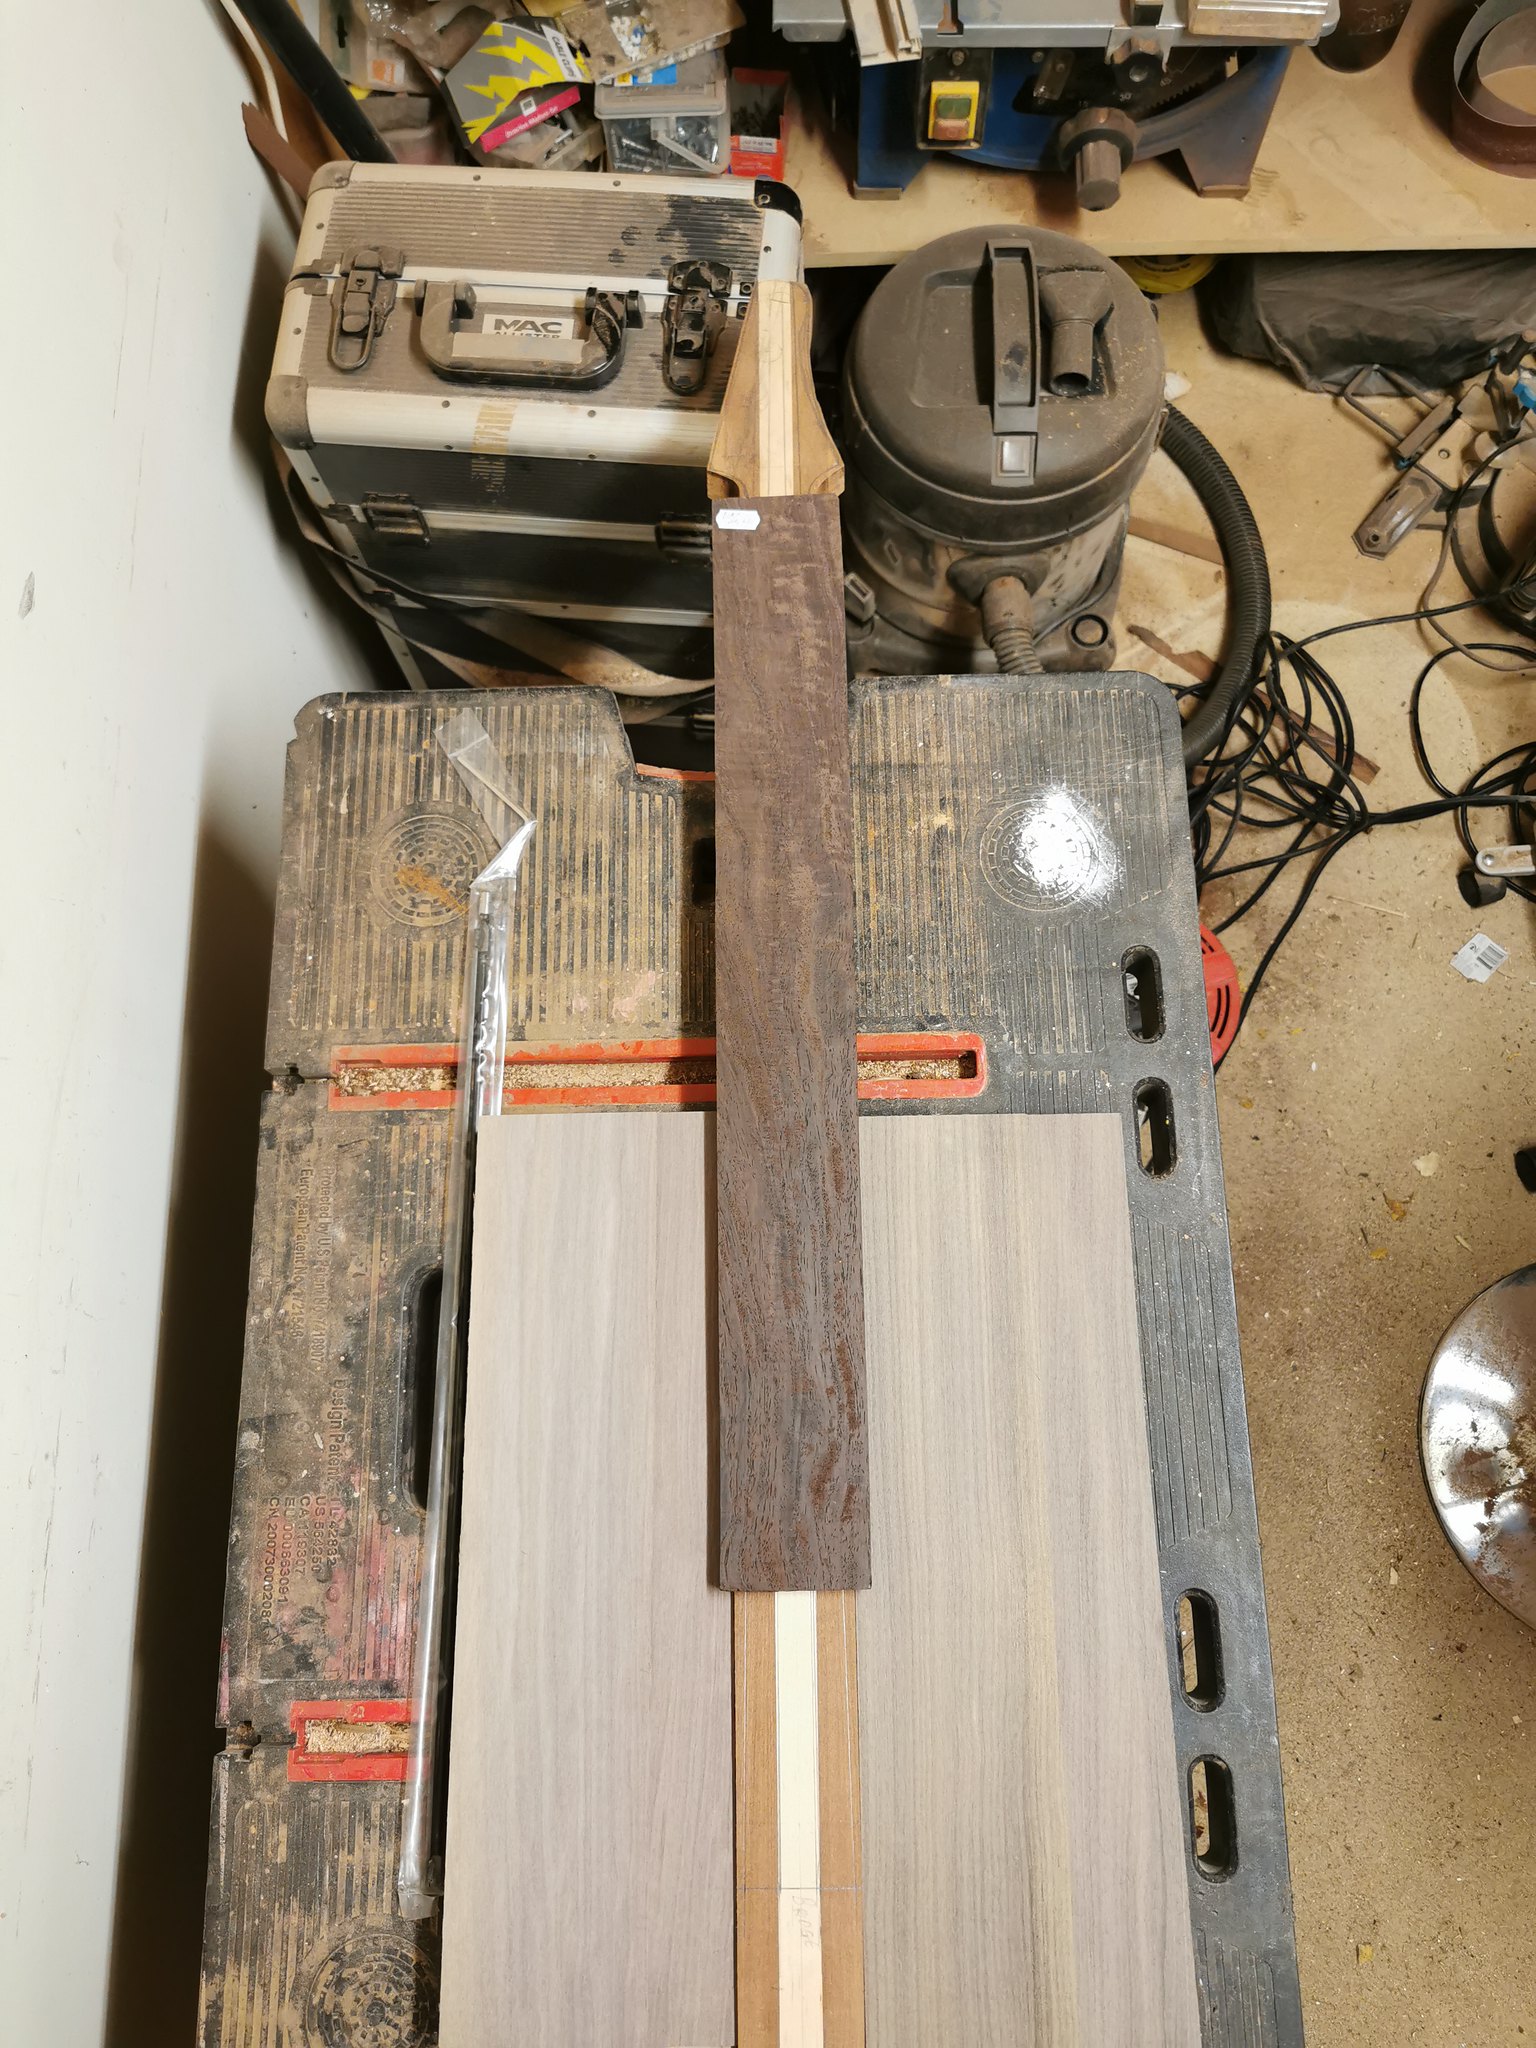
The walnut boards are only 100mm wide, so there will be a bit of work getting a seamless join on the wings, but I like a challenge... which is why I decided to go with Leadwood for the Fretboard. Harder than Ebony and apparently very difficult to work, sharp tools are essential
Pretty sure I planned on this build being lightweight, I was told Leadwood was on the heavy side... too damn right it is!!!!
Looking forward to this.
-
2
-
-
Headstock shape and body wings poplar roughly cut.

Will shape the wings a bit more once I have the walnut, planning on having the poplar show through on the edges similar to the mockingbird build.
-
1
-
-
The plan is for a laminated through neck of beech & mahogany (what I had to hand) which was started yesterday and the body wings will hopefully be a poplar core with walnut top and bottom. I already have the poplar left over from the dismantled piano and need to source some walnut. This will hopefully end up being the thinnest build I have done, looking at between 24-28mm, should help keep the weight down and it will have one pickup with volume & tone control.
This may take a while compared to my usual builds (average time has been 6 weeks start to finish). Funds are non existent, so parts will be as and when money comes in, and in the meantime it is a case of using what I have to hand. I am planning on making a pickup for this, already done a test pickup with thicker wire stock taken from an old extractor fan which only had enough for 2000 winds (completely hand wound...), it worked well but had a very low output and would require a preamp to boost it. I may well use the test pickup in a future build with a preamp, but will need to buy some wire for this one. I may even try making a humbucker.
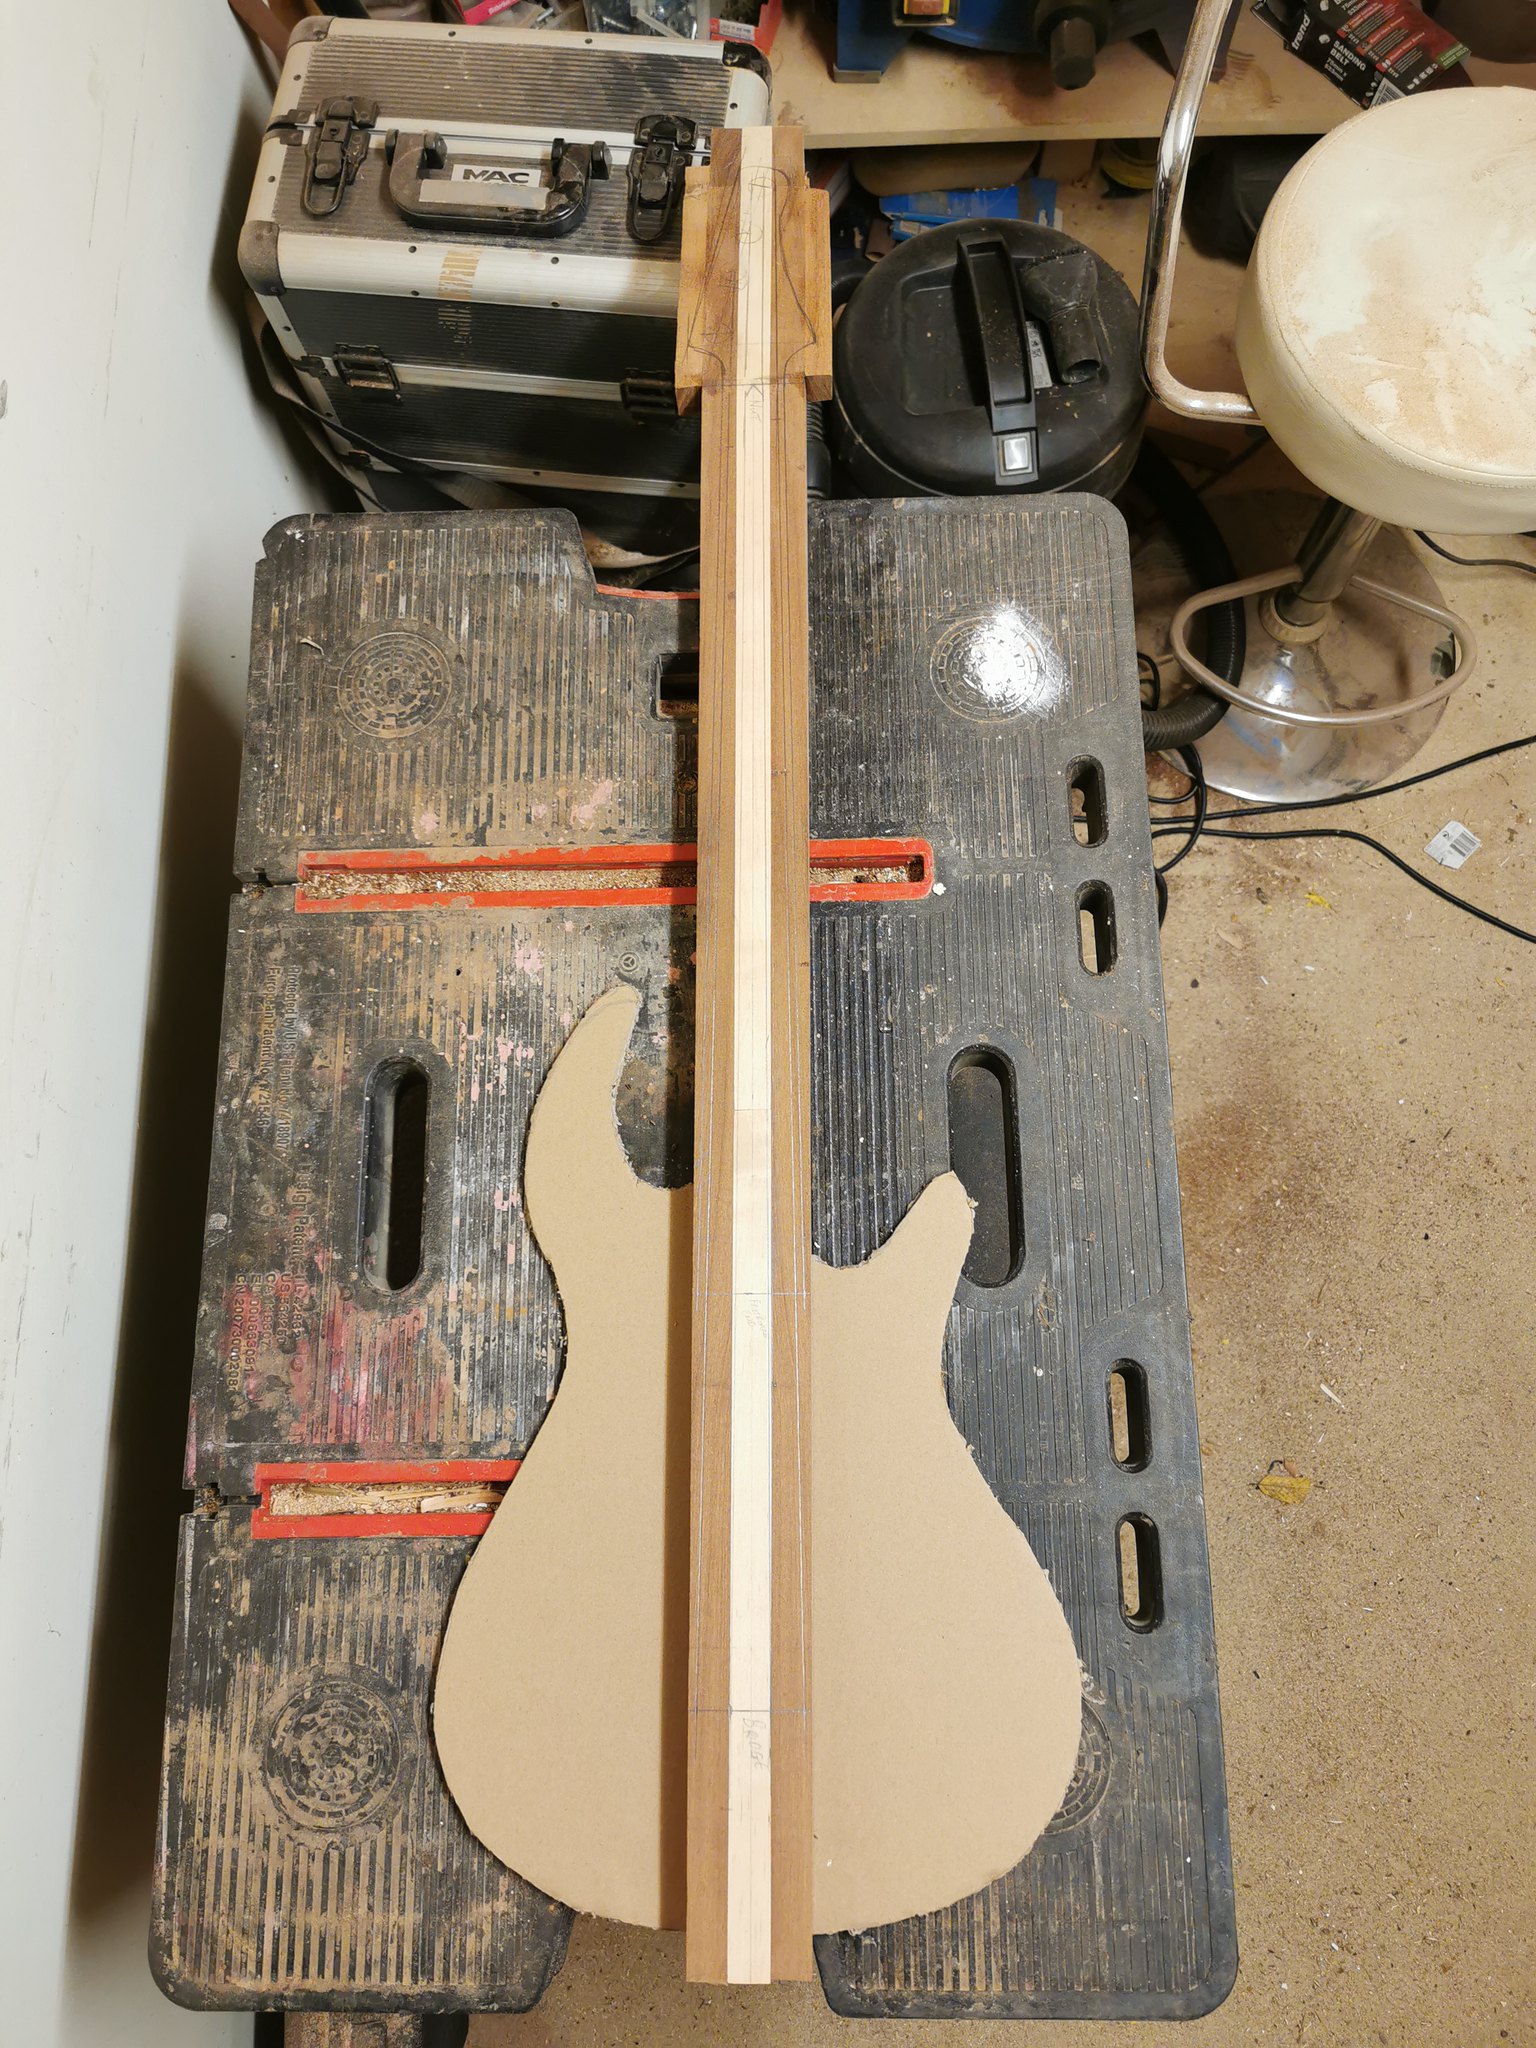
The through neck pieces were cut to size, squared and glued together yesterday. Then this morning I glued on the 'ears' for the headstock (lots of squeeze out
 ), did a quick sketch of the body shape and after removing the clamps I tried it in position with the rough body shape cut out of cardboard. The shape may change, but the main purpose was to work out the upper horn positioning to end above the 12th fret location for balance.
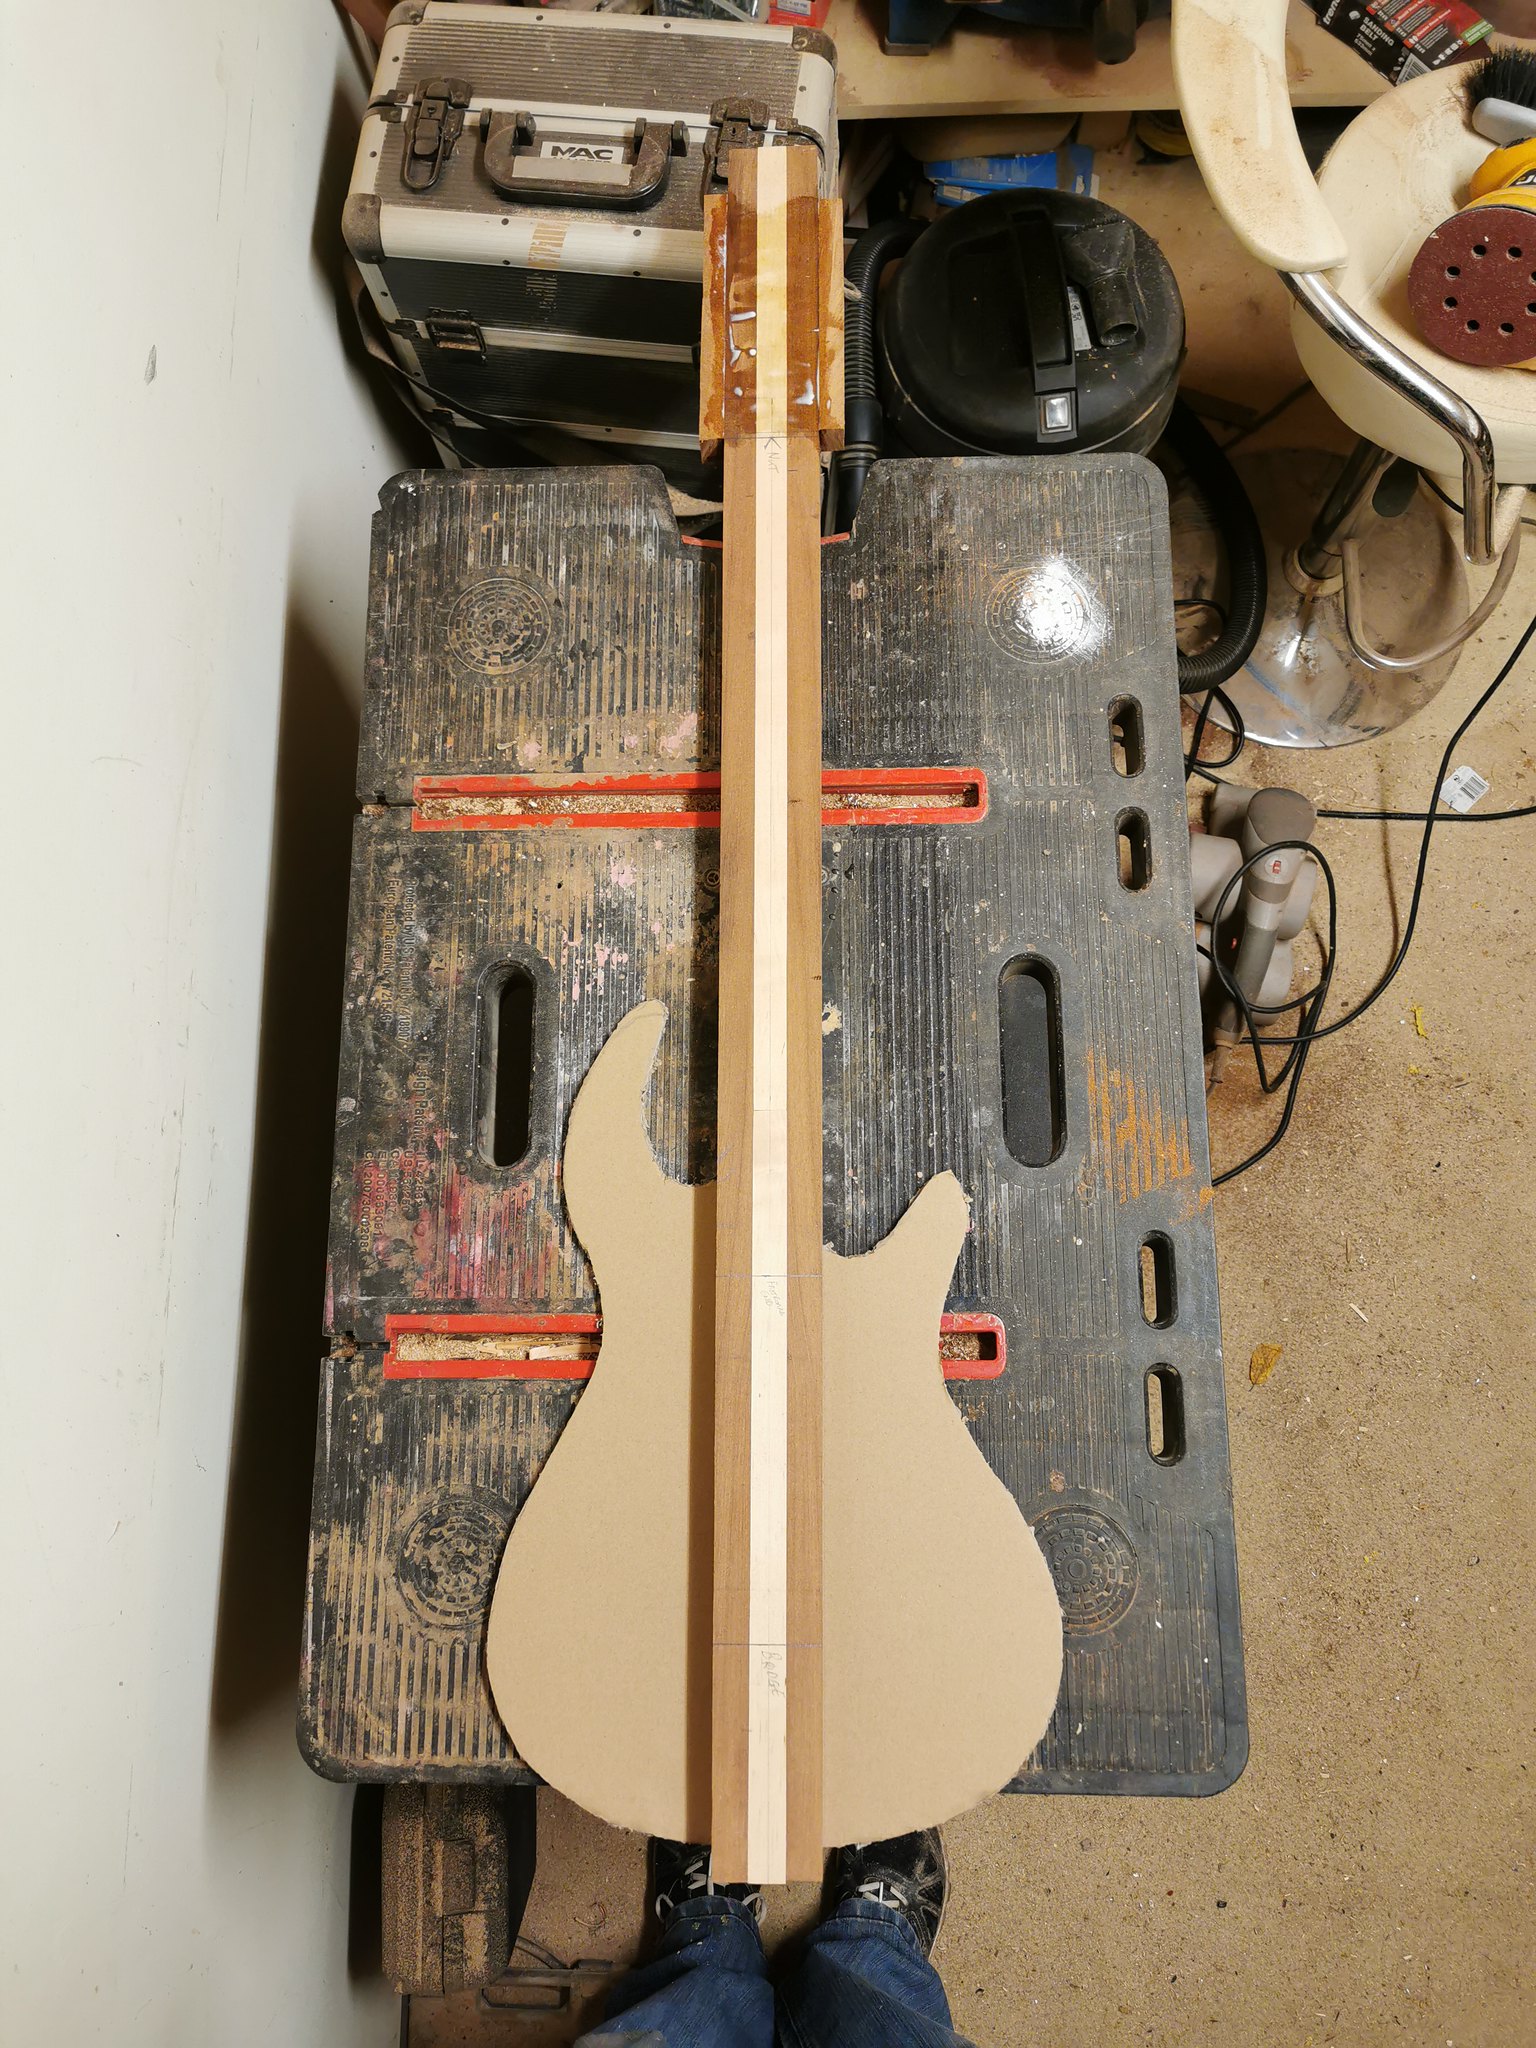
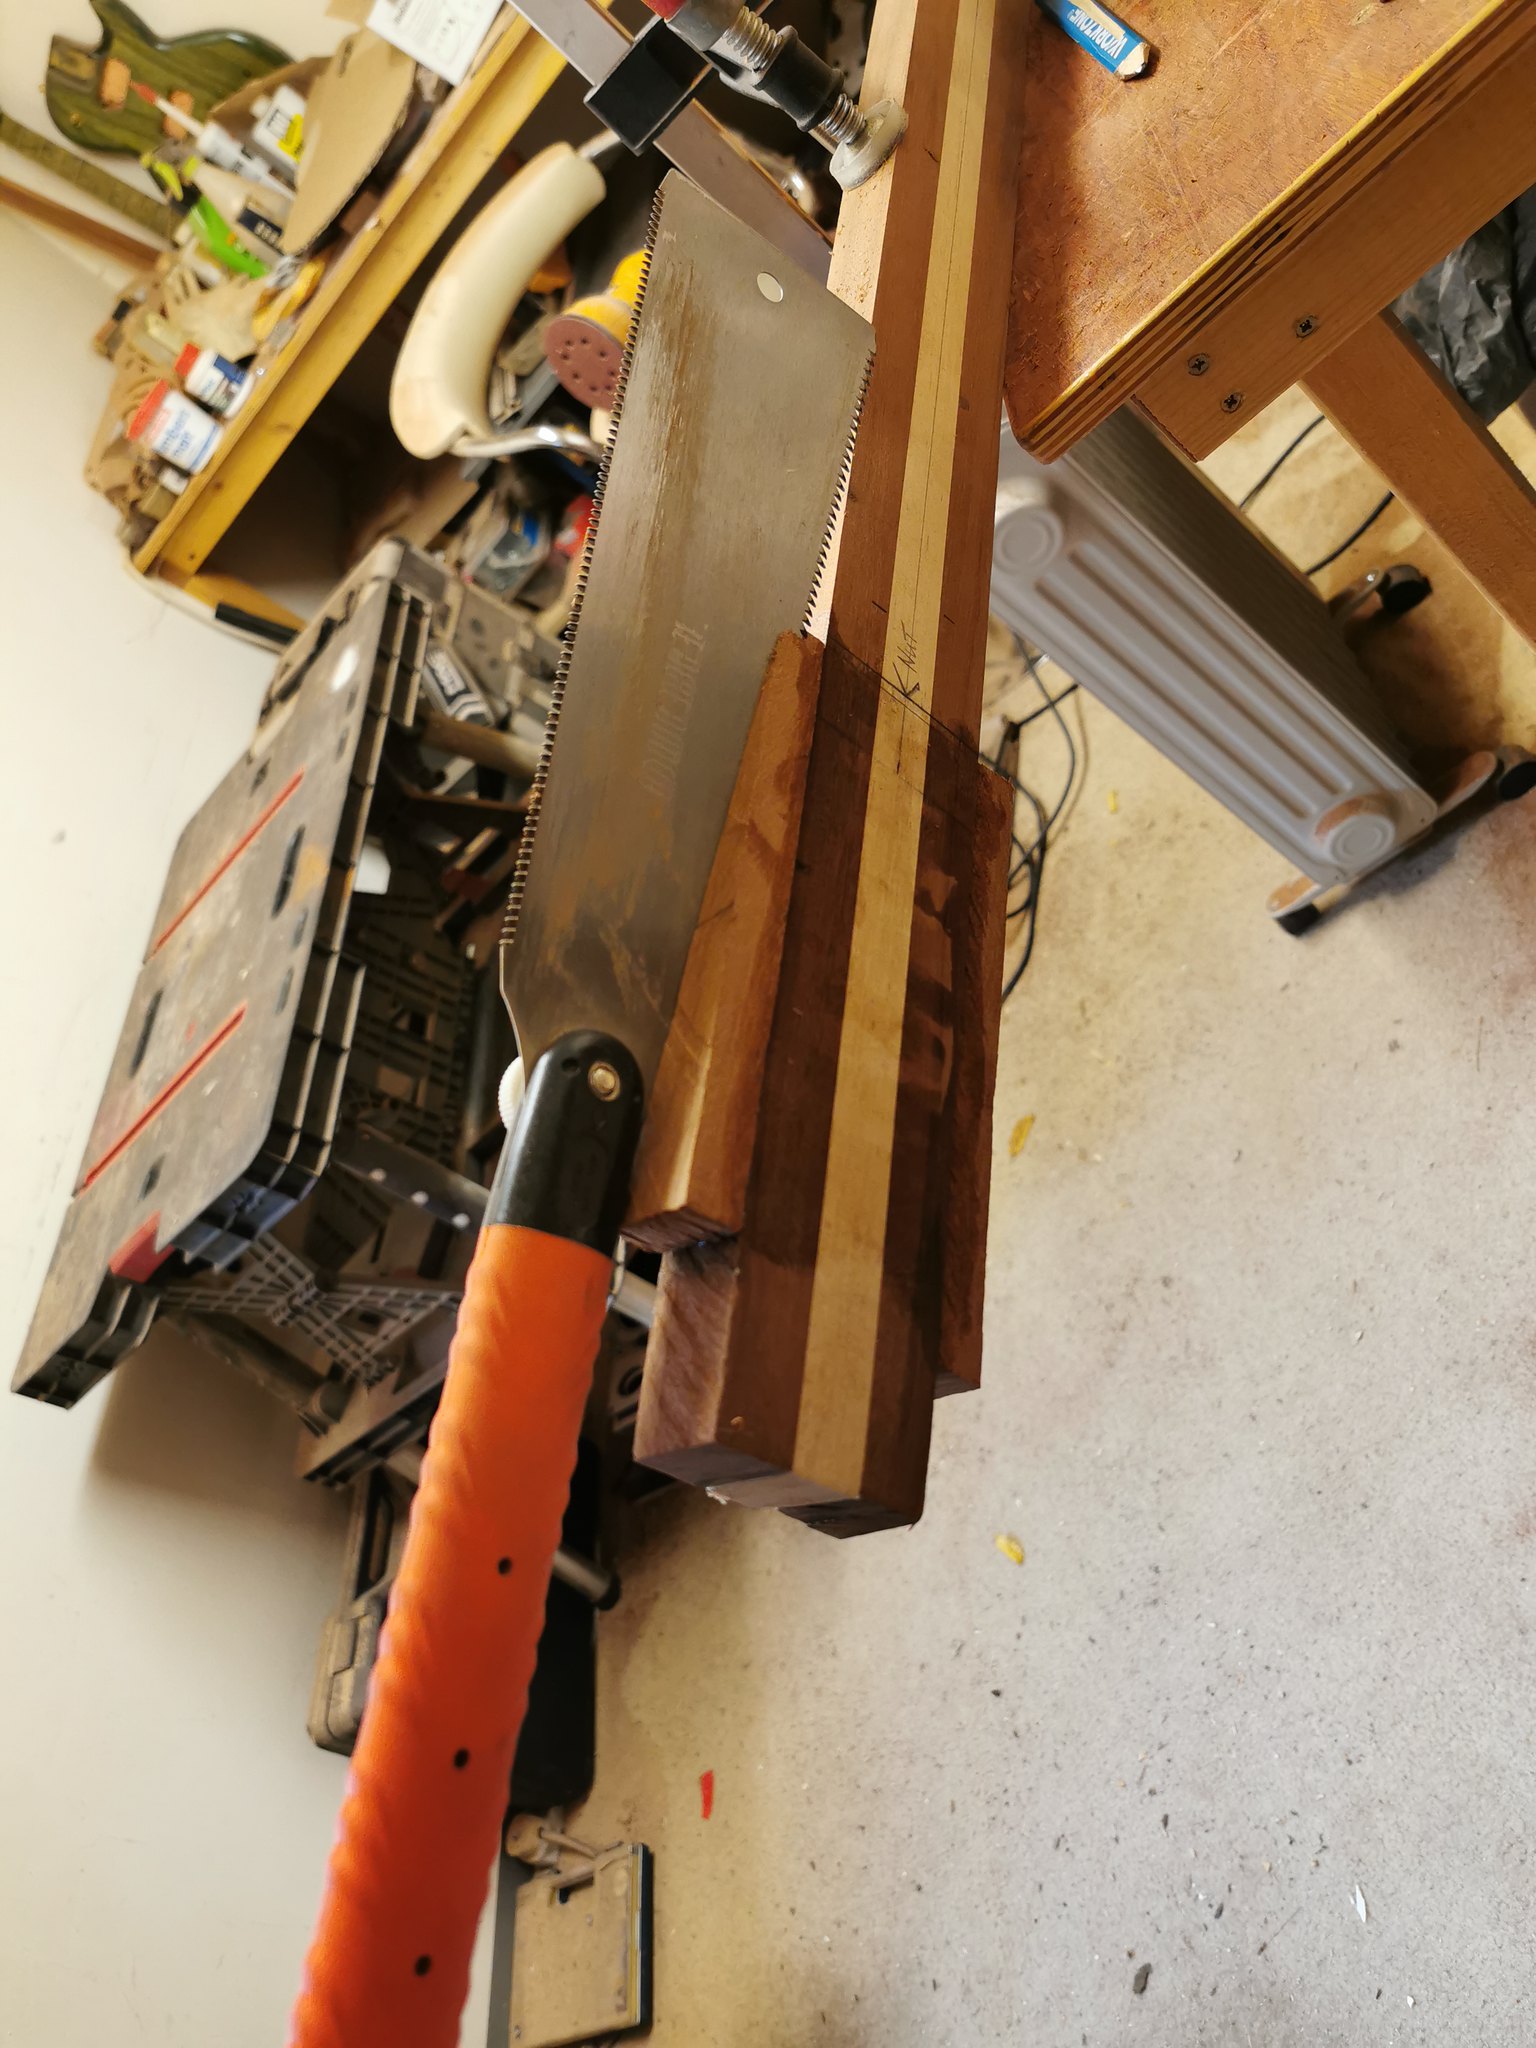
After giving the 'ears' enough time to dry I set about cutting the headstock angle at 9 degrees.
After that I glued the cut-off to the back of the headstock to provide enough thickness across the length and then set about working out string positions based on 17mm string spacing at the bridge and a 38mm nut so that I could do the positions of the tuners and get a basic shape sketched in for the headstock.
Will get the basic headstock shape cut tomorrow morning and see what else I can do after that.
-
2
-
-
Congrats on GOTM.

-
The other way of doing it is to upload your videos to a YouTube channel and put the link in the posts. That is how others do it.
-
1 hour ago, grandtguitars said:
What do you guys say - should I oil the neck with boiled linseed oil or apply a shellac finish?
Personally I prefer an oil finish on a neck, feels much better and doesn't drag on the thumb when moving up and down.
-
1 hour ago, Bizman62 said:
A couple of questions: How often and how do you sharpen your saw? And do you use wax or something similar to lubricate the saw blade?
I used to be a saw doctor when I was younger, I only sharpen and set the teeth on my saws when they need it. You shouldn't need to lubricate a saw if it is sharp enough.
-
1
-
-
6 hours ago, ScottR said:
Well done!
SR
Thanks Scott.
-
14 hours ago, Nicco said:
Congratulations matey. The overall aesthetic of this guitar is lovely. You've done really well
1 hour ago, Andyjr1515 said:An extremely well deserved win
Splendid project and result!
Thank you both.

I am loving playing it, never considered a bass guitar before but this has opened my eyes. Lots of fun when my shoulder allows me.

Considering a fretless bass build next, but it may have to wait a little while, need to get it past the wife. A bit of persuasion will be required.

-
1
-
-
1 hour ago, mistermikev said:
congratulations on gotm win!
Thanks Mike, very much appreciated!
-
1
-
-
55 minutes ago, nakedzen said:
Oh yeah congrats! It's a really nice looking build.
Thank you.
Will take a look at the plugin later.
-
2 hours ago, Bizman62 said:
Aside of recording tips, let me congratulate you for the win!

Thanks Bizman, really appreciate it!
-
50 minutes ago, mistermikev said:
Wanted to step back a moment and decide if I should stick some a piece of mahog/purpleheart-or-maple in between the headstock pieces to allow for A) less obvious transition and B ) more of a vallute. If you have an opinion I would love to hear it.
The purpleheart would blend in better from the sides. Have you decided on a volute shape or are you letting the wood 'talk' to you?
-
1
-
-
3 hours ago, Bizman62 said:
The LesTrem with the Teisco arm
Agree with Bizman, would be good to have it that way if possible.
-
Thanks @mistermikev
I am gradually getting used to playing bass, not something that can be done quickly
, but I am using it on Rocksmith while I am learning.
I don't have a bass amp yet, but hopefully by the time I get one I will be able to play something resembling a bass line to show how it sounds.
-
1
-
-
- Popular Post
The Poplar Sandwich
Woods and materials used:
Multi-wood fretboard consisting of Panga Panga and Oak with a Mahogany surround
Mahogany and Poplar through neck
Mahogany and poplar body wings
Stainless steel vintage low profile frets
Ebony control knobsScale length and other configuration details:
30" Scale length
12" Fretboard radius
Danish Oil finish
7.3 1/4 lbs. total weightElectronics, pickups, etc.:
2 volume, 2 tone (250k Pots) and a 3-way switch
Sprague Orange Drop caps .047uF
Wilkinson WJB Jazz Bass Pickups with Alnico V MagnetsOther hardware:
Wilkinson Machine heads 17:1 Gear ratio
Northwest Guitars 'Chunky' (High Mass) bridge 18mm String spacingIs this your first build, fifth or five-hundredth?
This is my 8th build
A bit of information on your own background as a builder helps give context to your build.
After my wife told me I couldn't buy anymore guitars, I took up the 'hobby' of building my own with the hand tools I had available.
Was it built in the garage, at school, work or in your own shop?
Built in my workshop (Garden shed which the wife calls my playhouse)
A summary of the build's history. Was it built for yourself, friend/family or a client? Did you design the instrument and its specifications or was it built to spec?
Part way through building a BC Rich Mockingbird based guitar for someone (7th build!) and waiting for funds for the next parts, I decided to build myself a short scale Bass guitar and the Mockingbird template was close to hand.
Build thread:


-
7
-
Here we go, final pics... sorry there are quite a few.


Extremely pleased with how it has come out. I am not a bass player, this is the one I will be learning on, so no sound clips just yet. May have to try getting hold of one of one of my bass playing friends to see if they will test it out and record some stuff for me.

-
2
-
-
Managed to get the final bits done today.

The spaghetti wiring which was completed yesterday. I had some left over copper sheet, so put it over the soldering on the back of the pots.

Made a truss rod cover this morning.


And tested in place.

Then gave it a coat of oil. It will need more but it will do for now.

I then got it all strung up and everything in place for the weigh in, the screen on our scales is a bit dim, time for a new set.

It shows 7.3 1/4 lbs. which isn't too bad. Happy with that.
Glamour shots coming up next.
-
1
-


Lightweight fretless bass build 30" scale
in In Progress and Finished Work
Posted
Yes, from an old Microsoft mouse. Perfect pickup cable with shielding and earth cable. Need to make a baseplate for it, but that can wait.