


mistermikev
-
Posts
4,764 -
Joined
-
Last visited
-
Days Won
133
Content Type
Profiles
News and Information
Tutorials
Product Reviews
Supplier Listings
Articles
Guitar Of The Month
Links and Resources
Forums
Gallery
Downloads
Posts posted by mistermikev
-
-
holy sheep shit... that does look ambitious. wil be interesting to see how this plays out. would seem you'd need to disconnect the top to fix that... but I know nothing. best of luck! will be rooting for you.
-
 1
1
-
-
right on. that's what I was alluding to... that with a new build you don't really remove much so it follows that it matters a lot less if you choose a crown file or triangle. When you have to grind down to re-work frets... I would assume a triangle could be a lot less work than a crown file.
-
that back side.... oooh la la. nice work.
-
1
-
-
13 minutes ago, soapbarstrat said:
Have yet to own a crowing file, because of the restrictions of common mismatch of size to fret ratio, or whatever.
I feel that if major recrowning is required, I prefer to replace the frets. I’ve been told that the further into the fret you go, the softer the metal gets. Or a good compromise is to not recrown to a half circle, but a larger flatter radius instead. This will spread the load of future string to fret contact. It can make the note sound a bit more slurred, but that’s actually preferable on many guitars. I heard Eric Johnson likes his Strat frets like that. Paul Reed Smith once said he likes flattish frets on his own personal guitars.
right on. it sounds like you are coming more from the perspective of replacing/re-working frets... as opposed to a new install - please correct if I'm wrong. I have done some fretwork on my own older guitars... but actually have more experience installing new. I get the sense that since one isn't necc sanding the fretboard back down flat on a repair/re-work... you would be much more likely to see bigger differences between each fret... (ie wider flat areas) whereas when flattening the fretboard on a new build - assuming you do it well... you shouldn't be taking off much at all... so I wonder if that plays into the choice a bit more?
-
getting some of those carves on there... really coming to live.
-
top is real nice. i lke the tie in of the brown inlay and the stripe. nice job.
-
 1
1
-
-
so... here's the idea... a much simpler version of a wireup that would yield a nice combo of inside vs outside coils ala prs.... but only requiring a single push/pull pot.
given a standard les paul wiring with a 3-way toggle, 2 volumes, 2 tones... (below I've sub'd in a 2nd push/pull for a booster but this could be a std tone control).
would replace a tone control with a push/pull pot. when pulled up it would change how the 3 way works and give "outside coils in series" in the bridge position, and "inside coils in series" in the neck position. would also give a slightly different tone in the middle position as cancellation between coils would be slightly different. all 6 distinct positions would be hum cancelling.
would require that 1) you flip the magnet on the neck (if seymour or dimarzio or std pickups used) and 2) that the neck pickup is sort of 'wired backwards'.
penney for your thoughts?

-
3 hours ago, Bizman62 said:
The neverending saga continues...
Last Saturday I finally got the tuners attached, Gotoh staggered locking ones, two heigths. For some odd reason the bass end trio sits a bit deeper than the treble side three. Either I've managed to drill aligned holes in triplets or the short shafted ones have a different body. Doesn't look too bad and can only be seen if you inspect closely so no big deal. Also put the strings on and filed the nut slots with my trusty roughened feeler gauge set. And found out why the 43 mm neck was too narrow: On the bass side the fretboard widens like a wedge. I could file it a bit but again it's just a mm or so. And the treble side of the neck has a slight arc inwards but again nothing that prevents playing. I know several ways to make them right, the biggest issue seems to be that I don't trust my sawing skills and cut them a bit oversized. And all drawn lines vanish with sanding!
On Sunday I thought I'd shield the control cavity. After an hour's unsuccessful search for my roll of copper tape I finally took my bottle of Crimson conductive paint and noticed that it had mostly solidified and the watery black stuff that came out after poking and shaking didn't want to stick. By smell I'd say it's pretty much similar to the online recipes of mixing selected coal dust and regular white glue. So into the kitchen I went and took a piece of the thicker aluminium foil. Pressed it into the cavity to get it shaped and used some spray adhesive to attach the alu-cup. Not pretty but does the job.
The electrickery has now been done. There's good news and bad ones: There's no hum which means the shielding works properly. But the pickups need magnetizing, the bass side of the neck pickup is very silent and a couple of poles in the bridge pickup as well. Veijo checked them with a screwdriver and noticed that the silent parts were barely magnetic. When I told about the issue to my friend who wound them at school he wasn't surprised. Apparently the magnetizer at the Ikaalinen School of Luthiery isn't too good.
But I got a sound of the guitar and the sound was good where it came through! The acoustic sound is good as well, nice and mellow. When I strum all strings and put my ear against the body I can hear the notes ringing for half a minute so there's sustain as well. And it's lightweight, with all the hardware installed it's 2.27 kg or 5 lbs!
And the finish simply sucks. I have to take the acrylic rattle can lacquer off at some point, it seems to melt either because of sweat or body heat to a tacky matte mess.


looking good.
afa magnetization... get a c clamp and some 3/4" N52 magnets. I've used the sm to flip polarity w/o issue. you do have to be very careful not to pinch your fingers tho! you also might want a compass to ensure you do the neck rev to the bridge. easy peasy... attach magnets to the c clamp seperated just enough to fit pickup through, pull em out... pass em through the magnets 2x, check em and voilla.
-
1
-
-
19 minutes ago, MiKro said:
I agree that is the direction I am heading now. Simple and looks good. I have plenty of EIR to match the fret board so that is easy. I am thinking though use the existing center stripe and then adding two EIR stripes. leaving some quilted maple in between them
mk

i like this idea. really could be making it better than it was.
-
1
-
-
On 5/6/2022 at 1:28 PM, Professor Woozle said:
I'm not aware of any videos on gemstone inlaying but I have in the past done some cloisonne garnet work so here's a few suggestions for the gemstone working at least. Firstly, having access to a geological circular saw is a big advantage when cutting the mineral slices, particularly for brittle/fracture-prone minerals. If the minerals you're working do tend to fracture then they can be stabilised with epoxy resins, for example the decorative variety of Fluorite known as Blue John is vaccuum impregnated with epoxy resin before cutting/turning to stop it shattering.
For shaping, I guess dental burrs will be the fastest option for removing material but wet or dry paper (used wet) is what you'll need for the final passes, and beware of chipping at the edges of the work piece - unfortunately, very easy to do with a lot of minerals when thinly sliced.
As for the actual mounting, for translucent minerals like tiger eye you may want to consider a reflective backing to really get the best effect. Traditionally, cloisonne garnet work has each piece backed with a waffle-cut piece of gold foil so that light is reflected back through the garnet, giving it a magnificent blood-red glow like this :

I'm not sure how would be best to go about finishing once mounting, whether it would be better to fit the pieces in the wood slightly recessed and sand the wood down to the mineral top, or fit slightly proud as you'd do with wood inlays and sand the inlays down. I'm sure others on here will have an opinion.
some lovely work there!!
-
6 minutes ago, ShatnersBassoon said:
Interesting! I wonder if that was part of the issue Mike? Maybe I didn’t use the right tools. It’s weird because that neck was straight…and like a week/few days later it had a 0.25mm up bow in it.
well... maybe maybe not. usually you'd notice that within an hour or two of cutting it... and it has to get pretty hot.
-
1
-
-
7 hours ago, ShatnersBassoon said:
It cut surprisingly easy, considering it’s hardness. It’s properties are interesting! One thing I have noticed with Corian is that it actually isn’t particularly stable. Whatever bends form in it don’t tend to spring back like they would with wood. I tried making a neck with it, it failed…even with a bit of carbon fibre behind it it warped. It’s a cool material but not really the best choice for anything structural in my opinion. It’s also rather heavy!
well... as I recall they make special saw blades and special bits for it because the heat generated by a reg saw blade/bit can warm it enough that it will bend... and once it cools it is going to maintain that shape. that said... those tools aren't really worth it to the casual user.
-
1
-
-
corian... I knew it the minute I laid eyes on it. I built solid surface coutertops for a year or two when I was younger. is very interesting material because it's hard as a rock but if you heat it in an oven you can bend it all over the place. have often thought of doing inlay with the stuff... but it comes in half inch sheets and you really don't see it thinner than that. Not sure cutting it with a bandsaw would go over well... esp for the blade. should make for a very interesting fretboard. good to see you back at it sir. cheers
-
1
-
-
3 hours ago, Bizman62 said:
This is also the same I meant.
The jig is fancy and for a hollowed body it's almost essential. The two first radiused tops I made just by drawing the radius at the ends and the edge on the sides and used various tools like hand planes and a belt sander.
right-o. lot of dif ways to get to the church.
-
6 hours ago, Nicco said:
And @mistermikev, there are a couple of terms there I don't know, sorry. Smugglers route? And radius cut on the thinline? As in putting a radius over the body like Bizman suggested?
sugglers route is just a term that has been used to describe what they did on some early fender teles. basically they routed the area under the pickguard down to within 1/4" of the back.

afa radius top... this is what I meant:
kind of like a fender aerodyne but semi hollow.
-
2 hours ago, Bizman62 said:
My experience with a crown file is that it's way too easy to get the top filed as well and ruin the leveling. Maybe I have the wrong file, I don't know. One is an American one-size-fits-all and the other is a Chinese mystery.
I think I'm going to have to try it at some point... if for no other reason than to widen my horizons.
-
weight is really important to me... so a while back I was weighing my guitars b4 and aft I did various cuts. at the time had a tele that was solid body with a smugglers route being built along side an aggressively hollowed thinline. I believe it may have been @curtisa or perhaps @Andyjr1515 who first told me that removing even a thin layer from the entire body would make a bigger difference than doing a deeper cut in a smugglers route or other. Of course it's all about volume of wood removed but point is it's deceiving how much volume is removed making the whole body 1/4 thinner.
I found this info to be pretty spot on as when I did my radius cuts on the thinline that actually removed the most weight. Long story long... just making your body really thin might be one option. another thought is to use a radius jig (of course I would suggest that) would allow you to remove a lot of material but have a top that remains suitable for a veneer.
another creative idea might be to resaw the body wood (similar to what curtisa is suggesting), hollow out the one part, then glue back together.
some other things that may help - make your control cavity really large.
hope something there is usefull.
-
1
-
-
4 hours ago, Bizman62 said:
Can I give another vote? I use both a triangle and crown file. Actually I have two different crown files, both of which I've used for this current build but in the end I found that the triangle worked best this time. It varies!
I wouldn't worry about that. As long as you get a single narrow line on the fret it's in the ballpark. After all, the tuning of a guitar is never perfect, it's always a compromise. If you think about True Temperament Frets (the squiggly ones) they're way more off the straight line than just the width of a fret. I also believe that you wouldn't accept your work if the narrow line were significantly off-center of the fret. With narrow frets there's not much wiggle room anyway, with Jumbo frets you'd have to level them quite low to get the crown on one side or diagonal:

i appreciate the response biz. it is true that if you look at true temp there is quite a bit of variance and you wouldn't get anywhere near that variance on a fret by screwing up with a triangle. that said, if you had two consecutive frets that were off in opposing directions I wouldn't be surprised if it made intonnation a bit screwy. esp if it was the 12th. I just meant that it's probably something you have to be careful of whereas with a crown file it's a no brainer.
-
on another site... with a lot of folks who are in the biz here and there (not a luthier or building site)... I was kind of surprised that the majority of folks chiming into a thread were sort of bashing crown files. I'm ok with that... was just surprised by it. one of the main complaints is that the shape of the fret is sort of 'baked in' whereas a triangle file you can go along with the shape of the frets. It's a fair point.
generally I've always been under the assumption that a crown file would make the job faster doing both sides at once... but taking off more material (if the crown file you have isn't an exact match for the fret profile) might actually make a triangle file faster.
I can see a lot of down sides w a triangle file... namely the consistency. it's hard to get a straight line at the center of the fret.
working on my frets right now... and even with 7 or 8 crown files on hand and 3 of them "jumbo" (working on jescar jumbo frets) some fit better than others. usually my stew mac is the go to but on this job the philli luthier 's' style fit best.
so... penny for your thoughts.
-
24 minutes ago, nakedzen said:
Thanks Mike! It was a real pita to get the white finished.

i bet. the one time I did off white it was hard. of course I paint in a temp greenhouse outside which doesn't help... but little fuzzies kept making me sand back and do more coats! i imagine alpine white was even worse. bravo and a great build.
-
1
-
-
congrats on gotm!!
-
1
-
-
when I hear blotchy I automatically think minwax. because dye isn't also a varnish... it doesn't do that.
my personal feeling is that the darker edge doesn't look great, but the central part looks good. If it were me... I know I'd be much happier in the long run sanding it all back down and trying to do what you did on the faces on the edge as well. the face part looks pretty good to me.
the darker three piece section... once you get it all sanded back down... leave the other two pieces sanded to 220 but bring the darker 1 piece of up 400. i believe I learned that here and probably from scott r - that sanding to higher grit will burnish the wood a bit and prevent it from soaking up stain as fast.
I'd also recommend using keda dye instead of what appears to be varnish if I'm not mistaken. with dye, if the one area looks darker... you can sand it back a bit to even it out and it will blend well. most of it will be covered by the pickguard anyway... but that's what I'd do.
actually... what I'd probably do is sand it completely down and buy a veneer and glue it on. $23 well spent over at b and b rare woods: https://www.dyed-veneer.com/product-p/1227-10.htm then just lay down some glue, clamp a piece of scrap wood to the top with some braces to keep it flat.
all just spit-balling. do what YOU think is best.
-
43 minutes ago, Madmtnmotors said:
Package arrived intact, and there even happened to be a very nice maple blank inside! Thanks again for your generosity, hopefully I'll be able to put this to use before too long.

right on, hope you find them useful. cheers
-
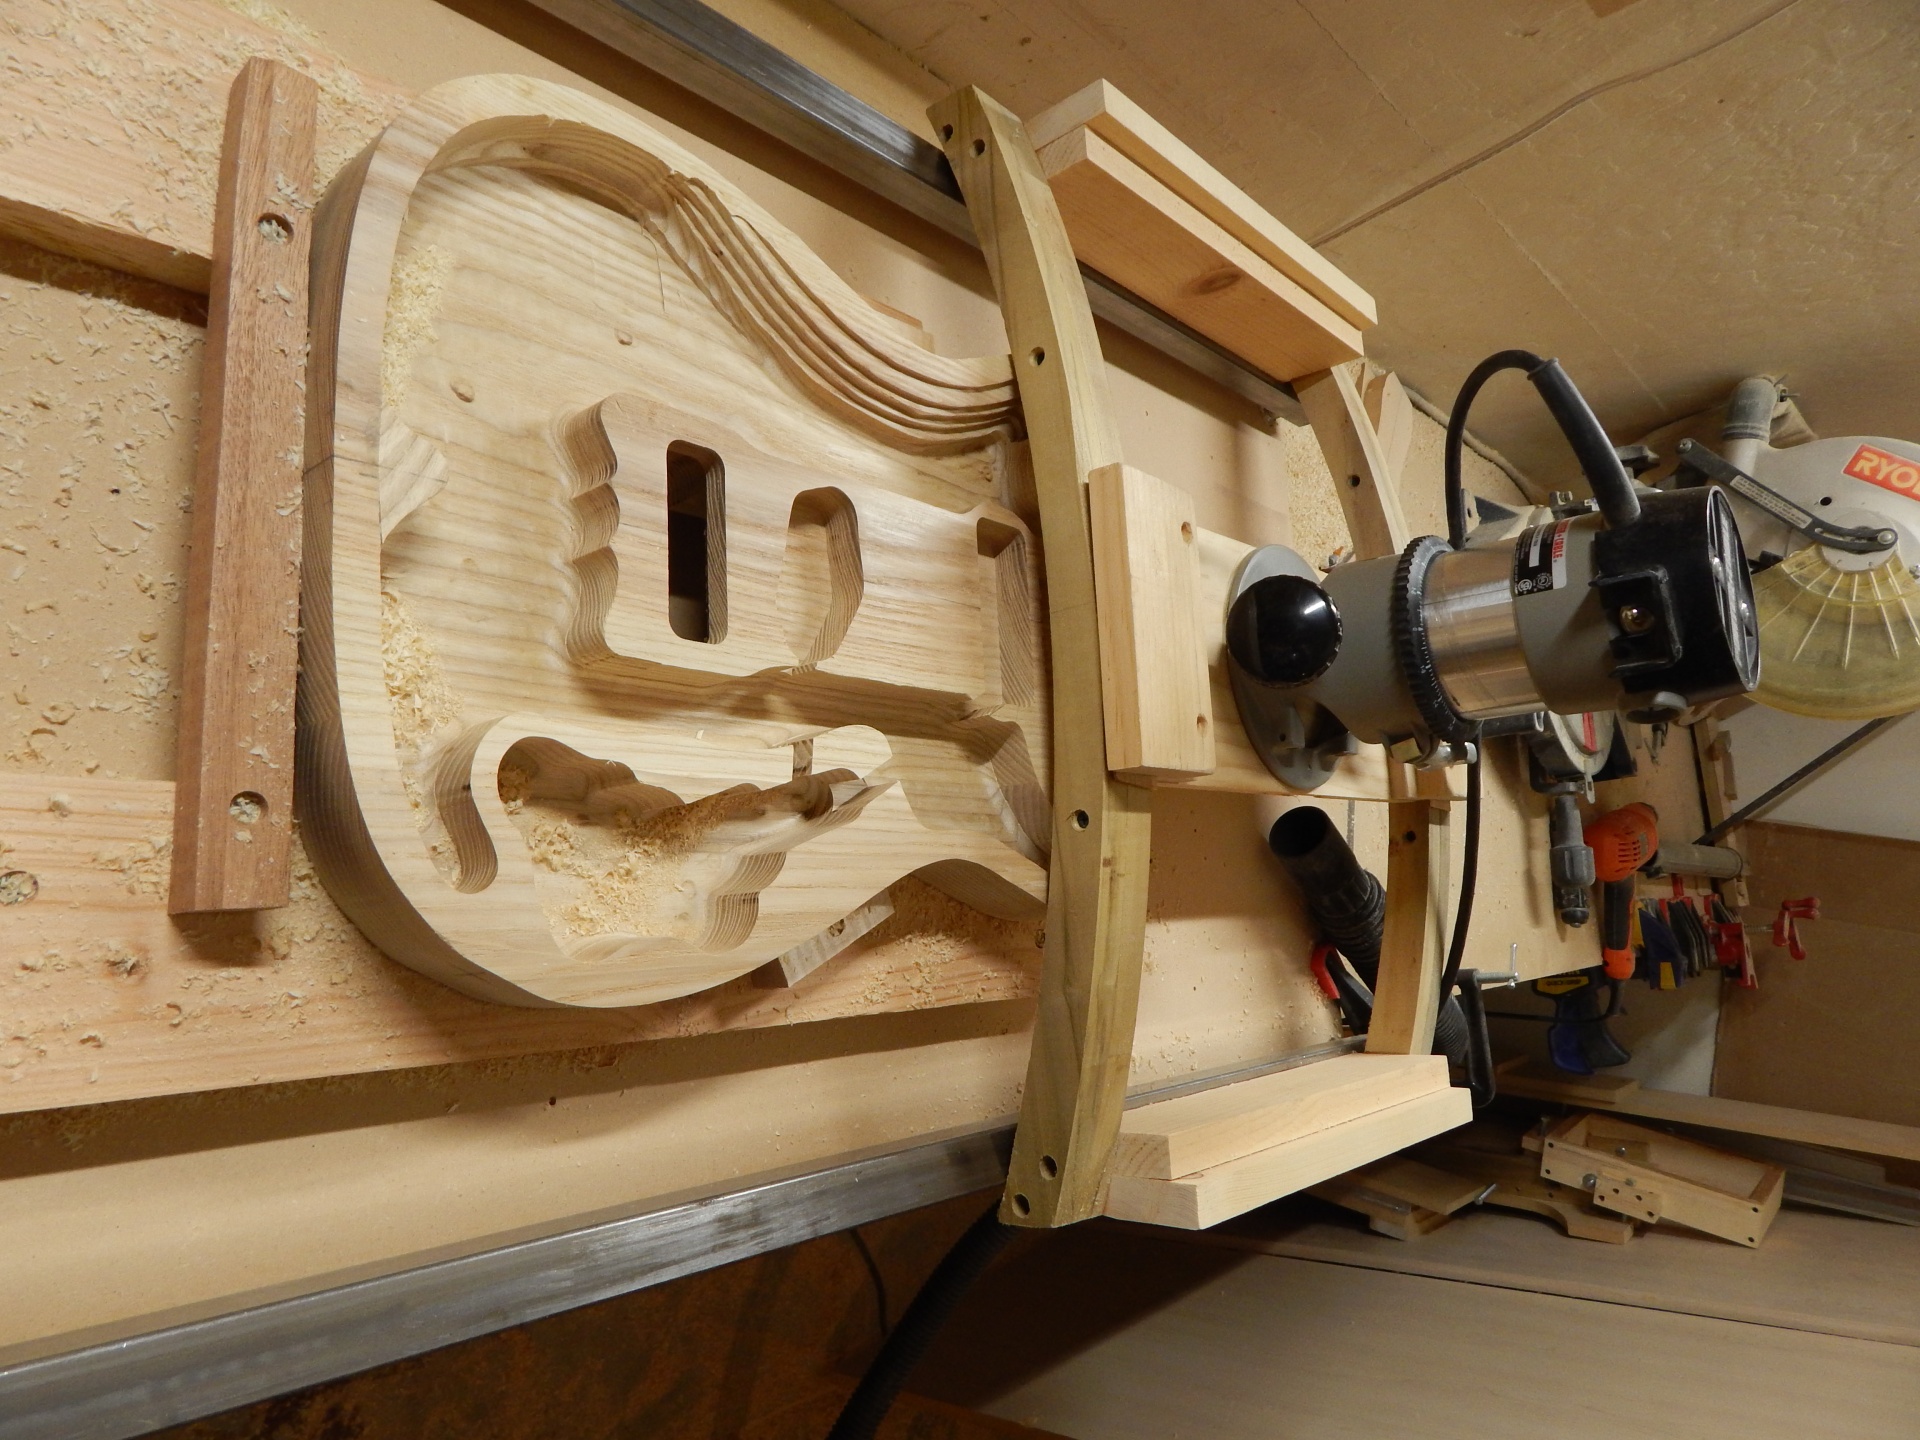
I guess if you are planning on doing more than one in your lifetime... a jig is the way to go imo. as demonstrated above it's not all that hard to do. If I had to do it... I'd probably try to use a router and pivot point to make the arches so that they are smooth. I've seen folks use pvc as the rails since it is slipery and won't hang up anywhere. If you go google hunting for images of jigs... there are a lot of options out there.
sanding blocks: there is a lot of folks making these these days. I had bought a couple back in the day and they were rock solid straight. now-a-days there are even some folks making them out of plastic. I think if you hunt around you can get something decent for cheap. best of luck.


tele for a cop...
in In Progress and Finished Work
Posted
so... one of the things I wanted to focus and improve upon was my fret dressing. I've got the leveling down pat... but making them look pretty is a place I figure I can improve so... this was my attempt at that - how'd I do?
and just a shot of the headstock here:
on my final approach here... got some tru oil on the neck... and 2 coats of whipe on poly.
got my electronics pretty much sorted:
and will be applying a waterslide for serial no. next... hope to get my neck mounted tomorrow, then take it off and start wet sanding my body.